P-51B Mustang "Old Crow" Academy 1:72
Discussion


Now I do like that nice new style of box
 Ordered on Sunday from Creative Models via. EBay, arrived today. Can't complain at £5.24. + post.
So I made another start. Removed all the parts I need and fettled them ready for assembly. I took the opportunity to correct some issues I missed first time around: The locating pin and socket and hole inside the radiator duct is clearly visible if you look from the front, so I filed id down so that it's now pretty much invisible. I also upened up the small outlet duct above the main outlet before joining the halves, much easier:
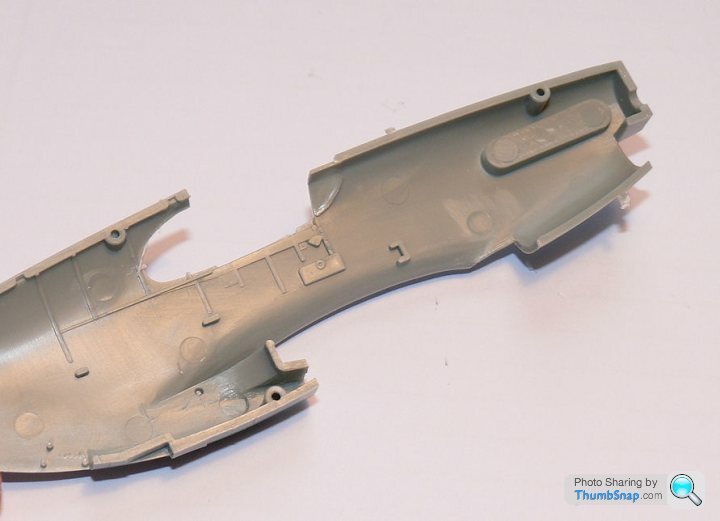
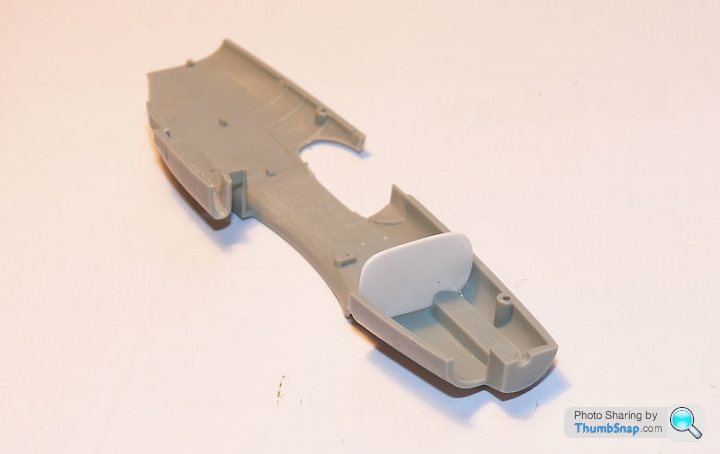
I also added a bulkhead out of plastic card to stop daylight from the cockoit opening being visible through the supercharger intake:
I mixed some more paint to match the salvaged cockpit and photo-etch cockpit sides. I also didn't thin the sides so much this time - previously I went too far with this and it resulted in them looking far too thin. Also sprayed the wheel wells and tail wheel well etc, and coated everything with Klear ready for a bit of light weathering and matt coat:
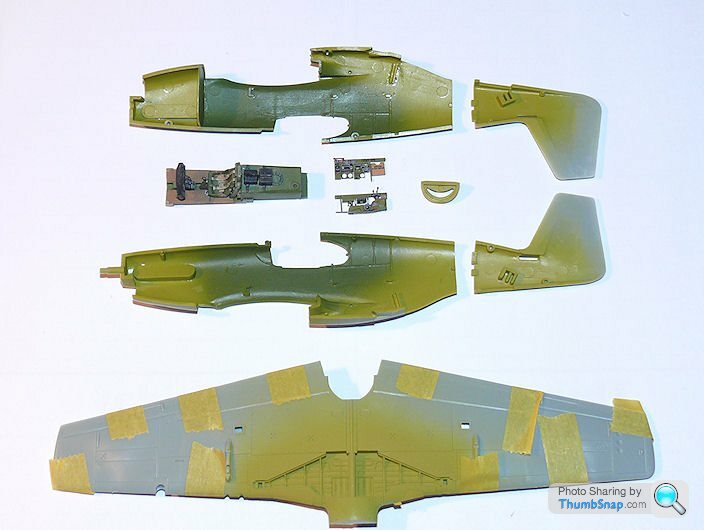
Tomorrow will hopefully see the fuselage closed and the wings and tailplane on.
Tuesday, Wednesday, Thursday and now Friday.
Have you put the wheels on yet doc?
I like the way you get right down to it, wish I could still get in to it as quickly.
Lovely so far, nice work using the knowlege gleaned with Crow One.
b
edited 'cos of sounding like an even bigger tit than usual
Have you put the wheels on yet doc?
I like the way you get right down to it, wish I could still get in to it as quickly.
Lovely so far, nice work using the knowlege gleaned with Crow One.
b
edited 'cos of sounding like an even bigger tit than usual

couzens said:
Love your work Dr! Hows the f1 car rebuilds coming on?
On the off chance, have you completed any bigger aircraft? Lancaster etc.
Ta! The McLaren is an ongoing project, I do bits and pieces when I get chance. I need to get some materials for a repair on one of the cam cover teardrops on the body (one side got sanded off when I first built it), so I'm going to try casting a new one using the existing side as a pattern. Ive got the silicone mould material, just need some yellow resin.On the off chance, have you completed any bigger aircraft? Lancaster etc.
Exclusding a couple of 1/144 transports, and apart from an Airfix Sunderland I built for someone else, I've not built anything but single engined aircraft for many years - probably 30 years in fact. In the past I've built loads of 1:72 twin and multi-engined models, not to a very good standard, and most now long gone.
Got as far as painting and preshading the white bits of the invasion stripes this afternoon:
After always having had some trouble or other spraying very fine lines, I've also started using this stuff:
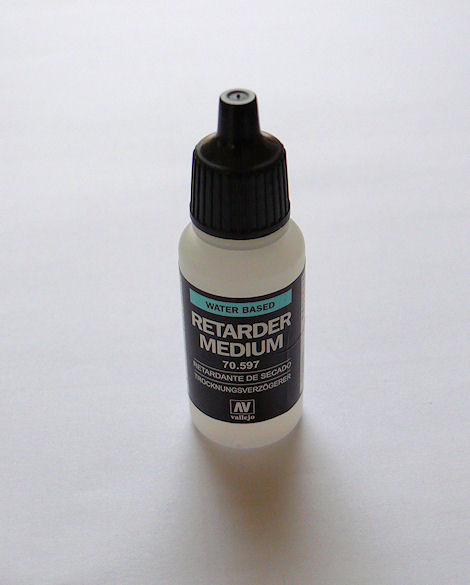
If you add a couple of drops to your thinned acrylic paint, it stops the needle constantly clogging and makes really fine work much easier (or in some cases, possible). It seems like pretty much the silver bullet for acrylic spraying issues.
After always having had some trouble or other spraying very fine lines, I've also started using this stuff:
If you add a couple of drops to your thinned acrylic paint, it stops the needle constantly clogging and makes really fine work much easier (or in some cases, possible). It seems like pretty much the silver bullet for acrylic spraying issues.
IIRC a definition of insanity is repeating an action and expecting a different result. So I thought I'd try a couple of mods; the black stripes were a bit too black, so this time I mixed in some brown, and it has taken the edge off a bit:
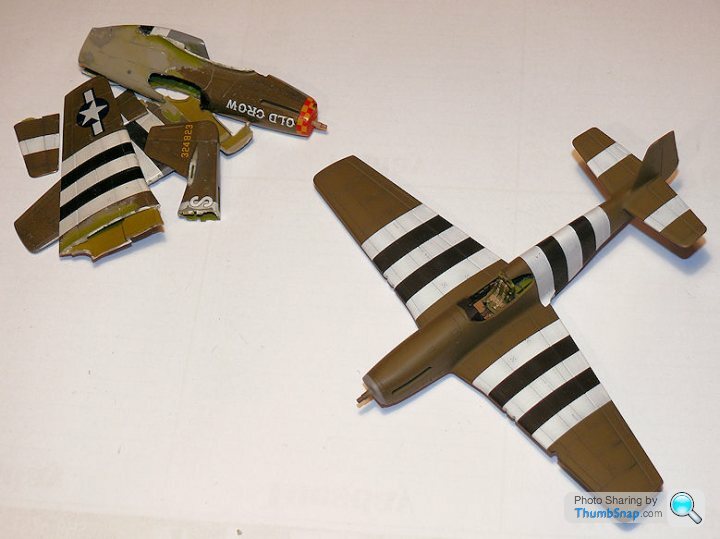
This is a deceptively difficult colour scheme, only four main colours, but each tricky to perfect in isolation. The irony is that the most difficult part is the still to come: The nose chequers and the canopy framing. Even more ironic is that I'd already done the chequers almost to perfection on th4e scrapped model, so it's doubtful this next time will be as good.
This is a deceptively difficult colour scheme, only four main colours, but each tricky to perfect in isolation. The irony is that the most difficult part is the still to come: The nose chequers and the canopy framing. Even more ironic is that I'd already done the chequers almost to perfection on th4e scrapped model, so it's doubtful this next time will be as good.
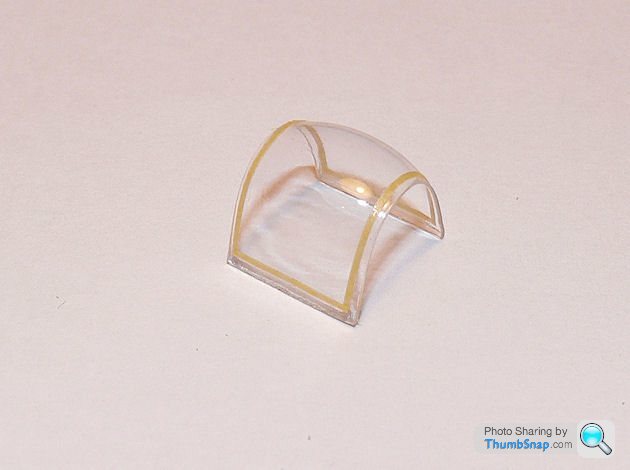
Canopy masking - another really tricky thing to do becasue of the curved rear panels. I used my usual technique:
Outline the framing with thin cut Tamiya tape. This allows bending around compound curves:
Fill in with a mosaic of tape squares:
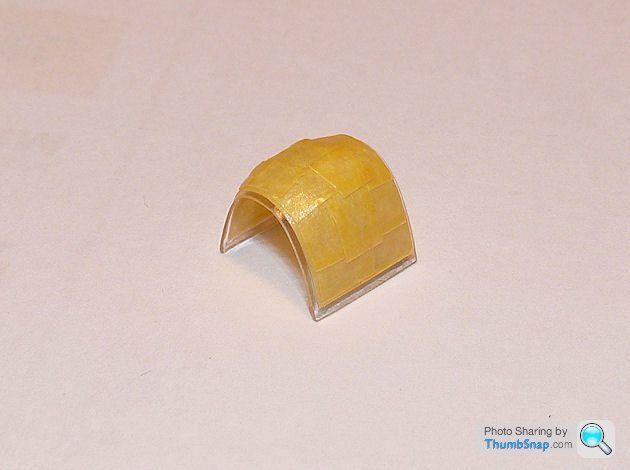
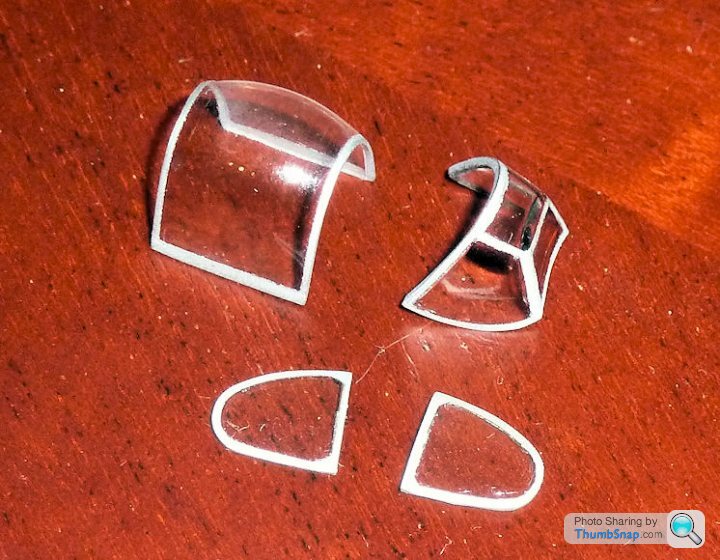
Mask the insides, leaving exposed framing where possible - this allows a matt finish to applied to any prominnet parts of internal exposed framing rather than the gloss overcoat of the canopy itself:
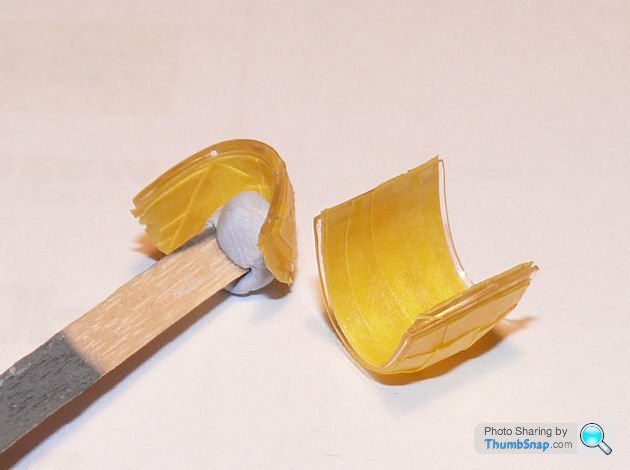
These are the finished items. Not 100% happy with the rear quarters, but the framing on the parts is a tad thick I think, so not much more I can do:
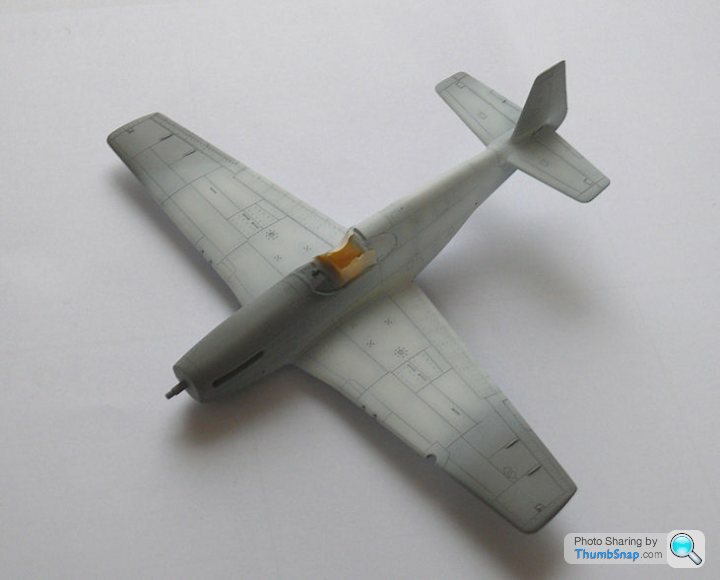
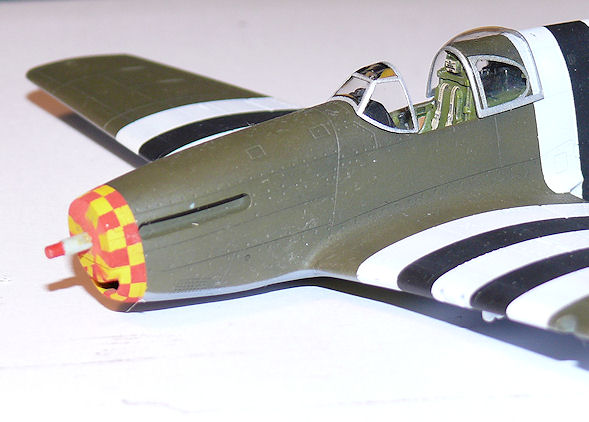
And finally test fitted to the fuselage. BTW the nose chequers came out OK again second time around. The red looks a bit pink, that's becasue it's not yet had a coat of Klear which tends to slightly darken matt colours:
Outline the framing with thin cut Tamiya tape. This allows bending around compound curves:
Fill in with a mosaic of tape squares:
Mask the insides, leaving exposed framing where possible - this allows a matt finish to applied to any prominnet parts of internal exposed framing rather than the gloss overcoat of the canopy itself:
These are the finished items. Not 100% happy with the rear quarters, but the framing on the parts is a tad thick I think, so not much more I can do:
And finally test fitted to the fuselage. BTW the nose chequers came out OK again second time around. The red looks a bit pink, that's becasue it's not yet had a coat of Klear which tends to slightly darken matt colours:
dr_gn said:
perdu said:
Catweazle said:
Is that the transfer nose chequer or the masked and sprayed nose chequer?
Masked and sprayed I reckon CWIt's actually quite easy once you've got the tape size figured out, but even that can take an hour of trial and error.

 ....Aspirin for dr_gn
Gassing Station | Scale Models | Top of Page | What's New | My Stuff