P-51B Mustang "Old Crow" Academy 1:72
Discussion


perdu said:
I wouldnt worry too much about the webbing doc, it does at least have the look of unblanco'd white webbing
That kind of unbleached calico thing is rather nice and a bugger to match in real paint
I am beginning to like these Eduard interiors
I saw elsewhere that you were wondering which green and grey (gray) to use, have you decided whether to go RAF or not?
(I haven't been back lately to look)
If you undercut the tailwheel strut at the tyre side maybe you can get the paint in behind and out of casual sight with a fine brush.
For detailing cockpits etc, Aires resin is the way to go. I'll not be using Eduard again. Fine for other bits and pieces, but etch is a bit 2D for a cockpit I think. The pre-paint thing is more bother than it's worth.That kind of unbleached calico thing is rather nice and a bugger to match in real paint
I am beginning to like these Eduard interiors
I saw elsewhere that you were wondering which green and grey (gray) to use, have you decided whether to go RAF or not?
(I haven't been back lately to look)
If you undercut the tailwheel strut at the tyre side maybe you can get the paint in behind and out of casual sight with a fine brush.
I decided on a decent green, it's in fact the same green I used for the SE.5a. The Neutral Grey undersides are more of an issue: The 'correct' paint is blatantly too dark. I'll just try a few lighter shades until I'm happy, then make sure I label the pot "WW2 USAAF Undersides", so if I build any other aircraft like this they will be consistent.
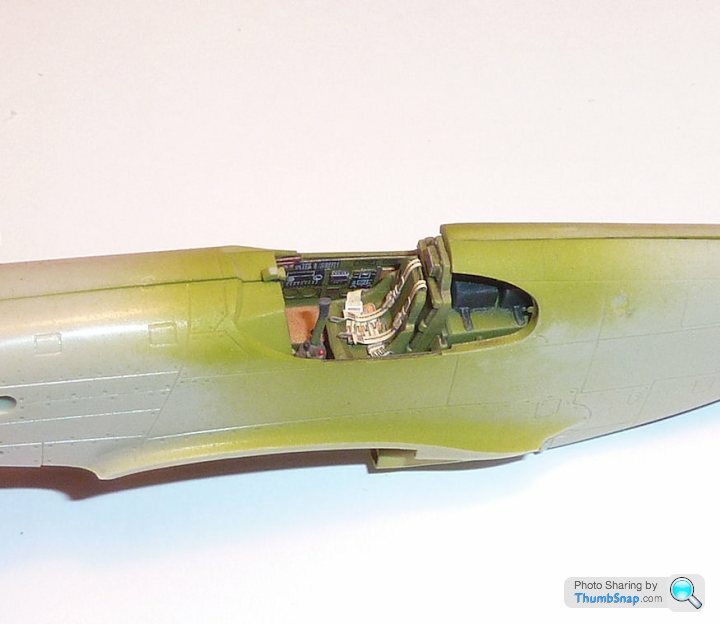
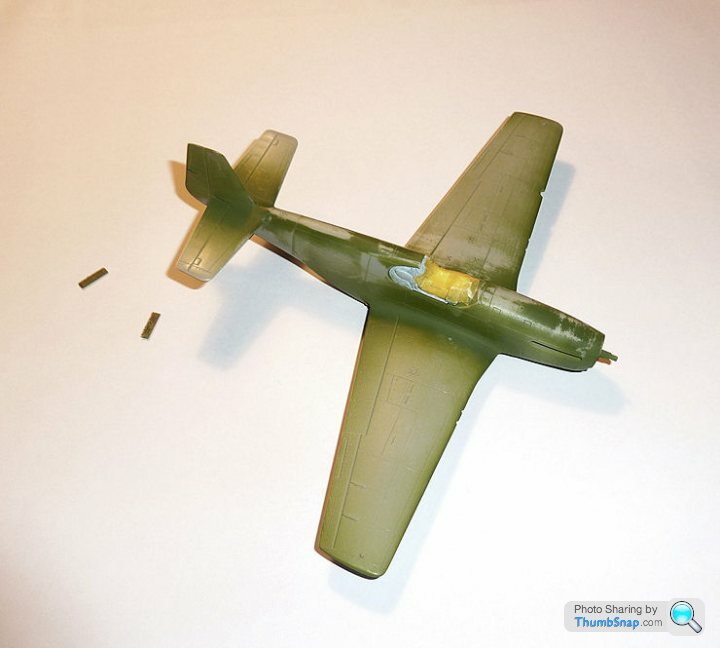
Fitted the cockpit and closed the fuselage, also fitted the wings, tailplanes and supercharger intake. Looks a bit more like a Mustang now:
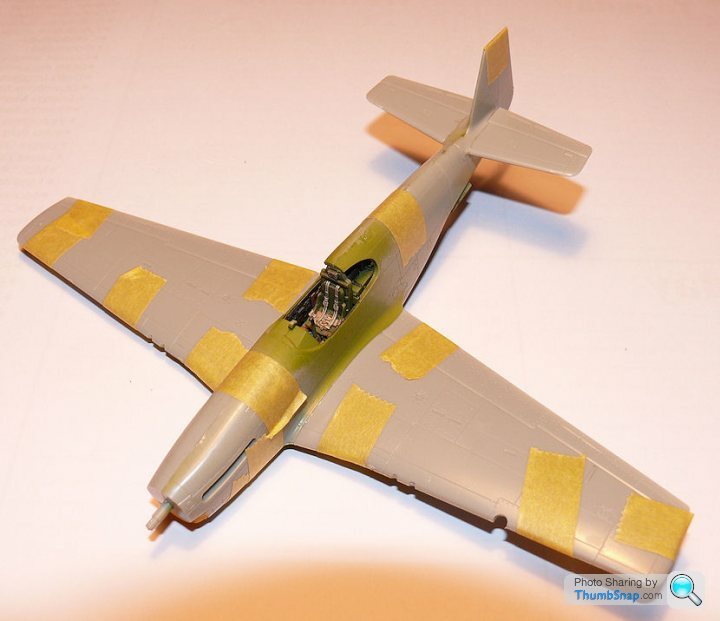
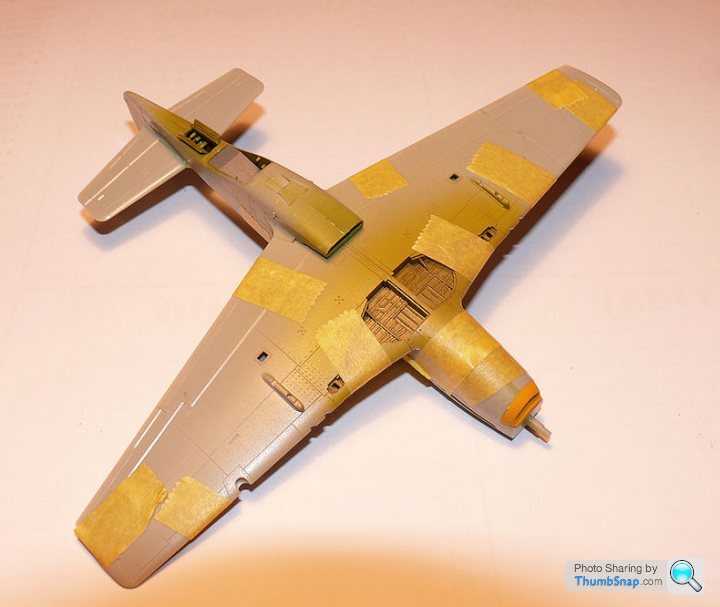
I also cut the seat out and repositioned it slightly lower. It looked way too high, but after looking at a few references the pilot's shoulders were well above the cockpit sides. I does look better now though. I also thought the cockpit looked too wide, but again, looking at references it's about right:
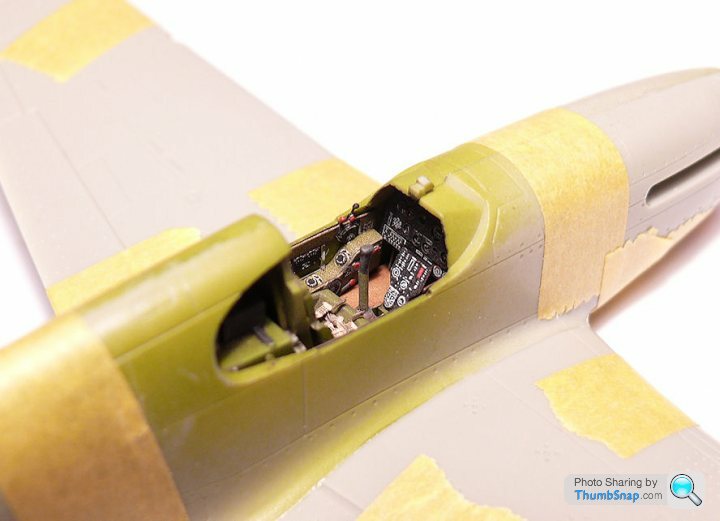
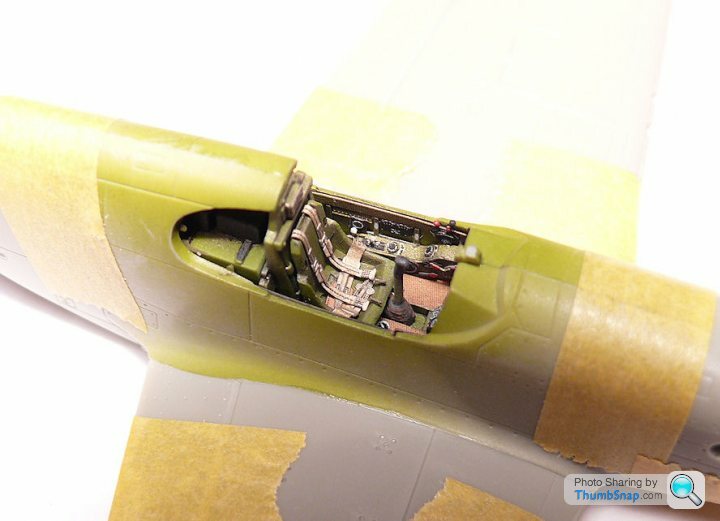
Perdu - you didn't really think I was going to leave those belts that bright did you Some 'mud' weathering powder applied with a fine brush soon toned them down a bit:
I also cut the seat out and repositioned it slightly lower. It looked way too high, but after looking at a few references the pilot's shoulders were well above the cockpit sides. I does look better now though. I also thought the cockpit looked too wide, but again, looking at references it's about right:
Perdu - you didn't really think I was going to leave those belts that bright did you
Some 'mud' weathering powder applied with a fine brush soon toned them down a bit:RichB said:
dr_gn said:
RichB said:
dr_gn said:
...I might be defeated by the tailwheel tyre, unelss I can find some spare circular white decals to put on there.
Would it not be easier to paint the whole wheel white, then pick out the silver strut and paint on the black surface with a fairly hard brush? 
Edited by RichB on Friday 23 May 16:40
Ayahuasca said:
The joystick handle has a bit of girth on it (ooh er!) - is it to scale?
If you look from the side, the top is visible above the cockpit edge. If I was going to Duxford tomorrow for the airshow I could check, but the weather is rubbish so I won't be risking the 2 1/2 hour drive

Edited by dr_gn on Friday 23 May 23:00
RichB said:
dr_gn said:

Edited by dr_gn on Friday 23 May 23:01
Mutley said:
dr_gn said:
It's got a fair bit of lentgh to it too missus.
If you look from the side, the top is visible above the cockpit edge. If I was going to Duxford tomorrow for the airshow I could check, but the weather is rubbish so I won't be risking the 2 1/2 hour drive
Doc, am going to Duxford tomorrow, can't promise, but if you want any reference shots be happy to try for youIf you look from the side, the top is visible above the cockpit edge. If I was going to Duxford tomorrow for the airshow I could check, but the weather is rubbish so I won't be risking the 2 1/2 hour drive
Edited by dr_gn on Friday 23 May 23:00
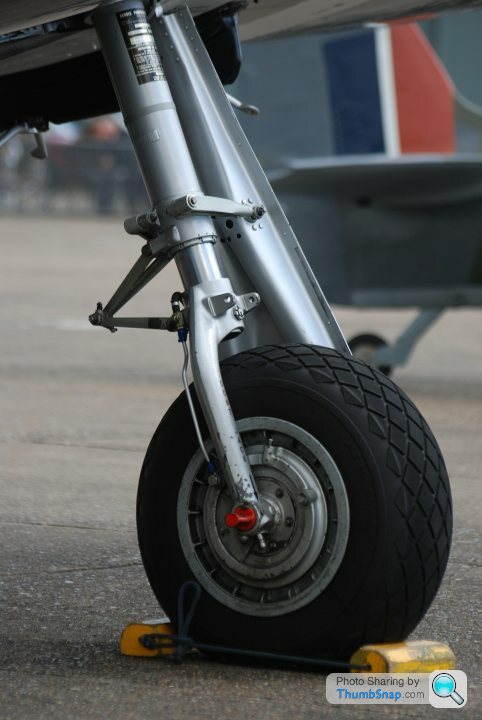
If you see a P51, a few pictures of the back of the undercarriage legs (specifically how the brake pipe is routed and where it fits into the wheel hub, and where it goes in the wheel well) that would be good. Also, what's visible looking from the back inside the ventral radiator duct when it's open (particularly in terms of colours). Cockpit shots are also always useful, most people take pictures looking towards the instrument panel, but looking back into the side of the seat area would be good (on a P-51B, I think it will be different for the D models).
If you ask one of the guys in the restoration hanger for a poke around they have been helpful in the past, but i guess if there are lots of people around they might not want to let you past the barrier.
I hope you have a great day - weather looks like it will be perfect. I will just have to look forward to Flying Legends. I was hoping to take the finished model down there for the pilot to sign the base (he is coming over again from the US for another mustang ride apparently), assuming it turns out well enough.
Thanks!
Mutley said:
Duxford was a great day, shame you didn't come, managed to get these for you, was too many people around to get much, hope they're useful.
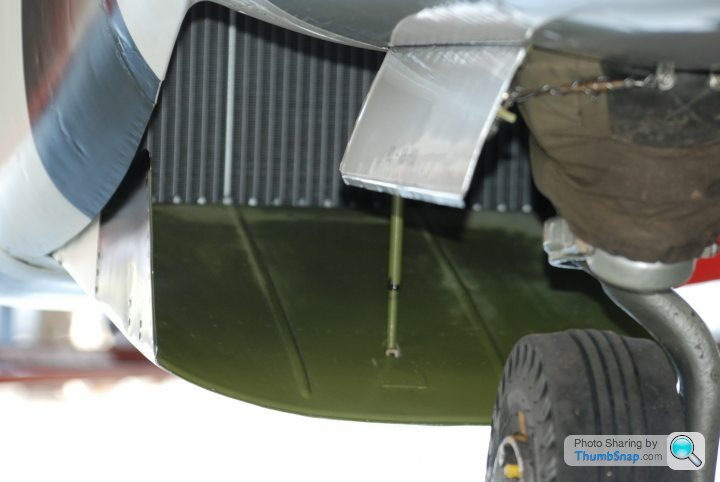
They're brilliant, thanks for taking the time to get them. Not sure now whether to model the radiator flap shut, since it looks like I should really have put a scratchbuilt matrix in there.Glad it was a good day, I'm looking forward to Flying Legends now.
Sorry for the late reply, I've been away on holiday the past week.
I got the majority of the filling done recently; it didn't need much. I did notice that it was a "see through" model in that if you look directly at it, you can see daylight through the nose and radiator intakes. I should have checked this before I joined the fuselage halves I suppose.
So with reference to Mutley's photo, I've made a radiator matrix out of an old SE.5a etch set, and added a couple of stiffeners. I've put some plastic strip brackets in the radiator outlet duct, and cut a piece of thin brass as a filler. When it's all assembled it blocks the daylight and the little that can be seen through the open radiator flap looks fine. I've also made an actuator rod out of some brass wire as per Mutley's photo. The duct filler just needs a bit of work when it's set and it'll be ready for paint. I also opened the other smaller duct opening up by drilling and finishing with a small file. Again this would have been easier before closing the fuselage:

So with reference to Mutley's photo, I've made a radiator matrix out of an old SE.5a etch set, and added a couple of stiffeners. I've put some plastic strip brackets in the radiator outlet duct, and cut a piece of thin brass as a filler. When it's all assembled it blocks the daylight and the little that can be seen through the open radiator flap looks fine. I've also made an actuator rod out of some brass wire as per Mutley's photo. The duct filler just needs a bit of work when it's set and it'll be ready for paint. I also opened the other smaller duct opening up by drilling and finishing with a small file. Again this would have been easier before closing the fuselage:
RichB said:
dr_gn said:
Had a go at the main wheel whitewalls tonight, they'll do, although the wheels themselves aren't quite identical. Still puzzling over how to paint the tailwheel:
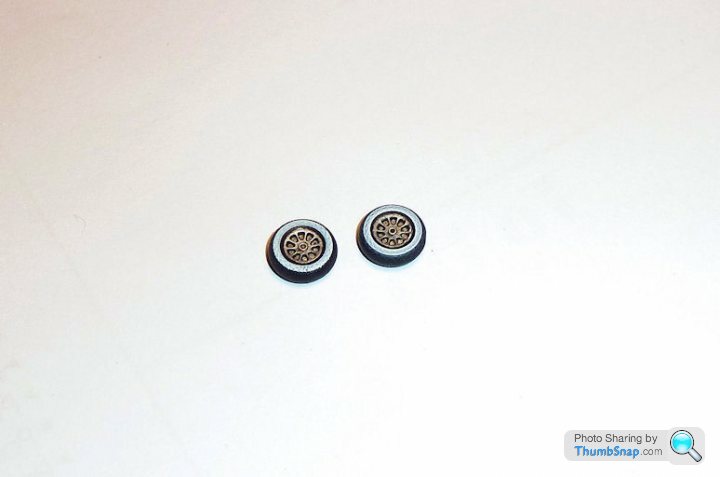
Is it my PC screen or are the wheels gold effect in that image? Yertis said:
dr_gn said:
Had a go at the main wheel whitewalls tonight, they'll do, although the wheels themselves aren't quite identical. Still puzzling over how to paint the tailwheel:
I think the only way you're going to do that to your satisfaction is remove the wheel from the leg, source/create a new wheel, paint that then reattach to the leg. Or could you cut back the plastic from where it meets the tyre with a scalpel point, then carefully work/refine until you've got a presentable effect?Anyhow, I've masked the cockpit and wheel wells etc with BluTac and Tamiya tape. I also sawed off the tailwheel doors becasue I couldn't get access to flat the tail joint. Bizzarre design, but I guess there was a reason behind it:
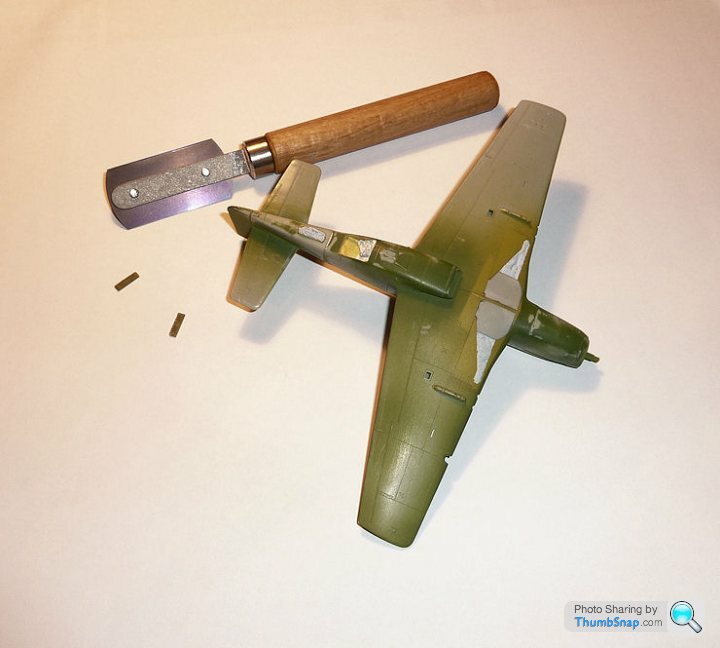
And sprayed a guide coat of Medium Sea Grey (which will be the underside colour):

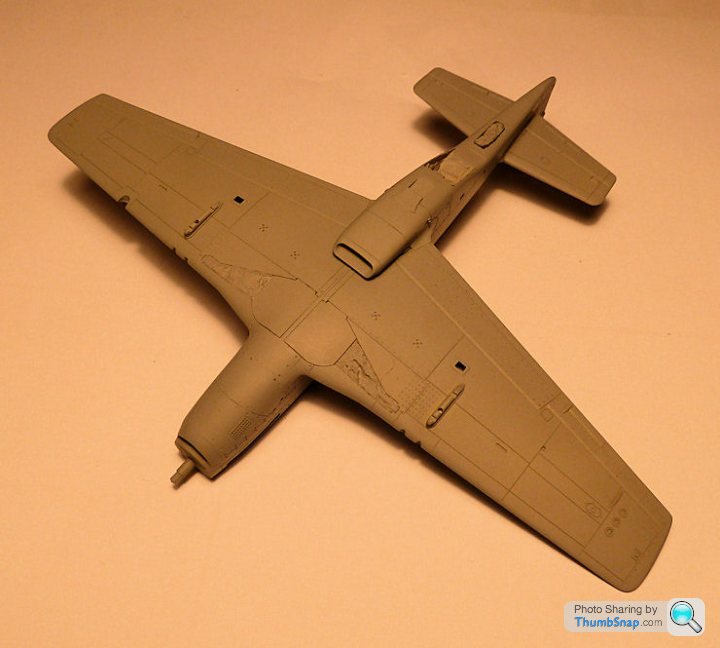
That showed up a few rescribing errors and some missing rivet holes around the fuselage jount which I'll drill out tomorrow.
And sprayed a guide coat of Medium Sea Grey (which will be the underside colour):
That showed up a few rescribing errors and some missing rivet holes around the fuselage jount which I'll drill out tomorrow.
So after another failed attempt at the chequered nose band I gave up and painted the rest of the airframe. Another kind Britmodeller is sending me yet another spare band to try, but I'm not sure whether to bite the bullet and paint and mask it, or at least paint the yellow and cut out the red bits of decal.
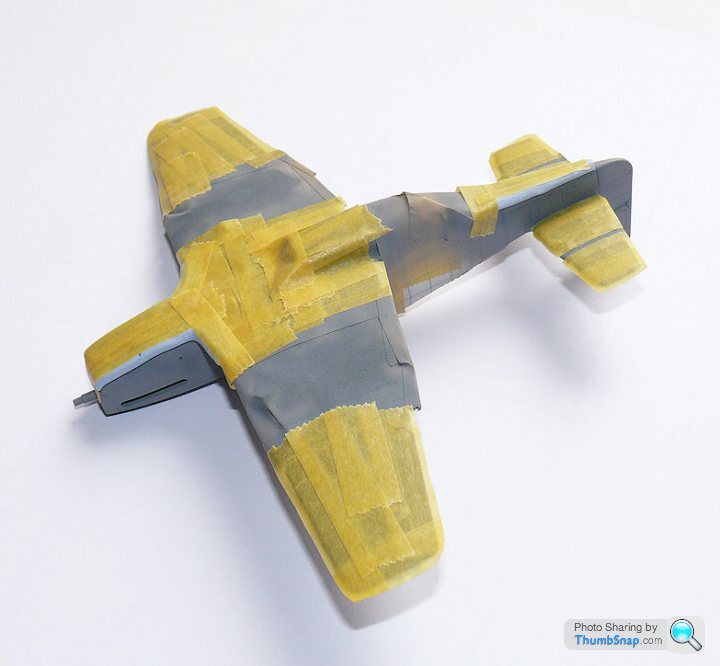
Anyhow - stripes masked:
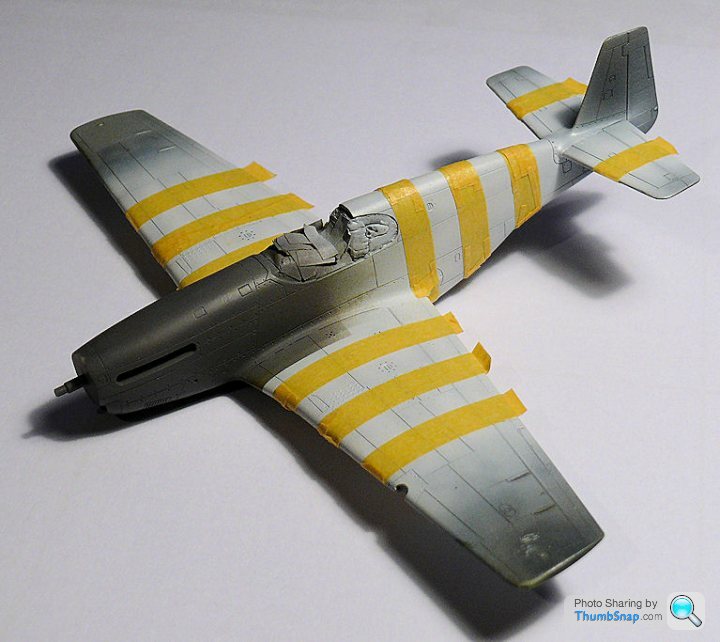
Then all stripes masked:
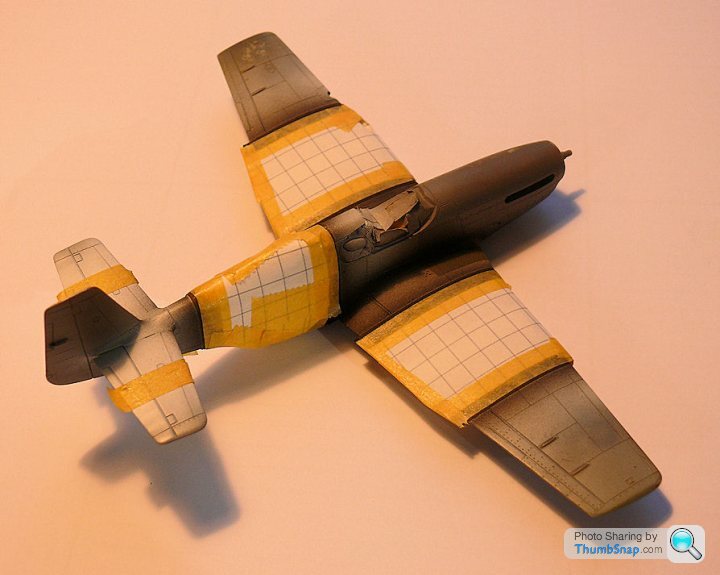
Then underside preshaded, painted and masked - Blu-Tac rolls to give a featehred edge on the fuselage:
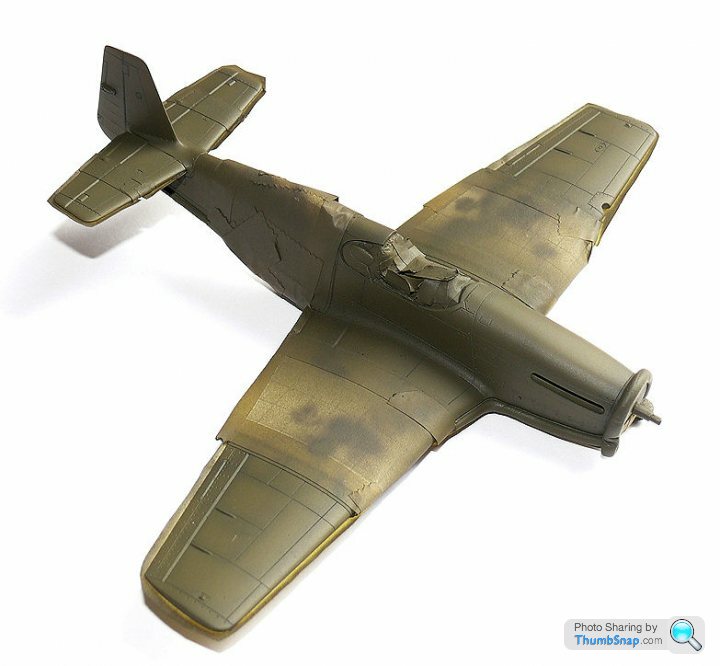
Topsides preshaded and painted:
Then my favourite part of any painting process, removing the masking:
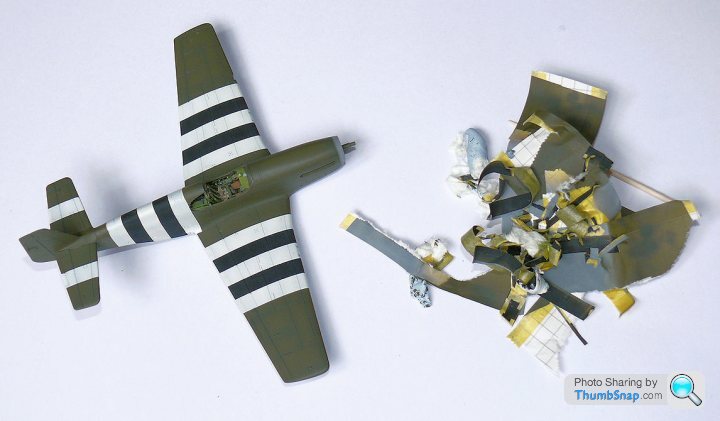
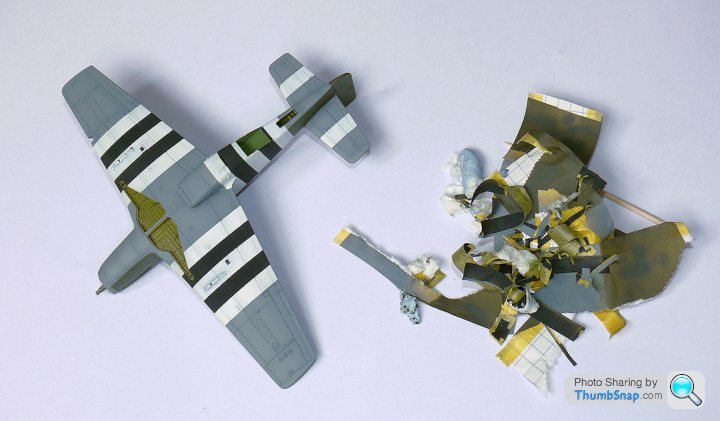
A couple of slight bits of correction needed (getting the stripes aligned perfectly on compound curves is pretty much impossible), but looking OK so far. The 'flat' cockpit detail doesn't look as bad now the surrounding area is painted, and I guess when the winscreen is fitted it will enclose it further.
Anyhow - stripes masked:
Then all stripes masked:
Then underside preshaded, painted and masked - Blu-Tac rolls to give a featehred edge on the fuselage:
Topsides preshaded and painted:
Then my favourite part of any painting process, removing the masking:
A couple of slight bits of correction needed (getting the stripes aligned perfectly on compound curves is pretty much impossible), but looking OK so far. The 'flat' cockpit detail doesn't look as bad now the surrounding area is painted, and I guess when the winscreen is fitted it will enclose it further.
Gassing Station | Scale Models | Top of Page | What's New | My Stuff