P-51B Mustang "Old Crow" Academy 1:72
Discussion


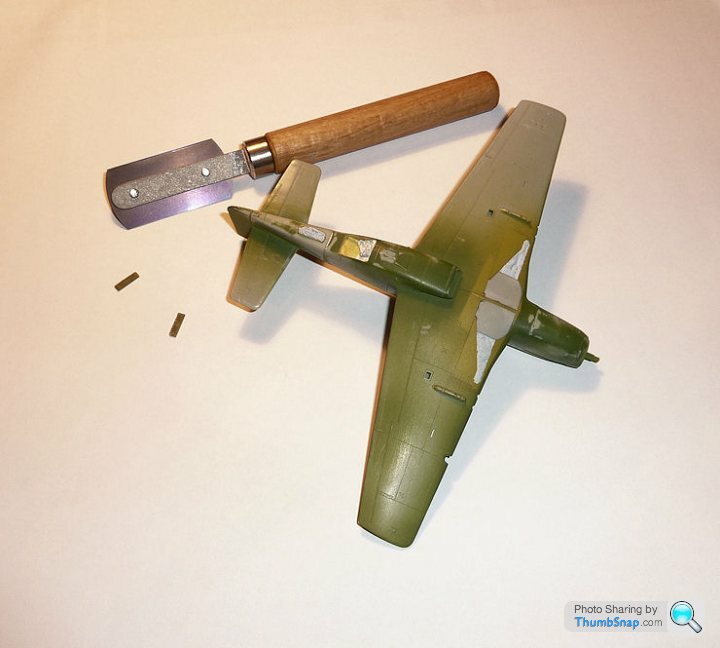
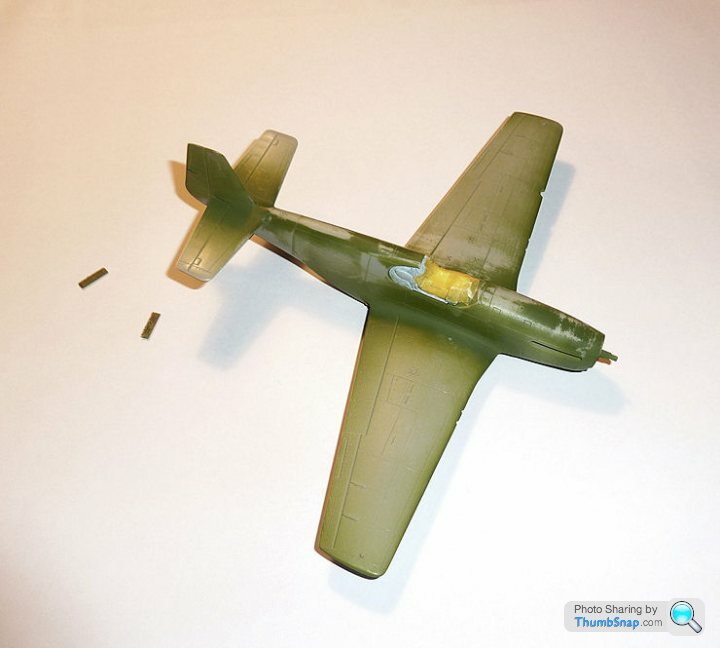
Anyhow, I've masked the cockpit and wheel wells etc with BluTac and Tamiya tape. I also sawed off the tailwheel doors becasue I couldn't get access to flat the tail joint. Bizzarre design, but I guess there was a reason behind it:
And sprayed a guide coat of Medium Sea Grey (which will be the underside colour):

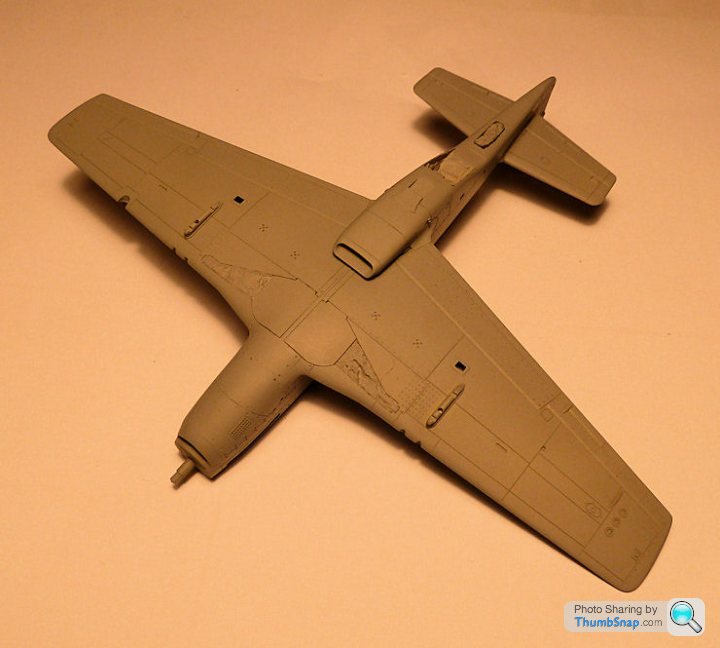
That showed up a few rescribing errors and some missing rivet holes around the fuselage jount which I'll drill out tomorrow.
And sprayed a guide coat of Medium Sea Grey (which will be the underside colour):
That showed up a few rescribing errors and some missing rivet holes around the fuselage jount which I'll drill out tomorrow.
dr_gn said:
They're brilliant, thanks for taking the time to get them. Not sure now whether to model the radiator flap shut, since it looks like I should really have put a scratchbuilt matrix in there.
Glad it was a good day, I'm looking forward to Flying Legends now.
Sorry for the late reply, I've been away on holiday the past week.
Thanks, no worries about late reply, have been away myself, just glad they're helpful. Am looking forward to seeing the completed model.Glad it was a good day, I'm looking forward to Flying Legends now.
Sorry for the late reply, I've been away on holiday the past week.
So after another failed attempt at the chequered nose band I gave up and painted the rest of the airframe. Another kind Britmodeller is sending me yet another spare band to try, but I'm not sure whether to bite the bullet and paint and mask it, or at least paint the yellow and cut out the red bits of decal.
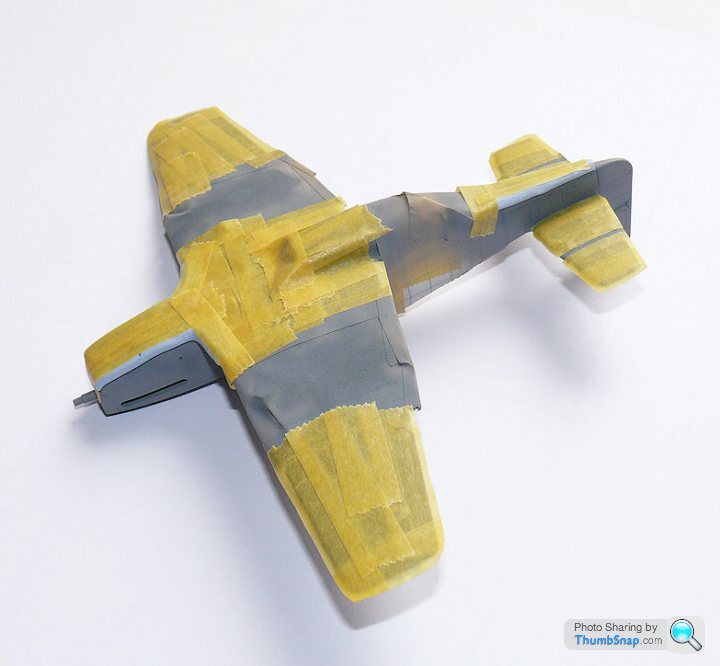
Anyhow - stripes masked:
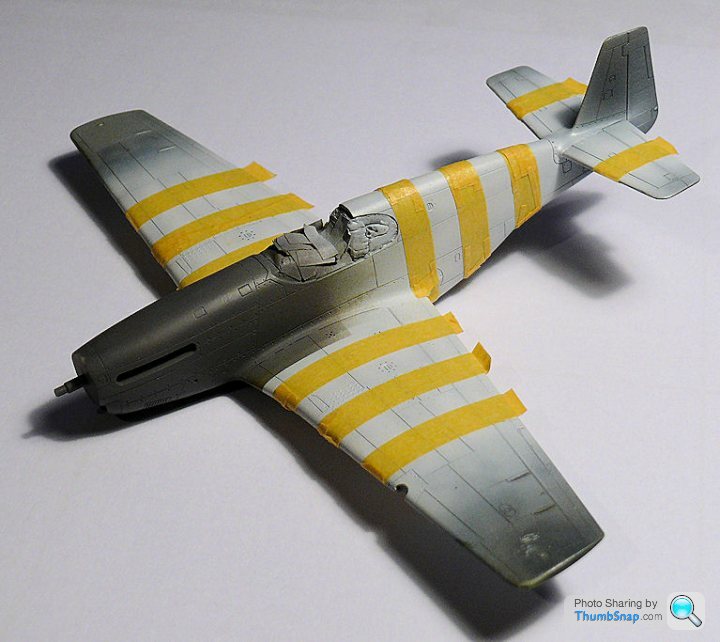
Then all stripes masked:
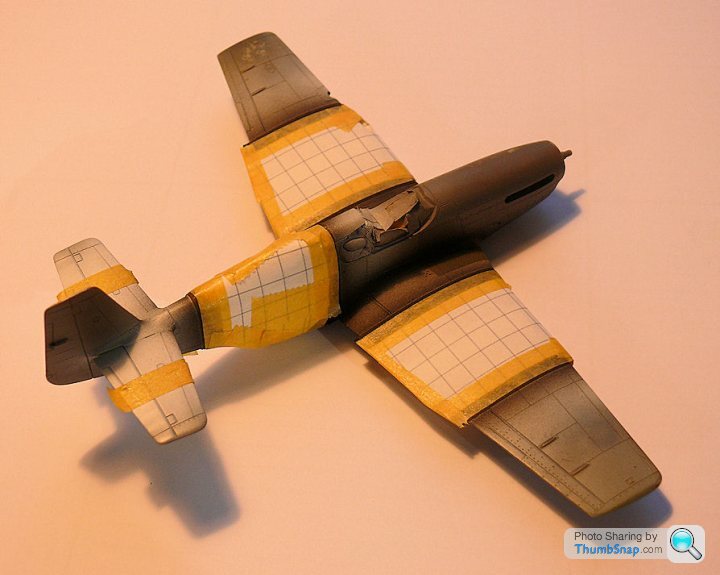
Then underside preshaded, painted and masked - Blu-Tac rolls to give a featehred edge on the fuselage:
Topsides preshaded and painted:
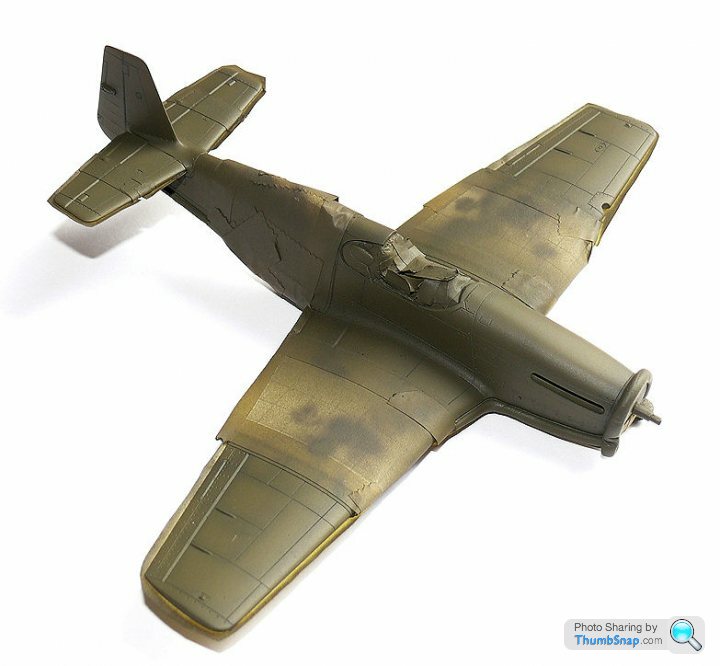
Then my favourite part of any painting process, removing the masking:
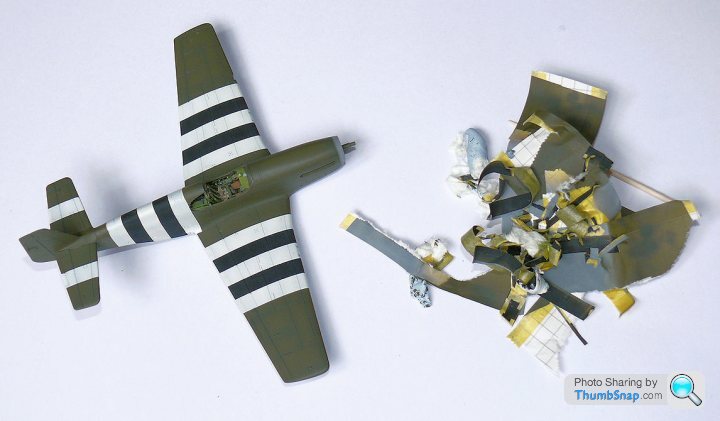
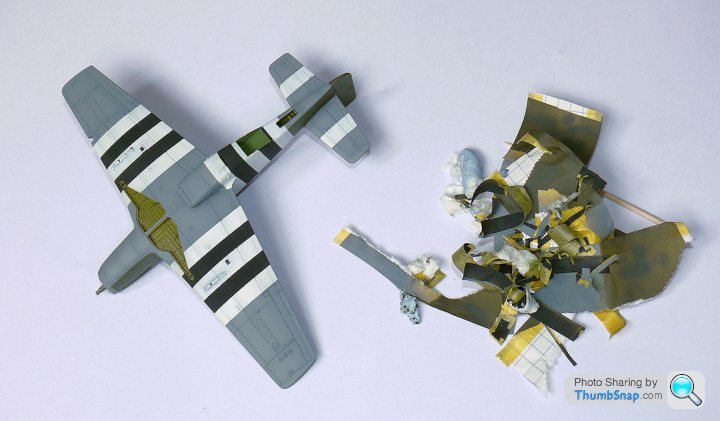
A couple of slight bits of correction needed (getting the stripes aligned perfectly on compound curves is pretty much impossible), but looking OK so far. The 'flat' cockpit detail doesn't look as bad now the surrounding area is painted, and I guess when the winscreen is fitted it will enclose it further.
Anyhow - stripes masked:
Then all stripes masked:
Then underside preshaded, painted and masked - Blu-Tac rolls to give a featehred edge on the fuselage:
Topsides preshaded and painted:
Then my favourite part of any painting process, removing the masking:
A couple of slight bits of correction needed (getting the stripes aligned perfectly on compound curves is pretty much impossible), but looking OK so far. The 'flat' cockpit detail doesn't look as bad now the surrounding area is painted, and I guess when the winscreen is fitted it will enclose it further.
Even though I've got another spare set in the post, I resigned myself to accepting that if after two attempts at getting the nose chequer decals right, I probably wasn't ever going to get them right. So I decided to paint them instead. I masked the nose band and painted a base coat of yellow preshaded of course):
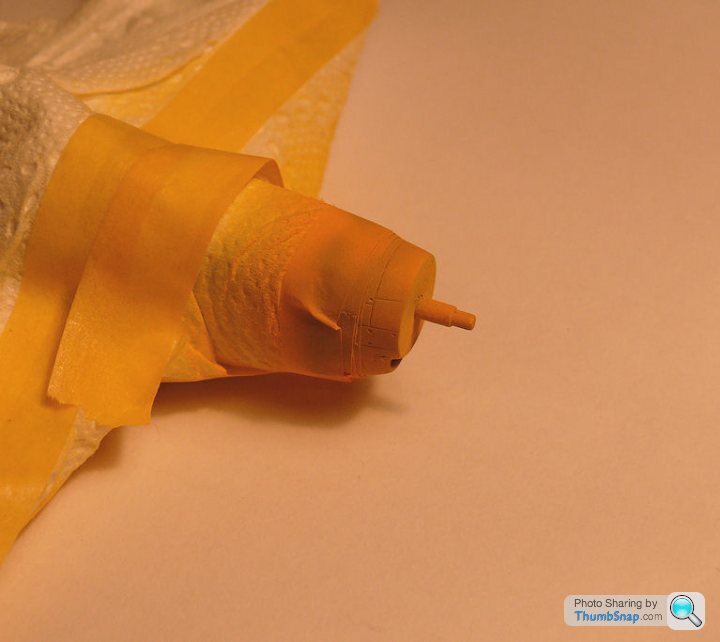
After a few calculations and some trial and error to get the geometry right, I cut some Tamiya tape rectangles to give an evenly spaced (or fairly evely spaced) chequer:
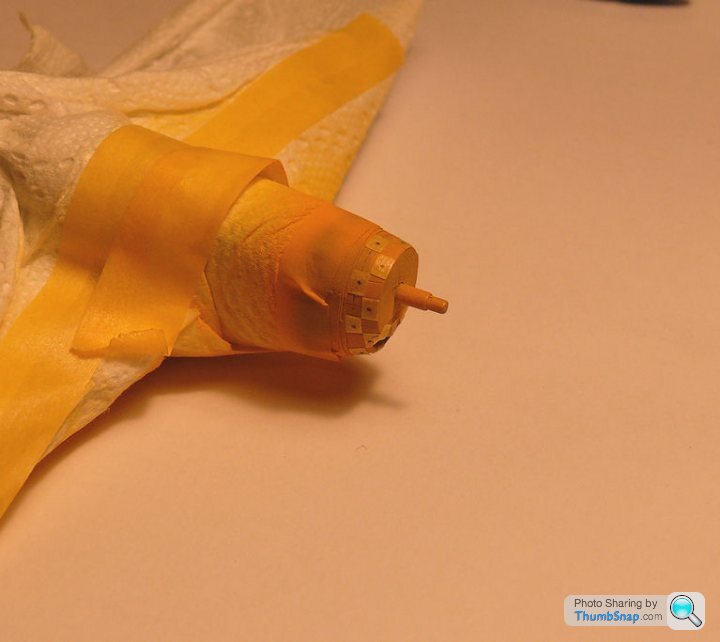
Then oversprayed with red, and removed the tape. I couldn't resist putting the spinner in place to see how it looked:

I think it looks better than decals because all the panel lines are still visible, and the paint extends into the supercharger intake (not possible with the decals). Also, the colours are a match for the previously painted spinner. All the above sounds easy, but in reality it took about 4 hours, and the final masking was the fourth attempt at getting the square geometry right to be evenly spaced both around the nose and longitudinally.
After a few calculations and some trial and error to get the geometry right, I cut some Tamiya tape rectangles to give an evenly spaced (or fairly evely spaced) chequer:
Then oversprayed with red, and removed the tape. I couldn't resist putting the spinner in place to see how it looked:
I think it looks better than decals because all the panel lines are still visible, and the paint extends into the supercharger intake (not possible with the decals). Also, the colours are a match for the previously painted spinner. All the above sounds easy, but in reality it took about 4 hours, and the final masking was the fourth attempt at getting the square geometry right to be evenly spaced both around the nose and longitudinally.
Yertis said:
Can I ask, do you do this work by naked eye or do you use some sort of magnification equipment?
I used an eye loupe to make sure the corners were matched up after I'd applied the tape. Mainly becasue the tape is yellow and the background is yellow so it was difficult to get any contrast. The rest of it is unmagnified. I did try a mangifying lamp once, but obviously it magnifies the blade/brush/drill or whatever you're using, so there didn't seem much point. I think the most important thing is good lighting.
Gassing Station | Scale Models | Top of Page | What's New | My Stuff