Tamiya 1:12 McLaren MP4/6 Rebuild/Upgrade
Discussion


15peter20 said:
Doc, how are you getting on?
I assume you've seen this month's Motorsport magazine?
Waiting for the new set of decals to arrive from the US. I'm also listing the additional nuts/bolts/fasteners I'll need from RB Motion, and the carbon/kevlar decals. I think this one will progress fairly rapidly once I've got all the bits I need.I assume you've seen this month's Motorsport magazine?
I've not seen the latest Motor Sport magazine.
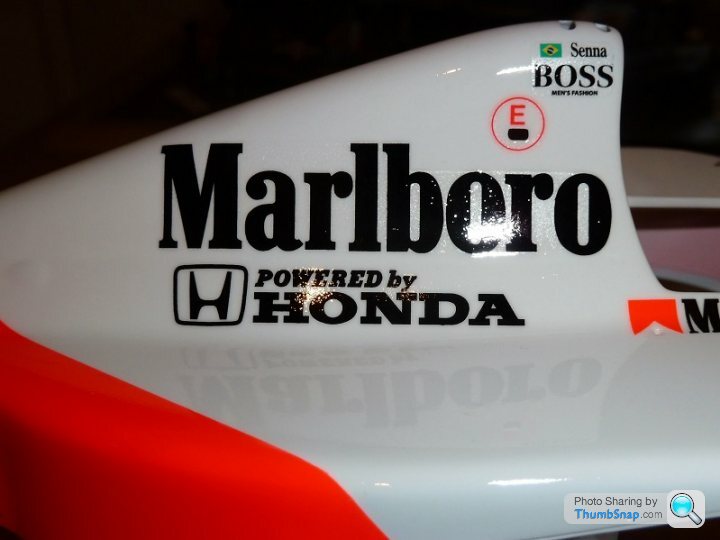
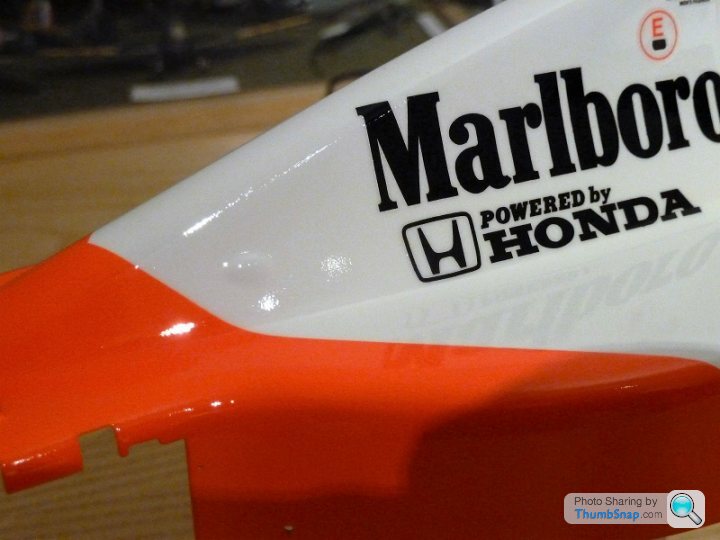
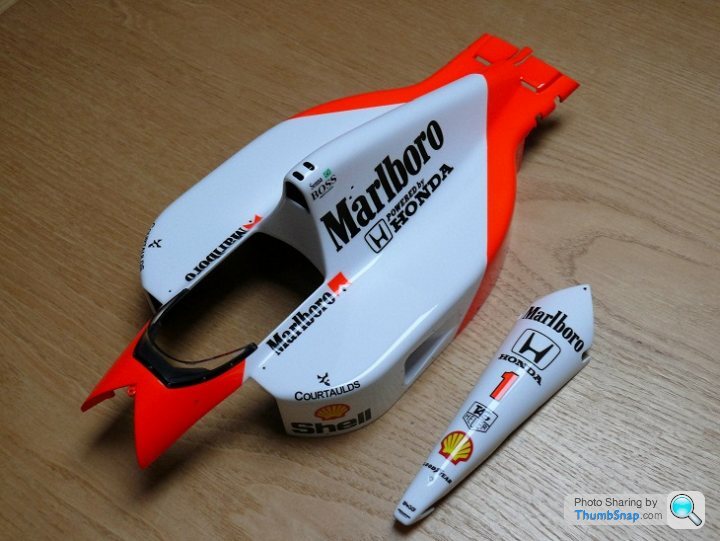
The DecalPool decals arrived today from the US. They look great - printed in the correct flourescent red as far as I can see, so I removed the remaining cockpit side decals I'd already applied, and will use the new ones:
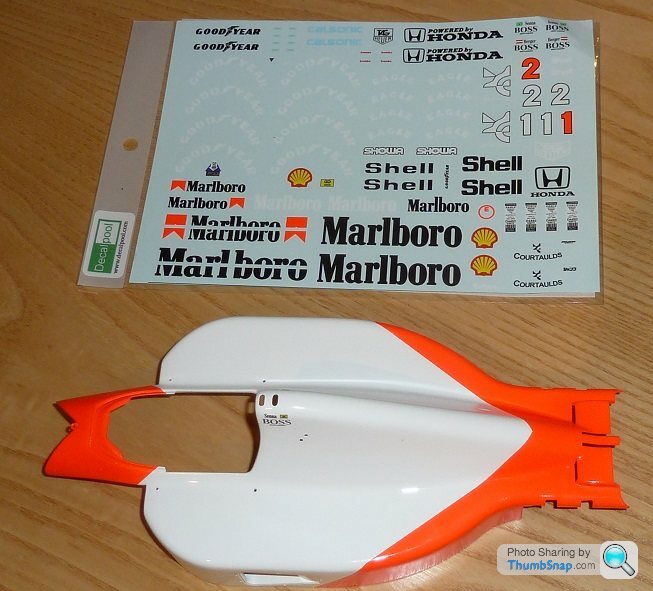
What made application of the previous ones difficult was that the "Marlboro" name was split into two halves "Marl" and "boro", presumably to get around some pointless trademark or advertising issue. These new ones look like they are in one piece, which will eliminate the task of aligning them on compound curves.
What made application of the previous ones difficult was that the "Marlboro" name was split into two halves "Marl" and "boro", presumably to get around some pointless trademark or advertising issue. These new ones look like they are in one piece, which will eliminate the task of aligning them on compound curves.
ds666 said:
Dr Gn - please get your finger out . I'm really enjoying this thread but its not happening quick enough !!
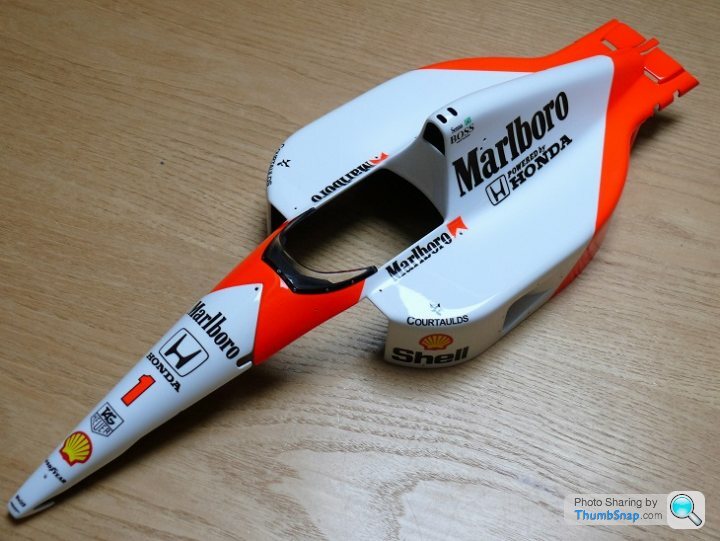
Ha ha I know. Made some progress tonight by applying the new DecalPool decals: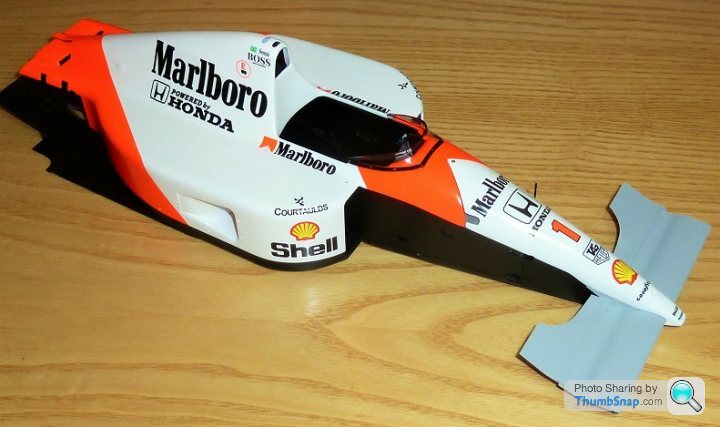
Thay are way easier to apply than the Tabu Design ones I tried previously. As expected, not having to align split "Marlboro" logos makes everything far simpler. The flourescent red is pretty much spot-on with the paint, so that simplifies things further.
I also got the Top Studio Sidepod detail set that was on back order:

Just breathtaking detail for the money. There are two other sets still to come apparently. All this aftermarket stuff will make the whole build very straightforward now.
So the top coats of 2K clear are on now, and I must admit I'm not particularly happy with the result:
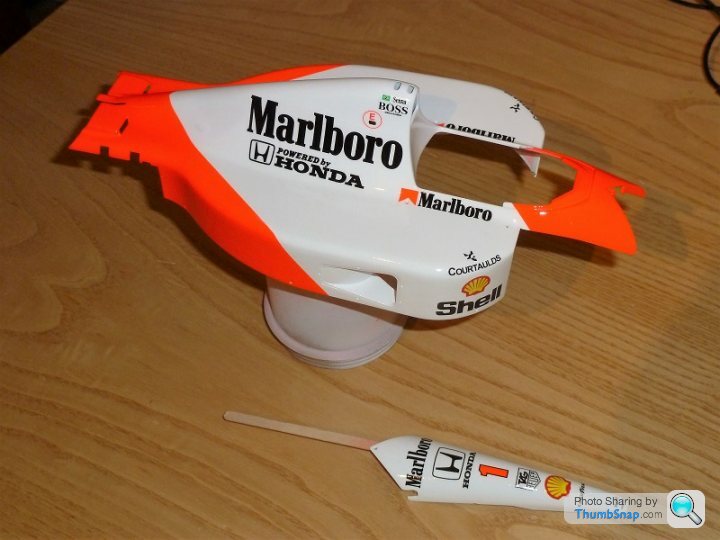
Some of the carrier film on the decals is visible (at certain angles and lights), and the overall surface finish is pretty crap. It's also ended up with that dreaded 'waxy' effect that makes it look a bit toy like. Not sure whether that's just an effect that white has. I may well end up re-doing the entire thing with the new body at some point, but then again I'm not sure what I could do differently.
All I can do now is wait a few days and try to polish the surface back to something like smooth.
So according to the paint instructions, it's cured after 24 hours, so this evening I made a start on trying to flat it a bit: I started with Micromesh pads (wet), #6000, #8000 & #12000, and then polished with Tamiya "Coarse" paste:
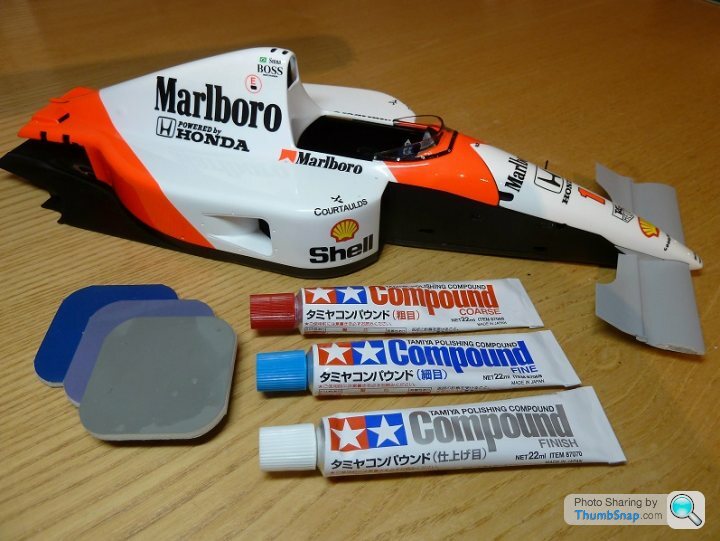
Flatting the lumps, but not rubbing through the clear coat is a bit like seeing how far you can lean out of a top floor window without falling. Anyway, it's made quite a big difference to the finish:
Tomorrow I'll try to get into the sidepot exhausts with the cloth wrapped around a stick (still rough in there). Then I'll wash everything and repeat the process with Tamiya "Fine", then "Finish". Then I'll probably paint the inside satin black before wax polishing and adding the p/e body fasteners and windscreen etc.

I never worry too much about the finish after the clear coats as long as the coat doesnt react with the decals. The final finish is all about the polishing - the micromesh, tamiya coarse - fine - finish - wax.
Polishing is the part that I like the least (dislike the most) - takes ages but is key to the overall model. I tend to clear coat a little thick and micromesh a lot so I have a very smooth finish.
If possible, use a cloth a different colour to what you are polishing and check it regularly. If you find that your cloth is picking up the paint it means you have polished too far and need to go back and reapply clear to that section. This has saved me polishing too far through the paint / decals more than a few times
You can find me on f1m on 11110111 - have a look at my (4yr plus) mp4/13 build if you like. I have been following this thread on there for some time as well
11110111 said:
I never worry too much about the finish after the clear coats as long as the coat doesnt react with the decals. The final finish is all about the polishing - the micromesh, tamiya coarse - fine - finish - wax.
Polishing is the part that I like the least (dislike the most) - takes ages but is key to the overall model. I tend to clear coat a little thick and micromesh a lot so I have a very smooth finish.
If possible, use a cloth a different colour to what you are polishing and check it regularly. If you find that your cloth is picking up the paint it means you have polished too far and need to go back and reapply clear to that section. This has saved me polishing too far through the paint / decals more than a few times
You can find me on f1m on 11110111 - have a look at my (4yr plus) mp4/13 build if you like. I have been following this thread on there for some time as well
I've got 3 cloths and have marked them up for the different pastes. I'm also washing them (and the body) between sessions. I'm going to start on the final polish compound tonight, and give it an hour or so at that. I think I should have maybe spent another 20 mins on micromeshing - there are a few undulations remaining on the sidepod tops(rather than orange peel). I would go back and do some more, but at this stage I'd hate to rub through the clear, or worse rub through a decal. I'll accept it as it is and apply what I've learned to the 641 and FW14B. Using automotive paints and 2K is a new skill for me, but I'm glad to find that errors can be corrected with a bit of work.Polishing is the part that I like the least (dislike the most) - takes ages but is key to the overall model. I tend to clear coat a little thick and micromesh a lot so I have a very smooth finish.
If possible, use a cloth a different colour to what you are polishing and check it regularly. If you find that your cloth is picking up the paint it means you have polished too far and need to go back and reapply clear to that section. This has saved me polishing too far through the paint / decals more than a few times
You can find me on f1m on 11110111 - have a look at my (4yr plus) mp4/13 build if you like. I have been following this thread on there for some time as well
Your MP4/13 is looking good, but 4 years is a long time even by my standards!
It really is amazing how much you can get the finish 'back' from seemingly major issues with the Micromesh. I spend an awful lot of time using Micromesh, an awful lot of time, and that's not on ones that have an issue, just on 'normal' finishes.
Good to see it's making progress though. Very different to acrylics, aren't they.
Good to see it's making progress though. Very different to acrylics, aren't they.
Red Firecracker said:
It really is amazing how much you can get the finish 'back' from seemingly major issues with the Micromesh. I spend an awful lot of time using Micromesh, an awful lot of time, and that's not on ones that have an issue, just on 'normal' finishes.
Good to see it's making progress though. Very different to acrylics, aren't they.
Automotive stuff is strange - very hard, so takes a long time to flat, but less likely to rub through. Also, even though there seem to be a lot of coats of base and clear, it still doesn't look very thick. Even the original, rather indistinct panel lines are still clear.Good to see it's making progress though. Very different to acrylics, aren't they.
dr_gn said:
Automotive stuff is strange - very hard, so takes a long time to flat, but less likely to rub through. Also, even though there seem to be a lot of coats of base and clear, it still doesn't look very thick. Even the original, rather indistinct panel lines are still clear.
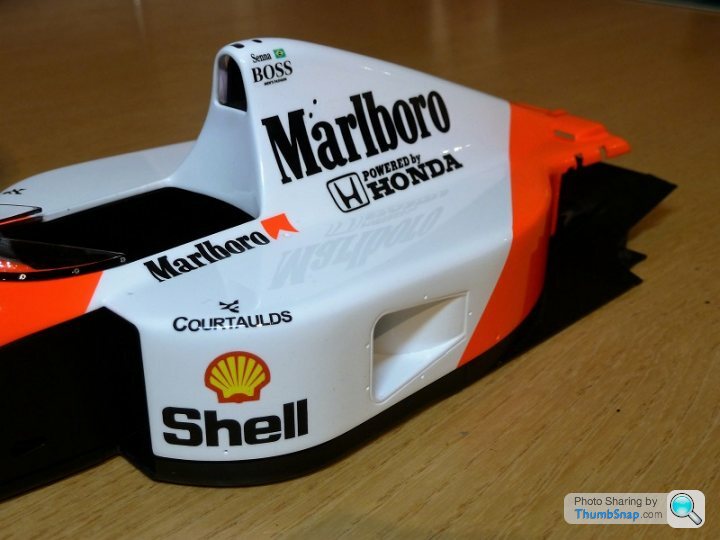
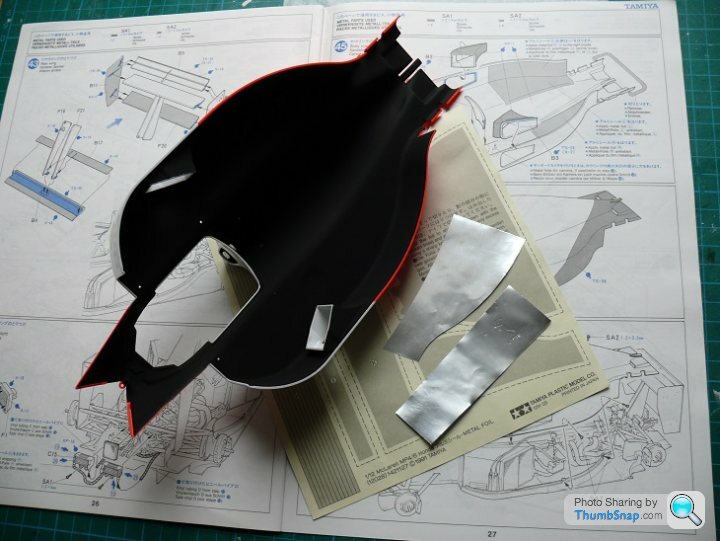
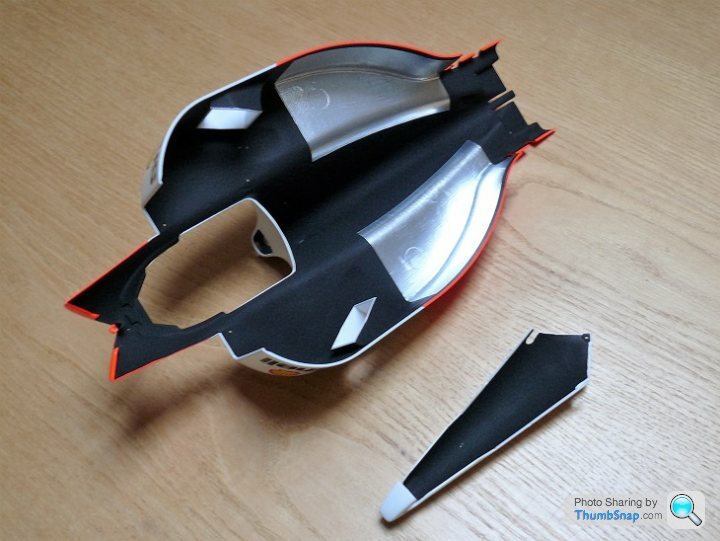
It's certainly a different skill set and requires a different approach over acrylics, but it's not hard and the basics are the same. It's just getting your head around what you can do with them and in what timescale to get the required finish. All part of the fun!So I painted the inside of the body matt black - hand painted around the edges, then masked roughly and sprayed the remainder. Any overspray was removed with thinners and a cotton bud. I also replaced the foil heat shielding - purely to return it to original condition. I didn't fill the ejector marks since nobody will see it once it's on the "kerbside" chassis:
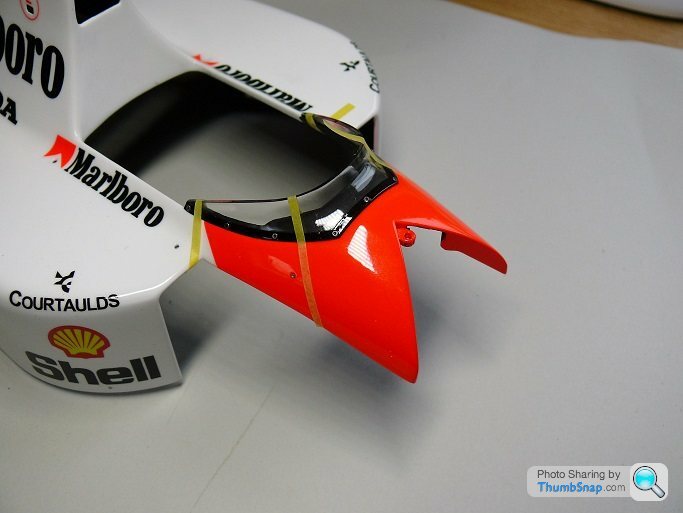
Also added some 0.9mm p/e rivets to the sidepod exhaust surrounds. I removed the pips from the red bit of the body below the windscreen and drilled a couple of holes for the missing body fasteners there, ditto the lower front and rear sidepods.
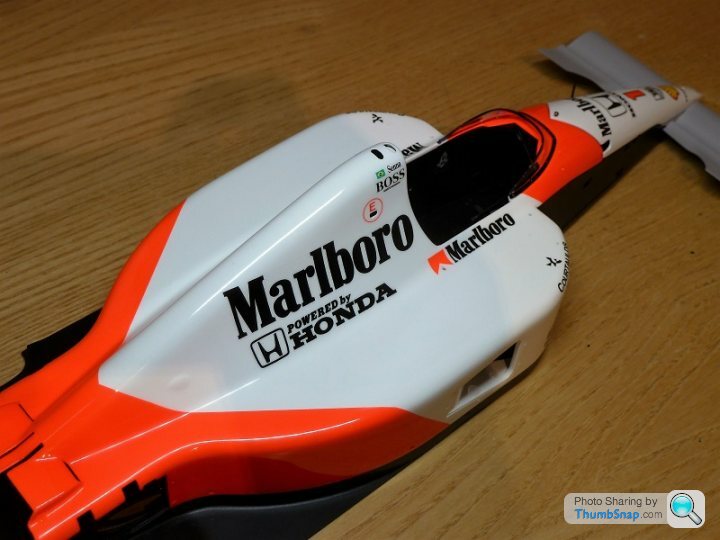
Added the windscreen with PVA:
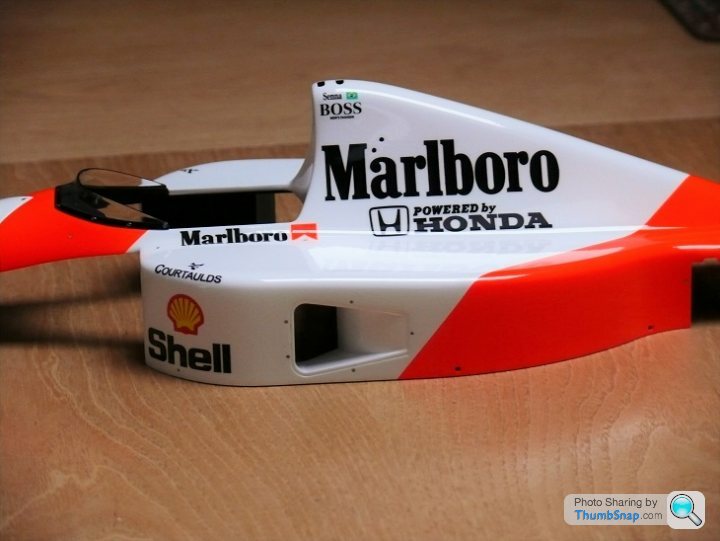
Current state after wax polishing:
Does it stand close inspection? hmm not really. Depends how close, but there are certainly a few flaws and mistakes there. Still, it's much better than it was, and I've got another two 1:12 F1 cars still to go, so I'm happy to put this down to experience gained and move on...
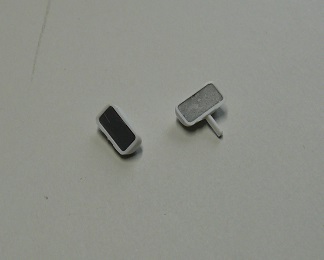
Next job, repair the mirrors, which got damaged on removal. Ithink I will replace the oval stems with the earlier round stalks, rather than use my spare mirrors:
Also added some 0.9mm p/e rivets to the sidepod exhaust surrounds. I removed the pips from the red bit of the body below the windscreen and drilled a couple of holes for the missing body fasteners there, ditto the lower front and rear sidepods.
Added the windscreen with PVA:
Current state after wax polishing:
Does it stand close inspection? hmm not really. Depends how close, but there are certainly a few flaws and mistakes there. Still, it's much better than it was, and I've got another two 1:12 F1 cars still to go, so I'm happy to put this down to experience gained and move on...
Next job, repair the mirrors, which got damaged on removal. Ithink I will replace the oval stems with the earlier round stalks, rather than use my spare mirrors:
Gassing Station | Scale Models | Top of Page | What's New | My Stuff