1:48 scale DH Mosquito T.III RR299
Discussion


Hi folks.
I used to be an avid modeller as a boy/teenager but stopped when I left home due mainly to lack of anywhere suitable/comfortable to spray paint.
I'm trying to get back in to model making again now although I'm usually distracted from my own projects on to simpler ones within 10 minutes as my keen-as-mustard 4 year old daughter appears wanting to join in... not that I'm complaining of course!
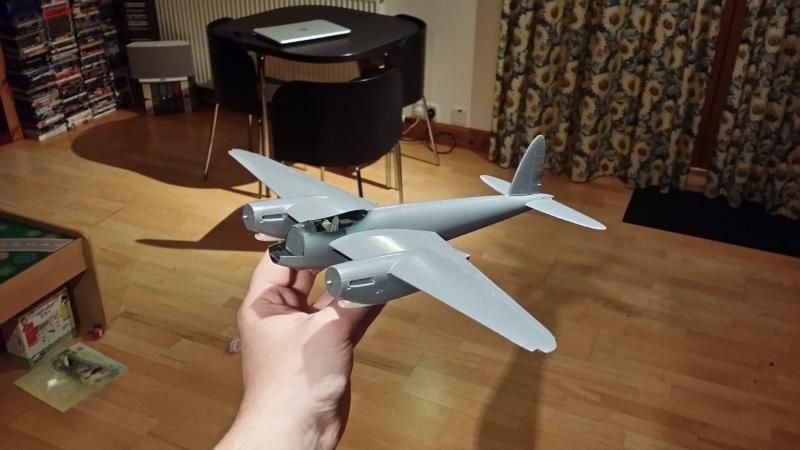
I started this simple conversion of a Tamiya FB.IV a while ago, bought some resin bits and collected some photographs and picked it up again over the weekend. I'm modelling G-ASKH, the BAe operated Mosquito formerly registered as RR299 in RAF service and wearing the ficticious squadron codes HT-E from its time in the terrible film "Mosquito Squadron".
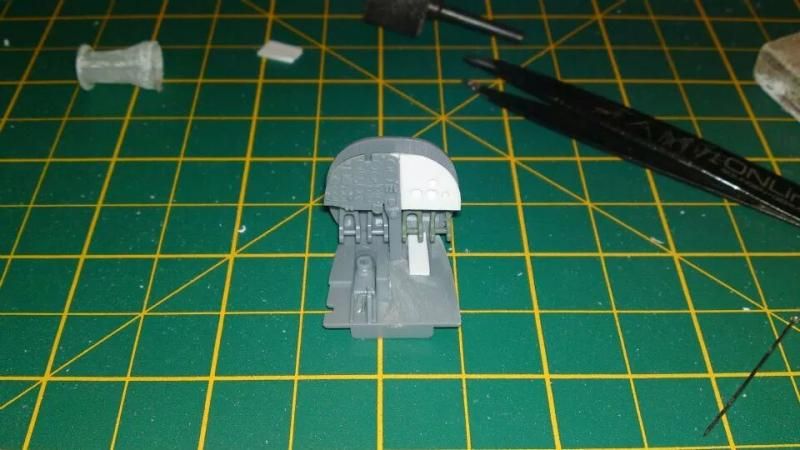
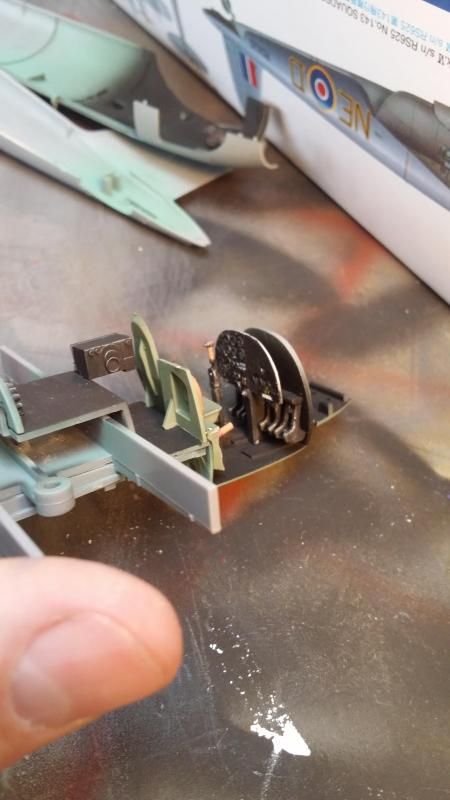
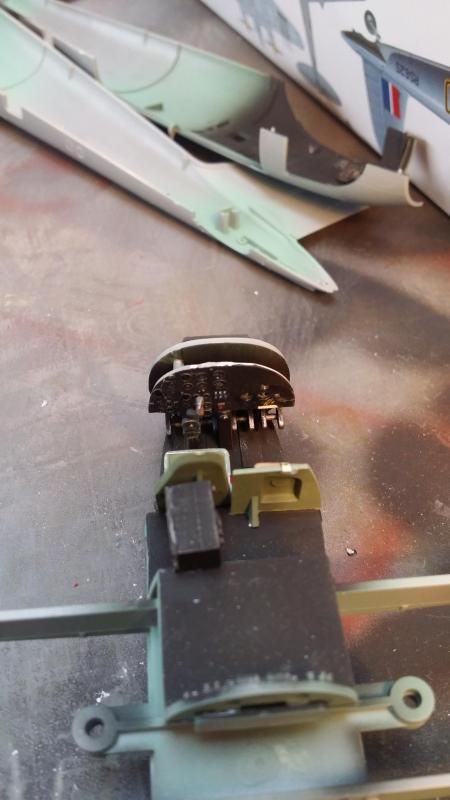
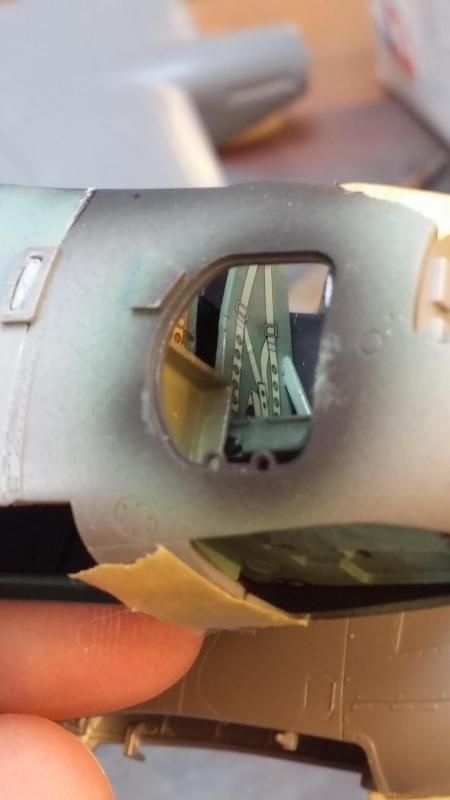
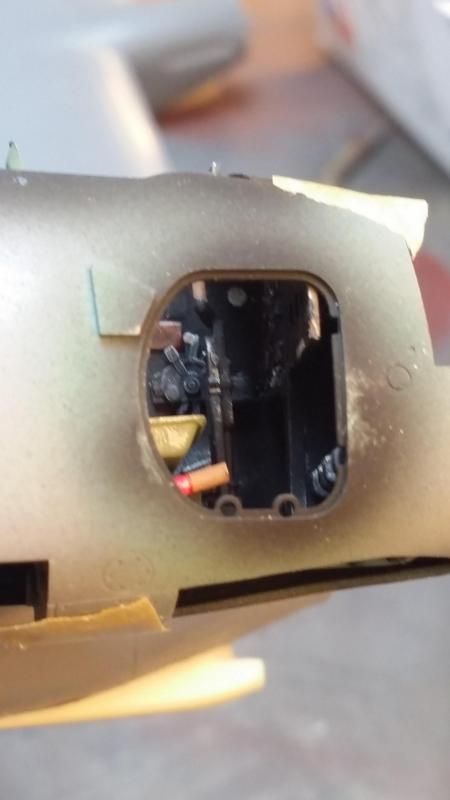
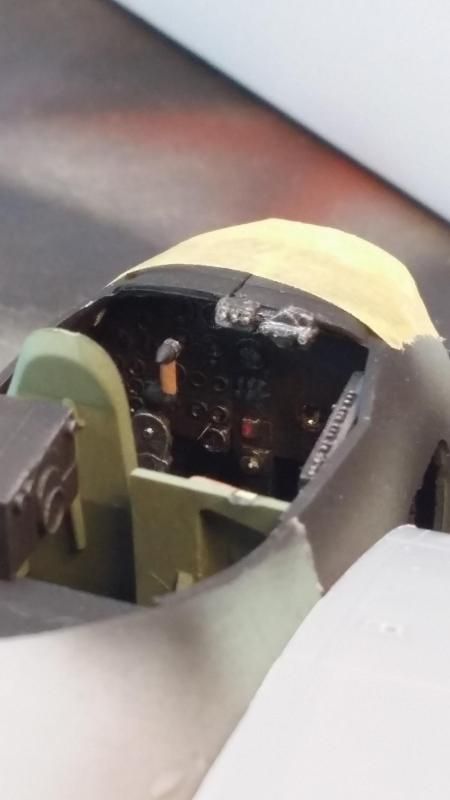
I've done an approximation of the cockpit. From my references, RR299 appeared to have a black painted cockpit and flew with the instructor's control column removed to aid access.
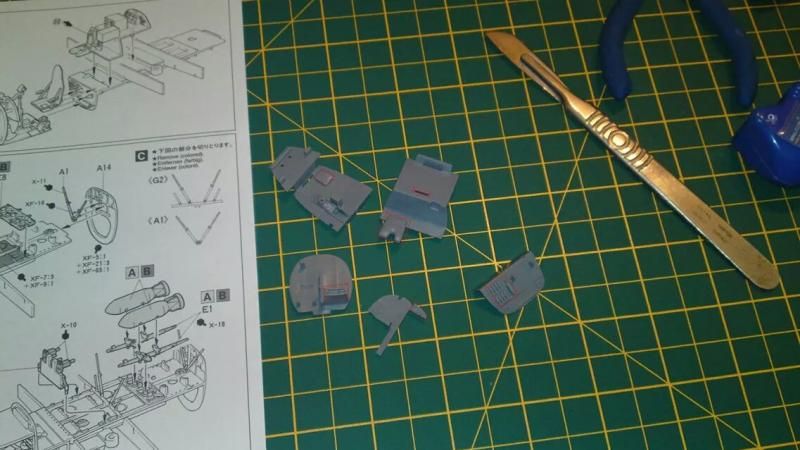
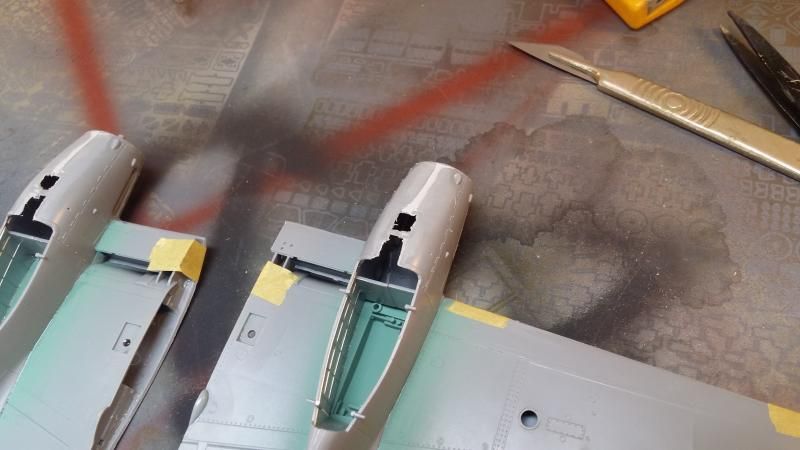
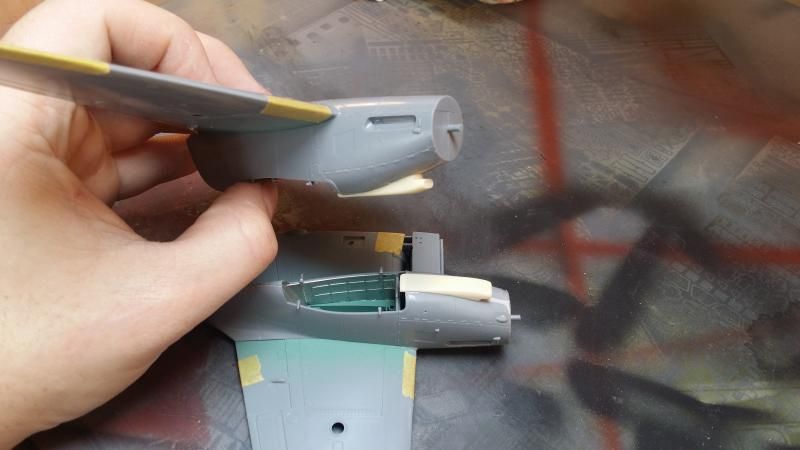
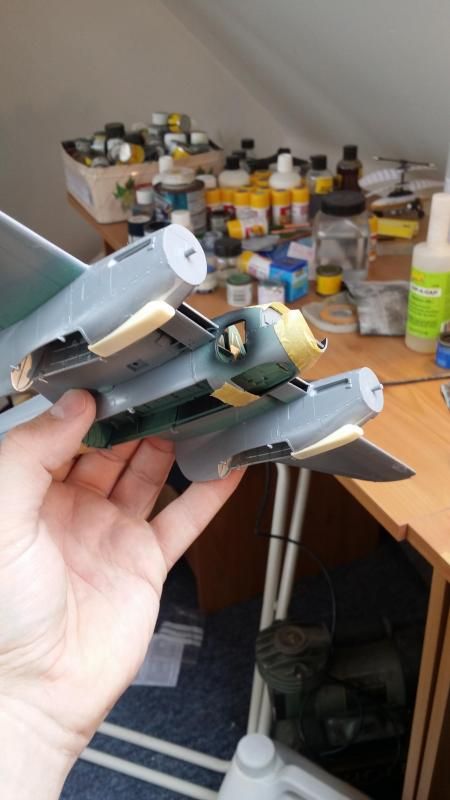
I've changed the carburrettor intakes for the tropical filter type.
General pics
Since the house move everything hobby-related has been dumped outside in my big barn/shed thing. Last night I started moving some 1/48 kits indoors. There's still more to sort through plus other scale stuff.
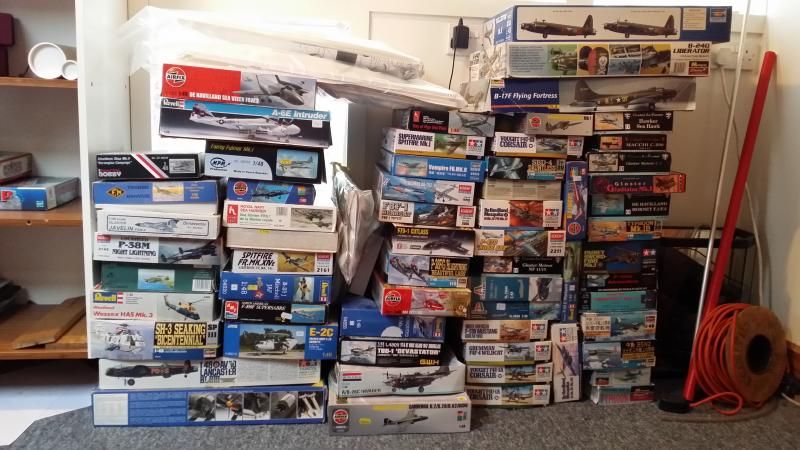
Should keep me busy for a while!
I used to be an avid modeller as a boy/teenager but stopped when I left home due mainly to lack of anywhere suitable/comfortable to spray paint.
I'm trying to get back in to model making again now although I'm usually distracted from my own projects on to simpler ones within 10 minutes as my keen-as-mustard 4 year old daughter appears wanting to join in... not that I'm complaining of course!
I started this simple conversion of a Tamiya FB.IV a while ago, bought some resin bits and collected some photographs and picked it up again over the weekend. I'm modelling G-ASKH, the BAe operated Mosquito formerly registered as RR299 in RAF service and wearing the ficticious squadron codes HT-E from its time in the terrible film "Mosquito Squadron".
I've done an approximation of the cockpit. From my references, RR299 appeared to have a black painted cockpit and flew with the instructor's control column removed to aid access.


I've changed the carburrettor intakes for the tropical filter type.


General pics


Since the house move everything hobby-related has been dumped outside in my big barn/shed thing. Last night I started moving some 1/48 kits indoors. There's still more to sort through plus other scale stuff.

Should keep me busy for a while!
That's my problem in a nutshell Eric.
I've decided 1/48 is the worst possible scale. It's big enough to see everything but too small to do anything about it in most cases. Still, I'm heavily invested in 1/48 so will stick with it! I just need to stop beating myself up and finish stuff - nobody else cares a jot anyway!
I've decided 1/48 is the worst possible scale. It's big enough to see everything but too small to do anything about it in most cases. Still, I'm heavily invested in 1/48 so will stick with it! I just need to stop beating myself up and finish stuff - nobody else cares a jot anyway!
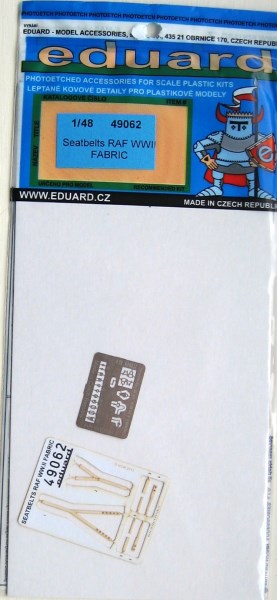
Very good progress so far, although as others have said I'd repaint the seat and use real belts. Eduard do 1:48 fabric belts which will transform the look of the cockpit for very little effort:
I think the use of aftermarket parts can make a huge difference, although you have to be careful of substituting perfectly good kit parts for time consuming, expensive, but inferior resin or etched versions...it pays to be selective particularly with photo etch.
I've now decided that rather than building one kit at a time, I start several under the assumption that the more I start the more I finish...Currently building a 1:72 Revell Tornado, 1:72 Airfix Hurricane, 1:32 Revell ASK 21 Glider and a paper fishing boat. Plus a long term rebuild of a 1:12 F1 car. AS you say, aftermarket eats modelling time, so the Hurricane is OOB (apart from the Eduard pre-painted harness of course).
dr_gn said:
Very good progress so far, although as others have said I'd repaint the seat and use real belts. Eduard do 1:48 fabric belts which will transform the look of the cockpit for very little effort:
...
I think the use of aftermarket parts can make a huge difference, although you have to be careful of substituting perfectly good kit parts for time consuming, expensive, but inferior resin or etched versions...it pays to be selective particularly with photo etch.
...
Without wanting to derail this thread, I have a few models to start, and having (finally) been introduced to and using aftermarket parts this year, I definately go for the balance between enjoying what you are dong and fulfilling the desire of getting it as 'right' as possible. Less can be more, seat belts and grills, perhaps machine guns on the Lanc to be built. For me it's about trying and gaining the confidence that I'm not going to mess it all up. ...
I think the use of aftermarket parts can make a huge difference, although you have to be careful of substituting perfectly good kit parts for time consuming, expensive, but inferior resin or etched versions...it pays to be selective particularly with photo etch.
...
jamieduff1981 said:
As for your kit though, its looking good so far, it'll be interesting to see how it finally turns out.
Brigand said:
jamieduff1981 said:
As for your kit though, its looking good so far, it'll be interesting to see how it finally turns out.

I used to be far more productive as a youngster. Then again, it was all about getting it finished. Quality was coincidental if any was apparent in the finished product and I could certainly spend much more time than I could money. That has reversed somewhat now of course. The main reason was that I never really stopped buying interesting stuff although I did slow the pace. I always wanted to get back in to it.
As others have said above, I like to have several on the go at once as my mood chops and changes a lot, both in terms of the subject and my enthusiasm for it and the physical nature of the task itself - e.g. sometimes I prefer gluing things together, other times I prefer painting. Sometimes I like to get busy with scalpels and razor saws! Having a few on the go keeps it interesting
Progress on the Mossie will slow up soon but shall resume in a few weeks...
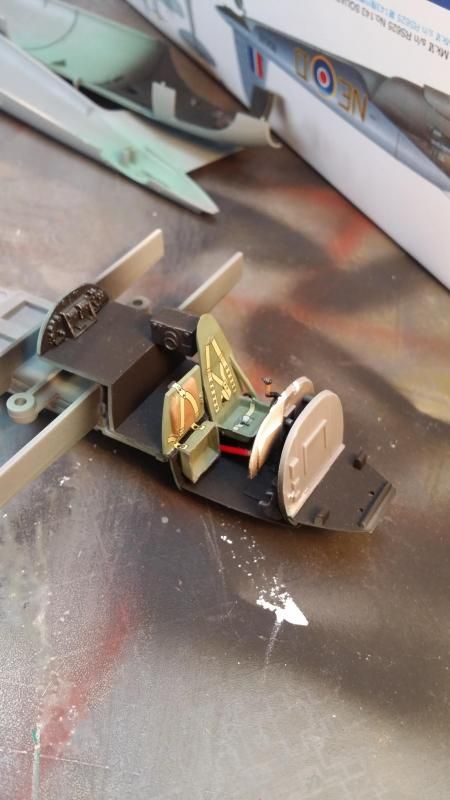
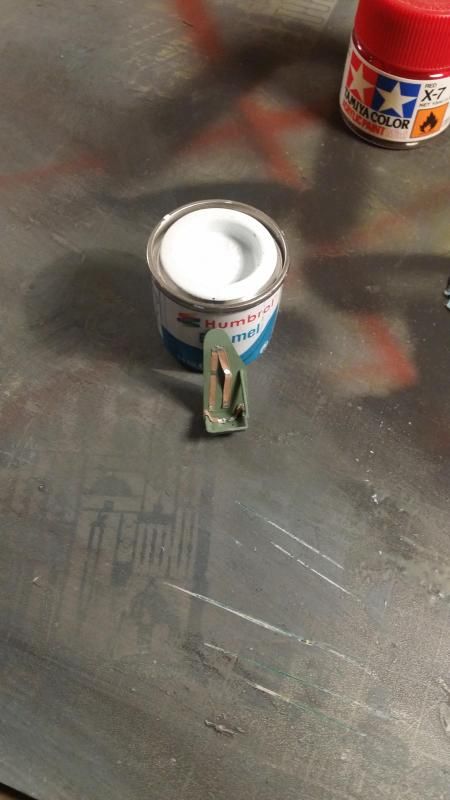
Keen not to lose momentum and stall in this early phase of getting back in to modelling, I did a brief check on Hannants and decided to make new belts from some Bare Metal Foil I had lying around. They could be better - but I want to move on. The last thing I need is another potentially well detailed pile of bits in a box for years!
I've given the fuselage seams a sand and they need a light fill. I've also filled the gun ports. These were patched over on the T.III and still visible on the real thing.


I've given the fuselage seams a sand and they need a light fill. I've also filled the gun ports. These were patched over on the T.III and still visible on the real thing.

I've done a tad more tonight. I've sanded the fuselage filler and needed a touch more for a couple of low spots. In between I've been pushing this Spitfire PR.X conversion along to get it ready to be sprayed pink. It's a Hasegawa Mk.IX kit I had and an Airwaves conversion I picked up for it a while ago.
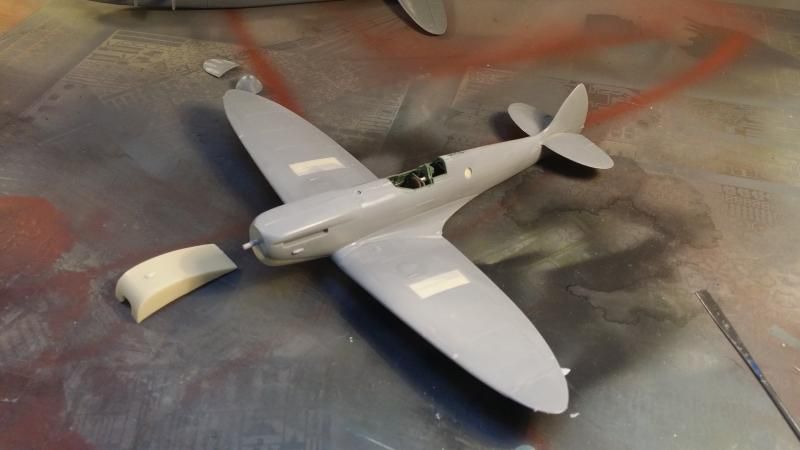
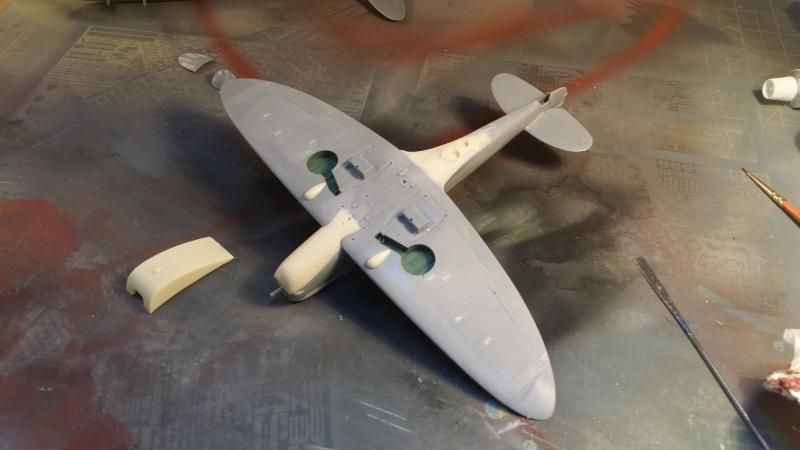
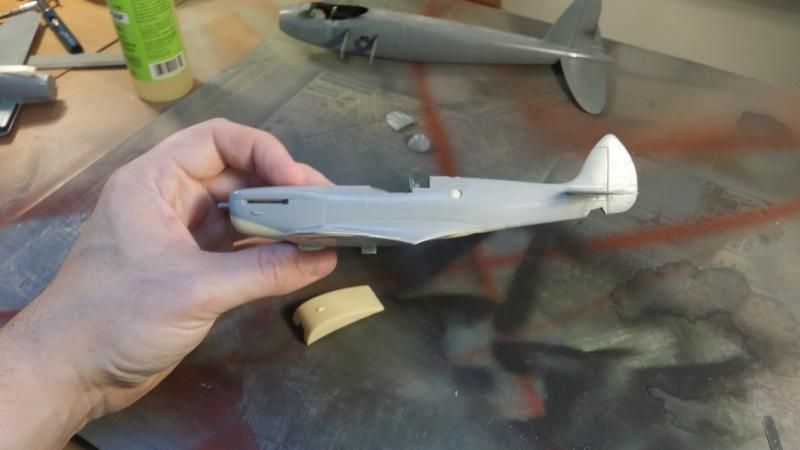
Anyway, back to Mossies.
The Tamiya FB.VI kit has a windscreen wiper moulded on to the armoured windscreen thus:

RR299 did not appear to have the windscreen wiper fitted in any photographs I can find. It makes sense. It looks like it would get right in the way and when operated as G-ASKH on the airshow circuit it would have flown on a Permit to Fly and been restricted to VFR flying both legally and by the desire to preserve and protect the aircraft by BAe.

So, I sliced away the wiper with a scalpel. The windscreen was then sanded and polished back to an acceptable finish.
Scary:

Not so bad:


Anyway, back to Mossies.
The Tamiya FB.VI kit has a windscreen wiper moulded on to the armoured windscreen thus:

RR299 did not appear to have the windscreen wiper fitted in any photographs I can find. It makes sense. It looks like it would get right in the way and when operated as G-ASKH on the airshow circuit it would have flown on a Permit to Fly and been restricted to VFR flying both legally and by the desire to preserve and protect the aircraft by BAe.
So, I sliced away the wiper with a scalpel. The windscreen was then sanded and polished back to an acceptable finish.
Scary:

Not so bad:

Risky business for sure - but that wiper would have irritated me had it stayed!
I've built maybe 3 or 4 Tamiya Mossies previously and have used both the supplied decals for the canopy framing and painted it. Painting looked best on the last one I did. The first one I used decals and the middle one or two (I forget exactly how many) I also painted but struggled to mask it neatly inside, although I got there in the end and I learned the hard way that it needed several more coats of paint than I gave it. The middle one I can remember looked worse than the decals and it was a massive pain in the backside.
I applied the decals to this one tonight and have clearfixed it on!
80/20 rule in action!
Gassing Station | Scale Models | Top of Page | What's New | My Stuff