Airfix 1:72 Hawker Hurricane Mk.1 (fabric wing)
Discussion


RichB said:
dr_gn said:
...but the relative size of the errors is identical...
Can hardly see them, mind you I love the way the tyres are flattened where the weight of the aircraft sat. 
RichB said:
It seems you failed to realise I was joshing with you. Sorry... 
No problem, In the best tradition of PH, I was just continuing the disproportionate and unecessarily elaborate justification of my initial point without really bothering to read what people were saying...carry on 
I agree the wheels aren't correct and if and when I build the kit I may also replace them with aftermarket alternatives or something from the spares box. However, I will stand by my assertion that the wheels look huge on my computer and the enlargement certainly does exaggerate any faults.
I know from experience that once I photograph a model I have built and put the image on my computer, I start seeing errors that I hadn't noticed whilst holding the model in my hand.
Maybe it's just my eyesight - which I know is definitely suspect.
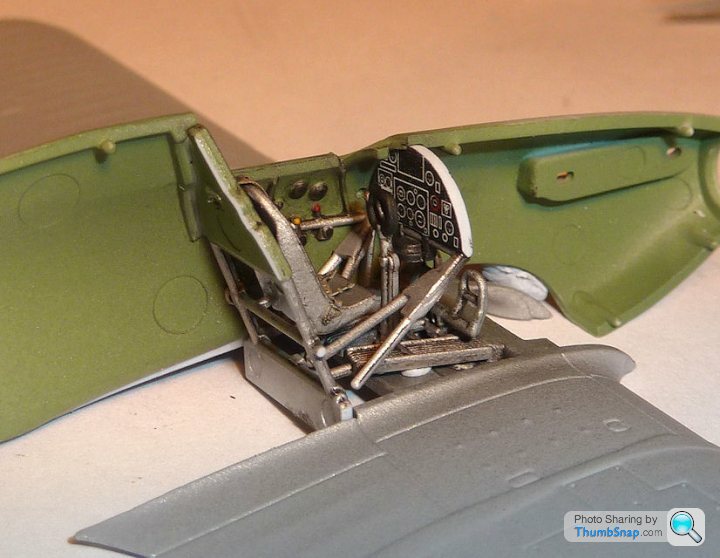
The pictures of the cockpit look fantastic - although I would be inclined to find a replacement instrument panel as the decal looks a bit "cartoony" - especially if the cockpit hood is posed in the open position.
I know from experience that once I photograph a model I have built and put the image on my computer, I start seeing errors that I hadn't noticed whilst holding the model in my hand.
Maybe it's just my eyesight - which I know is definitely suspect.
The pictures of the cockpit look fantastic - although I would be inclined to find a replacement instrument panel as the decal looks a bit "cartoony" - especially if the cockpit hood is posed in the open position.
Edited by Eric Mc on Friday 3rd October 08:20
72twink said:
Ambient light, iPad 2 - pinch zoomed til each wheel was 85mm ........ Can you re-scribe the rim detail with a circle template?
(Just thinking of momentum)
For a component like that it really needs to be spot-on. I considered hot melt glueing them to my lathe chuck and turning the blobs away and rescribing the ridge, but even after all that, assuming it looked OK the number of spokes would still be wrong.(Just thinking of momentum)
I agree. With the canopy closed, the "cartoon" panels are pretty muted and not so glaring. I've only built a couple of the "new era" Airfix single seat fighters and I have kept the canopies closed - so used the instrument panel decal.
I see that there is a new kid on the block called Yahu who do pre-coloured etched instrument panels at around £3.00 each They look fantastic and I may grab myself a few at Telford - if I spot any.
This is their 1/72 Gladiator

I see that there is a new kid on the block called Yahu who do pre-coloured etched instrument panels at around £3.00 each They look fantastic and I may grab myself a few at Telford - if I spot any.
This is their 1/72 Gladiator
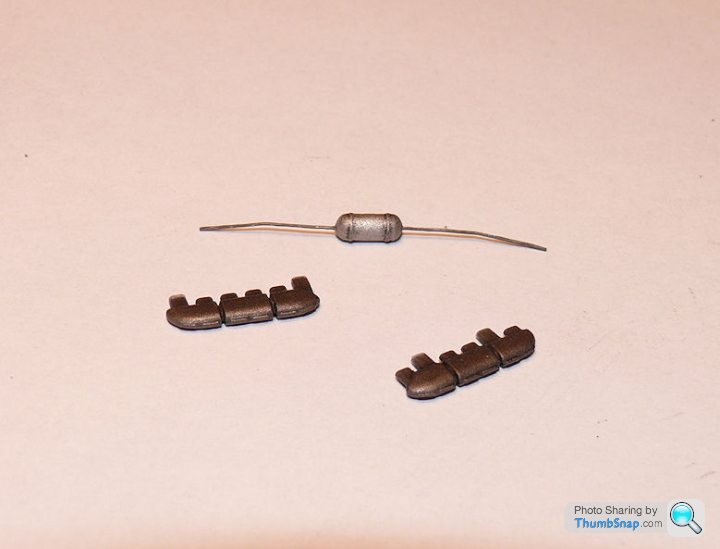
Added some lead wire lines to the air bottle in the u/c bay, and painted the early type exhausts:
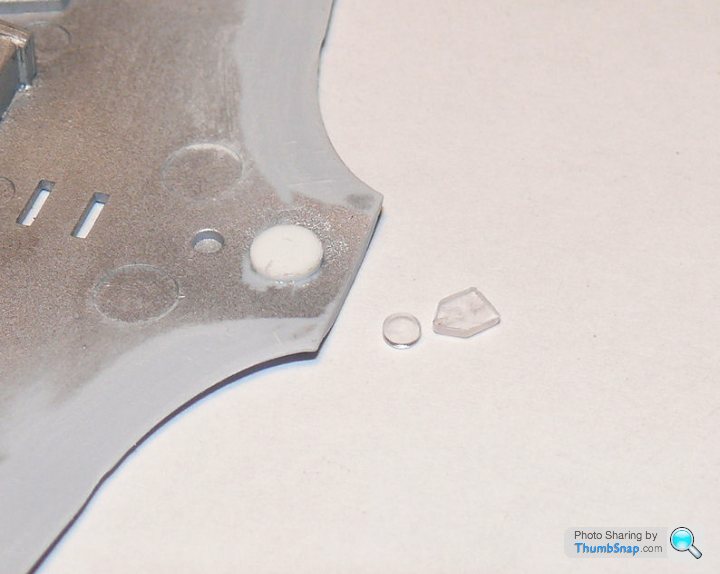
I can't figure out why you'd want to fit the ventral signalling lamp lens before painting, as required by the design of the kit. I modified it by cutting the lens from its flange and making the fuselage hole into a pocket by adding a plastic disc. This way after final painting I can dot the inside of the hole silver, paint the lens clear red and install with pva. Far easier to paint and assemble and will give a perfect demarcation without masking. It ain't rocket science Mr. Airfix...
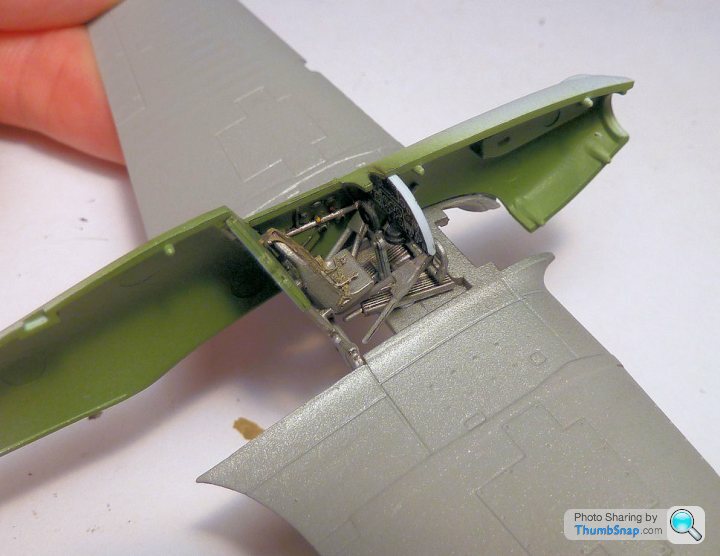
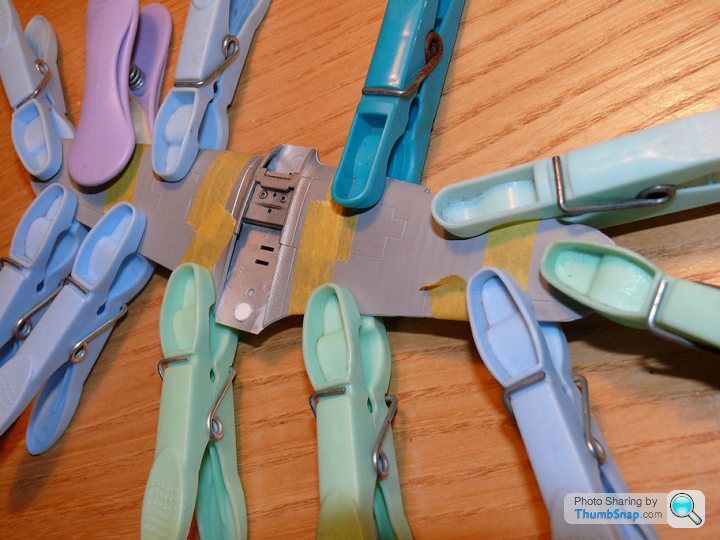
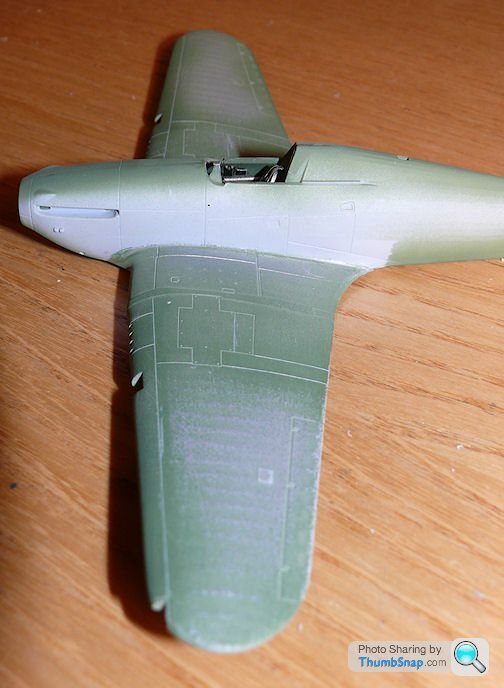
You can see where I've tried in vain to make the wing trailing edges a decent thickness by scraping and filing. And so back to the assembly wings. The fit is...interesting:
I can't figure out why you'd want to fit the ventral signalling lamp lens before painting, as required by the design of the kit. I modified it by cutting the lens from its flange and making the fuselage hole into a pocket by adding a plastic disc. This way after final painting I can dot the inside of the hole silver, paint the lens clear red and install with pva. Far easier to paint and assemble and will give a perfect demarcation without masking. It ain't rocket science Mr. Airfix...
You can see where I've tried in vain to make the wing trailing edges a decent thickness by scraping and filing. And so back to the assembly wings. The fit is...interesting:
Since any chance of this being a quick build evaporated some time ago, I decided to correct the wings further and add some of the missing panel lines, and cut out the wingtip light apertures ready for adding some scratchbuilt covers:
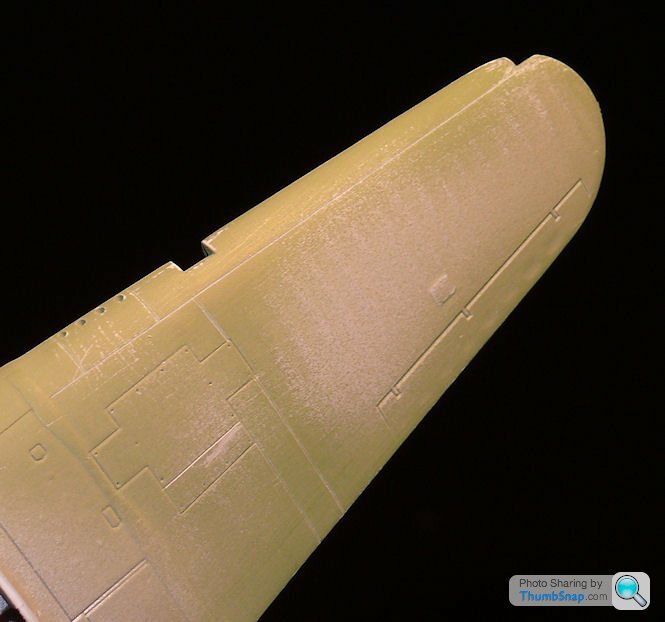
This invariably results in errors that in turn need correcting, in this case the scribed lines were slightly out of place, so were filled with Mr.Surfacer before flatting back and trying again:
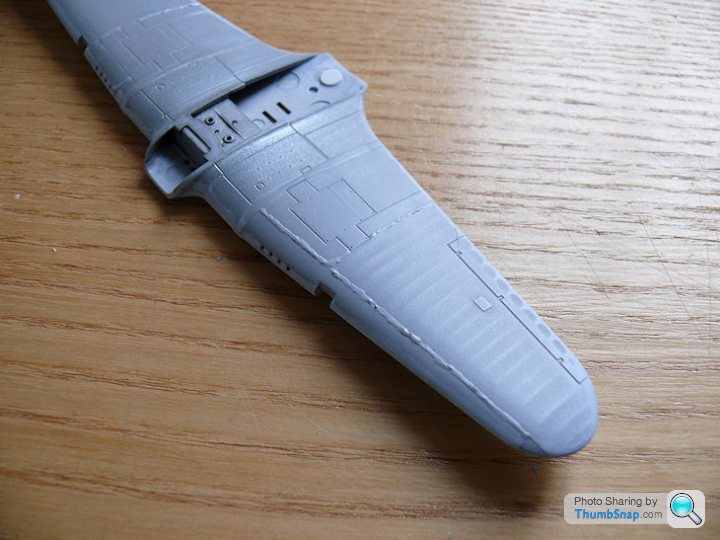
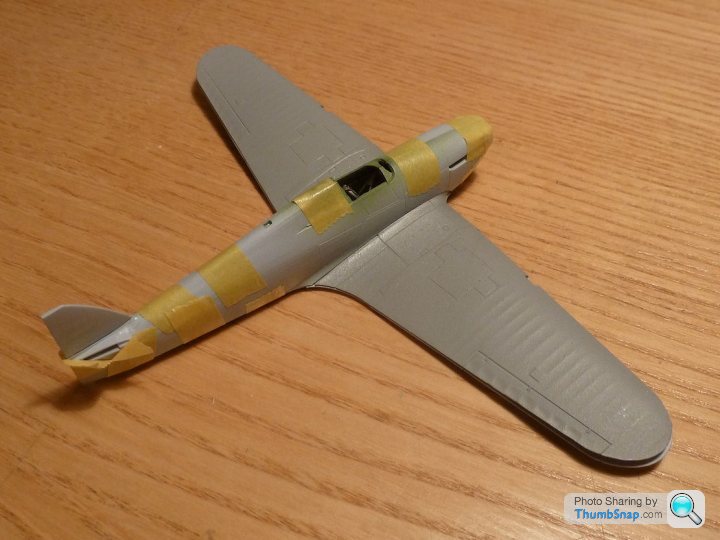
Finished that and fitted the wing. Or tried to - the fit to the fuselage is poor, particularly at the front, requiring a significantamount of sanding and filling the resulting steps:

Anyway, the wing is finally fitted and filled. the seams just need a final rubbing over with micromesh:

Engine cover still needs more filler to get rid of the remaining seam.
This invariably results in errors that in turn need correcting, in this case the scribed lines were slightly out of place, so were filled with Mr.Surfacer before flatting back and trying again:
Finished that and fitted the wing. Or tried to - the fit to the fuselage is poor, particularly at the front, requiring a significantamount of sanding and filling the resulting steps:
Anyway, the wing is finally fitted and filled. the seams just need a final rubbing over with micromesh:
Engine cover still needs more filler to get rid of the remaining seam.
Edited by dr_gn on Monday 6th October 23:35
shortar53 said:
Once again, your attention to detail is stunning!
you know it's never just going to be OOB, don't you? even when you start it as an OOB build
Thanks, but many of my models are OOB. This was was meant to be too, as a quick build while I'm fiddling with the Tornado. The scribing isn't really anything more than adding detail that should have been included by Airfix (although at least doing it myself has resulted in decent line widths), and the fit issues were unexpected for a 2014 new tool kit. If I'd have known the delay in getting a replacement canopy (still not arrived), I'd probably have gone with an open vacform version and added a photo etch set to the cockpit, but there you go. you know it's never just going to be OOB, don't you? even when you start it as an OOB build
I've just got back from the Hornby Centre in Margate .
Managed to get a 1:72 Typhoon for £3-50 ,a FRS1 SeaHarrier 1:72 for a fiver and a 1:72 Spitfire /Messersmit 110 gift set for a tenner all look like new tooling .
So am hoping that Airfix kits are a bit better than previous posts depict.
Managed to get a 1:72 Typhoon for £3-50 ,a FRS1 SeaHarrier 1:72 for a fiver and a 1:72 Spitfire /Messersmit 110 gift set for a tenner all look like new tooling .
So am hoping that Airfix kits are a bit better than previous posts depict.
Gassing Station | Scale Models | Top of Page | What's New | My Stuff