New Build - Tamiya Caterham Masters Coachwork JPE 1/12
Discussion


dr_gn said:
Are all the silver bits self-coloured too?
Looks like typical Tamiya quality so far. Very impressive.
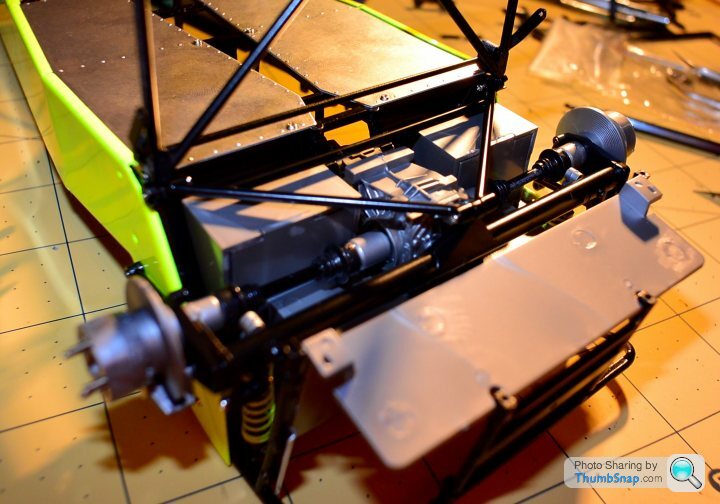
Some are,,some not so much, I have been painting the parts I think will be mostly visible,,but some like the prop, will be virtually hidden so I me leaving in the factory black.Looks like typical Tamiya quality so far. Very impressive.
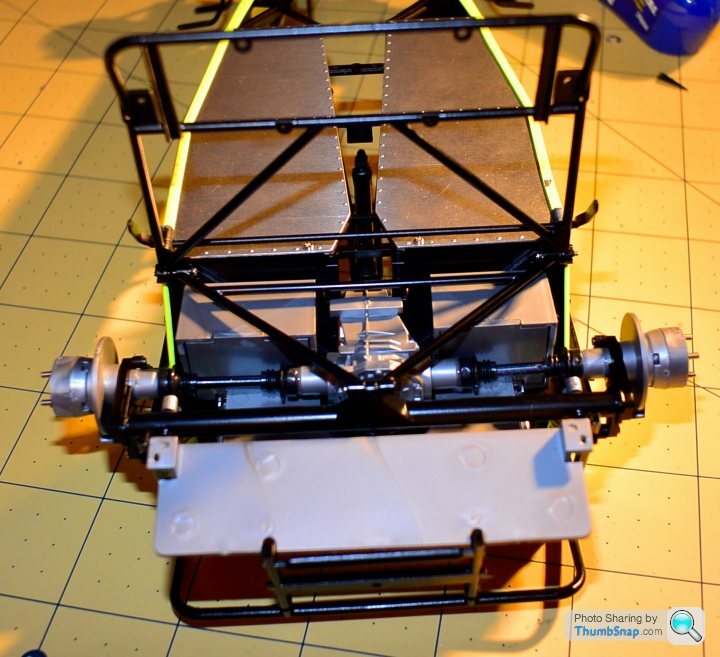
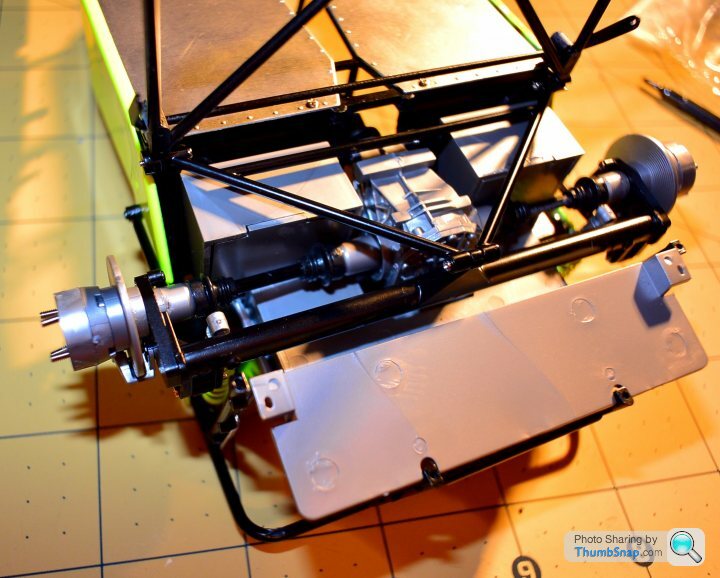
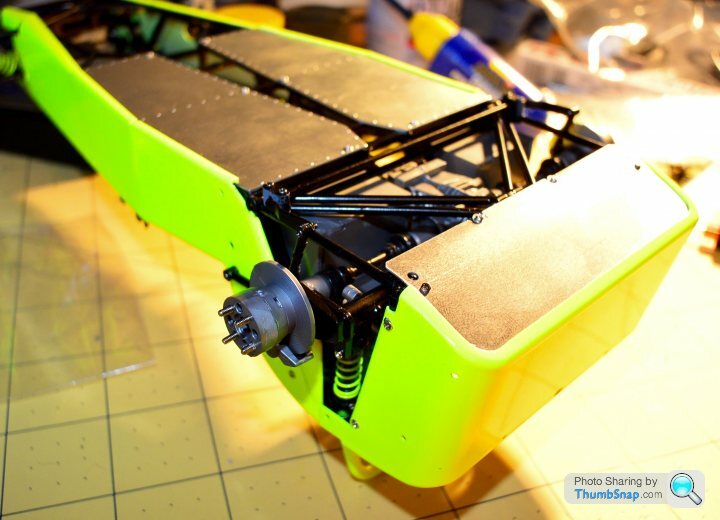
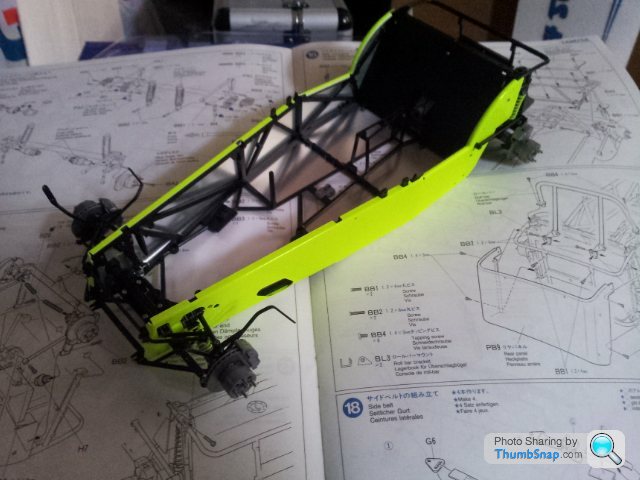
The only thing I don't like the look of so far is the fuel tank and other plastic panels that make up that item at the back,
It has a lot of moulding indentations, so it would probably need a lot of filling and filing to get rid of those marks.
Not decided if I want to go to such lengths on that part so far!
AWRacing said:
Loving this, i dont usually have the patients for model making but i'm wanting one of these!!!
Top work
Thanks for the comment, glad you are enjoying the pictures!Top work
However why as a doctor would you be concerned about how many people in your surgery are interested in model making!


AWRacing said:
 i blame being half asleep when i wrote that...
God knows how many syntax, grammar and spelling mistakes I make on here!
I blame them on my iPad and my poor use of the keyboard, mostly though it's probably because I have had one two many glasses of fine wine before posting!
Hic!
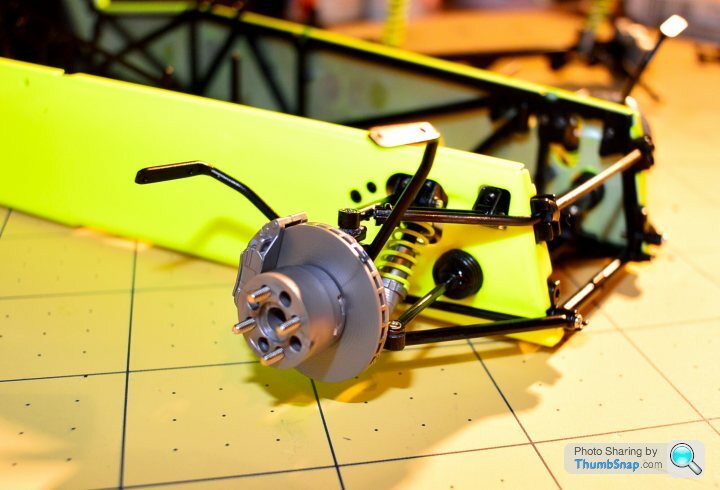
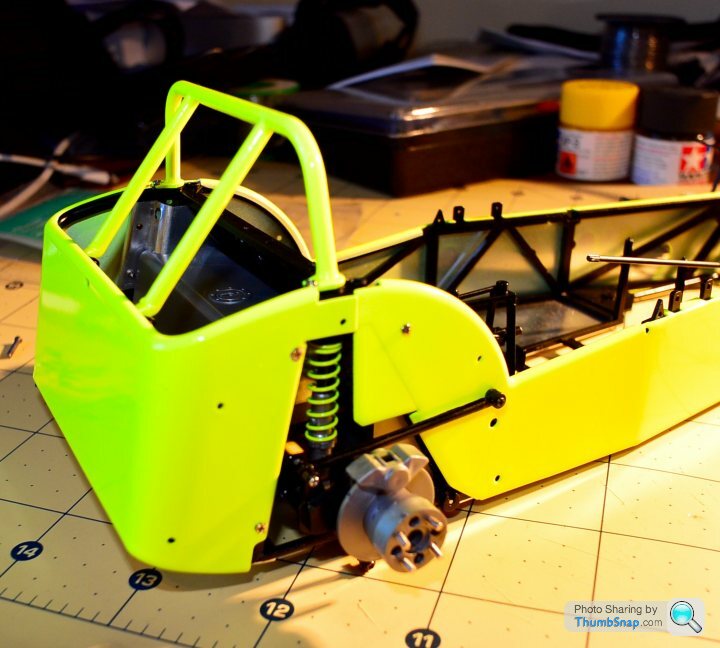

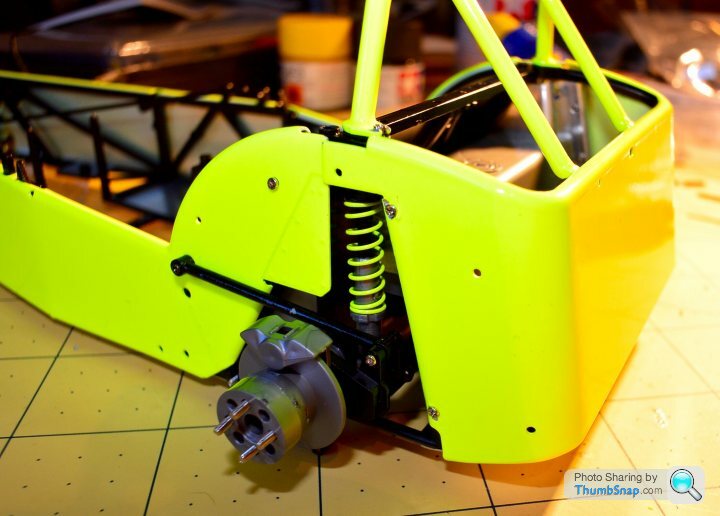
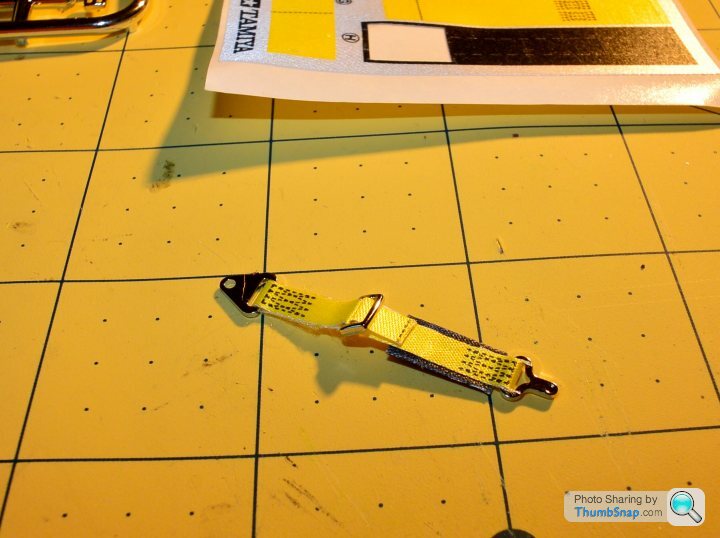
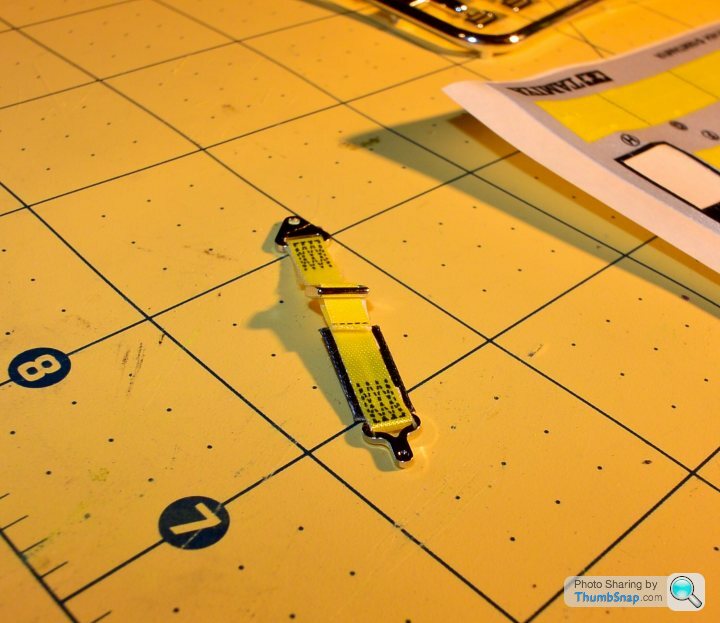
You can just see the bolts that go through the rear stays of the roll over bar.
I fair amount of filing was needed to get through bolts to fit!
With hindsight this is pretty much like all the real Caterham builds I have done myself! They FIA rollbar, was always a pain to fit, although this is not an FIA roll over bar, just the standard style type!
I fair amount of filing was needed to get through bolts to fit!
With hindsight this is pretty much like all the real Caterham builds I have done myself! They FIA rollbar, was always a pain to fit, although this is not an FIA roll over bar, just the standard style type!

Eric Mc said:
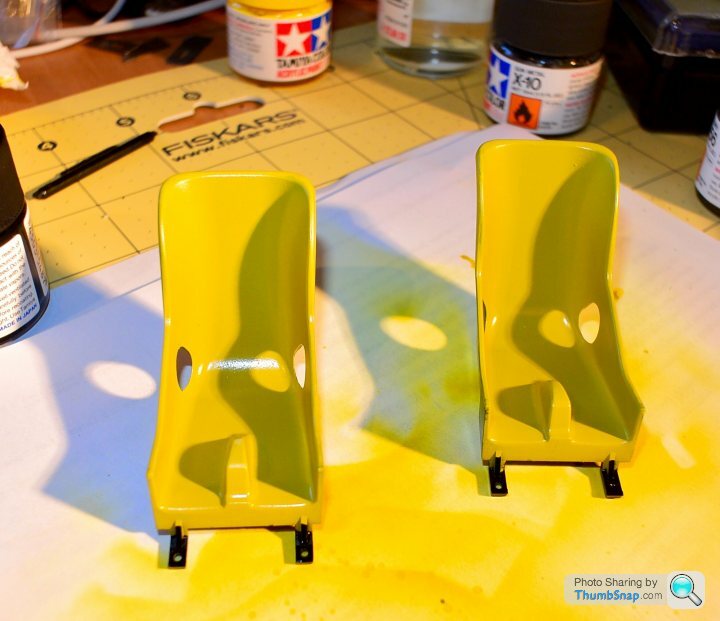
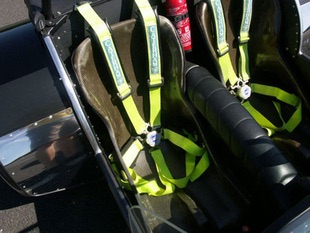
I don't like those humps in the seat. Did all JPEs have them?
Not sure Eric, I think that they are part of the moulded type seat, but not entirely sure what was included in the actual JPE version of the real car.It does seem from photos of the original JPE versions that the moulded seats do have this hump too!
Edited by nigelpugh7 on Tuesday 30th December 14:56
dr_gn said:
Were they painted yellow on the original, or were they lacquered Kevlar? You can get Kevlar decal sheet if required.
Yep they were the Kevlar types on the original as you state.And thanks to Eric, whom mentioned earlier on in this thread that Kevlar sheet was available, I did consider consider getting some for my seats, but the curves and folds needed put me off, so I went with the painted option.
They are not just yellow though, perhaps my photos don't show it off, but it's a 1:1 blend of yellow and metallic grey, they look pretty good in real life, so I am sure they will be fine for the build !
mike50001 said:
im sure the bank manager will ban me from this forum
great kit, the screws really are tiny, im at the stage of attaching the rear shocks(a job that needs 5 hands an 2 heads),
another cuppa break
Excellent! I am sure you will Catch me up soon, I have not had time to do any more on mine since the last update! great kit, the screws really are tiny, im at the stage of attaching the rear shocks(a job that needs 5 hands an 2 heads),
another cuppa break
Gassing Station | Scale Models | Top of Page | What's New | My Stuff