Airfix ME109 build
Discussion


Hi all, got hold of a nail smoother sponge from Boots £2; 4 sides, about 4" long by 1" square with different grades on each side. Works well, and the abrasive strips are glued on separate 1mm backing so peel off if you need good access to fiddly areas.
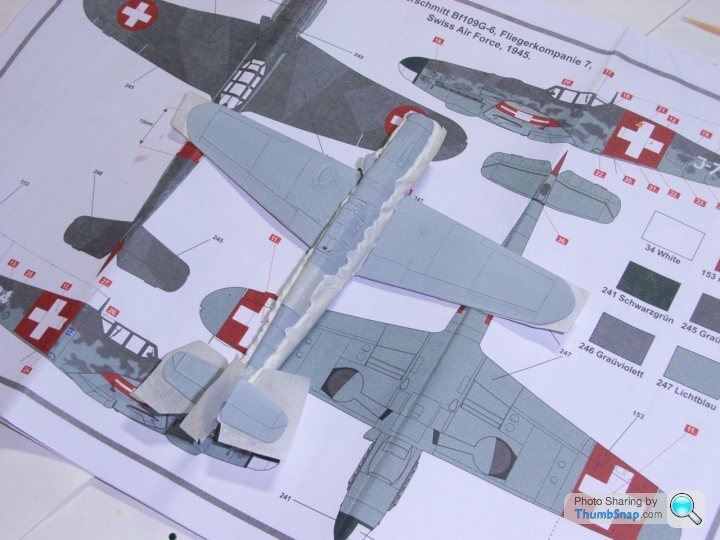
Done an overall coat in 247 Lichtblau but it was so close to the grey primer that I can't tell the difference! Over thinned the paint - it worked on the starboard wing, but the port wing is blotchy - weird as it was the same mix at the same time. External mix syphon feed air guns are not consistent (said the operator, blaming his tools).
Also, masked up and ready for 246 Grauviolett; I'll then do the 245 Graugrun splinter over the top. My first attempt using tacky stuff for soft edged camouflage. [Note to self - need to fill the aerial hole.]
How have you masked the leading edges of the wing? I usually use a thin strip of masking tape along the split line, which transitions to tape stuck to overlap the underside of the wing around the tips and trailing edges where it's too thin to mask a line (as you've got I think). If it should be a sharp demarcation, little things like that do make a difference to the overall look of the completed model, so long as you get the demarcation symmetrical side to side.
Hi dr_gn, tried to mask the leading edge, but it seeped in a couple of places and will need a touch up.
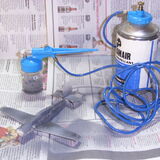
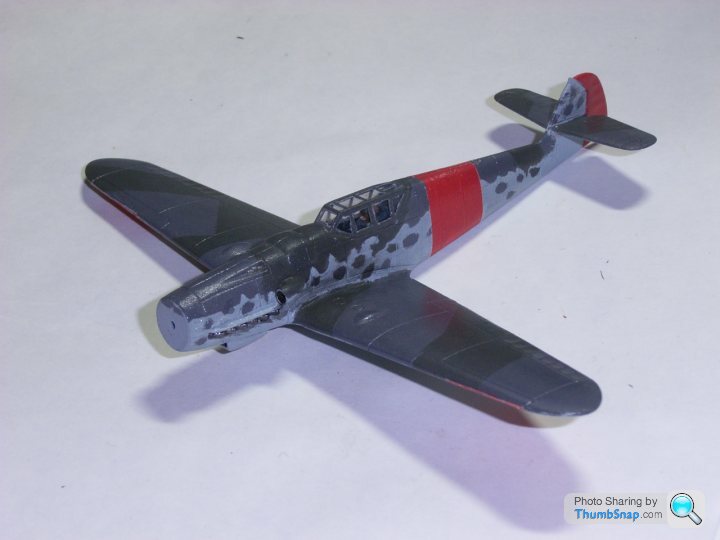
Very basic airbrush setup with 246 applied:
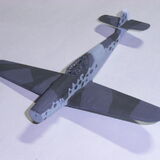
Here's the main camouflage pattern complete, with just the red areas for the insignia to go (white base coat already applied to the rudder). If I'm feeling super brave, might try masking the Swiss crosses instead of using the decals.
Thinking a clear coat at this point might be a good idea?
Very basic airbrush setup with 246 applied:
Here's the main camouflage pattern complete, with just the red areas for the insignia to go (white base coat already applied to the rudder). If I'm feeling super brave, might try masking the Swiss crosses instead of using the decals.
Thinking a clear coat at this point might be a good idea?
Looks very good to me.
You could clear coat it, but dependig on the type, subsequent coats might not stick as well as to matt. Then again, if you're doing intricate masking, the tape will stick better to a gloss surface...up to you.
How about sparying white, then mask the cross, then the red? A cross will probably be easier to mask than the outline of a cross.

I know  - not a major hurdle, it was more frustration at what I thought would take a couple of minutes turning into the rest of the evening. It's the first really bad fit on the whole kit.
Have filed to fit, both on the sides and reducing the thickness, and took off the locating lug. They now fit, but need repainting as the grey flaked off in a couple of places.
- not a major hurdle, it was more frustration at what I thought would take a couple of minutes turning into the rest of the evening. It's the first really bad fit on the whole kit.Have filed to fit, both on the sides and reducing the thickness, and took off the locating lug. They now fit, but need repainting as the grey flaked off in a couple of places.
Edited by sad61t on Thursday 12th February 10:23

Experimenting with shadowing the panel lines (all previous have been raised panel lines), so tried the drop tank first:
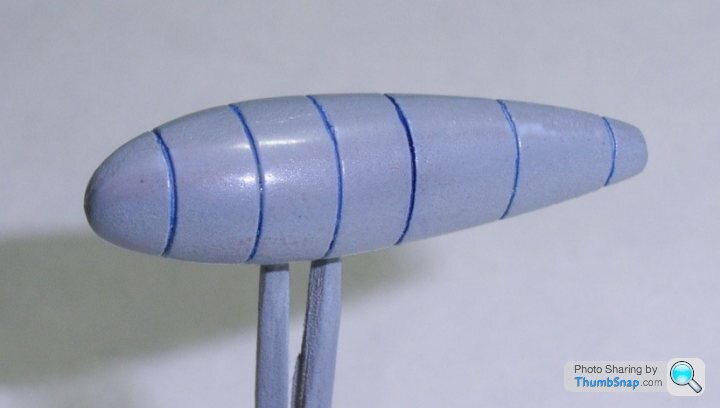
This is blue ink on the "247 Lichtblau". After the first line (centre band) I thinned it, but still looks a little brilliant for shadow. The extreme zoom exacerbates the effect, but what's your opinion? Suggestions for wash colour welcome.
This is blue ink on the "247 Lichtblau". After the first line (centre band) I thinned it, but still looks a little brilliant for shadow. The extreme zoom exacerbates the effect, but what's your opinion? Suggestions for wash colour welcome.
Edited by sad61t on Saturday 21st February 12:04
sad61t said:
Experimenting with shadowing the panel lines (all previous have been raised panel lines), so tried the drop tank first:
This is blue ink on the "247 Lichtblau". After the first line (centre band) I thinned it, but still looks a little brilliant for shadow. The extreme zoom exacerbates the effect, but what's your opinion? Suggestions for wash colour welcome.
Id have used a preshade and not bothered with a wash; the panel lines on that tank dont need much highlighting at all IMO. This is blue ink on the "247 Lichtblau". After the first line (centre band) I thinned it, but still looks a little brilliant for shadow. The extreme zoom exacerbates the effect, but what's your opinion? Suggestions for wash colour welcome.
Edited by sad61t on Saturday 21st February 12:04
For a wash Id go for a thin raw umber or MIG dark wash. Possibly oversprayed with thinned base colour to reduce contrast.
I'd be very careful using ink as I did on my Mossie as a preshade !
No matter how many coats of paint I put on the ink bled through !
Even after what I thought was a total strip using oven cleaner I resprayed it and when I clear coated it with Humbrol Clear ( supposedly a direct copy of Johnsons Clear ) the ink came through again!!
Hope this helps .
(Thanks for the link)
Edited by johnS2000 on Saturday 21st February 14:49
Thanks guys, I'll have another go.

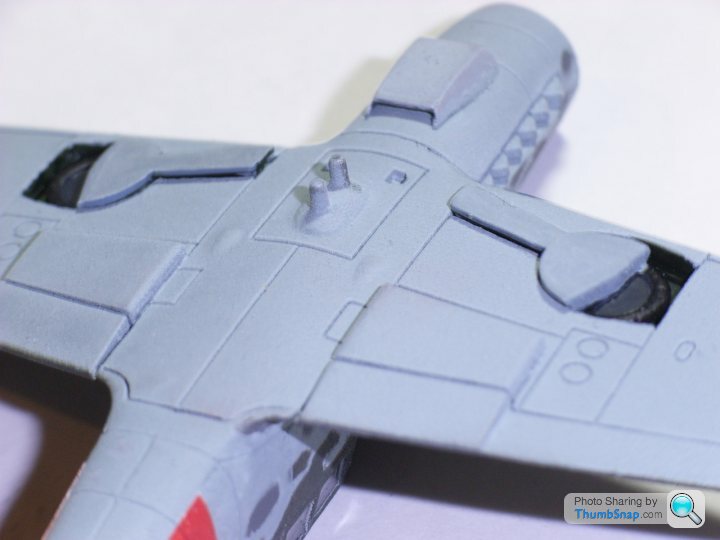
While doing the decals I noticed the hole for the rear wheel is in the wrong place. It should be behind the last panel line, under the rear tail planes, but is forward of the panel line. Too late for me to fix, but easily corrected earlier in the build (reference either the plans on page 1 of this thread, or look at the colour schemes on pages 6&7 of the instructions).
While doing the decals I noticed the hole for the rear wheel is in the wrong place. It should be behind the last panel line, under the rear tail planes, but is forward of the panel line. Too late for me to fix, but easily corrected earlier in the build (reference either the plans on page 1 of this thread, or look at the colour schemes on pages 6&7 of the instructions).
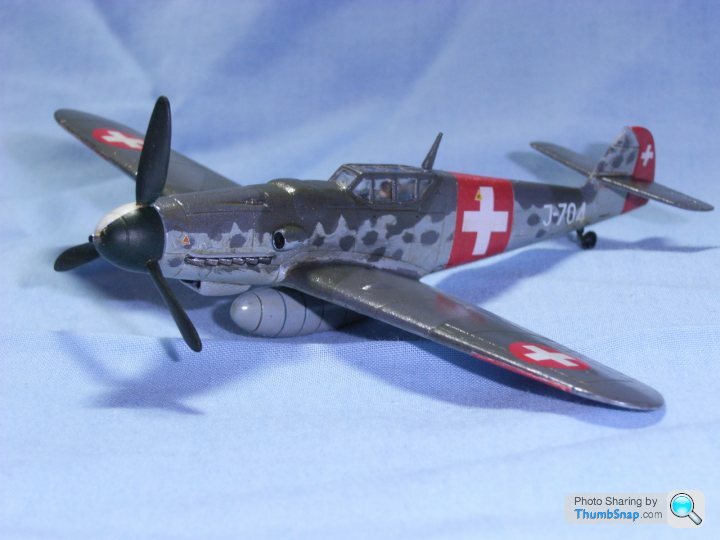
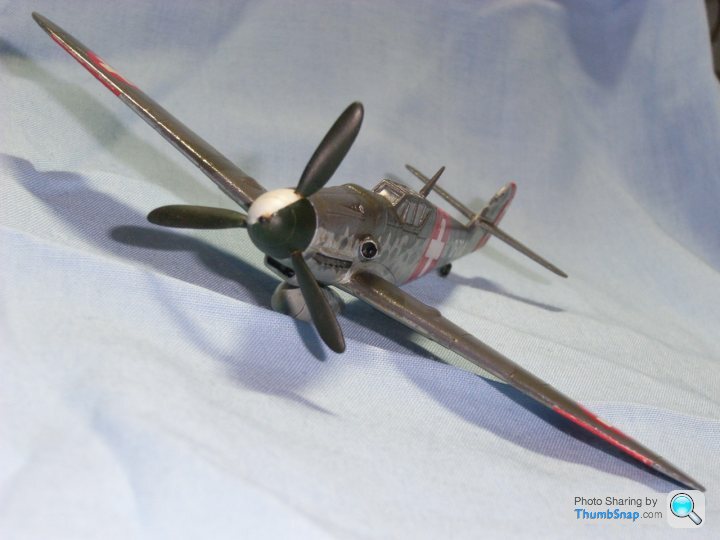
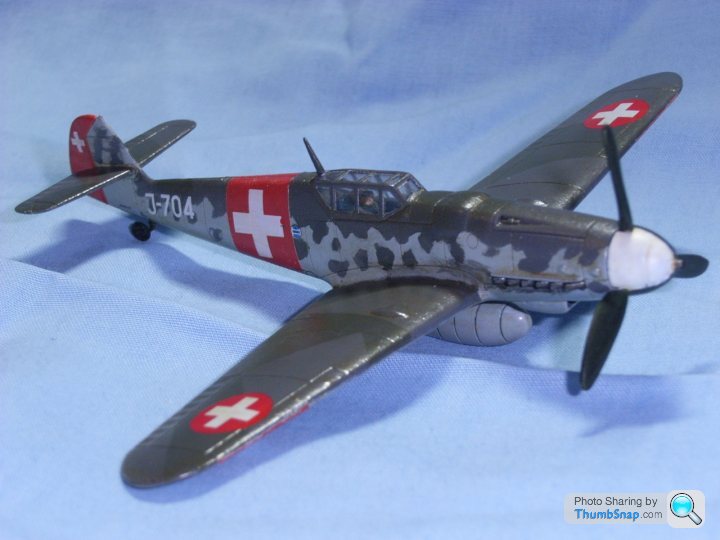
It's done. Time for the reveal:

A big thank you to everyone who contributed their modelling knowhow, especially:
* 72twink for the panel line plans
* dr_gn for loads of tips, but particularly the Raw Umber wash
* Eric Mc for the idea of going to Hendon. Didn't get there this time, but there's still the E to build
* johnS2000 for pointing me in the direction of Boots for the four way nail polishing sponge
Congratulations on a job well done: Very good result from an imperfect kit, and I think more importantly you weren't afraid to re-do or improve things you weren't happy with.
One particular thing I'd have done differently would be to overspray with matt varnish once complete (while the canopy was still masked obviously). I think a gloss finish tends to highlight - literally - any surface imperfections. It's 100% personal preference though, so not meant to be a criticism by any means.
You should put it on Britmodeller - lots more good advice on there for future builds if that's what you're after.
Looking at the stash, I've a Tiger Moth, the Emil and an RAFBF Hawk to do. Probably the Tiger Moth for a change of scene, but not for a couple of weeks as I've an essay to write for my Mathematics & Its Learning evening course.
There's a new airbrush on its way (an iwata neo) as I quite enjoyed using the Badger on this build, and I really need to find a matt varnish that's actually matt.
There's a new airbrush on its way (an iwata neo) as I quite enjoyed using the Badger on this build, and I really need to find a matt varnish that's actually matt.
Gassing Station | Scale Models | Top of Page | What's New | My Stuff