Matchbox 1:72 Dornier Skyservant
Discussion


Hmm
Nice try but I think you should have bought him an aerosol can of Tamiya Gloss varnish instead
Two quick coats and a half hour wait will fix the decals nicely
Or Microsol decal film is another good bet
I'm glad he's keeping at it though
Little and rarely is my own personal model making cross to bear
perdu said:
Hmm
Nice try but I think you should have bought him an aerosol can of Tamiya Gloss varnish instead
Two quick coats and a half hour wait will fix the decals nicely
Or Microsol decal film is another good bet
I'm glad he's keeping at it though
Little and rarely is my own personal model making cross to bear
I've got some Tamiya gloss - when we get to "spraying with an aerosol" I'll let him do it again.Nice try but I think you should have bought him an aerosol can of Tamiya Gloss varnish instead
Two quick coats and a half hour wait will fix the decals nicely
Or Microsol decal film is another good bet
I'm glad he's keeping at it though
Little and rarely is my own personal model making cross to bear
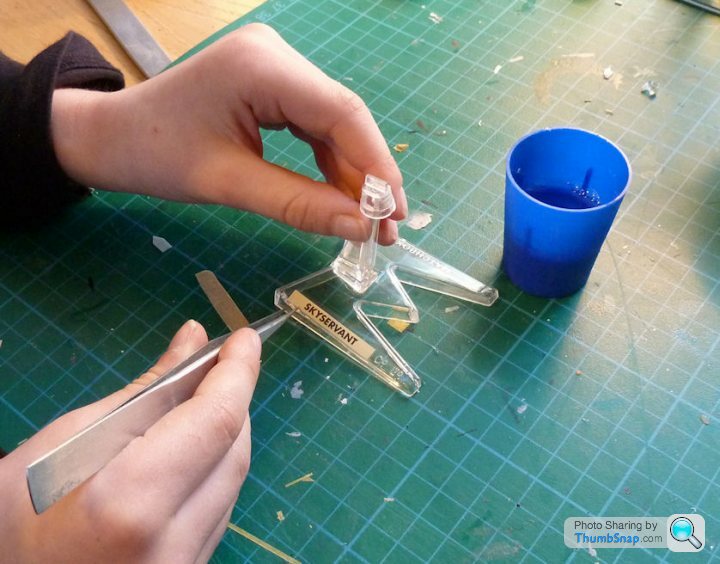
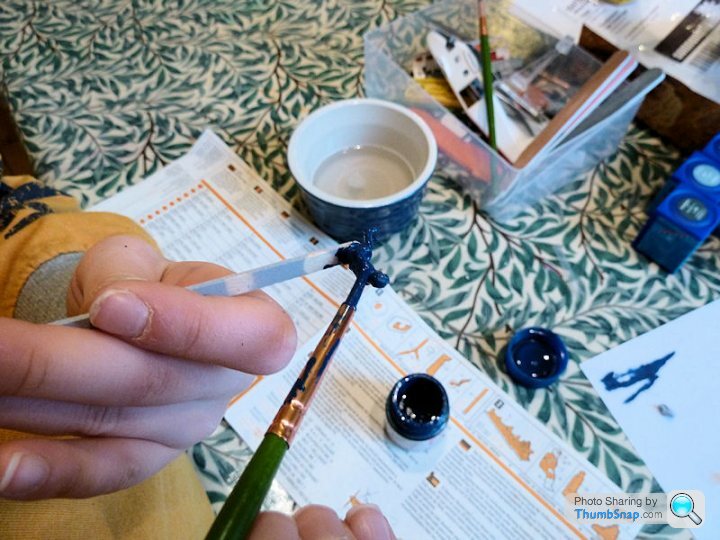
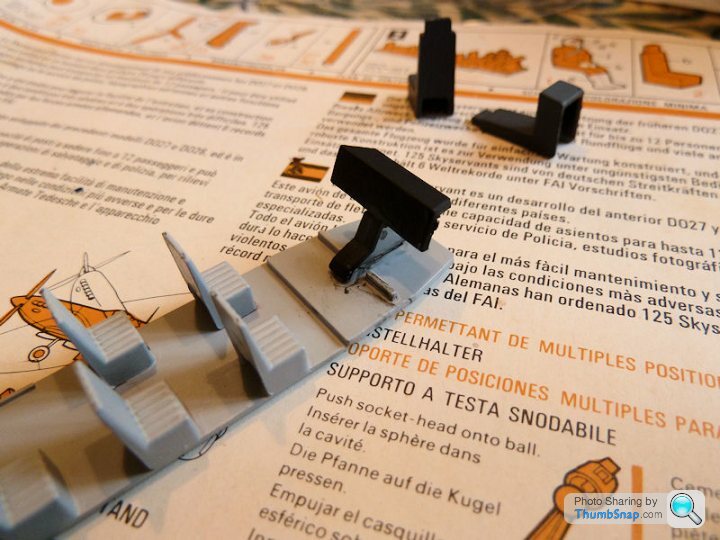
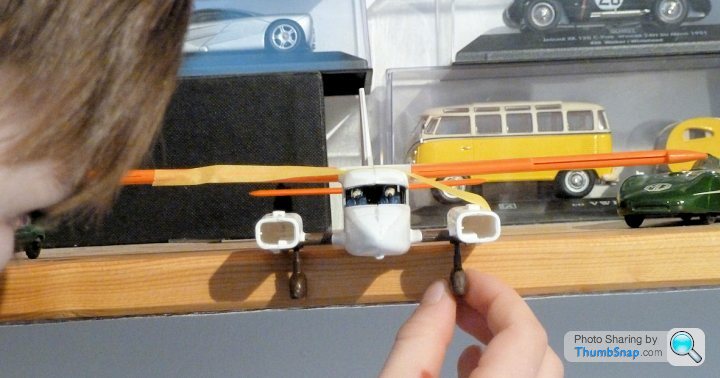
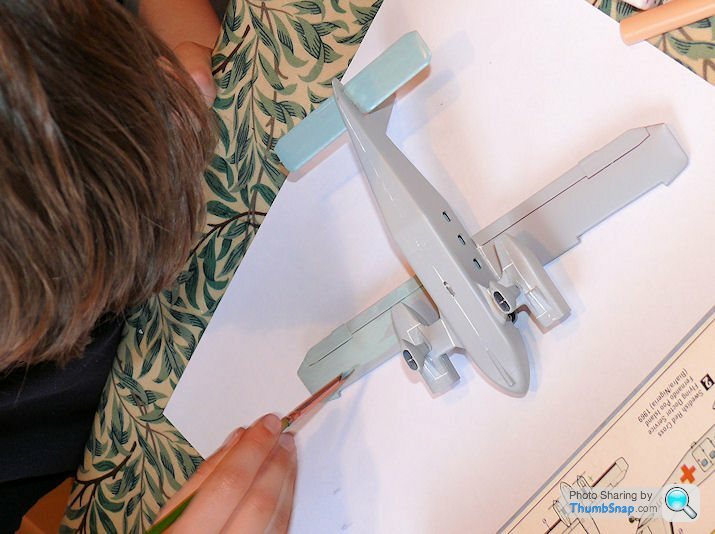
I thought we'd use glue today - so he assembled the stand (using Revell liquid cement applied with a cocktail stick), and tried the repaired decals. The name decal seemed to work fine with just the coat of Klear, so hopefully the rest will also be good. He dipped it in Klear to act as an adhesive. No issues with using tweezers to place it fairly accurately, so that was good:
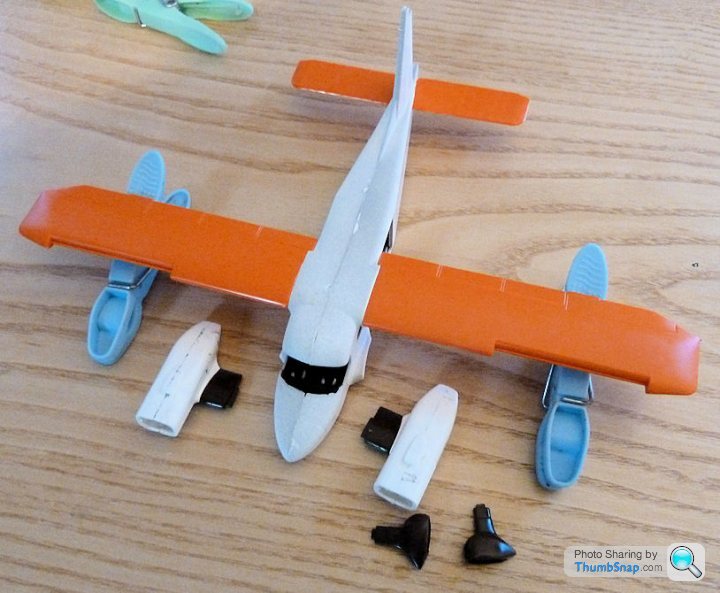
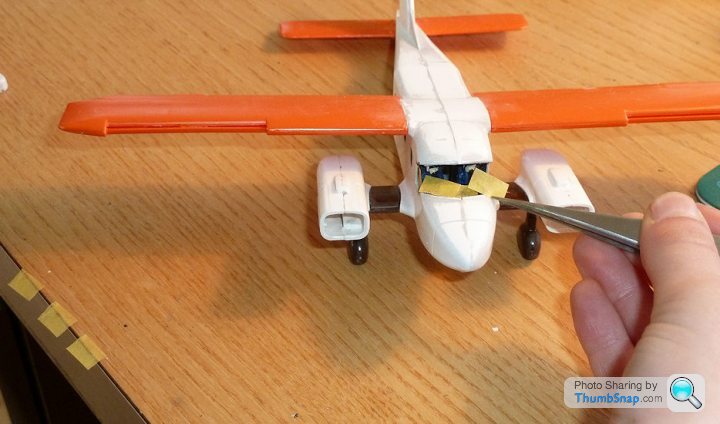
Then glued the seats and instrument panel to the floor:
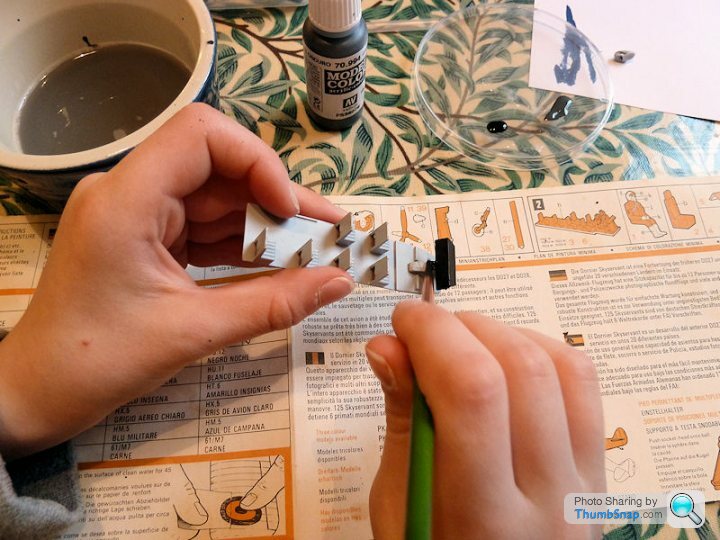
Filed and glued the engine naceles:
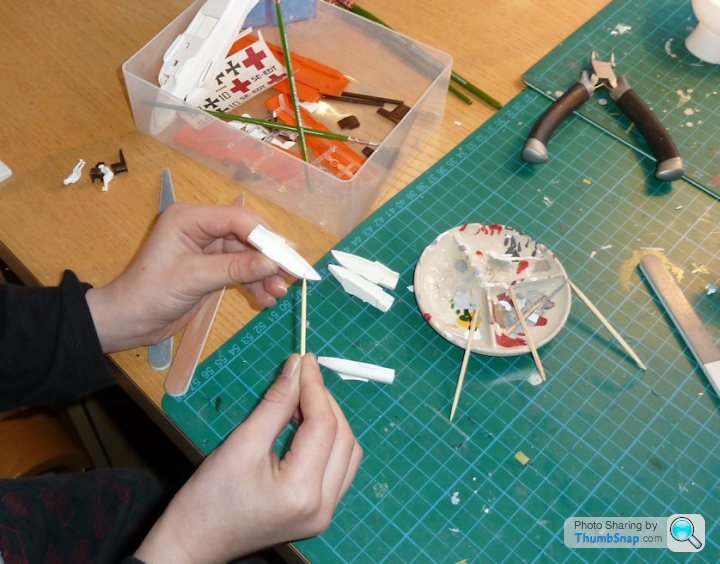
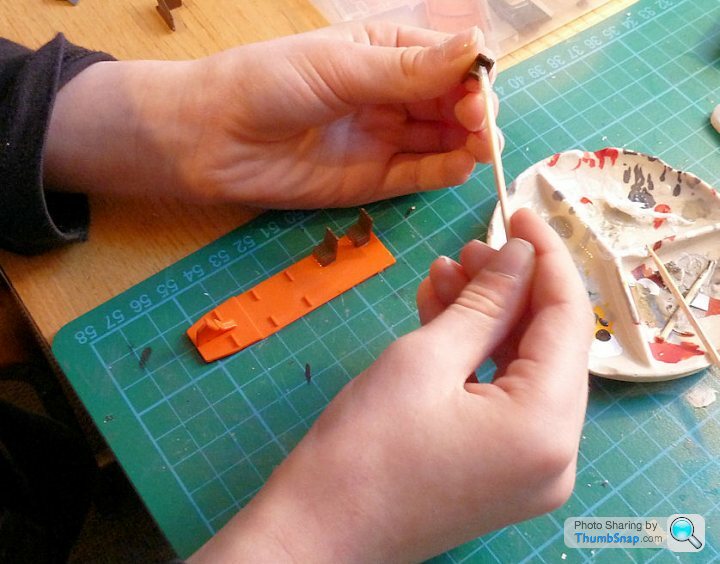
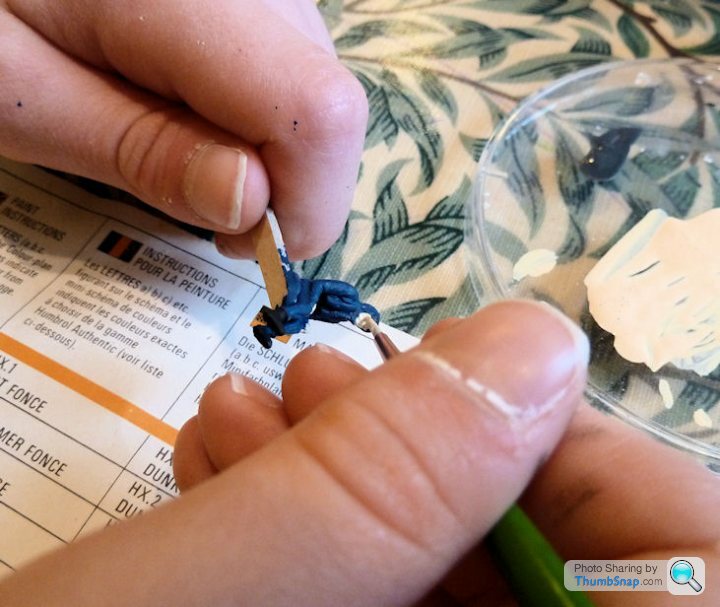
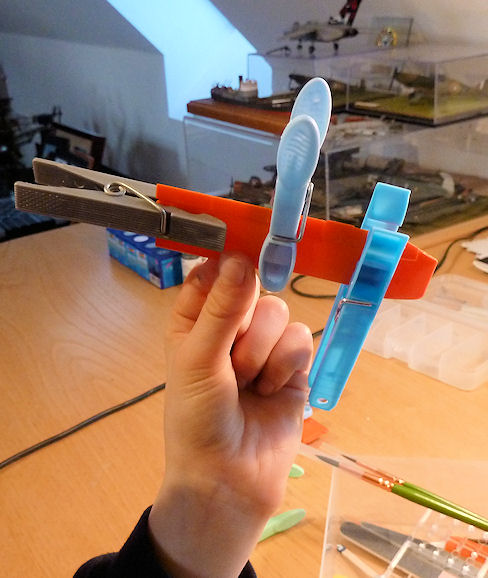
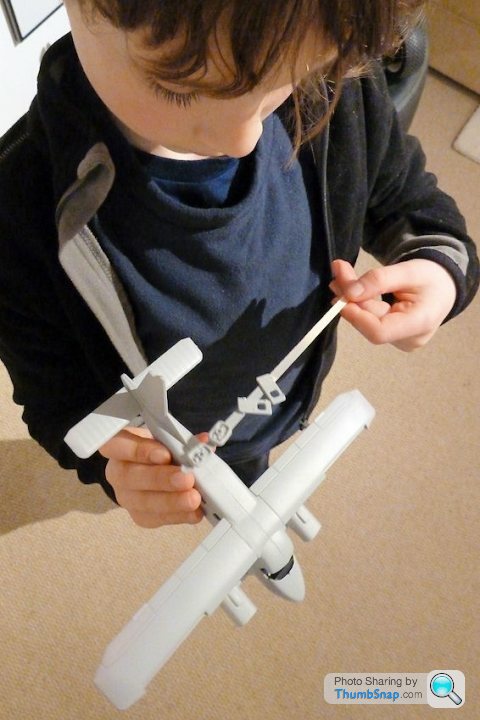
and blu-tacked the pilots and pilots seats to a wooden stirrer...:

...ready for priming:
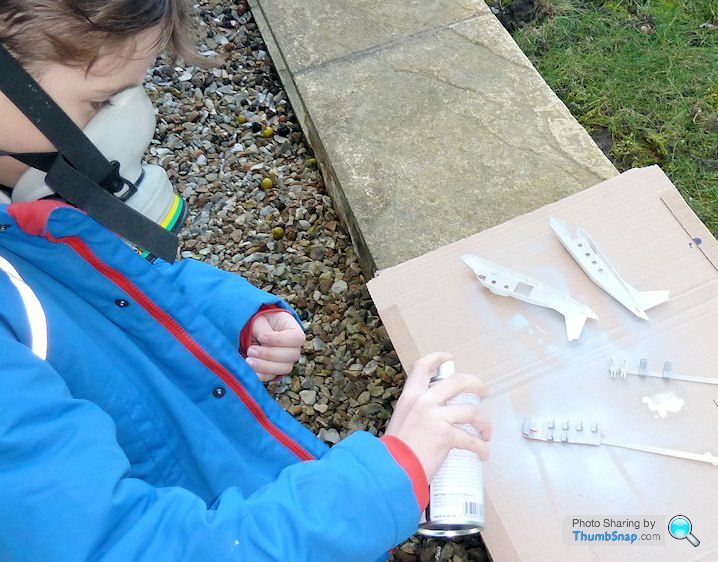
Except the instrument panel, that'll be the final colour for most of the interior, but the pilots seats and pilots will be painted separately. The only issue with the spraying was he wasn't strong enough to press the nozzle and retain enough control to move the can accurately. So we both held the can and called it a team effort.
Then glued the seats and instrument panel to the floor:
Filed and glued the engine naceles:
and blu-tacked the pilots and pilots seats to a wooden stirrer...:
...ready for priming:
Except the instrument panel, that'll be the final colour for most of the interior, but the pilots seats and pilots will be painted separately. The only issue with the spraying was he wasn't strong enough to press the nozzle and retain enough control to move the can accurately. So we both held the can and called it a team effort.
Good to see it progressing, looks like he's getting stuck in 
Primer cans are normally quite chunky, so I'd guess it was as much getting his hand around the can as well as pressing the trigger. Scaled up it would probably be as tough for us if the can was the diameter of a CD.
Would a trigger airbrush suit him? Something like the Iwata Neo TRN1 that's still dual action but has a proper handle (looks child hand size friendly) and more simple action than a traditional airbrush; it looks as though the air is always first in and last out as the trigger is press for air, then squeeze for paint control. Quite tempted myself.
sad61t said:
Good to see it progressing, looks like he's getting stuck in
Primer cans are normally quite chunky, so I'd guess it was as much getting his hand around the can as well as pressing the trigger. Scaled up it would probably be as tough for us if the can was the diameter of a CD.
Would a trigger airbrush suit him? Something like the Iwata Neo TRN1 that's still dual action but has a proper handle (looks child hand size friendly) and more simple action than a traditional airbrush; it looks as though the air is always first in and last out as the trigger is press for air, then squeeze for paint control. Quite tempted myself.
I'll perhaps try him with the airbrush for some other bits. Might ba a bit much for now though.Primer cans are normally quite chunky, so I'd guess it was as much getting his hand around the can as well as pressing the trigger. Scaled up it would probably be as tough for us if the can was the diameter of a CD.
Would a trigger airbrush suit him? Something like the Iwata Neo TRN1 that's still dual action but has a proper handle (looks child hand size friendly) and more simple action than a traditional airbrush; it looks as though the air is always first in and last out as the trigger is press for air, then squeeze for paint control. Quite tempted myself.
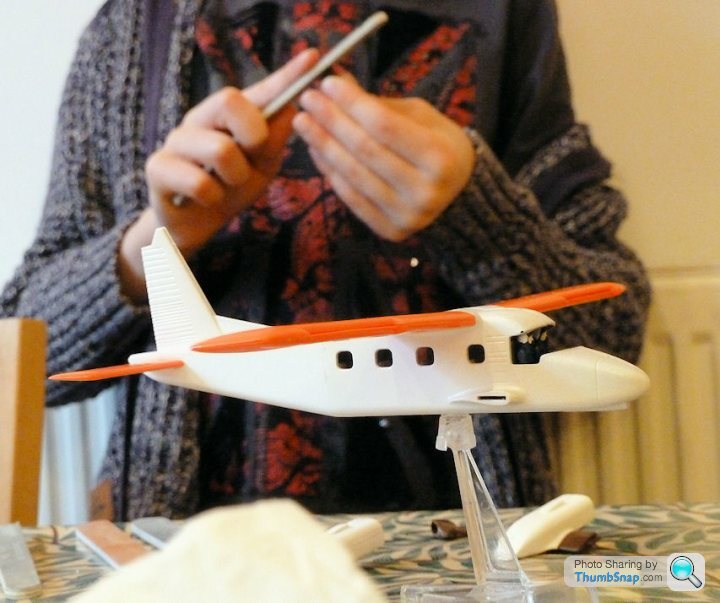
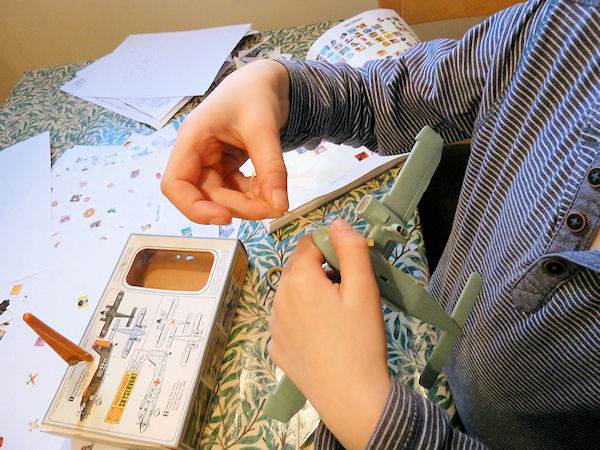
Bit more progress this morning: We're doing the detail painting as outlined in the instructions, no more, no less. first off, the pilots:
Seats:
Instrument panel
Bit of smudging, but will be covered with the seats:
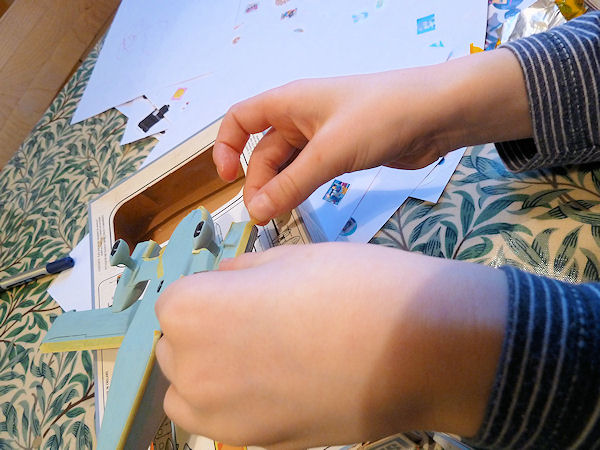
Assembly of cockpit:

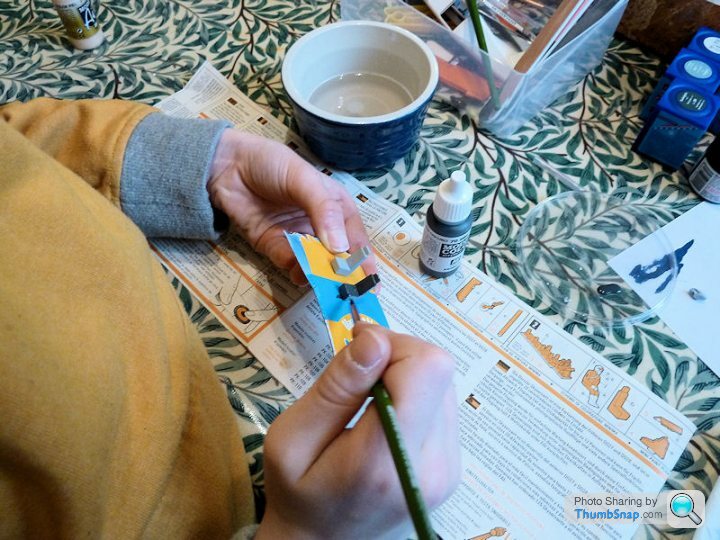
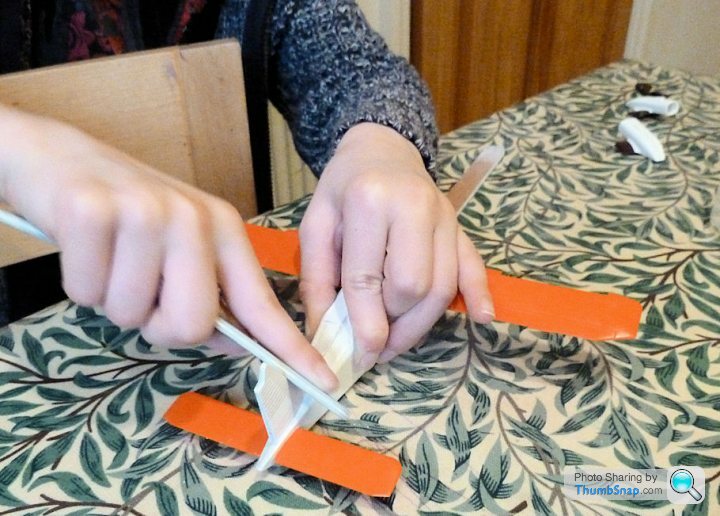
Masking of prop tips. I showed him how to do one blade, then he did the other two:
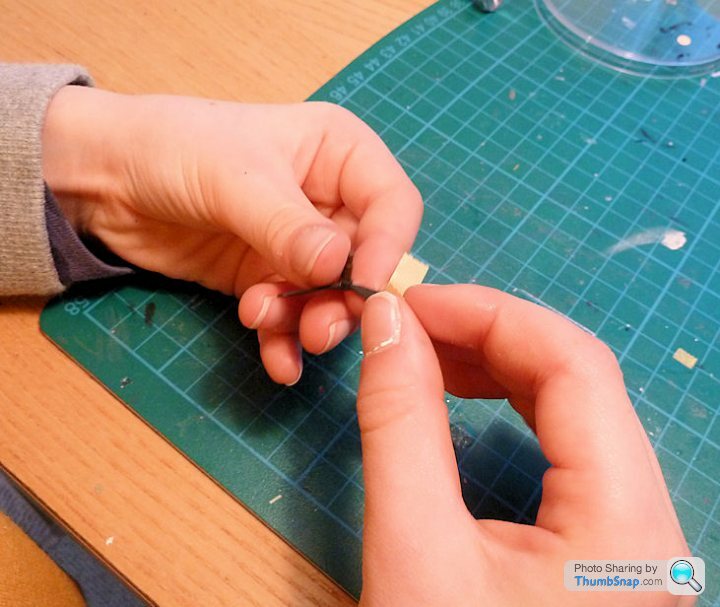
Strange how the other prop he did entirely by himself (apart from cutting the tape into strips), was better than the one I helped him with
 Anyway, close of play:
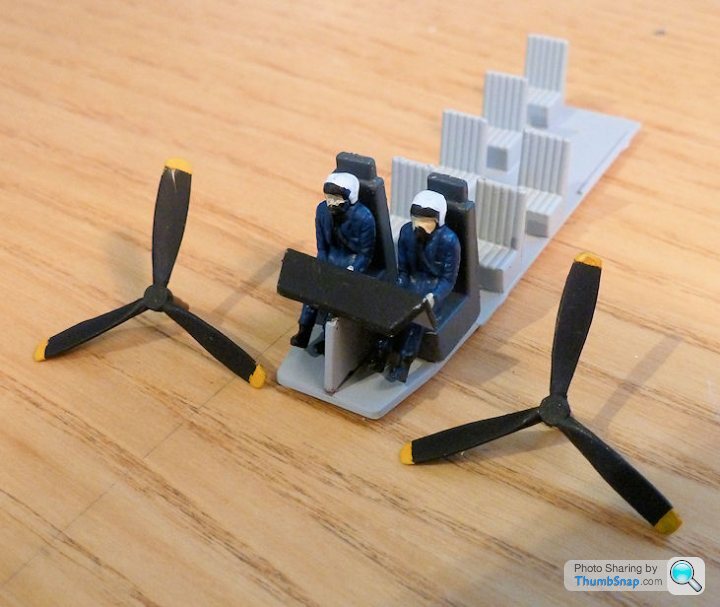
Not bad.
ETA: The Revell Aqua Colour paint was absolutely crap - like trying to paint custard. In the end we used Tamiya and Vallejo Model Colour.

dr_gn said:
We did some Milliputting this evening. Seems tricky to get the hang of scraping accross the gaps rather than along them, but we got there in the end:
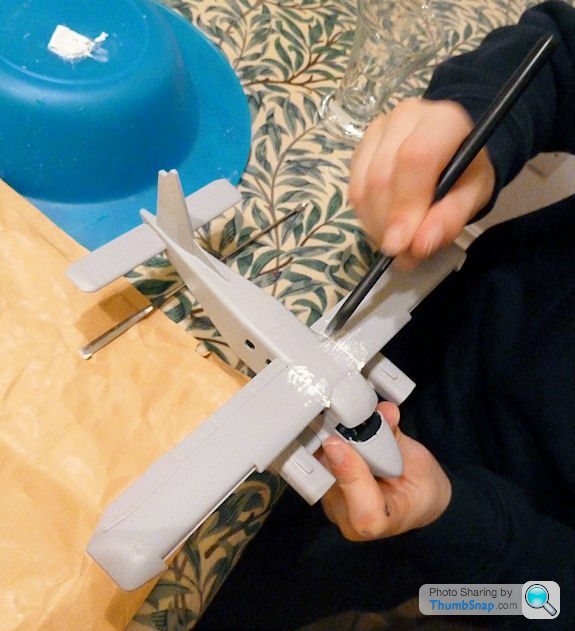
Wiping with a damp cloth soon got rid of the excess, so no flatting required once it's set:

Next job: Paint.
Have you ever tried Tipp-Ex for gaps?Wiping with a damp cloth soon got rid of the excess, so no flatting required once it's set:
Next job: Paint.
MonkeySpanker said:
dr_gn said:
We did some Milliputting this evening. Seems tricky to get the hang of scraping accross the gaps rather than along them, but we got there in the end:
Wiping with a damp cloth soon got rid of the excess, so no flatting required once it's set:
Next job: Paint.
Have you ever tried Tipp-Ex for gaps?Wiping with a damp cloth soon got rid of the excess, so no flatting required once it's set:
Next job: Paint.
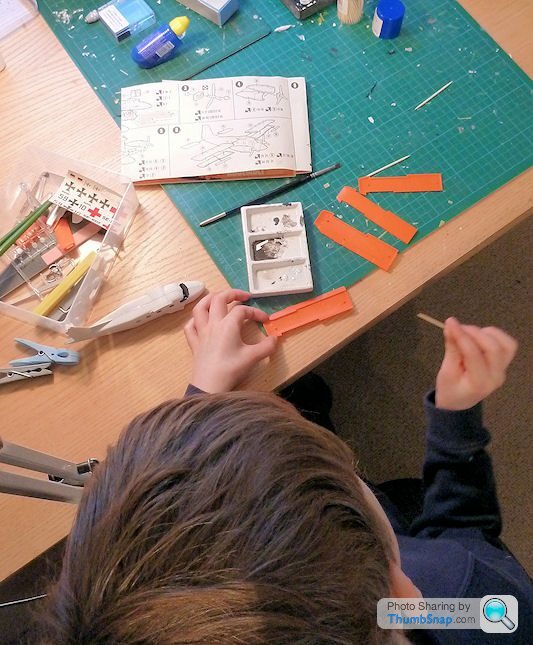
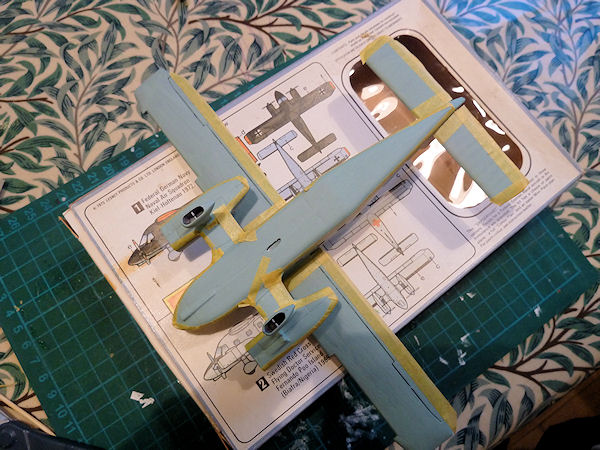
Painted the undersides with Vallejo Model Colour:
Smooth, but a bit streaky.
[son] decided on a second coat (I'd have passed it under the circumstances, but I'm glad he didn't):
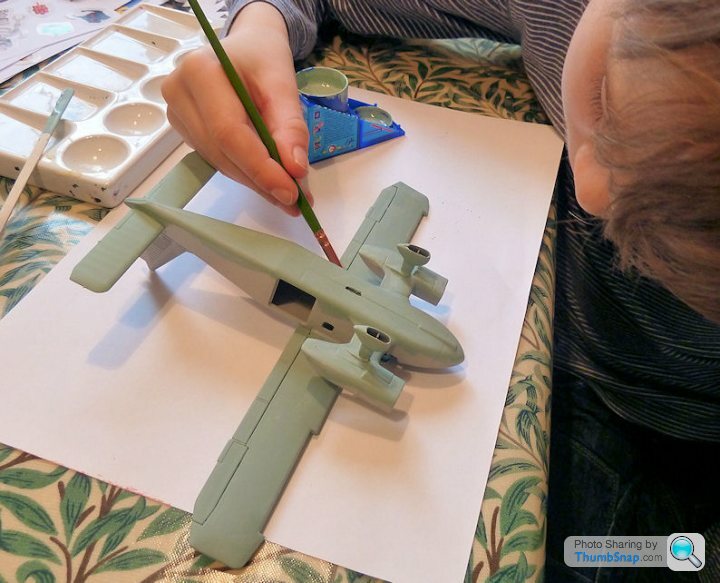
For the second coat, gave the revell aqua colour a second chance, but it is very difficult to work with. almost perfect colour match with Vallejo strangely enough.
Smooth, but a bit streaky.
[son] decided on a second coat (I'd have passed it under the circumstances, but I'm glad he didn't):
For the second coat, gave the revell aqua colour a second chance, but it is very difficult to work with. almost perfect colour match with Vallejo strangely enough.


Yertis said:
Is he enjoying it? I only ask because I used to hate it when my Dad told me how to do things properly, instead of letting me cock it up all by myself.
I learnt my modelling skills by doing exactly that. When I was 7 I built endless Airfix models Mum bought from Woolworths. Slowly I got better at doing them but I hated it when my older brother tried to tell me what to do. I wanted it to be all my own work, no mater how juvenile the results 
I know where you're coming from, but he seems to be enjoying it, at least he keeps asking if we can continue with it. As I said he's built a couple previously where I just helped with the cutting out of the parts, and he painted them how he wanted. There doesn't seem to be much difference in his attitude towards this one where I'm telling him what to do. Must admit I'm a bit surprised about this.
The next one, I'll leave him to it and see how much of what I've shown him he decides to apply.
The next one, I'll leave him to it and see how much of what I've shown him he decides to apply.
Gassing Station | Scale Models | Top of Page | What's New | My Stuff