Eduard 1:72 F6F-3 Hellcat
Discussion


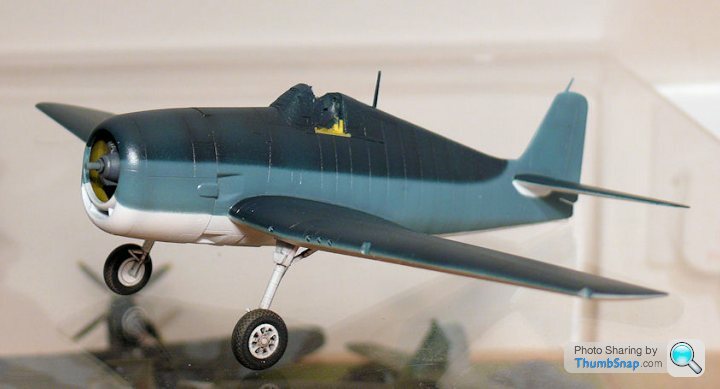
Masking for soft-edged Intermediate Blue:

Then for Dark Sea Blue - fuselage first because the Blu-Tac rolls obscure the wings:

Then mask the fuselage and spray the wing roots:

Then remove the masking:
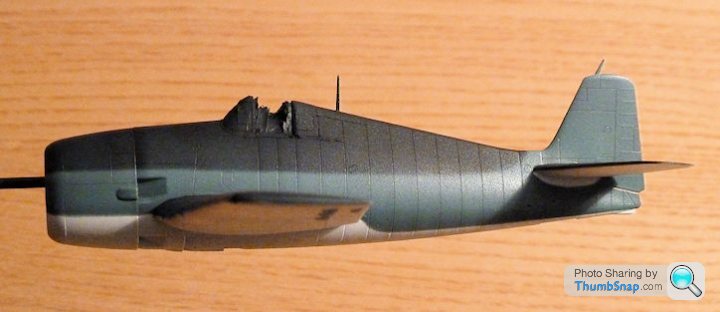
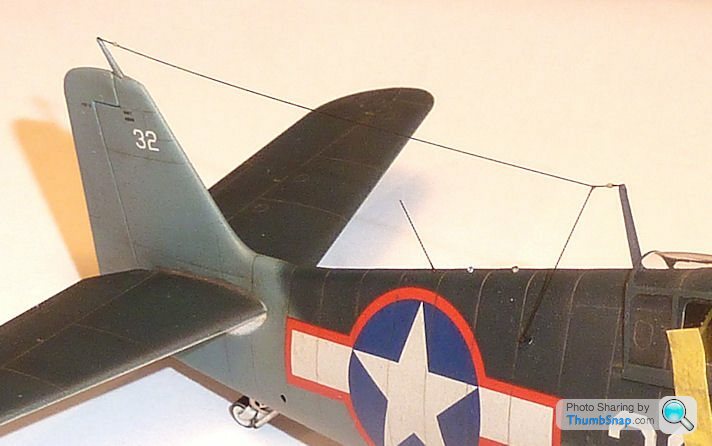
The preshading looks a bit odd or invisible on the photos, but in reality it shows up quite nicely. Needs a bit of corrective work along the leading edges, but apart form that and snapping the aerial mast off (I was wondering how close to completion I'd get before that happened) it looks OK.
Then for Dark Sea Blue - fuselage first because the Blu-Tac rolls obscure the wings:
Then mask the fuselage and spray the wing roots:
Then remove the masking:
The preshading looks a bit odd or invisible on the photos, but in reality it shows up quite nicely. Needs a bit of corrective work along the leading edges, but apart form that and snapping the aerial mast off (I was wondering how close to completion I'd get before that happened) it looks OK.
jamieduff1981 said:
It's looking well 
I haven't started mine yet - I returned to a battleship and have been fiddling with bits of brass over the weekend.
I did spot a photo of my last Hellcat (Hasegawa IIRC - it was a while ago) on Photobucket when searching for something else and thought of this thread though
Looks like an identical kit - but I suppose it should in theory!I haven't started mine yet - I returned to a battleship and have been fiddling with bits of brass over the weekend.
I did spot a photo of my last Hellcat (Hasegawa IIRC - it was a while ago) on Photobucket when searching for something else and thought of this thread though

I like the exhaust colours and the pale patches on the wings - how did you do it? I'm thinking of experimenting with pastels to fade the blue bits slightly, but I'll decide when the decals are on. Ta.
jamieduff1981 said:
Thank you. That's high praise from yourself.
At this point in my modelling career I believe I was applying all weathering with artist's chalk pastels from the local art shop (long gone now) brushed on with a knackered old paint brush - it only worked on matt finishes and lifted if handled with sweaty fingers. It could be sealed in with a clear coat but either acrylic or enamel floated the powder and turned it into globules suspended in the varnish - but I can't remember which was a safe bet and which ruined everything!
I think this one was painted with those Polyscale acrylics which came in little glass jars. They were the first acrylics I ever used and the only ones I could use consistently and which adhered well.
Thanks - I was thinking of trying Tamiya weathering powders over Klear so that I can wipe them off it goes wrong.At this point in my modelling career I believe I was applying all weathering with artist's chalk pastels from the local art shop (long gone now) brushed on with a knackered old paint brush - it only worked on matt finishes and lifted if handled with sweaty fingers. It could be sealed in with a clear coat but either acrylic or enamel floated the powder and turned it into globules suspended in the varnish - but I can't remember which was a safe bet and which ruined everything!
I think this one was painted with those Polyscale acrylics which came in little glass jars. They were the first acrylics I ever used and the only ones I could use consistently and which adhered well.
Do you remember what the exhaust colour was? I'd like a subtle version of the light brown-ish over grey colour you often see with these aircraft.
Tamiya powders seem very sensitive to surface finish - gloss and they don't stick very well, matt and they do, at the expense of mottling rather than an airbrush type finish. If you get the perfect satin sheen they are great, if not...they're tricky. Then again, airbrushing weathering on a 99% finished model is always a risk.
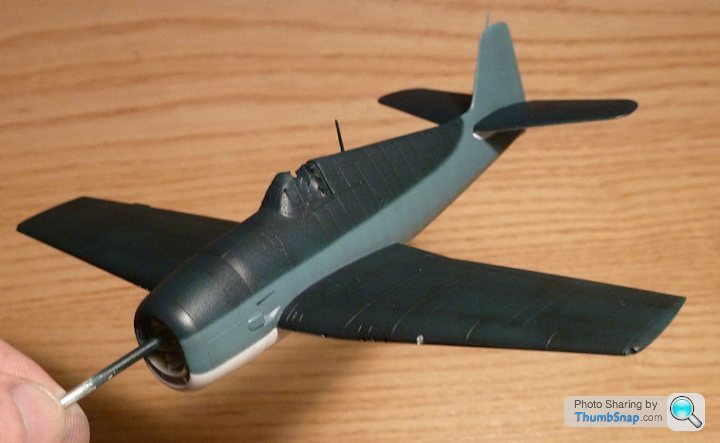
Anyhow, ready for decals now:
Anyhow, ready for decals now:
Norco said:
Really like that! Looks great so far. For an aircraft that was designed with little regard for aesthetics, I always thought it looked pretty good.
Thanks very much - I like all the Grumman 'Cats': Form through function.perdu said:
It's looking 'the nuts' G
I can just see the preshading
Just
very nice
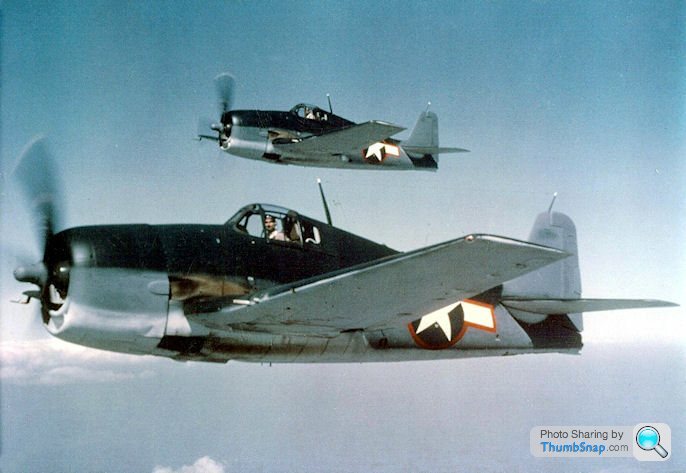
Ta Perdu - that was the aim! Still needs some of the contrast between colours knocking back, probably with a few coats of Tamiya smoke plus maybe some powder weathering on the blues as per JD1981. Then again the three-tone scheme does seem pretty contrasty in reality:I can just see the preshading
Just
very nice

Decals on tonight:
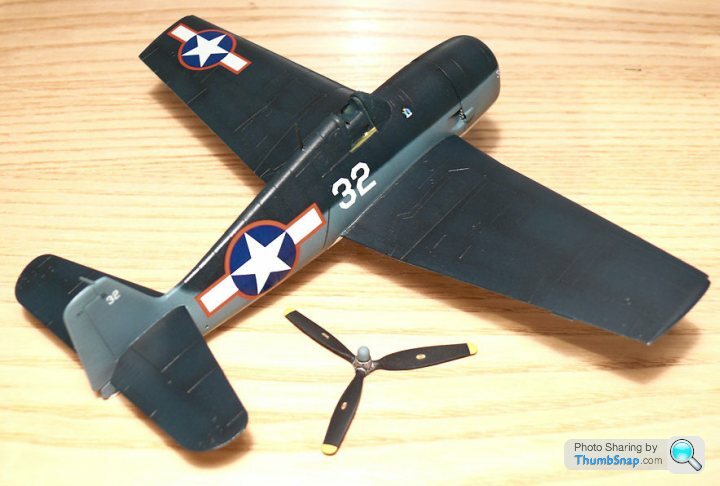
There aren't many of them, but they are big...
perdu said:
As youpointed out everything about them was big
I still have one of the Hasegawa ones kicking about from when I was a modeller back in the day, and there is almost enough left to rework
Yours is kinda tempting me
I think the Hasegawa kit is also very good from what I have read.I still have one of the Hasegawa ones kicking about from when I was a modeller back in the day, and there is almost enough left to rework
Yours is kinda tempting me
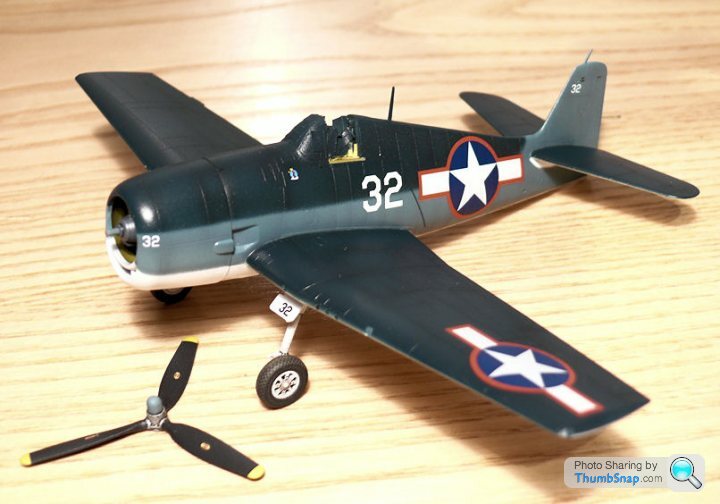
So the weathering is done; I went for MIG neutral wash all over, dark wash in the wheel bays, followed by three thinned coats of Tamiya Smoke to knock back the contrast a bit and give everything a bit of age. I used Tamiya powders for the exhaust and cordite stains, and dots of oil paint streaked back with a cloth in some areas. It still needs some very minor paint chips applying to areas of high wear. As ever, the discretion:valour ratio was high; I didn't have the confidence to do much more with the exhausts so I left them. At some point aircraft are new or get cleaned - that's my excuse...
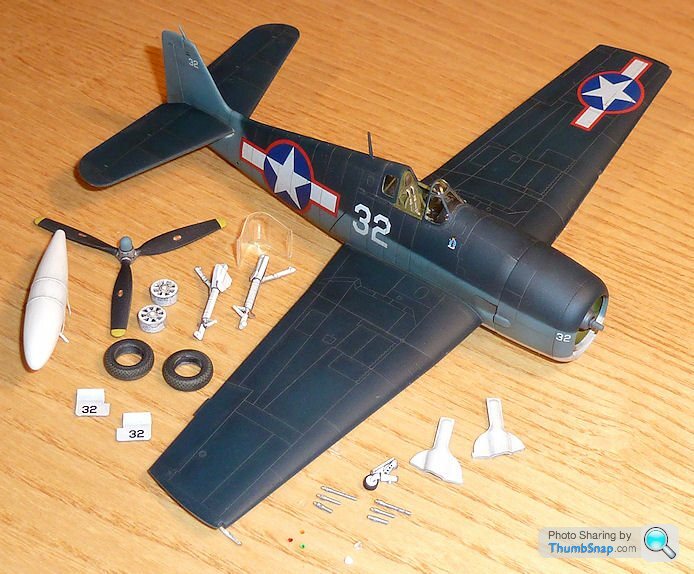

So now it's the best bit: Final assembly. The drop tank needs the weathering completing, and I've not yet trimmed or painted the vacform canopy, but the model is 90% there now.
I made some navigation lights by heat stretching clear sprue, then dabbing the ends into the flame to bulb the ends:

They fit into chamfered holes I drilled in the fuselage spine and tail cone.
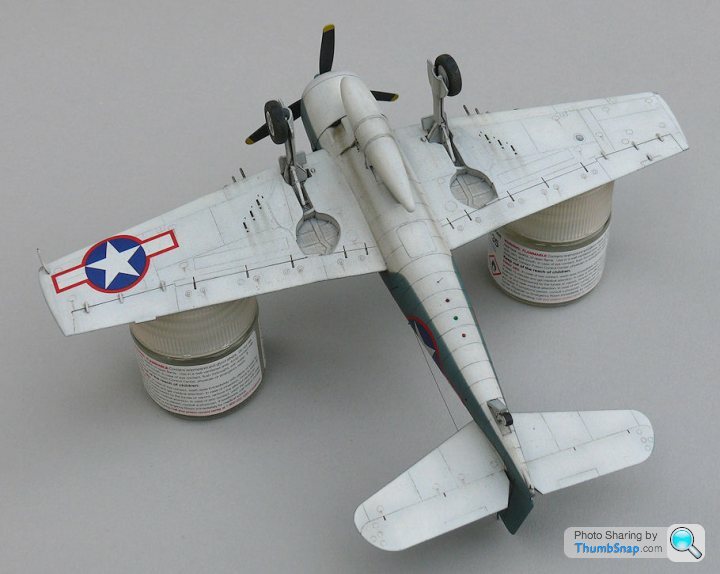
Also flattted the tyres to simulate some weight on them. My preferred method is to roughly flat them before fitting to the model, then put some wet & dry on a surface plate, and place the model on it with one wheel at a time on a corner of the abrasive. Then hold each wheel in turn while circling the abrasive underneath:
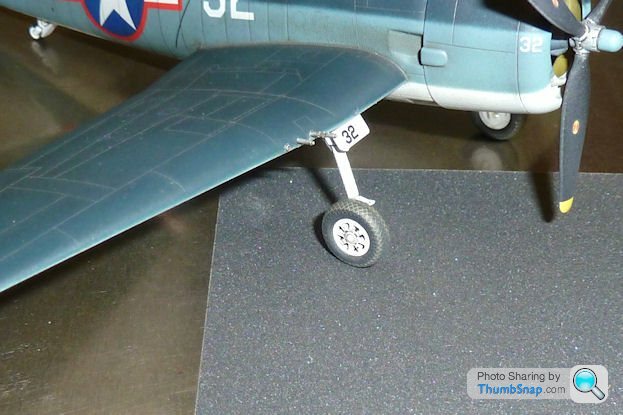
This is an easy way of ensuring pretty much spot-on parallel and level flats:
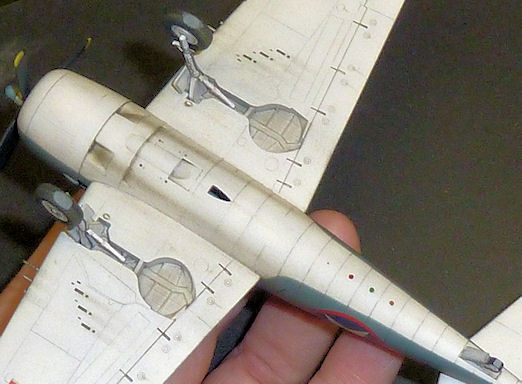
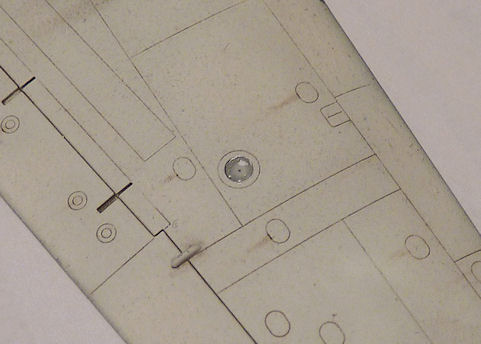
Also noticed that the stbd. wing landing light was missing - probably for an F6F-5 variant of the kit. I used a method I tried on my Curtiss Hawk model, which looked good. First, drill a small hole in the centre of the lamp - this is where the fillament will go:
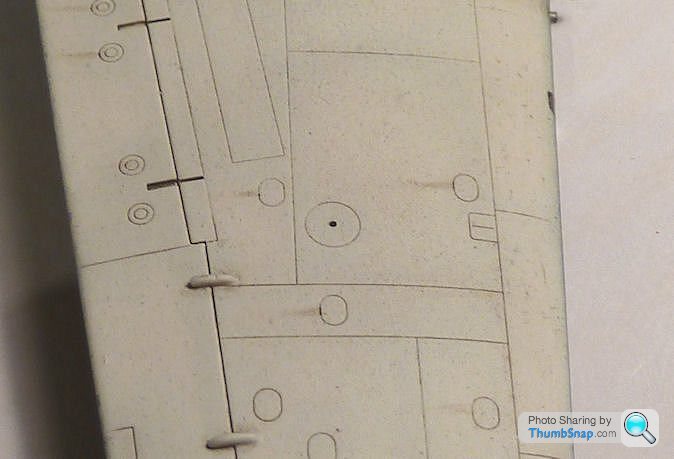
Then make a shallow conical cut with a much larger drill - this forms the reflector:
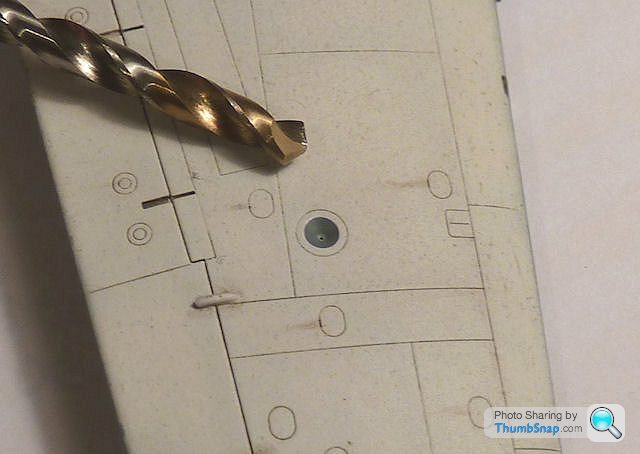
Paint the depression silver, and glue in some black stretched sprue into the small central hole to form the fillament:
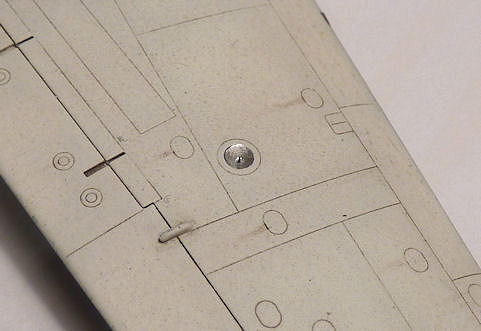
Then fill the whole lot with canopy PVA to form the lens:
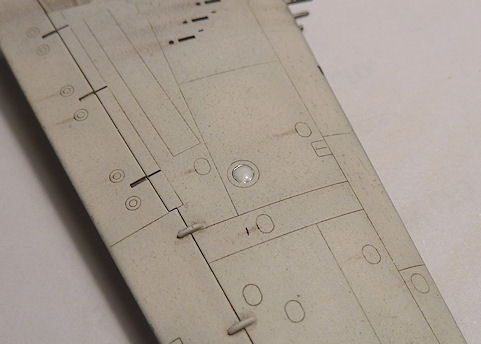
Whan this is set, it dries clear (it's not quite there yet in the photo, but you get the idea):
They fit into chamfered holes I drilled in the fuselage spine and tail cone.
Also flattted the tyres to simulate some weight on them. My preferred method is to roughly flat them before fitting to the model, then put some wet & dry on a surface plate, and place the model on it with one wheel at a time on a corner of the abrasive. Then hold each wheel in turn while circling the abrasive underneath:
This is an easy way of ensuring pretty much spot-on parallel and level flats:
Also noticed that the stbd. wing landing light was missing - probably for an F6F-5 variant of the kit. I used a method I tried on my Curtiss Hawk model, which looked good. First, drill a small hole in the centre of the lamp - this is where the fillament will go:
Then make a shallow conical cut with a much larger drill - this forms the reflector:
Paint the depression silver, and glue in some black stretched sprue into the small central hole to form the fillament:
Then fill the whole lot with canopy PVA to form the lens:
Whan this is set, it dries clear (it's not quite there yet in the photo, but you get the idea):
I used the spare Eduard masks included in the kit (excellent fit):
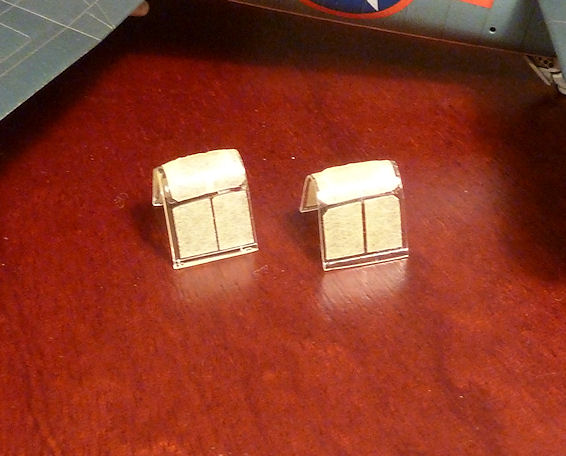
...to make a direct comparison between the original and vacform canopies:
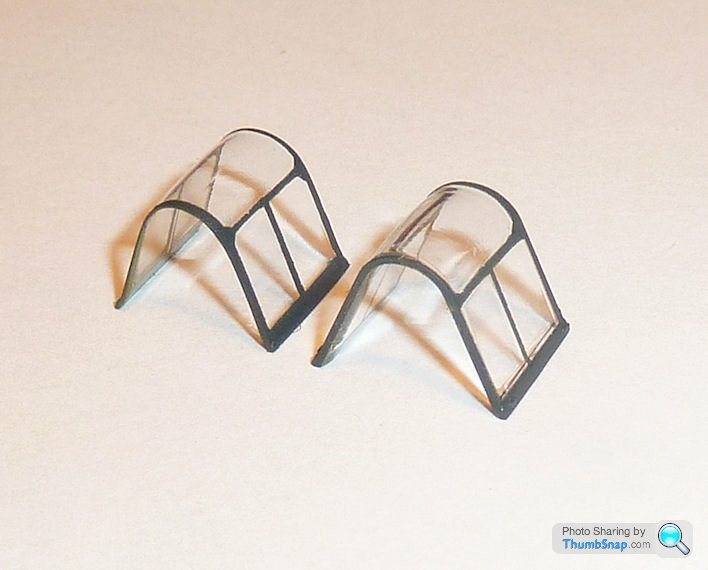
The kit version isn't too bad, but the more delicate looking vacform canopy shades it. As usual, the thinner vacformed acetate also gives less distortion to any features underneath.
Also used some stretched sprue for the aerial wires (I'd already drilled a hole for the flying wire socket in the fuselage side, and fitted a sprue stub), and some buff painted PVA blobs to form the insulators at each end:
Once the canopy glue is set and the masking tape removed, it'll be finished.
...to make a direct comparison between the original and vacform canopies:
The kit version isn't too bad, but the more delicate looking vacform canopy shades it. As usual, the thinner vacformed acetate also gives less distortion to any features underneath.
Also used some stretched sprue for the aerial wires (I'd already drilled a hole for the flying wire socket in the fuselage side, and fitted a sprue stub), and some buff painted PVA blobs to form the insulators at each end:
Once the canopy glue is set and the masking tape removed, it'll be finished.

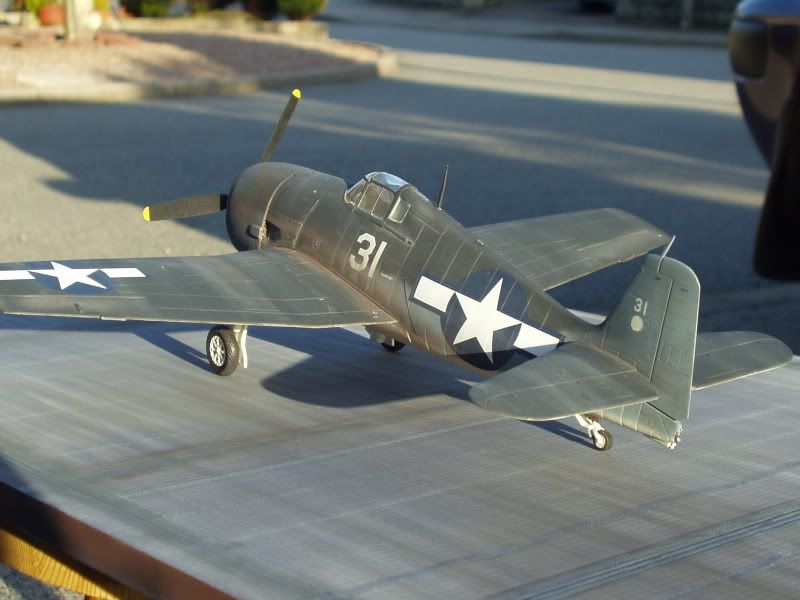
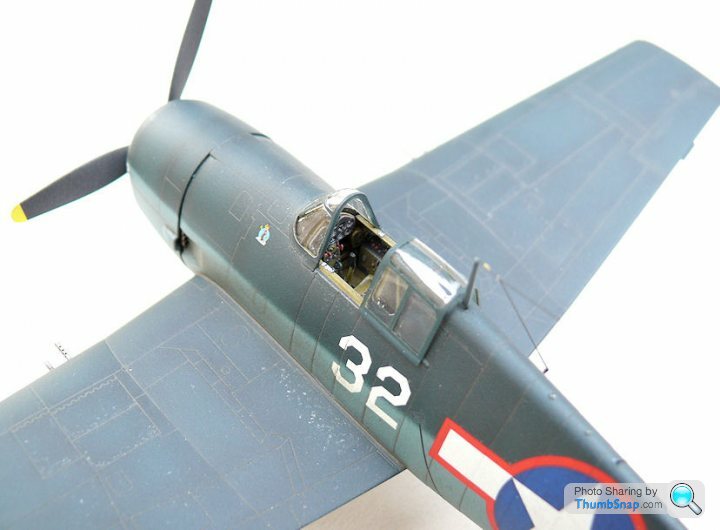
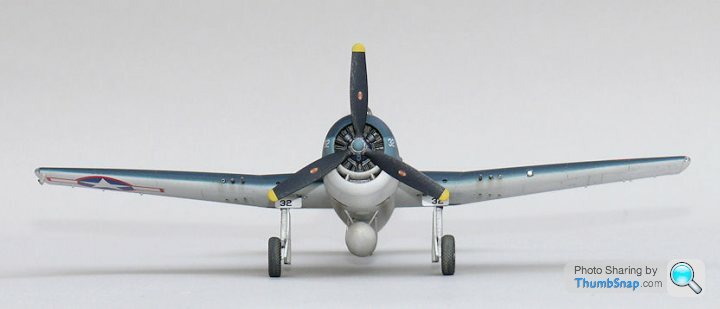
Finished pics...
Grumman Hellcat F6F-3, VF-16, USS Lexington, Hawaii, Septemebr 1943:

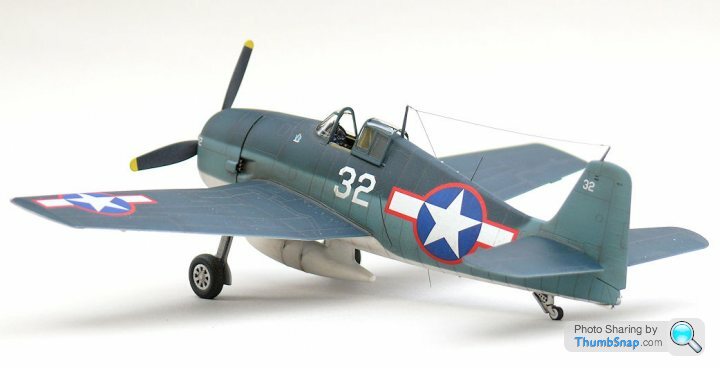
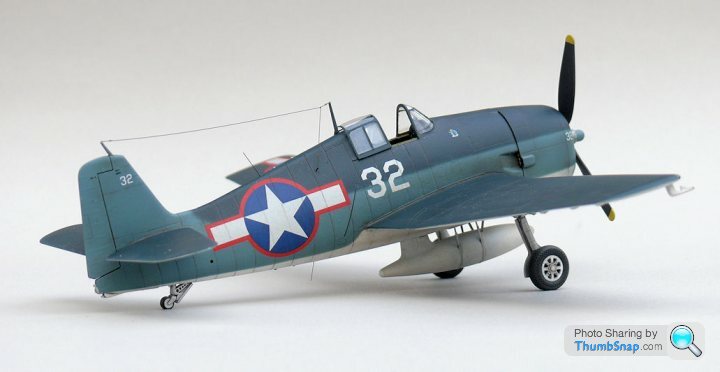
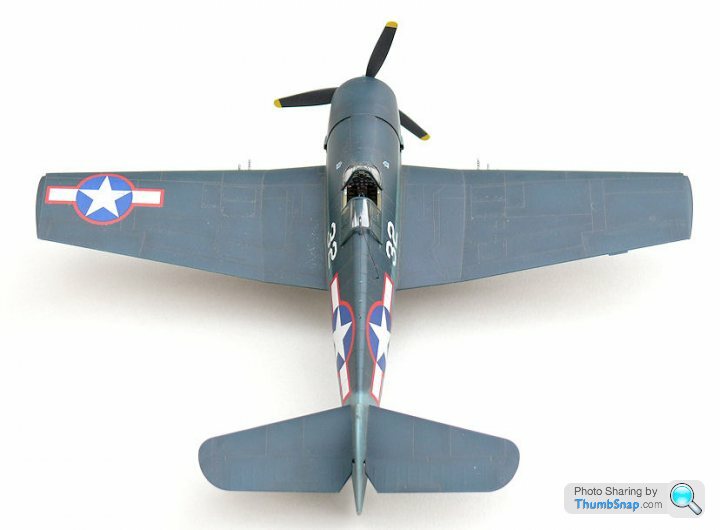
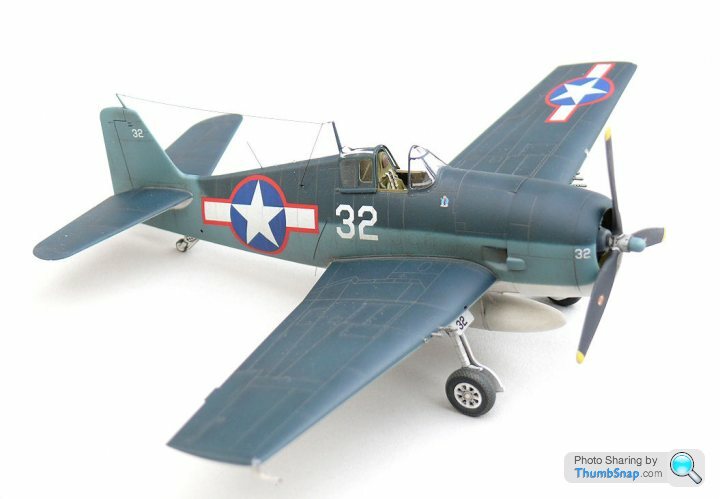

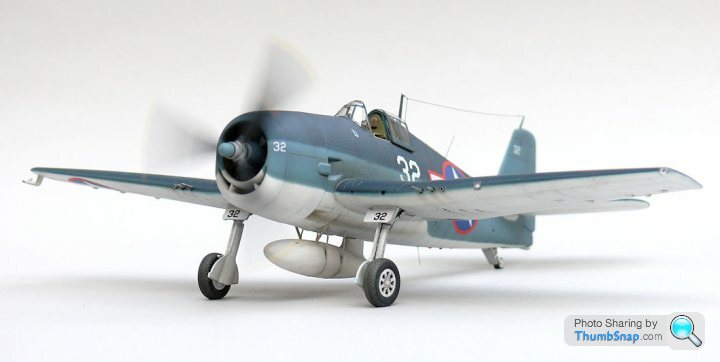
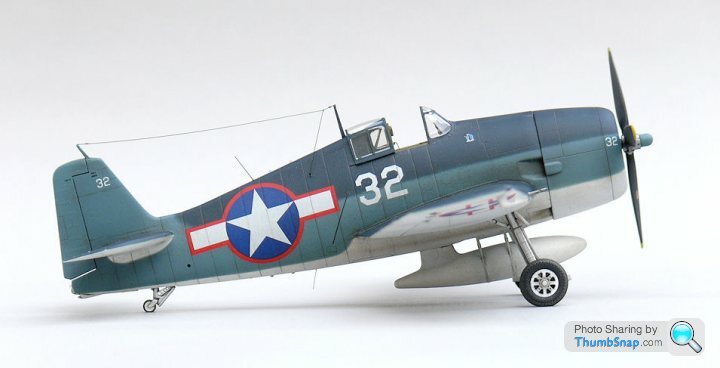
Modifications to kit included:
Scratchbuilt clear styrene landing / navigation lights.
Little Lens identification lamps.
Stretched sprue IFF & VHF whip aerials.
Master Model Brass gun barrels.
Aerial wire stub in fuselage side.
Lead wire wheel brake pipes.
Pitot tube vane (scrap photo-etch).
Drilled out tailwheel drag brace.
Squadron vacform canopy.
Flatted tyres.
Drop tank filler cap decal.
Drilled out exhaust stubs.
Acetate gunsight.
Thanks for watching!
Grumman Hellcat F6F-3, VF-16, USS Lexington, Hawaii, Septemebr 1943:
Modifications to kit included:
Scratchbuilt clear styrene landing / navigation lights.
Little Lens identification lamps.
Stretched sprue IFF & VHF whip aerials.
Master Model Brass gun barrels.
Aerial wire stub in fuselage side.
Lead wire wheel brake pipes.
Pitot tube vane (scrap photo-etch).
Drilled out tailwheel drag brace.
Squadron vacform canopy.
Flatted tyres.
Drop tank filler cap decal.
Drilled out exhaust stubs.
Acetate gunsight.
Thanks for watching!
Edited by dr_gn on Saturday 31st October 12:01
Ayahuasca said:
Pah, can I suggest for your next effort that you fit hinges to the control surfaces and hook up linkages to the control column and rudder pedals?
Yeah you can suggest it...I did see a Hellcat model - not sure what scale - where the guy had cut the wings and made fully operational wing fold hinges.
HoHoHo said:
Lovely and I enjoy your classes in 'how to do it', many thanks 
What's next?
Glad you like it.What's next?
Next up is the Tamiya 1:72 Zero to go wth the Hellcat, plus I'm still figuring out the best way to finish the woodgrain Mosquito. I got side tracked with that because of some family health issues, but hopefully it'll be complete soon.
Gassing Station | Scale Models | Top of Page | What's New | My Stuff