Pocher For A Beginner?
Discussion


Made an attempt to make the exhaust looking a bit used
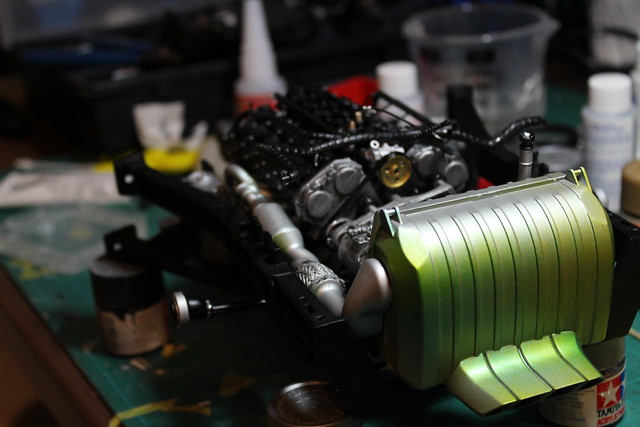 poacher lambo _012 by MBBlat, on Flickr
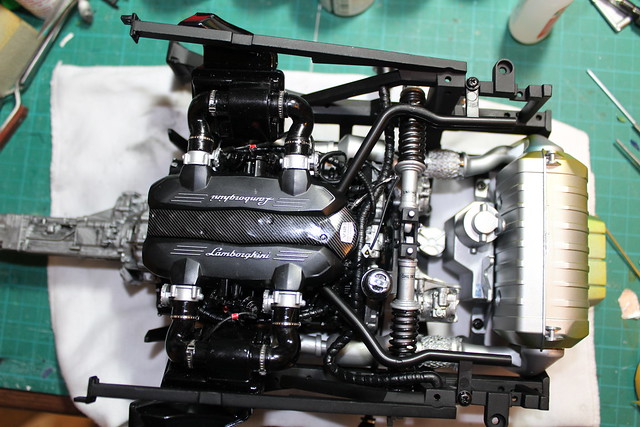
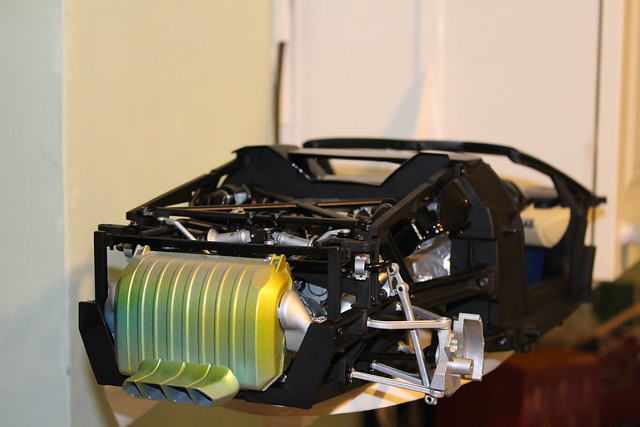
And got the engine fitted into the rear frame
 poacher lambo _017 by MBBlat, on Flickr
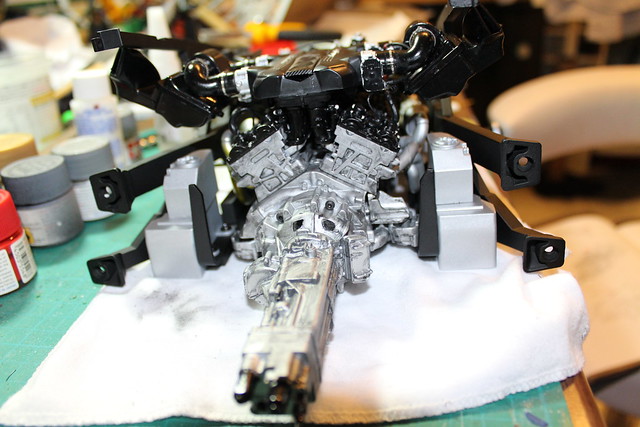
This view will not be available once the car is assembled
 poacher lambo _018 by MBBlat, on Flickr
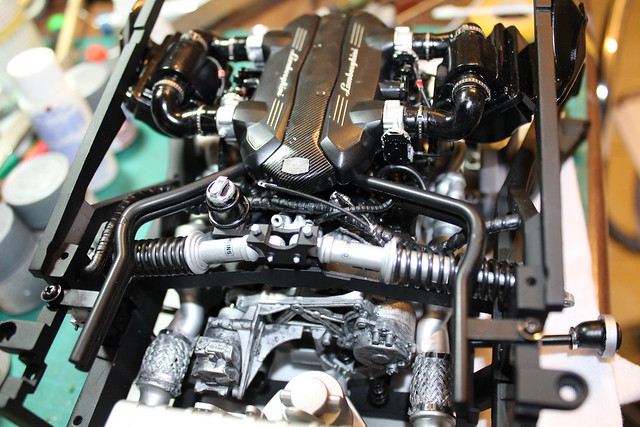
The area between the engine and the oil tank is a bit empty, I'm just not sure I'm up to scratch-building all the oil lines
 poacher lambo _021 by MBBlat, on Flickr
I've also got Paul Koo's DVD and decal set - well recommended even for doing a straight build like mine.
poacher lambo _012 by MBBlat, on FlickrAnd got the engine fitted into the rear frame
poacher lambo _017 by MBBlat, on FlickrThis view will not be available once the car is assembled
poacher lambo _018 by MBBlat, on FlickrThe area between the engine and the oil tank is a bit empty, I'm just not sure I'm up to scratch-building all the oil lines
poacher lambo _021 by MBBlat, on FlickrI've also got Paul Koo's DVD and decal set - well recommended even for doing a straight build like mine.
SAB888 said:
Are you finding this an easy build and is it very time consuming?
I'd say it is a relatively easy build, as the large scale means that most parts are relatively large, plus some of the paintings already done for you. The only real pain so far was getting the exhaust headers attached to the exhaust, lots of filler required and pocher seemed to use a special plastic that is immune to glue. I did the best I could but there is still a noticeable discontinuity in what should be a smooth pipe. However one the engine is in the frame its fairly well hidden. You just about see it to the right in the photo below.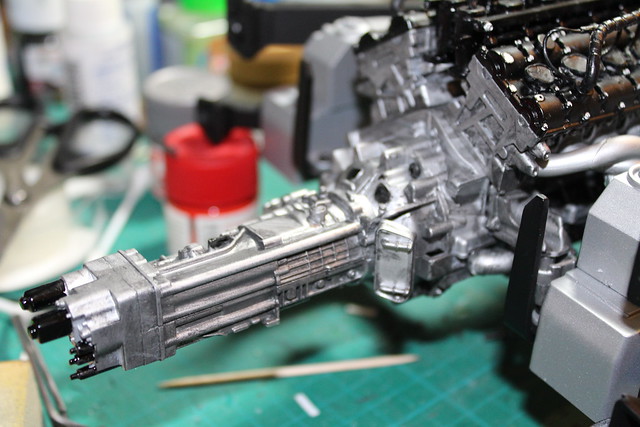 poacher lambo _014 by MBBlat, on Flickr
It is time consuming, mostly because I'm painting the parts as I go, its taken me two weekends and a week of evenings just to do the engine & rear frame.
SAB888 said:
What additional items do you get with the decal kit?
Instructions here https://www.dropbox.com/sh/m3eg3y3wyvg00am/AAD-VhM...You also get a small sheet of chrome foil to do the front shocks with, there is more than enough left over to do other details such as the the bands on the half shafts & before and after the exhaust flexible joint. Despite ordering from the US it arrived quickly and I didn't get stung for customs charges. $21 including postage from eBay.
I disassembled the cockpit to add some decals from the add on set
 poacher lambo _025 by MBBlat, on Flickr
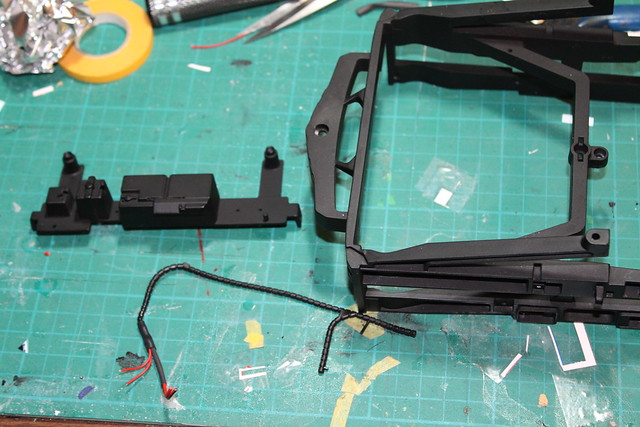
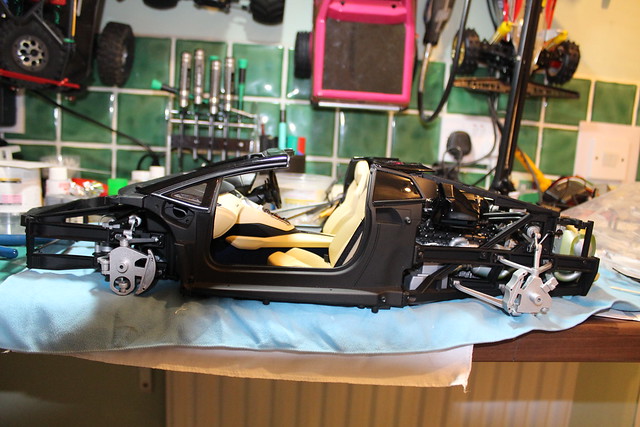
Then added the back to the middle, having installed the rear suspension first
 poacher lambo _027 by MBBlat, on Flickr
Starting prep for the front end
 poacher lambo _028 by MBBlat, on Flickr
Got a couple of evenings of painting ahead, so there will not be much progress to show for a while.
PS check out my flickr account for more photos
poacher lambo _025 by MBBlat, on FlickrThen added the back to the middle, having installed the rear suspension first
poacher lambo _027 by MBBlat, on FlickrStarting prep for the front end
poacher lambo _028 by MBBlat, on FlickrGot a couple of evenings of painting ahead, so there will not be much progress to show for a while.
PS check out my flickr account for more photos
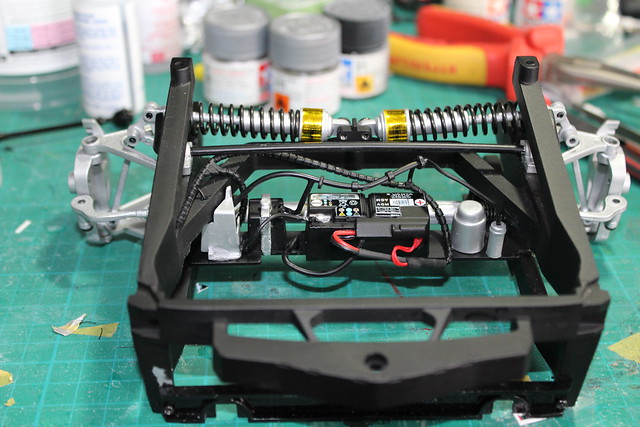
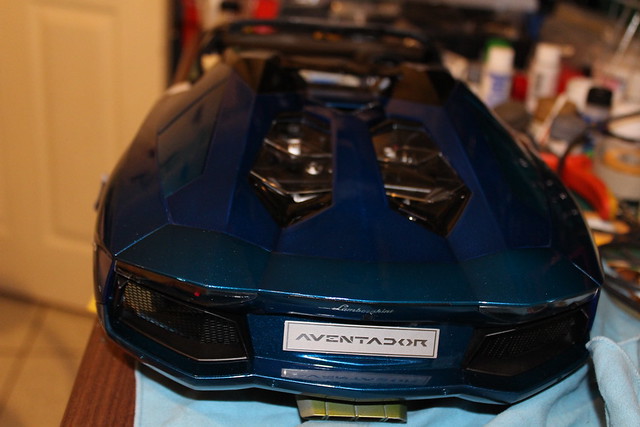
Front frame done. I used the correct size battery decals from the supplementary set and added some more wiring from the positive side.
 poacher lambo _036 by MBBlat, on Flickr
poacher lambo _036 by MBBlat, on FlickrFront frame attached to the main body
 poacher lambo _043 by MBBlat, on Flickr
Made a start on the back, only problem is that I made a major mistake with the Lamborghini decal, basically I picked up the bottle of Microsol rather than Microset, and it stuck fast as soon as I applied it, way off centre. Anyone got any suggestions as to how to resolve this?
 poacher lambo _046 by MBBlat, on Flickr
Next problem is that having attached the rear body to the frame the engine cover is sitting noticibly proud of the body
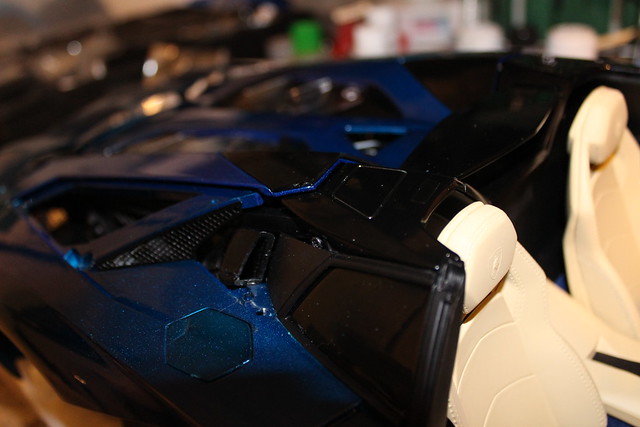 poacher lambo _049 by MBBlat, on Flickr
And there is a definite shade difference between the pre-painted metal and pre-painted plastic - I'm not up to repainting the entire exterior so I'll just have to live with it.
poacher lambo _043 by MBBlat, on FlickrMade a start on the back, only problem is that I made a major mistake with the Lamborghini decal, basically I picked up the bottle of Microsol rather than Microset, and it stuck fast as soon as I applied it, way off centre. Anyone got any suggestions as to how to resolve this?
poacher lambo _046 by MBBlat, on FlickrNext problem is that having attached the rear body to the frame the engine cover is sitting noticibly proud of the body
poacher lambo _049 by MBBlat, on Flickr And there is a definite shade difference between the pre-painted metal and pre-painted plastic - I'm not up to repainting the entire exterior so I'll just have to live with it.
Edited by MBBlat on Sunday 6th March 00:27
I have the feeling that the engine cover sitting proud is to do with using the wrong screws for the engine cover gas struts- I think they should all be countersunk in that area but there is a mistake in the manual and it calls for a non-countersunk. That's on the coupe though so not sure if it's the same on the roadster which I think yours is?
Progress update - started on the front body
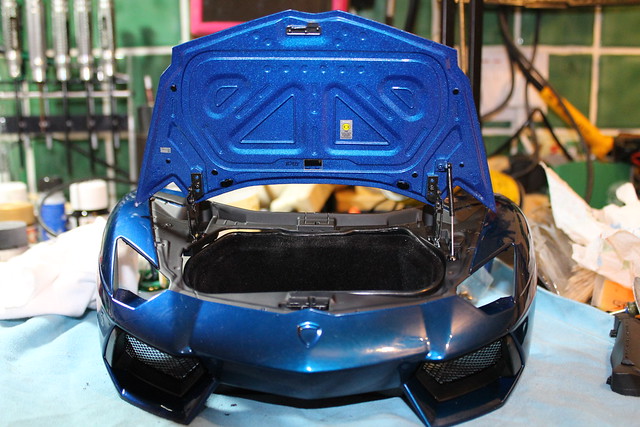 poacher lambo _054 by MBBlat, on Flickr
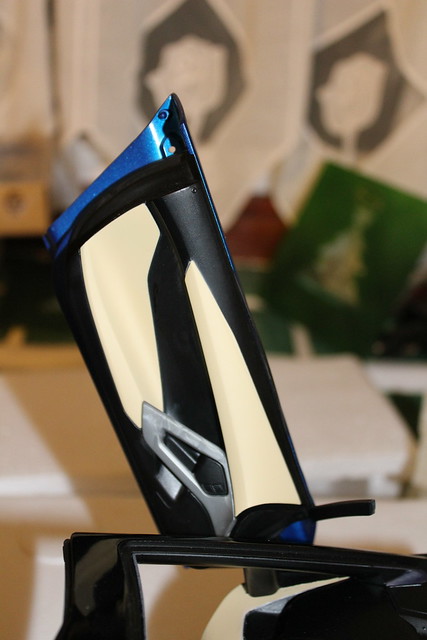
Although I'm a bit stalled at the moment, as I managed to loose 2 of the front LED sidelights
 poacher lambo _055 by MBBlat, on Flickr
Why on earth for the cost of the kit Hornby had to be stingy on the supply of these is anyone's guess, as just about every build log I've read mentiones losing one or two of them. Unfortunately Pocher also seem to be out of stock of every spare part as well, so I can't even get any replacements.
Quick question for the more experienced modellers - is there an easy way to get rid of the appearance of the sprue gates on this part witout destroying the textured surface?
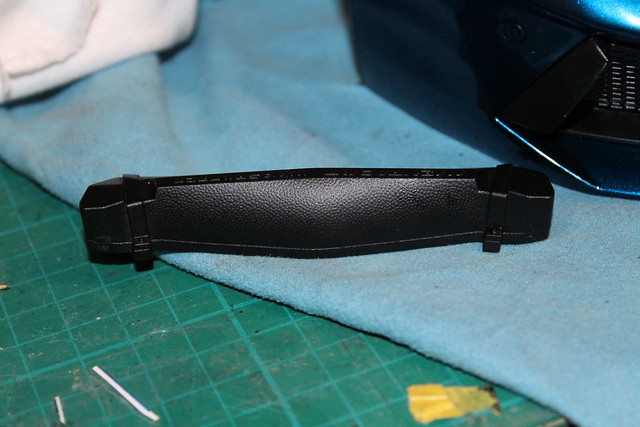 poacher lambo _057 by MBBlat, on Flickr
The gaps between the halves are less of the problem as the real item is made of two pieces

I've also got to decide if its worth masking & painting the black on the door panel.
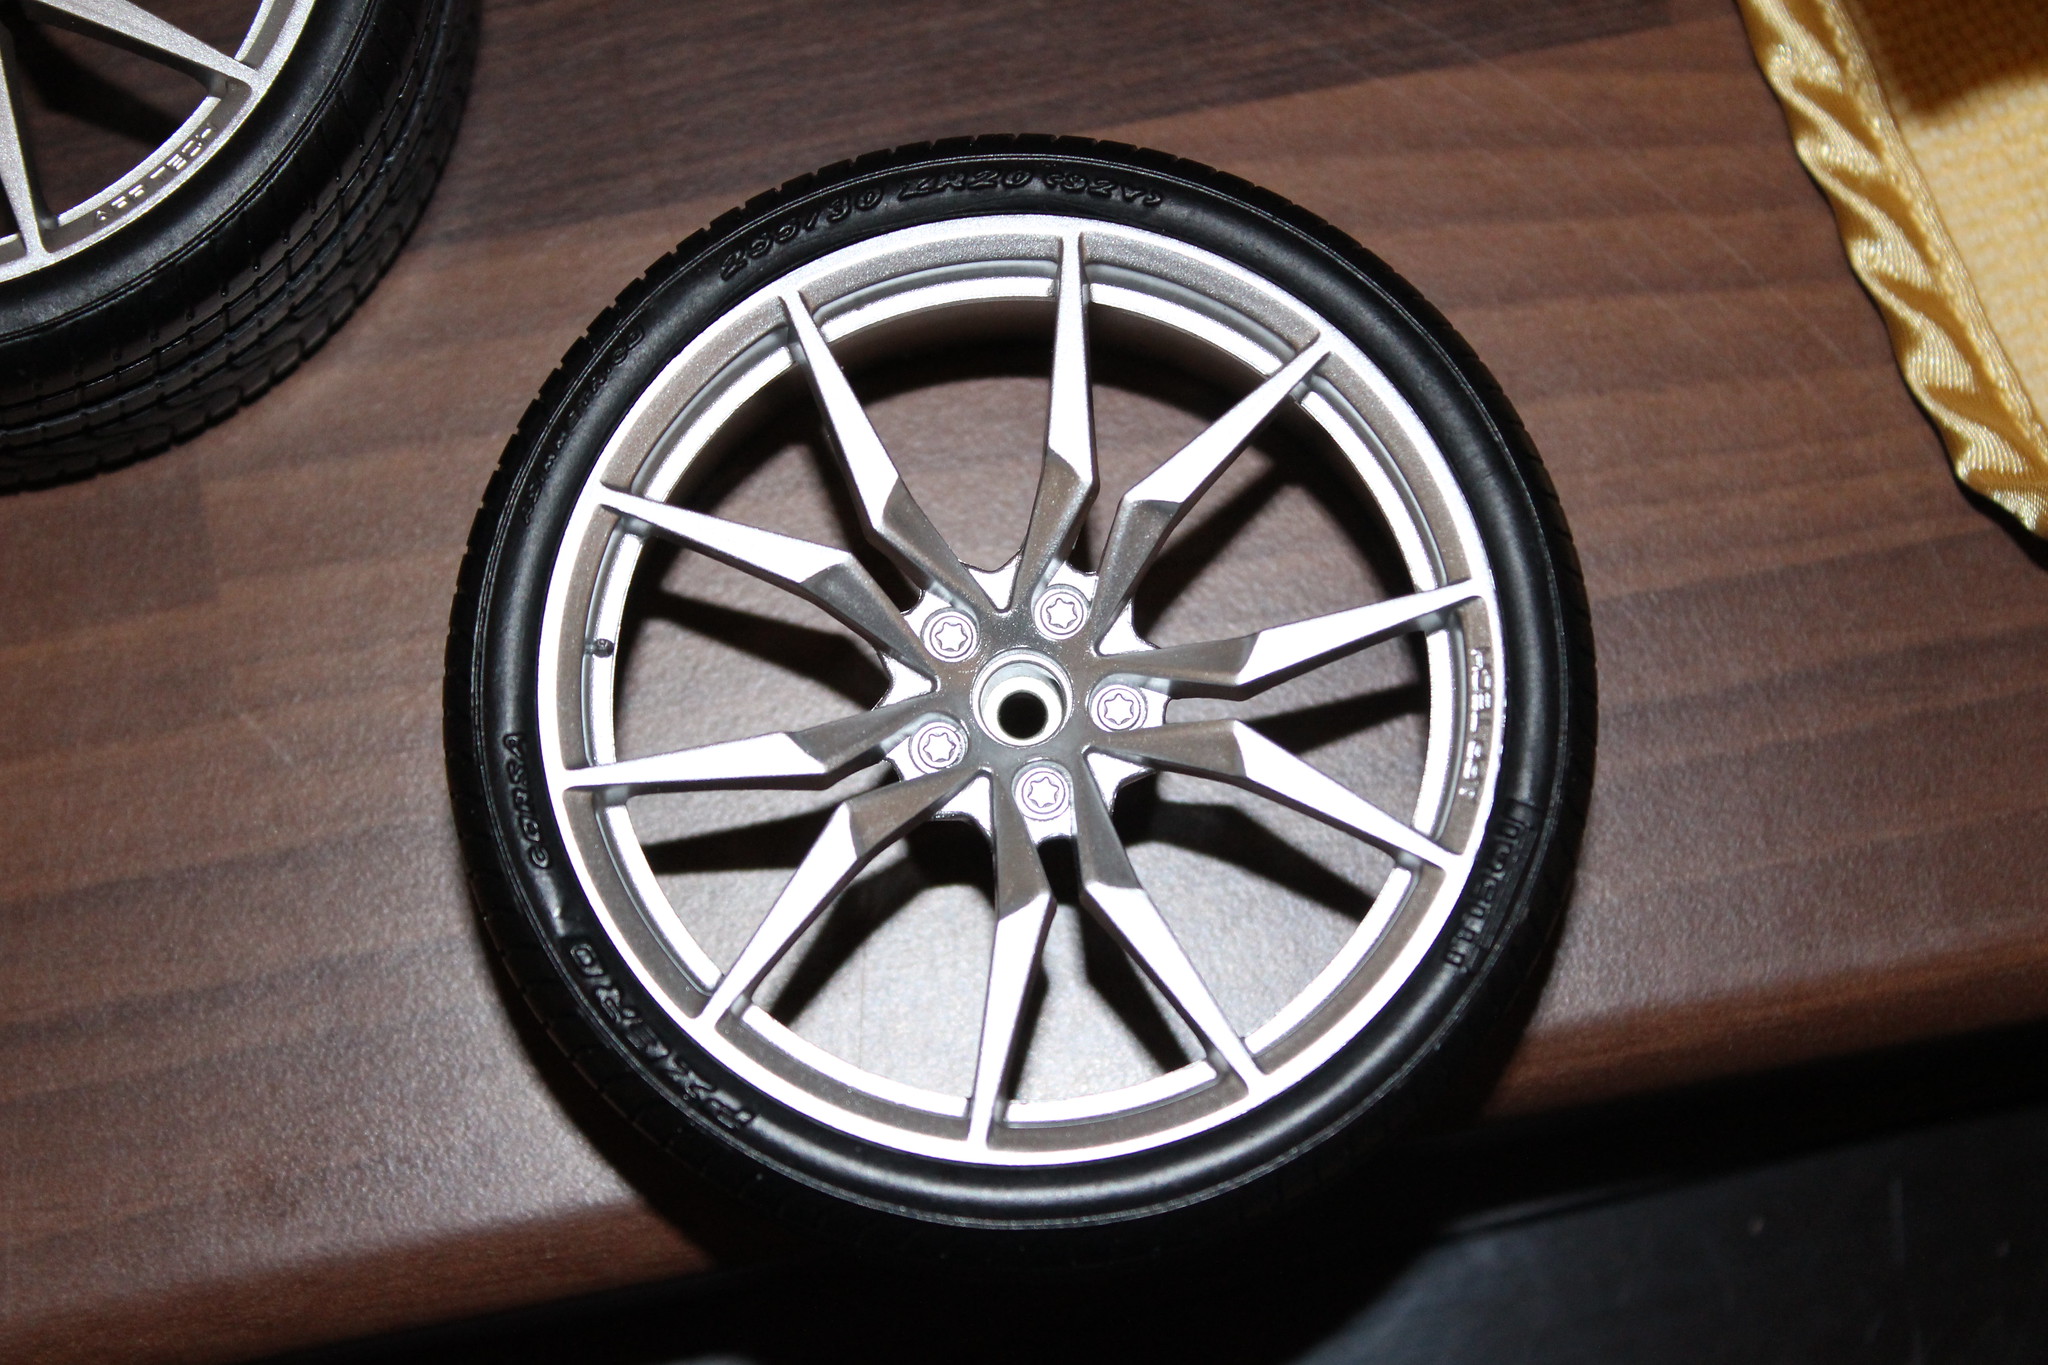
 poacher lambo _053 by Mark Benger, on Flickr
poacher lambo _054 by MBBlat, on FlickrAlthough I'm a bit stalled at the moment, as I managed to loose 2 of the front LED sidelights
poacher lambo _055 by MBBlat, on FlickrWhy on earth for the cost of the kit Hornby had to be stingy on the supply of these is anyone's guess, as just about every build log I've read mentiones losing one or two of them. Unfortunately Pocher also seem to be out of stock of every spare part as well, so I can't even get any replacements.
Quick question for the more experienced modellers - is there an easy way to get rid of the appearance of the sprue gates on this part witout destroying the textured surface?
poacher lambo _057 by MBBlat, on FlickrThe gaps between the halves are less of the problem as the real item is made of two pieces
I've also got to decide if its worth masking & painting the black on the door panel.
poacher lambo _053 by Mark Benger, on FlickrWheel with low profile tyre
 pocher_063 by MBBlat, on Flickr
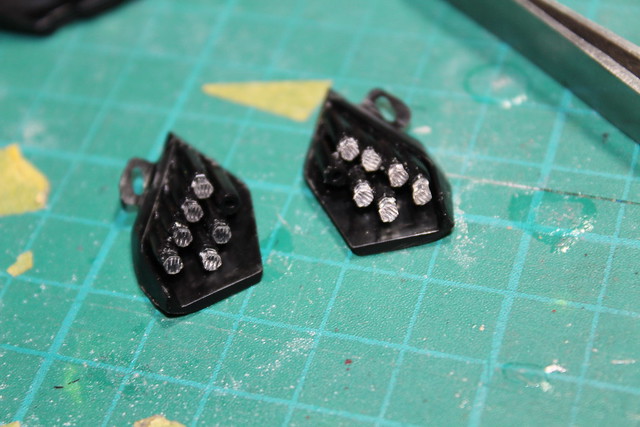
Brake calipers decaled up
 pocher_066 by MBBlat, on Flickr
Bank holiday monday job - put up some shefl brackets to take the display case
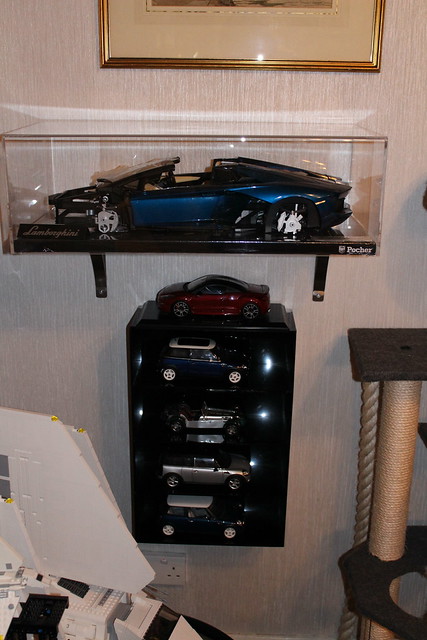 pocher_065 by MBBlat, on Flickr
for a sense of scale those are 1/18 models below
pocher_063 by MBBlat, on FlickrBrake calipers decaled up
pocher_066 by MBBlat, on FlickrBank holiday monday job - put up some shefl brackets to take the display case
pocher_065 by MBBlat, on Flickrfor a sense of scale those are 1/18 models below
15% off all Pocher, our sale ends tonight. Use code EASTER16
You wont get a Pocher kit cheaper than this...
Ducati works out at £400.
2 of the Aventadors work out at £345.
http://www.jadlamracingmodels.com/casearch.aspx?Se...
You wont get a Pocher kit cheaper than this...
Ducati works out at £400.
2 of the Aventadors work out at £345.
http://www.jadlamracingmodels.com/casearch.aspx?Se...
dr_gn said:
I read somewhere that Hornby has sold the Pocher brand. Not sure if there's any truth to it, but every Pocher model is currently out of stock on the Hornby website.
Yea it's moved to a distributor in Europe somewhere, expect prices to rise.We currently have a lot of the remaining stock all at very good prices (as it takes up so much bloody space!!)
If you have been wanting a certain kit I'd get and buy one now as the future isn't all that clear from where I stand.
http://www.jadlamracingmodels.com/search.php?searc...
Gassing Station | Scale Models | Top of Page | What's New | My Stuff