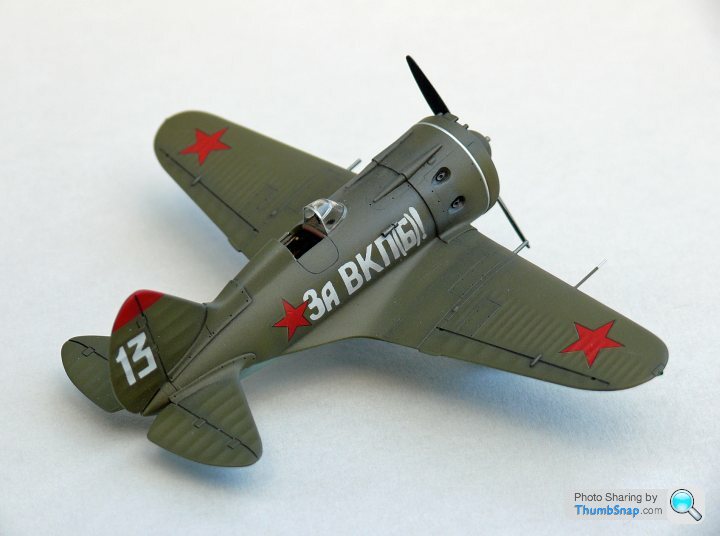
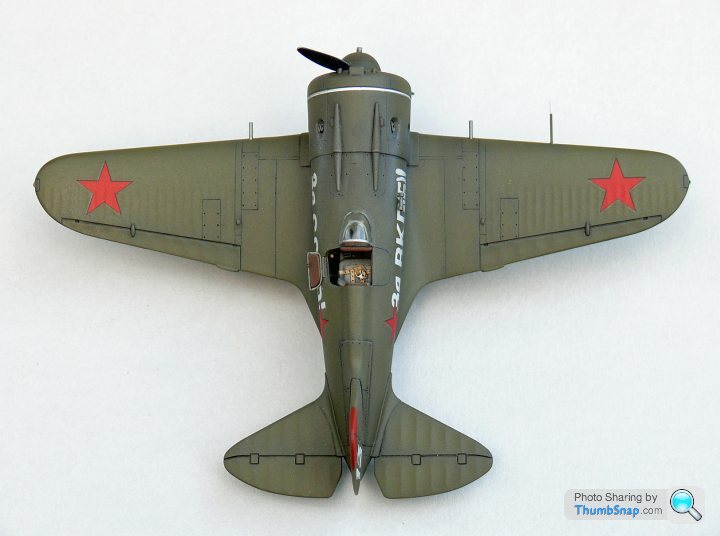
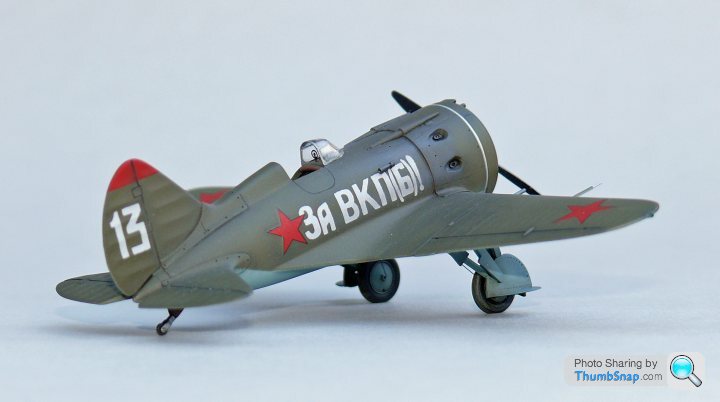
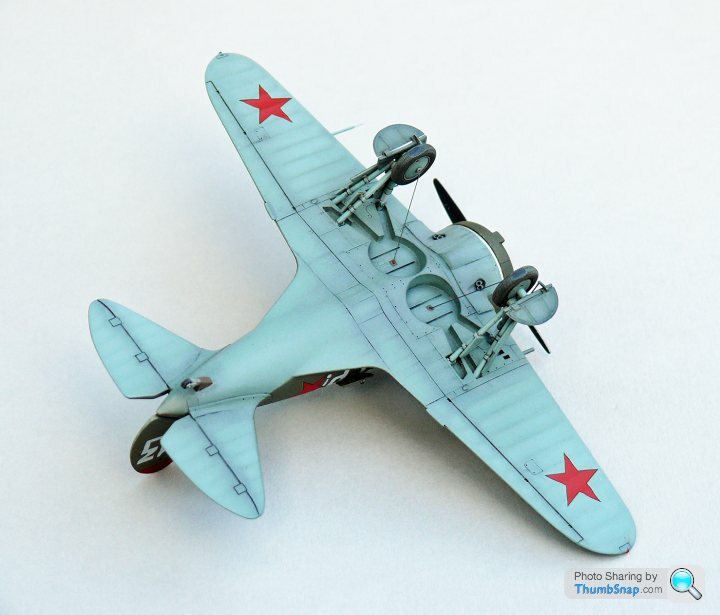
Hasegawa 1:72 Polikarpov I-16
Discussion


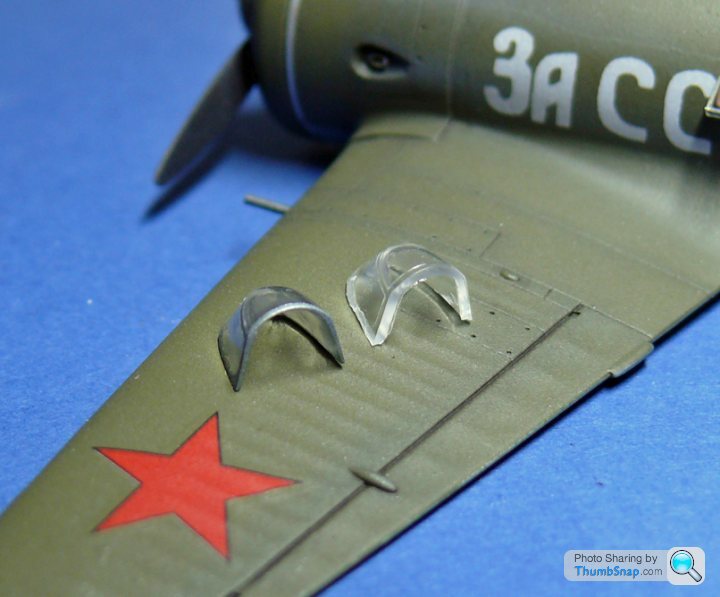
The windscreen in too thick as moulded, so the choice was to a) Buy or make a vac-form version, or b) Thin the original kit item. I opted for b), and used a selection of small files to taper the edge of the screen to a more acceptable size, This was followed by polishing the scratch marks out with Tamiya compounds and a cotton bud. Here is the modded screen with an original for comparison:
Then some careful masking:
And painting with Vallejo Air steel, Humbrol Matt varnish and Tamya weathering powder:
Then, finally, the u/c doors need thinning and modifying slightly.
Then some careful masking:
And painting with Vallejo Air steel, Humbrol Matt varnish and Tamya weathering powder:
Then, finally, the u/c doors need thinning and modifying slightly.

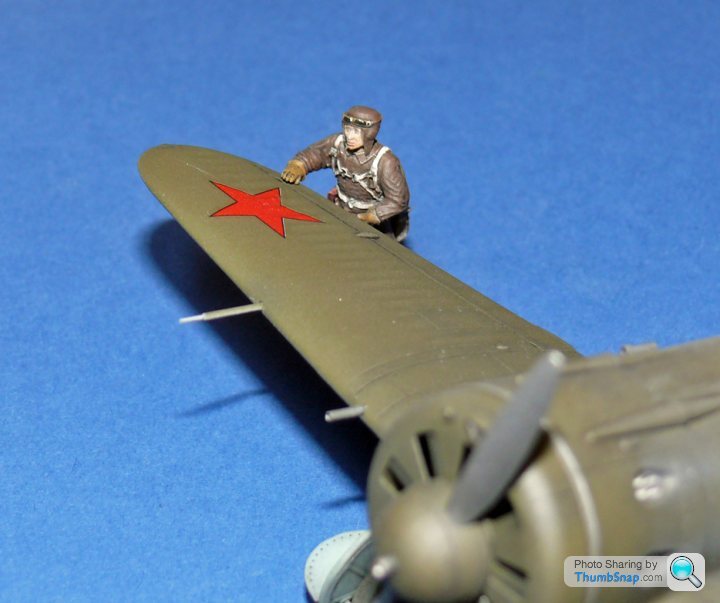
Comments much appreciated, but I've still not started the pilot...
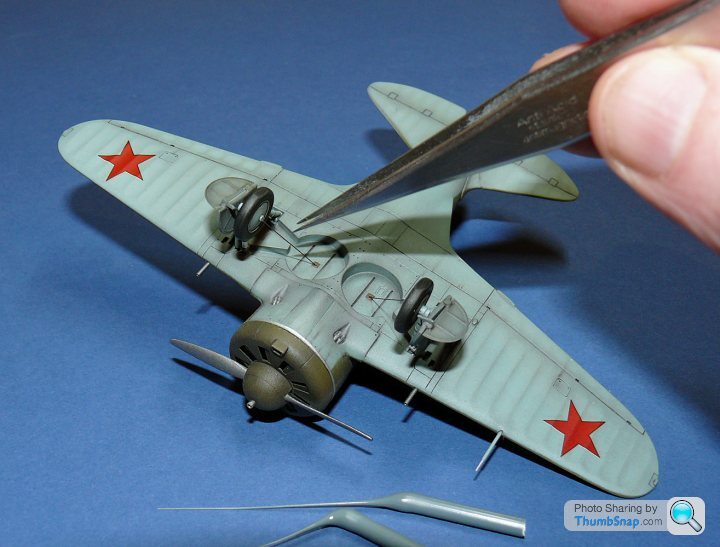
Onwards to the finish: I decided that since the Eduard photo-etch well covers didn't fit, but were nicely rendered, I'd make a hybrid of thinned-down kit parts (which fit the u/c legs perfectly), and some selected Eduard bits. Also used the riveting wheel to add some...rivets:

Also added the wheel flap cable levers out of scrap plasticard:

Painted & weathered:

I made a simple jig to make sure everything stayed in place while the Araldite set:
Fitted:

And fitting the retraction cables and flap wires:
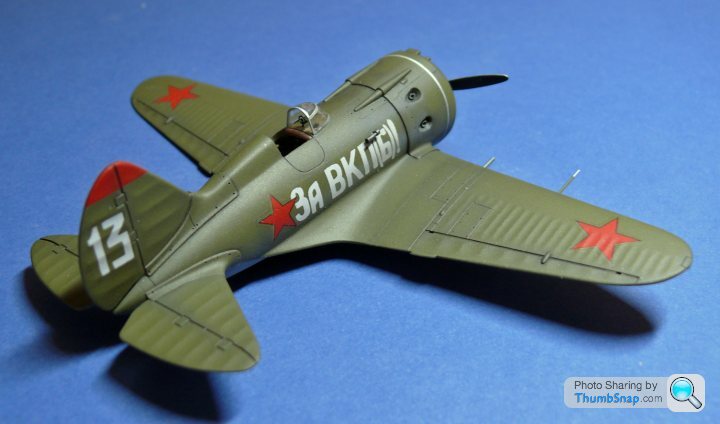
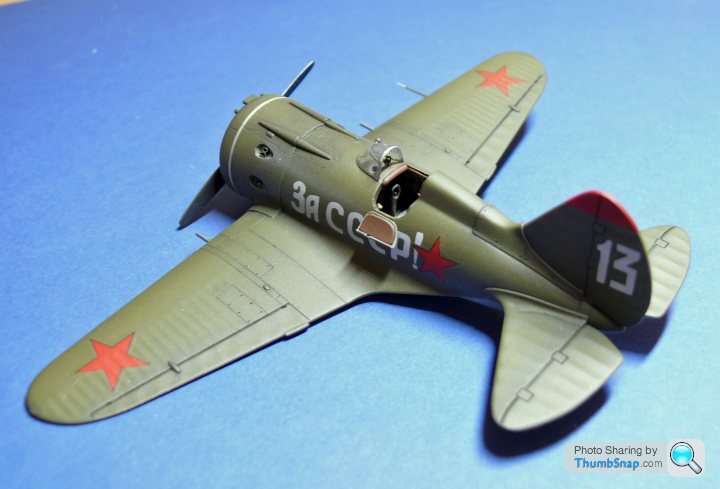
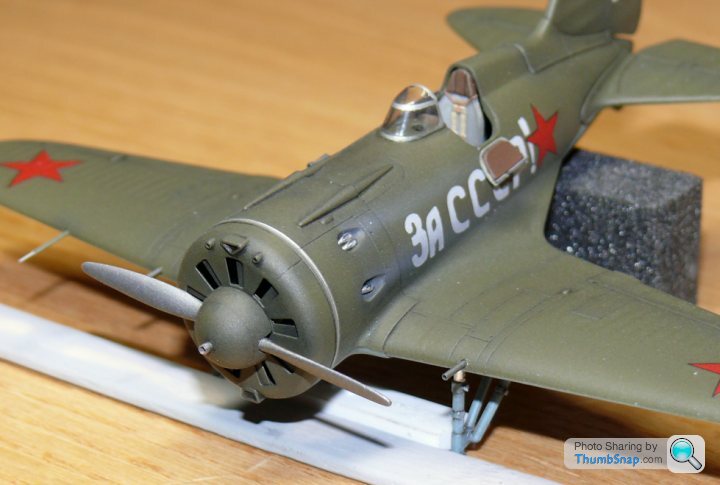
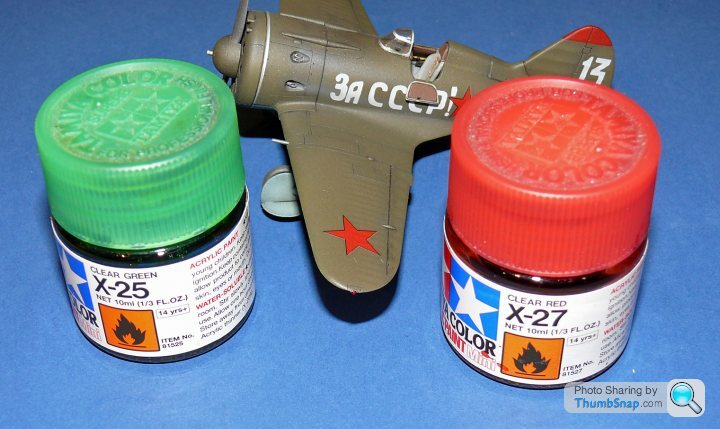
Final touch was some pva wingtip lights, dotted with clear read and green:
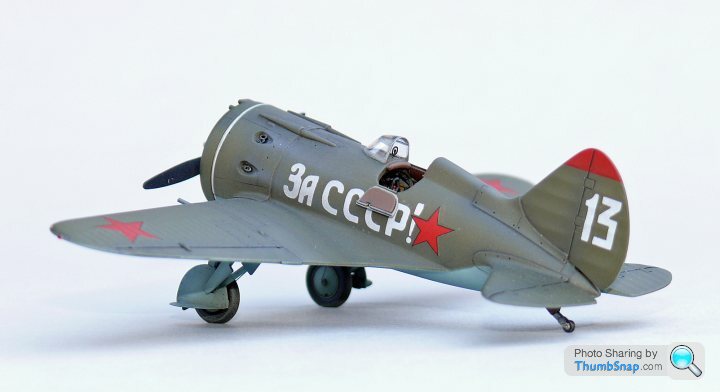
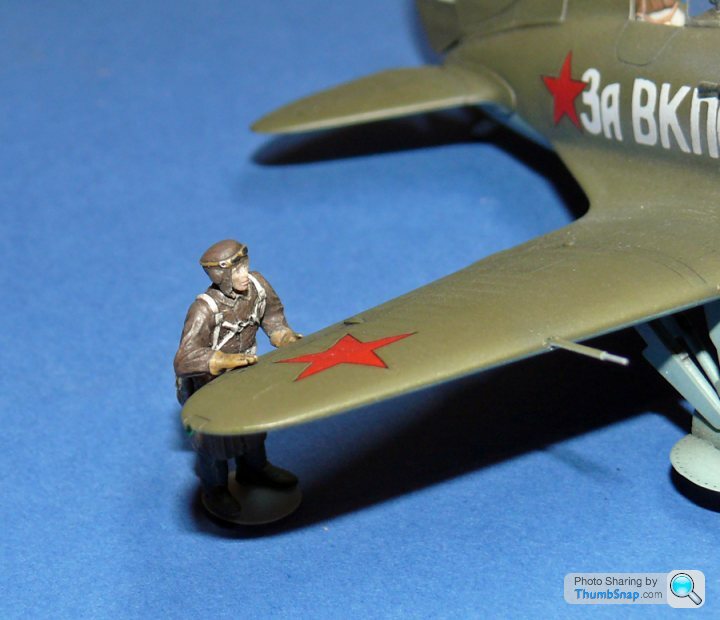
Next is the pilot, and to take some finished pictures when I get chance.
Onwards to the finish: I decided that since the Eduard photo-etch well covers didn't fit, but were nicely rendered, I'd make a hybrid of thinned-down kit parts (which fit the u/c legs perfectly), and some selected Eduard bits. Also used the riveting wheel to add some...rivets:
Also added the wheel flap cable levers out of scrap plasticard:
Painted & weathered:
I made a simple jig to make sure everything stayed in place while the Araldite set:
Fitted:
And fitting the retraction cables and flap wires:
Final touch was some pva wingtip lights, dotted with clear read and green:
Next is the pilot, and to take some finished pictures when I get chance.

Ayahuasca said:
Why did this aircraft have only a two bladed propeller?
Same as most aircraft designed back in the early 1930's. I guess it's a function of engine power, flight envelope and complexity. Increasing engine power usually resulted in more blades, or at least more extreme geometry. The Spitfire/Seafire series of aircraft went from 2 to 6 blades throughout it's development, while engine power more than doubled (I think). I can't think of any other aircraft that had 2,3,4,5 & 6 bladed variants throughout its life.

 I got some Vallejo paints delivered today, so I'll have a go and see how it turns out.

dr_gn said:
Same as most aircraft designed back in the early 1930's. I guess it's a function of engine power, flight envelope and complexity. Increasing engine power usually resulted in more blades, or at least more extreme geometry. The Spitfire/Seafire series of aircraft went from 2 to 6 blades throughout it's development, while engine power more than doubled (I think). I can't think of any other aircraft that had 2,3,4,5 & 6 bladed variants throughout its life.
IIRC it's because airscrews stop working when they go supersonic (stopping very big blades), and very fat blades cause a lot of drag. The best way of using the extra power was to add blades. Gassing Station | Scale Models | Top of Page | What's New | My Stuff