Italeri 1:72 Macchi C.202 "Folgore"
Discussion


With the Tamiya Zero done, I thought it was time to get back to this one. A bit of a shock coming from a standard kit that will probably look better than this one, which will have had hours of grief getting after-market parts to fit.
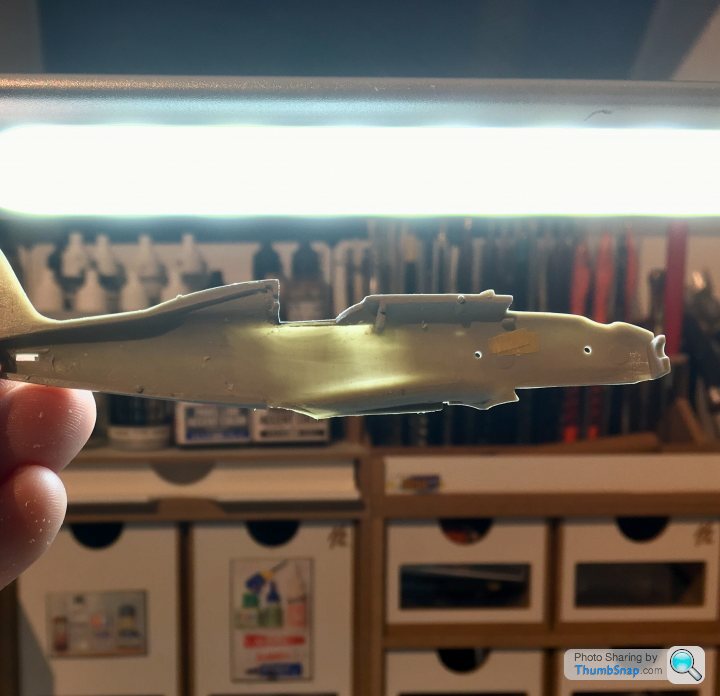
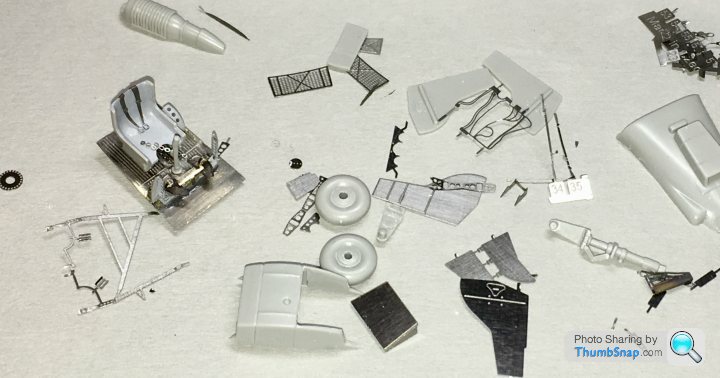
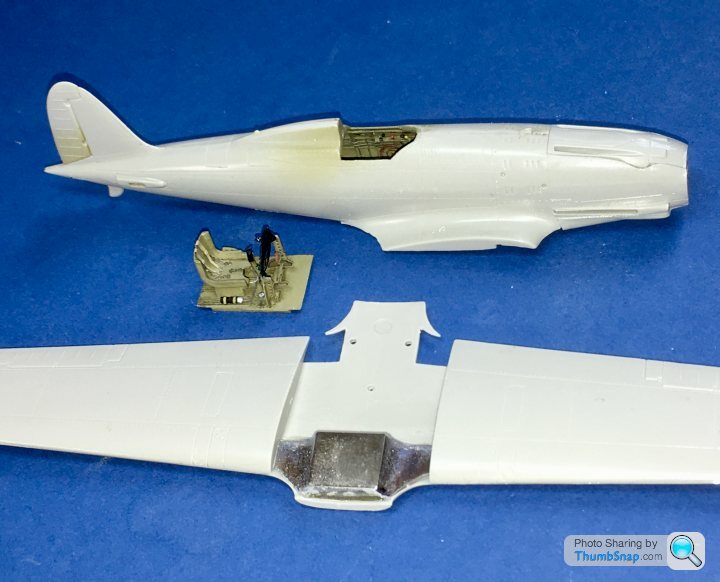
Anyway, cockpit sides and cockpit floor; the fuselage needed sanding and scraping to be wafer thin for the U-shaped bulkhead to be fitted:
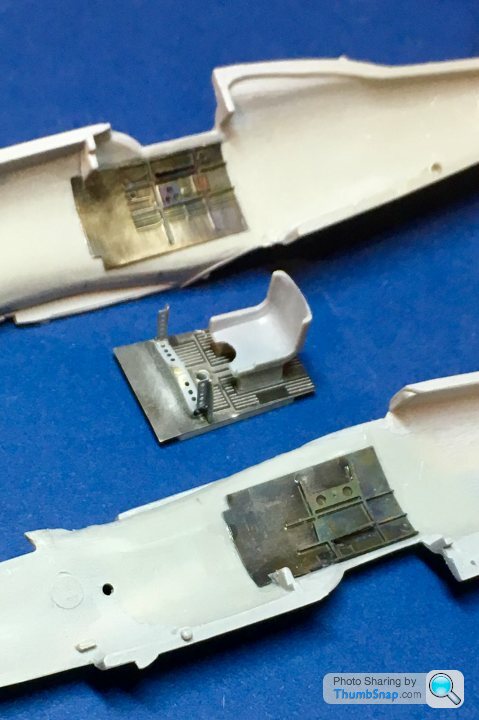
I also scraped the moulded-in belts off the seat in preparation for fitting the p/e items:
Anyway, cockpit sides and cockpit floor; the fuselage needed sanding and scraping to be wafer thin for the U-shaped bulkhead to be fitted:
I also scraped the moulded-in belts off the seat in preparation for fitting the p/e items:
Suffering from a bit of burn-out on the SMS Emden ship model, I’m back on this one (started nearly 3 yeas ago). It’s turned into a bit of a nightmare, mainly due to the sheer quantity of photo-etch, and the fact hardly any of it fits properly.
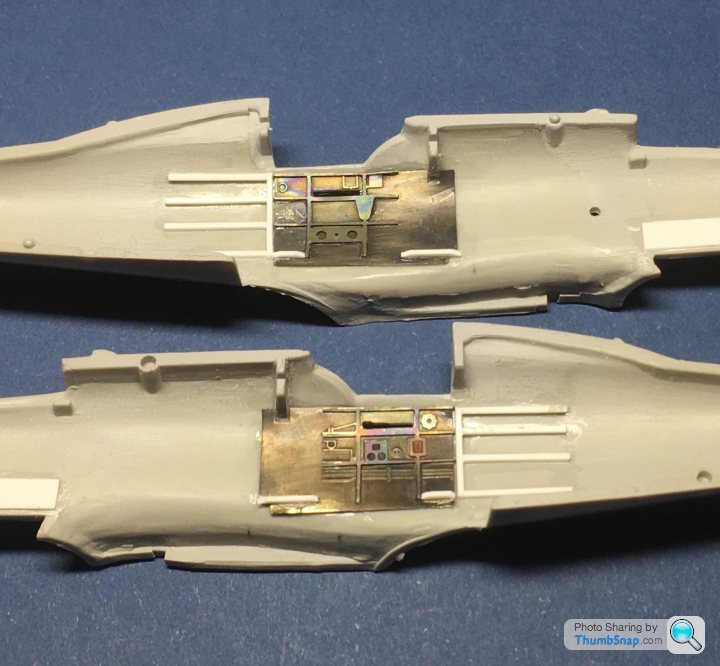
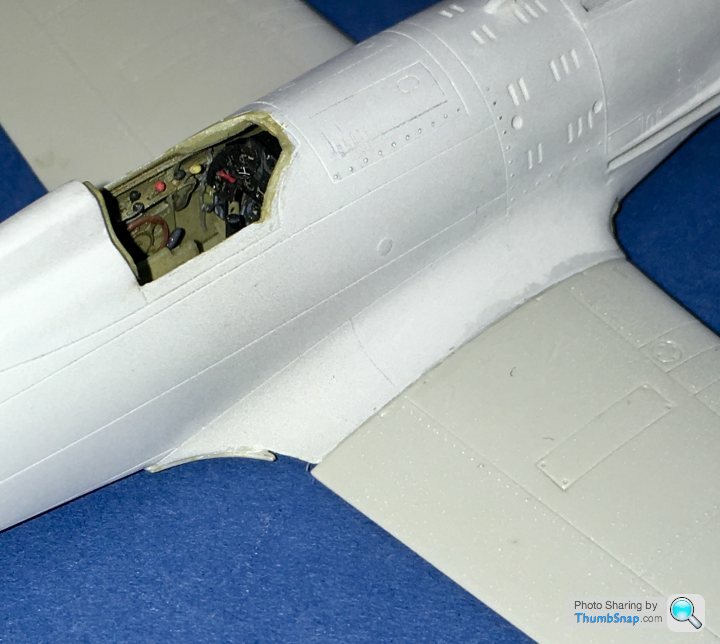
Anyway...cockpit sides now fitted with plastic locating strips to enable the floor to be fitted from below:
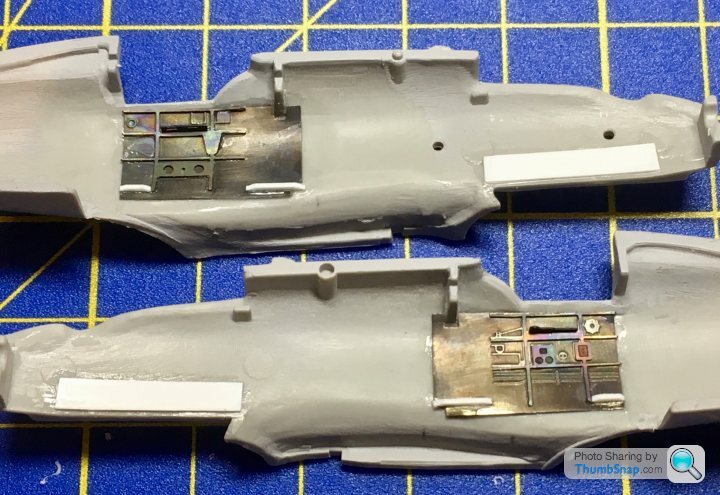
Also visible are the plastic backing strips for the resin exhaust apertures I cut out:
Still loads of tiny photo-etch bits to cut-and-shut to the plastic:
Anyway...cockpit sides now fitted with plastic locating strips to enable the floor to be fitted from below:
Also visible are the plastic backing strips for the resin exhaust apertures I cut out:
Still loads of tiny photo-etch bits to cut-and-shut to the plastic:
Added some notional stiffeners behind the seat - I think that area is partially visible through a gap behind the headrest:
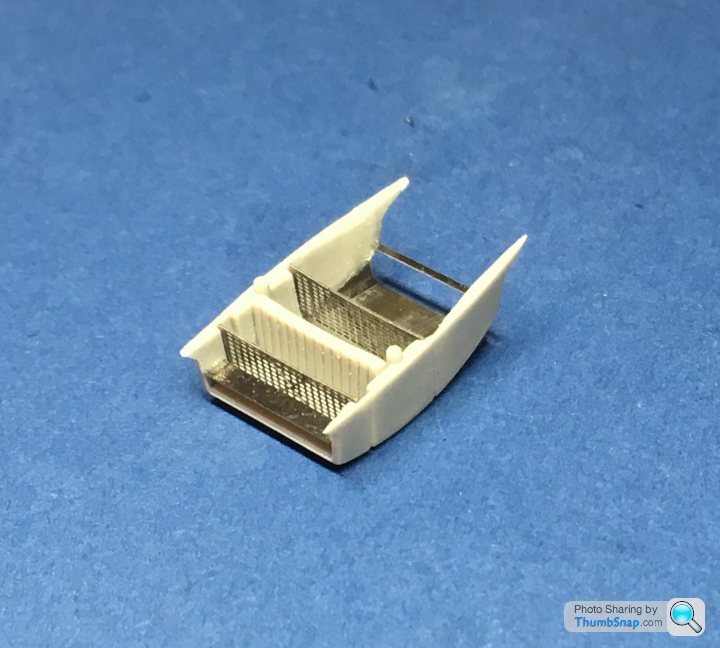
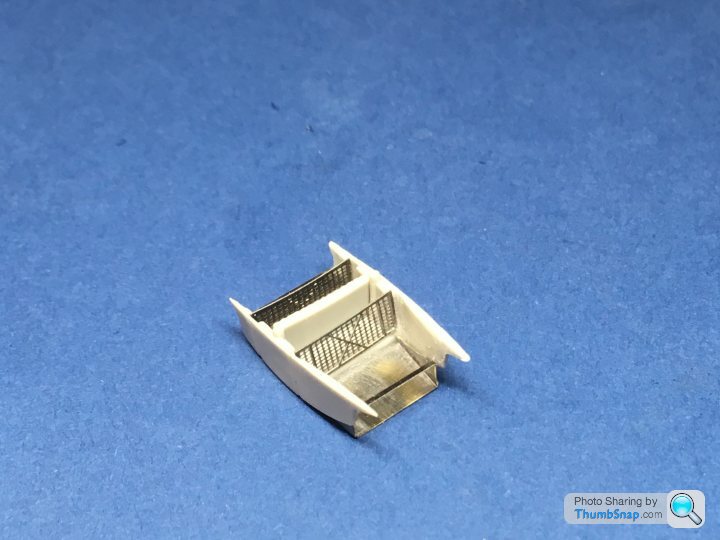
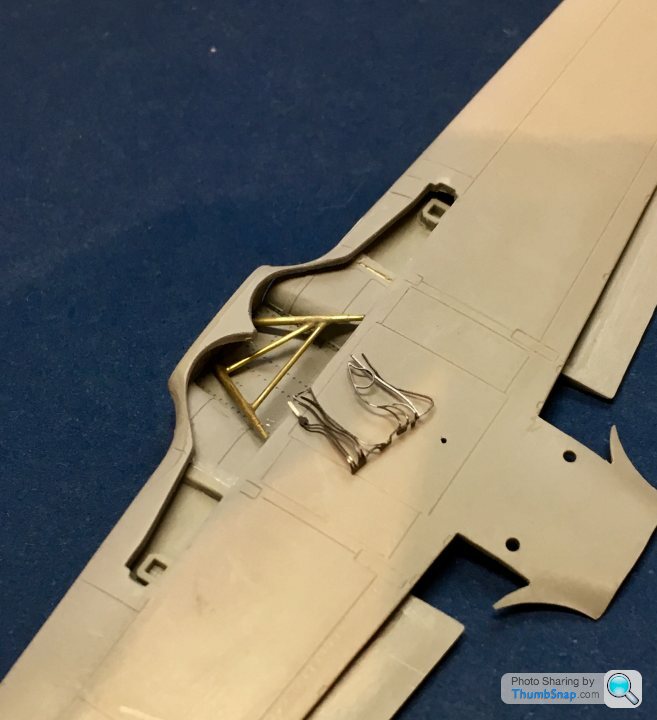
And continued with adding photo-etch, firstly to the coolant radiator duct:
...and the undercarriage assemblies:

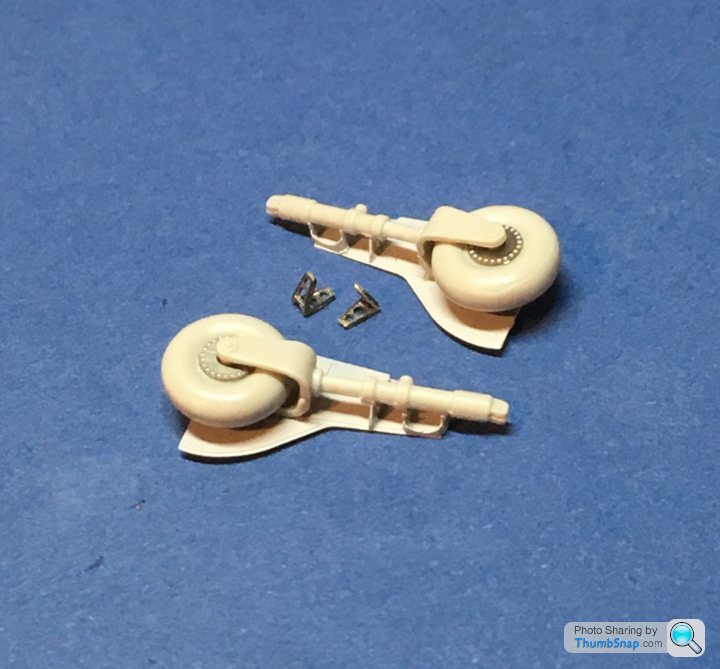
Next job will be to modify the windscreen so that it fits the fuselage.
And continued with adding photo-etch, firstly to the coolant radiator duct:
...and the undercarriage assemblies:
Next job will be to modify the windscreen so that it fits the fuselage.

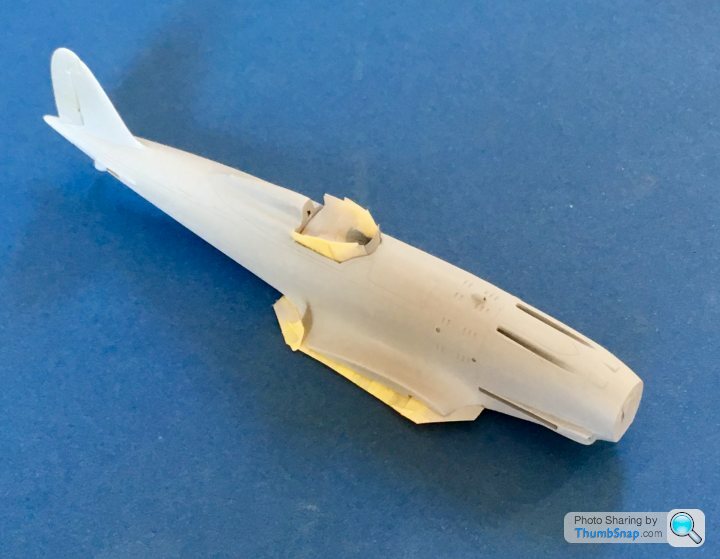
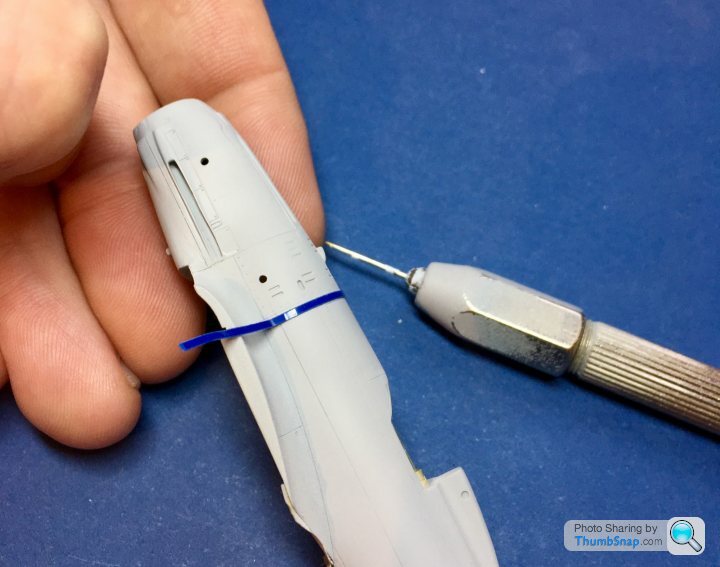
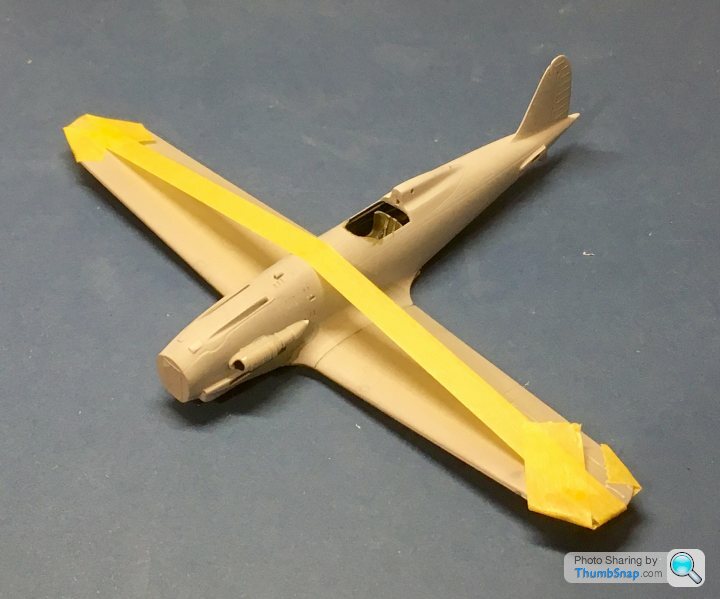
This should have been done years ago, but the fuselage is closed:
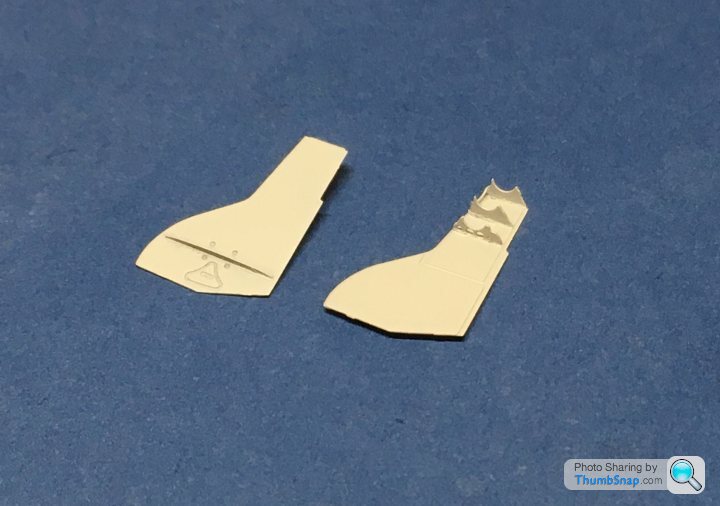
The fit of the front upper and lower fuselage panels is a bit dodgy, I glued a strut in the bottom to spring the sides apart:
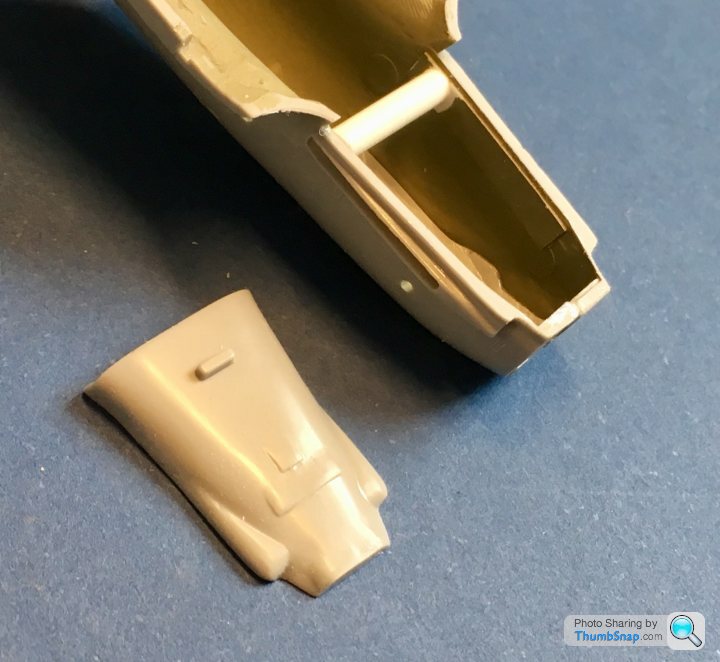
The lower panel still needs some work:
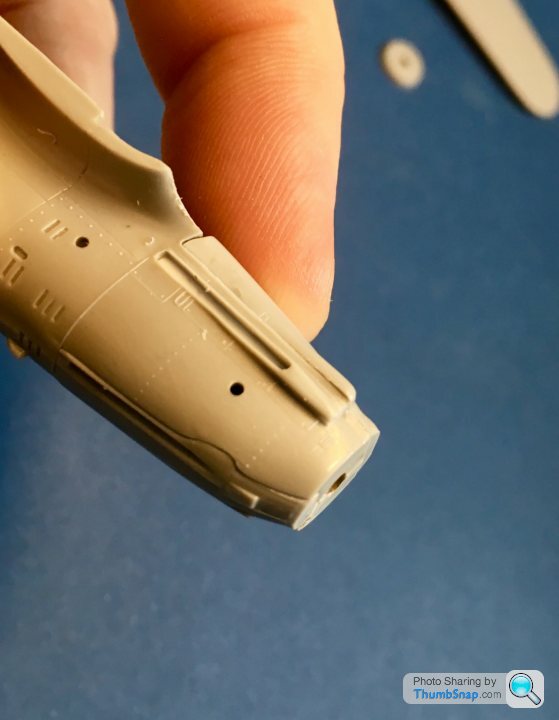
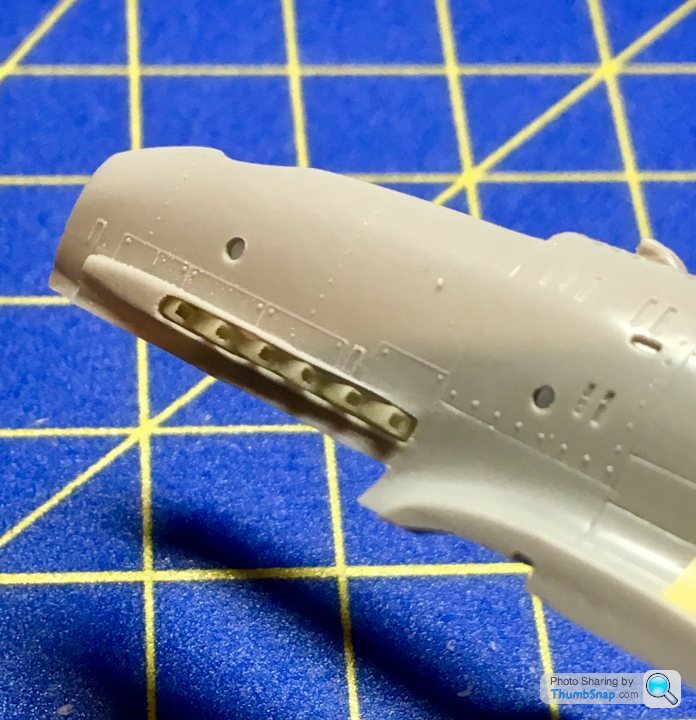
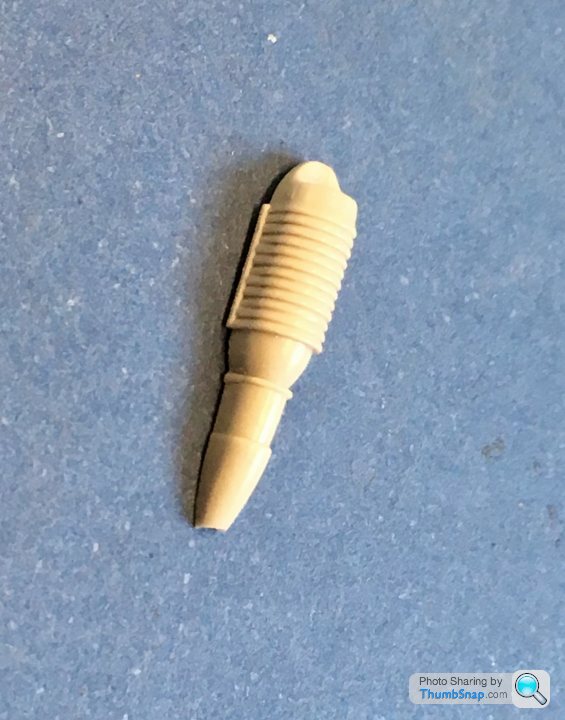
The engine filter was a short-shot, so needed a piece adding and profiling:
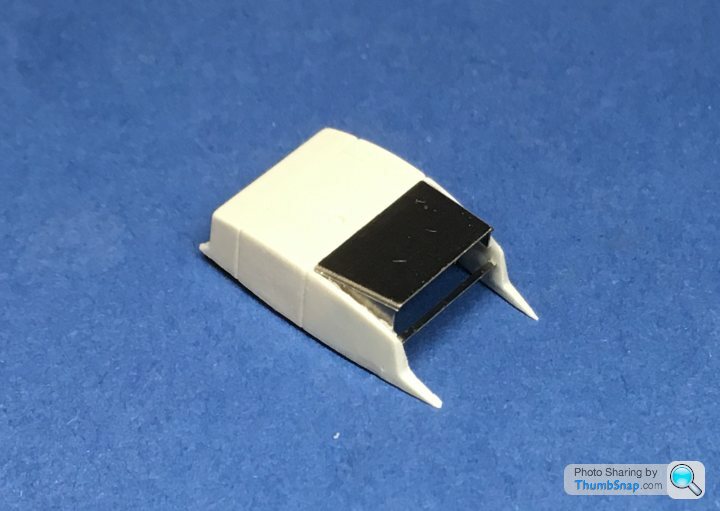
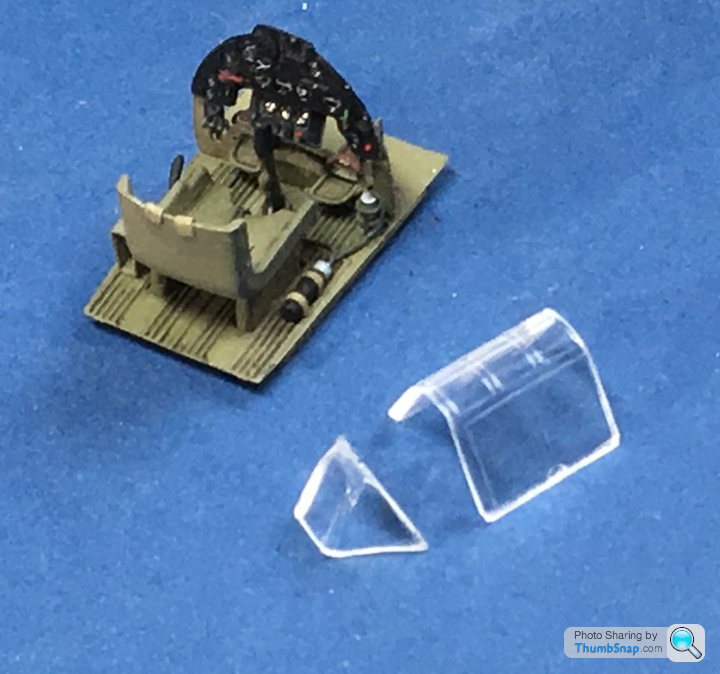
Finally, dipped the canopy and modified windscreen in Klear, which has improved the rather cloudy original plastic:
The fit of the front upper and lower fuselage panels is a bit dodgy, I glued a strut in the bottom to spring the sides apart:
The lower panel still needs some work:
The engine filter was a short-shot, so needed a piece adding and profiling:
Finally, dipped the canopy and modified windscreen in Klear, which has improved the rather cloudy original plastic:
Yertis said:
How does paint take to the Klear? (Re the "24 hour / 24 week" Kittyhawk – I've never used Klear before, wasn't sure whether to paint the frame first or afterwards.)
Acrylic seem to take to it fine, never had much issue. What I do is dip the transparencies in Klear, leave for at least 24 hours in the airing cupboard for it to harden, then mask and spray the frames. First coat isn't primer, it's whatever colour the inside of the frames is (usually cockpit colour or black), then overcoat with camo colour. Weather the whole lot the same way you weather the rest of the airframe, apply final varnish and only then remove the masking. If there's any minor bleeding of paint, you can usually remove it with a sharp cocktail stick, either dry, or dipped in thinners for more stubborn bits.
ETA, after dipping, set it to dry on a tissue, and make sure the excess Klear is wicking onto it.
dr_gn said:
Acrylic seem to take to it fine, never had much issue.
What I do is dip the transparencies in Klear, leave for at least 24 hours in the airing cupboard for it to harden, then mask and spray the frames. First coat isn't primer, it's whatever colour the inside of the frames is (usually cockpit colour or black), then overcoat with camo colour. Weather the whole lot the same way you weather the rest of the airframe, apply final varnish and only then remove the masking. If there's any minor bleeding of paint, you can usually remove it with a sharp cocktail stick, either dry, or dipped in thinners for more stubborn bits.
ETA, after dipping, set it to dry on a tissue, and make sure the excess Klear is wicking onto it.

Thanks for that. The Kittyhawk 24-hr quick cheap childhood build has turned into £££ new compressor buying exercise


Yertis said:
dr_gn said:
Acrylic seem to take to it fine, never had much issue.
What I do is dip the transparencies in Klear, leave for at least 24 hours in the airing cupboard for it to harden, then mask and spray the frames. First coat isn't primer, it's whatever colour the inside of the frames is (usually cockpit colour or black), then overcoat with camo colour. Weather the whole lot the same way you weather the rest of the airframe, apply final varnish and only then remove the masking. If there's any minor bleeding of paint, you can usually remove it with a sharp cocktail stick, either dry, or dipped in thinners for more stubborn bits.
ETA, after dipping, set it to dry on a tissue, and make sure the excess Klear is wicking onto it.
What I do is dip the transparencies in Klear, leave for at least 24 hours in the airing cupboard for it to harden, then mask and spray the frames. First coat isn't primer, it's whatever colour the inside of the frames is (usually cockpit colour or black), then overcoat with camo colour. Weather the whole lot the same way you weather the rest of the airframe, apply final varnish and only then remove the masking. If there's any minor bleeding of paint, you can usually remove it with a sharp cocktail stick, either dry, or dipped in thinners for more stubborn bits.
ETA, after dipping, set it to dry on a tissue, and make sure the excess Klear is wicking onto it.
Thanks for that. The Kittyhawk 24-hr quick cheap childhood build has turned into £££ new compressor buying exercise
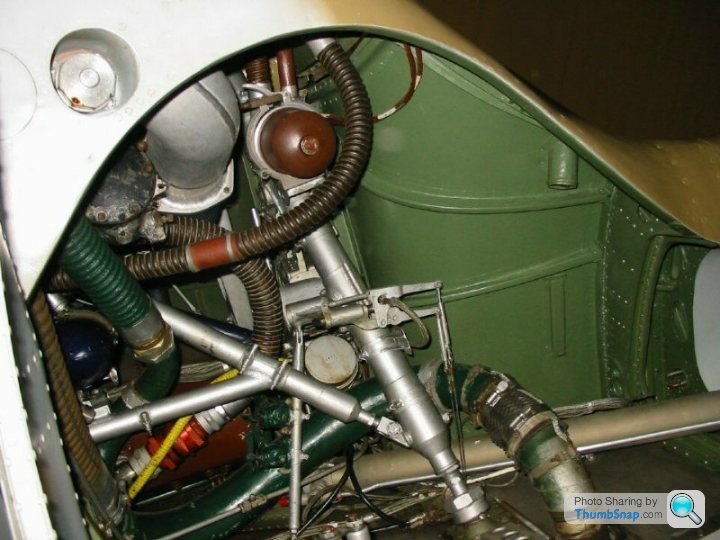


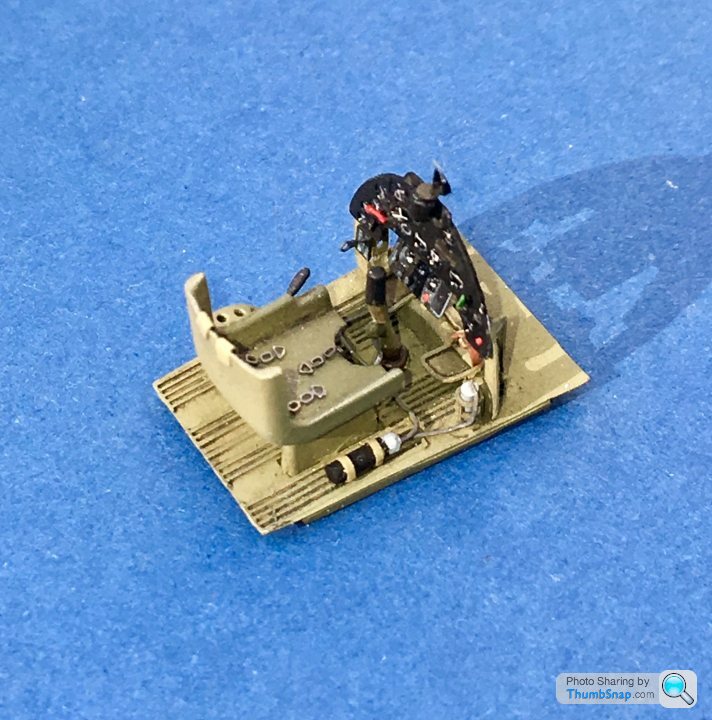
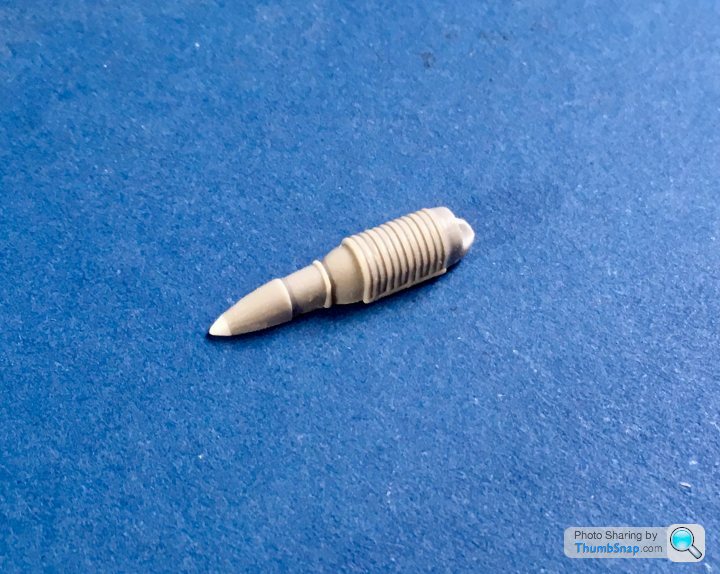
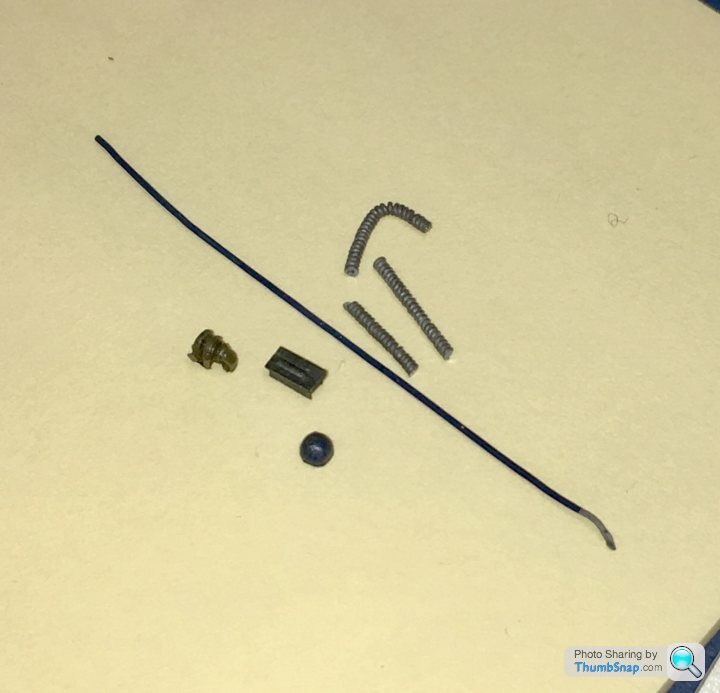
Continuing with the stupidly complicated central wheel well: I made some spiral wound pipe out of lead wire:
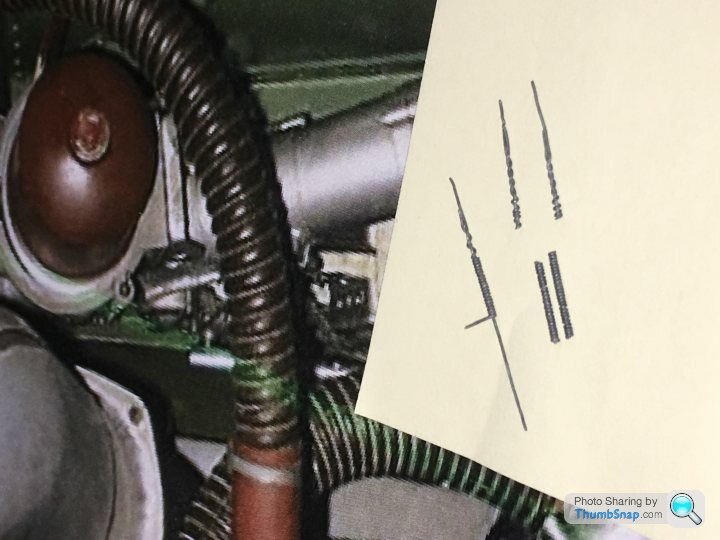
Then found some random bits and pieces to add a bit of complexity. I think there’s even a Spitfire gunsight in there somewhere:
Added the central p/e stiffener and some more wiring. Will look ok with a matt coat at the end:

Then found some random bits and pieces to add a bit of complexity. I think there’s even a Spitfire gunsight in there somewhere:
Added the central p/e stiffener and some more wiring. Will look ok with a matt coat at the end:

Gassing Station | Scale Models | Top of Page | What's New | My Stuff