Italeri 1:72 Macchi C.202 "Folgore"

Italeri 1:72 Macchi C.202 "Folgore"

Author
Discussion

dr_gn

Original Poster:

16,177 posts

185 months

Sunday 30th June 2019
quotequote all
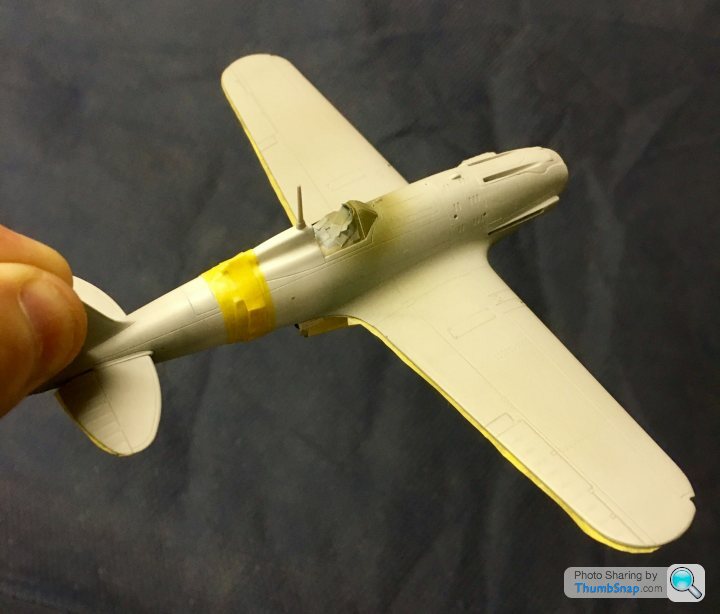
Applied the canopy masks:


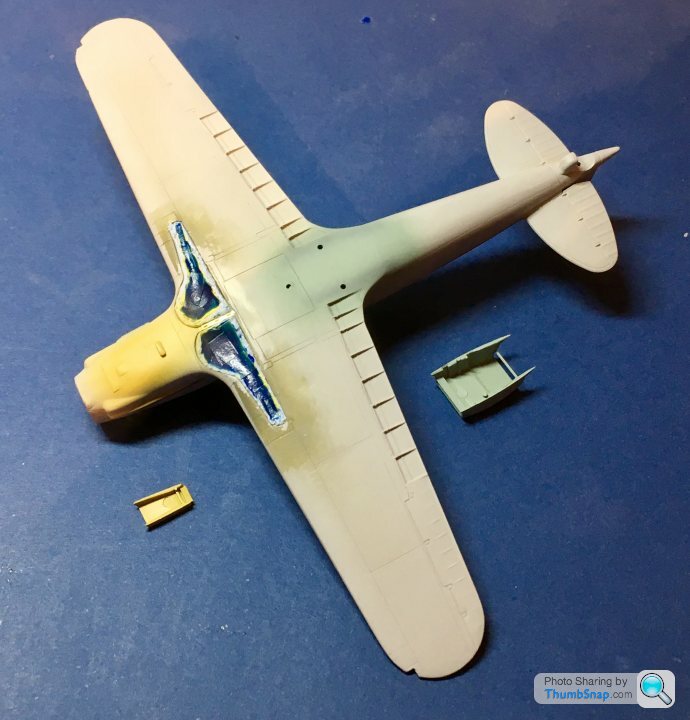
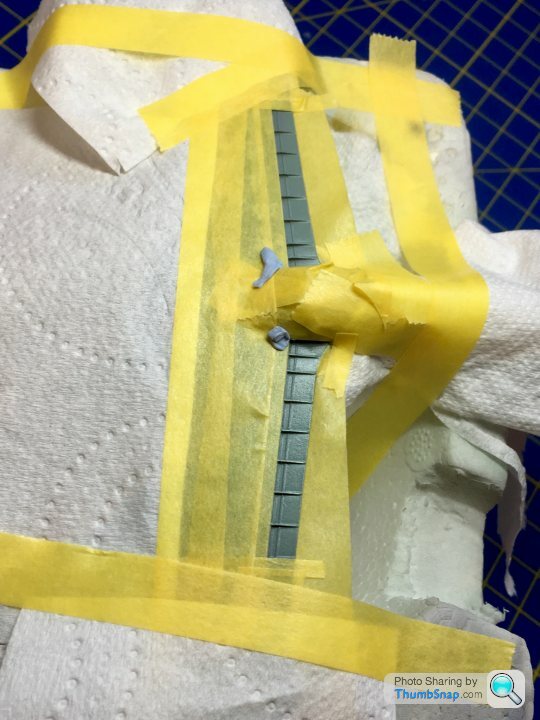
And masked the cockpit and wheel well openings with Tamiya tape / Blu Tack / Micro Mask:


Also pre-painted the inside areas of the oil and water radiators:


...so that when the ducts are fitted, there’s no inaccessible bare plastic showing:


dr_gn

Original Poster:

16,177 posts

185 months

Monday 1st July 2019
quotequote all
Assembled the radiators:


Also made a start on painting the smaller components:


Flaps almost ready for paint, bit of Mr.Surfacer 1000 needs a final flatting:


dr_gn

Original Poster:

16,177 posts

185 months

Tuesday 2nd July 2019
quotequote all
Yertis said:
Can I ask what Mr Surfacer is for? I've seen you (and others on Britmodeller etc) mention it but no idea what it does.
It's a primer you can get in different thicknesses, you can brush it or spray it, but I mainly apply it locally with a cocktail stick for filling minor or shallow imperfections. Once it's set it's pretty hard and sands back fairly well. It doesn't absorb paint like some other fillers either.

dr_gn

Original Poster:

16,177 posts

185 months

Wednesday 3rd July 2019
quotequote all
Drilled out the gun ports, but forgot to add the cartridge apertures. Sorted this by scribing some in:


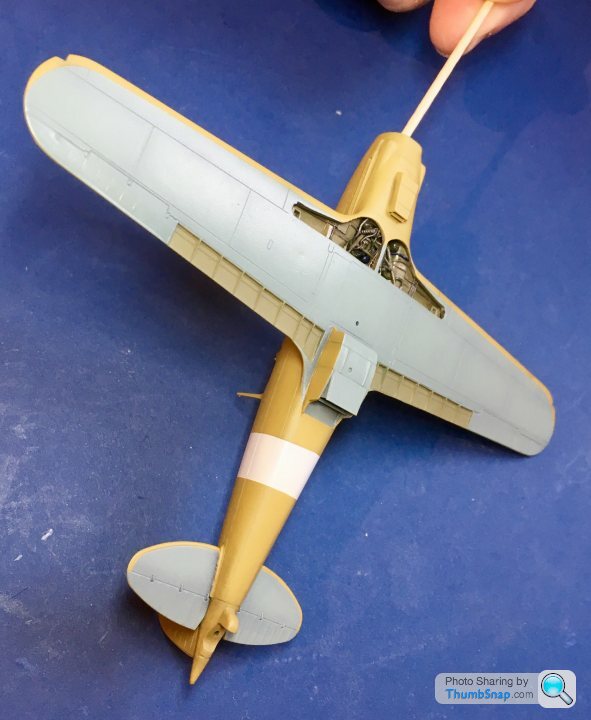
Got the underside blue and preshading done, and continued with painting the smaller parts:


Next job is to mask for topside painting.

dr_gn

Original Poster:

16,177 posts

185 months

Thursday 4th July 2019
quotequote all
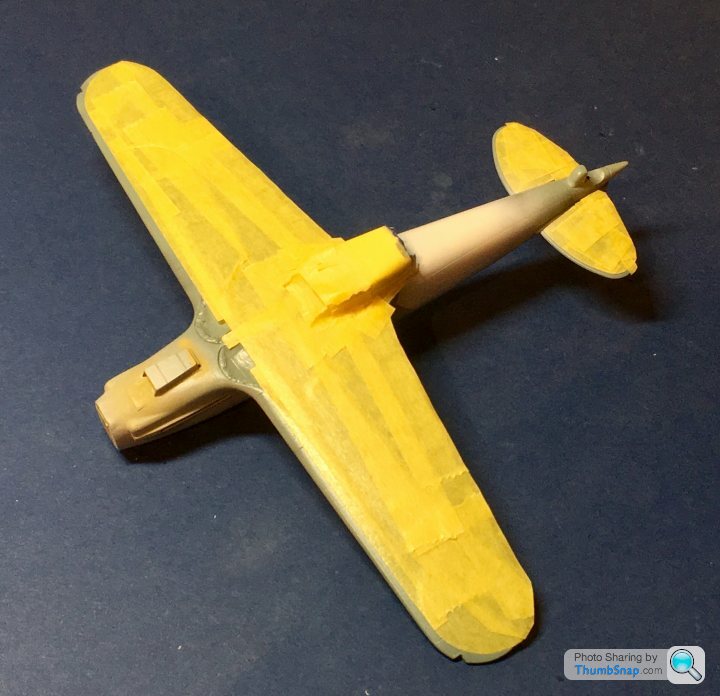
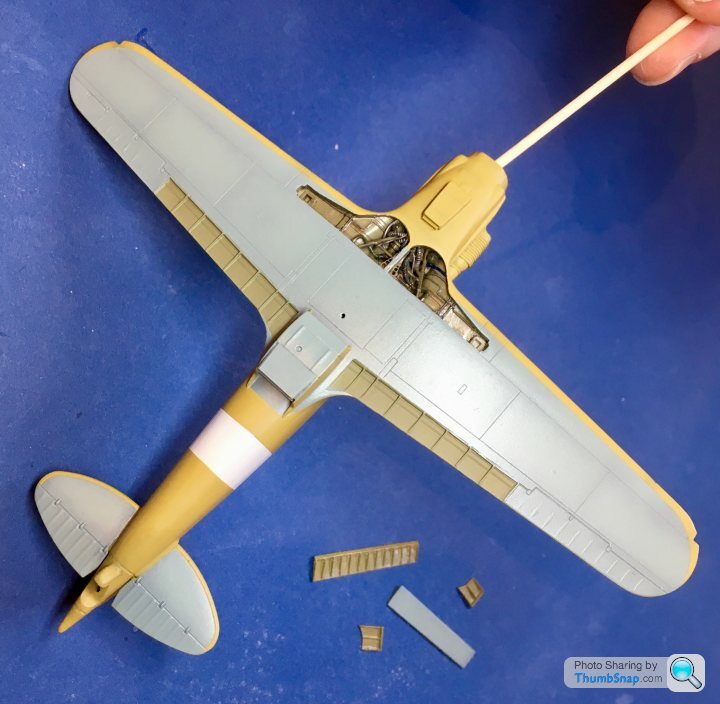
Undersides masked:


And the fuselage band painted in pre-shaded off white, to match the spinner:


dr_gn

Original Poster:

16,177 posts

185 months

Friday 5th July 2019
quotequote all
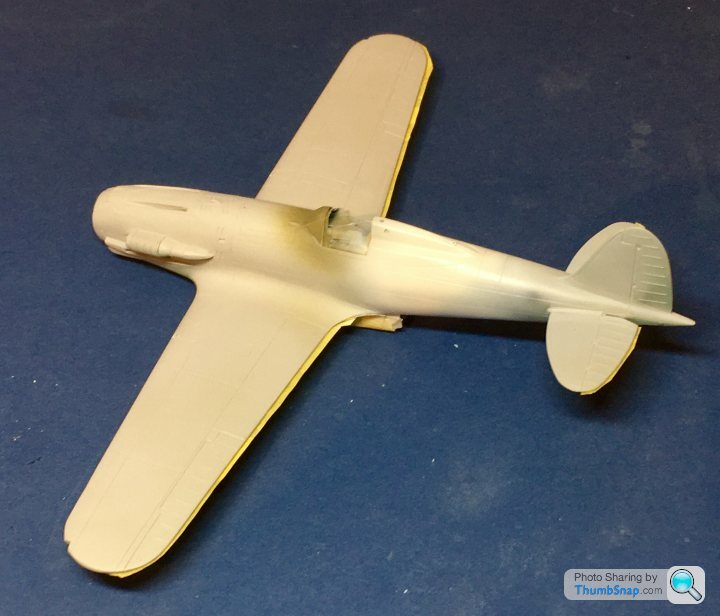
Fuselage band masked:


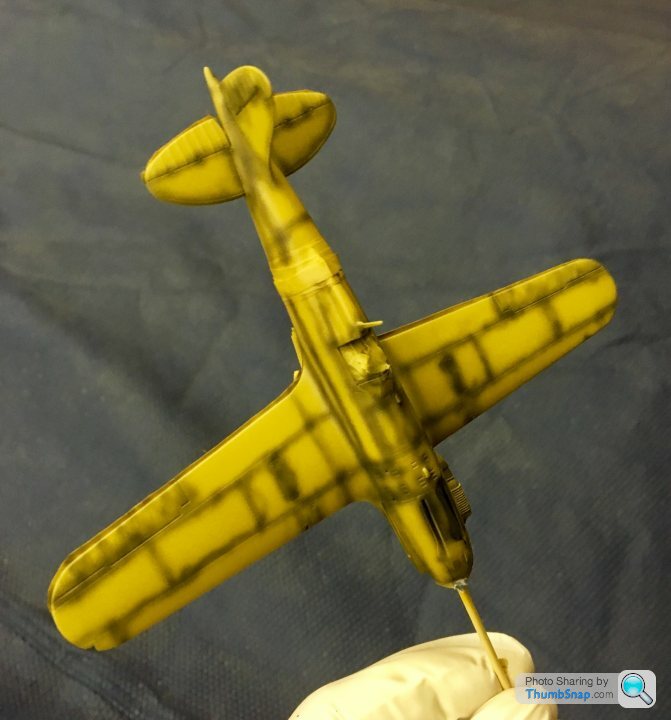
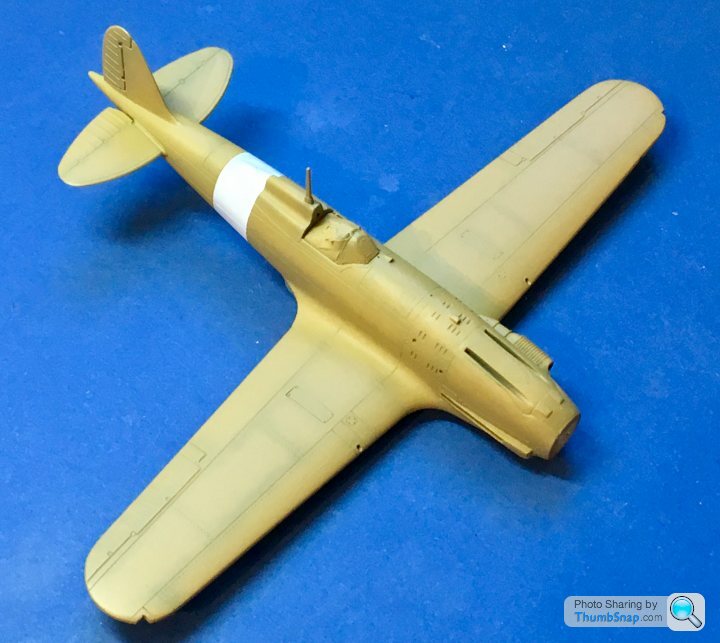
Then sprayed “it’ll be close enough” sand, preshaded with NATO black:


First stage of paint went ok:


Bit of correction needed on the band, and the sides of the radiator duct need painting sand, then decals...

dr_gn

Original Poster:

16,177 posts

185 months

Saturday 6th July 2019
quotequote all
Masked up the radiator duct and flap housings:


Almost ready for a dark wash in the panel lines:


dr_gn

Original Poster:

16,177 posts

185 months

Sunday 7th July 2019
quotequote all
CanAm said:
.......drilled out the Venturi ........
You make it sound so simple. How the hell do you drill out something so small so accurately?
Turns out it doesn’t matter - somewhere on the way from the office to the garage (for painting), the Venturi pinged out of the tweezers and into oblivion...

dr_gn

Original Poster:

16,177 posts

185 months

Sunday 7th July 2019
quotequote all
RDMcG said:
As always, quite an awesome build. Astonishing skill.
.
Thanks - it’s probably the trickiest build yet for me, and there’s still a way to go.

dr_gn

Original Poster:

16,177 posts

185 months

Sunday 7th July 2019
quotequote all
CanAm said:
dr_gn said:
CanAm said:
.......drilled out the Venturi ........
You make it sound so simple. How the hell do you drill out something so small so accurately?
Turns out it doesn’t matter - somewhere on the way from the office to the garage (for painting), the Venturi pinged out of the tweezers and into oblivion...
How good are Italeri at providing replacement parts? Fingers crossed.
Not sure, it’s ok I’ll make a new one, or do some hoovering and see if it gets picked up!

dr_gn

Original Poster:

16,177 posts

185 months

Wednesday 10th July 2019
quotequote all
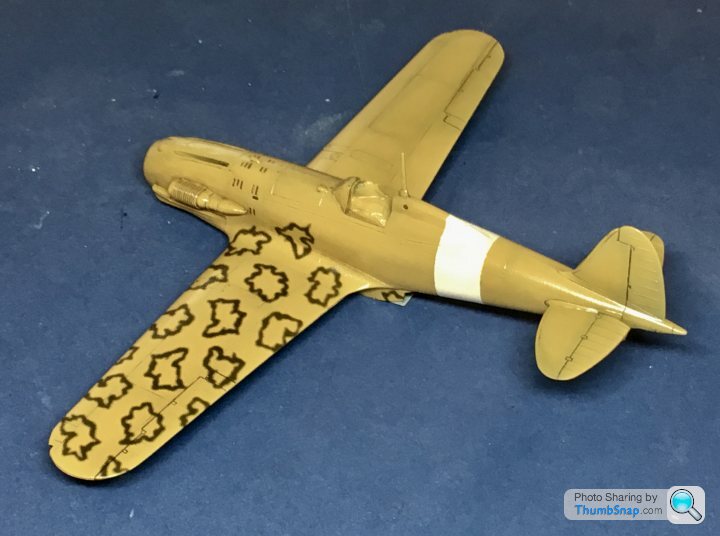
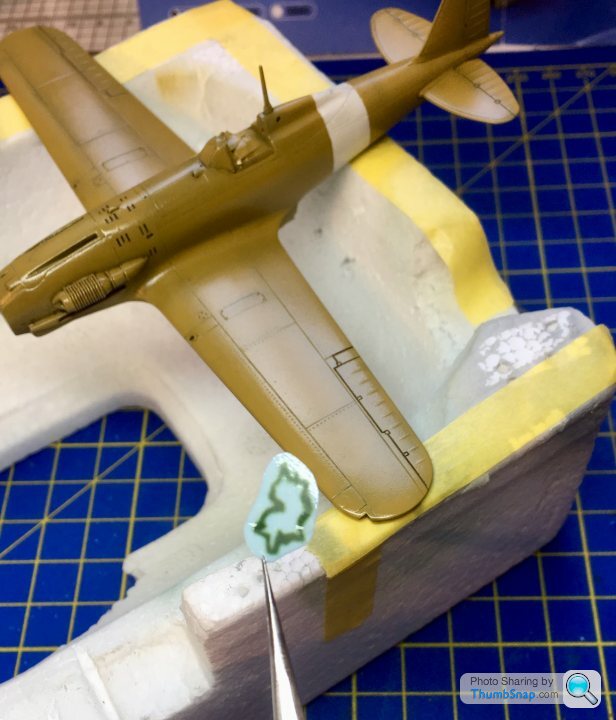
Made a start on the “smoke ring” decals tonight. Trying to get a consistent pattern is surprisingly tricky. The decals are printed on a single carrier film, so have to be cut out individually. The film itself is extremely thin, and the green printing is very delicate:
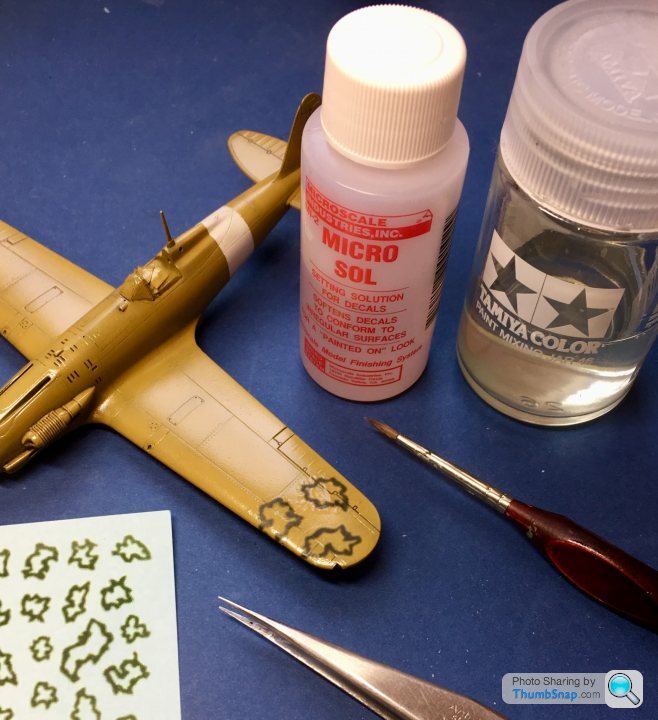


I’m using my usual method of applying Klear to the model locally, and while still wet, applying the decal and brushing MicroSol on top. The MicroSol wrinkles them in a terrifying manner, but as usual it soon settles down:
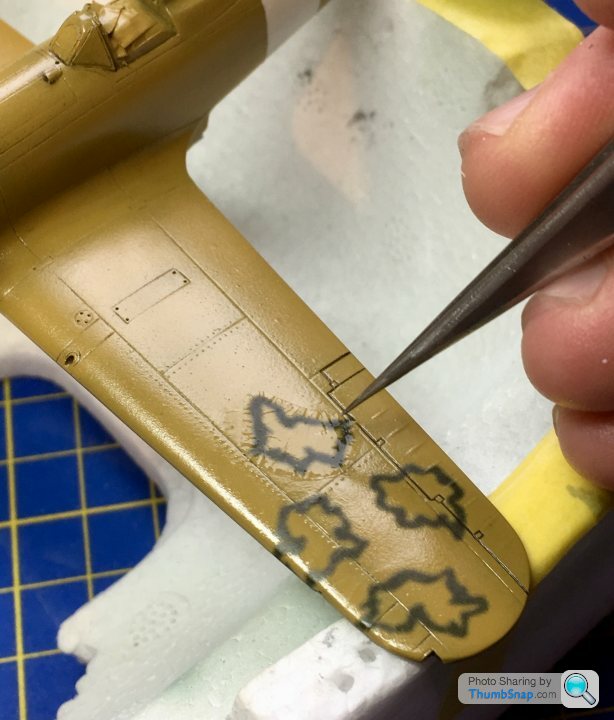


Seems to work OK although there’s no room for error - if I run out of decals, or damage a few I might not have enough. I can’t find them for sale anywhere either...

dr_gn

Original Poster:

16,177 posts

185 months

Wednesday 10th July 2019
quotequote all
Close of play tonight:


dr_gn

Original Poster:

16,177 posts

185 months

Thursday 11th July 2019
quotequote all
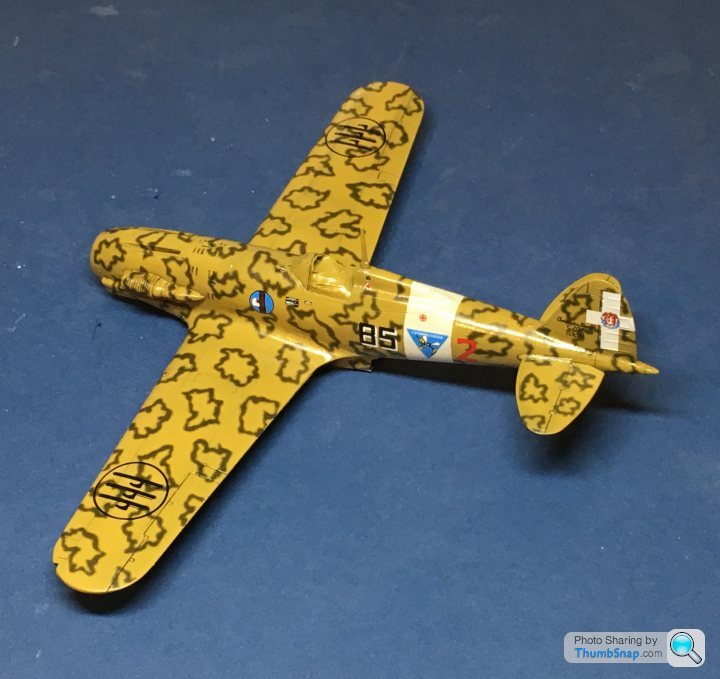
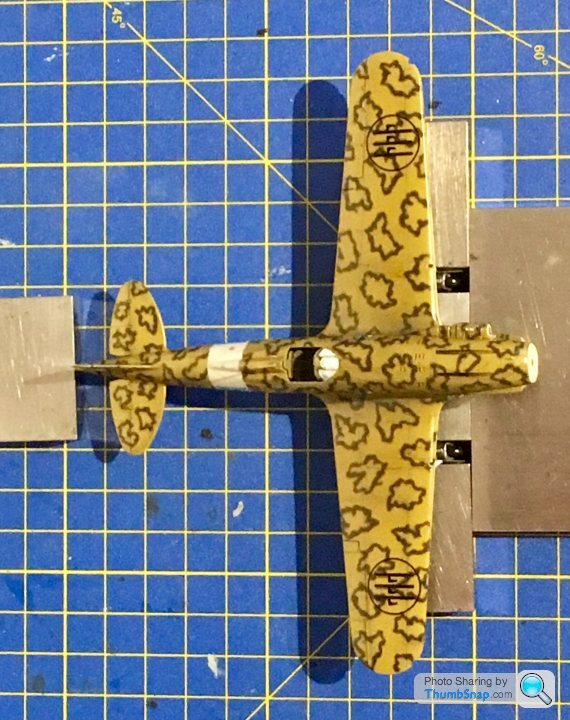
That’s pretty much it for the decals:


dr_gn

Original Poster:

16,177 posts

185 months

Friday 12th July 2019
quotequote all
Yertis said:
Why do you apply the decal onto not-dry Klear?
It wicks under the carrier film and pretty much guarantees no slivering. It also seems to help the MicroSol do its job.

dr_gn

Original Poster:

16,177 posts

185 months

Wednesday 17th July 2019
quotequote all
Canopy masked and painted. Still a bit of work needed on it:


Also oversprayed with Tamiya smoke, and added some exhaust staining. I managed to damage some smoke rings with thinners, but luckily had some spares. Anyway, it’s now coated with Klear for protection, and is ready for final assembly:


dr_gn

Original Poster:

16,177 posts

185 months

Wednesday 17th July 2019
quotequote all
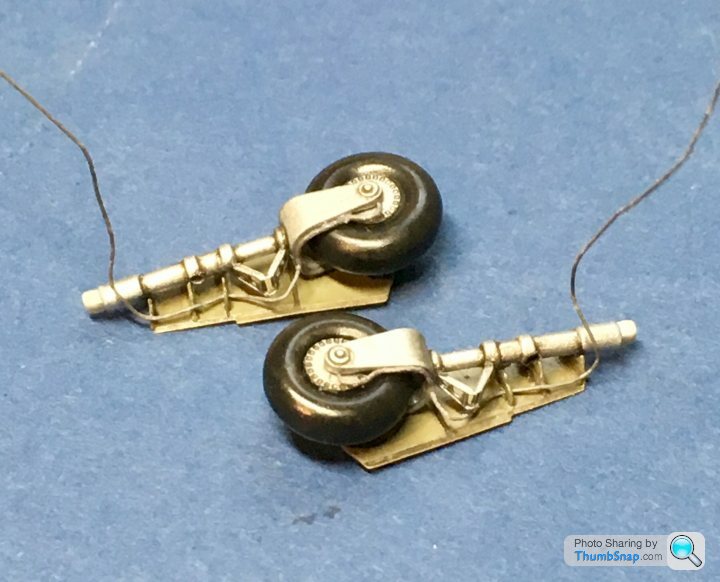
Got the u/c legs finished:


And fitted with Araldite:


Used some slip gauges as a jig.

dr_gn

Original Poster:

16,177 posts

185 months

Saturday 20th July 2019
quotequote all
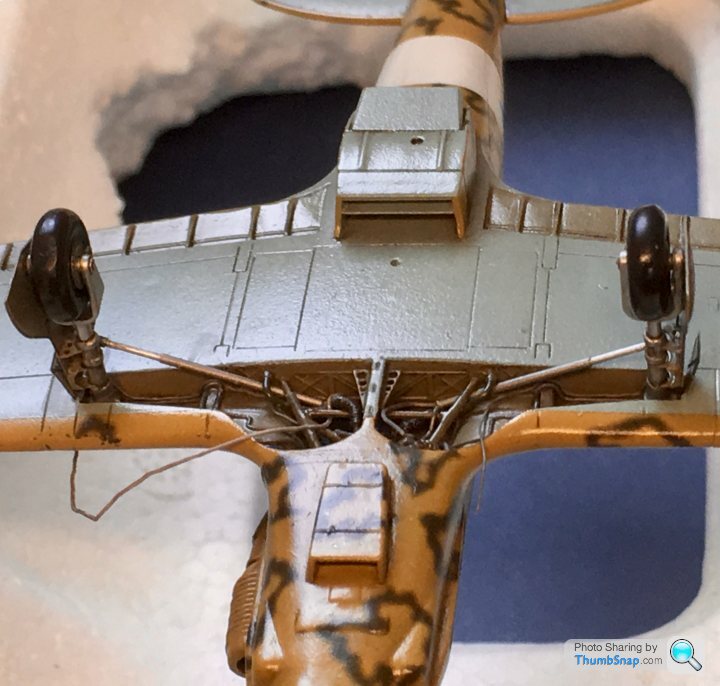
Added the scratch built actuators:


dr_gn

Original Poster:

16,177 posts

185 months

Sunday 21st July 2019
quotequote all
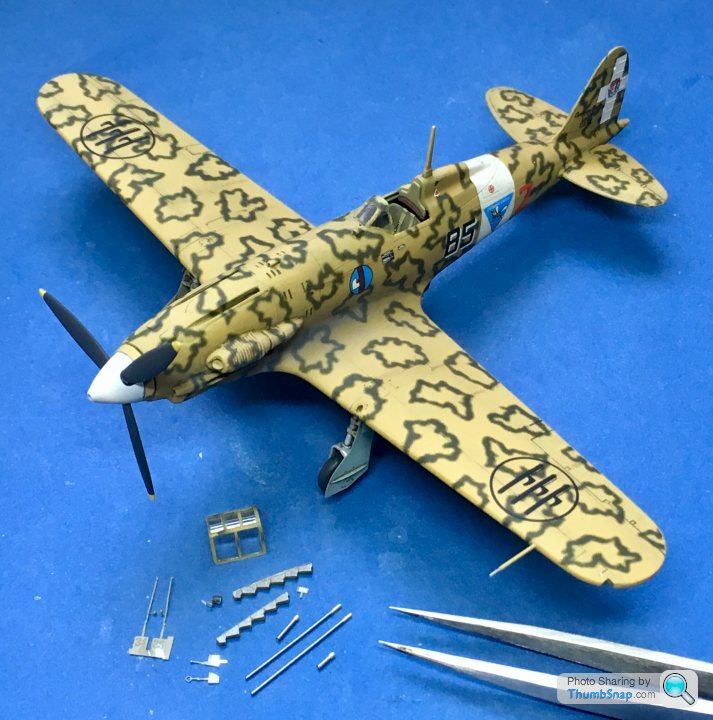
Made a new Venturi out of brass tube and the end of a Browning machine gun. Still finishing what seems like an endless stream of tiny parts, most of which fit into the u/c bay:


dr_gn

Original Poster:

16,177 posts

185 months

Monday 22nd July 2019
quotequote all
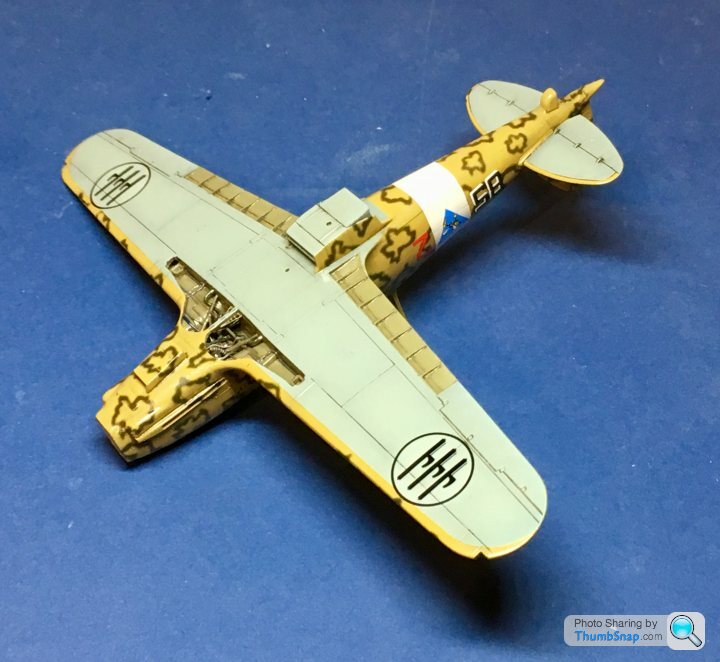
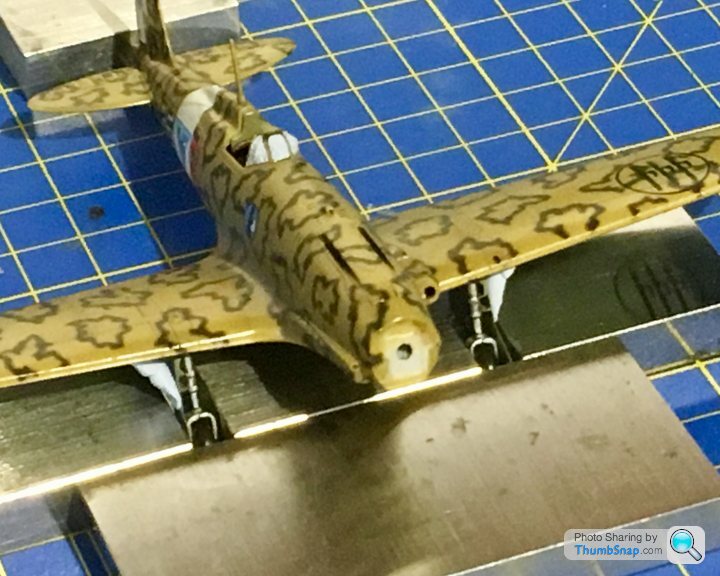
Getting there...slowly.


dr_gn

Original Poster:

16,177 posts

185 months

Monday 22nd July 2019
quotequote all
Thanks guys. If I rush, things go wrong more than if I take my time!

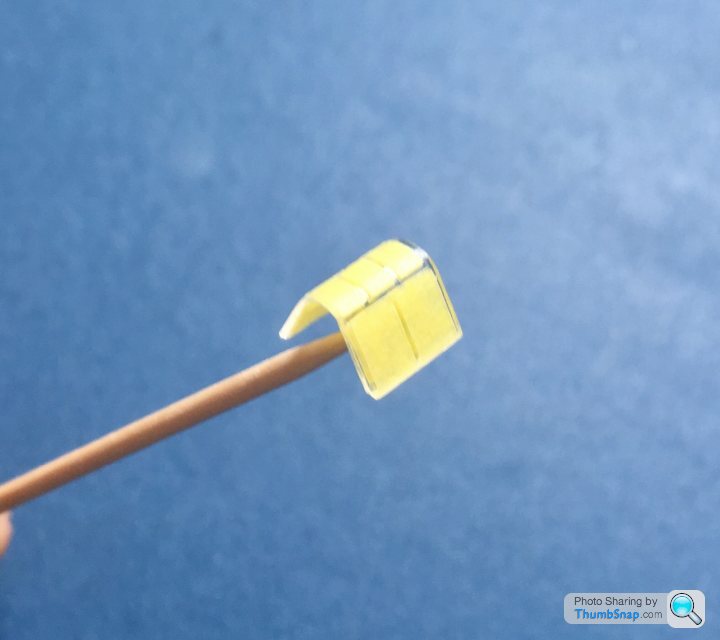
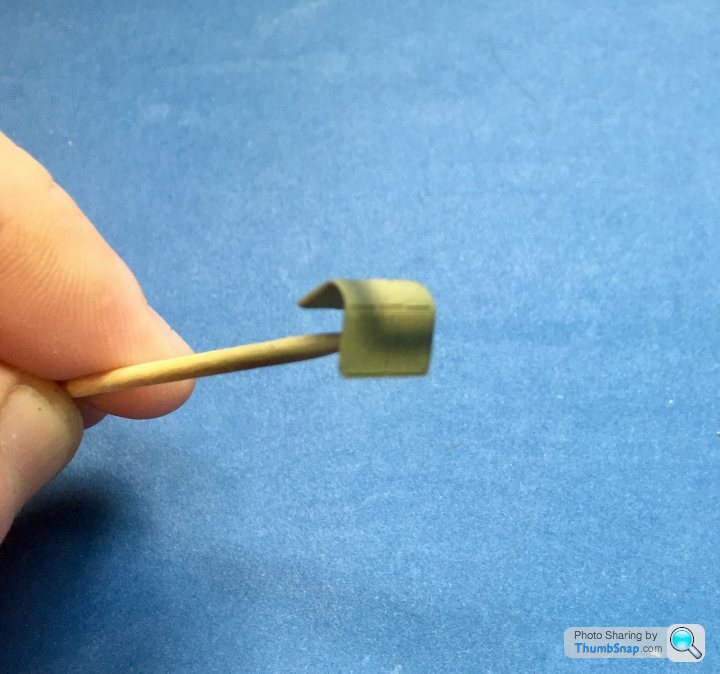
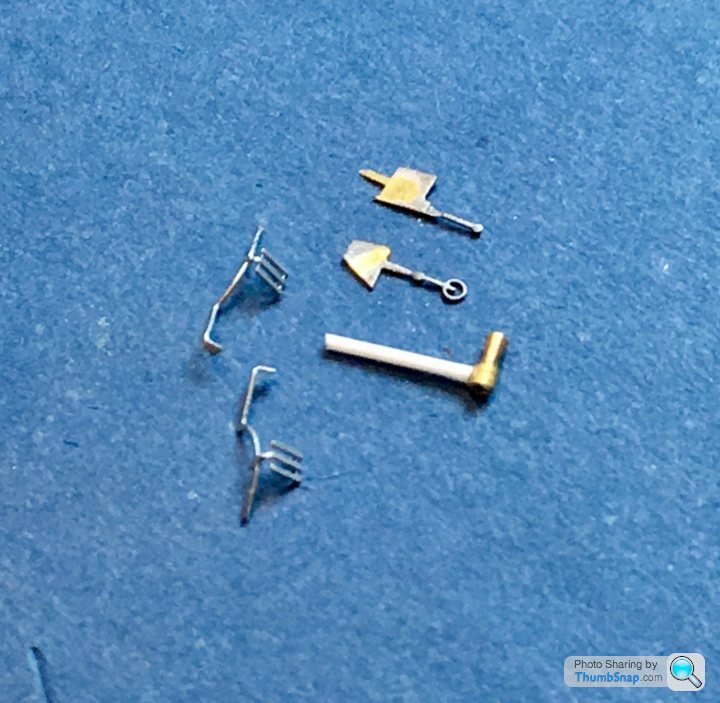
Anyway, wingtip lights, rear view mirror and reflector gunsight ready for fitting now: