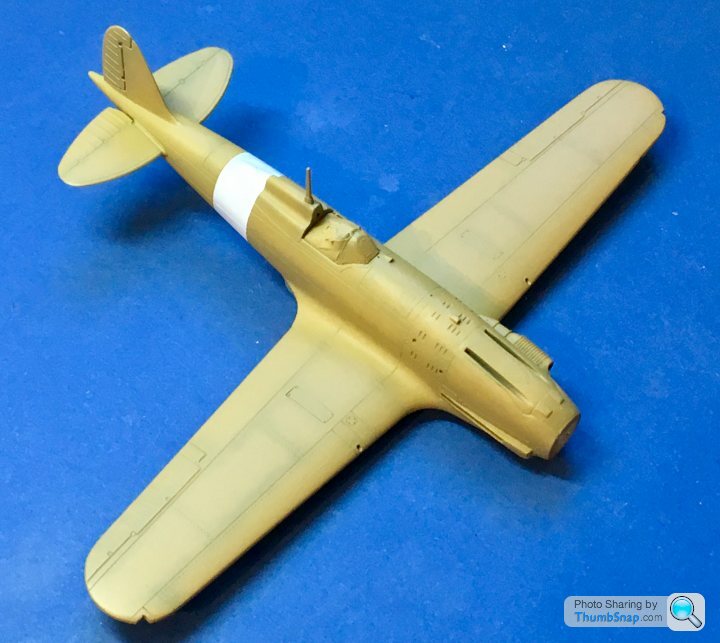
Italeri 1:72 Macchi C.202 "Folgore"
Discussion


CanAm said:
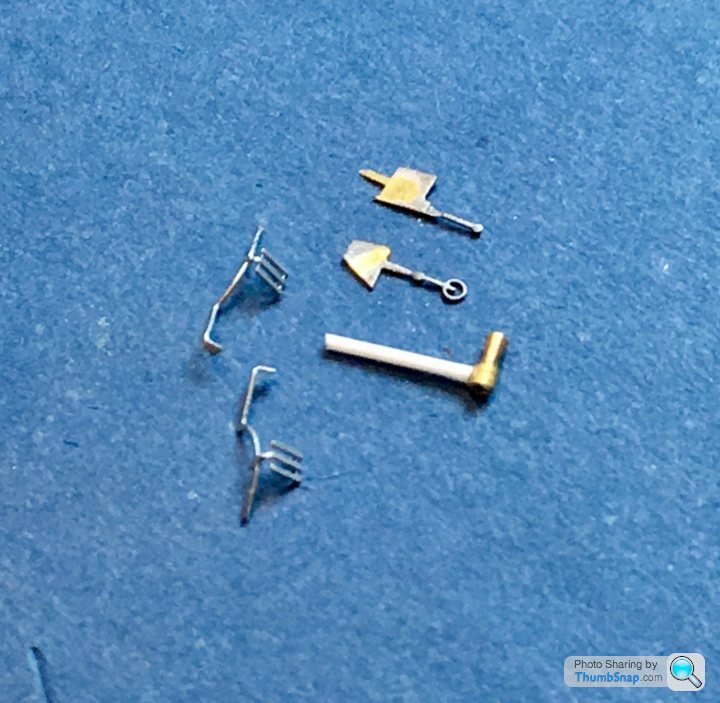
.......drilled out the Venturi ........
You make it sound so simple. How the hell do you drill out something so small so accurately?
Turns out it doesn’t matter - somewhere on the way from the office to the garage (for painting), the Venturi pinged out of the tweezers and into oblivion...You make it sound so simple. How the hell do you drill out something so small so accurately?
dr_gn said:
CanAm said:
.......drilled out the Venturi ........
You make it sound so simple. How the hell do you drill out something so small so accurately?
Turns out it doesn’t matter - somewhere on the way from the office to the garage (for painting), the Venturi pinged out of the tweezers and into oblivion...You make it sound so simple. How the hell do you drill out something so small so accurately?
CanAm said:
dr_gn said:
CanAm said:
.......drilled out the Venturi ........
You make it sound so simple. How the hell do you drill out something so small so accurately?
Turns out it doesn’t matter - somewhere on the way from the office to the garage (for painting), the Venturi pinged out of the tweezers and into oblivion...You make it sound so simple. How the hell do you drill out something so small so accurately?
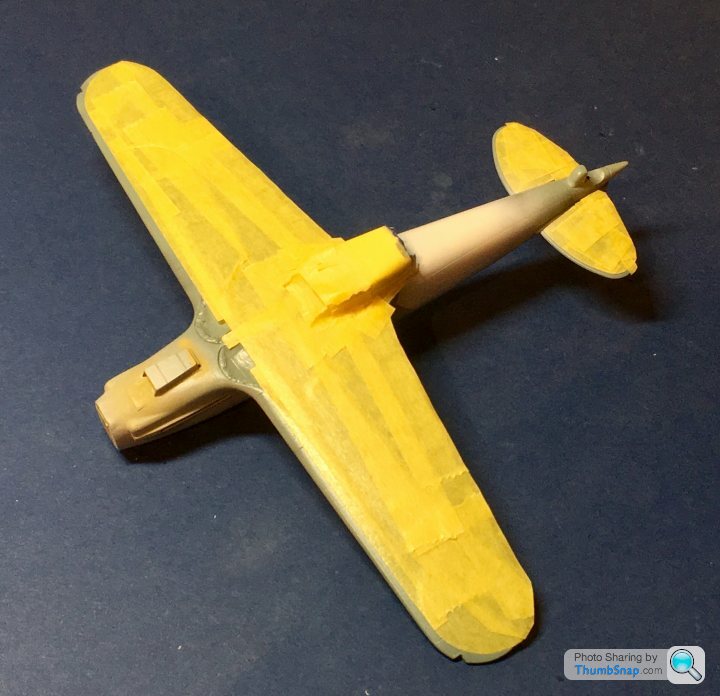
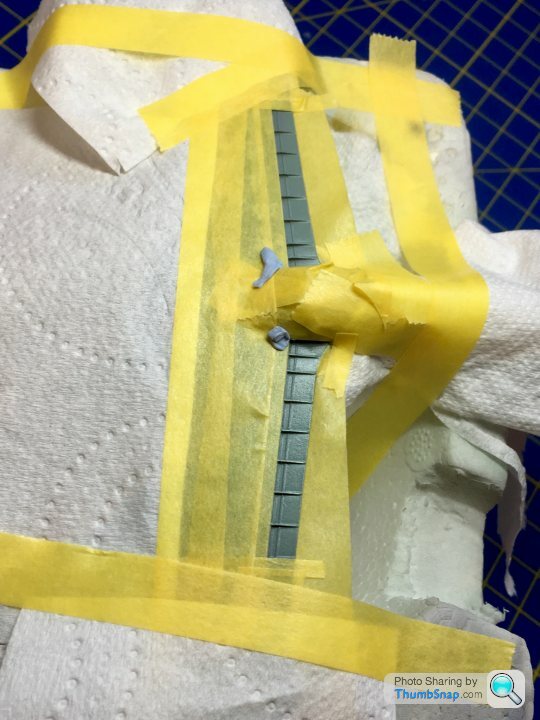
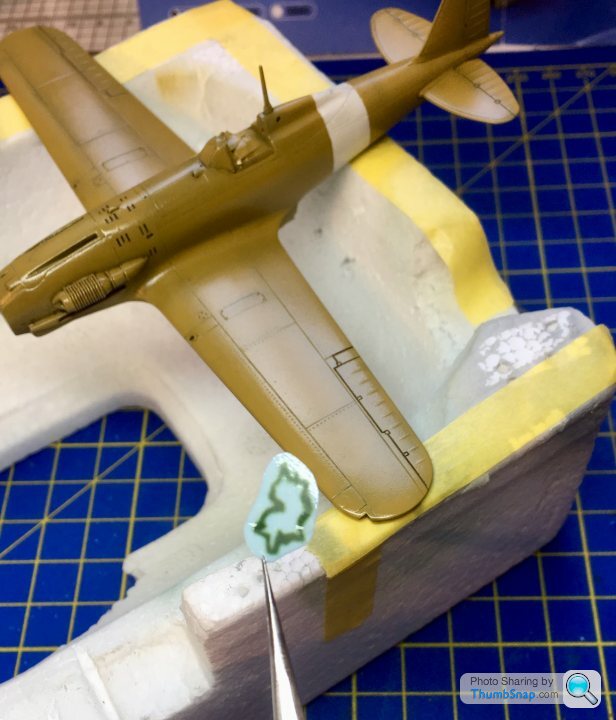
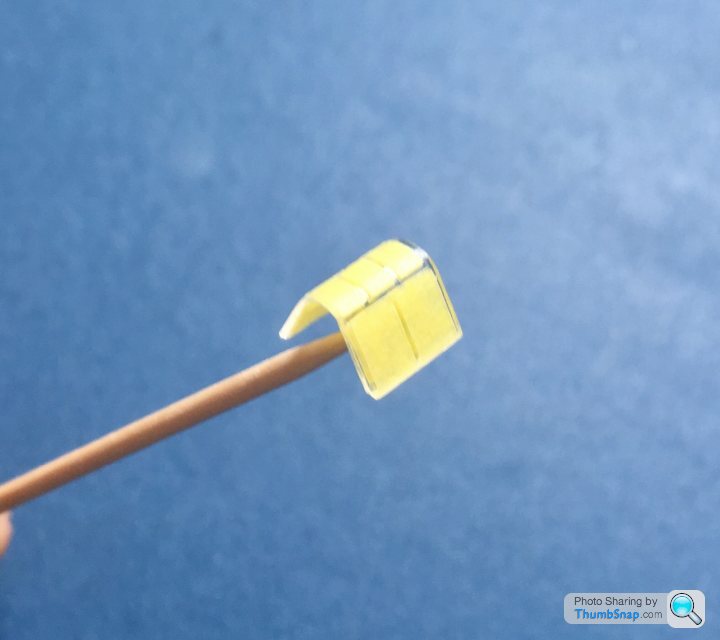
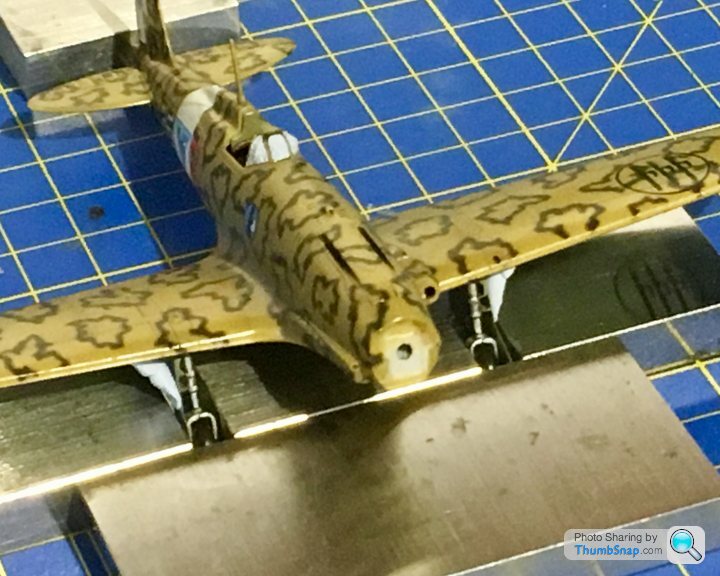
Made a start on the “smoke ring” decals tonight. Trying to get a consistent pattern is surprisingly tricky. The decals are printed on a single carrier film, so have to be cut out individually. The film itself is extremely thin, and the green printing is very delicate:
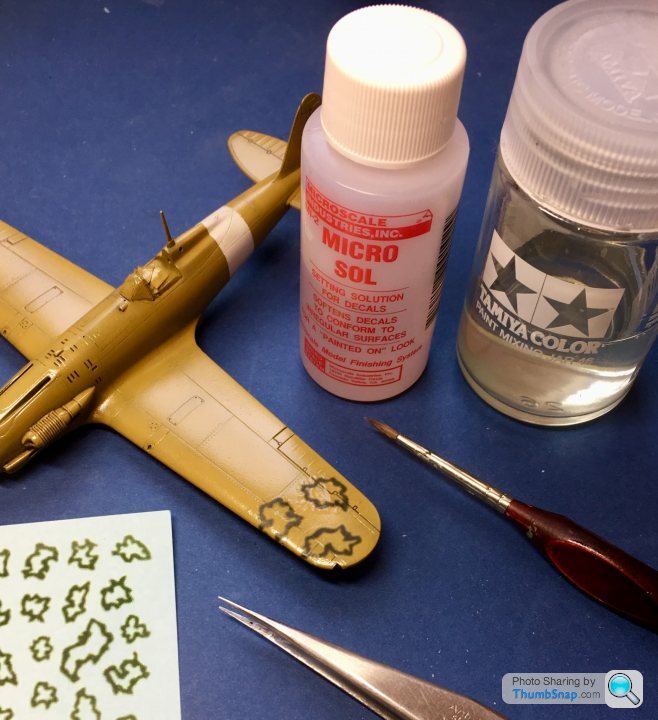
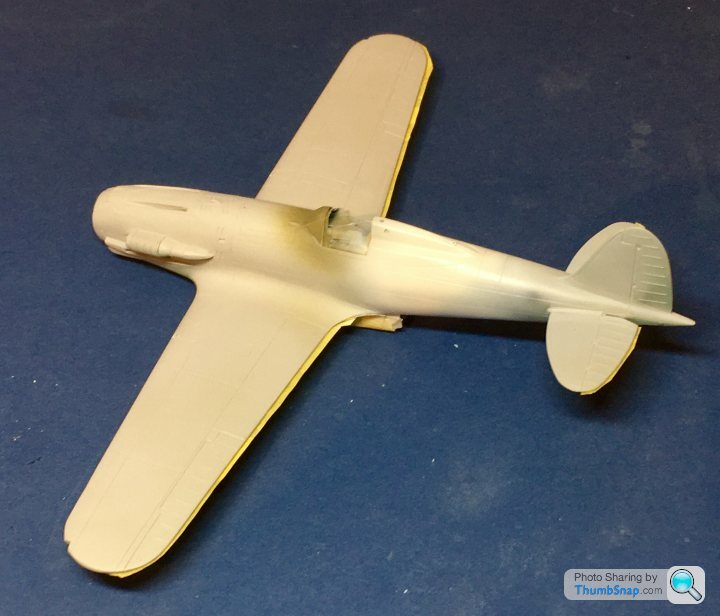
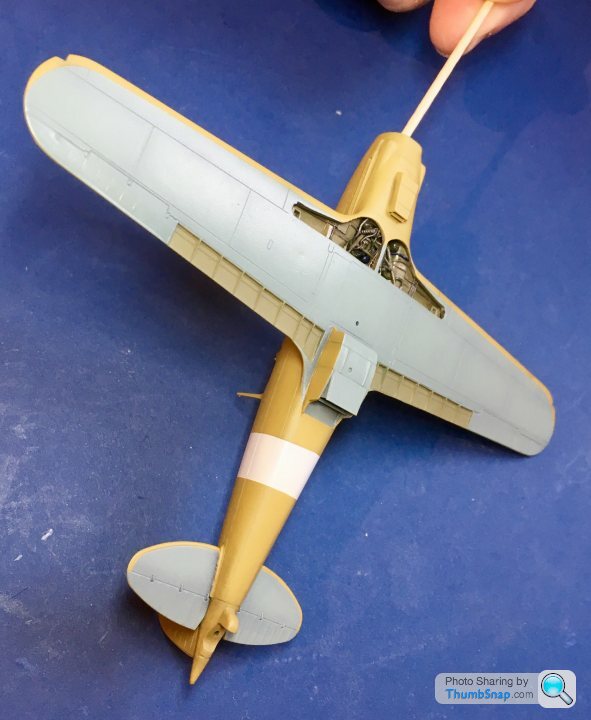
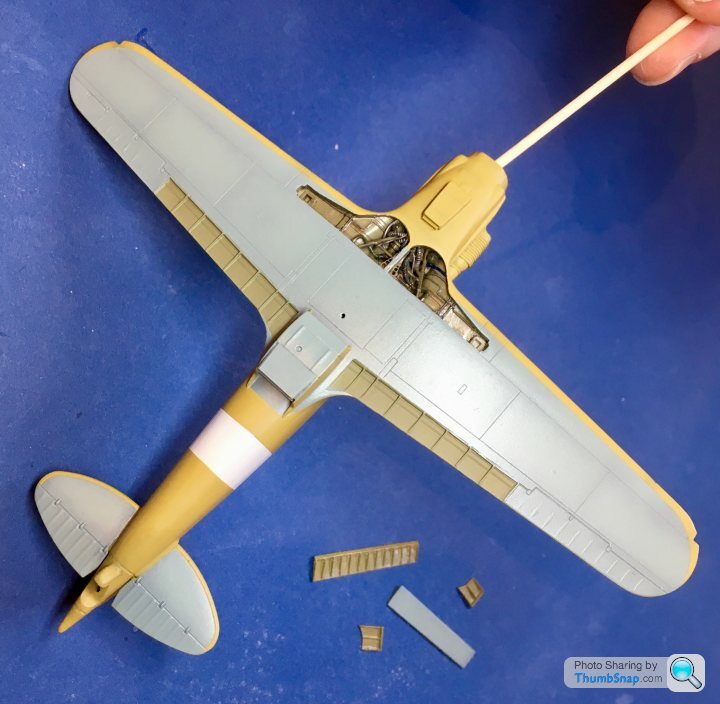
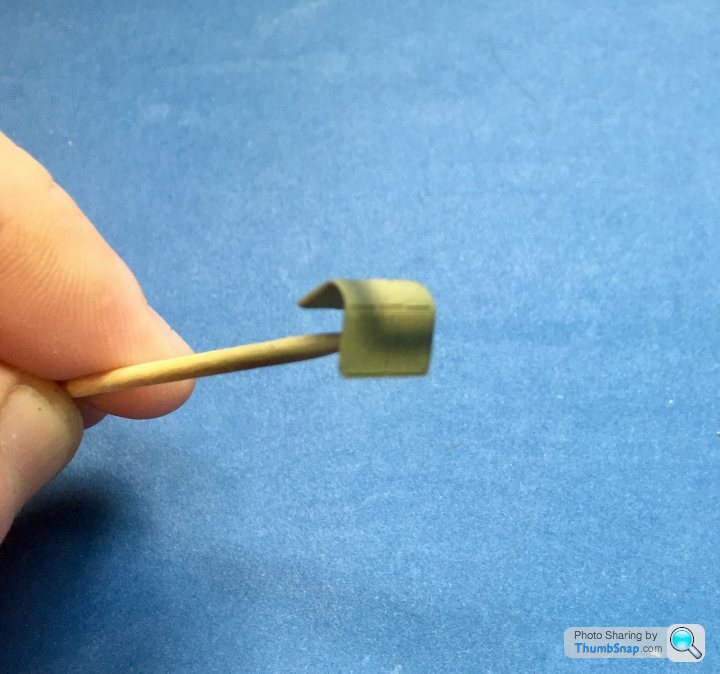
I’m using my usual method of applying Klear to the model locally, and while still wet, applying the decal and brushing MicroSol on top. The MicroSol wrinkles them in a terrifying manner, but as usual it soon settles down:
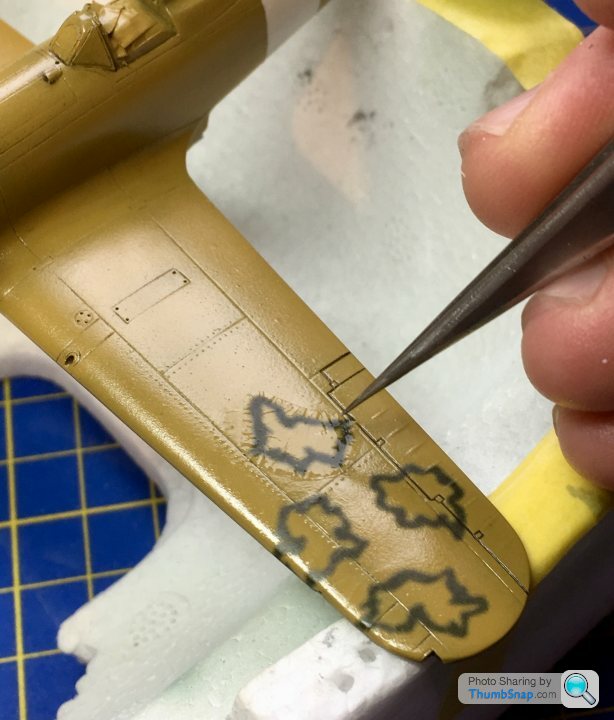
Seems to work OK although there’s no room for error - if I run out of decals, or damage a few I might not have enough. I can’t find them for sale anywhere either...
I’m using my usual method of applying Klear to the model locally, and while still wet, applying the decal and brushing MicroSol on top. The MicroSol wrinkles them in a terrifying manner, but as usual it soon settles down:
Seems to work OK although there’s no room for error - if I run out of decals, or damage a few I might not have enough. I can’t find them for sale anywhere either...
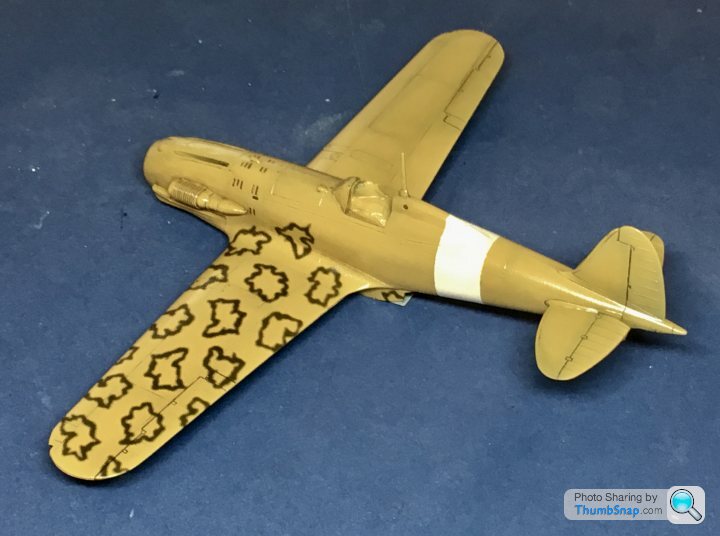

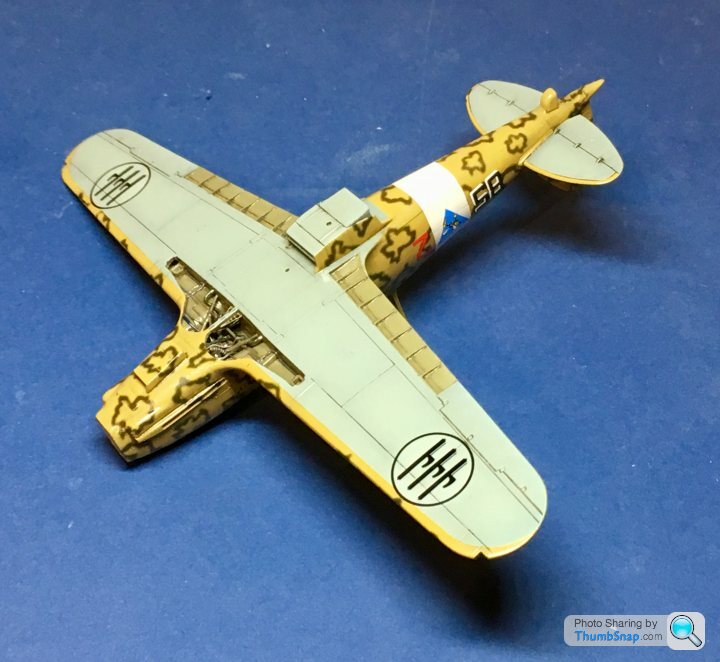
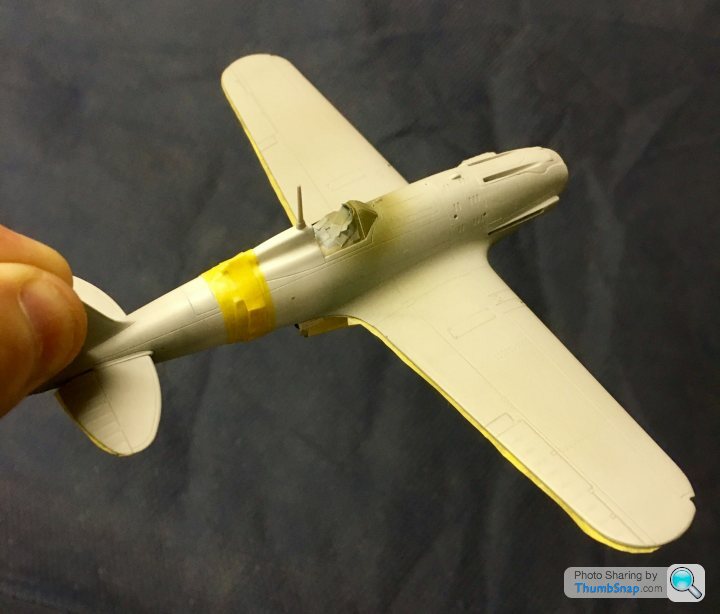
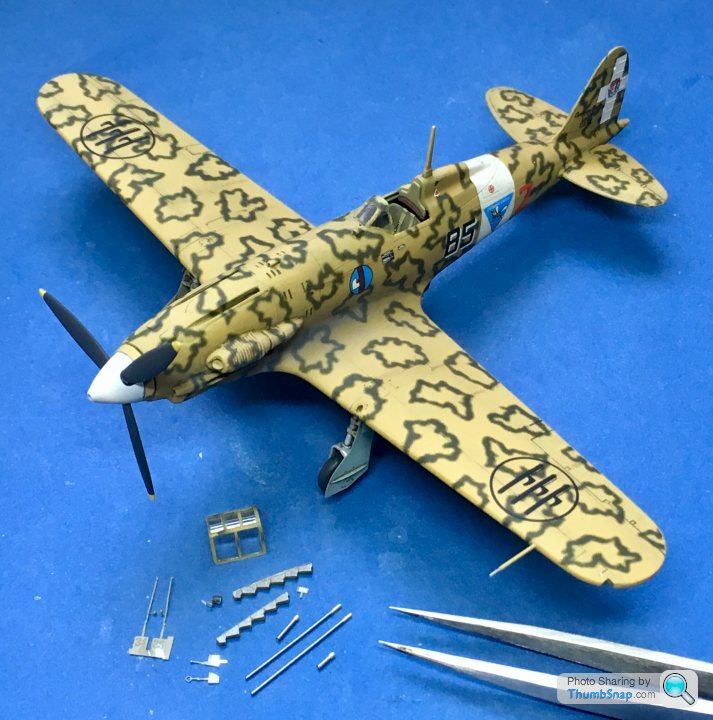
Canopy masked and painted. Still a bit of work needed on it:
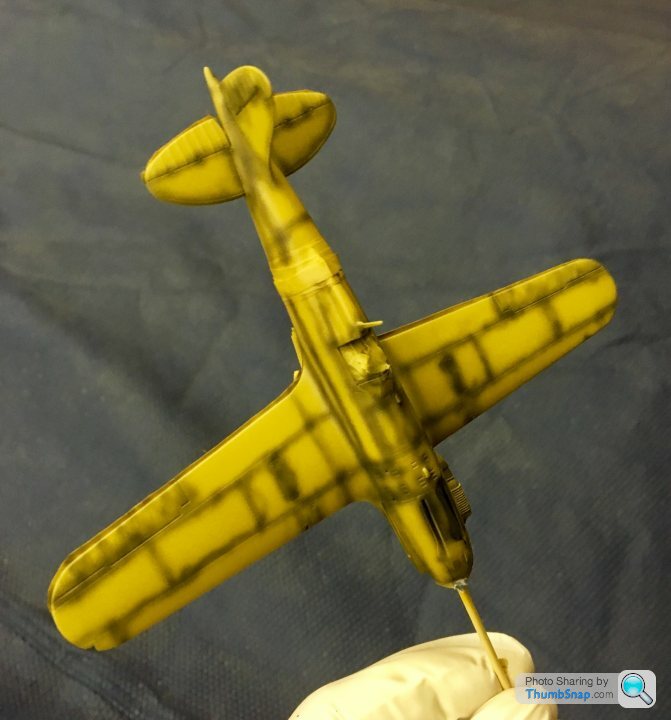
Also oversprayed with Tamiya smoke, and added some exhaust staining. I managed to damage some smoke rings with thinners, but luckily had some spares. Anyway, it’s now coated with Klear for protection, and is ready for final assembly:

Also oversprayed with Tamiya smoke, and added some exhaust staining. I managed to damage some smoke rings with thinners, but luckily had some spares. Anyway, it’s now coated with Klear for protection, and is ready for final assembly:


Gassing Station | Scale Models | Top of Page | What's New | My Stuff