Italeri 1:72 Macchi C.202 "Folgore"
Discussion


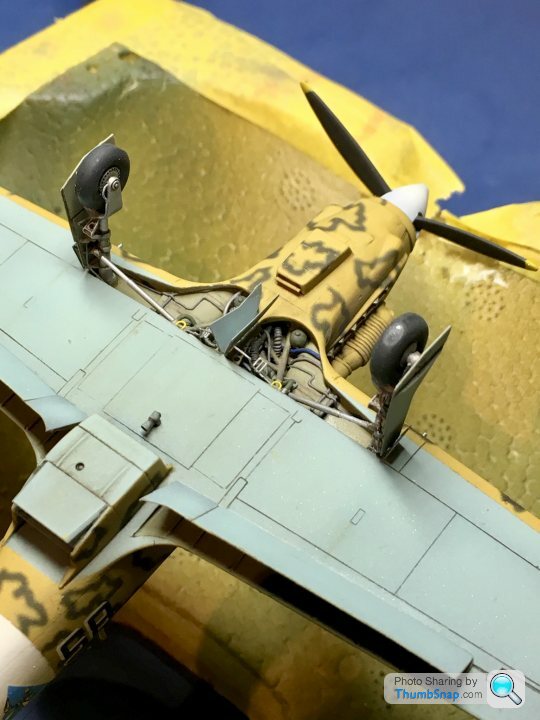
So I repaired the u/c leg - luckily I’d used Araldite, so it had only snapped the glue joint. All I did was put more glue in the socket.
Added the latches to the canopy:
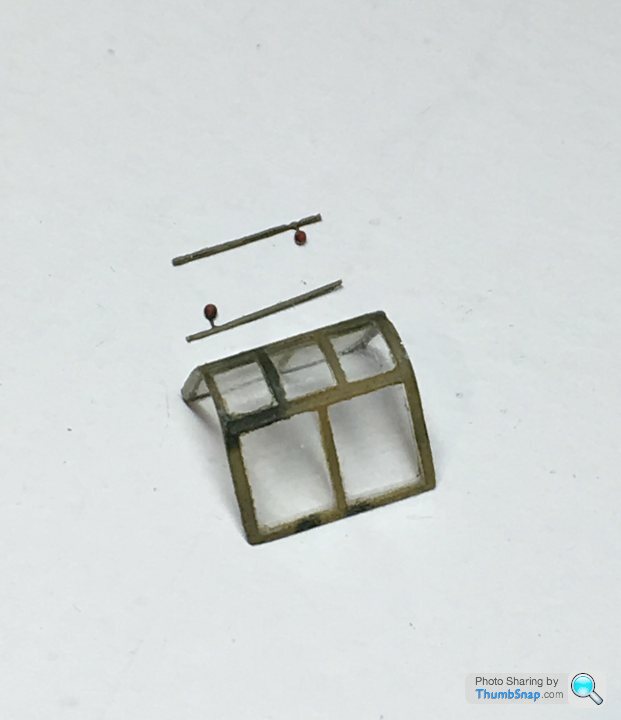
And fitted it. I made a notional piano type hinge from lead wire:
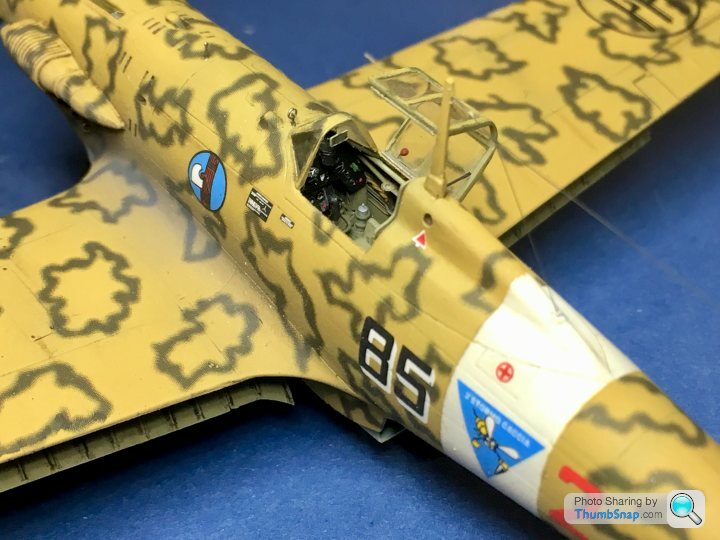
A bit of light weathering, pencil in some panel lines I missed behind the u/c bay, and a pilot’s step and that’ll be it.
Added the latches to the canopy:
And fitted it. I made a notional piano type hinge from lead wire:
A bit of light weathering, pencil in some panel lines I missed behind the u/c bay, and a pilot’s step and that’ll be it.
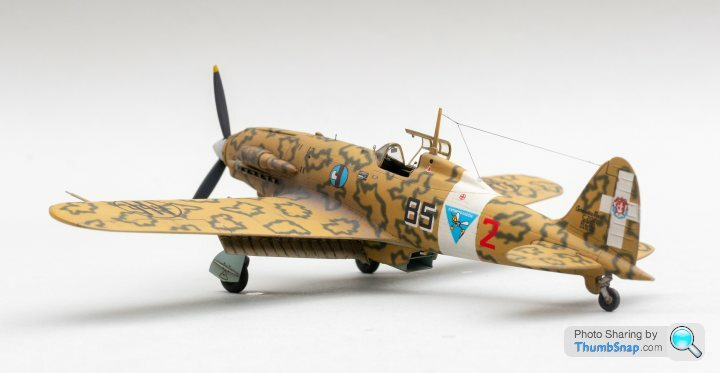
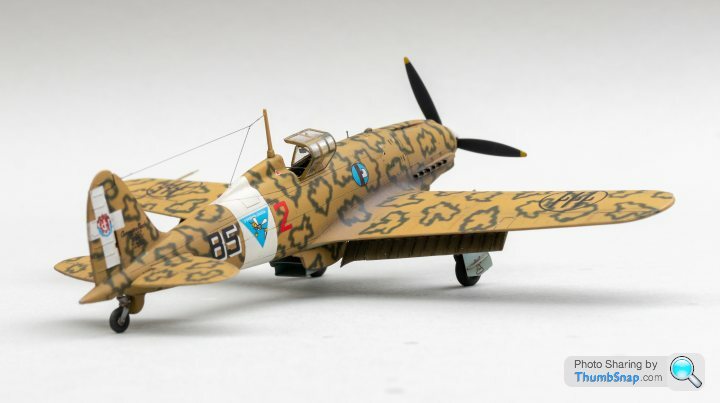
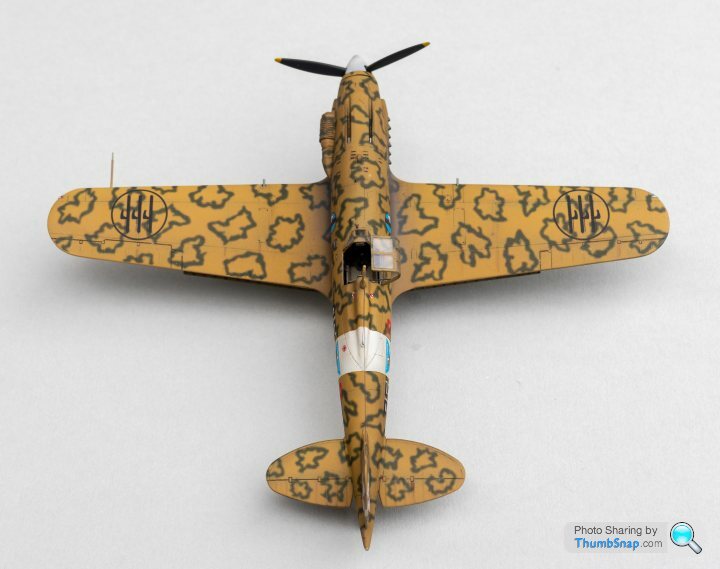
Finished - after way too long:
Italeri 1:72 Macchi C.202 “Folgore” (Thunderbolt)
Sergente Maggiore Luigi Gorrini
85a Squadriglia, 18° Gruppo, 3° Stormo
Tunisia, January 1943
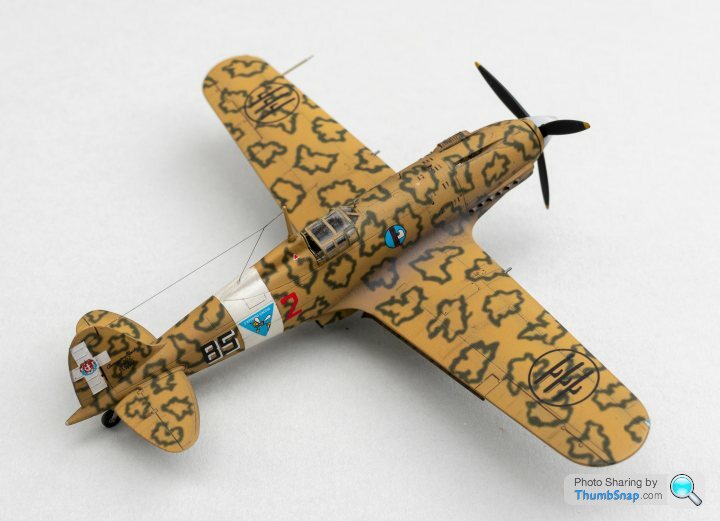
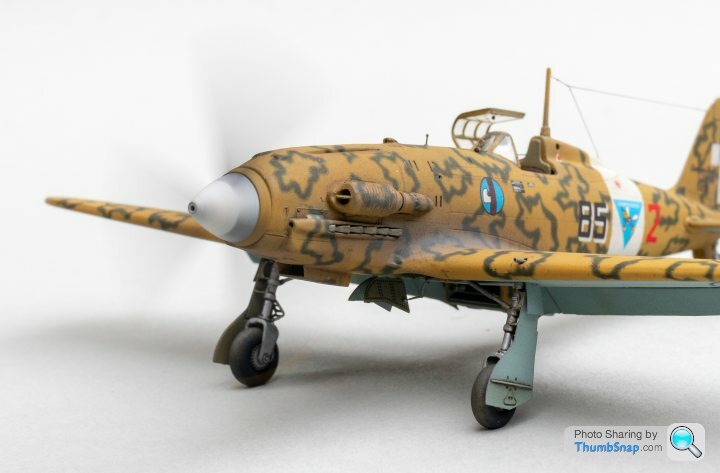
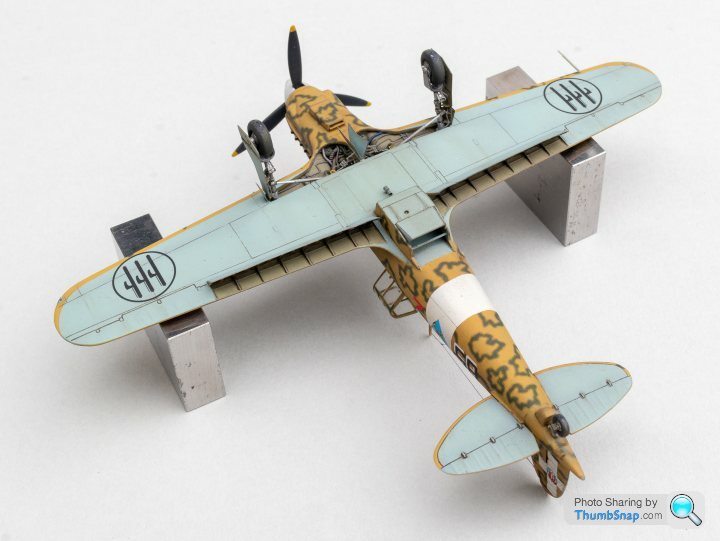
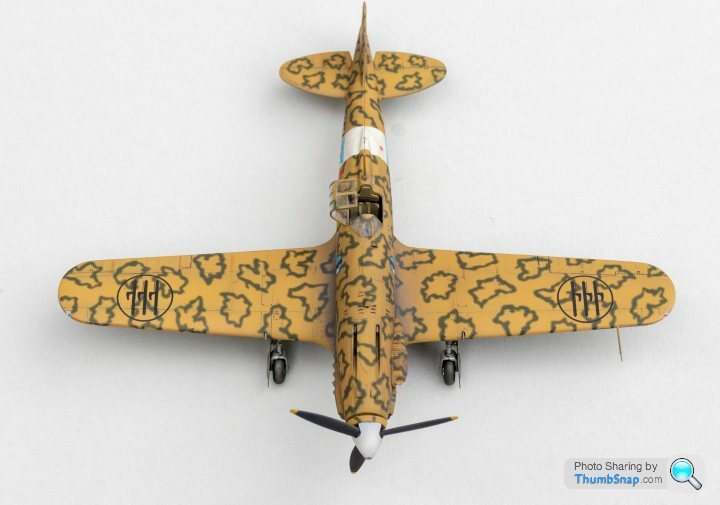
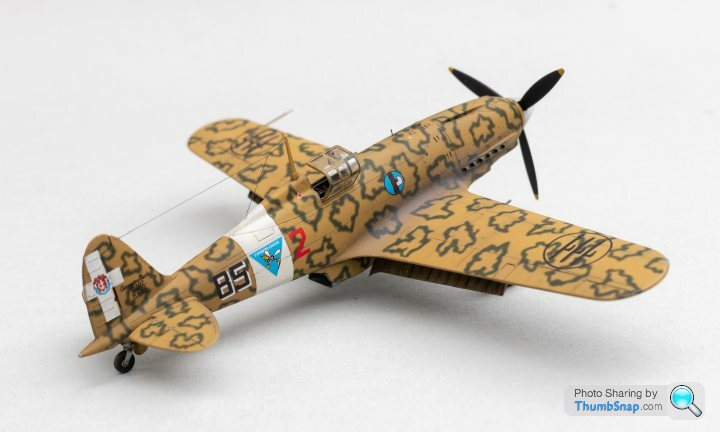
Modifications to base kit were:
Eduard photo-etch set added (cockpit, wheel wells, flaps, air filter valve)
Aires resin exhausts
Mike Grant “smoke ring” decals
Scratch-built wheel well detail
Scratch-built cockpit detail
Machine gun muzzles (brass tube)
Wingtip and tail lights (clear styrene/pva)
Ventral venturi (brass/plastic tube)
Aerial wire (EzLine)
Pitot heads (brass tube)
Brake lines (lead wire)
Drilled exhaust cover apertures
Flatted tyres
Scribed fuselage detail added
That's all folks.
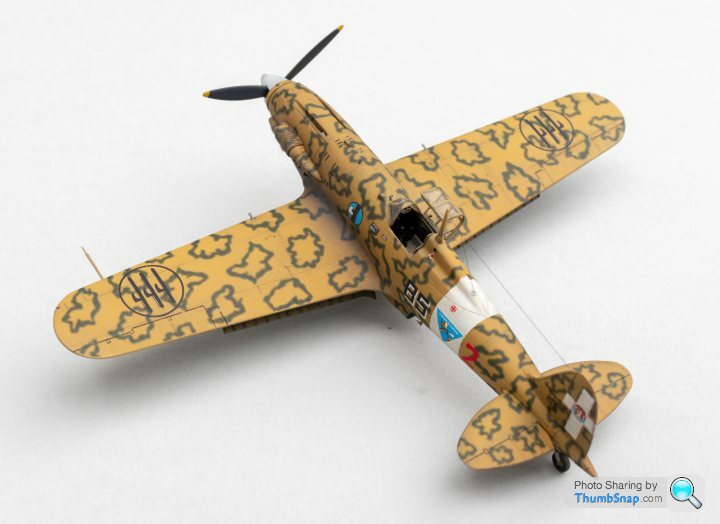
Italeri 1:72 Macchi C.202 “Folgore” (Thunderbolt)
Sergente Maggiore Luigi Gorrini
85a Squadriglia, 18° Gruppo, 3° Stormo
Tunisia, January 1943
Modifications to base kit were:
Eduard photo-etch set added (cockpit, wheel wells, flaps, air filter valve)
Aires resin exhausts
Mike Grant “smoke ring” decals
Scratch-built wheel well detail
Scratch-built cockpit detail
Machine gun muzzles (brass tube)
Wingtip and tail lights (clear styrene/pva)
Ventral venturi (brass/plastic tube)
Aerial wire (EzLine)
Pitot heads (brass tube)
Brake lines (lead wire)
Drilled exhaust cover apertures
Flatted tyres
Scribed fuselage detail added
That's all folks.
Thanks guys!
It’s one of those where it’s gone on for so long and has been a real hassle, so the end result is a bit of an anti-climax. Still, I’m reasonably happy with the look of it (bit too much weathering on the nose perhaps).
I just need the new-tool Tamiya Kawasaki Ki-61 to complete my three favourite DB601 engined warbirds - the other being the Airfix Bf109E. That’s another where most of the main camo will be decals...
Next up is the new 1:72 Special Hobby Kittyhawk 1a, but that’s for a magazine review.
Gassing Station | Scale Models | Top of Page | What's New | My Stuff