1/12 Porsche 917k - MFH
Discussion


Murph7355 said:
Would superglue cloud up the resin bits like it can certain types of plastic?
Still think the end product is amazing though Angus.
How much will actually be visible? (Fan and inlet trumpets notwithstanding).
Also, will you drill out the exhaust?
Far too risky! I thought about misting some white over, but I think they look ok - some older pictures do suggest a slight opaqueness so I'm ok with it. If I ever do a stand-alone engine, I'll try creamier...Still think the end product is amazing though Angus.
How much will actually be visible? (Fan and inlet trumpets notwithstanding).
Also, will you drill out the exhaust?
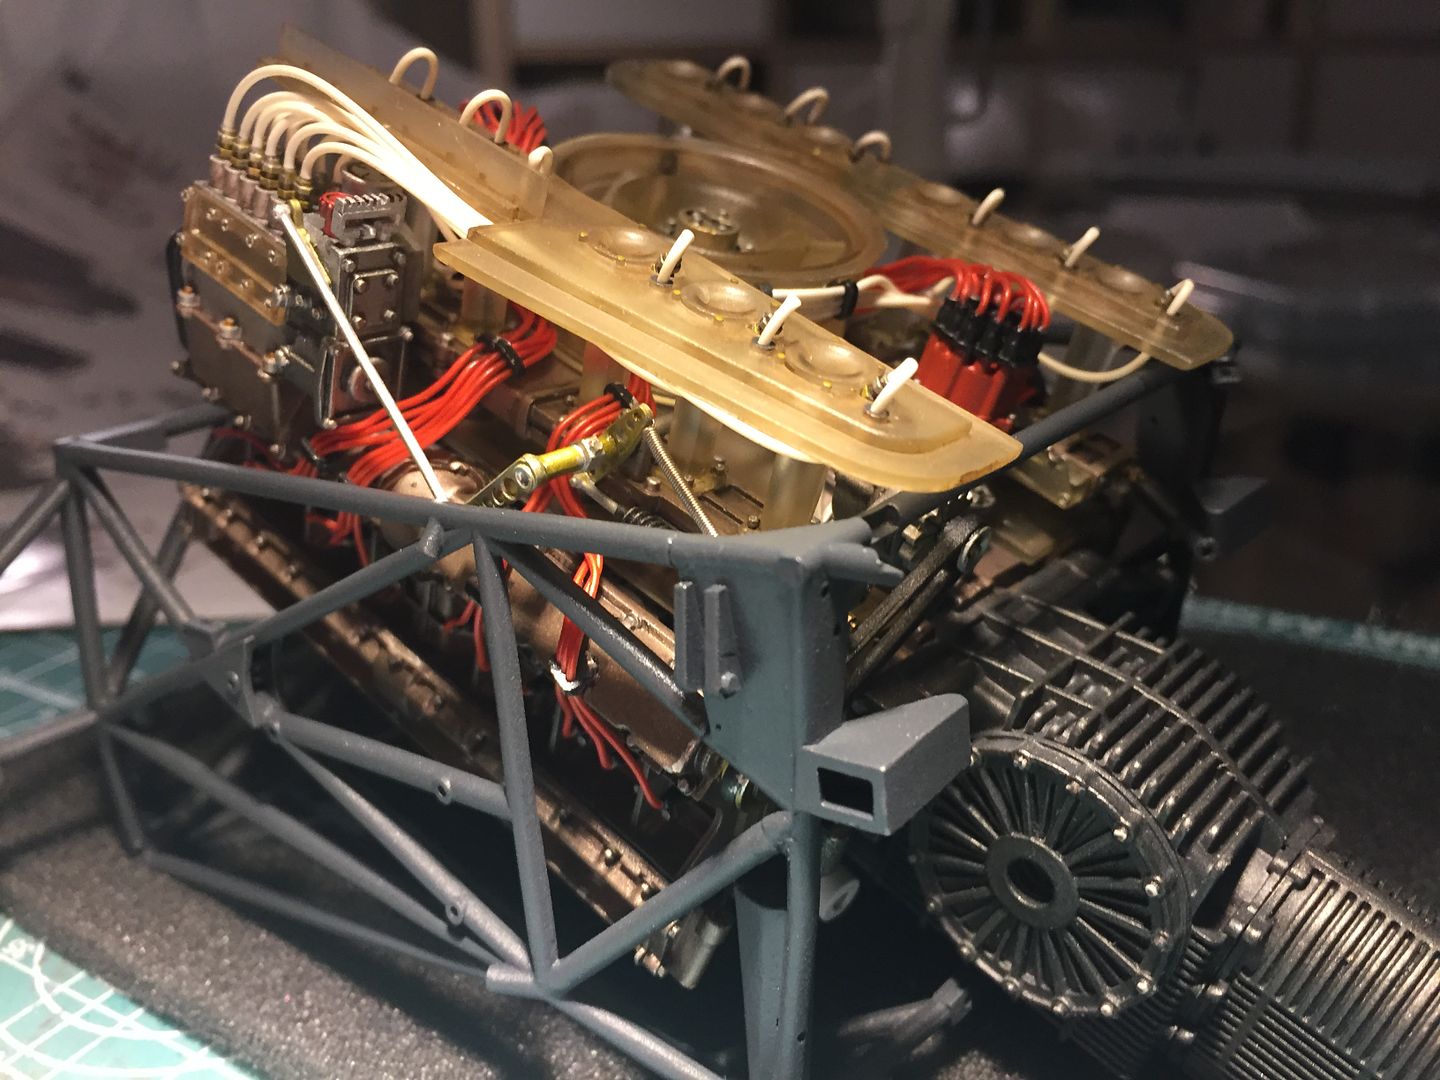
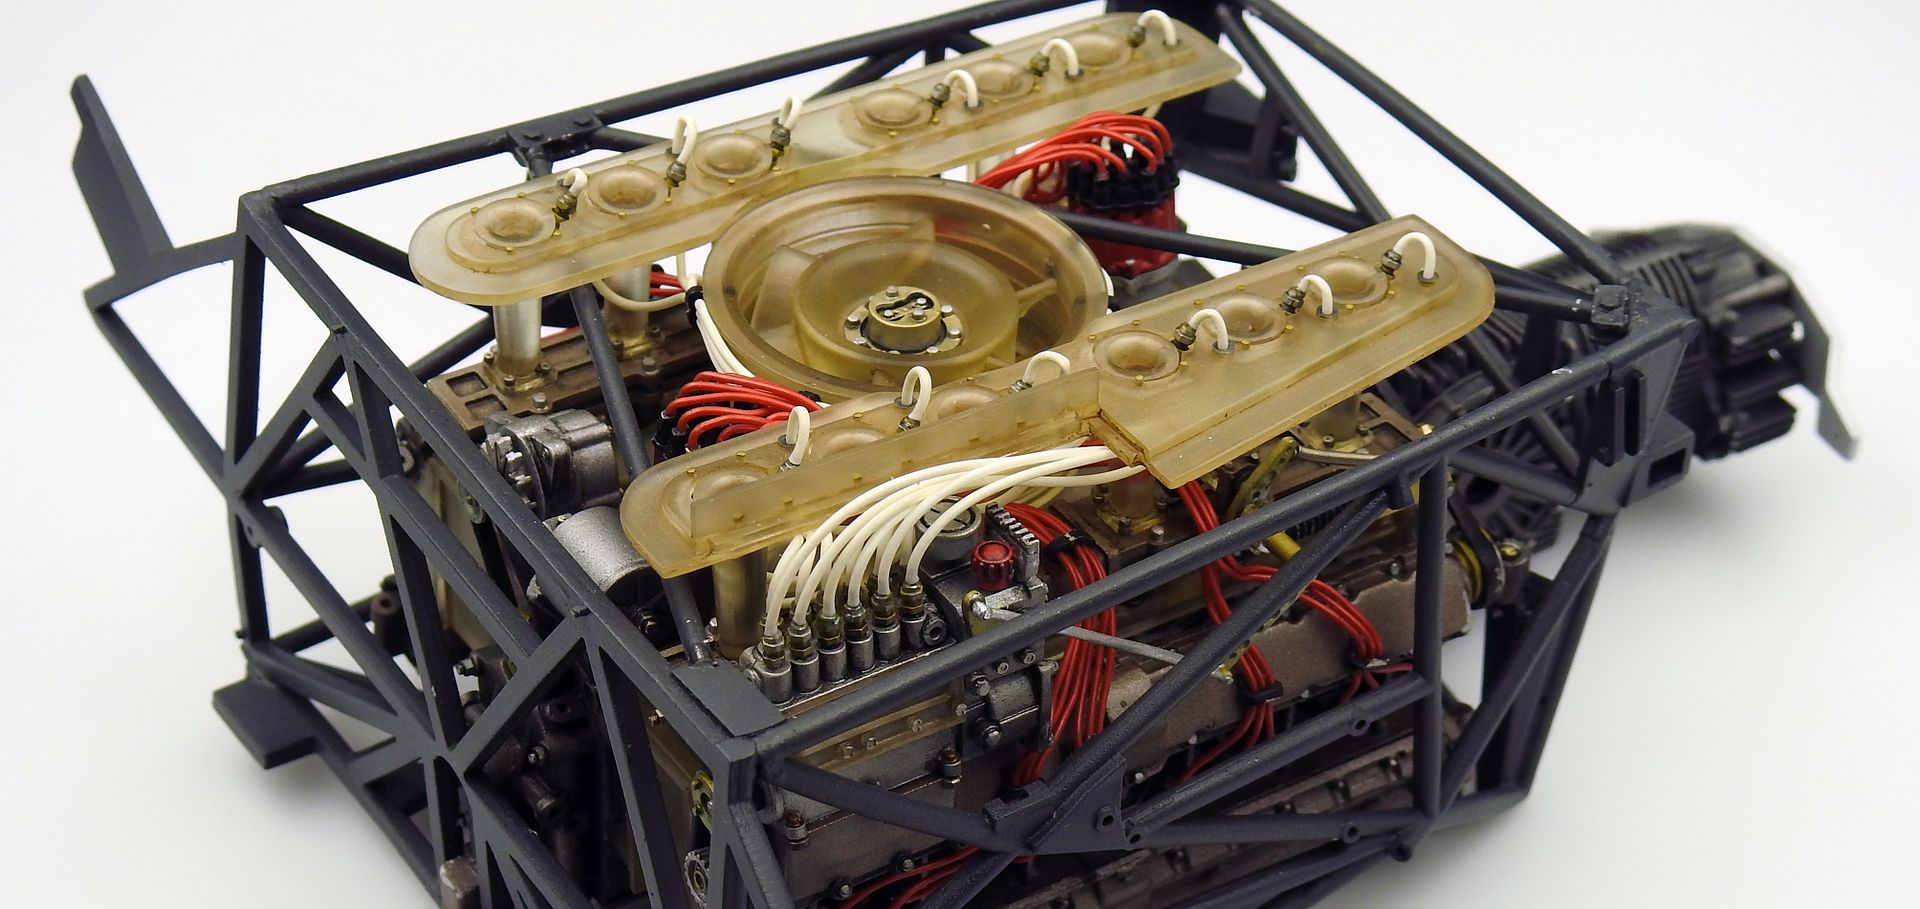
Only thing visible will be fan - airbox covers the rest!
I won't drill out the exhaust (the end is a turned ali part) but I will black them so they look like tubes...
dr_gn said:
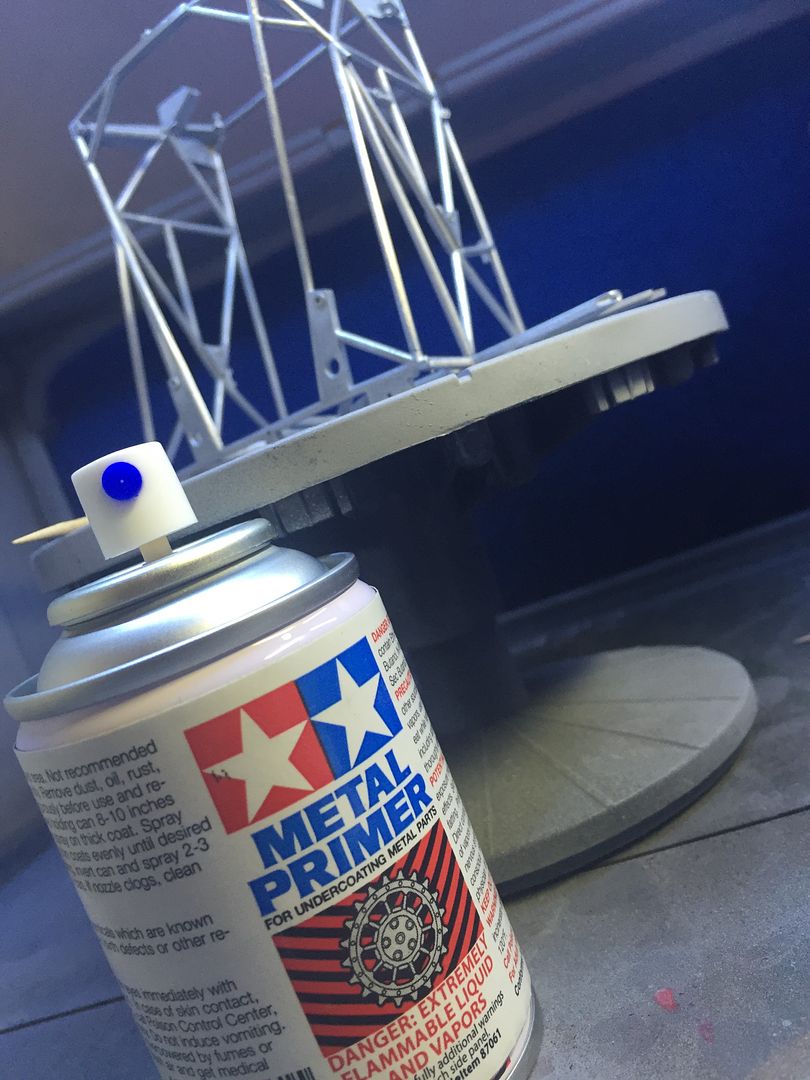
By the way, where did you get the Tamiya metal primer from? I can only find it on EBay from Italy with massive P&P cost. I've used Mr.Hobby metal primer before, but it wasn't very good.
It is weird how hard it is to get these! I'll have to check where I got mine, but the only options seemed to be Europe (with silly postage) - I think in the end I found 2 on a US slot-car website...no idea why they are such a pain to get - I assume something to do with their content....caterhamnut said:
dr_gn said:
By the way, where did you get the Tamiya metal primer from? I can only find it on EBay from Italy with massive P&P cost. I've used Mr.Hobby metal primer before, but it wasn't very good.
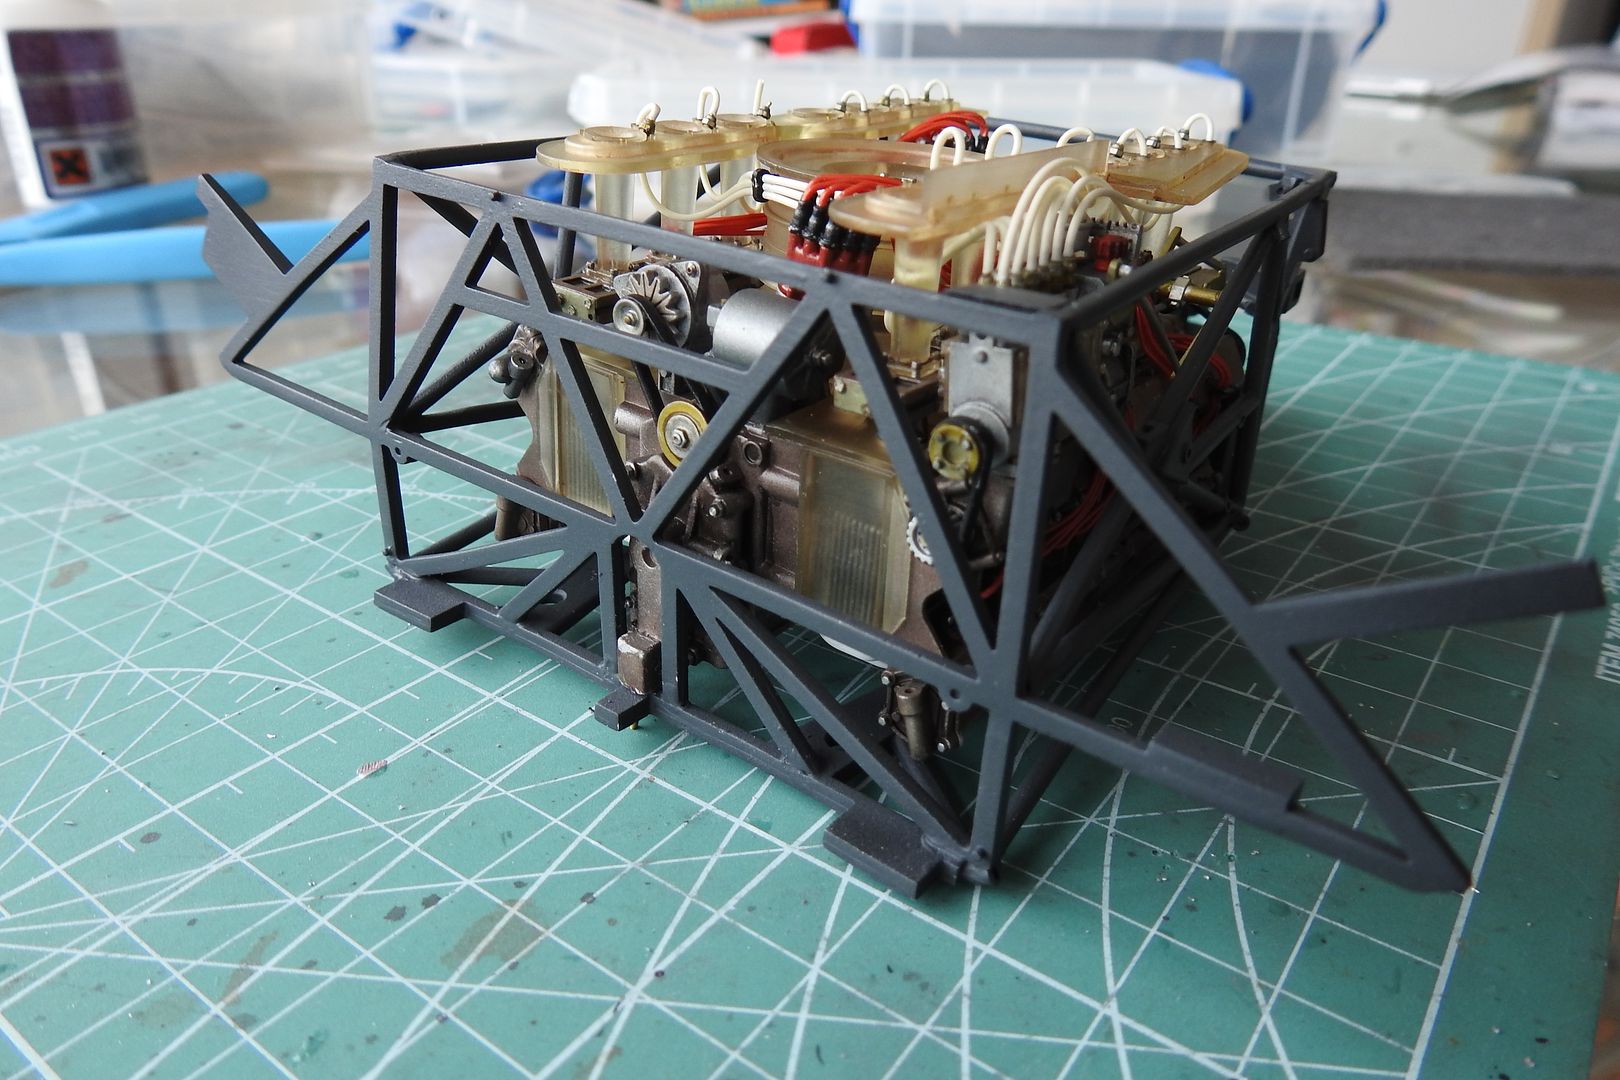
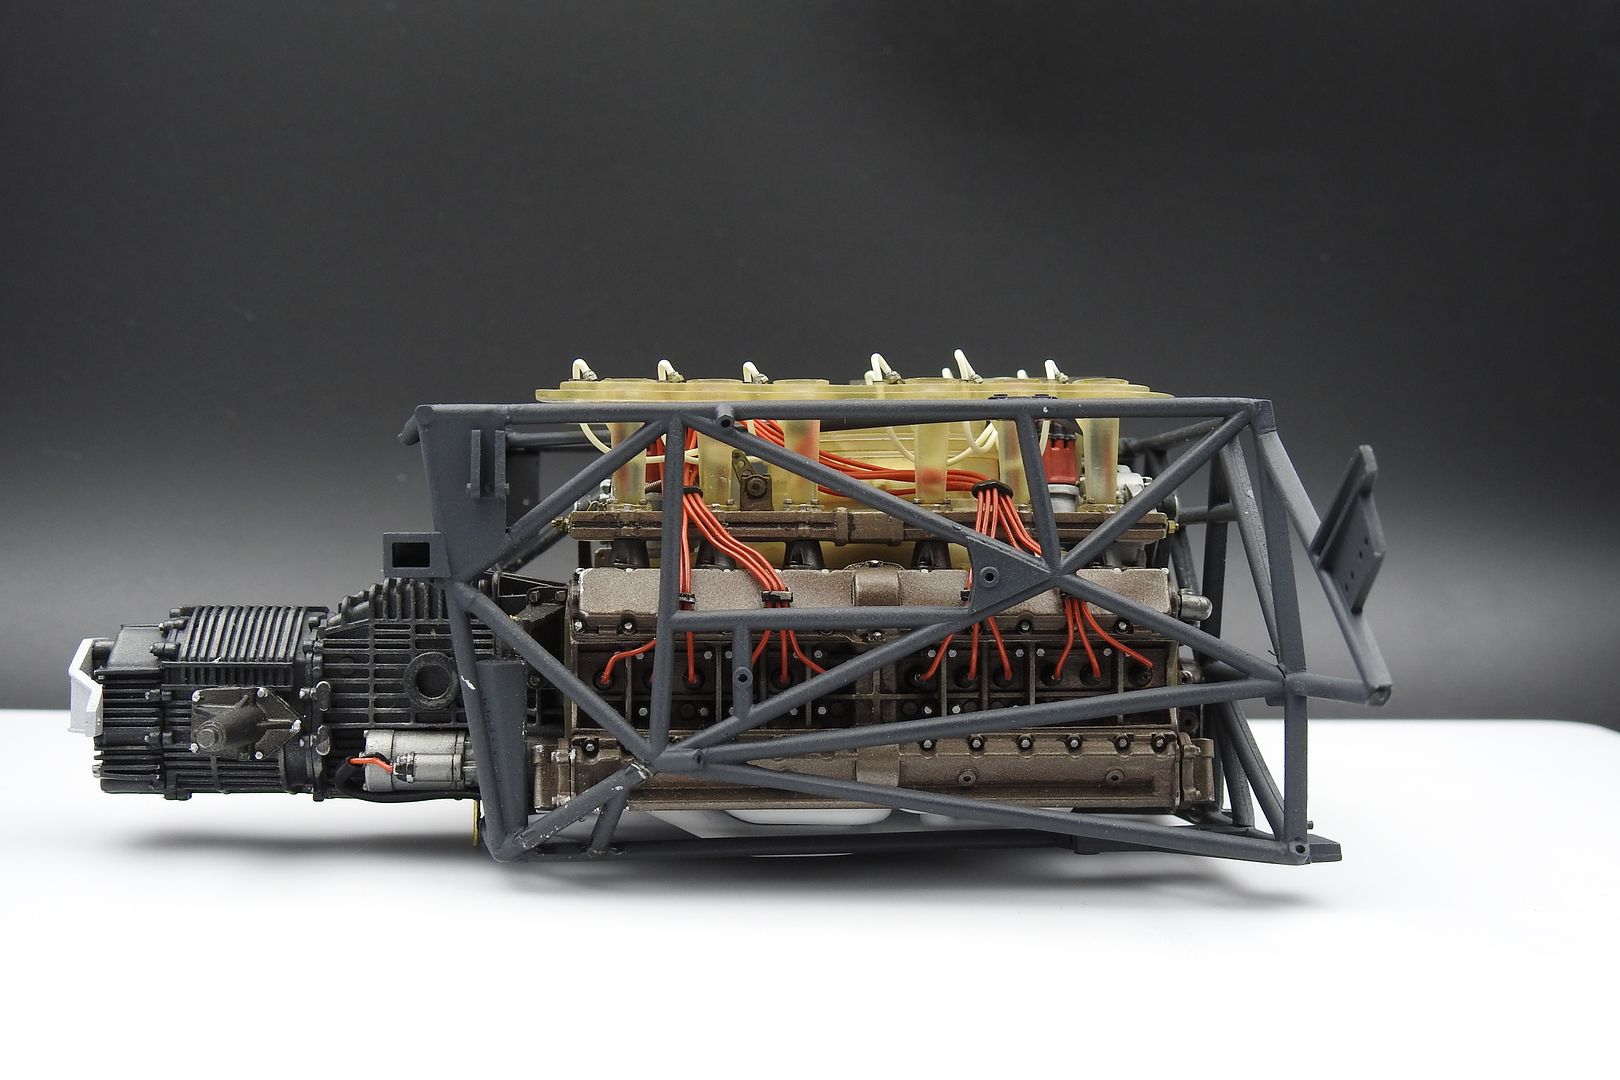
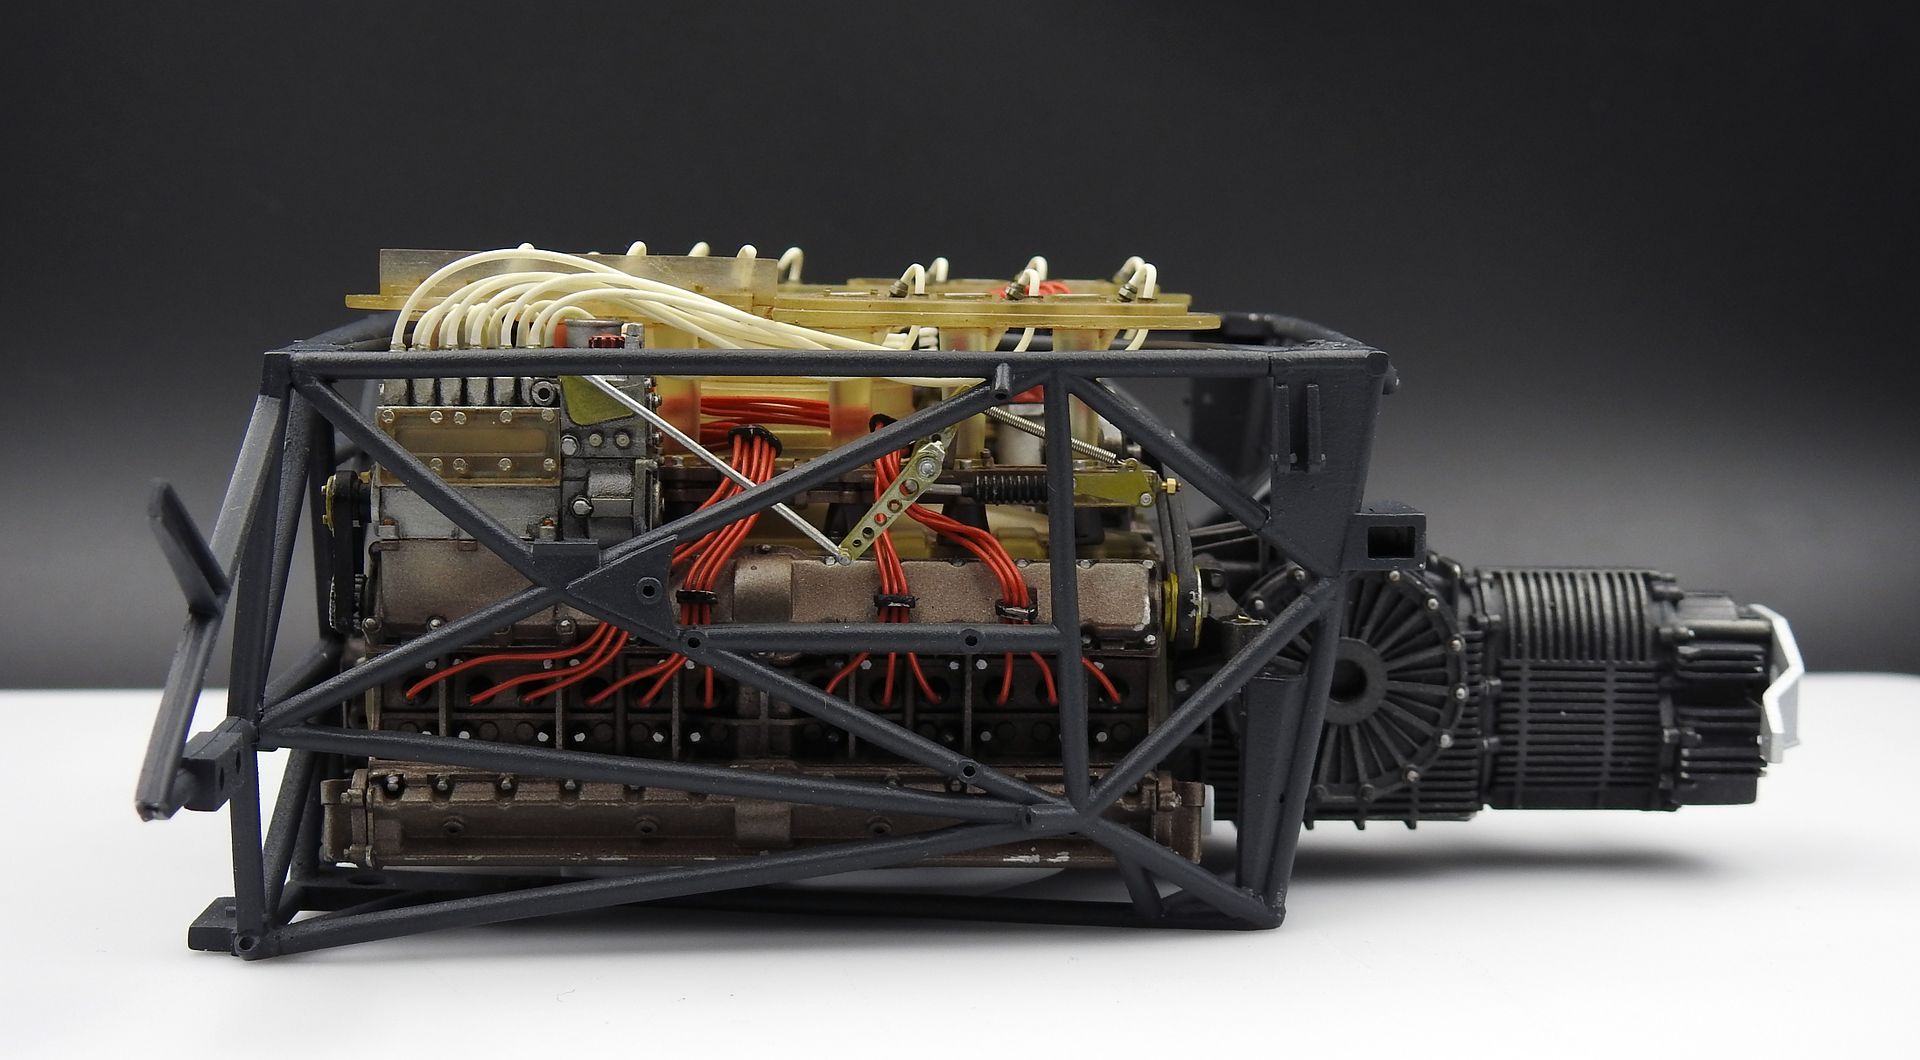
It is weird how hard it is to get these! I'll have to check where I got mine, but the only options seemed to be Europe (with silly postage) - I think in the end I found 2 on a US slot-car website...no idea why they are such a pain to get - I assume something to do with their content....Right - I knew I would not be able to wait - time to fit it into its cage!
I knew from a previous try that this was going to be very very tight - but possible.
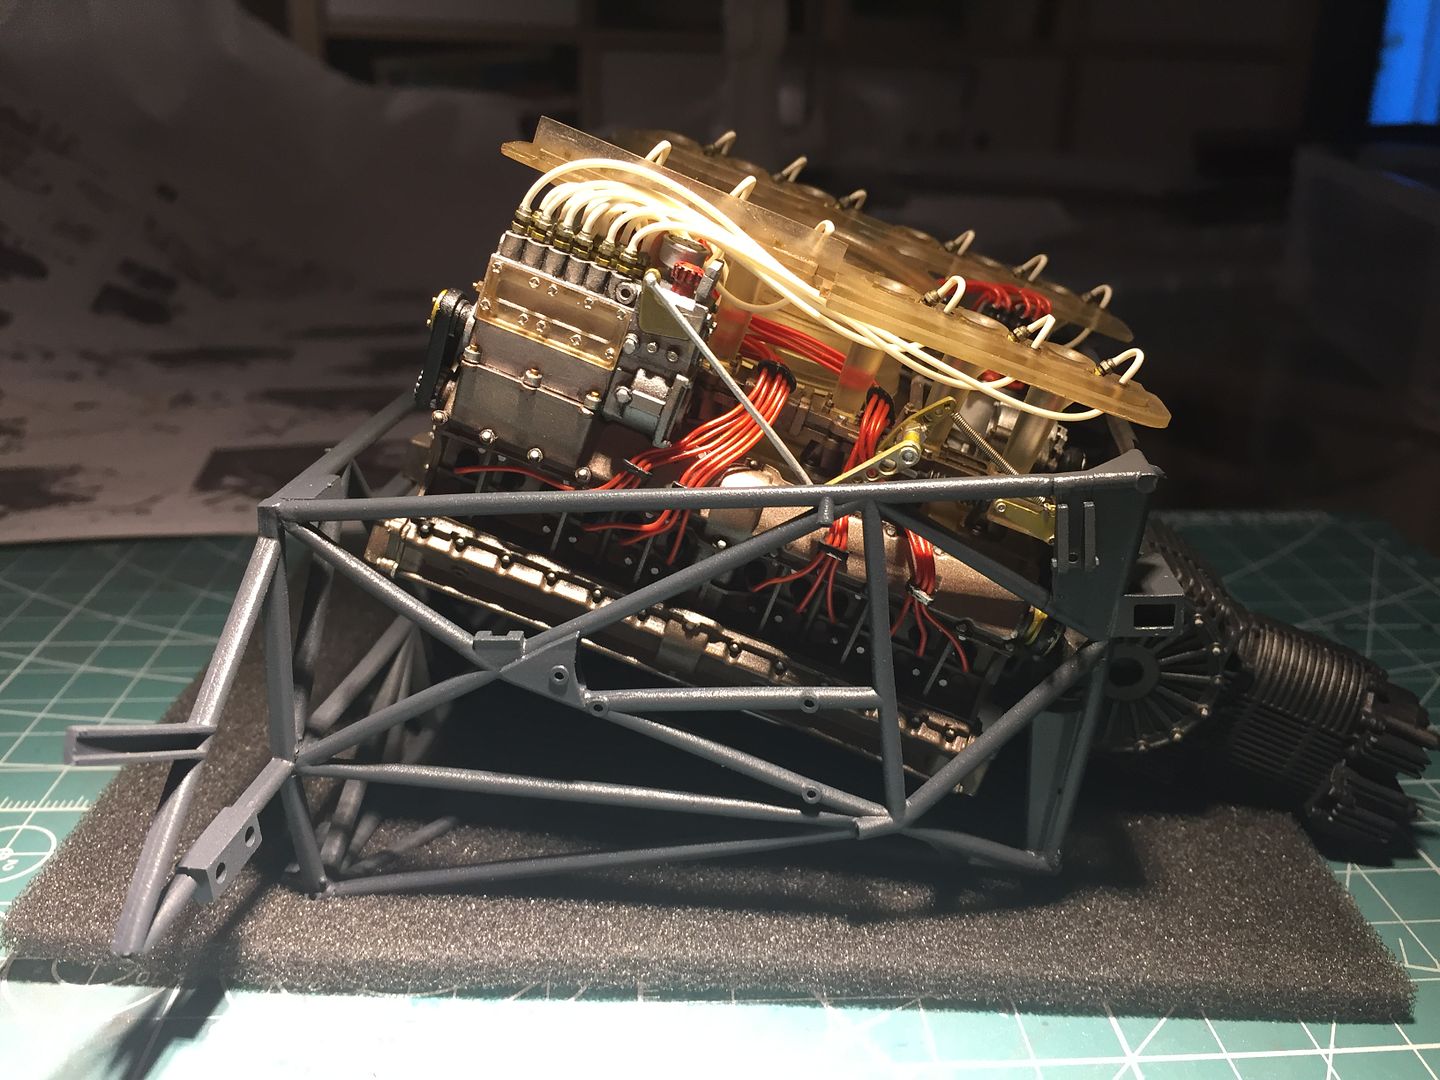
Fitted gearbox didn't really make any difference...the tight bit was the rear corner of the cam-covers...
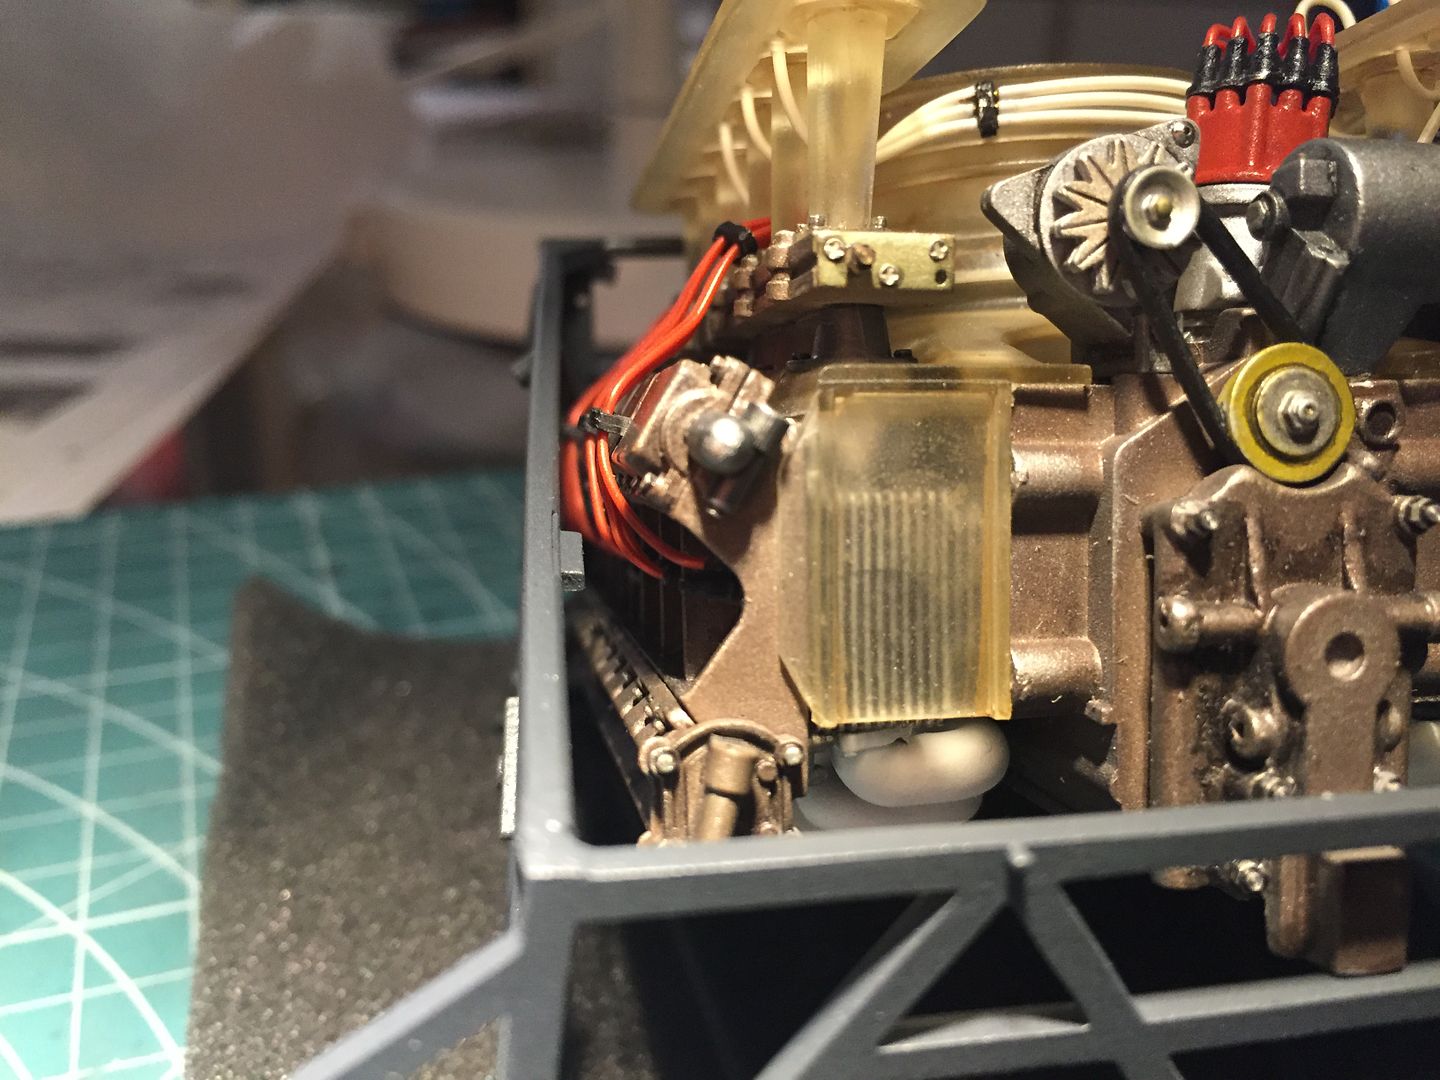

You can see the minor chipping - nothing that won't touch up nicely (or not even be seen, as in the case below...)
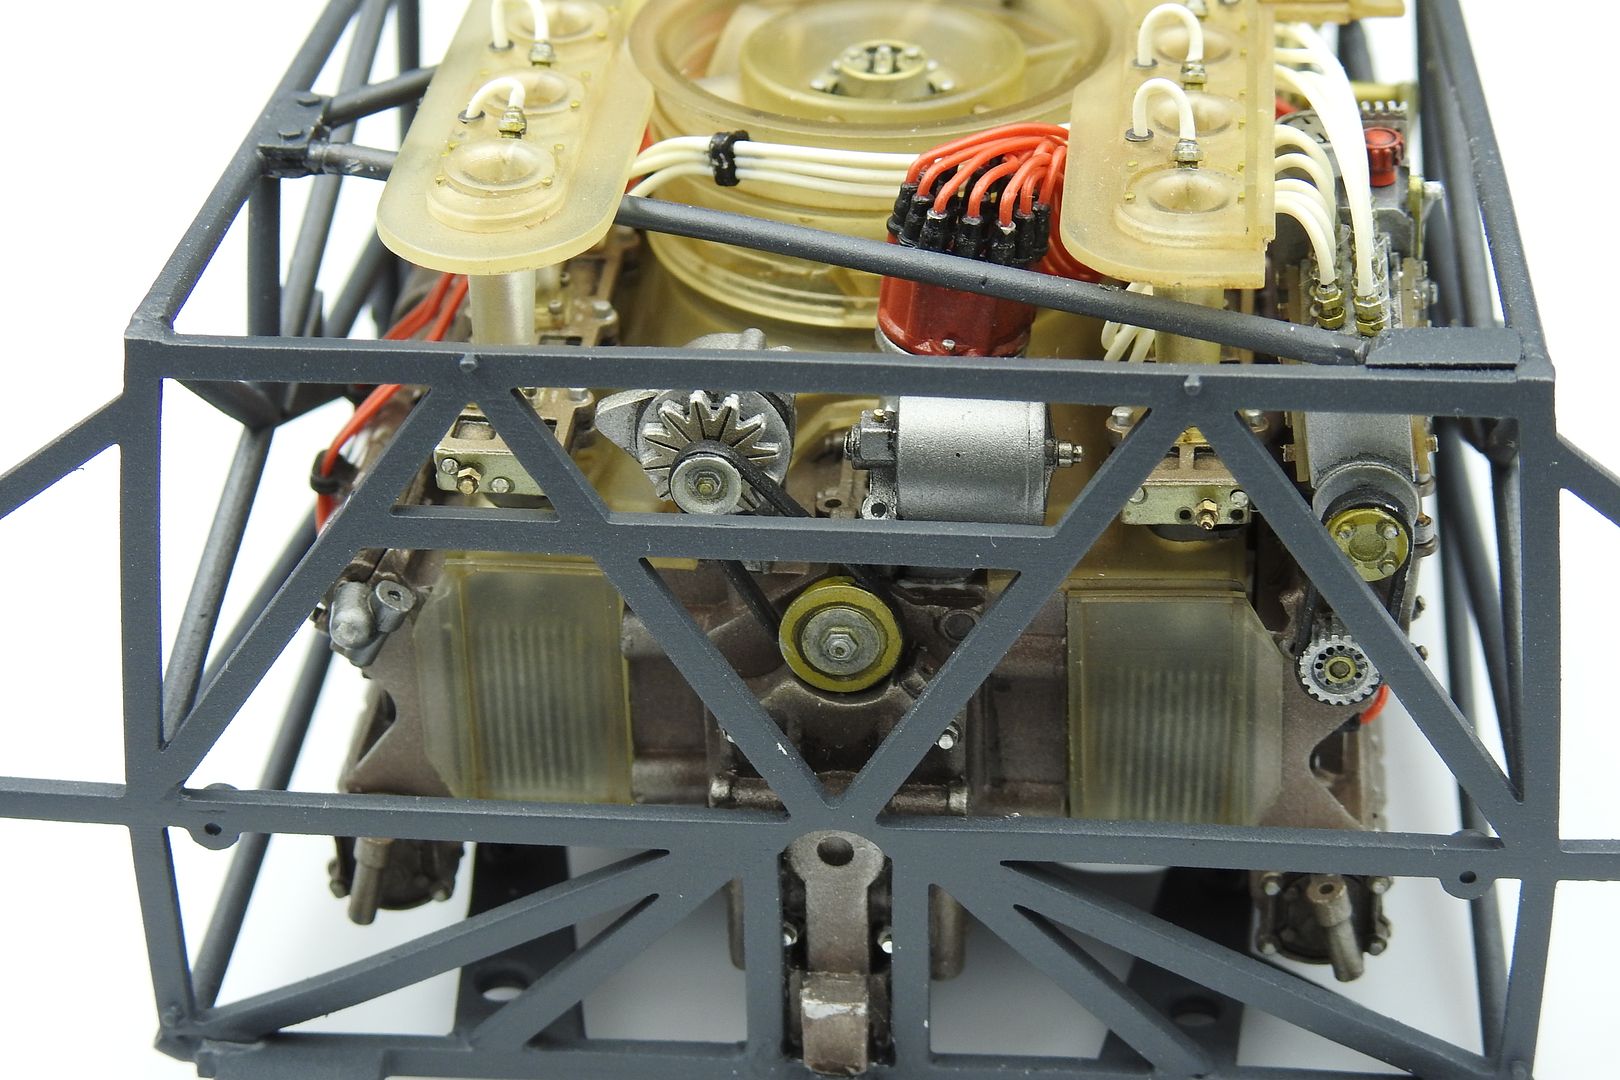
I came across one problem - probably caused by the framework not being 101% square...the rear right cam cover corner was stopping the engine from sitting flat on its rear engine mounts. I tried everything, but with no joy.
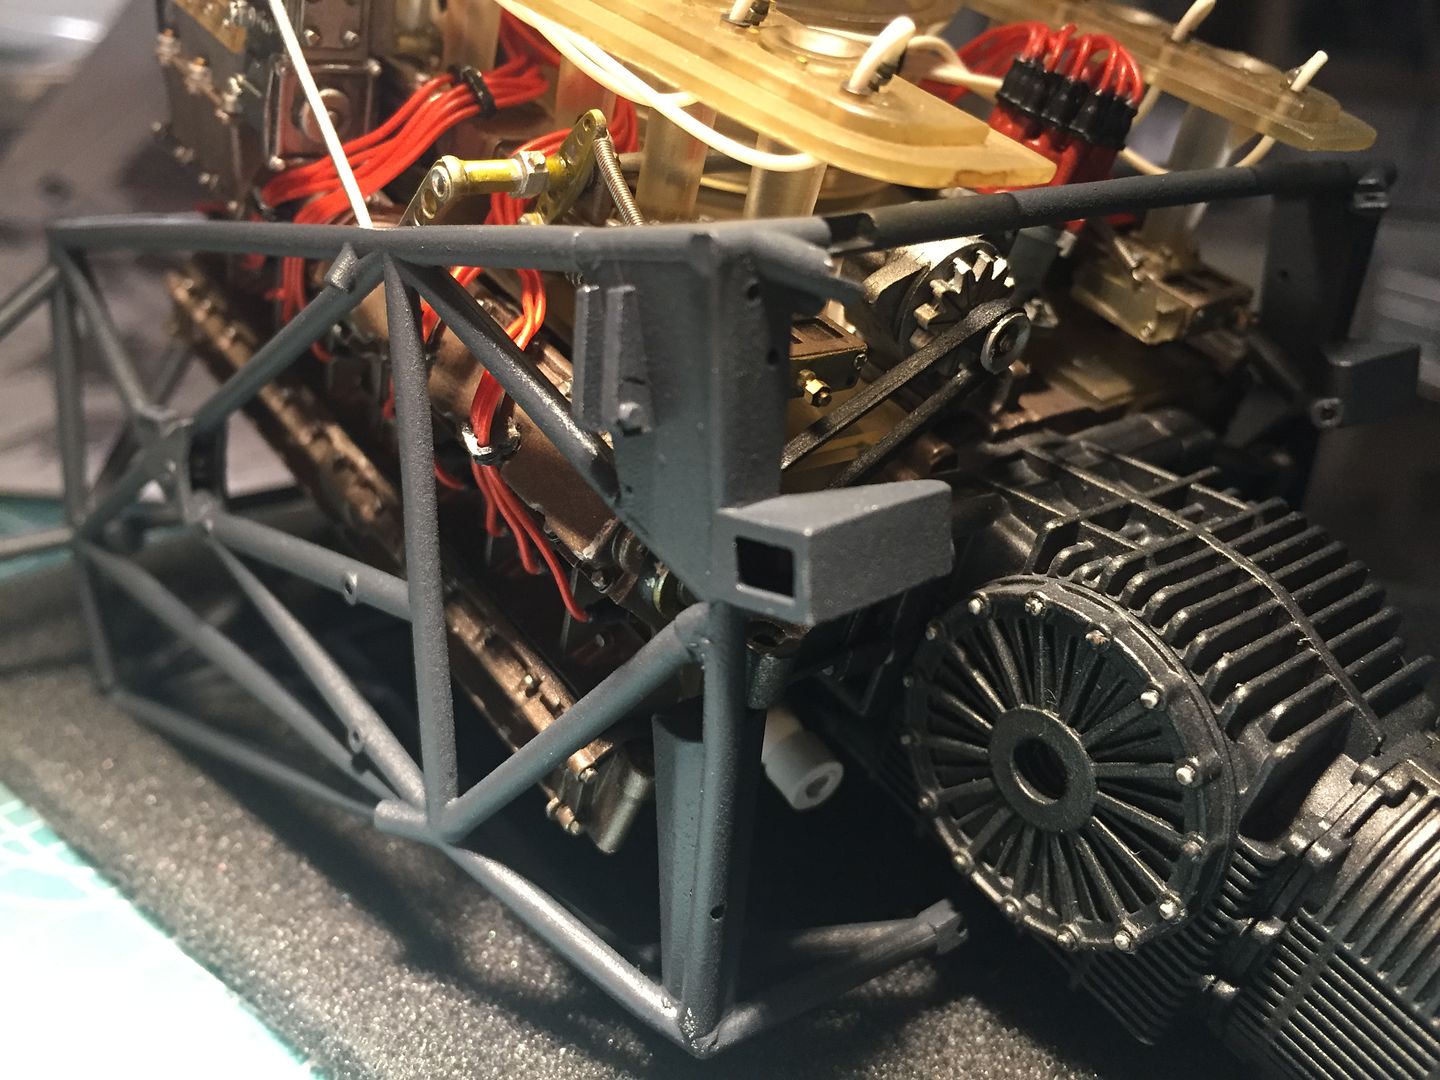
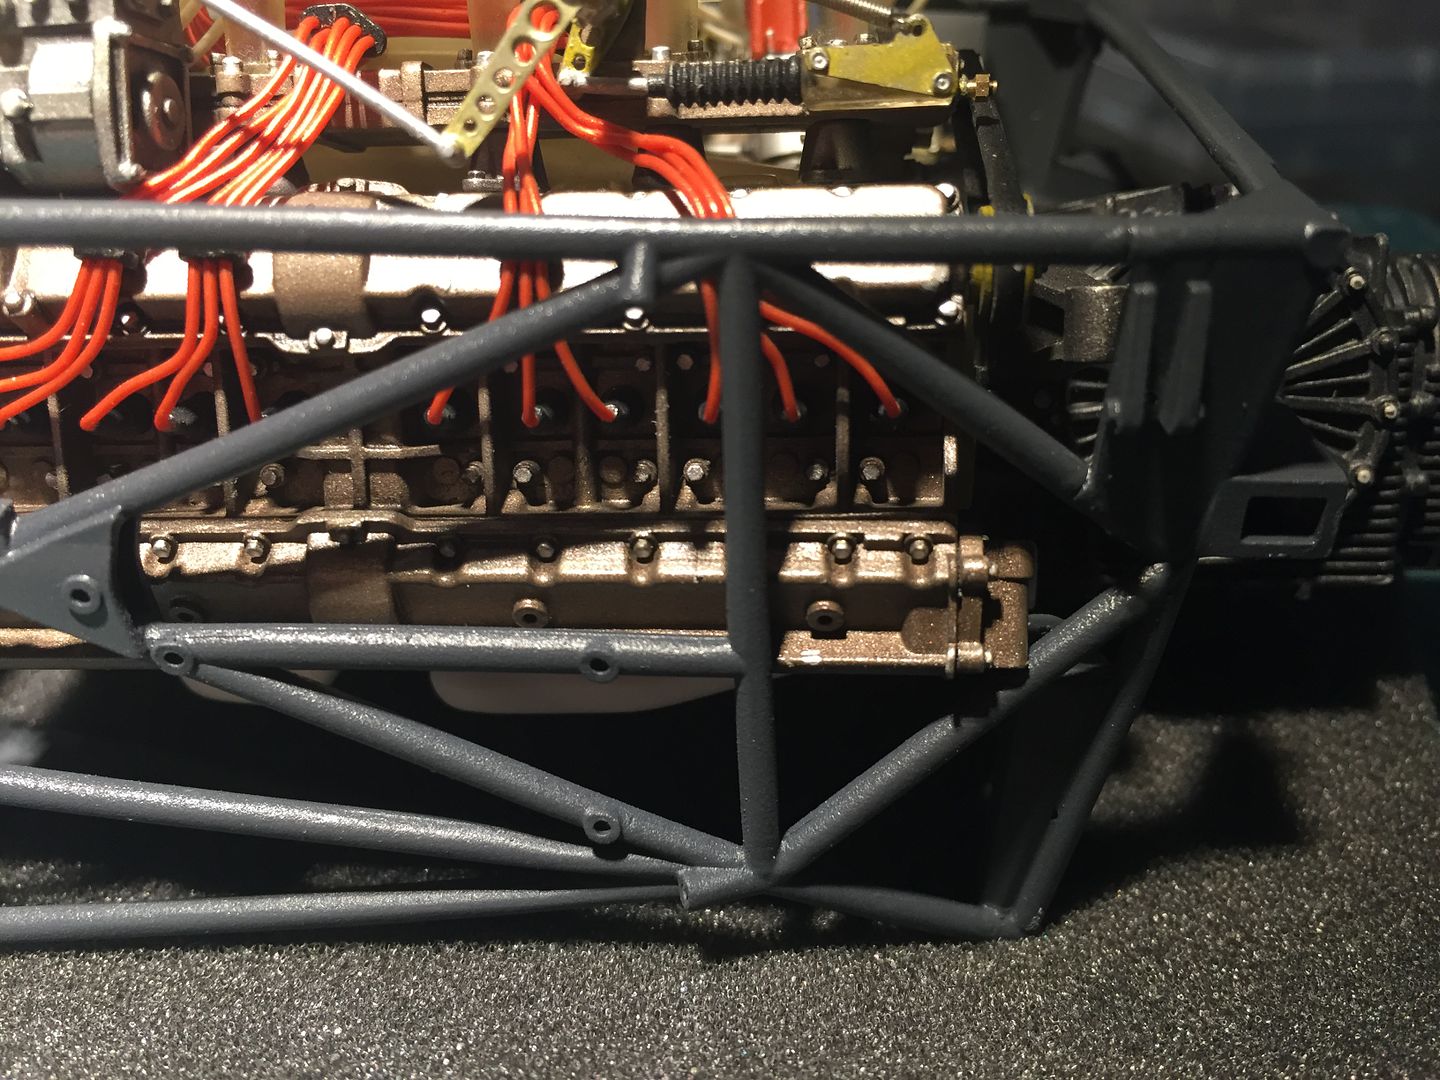
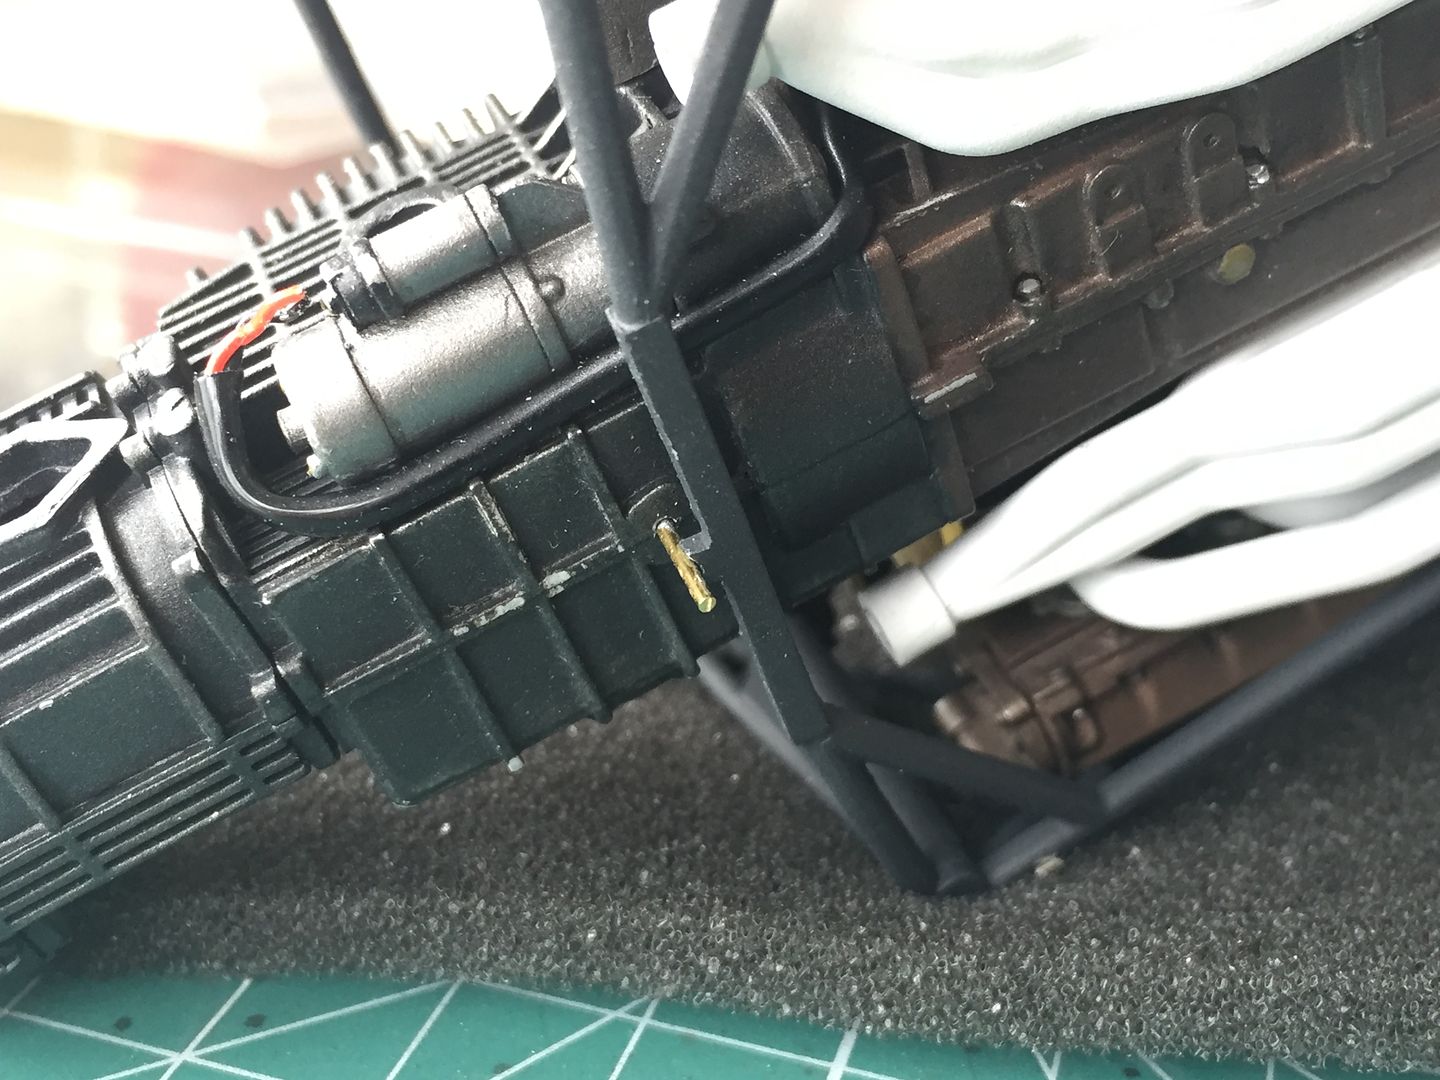
I had to cut some metal! I took a little off the engine corner (these bits would be hidden) but that was not enough, so in the end I removed a section of the tubing so that I could remove some of the tube that interfered with the engine - it is a shame, but once fixed only I (and you lot!) would know it was there - I carved away behind the tube, and re-glued it in position once the engine itself was fixed securely and square.
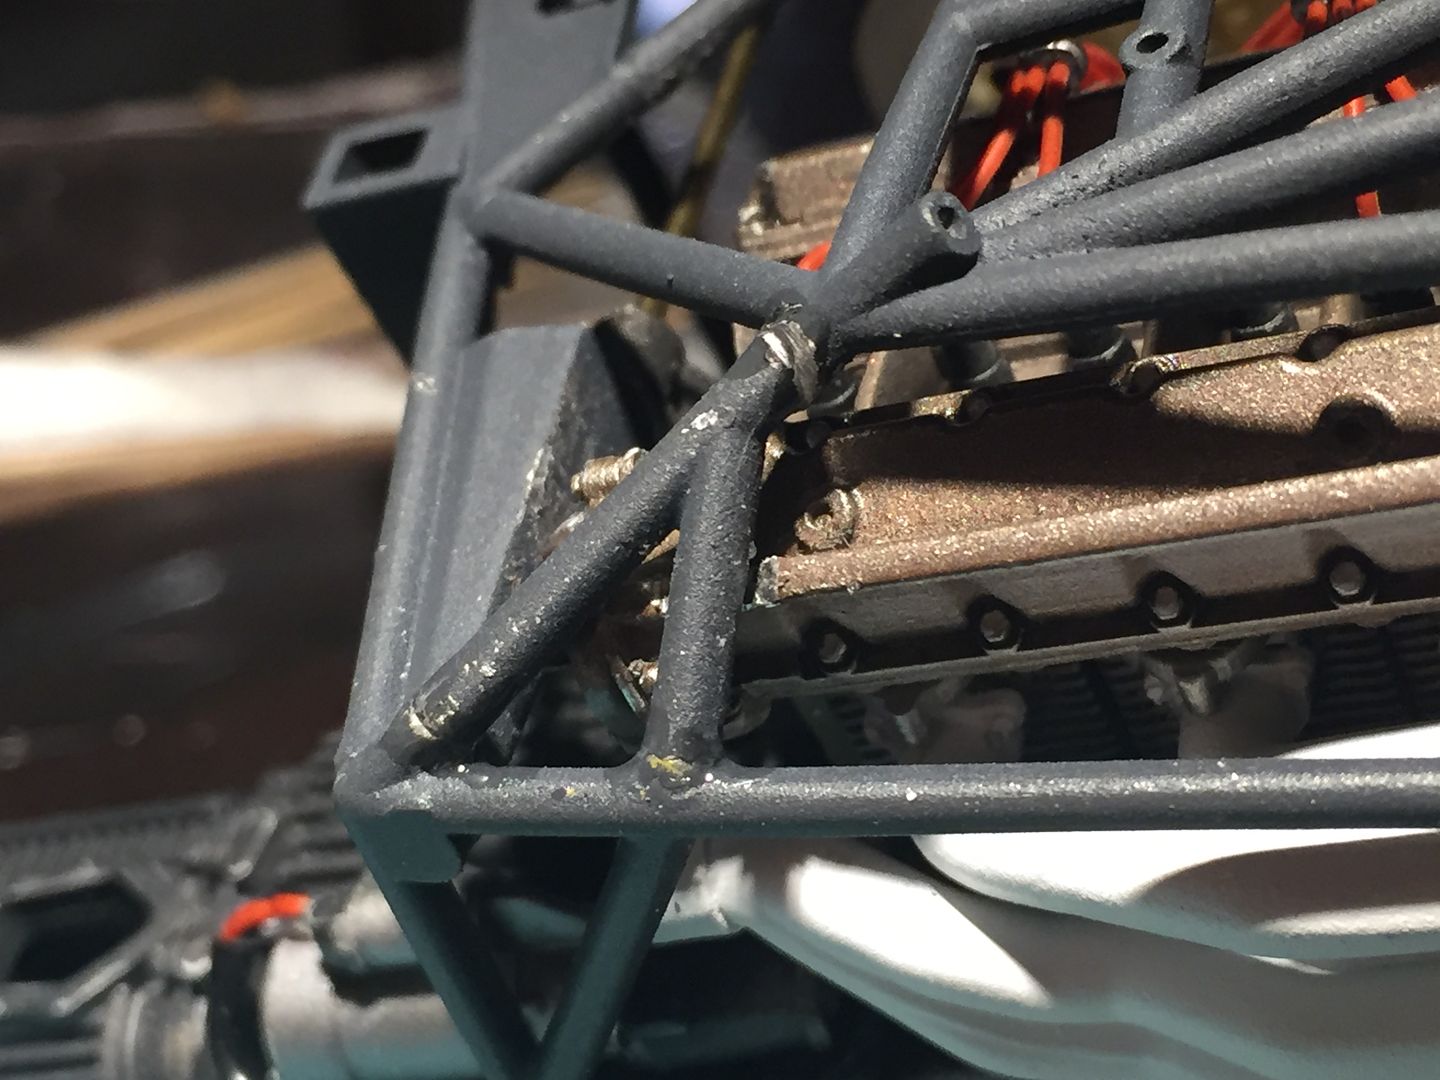
Once sanded and touched up with paint, you won't know...
I used some pins in the place of screws that are fixed later in the build process, so make sure everything was lined up - I could not get screws into the engine mounts themselves, so used brass rod to locate (and glue) - it ain't going anywhere now! Left over night to set....
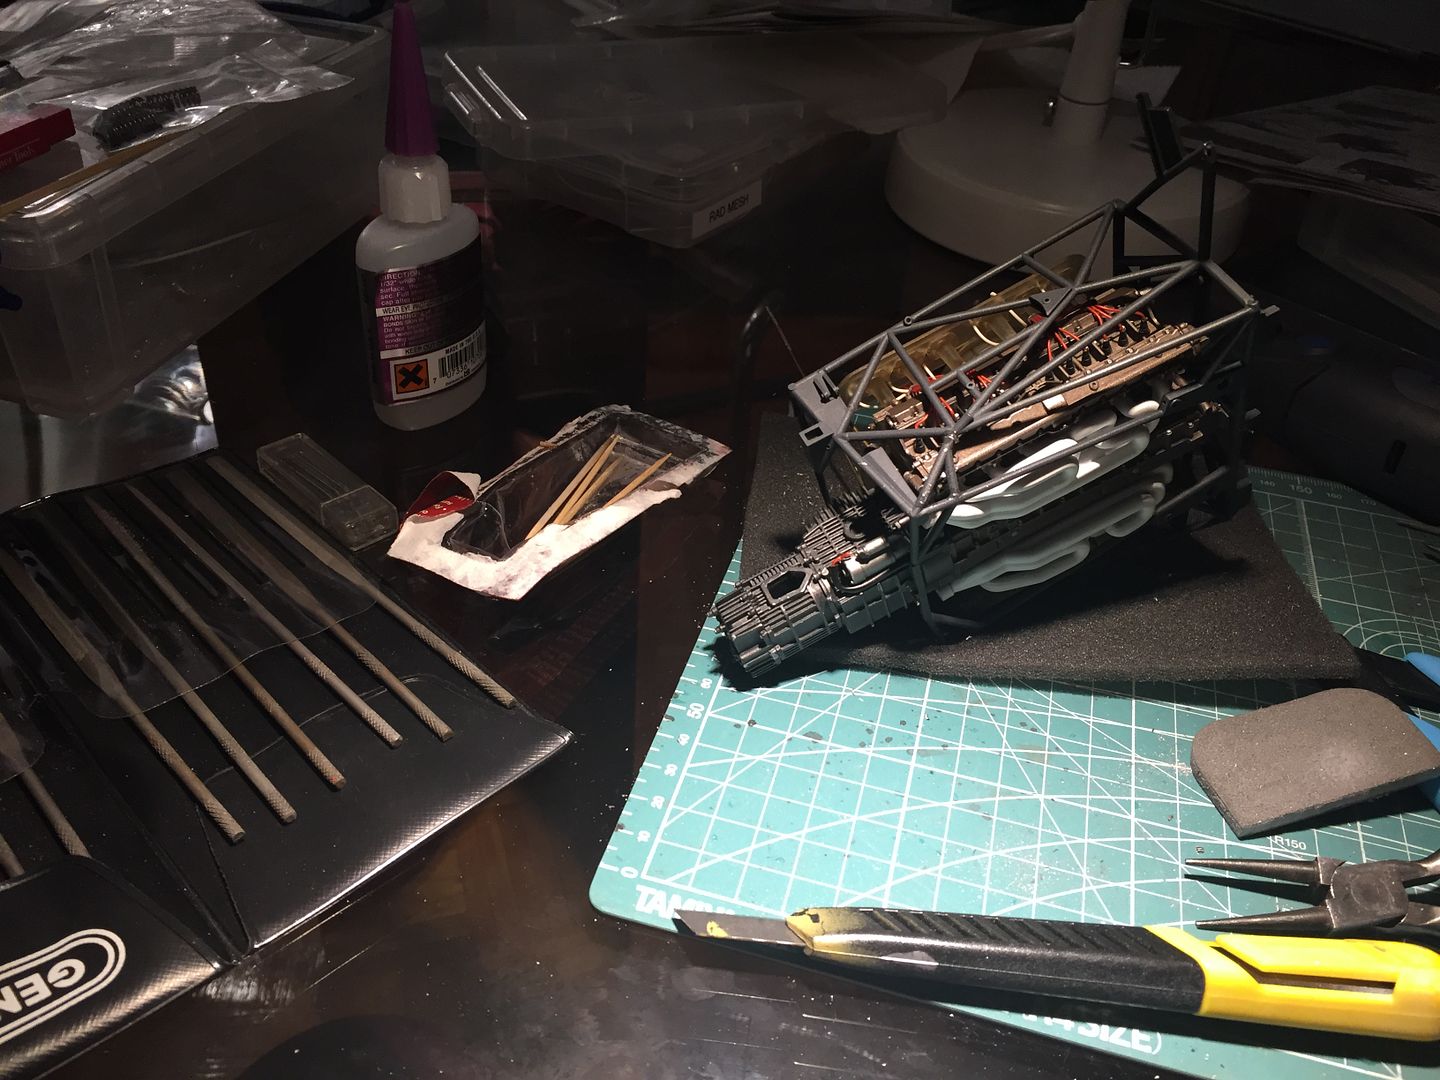
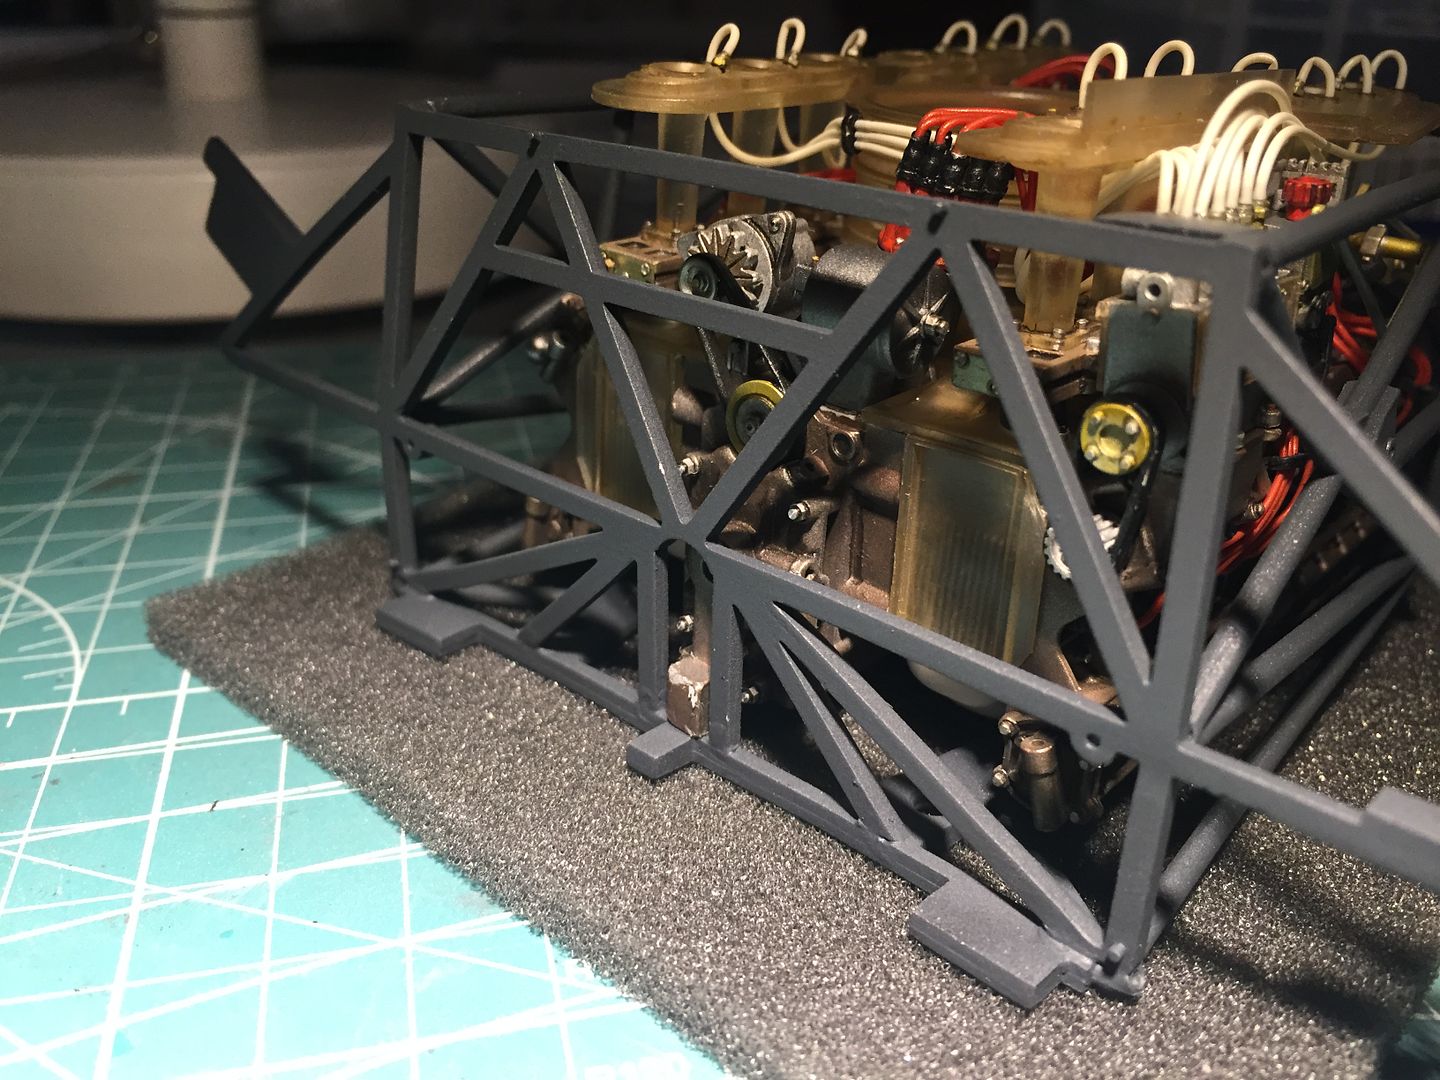
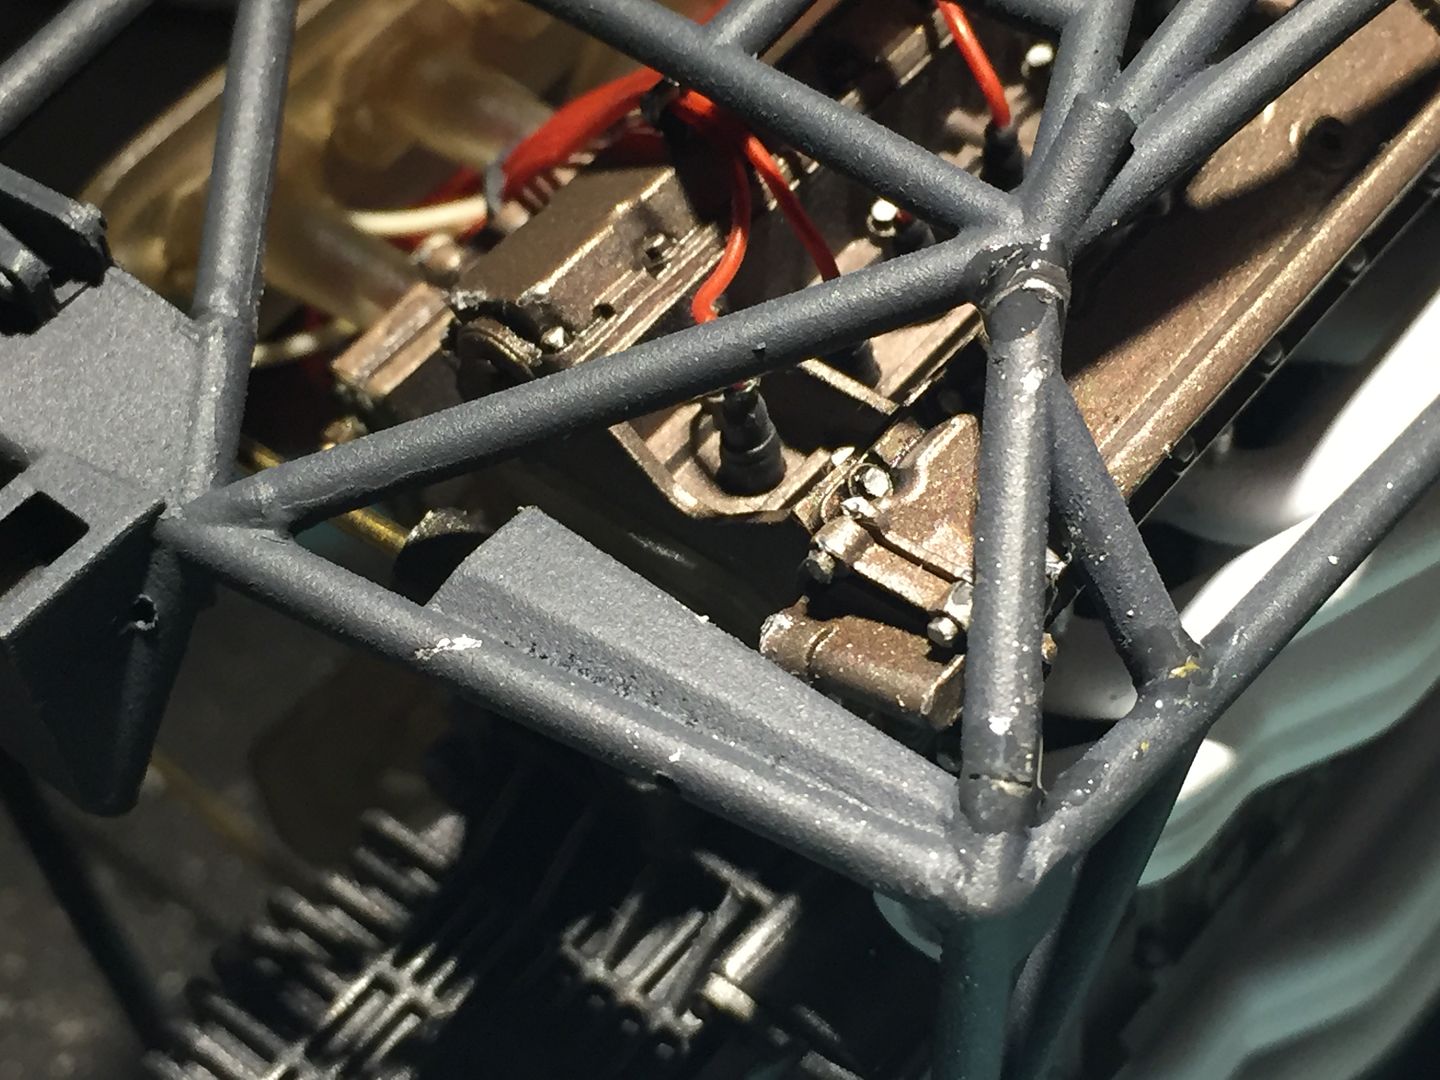
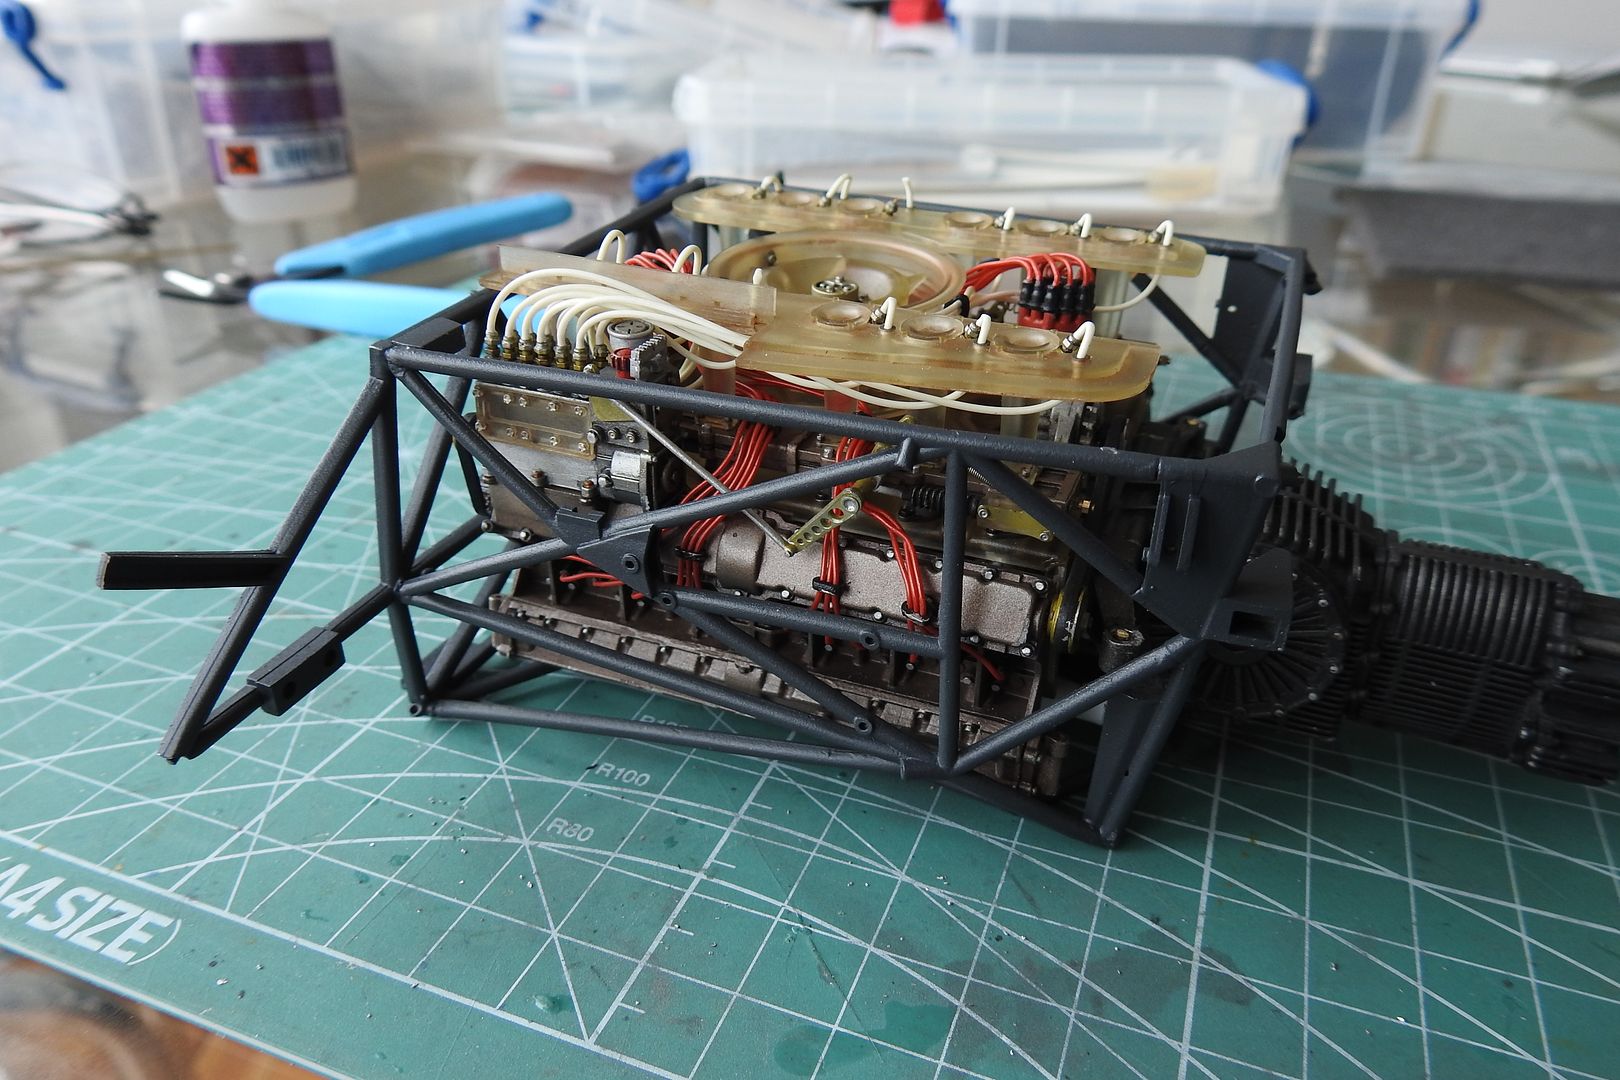
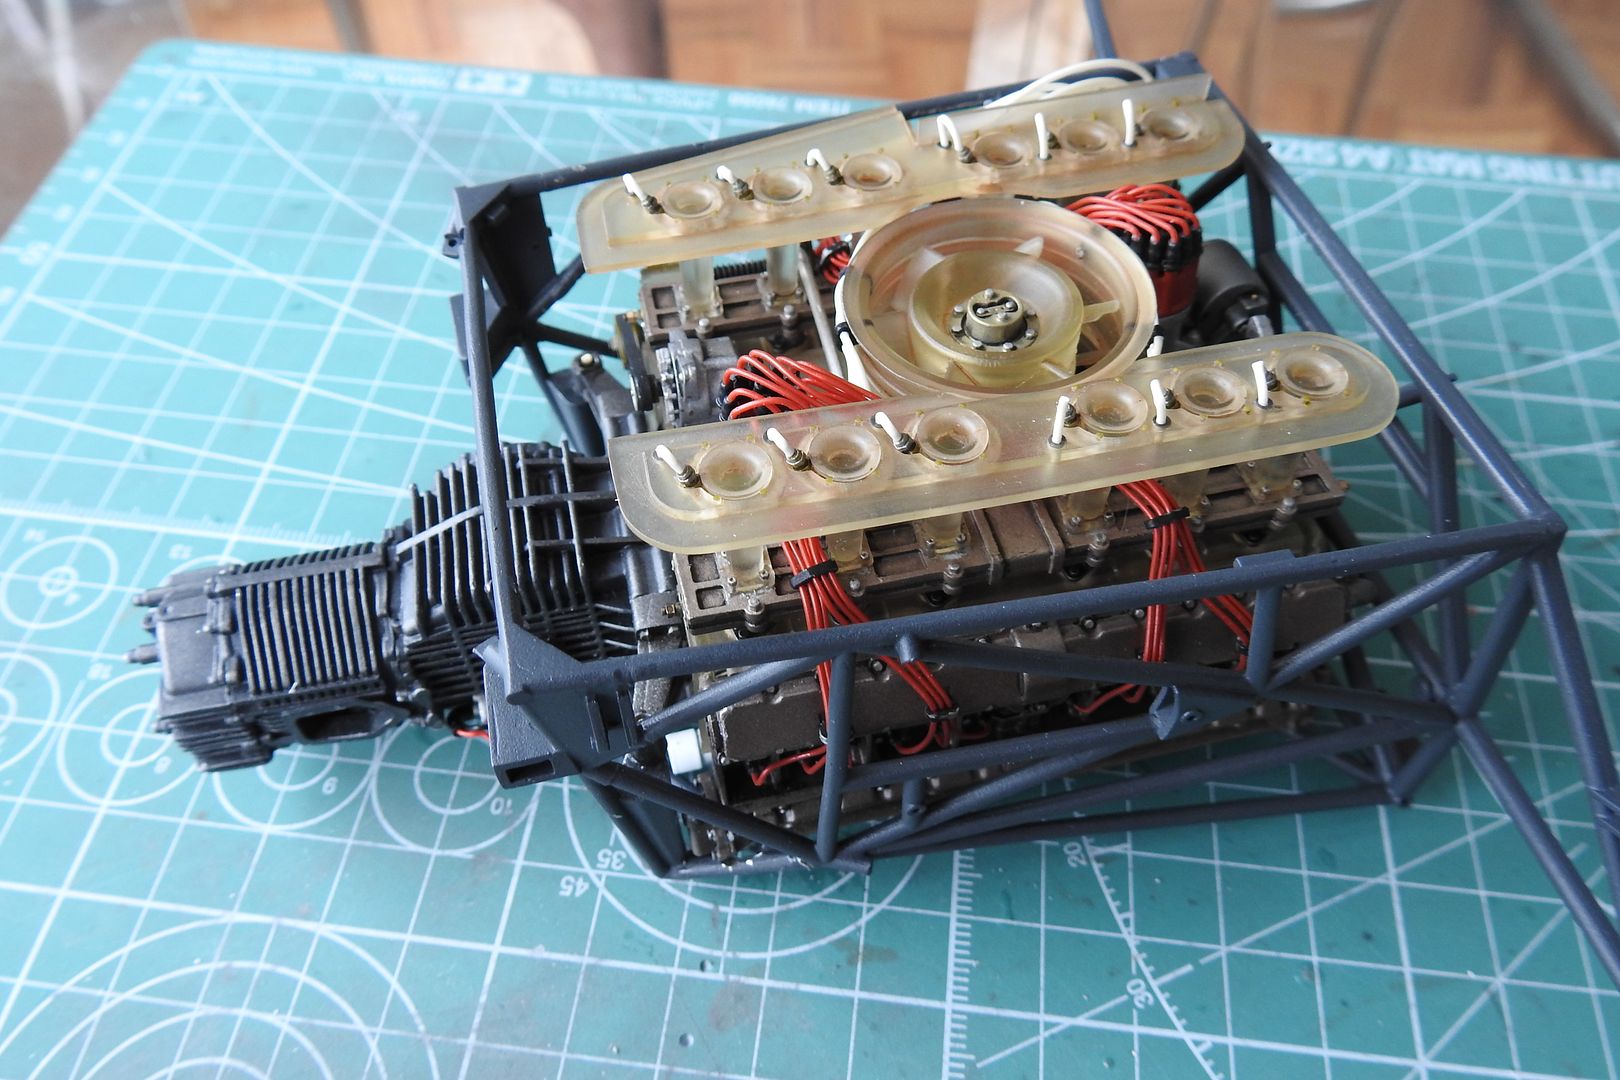
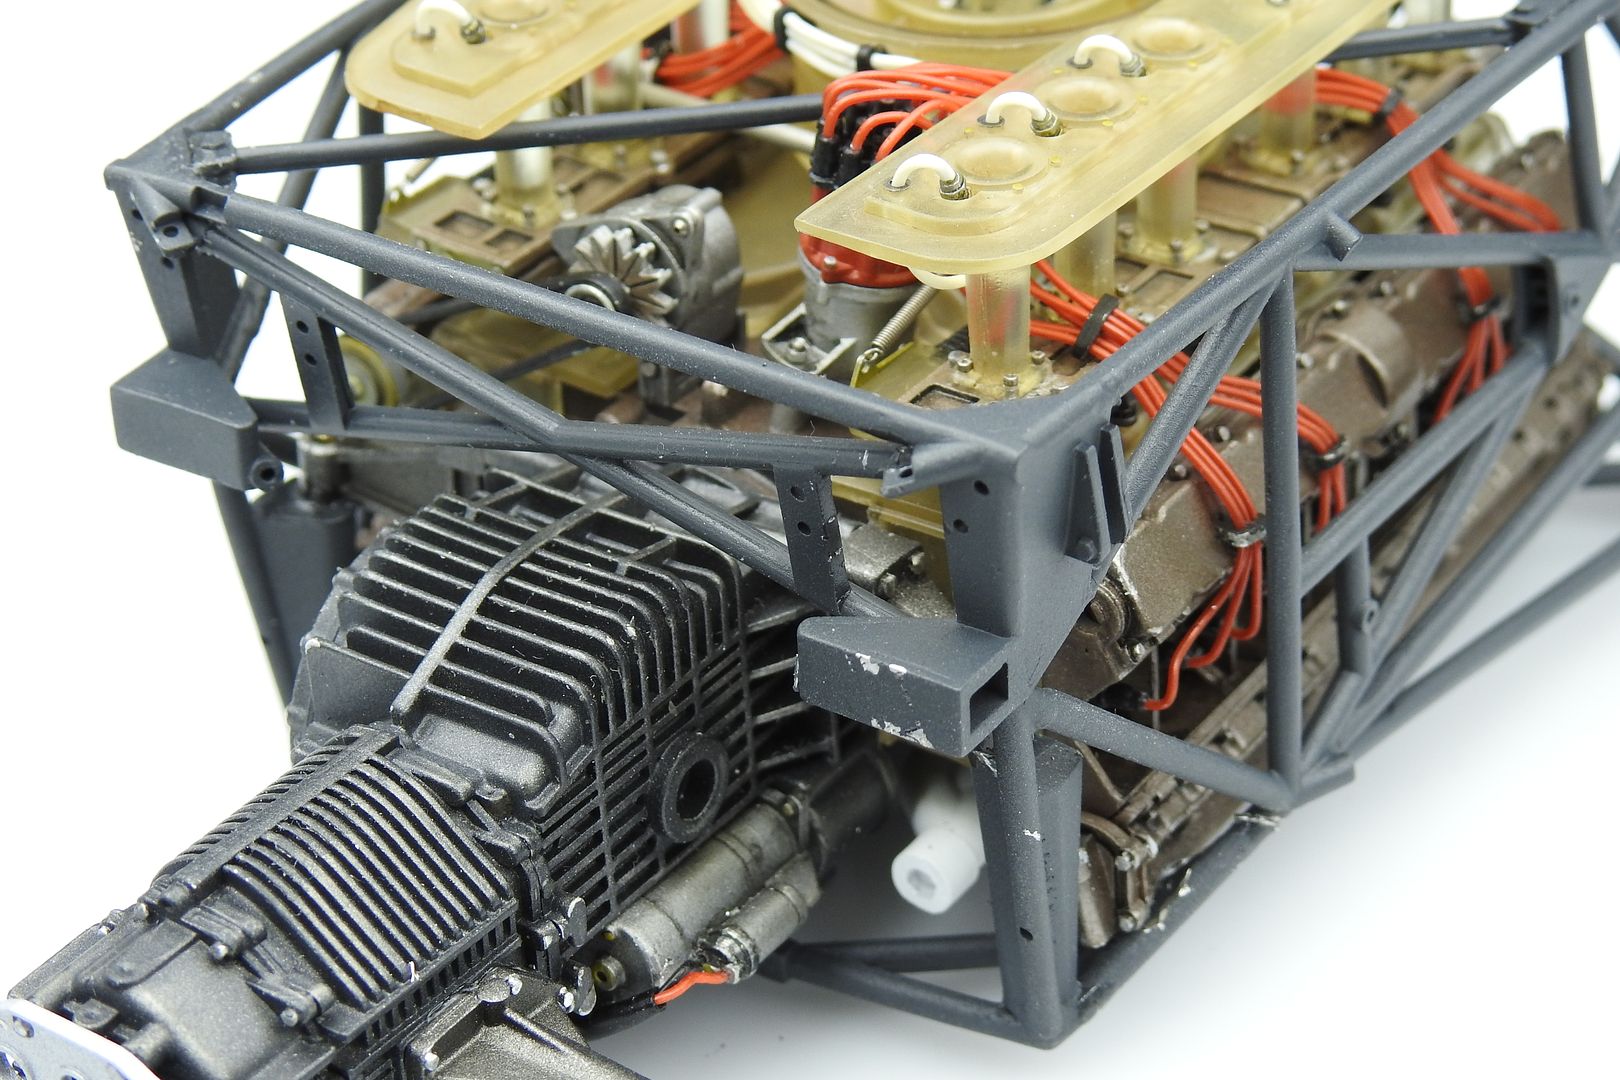
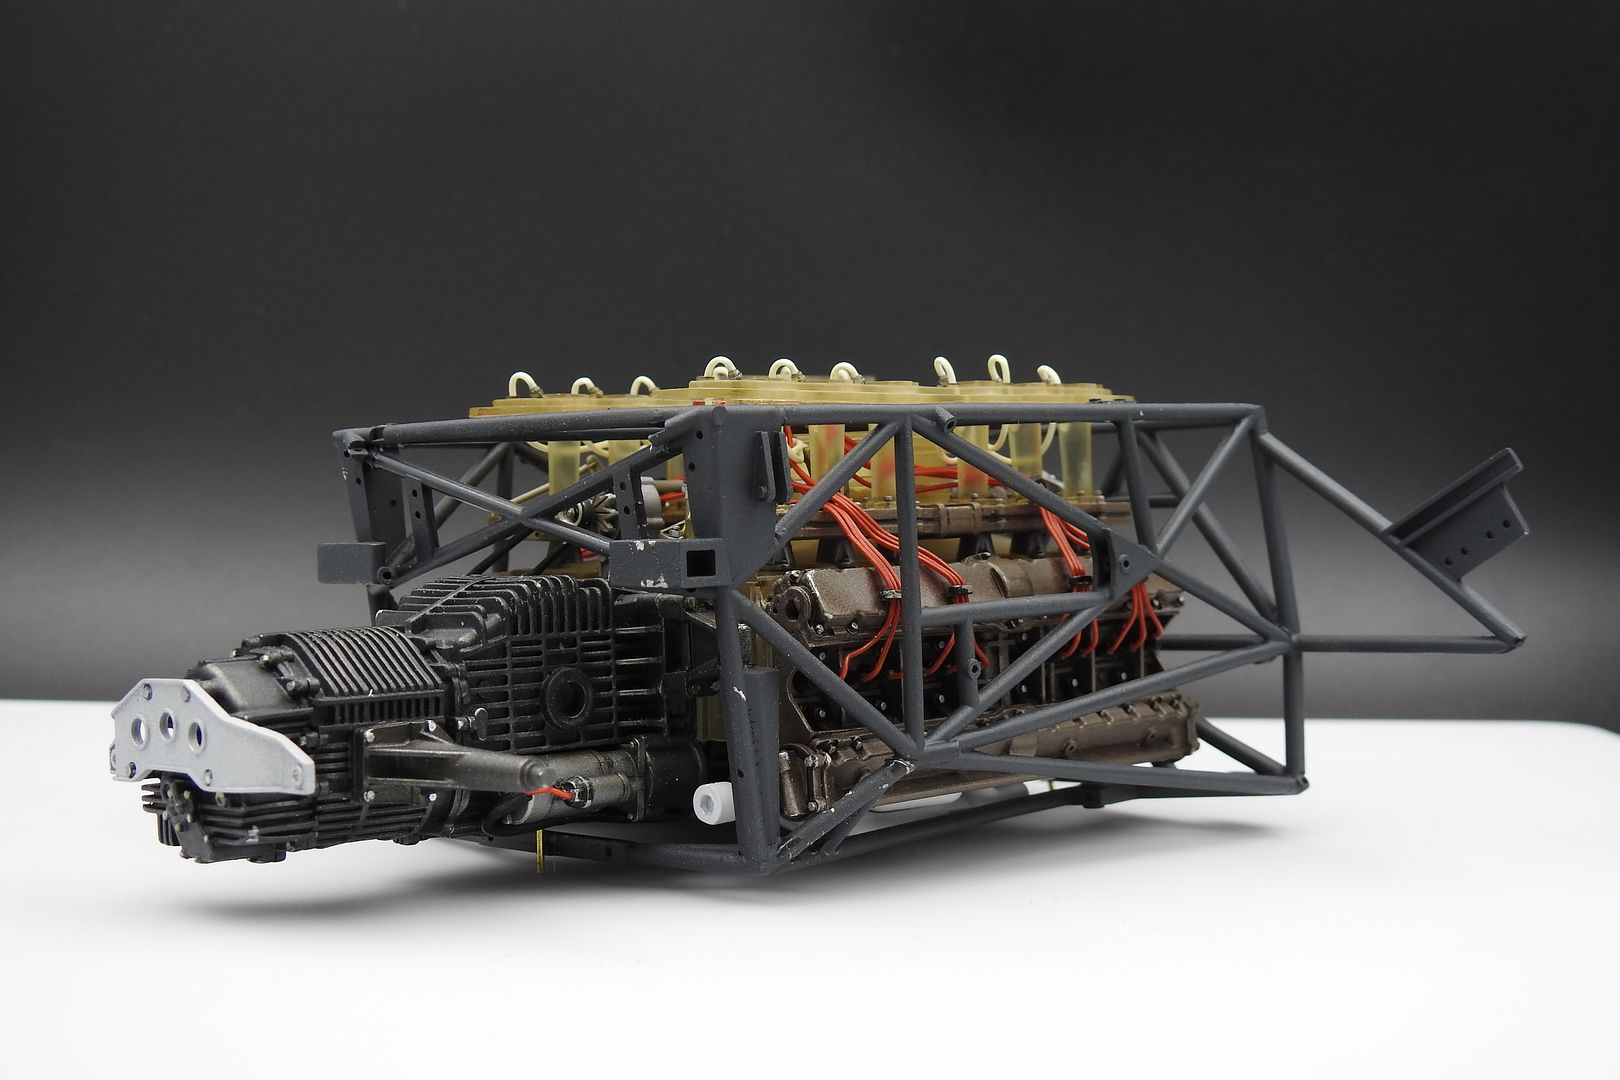
In the morning, everything looked ok in the daylight! It really does look like the beast has been caged!

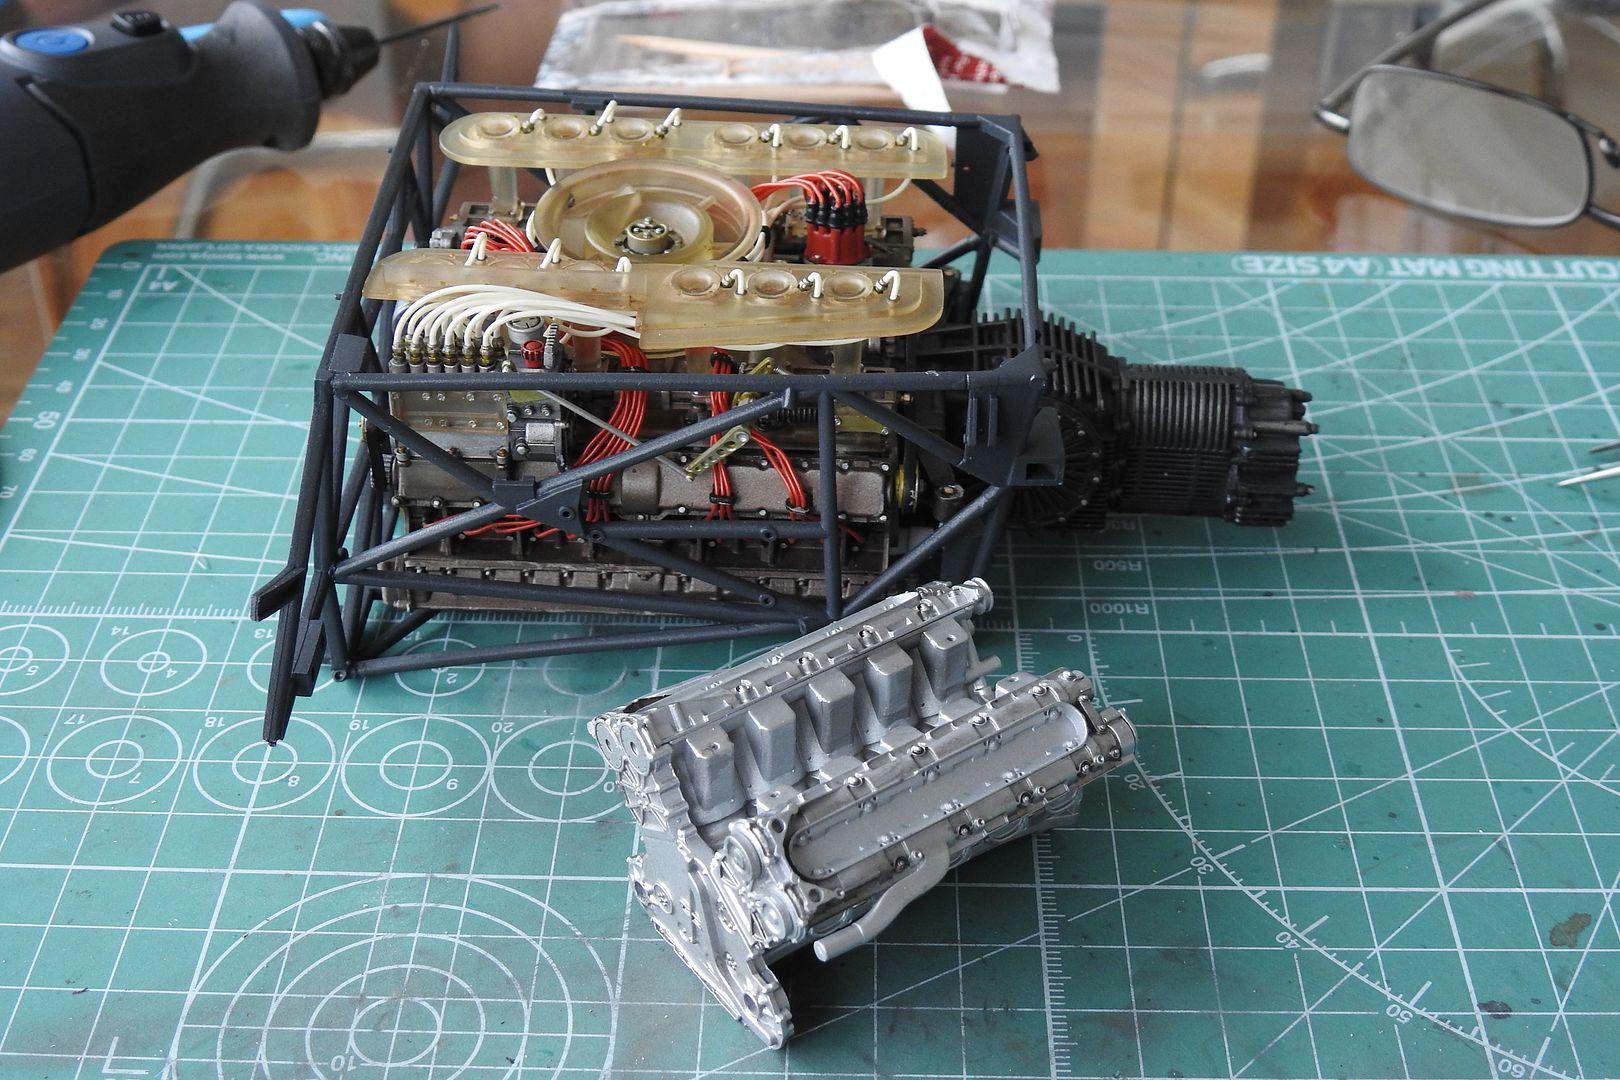
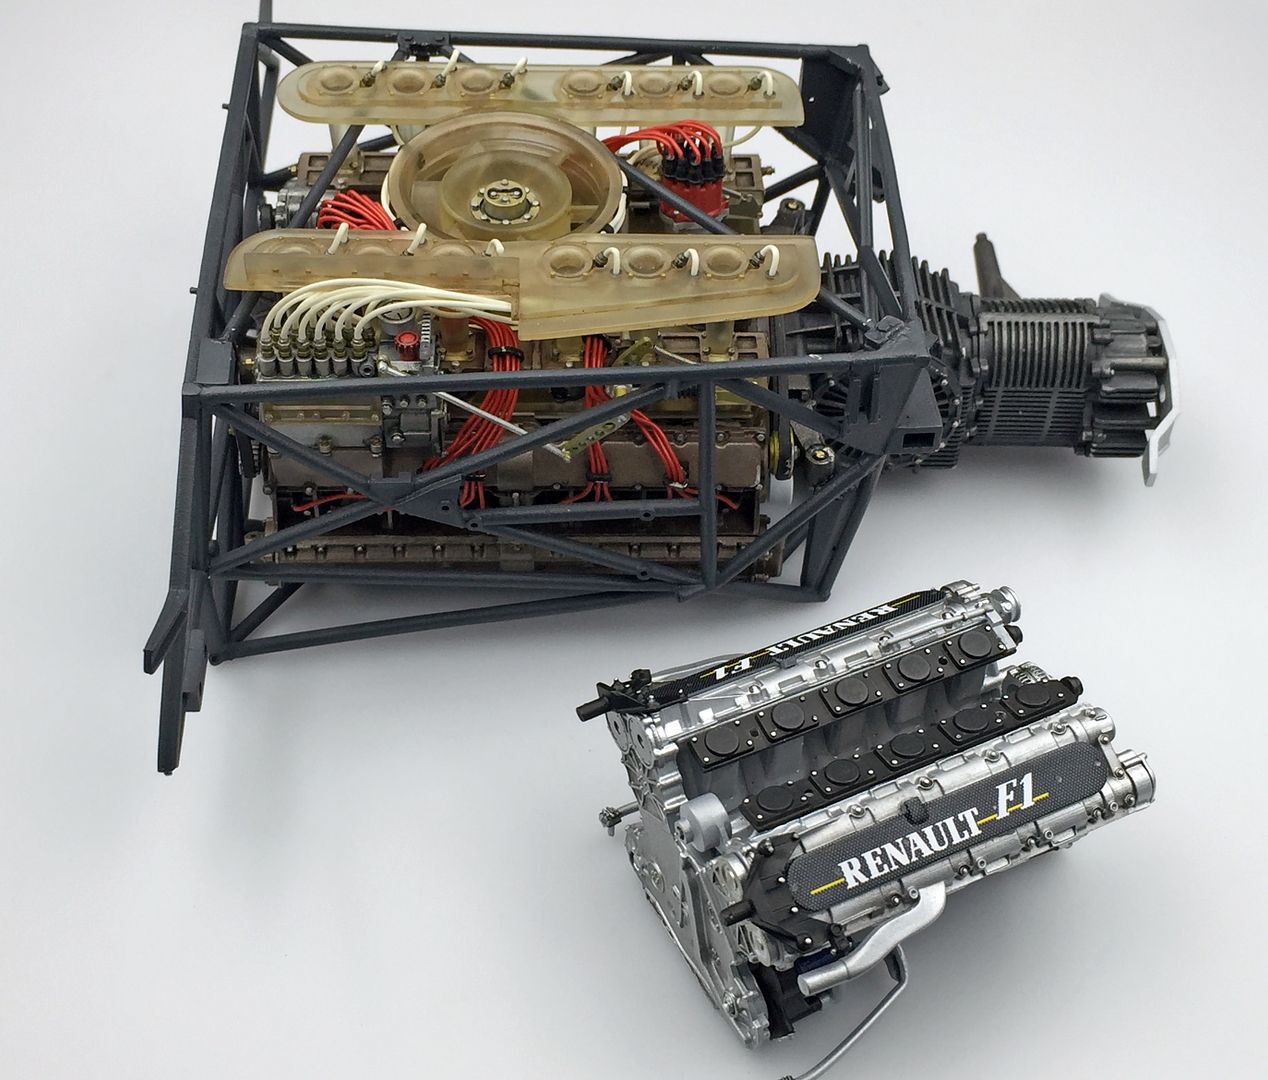
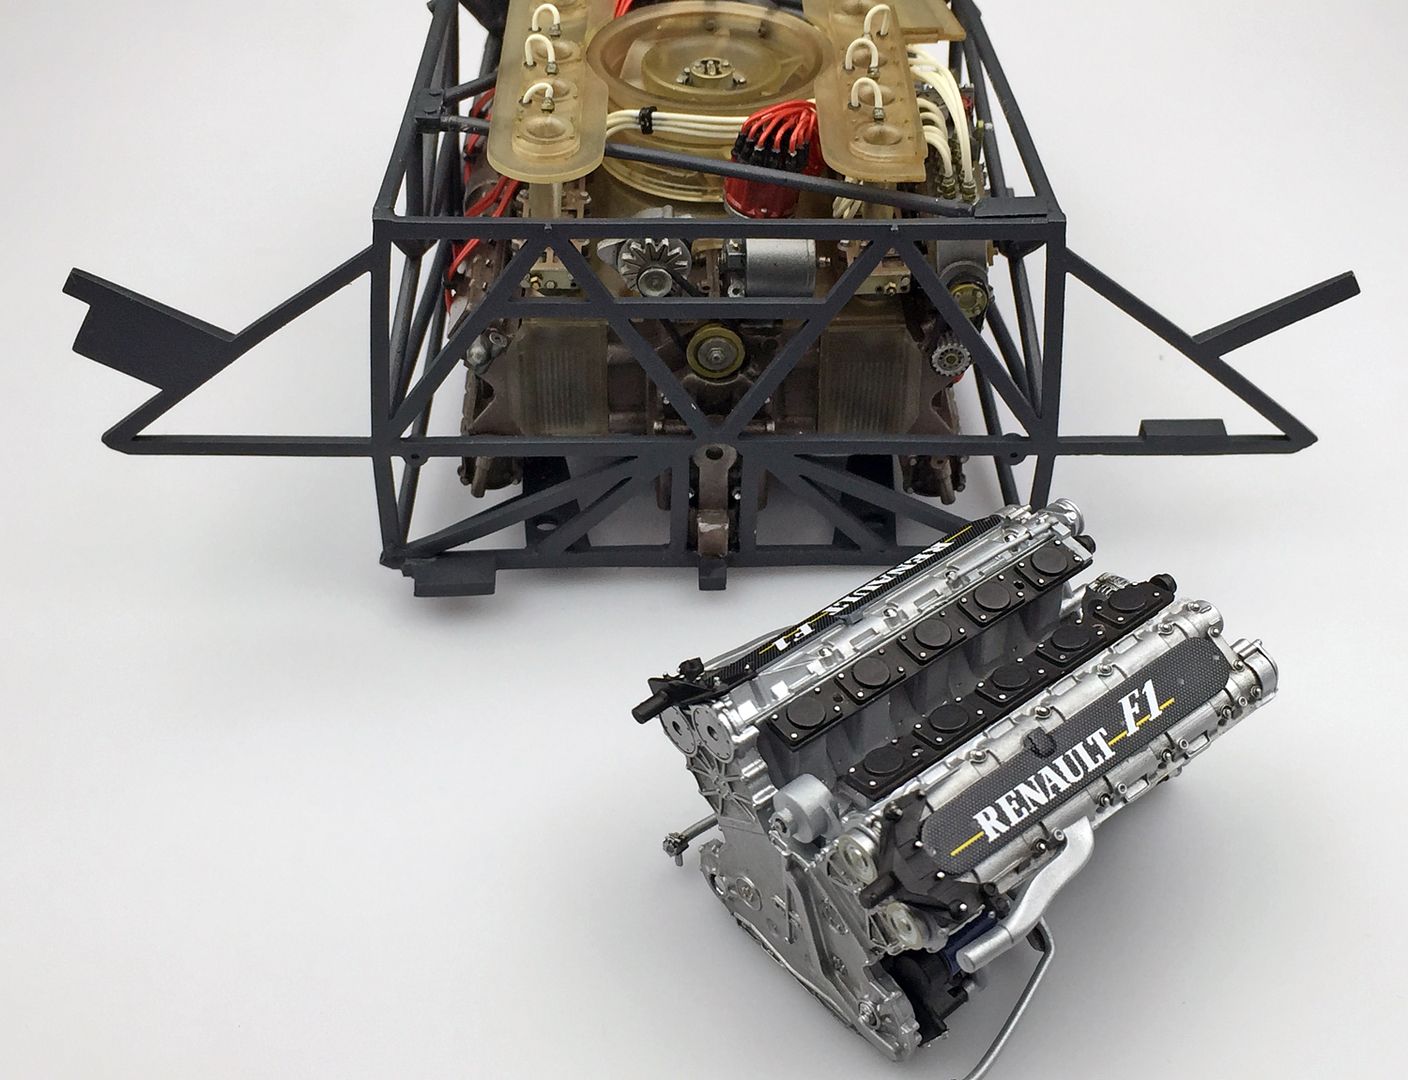
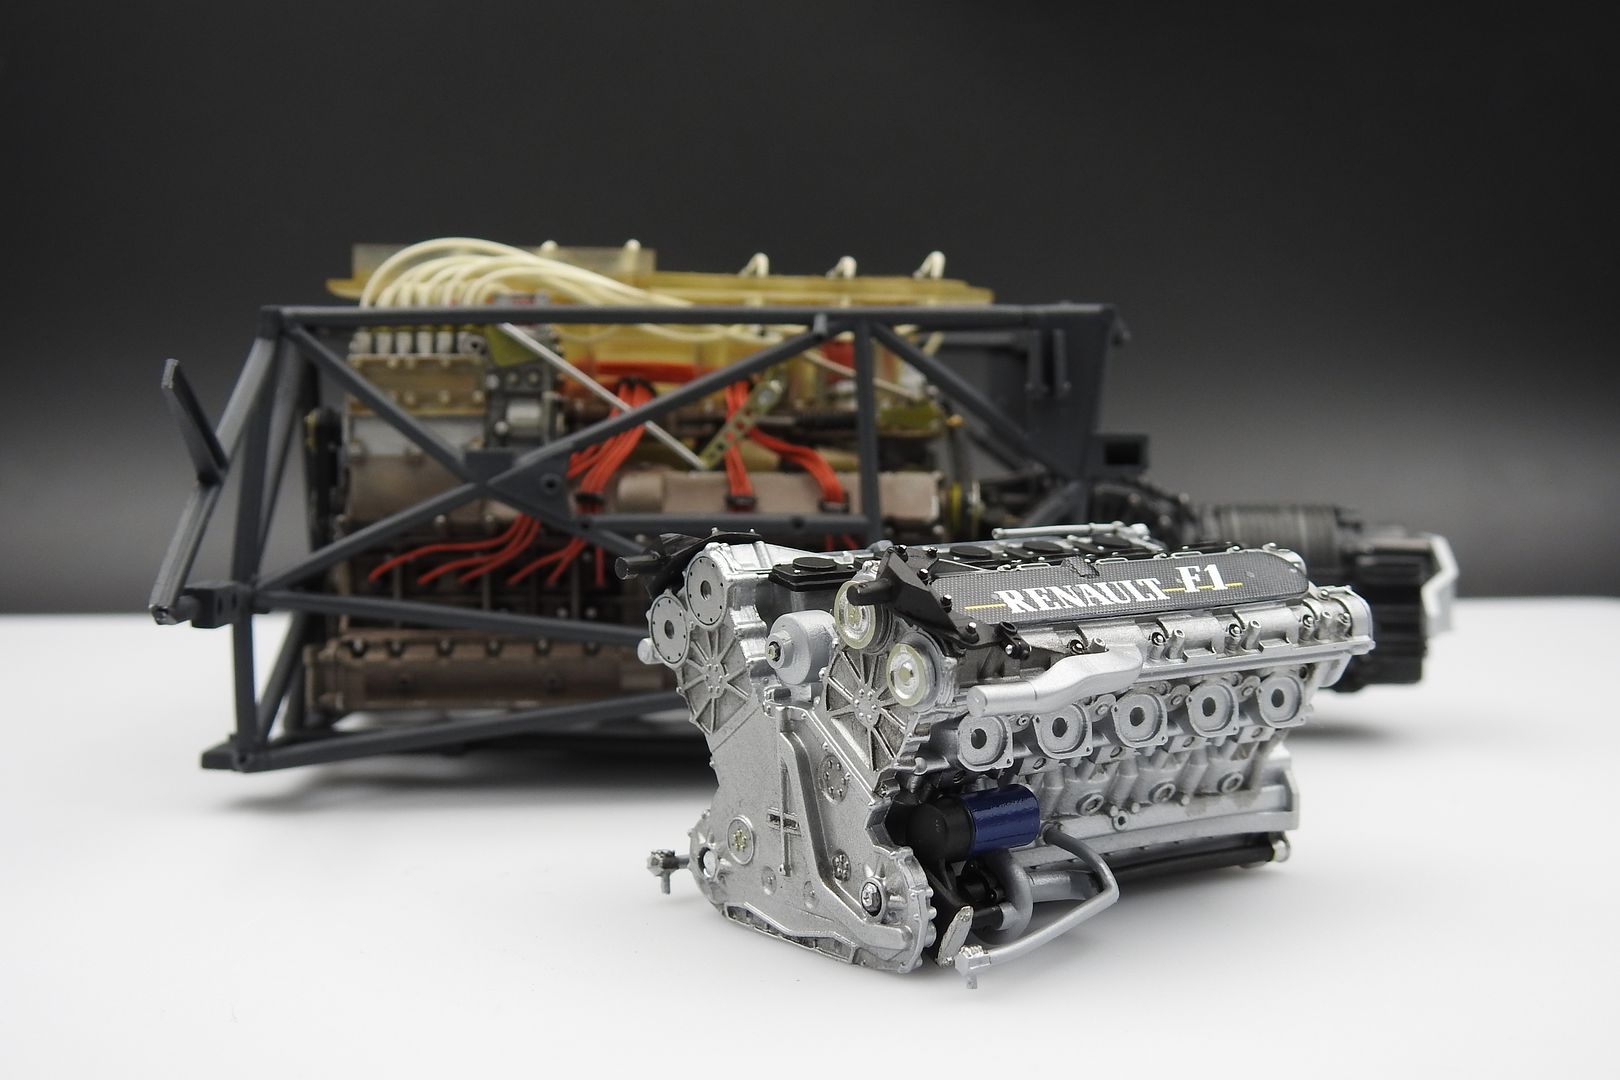
Of course had to do some engine comparison shots with the FW16 engine I am also working on...
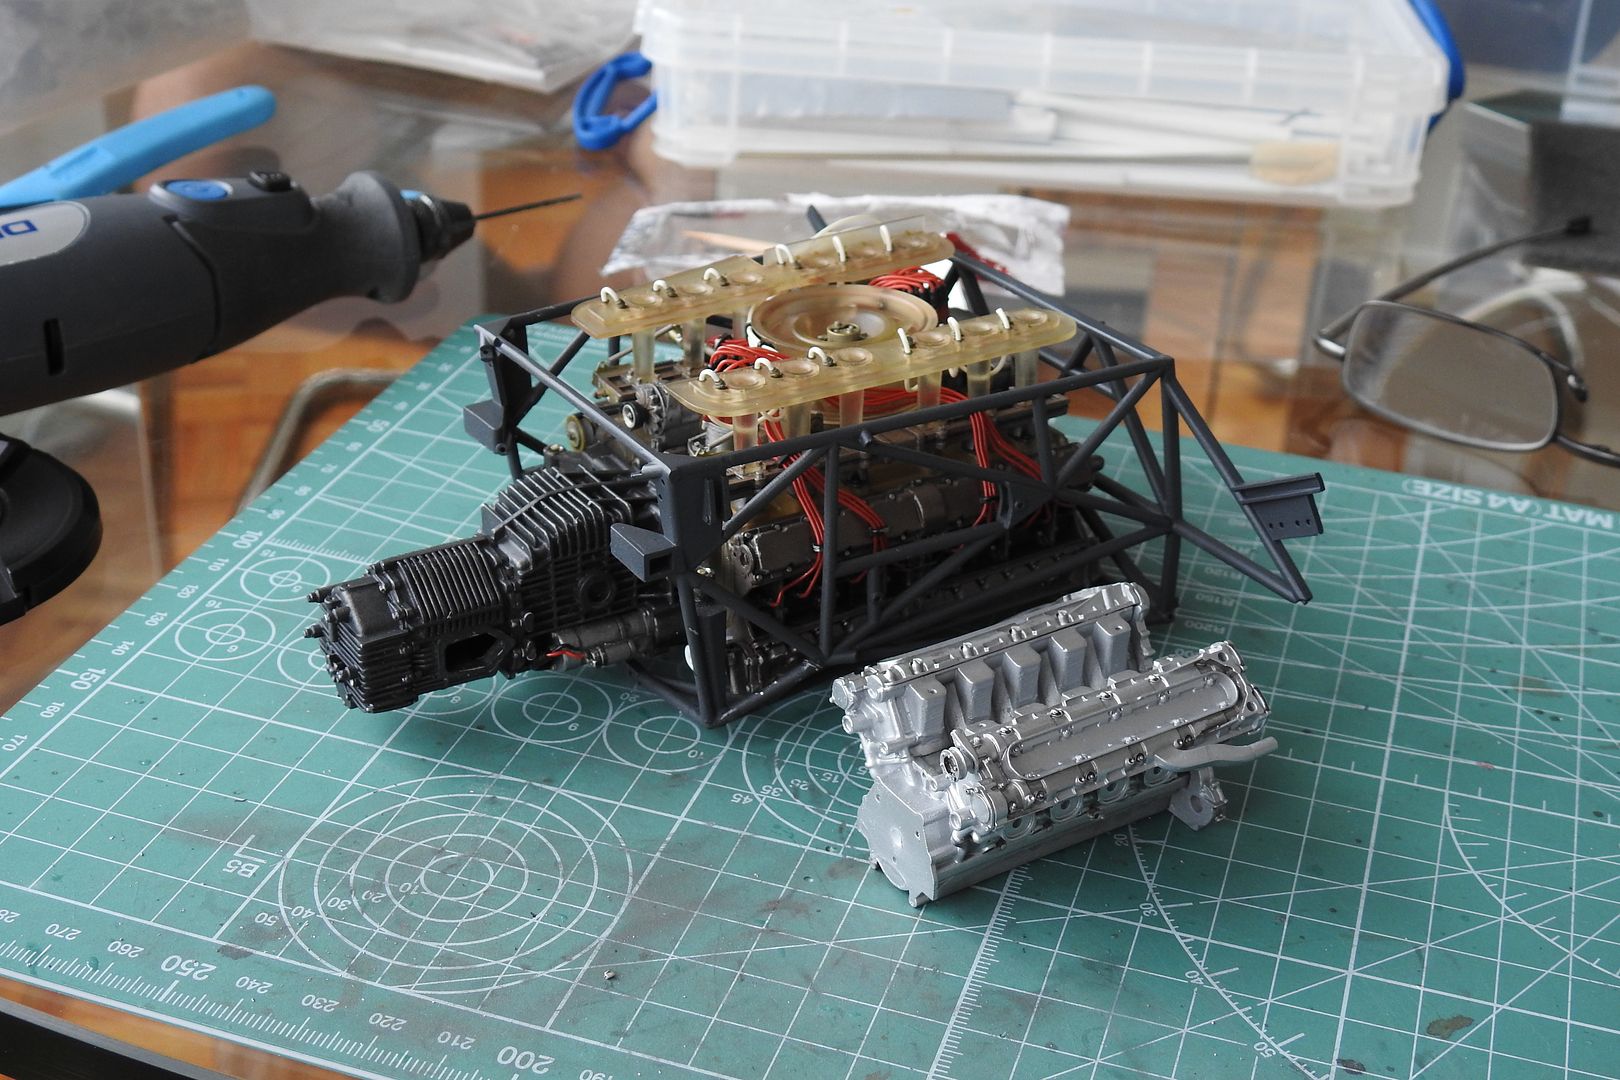
Incidentally, I chose to paint the framework a dark blue/grey which I think has come out well. MFH says semi-gloss black, which I think is what the 'original' 917k used, but many more recent pictures show a lighter grey color - in fact there are all sorts of greys used!
I didn't want to use black as all the tubing tended to blend into everything else, so went with this dark grey. I like it.
Lots of tubes to add to this framework now to stop the engine falling out (right!)...
I knew from a previous try that this was going to be very very tight - but possible.
Fitted gearbox didn't really make any difference...the tight bit was the rear corner of the cam-covers...
You can see the minor chipping - nothing that won't touch up nicely (or not even be seen, as in the case below...)
I came across one problem - probably caused by the framework not being 101% square...the rear right cam cover corner was stopping the engine from sitting flat on its rear engine mounts. I tried everything, but with no joy.
I had to cut some metal! I took a little off the engine corner (these bits would be hidden) but that was not enough, so in the end I removed a section of the tubing so that I could remove some of the tube that interfered with the engine - it is a shame, but once fixed only I (and you lot!) would know it was there - I carved away behind the tube, and re-glued it in position once the engine itself was fixed securely and square.
Once sanded and touched up with paint, you won't know...
I used some pins in the place of screws that are fixed later in the build process, so make sure everything was lined up - I could not get screws into the engine mounts themselves, so used brass rod to locate (and glue) - it ain't going anywhere now! Left over night to set....
In the morning, everything looked ok in the daylight! It really does look like the beast has been caged!
Of course had to do some engine comparison shots with the FW16 engine I am also working on...
Incidentally, I chose to paint the framework a dark blue/grey which I think has come out well. MFH says semi-gloss black, which I think is what the 'original' 917k used, but many more recent pictures show a lighter grey color - in fact there are all sorts of greys used!
I didn't want to use black as all the tubing tended to blend into everything else, so went with this dark grey. I like it.
Lots of tubes to add to this framework now to stop the engine falling out (right!)...

caterhamnut said:
Excellent clip - seen it before, but now studying closely for details!!
One of their other clips shows how tight the engine is within the chassis framework when they try to remove it! Another noticeable thing is just how agricultural the whole thing looks when the rear bodywork is off the car, with rough and ready looking welds and a general look of ''oh it'll do for the race..'' about the interior of the cabin. Very different to the almost clinical approach to motorsport we often see today. So tempted to go for one of these kits but so far I've shied away from even looking at the asking price... one for the Christmas list methinks... 

Great work! Nice to see the precise finishing on this one! Well done.
I just picked up a MFH 1/12 Lancia S4 and see what you mean about the bagged parts!
I ended up rebagging and labelling all the parts according to assembly order, which revealed one part supplied wrong on the exhaust system. Glad I did as I can get that ordered whilst I get on with the rest of the kit!

caterhamnut said:
However, the MFH customer service, in terms of replacing damaged parts etc, is superb IME.
It looks like Hiro-San the president of MFH has a good business sense and is trying really hard to establish himself as a top contender. Good aftersales is the key to that.It's worth watching his interview on YouTube, it really makes you appreciate the work that goes into each kit.
Having spent three evenings bagging each part for the Lancia I see why they can't do that for all 500 kits they made of that one model alone!
Gassing Station | Scale Models | Top of Page | What's New | My Stuff