GB: Academy Tempest MKV: Red Firecracker
Discussion


A rush of updates, it seems.
Decals printed at lunchtime;
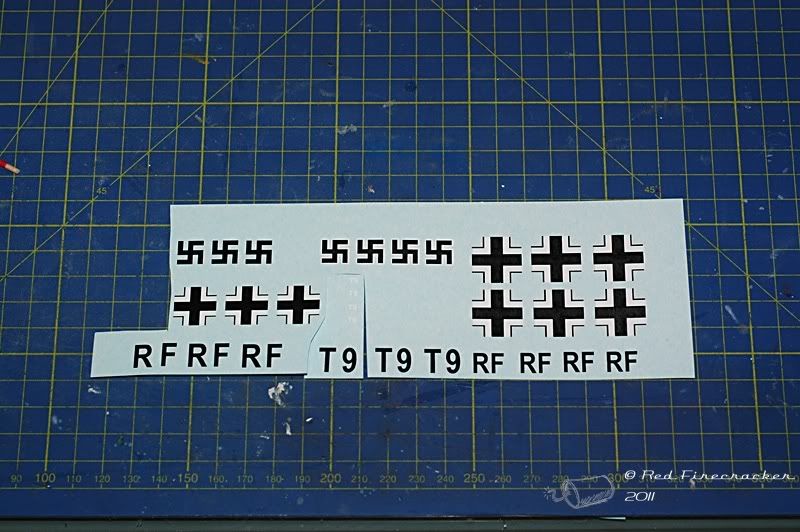
(yes, I forgot to take a picture before I started).
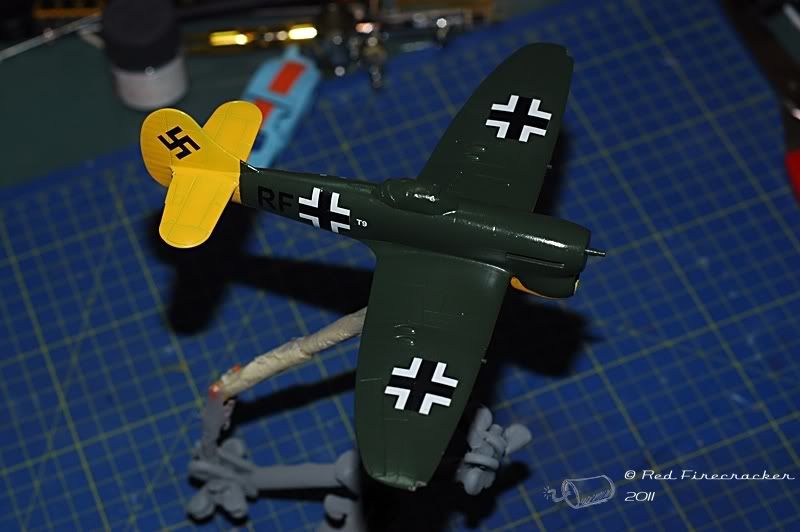
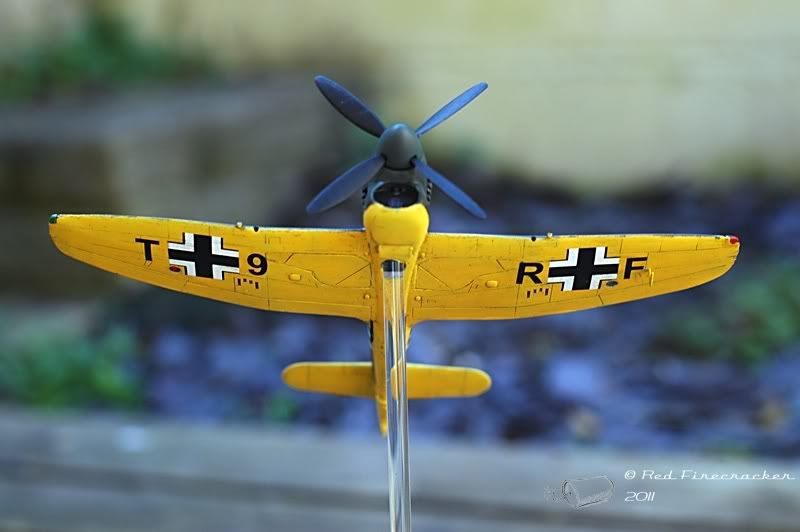
As well as no pictures existing of the Tempest in German livery, there is also no record of the radio call sign that was assigned to it, so I though RF might be a suitable moniker.
(wrong lens on the camera so a bit dark).
Now just need to wait for those to dry and I should be able to give it a final coat of Klear tomorrow (if I get the Alfa back from a power steering pipe leak that has morphed in a new rack, ouch). Then it's possibly a wash and a matt coat.
Decals printed at lunchtime;
(yes, I forgot to take a picture before I started).
As well as no pictures existing of the Tempest in German livery, there is also no record of the radio call sign that was assigned to it, so I though RF might be a suitable moniker.
(wrong lens on the camera so a bit dark).
Now just need to wait for those to dry and I should be able to give it a final coat of Klear tomorrow (if I get the Alfa back from a power steering pipe leak that has morphed in a new rack, ouch). Then it's possibly a wash and a matt coat.
Red Firecracker said:
A bit more progress.
All main parts together and a blind coat of white sprayed;
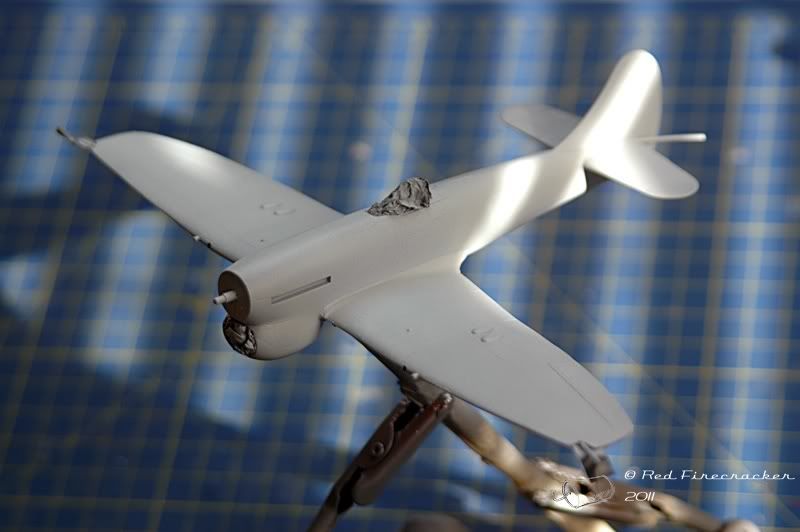
and now something new for me, I decided to have a bash at this preshading malarky;
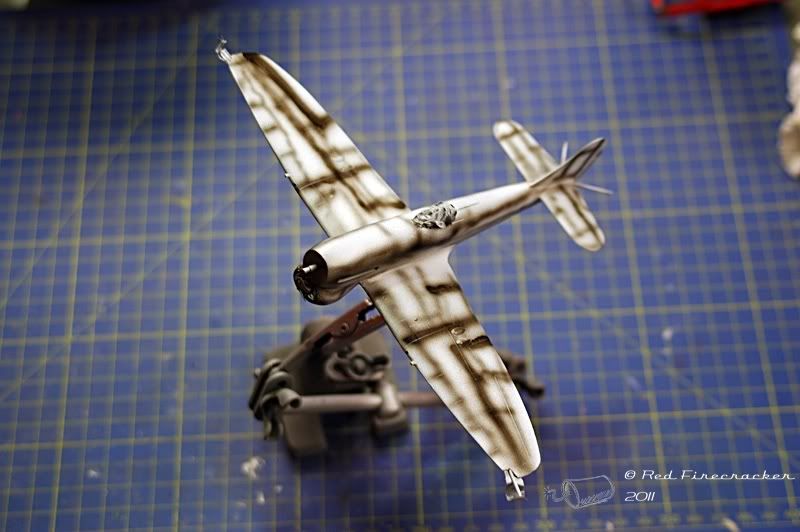
Will it work for me? Don't know, but there's only one way to find out. What it does show is I see to have the shakes!
The canopy is now on as well after a brief spray of Xtracrylix around the cockpit area (need to work a bit more with the paint, very much outside my comfort zone for spraying).
I am just psyching myself up to have a go, and have been reading a book or two. Your pics are fascinating. Could I ask a question or two?All main parts together and a blind coat of white sprayed;
and now something new for me, I decided to have a bash at this preshading malarky;
Will it work for me? Don't know, but there's only one way to find out. What it does show is I see to have the shakes!
The canopy is now on as well after a brief spray of Xtracrylix around the cockpit area (need to work a bit more with the paint, very much outside my comfort zone for spraying).
First how on earth do you get the joint lines of the kit to disappear so thoroughly and obtin such a smooth finish? Are you using some kind of filler when you stick them together?
Next, I think that I am beginning to get an idea of what is going on. You are priming the model pale grey (which must help compensate for the scale effects of the cam paint.) Then you are pre-shading, which will make the panel centres lighter after the final coat is applied. But why, what effect is pre-shading intended to achieve?
Also, will you not tend to lose detail with all the coats you are applying? Sorry to bore you with a load of newbie questions.

cardigankid said:
I am just psyching myself up to have a go, and have been reading a book or two. Your pics are fascinating. Could I ask a question or two?
First how on earth do you get the joint lines of the kit to disappear so thoroughly and obtin such a smooth finish? Are you using some kind of filler when you stick them together?
Cheers.First how on earth do you get the joint lines of the kit to disappear so thoroughly and obtin such a smooth finish? Are you using some kind of filler when you stick them together?
The only filler on the model is on the wing roots, mainly as I had to assemble the body onto the completed wings one side at a time, due to thinking it would be amusing to put lights into the thing. This made the wing roots a touch iffy in places so some Squadron White was used there.
cardigankid said:
Next, I think that I am beginning to get an idea of what is going on. You are priming the model pale grey (which must help compensate for the scale effects of the cam paint.) Then you are pre-shading, which will make the panel centres lighter after the final coat is applied. But why, what effect is pre-shading intended to achieve?
Also, will you not tend to lose detail with all the coats you are applying? Sorry to bore you with a load of newbie questions.
This is the first 1/72nd scale aircraft I have built since primary school (so newbie as well Also, will you not tend to lose detail with all the coats you are applying? Sorry to bore you with a load of newbie questions.
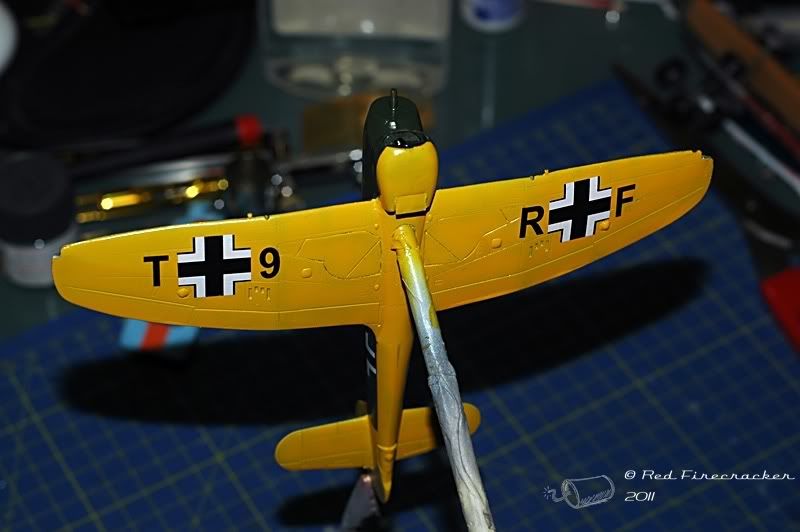
), so I'm possibly doing something that goes against a statement I made on another thread to do with fads and modellers trying to emulate other modellers rather than real life. Anyway, and I'm sure dr_gn can explain this far better than me, the premise is that to darken the panel lines before applying the top colour coat with help them stand out more, break up the solid colour. I guess it adds a bit more visual interest to the whole. As I'm airbrushing, I can then regulate the depth of the final colour coat so that the pre shading is still visible. Now, it has to be said, my pre shading is very coarse but as the top colour is yellow it hasn't come out too badly (at least I think so). However, I've now panel lined it and generally dirtied it (pics tomorrow hopefully) and now I'm not so sure of the overall finish, but it's not changing now.
The primer/base coats are just the way I paint, it's how I process most models as they are normally metal so need a primer.
Edited by Red Firecracker on Friday 18th March 19:34
Red Firecracker said:
A rush of updates, it seems.
Decals printed at lunchtime;
(yes, I forgot to take a picture before I started).
As well as no pictures existing of the Tempest in German livery, there is also no record of the radio call sign that was assigned to it, so I though RF might be a suitable moniker.
(wrong lens on the camera so a bit dark).
Now just need to wait for those to dry and I should be able to give it a final coat of Klear tomorrow (if I get the Alfa back from a power steering pipe leak that has morphed in a new rack, ouch). Then it's possibly a wash and a matt coat.
It's going to look great. It definitely needs a matt coat IMO. You could get away with a dark wash, but my advice is don't overdo it on the yellow: put a wash in the panel lines, but then remove the majority of it with a tiny amount of thinners on a cloth.Decals printed at lunchtime;
(yes, I forgot to take a picture before I started).
As well as no pictures existing of the Tempest in German livery, there is also no record of the radio call sign that was assigned to it, so I though RF might be a suitable moniker.
(wrong lens on the camera so a bit dark).
Now just need to wait for those to dry and I should be able to give it a final coat of Klear tomorrow (if I get the Alfa back from a power steering pipe leak that has morphed in a new rack, ouch). Then it's possibly a wash and a matt coat.
And...if you do put a matt coat on: **don't forget to mask the canopy!**
dr_gn said:
It's going to look great. It definitely needs a matt coat IMO. You could get away with a dark wash, but my advice is don't overdo it on the yellow: put a wash in the panel lines, but then remove the majority of it with a tiny amount of thinners on a cloth.
And...if you do put a matt coat on: **don't forget to mask the canopy!**
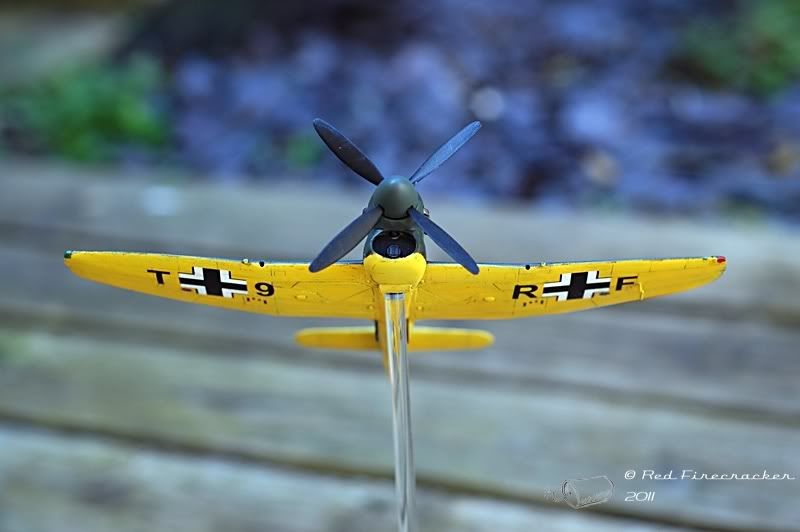
Matt coat is going on this morning (workshop is currently warming). I'm happier with the yellow than the green to be honest, but you'll see that later in the pics (once I've Photoshopped then... And...if you do put a matt coat on: **don't forget to mask the canopy!**
) It looks, to my mind, 'used' if that makes sense. The green is dark enough to mask any heinous sins. Canopy has been masked since it went on, so no issues there.
It's certainly a learning curve and has reinforced my belief that the aircraft modellers are atte front of new techniques closely followed by some railway modellers.
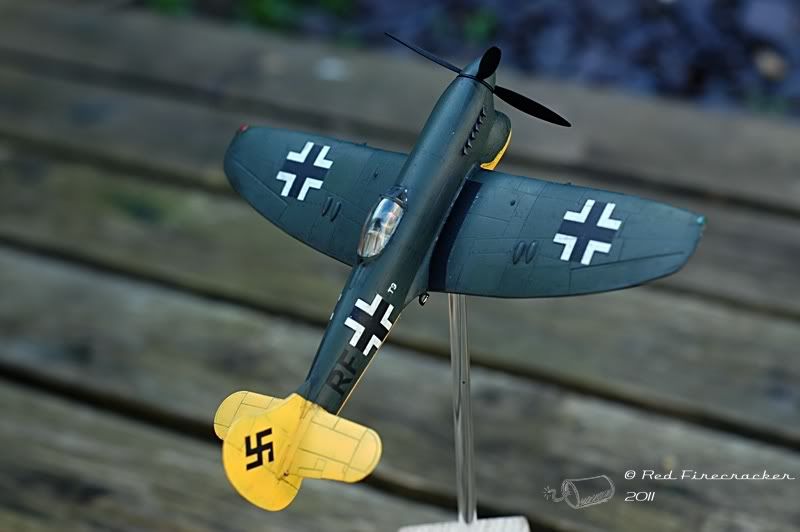
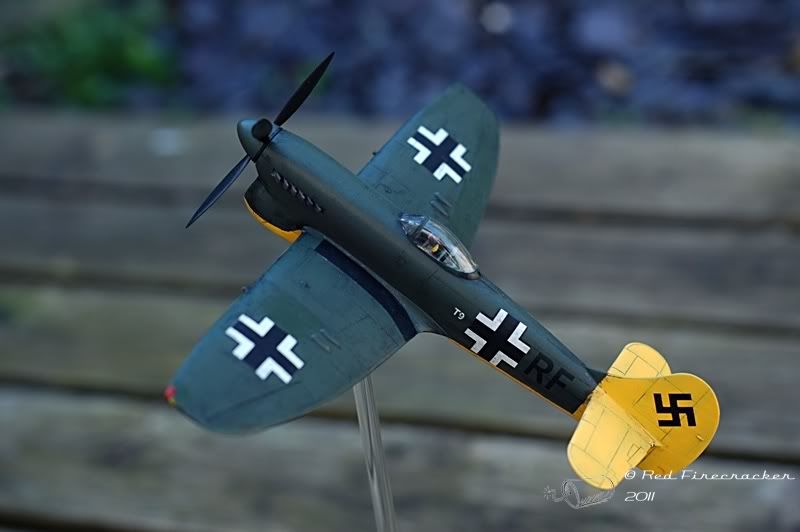
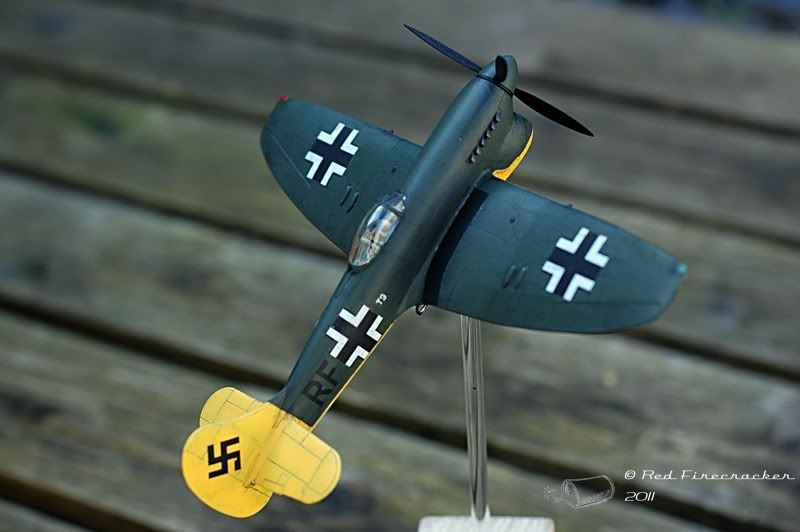
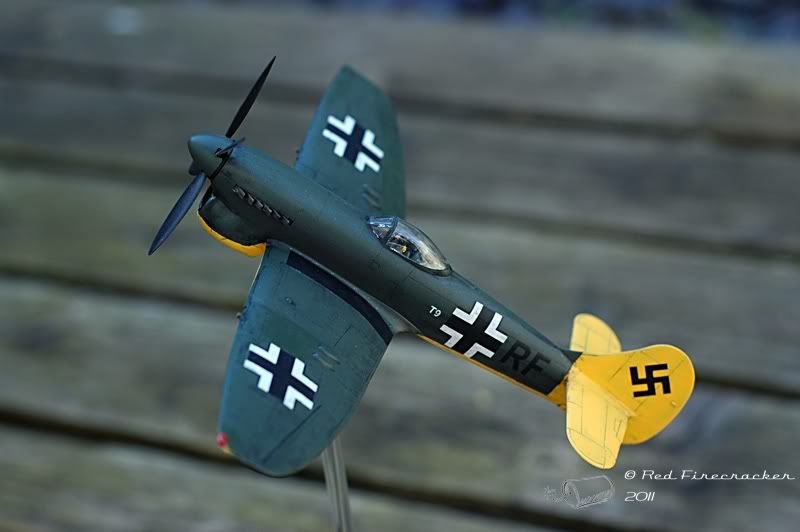
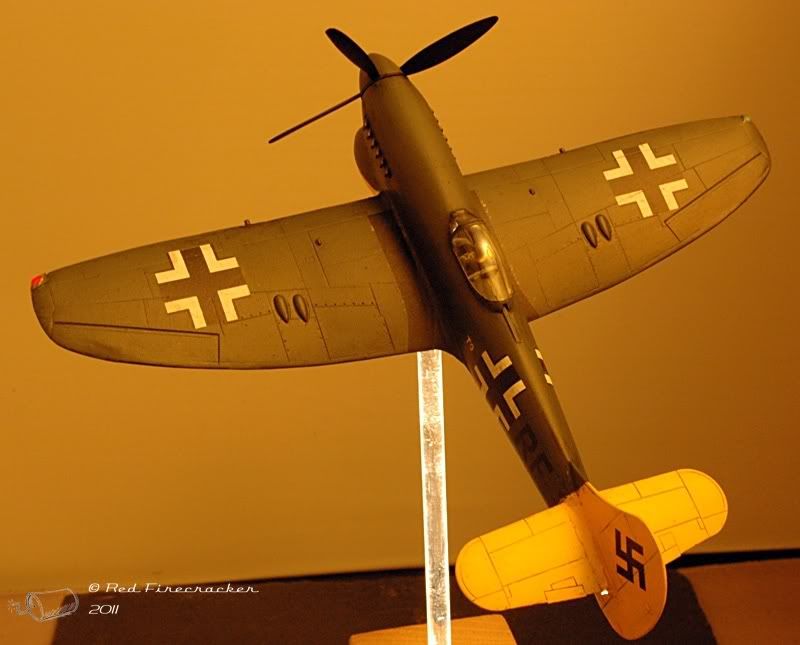
Matt coat is on and I guess that's it finished. here's some quick pics, I'll do some better ones once the base is dry (and hopefully a couple of dark ones with some lights showing).
The green is a paint to photograph quickly as it's losing a lot of the finer shading such as the exhausts, hopeully a tripod and long exposure session will fix that.
Oh, and I forgot to put the gun sights in. Never mind, they were obviously taken to a Luftwaffe lab to fully assess them, cough.
The green is a paint to photograph quickly as it's losing a lot of the finer shading such as the exhausts, hopeully a tripod and long exposure session will fix that.
Oh, and I forgot to put the gun sights in. Never mind, they were obviously taken to a Luftwaffe lab to fully assess them, cough.
Now it's got dark and I can't bear to watch such an inept performance on the rugby field, here are some pics in the dark. I'm utterly amazed, but the fibre works! Utter pain to photograph, so there are three pictures. The first just shows the lights;
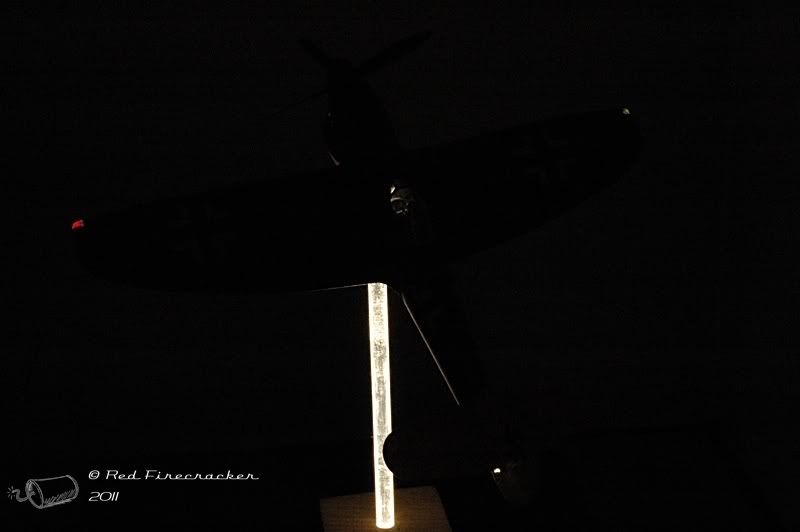
The next two are with a bit more light but the model lights still visible and my rather tasteful bookmark blanking out the support rod. It's hard to see in the pictures, but the cockpit dials are two, clear, defined pinpoints with gauge detail. Quite chuffed.
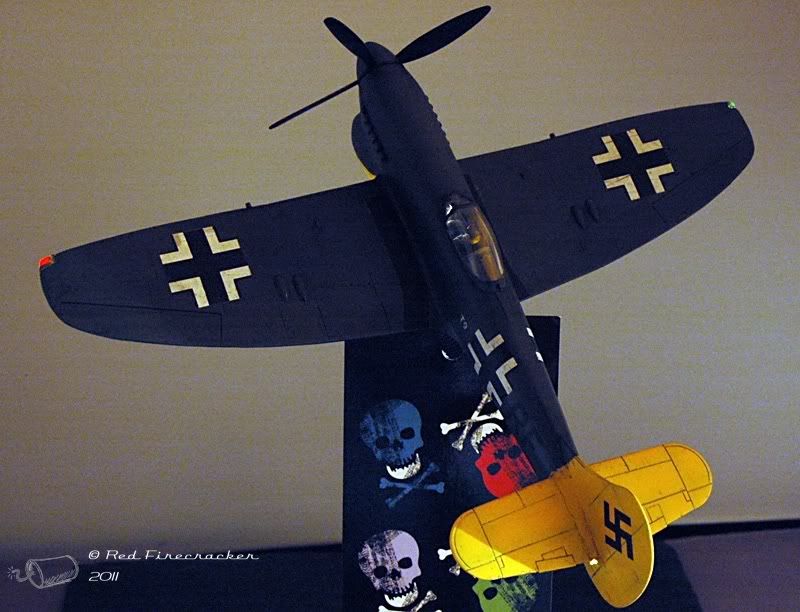
The mount is a block of waxed chestnut with a 5.5mm hole in the top and a 13mm hole in the bottom. The small hole is about 30mm deep, the 13mm hole is deep enough to house a AAA maglite. I'll try and get another pic into the cockpit tomorrow to show the dials.
The next two are with a bit more light but the model lights still visible and my rather tasteful bookmark blanking out the support rod. It's hard to see in the pictures, but the cockpit dials are two, clear, defined pinpoints with gauge detail. Quite chuffed.
The mount is a block of waxed chestnut with a 5.5mm hole in the top and a 13mm hole in the bottom. The small hole is about 30mm deep, the 13mm hole is deep enough to house a AAA maglite. I'll try and get another pic into the cockpit tomorrow to show the dials.

dr_gn said:
Couple of small points (no big deal): the access step is down, should be up for 'in flight', and also - is the IFF mast missing from the underside of the fuselage (opposite the step?).
Ah, you mean I can whip off one of the annoying dangly bits! IFF mast is there but is masked by other 'stuff' in the pics. Just goes to show my lack of research and reliance on the instructions I guess.Red Firecracker said:
dr_gn said:
Couple of small points (no big deal): the access step is down, should be up for 'in flight', and also - is the IFF mast missing from the underside of the fuselage (opposite the step?).
Ah, you mean I can whip off one of the annoying dangly bits! IFF mast is there but is masked by other 'stuff' in the pics. Just goes to show my lack of research and reliance on the instructions I guess.
Gassing Station | Scale Models | Top of Page | What's New | My Stuff