Any Gordon Keeble Owners Out There?
Discussion


http://shopwoi.com/products/ferrari-250-gte-lh-rh-...
Looks slightly better priced for a pair.
Sussex Keebler I will let you know what colour we went for, although it is not an original GK colour.
Looks slightly better priced for a pair.
Sussex Keebler I will let you know what colour we went for, although it is not an original GK colour.
Huntsman said:
Chef, did anything come of this? I need a pair.
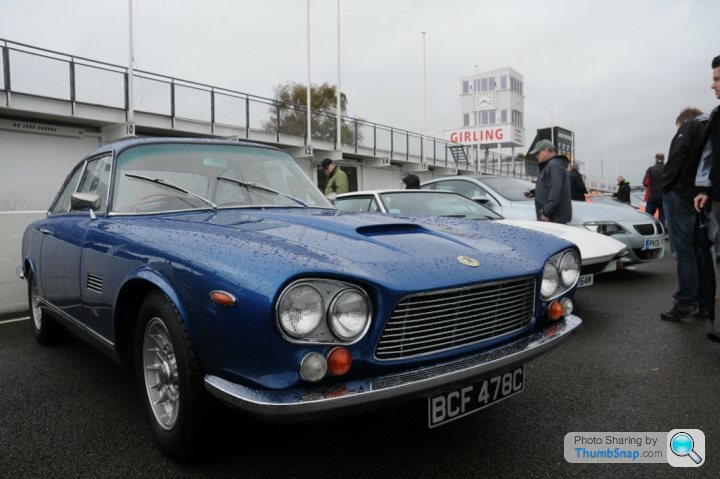
Afraid not, I'd already cut some from sheet rubber (or similar) for 76 which reduced the urgency, to be honest you'd never tell without getting very close. Took the GK to Goodwood afterall as needed a third seat but ended up hidden away near the "Earls Court Motorshow" building behind a hedge. Did see that Ch60 had a "For Sale" note on it, looks like Ch43 has changed hands again too, see here.
David Y had a bottom window channel, its just a bent strip and a flat strip and the rubber, so I welded together, painted it, fitted to the glass and trial fitted in the door. Cut the slot and welded on some 2BA nuts.

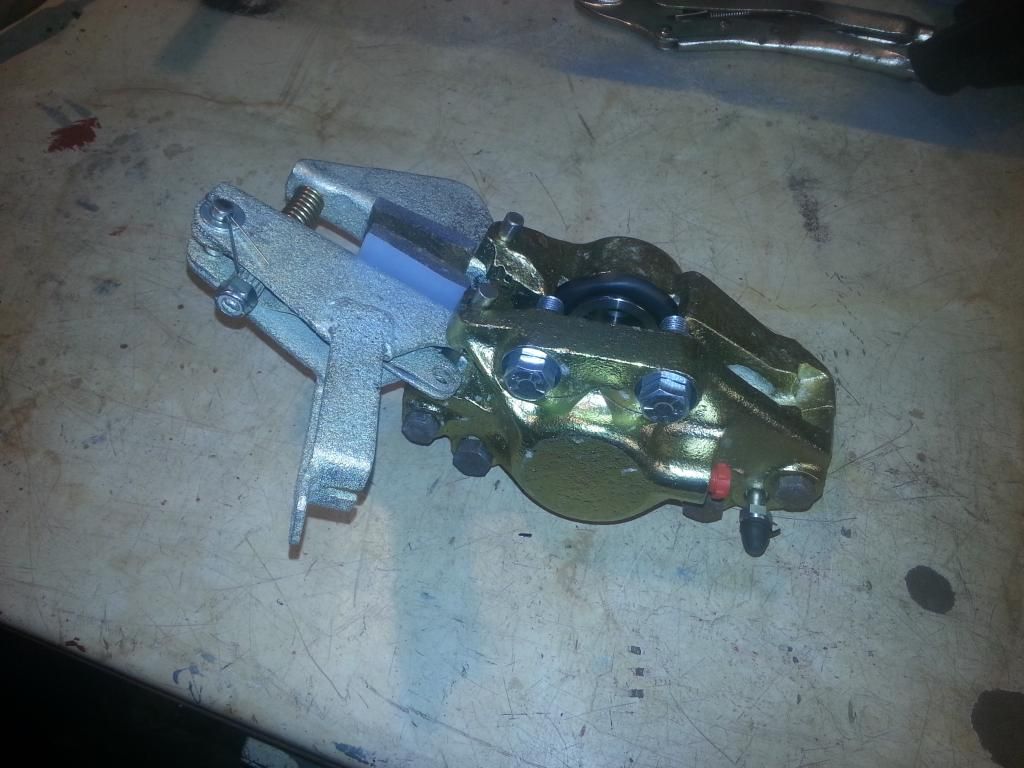
Rear Brake calipers were a mess, lots of drilling and bashing and I had the main components in bits. All 4 calipers went off to Pastparts (£500, good value inc all new pistons), I had the handbrake bits zinc plated. New pivot pins I made from stainless bar and cut the little notches, new springs, couple of other new bits nad bobs, new UNF bolts and washers and I think we're finally ready to re-fit.
Rear Brake calipers were a mess, lots of drilling and bashing and I had the main components in bits. All 4 calipers went off to Pastparts (£500, good value inc all new pistons), I had the handbrake bits zinc plated. New pivot pins I made from stainless bar and cut the little notches, new springs, couple of other new bits nad bobs, new UNF bolts and washers and I think we're finally ready to re-fit.
Edited by Huntsman on Saturday 8th November 16:32
Good to see progress Huntsman I'm still a little way behind.
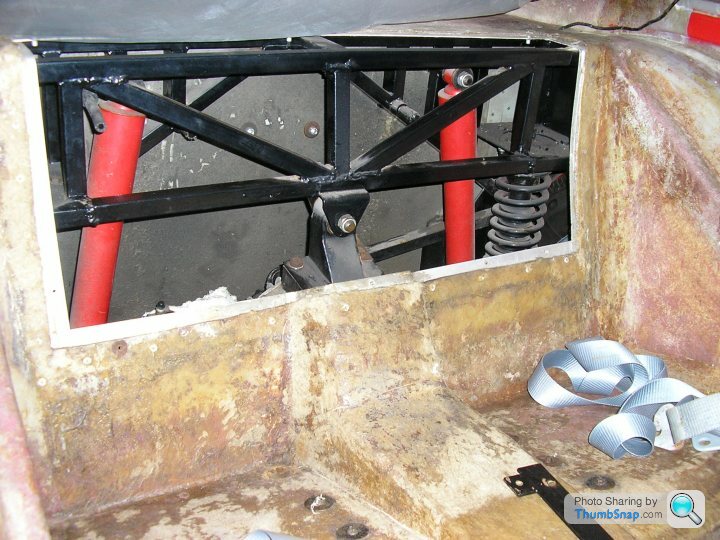
Does anyone have a handle on the size and location of the diff service access hole which some GK's have as a later addition? 30 has this "feature" but there are access holes in the seat back and in the boot and they are both huge.
Does anyone have a handle on the size and location of the diff service access hole which some GK's have as a later addition? 30 has this "feature" but there are access holes in the seat back and in the boot and they are both huge.
Hi all,
The cutout of nr. 14 was just as big,I'd think even deeper. Easyer to work on the springs and diff this way.
Having had serious rust problems on nr . 14 I want to draw atention on two spots.
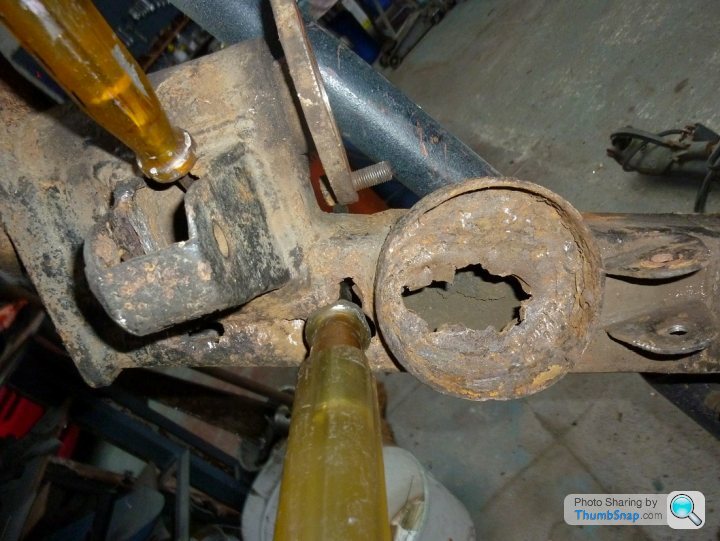
First the two upright turrets welded on the Dion axle to hold the radius rods.
These need to be opened on the side to let the accumulated water out.Just a big hole 3/4" will do the job,eventually ground out towards te bottom of the turret. On number 14,allthough the Dion tube was already restored once, this was not done with catastrophic results: I can post some photographs showing the whole Dion structure desintegrated!I had to build a new one saving just the two bearing holders. Squirting some wawoyl inside the tube will not hurt it.
The second one are the two front spring turrets where water can get in but not out,eating the whole thing from inside.After rewelding I drilled two holes 8 mm from the engine side(engine was out)to enable copious quantities of waxoyl inserted.On cars with the engine in position I'd make the holes on the outside and plug them with a rubber bung.
Of course,my car did live a long time in wet Scotland and probably was more submitted to rain,but I can only advise to give attention to those points.
The cutout of nr. 14 was just as big,I'd think even deeper. Easyer to work on the springs and diff this way.
Having had serious rust problems on nr . 14 I want to draw atention on two spots.
First the two upright turrets welded on the Dion axle to hold the radius rods.
These need to be opened on the side to let the accumulated water out.Just a big hole 3/4" will do the job,eventually ground out towards te bottom of the turret. On number 14,allthough the Dion tube was already restored once, this was not done with catastrophic results: I can post some photographs showing the whole Dion structure desintegrated!I had to build a new one saving just the two bearing holders. Squirting some wawoyl inside the tube will not hurt it.
The second one are the two front spring turrets where water can get in but not out,eating the whole thing from inside.After rewelding I drilled two holes 8 mm from the engine side(engine was out)to enable copious quantities of waxoyl inserted.On cars with the engine in position I'd make the holes on the outside and plug them with a rubber bung.
Of course,my car did live a long time in wet Scotland and probably was more submitted to rain,but I can only advise to give attention to those points.
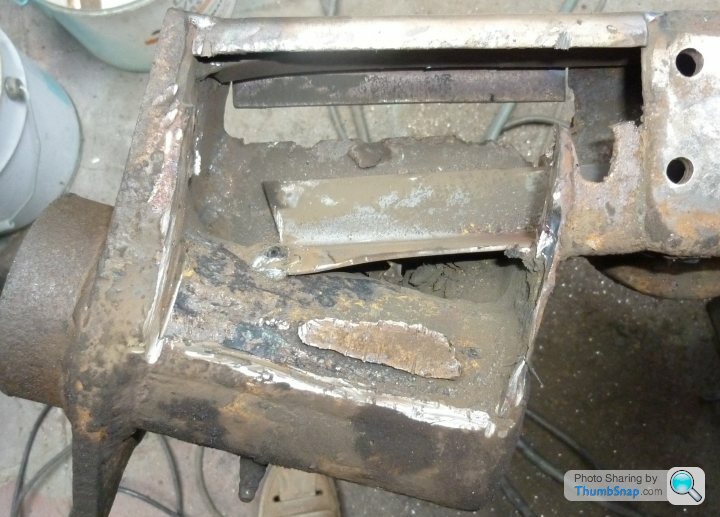
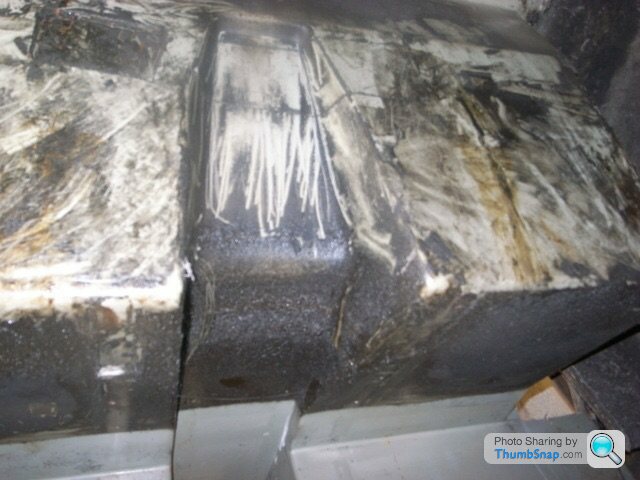
And here looking from the bottom up. Sections cut away, on the top a piece welded on to strenghten the whole before making a pattern in wood.
I was amazed after having the geometry measured after assembly that the only thing I had to redo was the shortening on one side of the trailer arms to get everything within spec.
I rather would not do it again!One of the problems with the welding on the bearing cylinder is that the outer bearing could not be put in due to shrinking problems...
Dirk
Hi Dirk,great pics - it just shows how bad the corrosion can be on the keeble suspension and how dangerous this could be.I have also seen a small crack on the de-dion elbow on 11 so this will need investigating.
Huntsman I don`t recognise those pieces but I also had parts with 11 that was not keeble related which David Y kindly identified for me.The window lift support channel looks good,any more pics of this?
Huntsman I don`t recognise those pieces but I also had parts with 11 that was not keeble related which David Y kindly identified for me.The window lift support channel looks good,any more pics of this?
keeble kid said:
The window lift support channel looks good,any more pics of this?
Tony, as it happens I have had a bit of bother with it, on fitting into the door I realised that the metal channel needed to move along the glass a bit, so I marked up where it needed to be and pulled it off, it didn't seem to require much effort to get it off, certainly not compared to the very scary bashing to get it on, on the basis I really don't want to smash the glass I've ordered a tube of windscreen adhesive and I'll splodge a load of that into the channel and then shove the glass into it, probably getting into a massive mess in the process.Huntsman said:
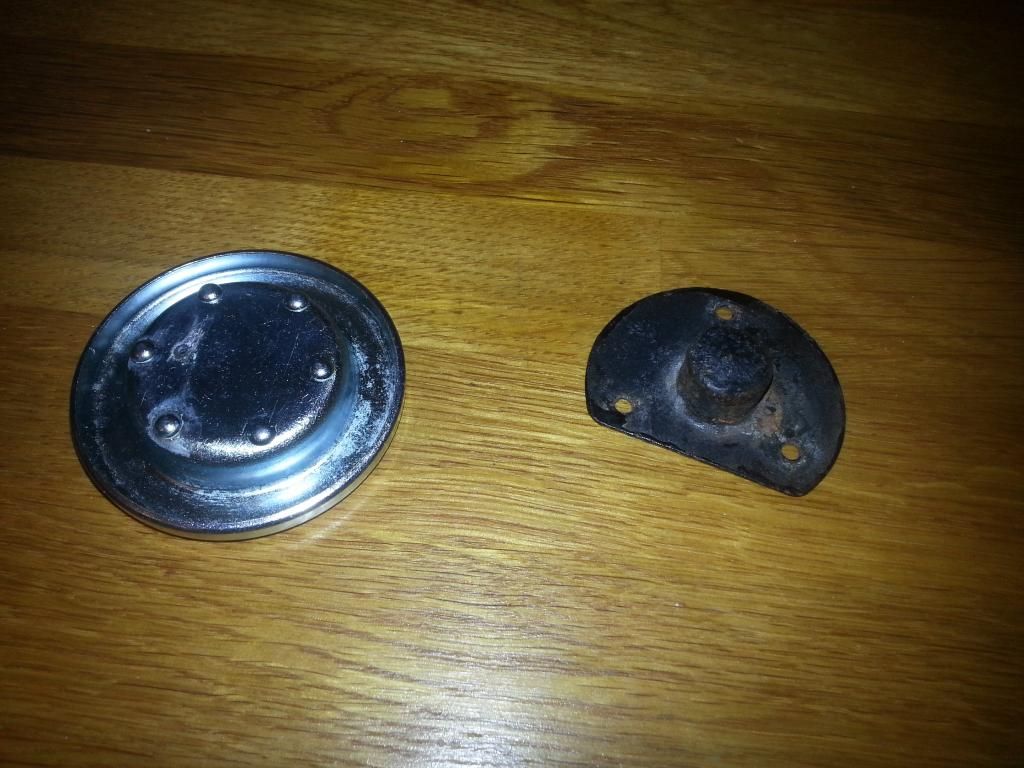
Can anybody tell me that these two items are?
The shiney one has a key slot in the otherside, I have 2 of them. The black one is singular.
Hello Huntsmant,The shiney one has a key slot in the otherside, I have 2 of them. The black one is singular.
Not sure about the shiny disk but the tophat with the straight edge on the brim and 3 holes looks as if it's from the bonnet, its where the bonnet stay sits when the bonnet is open.
Hope it helps
Gassing Station | Classic Fibreglass | Top of Page | What's New | My Stuff