Rejuvenating my old Bianchi
Discussion


Following on from this thread I've started the strip down though I can't complete it due to lacking the necessary tools. Halfords and my LSB didn't have them either so next week it will have to be.
The before (pedals and saddle already on the new bike)

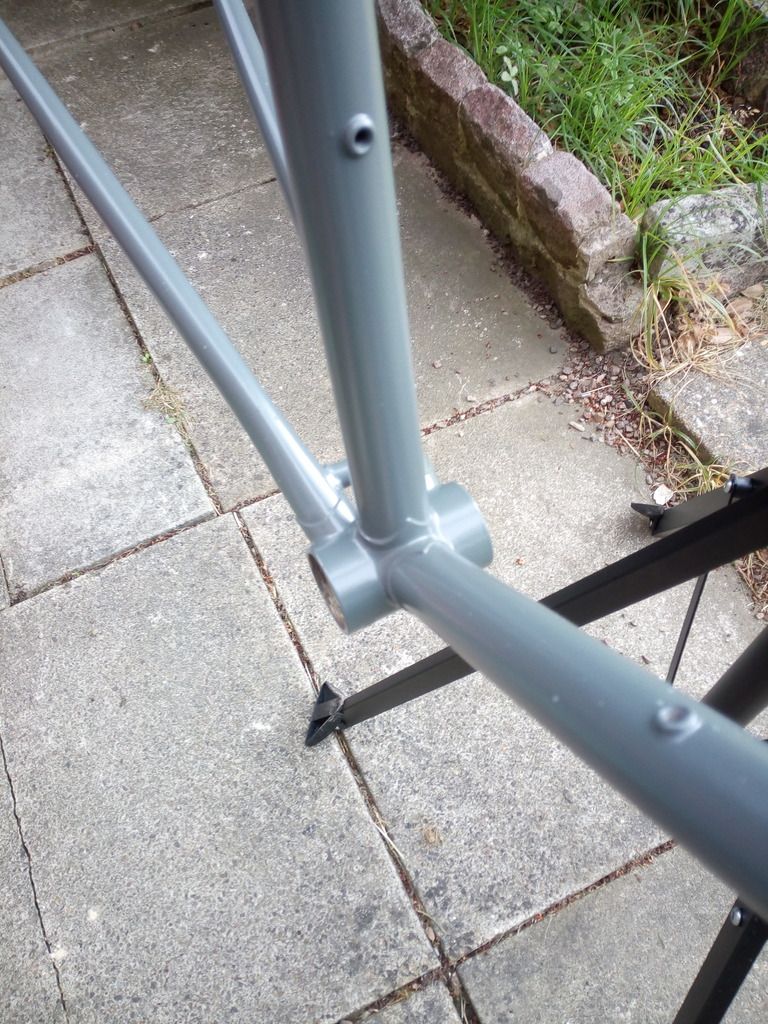
Various pics of the rust starting to set in
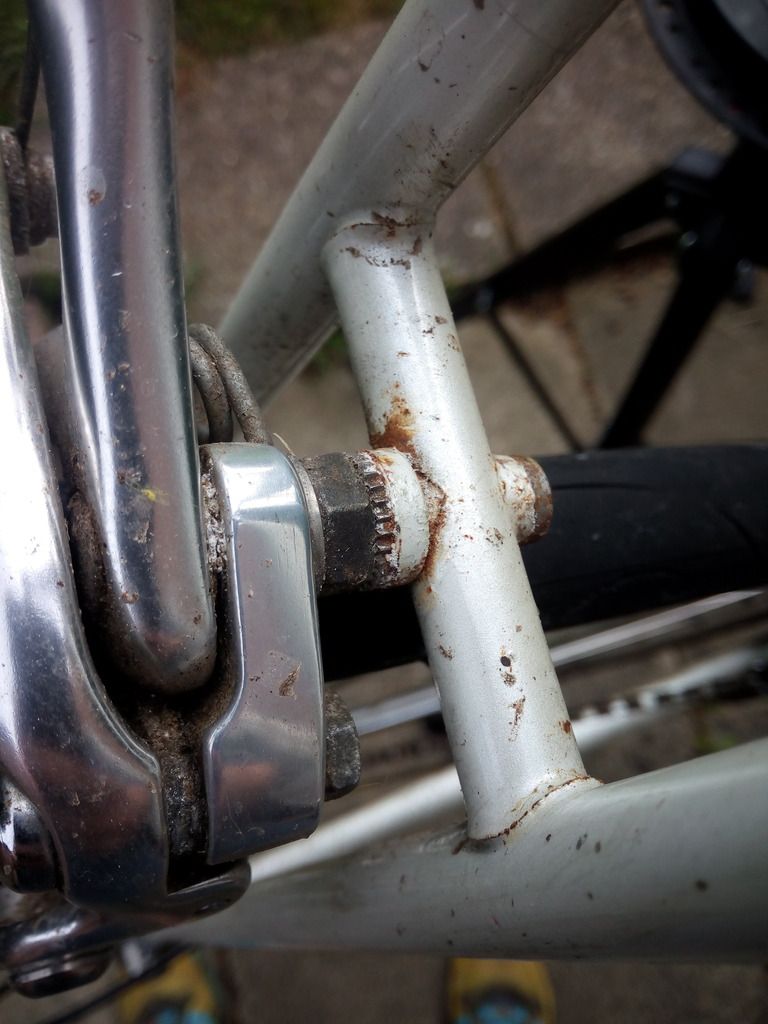

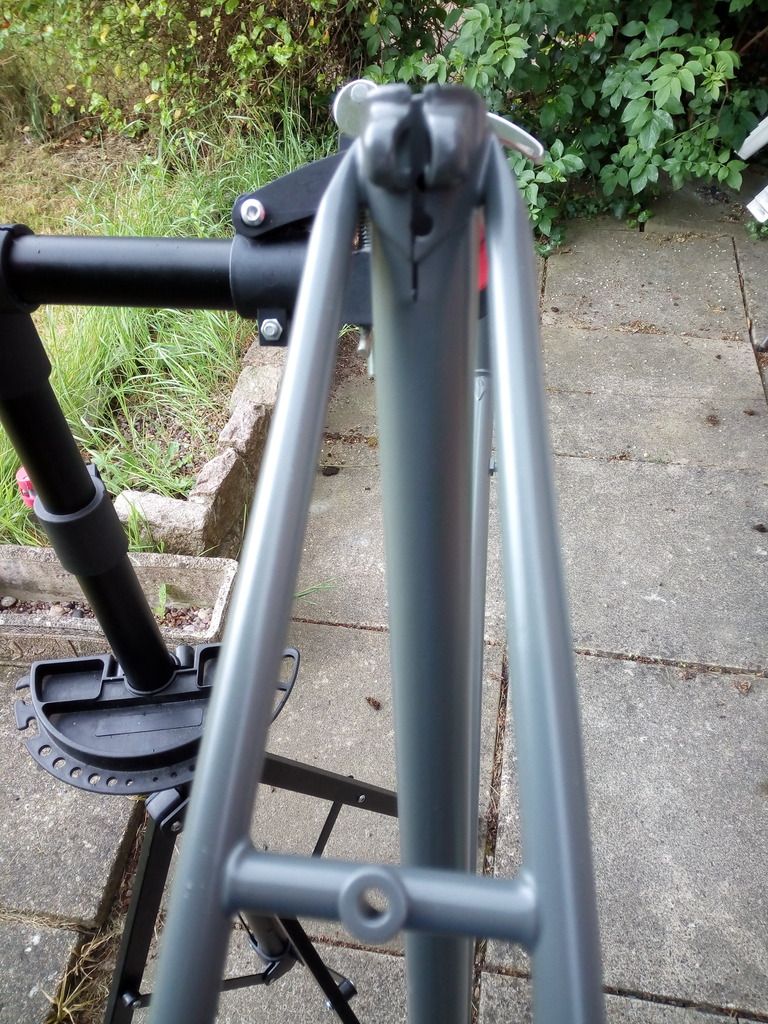
Does anyone know if the chrome cups on the head tube should remove and if so how?

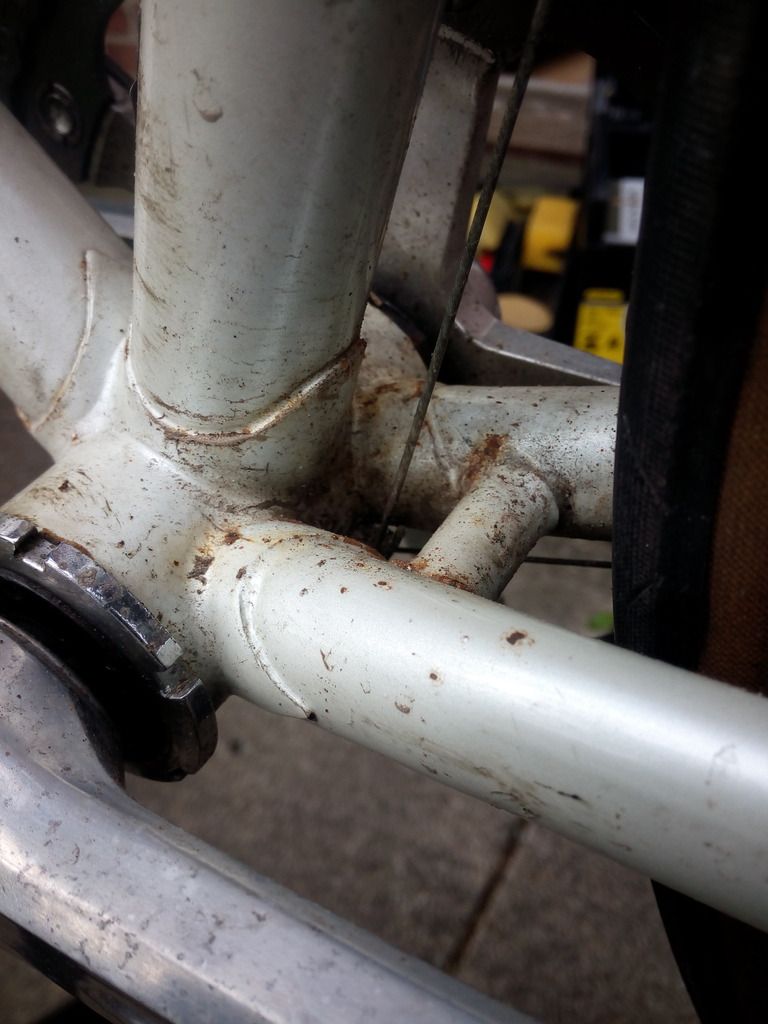
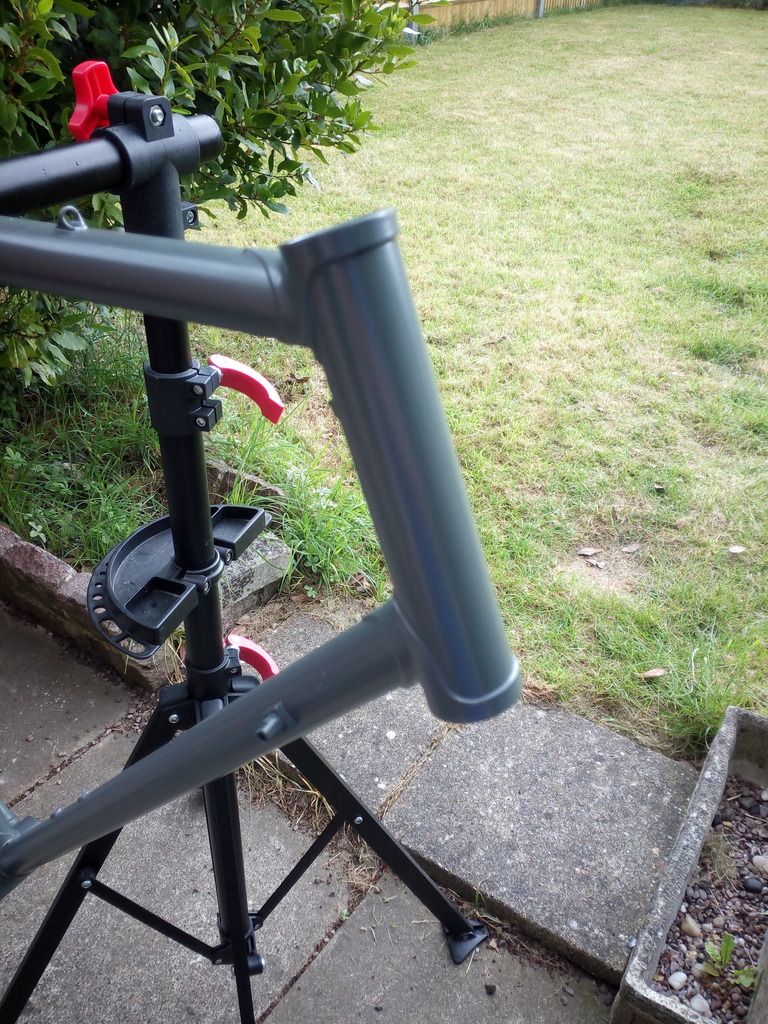
The split in the seat tube


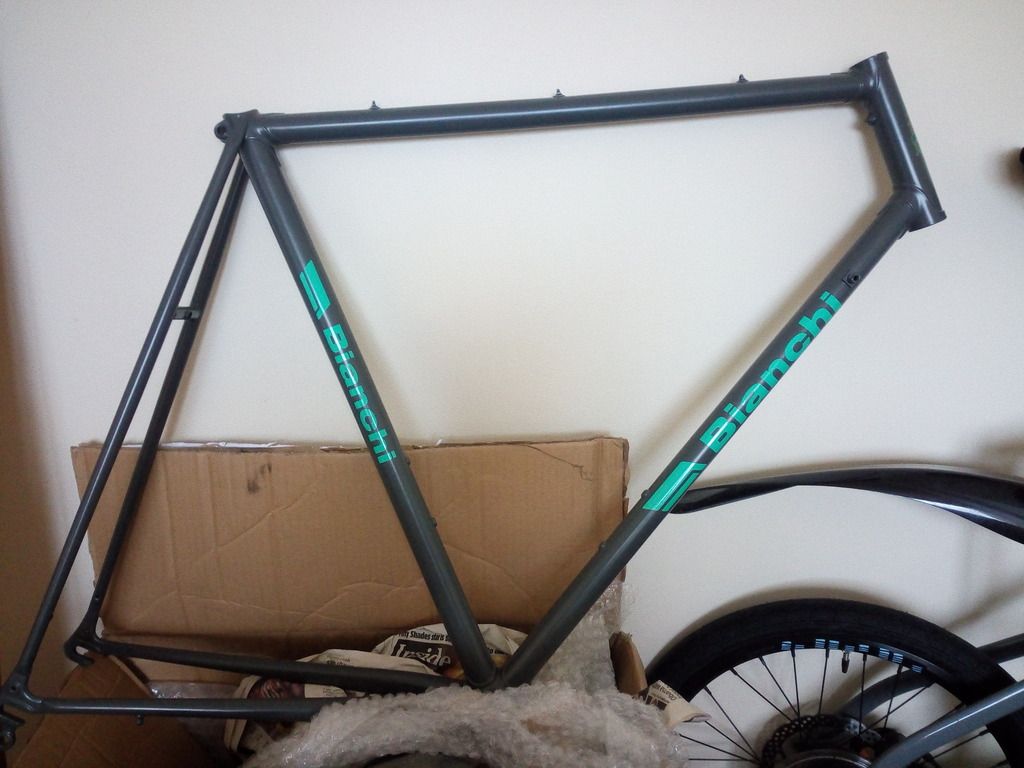
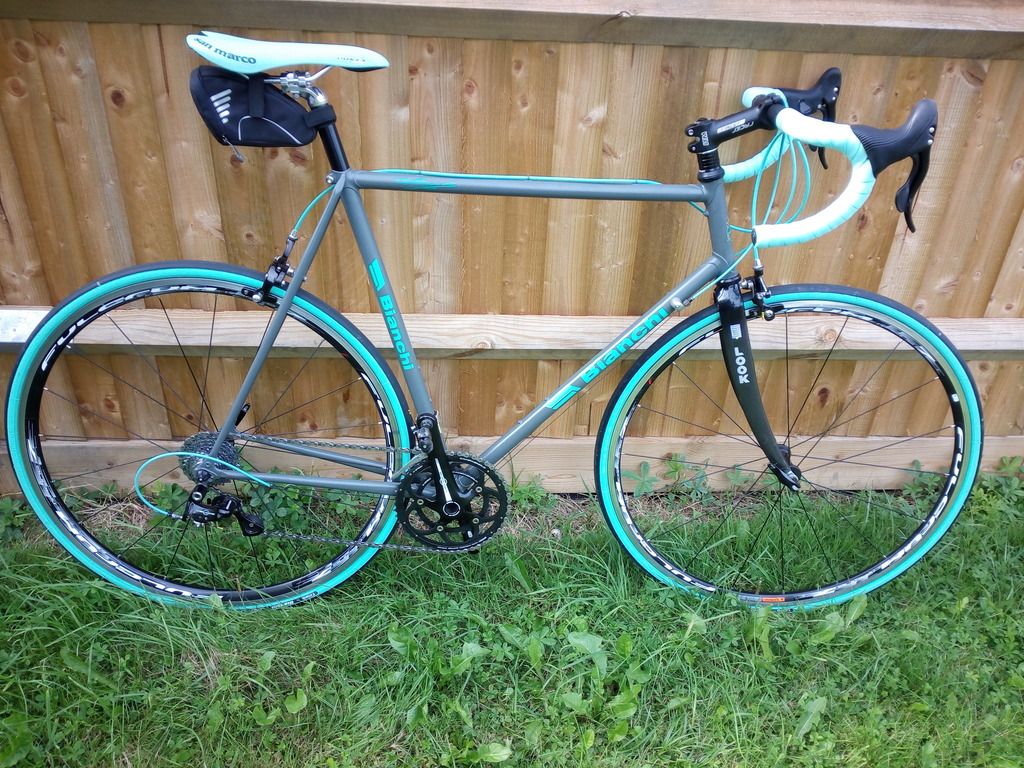
How it is now
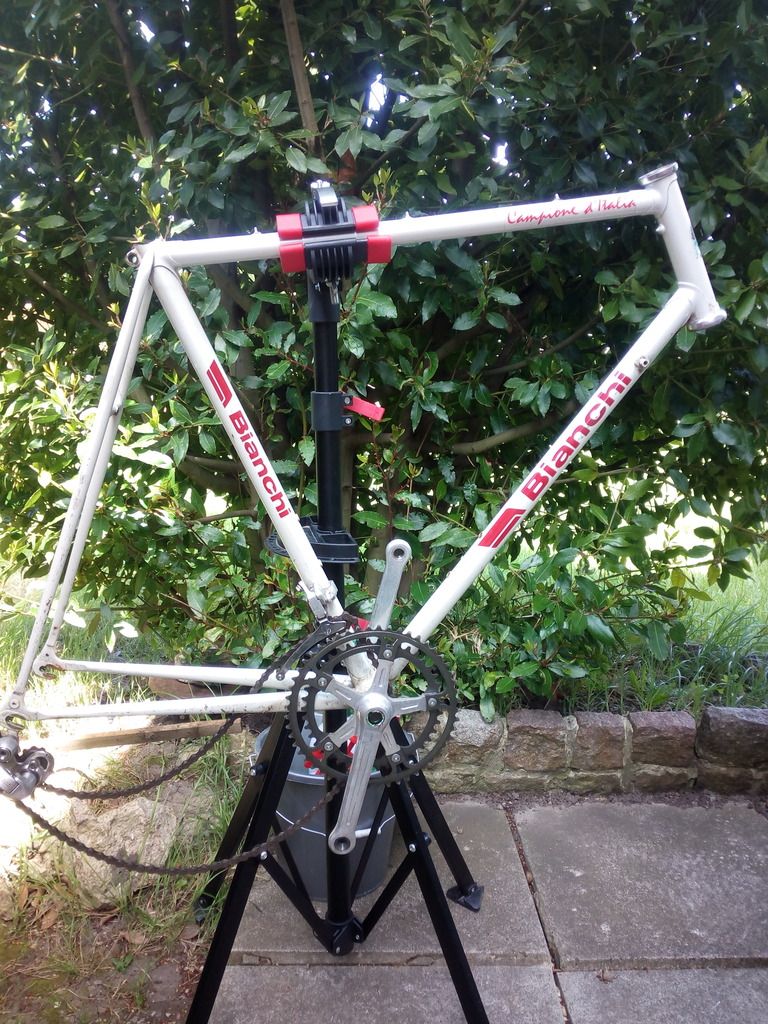
Any Bianchi frame spotters who might know more about it?

The before (pedals and saddle already on the new bike)
Various pics of the rust starting to set in
Does anyone know if the chrome cups on the head tube should remove and if so how?
The split in the seat tube
How it is now
Any Bianchi frame spotters who might know more about it?
Edited by tobinen on Saturday 30th May 21:23
The headset cups tap out, they're an interference fit, knocked or pressed into place.
I typically knock them out. So a blunt object down through the head tube from the top to knock the bottom one out and vise versa.
Being steel, could you spray dintol or similar inside it once ready to rebuild?
I typically knock them out. So a blunt object down through the head tube from the top to knock the bottom one out and vise versa.
Being steel, could you spray dintol or similar inside it once ready to rebuild?
Having seen the crack I'd leave it as is, I reckon. If it's not been getting any worse, and you can clamp the seatpost ok then it's really not a winning proposition financially to do anything about it.
Blast it, paint it, framesaver it, build it and ride it.
New 105 and some Archetypes on 105 hubs and you'd have a decent trainer, and if the crack propagates you can move the kit to another frame.
Get the rear end cold-set to 130 if it's 126 post blasting and pre-paint.
Blast it, paint it, framesaver it, build it and ride it.
New 105 and some Archetypes on 105 hubs and you'd have a decent trainer, and if the crack propagates you can move the kit to another frame.
Get the rear end cold-set to 130 if it's 126 post blasting and pre-paint.
Some thoughts mirroring my own so far. Forks very unlikely to be original and I'm inclined to leave alone. Their colour will fit in with the colour I have in mind
Also the tube split doesn't affect the seat post staying put so again, for the budget I have I may as well leave and carry on as before
The seat post sticker just says 'made in Italy'. I've found a local firm with a good name and previous experience with steel frames so I'll be using them
Also the tube split doesn't affect the seat post staying put so again, for the budget I have I may as well leave and carry on as before
The seat post sticker just says 'made in Italy'. I've found a local firm with a good name and previous experience with steel frames so I'll be using them
pablo said:
Interesting, thanks. Looks like it's late 80s and not early 90s as I thoughtFork cups tapped out with a mallett and screwdriver in the end without too much fuss. I decided against buying the BB tools required as I'll probably never use them again so I dropped it off to my LBS yesterday and I am awaiting the call.
In the meantime I called the local shotblasting firm recommended to me. Old chap says they do plenty of bike frames; shotblasted and powder-coated for £30
Now, assuming the work is ok, this is miles less than I've budgeted for which is excellent news. I will have to have it laquered though on top.
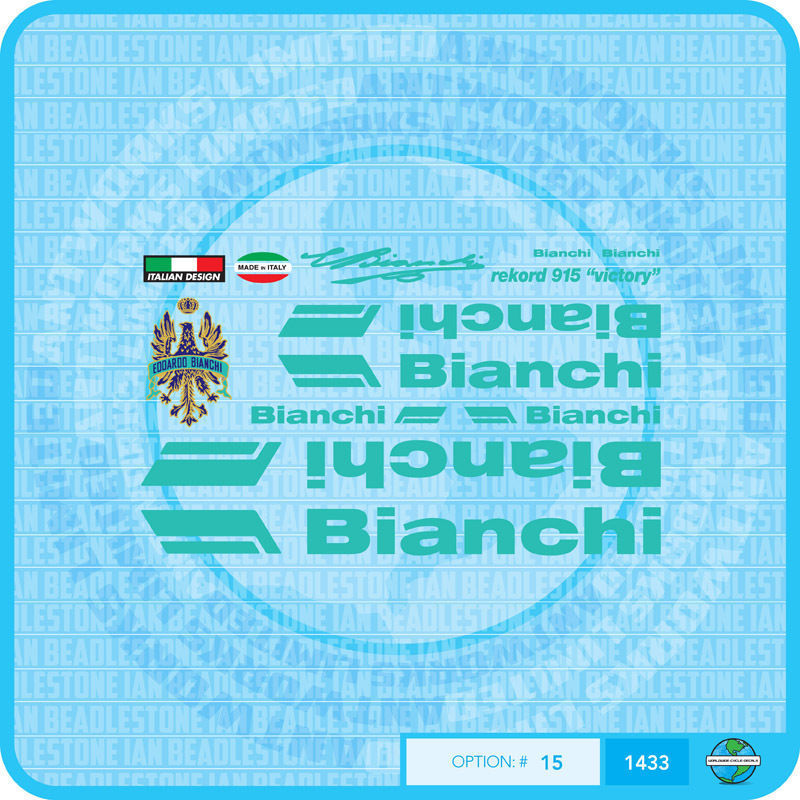
In the meatime, new decals set has arrived. I couldn't find a 'Campione D'Italia' but the rest is close enough. I'll leave off the 'Rekord' ones.
In the meantime I called the local shotblasting firm recommended to me. Old chap says they do plenty of bike frames; shotblasted and powder-coated for £30
Now, assuming the work is ok, this is miles less than I've budgeted for which is excellent news. I will have to have it laquered though on top.
In the meatime, new decals set has arrived. I couldn't find a 'Campione D'Italia' but the rest is close enough. I'll leave off the 'Rekord' ones.
Frame collected this morning from the shotblasters and I think a very good job. I didn't want a gloss finish and it's turned out pretty well. I'm very happy with the result and for £30 it's a bloody bargain

The reproduction decals seem ok. I won't be fitting the 'rekord 915 victory' but otherwise they're very good for the money and the celeste colour will contrast well against the grey. Now I need to find a YouTube video for tips on application. I'll apply a clear lacquer over the top once they're on.

The reproduction decals seem ok. I won't be fitting the 'rekord 915 victory' but otherwise they're very good for the money and the celeste colour will contrast well against the grey. Now I need to find a YouTube video for tips on application. I'll apply a clear lacquer over the top once they're on.
Gingerbread Man said:
A squeege bottle. A drop of washing up in it, then fill with water. Doray on the frame, place sticker on the area, move around until happy, squeegee the wager out, leave to dry.
That worked a treat but I sprayed on the sticker, thanks 
Now to source some lacquer...
Still not riding due to knee injury so progress on this is coming along steadily. Just waiting for some more parts to be delivered and I can make a start with assembly - possibly this weekend. Stuck on one of the decals a bit on the piss (pic below) so I've removed it and ordered another set.
I've decided to take some parts off the De Rosa (bars, seat post and wheels) as I've decided to sell the frameset and I've ordered another one in a different colour and size, though Wiggle can't give me a delivery date for it.
I've decided to take some parts off the De Rosa (bars, seat post and wheels) as I've decided to sell the frameset and I've ordered another one in a different colour and size, though Wiggle can't give me a delivery date for it.
Finally collected it yesterday and I'm very happy with the end result. Though I shouldn't ride due to my current knee issue, I took it out for a brief 4 mile sighter and it's much better than it was. I ordered the wrong size seat post so I hope I can return it
Build costs:
Remove BB and crank £ 20
Shotblast and powder coat £ 30
Decal set £ 6
Decal set (2) £ 7
Bar tape £ 7
Groupset £144
Tyres £ 51
Cables £ 23
Bars £ 16
Seat post £ 23
satin lacquer £ 8
Head set, seat post, LBS labour. £67
Total £402
Build costs:
Remove BB and crank £ 20
Shotblast and powder coat £ 30
Decal set £ 6
Decal set (2) £ 7
Bar tape £ 7
Groupset £144
Tyres £ 51
Cables £ 23
Bars £ 16
Seat post £ 23
satin lacquer £ 8
Head set, seat post, LBS labour. £67
Total £402
Agree on the stem. Chap who built it up just used all the spacers supplied I think, and I'll drop it down a touch. Not sure why the phone camera makes the bar tape and saddle look as they do, but they are not as bright as that.
The wheels are off my De Rosa and I haven't priced those into the job, but as they're lowly Fulcrum 7s they're probably worth about £70
The wheels are off my De Rosa and I haven't priced those into the job, but as they're lowly Fulcrum 7s they're probably worth about £70
Edited by tobinen on Sunday 23 August 12:00
Edited by tobinen on Sunday 23 August 12:02
Gassing Station | Pedal Powered | Top of Page | What's New | My Stuff