Unusual job on the bench today
Discussion


battered said:
That's really interesting. Why do you melt the gold on a bit of oak that inevitably gets burnt rather than in a crucible? Secondly, is your pointy tool just a scriber? Or is it more of a punch?
We use both, but it depends on the volume of material needed. The wood is easy to melt small amounts of metal on and is clean / uncontaminated. It lasts a good few years and is very durable.The crucible is good for larger amounts of metal or platinum melting. However, it requires more heat (Oxygen/Acetylene gun) and can be easily contaminated with residue from past melts, especially if you've been melting dirty gold. It's just more admin. I can melt material on the bench using the wood but need to fire up the cylinders if I'm using the crucible. Time is money and all that.
The sharp pointy thing for rounding off the diamond settings is a tool we call a 'pusher'. I'm unsure of its official name but it basically a pointed metal spike with a slightly rounded, polished tip. It's not sharp as such but it does hurt when you slip. We also use scorpers to cut or pick the edges of a setting. If the edge needs to be keen or shiney they are ideal if kept razor sharp. These are also deadly if you slip and I've personally had to glue bits of finger back on as a result of such errors.


ecain63 said:
We use both, but it depends on the volume of material needed. The wood is easy to melt small amounts of metal on and is clean / uncontaminated. It lasts a good few years and is very durable.
Thanks Eddie, that's a real insight, and it makes sense given the small quantities that you work with.I can sympathise with the joys of poking a sharpened implement through your hand, too, and I don't spend every day in a workshop.
battered said:
Thanks Eddie, that's a real insight, and it makes sense given the small quantities that you work with.
I can sympathise with the joys of poking a sharpened implement through your hand, too, and I don't spend every day in a workshop.
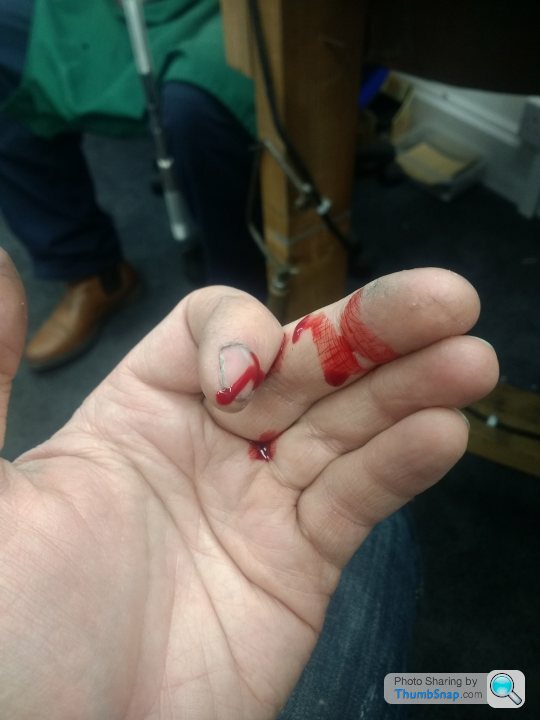
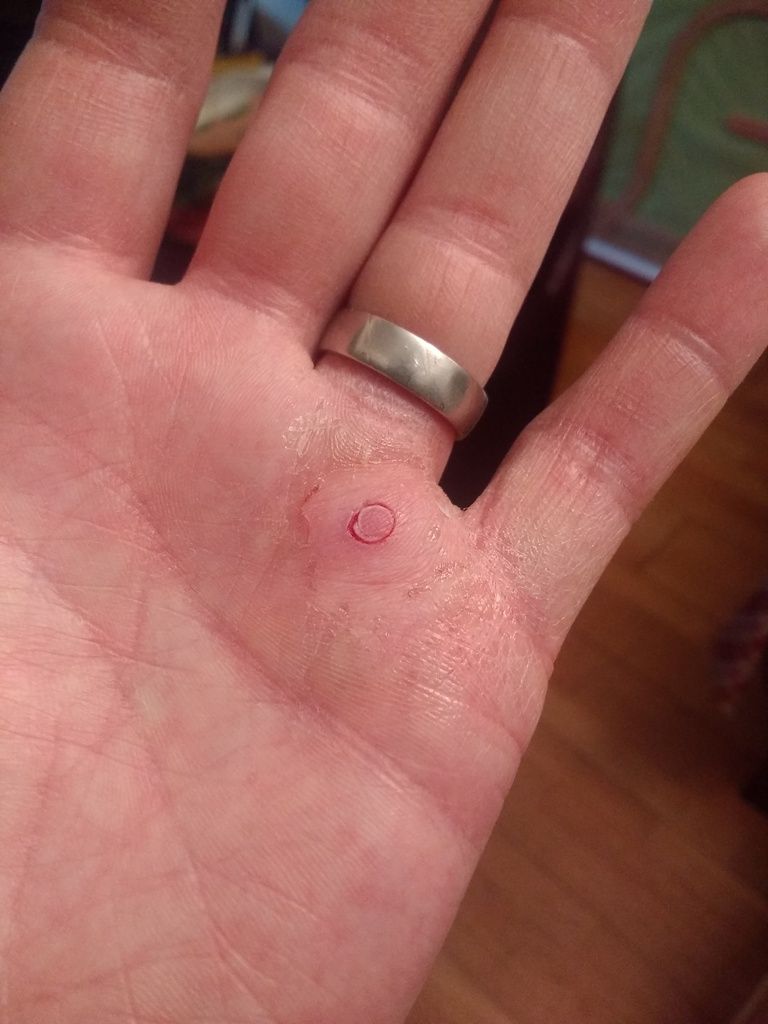
This morning's effort. 1.4mm drill bit under the nail through finger tip. Superglue and paper fix I can sympathise with the joys of poking a sharpened implement through your hand, too, and I don't spend every day in a workshop.

I meant to reply on here...
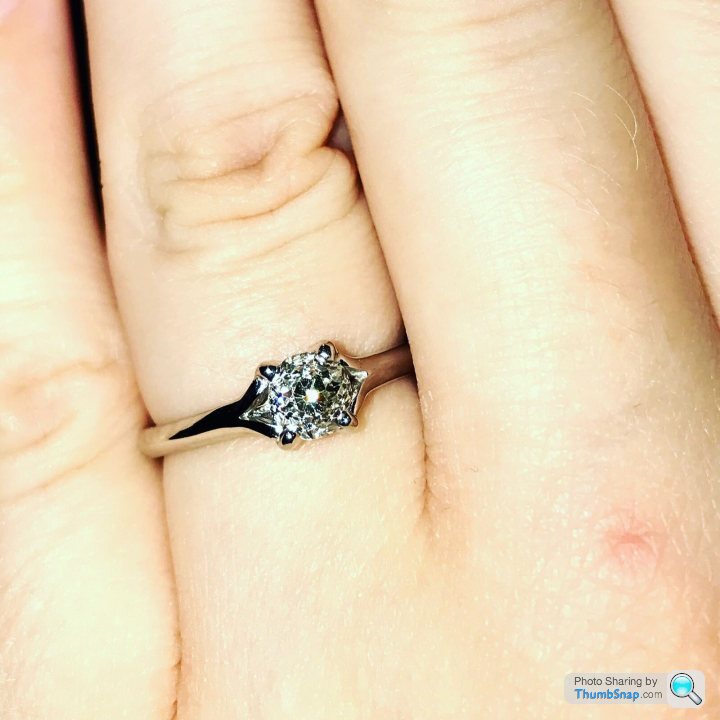
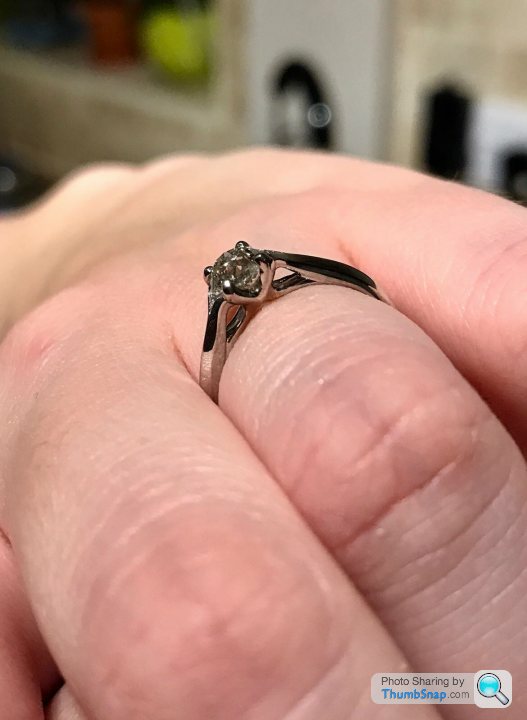
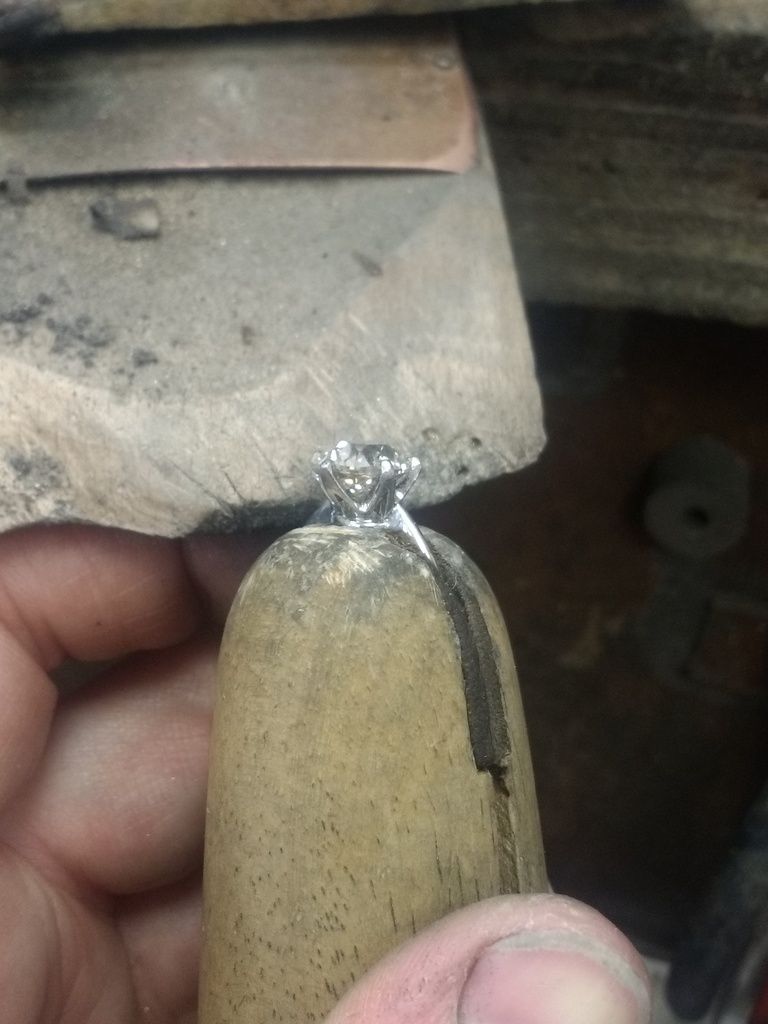
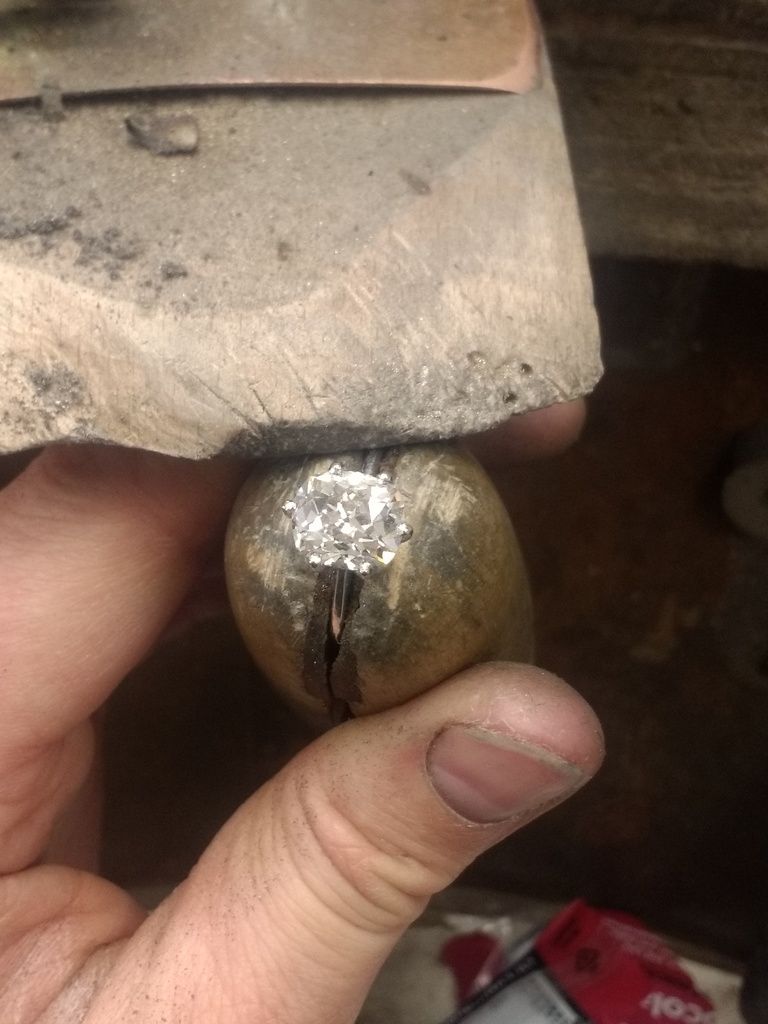
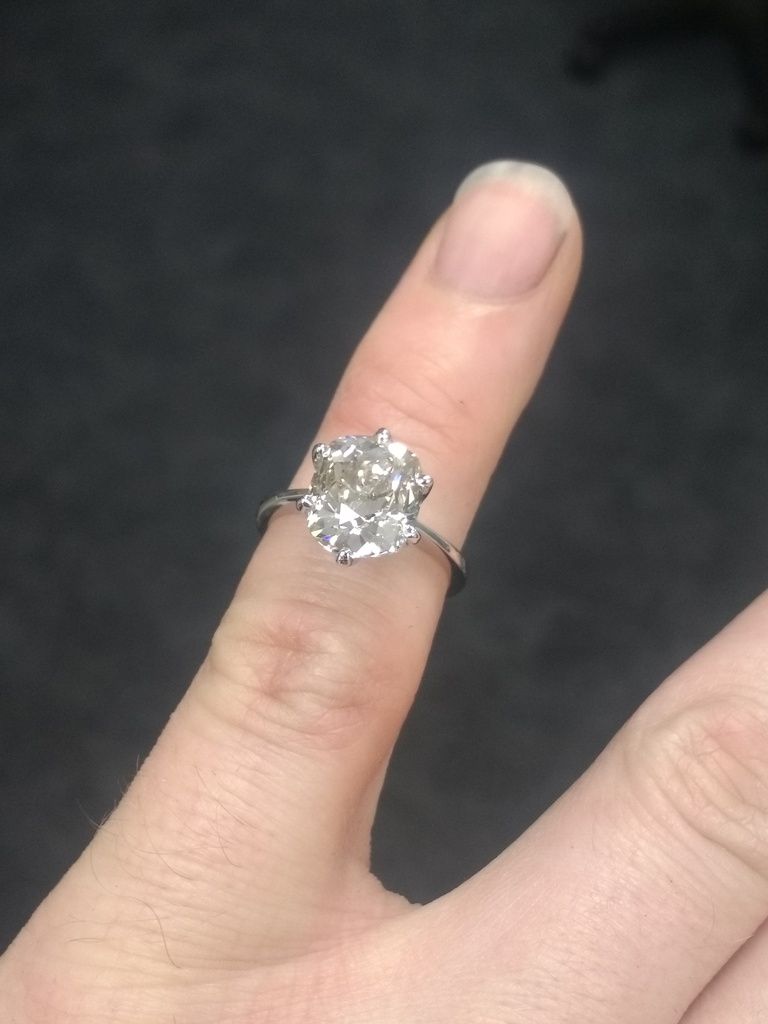
Me and the other half went to to see Eddie for the weekend to sort out a engagement ring, I already had a lovely old fashioned cut Diamond that Eddie had already sent out to me to propose with.
With a few rough ideas he managed to knock this up and we're both (her especially) are over the moon with it
^^^ excellent, I'm glad you are both happy with the product and the old cut diamond. The stone is a very unusual cut and has a lot of life / light movement. I hope you both enjoy an exciting engagement and the build up to the next phase of your lives.
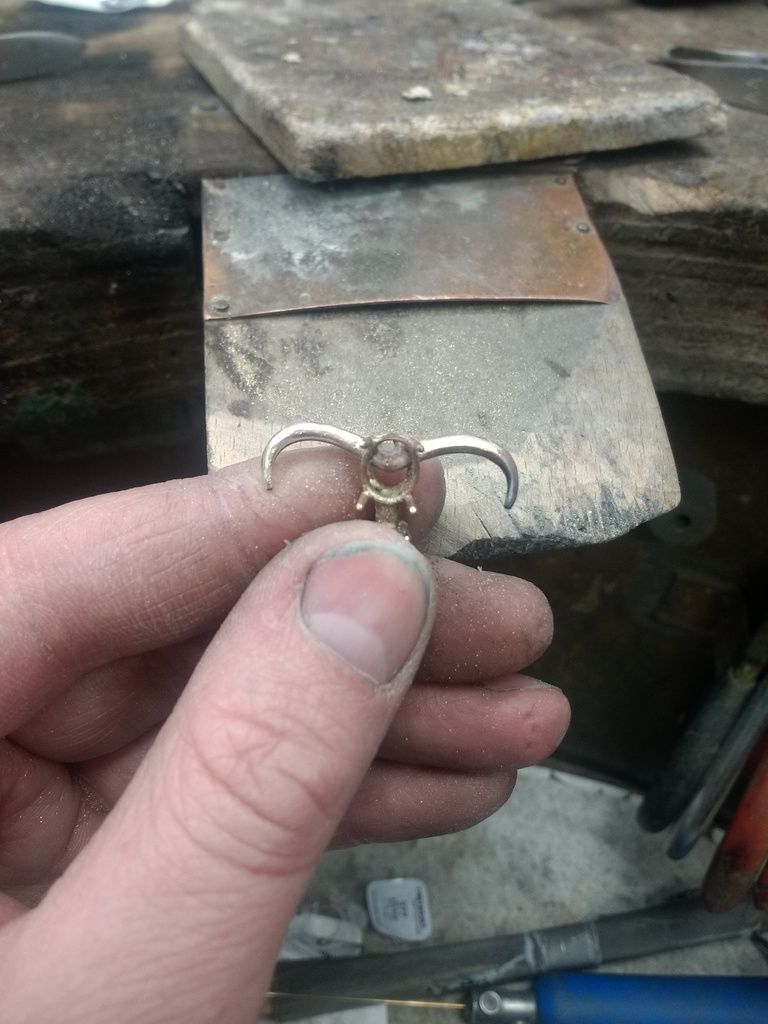
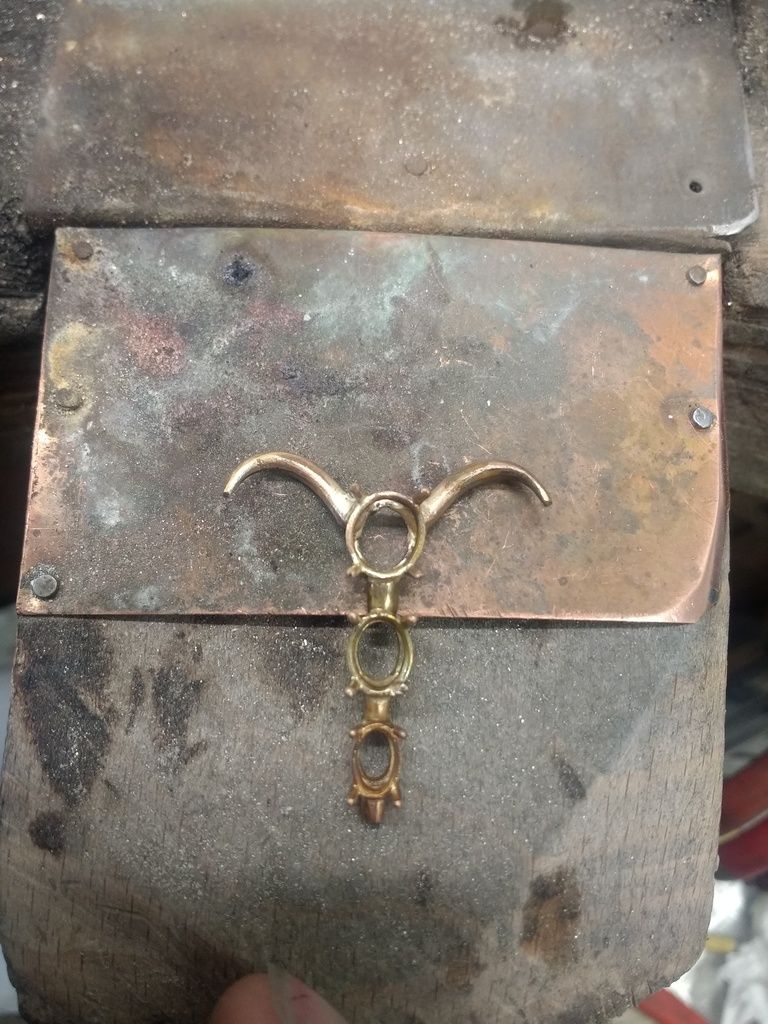
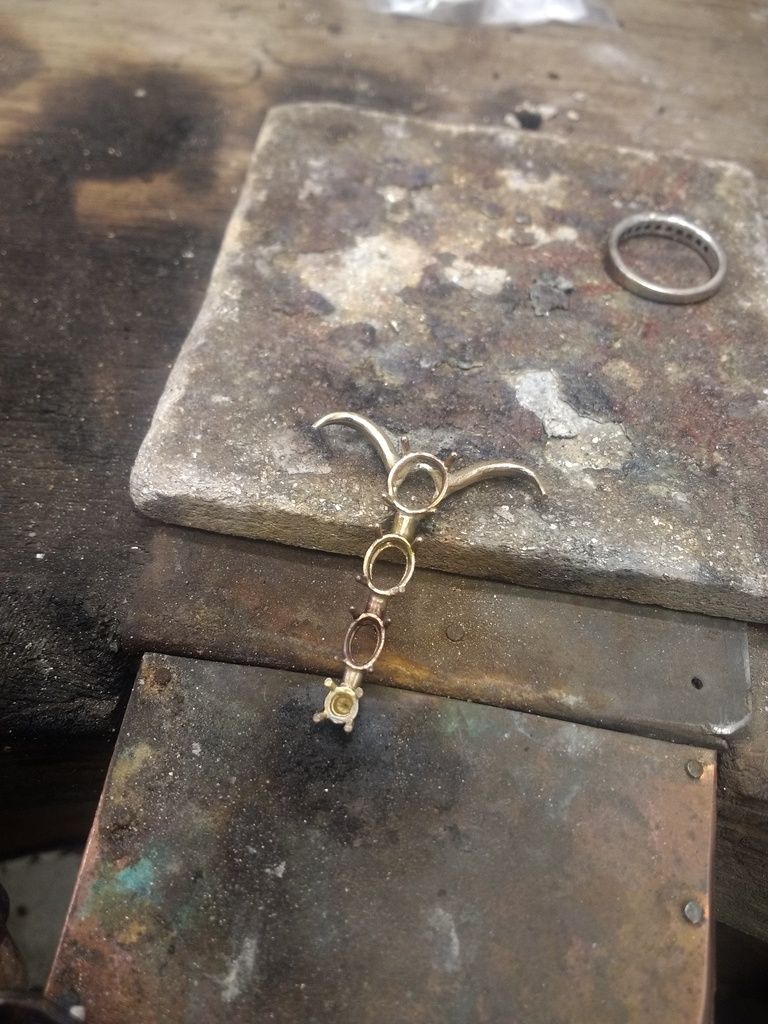
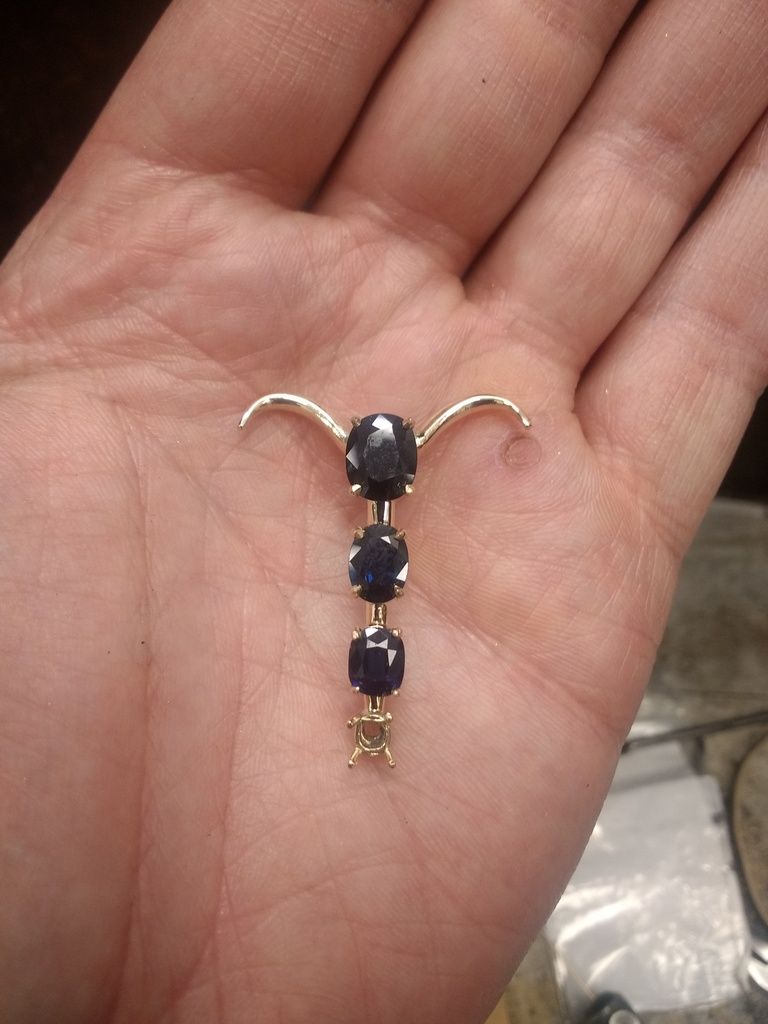
It's been a mad few days here and I've got no further with the unusual pendant pictured above so apologies for the short delay in fresh images. There is a diamond setting to be added at the bottom along with 3 x oval sapphires in the other settings. The hooks are being shaped to resemble bull horns and from behind the horns will be attached a 9ct chain. I'll bang some pics up once I get back into it tomorrow.
The shop move has certainly stirred the locals and after 4 months on the high street we are becoming very busy. The past week has been bonkers with 3 large diamonds sourced (1.75 brill cut, 2.49ct transition cut and 2.56ct old cut) and another (3.8ct old cut oval) going out tomorrow. I'd like to take this opportunity to thank those of you who post up and ask questions here as the thirty odd page thread is a great reference not only to my customers but also to myself. I'll keep adding to it if you continue to enjoy it.
Many thanks,
Eddie
Edited by ecain63 on Wednesday 10th May 21:16
ecain63 said:
Yes, hundreds of incremental, very expensive drill bits that take no effort to break. They burn also, so I have to be careful with regards to lubrication and drilling in dense metal.
Diamonds are generally very durable but can be shattered by a knock in the wrong place. The durability varies with the cut and flat stones like emerald and baguette cuts tend to break easier than others. Sapphires and rubies are also nice and? hard. Stones such as amethyst, opal and emerald are a maintenance nightmare. Modern women don't have the caring touch they used to either.
I say - steady on!Diamonds are generally very durable but can be shattered by a knock in the wrong place. The durability varies with the cut and flat stones like emerald and baguette cuts tend to break easier than others. Sapphires and rubies are also nice and? hard. Stones such as amethyst, opal and emerald are a maintenance nightmare. Modern women don't have the caring touch they used to either.
Evening, sorry for the delay. I've been waiting on an old cut diamond to arrive for this little pendent project. It is due in tomorrow so I'll get some pics when it arrives and I get back into the job.
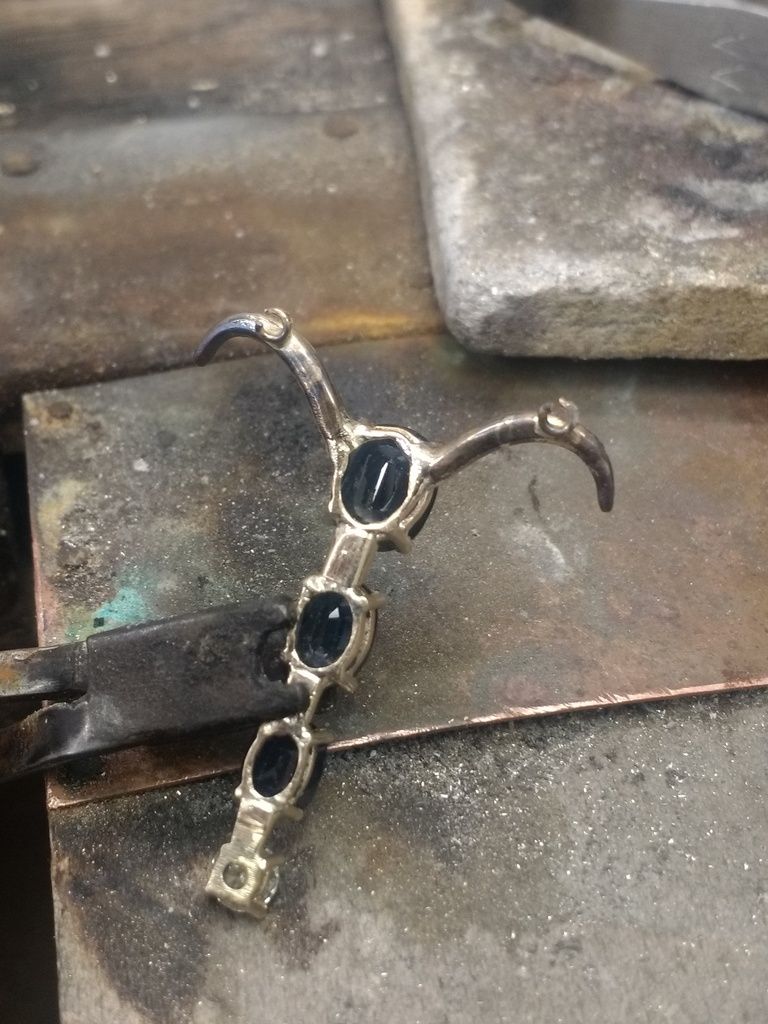
The customer did pop in to collect another couple of minor bits and took the opportunity to see how it was all going. They wanted a little adjustment made to the positioning of the horns:
Old Position:
New Position:
So, while that job is off the bench I've been doing some other stuff....
First off I drilled my hand again, but with a tubular item. Glued the bit back in and all was well after a day or two:
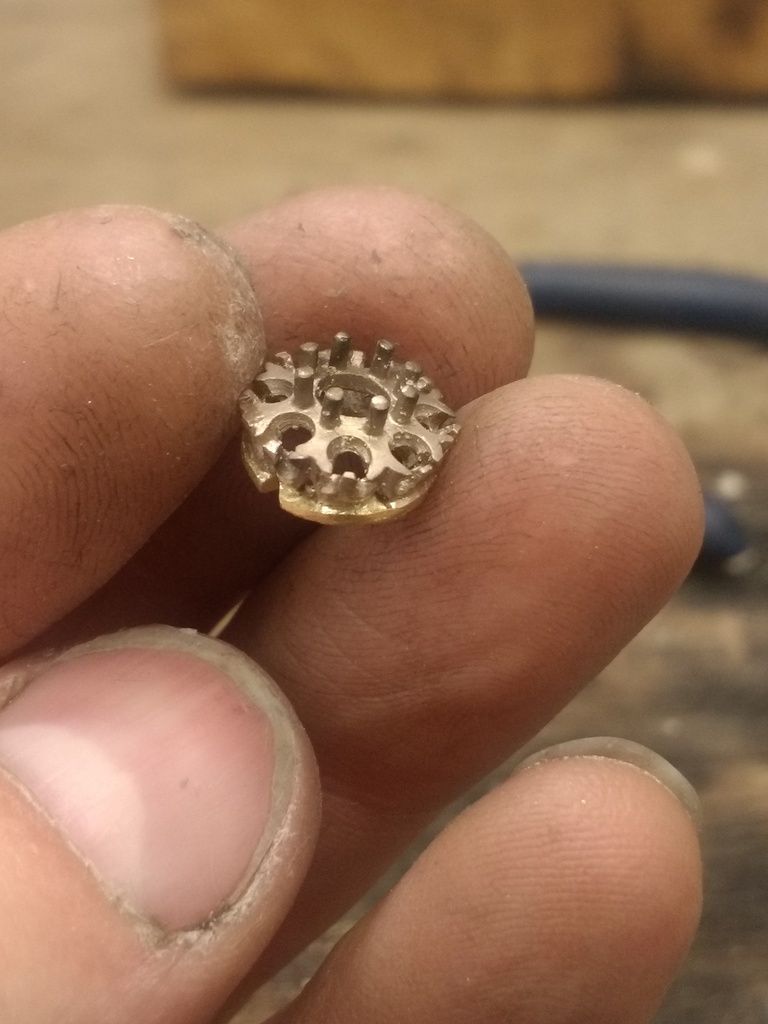
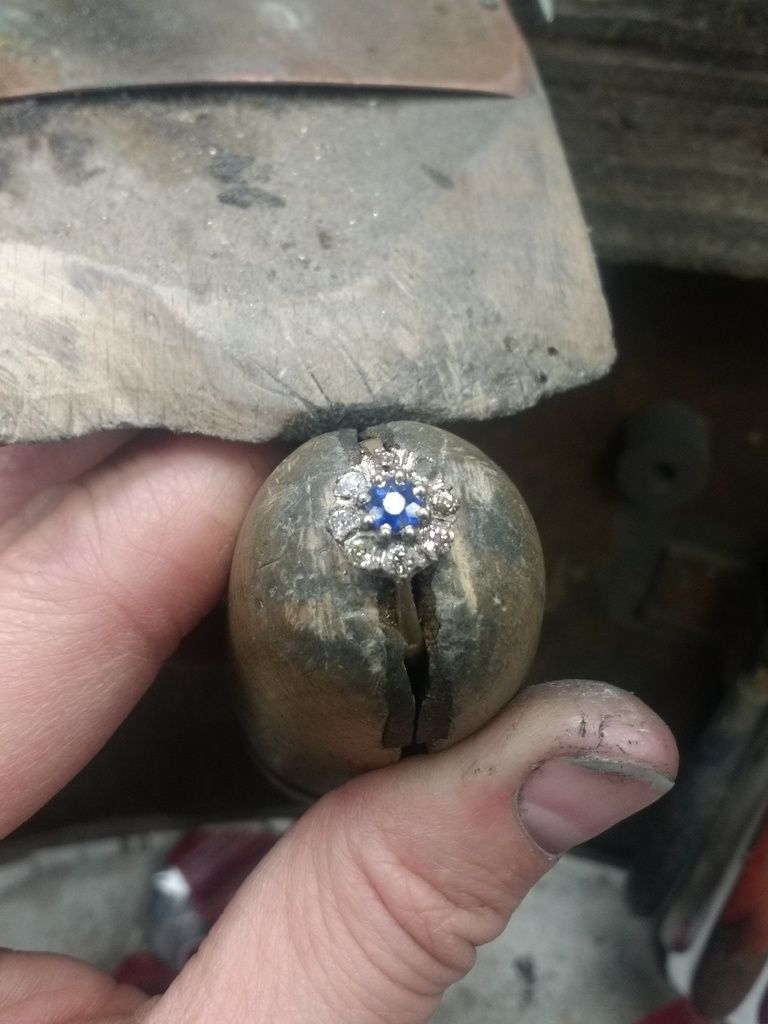
I also had a ring to make. I'd been given an old sapphire and diamond cluster to repair, but when we realised the old metals had seen better days we decided to make a new one. The customer (a trade one this time) bought a ready made top setting for me to use and I had to make the undersetting, shank and set the stones.
Some 18ct yellow gold was melted and turned into bar:
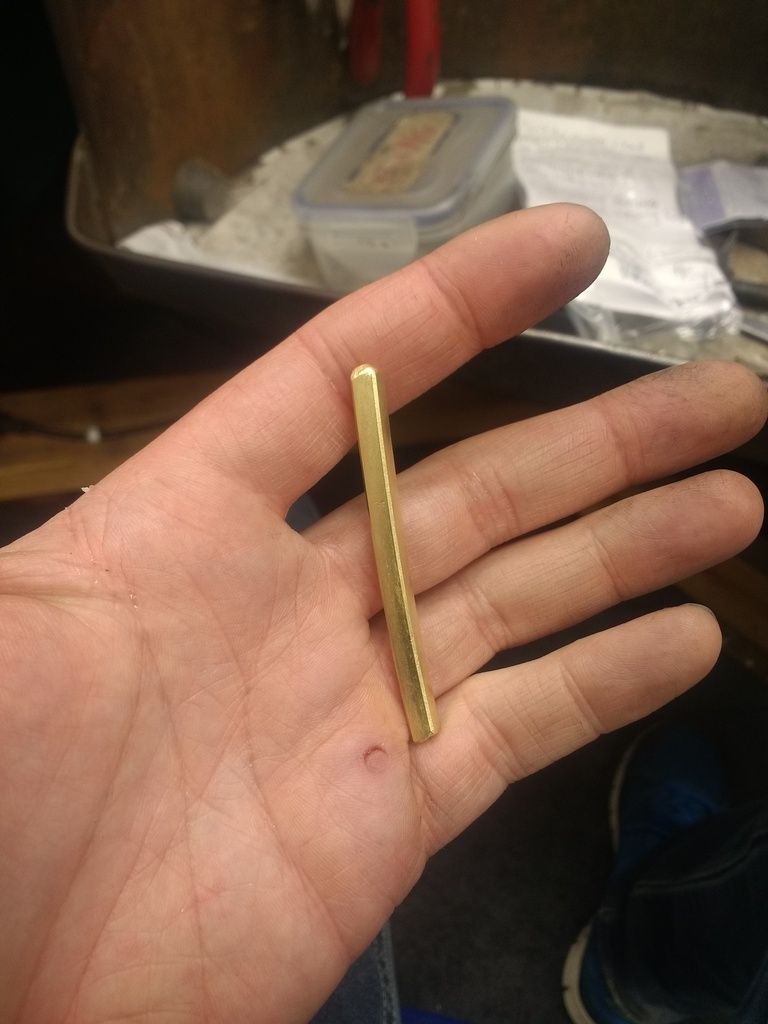
A section of bar is cut and then rolled out. That rolled out section is then curved and soldered to the underside of the new top setting:
I made a shank up with some more of the bar and soldered that on:
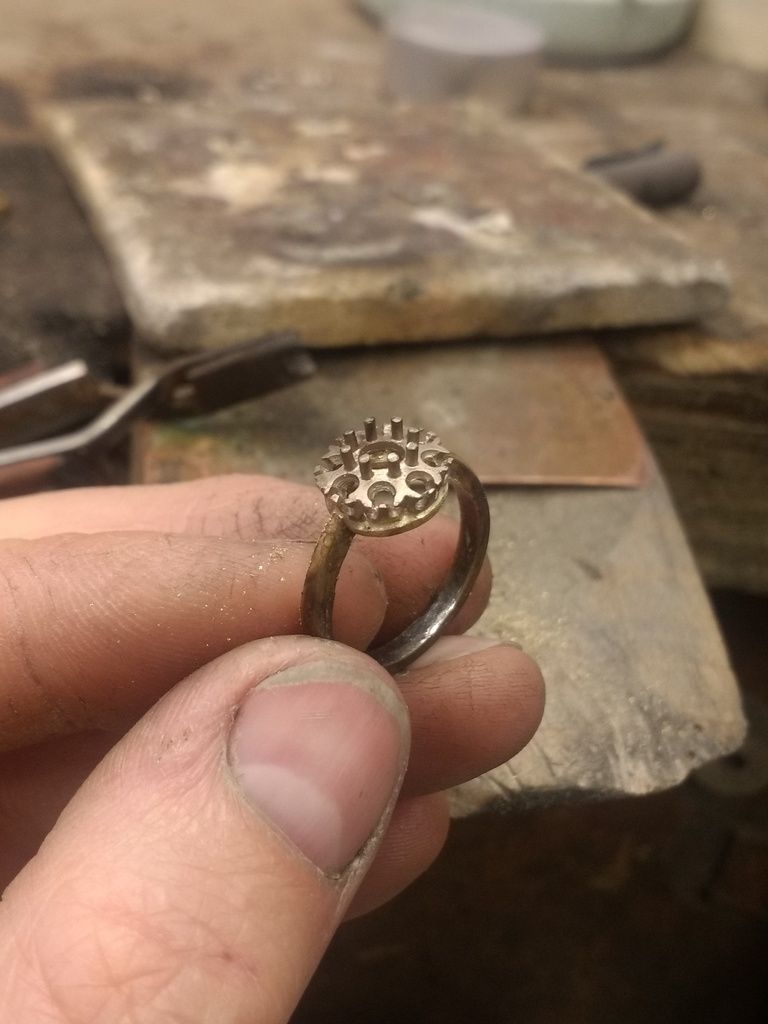
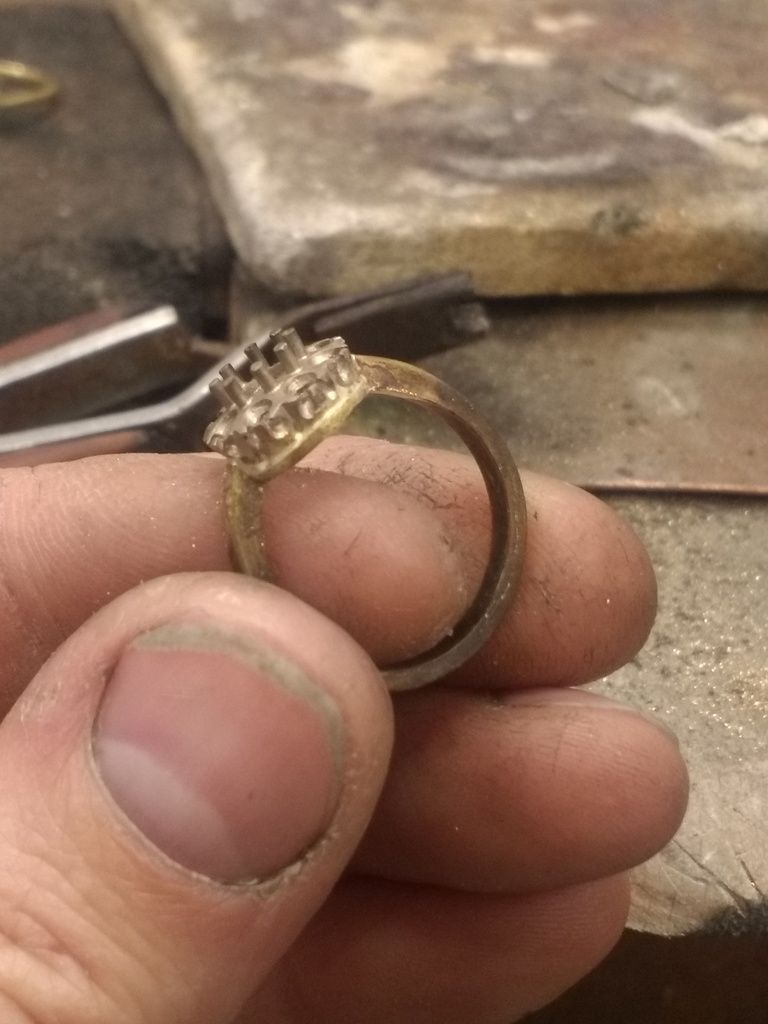
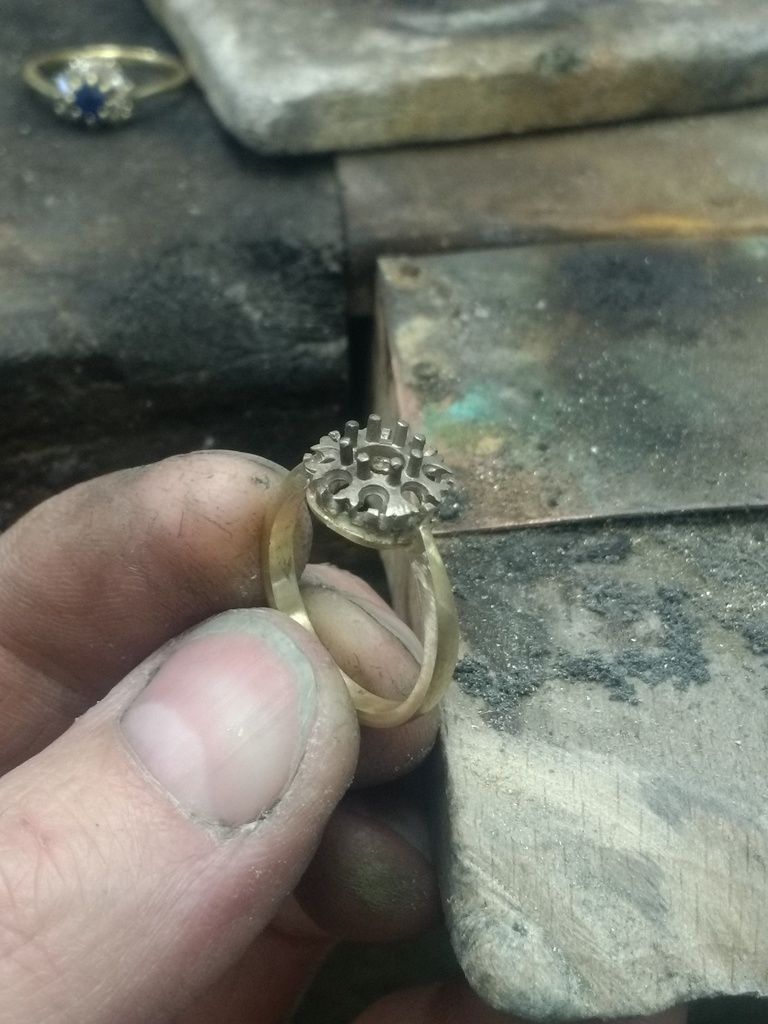
This is then given a bit of a clean up. Note the old ring in the background:
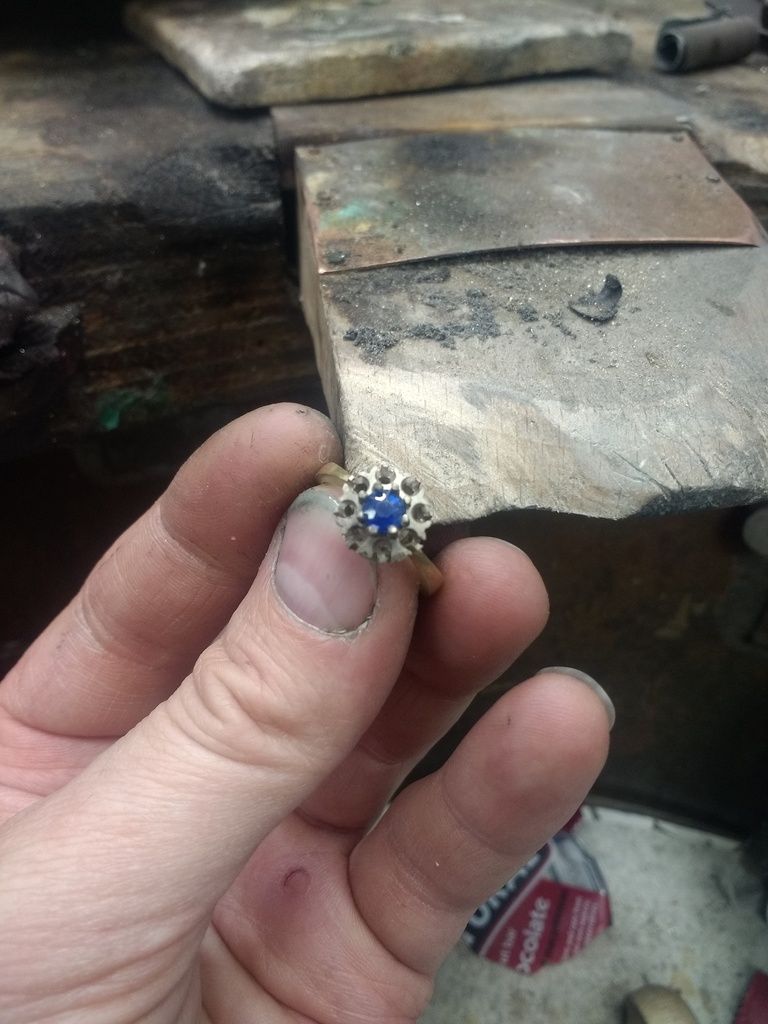
The centre stone is a nice blue sapphire. It's a little bit worn with it being old but it's a nice colour nonetheless:
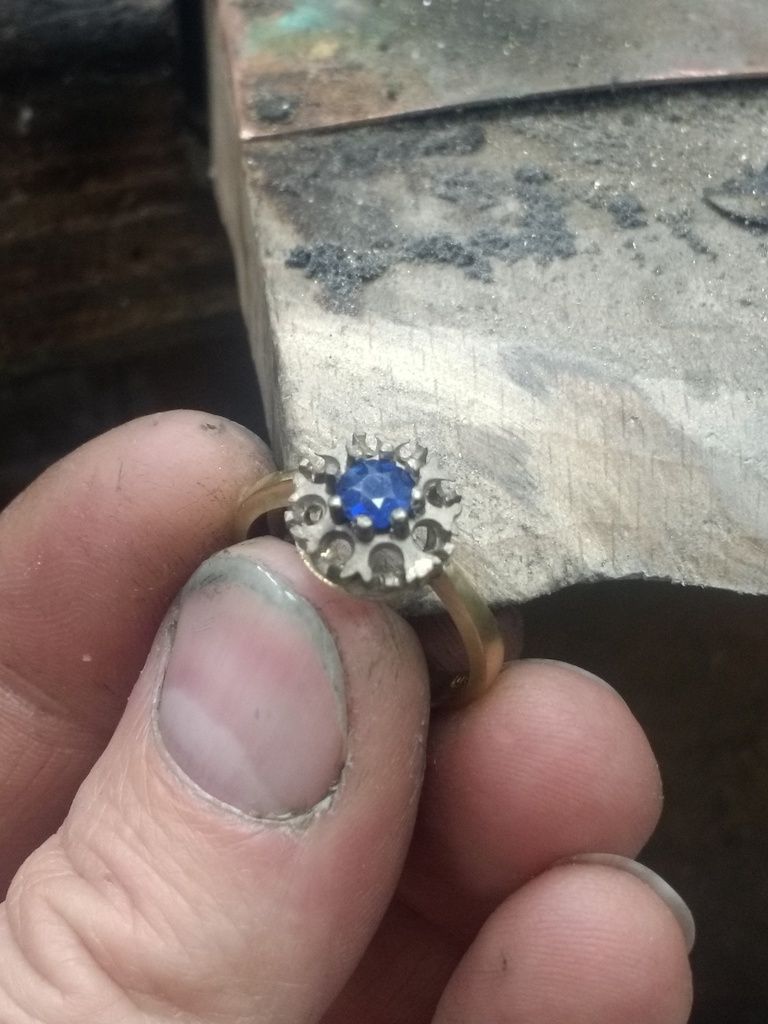
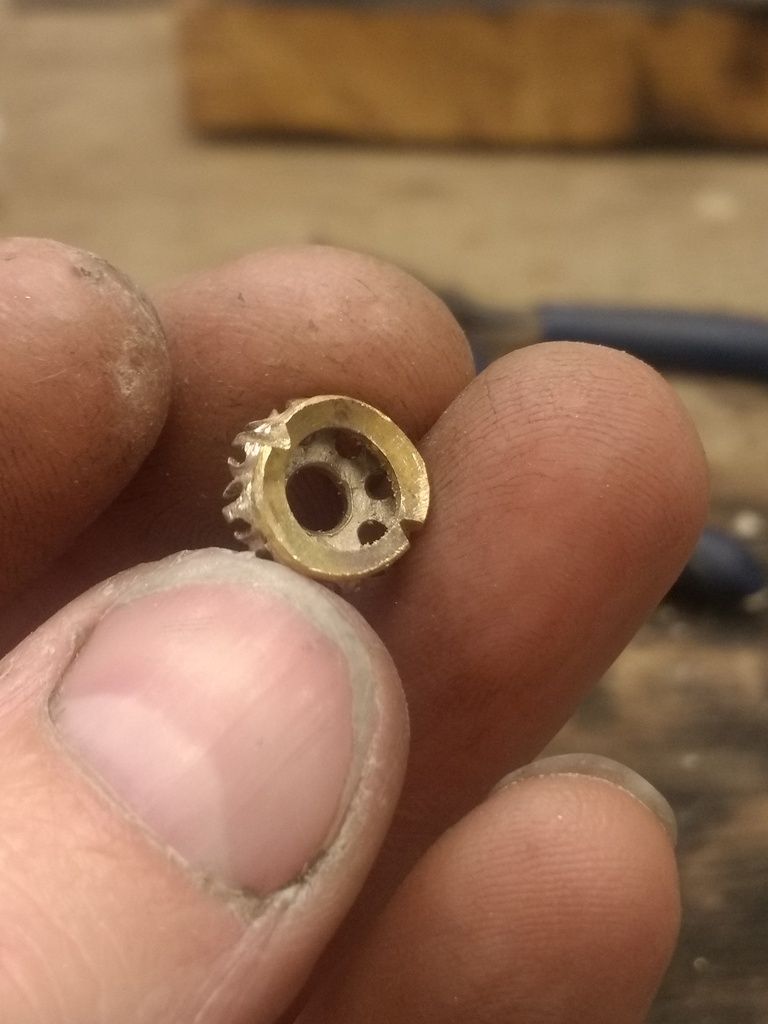
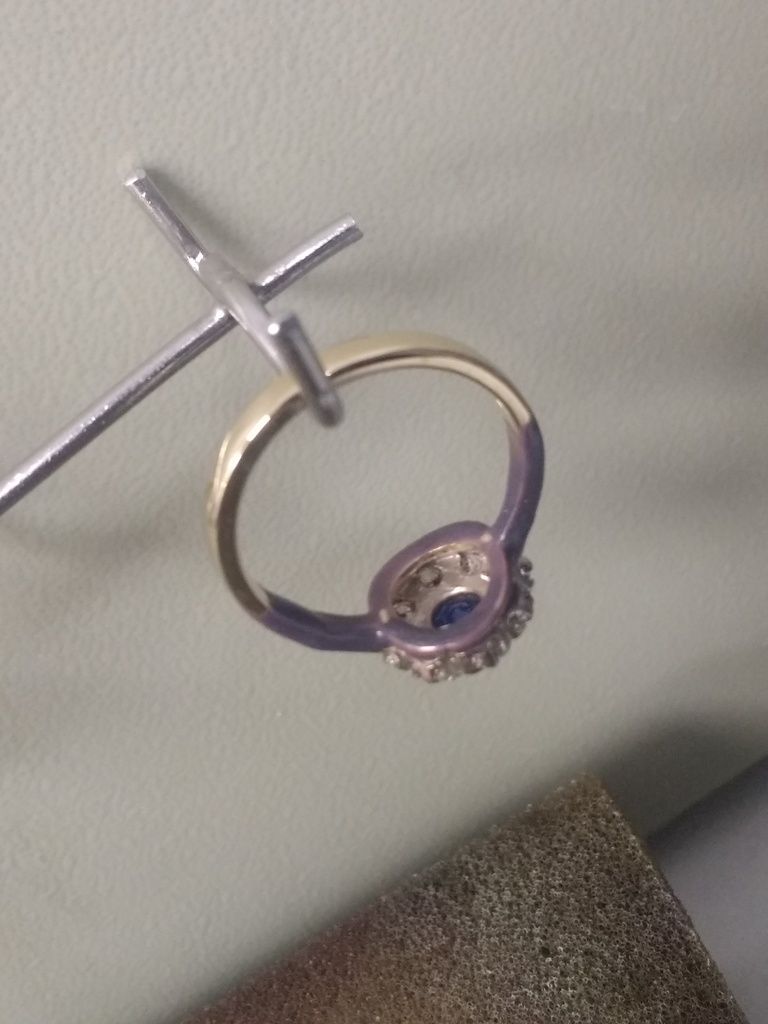
The ready cast head is a short cut on making my own but it still needs drilling to the correct dimensions etc. Here the sapphire claws are roughly pressed over:
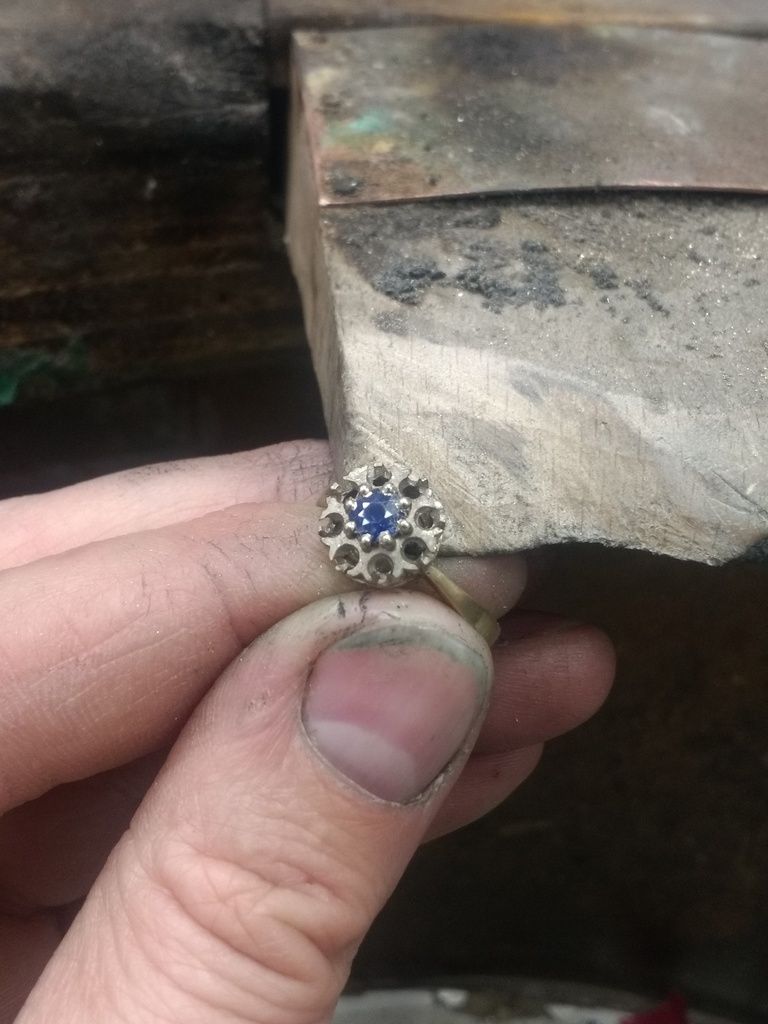
The old cut diamonds are irregular shapes so also need special care when drilling out the setting:
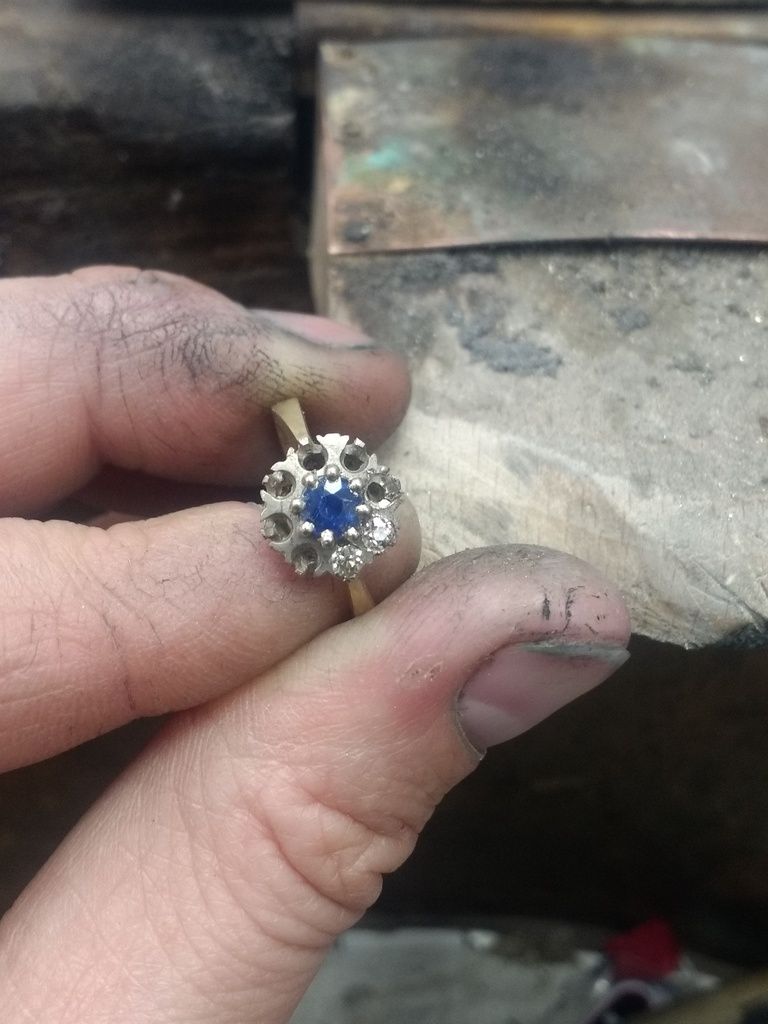
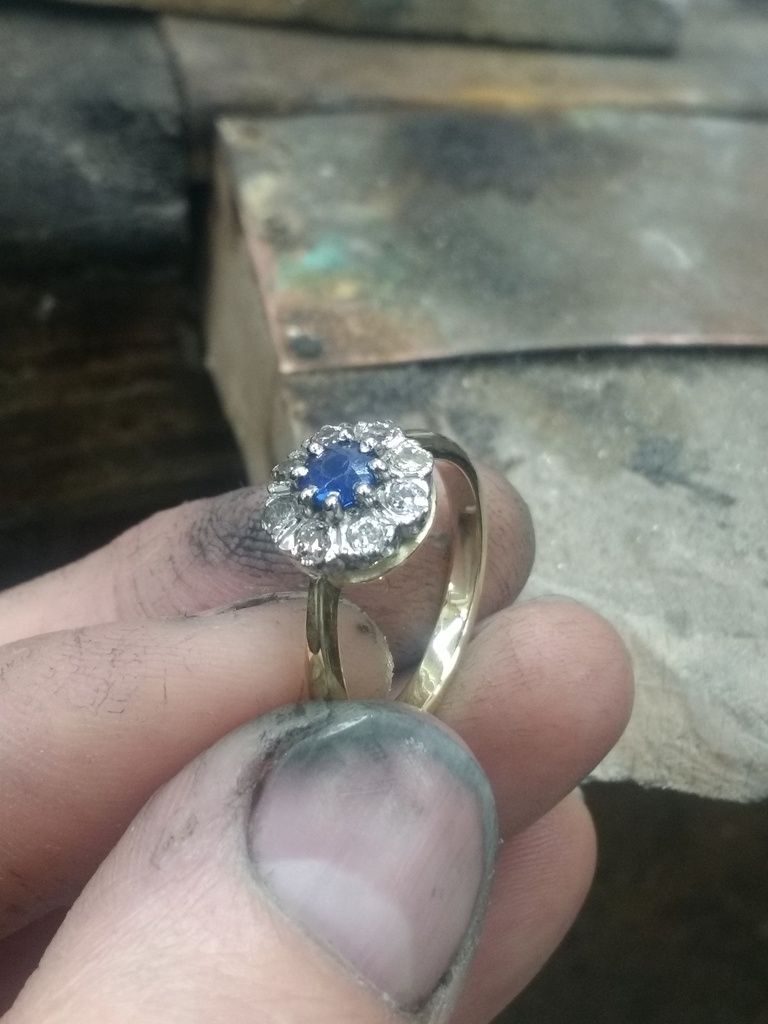
After some swearing they are in:
A bit of polishing later and it's all ready for plating:
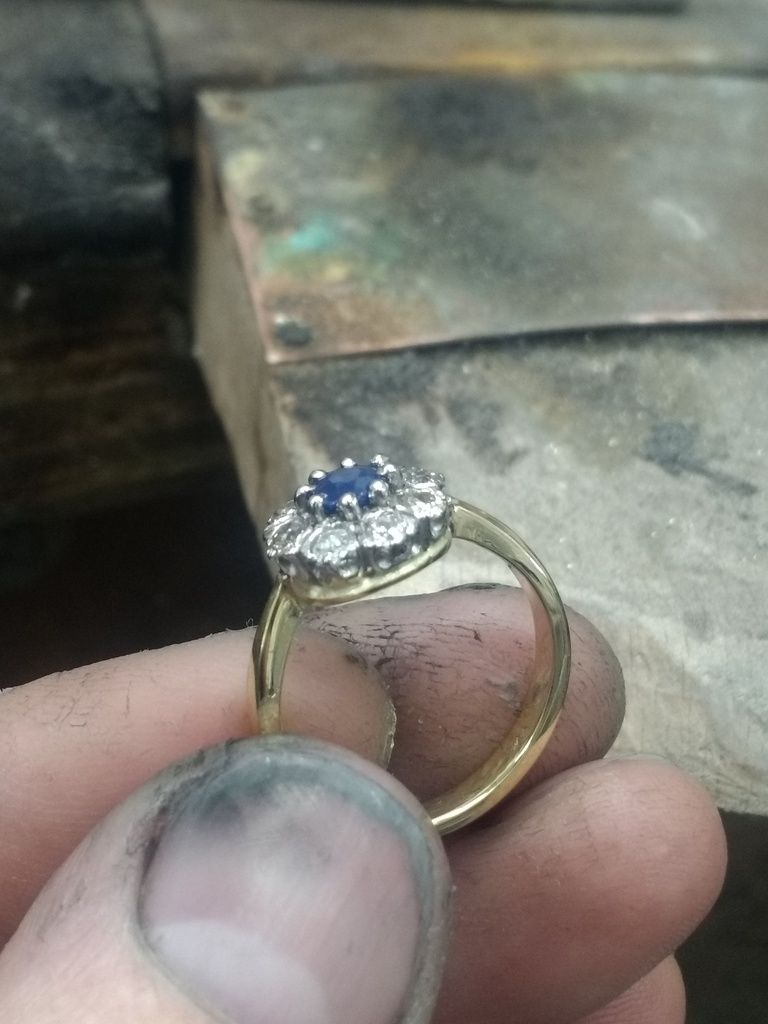
And all done: The claws need a tiny tidy but the job came out well:
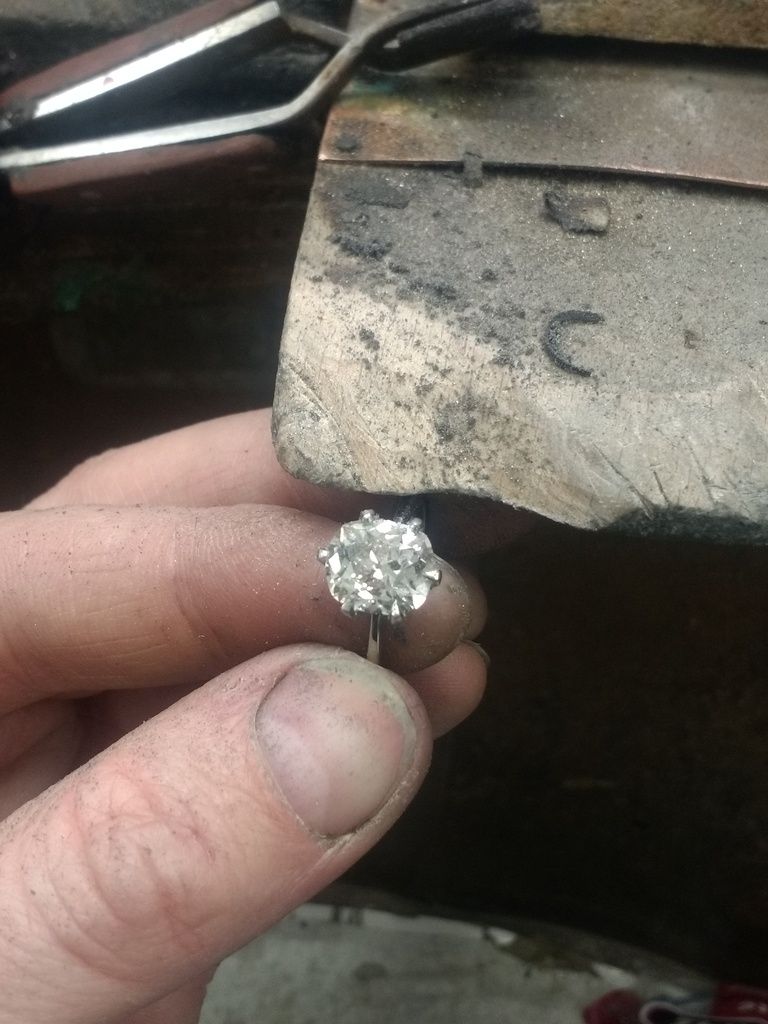
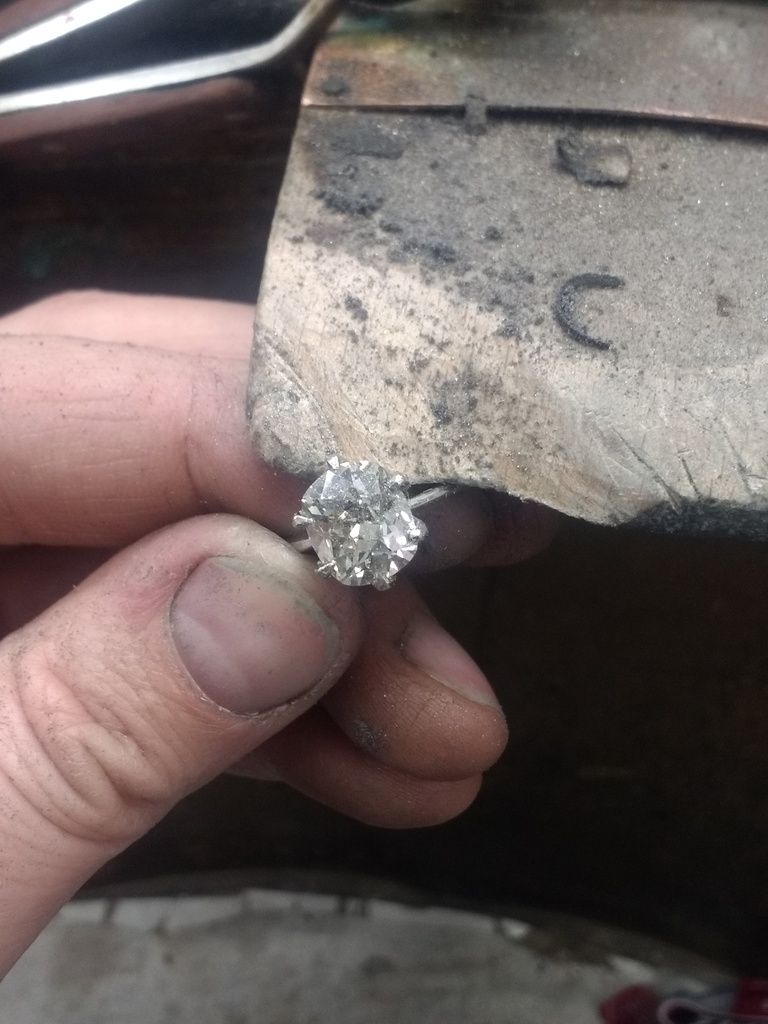
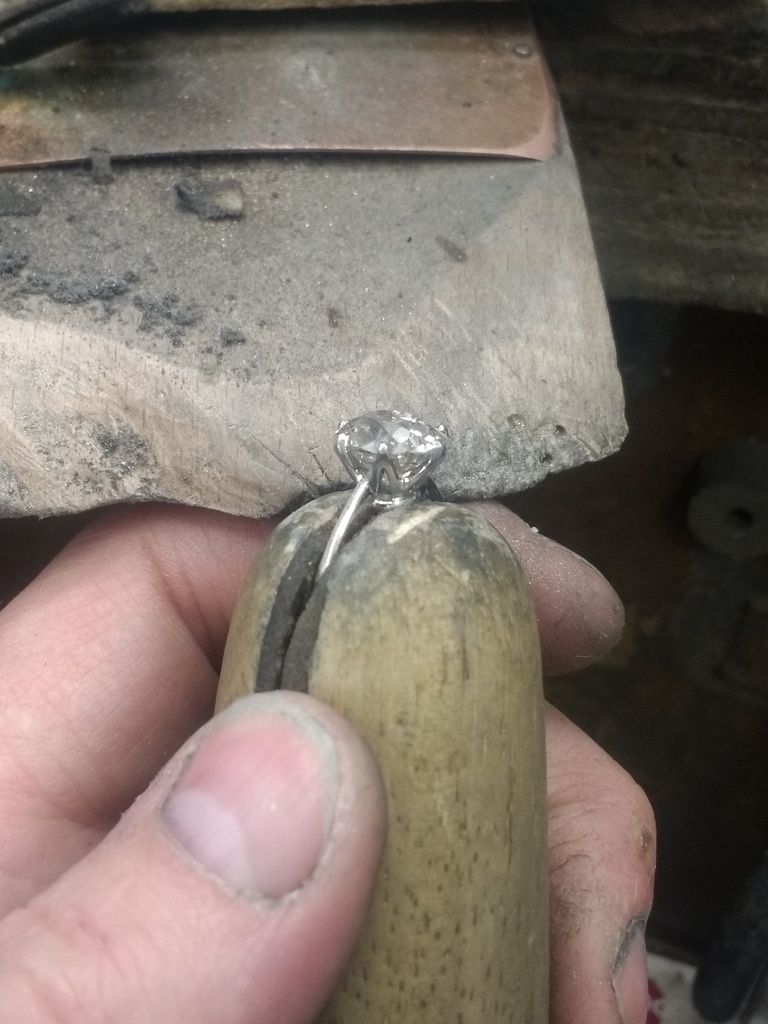
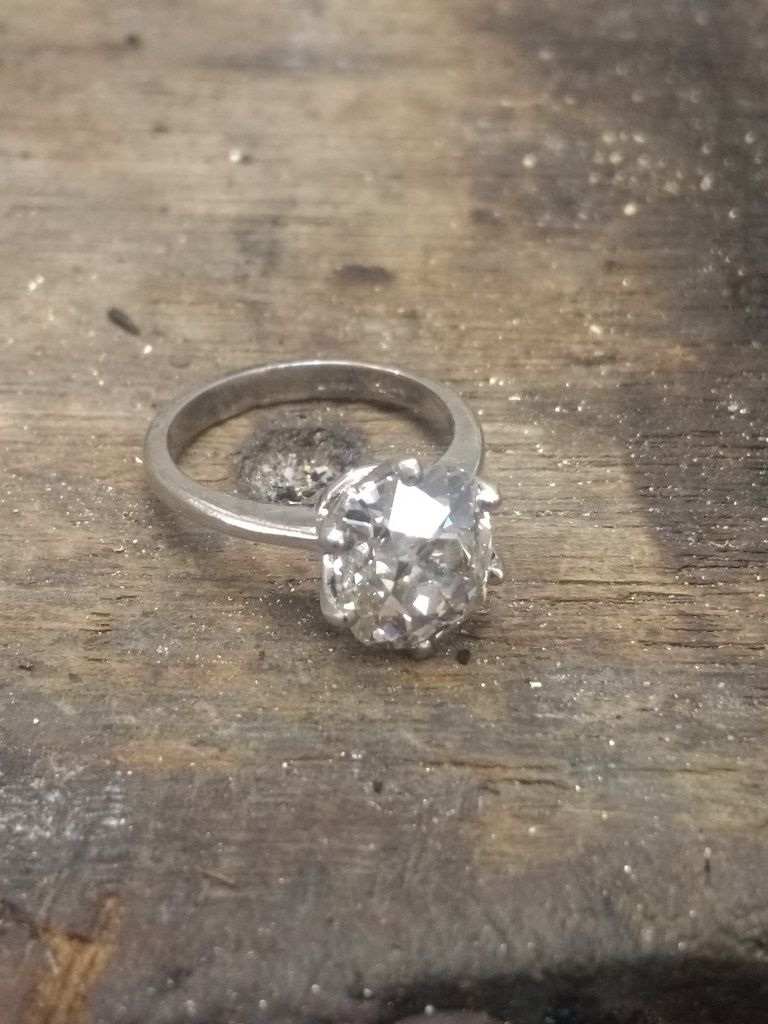
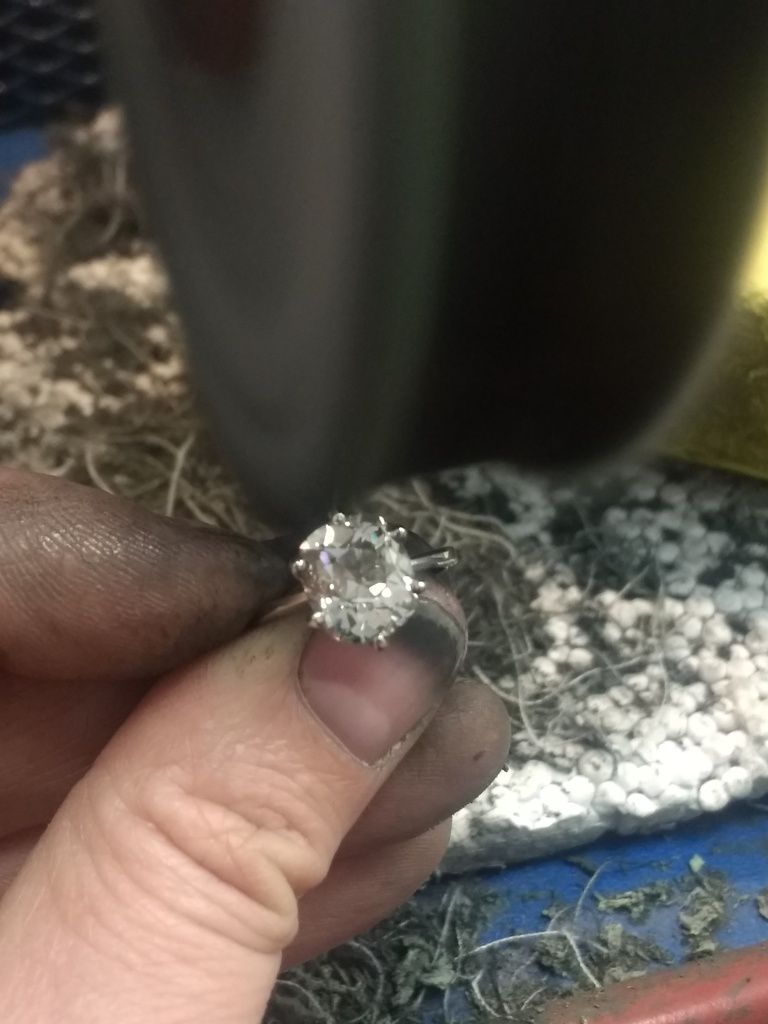
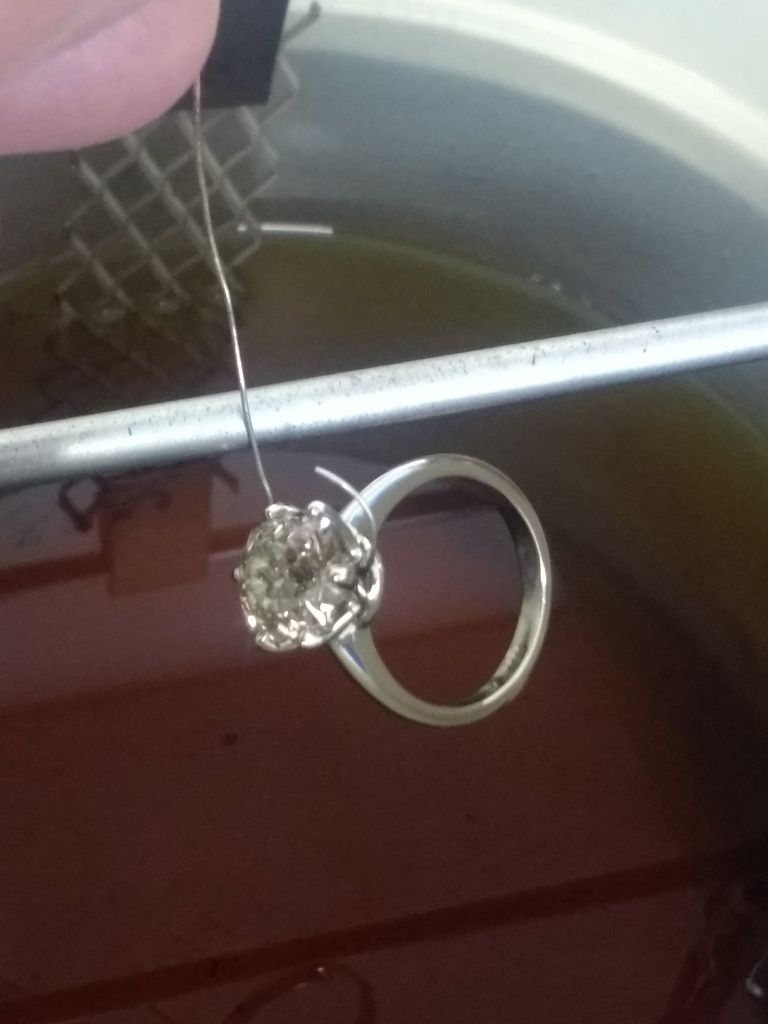
I've also been busy with getting some decent diamonds out the door. I sold a 3.8ct old cut last week and had sent it off for polishing before I set it into a new platinum mount. Setting stones of that size is a bit of a sweat as bigger stones are more at risk of breakage. Luckily this one was fine:

More to come tomorrow once the diamond turns up for the pendent.
The customer did pop in to collect another couple of minor bits and took the opportunity to see how it was all going. They wanted a little adjustment made to the positioning of the horns:
Old Position:

New Position:

So, while that job is off the bench I've been doing some other stuff....
First off I drilled my hand again, but with a tubular item. Glued the bit back in and all was well after a day or two:

I also had a ring to make. I'd been given an old sapphire and diamond cluster to repair, but when we realised the old metals had seen better days we decided to make a new one. The customer (a trade one this time) bought a ready made top setting for me to use and I had to make the undersetting, shank and set the stones.
Some 18ct yellow gold was melted and turned into bar:

A section of bar is cut and then rolled out. That rolled out section is then curved and soldered to the underside of the new top setting:


I made a shank up with some more of the bar and soldered that on:


This is then given a bit of a clean up. Note the old ring in the background:

The centre stone is a nice blue sapphire. It's a little bit worn with it being old but it's a nice colour nonetheless:


The ready cast head is a short cut on making my own but it still needs drilling to the correct dimensions etc. Here the sapphire claws are roughly pressed over:

The old cut diamonds are irregular shapes so also need special care when drilling out the setting:

After some swearing they are in:

A bit of polishing later and it's all ready for plating:


And all done: The claws need a tiny tidy but the job came out well:

I've also been busy with getting some decent diamonds out the door. I sold a 3.8ct old cut last week and had sent it off for polishing before I set it into a new platinum mount. Setting stones of that size is a bit of a sweat as bigger stones are more at risk of breakage. Luckily this one was fine:


More to come tomorrow once the diamond turns up for the pendent.
Edited by ecain63 on Thursday 18th May 21:48

 this thread
 Quite possibly the most anticlimactic end to a build, but here is the pendent as it comes to the end:
The old cut diamond has arrived so I fitted the setting that it will fit into:
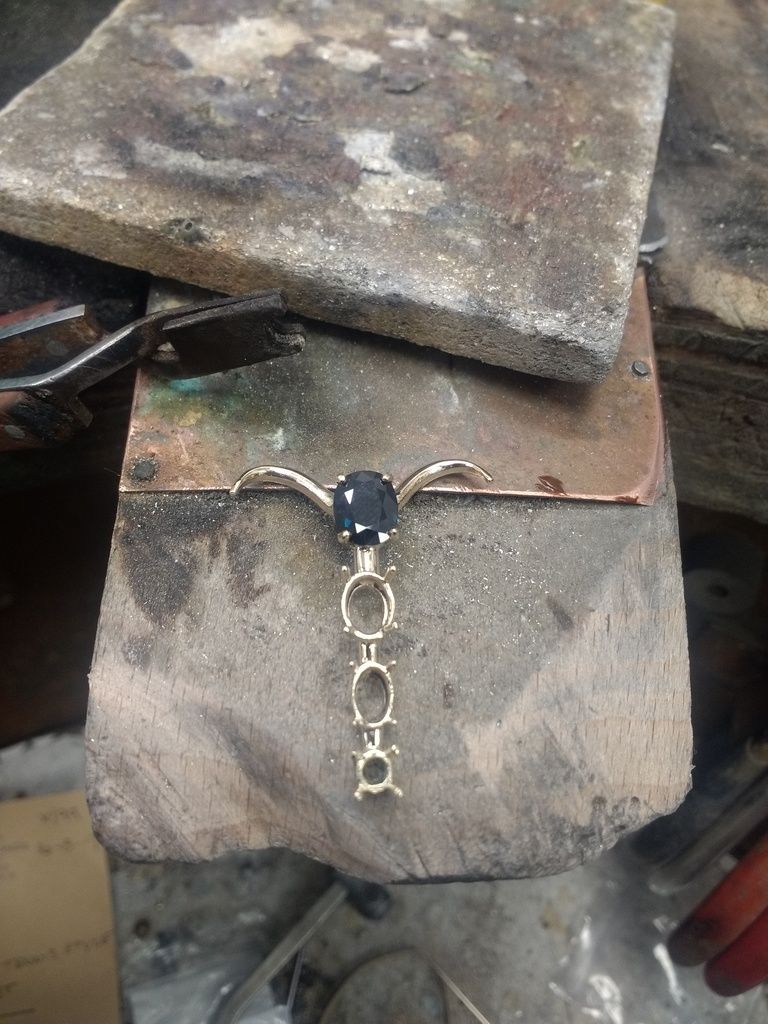
With the setting on the pendent mount gets a clean and a little polish. With that done the first sapphire goes in. The top is a dark Australian sapphire:
And the second, another Australian sapphire (I think the stones have sentimental meaning):
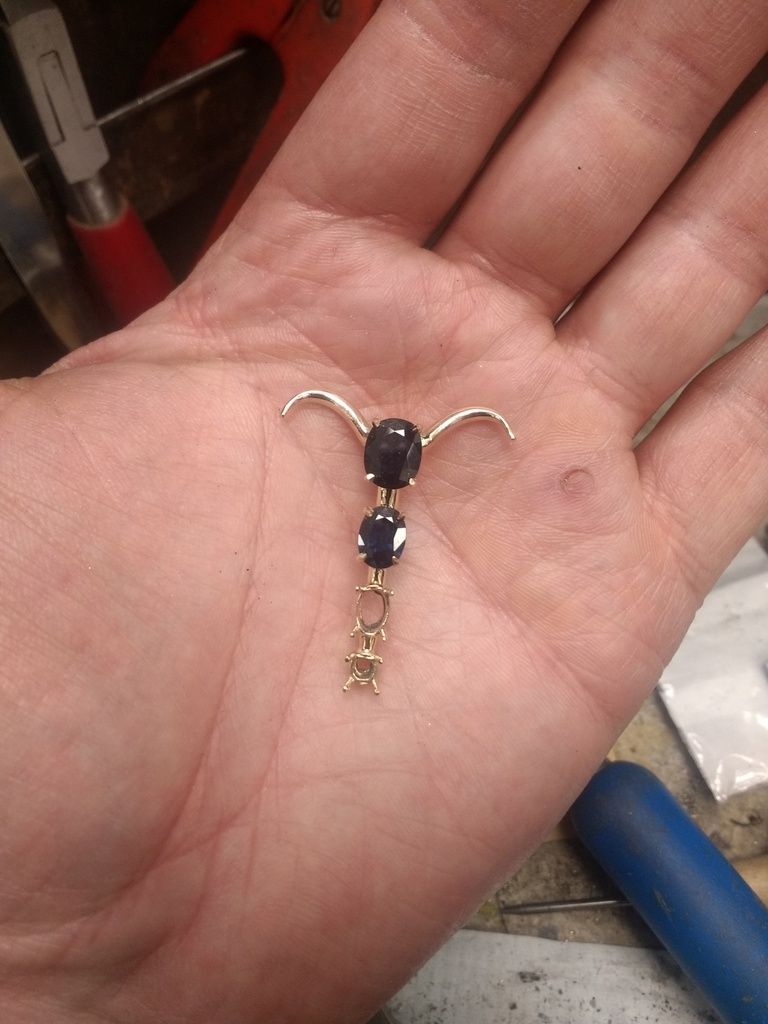
Number 3 isn't Australian and is more of a dark blue than the Australian Green/Blue:
And finally the diamond goes in. The stone weighs 0.41ct which is not insignificant:
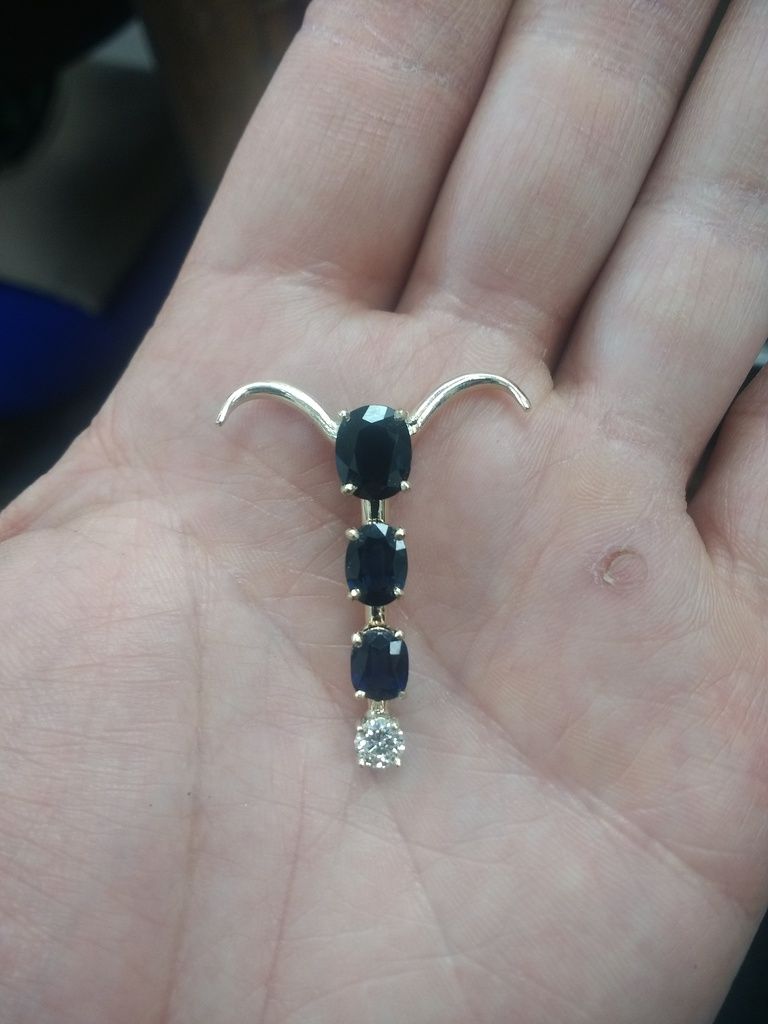
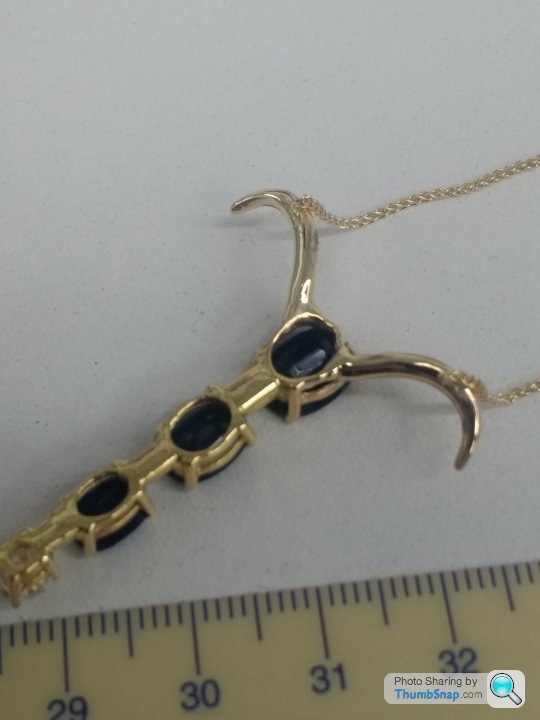
The stones are now in so I have to look at fitting a chain. 2 x small rings are fitted to the back of the horns. The pendent will be left in the cleaner overnight ready for me to fit the chain tomorrow,
Eddie
The old cut diamond has arrived so I fitted the setting that it will fit into:

With the setting on the pendent mount gets a clean and a little polish. With that done the first sapphire goes in. The top is a dark Australian sapphire:

And the second, another Australian sapphire (I think the stones have sentimental meaning):

Number 3 isn't Australian and is more of a dark blue than the Australian Green/Blue:

And finally the diamond goes in. The stone weighs 0.41ct which is not insignificant:

The stones are now in so I have to look at fitting a chain. 2 x small rings are fitted to the back of the horns. The pendent will be left in the cleaner overnight ready for me to fit the chain tomorrow,

Eddie

Little quickie for a return customer today.....
Spec: Rose / red gold court shape band. Size M. Orange stone to suit, on the INSIDE of the ring
I had some 9ct red gold in stock so we got on by firstly rolling it down to the correct gauge. 2mm deep by 3mm wide to allow for some fudge factor.
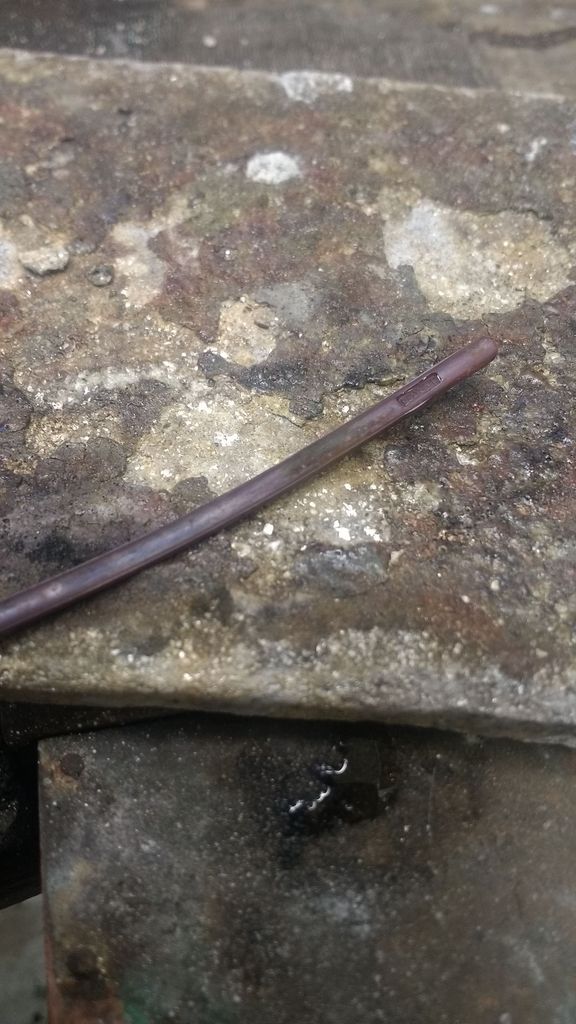
Because the stone is to be set on the inside of the band I can't make the band and then set it after. All the prep and guess work has to be done before we turn the metal to the correct shape. I start by drilling a hole to 3/4 depth on what will be the inside surface:
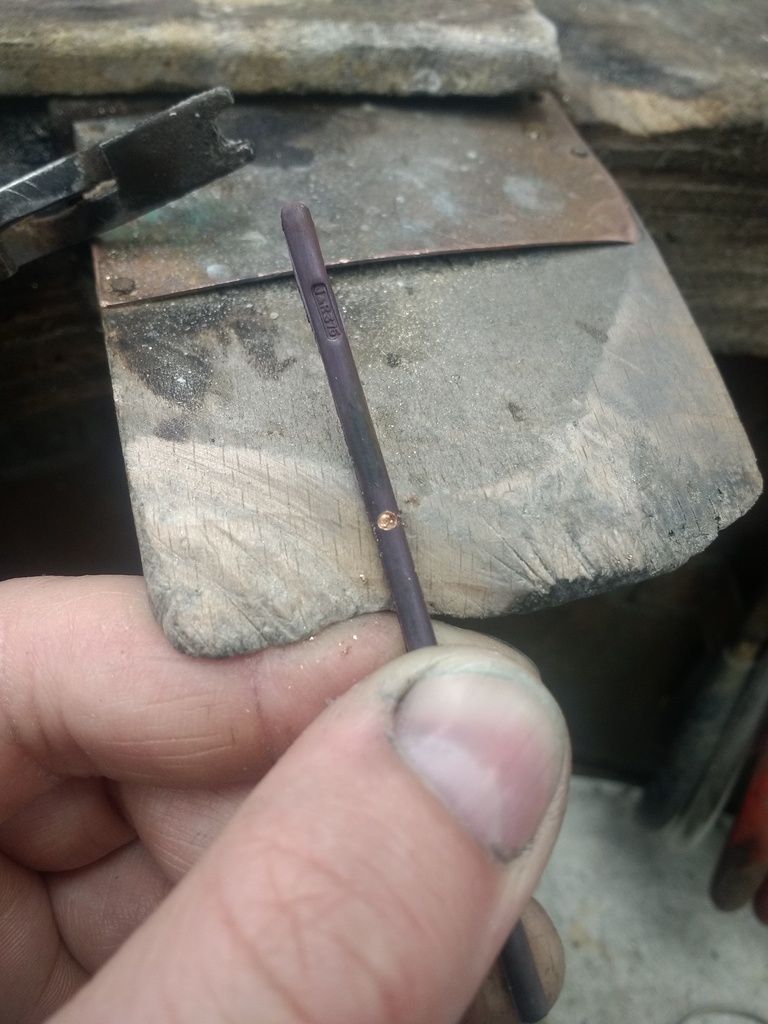
The hole is then widened and then made oval. I groove is then made on inner edge to keep the stone in place:
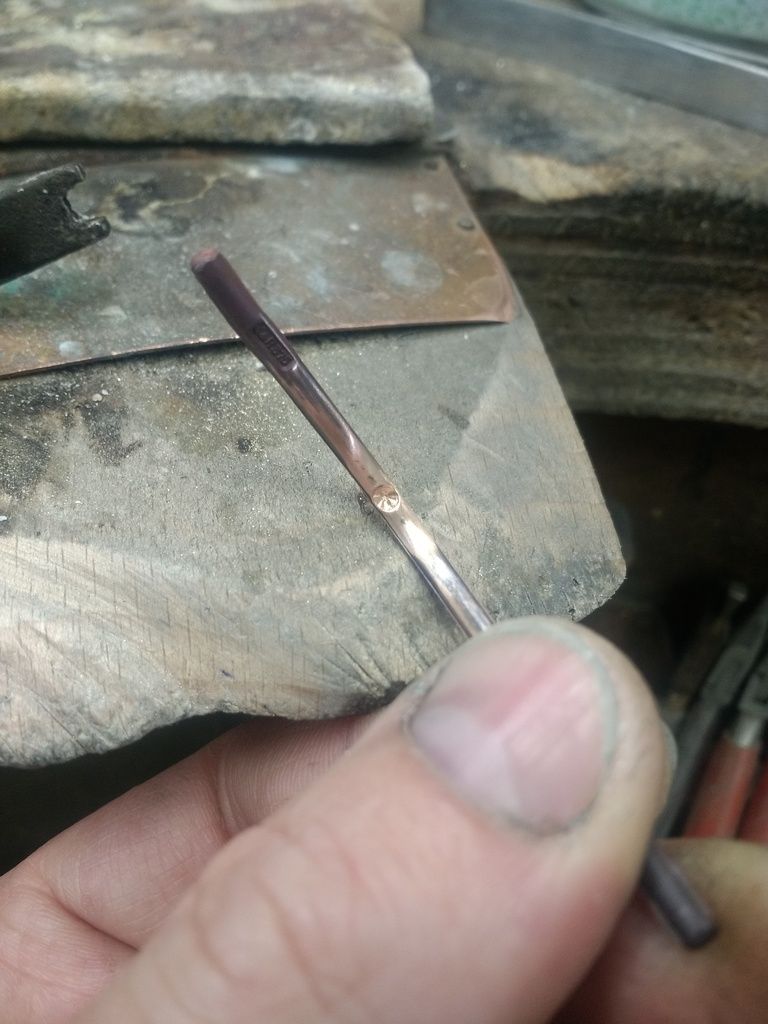
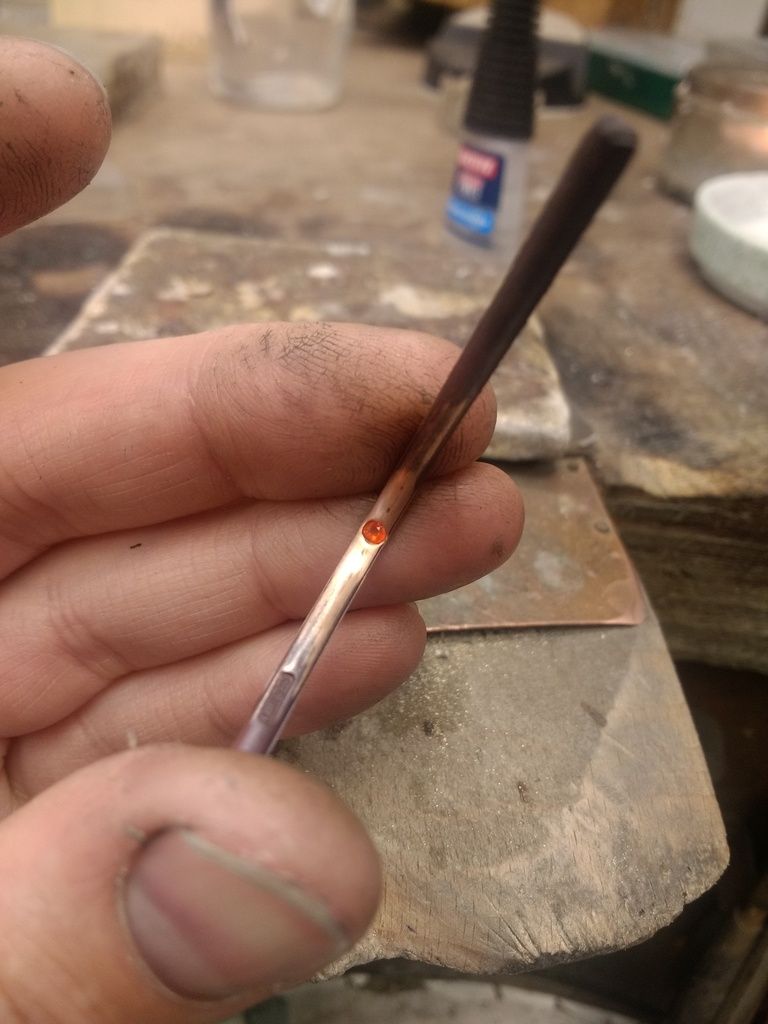
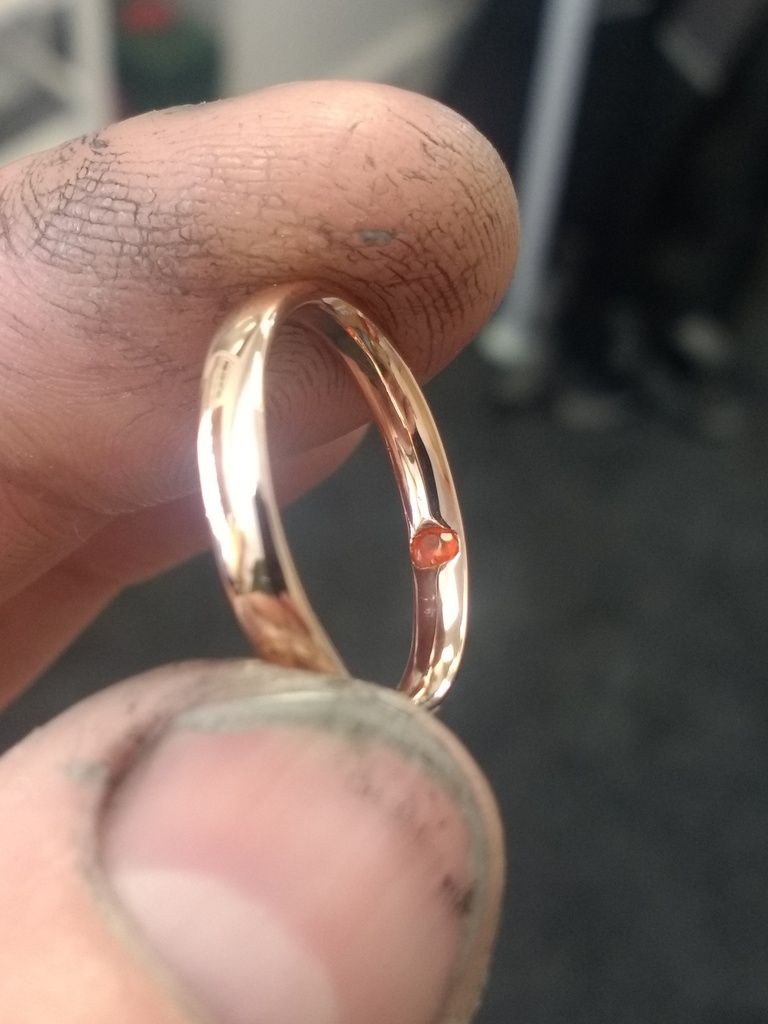
The most vivid orange at our disposal was in the form of a fire opal. I looked at orange sapphires, citrines and orange garnets but they all looked too pale or dull in the rose gold. The stone is laid in the hole to make sure it will sit right:
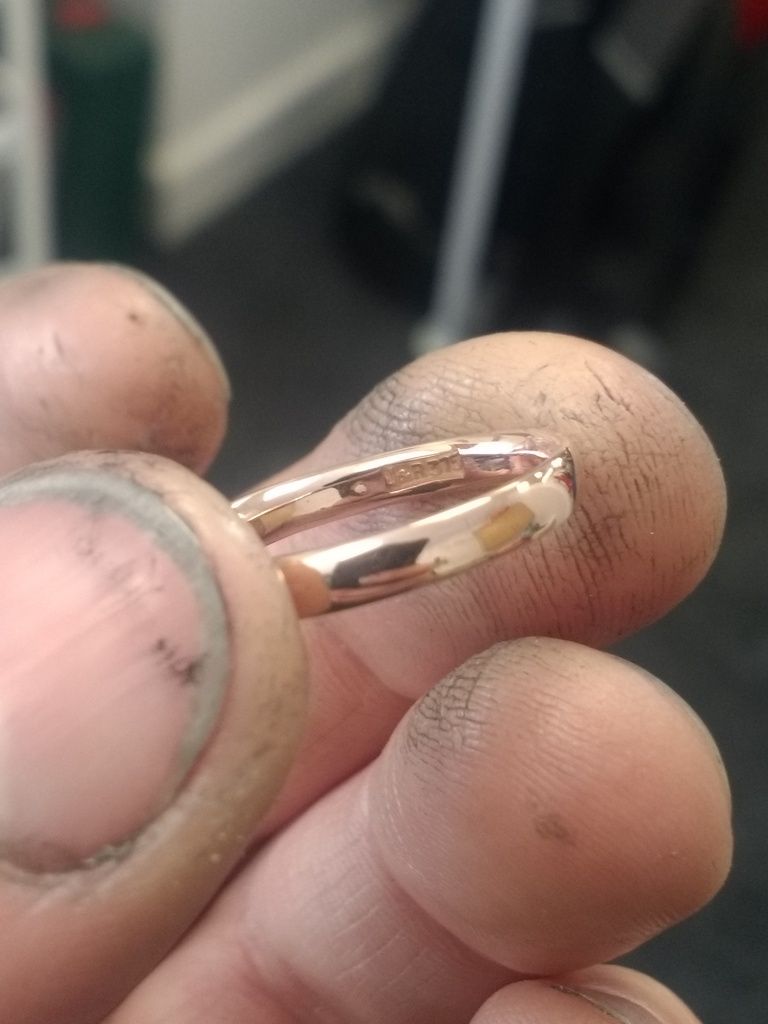
With the opal removed I turn the metal to make a circle (see egg shape) and then solder the joint. The ring was made to a size N 1/2 at this point:
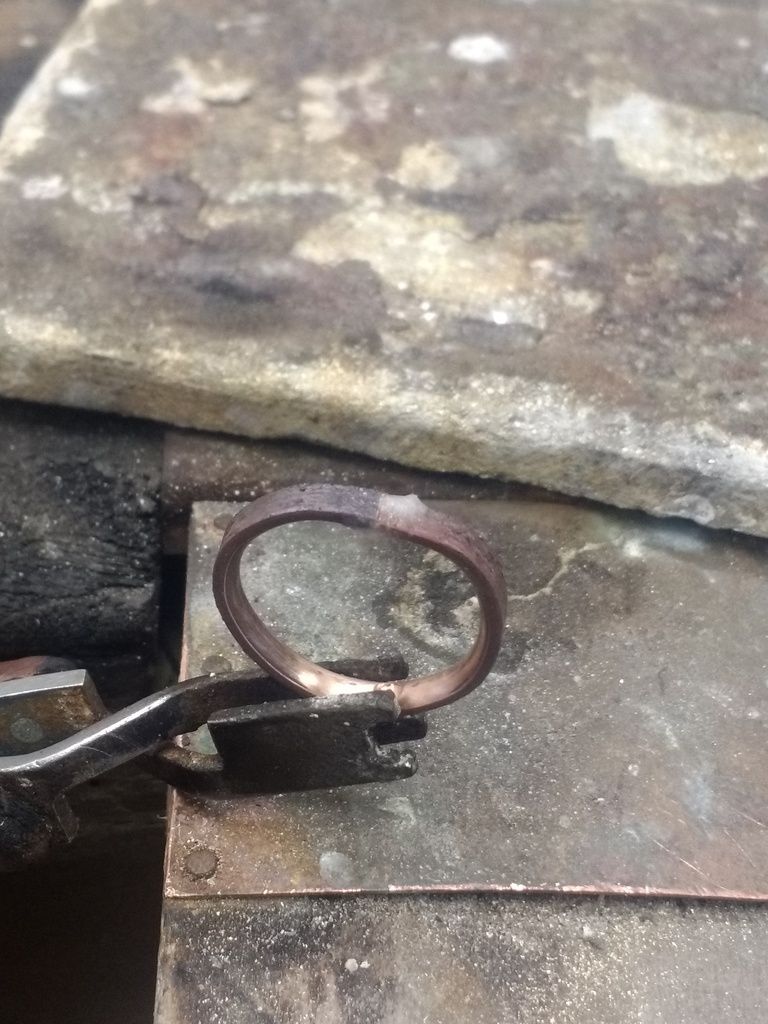
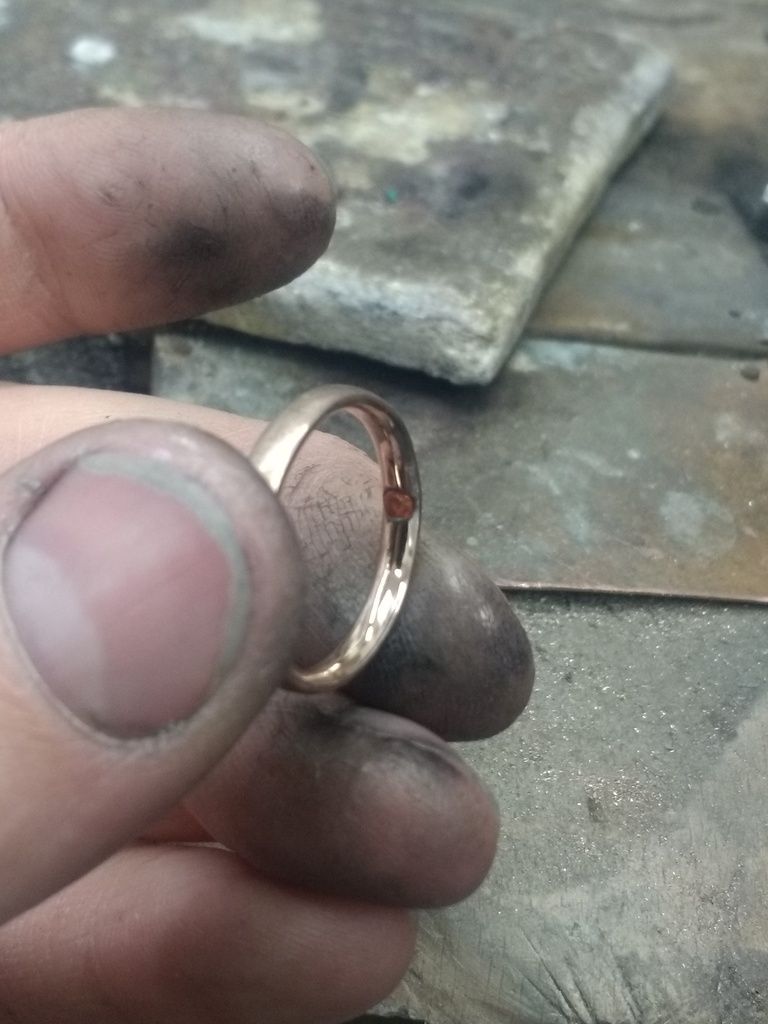
Once the ring is soldered the joint is cleaned up and the opal laid back in the hole. This is actually the first time I have attempted an opal set inside a ring, Being very easy to chip / smash I would normally avoid an opal but as its so vivid in its colour I have to at least give it a try. To close the setting over the stone the ring is very very cautiously compressed in a hydraulic press (the 1.5 size excess is now taken up). This squeezes the ring at its weakest point, which is the bored out setting. The groove I made earlier is pushed over the edge of the stone, hopefully without damaging the stone requiring me to start again. Luckily it worked
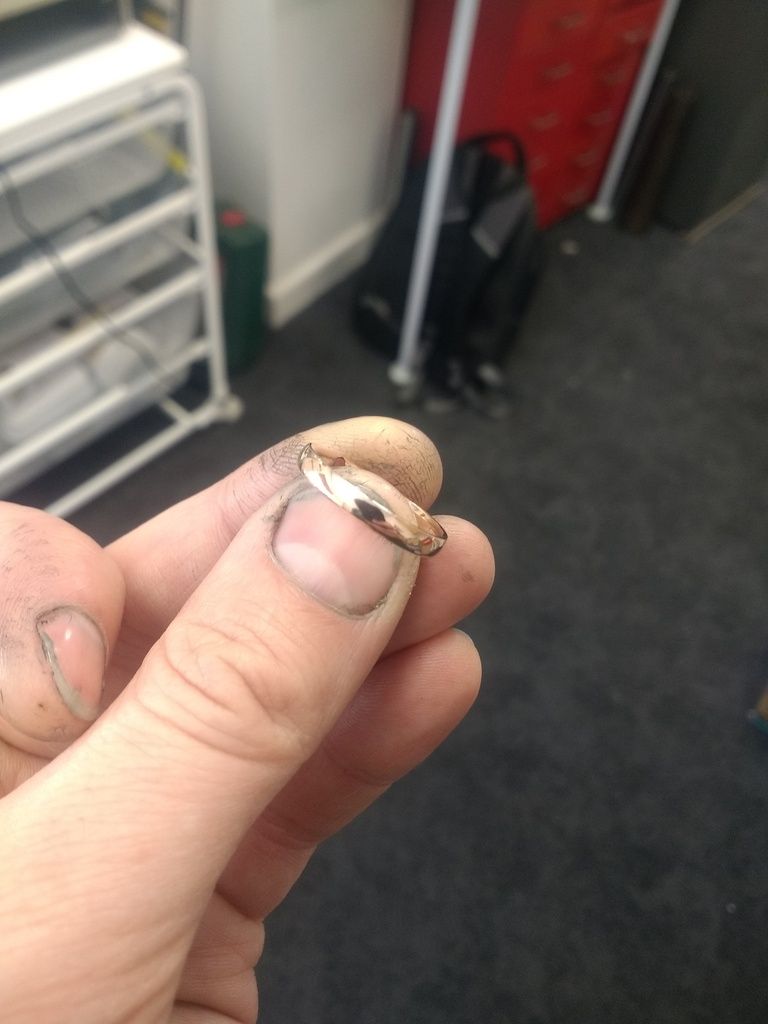
The ring was first made with a heavy D-shaped profile (rounded inside). This was to allow us some fudge factor in drilling and setting the stone. I now take off the corners and start to shape the outside face:
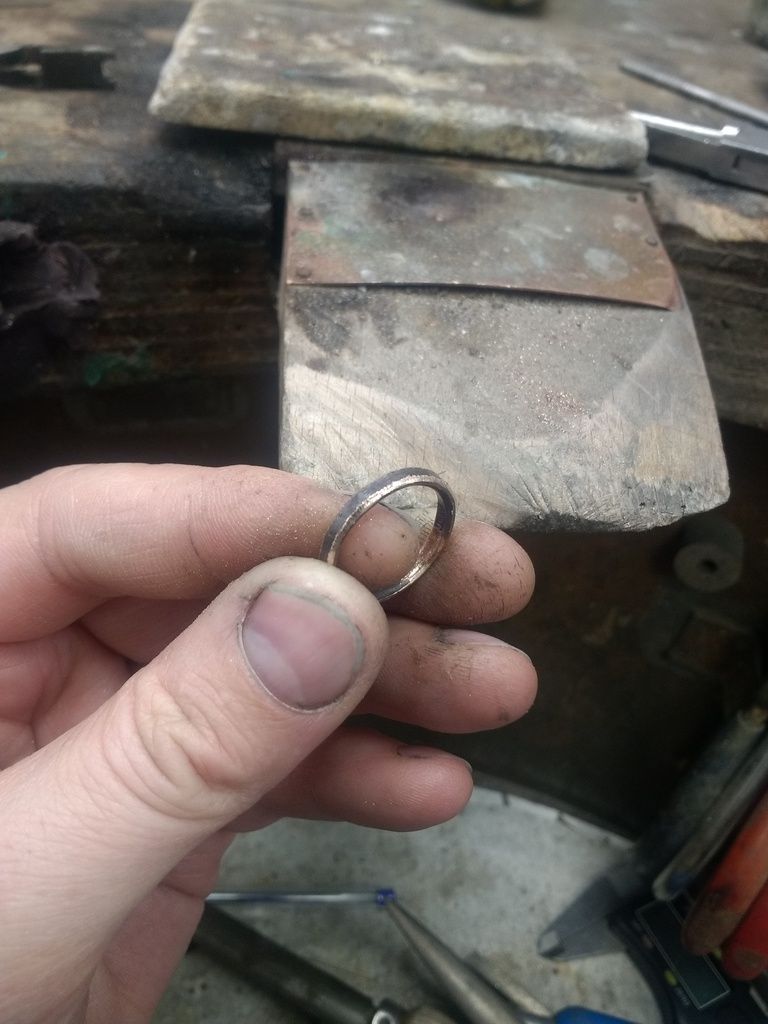
And now you can see it coming together:
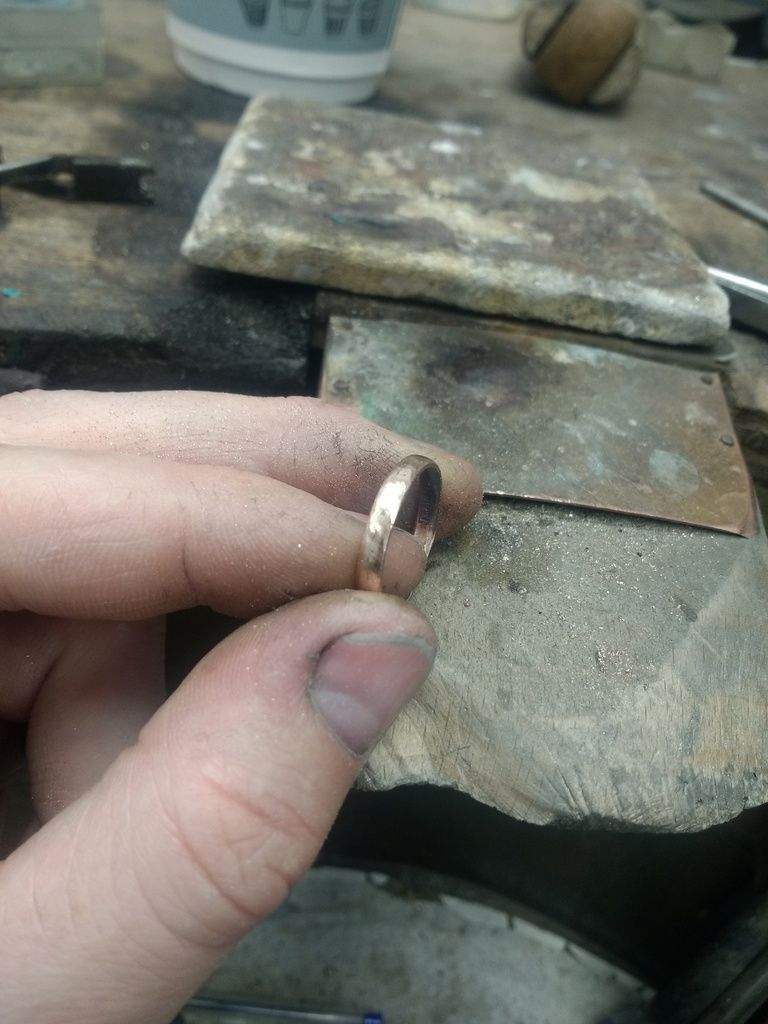
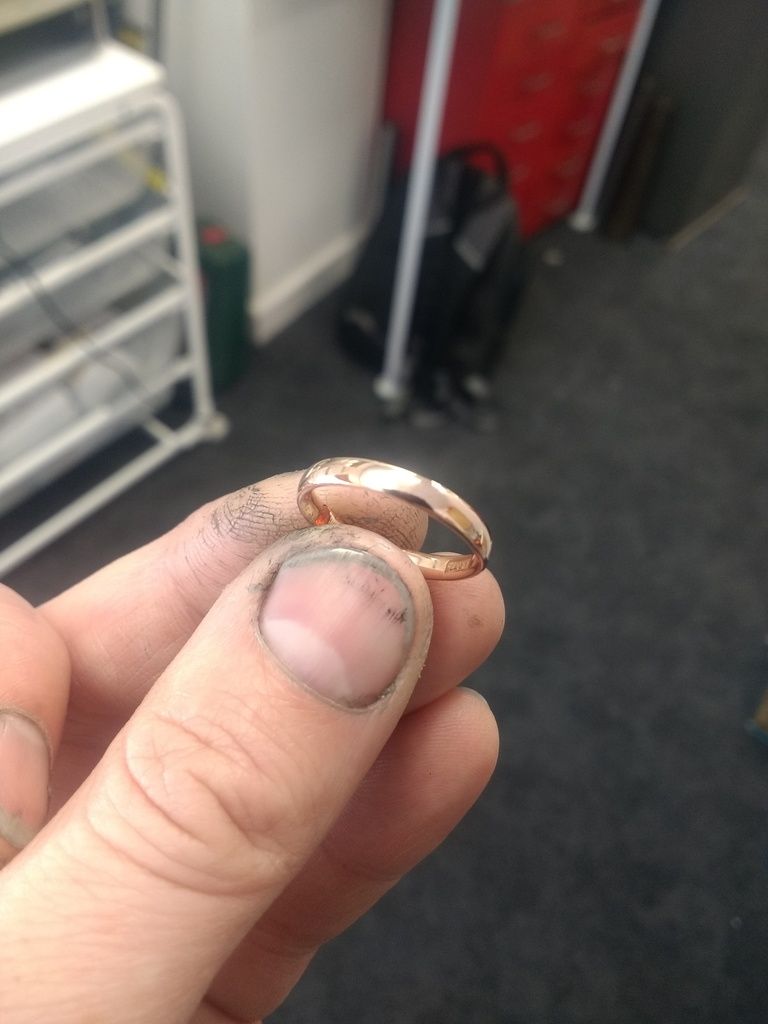
I then paper up / buff the ring getting it ready for polishing. The inside is given a preparatory polish with a hand mop to reduce the need to overheat the opal.
Some polishing and cleaning later and it's all done:
Enjoy the bank holiday
Spec: Rose / red gold court shape band. Size M. Orange stone to suit, on the INSIDE of the ring
I had some 9ct red gold in stock so we got on by firstly rolling it down to the correct gauge. 2mm deep by 3mm wide to allow for some fudge factor.

Because the stone is to be set on the inside of the band I can't make the band and then set it after. All the prep and guess work has to be done before we turn the metal to the correct shape. I start by drilling a hole to 3/4 depth on what will be the inside surface:

The hole is then widened and then made oval. I groove is then made on inner edge to keep the stone in place:

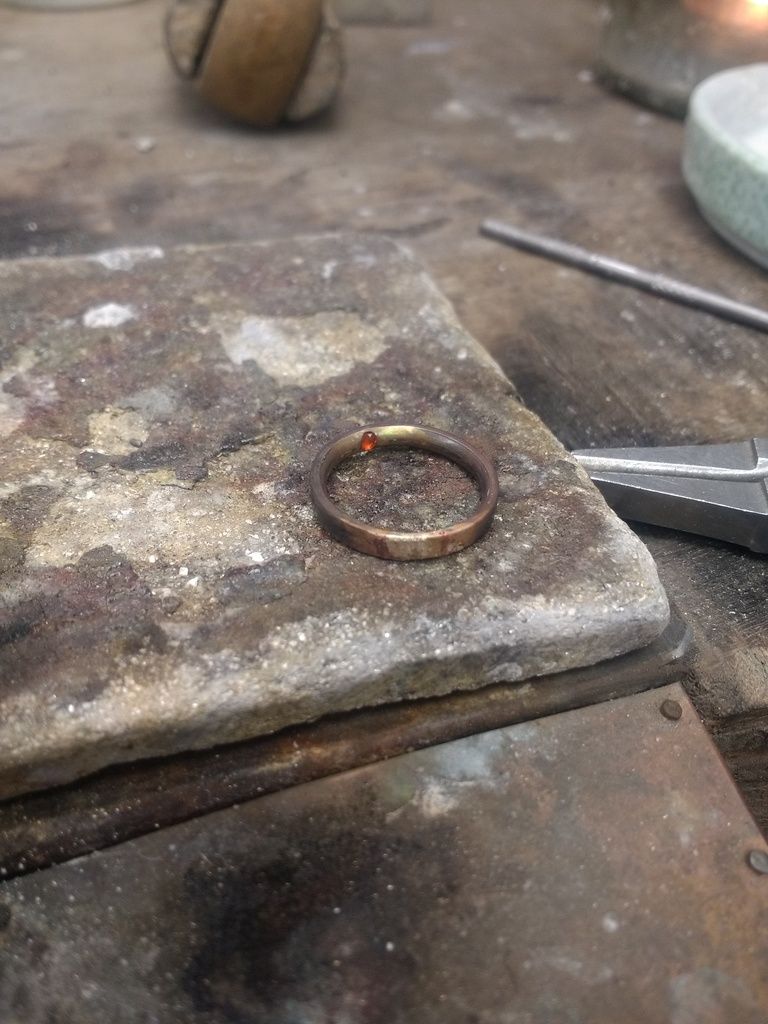
The most vivid orange at our disposal was in the form of a fire opal. I looked at orange sapphires, citrines and orange garnets but they all looked too pale or dull in the rose gold. The stone is laid in the hole to make sure it will sit right:

With the opal removed I turn the metal to make a circle (see egg shape) and then solder the joint. The ring was made to a size N 1/2 at this point:

Once the ring is soldered the joint is cleaned up and the opal laid back in the hole. This is actually the first time I have attempted an opal set inside a ring, Being very easy to chip / smash I would normally avoid an opal but as its so vivid in its colour I have to at least give it a try. To close the setting over the stone the ring is very very cautiously compressed in a hydraulic press (the 1.5 size excess is now taken up). This squeezes the ring at its weakest point, which is the bored out setting. The groove I made earlier is pushed over the edge of the stone, hopefully without damaging the stone requiring me to start again. Luckily it worked

The ring was first made with a heavy D-shaped profile (rounded inside). This was to allow us some fudge factor in drilling and setting the stone. I now take off the corners and start to shape the outside face:

And now you can see it coming together:

I then paper up / buff the ring getting it ready for polishing. The inside is given a preparatory polish with a hand mop to reduce the need to overheat the opal.

Some polishing and cleaning later and it's all done:


Enjoy the bank holiday
Edited by ecain63 on Friday 26th May 22:04
Gassing Station | Watches | Top of Page | What's New | My Stuff