Alternative Wet Weather Hood for Can Am
Discussion


I've designed and commissioned a local boat canvas/sail-maker to make and fit a vinyl soft top with side screens for my Can Am, as an alternative to the factory one. Nothing wrong with Ultima's own, which is excellent, but at a whisker under £5,500 inc. Vat fitted (as its apparently 45 hours labour to install, it is a lot to fork out. I particularly didn't want have to use the full GTR side windows either, as with the factory version, so my own one is an alternative, is considerably cheaper and best of all, retains the existing low door side screens. It should be pretty much watertight driving up to 60, perhaps 70, but I mainly wanted something that is quick and easy to take on/off and stows completely out of sight, either behind the passenger seat or in one of the side pods - something the factory one doesn't do. The final bill should be well under £1,000 fitted.
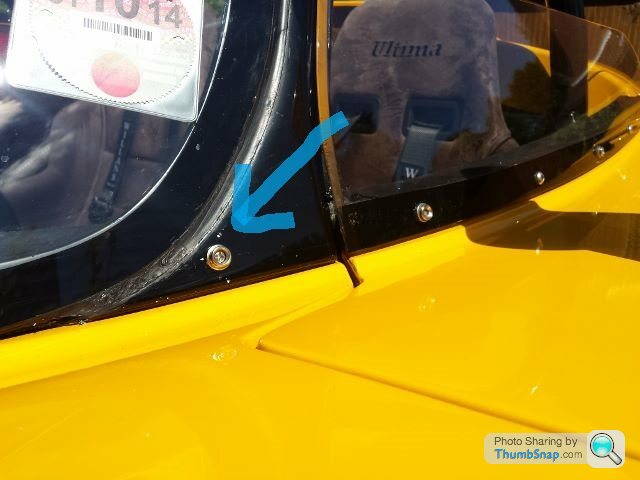
It does mean fitting popper studs along the top of the windscreen frame and one at the base of the A pillar, but these can be 'lost' fairly successfully to a certain extent by using a black permanent marker pen. Most of the time you wouldn't need to use the side screens, but even with them on, visability of the mirrors is not impaired. The doors open as normal with the hood up and you can fit the side screens once sat inside, by firstly poppering them to the existing popper studs on the low perspex side screens and then velcro'ing to the main hood.
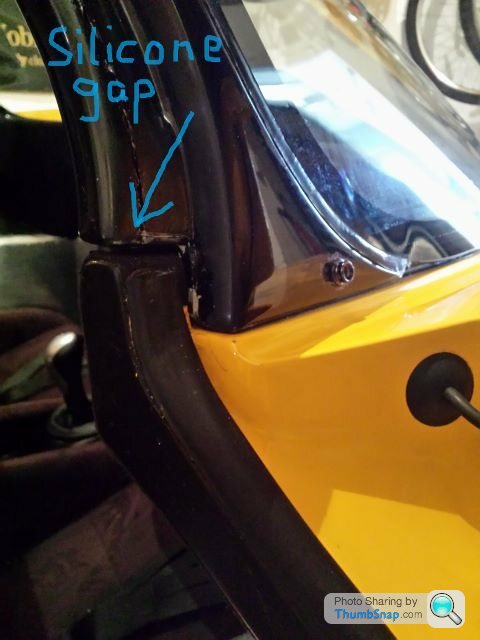
A basic template was made out of polythene to start with, taping it to the front screen, making various cuts and stretching it over the roll bar and down to the bulkhead just below the rear clam. A marker pen was then used to mark the shape and stitch lines. The poppers to the front screen were set back to allow the hood to sit just below the highest point and to act as a water channel. The very side edges of base of the front screen will need a small amount of silicone to close the 35mm gap along the base of its A pillar and the car body, just above the rubber to stop any water ingress to the corner of the dash.
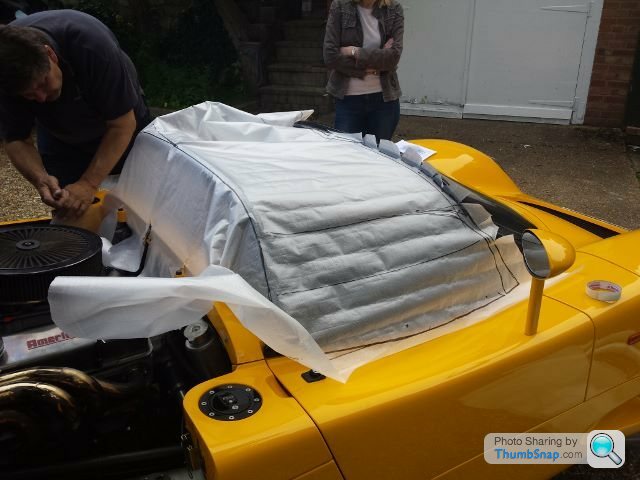
The rear of the hood is fiited to two existing popper studs either side of the bulkhead under the clam, with two more being fitted just either side of the clam central catch.
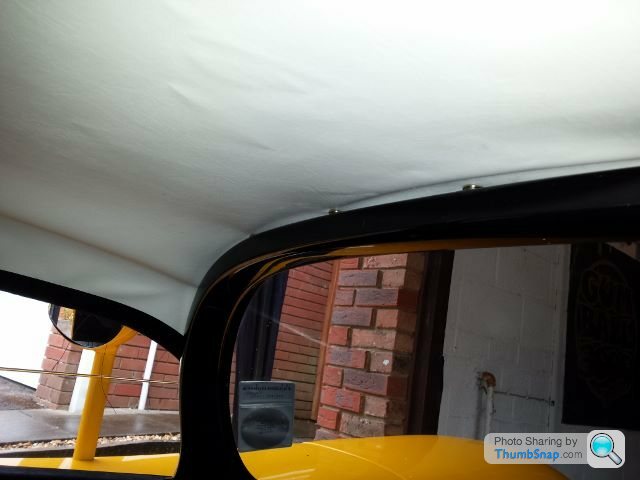
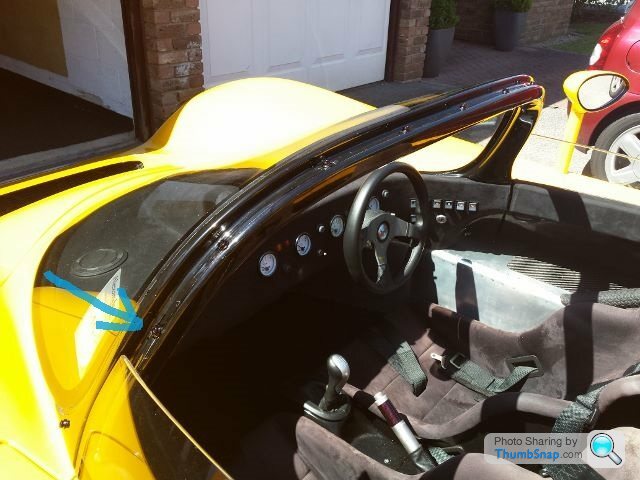
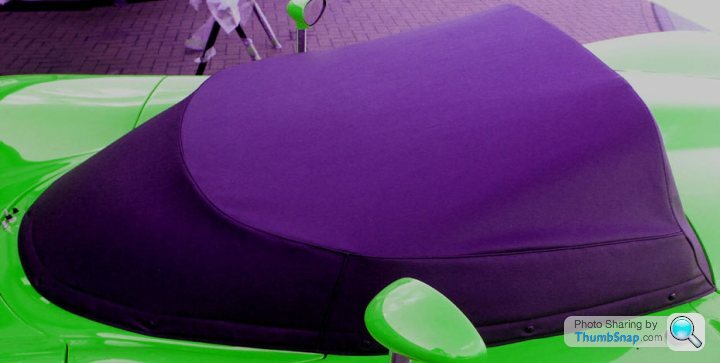
I had the 'test fit done on Tuesday and was pleasantly surprised at how taught and good the look was. The interior of the hood is lined in white, which helps with giving a less claustrophobic effect - and looks really good. There is a small flap sewn to the hood just below the rear window, to allow access to the clam catch. I know it's not going to be factory perfect, it's not supposed to be - but it should do the job I want and now gives me flexibility to travel and stay overnight, without the worry of what the weather does!
Here's a few pics of the initial test fit hood. I'll post some more on the completed version.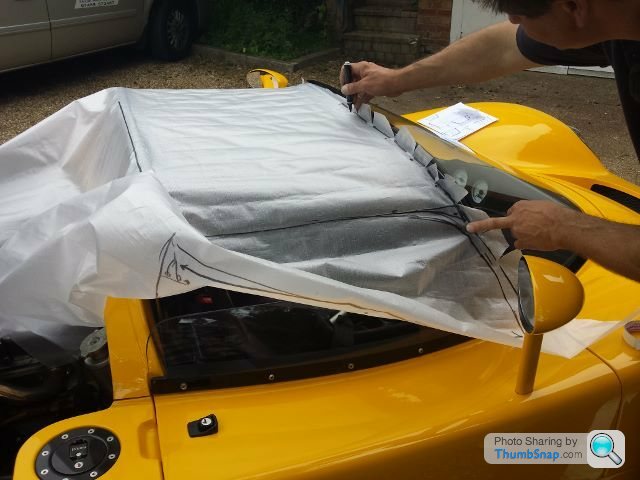
It does mean fitting popper studs along the top of the windscreen frame and one at the base of the A pillar, but these can be 'lost' fairly successfully to a certain extent by using a black permanent marker pen. Most of the time you wouldn't need to use the side screens, but even with them on, visability of the mirrors is not impaired. The doors open as normal with the hood up and you can fit the side screens once sat inside, by firstly poppering them to the existing popper studs on the low perspex side screens and then velcro'ing to the main hood.
A basic template was made out of polythene to start with, taping it to the front screen, making various cuts and stretching it over the roll bar and down to the bulkhead just below the rear clam. A marker pen was then used to mark the shape and stitch lines. The poppers to the front screen were set back to allow the hood to sit just below the highest point and to act as a water channel. The very side edges of base of the front screen will need a small amount of silicone to close the 35mm gap along the base of its A pillar and the car body, just above the rubber to stop any water ingress to the corner of the dash.
The rear of the hood is fiited to two existing popper studs either side of the bulkhead under the clam, with two more being fitted just either side of the clam central catch.
I had the 'test fit done on Tuesday and was pleasantly surprised at how taught and good the look was. The interior of the hood is lined in white, which helps with giving a less claustrophobic effect - and looks really good. There is a small flap sewn to the hood just below the rear window, to allow access to the clam catch. I know it's not going to be factory perfect, it's not supposed to be - but it should do the job I want and now gives me flexibility to travel and stay overnight, without the worry of what the weather does!
Here's a few pics of the initial test fit hood. I'll post some more on the completed version.
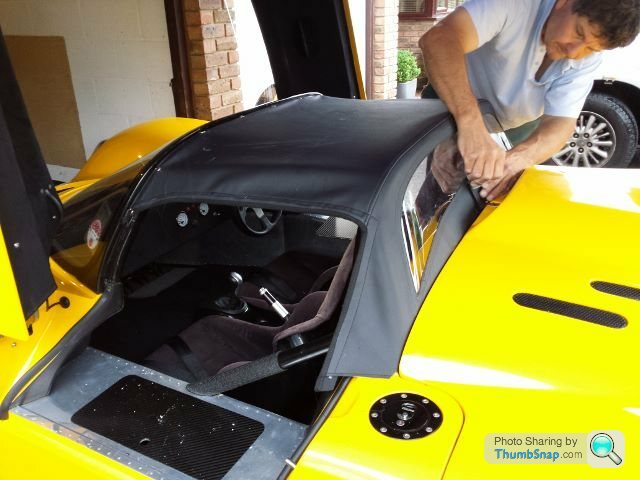


I can 'just' squeeze in without taking any of the poppers off the front screen, but It's not good for your back! - I only wanted to see if it was physically possible, but the sensible thing would be to un-pop the first two on the frame, then pop them back up once in.
I should be getting the hood and sides finished off tonight, so will post more photos of the finished top very soon.
I should be getting the hood and sides finished off tonight, so will post more photos of the finished top very soon.
One thing I didn't mention - I have the lowered floor pan, so if someone wanted to duplicate the hood, then an allowance would have to be made to increase the side height of the main hood in order to see the mirrors.
Whilst the template was made, I was sat inside, so I could tell the other guy what seemed about right. I'm about 5'9". It would be easy enough to make it whatever height you wanted, so would suggest you have it made to suit you personally.
Any competent boat canopy/canvas/sail-maker or classic car hood maker should be able to copy this design....and before you all ask (as I have about 5 owners already PM me), my guy is doing this as a one-off for me, as he is just so busy with boats, as he is based on the River Hamble down by the Solent!

This is position of the popper studs on the window frame - 11 in all, at approx. 6" centres. The lower one is set at approx. 1.5" above the top of the Perspex side screen and about 5.5" from the next one up. N.B. when drilling the screw holes, reverse the drill first, or slightly countersink hole to stop any grp from splitting/cracking - and use a dab of waterproof silicone, so water can penetrate.
These studs were prior to colouring with black permanent marker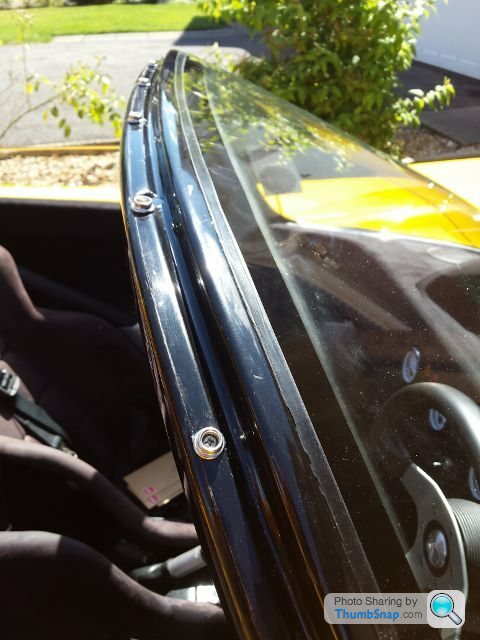
These studs were prior to colouring with black permanent marker

I had the final fitting done last night and am really pleased at how it's turned out.
I have been advised to leave the hood and side screens on for the next 24/48 hrs, to let it slightly stretch and find its natural position.
The next batch of photos shows how it firs together - all very simple.
I'll post the finished photos of the car with the hood on later today .... and what the final total cost was!
This shot shows the position of the 4 x popper studs under the rear clam. 2 popper studs were already there (at either far side), so only 2 more were required near the clam catch.
Note the pull down tabs on the main hood, to assist in positioning poppers main hood to fit the 2 nearest the clam catch. The main hood is deliberately tight, so these help poppering it on.
Gassing Station | Ultima | Top of Page | What's New | My Stuff