G50 Install Issues...
Discussion


Yep, I did try that on the first screw (the one that I wound up drilling), but had no success. Historically, I've only had limited success using extractors - they seem to work, at best, about 50% of the time.
I'll try it again on the second screw, but not until I'm sure that drilling through (if the extractor doesn't work) won't cause any harm.
Since the gearbox isn't a pressure environment for the gear oil, but a splash environment, I'm confident that sealing the screws will be sufficient, even in the case of a through hole. Still, I'd like to hear that confirmed by the factory or someone with G50 experience.
Ken
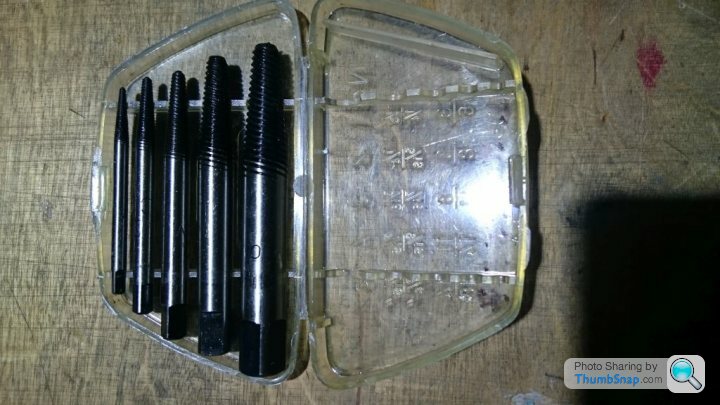
OK, the gearbox is on. Long story short: I drilled out the recalcitrant guide tube screws, then cleaned the threads with a tap. The new guide tube was installed and the box wrestled into place by yours truly and his ever-patient wife. It slid right into place, was snugged up forthwith, and the rear support bolted on. Which leads me to the next adventure:
How the heck does one install the clutch fork pivot pin?!? My clutch fork was properly suspended by elastic bands and I can start the pivot pin through, but can't seem to get it aligned with the right side no matter how much I twiddle the fork through the slave cylinder hole. What's the secret?
Also, when it's finally in on the right side, will I need to exert much force to seat the left side needle bearing in its boss? Time for the small rubber mallet?
Ken
Ken
I can't guarantee that my method is the right one but I install the far side roller bearing in the bell housing first. You need plenty of grease to keep the needles in place.
The elastic band method does work but you have to get it almost in position before fitting the box.
With the far bearing not having to go through everything it should be easier to slide the shaft through. It is important not to force it the last little bit. If it doesn't want to go home fully it indicates that the needles may have moved. It is possible to refit them without removing the box if you are careful with a magnet and greased screwdriver (as I can attest).
I have often wondered how many elastic bands Porsche have used over the years!!!
Good luck.
Paul
Hi Paul,
Yep, I installed the far (right) side bearing in the cast boss before installing the transaxle. Lots of grease, as you say, so I'd be surprised if a needle moved out of place.
I've just been able to slip the pivot pin in what seems like all the way, but I have no way of ascertaining that. There's still a small amount of the pin remaining outside the left side boss. Is that correct or should it be entirely within the boss?
As it stands now, I still have to fit the left side needle bearing over the pin (is the bearing meant to fit inside the cast boss, as with the other side?), then fit the black plastic cap and the bolted clip. How does the cap fit? Does it just butt up against the needle bearing? It won't fit over the bearing or within the cast boss, so I'm not clear on what I'm trying to achieve here.
Ken
If the pin is still proud then there are two possibilities.
1. A needle roller has fallen over.
2. You had too much grease in the bearing which is preventing the pin from going home.
1. Is not nice. It is possible to remove the pin and bring your best gynaecological skills to bare and stand the roller up again. I would not use a magnet or you will end up with all the rollers stuck to the end.
2. See if you can apply a load to the end of the pin and leave it over night. This may allow the excess grease to squeeze out.
The outer needle race should be an easy press into the housing and sit below flush. The plastic holder also fits into the housing after the bearing. There is a joggle in the metal plate which will give you a clue as to how far in the plastic part fits.
Should you need to remove the plastic part again screw a self tapping screw into the end of it and pull it out with pliers. The plastic part will likely be a tighter fit in the housing than the bearing is.
Steve
Edited by Steve_D on Thursday 29th October 22:07
Ken
The black cap sits on the back of the cup and there should be a cranked plate that has a hex hole that fits over the cup and the other end has a hole for an M6 bolt that screws into the box housing to keep the cap in place.
If it doesn't sit 'nicely' then you may have an issue somewhere.
Paul
The black cap sits on the back of the cup and there should be a cranked plate that has a hex hole that fits over the cup and the other end has a hole for an M6 bolt that screws into the box housing to keep the cap in place.
If it doesn't sit 'nicely' then you may have an issue somewhere.
Paul
Thanks, Paul & Steve!!
The wretched thing is on there. I was confident that there wasn't too much grease in the right side bearing and reasonably certain (wishful thinking?) that I didn't have a fallen needle. It finally occurred to me, though, that perhaps my elastics were hold the clutch fork too high on the right side so that I wasn't engaging the bearing at all. I tried reaching in through the slave cylinder hole and managed to pull down against the elastics just enough that the pin slipped into the bearing. Celebration ensued, believe me!!
I slid the left side bearing down a long, thin drift centered on the pin's screw hole and it pressed right into place. The plastic cap needed its leading edge very slightly beveled and it seated itself about halfway into the boss. With the metal clip and bolt in place, the whole thing is tight and secure. Job done.
Imagine how much easier all these little jobs would be if we had a proper, step by step, assembly manual, including tips for commonly encountered issues. Alas.
Thanks, again! Now I'll be able to sleep tonight.
Ken
Corsair613 said:
Thanks, Paul & Steve!!
The wretched thing is on there. I was confident that there wasn't too much grease in the right side bearing and reasonably certain (wishful thinking?) that I didn't have a fallen needle. It finally occurred to me, though, that perhaps my elastics were hold the clutch fork too high on the right side so that I wasn't engaging the bearing at all. I tried reaching in through the slave cylinder hole and managed to pull down against the elastics just enough that the pin slipped into the bearing. Celebration ensued, believe me!!
I slid the left side bearing down a long, thin drift centered on the pin's screw hole and it pressed right into place. The plastic cap needed its leading edge very slightly beveled and it seated itself about halfway into the boss. With the metal clip and bolt in place, the whole thing is tight and secure. Job done.
Another little tip
When it comes to bleeding the clutch it may be best done with the bleed nipple at the highest point which requires it not to be bolted in position on the car. It will need the piston securing so that it can't be pushed out and then the lady wife pumping the pedal while you bleed the air.
If you do it on the car it will probably end up with trapped air.
Enjoy.
Paul
Imagine how much easier all these little jobs would be if we had a proper, step by step, assembly manual, including tips for commonly encountered issues. Alas.
Thanks, again! Now I'll be able to sleep tonight.
Ken
Gassing Station | Ultima | Top of Page | What's New | My Stuff