MFH 1/12 BT52b
Discussion


Here we go - another 1/12 on the go! Engine first obviously...for my F1 engine 'group-shot' plan.
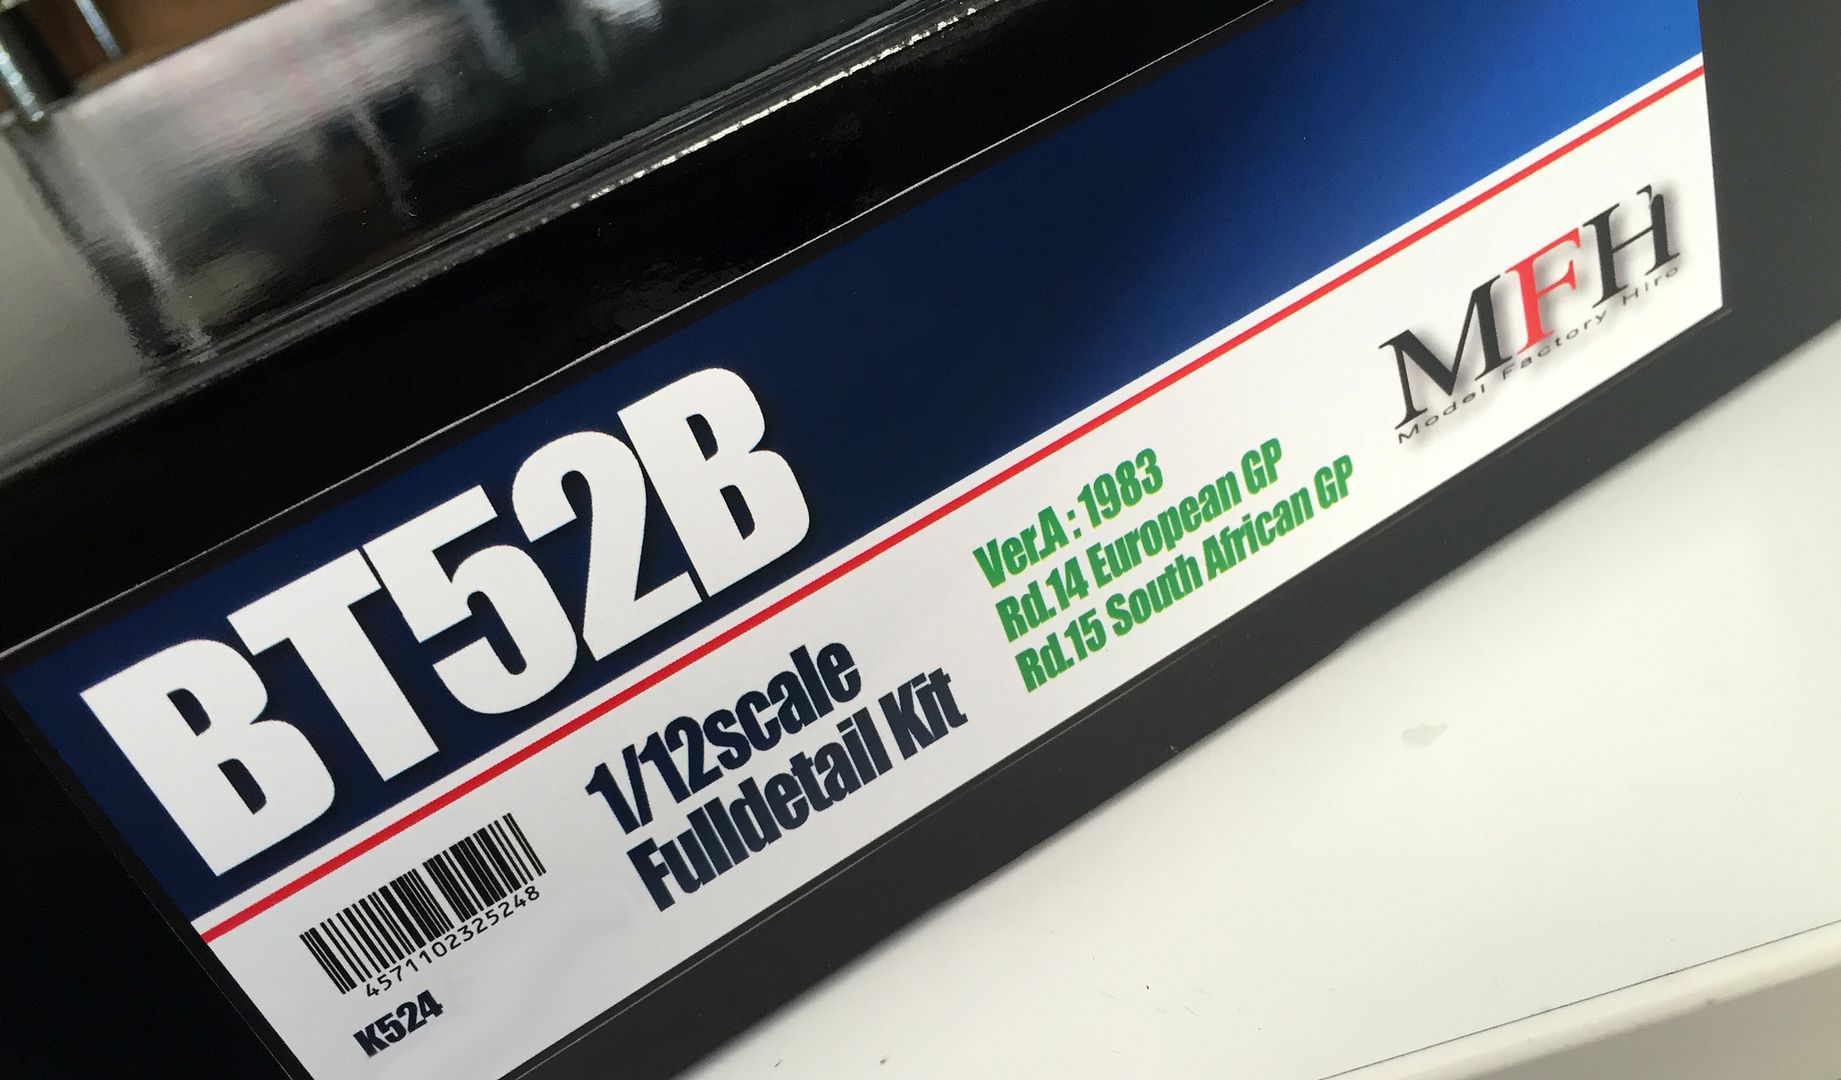
So a bit of 'un-boxing', as I have shown with my other kits. Its nice to show the parts and detail in these MFH kits, and maybe encourage others to give one a go.
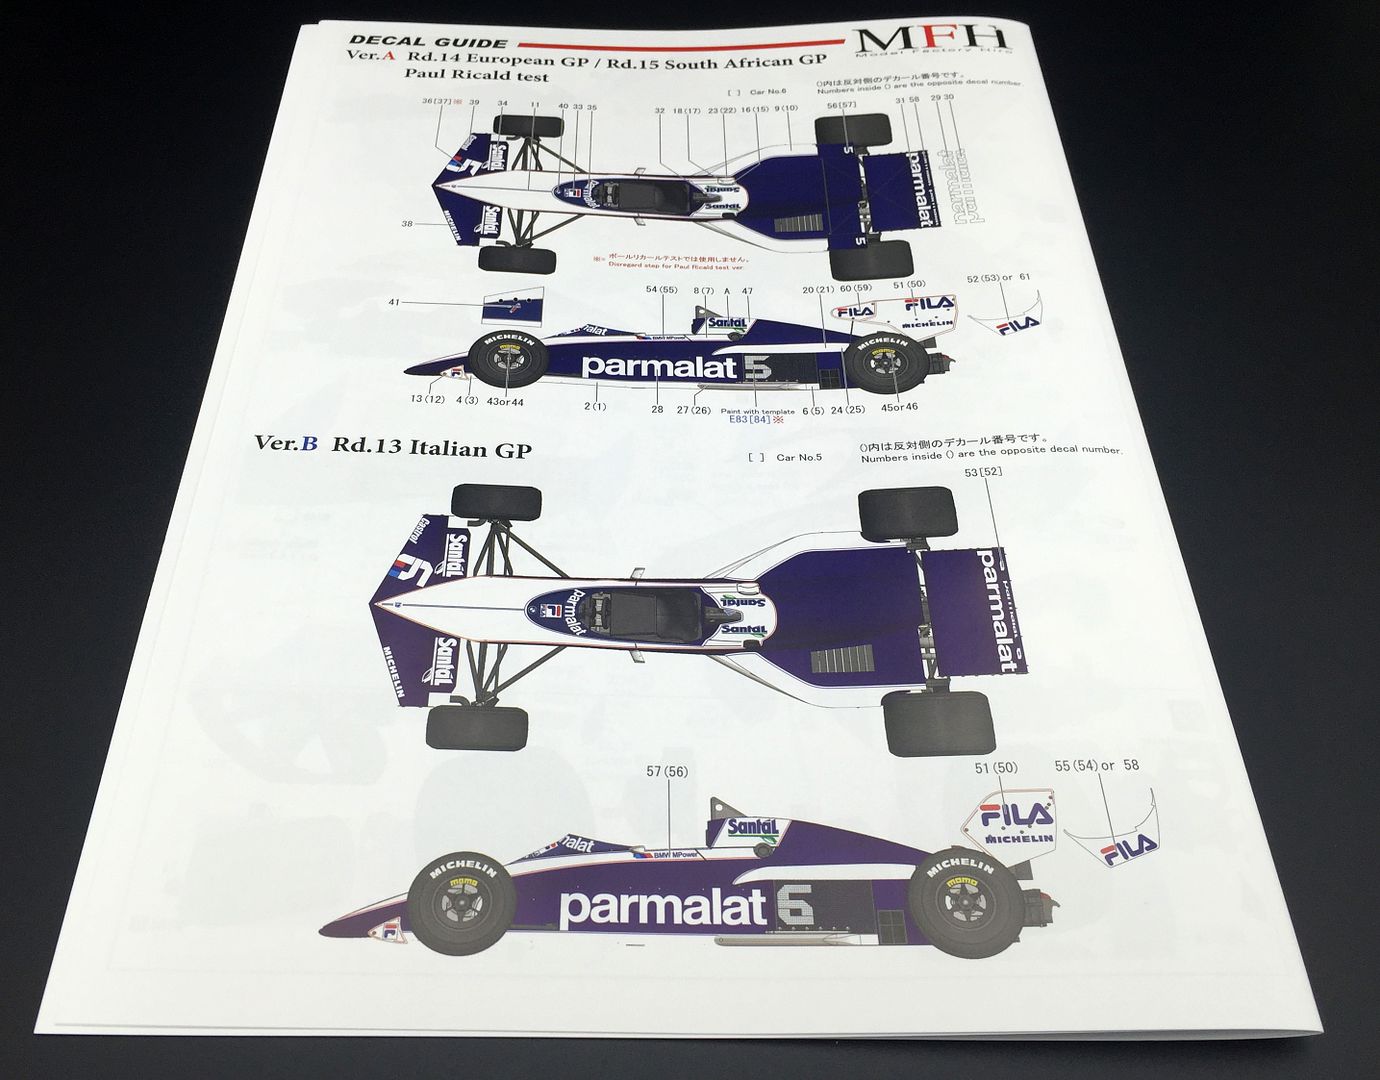
Usual folder of instructions, decals, foils and PE parts.
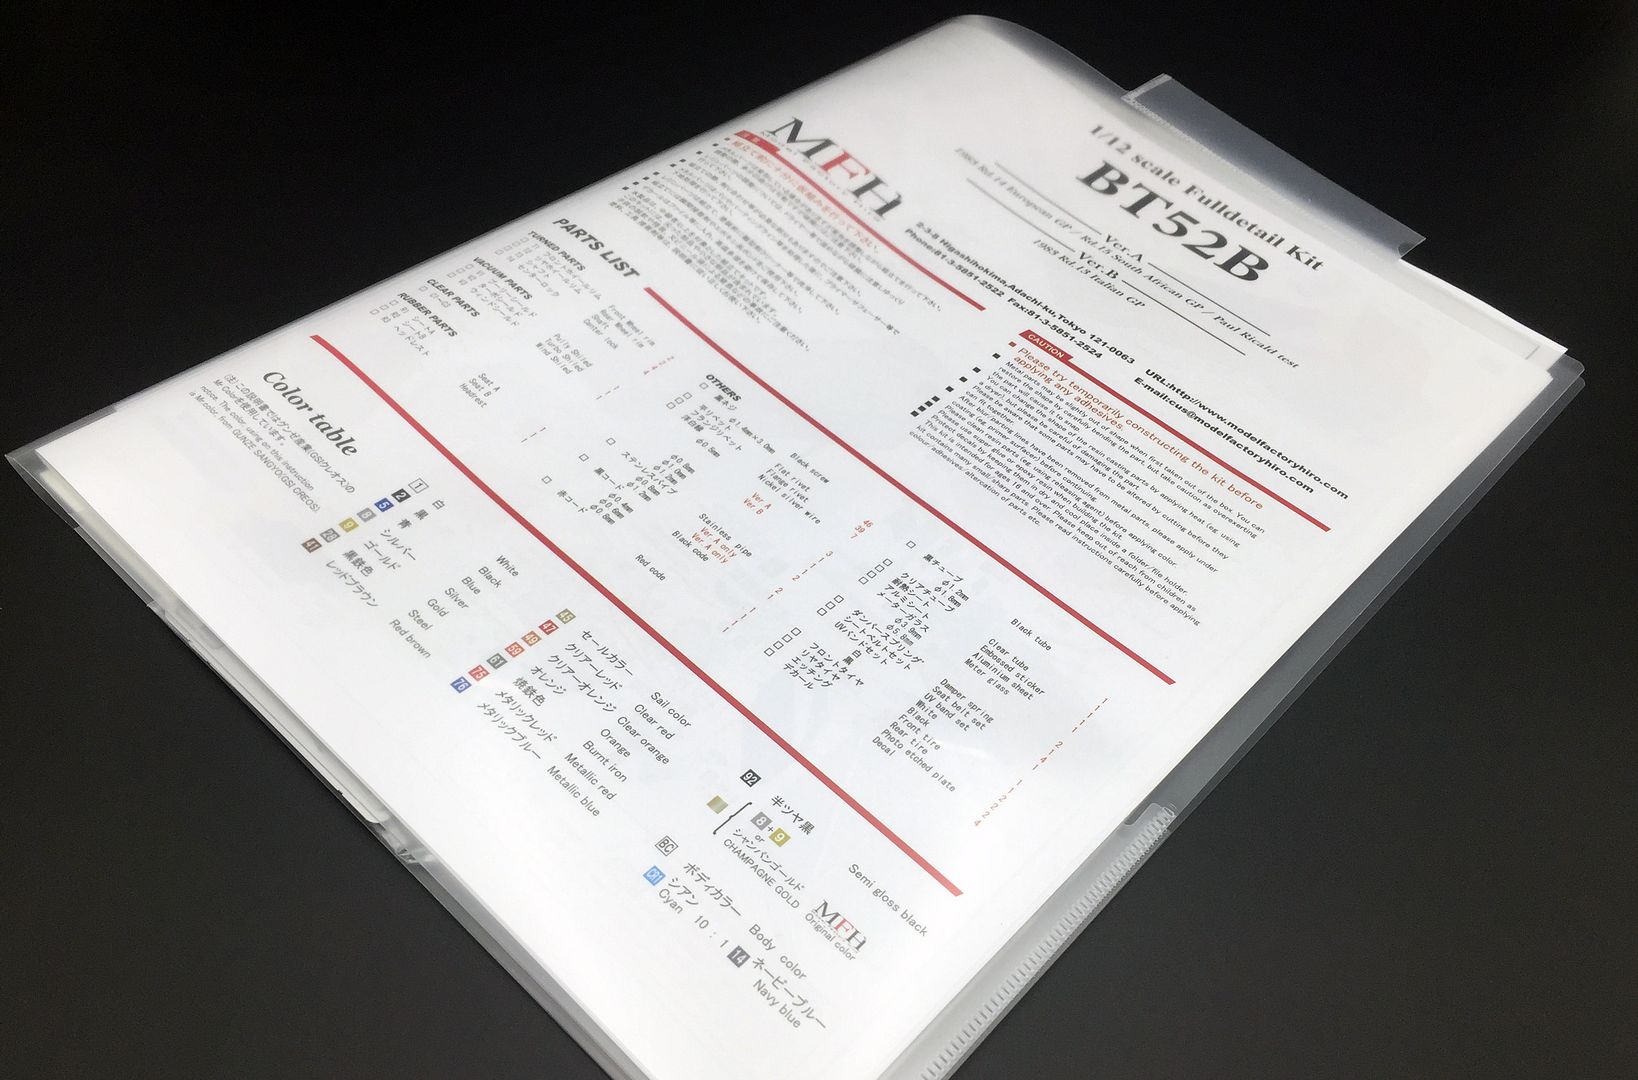
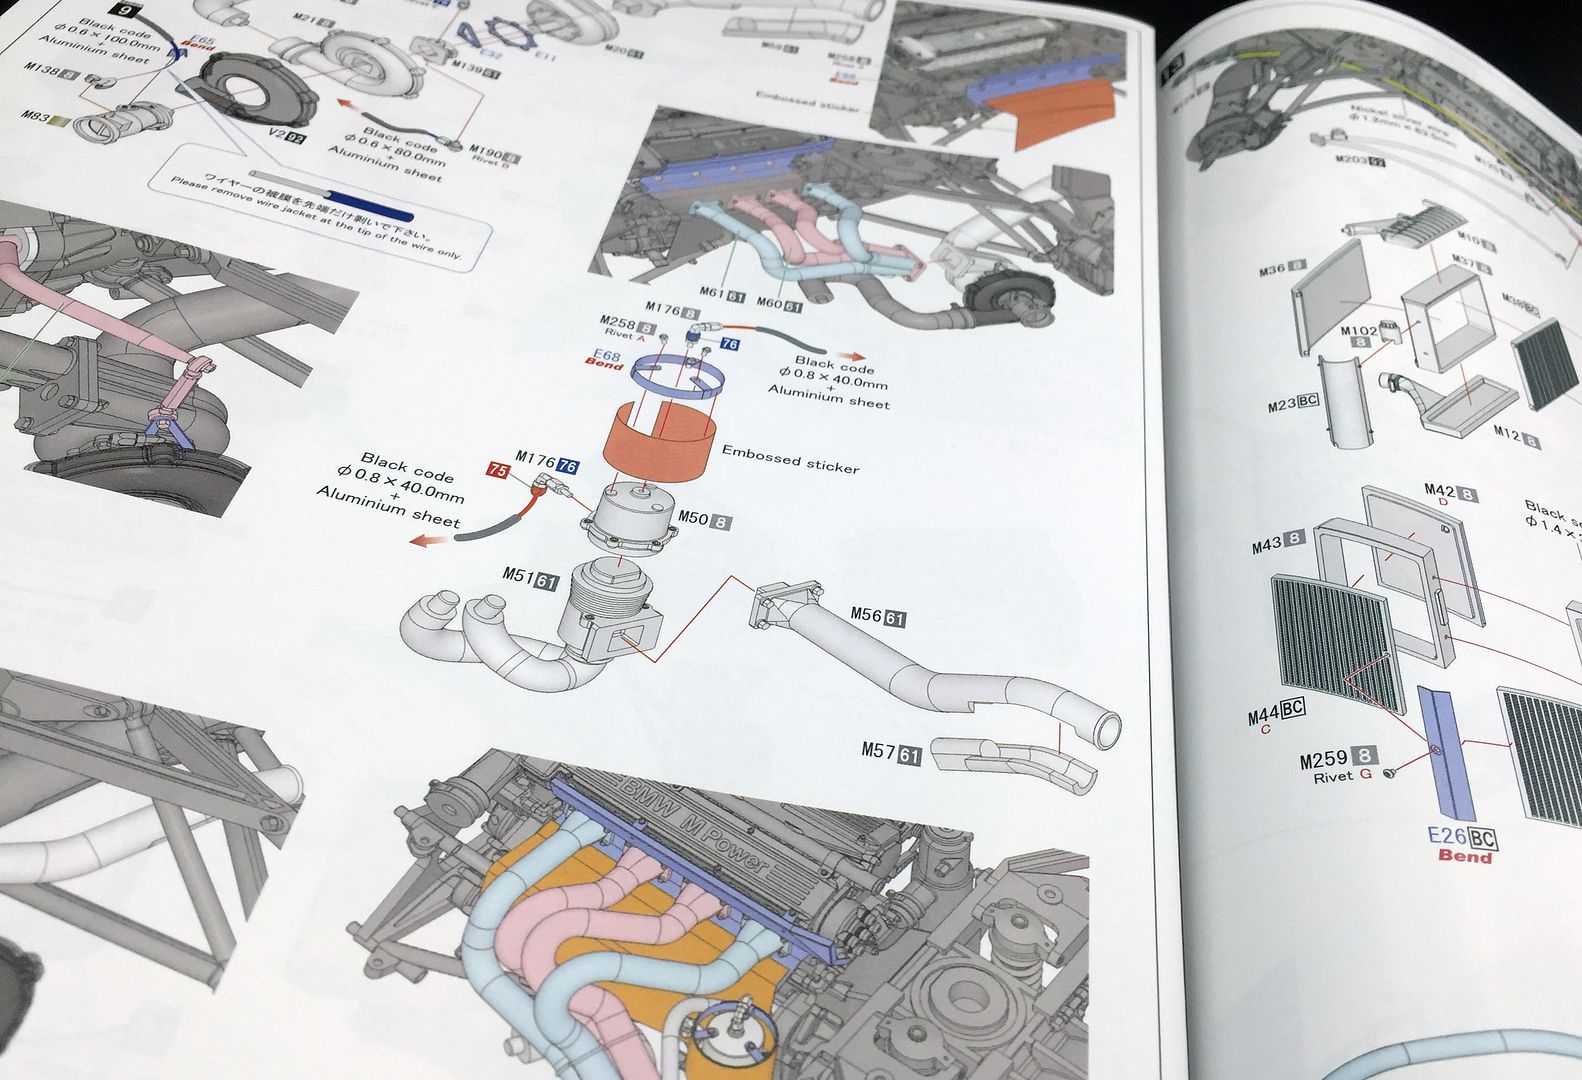
This instruction manual seems to be quite a few pages more than some others I have...
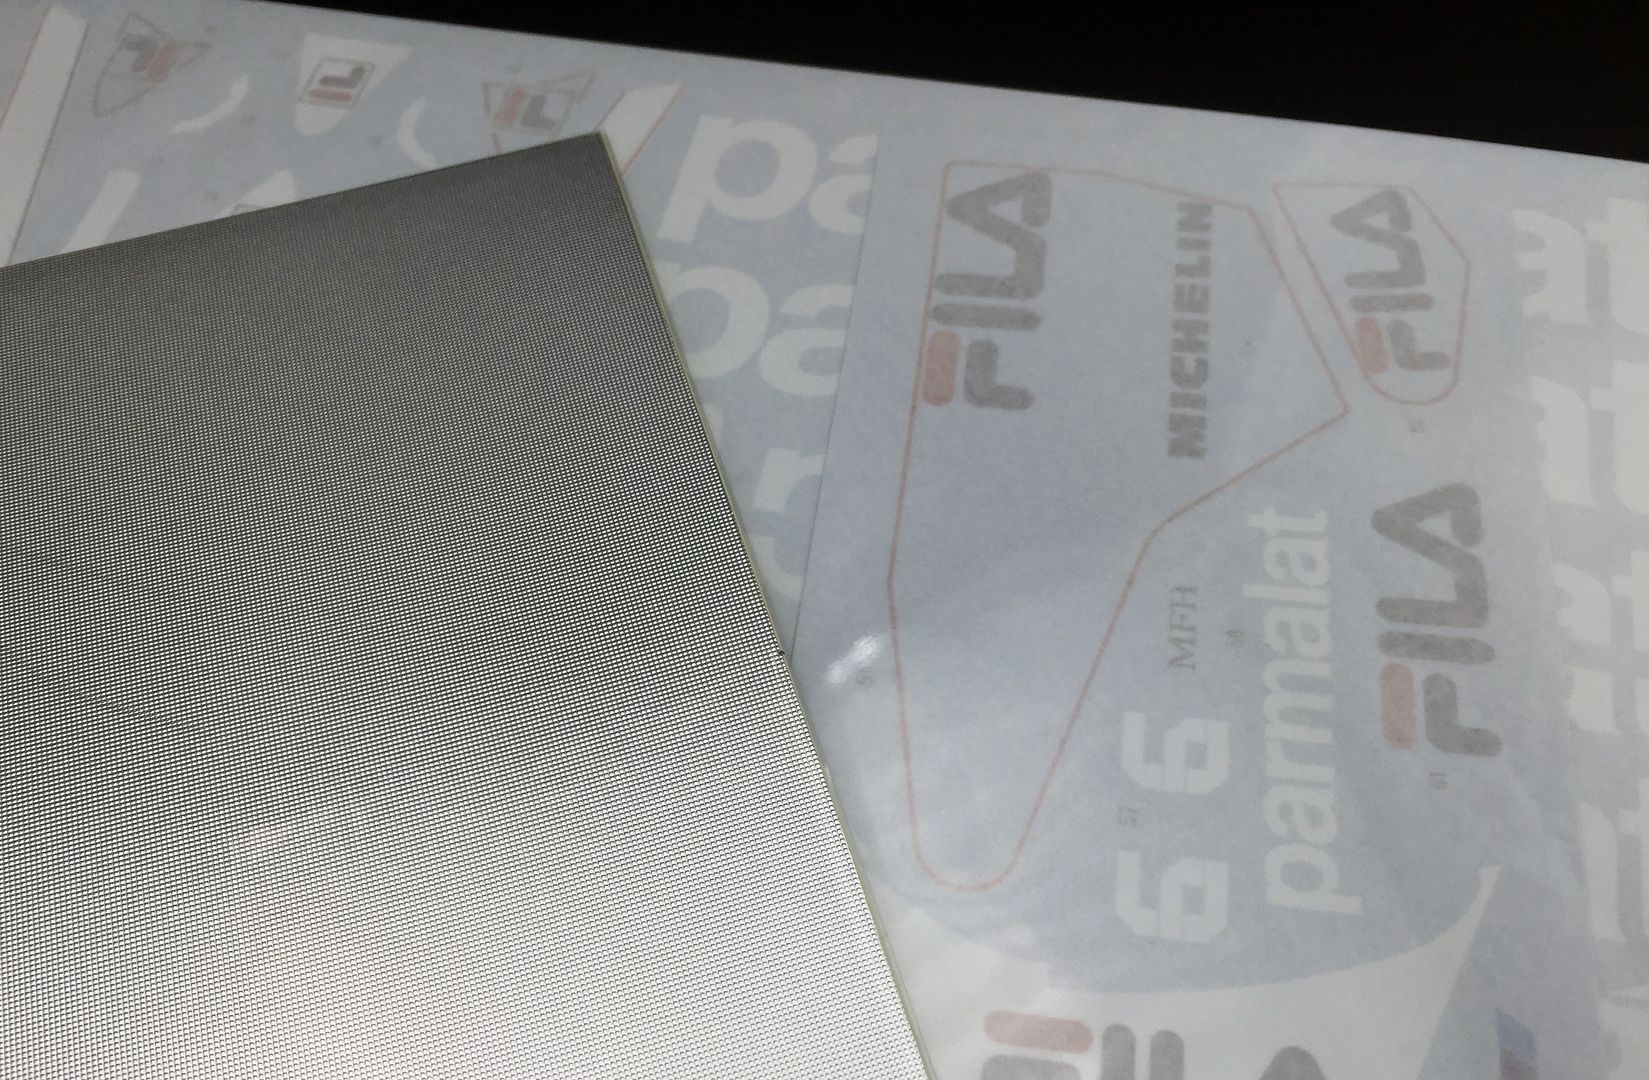
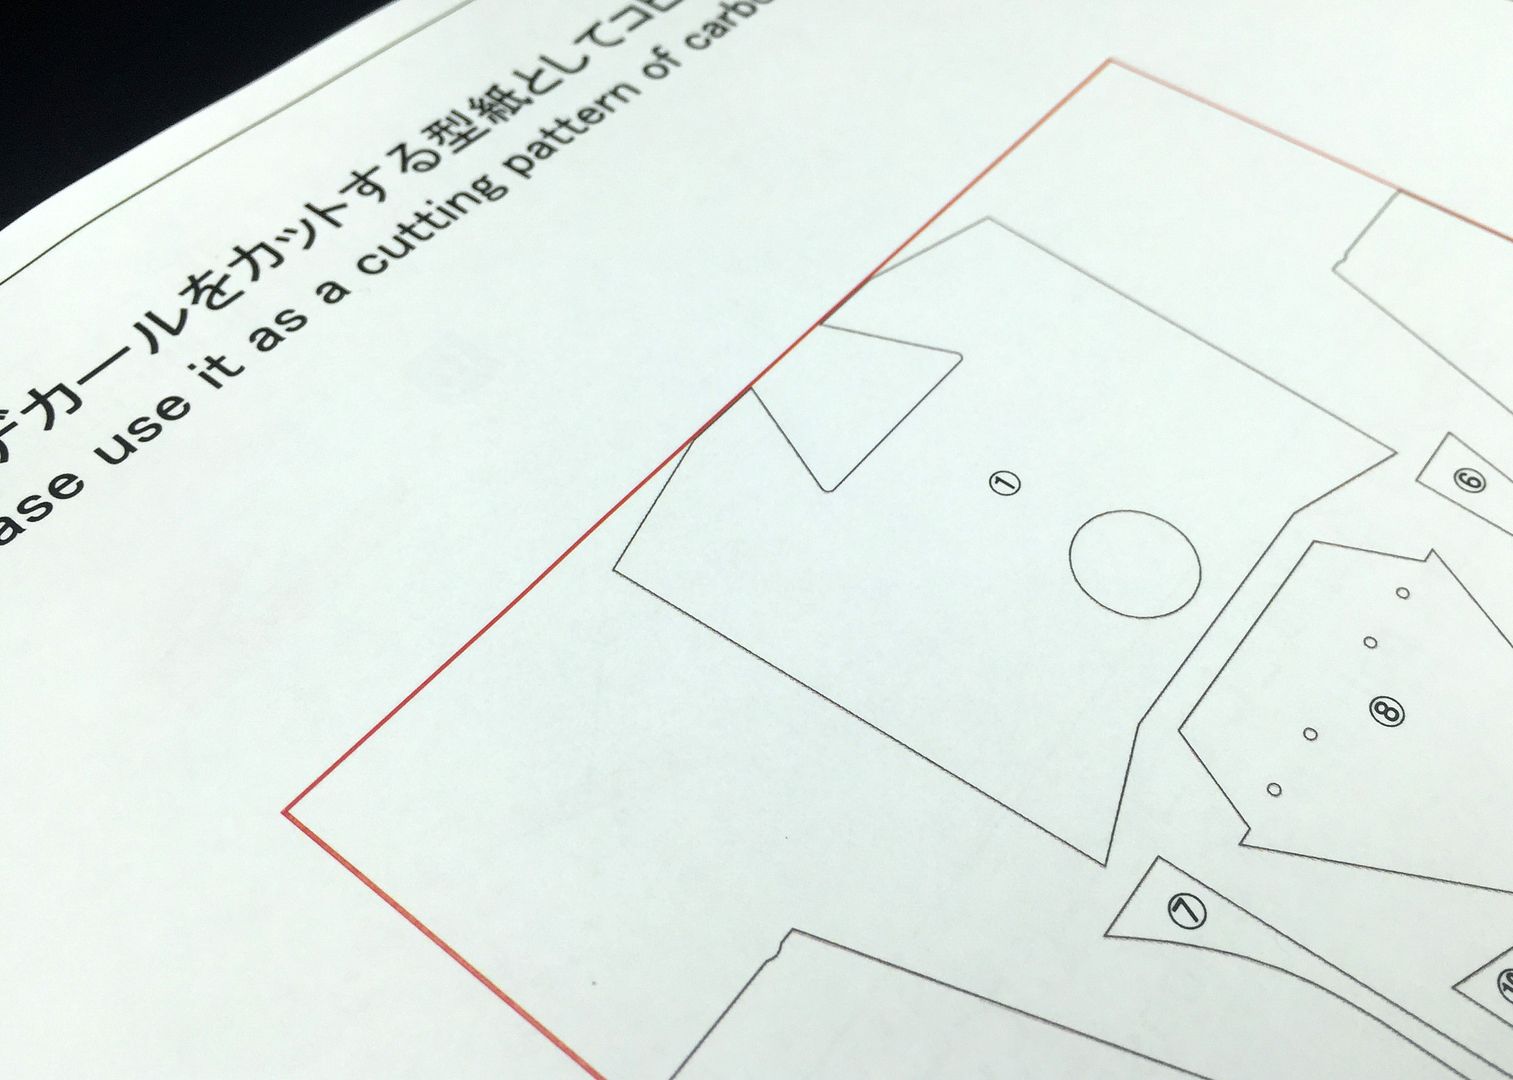
Templates for carbon, foil and ali sheet...
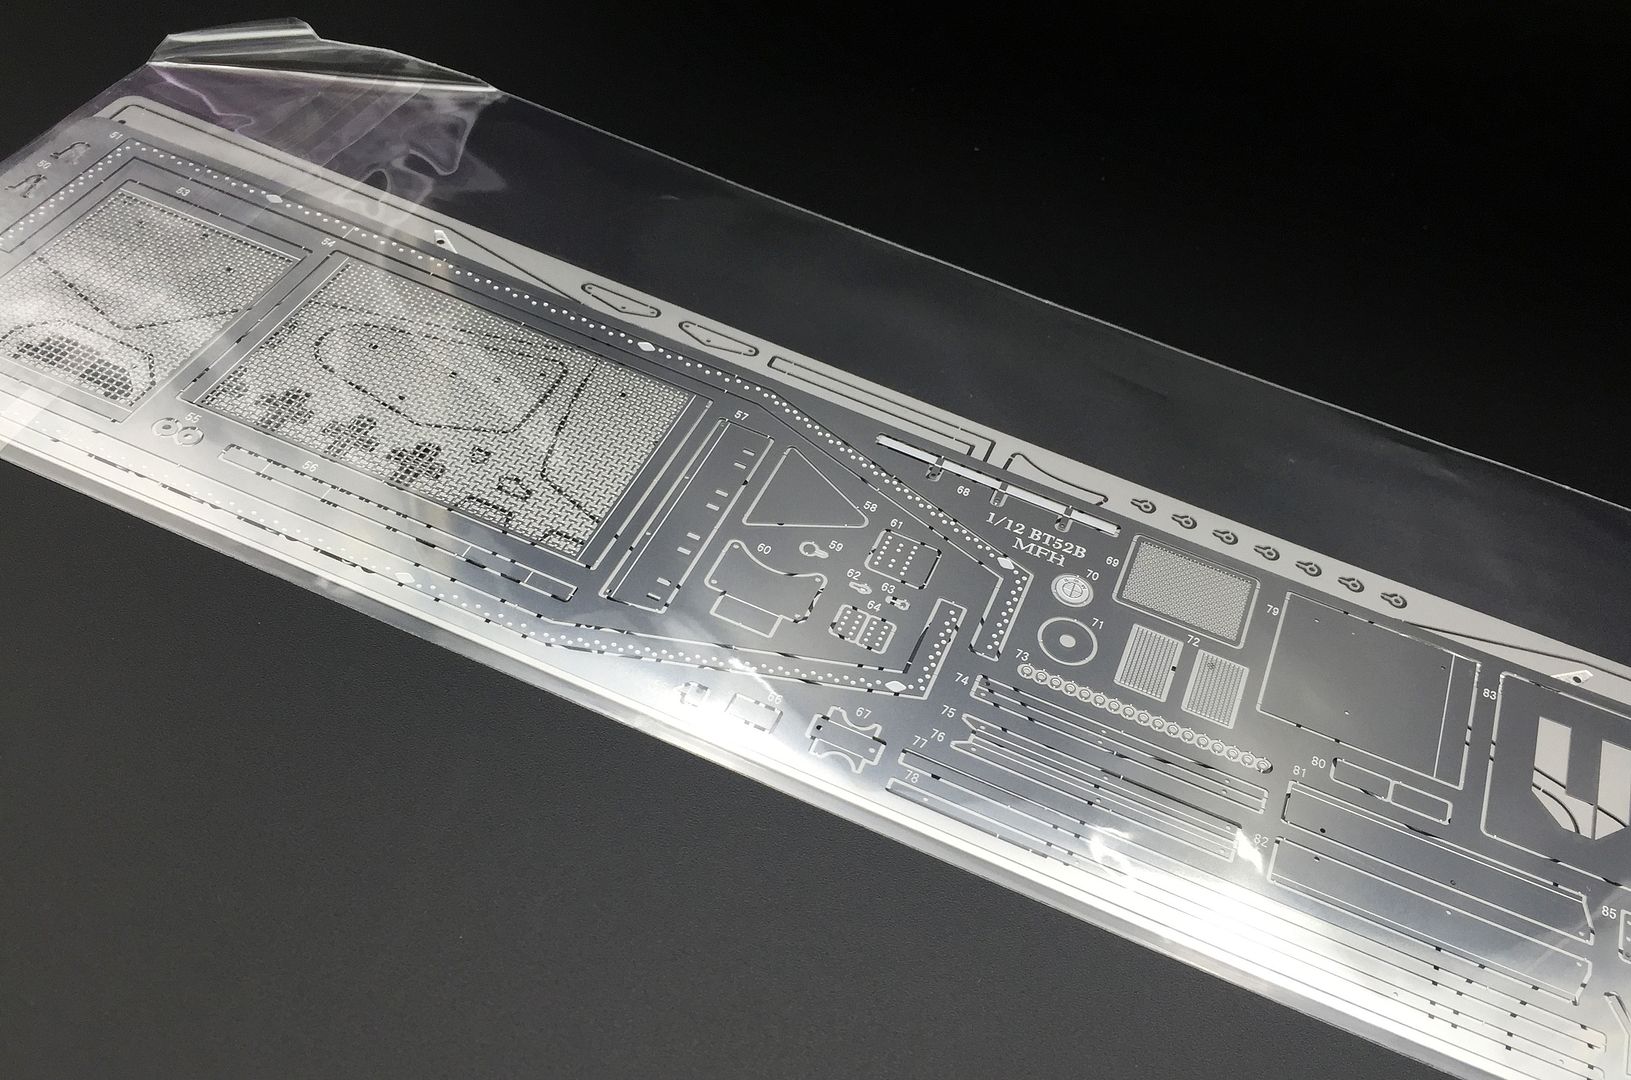
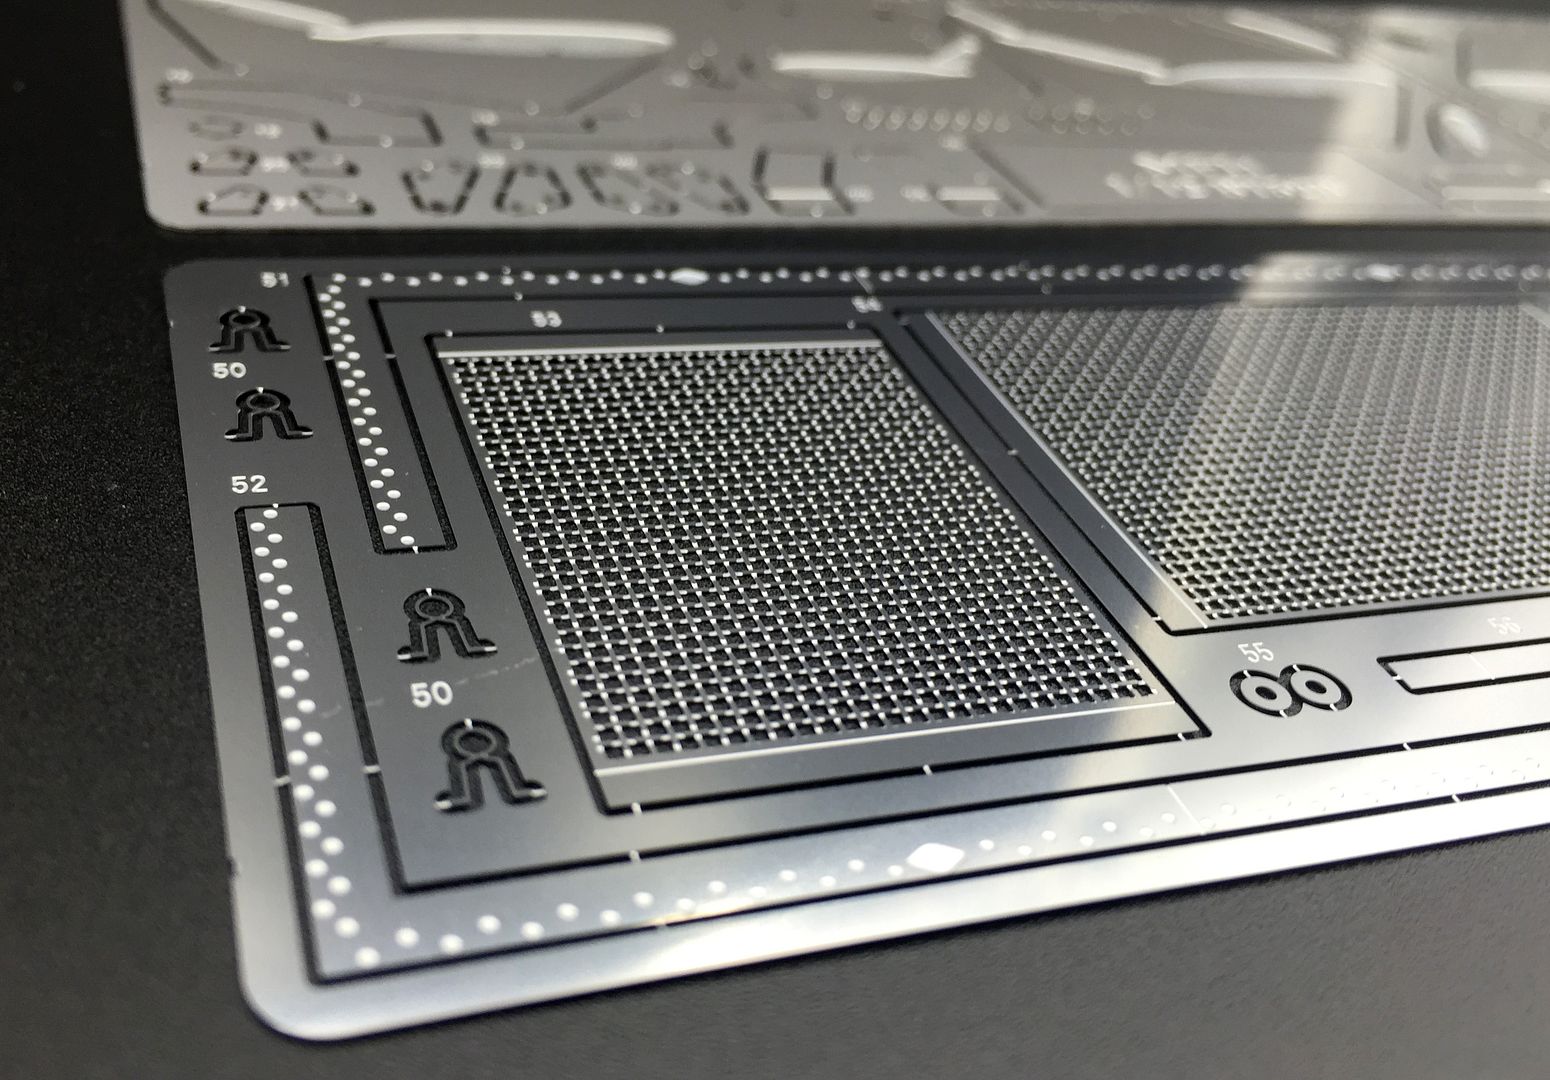
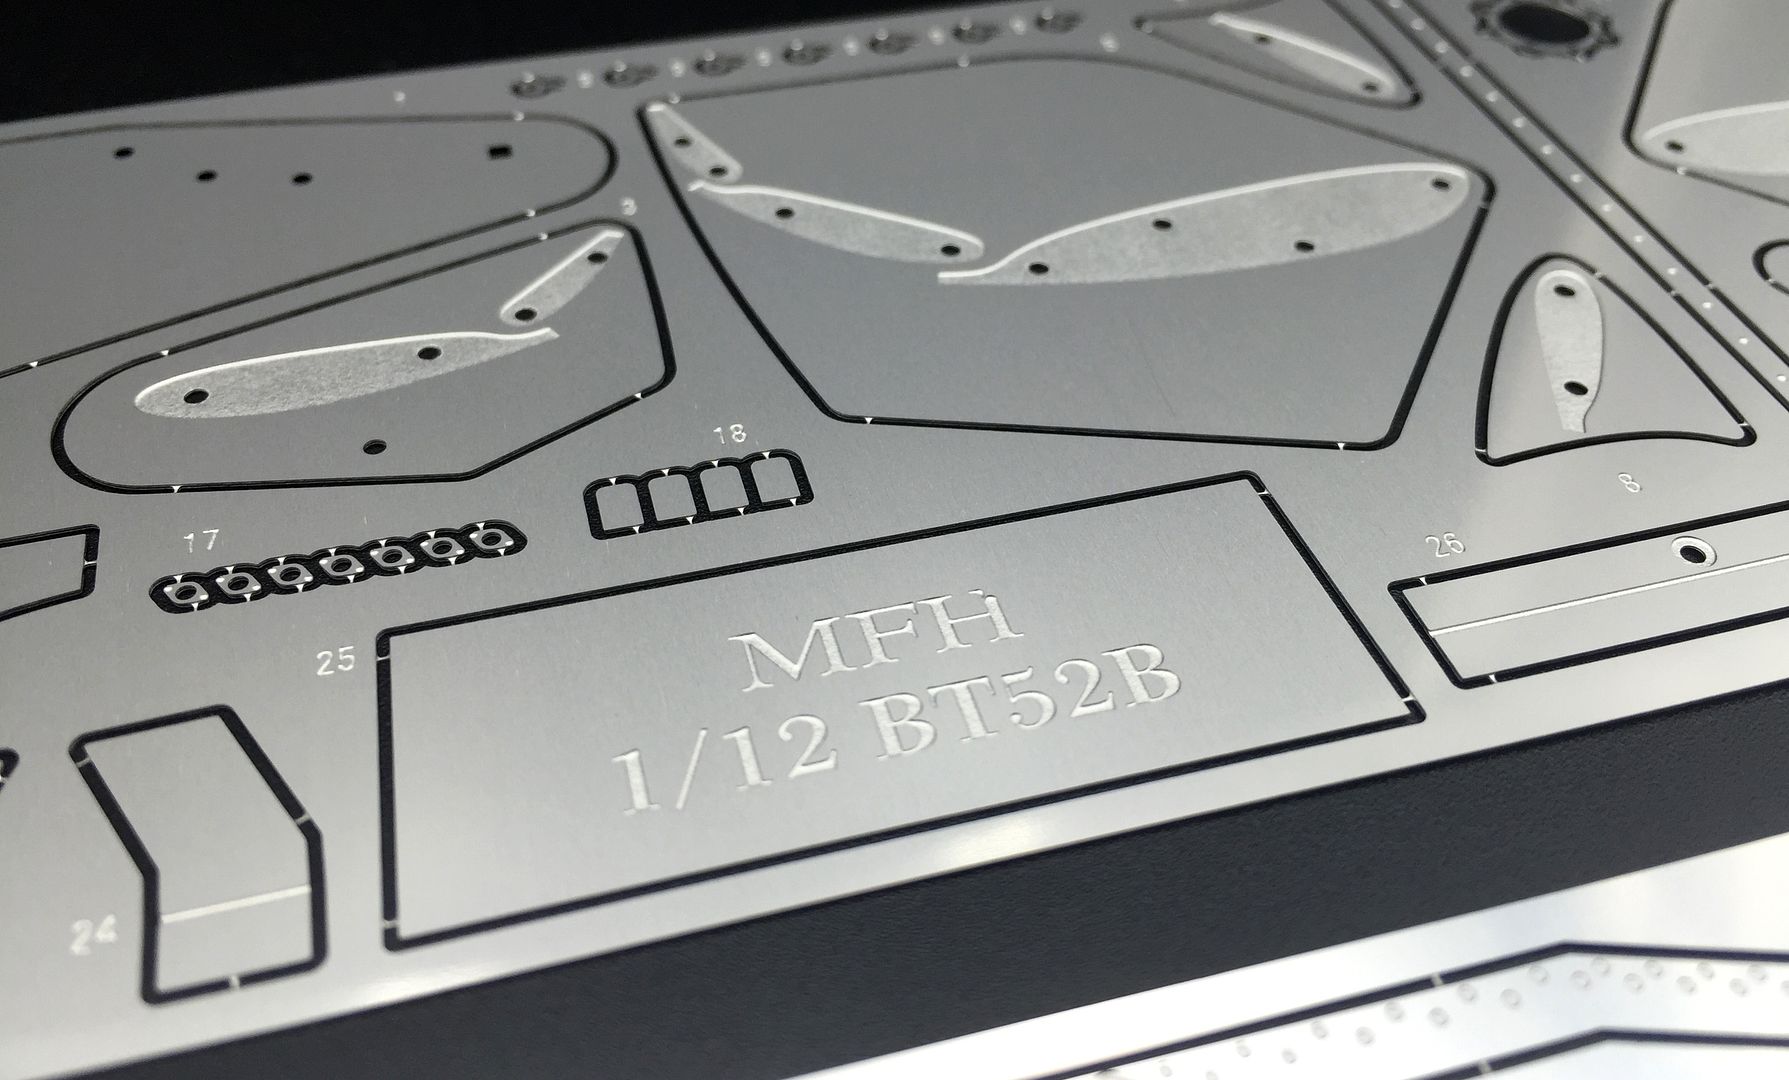
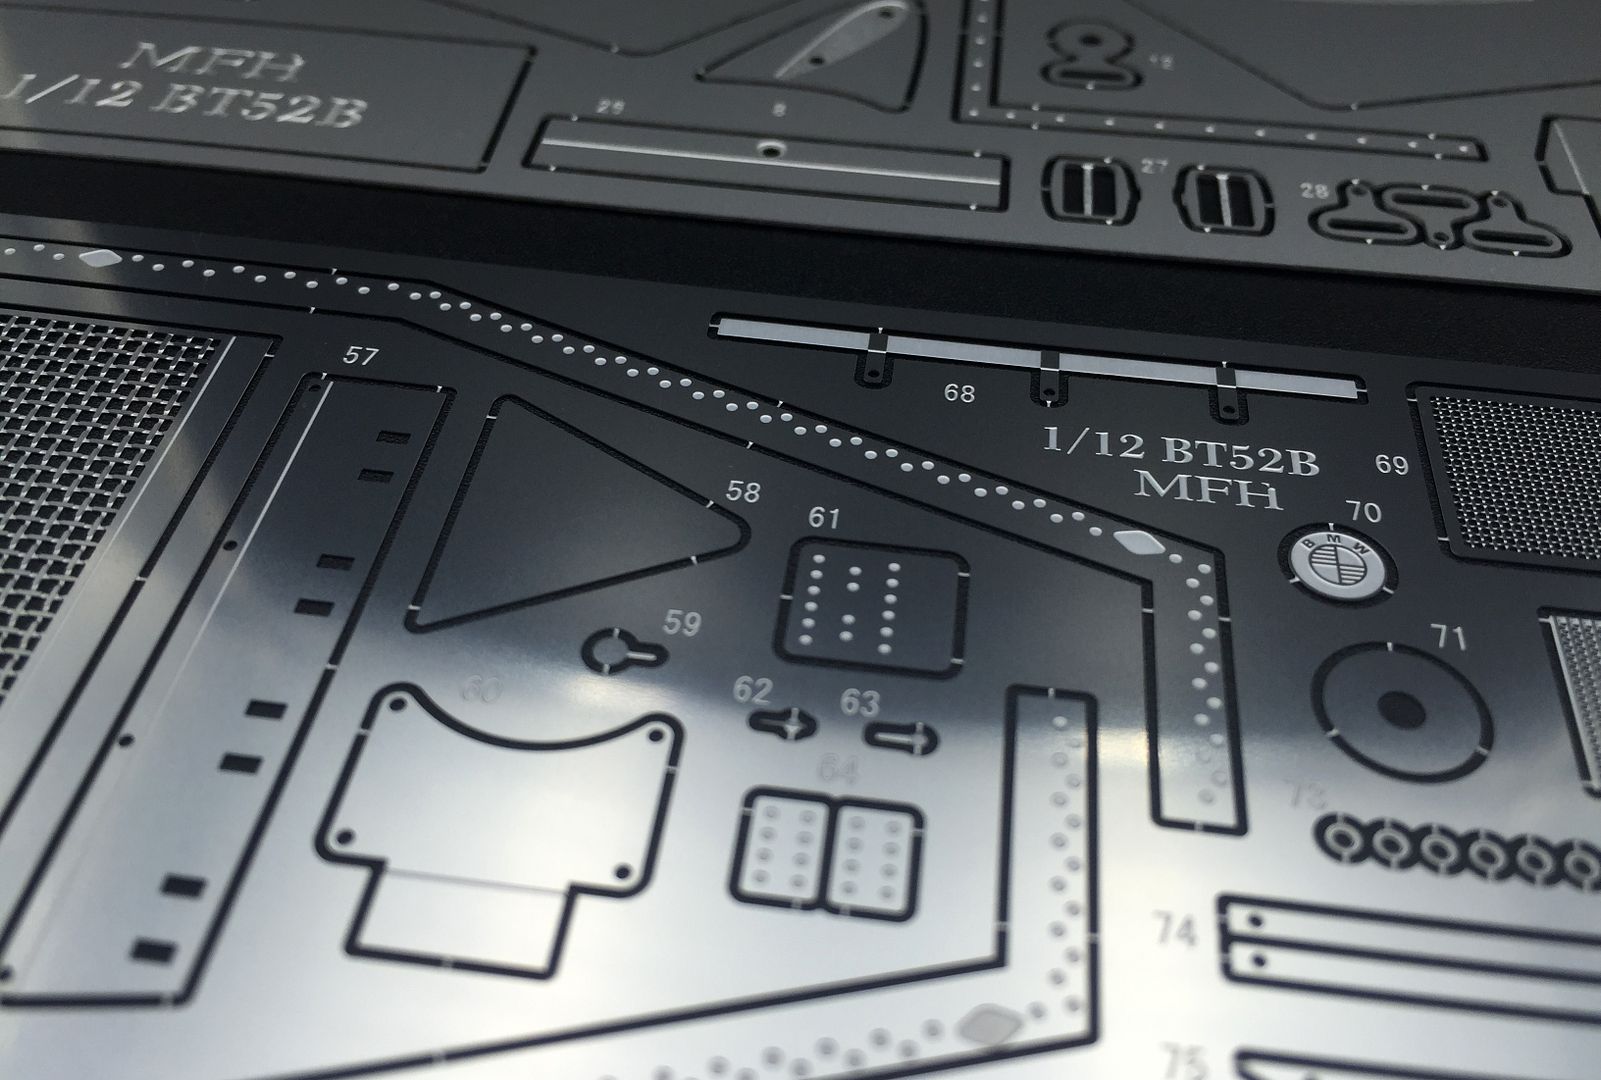
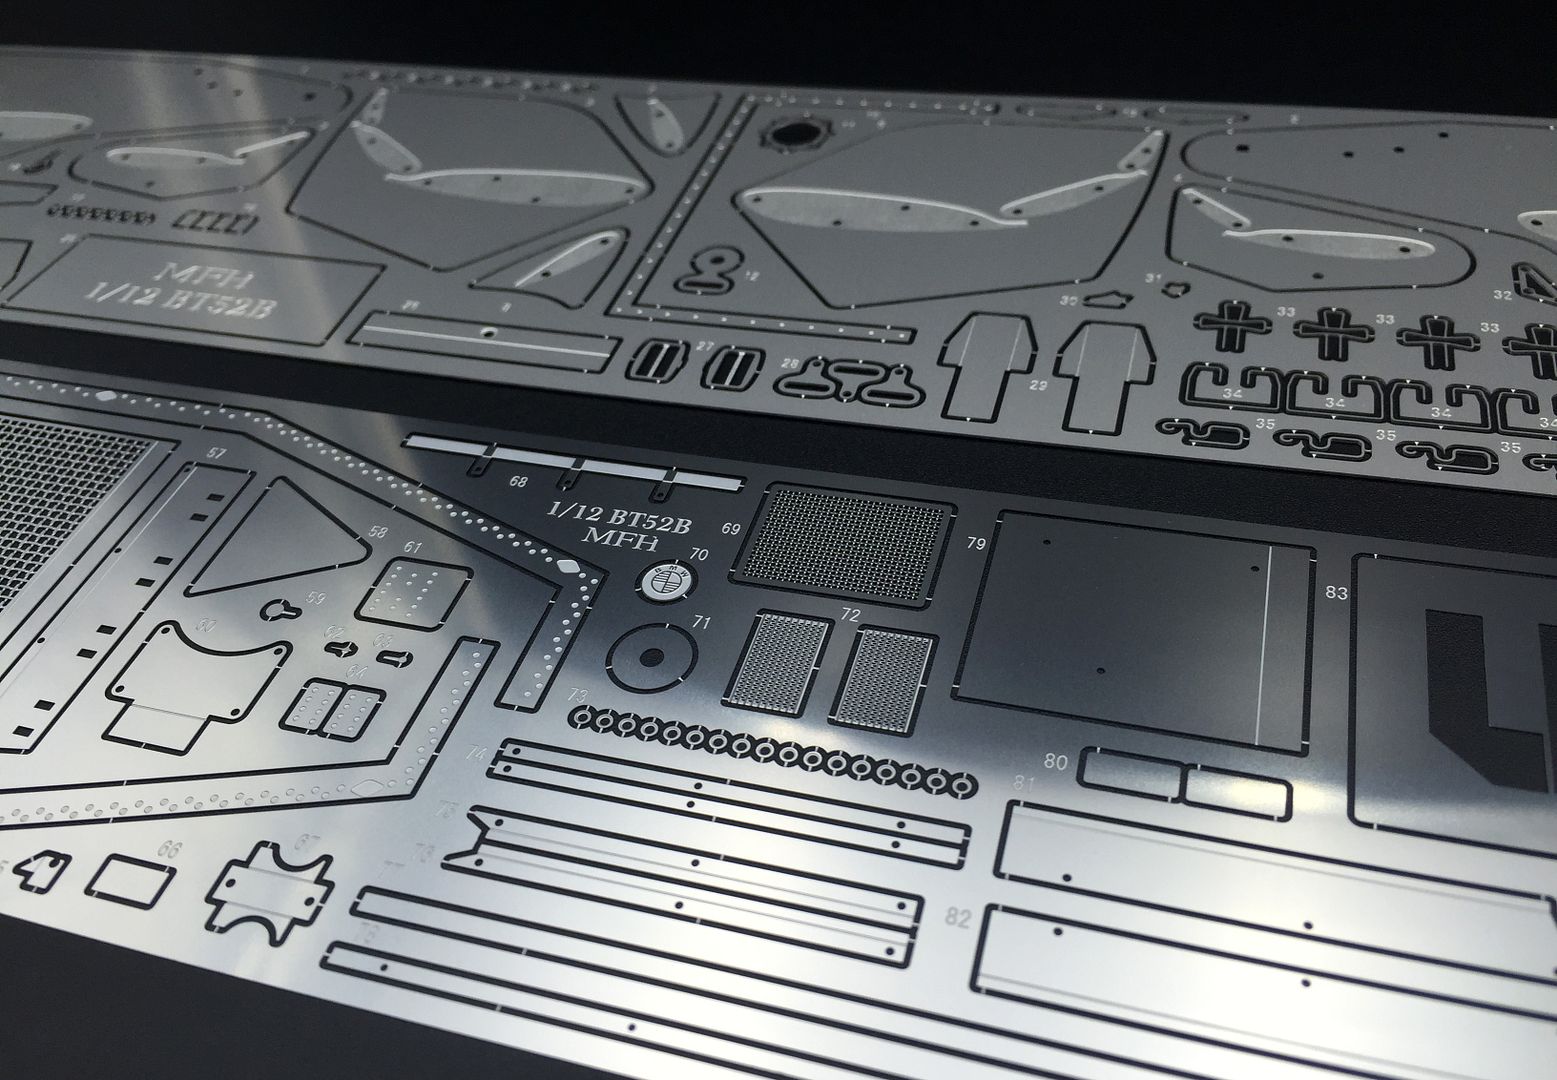
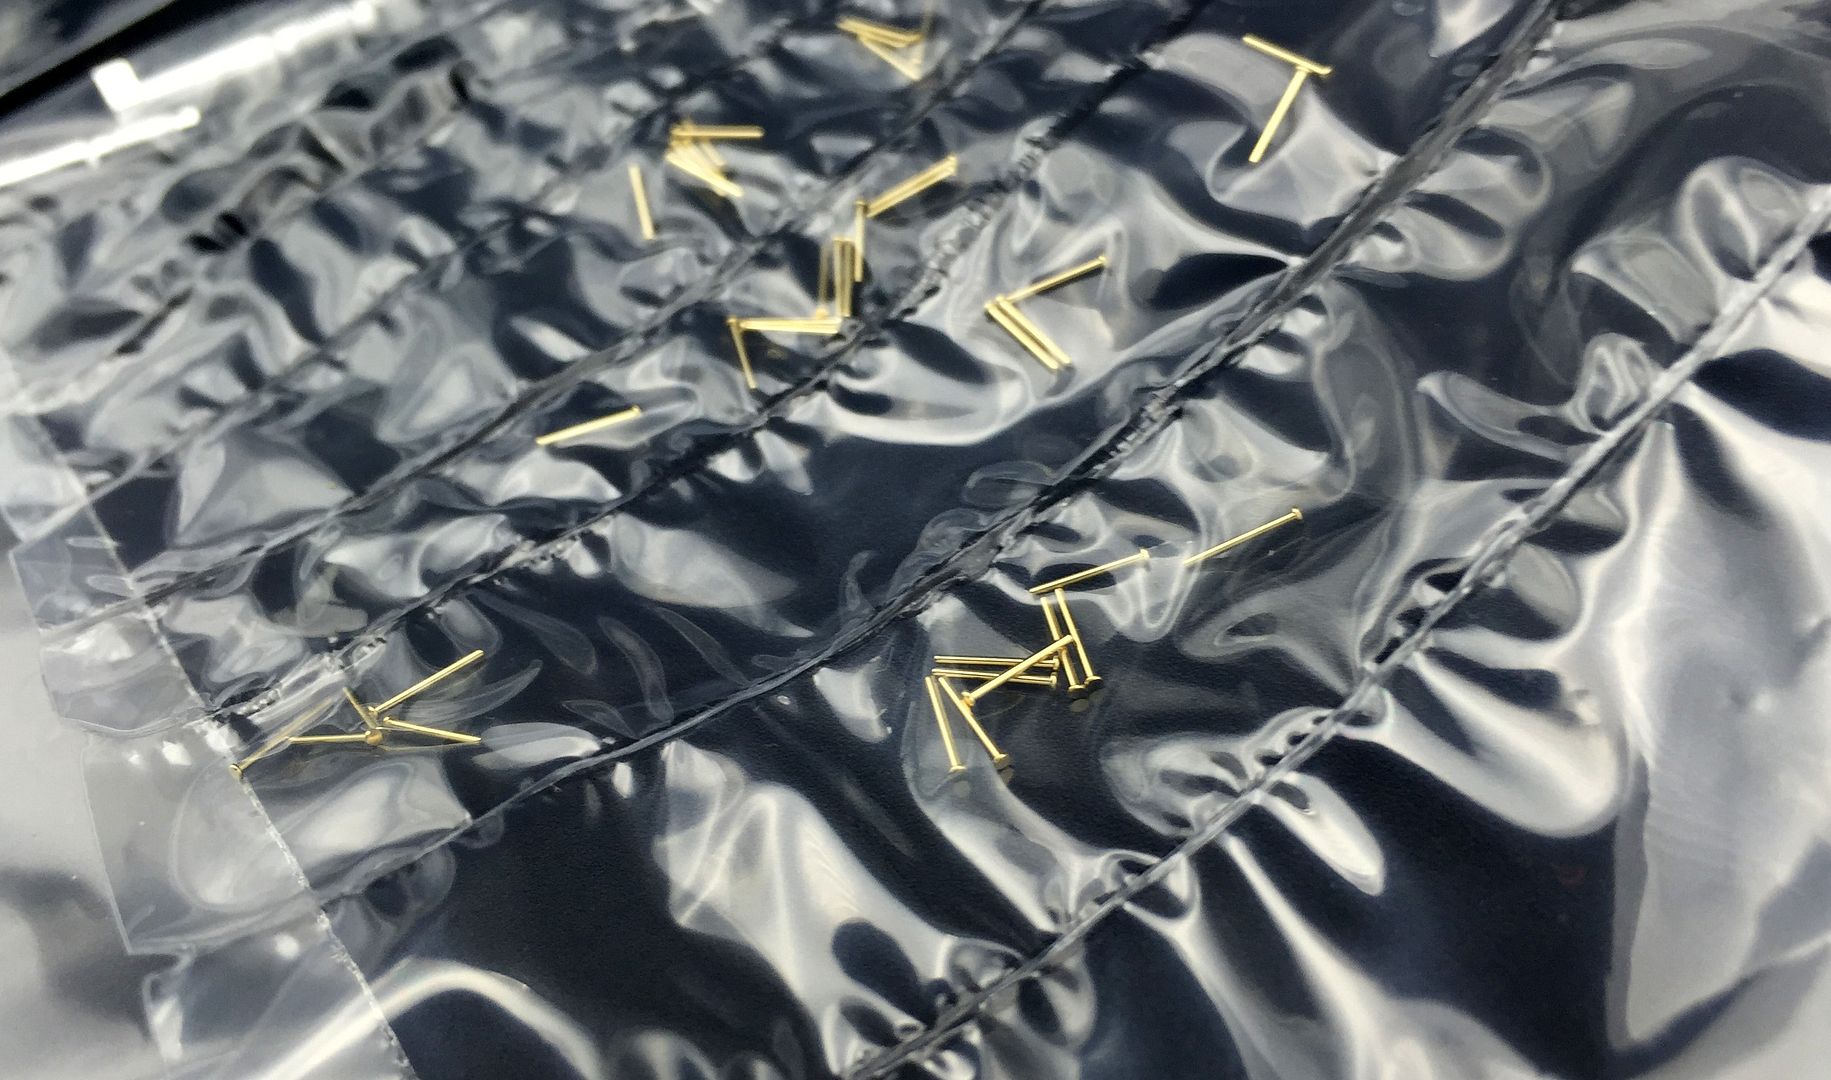
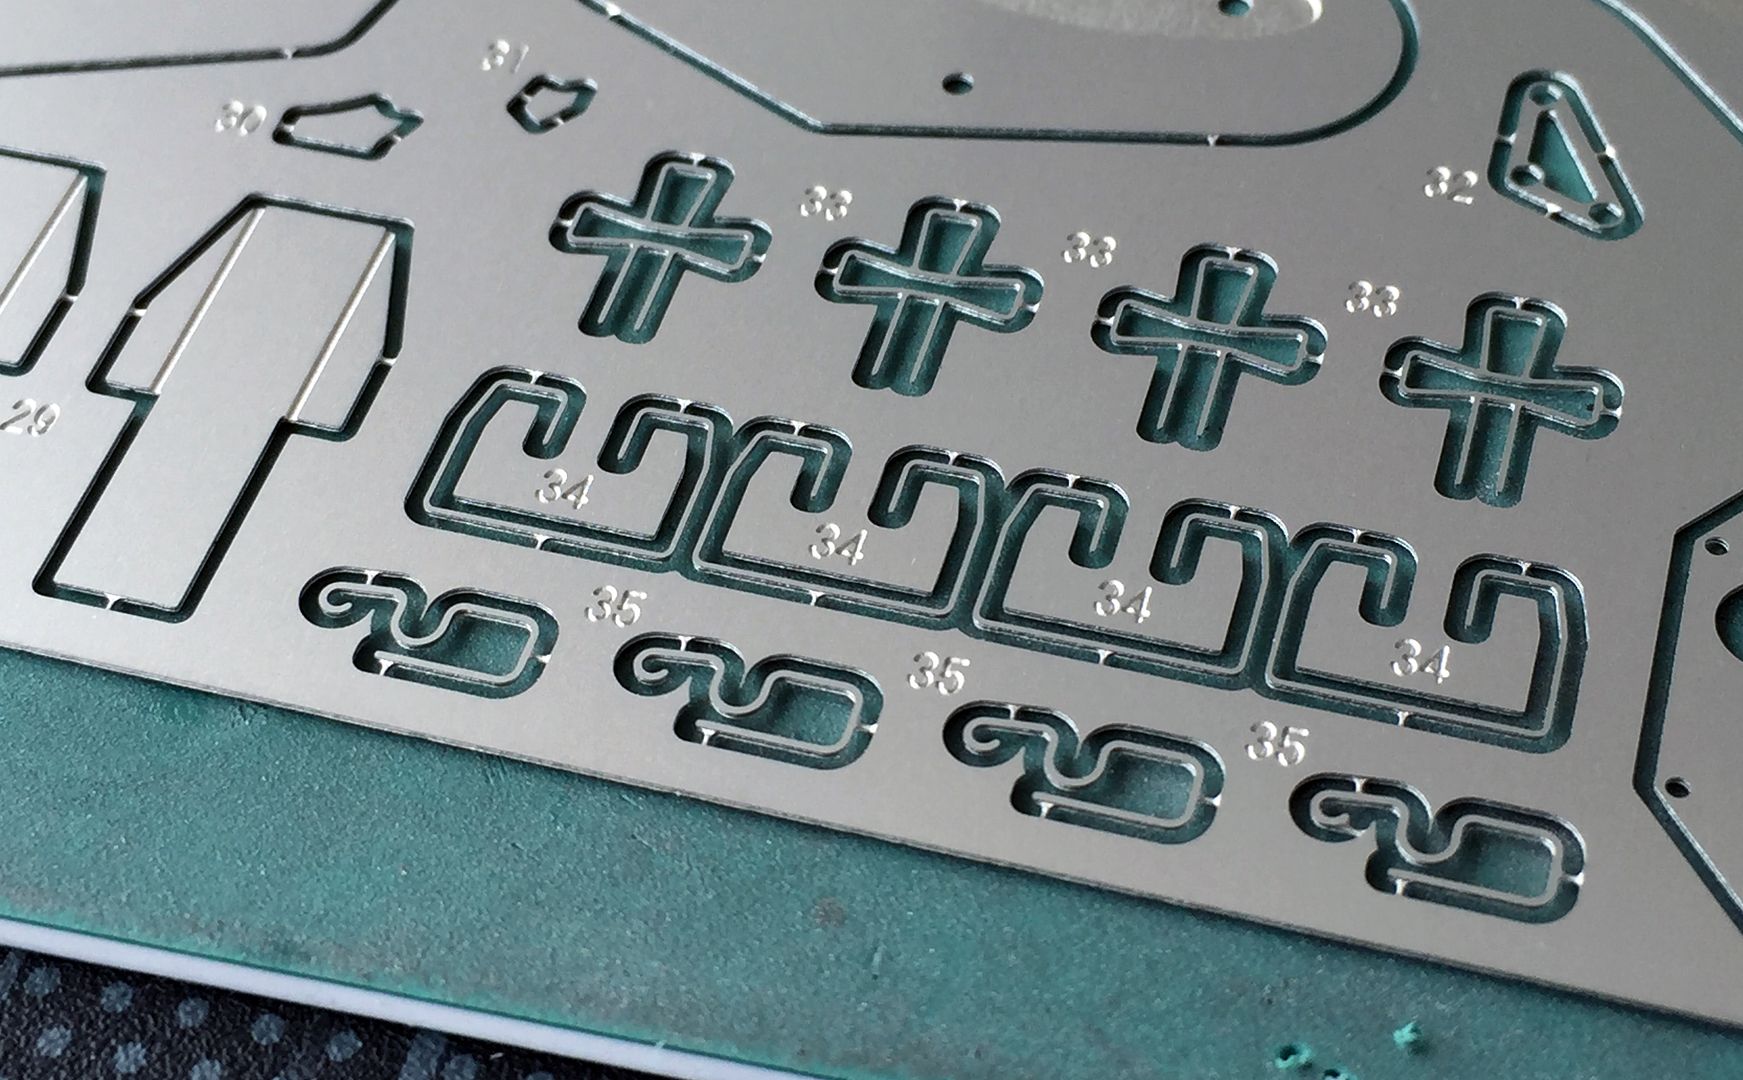
Very nice PE parts, including radiator mesh, clips, paint masks, wing endplates, pins etc etc

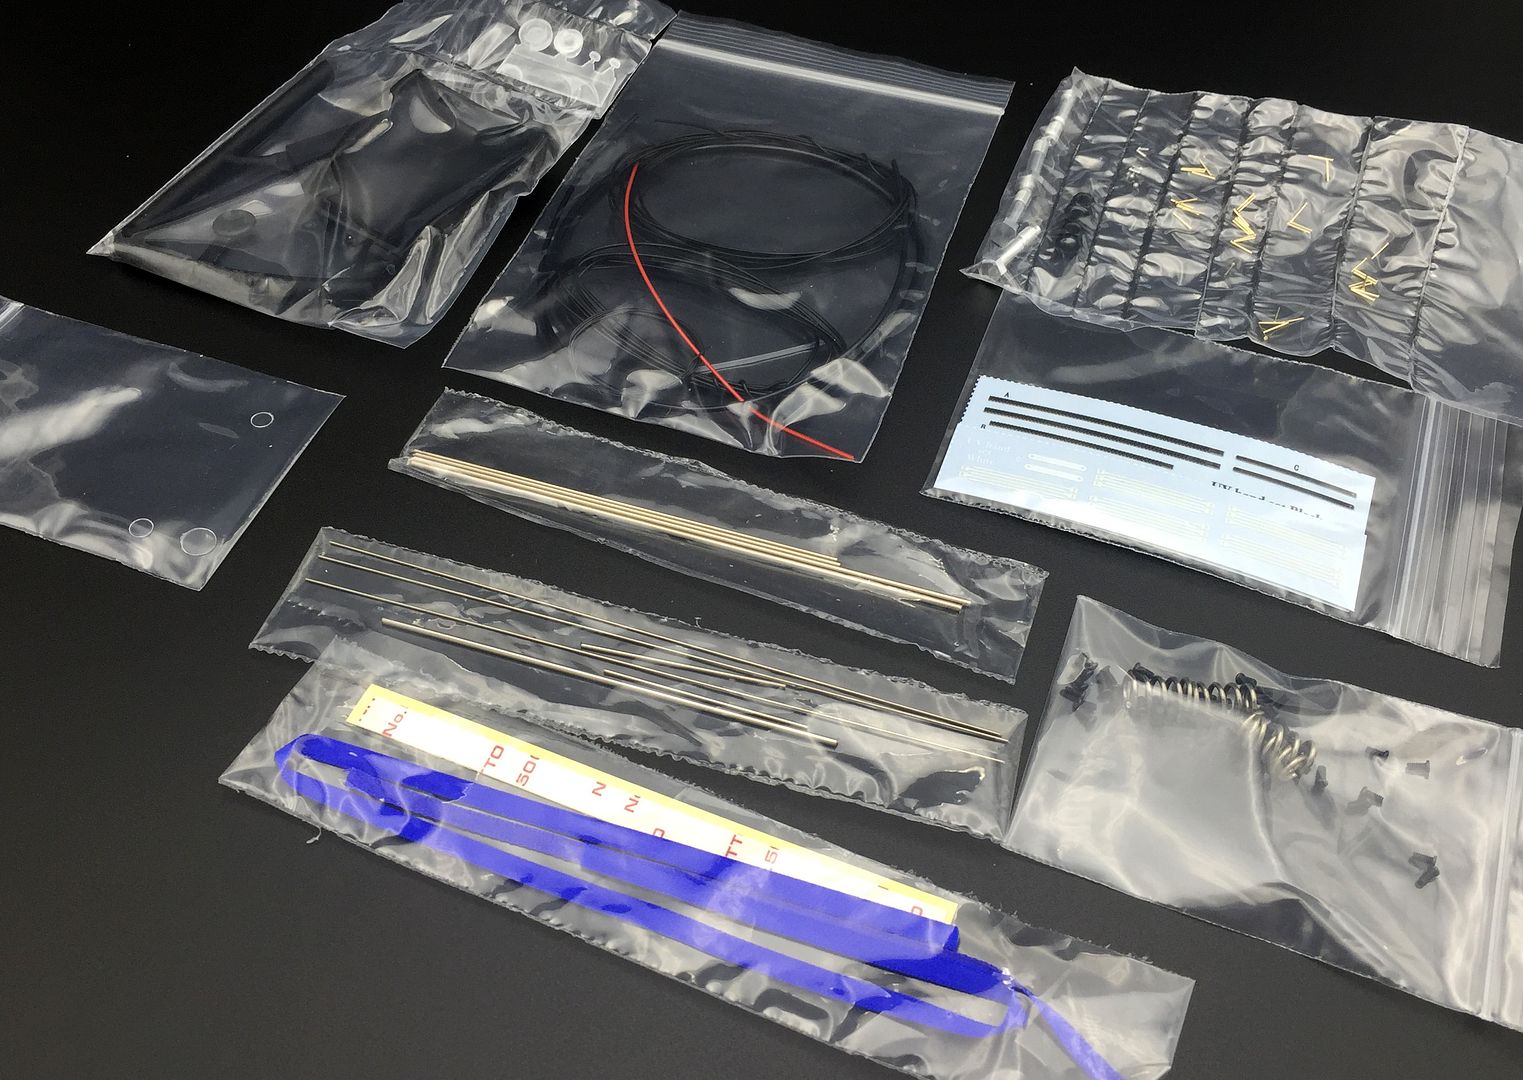
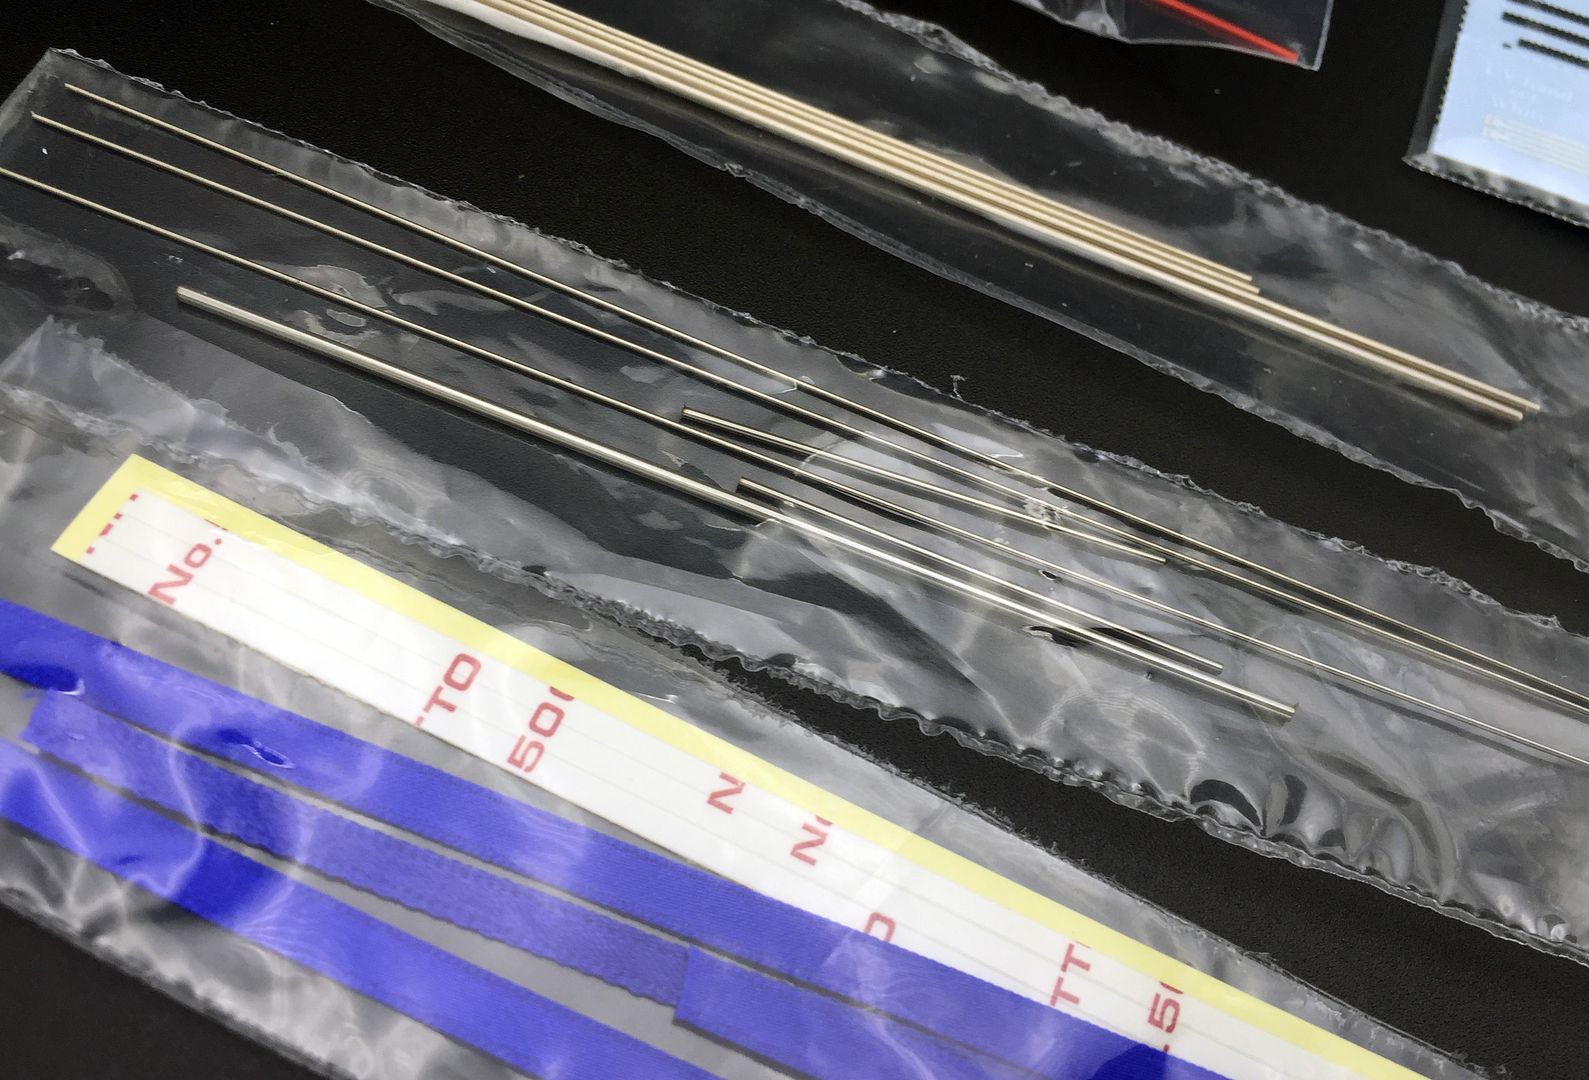
Pack of other detail parts - seat belt ribbon, clear parts, rods, pins, tie-wraps etc...
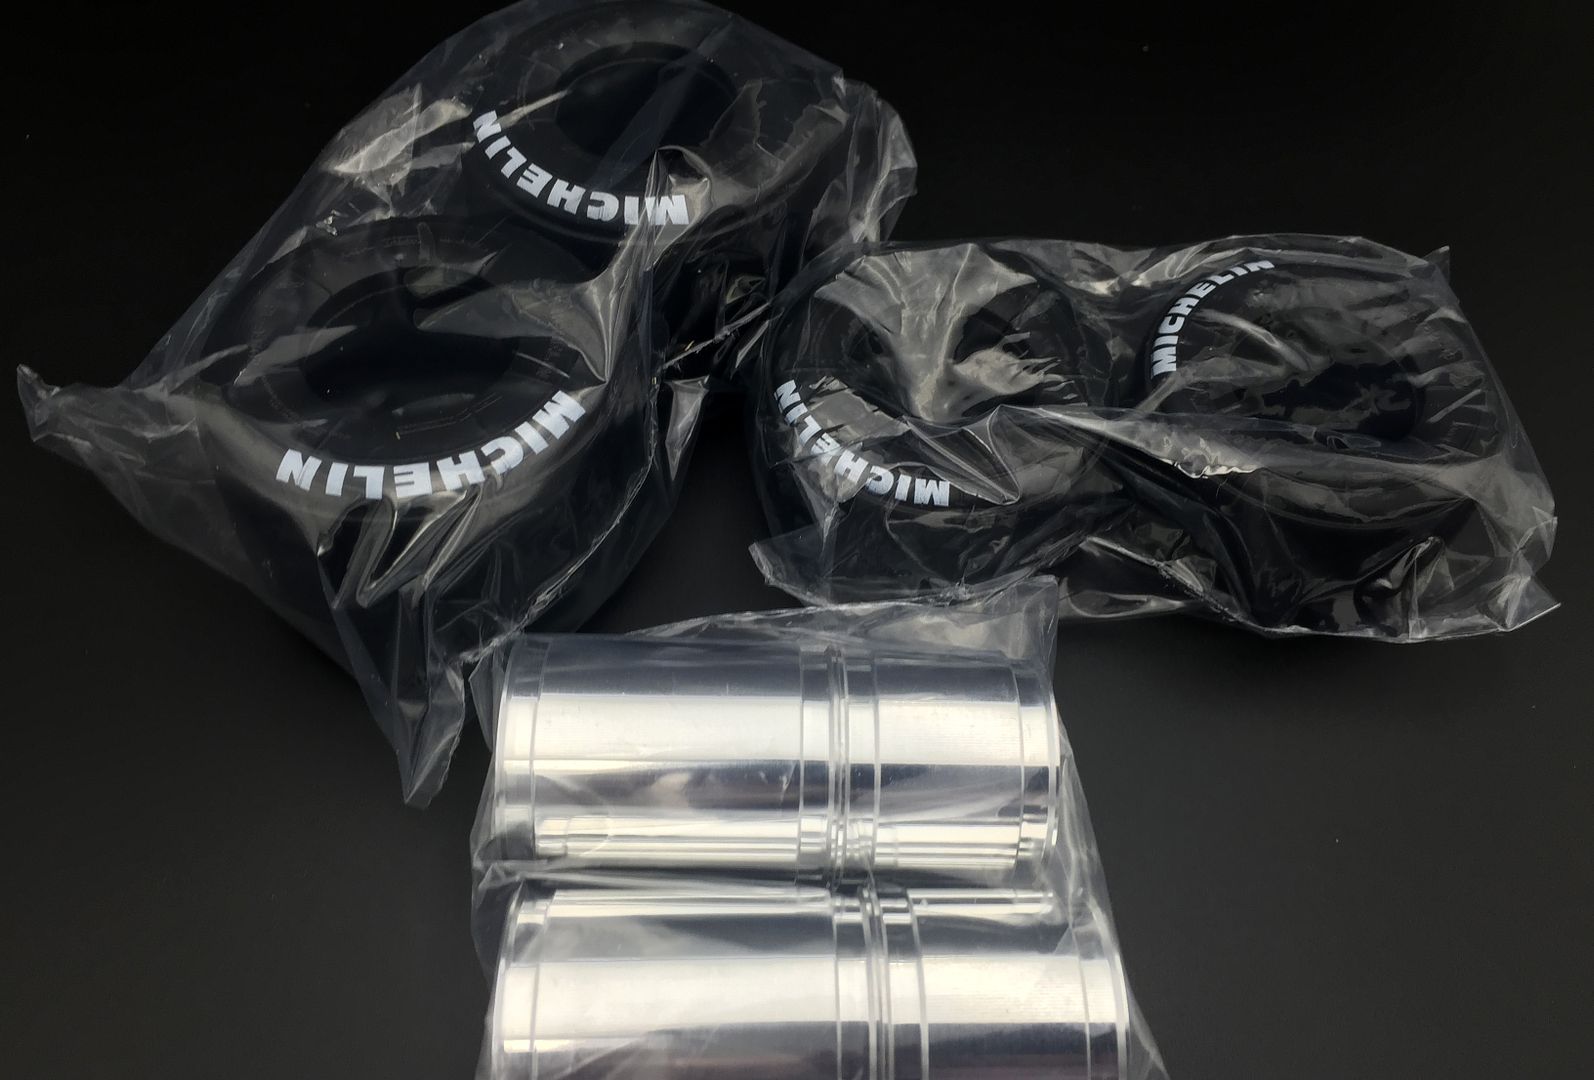
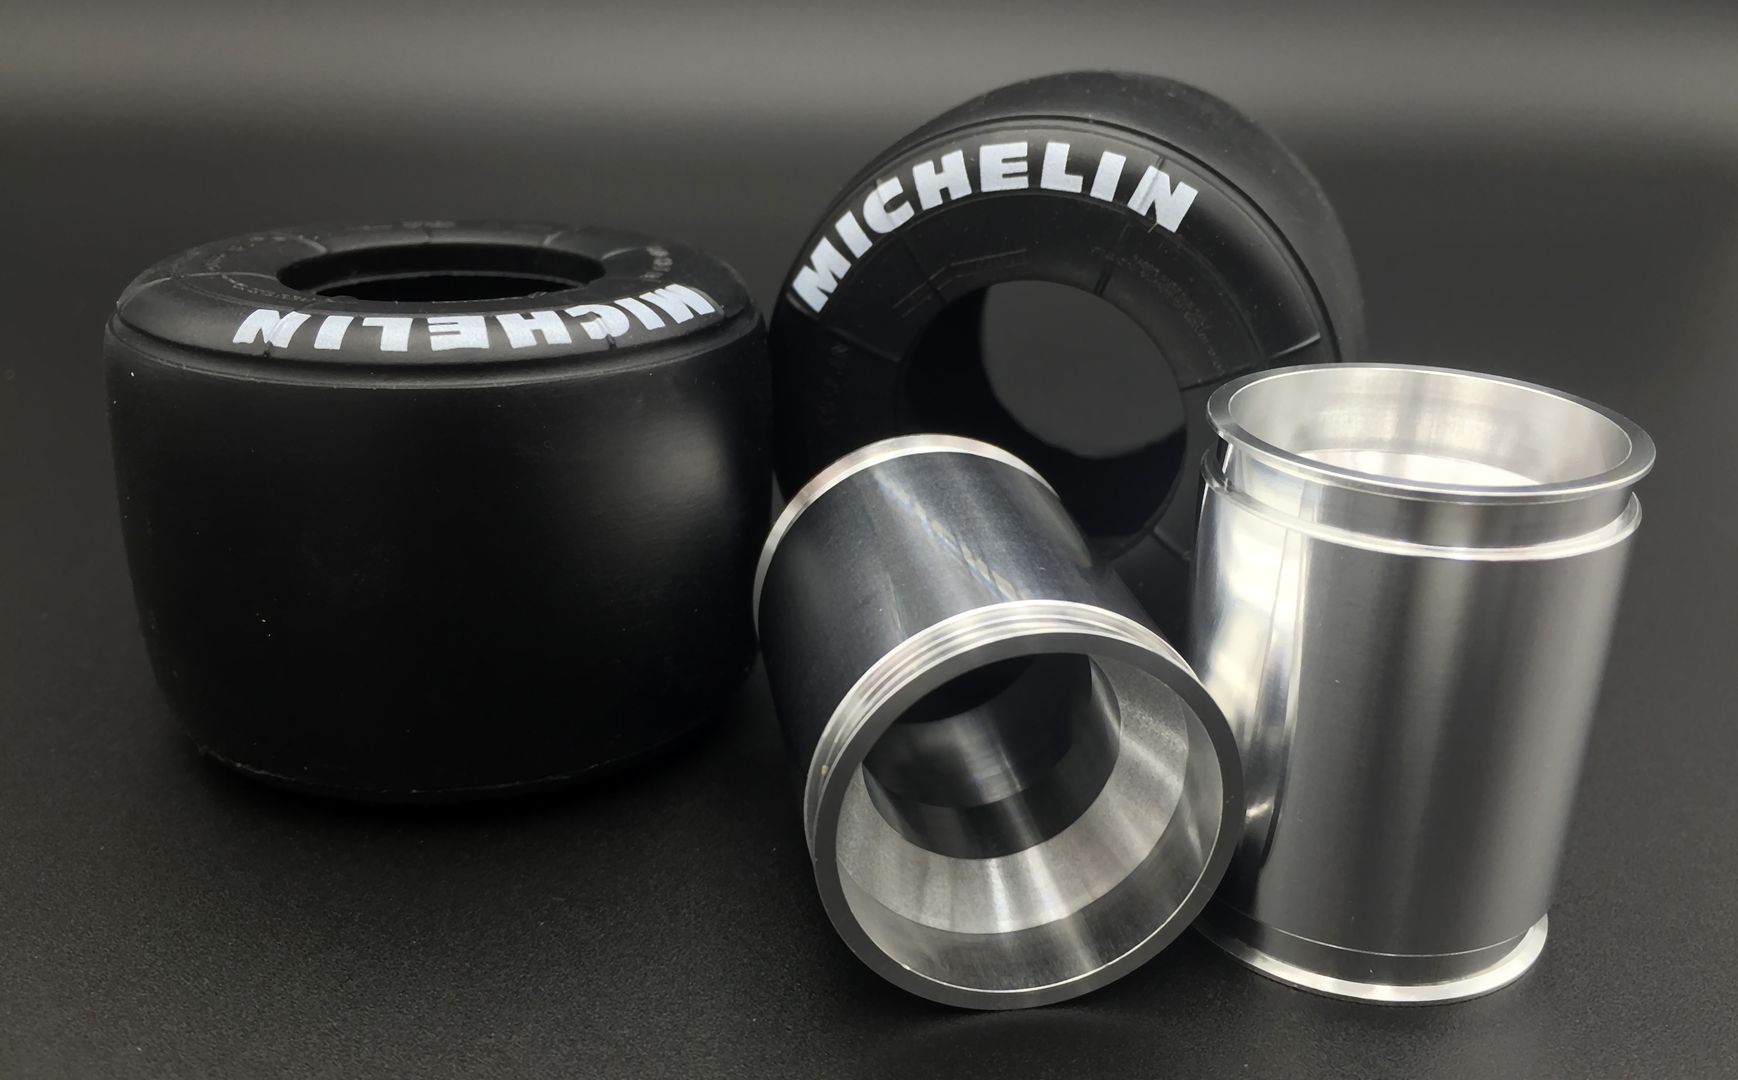
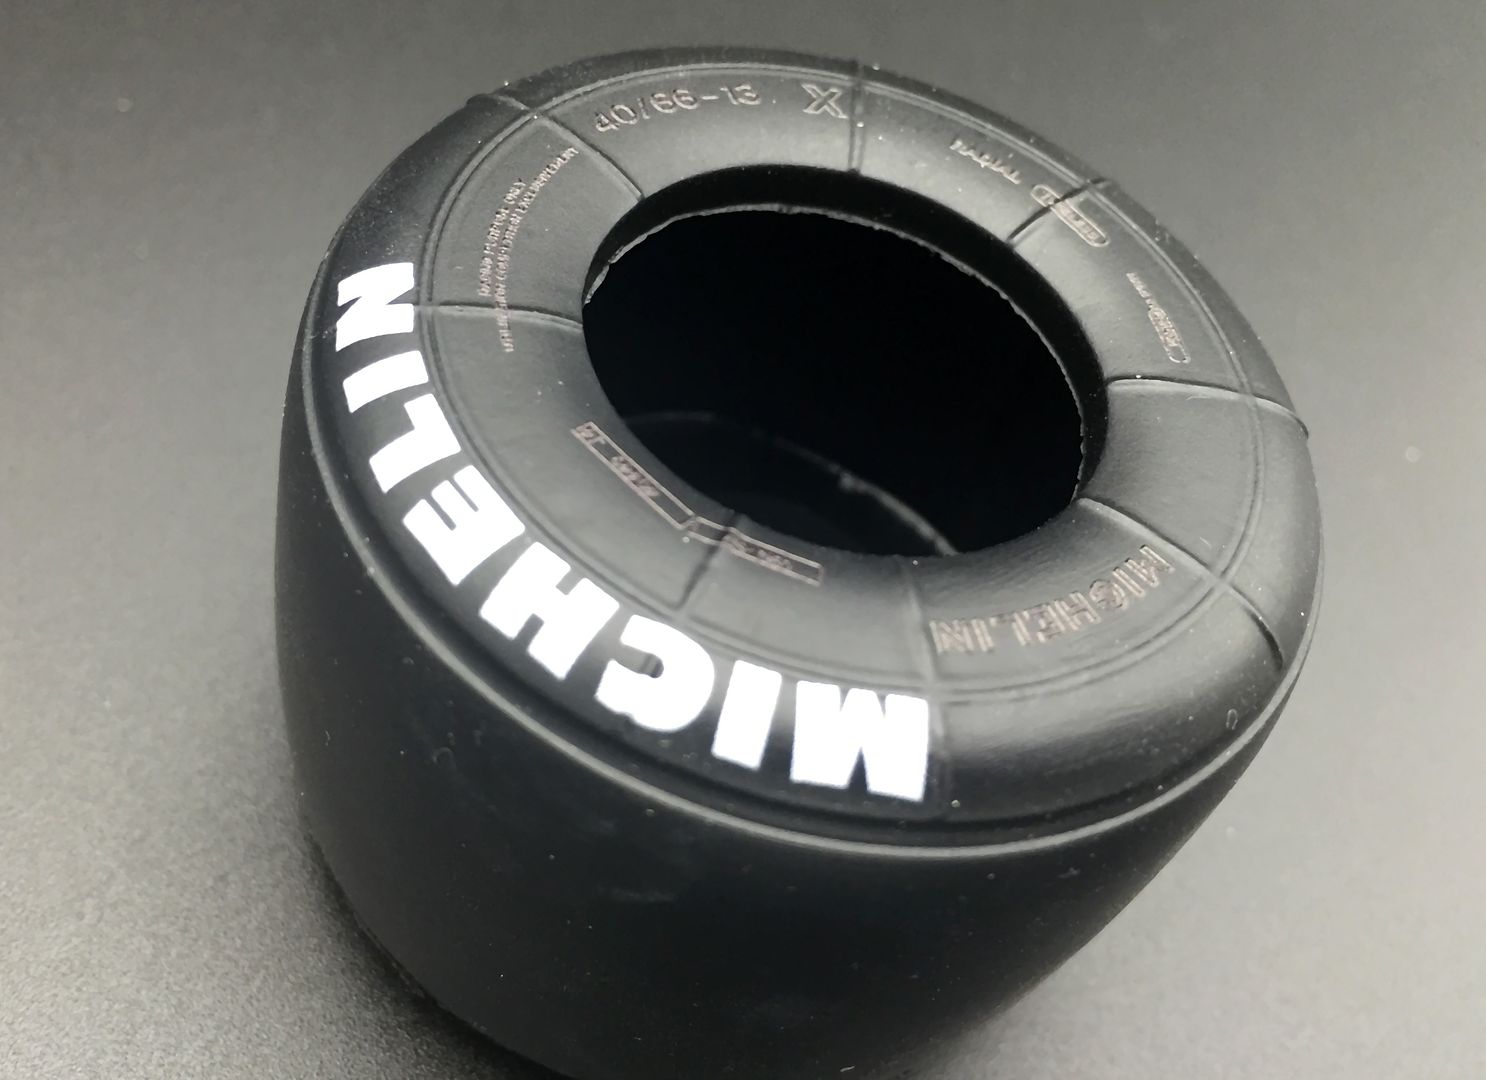
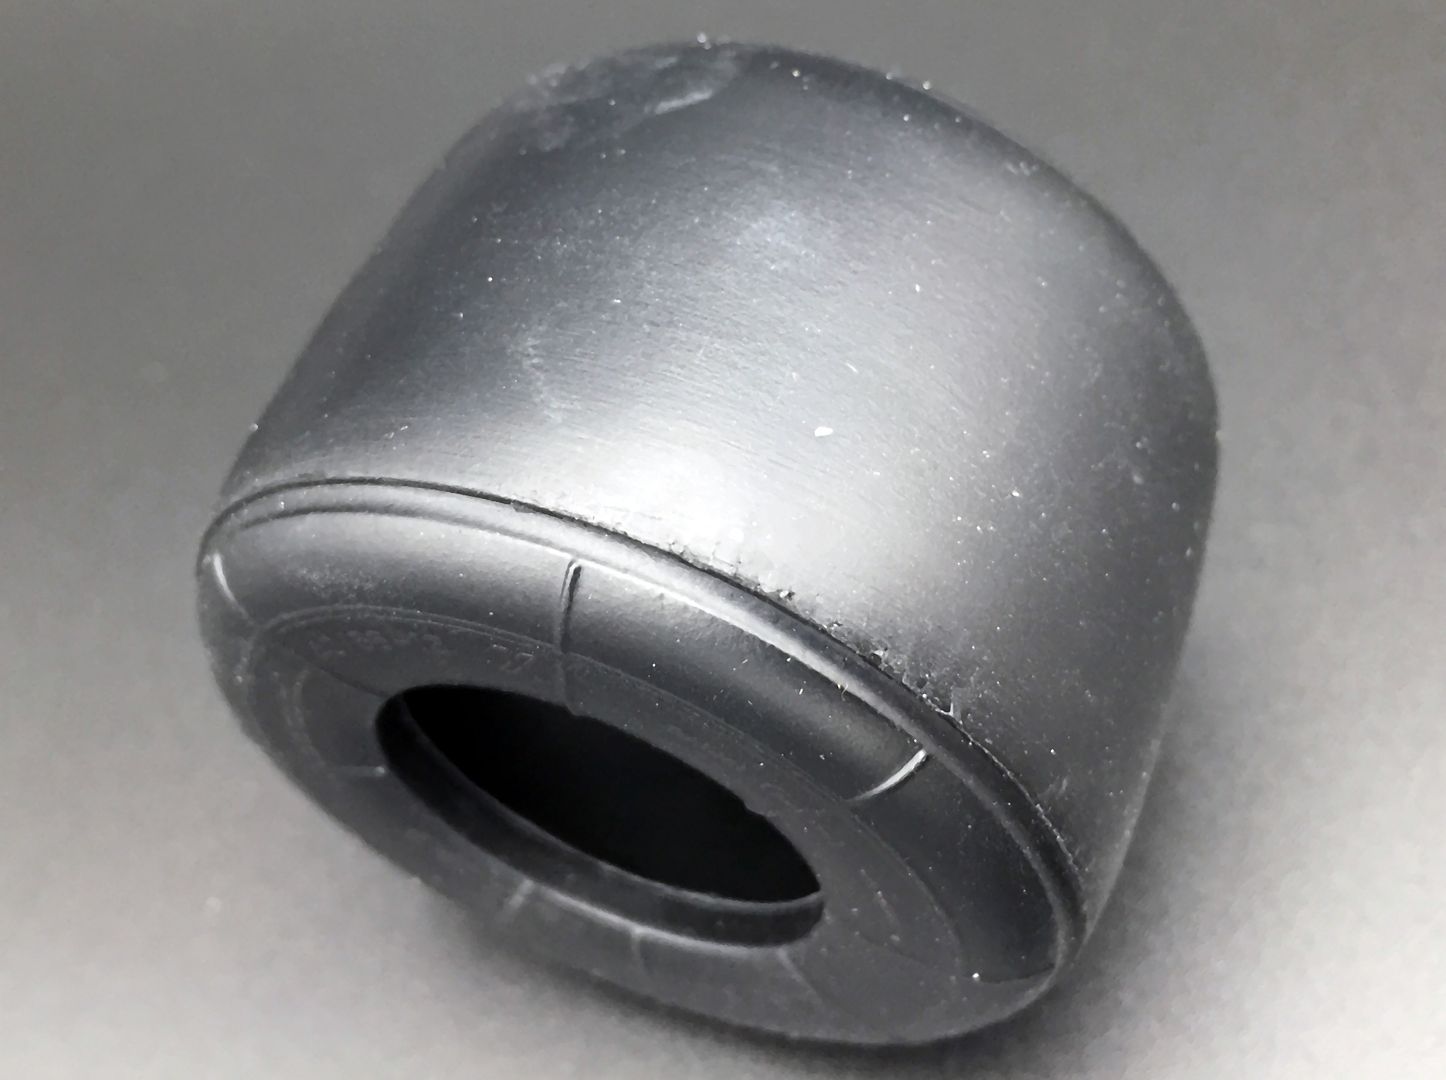
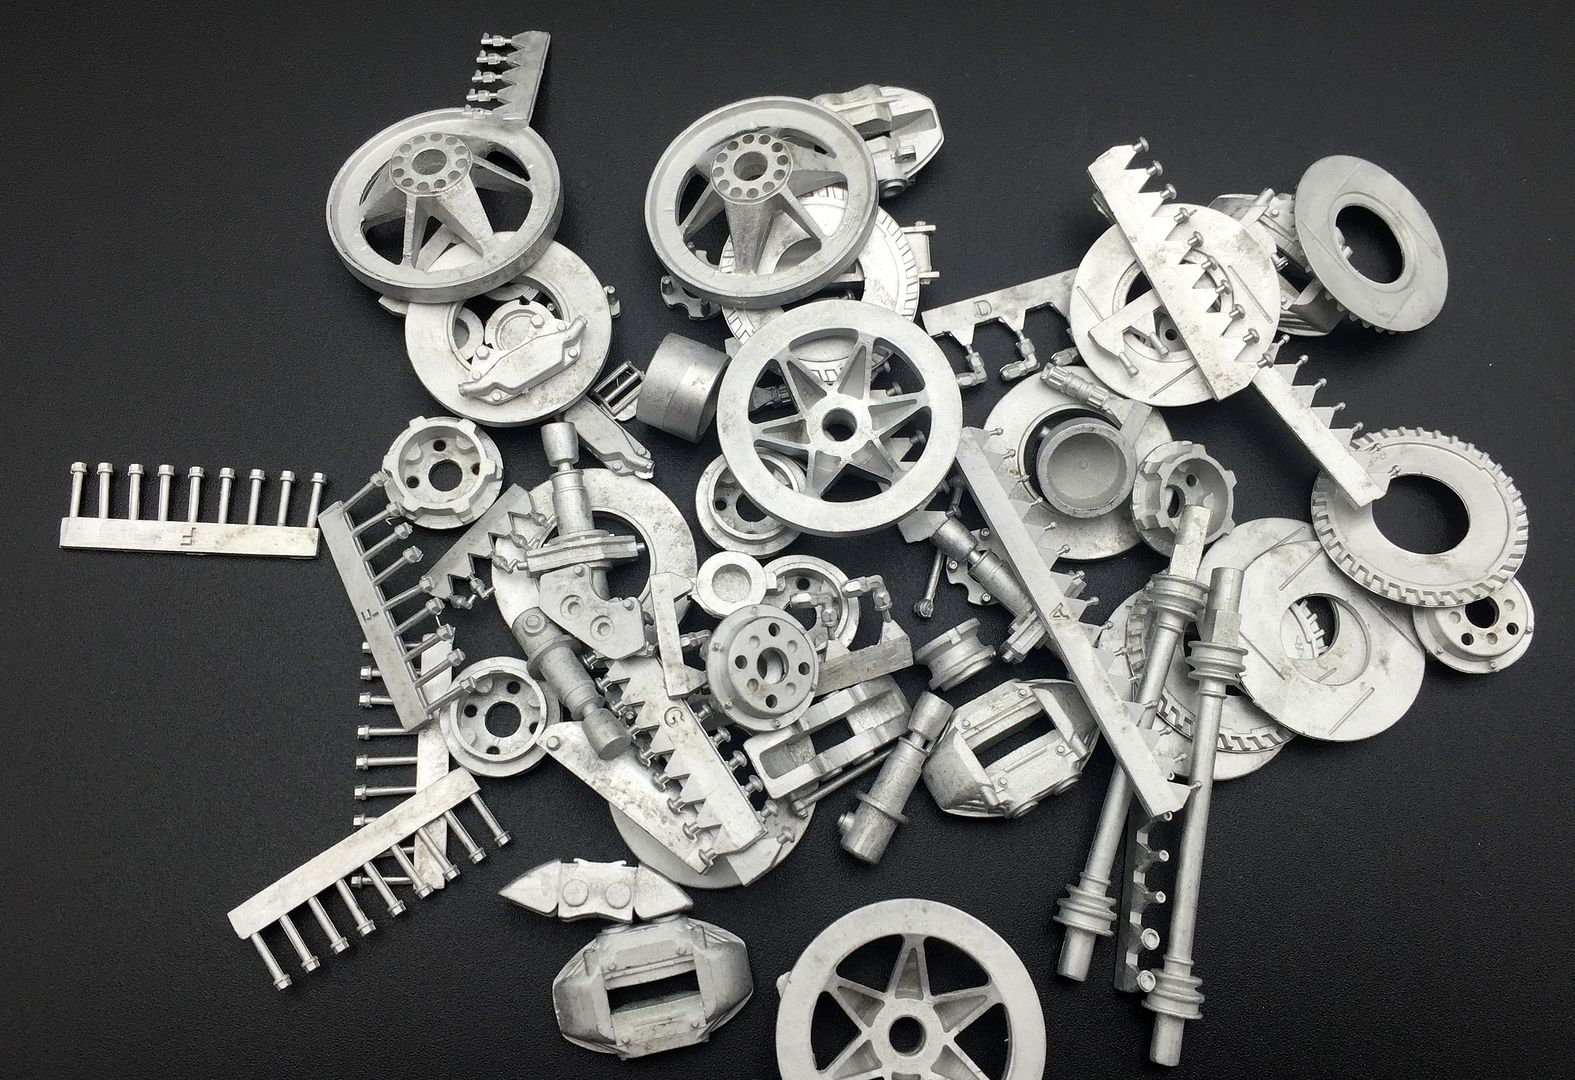
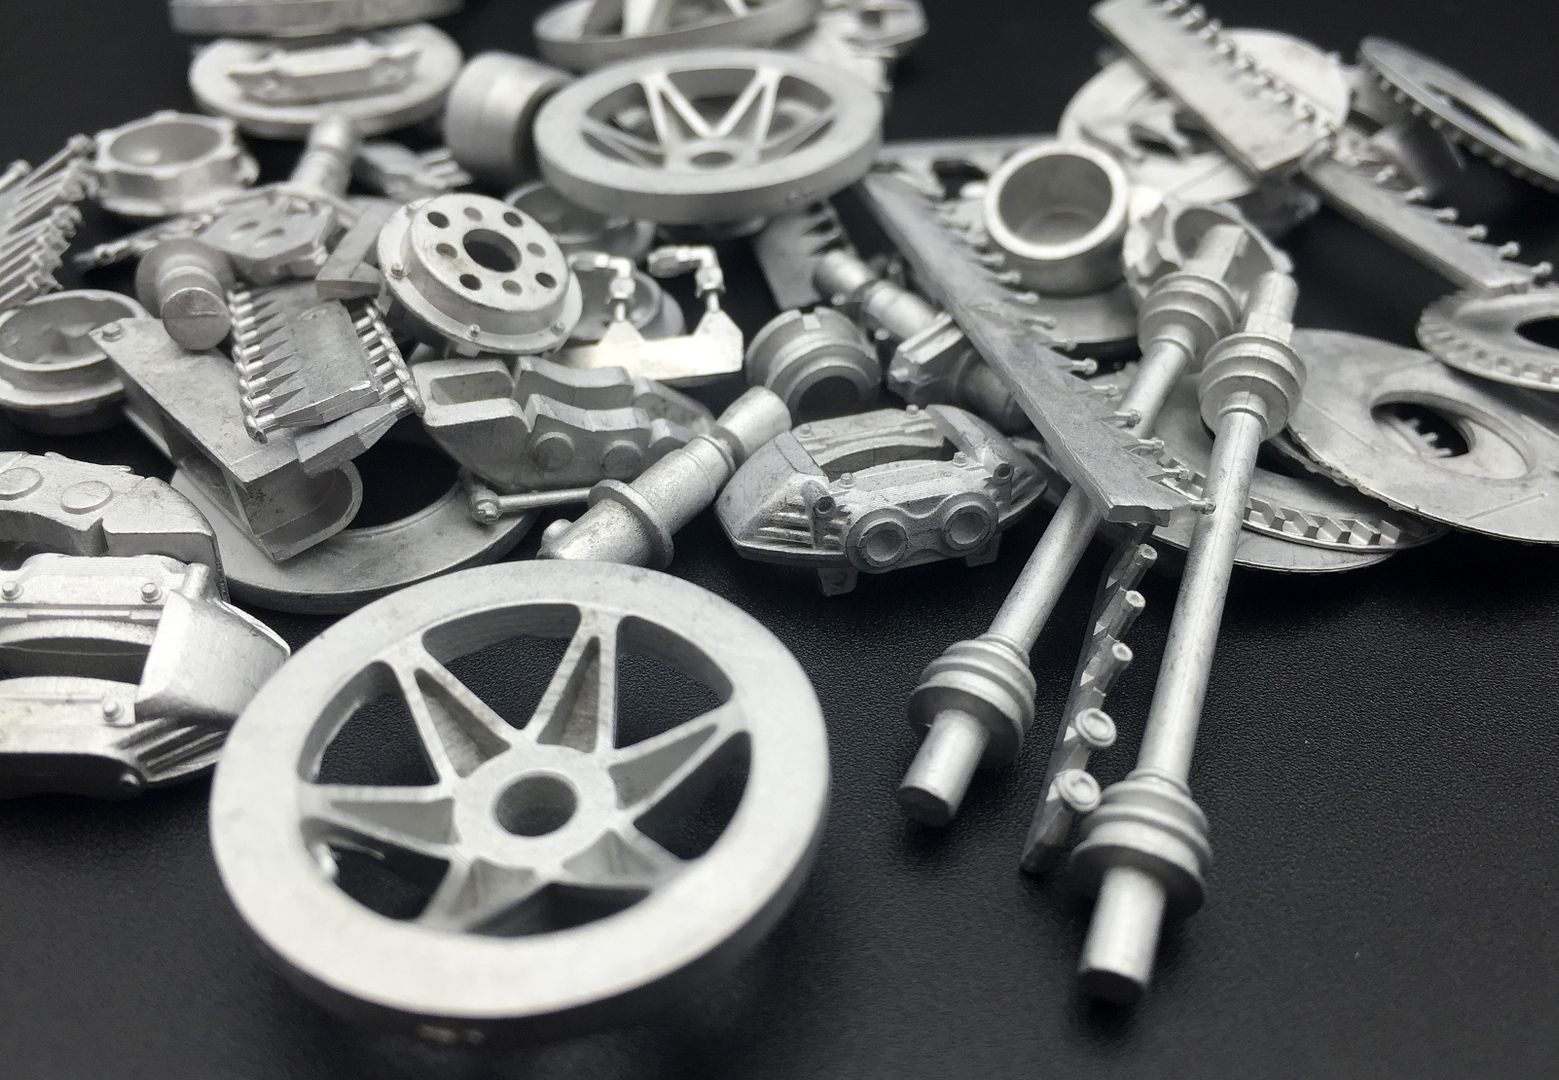
Wheels and tyres always look cool - turned ali hubs, molded tyres including the 'Michelin' logo, and lots of other tyre info molded into the rubber - also there seems to be a very nice mildly-buffed feel to the tyres - won't need to scrub them in much or remove any mold lines (on the contact surface anyway)
On to the metal components - usual plastic-ziploc-bags-in-bubble-wrap packaging......grrrrr
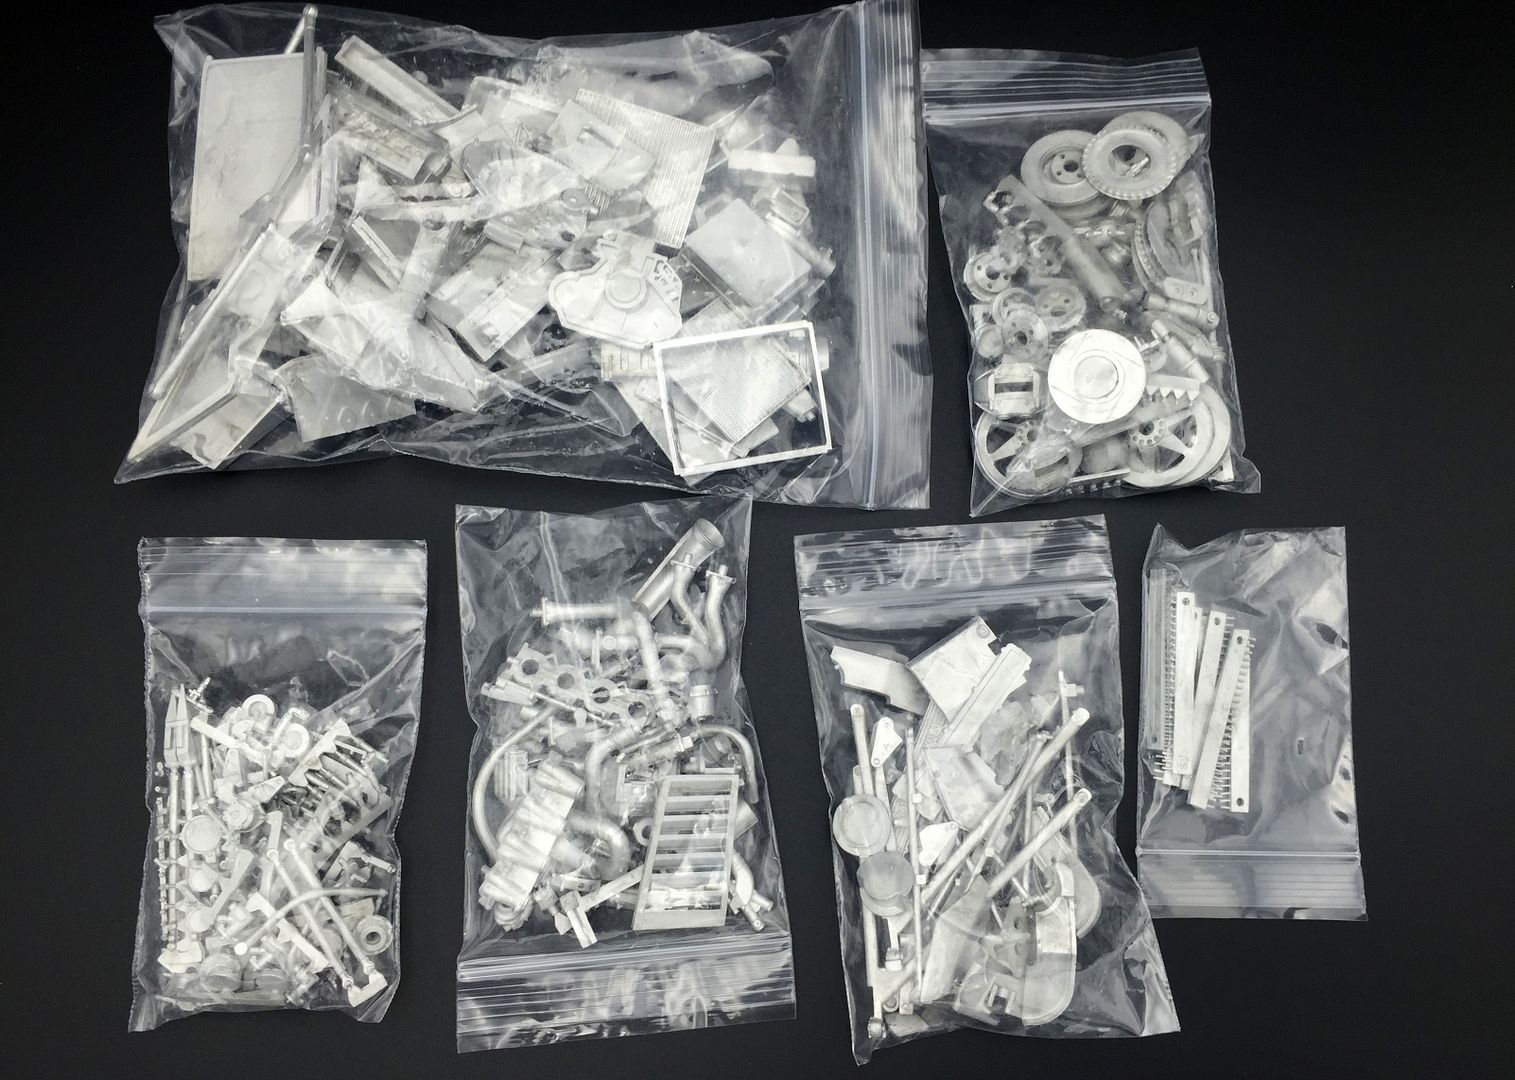
Lots and lots of bits!
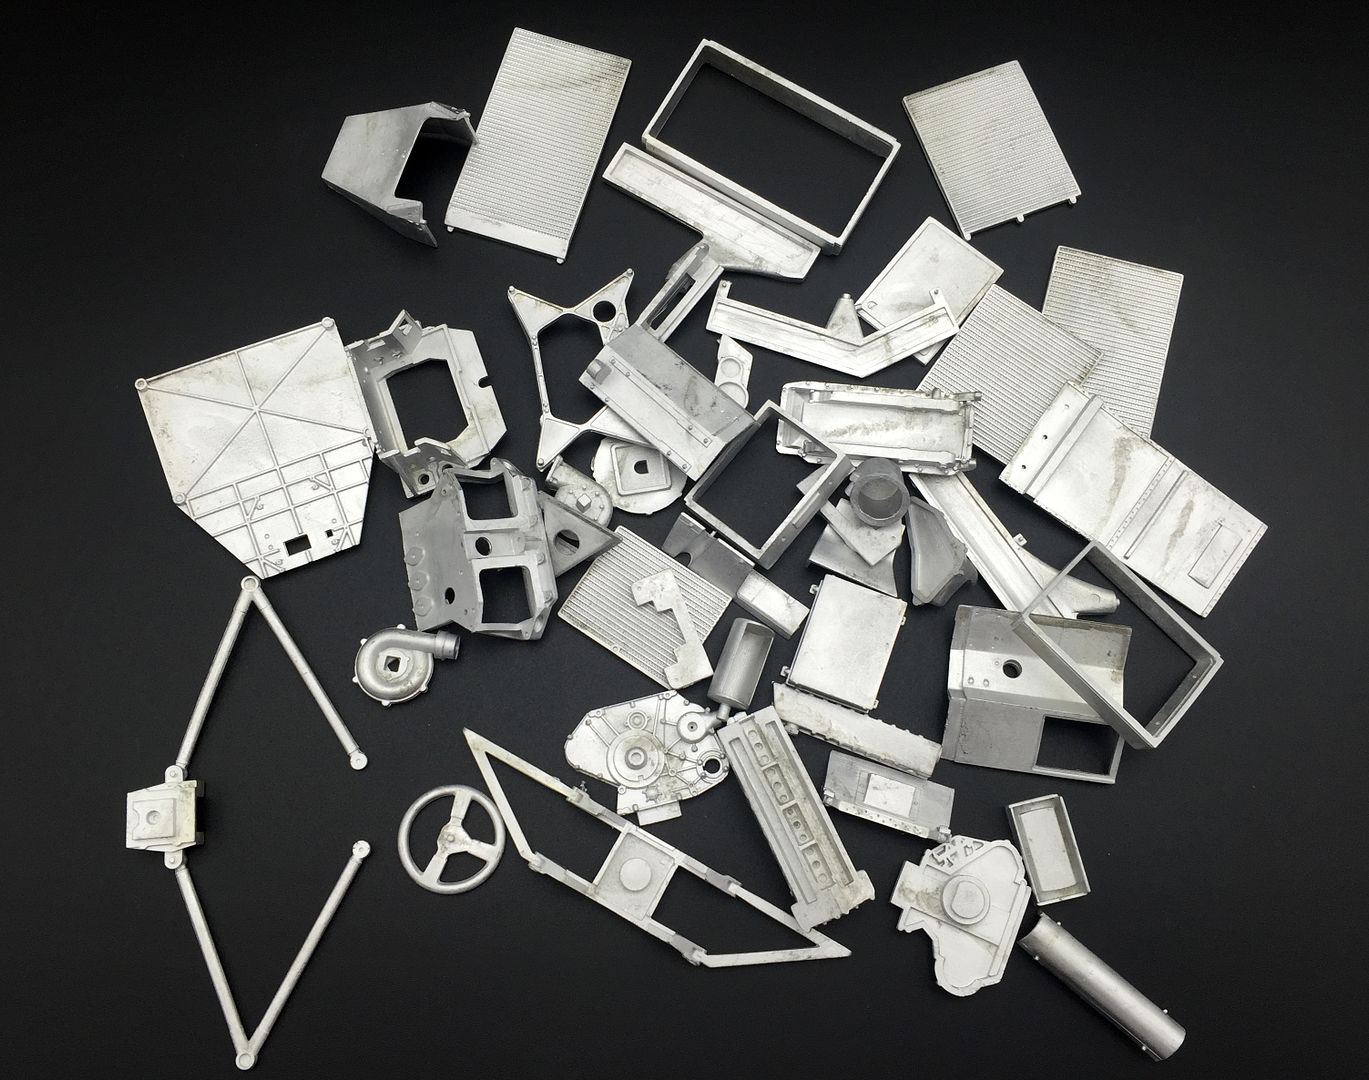
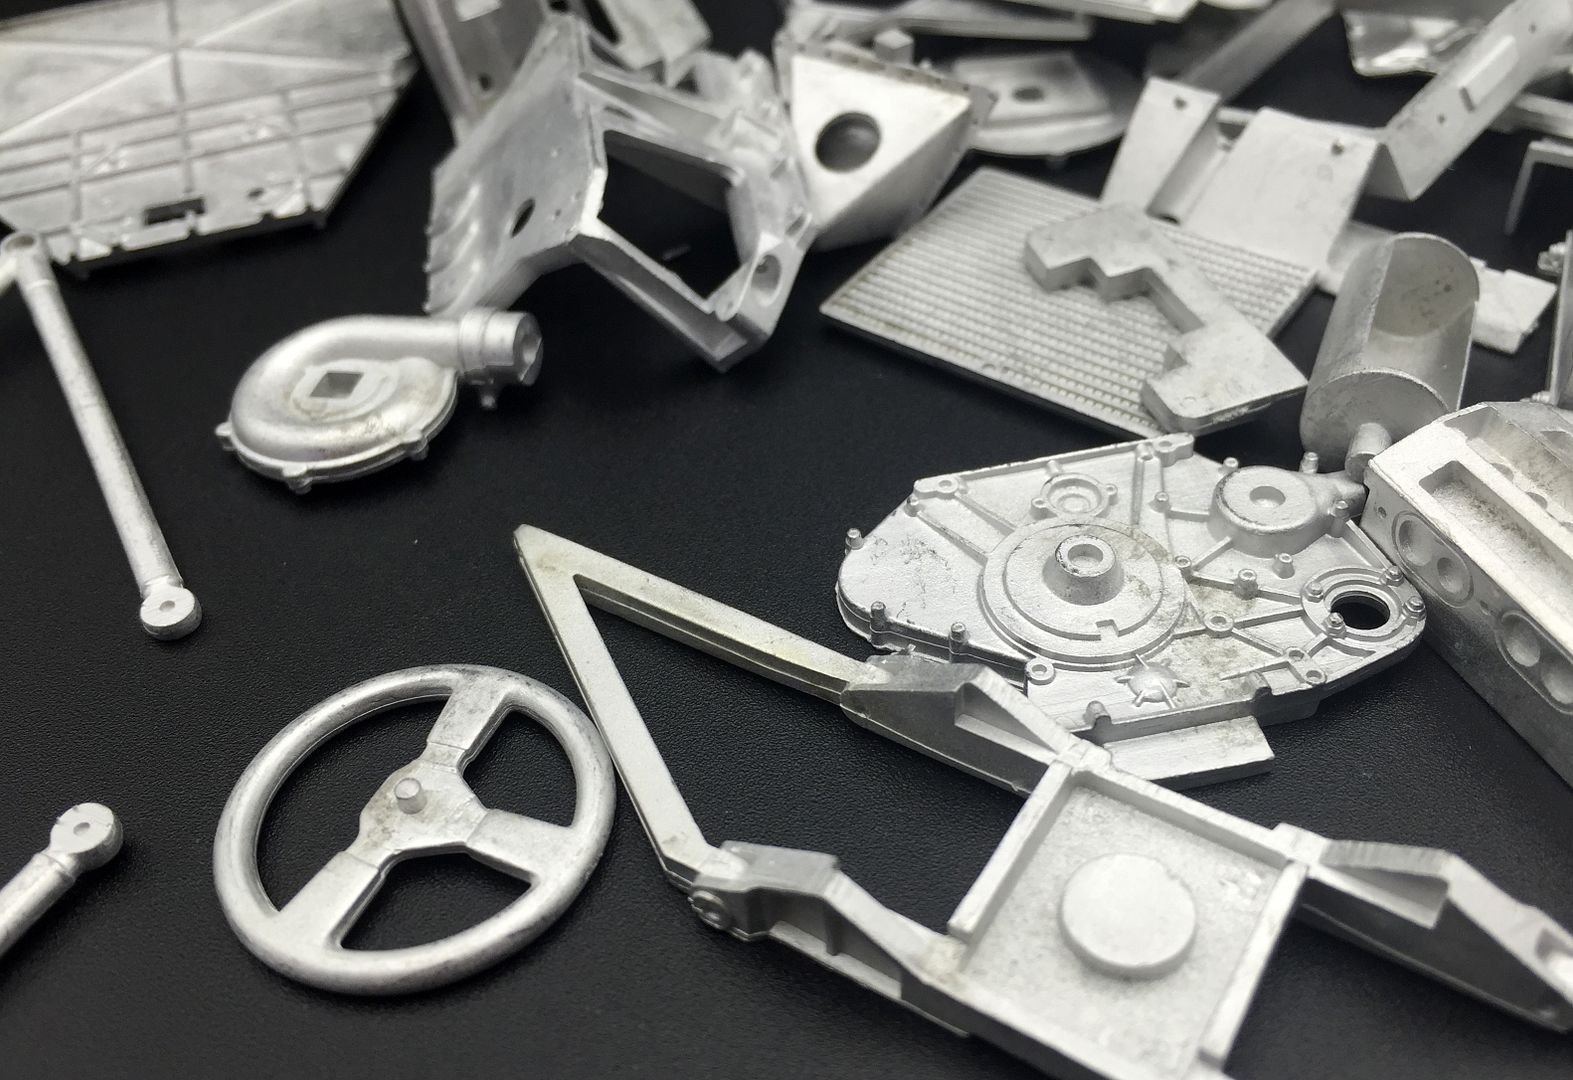
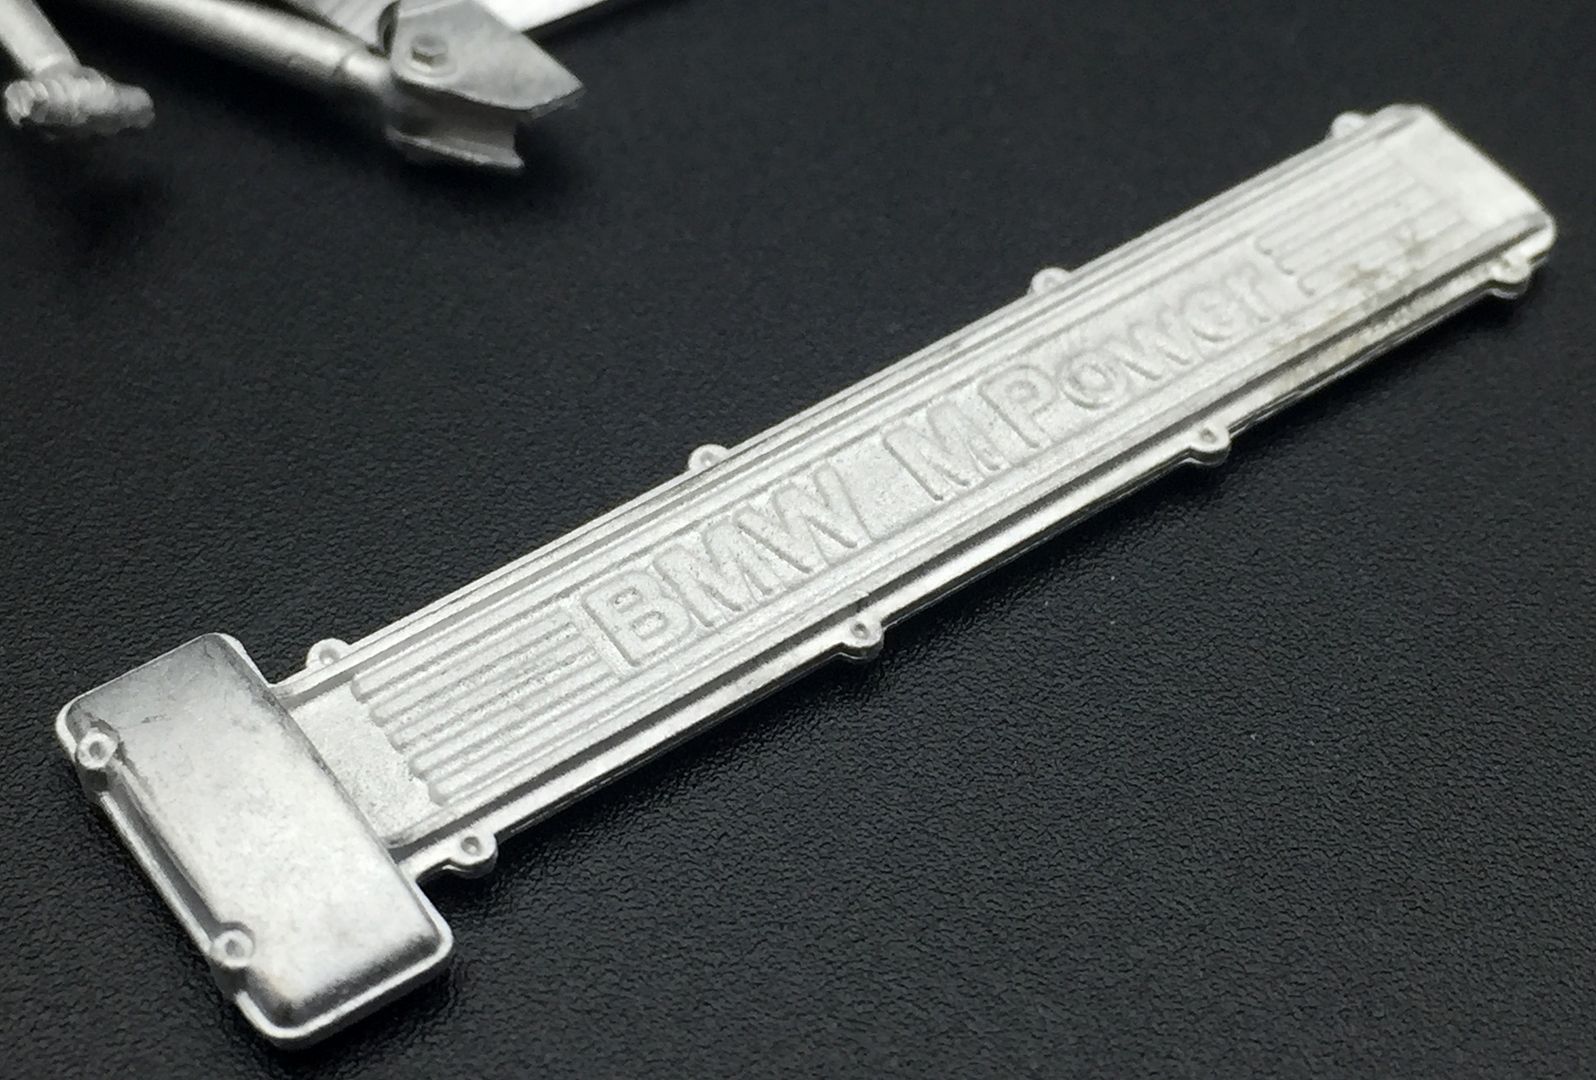
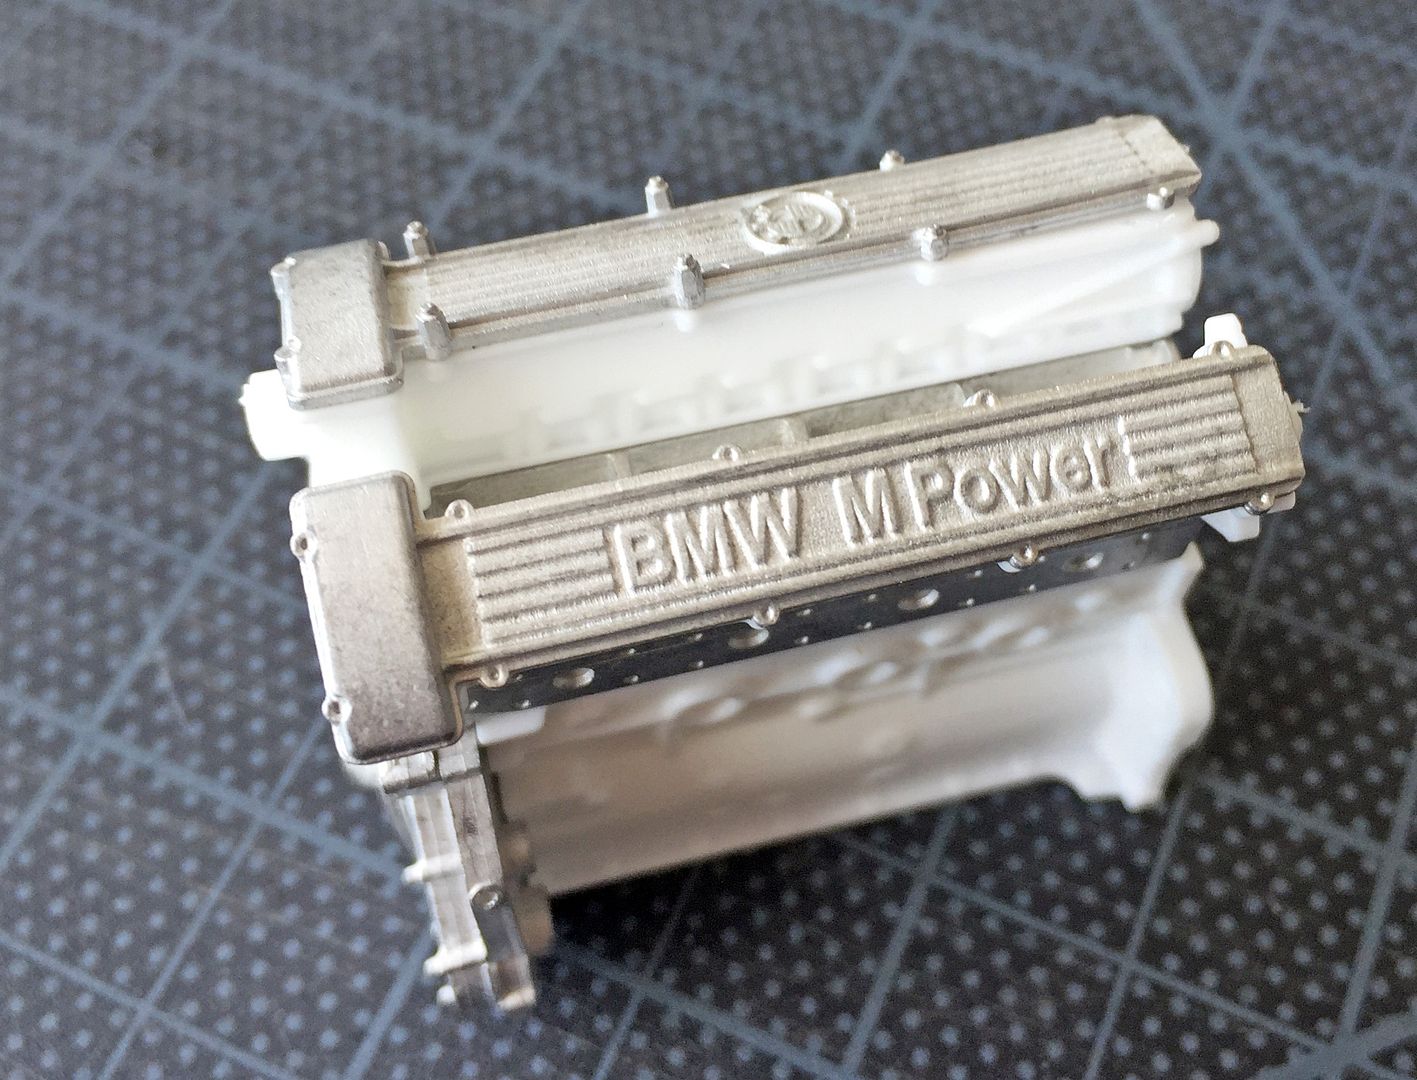
lovely details....
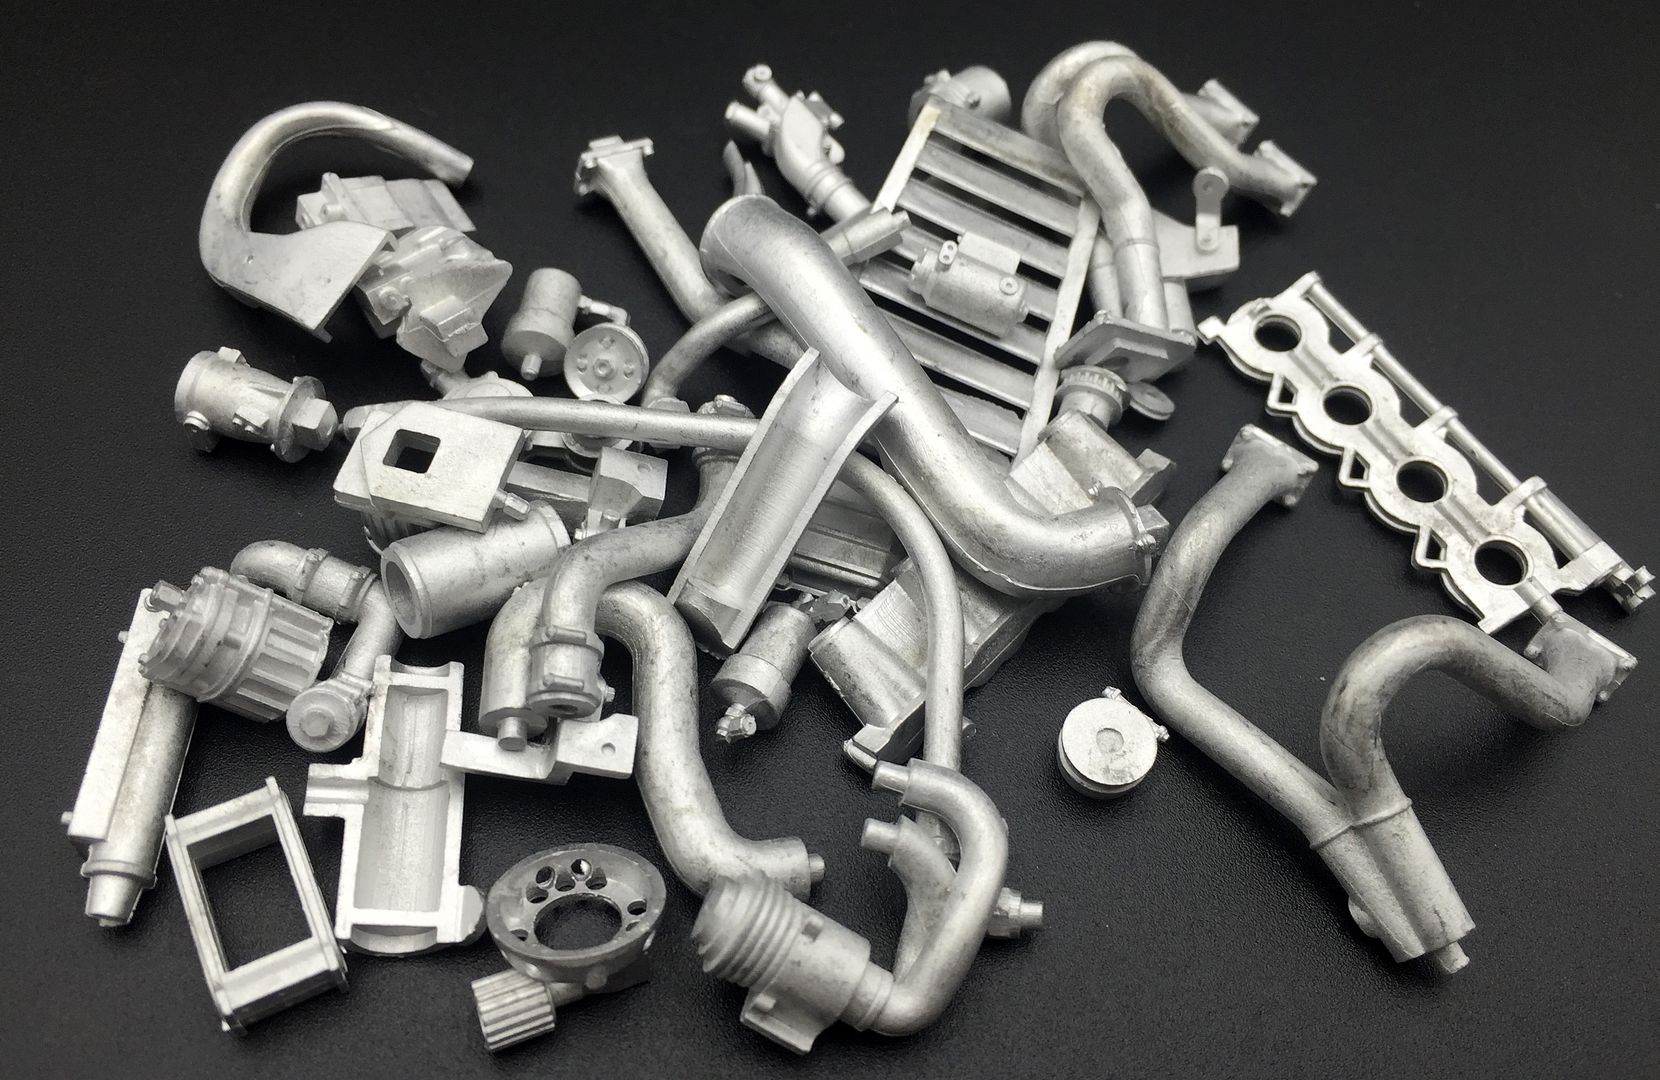
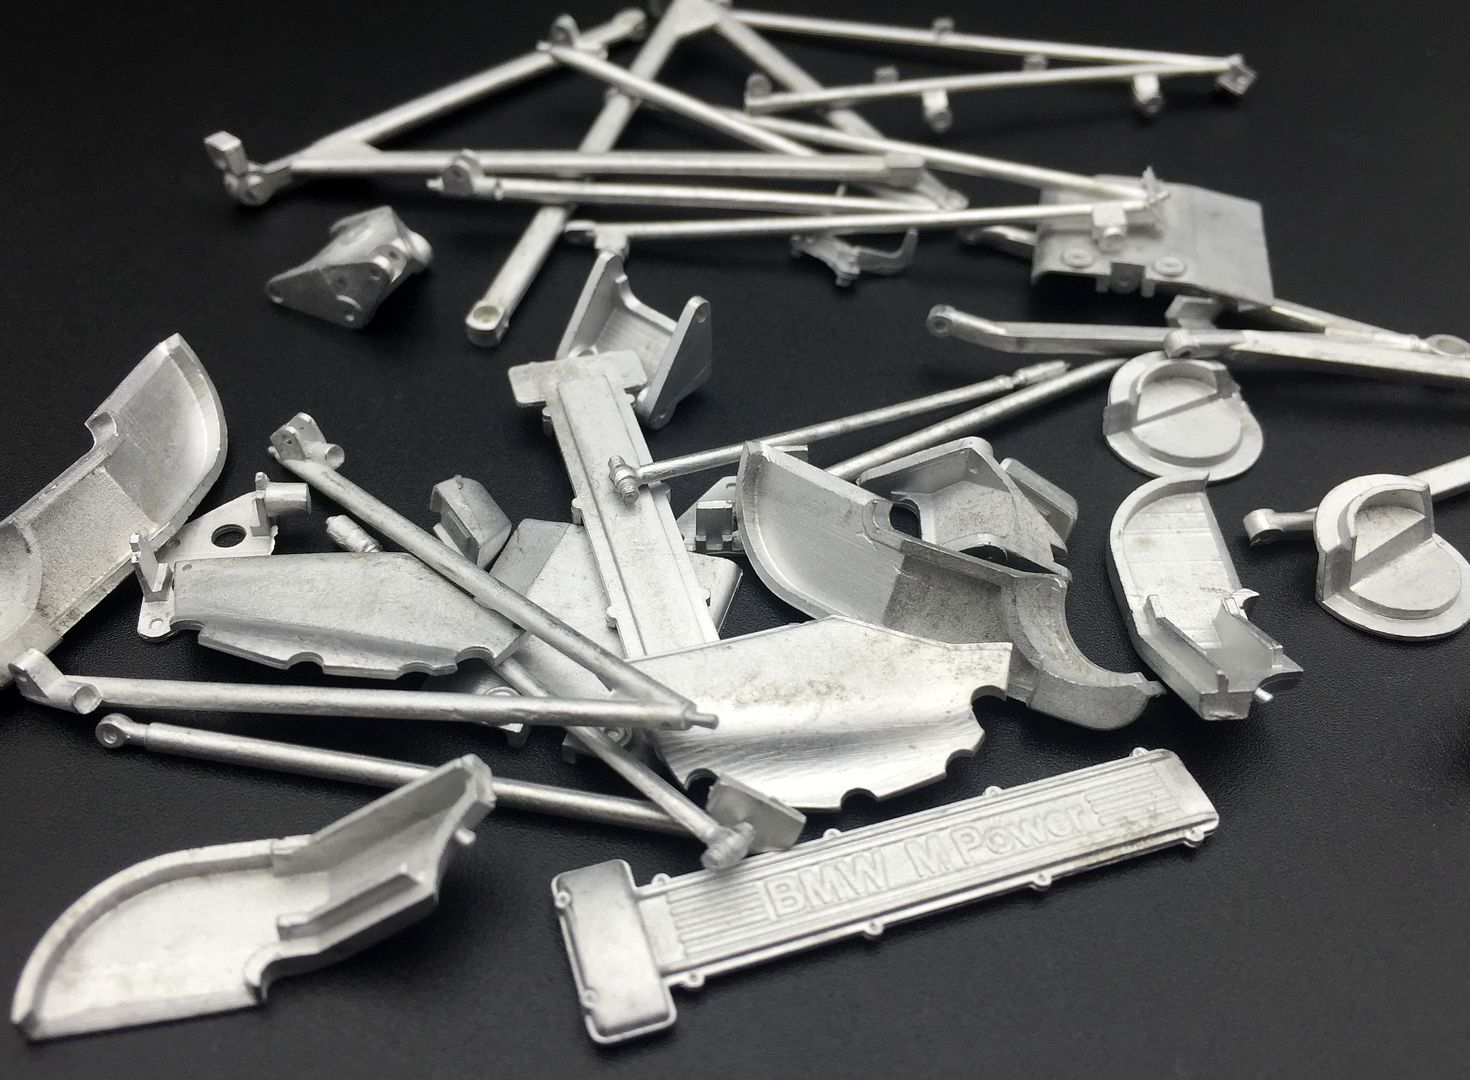
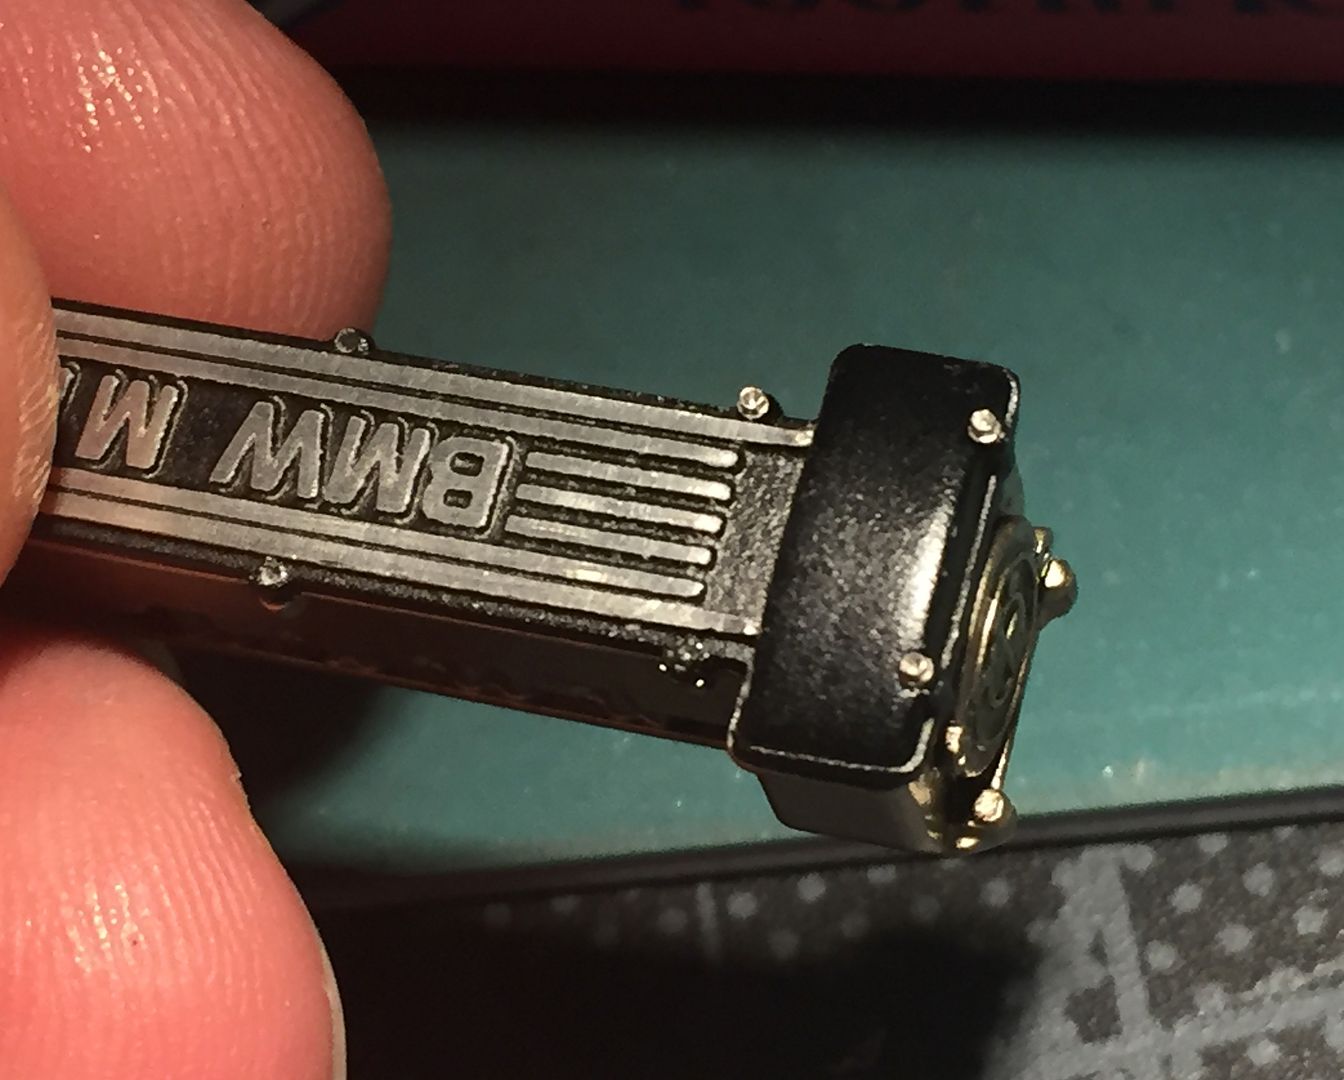
The legend...
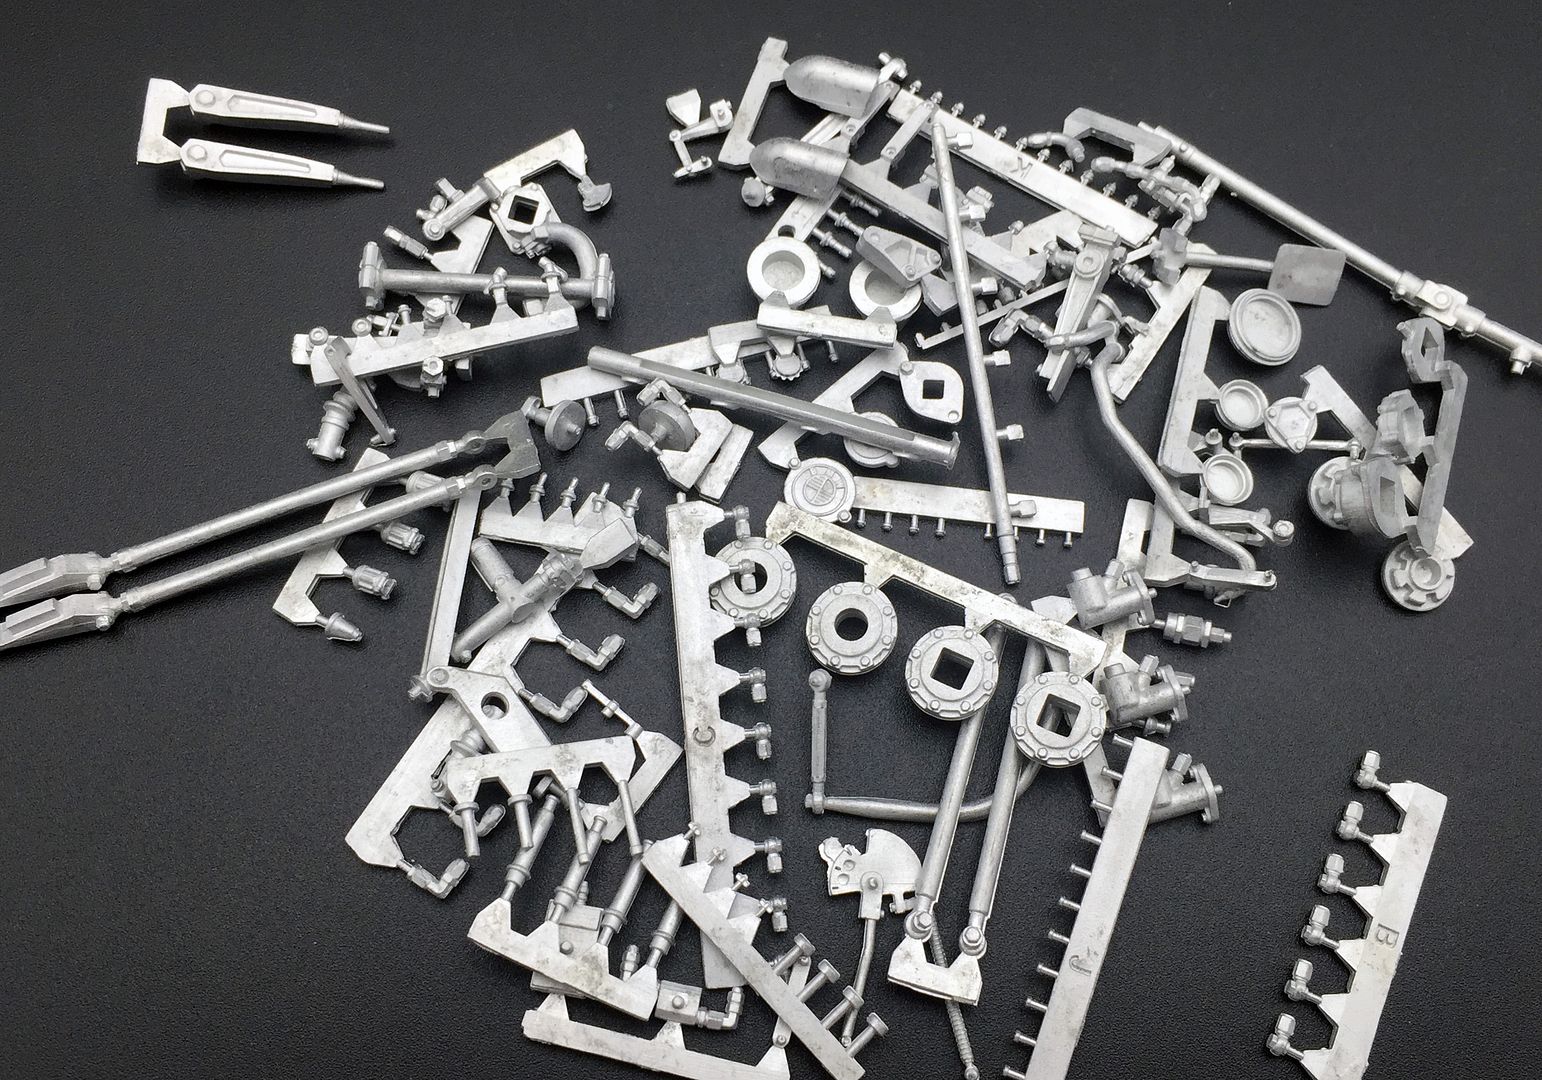
Nice seat belt buckle...
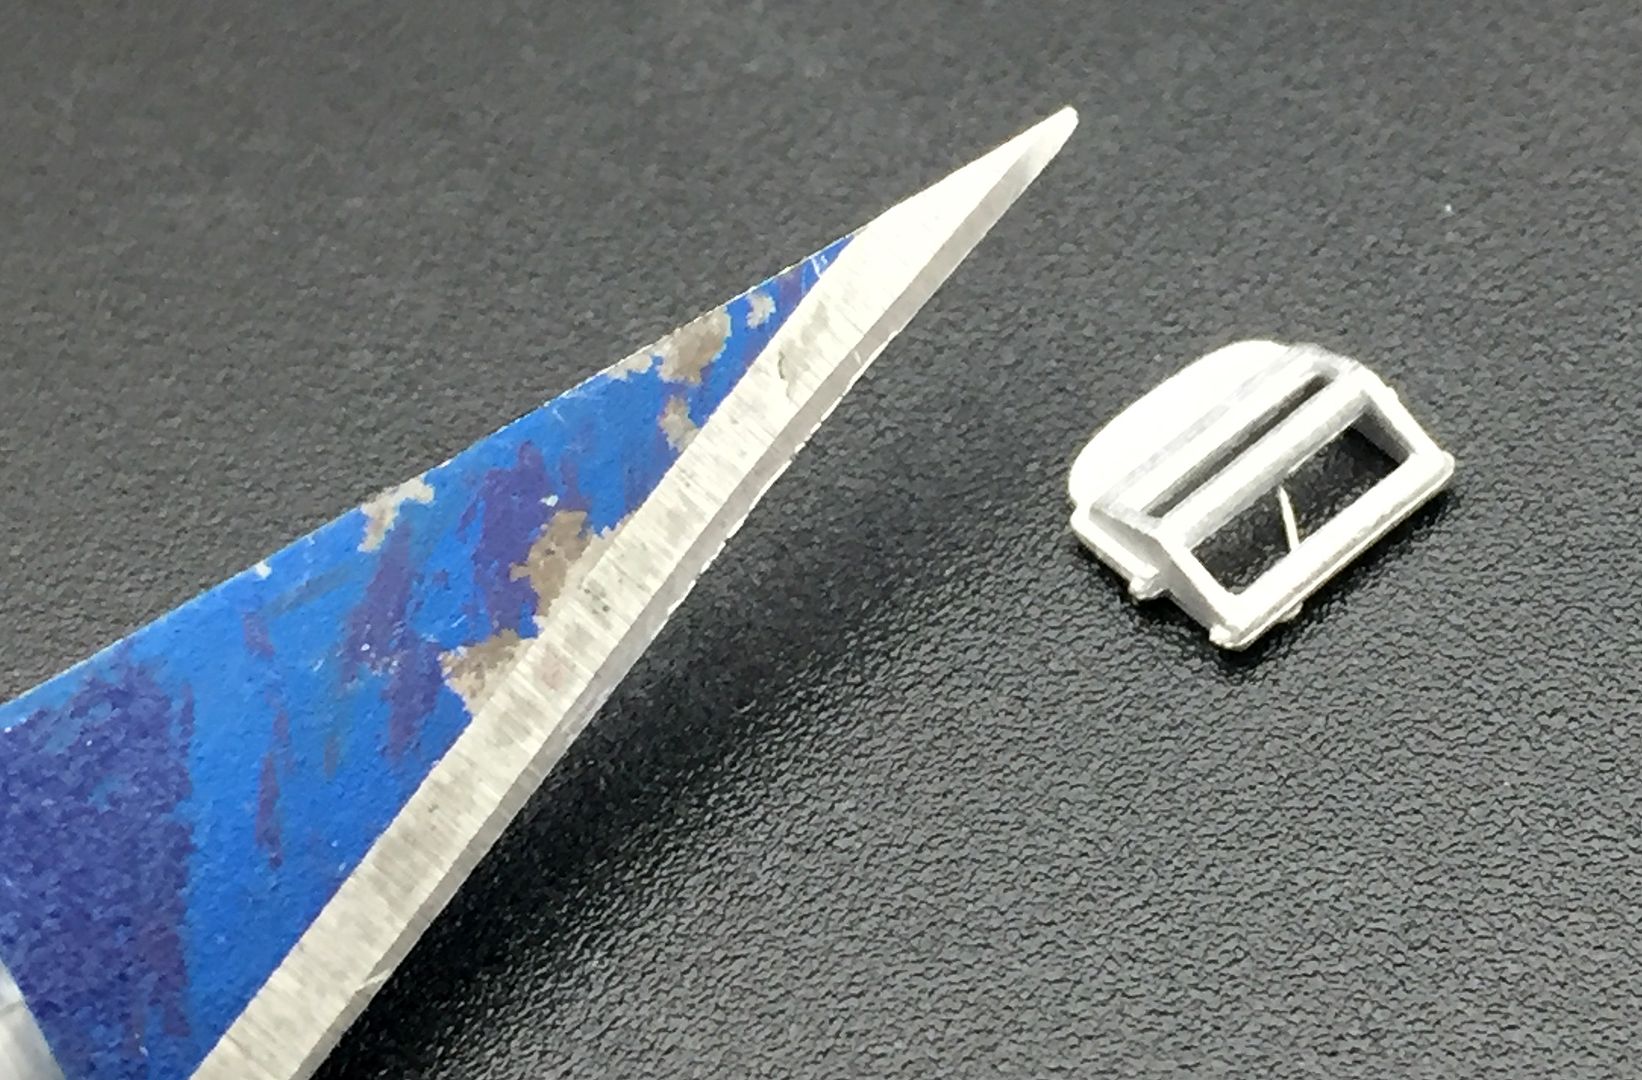
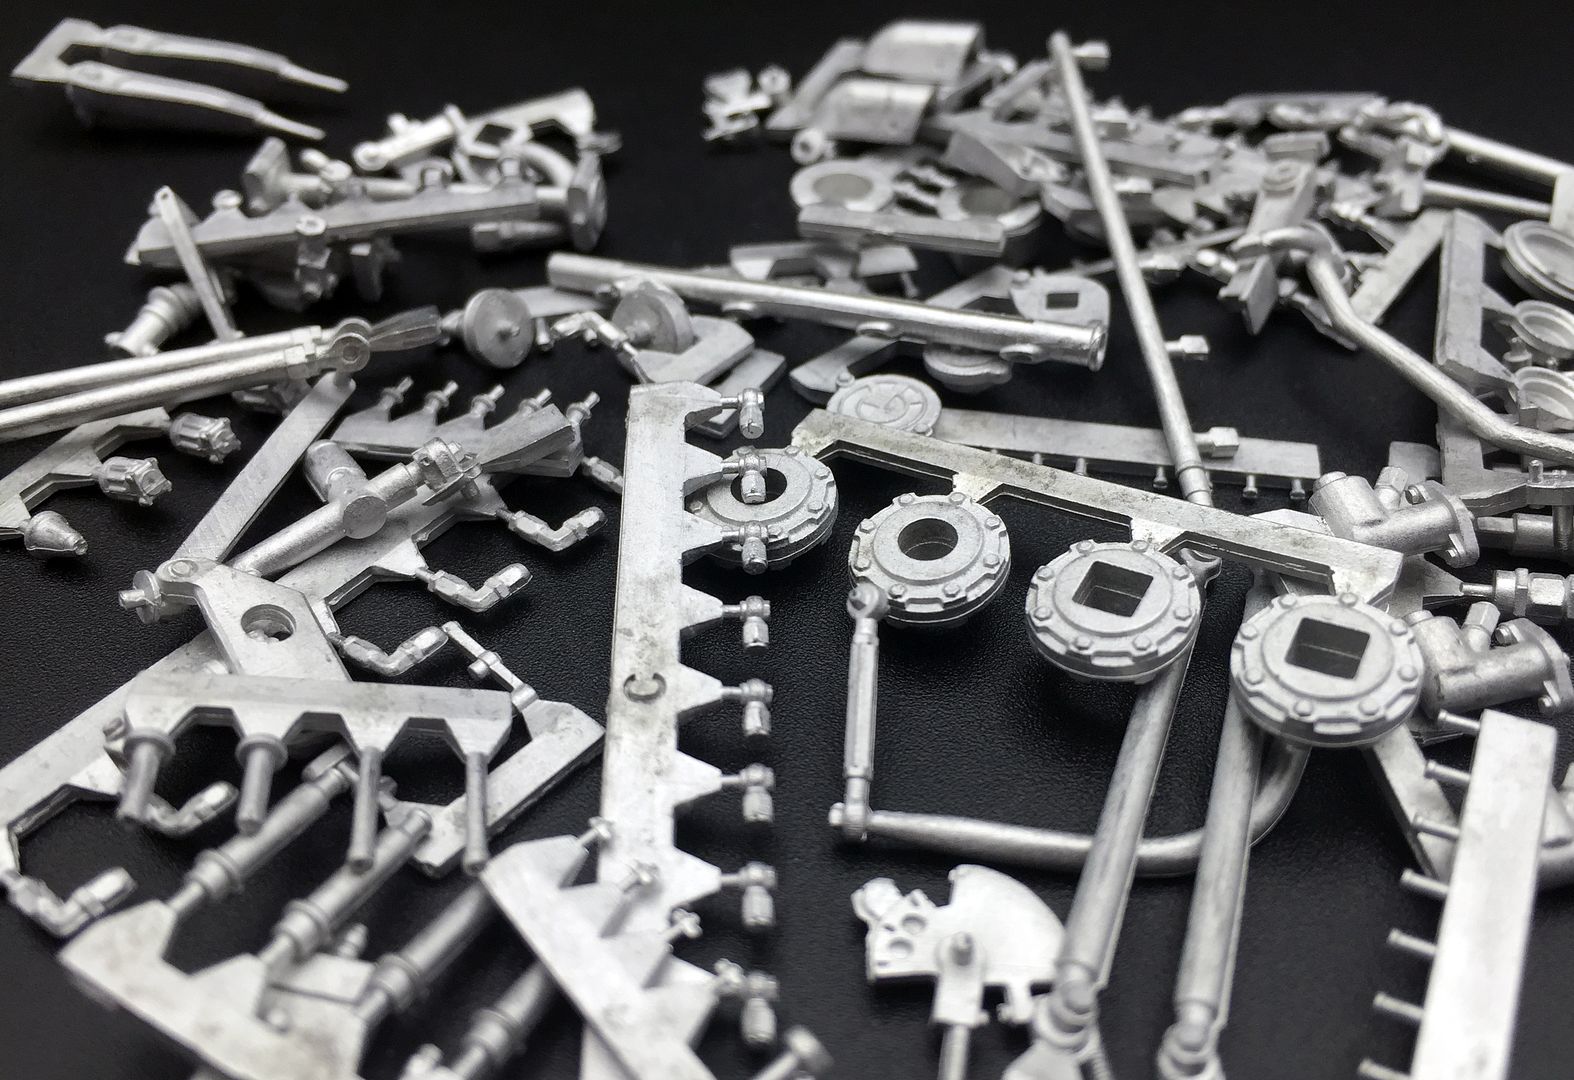
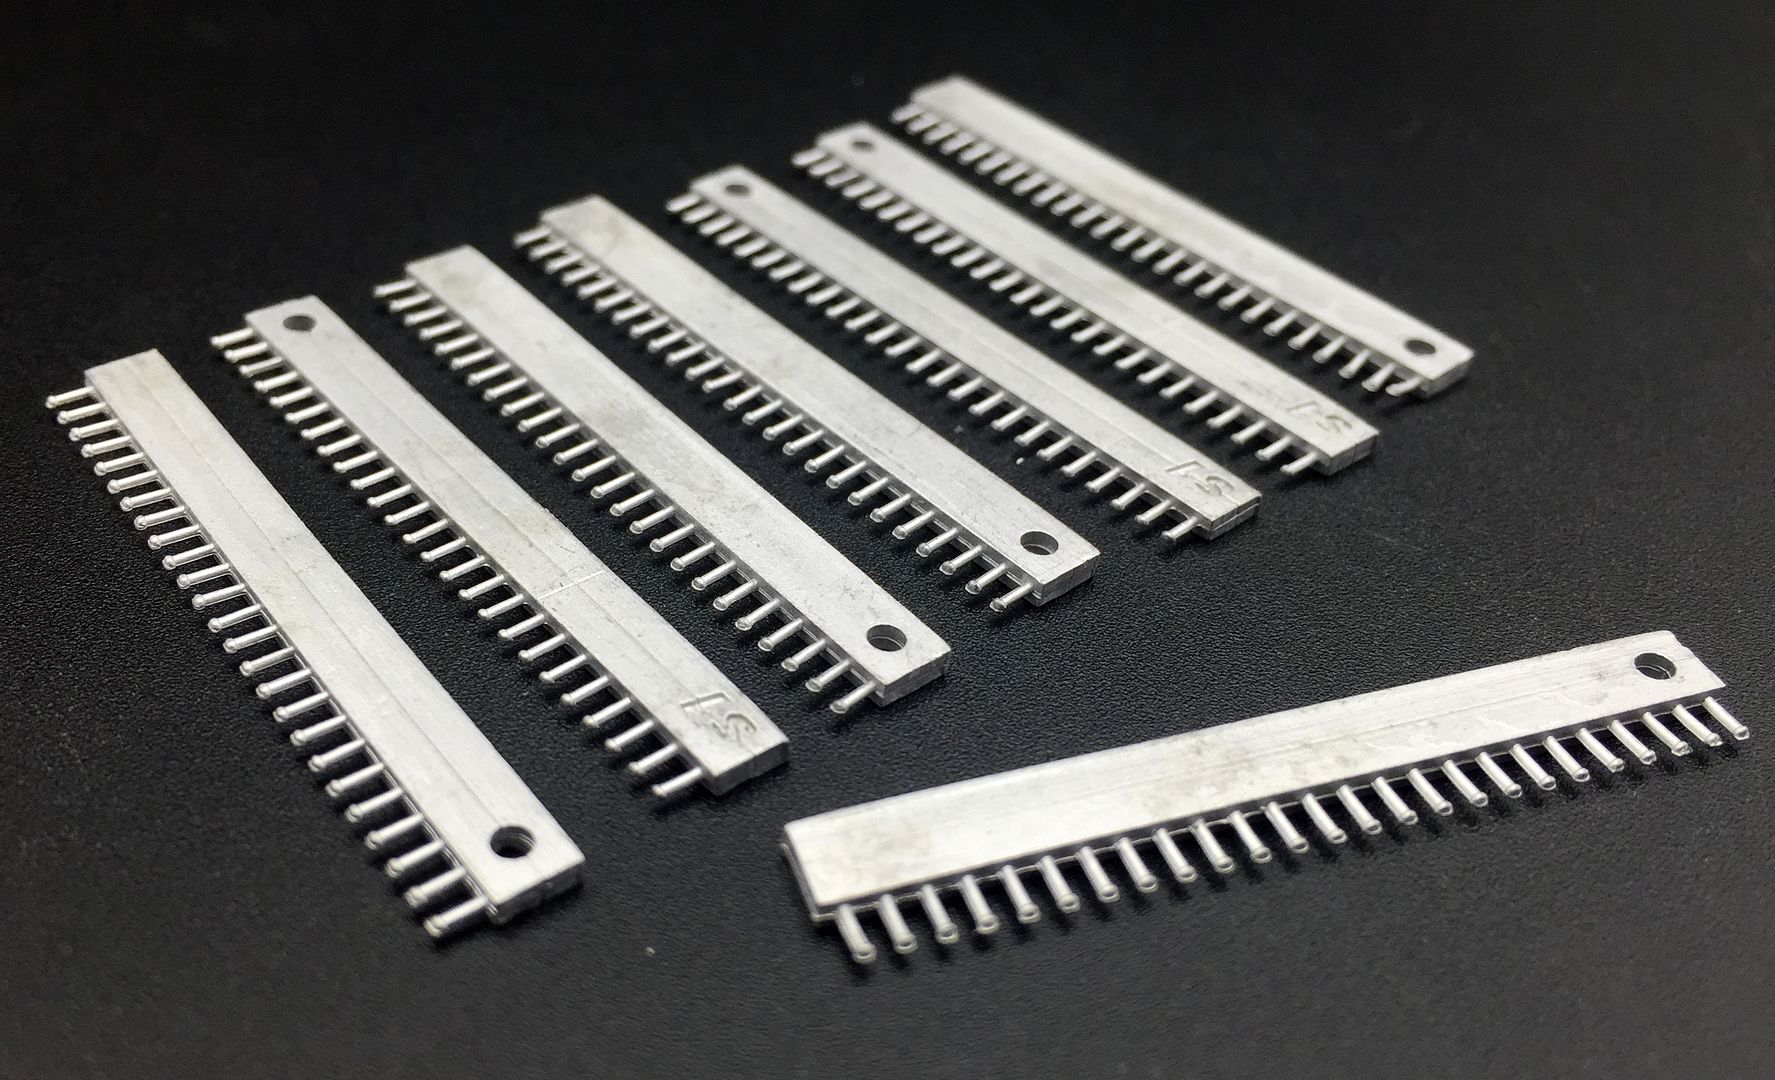
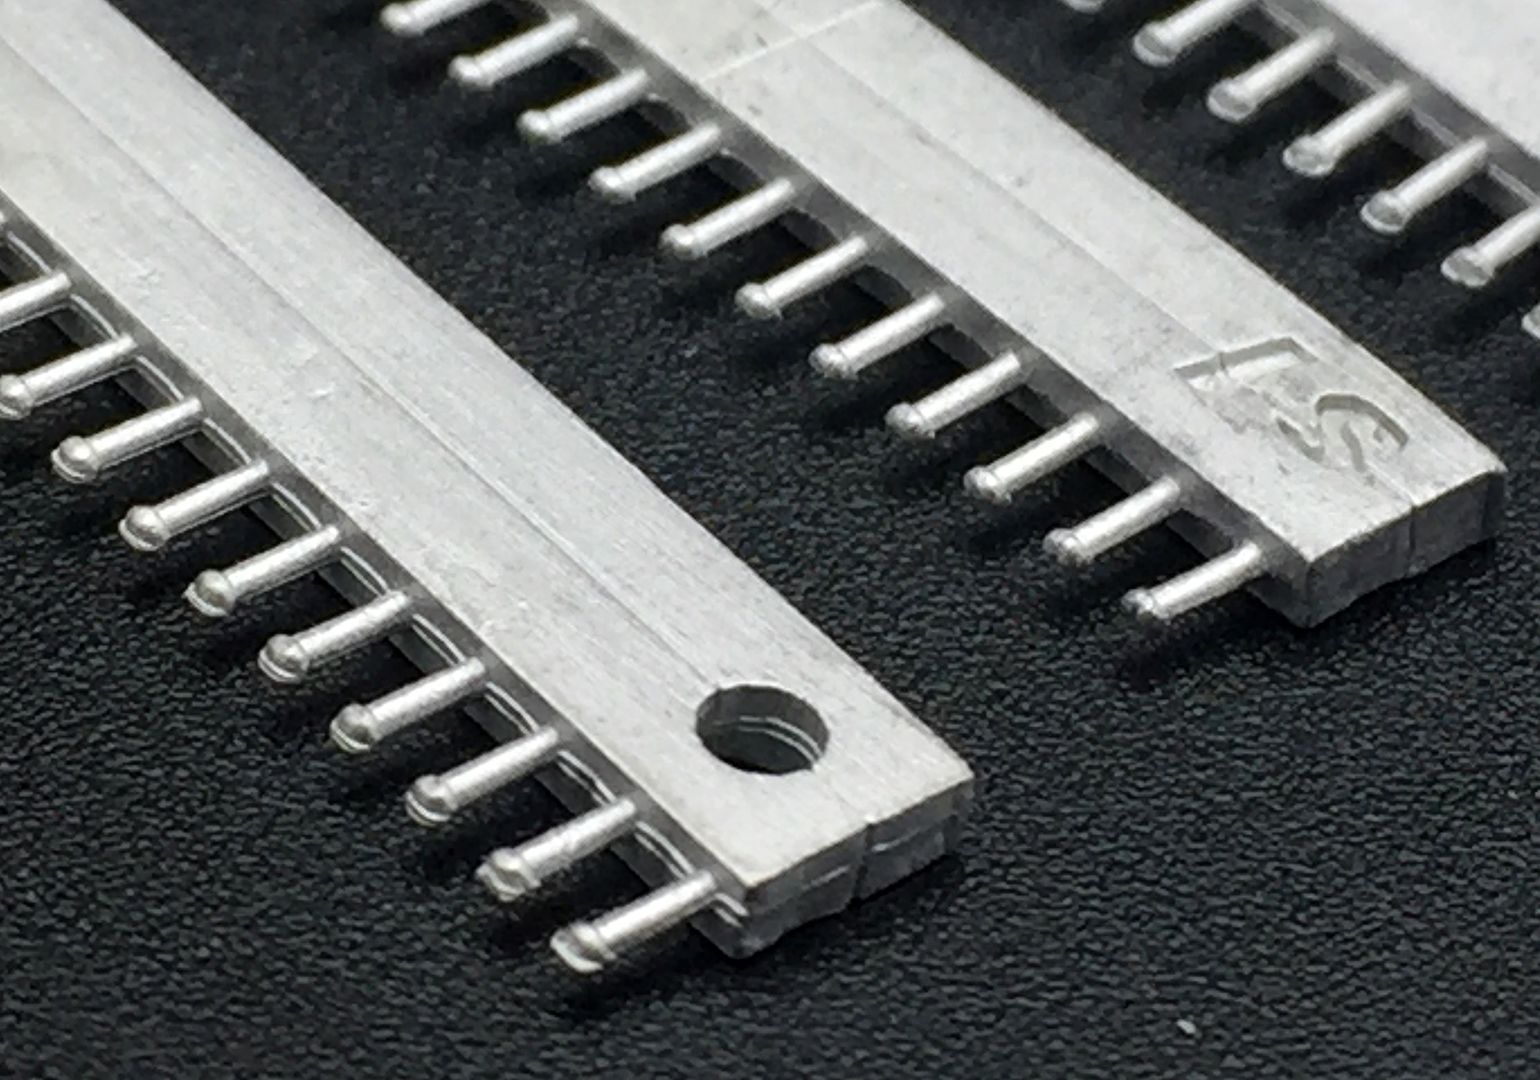
...and a LOT of rivets!
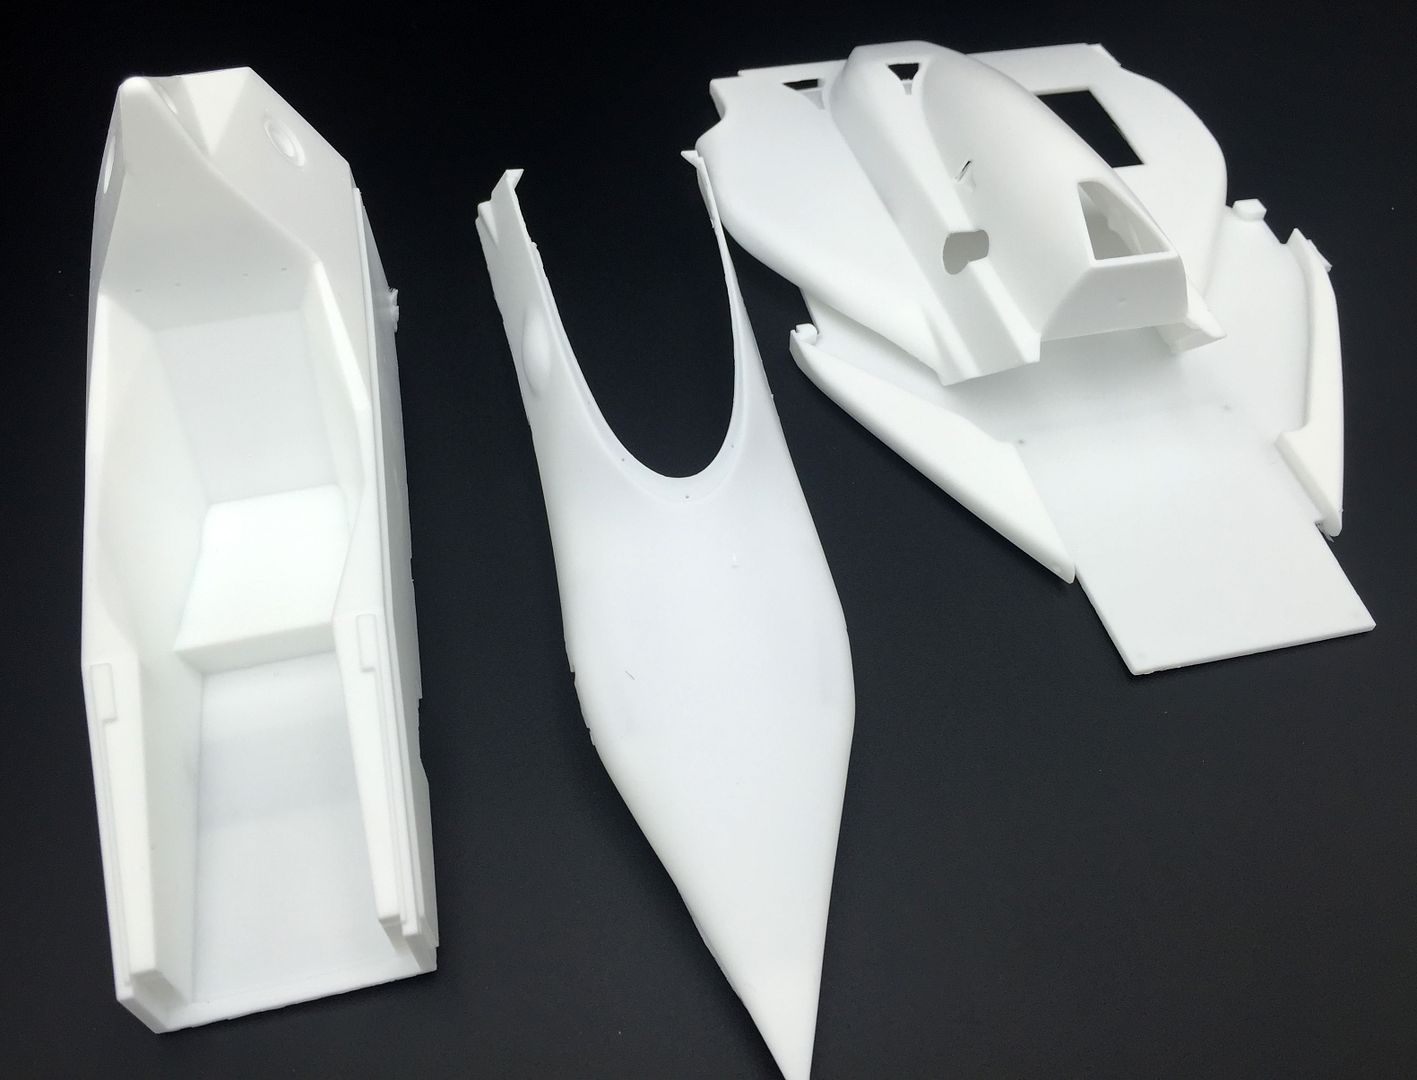
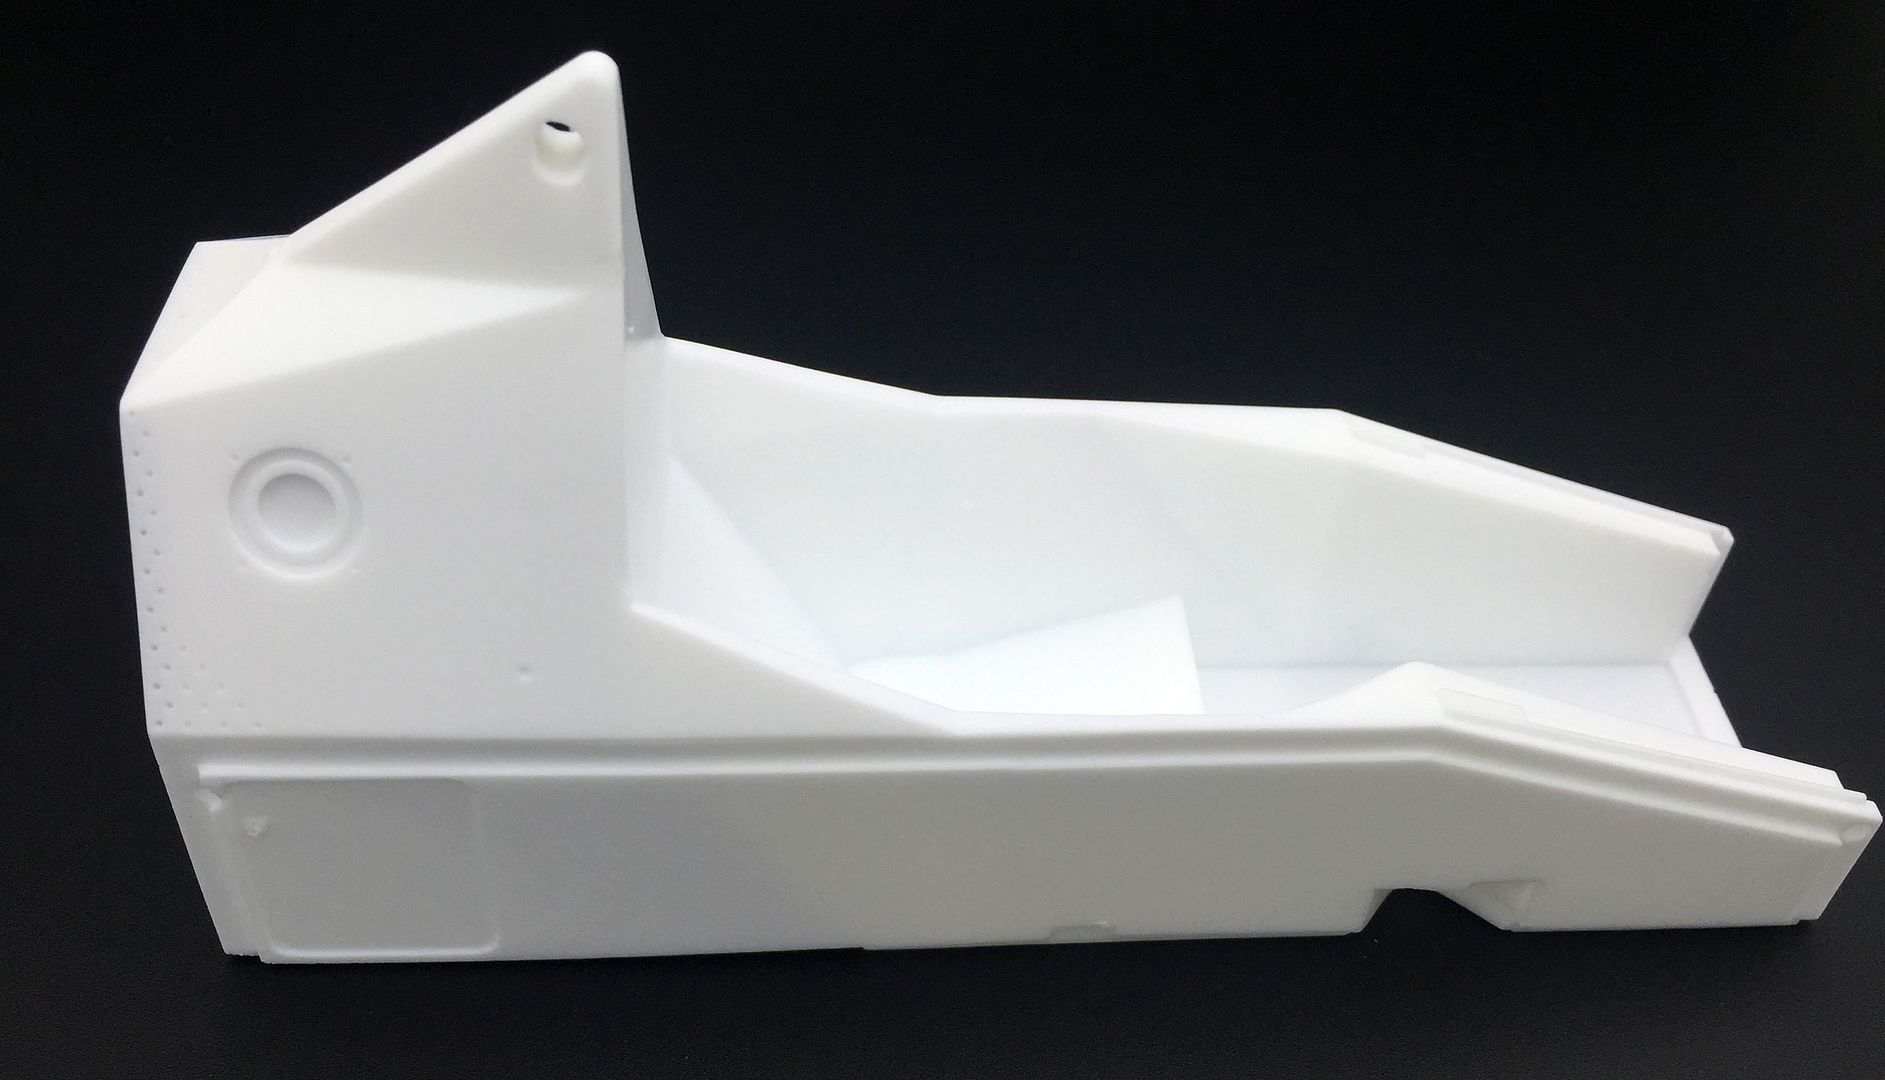
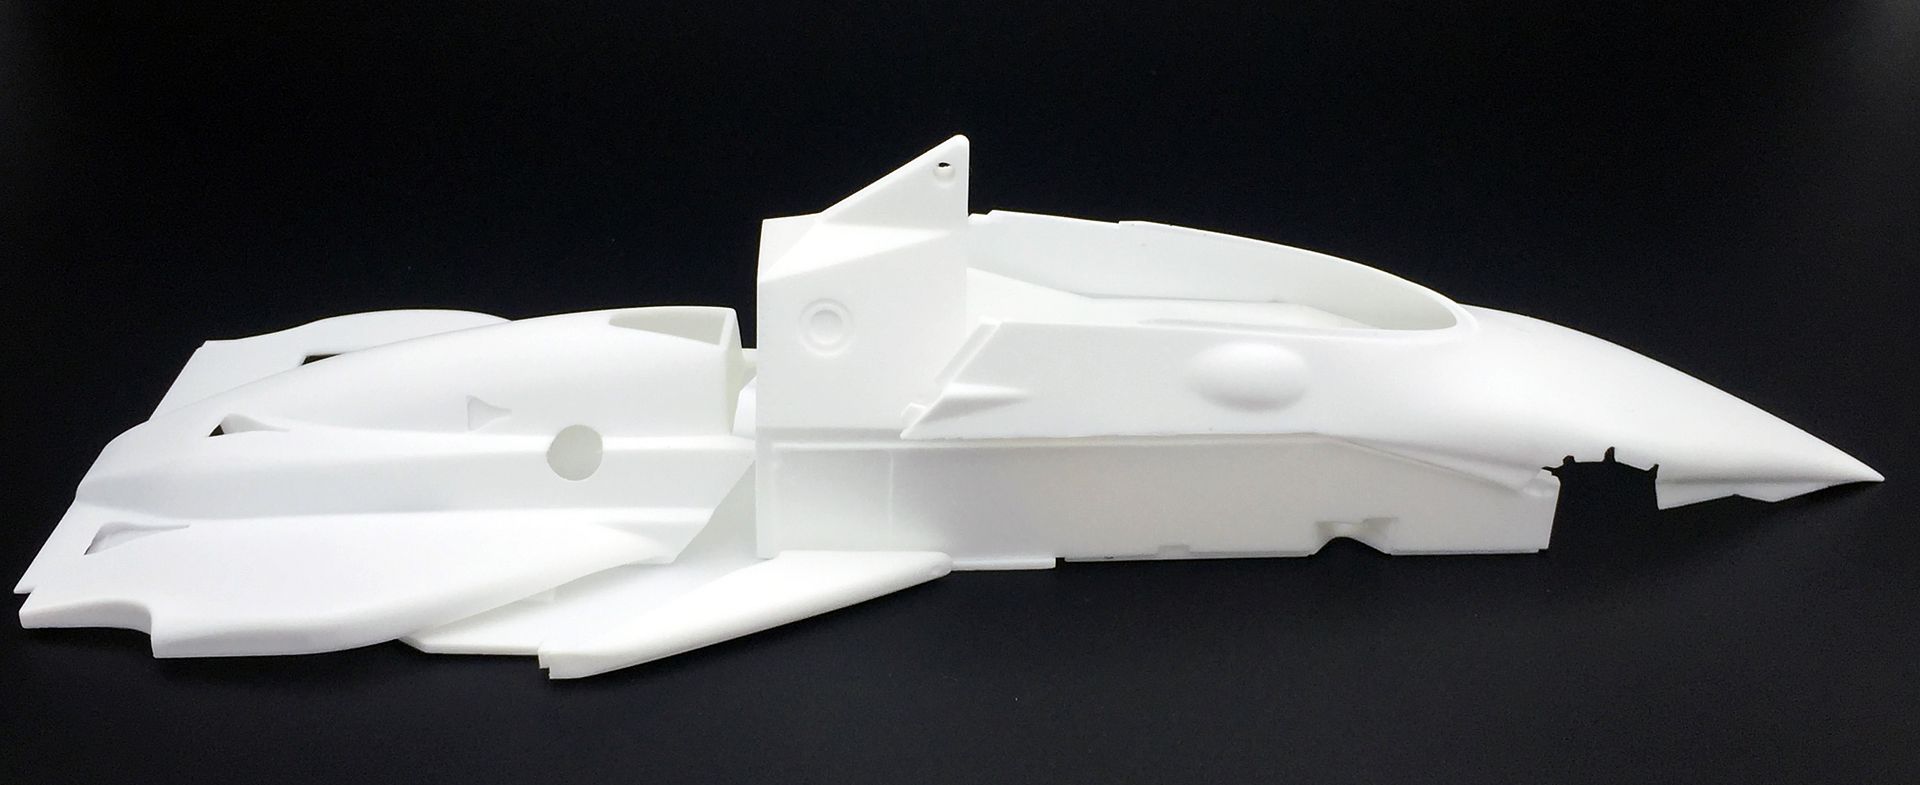
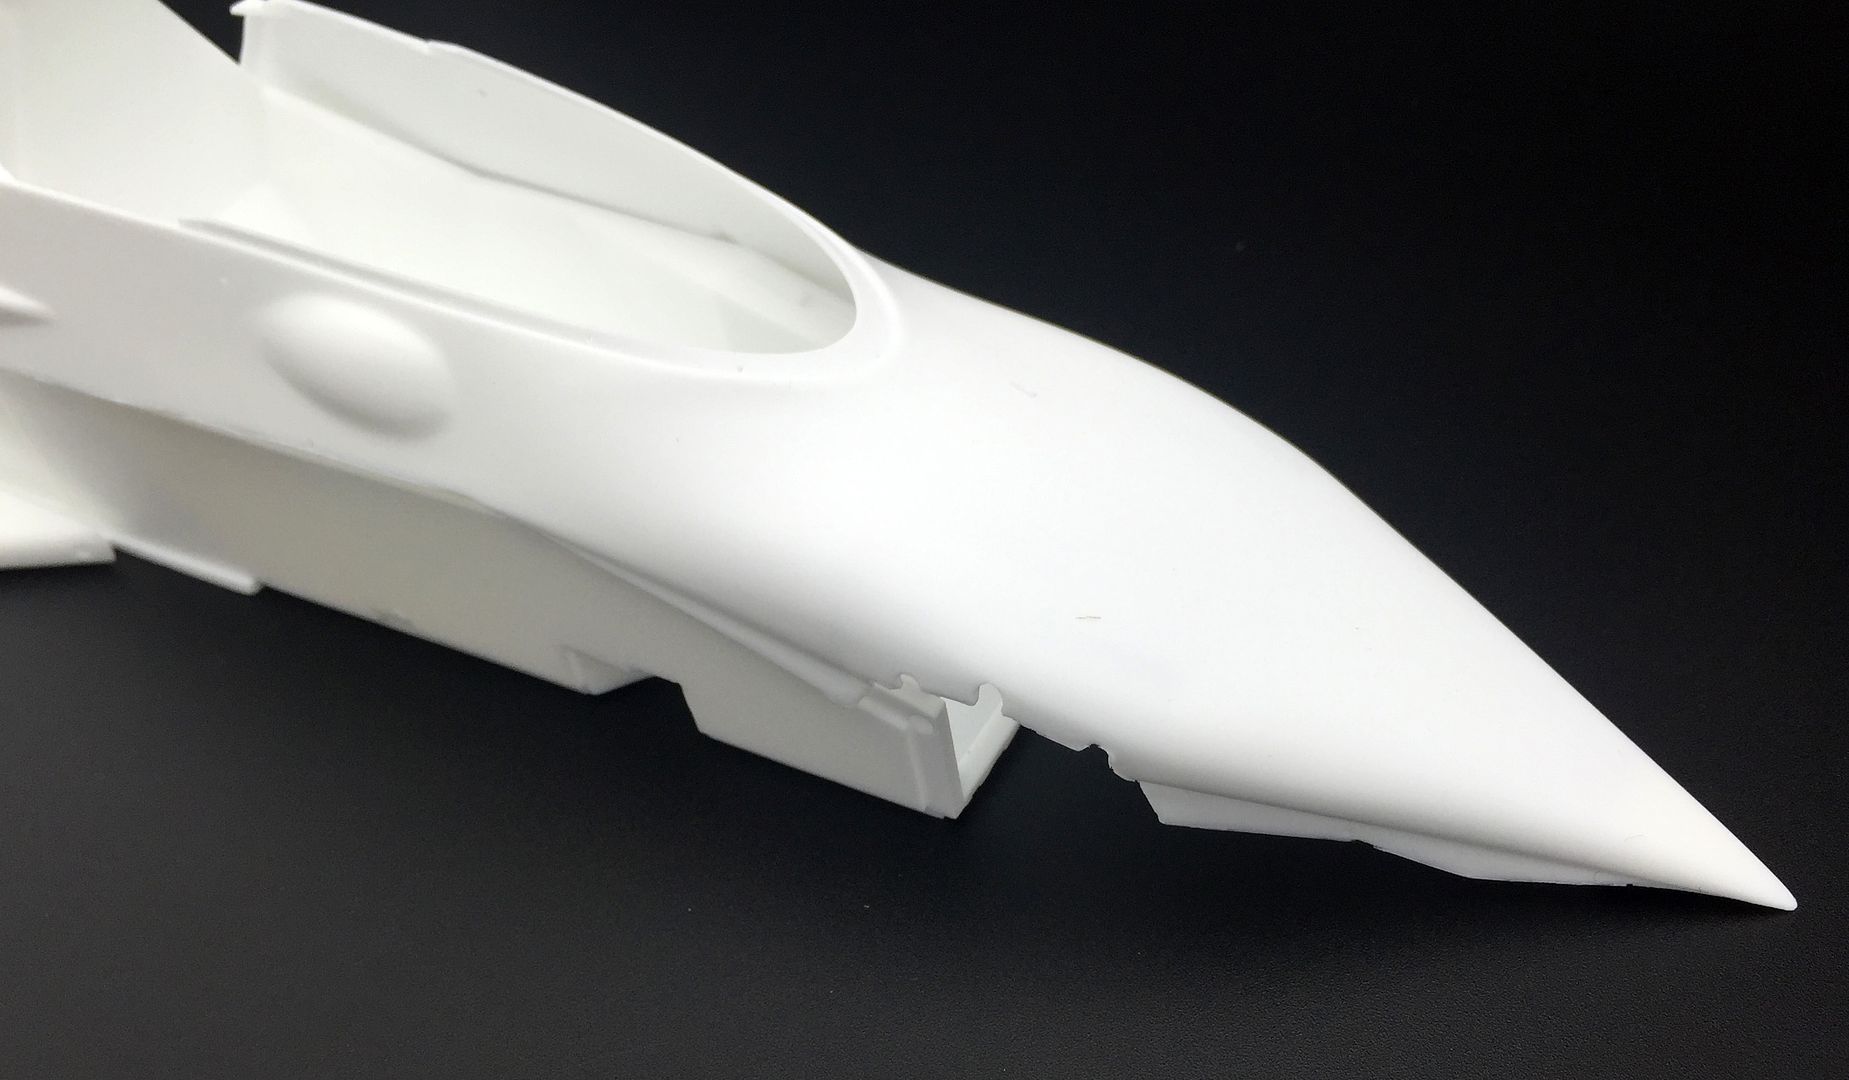
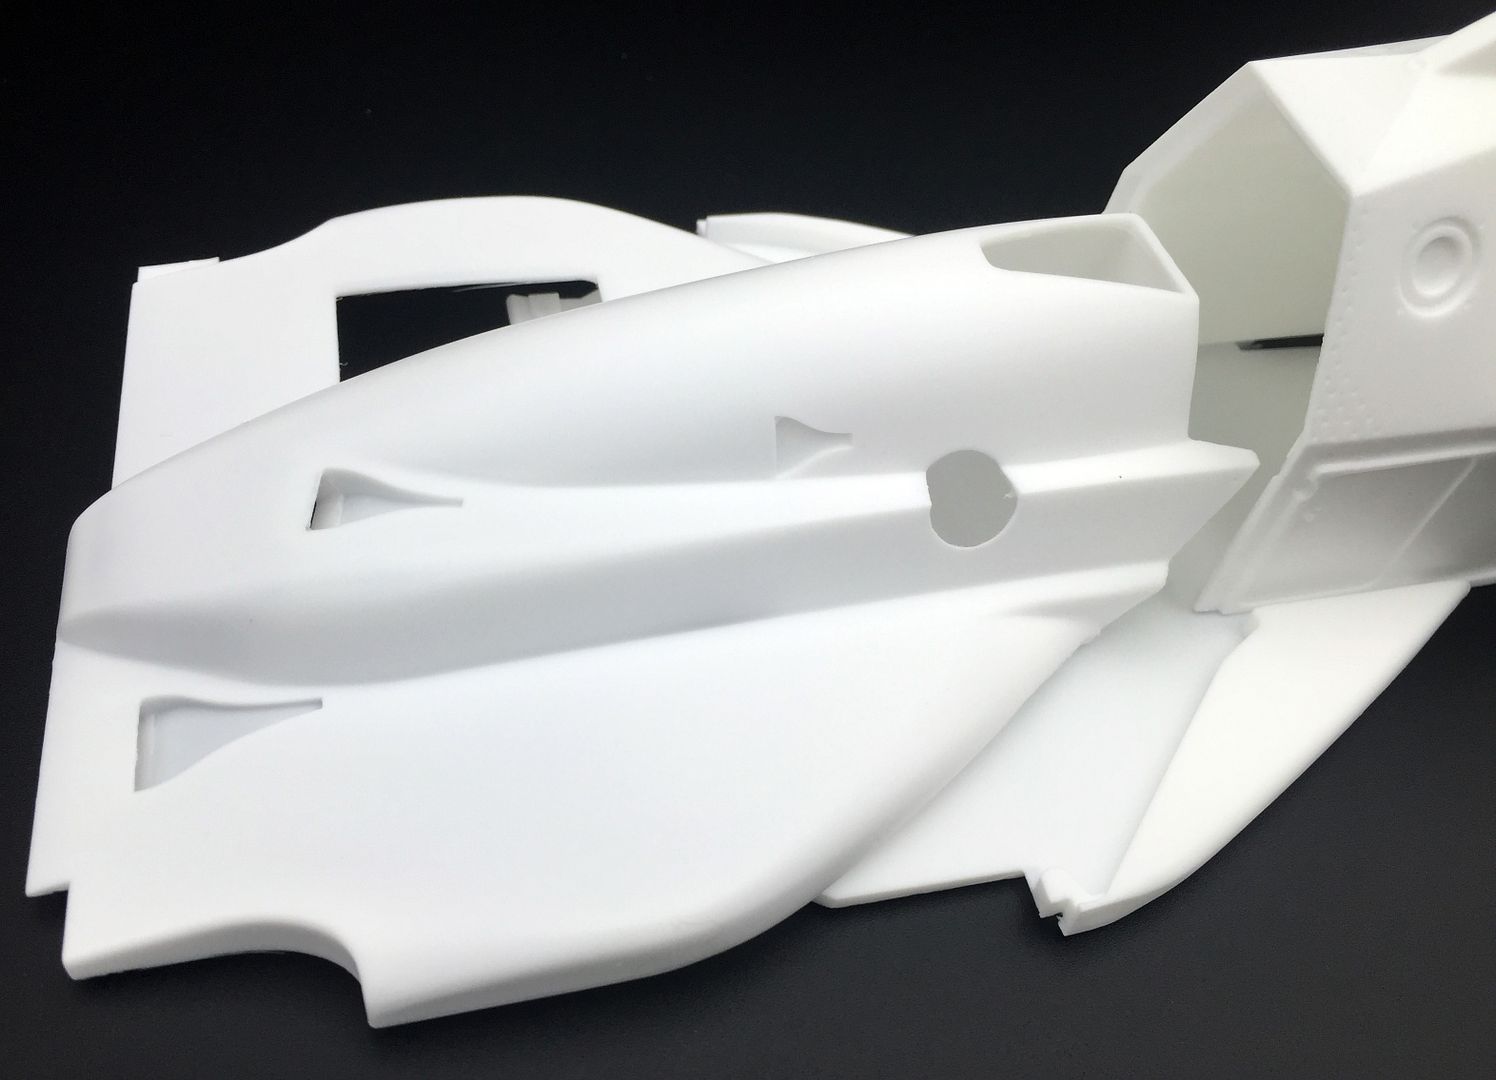
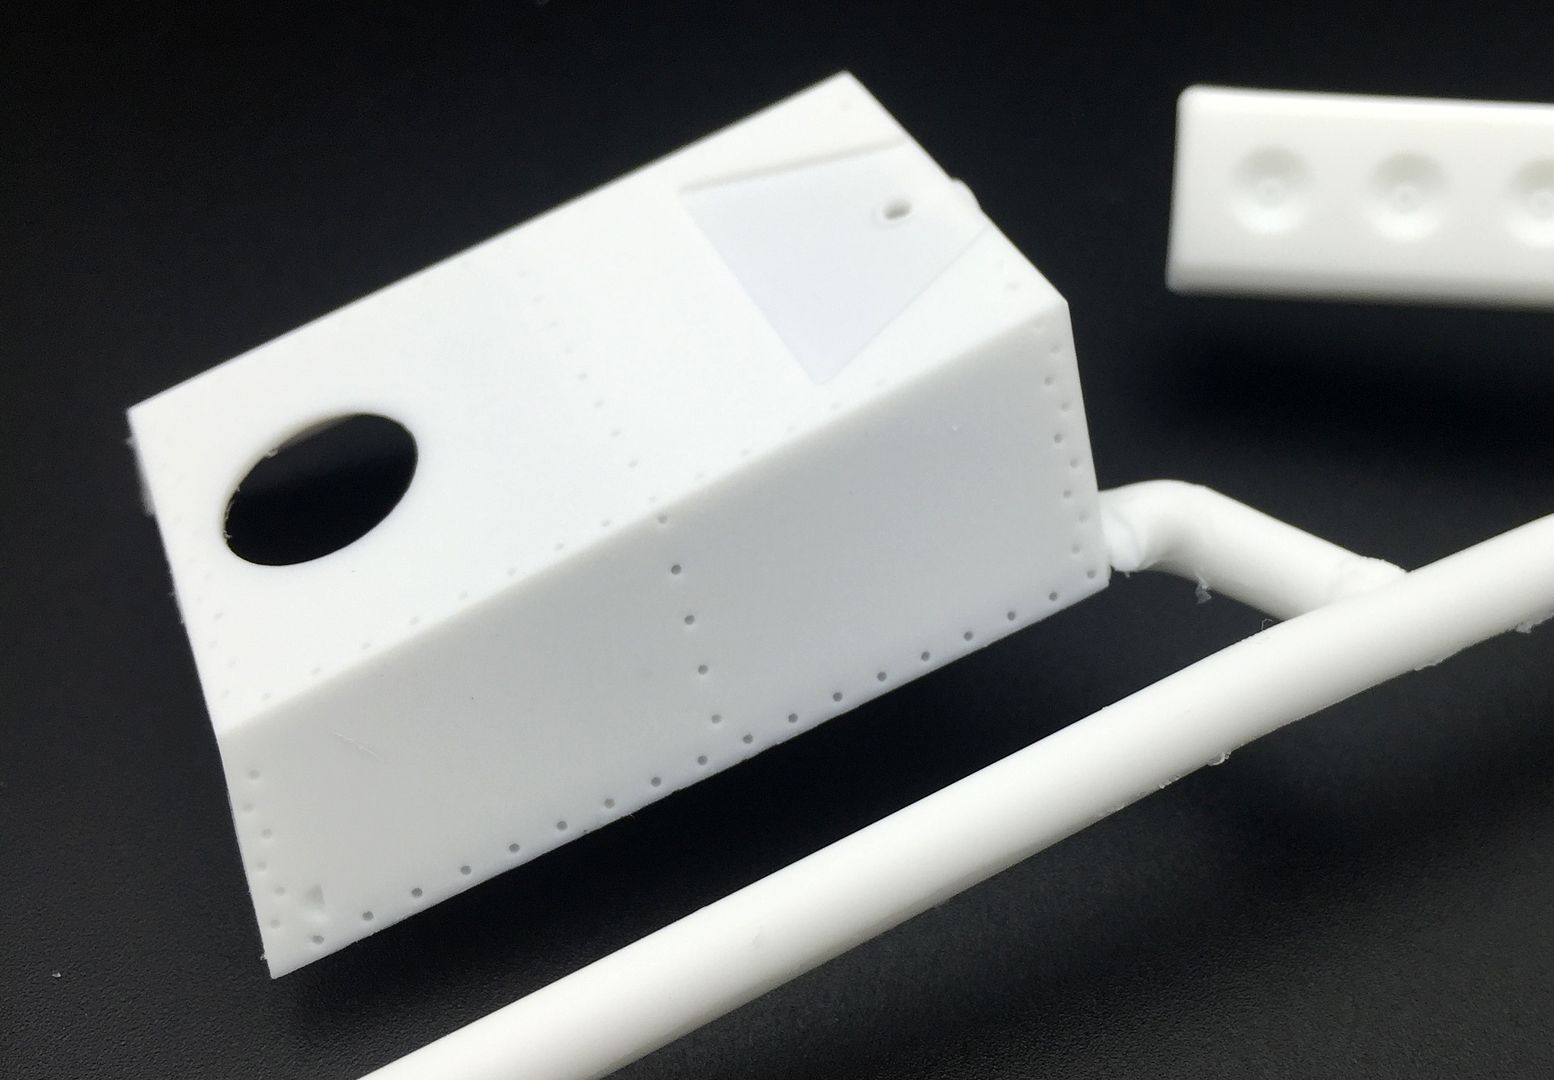
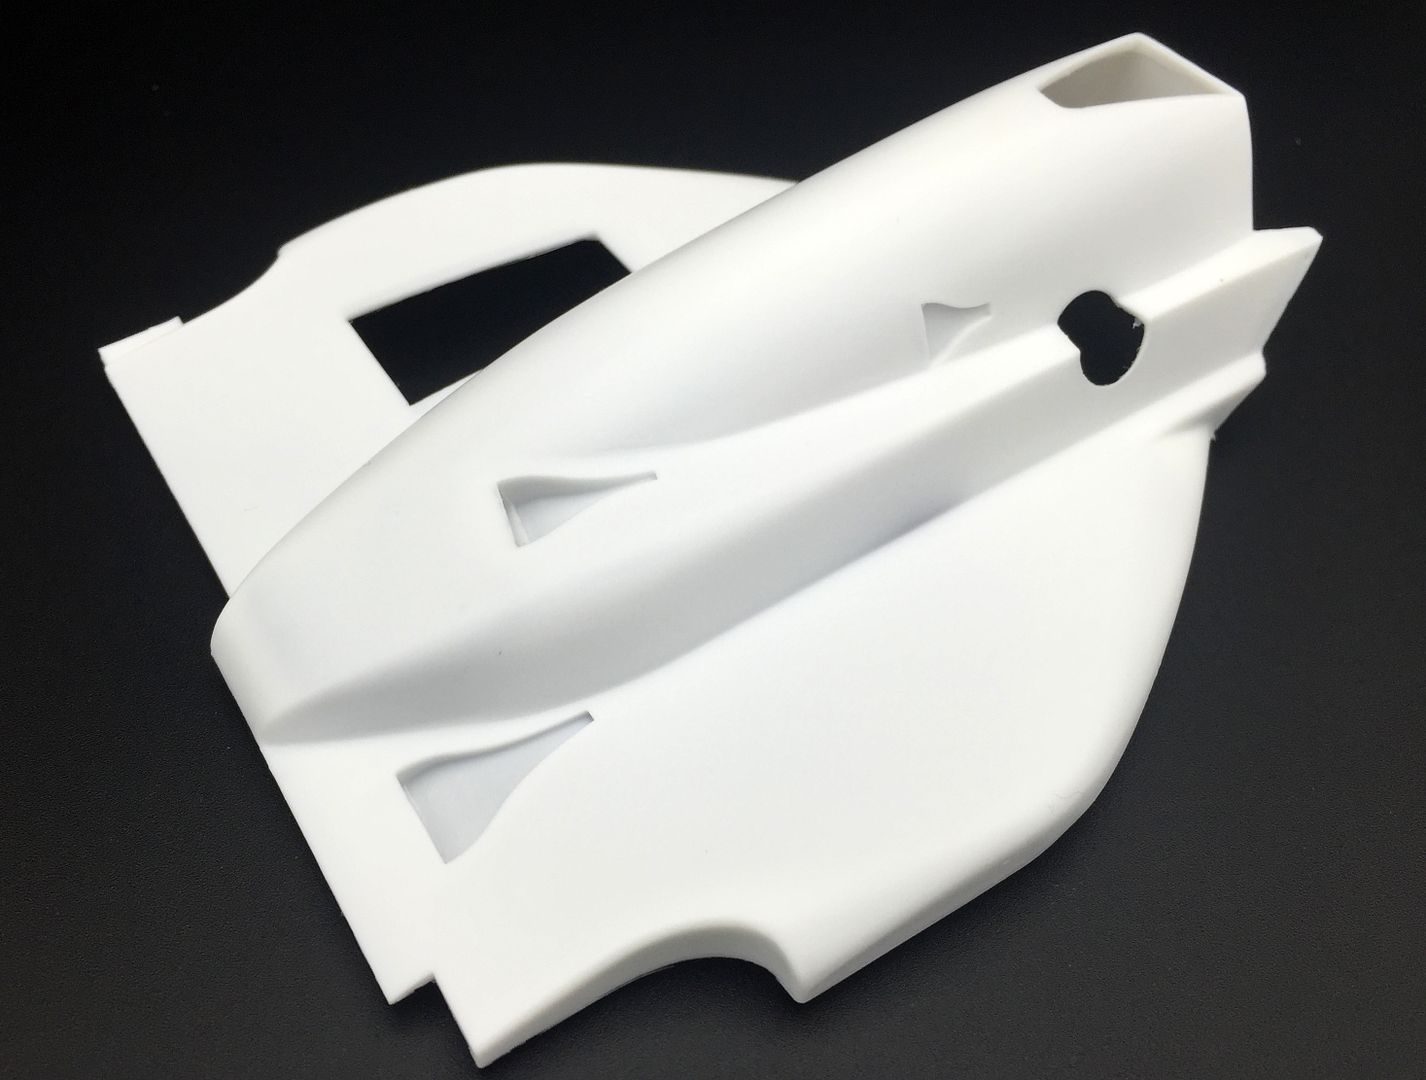
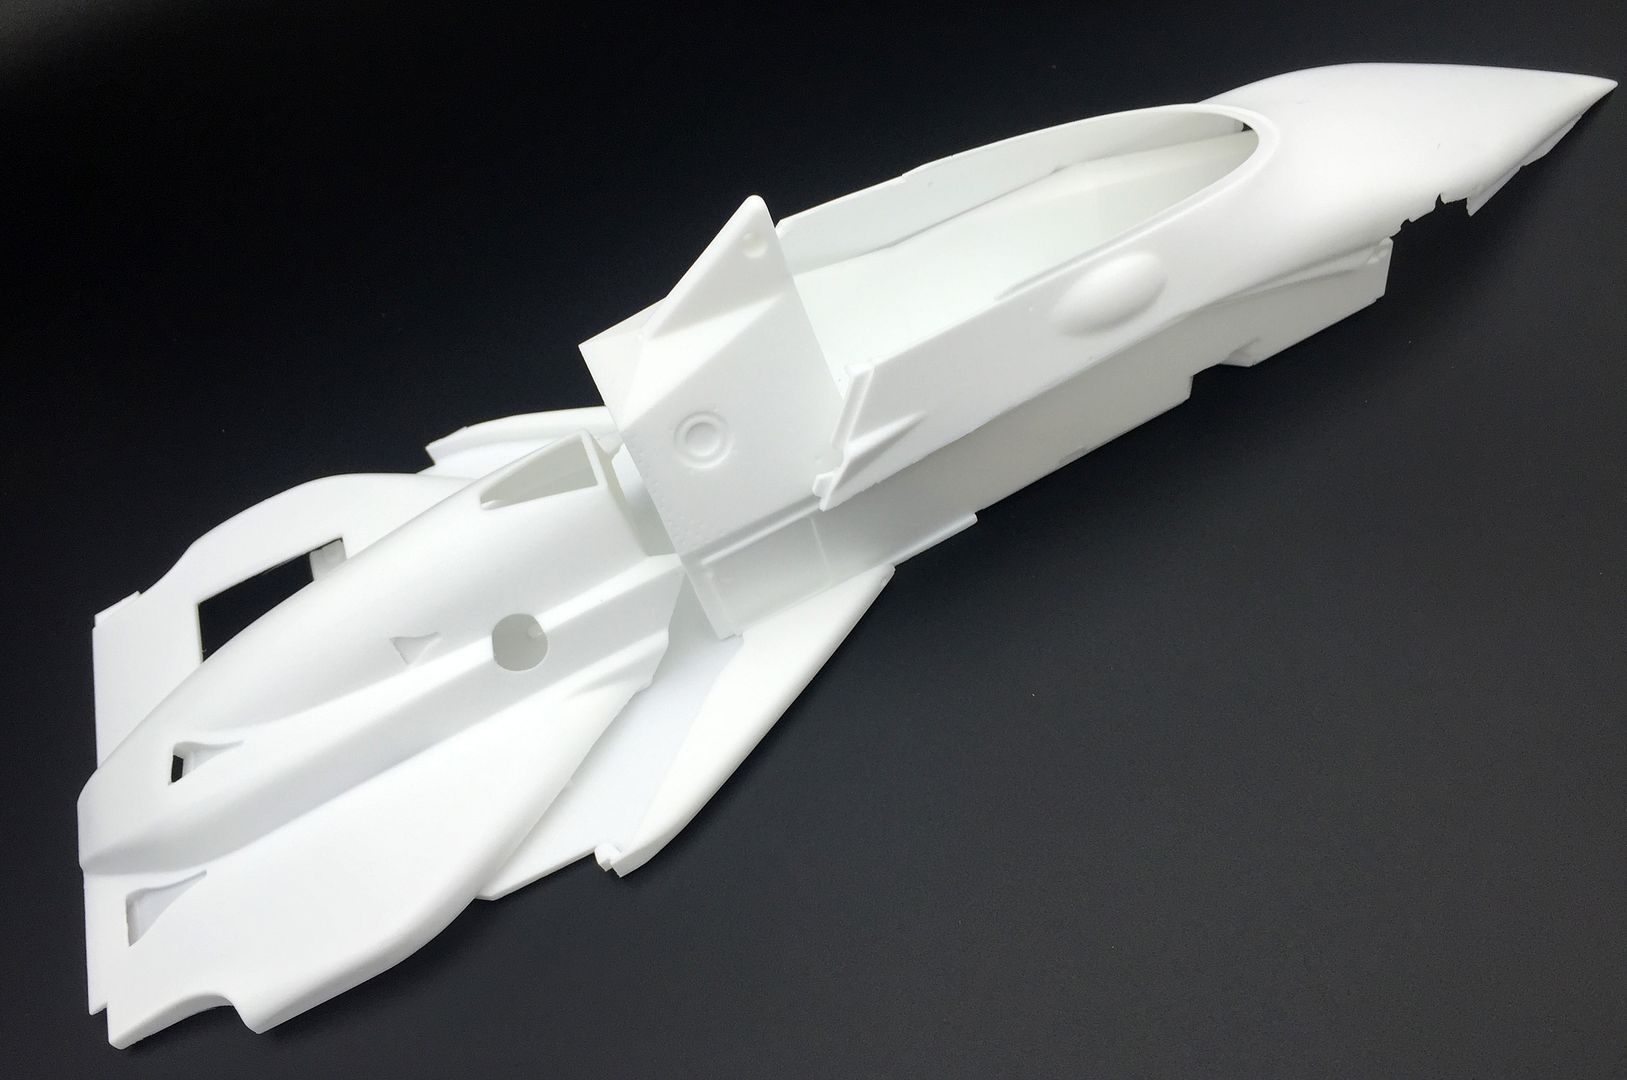
This kit seems slightly cheaper than other recent 1/12 kits - I think it is because it is such a simple, pure shape, there is less 'bodywork' than other kits!
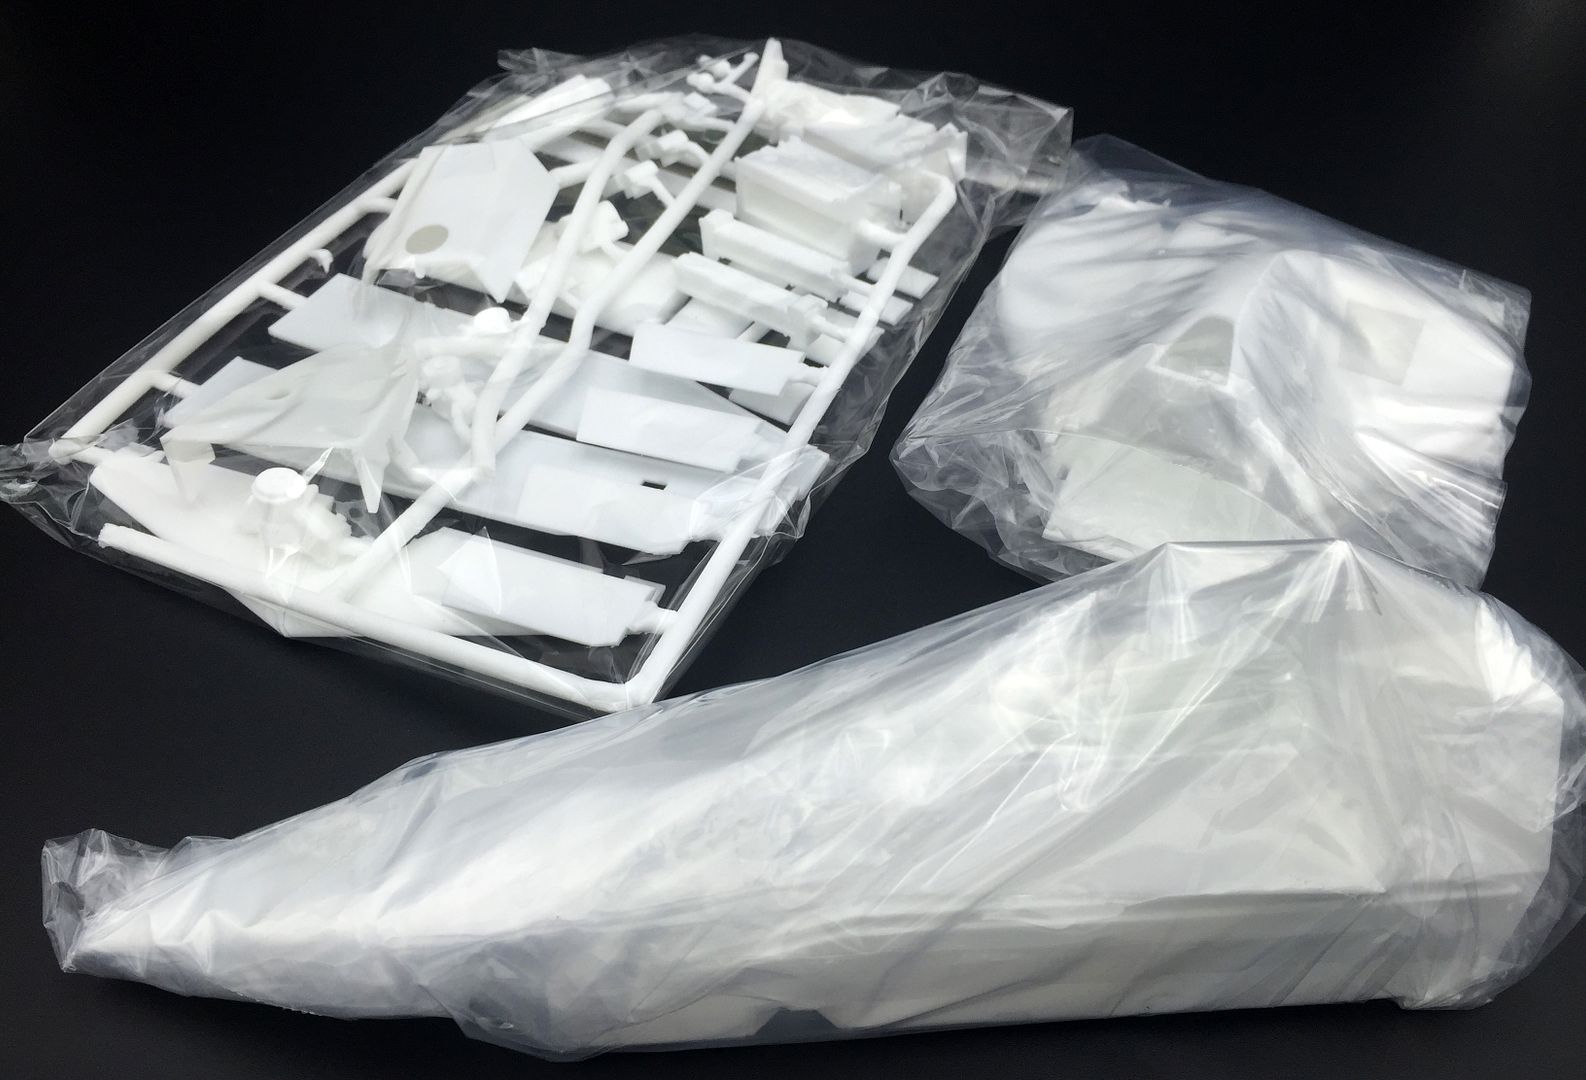
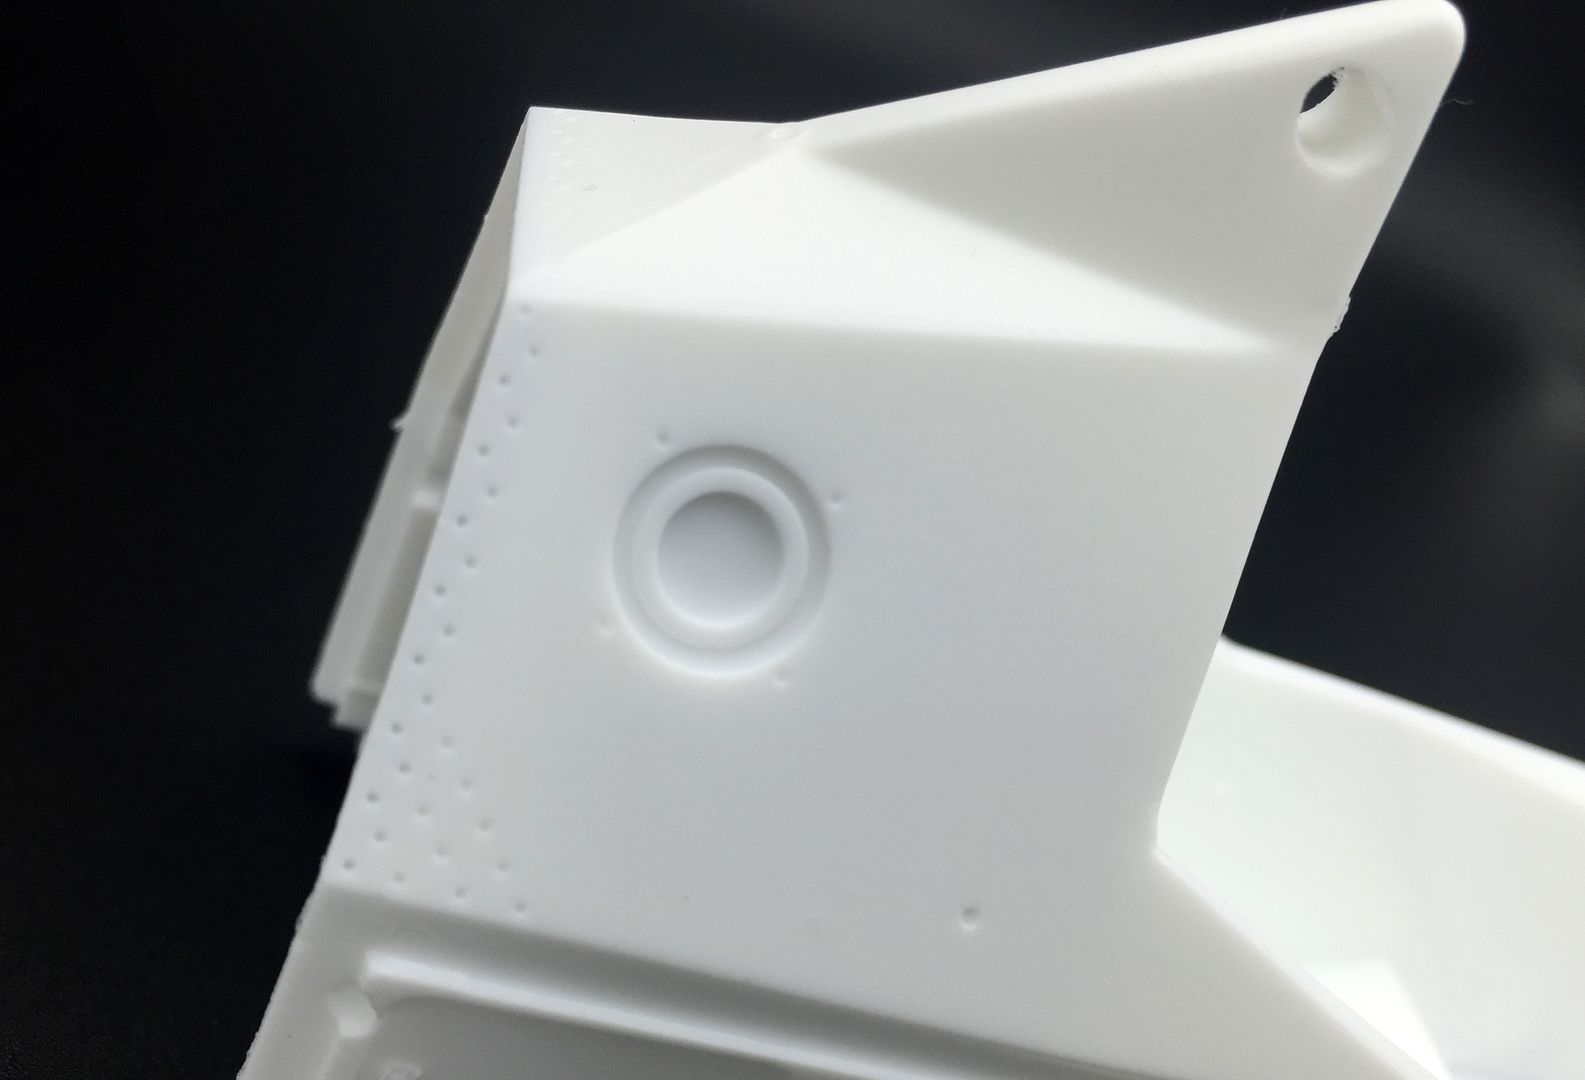
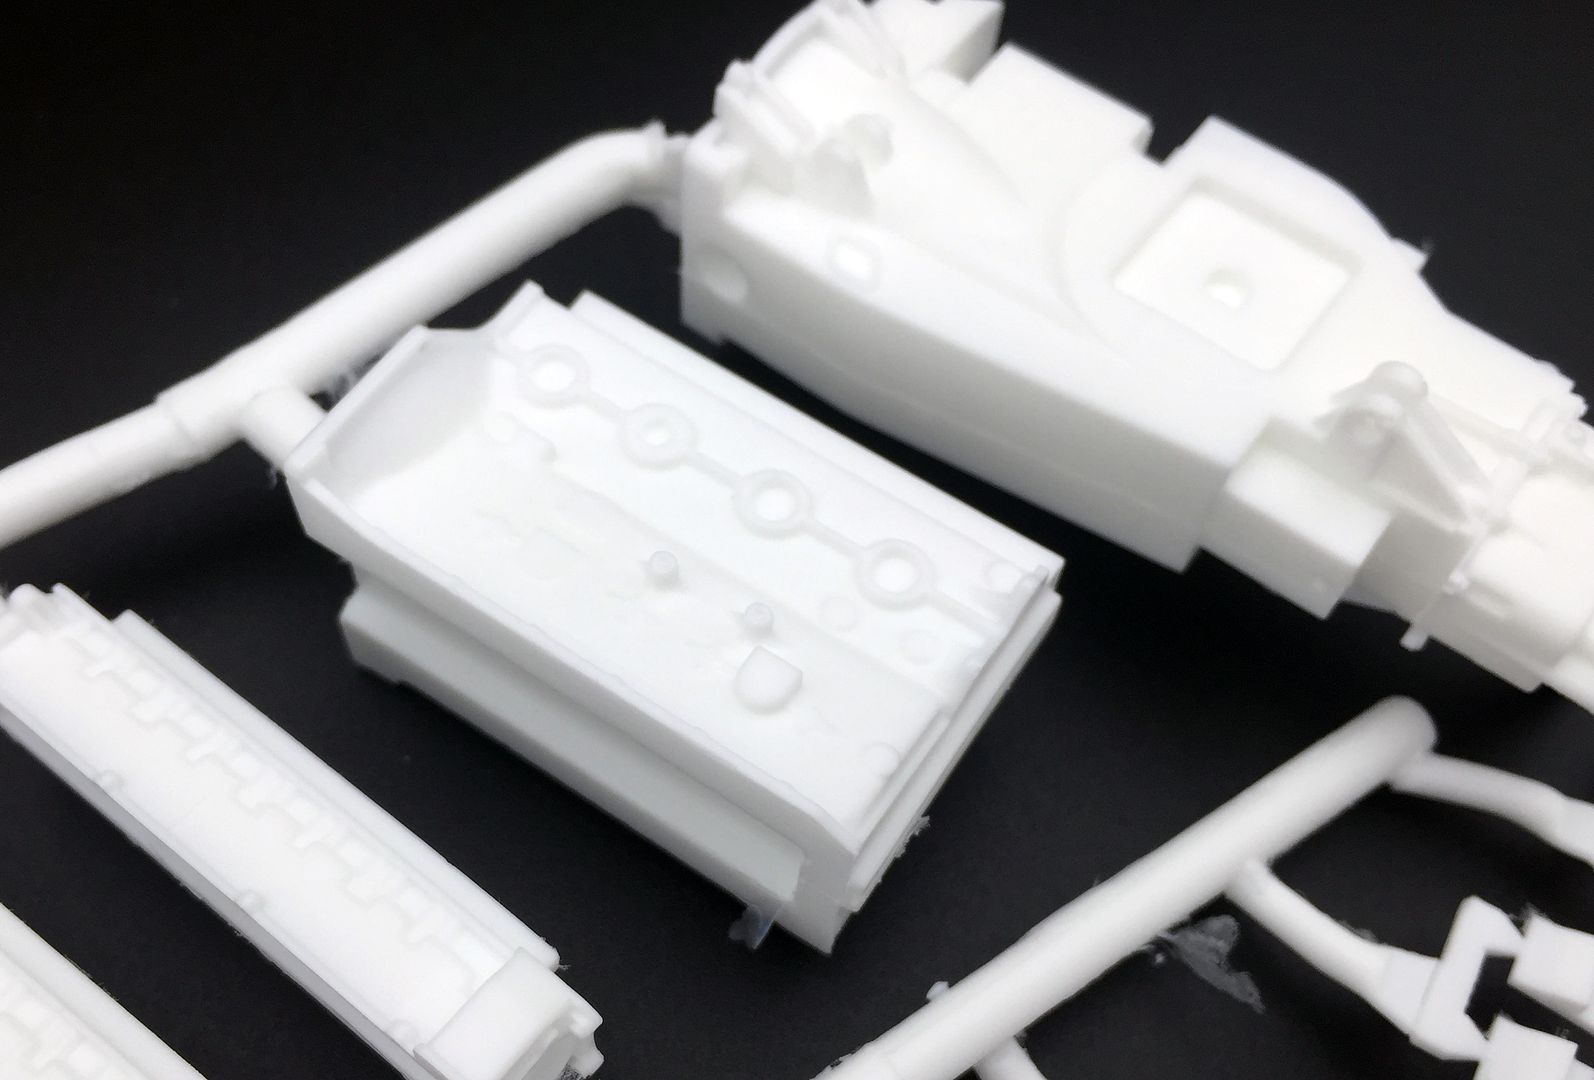
Resin parts very crisp...
And here is where most of those rivets will end up!
As before, I'll start with the engine...
So a bit of 'un-boxing', as I have shown with my other kits. Its nice to show the parts and detail in these MFH kits, and maybe encourage others to give one a go.
Usual folder of instructions, decals, foils and PE parts.
This instruction manual seems to be quite a few pages more than some others I have...
Templates for carbon, foil and ali sheet...
Very nice PE parts, including radiator mesh, clips, paint masks, wing endplates, pins etc etc
Pack of other detail parts - seat belt ribbon, clear parts, rods, pins, tie-wraps etc...
Wheels and tyres always look cool - turned ali hubs, molded tyres including the 'Michelin' logo, and lots of other tyre info molded into the rubber - also there seems to be a very nice mildly-buffed feel to the tyres - won't need to scrub them in much or remove any mold lines (on the contact surface anyway)
On to the metal components - usual plastic-ziploc-bags-in-bubble-wrap packaging......grrrrr
Lots and lots of bits!
lovely details....
The legend...
Nice seat belt buckle...
...and a LOT of rivets!
This kit seems slightly cheaper than other recent 1/12 kits - I think it is because it is such a simple, pure shape, there is less 'bodywork' than other kits!
Resin parts very crisp...
And here is where most of those rivets will end up!
As before, I'll start with the engine...
Looking forward to seeing this one progress.
Must admit, I once had the theory that if I started more than one model at a time, I'd still end up with the same number of completed models in the same total time. That theory proved very wrong!
Anyhow, I hope you get the engine completed soon to put with the Porsches and Renault.
Must admit, I once had the theory that if I started more than one model at a time, I'd still end up with the same number of completed models in the same total time. That theory proved very wrong!
Anyhow, I hope you get the engine completed soon to put with the Porsches and Renault.
Riiiight - here we go.
Made a start over the holiday weekend.
Pics are rubbish - I'll take some in the light box/cube later - but these are just WIP for now.
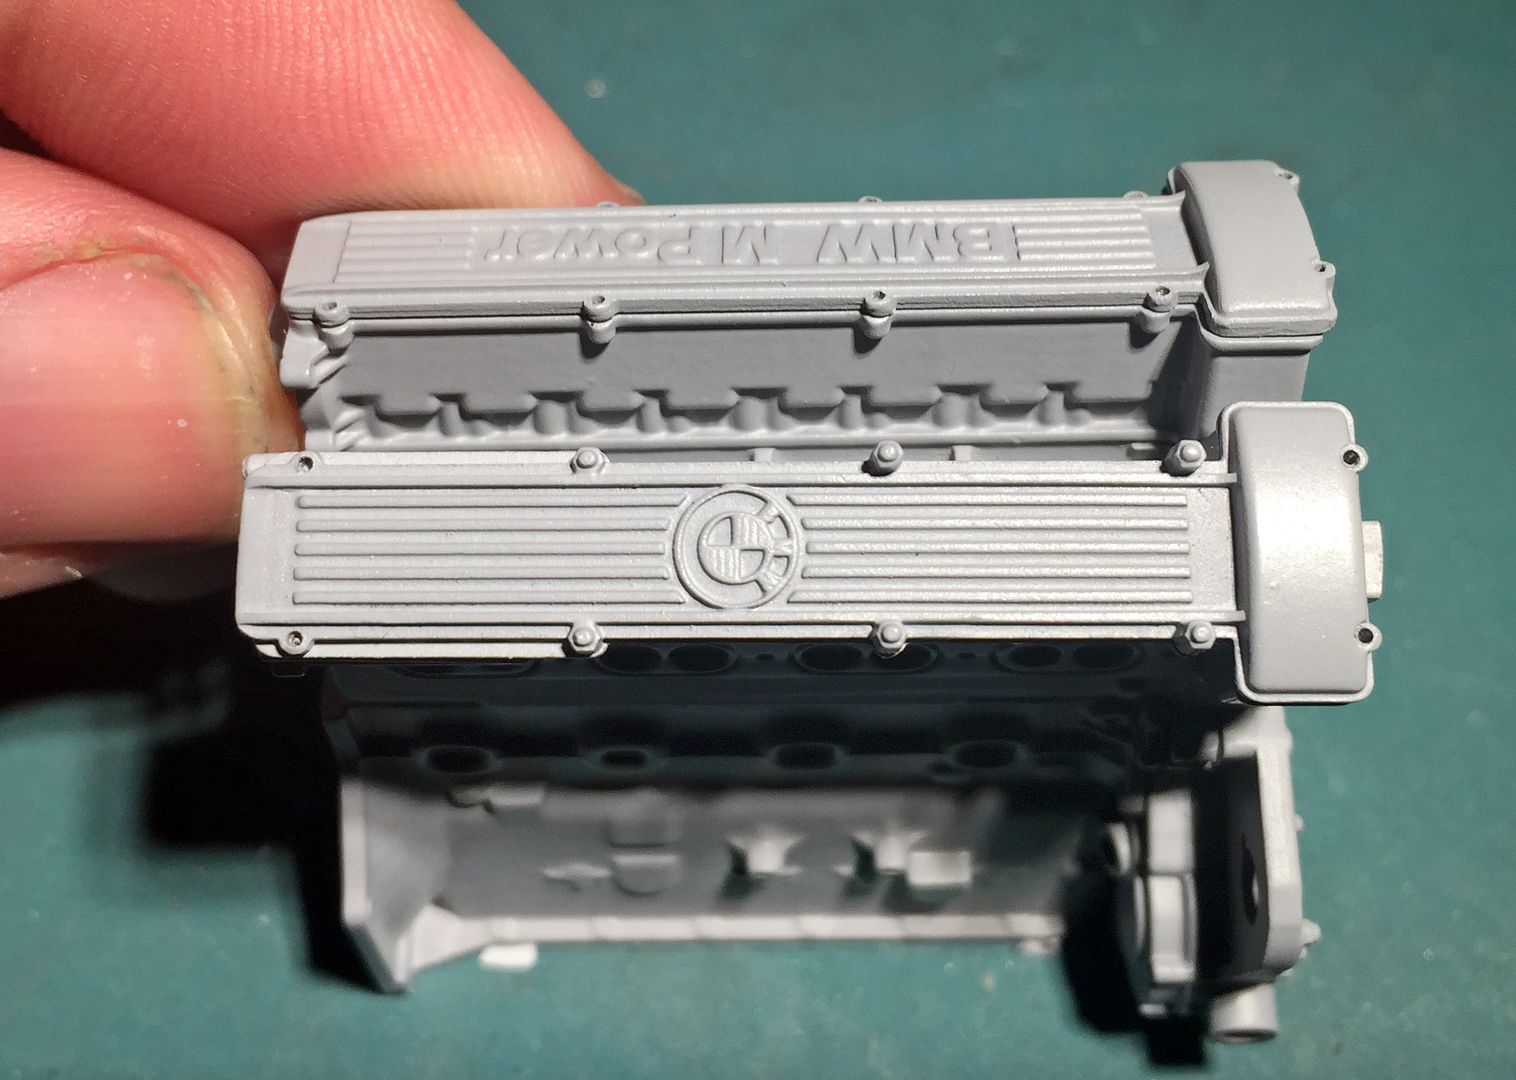
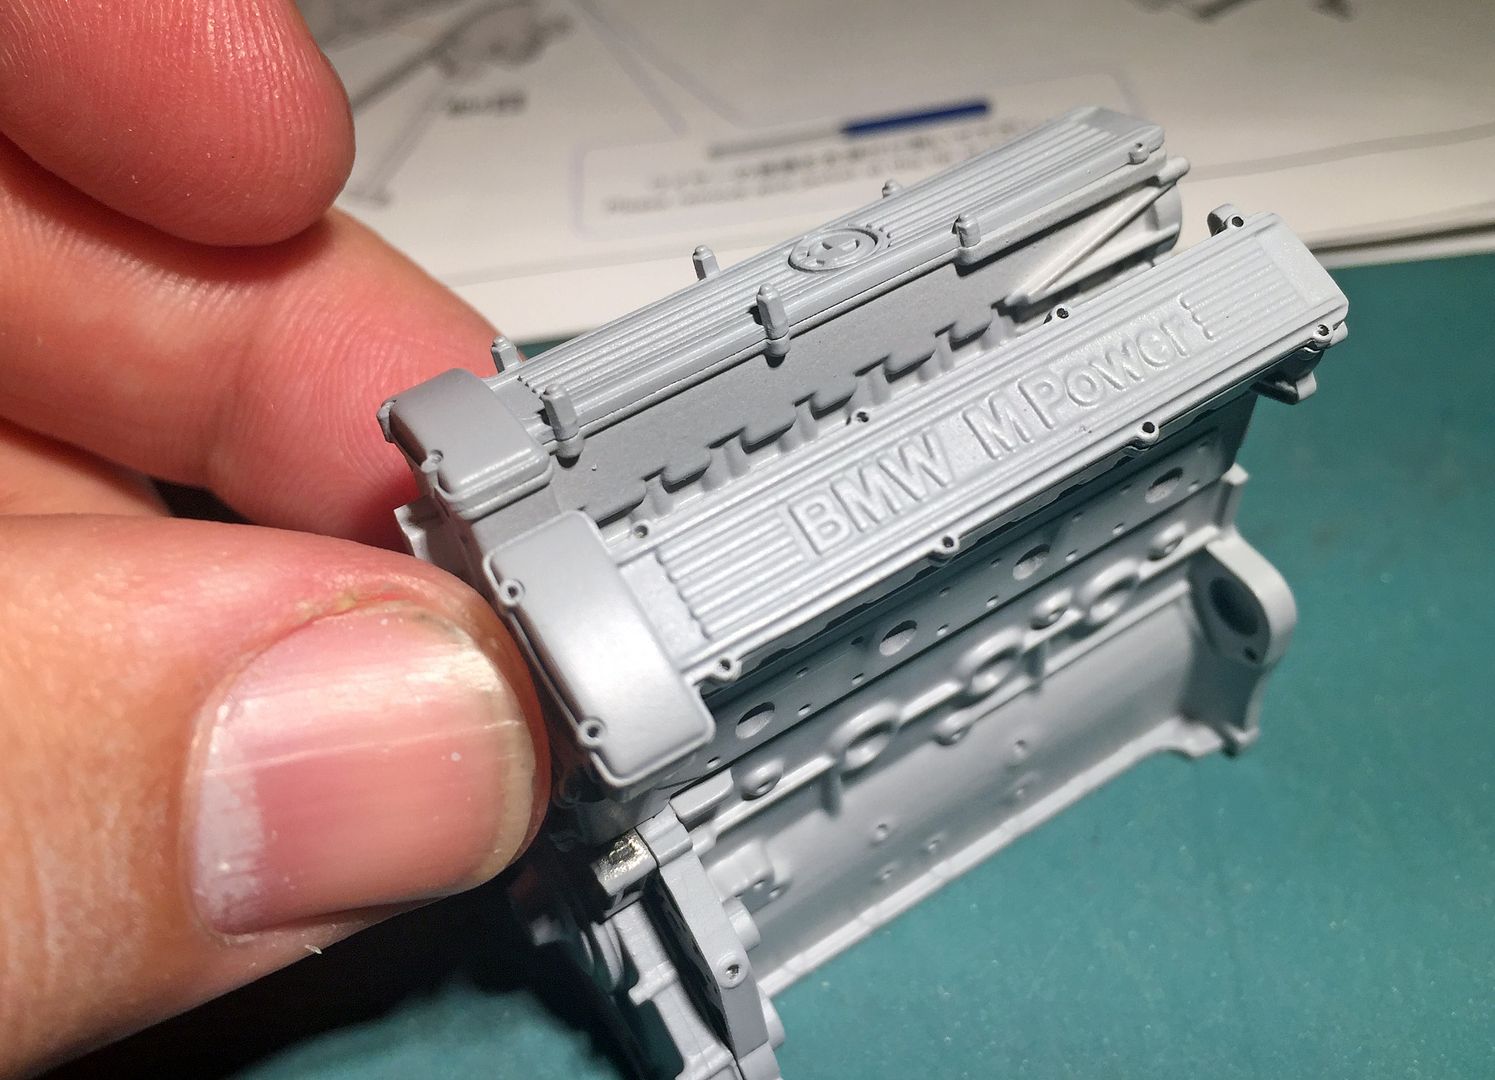
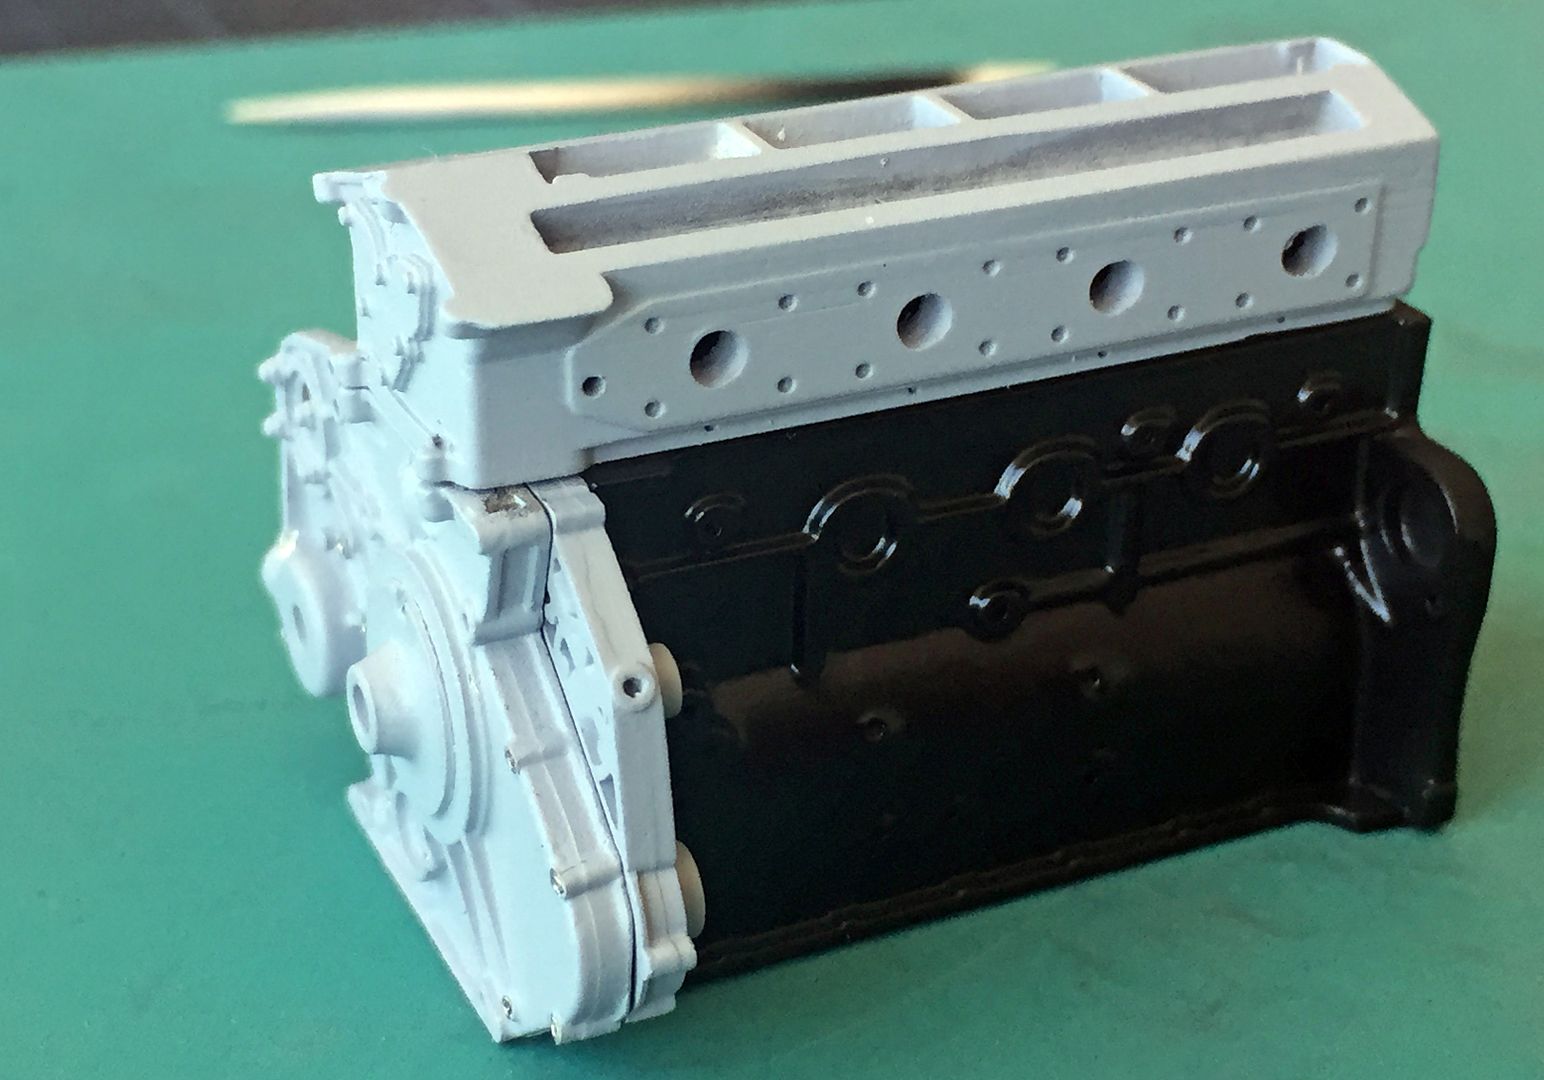
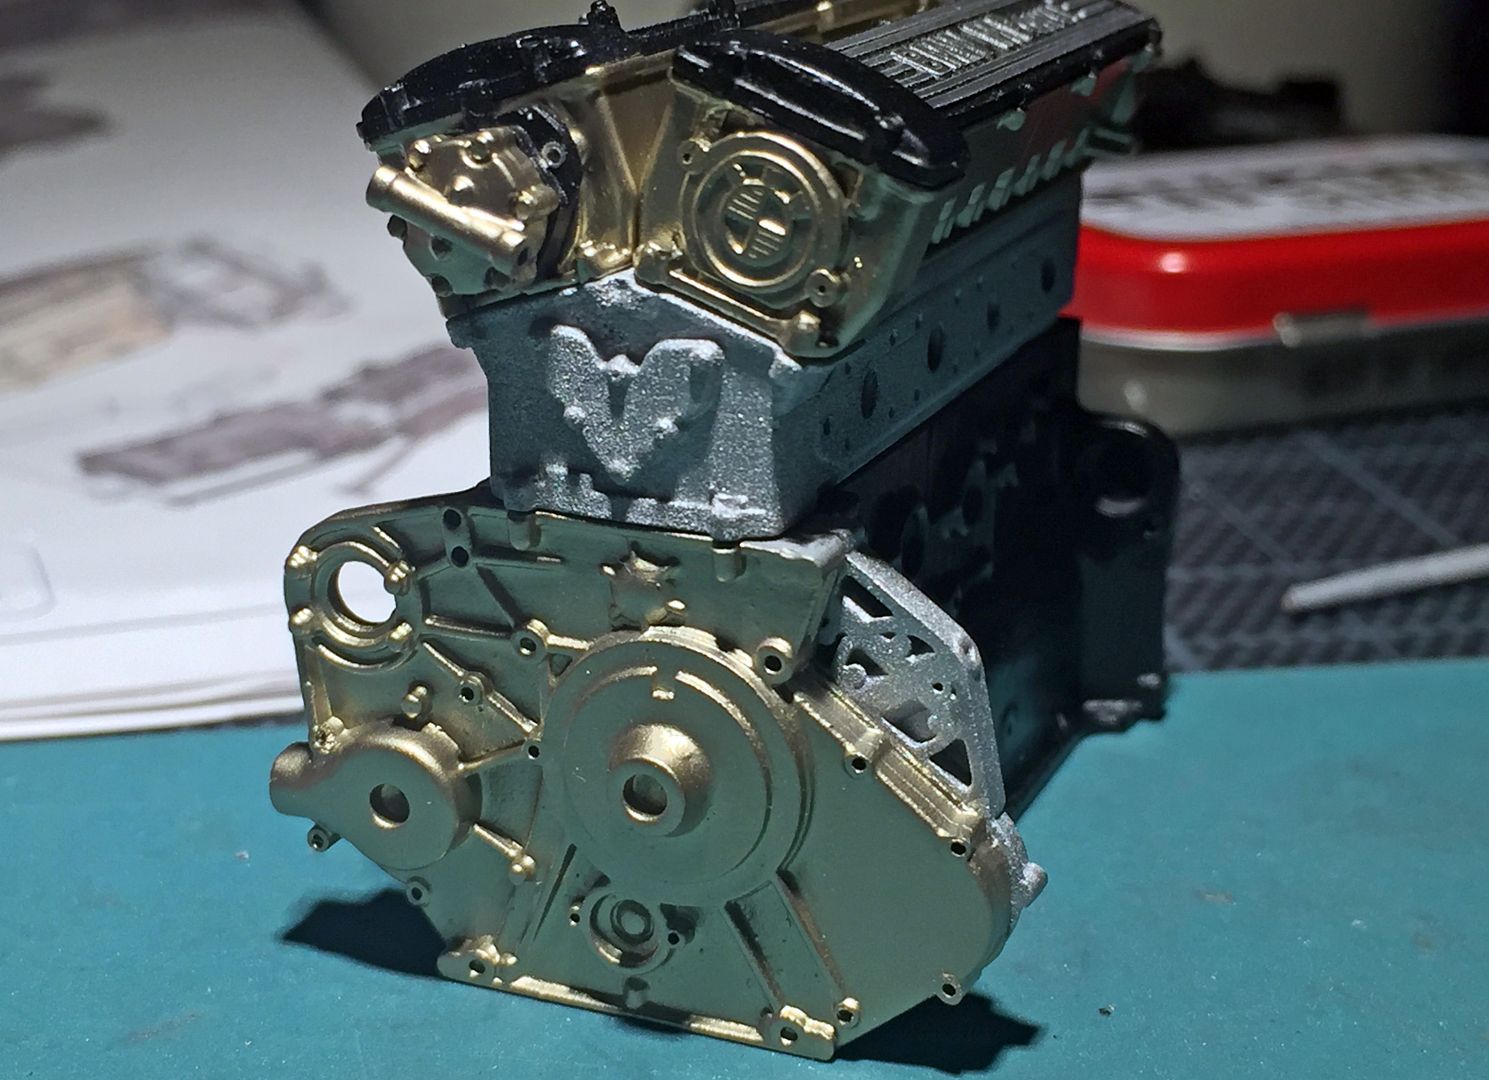
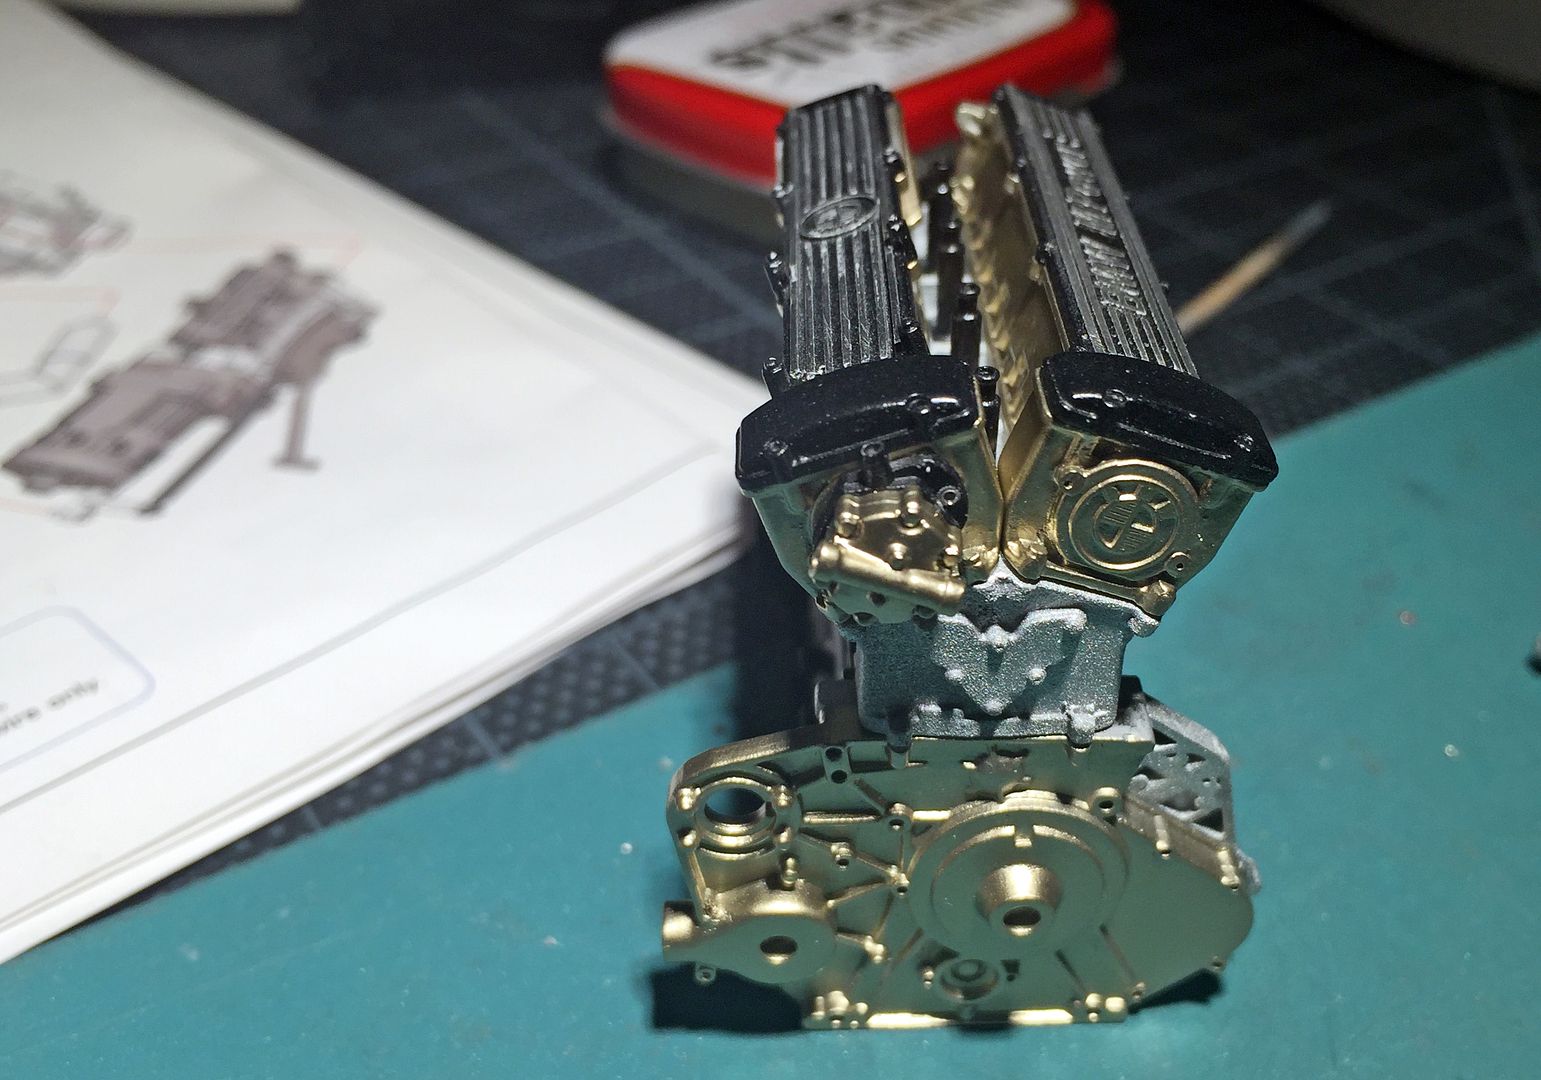
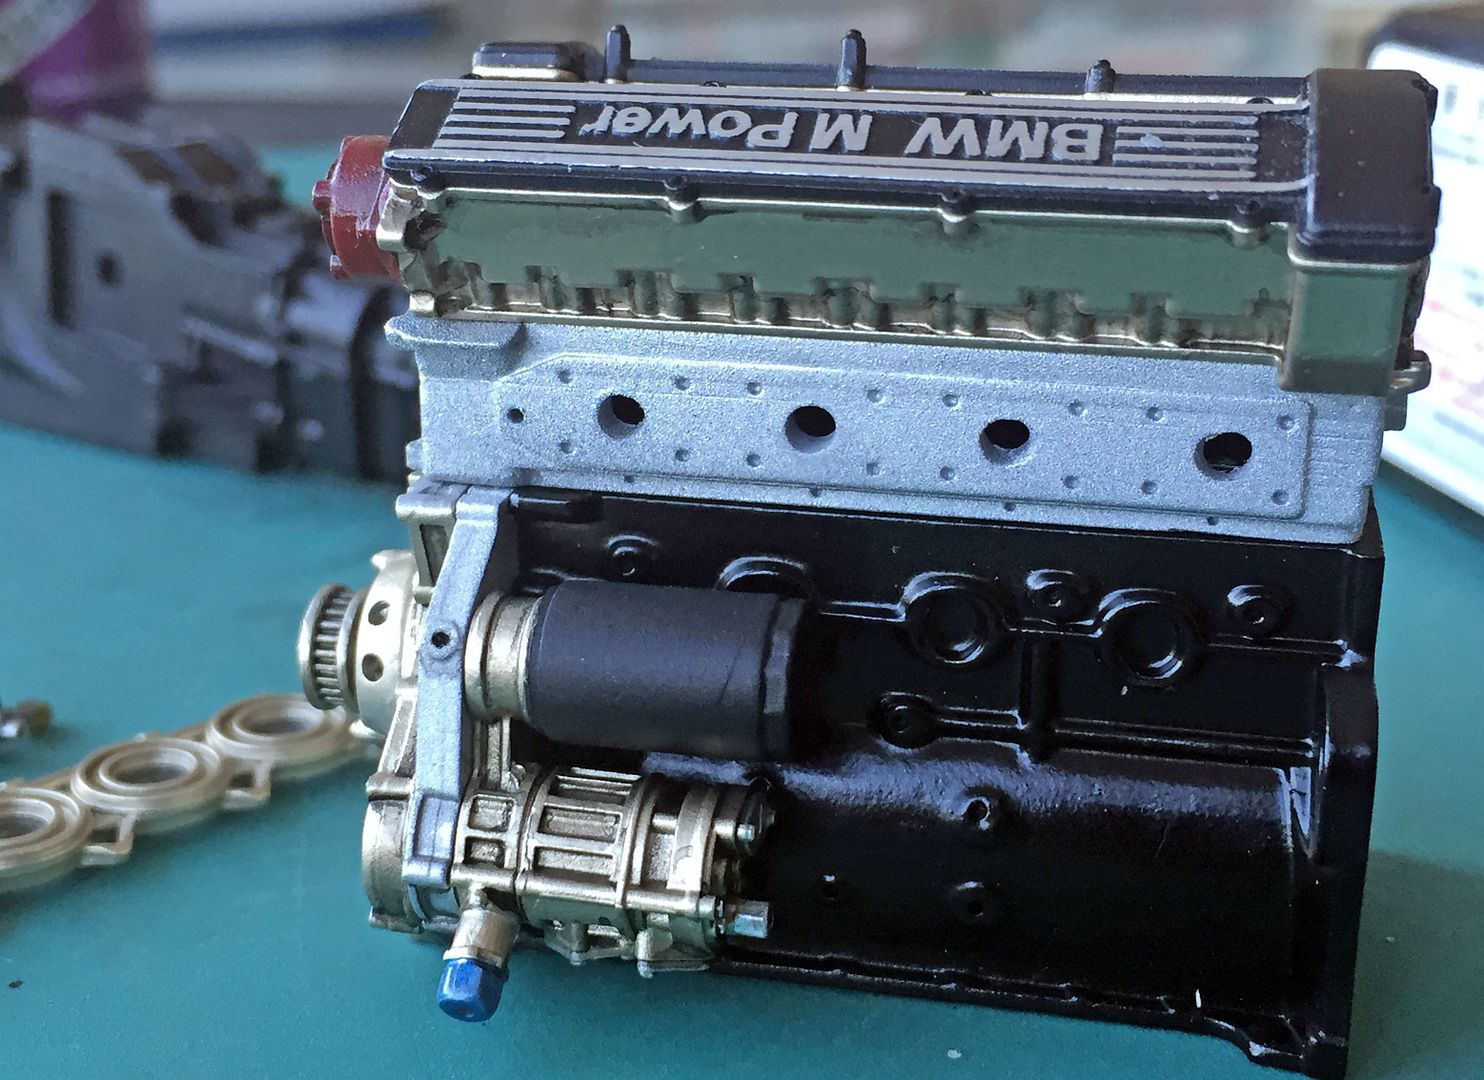
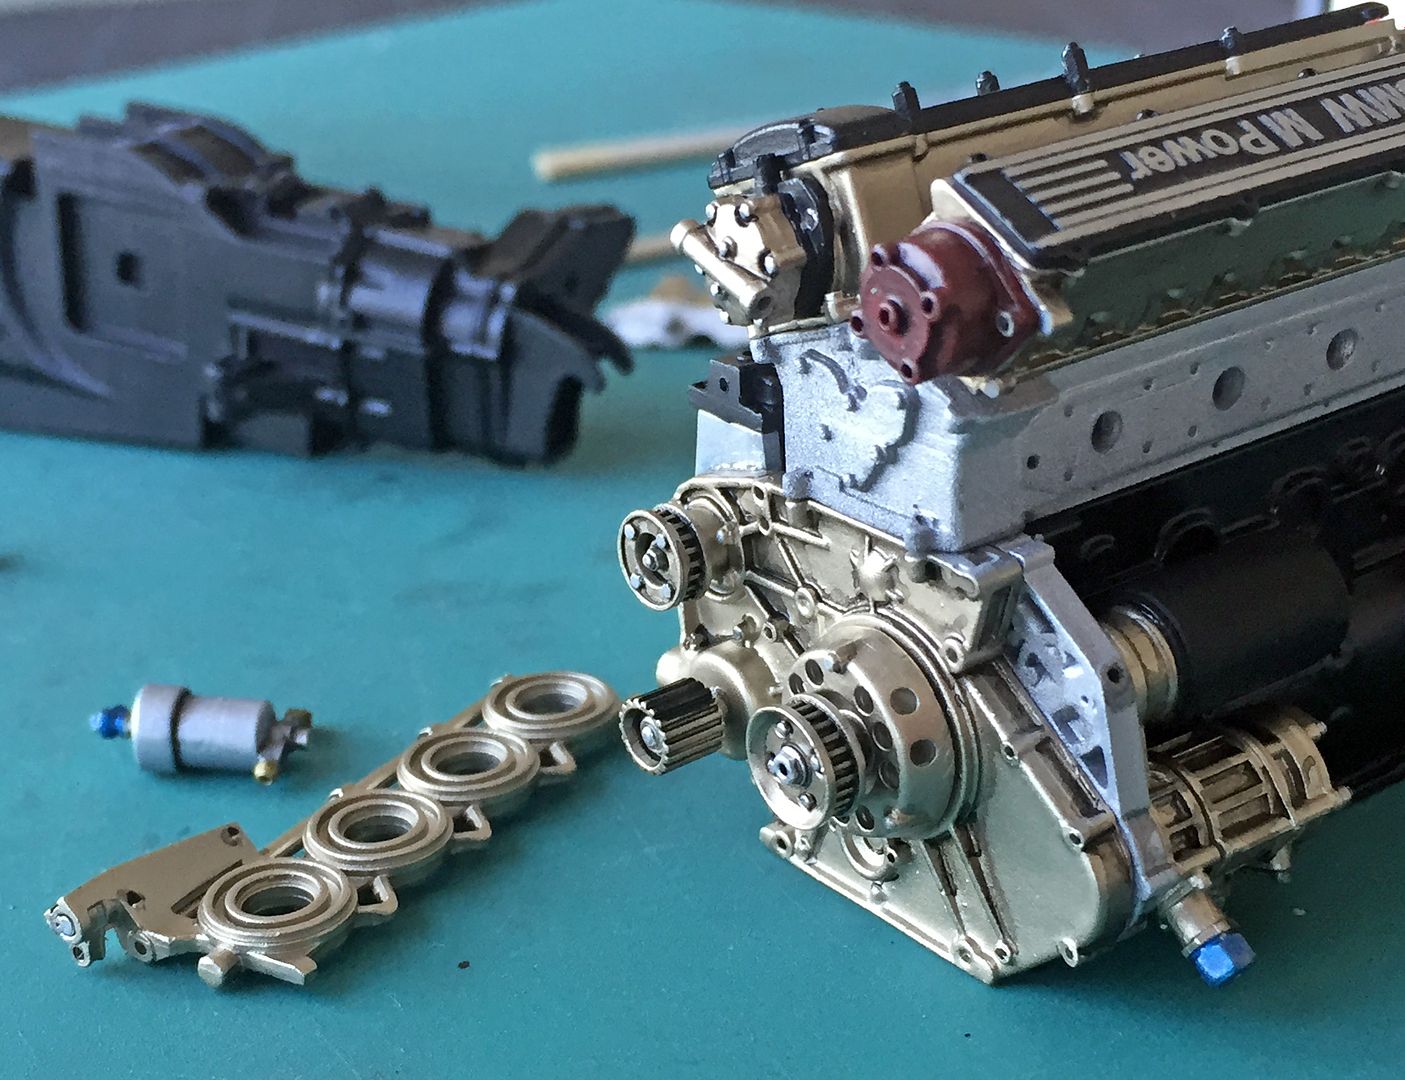
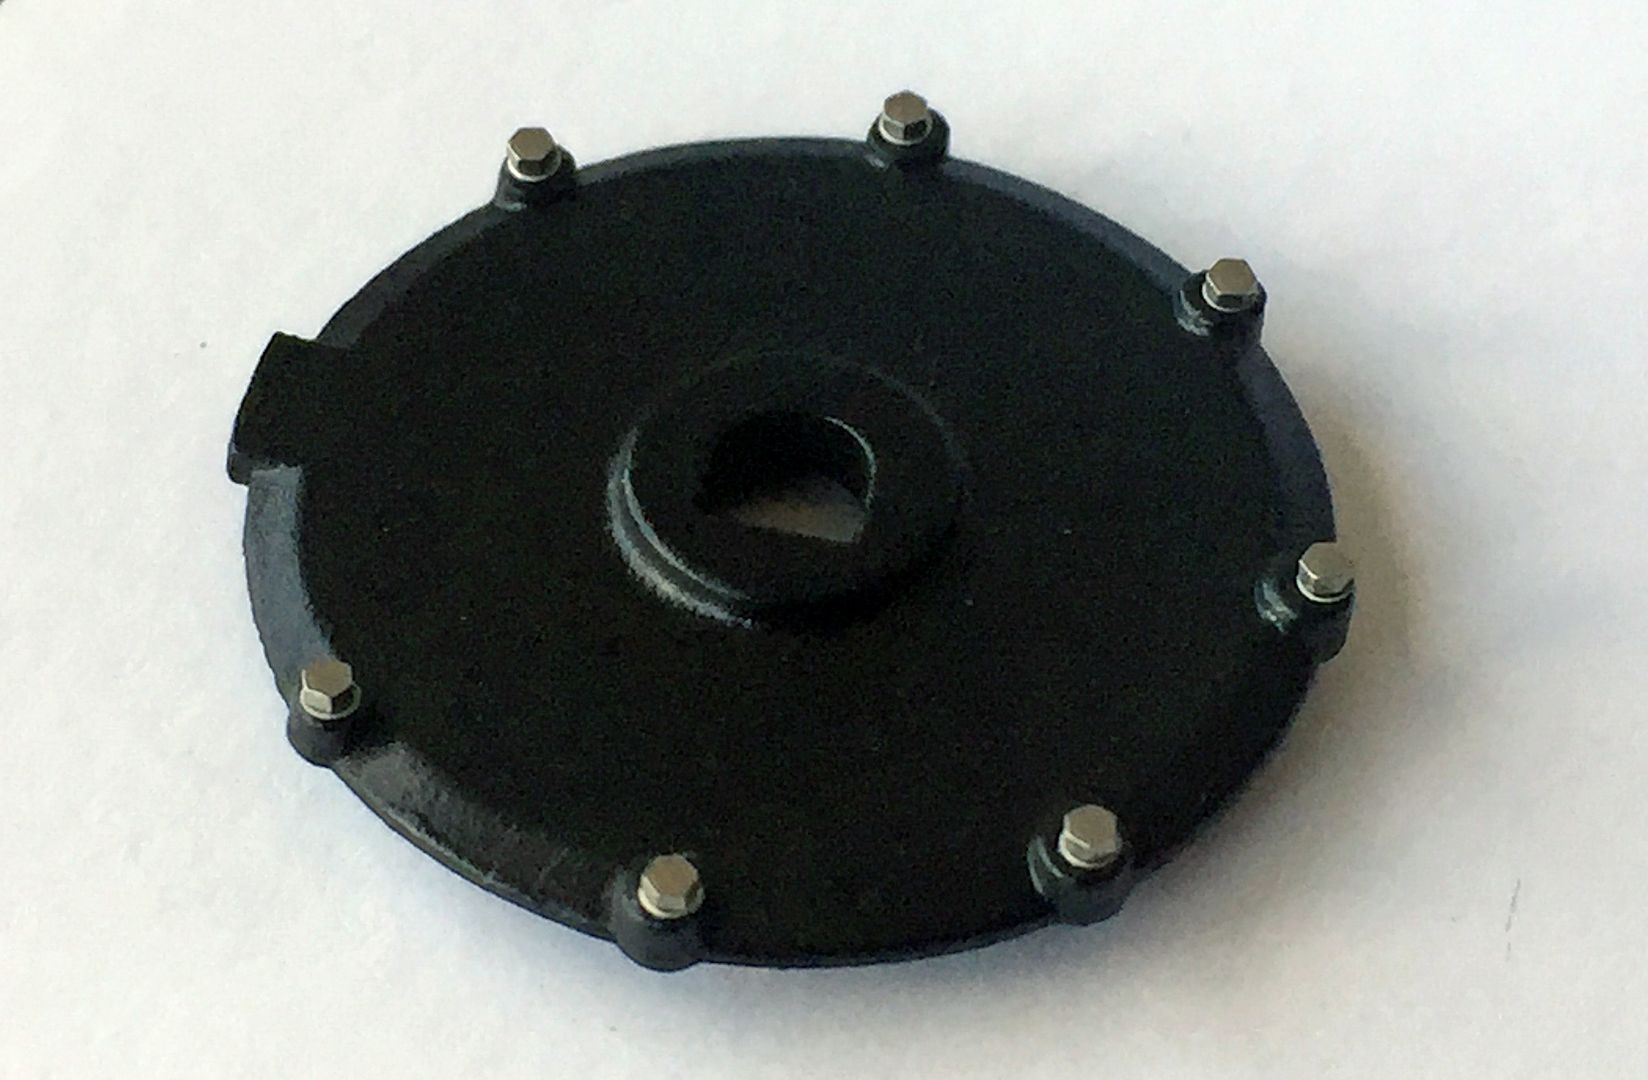
Started with the engine. Apart from the bodywork, there are very few resin parts. Main block and gearbox are two of them.
Tried some basic test fitting, but to be honest everything goes together very well.
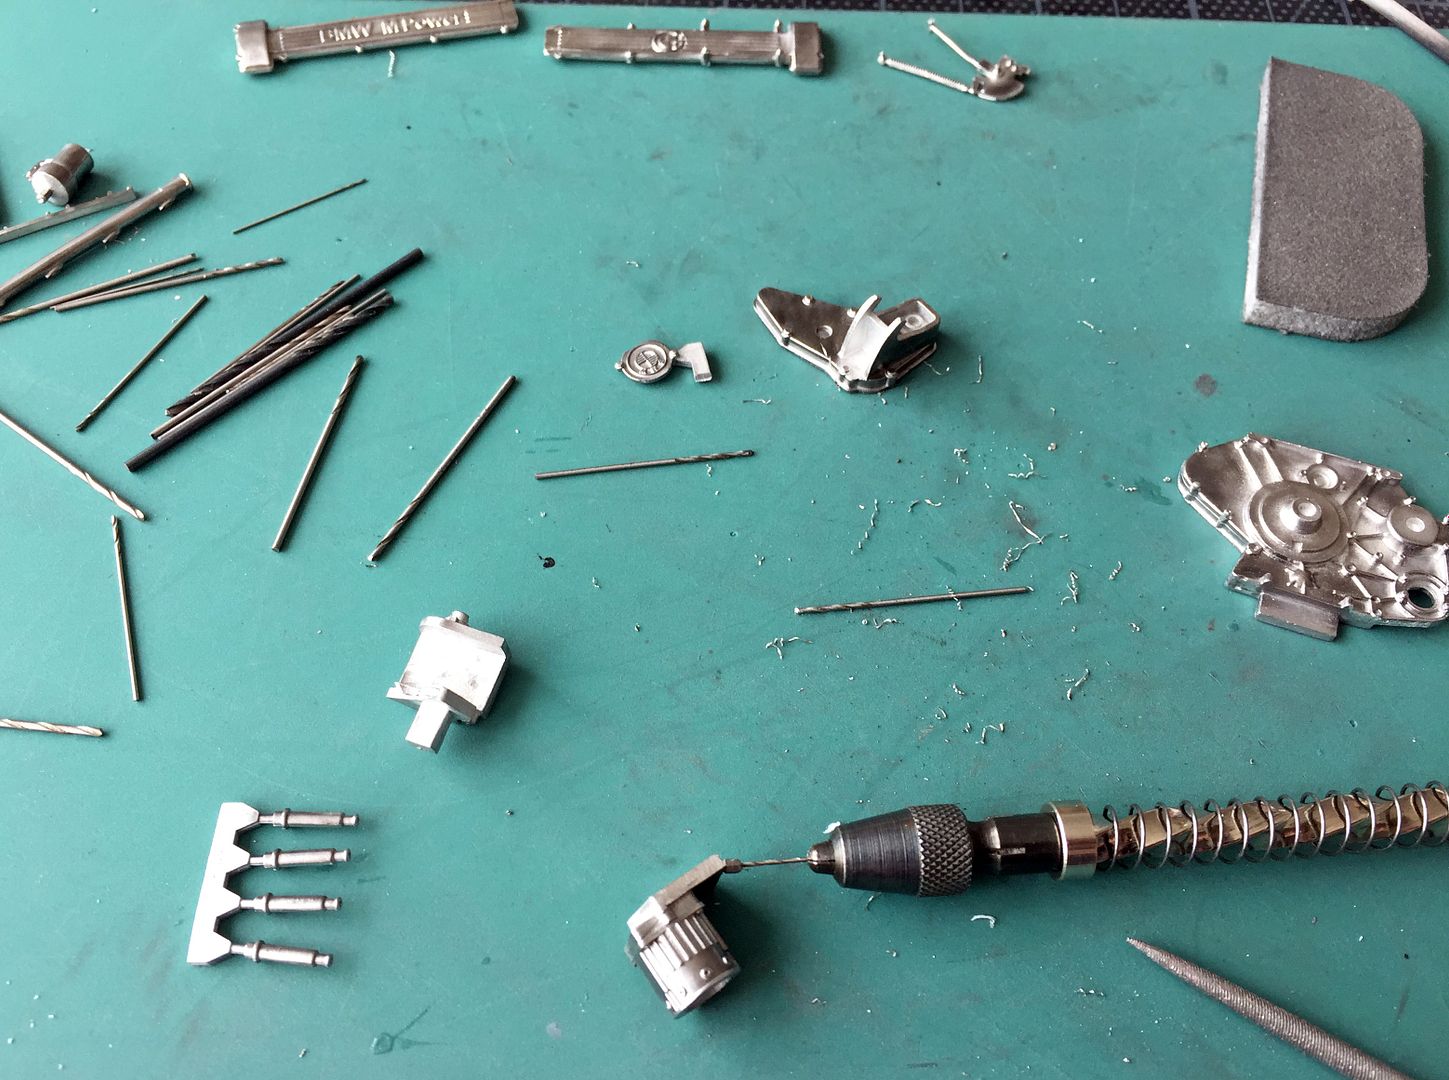
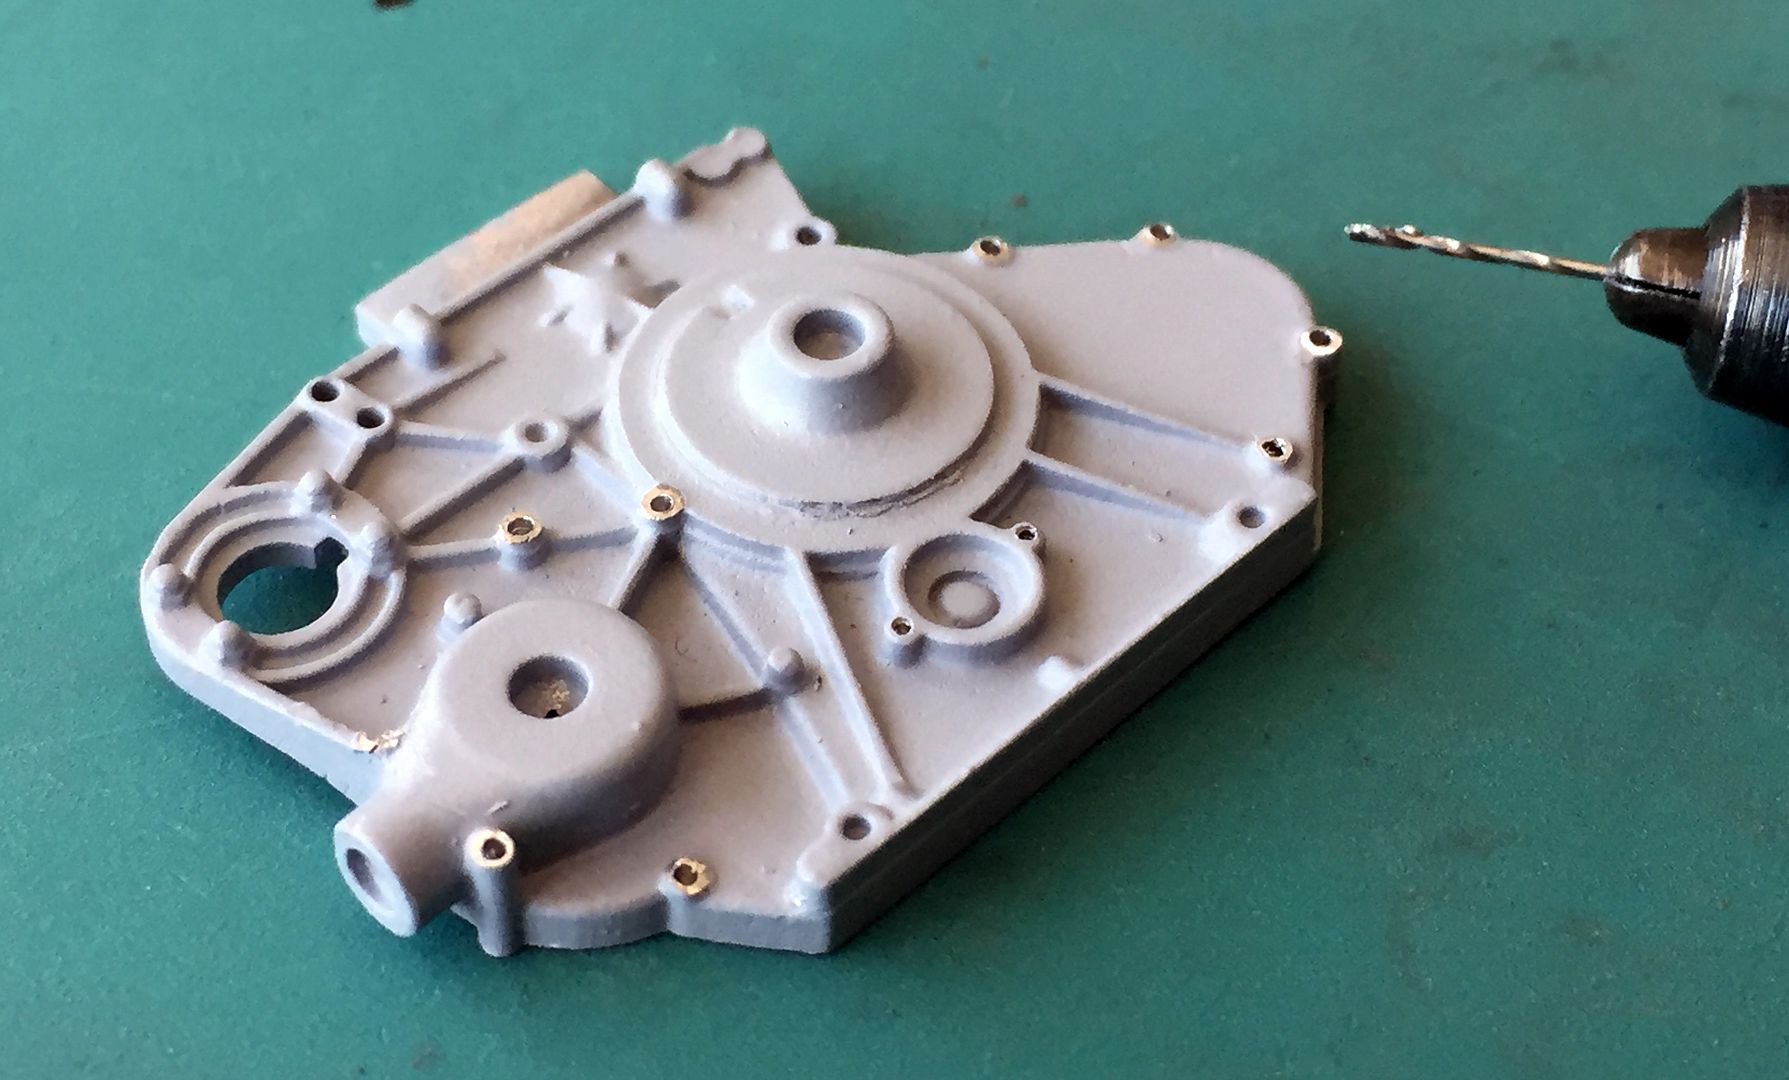
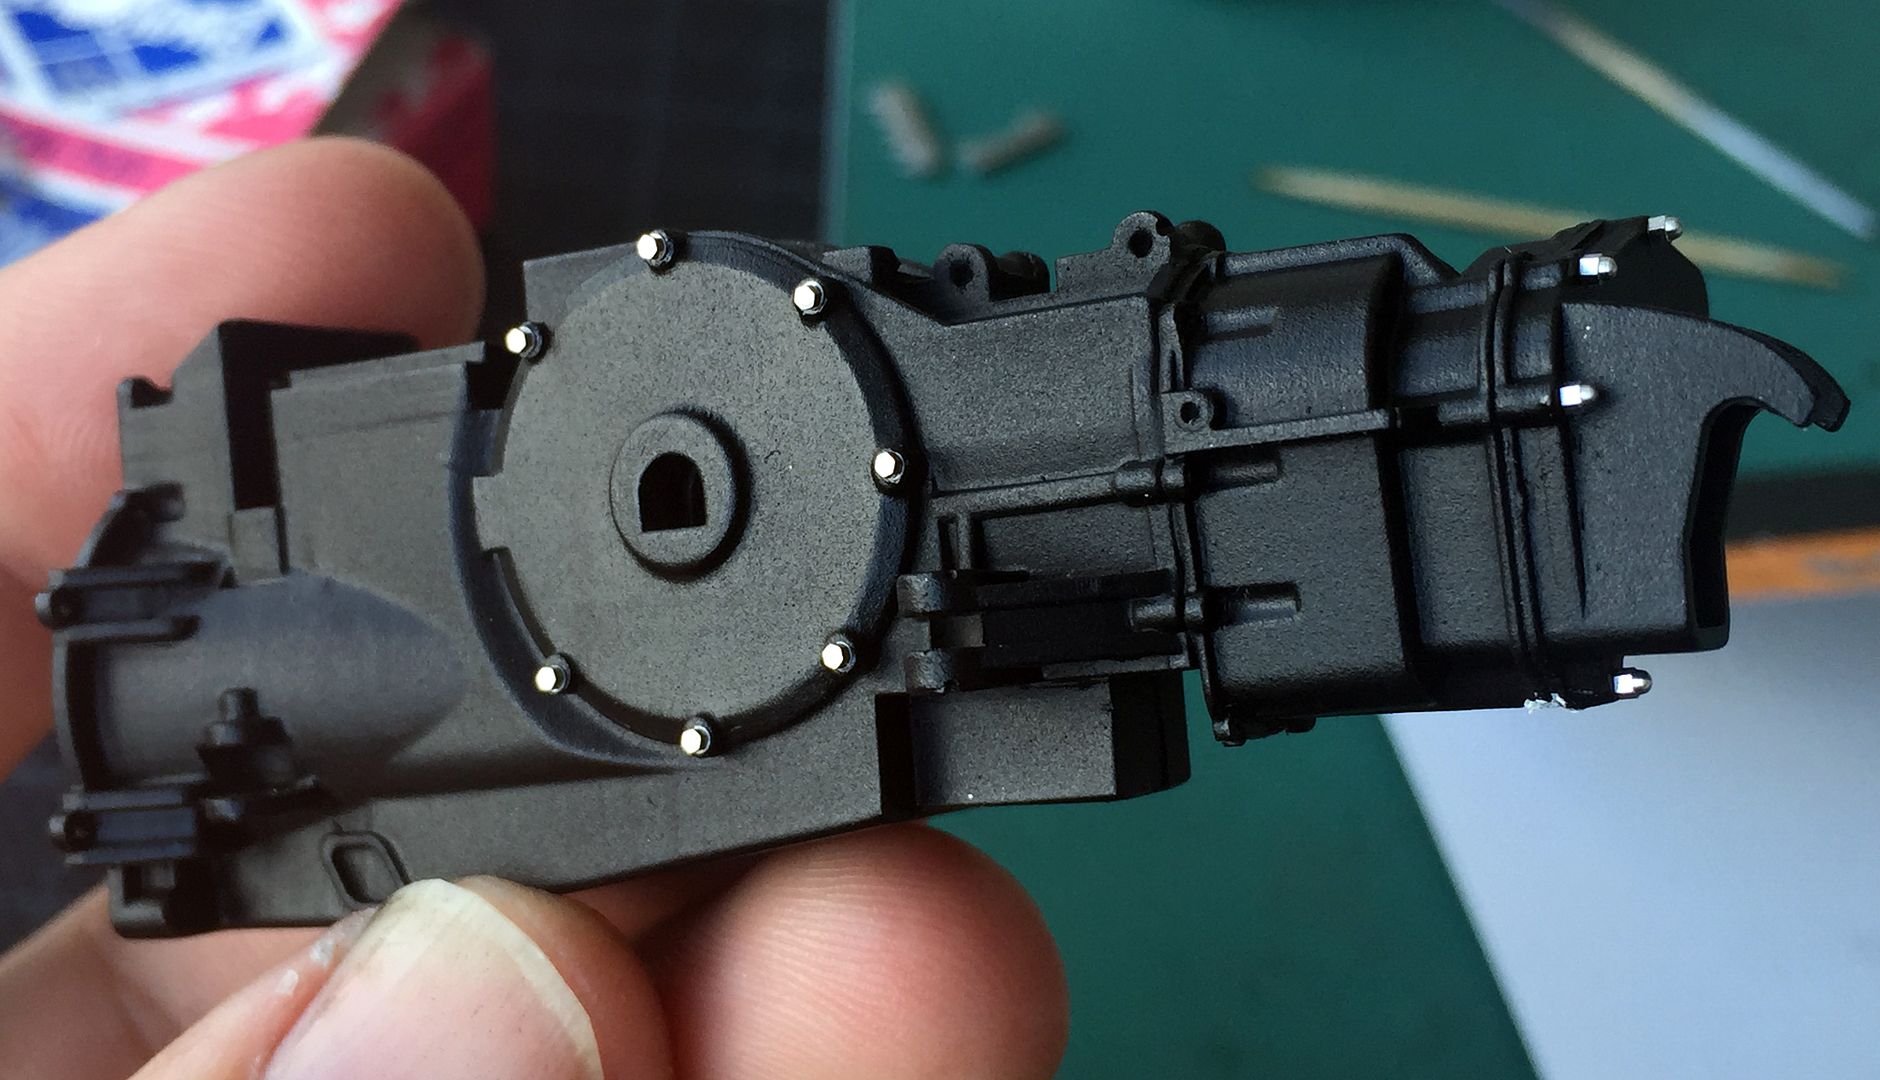
On this kit I have decided to use some turned detail parts, like studs and bolts etc. So the biggest job in starting this engine was drilling out the ones that were cast into the parts - these would still look perfectly fine if you did not want to do this - but having built up a library of turned parts I figured I should start using them!
Used the dremel/brass wire wheel method of cleaning the metal.

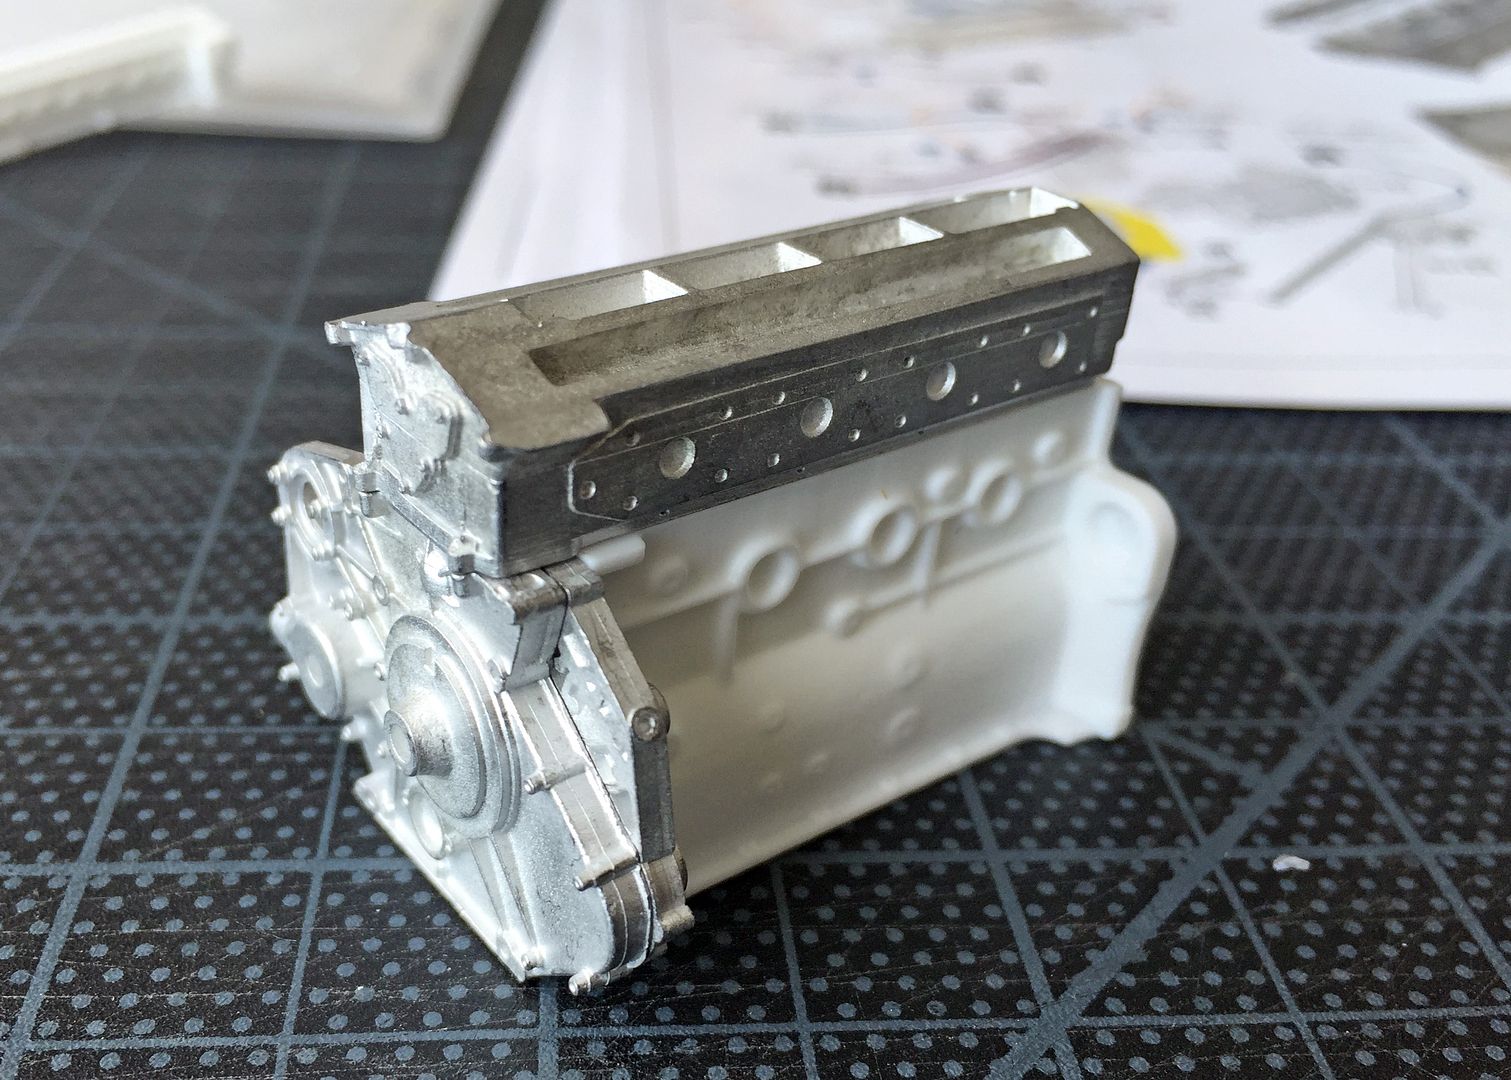
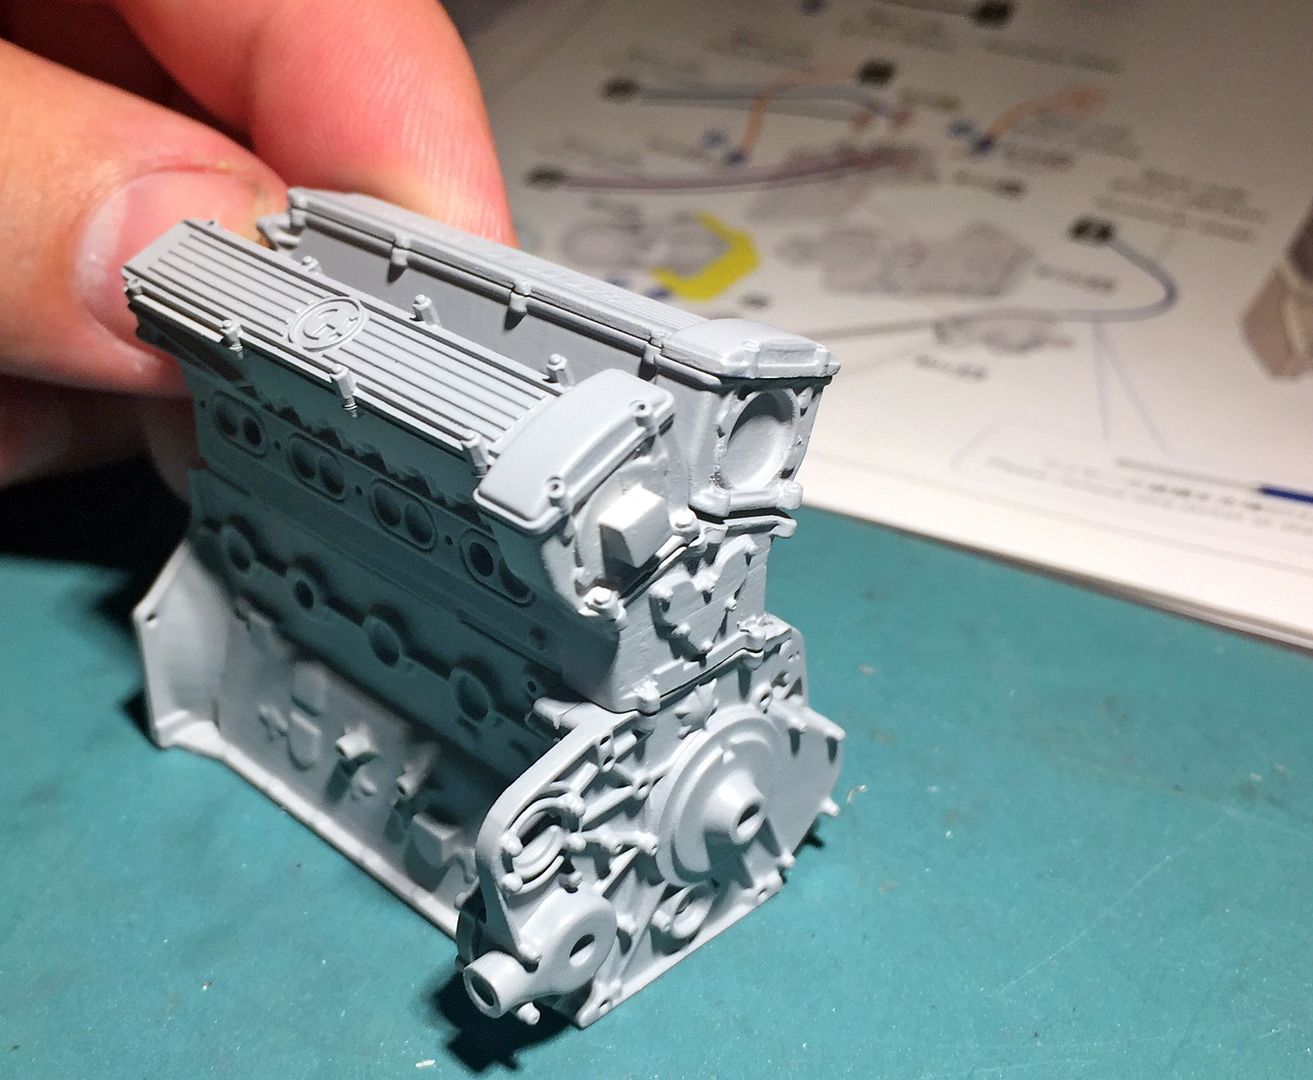
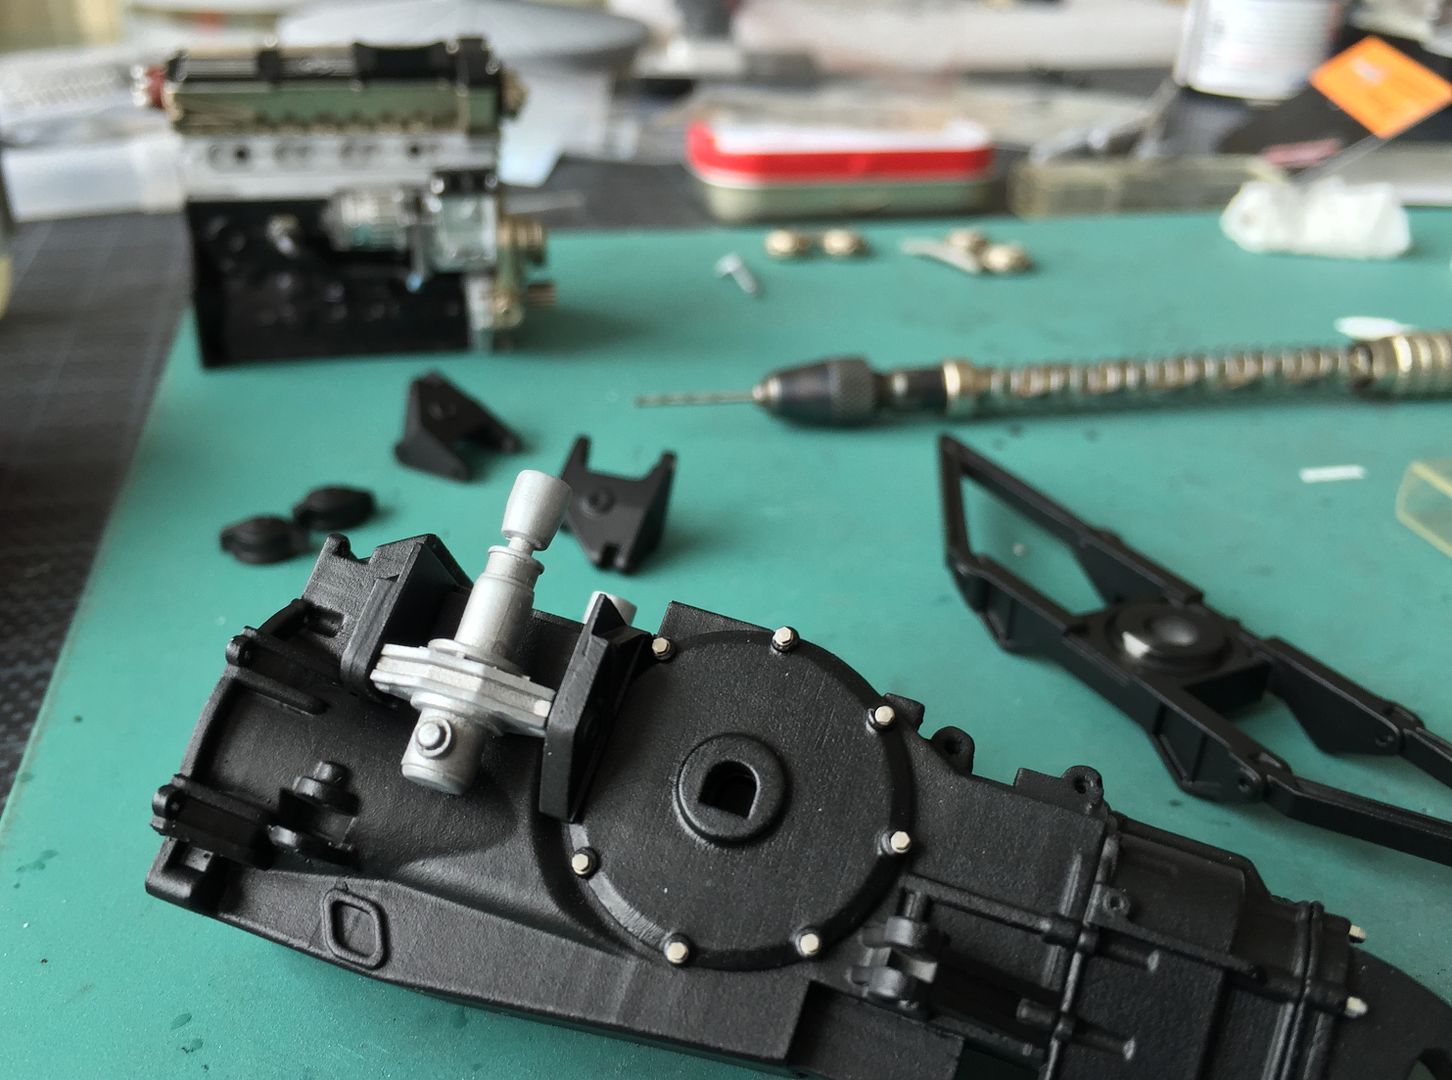
I metal etched primed the metal parts, washed the resin parts, and sprayed with grey fine primer - all after first having removed any flash, mold lines etc etc - these were pretty minimal to be honest...
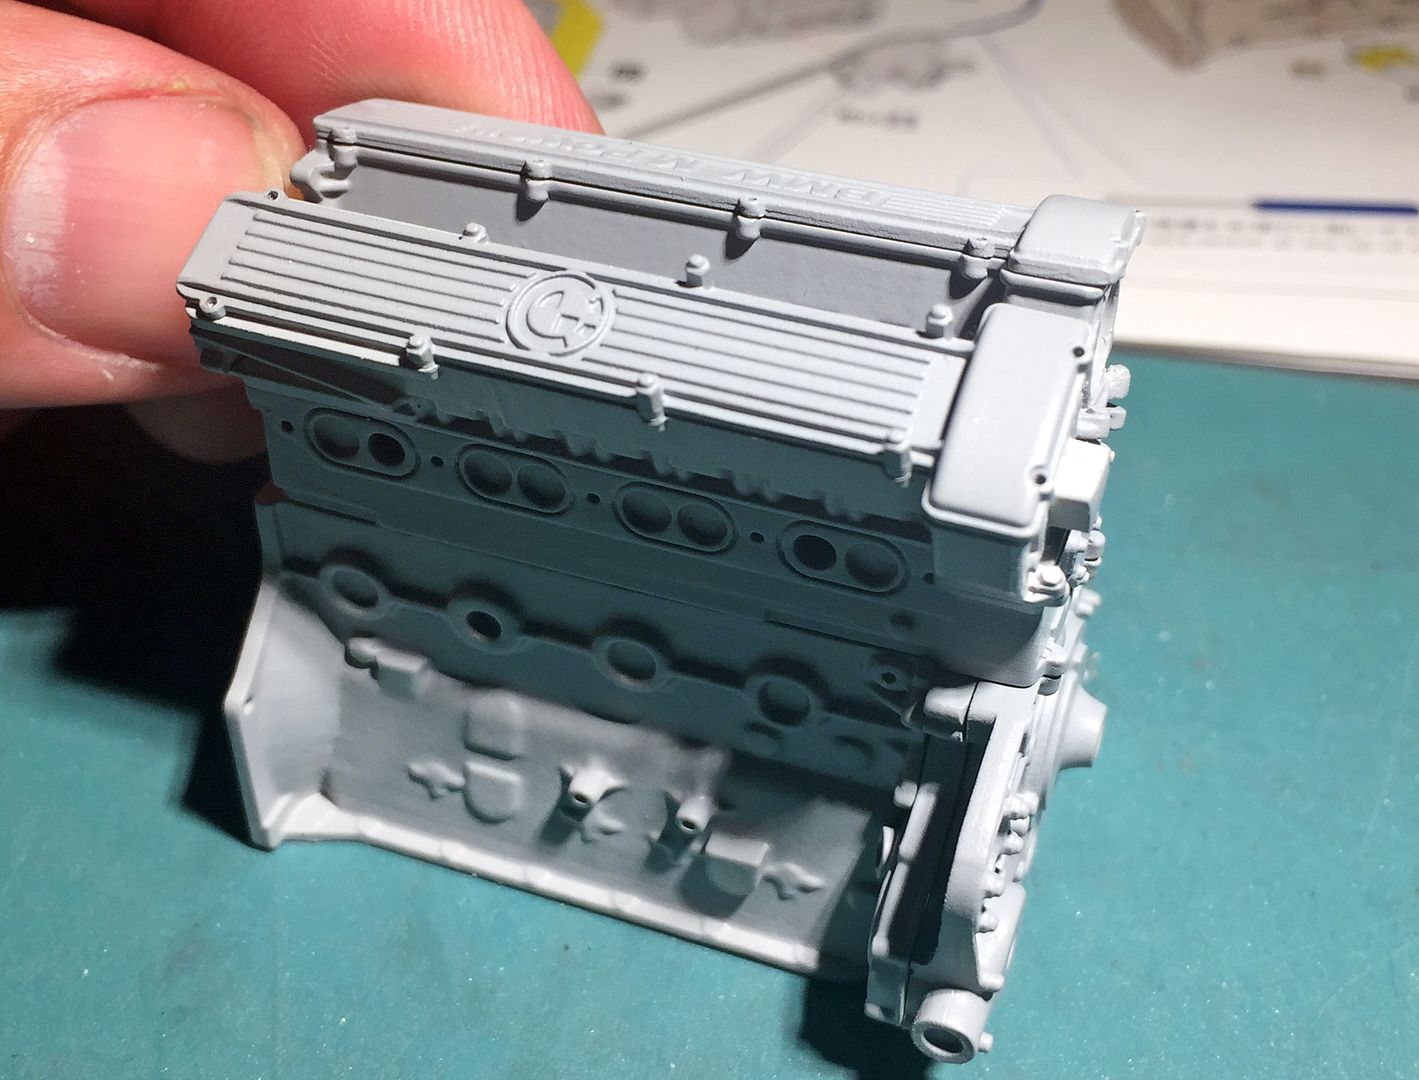
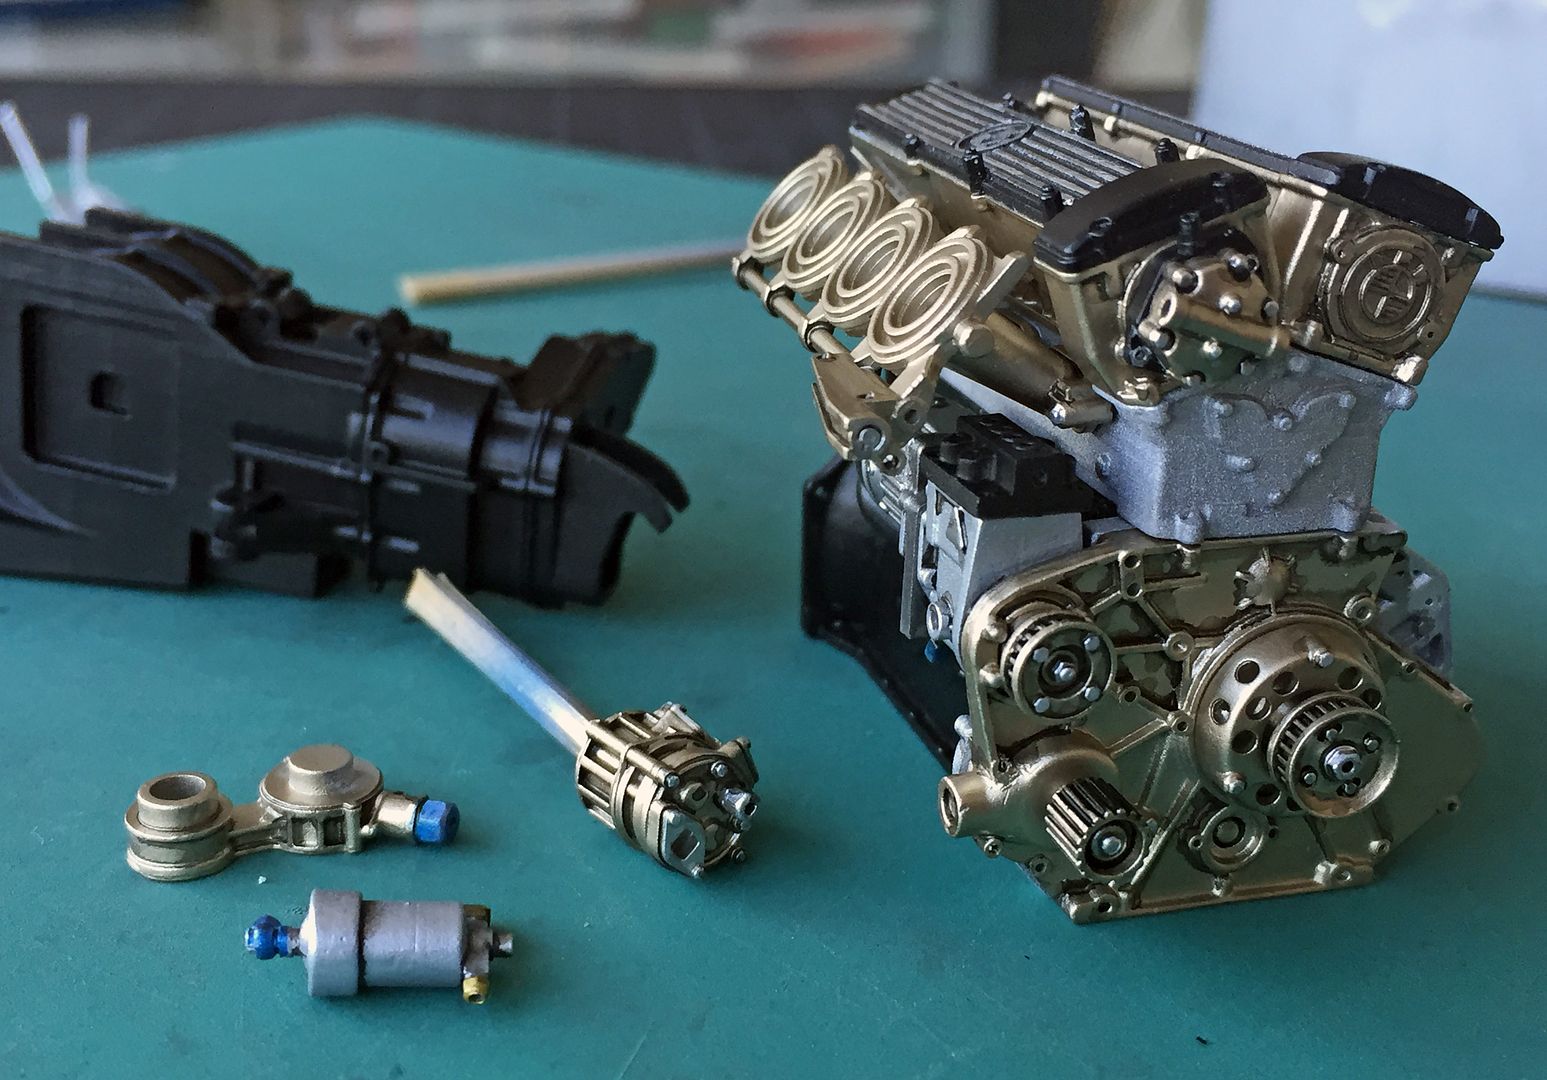
Test fit - nothing glued as each element is a different colour!
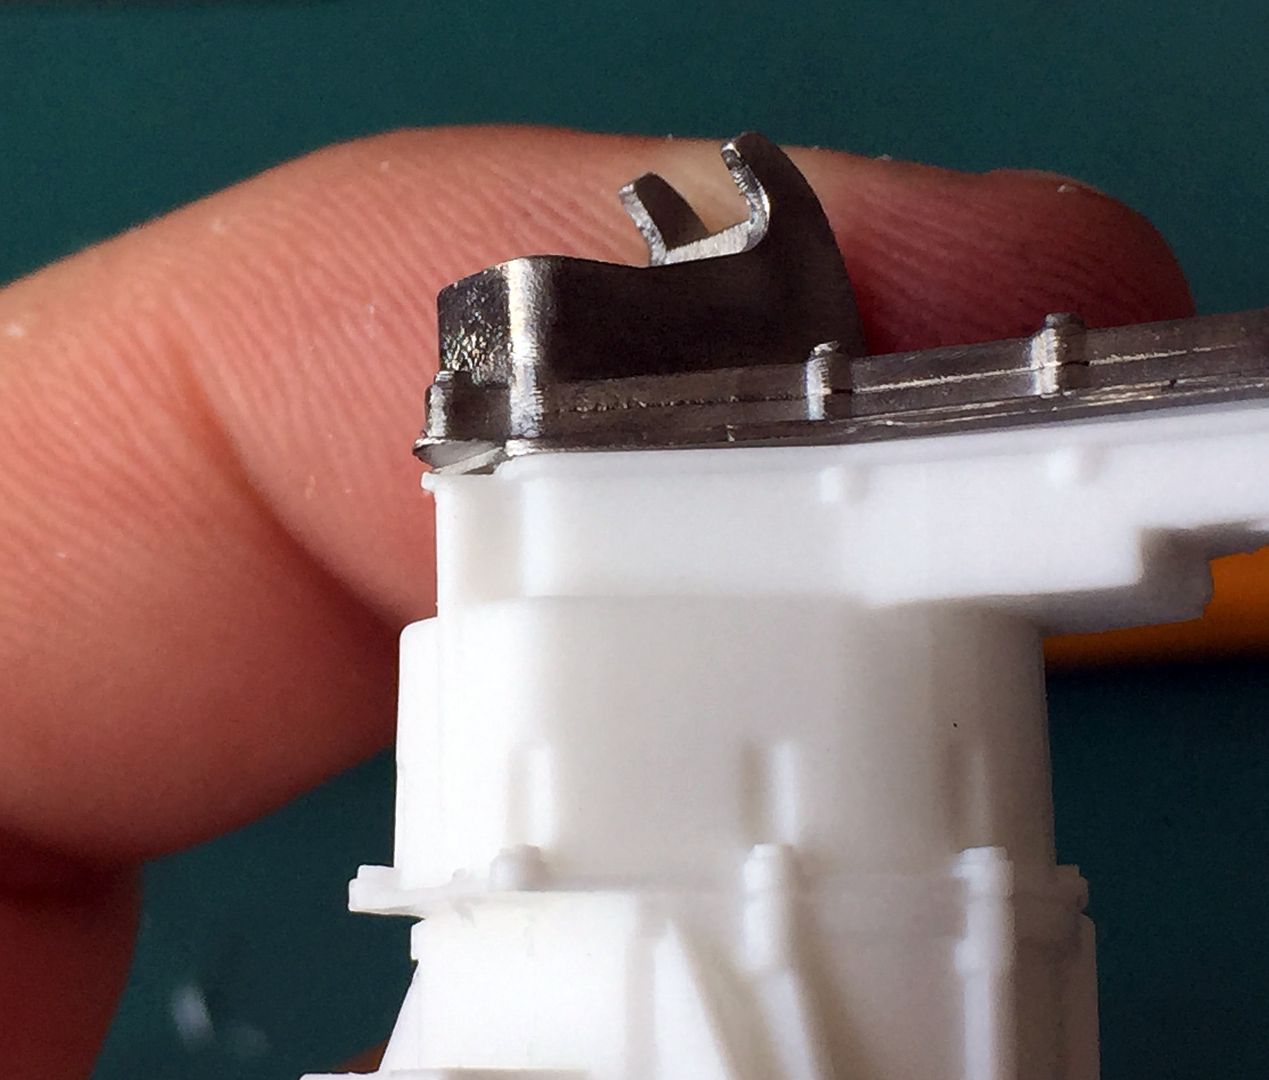
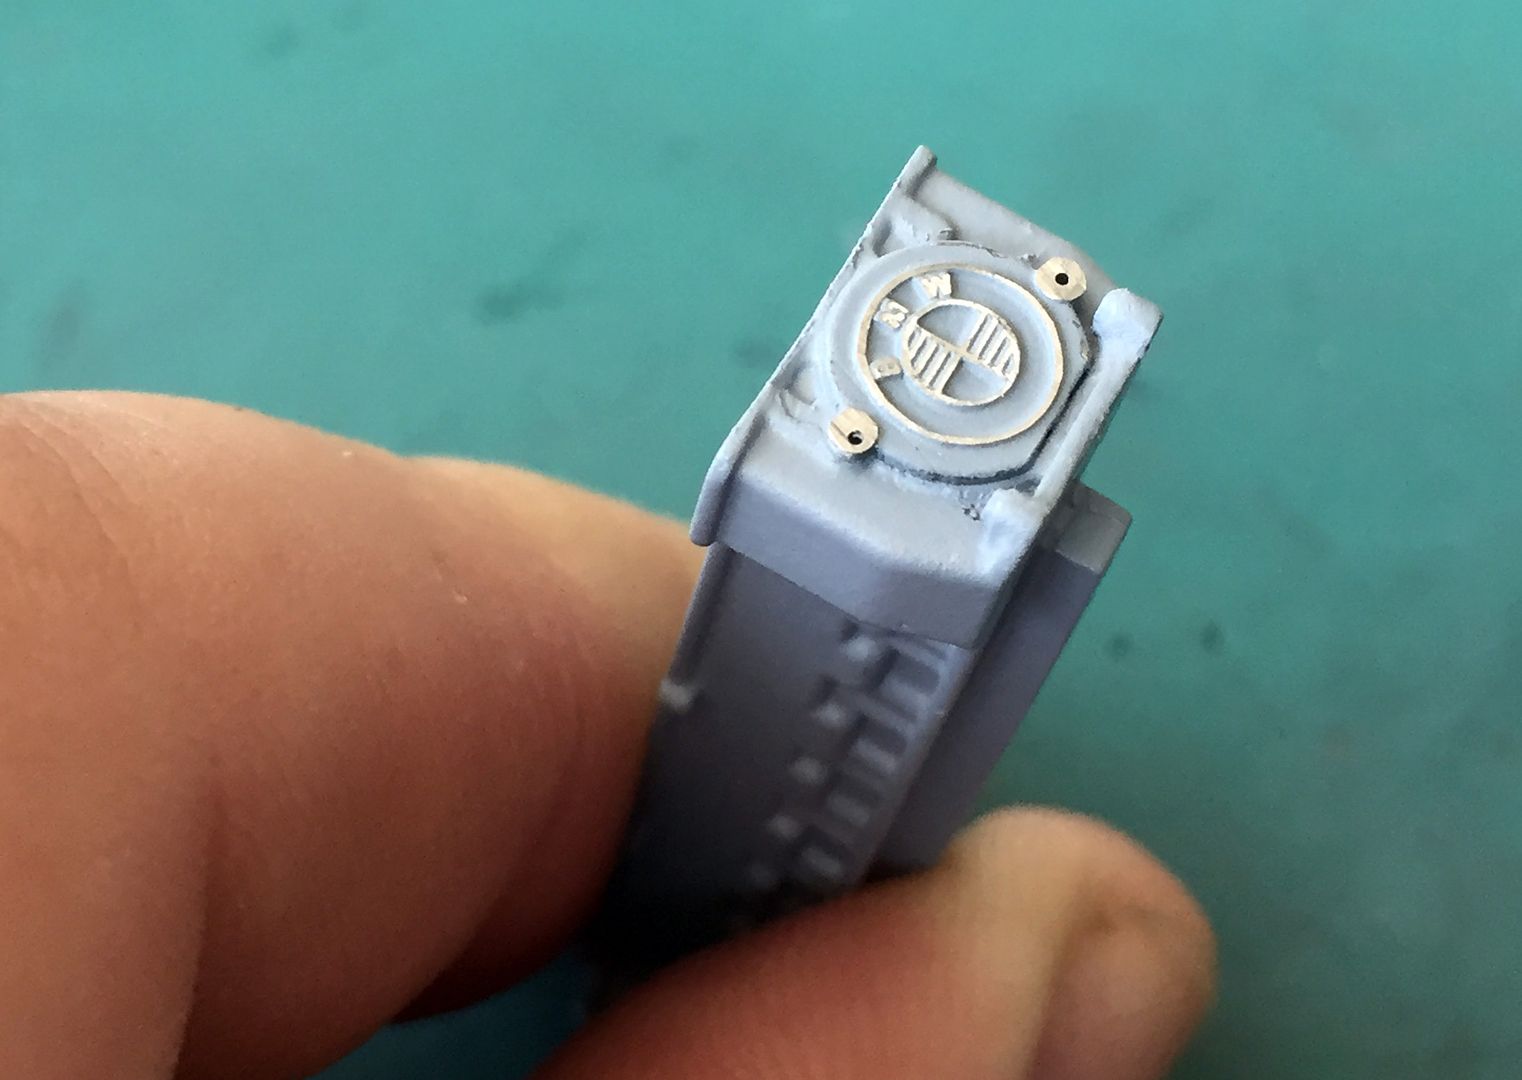
In fact - here is the first 'blemish' I have come across in my minimal experience of MFH - a tiny bubble in the resin of the gearbox, where the 'end cap' fits. Easy fill and sand. I post this only to highlight how everything else seems to be perfect!
Drilling off/out cast studs and bolts...
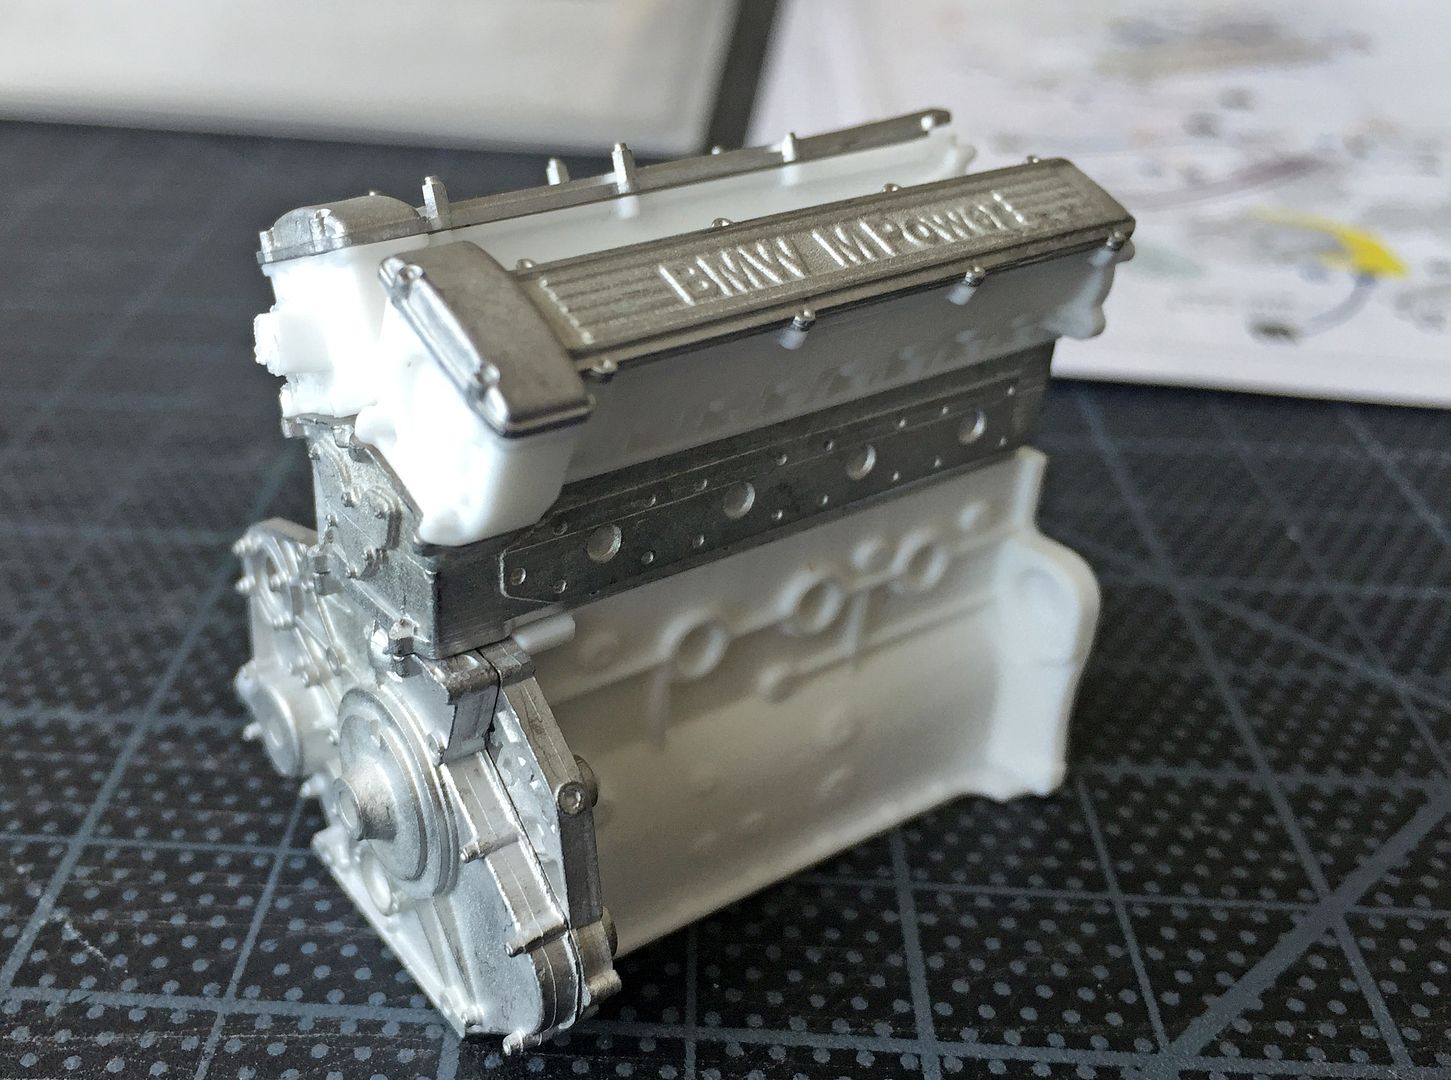
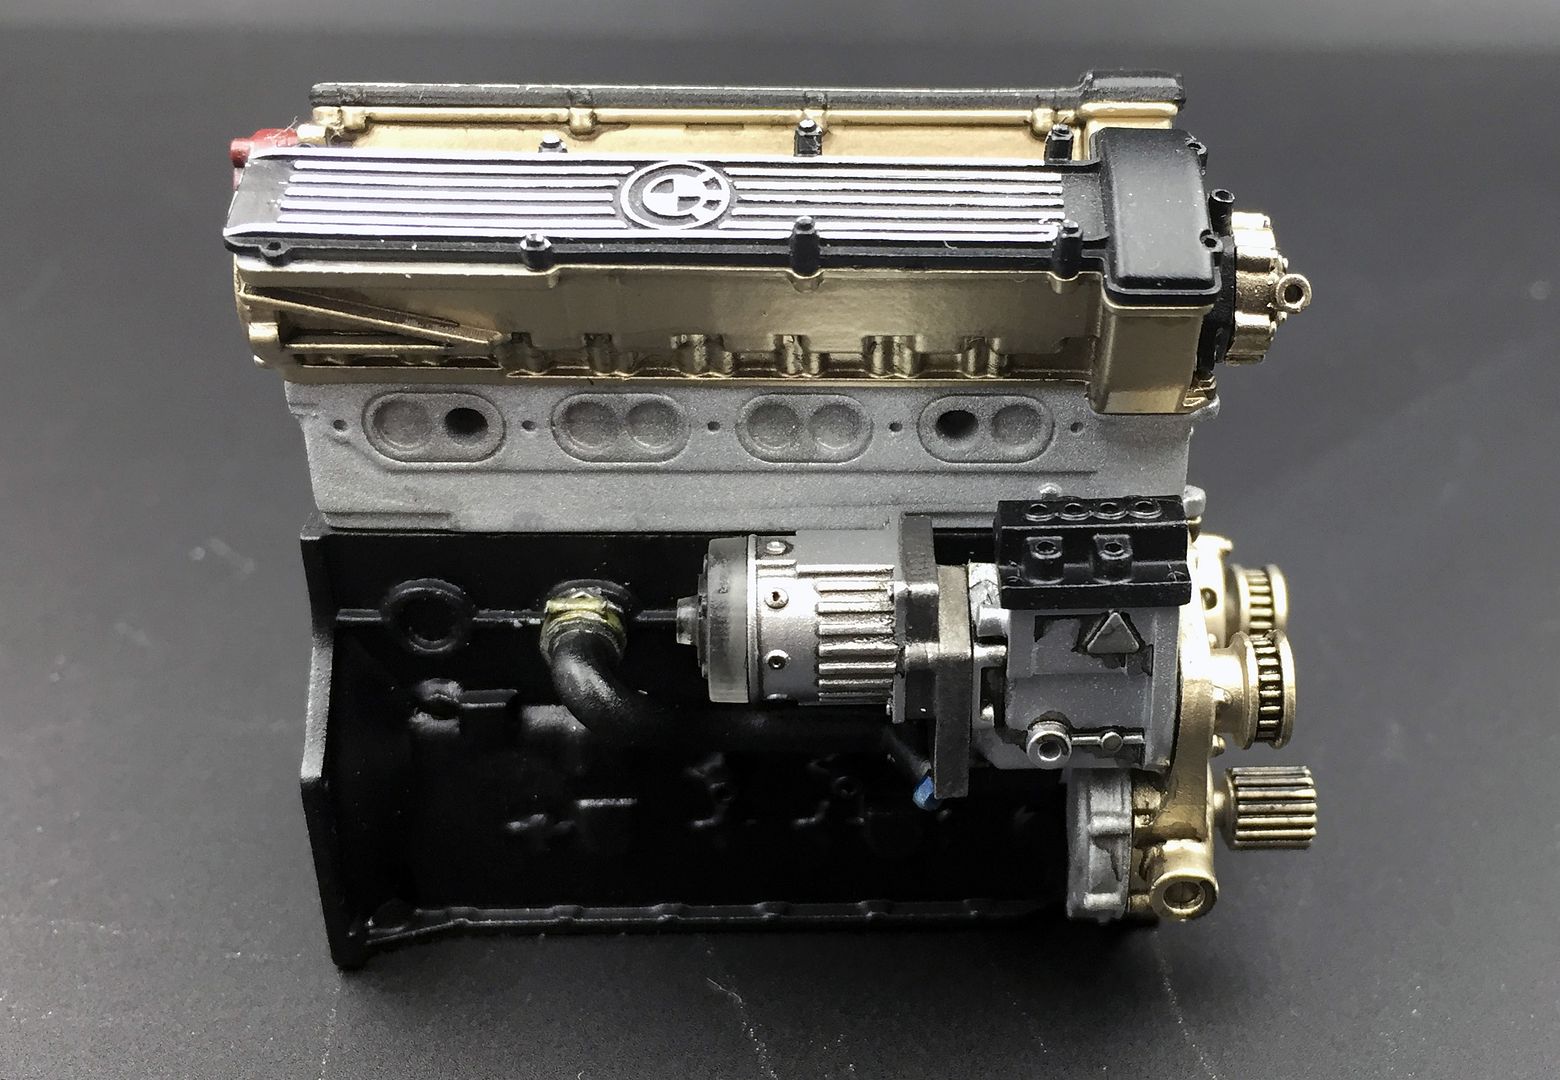
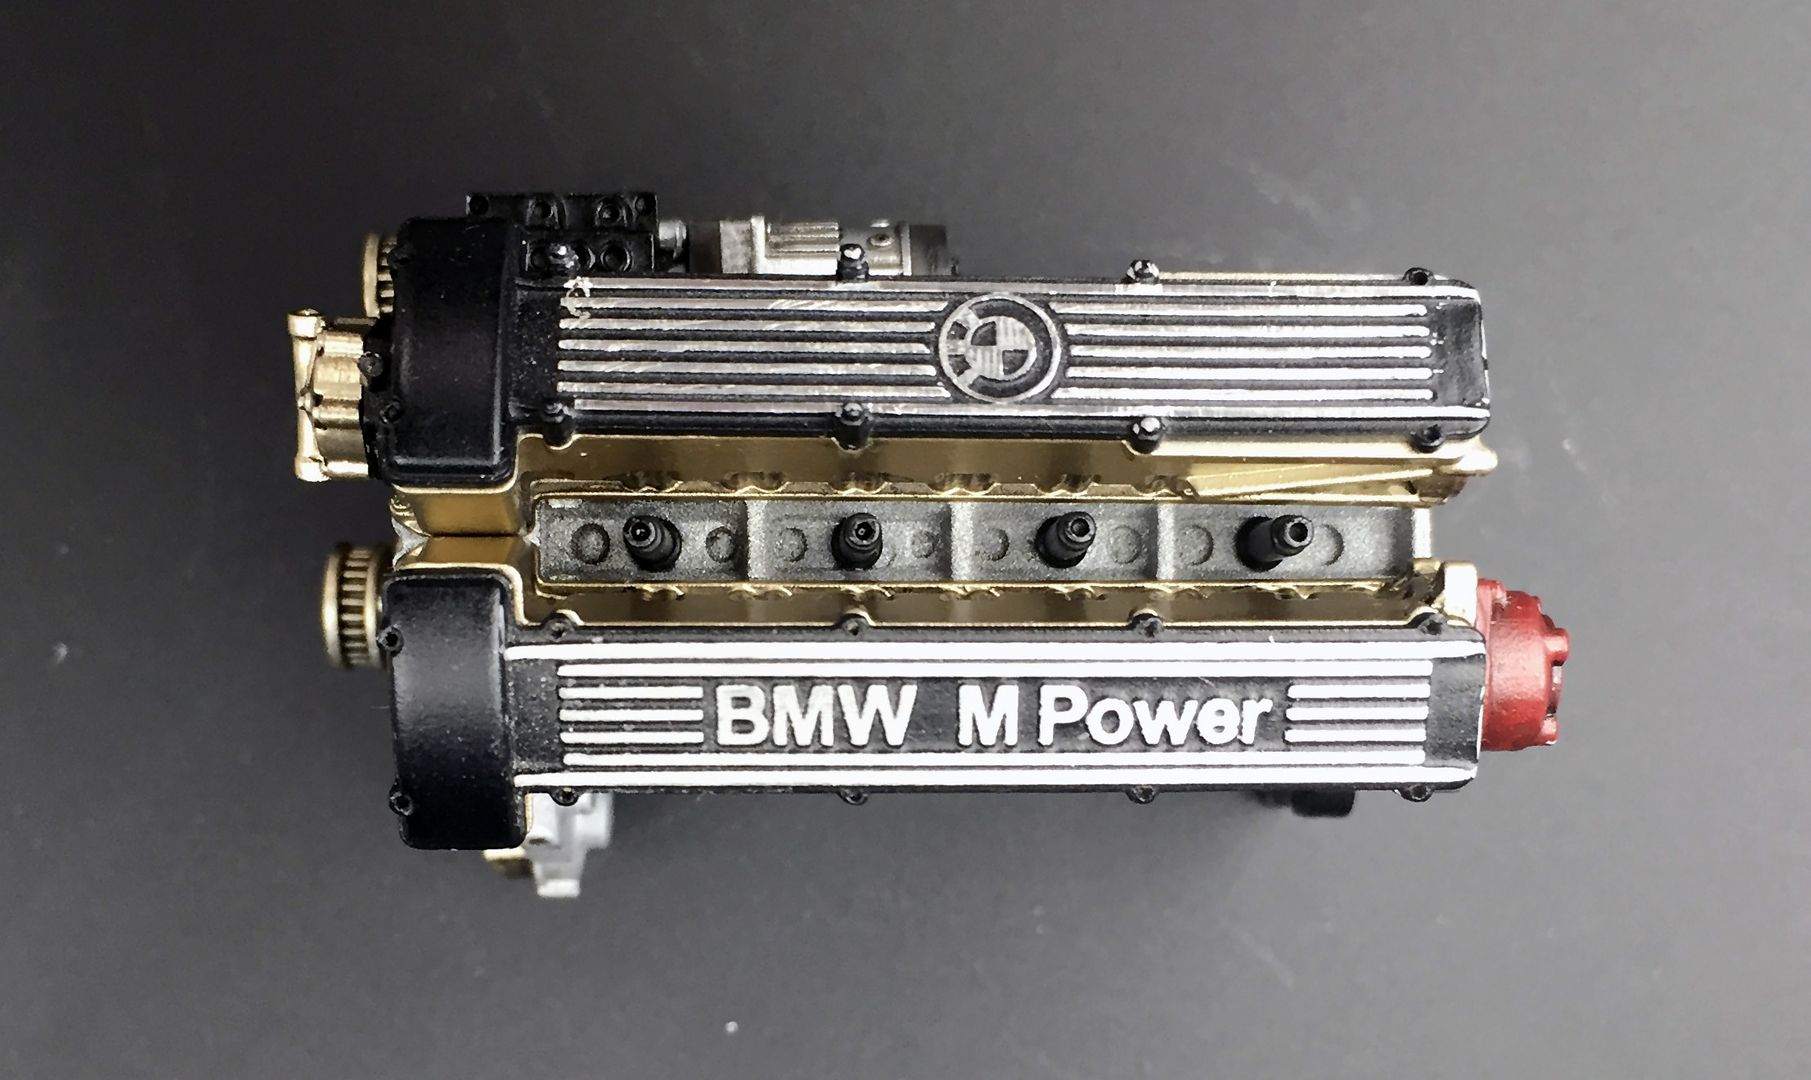
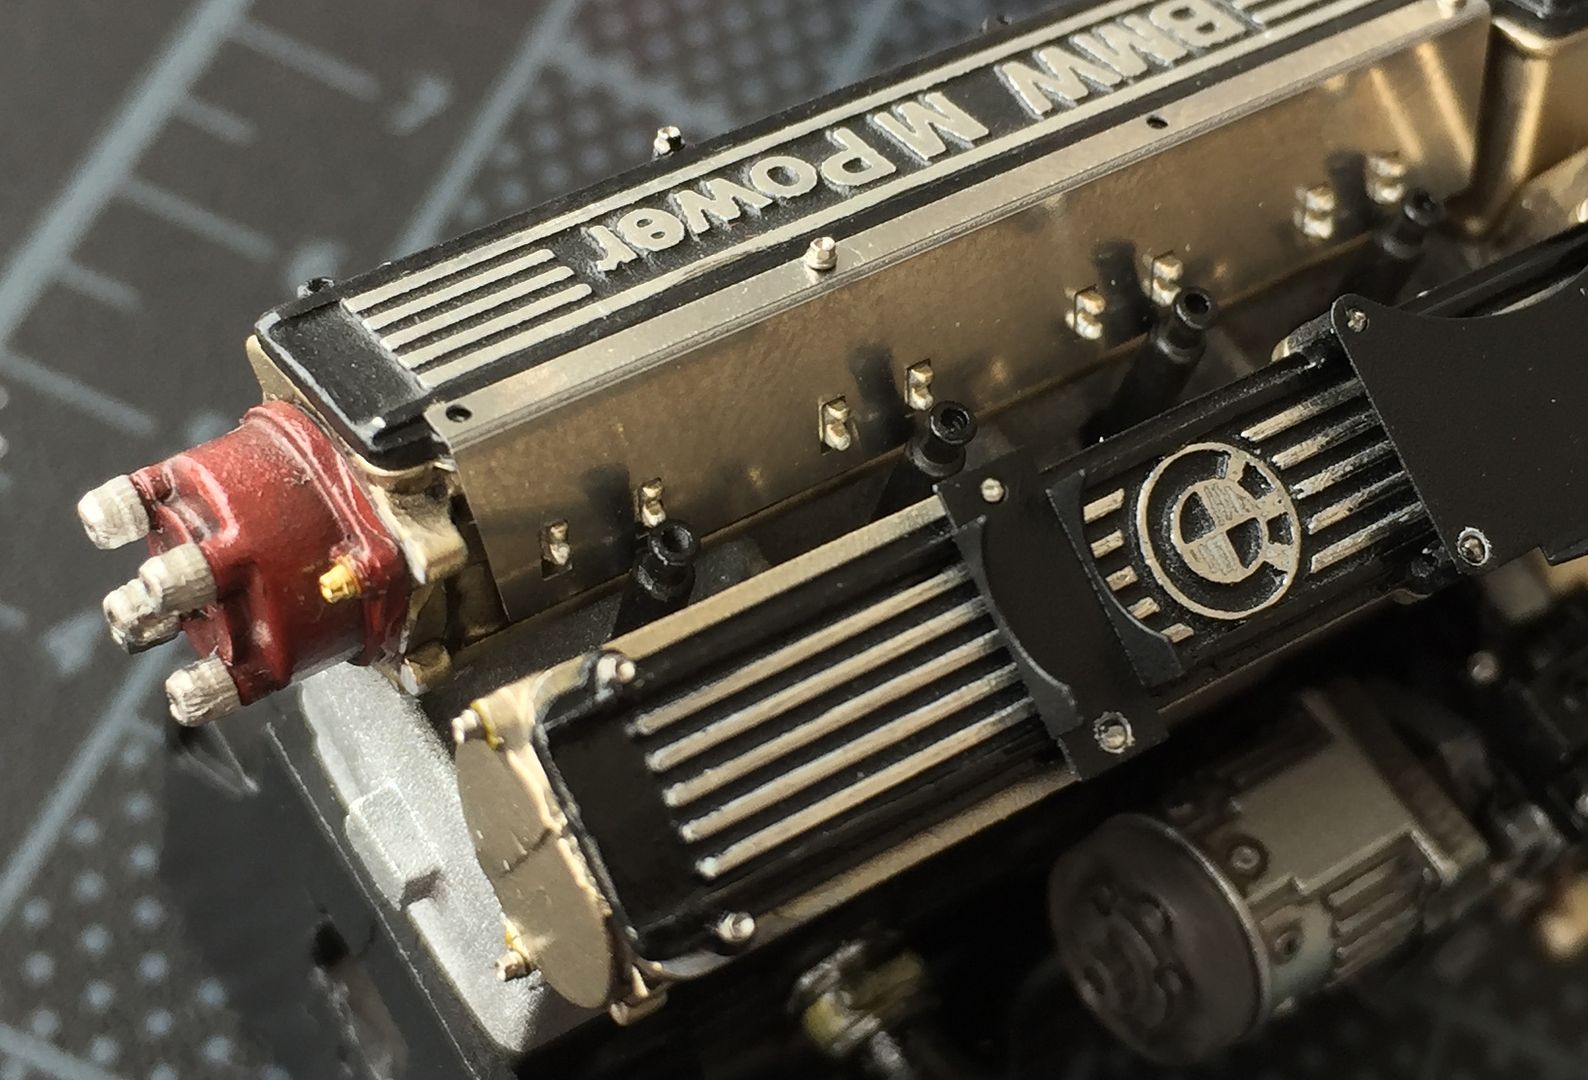
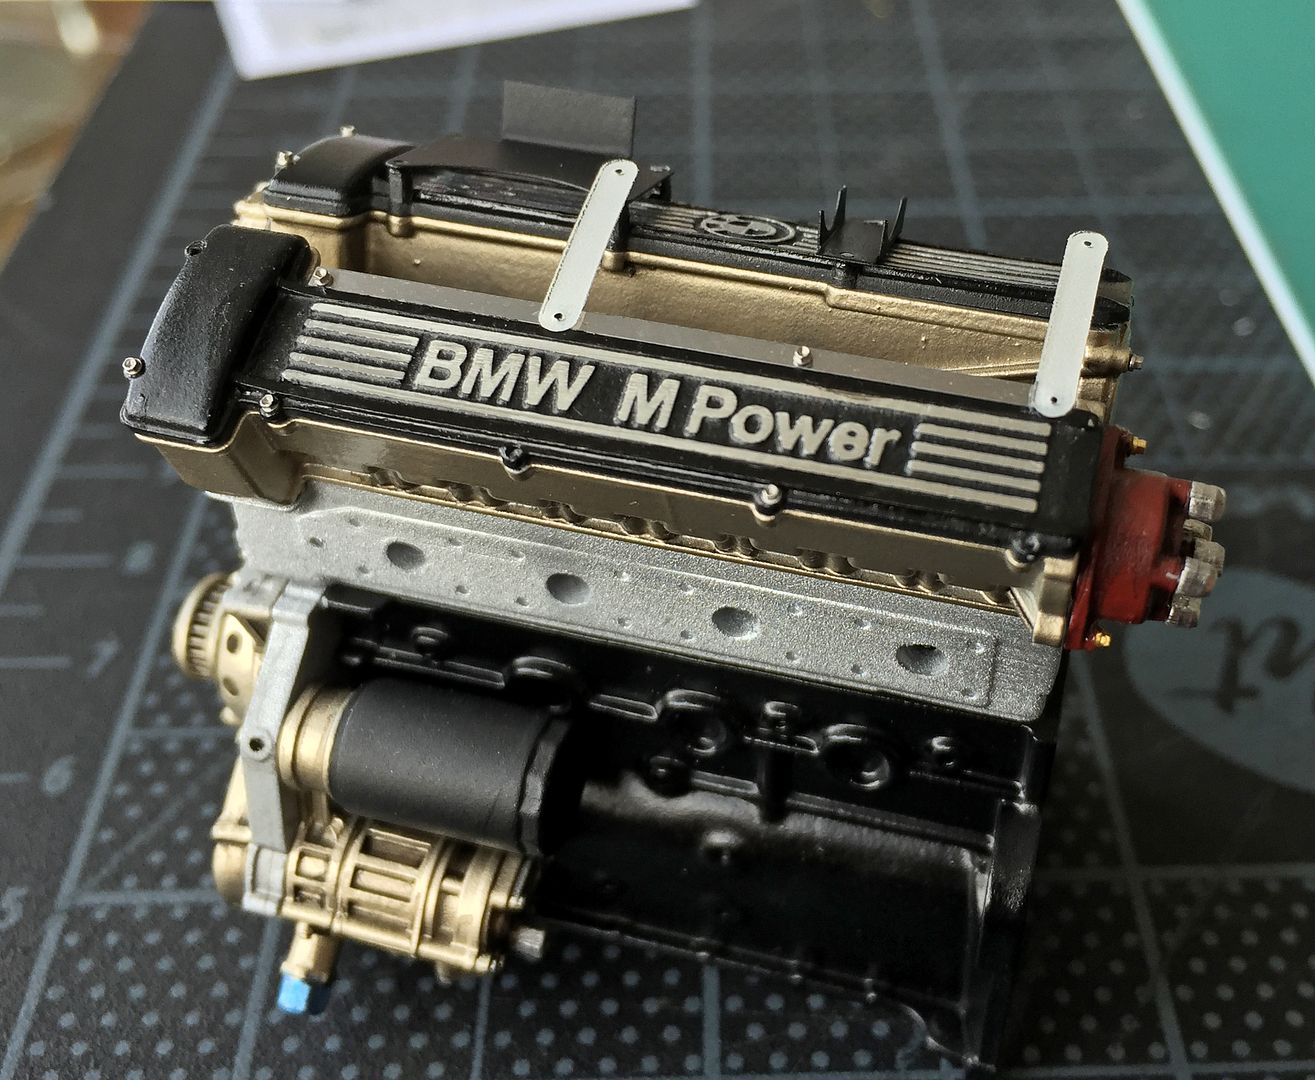
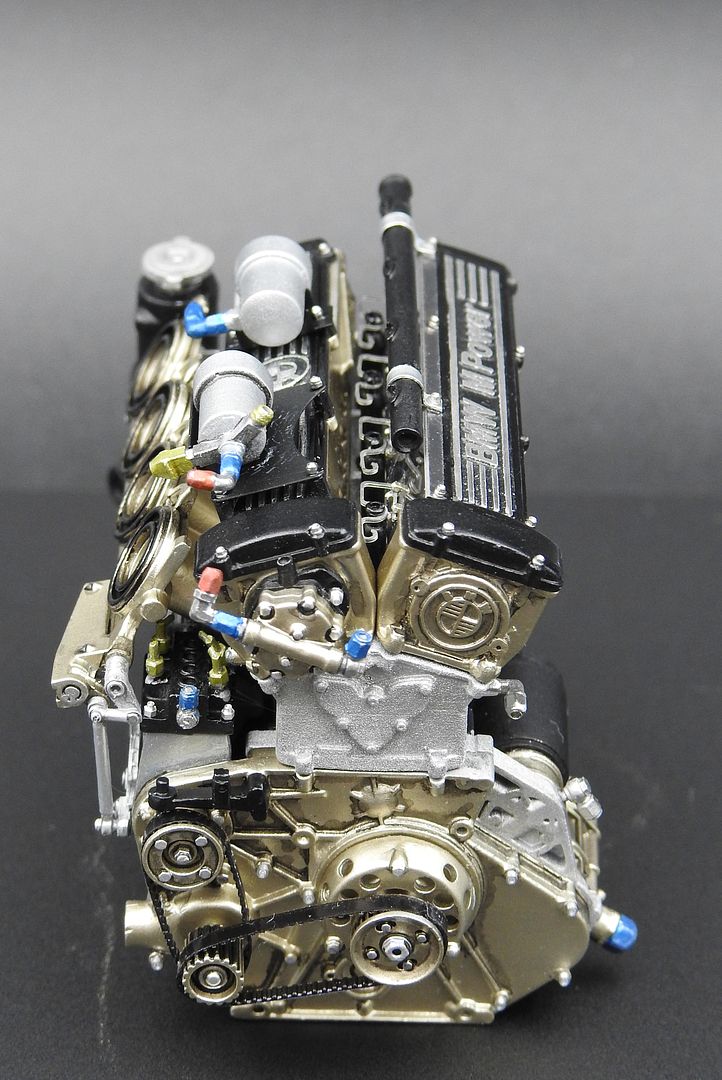
I used Tamiya acrylic for the semi-gloss black, as usual...

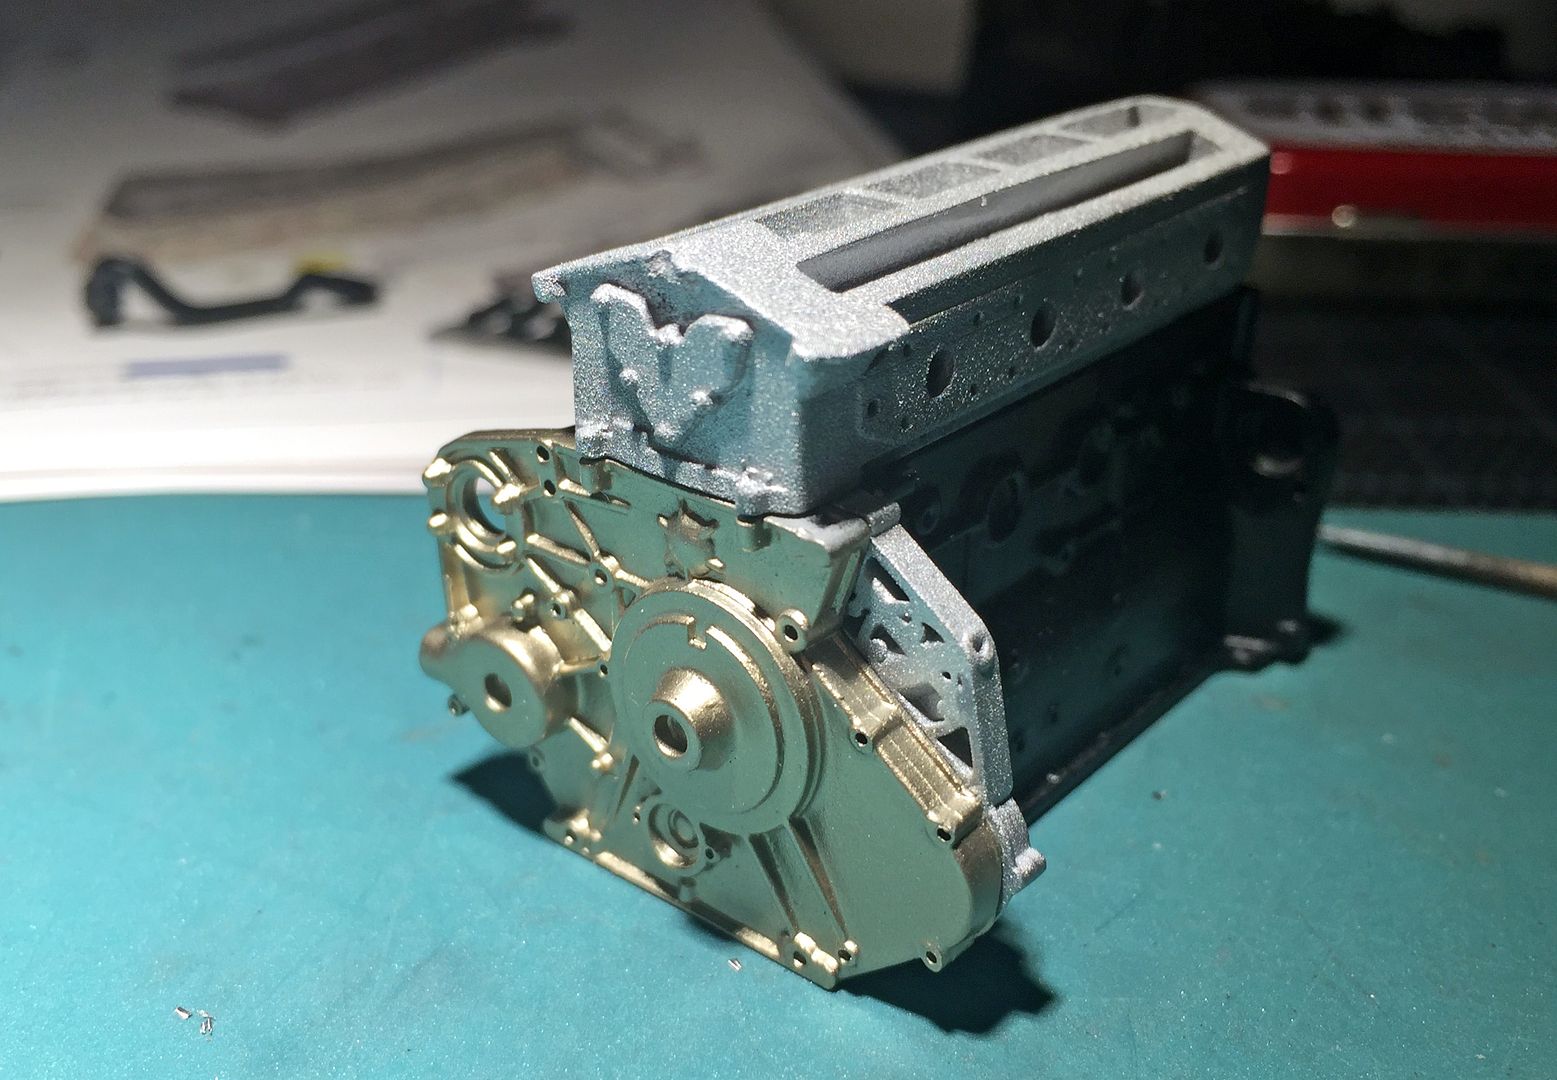
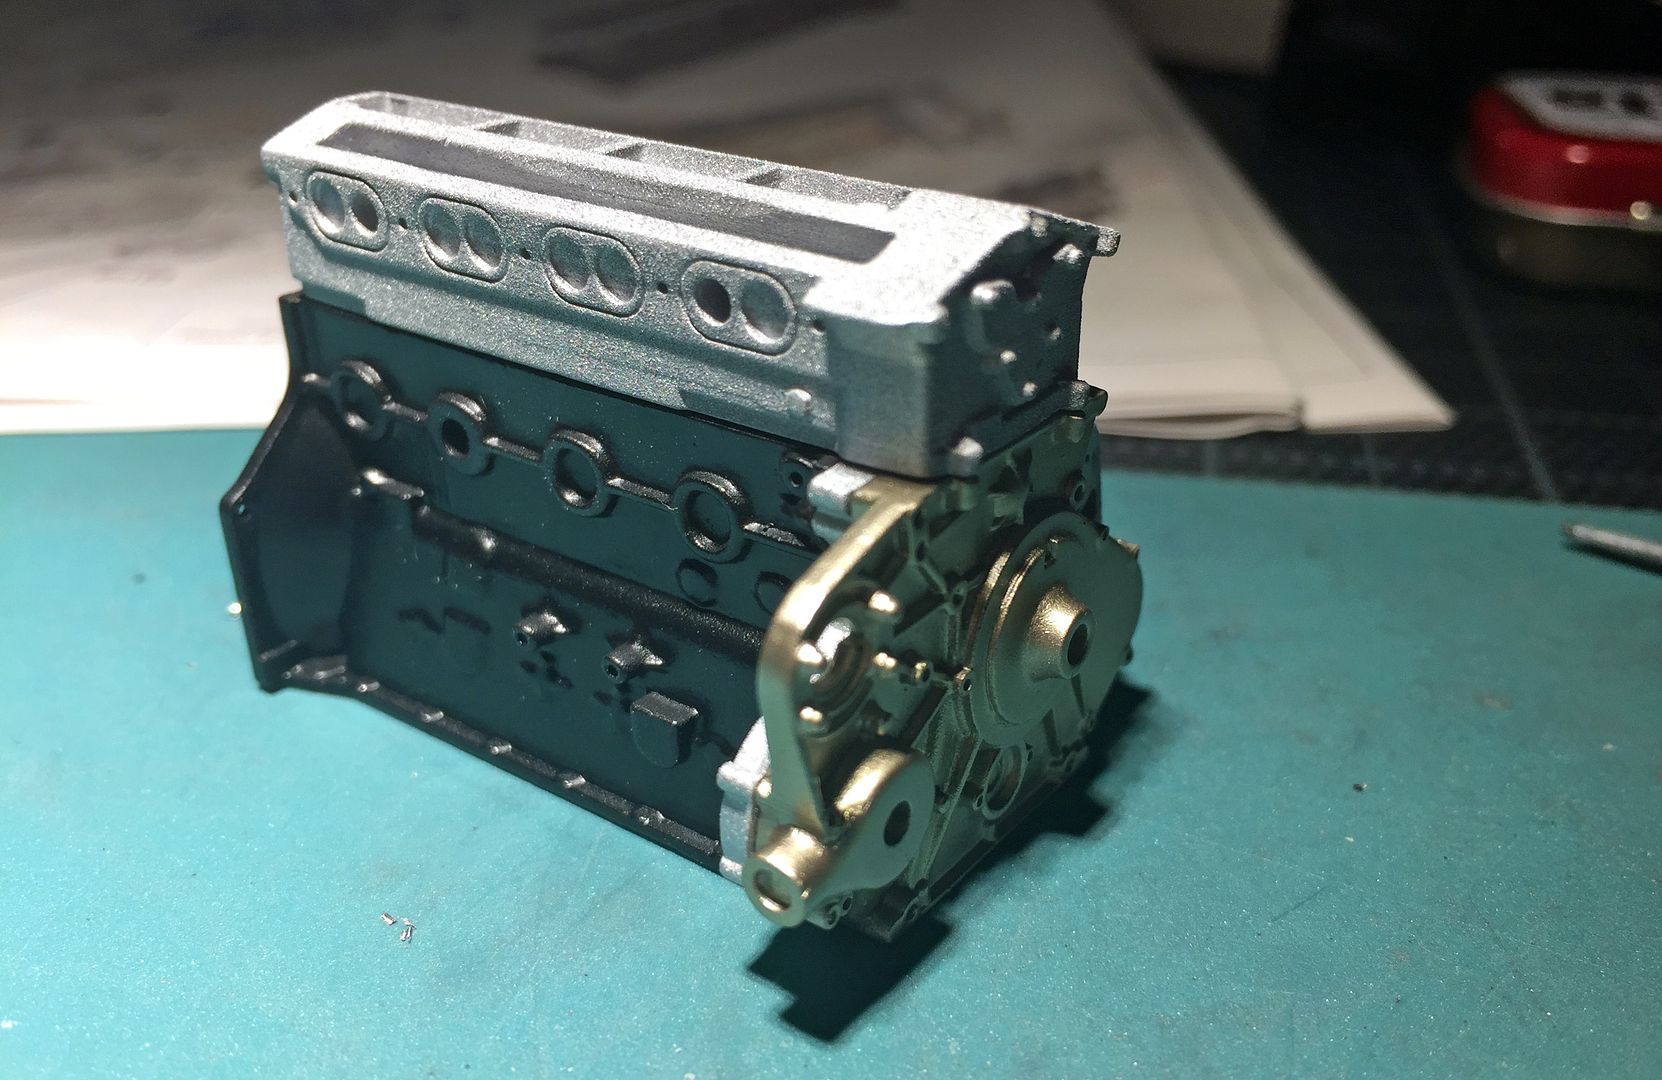
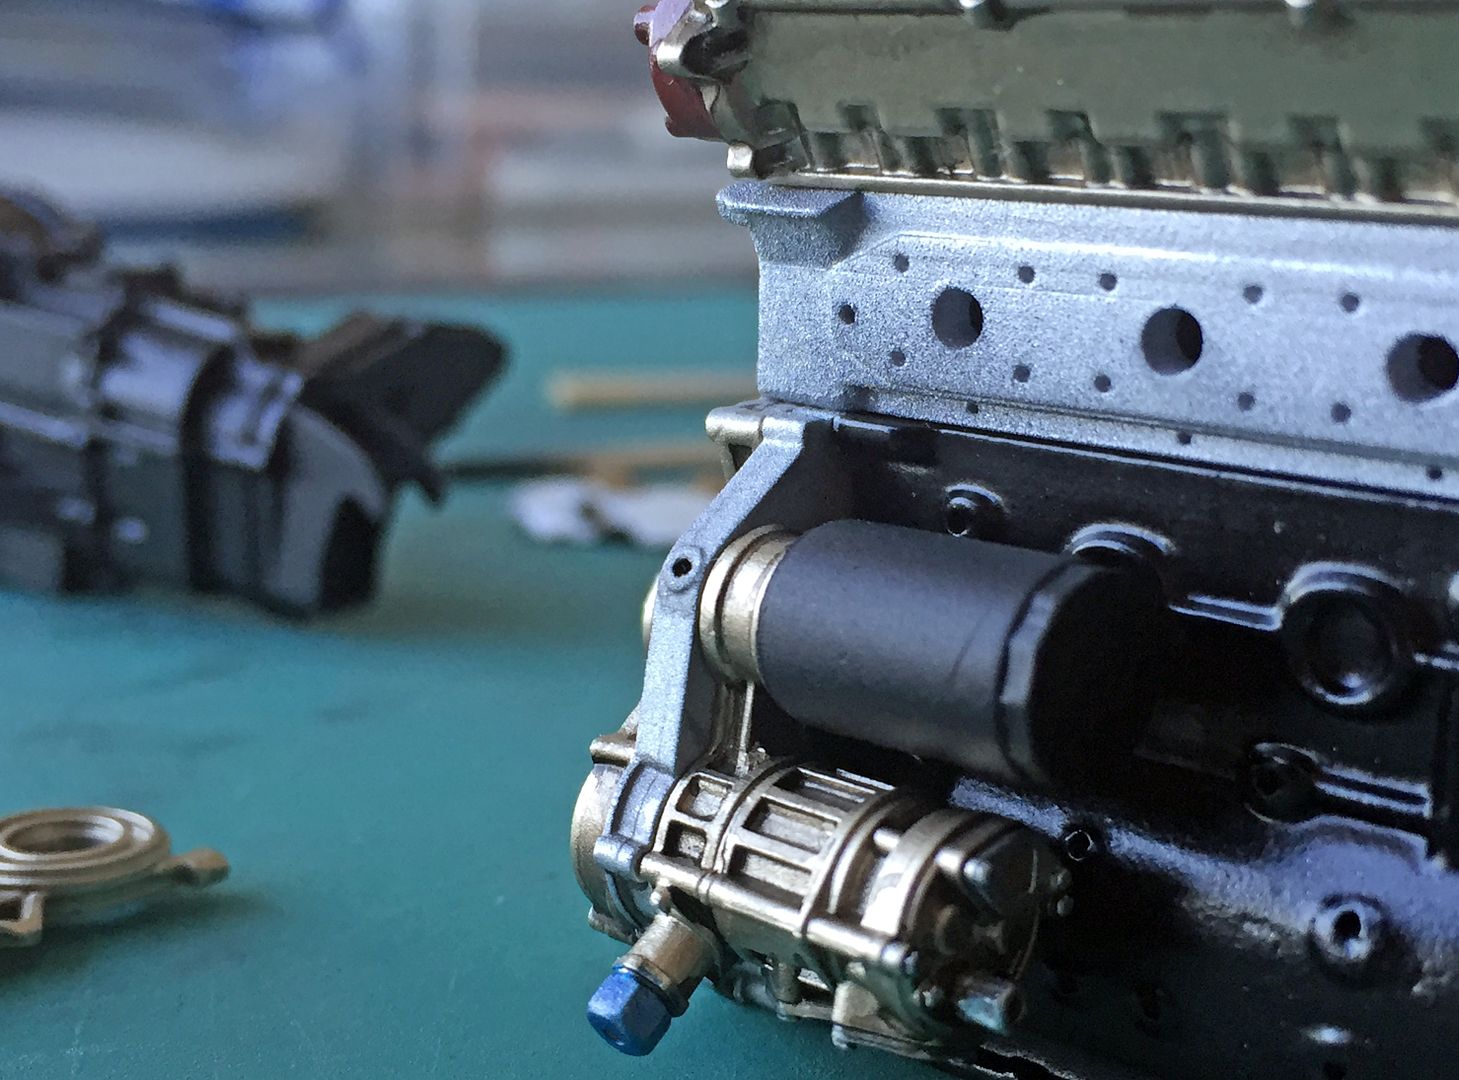
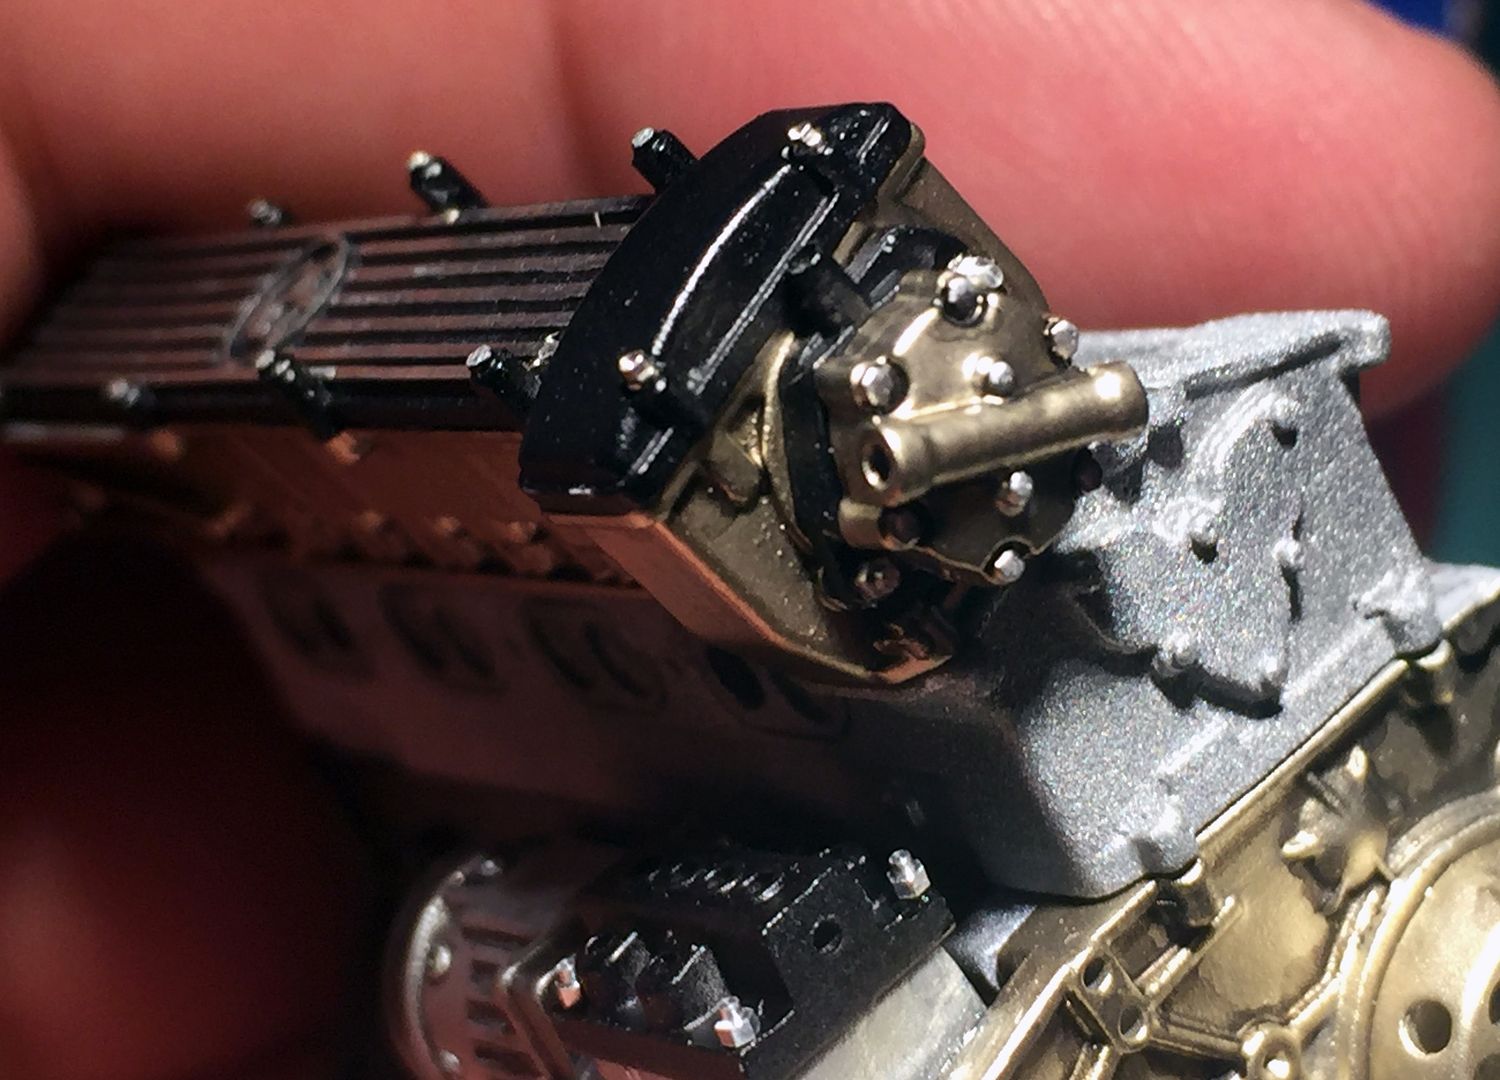
Used Alclad Ali for the castings - for whatever reason this sprayed a little rough - but that is perfect for this IMO - not as 'rough' as it shows in thes close up pictures actually...
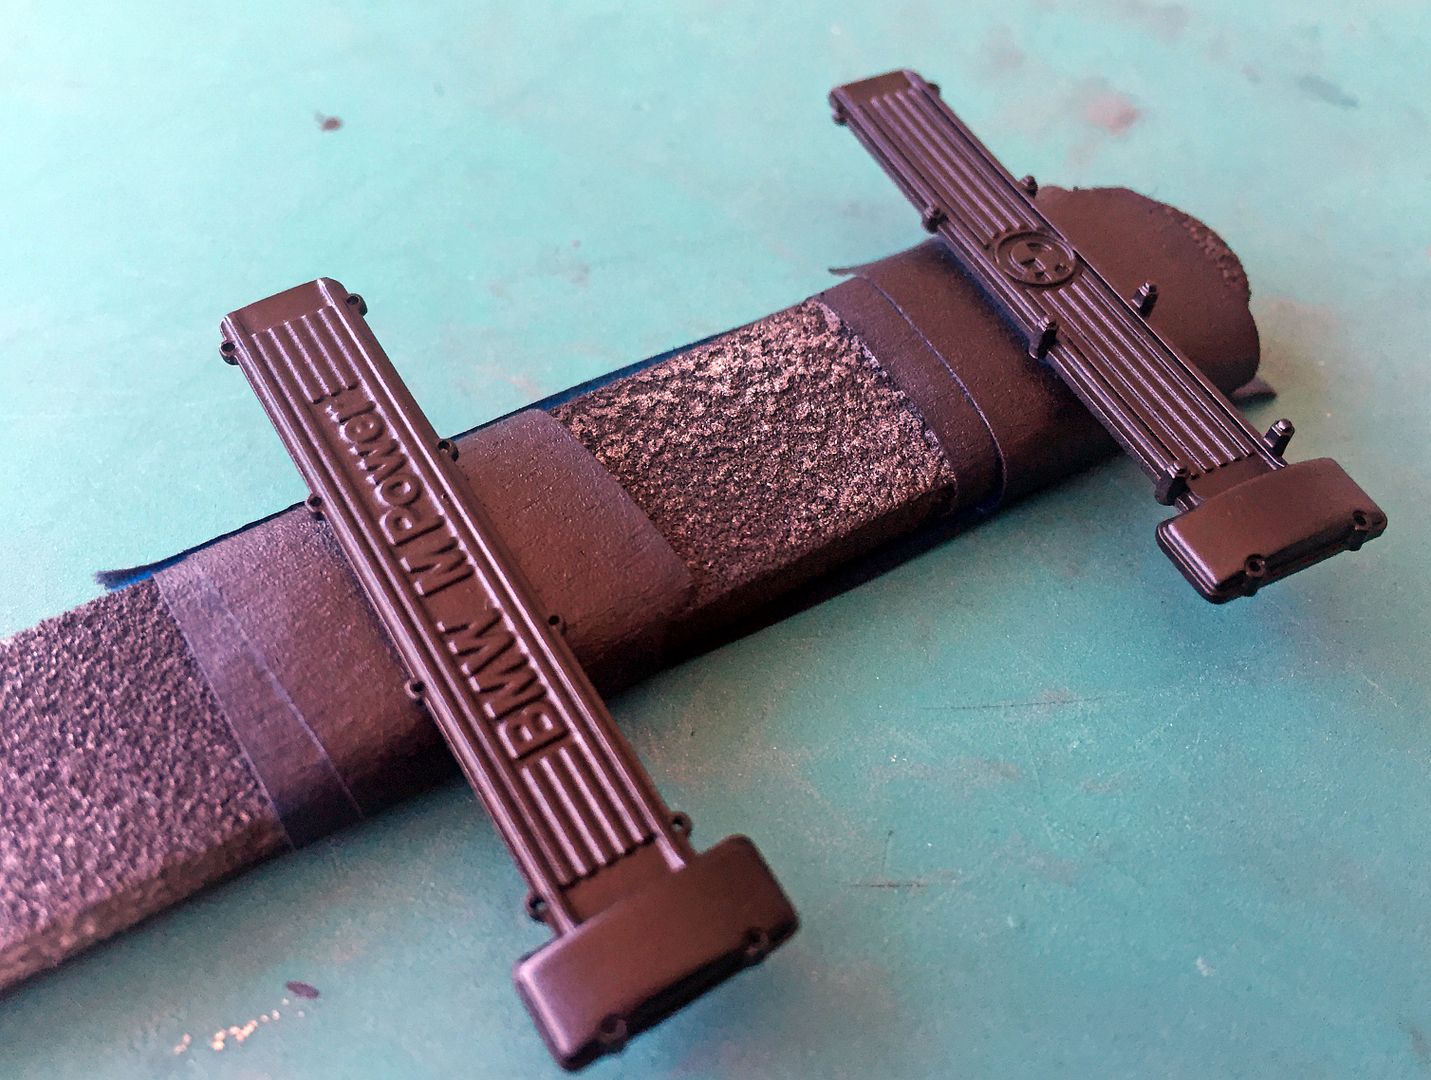
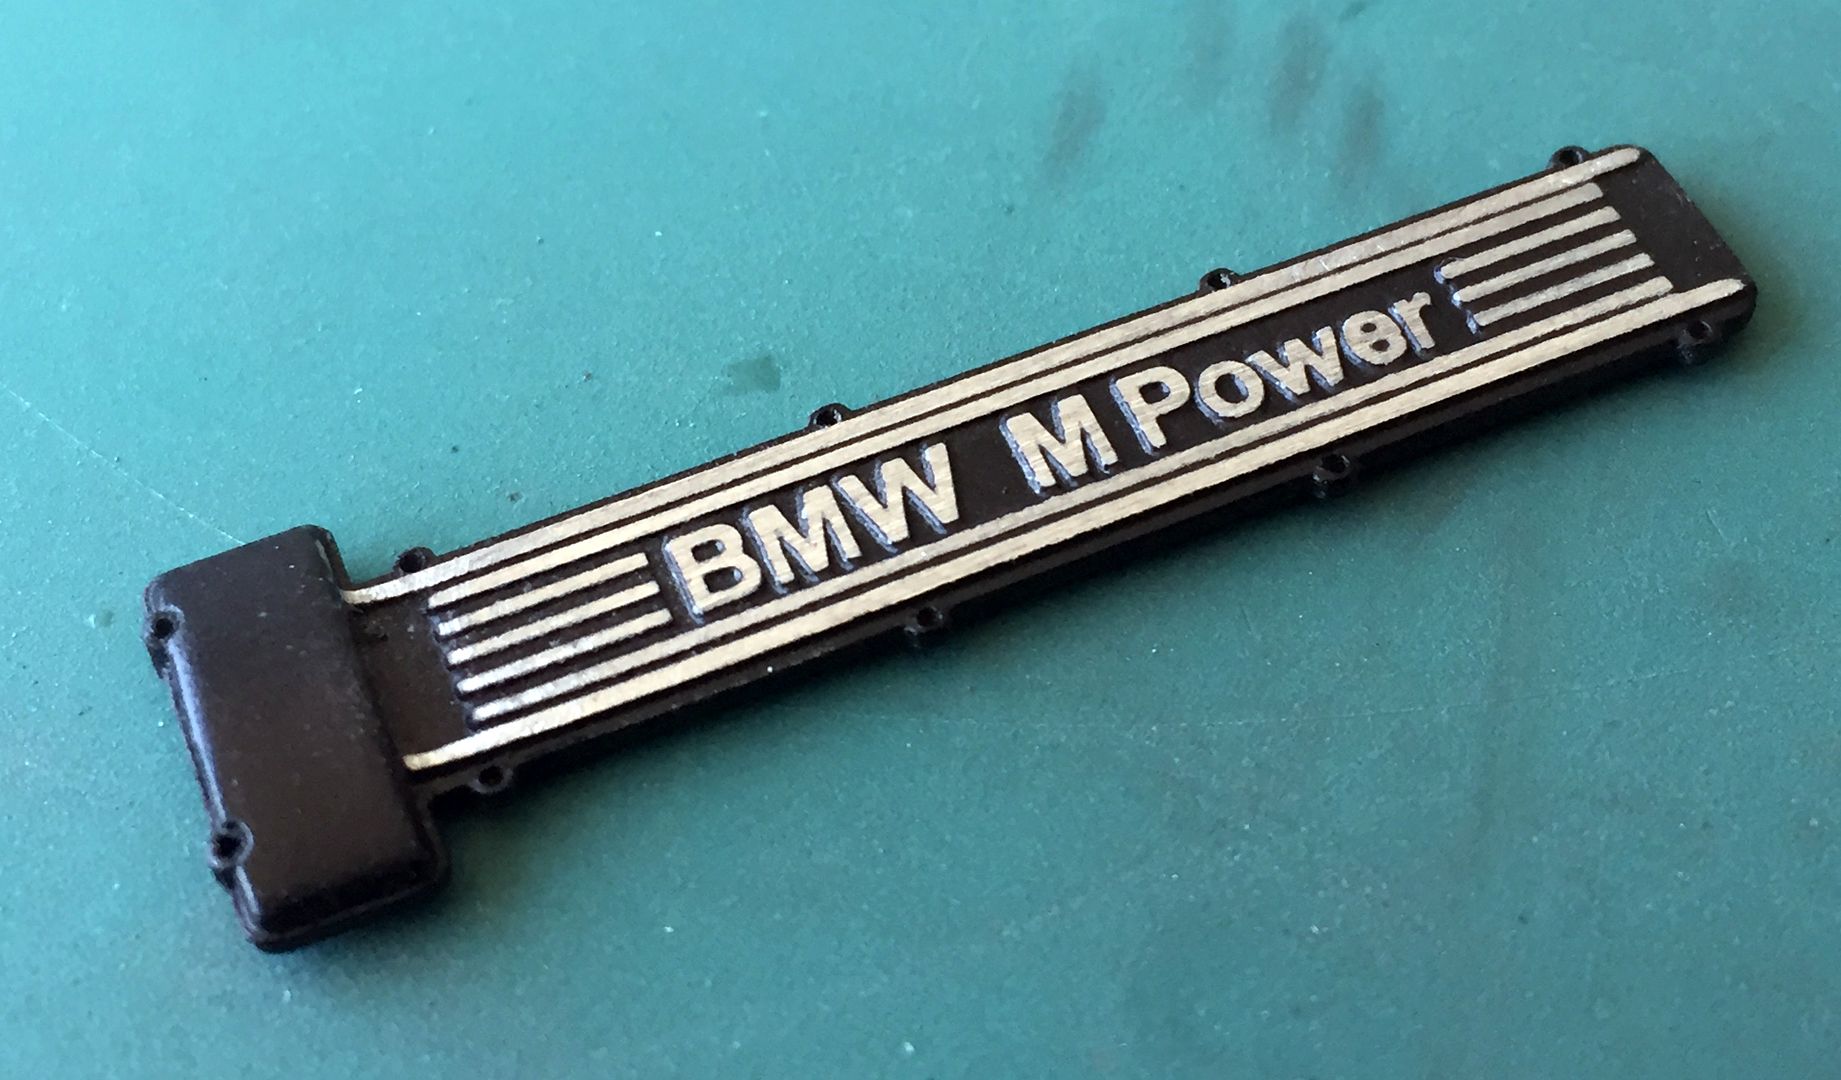
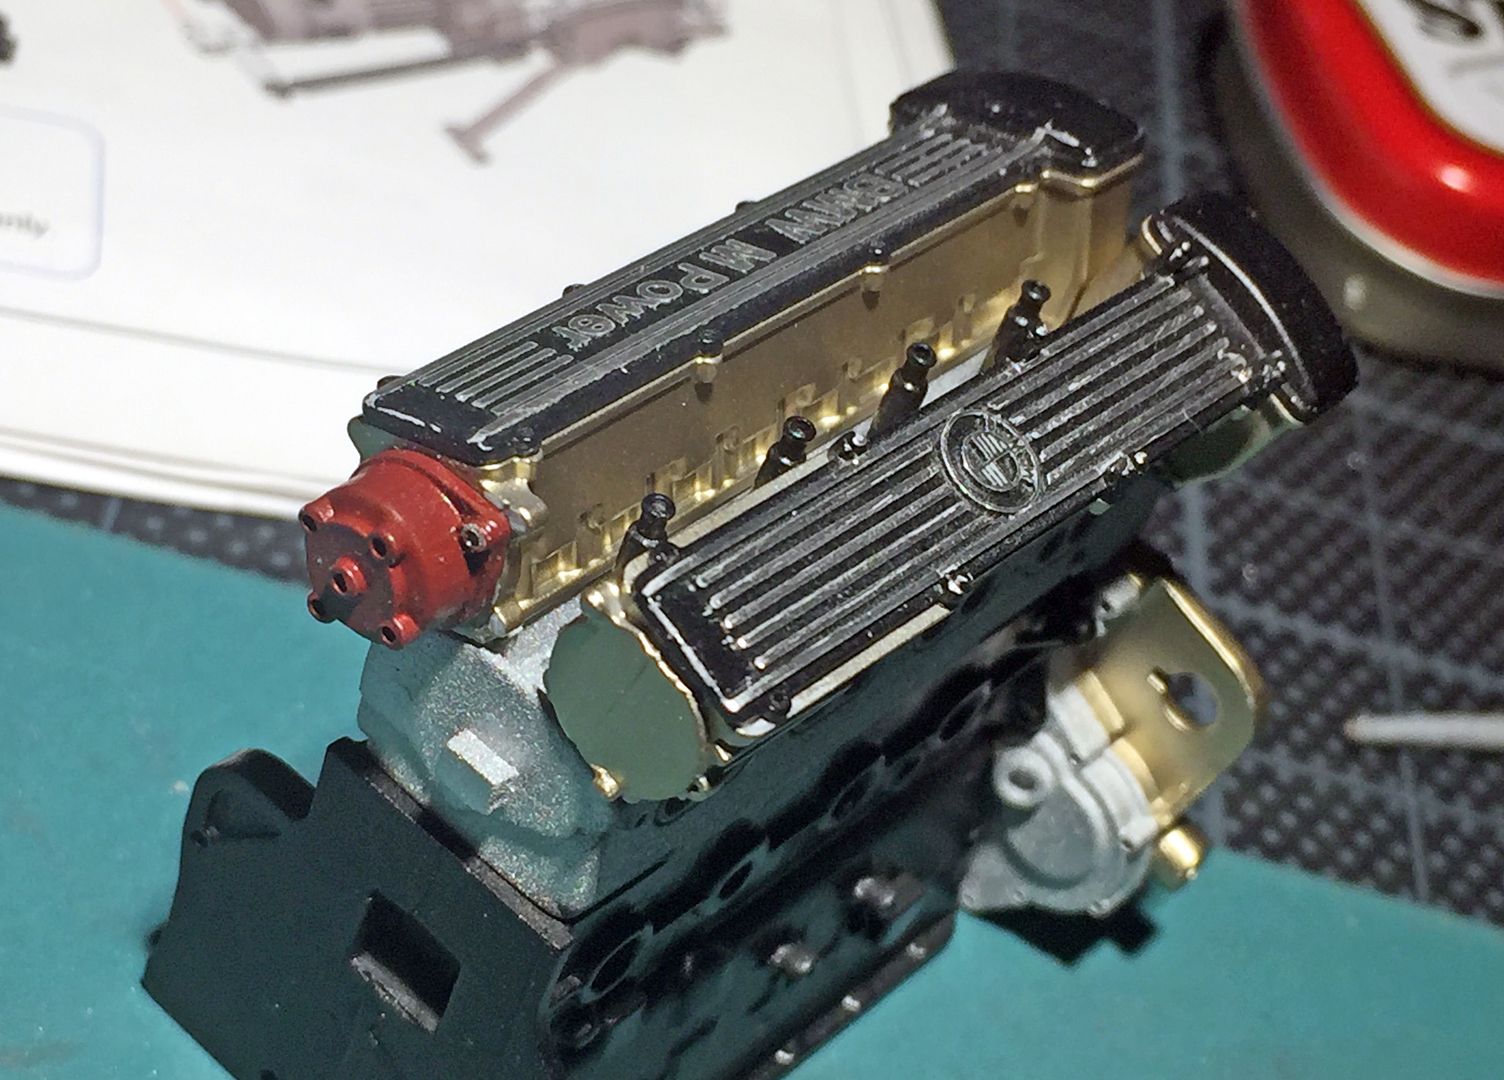
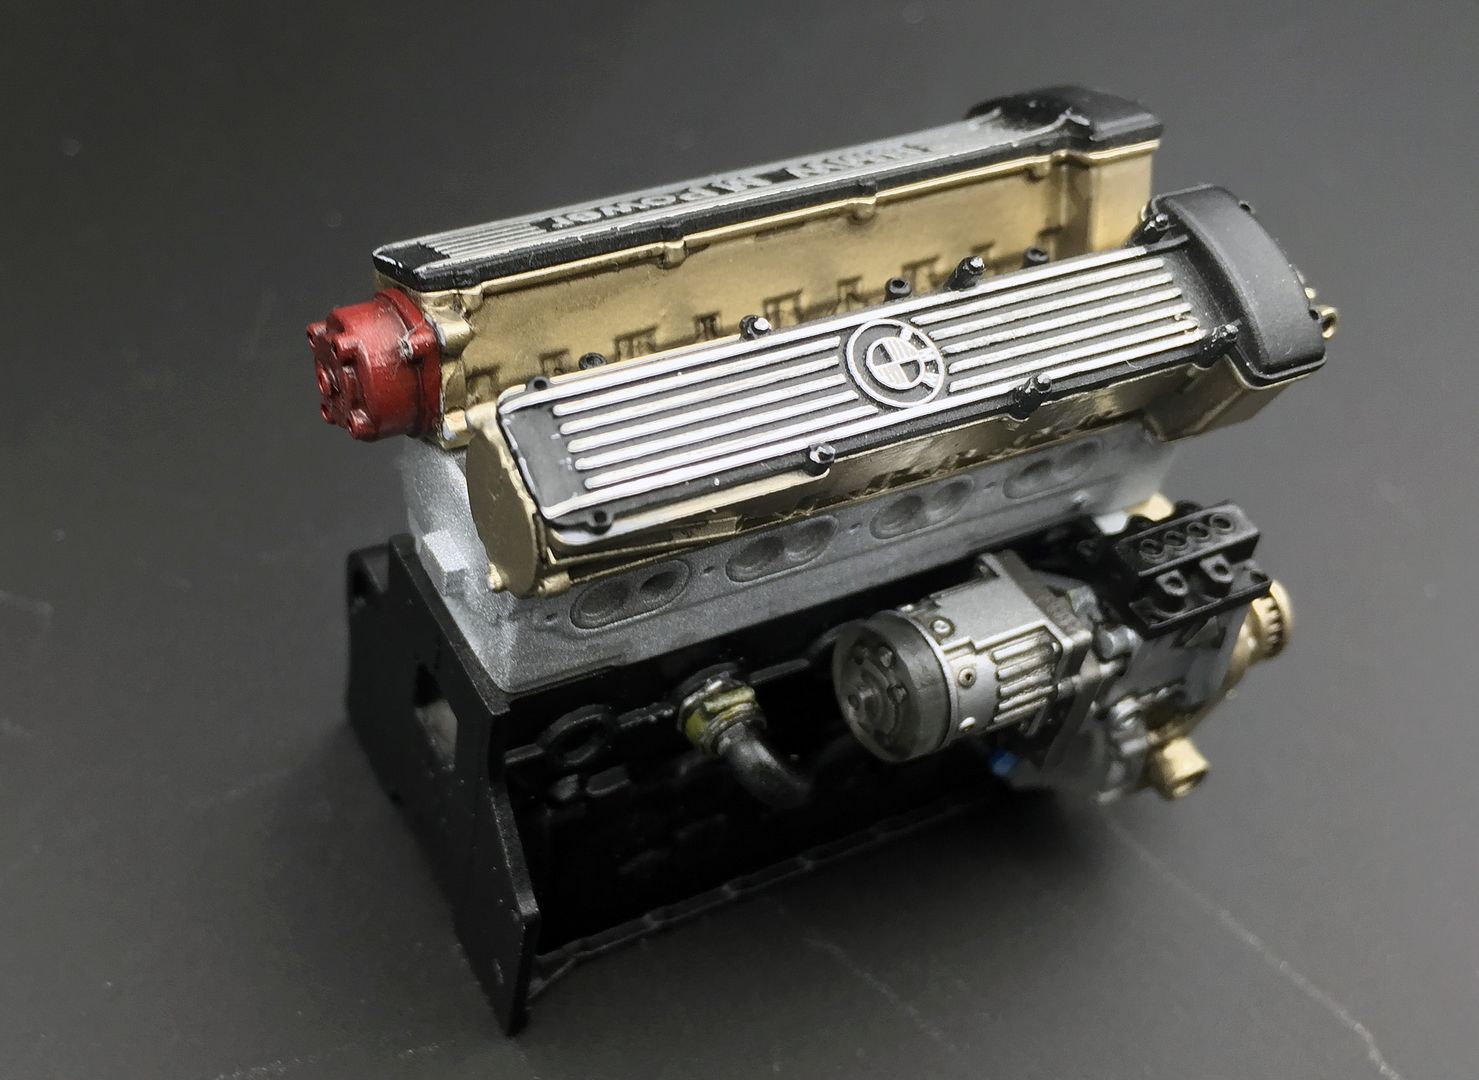
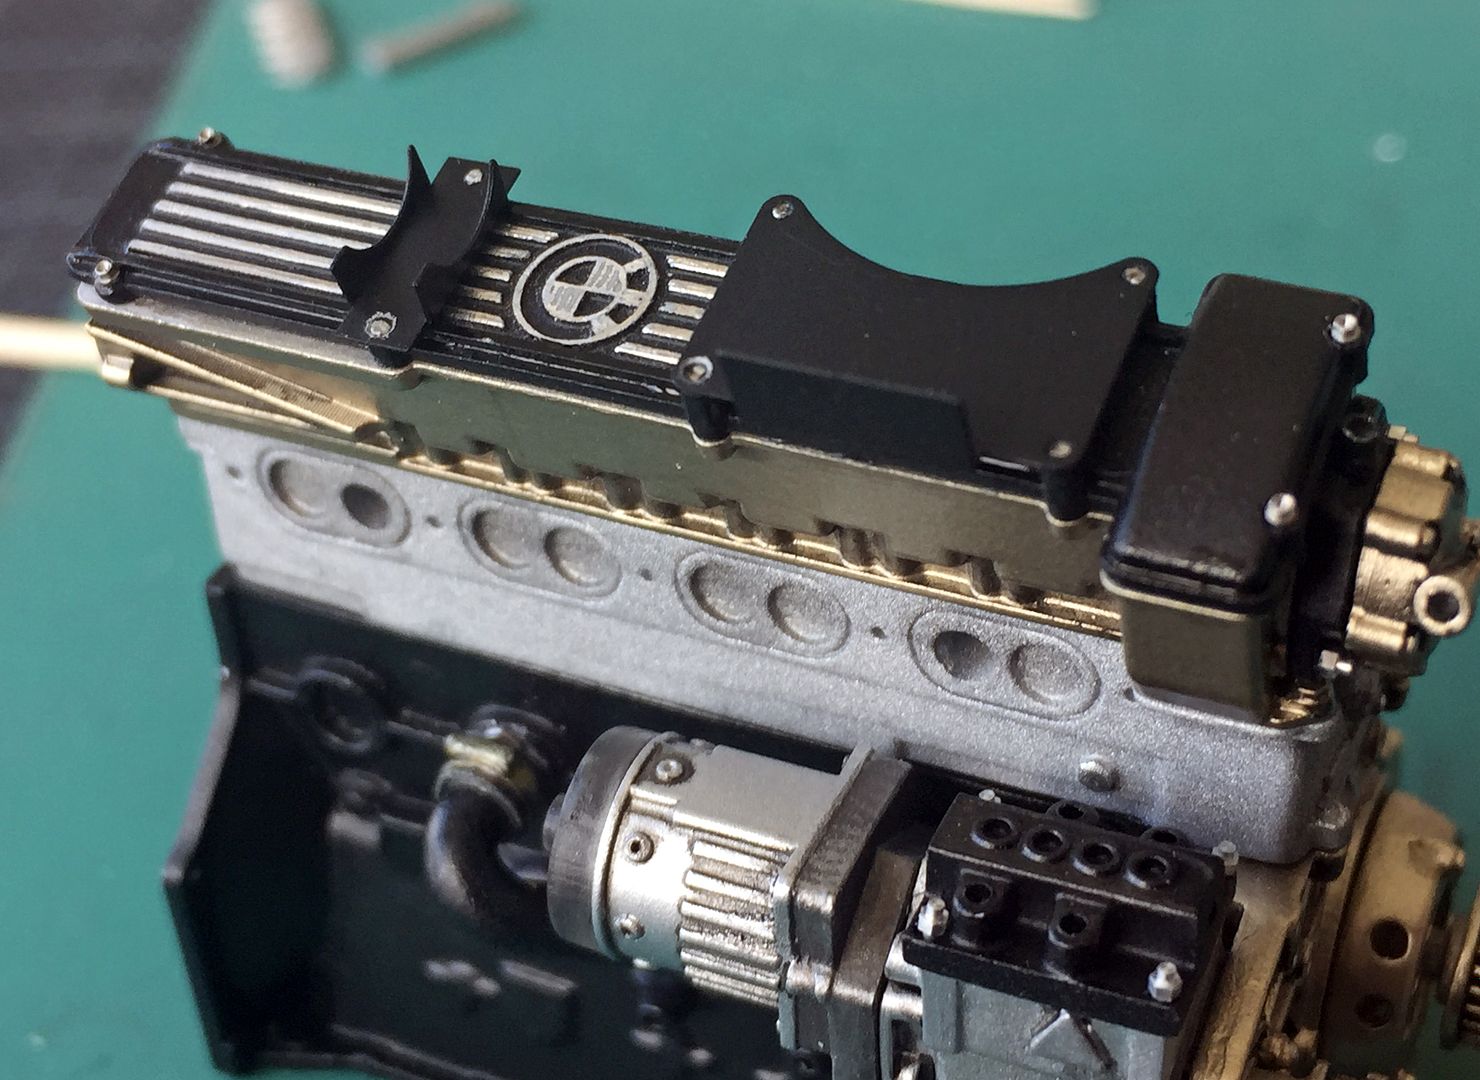
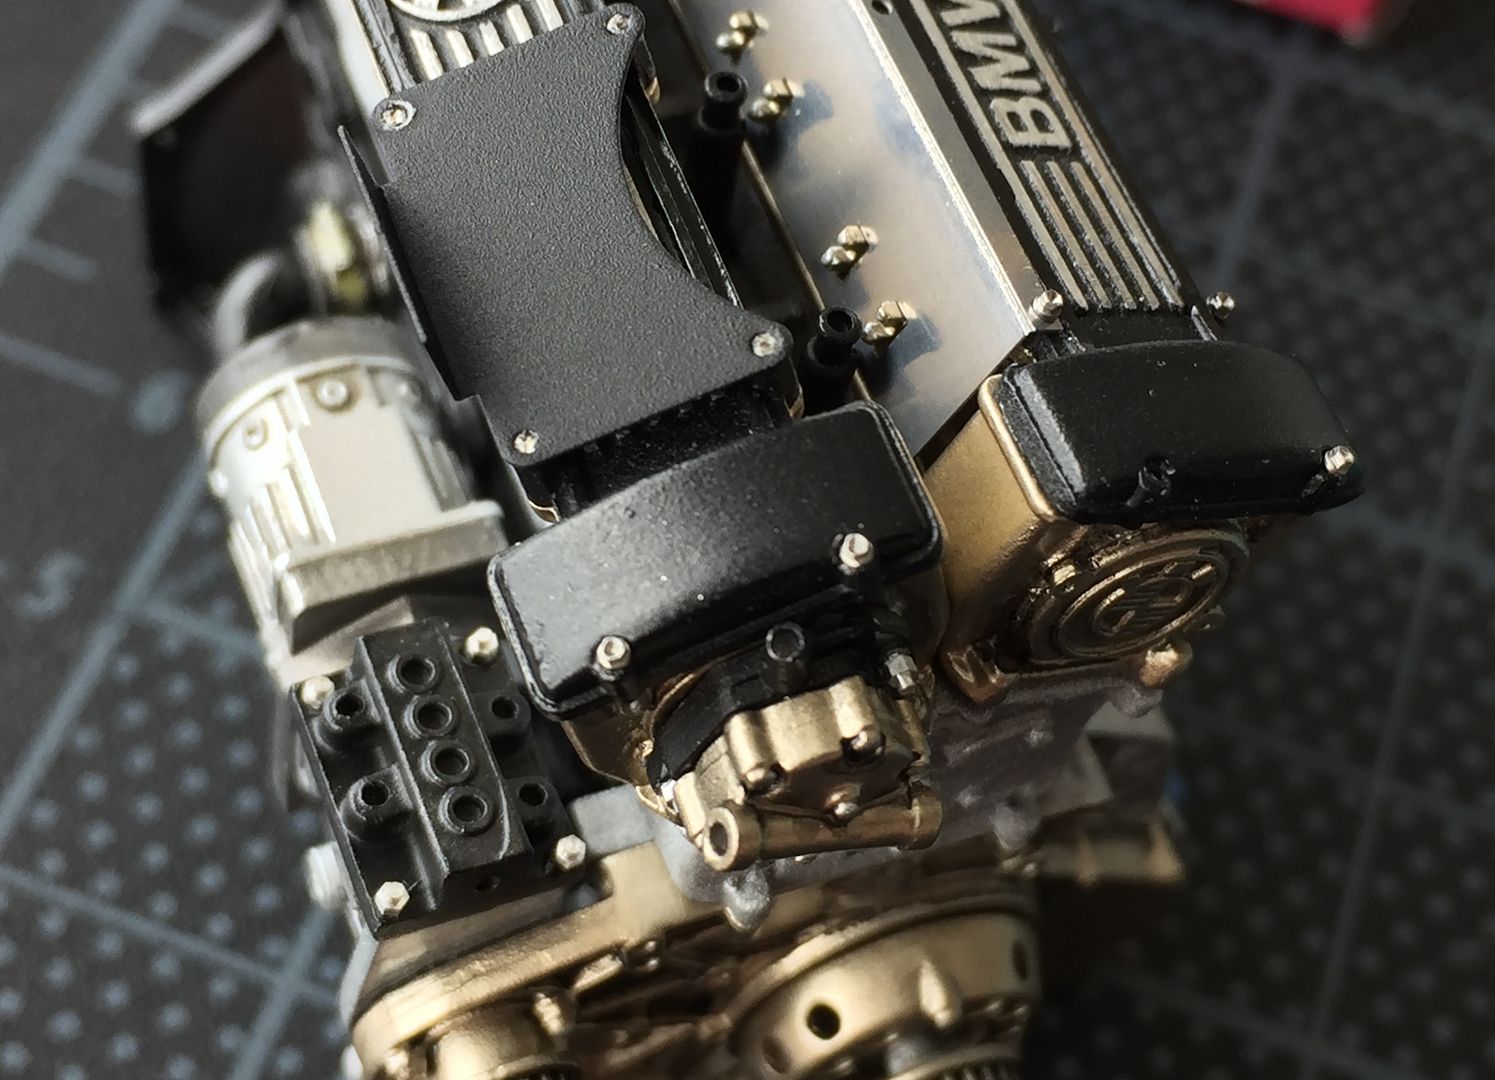
I removed the top layer of black from these cam-covers/covers with a sanding block - and on the one with studs I used a scalpel blade to scrape the layer off. They look uneven as the light hits them in these rubbish pictures, but once cleaned slightly they should look ok.
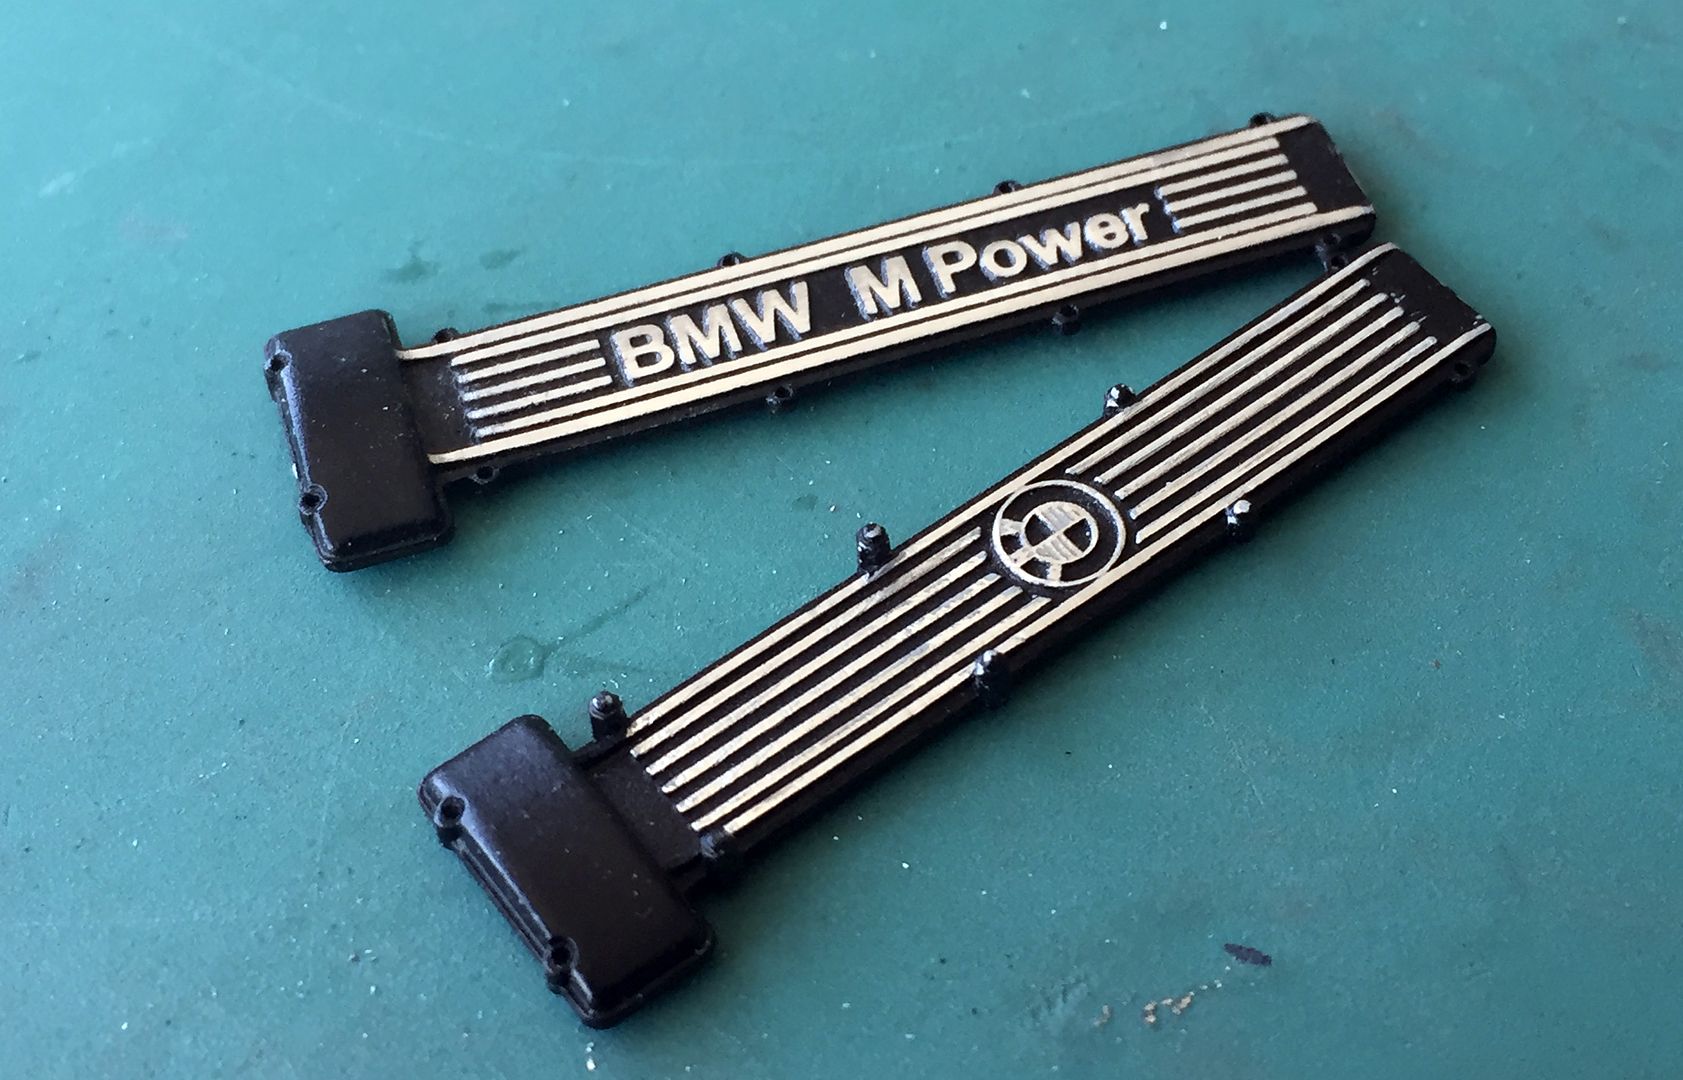
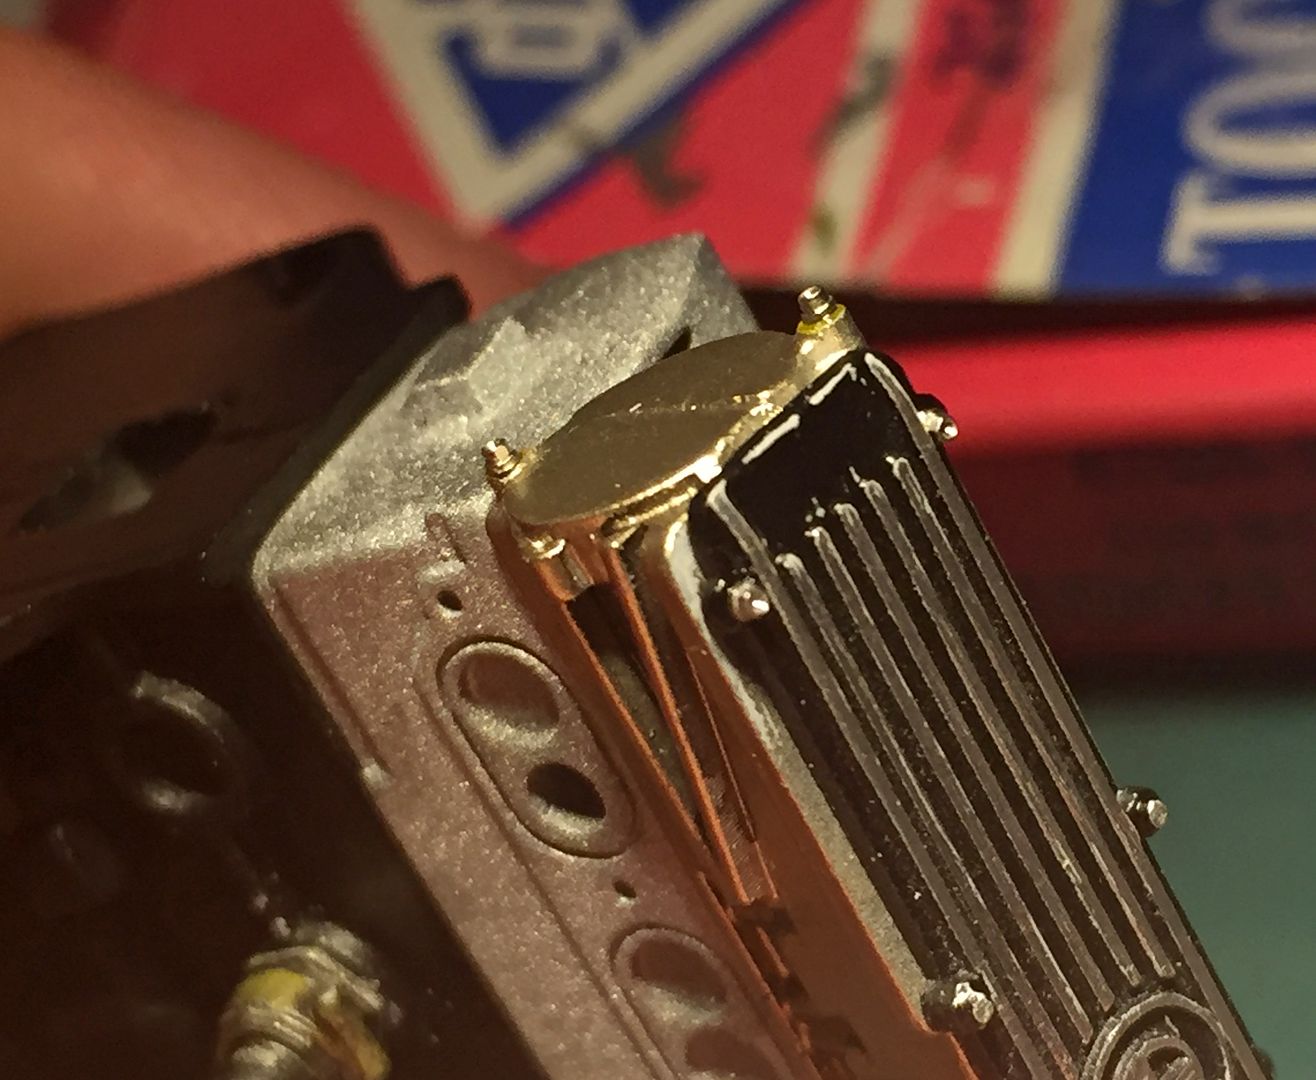
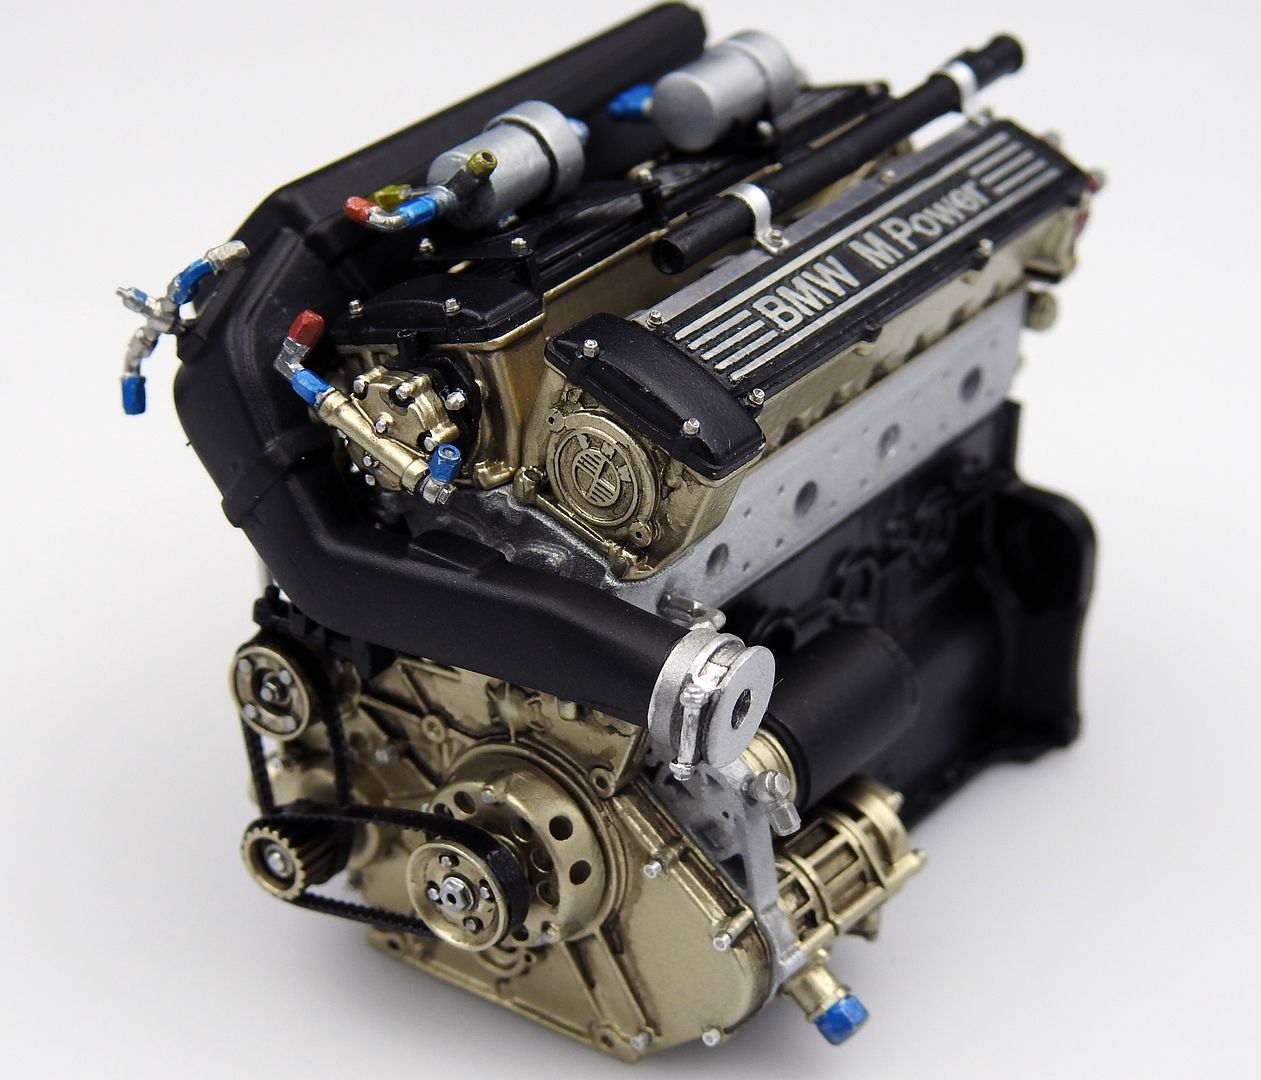
The gold parts are also Alclad - burnt exhaust I think but will check - MFH say a mix of silver and gold, so this pale colour is spot on IMO - pics here show it a bit more 'gold' that it appears in the flesh...


Not glued yet - tiny parts, heat shields etc to fit first, along with some wiring...
Very poor pictures - they make the black/silver/gold look a bit scrappy - I'll take some better ones!
Made a start over the holiday weekend.
Pics are rubbish - I'll take some in the light box/cube later - but these are just WIP for now.
Started with the engine. Apart from the bodywork, there are very few resin parts. Main block and gearbox are two of them.
Tried some basic test fitting, but to be honest everything goes together very well.
On this kit I have decided to use some turned detail parts, like studs and bolts etc. So the biggest job in starting this engine was drilling out the ones that were cast into the parts - these would still look perfectly fine if you did not want to do this - but having built up a library of turned parts I figured I should start using them!
Used the dremel/brass wire wheel method of cleaning the metal.
I metal etched primed the metal parts, washed the resin parts, and sprayed with grey fine primer - all after first having removed any flash, mold lines etc etc - these were pretty minimal to be honest...
Test fit - nothing glued as each element is a different colour!
In fact - here is the first 'blemish' I have come across in my minimal experience of MFH - a tiny bubble in the resin of the gearbox, where the 'end cap' fits. Easy fill and sand. I post this only to highlight how everything else seems to be perfect!
Drilling off/out cast studs and bolts...
I used Tamiya acrylic for the semi-gloss black, as usual...
Used Alclad Ali for the castings - for whatever reason this sprayed a little rough - but that is perfect for this IMO - not as 'rough' as it shows in thes close up pictures actually...
I removed the top layer of black from these cam-covers/covers with a sanding block - and on the one with studs I used a scalpel blade to scrape the layer off. They look uneven as the light hits them in these rubbish pictures, but once cleaned slightly they should look ok.
The gold parts are also Alclad - burnt exhaust I think but will check - MFH say a mix of silver and gold, so this pale colour is spot on IMO - pics here show it a bit more 'gold' that it appears in the flesh...
Not glued yet - tiny parts, heat shields etc to fit first, along with some wiring...
Very poor pictures - they make the black/silver/gold look a bit scrappy - I'll take some better ones!


Yeah - I was being polite!
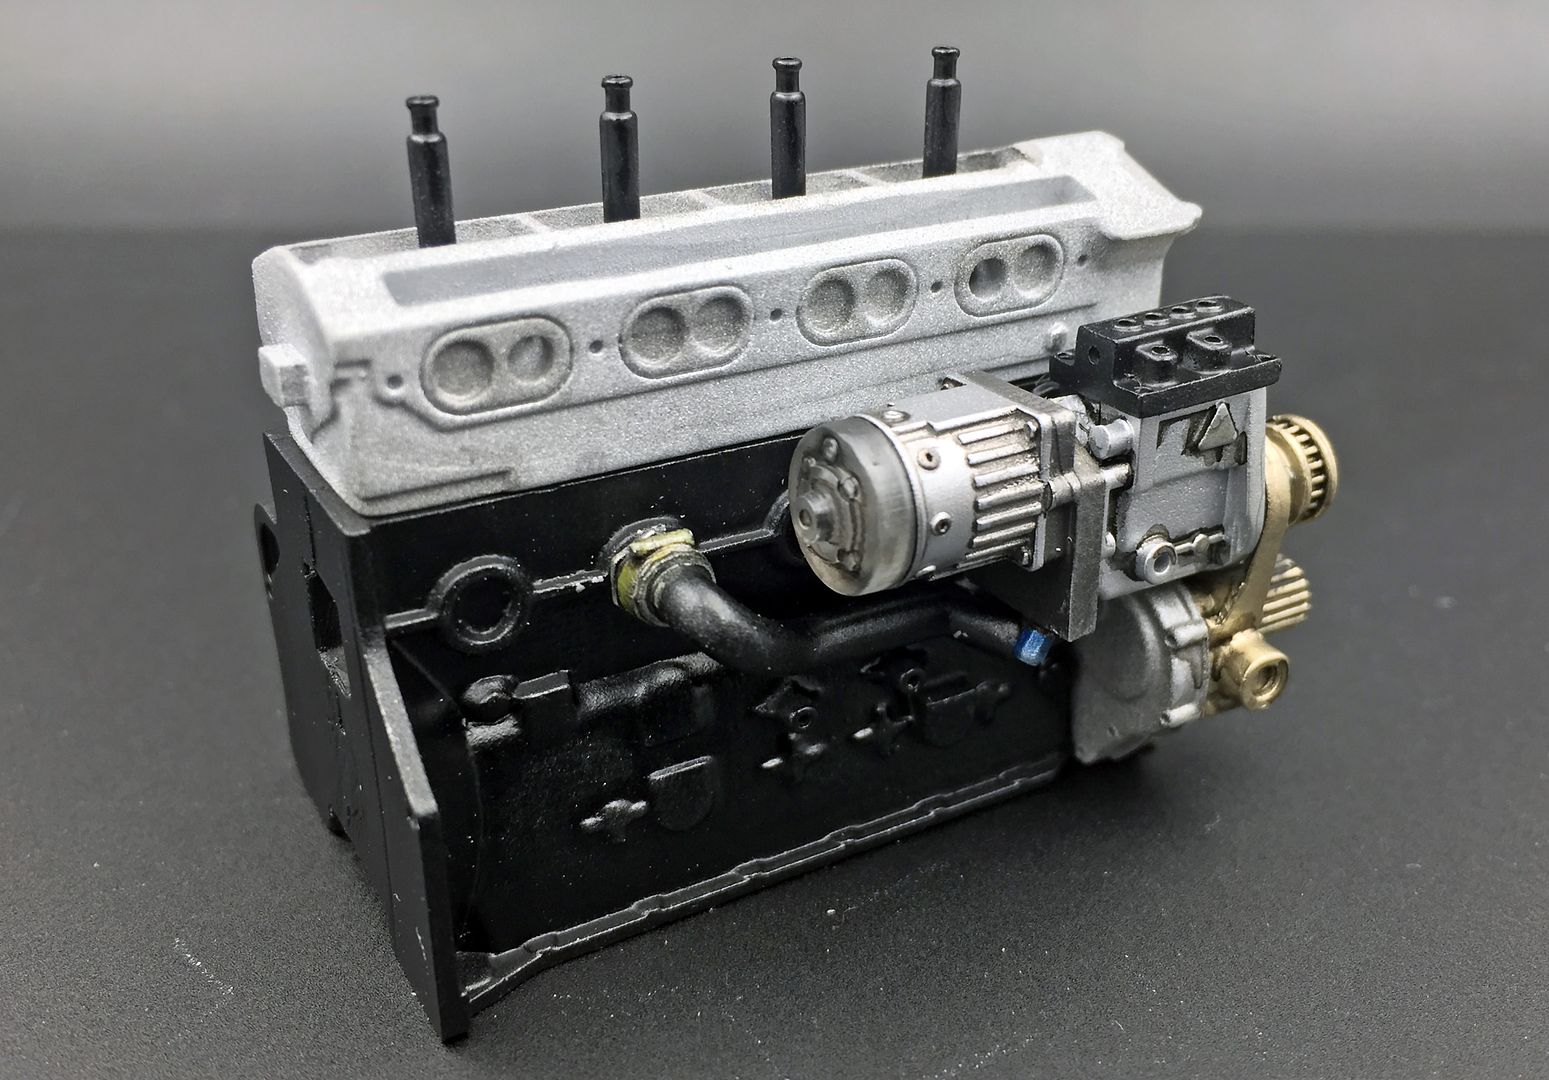
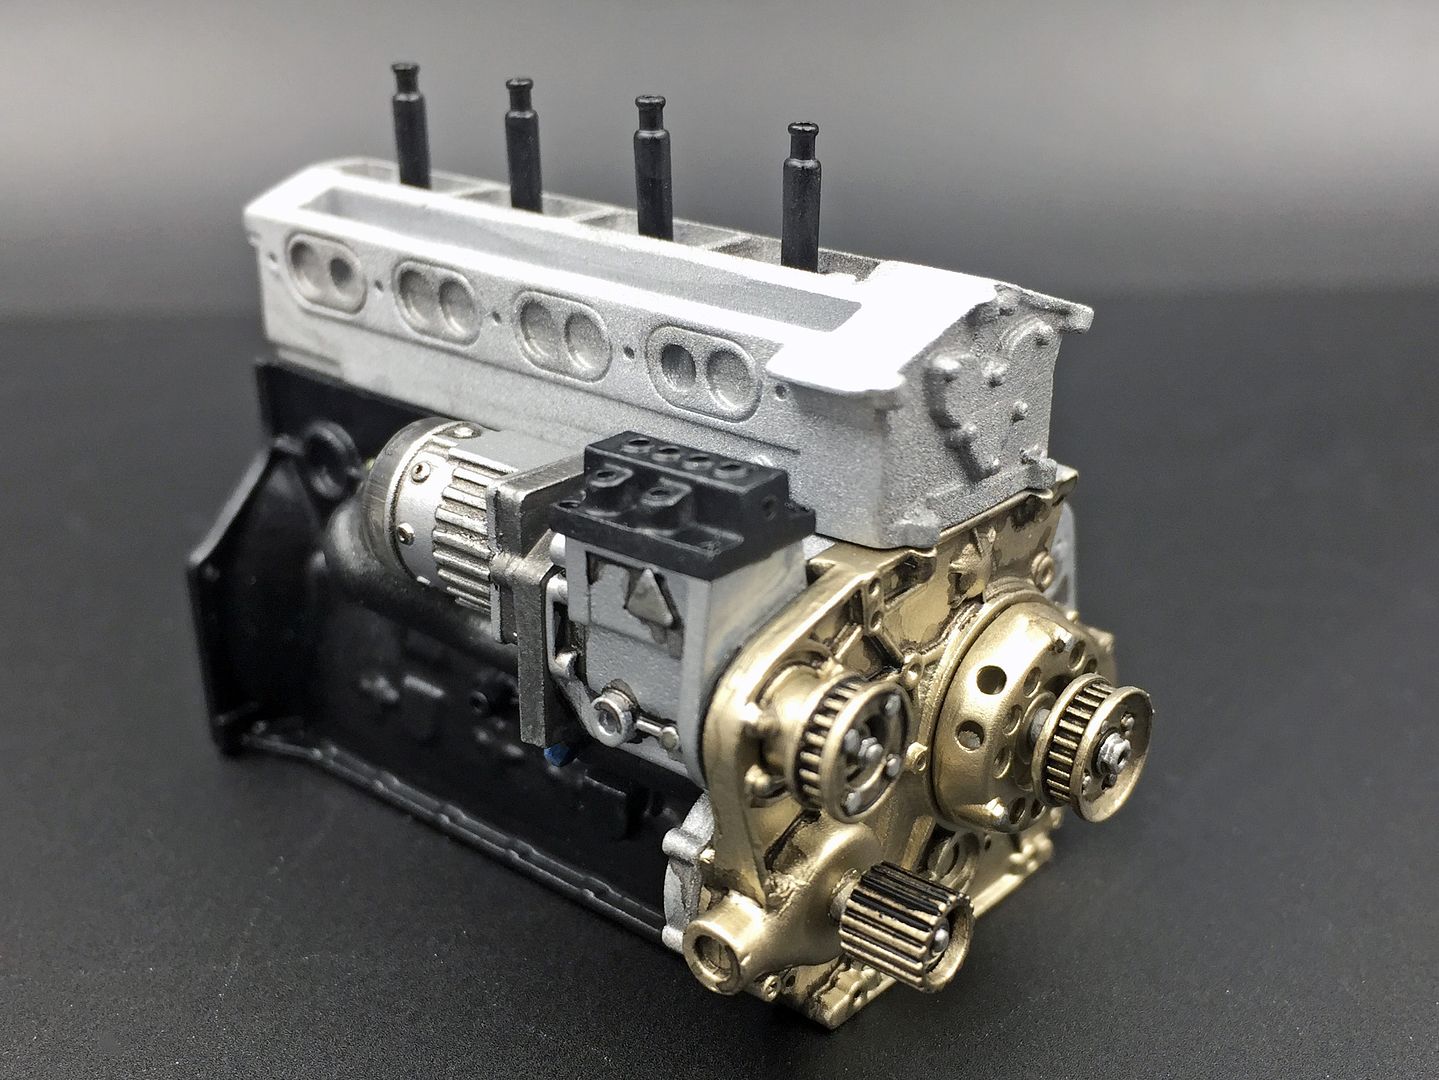
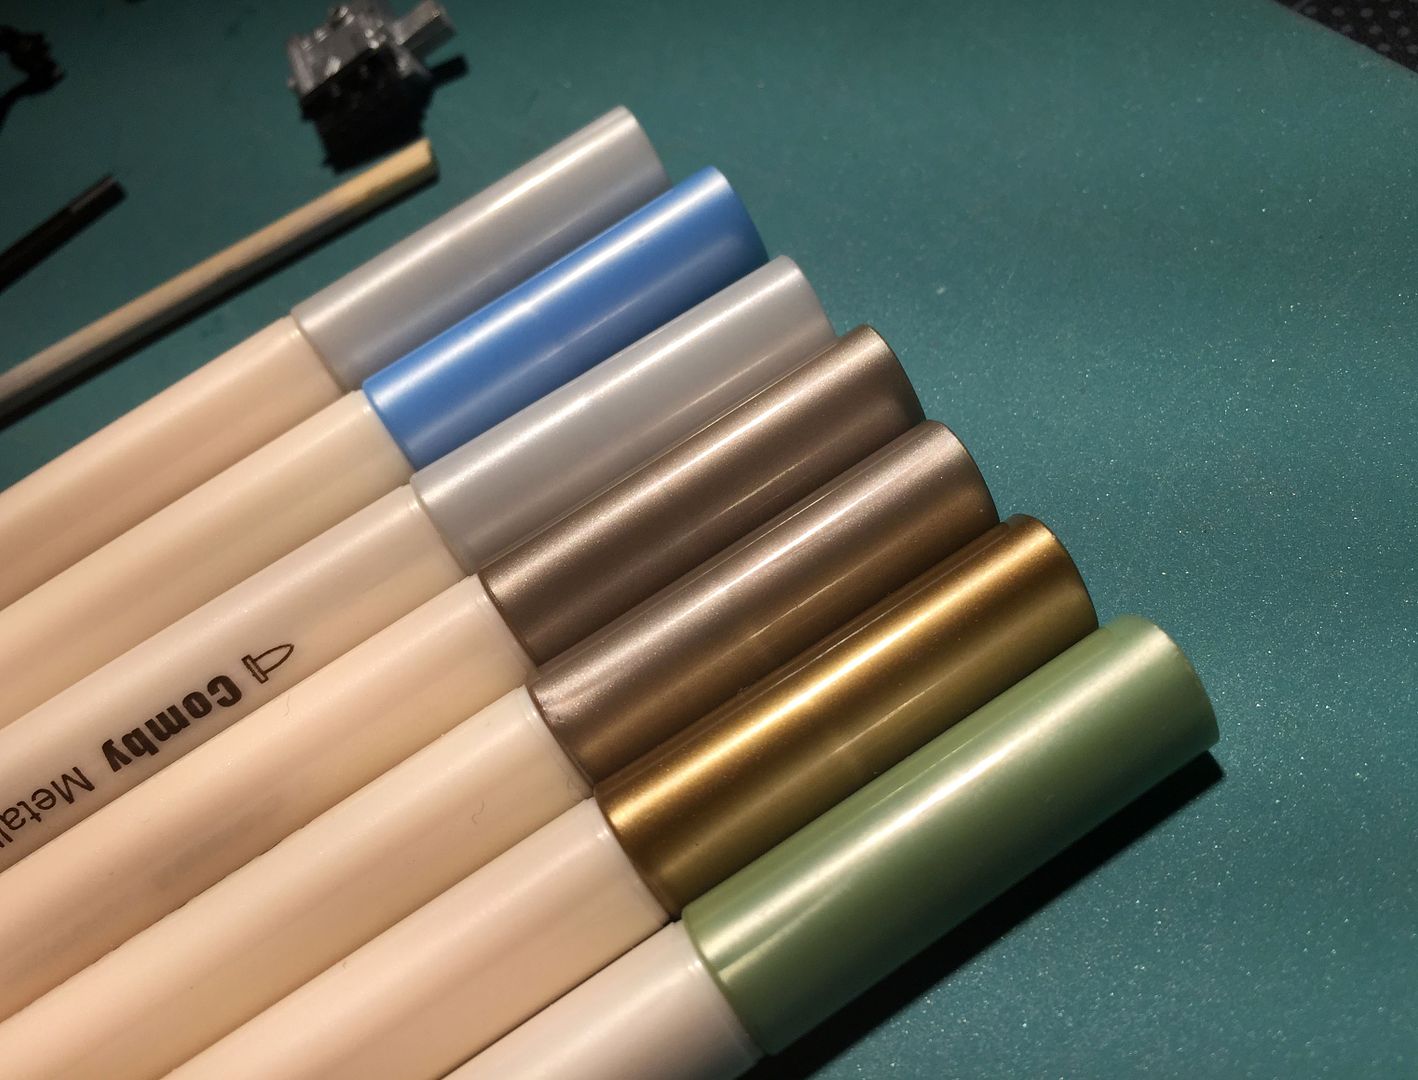
I've been collecting metallic pens on my travels, for detail touching up.
I like to use different 'shades' of the colours to help give the detail a bit more '3D' - so much easier for small nuts and bolts.
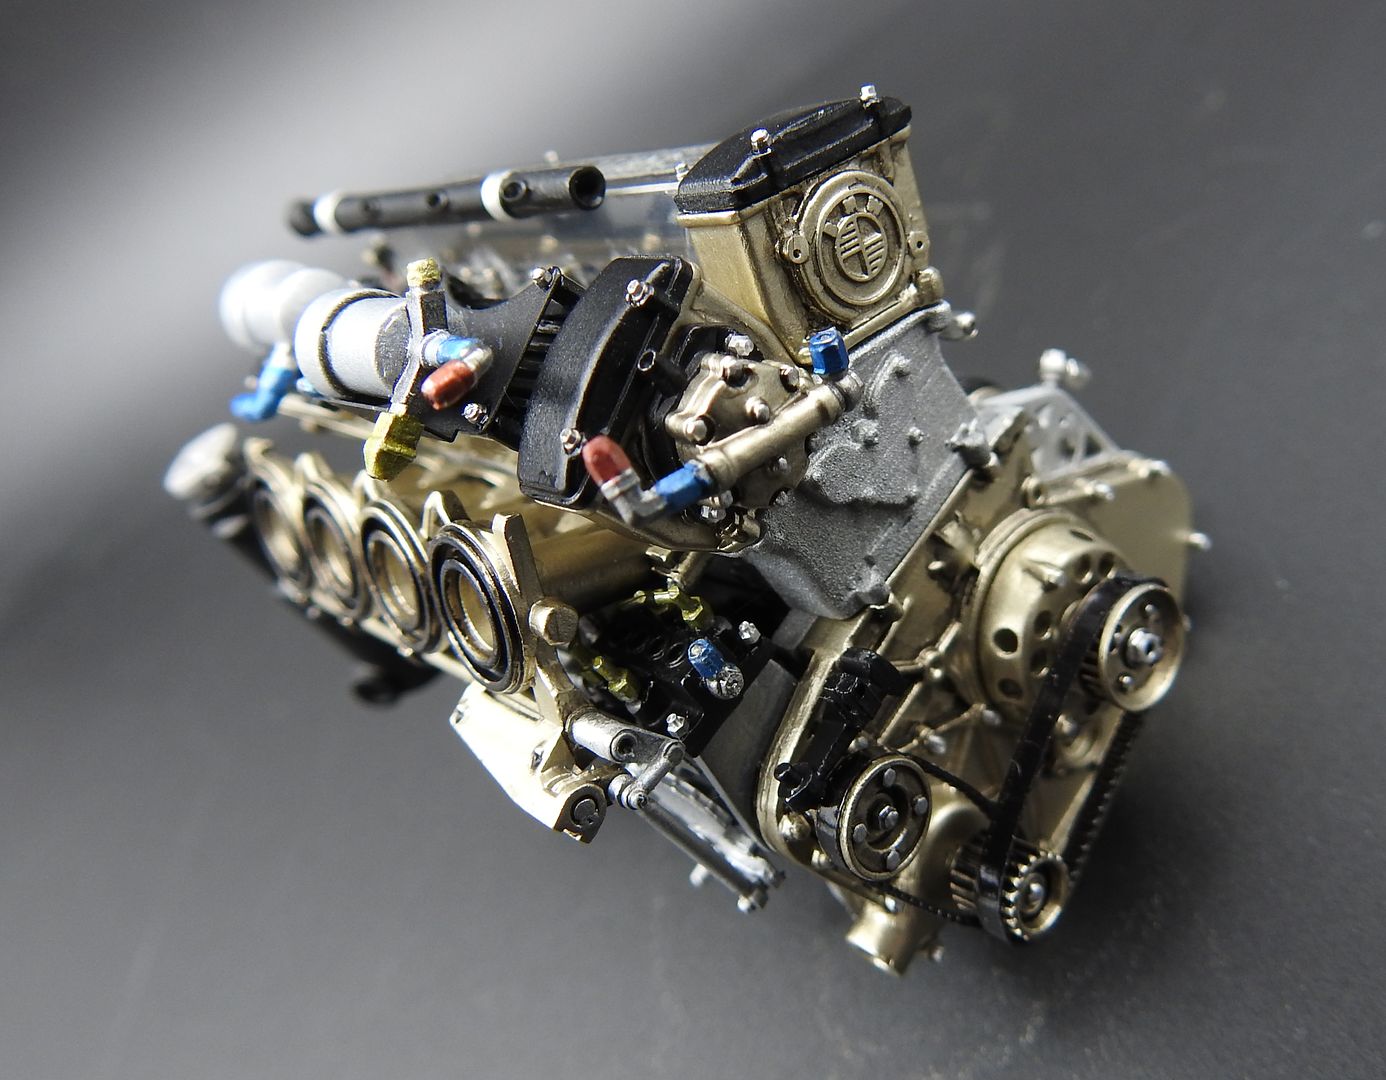
The blue aeroquip hose fittings are also coloured using a blue metallic pen...
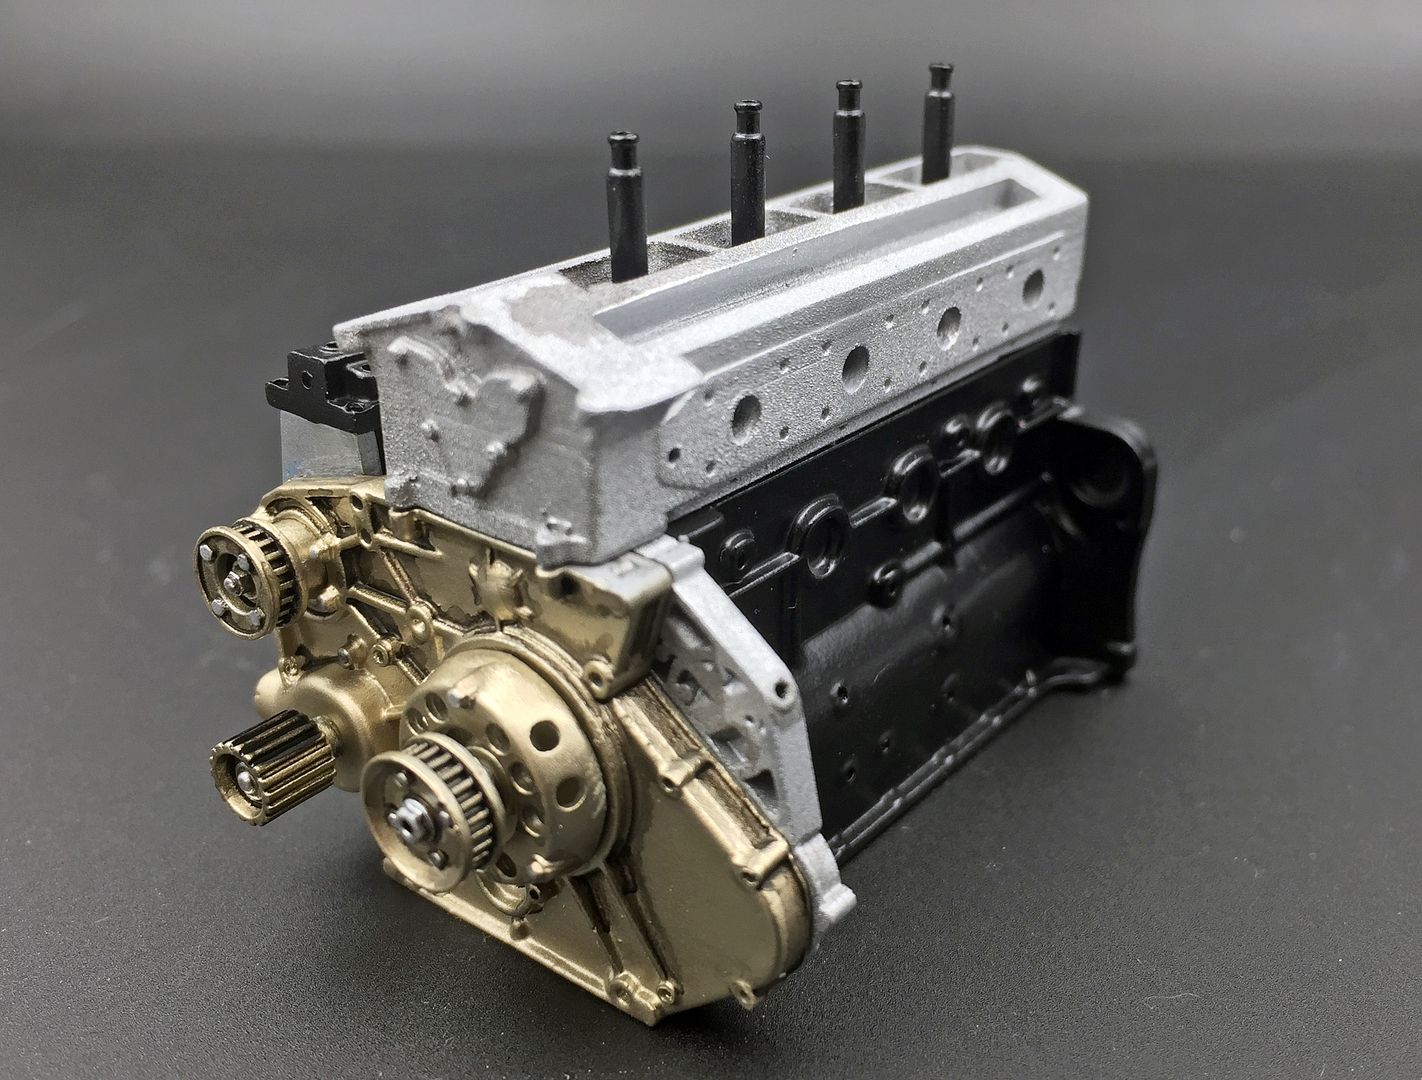
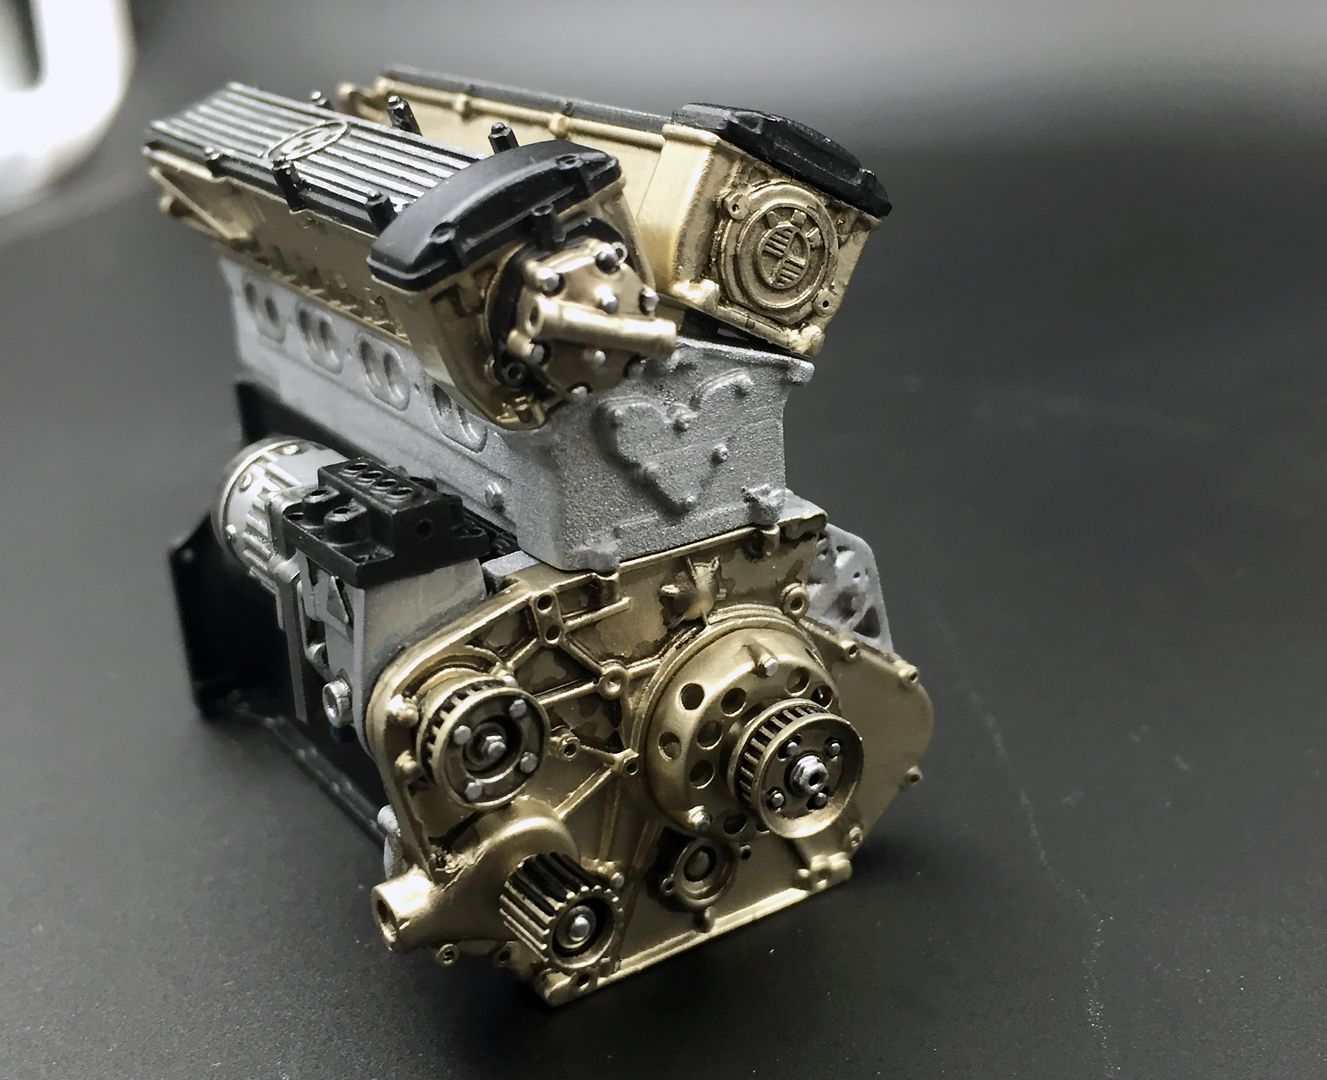
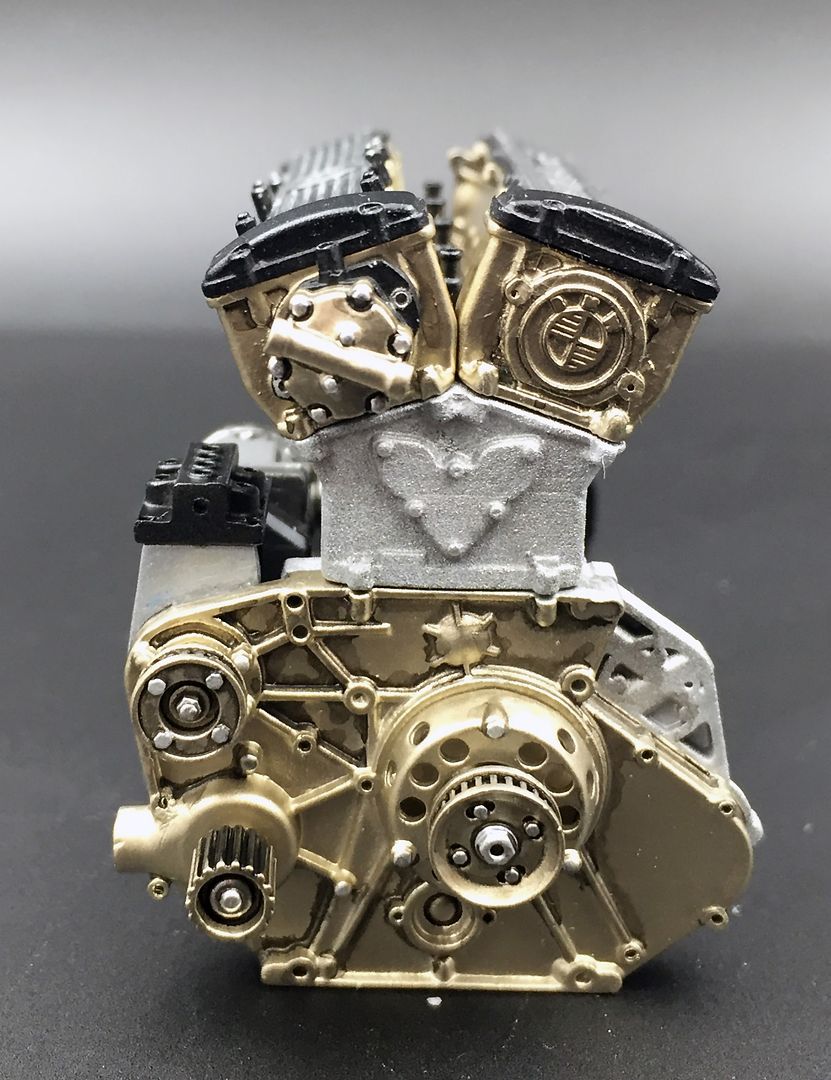
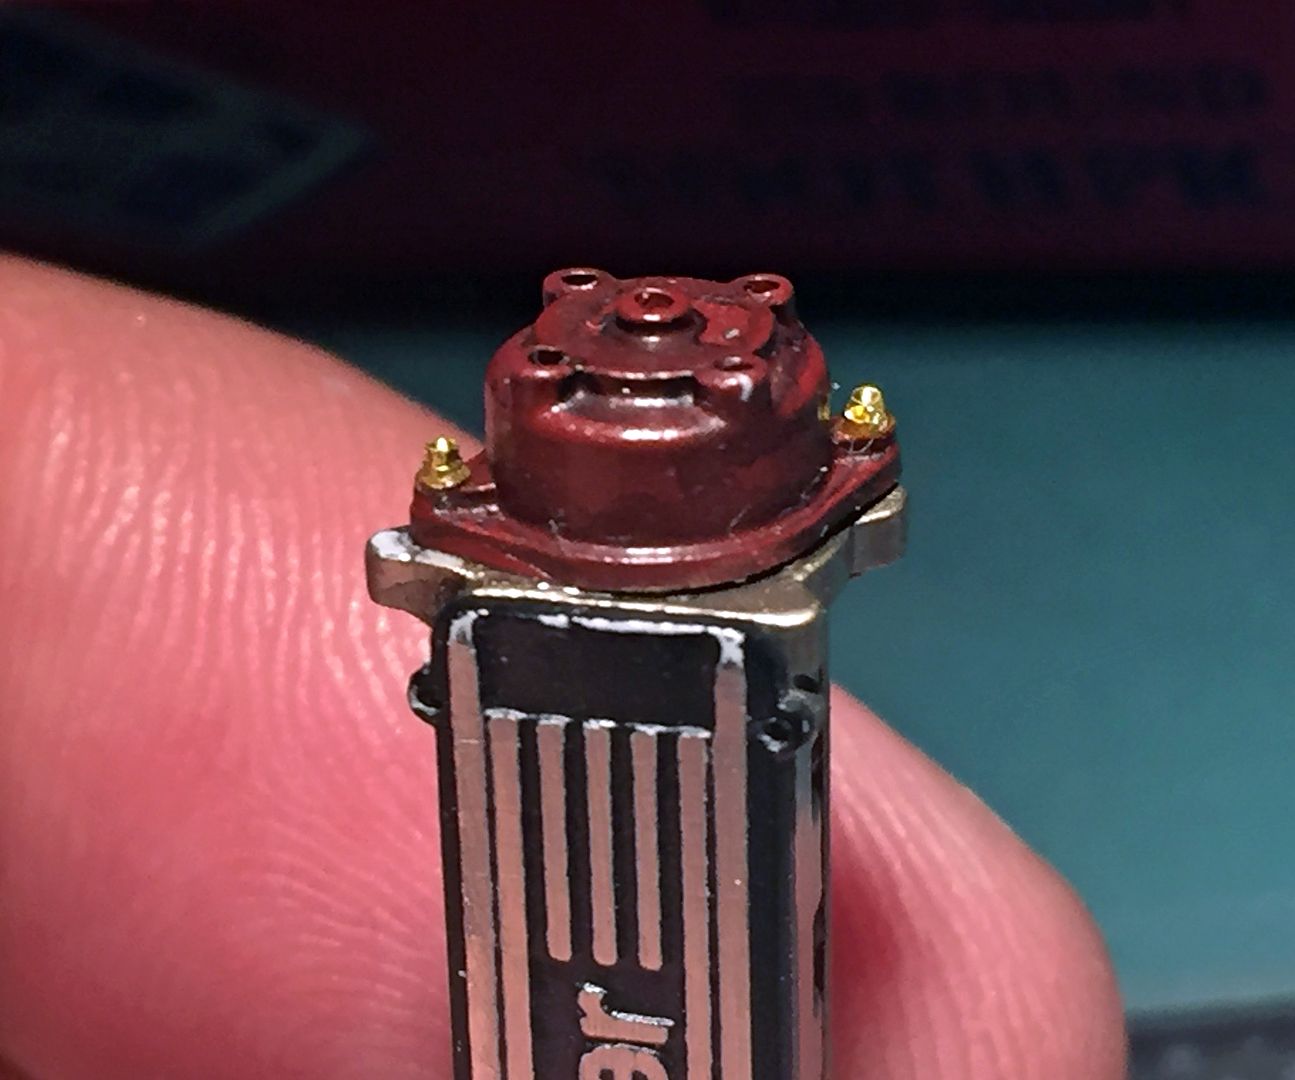
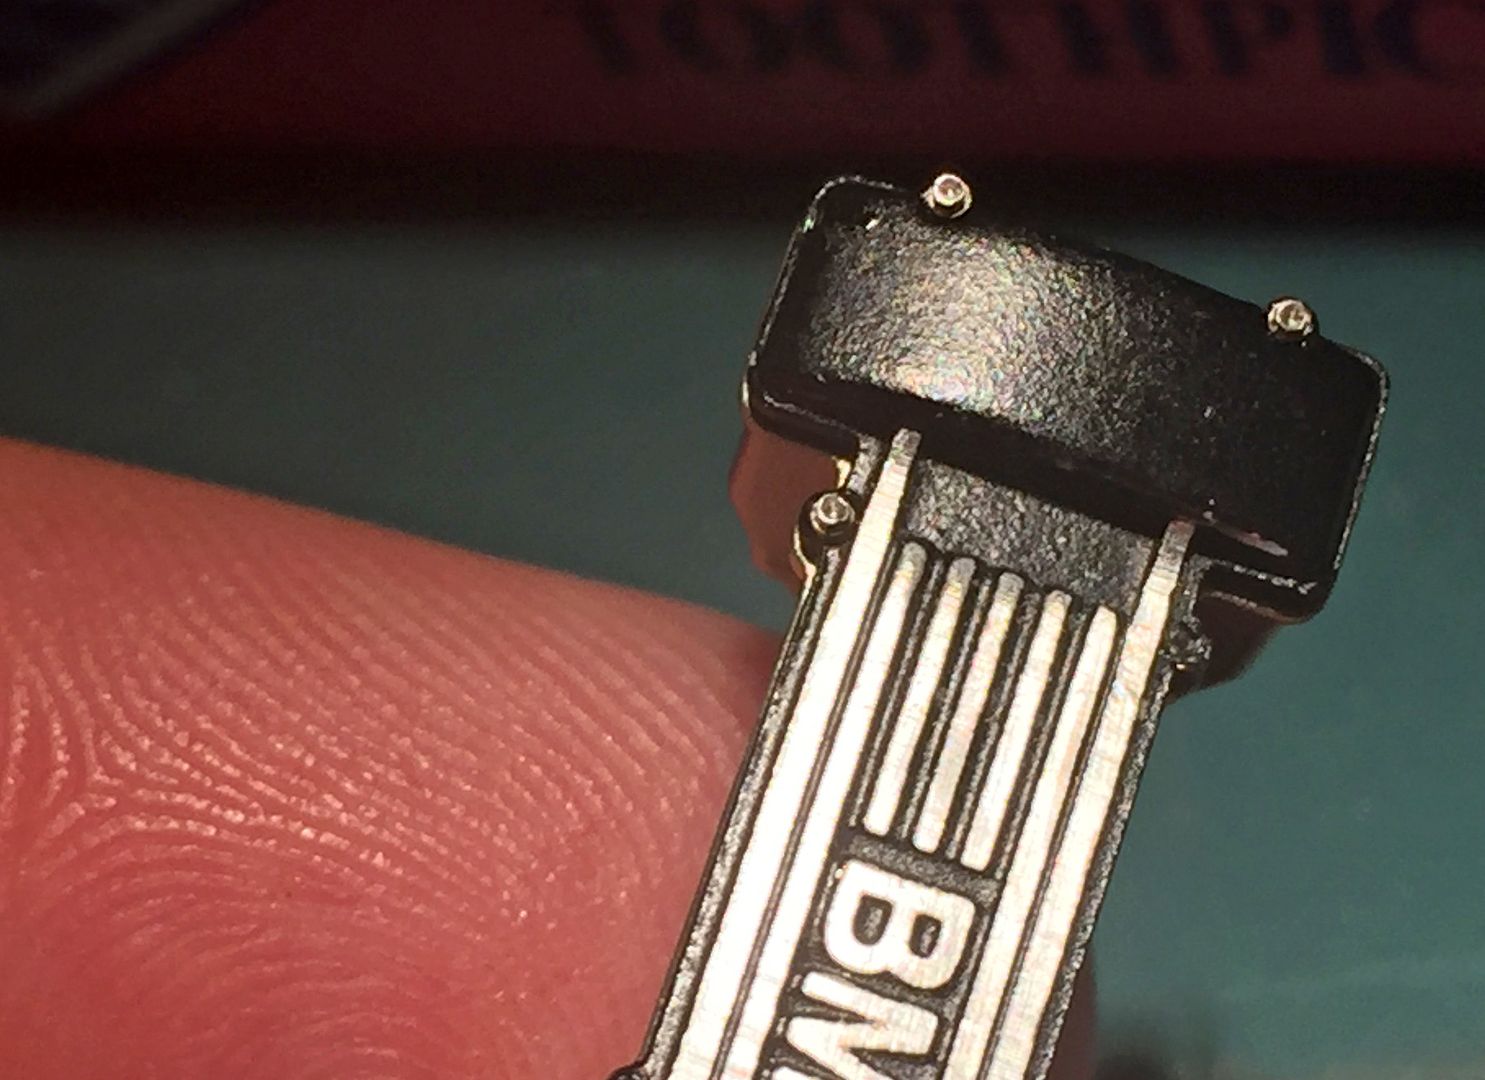
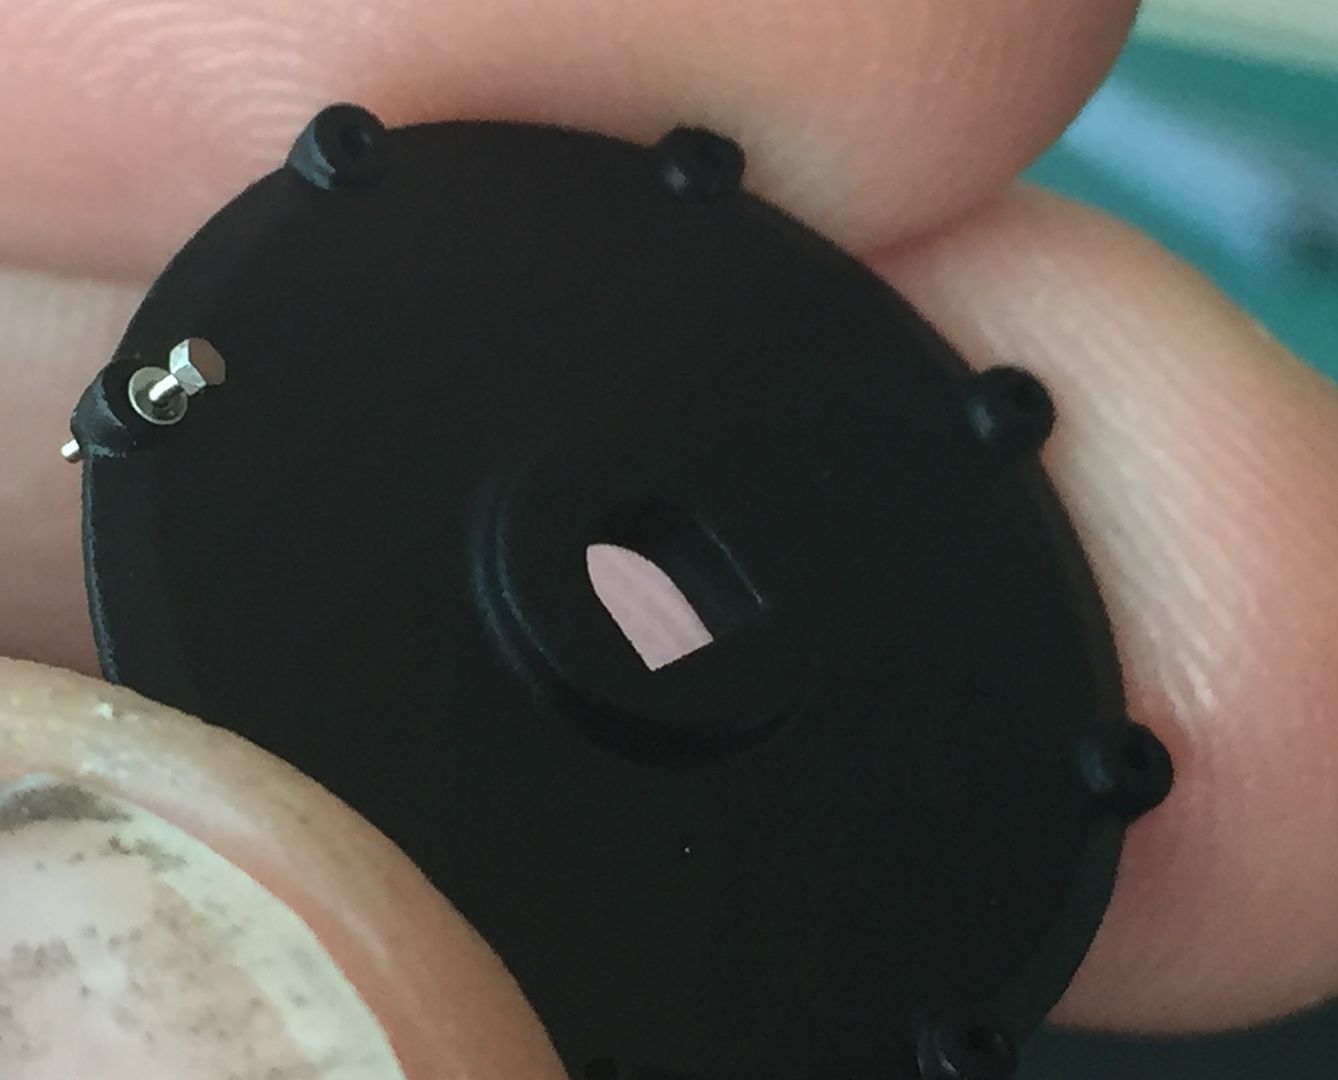
Some lovely castings...
This is one piece...I need to clean off/tidy my crude wash - although of course these very close-up photos make everything look much more crude than they appear!
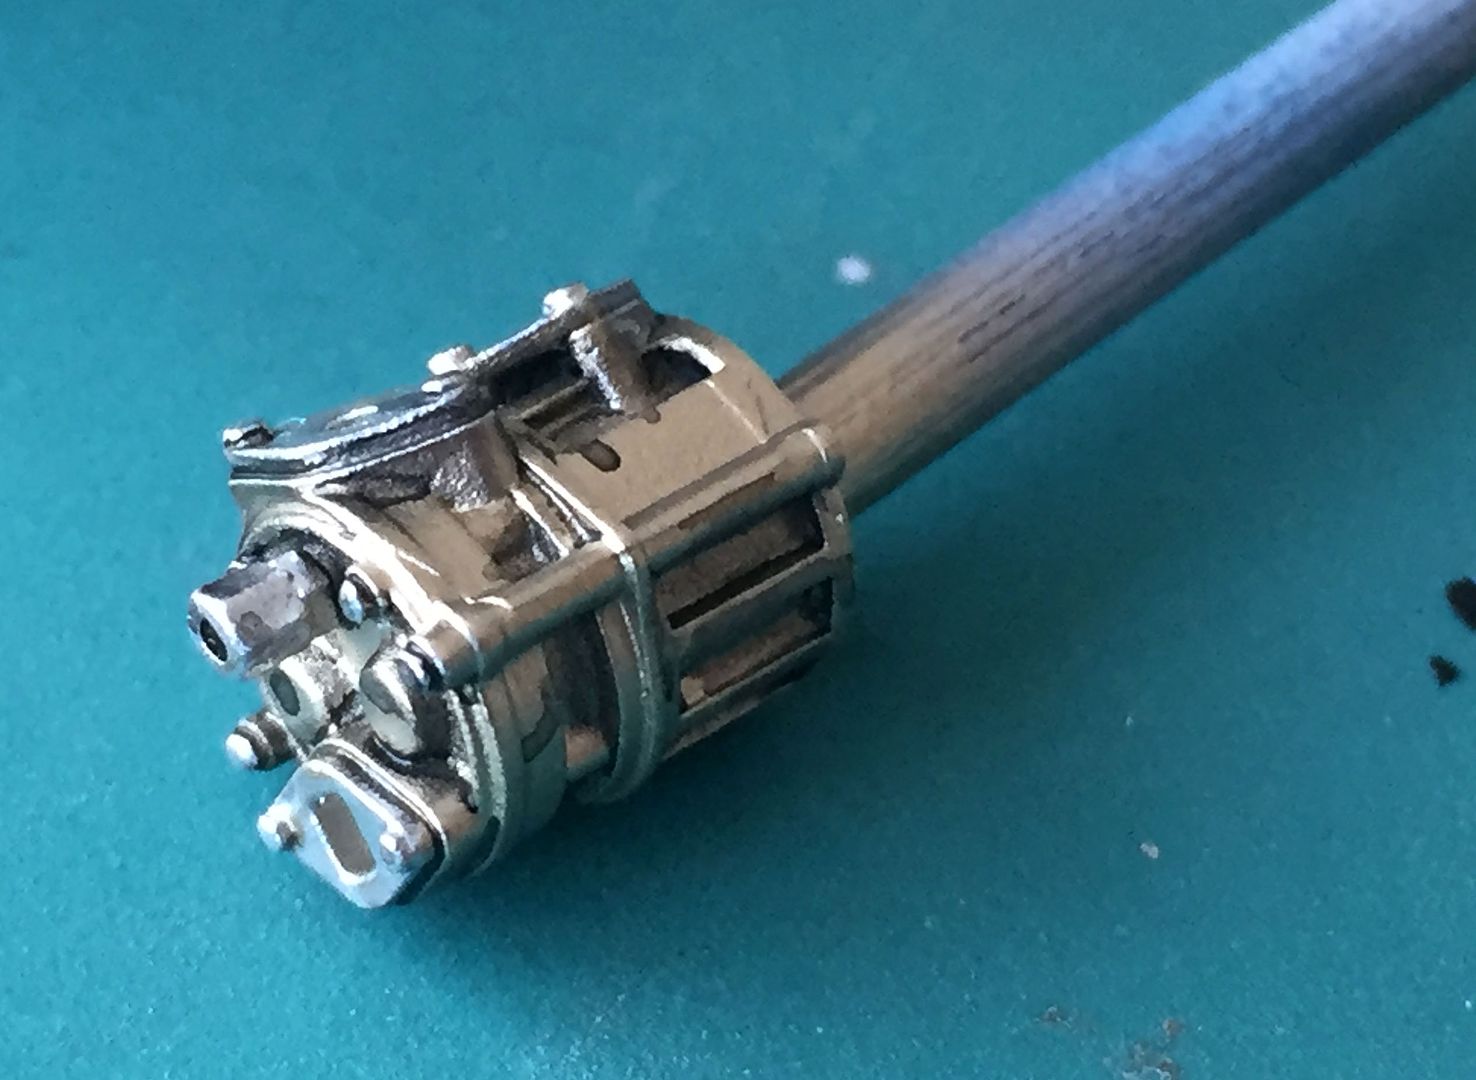
...will add some turned detail bolts etc tonight I hope...
I've been collecting metallic pens on my travels, for detail touching up.
I like to use different 'shades' of the colours to help give the detail a bit more '3D' - so much easier for small nuts and bolts.
The blue aeroquip hose fittings are also coloured using a blue metallic pen...
Some lovely castings...
This is one piece...I need to clean off/tidy my crude wash - although of course these very close-up photos make everything look much more crude than they appear!
...will add some turned detail bolts etc tonight I hope...
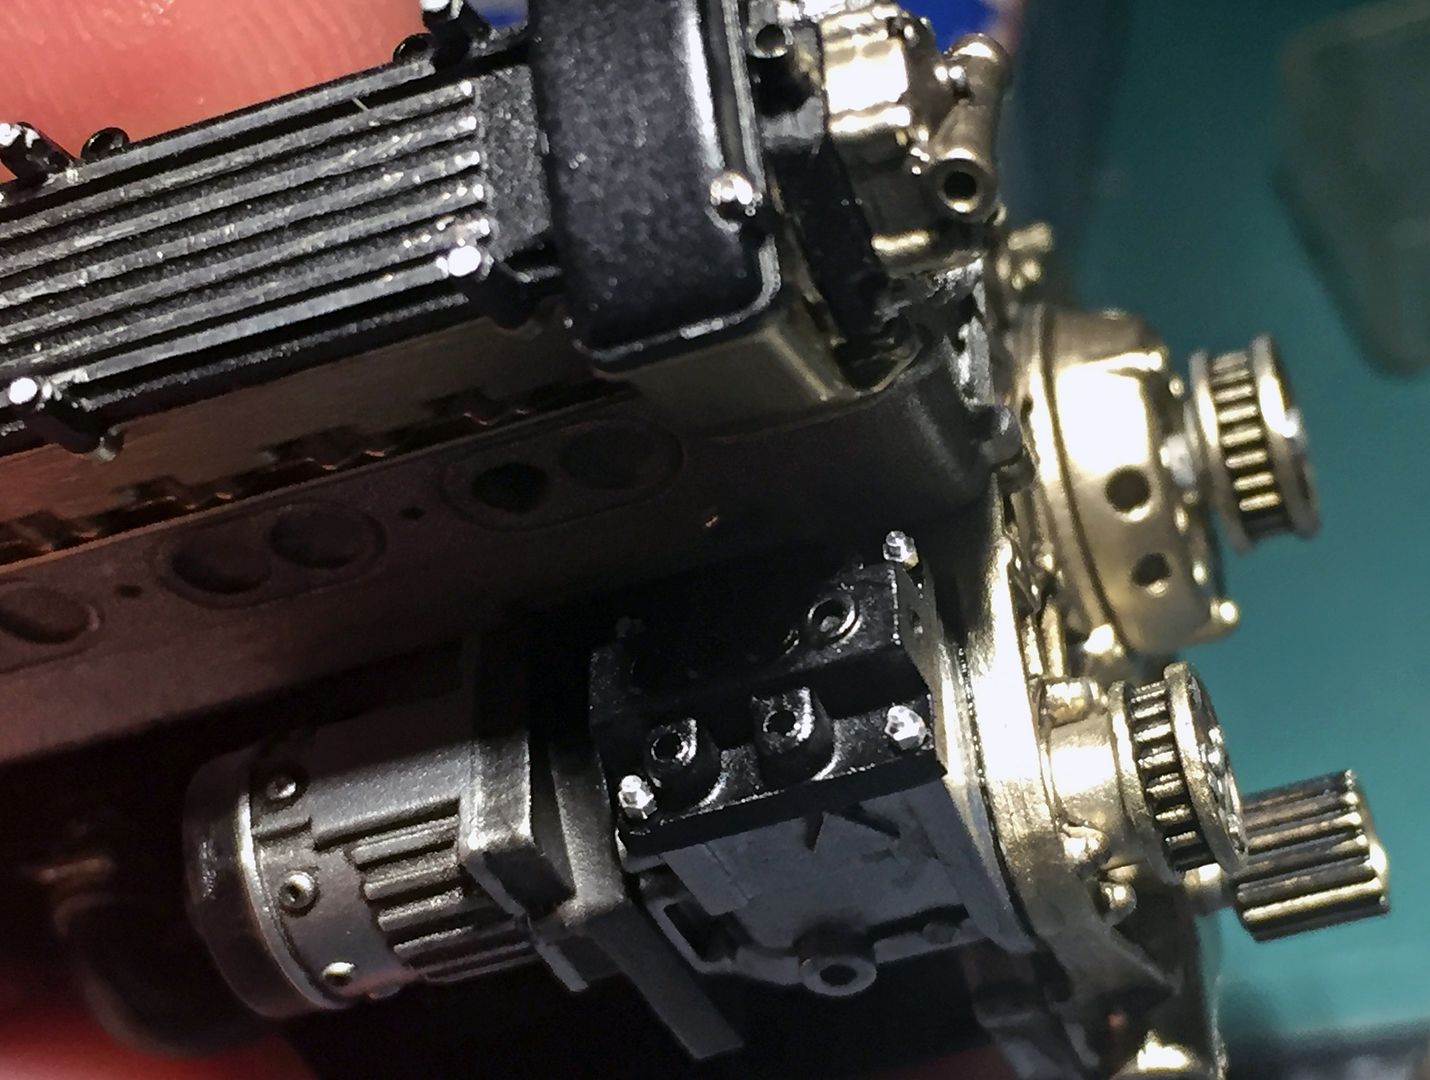


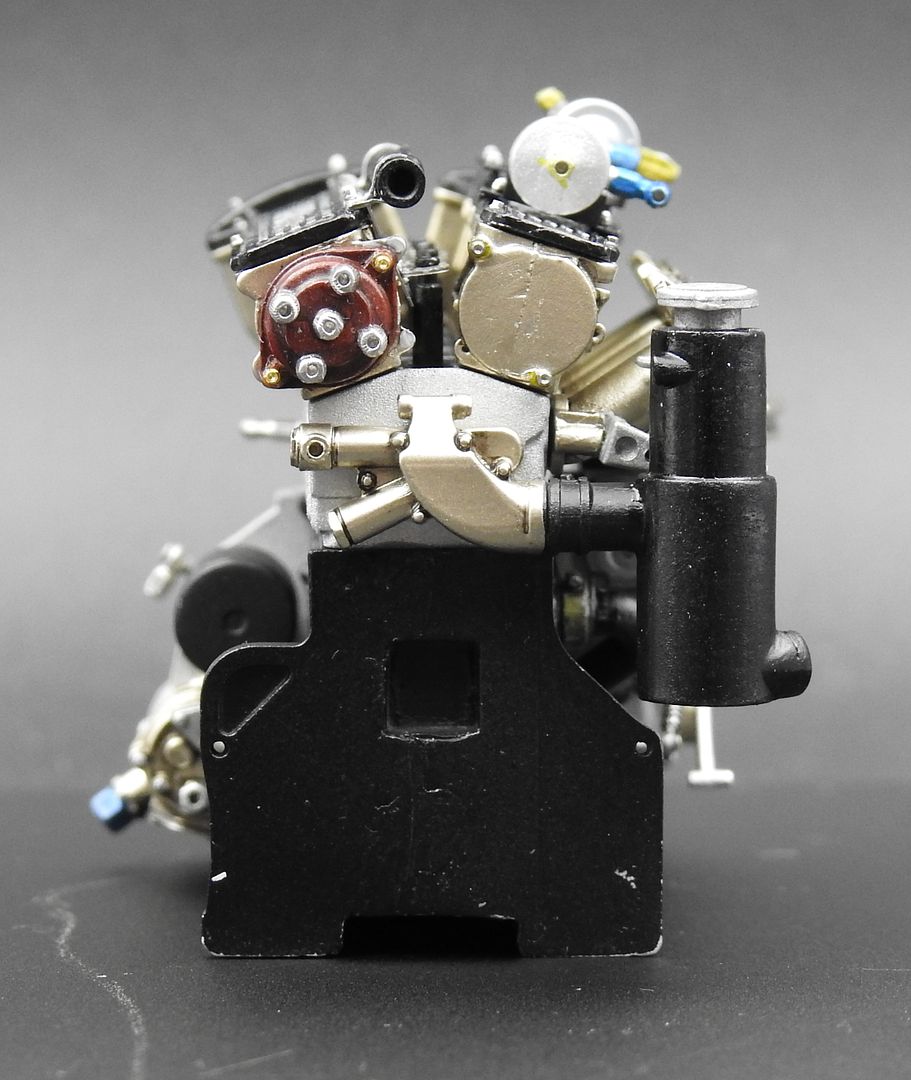
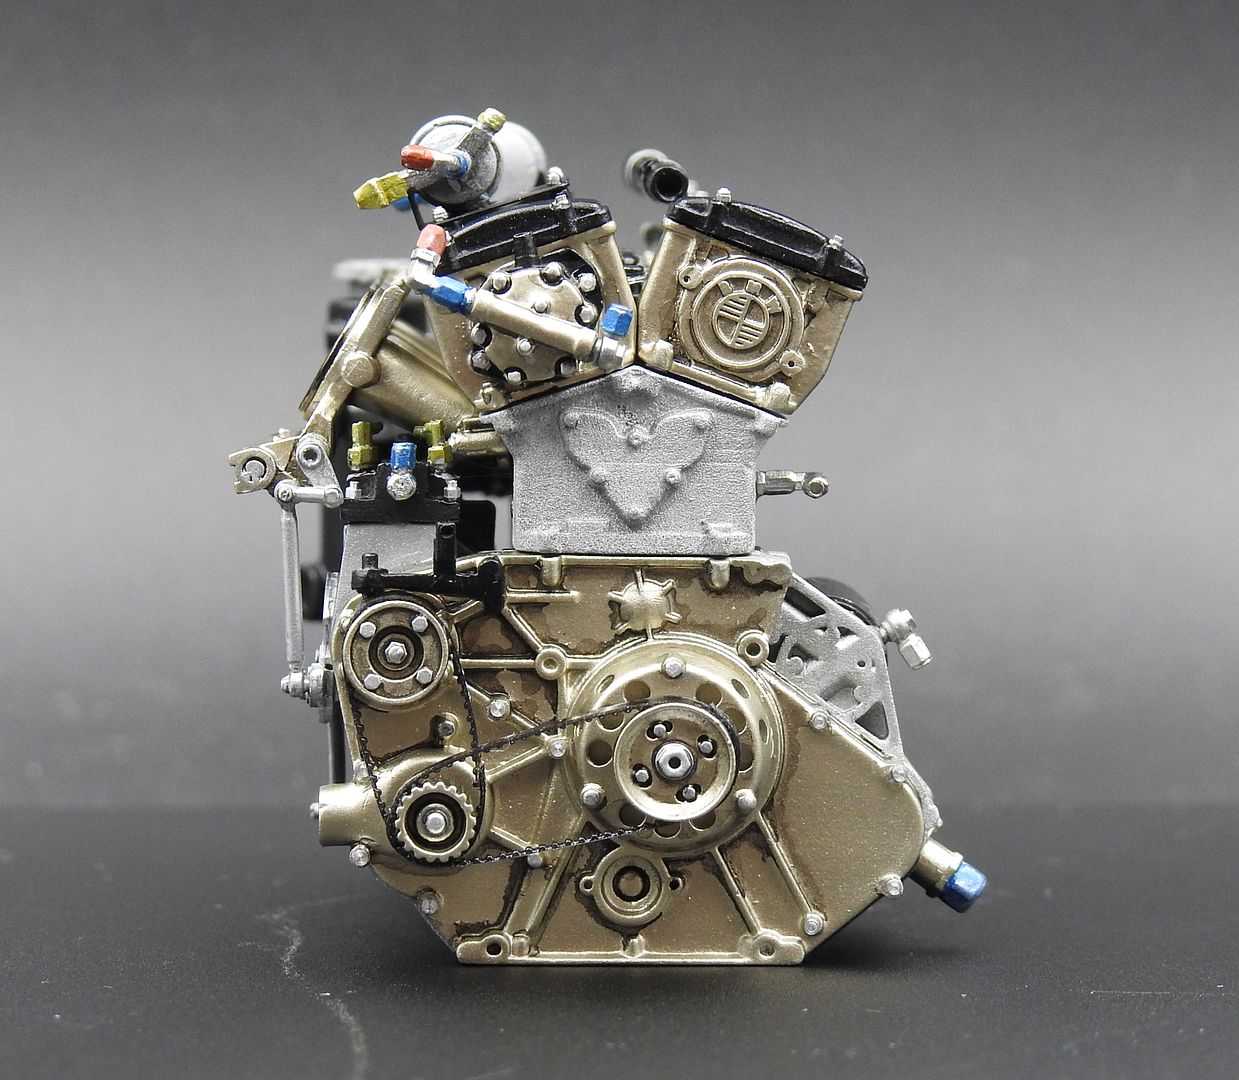
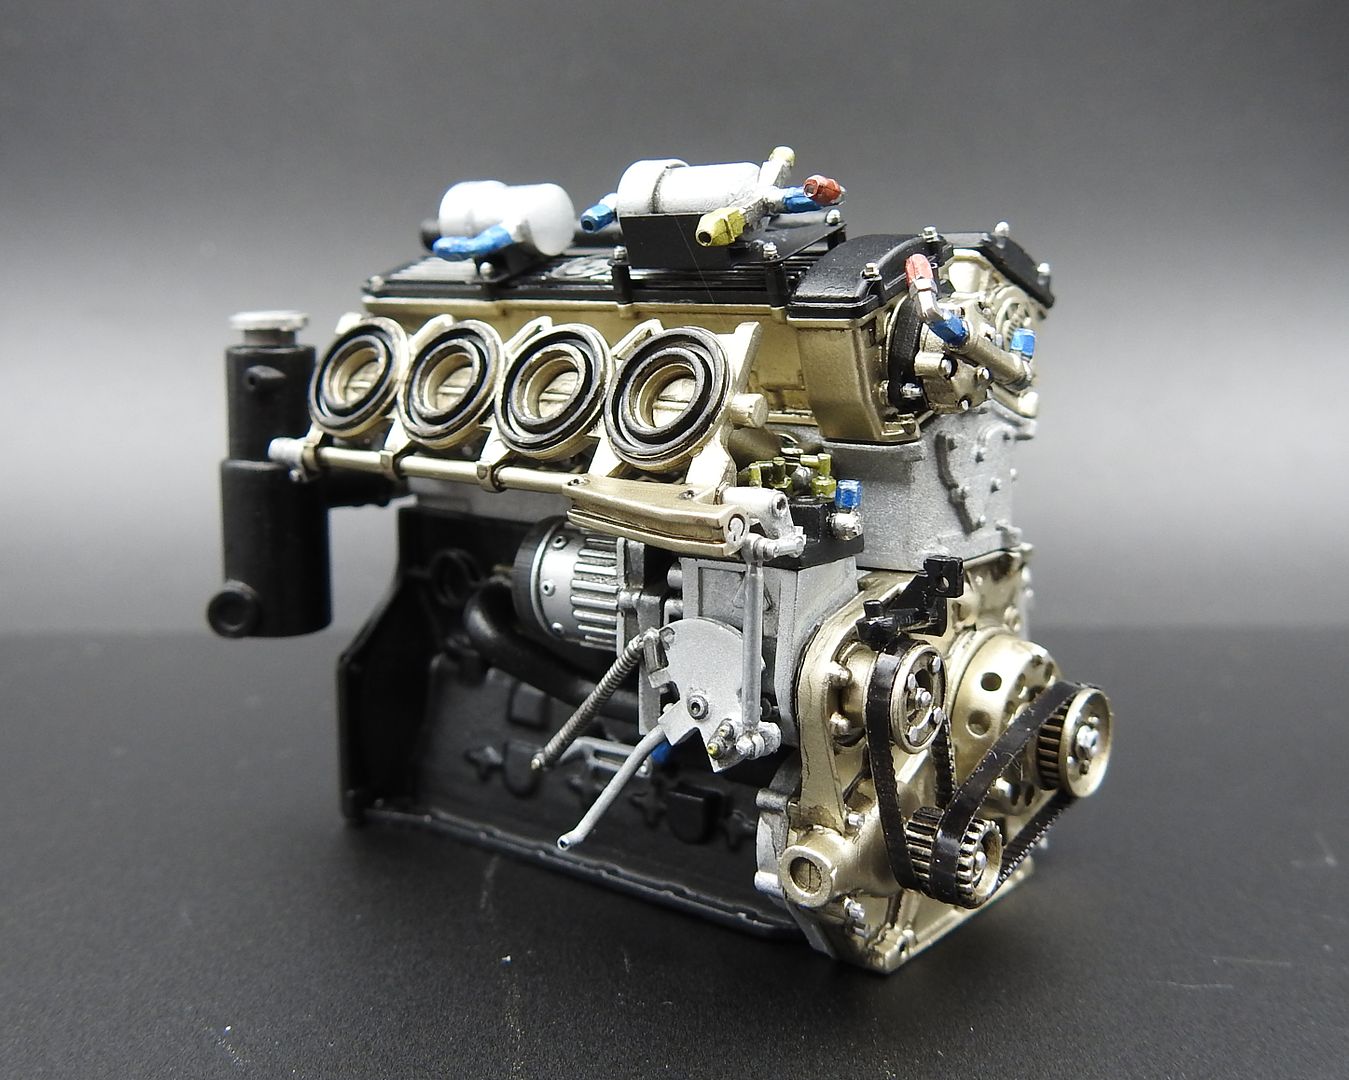
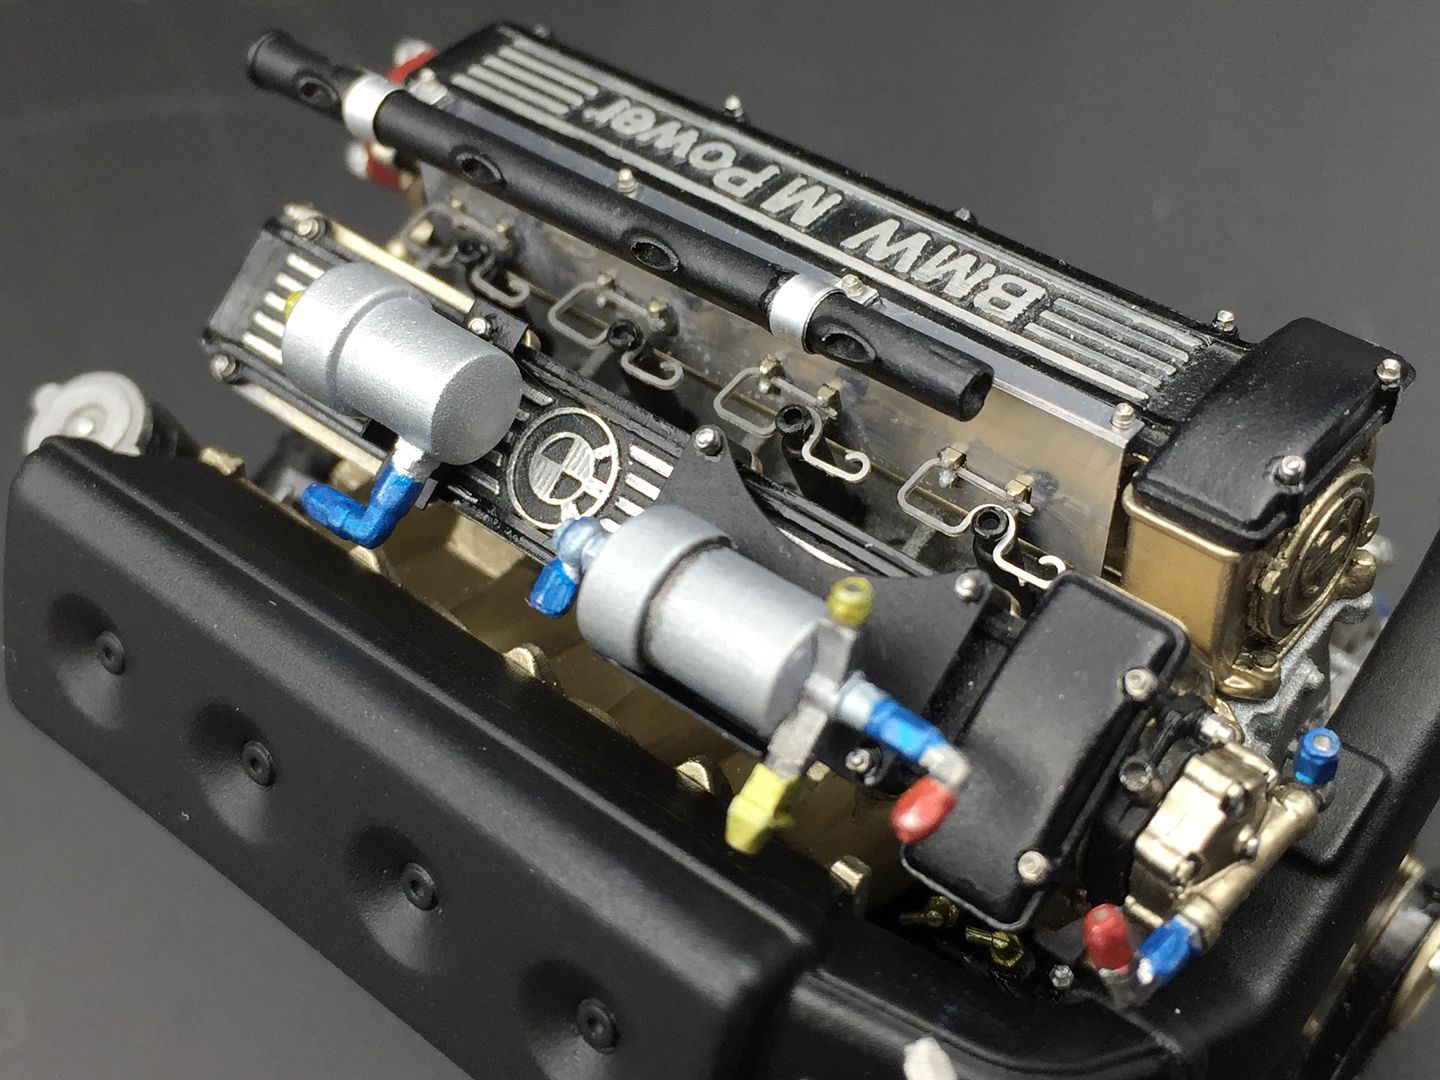
Got a good bit of engine done at the weekend - including replacing bolt heads etc!

Damn small these things....
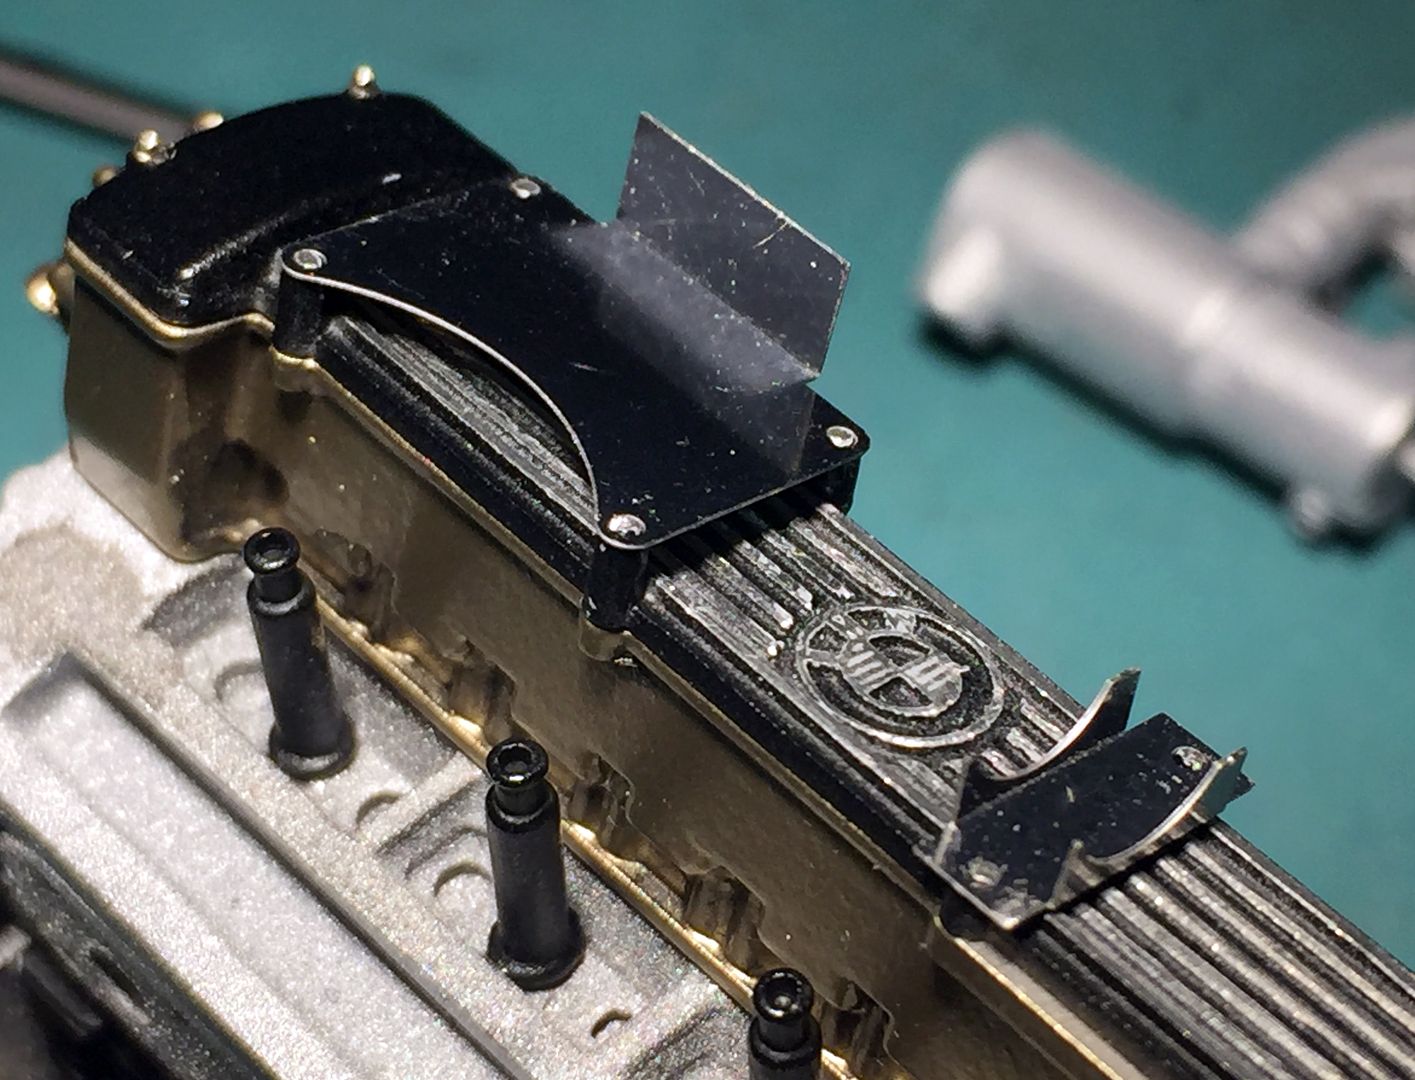
Added PE parts...
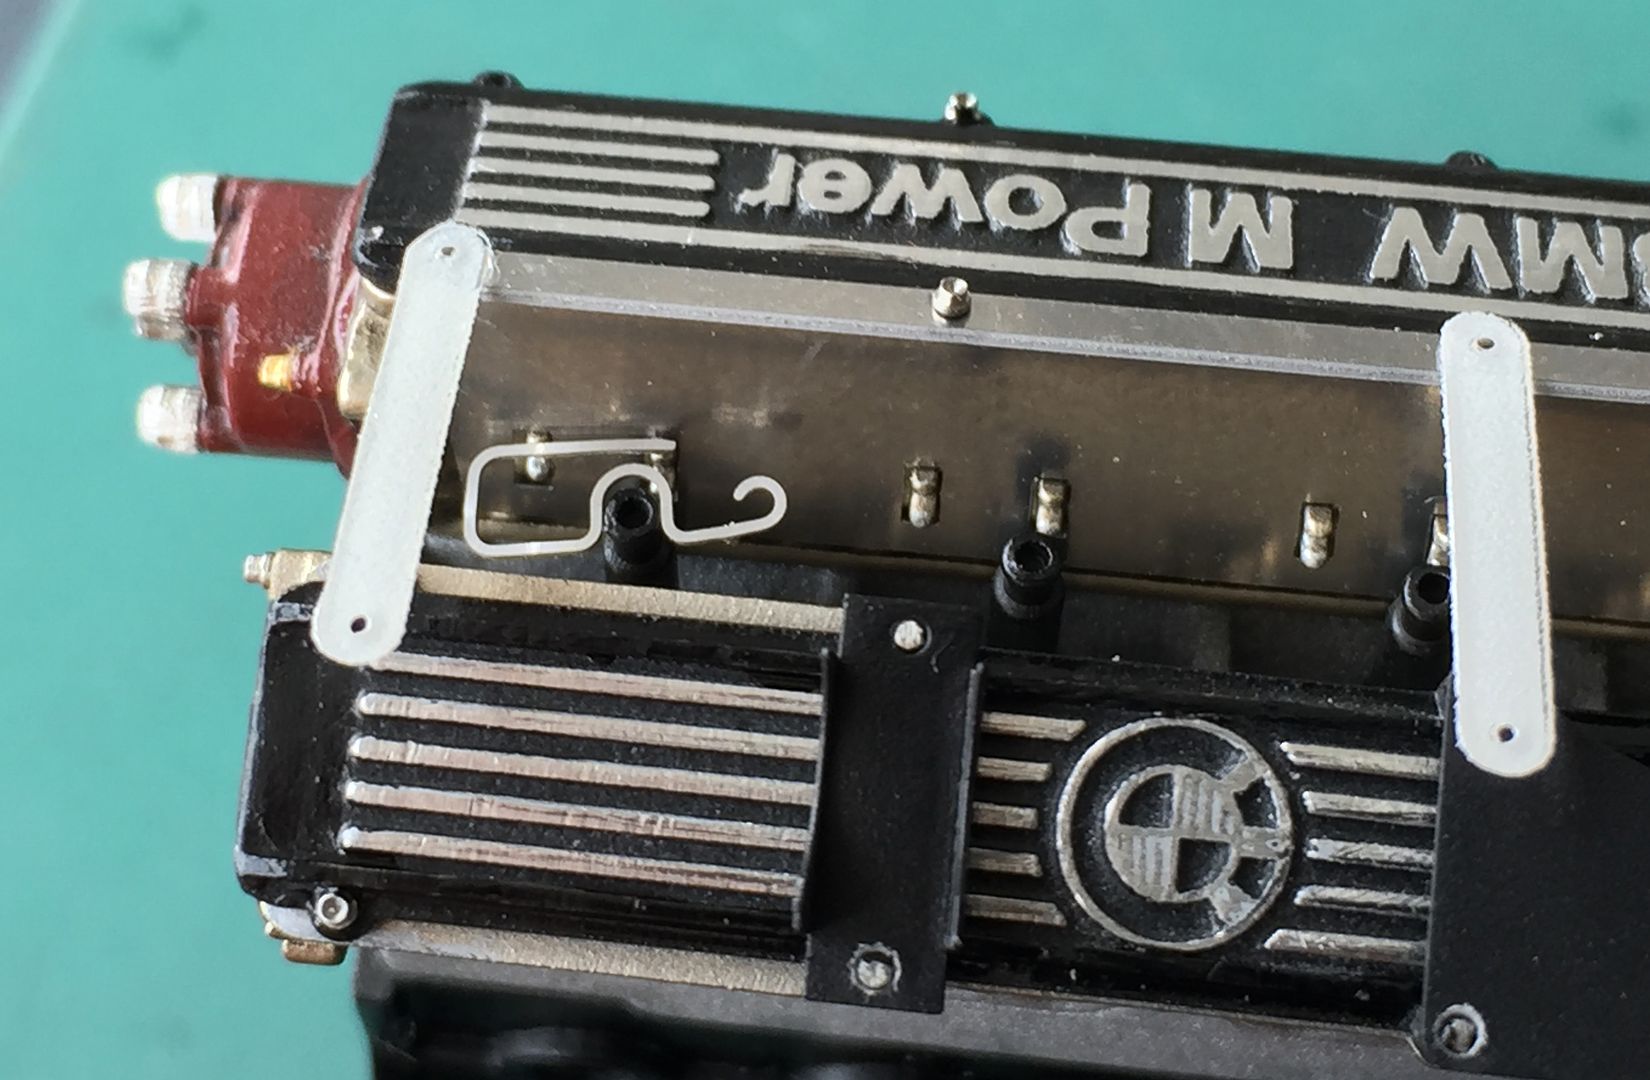
These little spark plug clips are tiny - but actually fitted ok
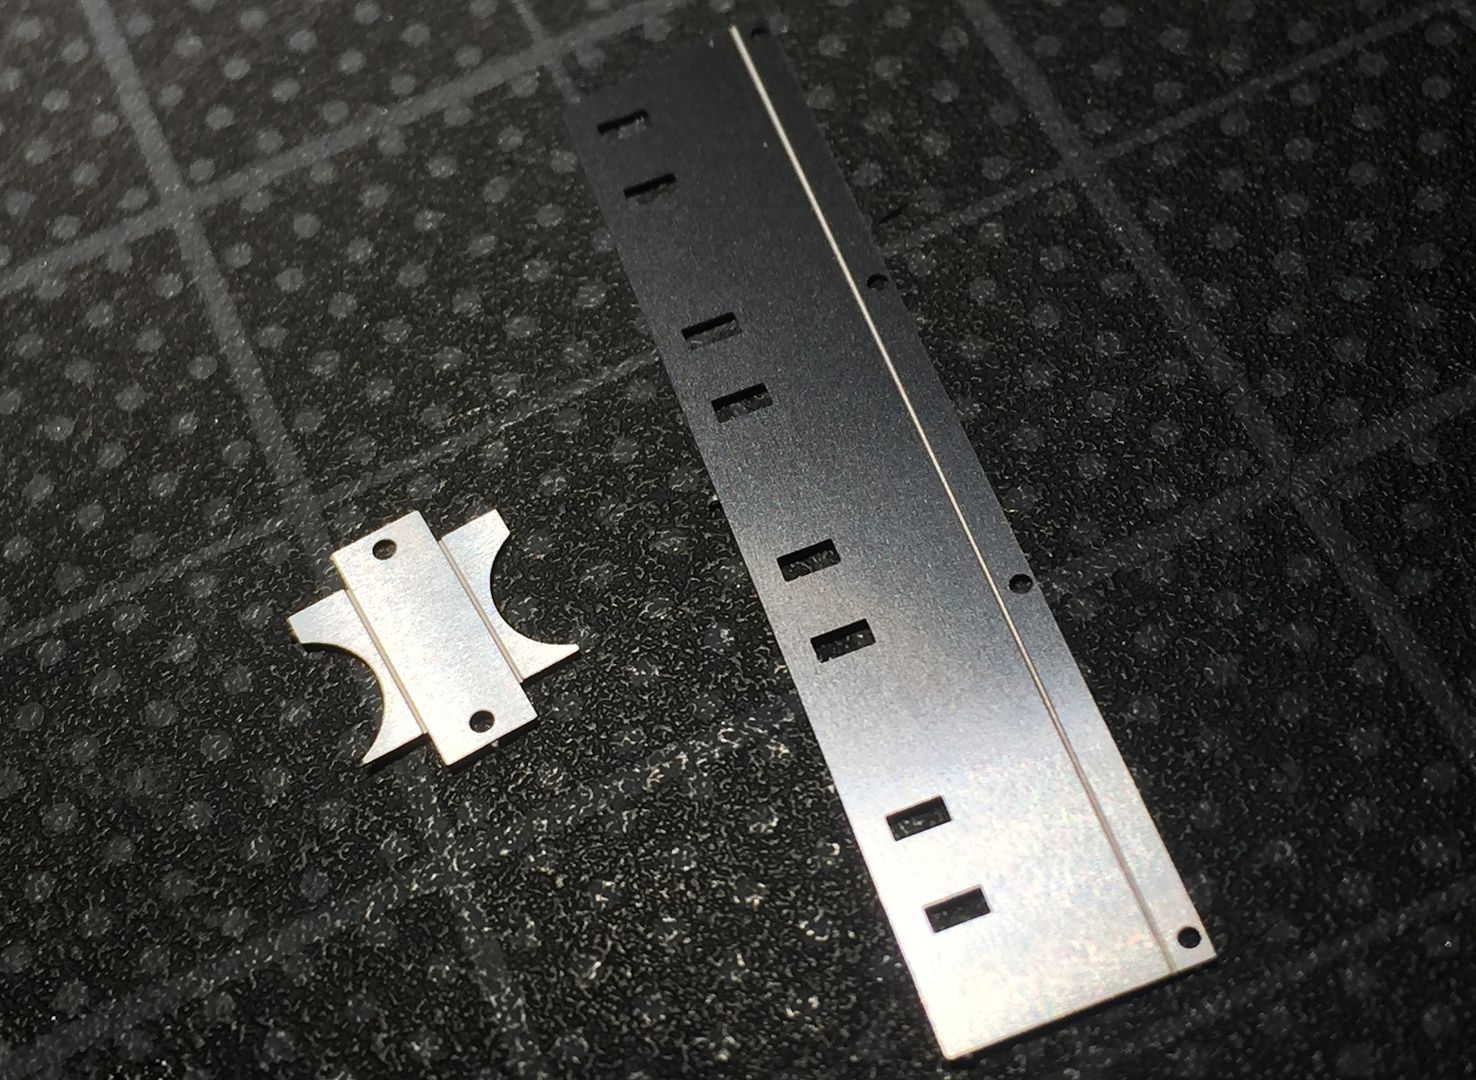
These straps are to hold the plug lead rail - they are molded like the MFH 'tie wraps' - but IMO in this use they are too fragile -as I curved them round to fit the rail, they both snapped/tore...
I ended up using two straps made from foil sheet.
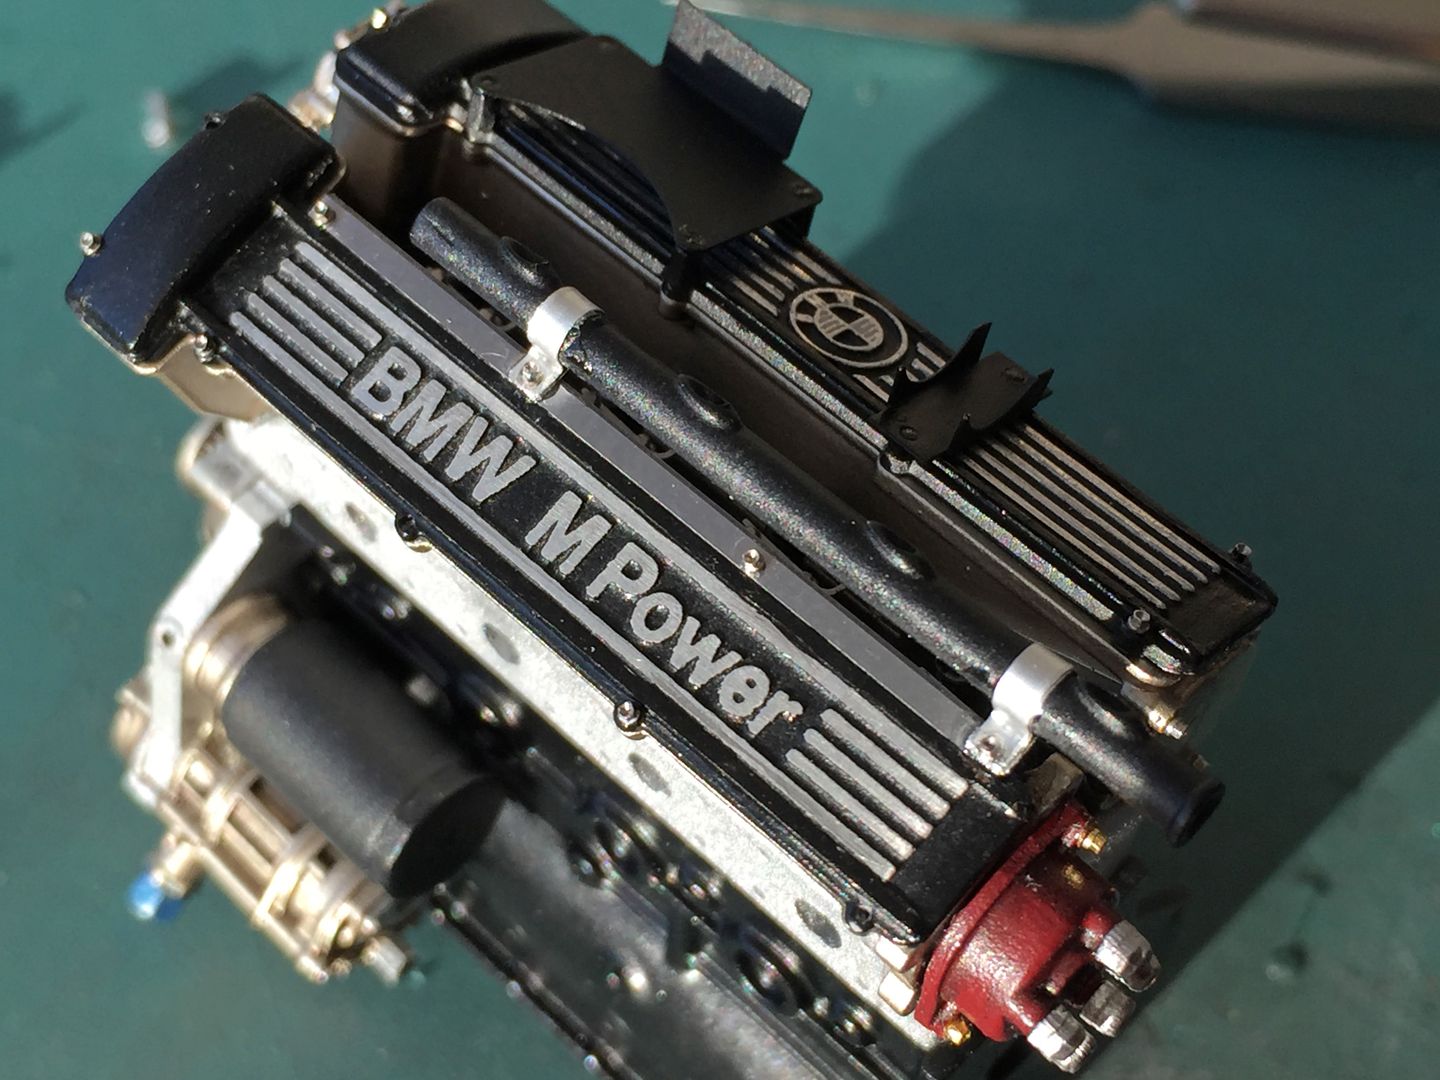
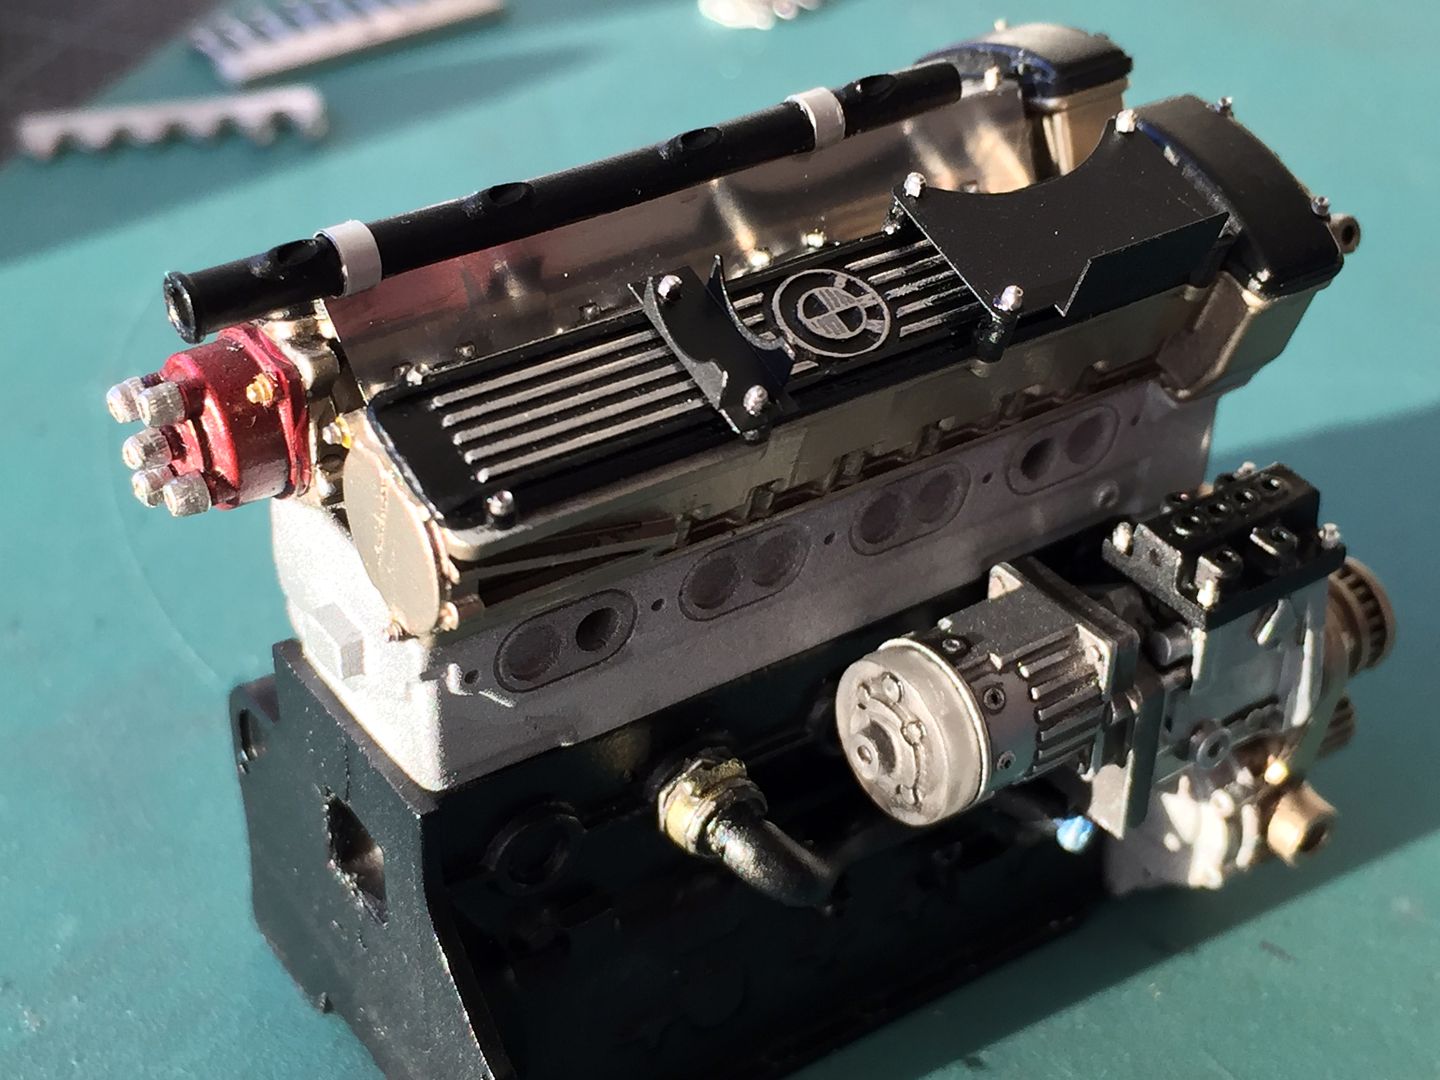
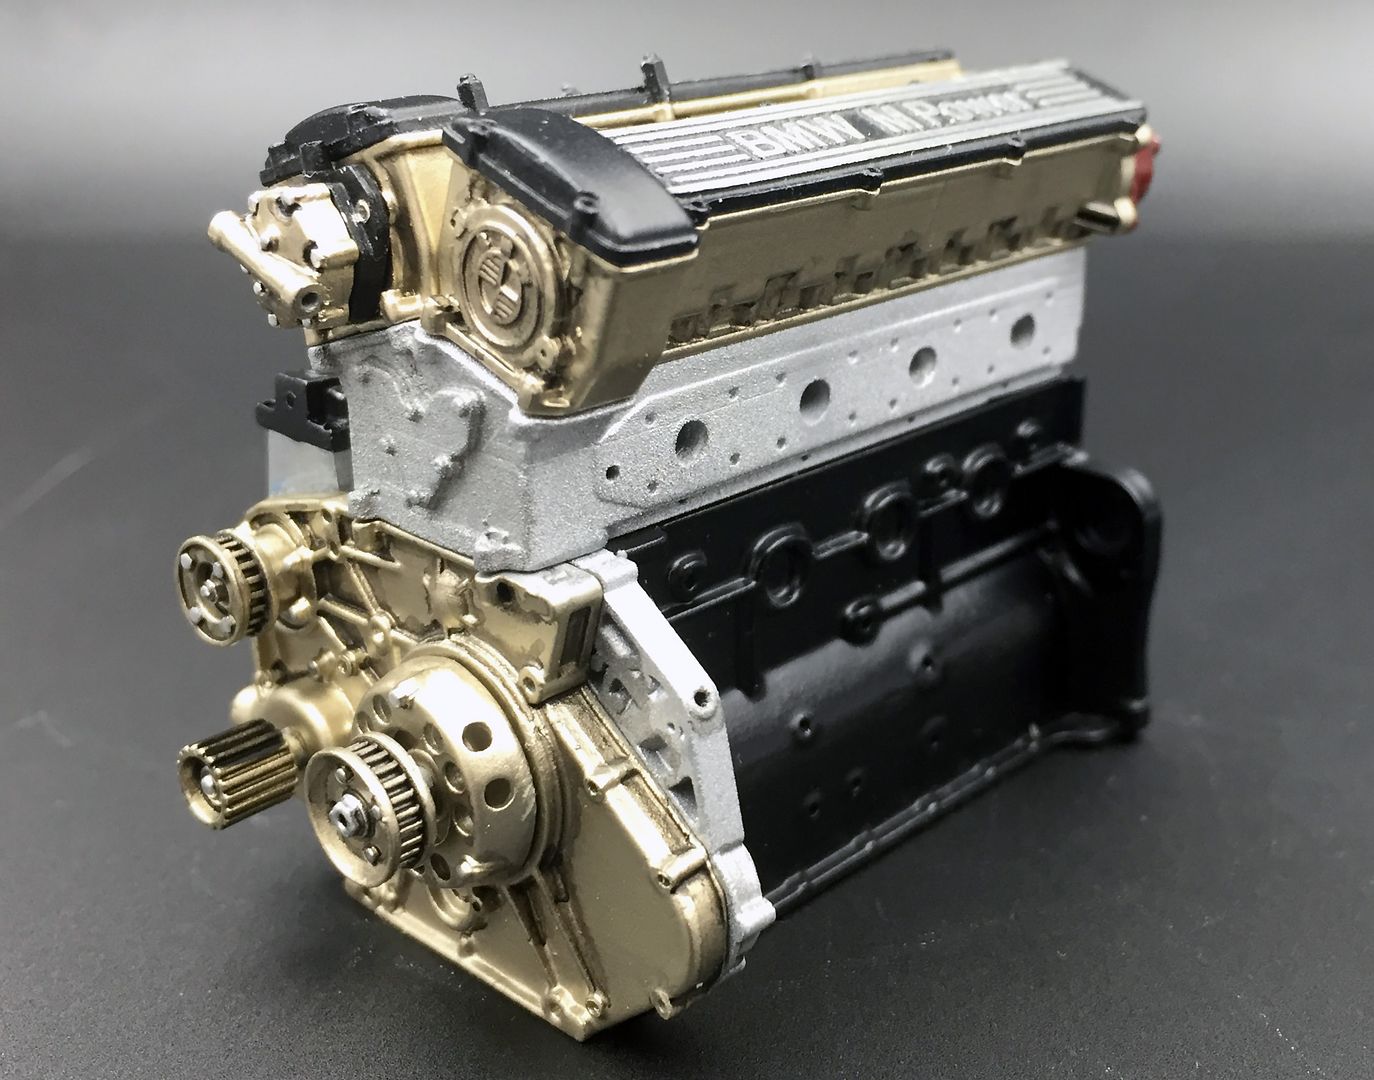
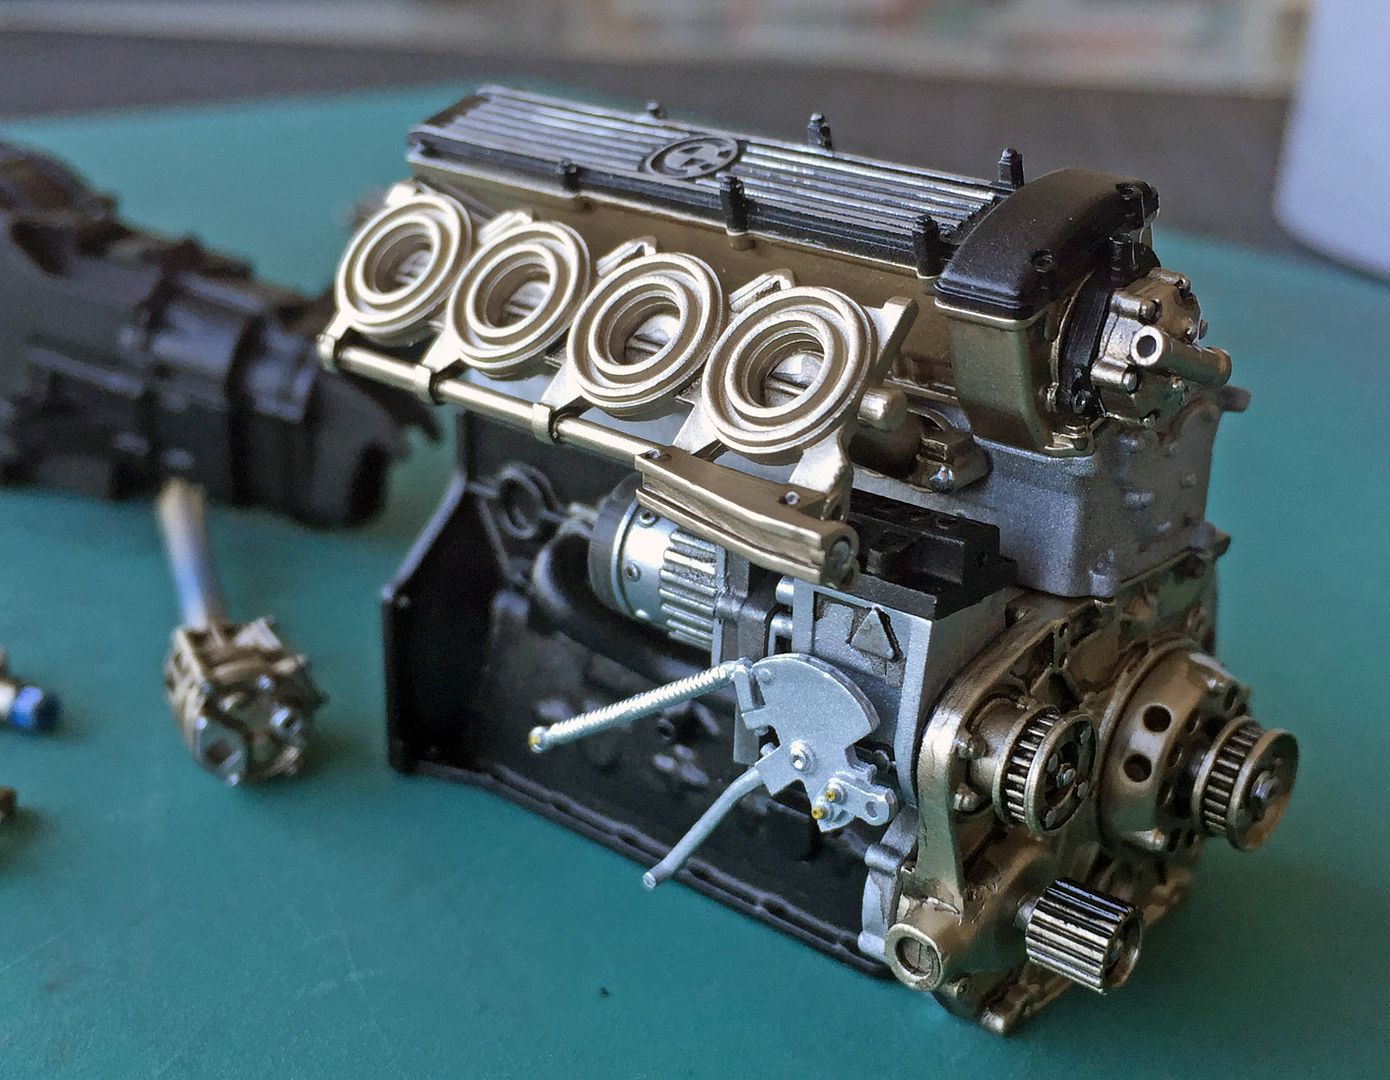
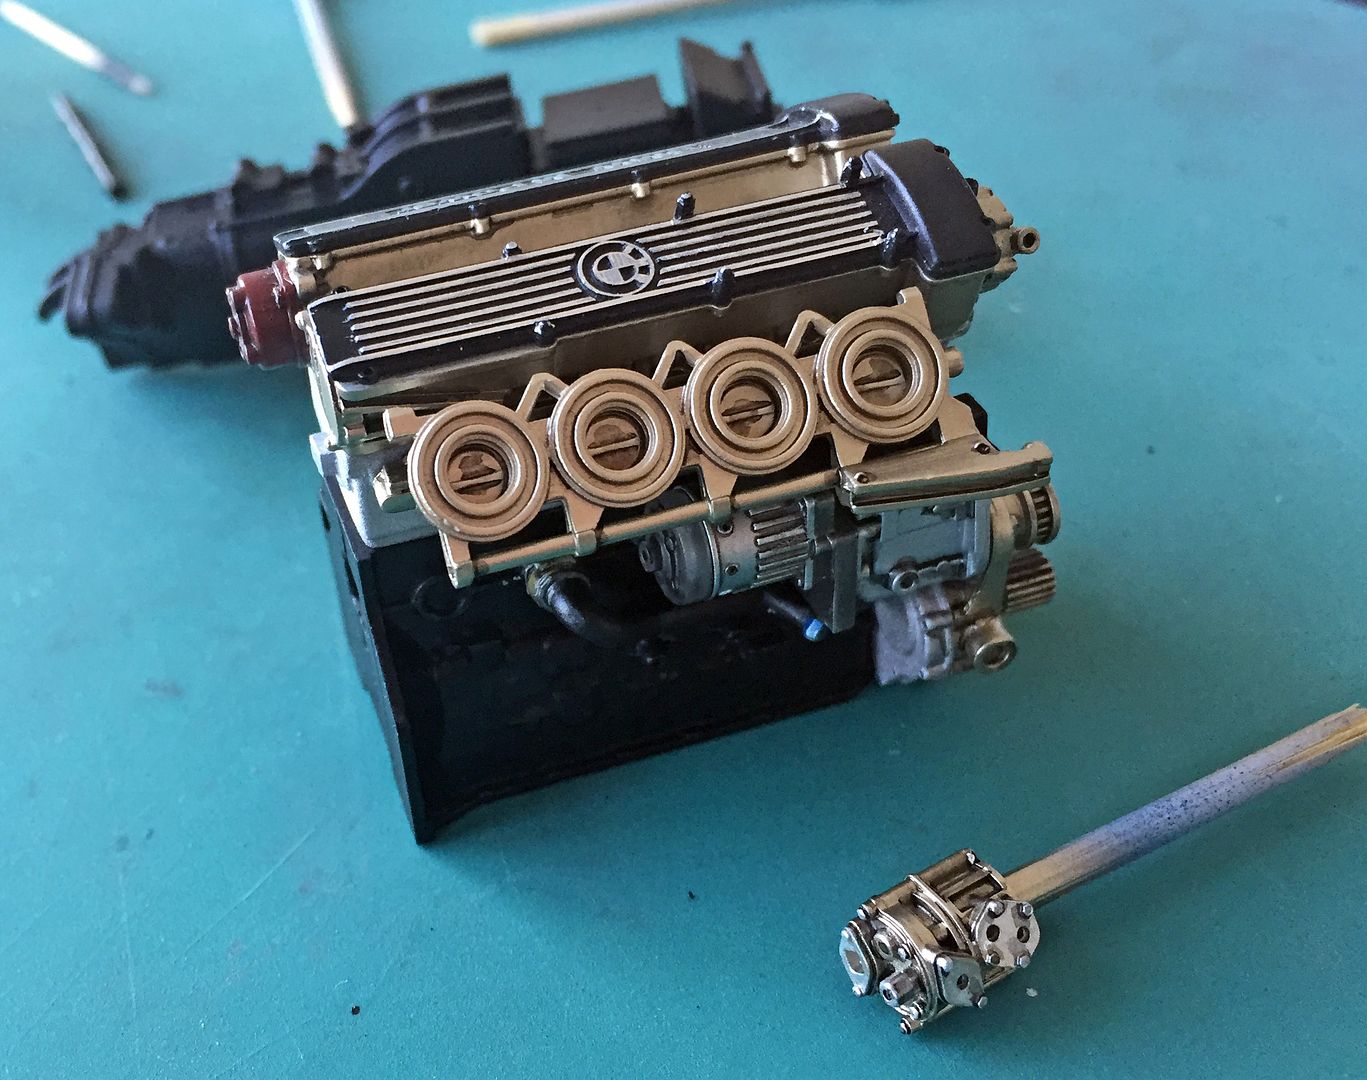
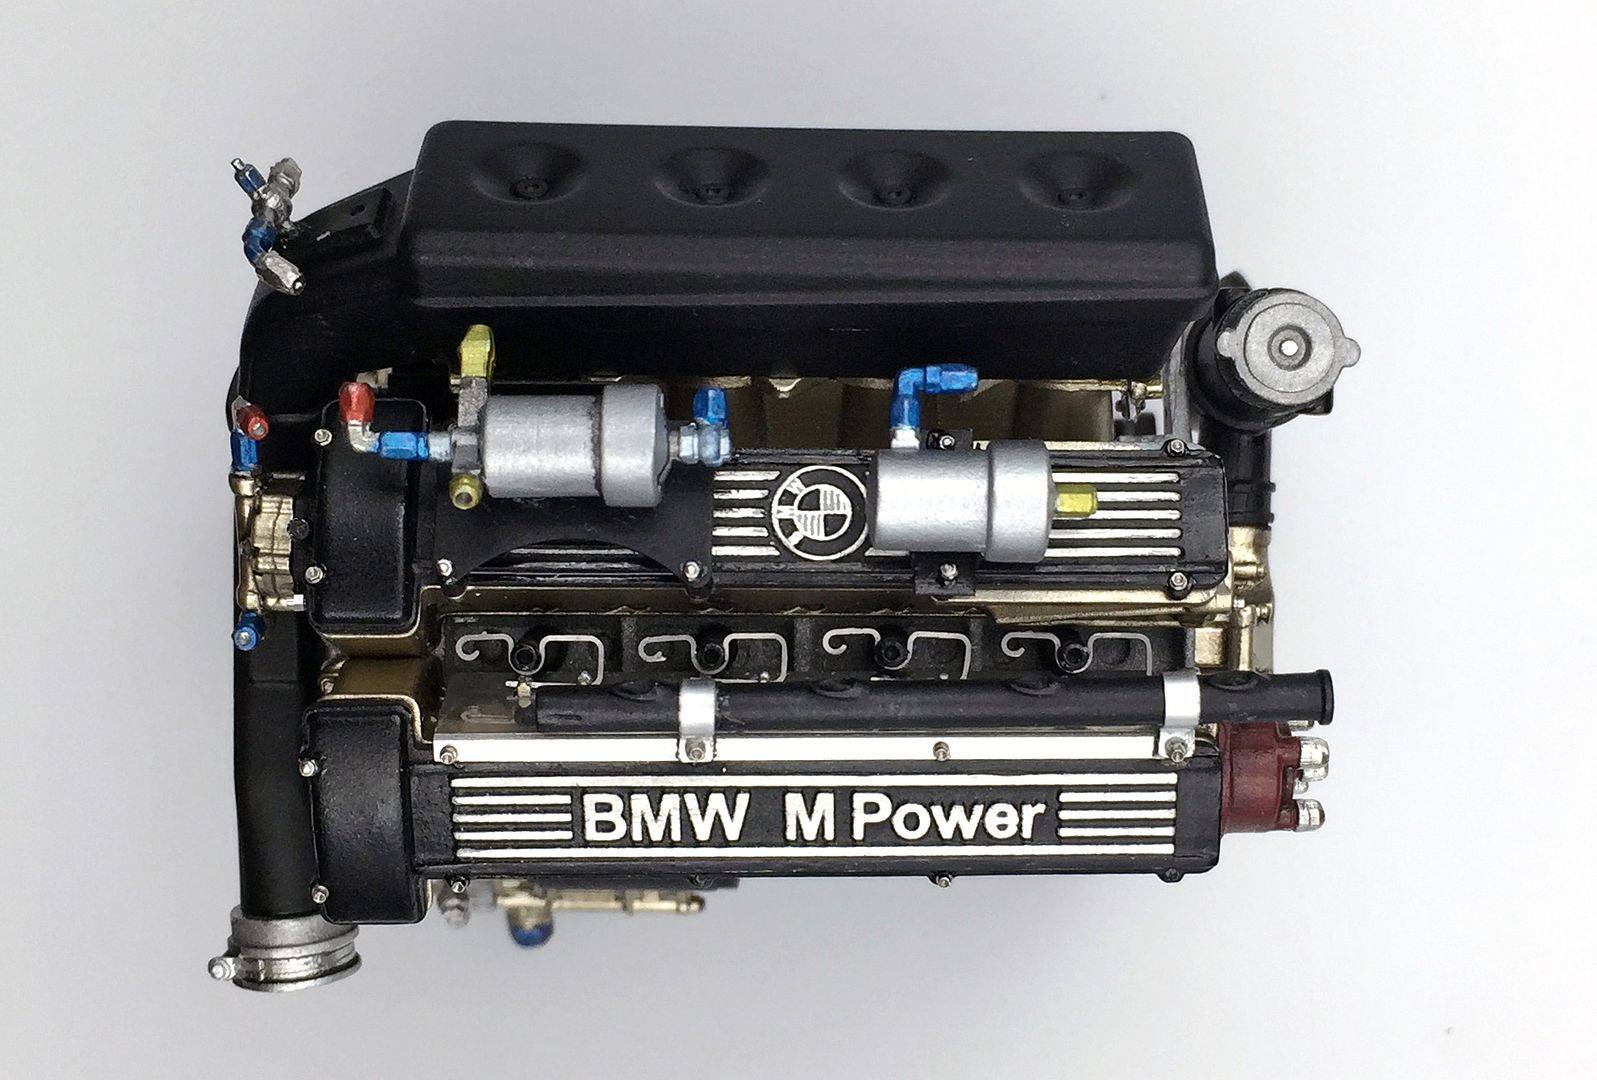
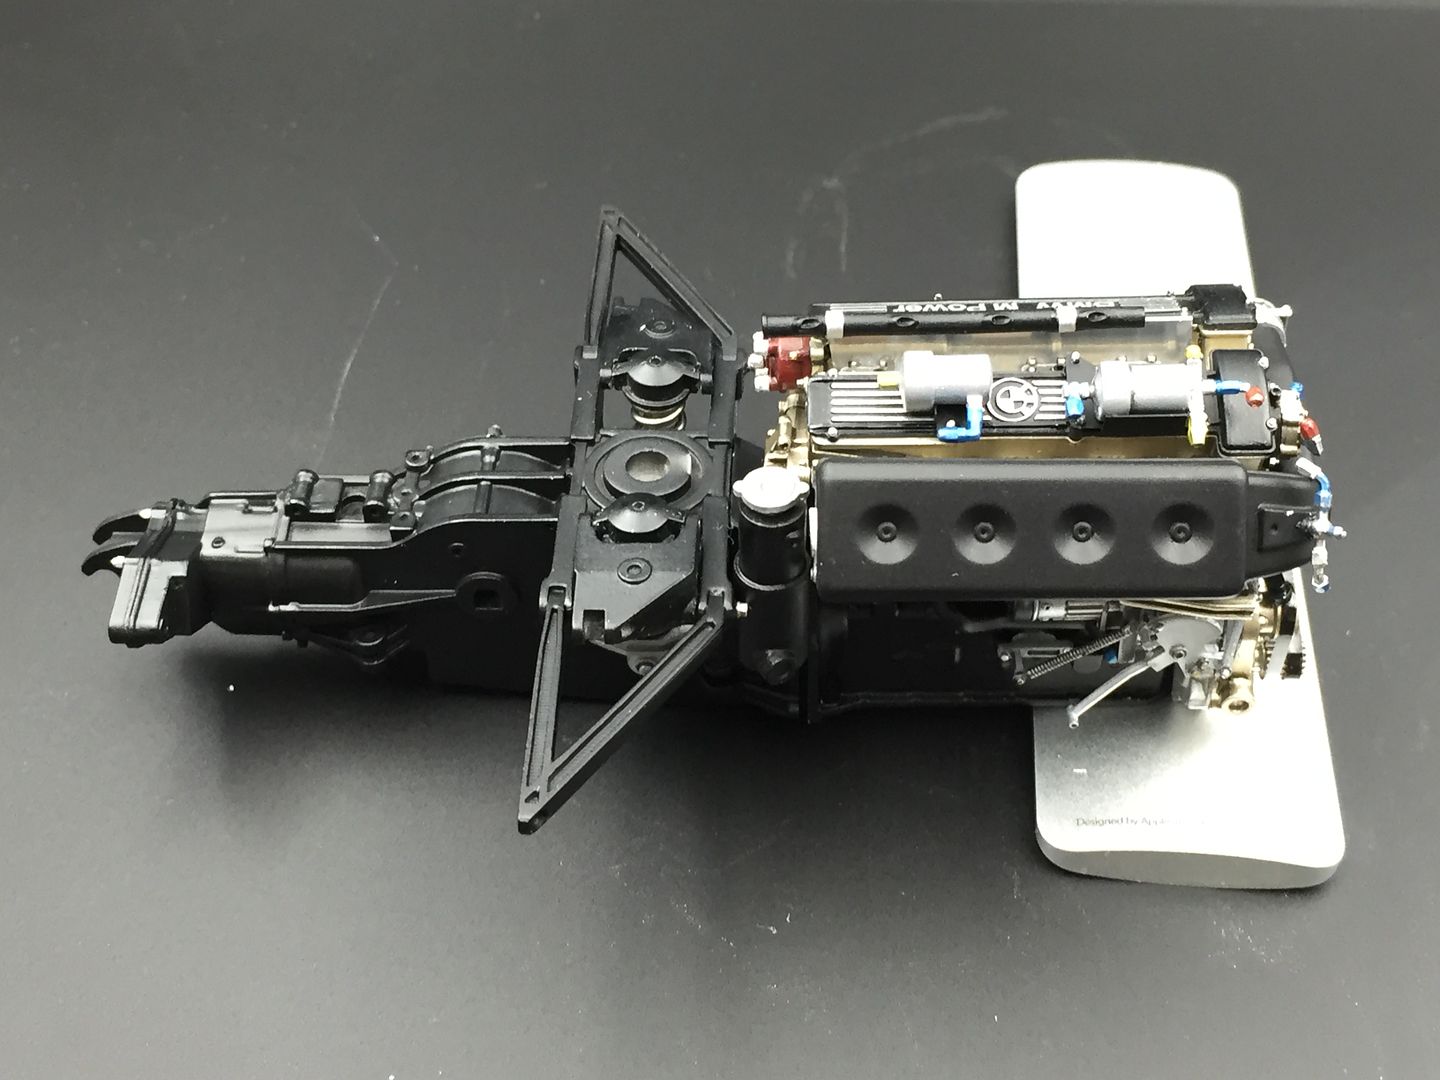
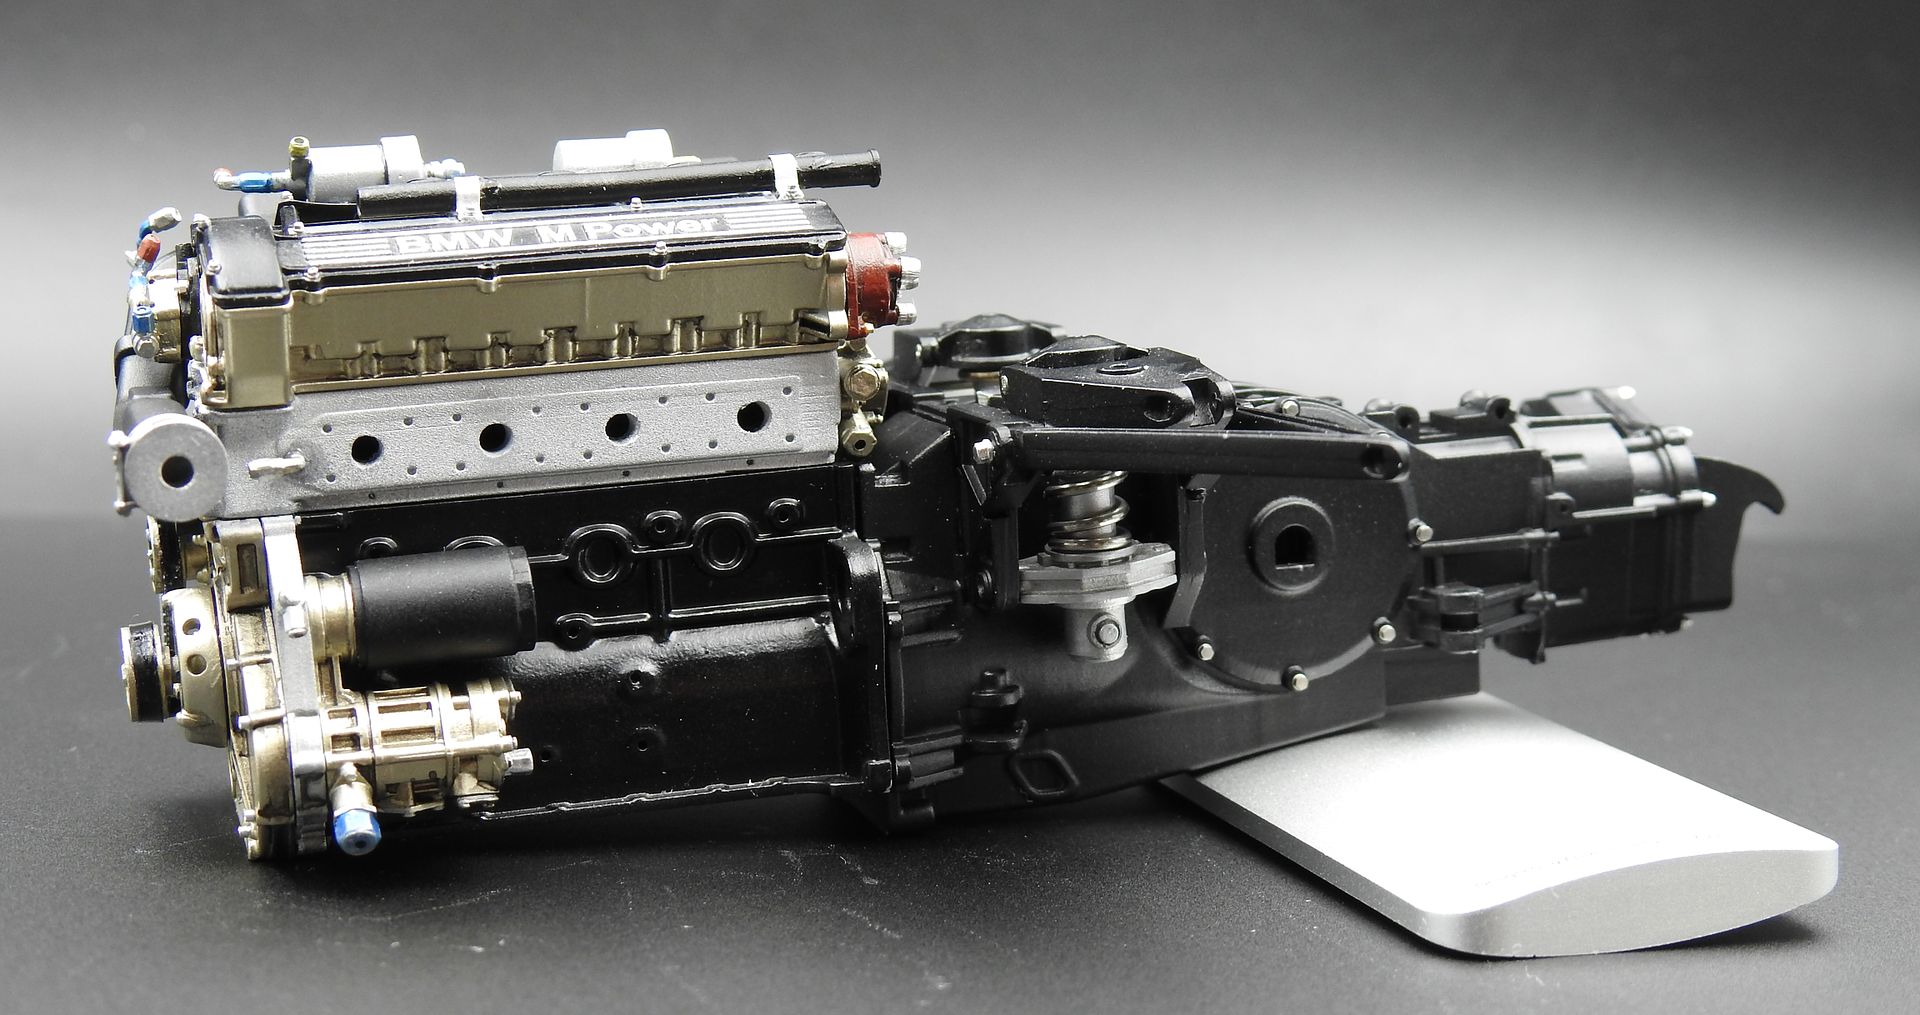
Took some nicer pics....please note - not in any way finished this engine - lots of fittings, wire, cables, touch-up painting etc still to do....
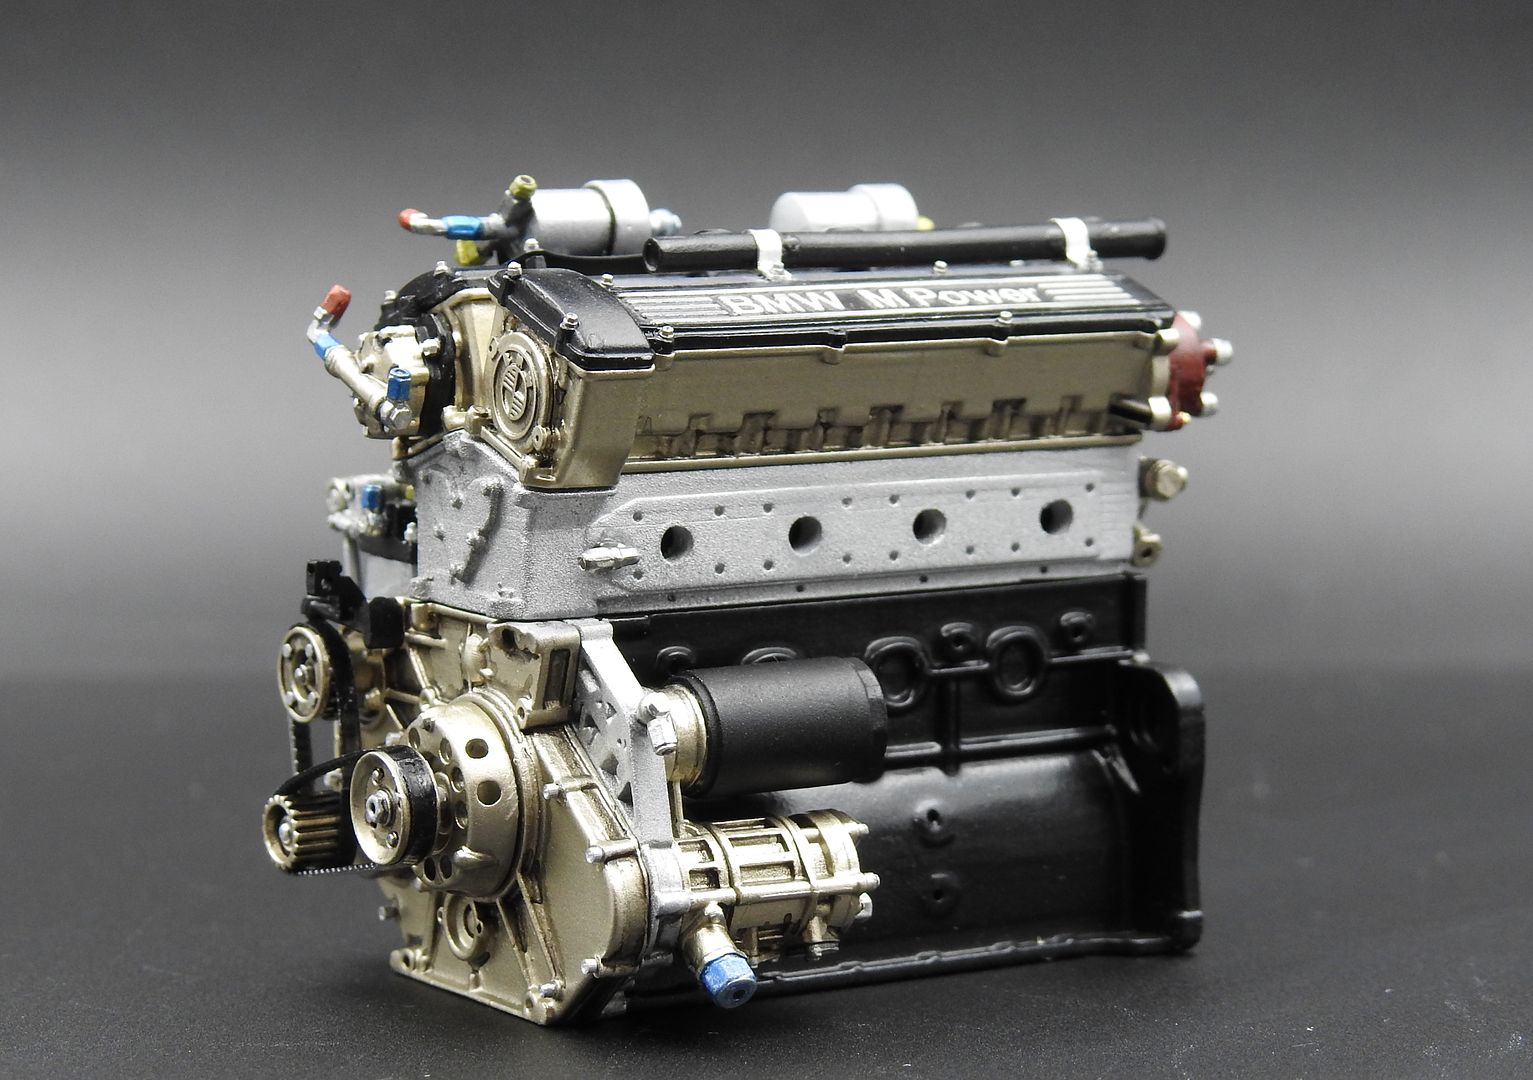
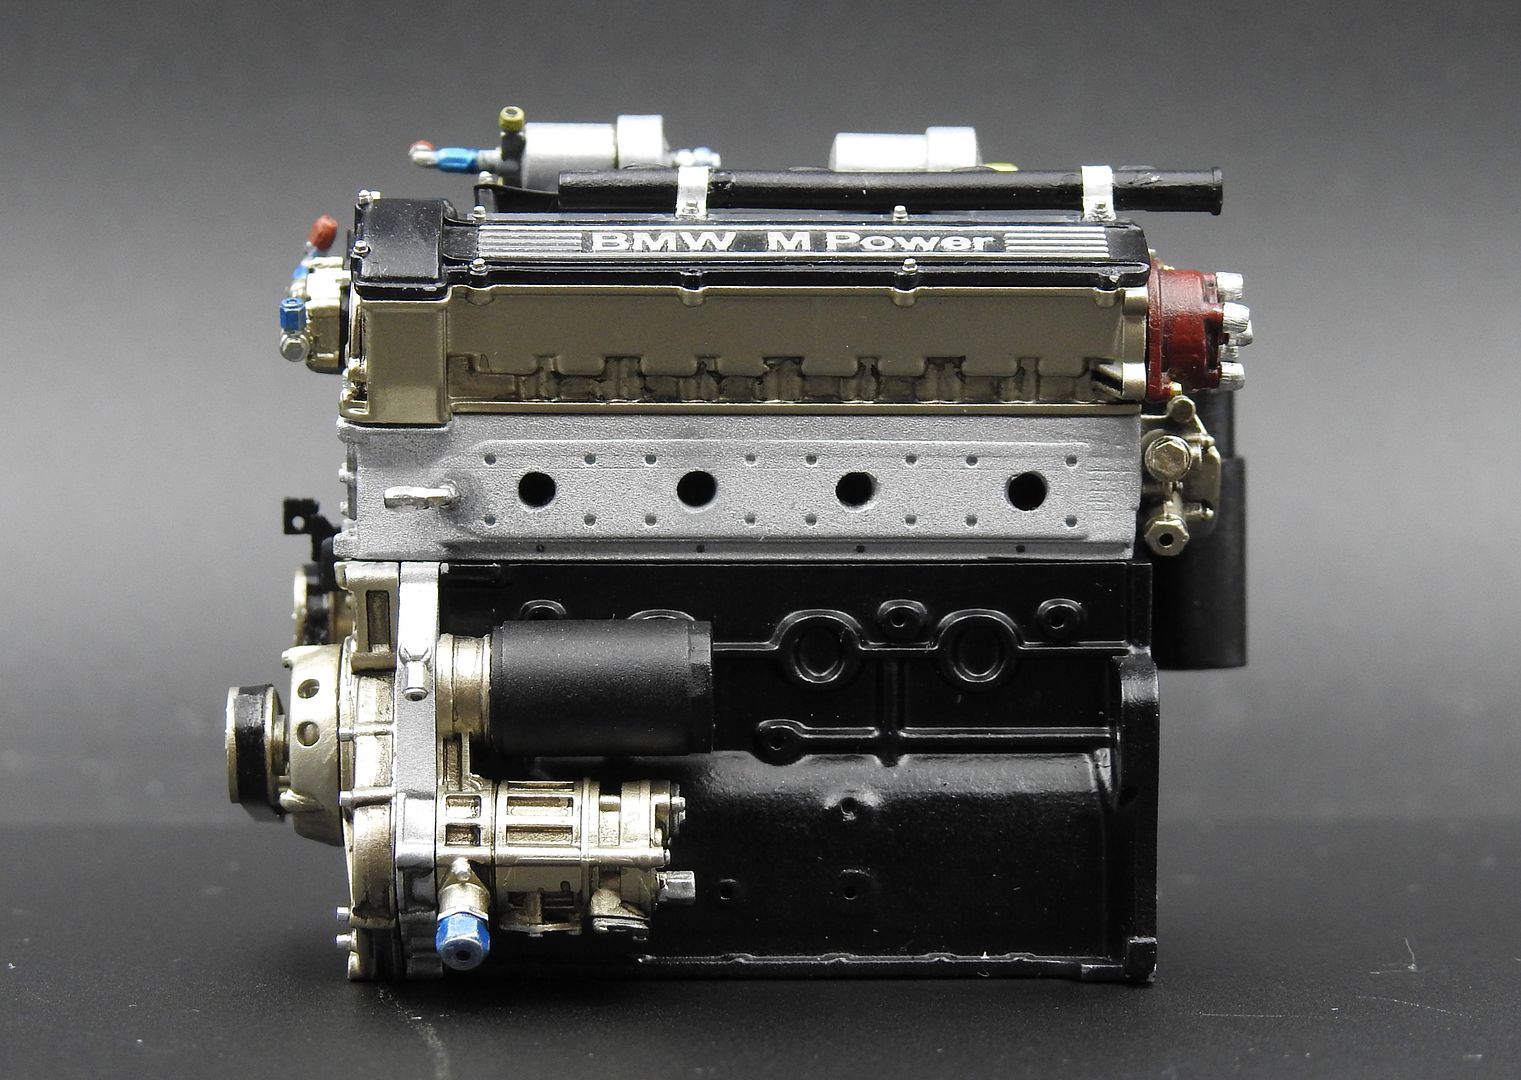
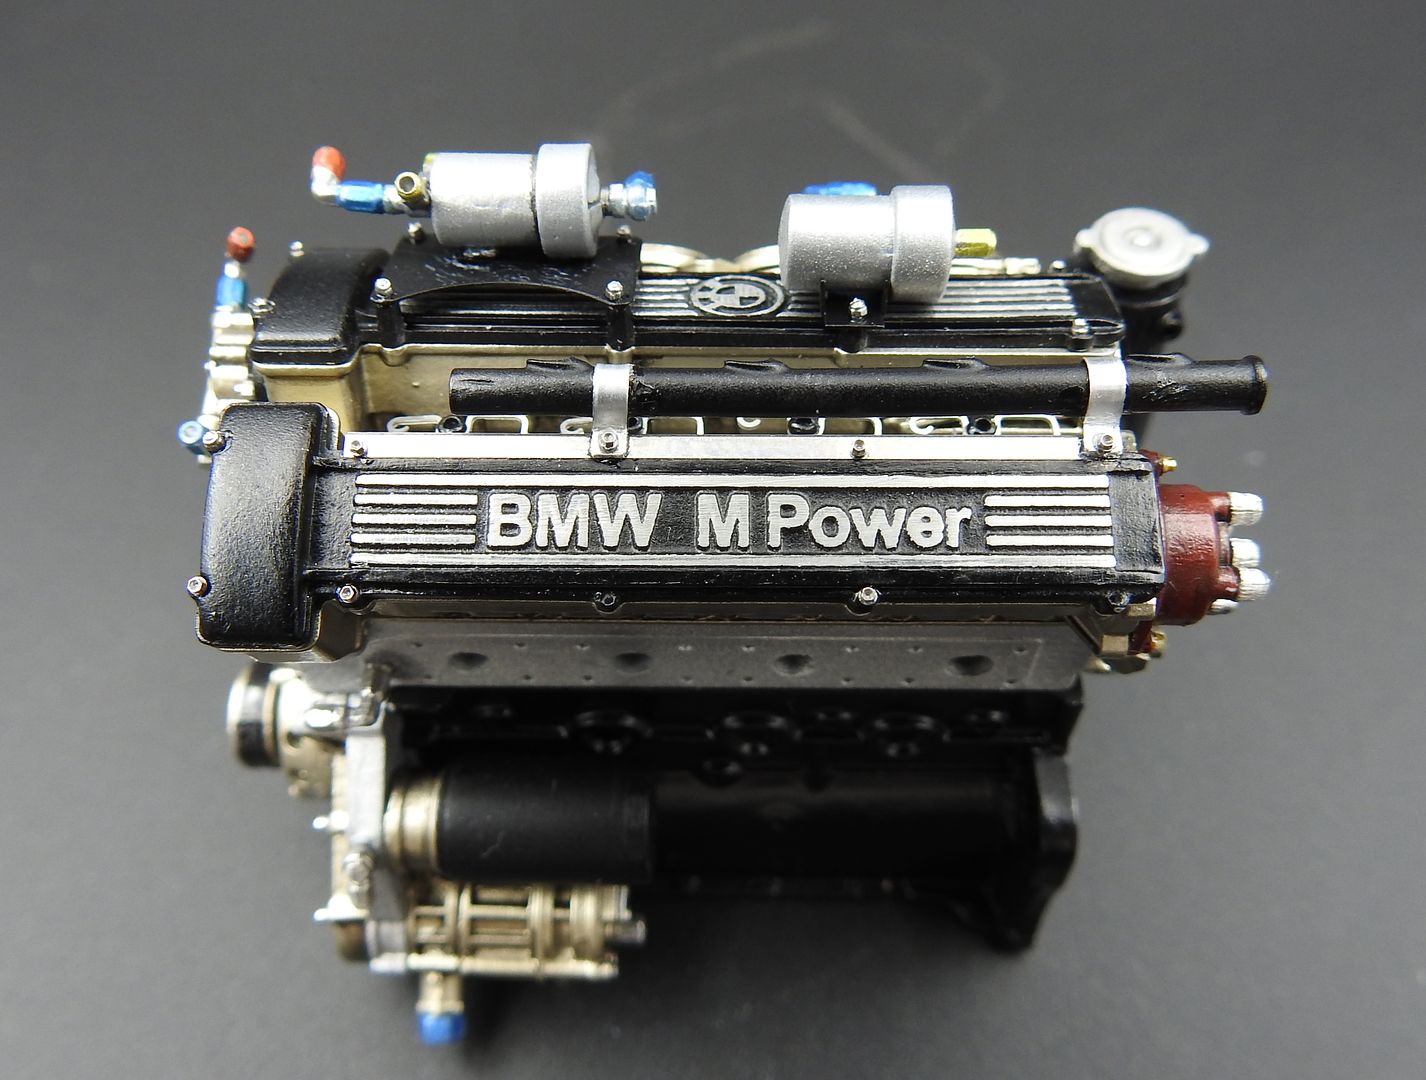
Added the air intake - not glued into position, just for some pictures. Squares off the engine 'block' nicely...
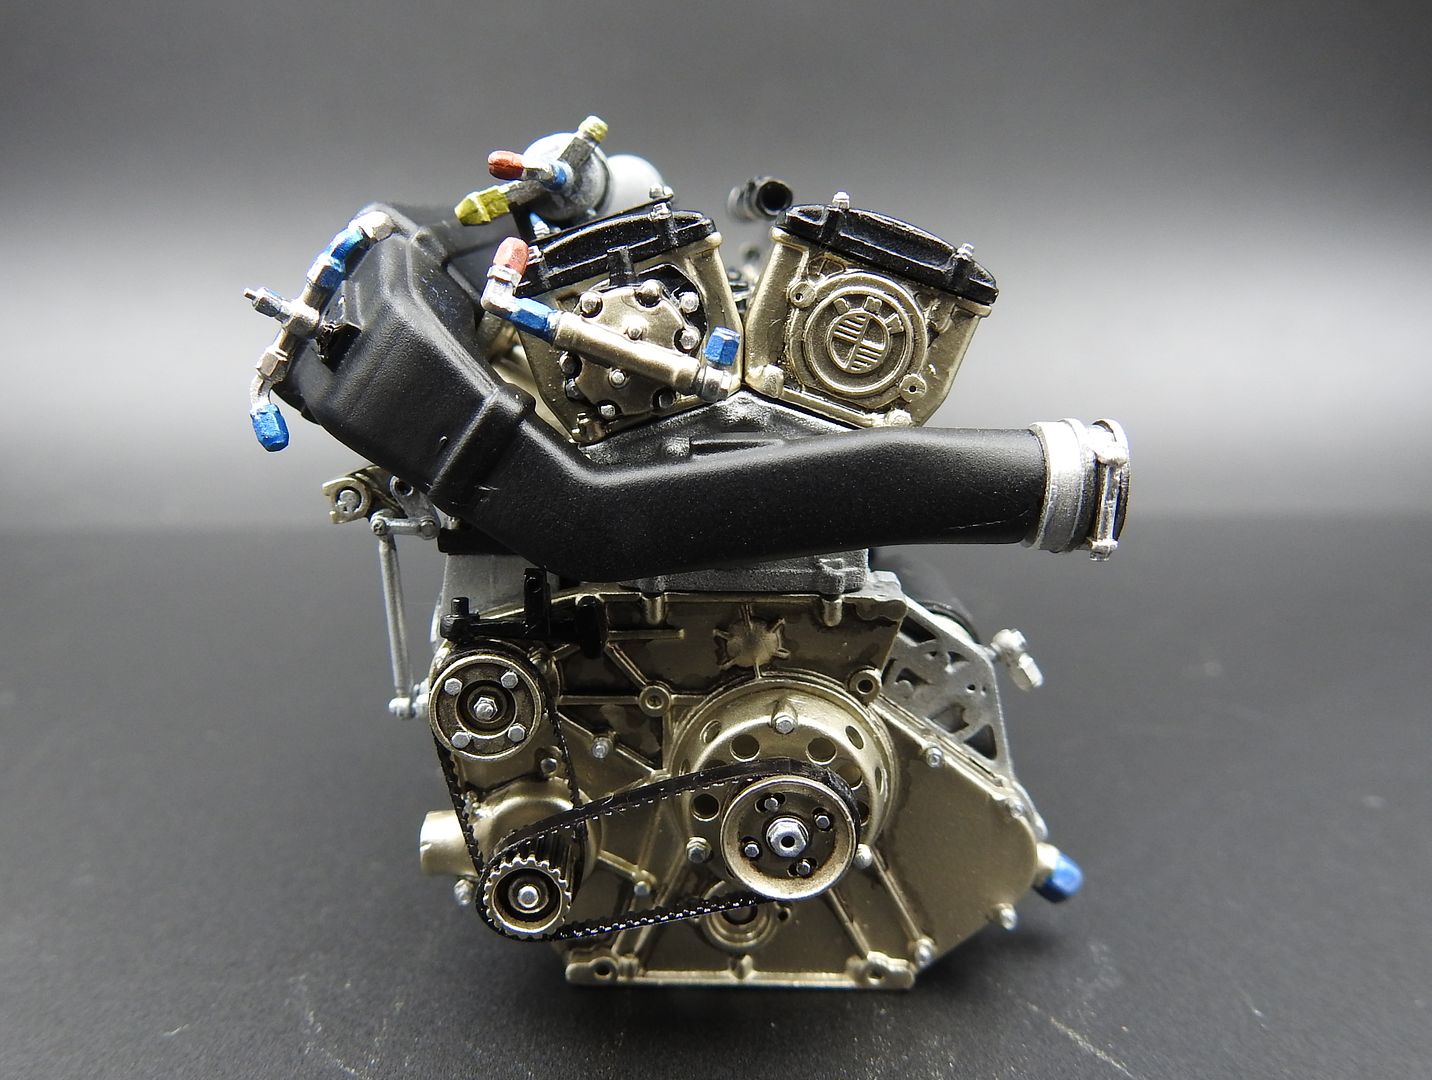
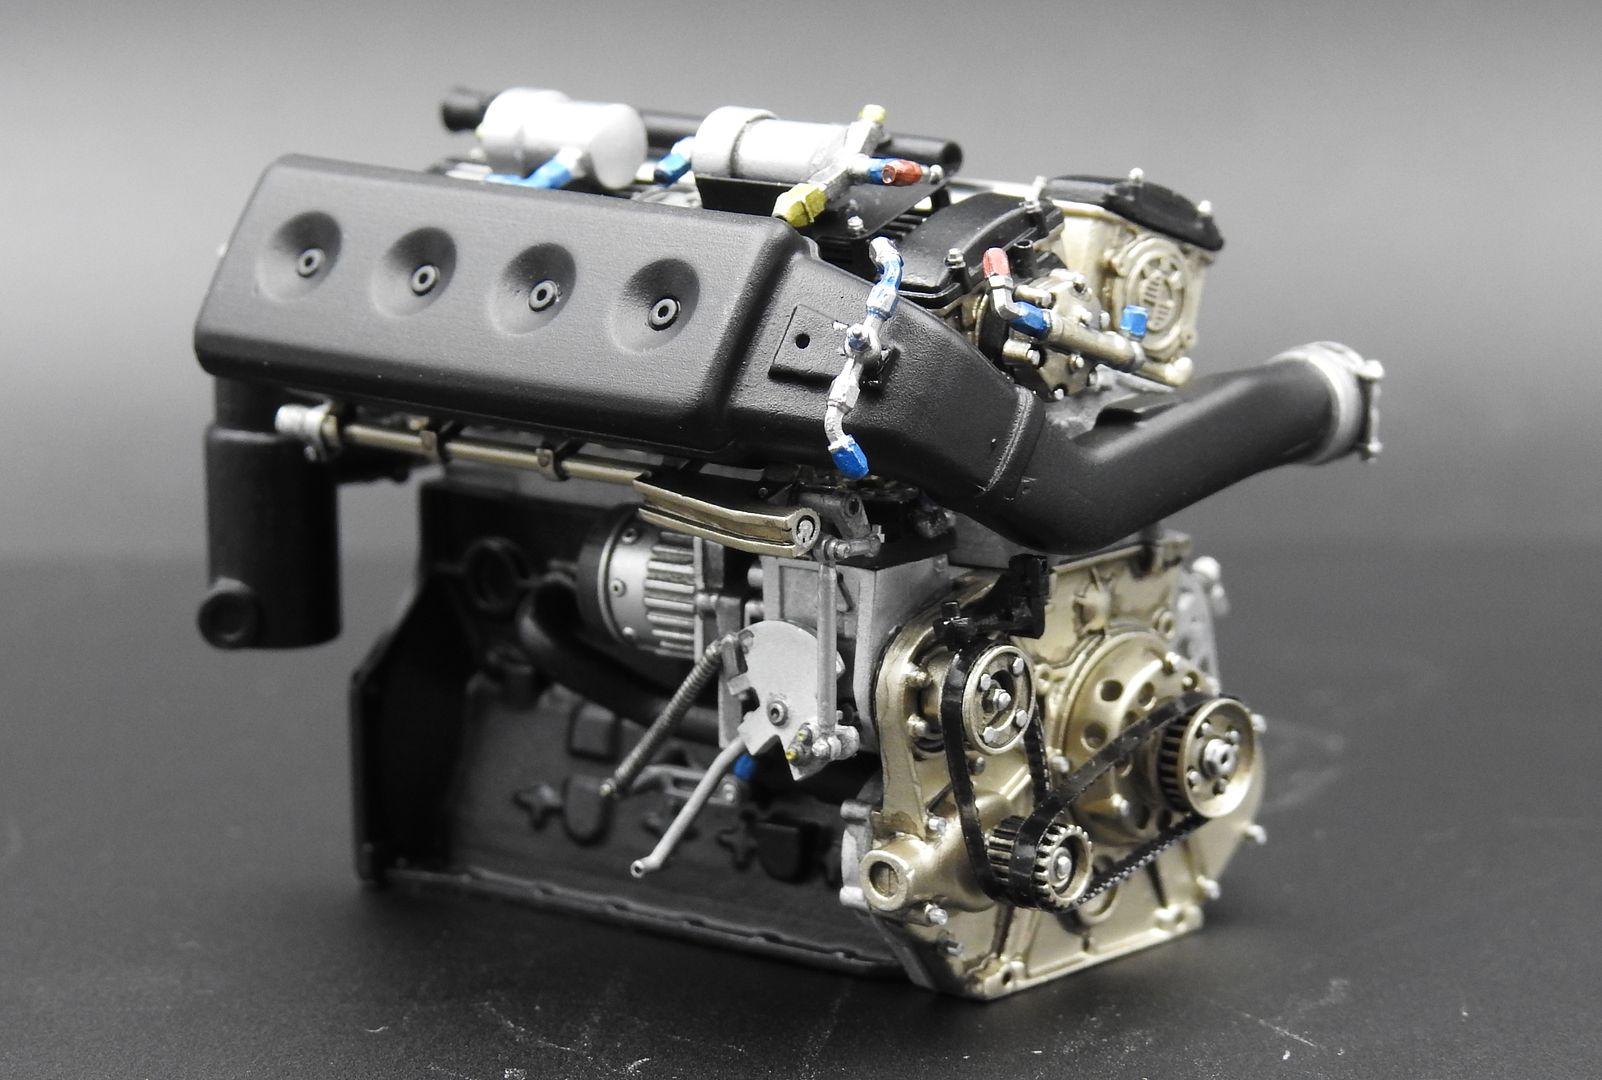

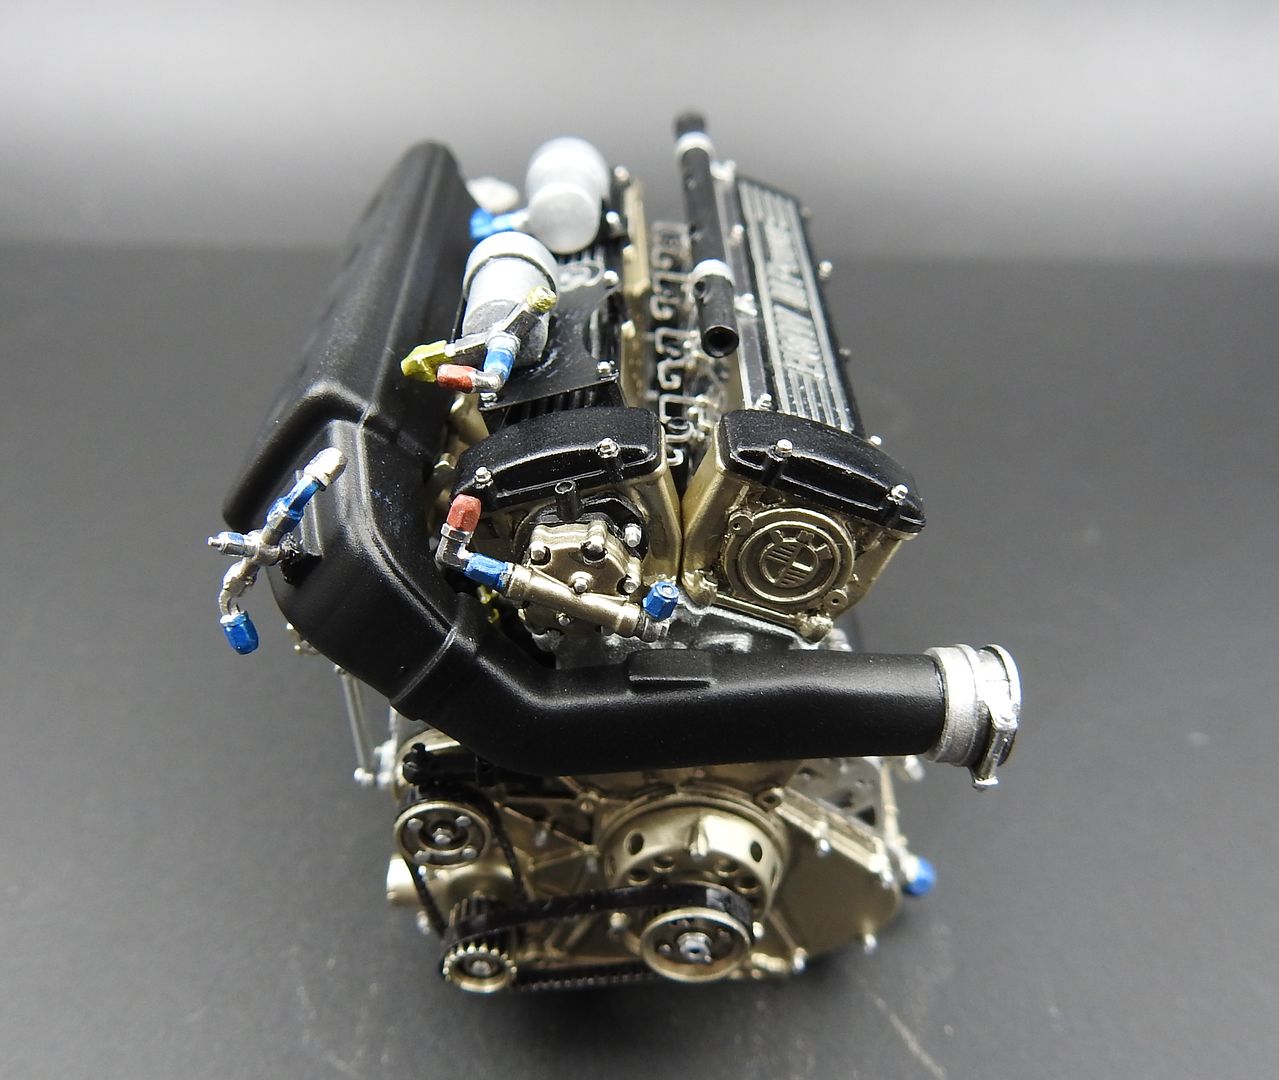
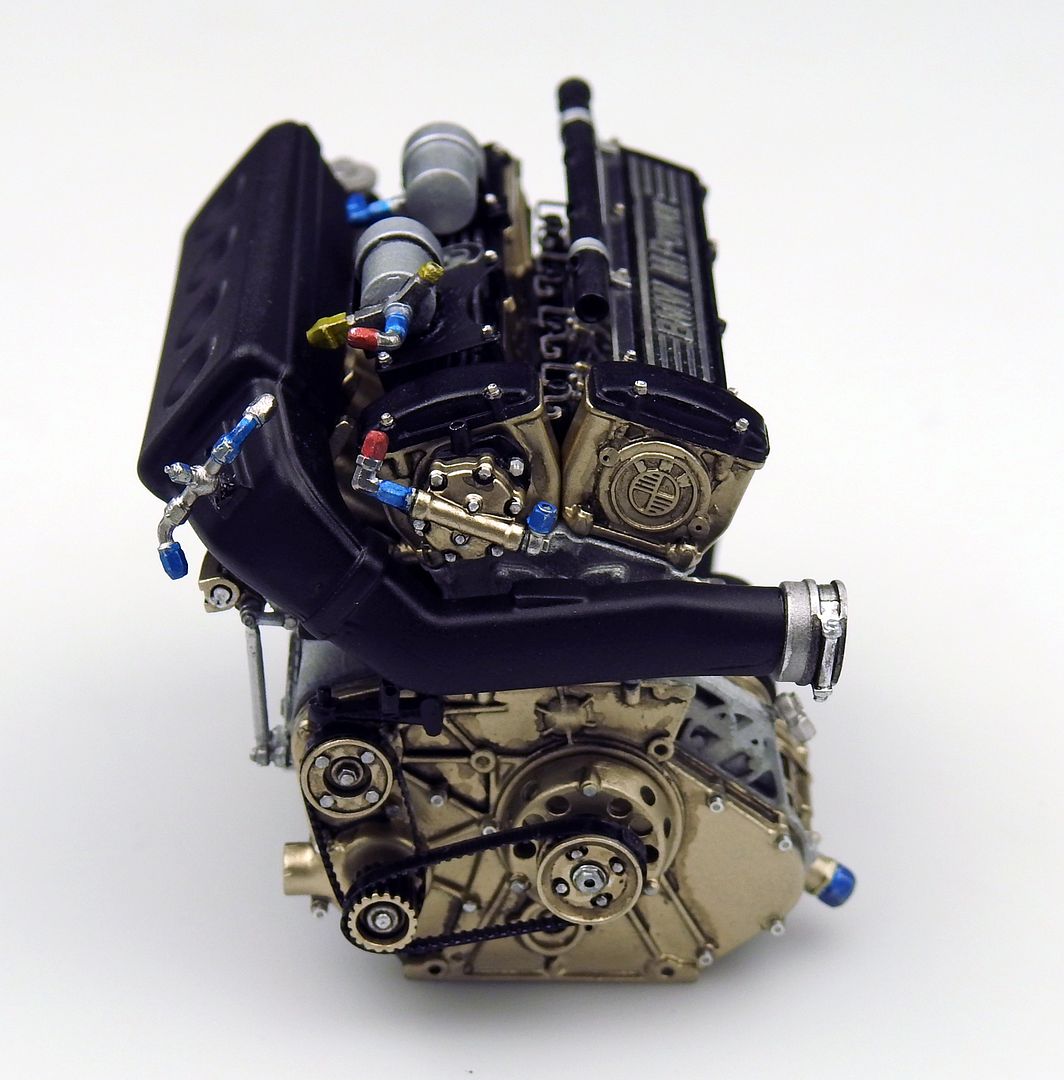
ummm - its going to look cool with all the plumbing
Added the air intake - not glued into position, just for some pictures. Squares off the engine 'block' nicely...
ummm - its going to look cool with all the plumbing
ok - sorry.
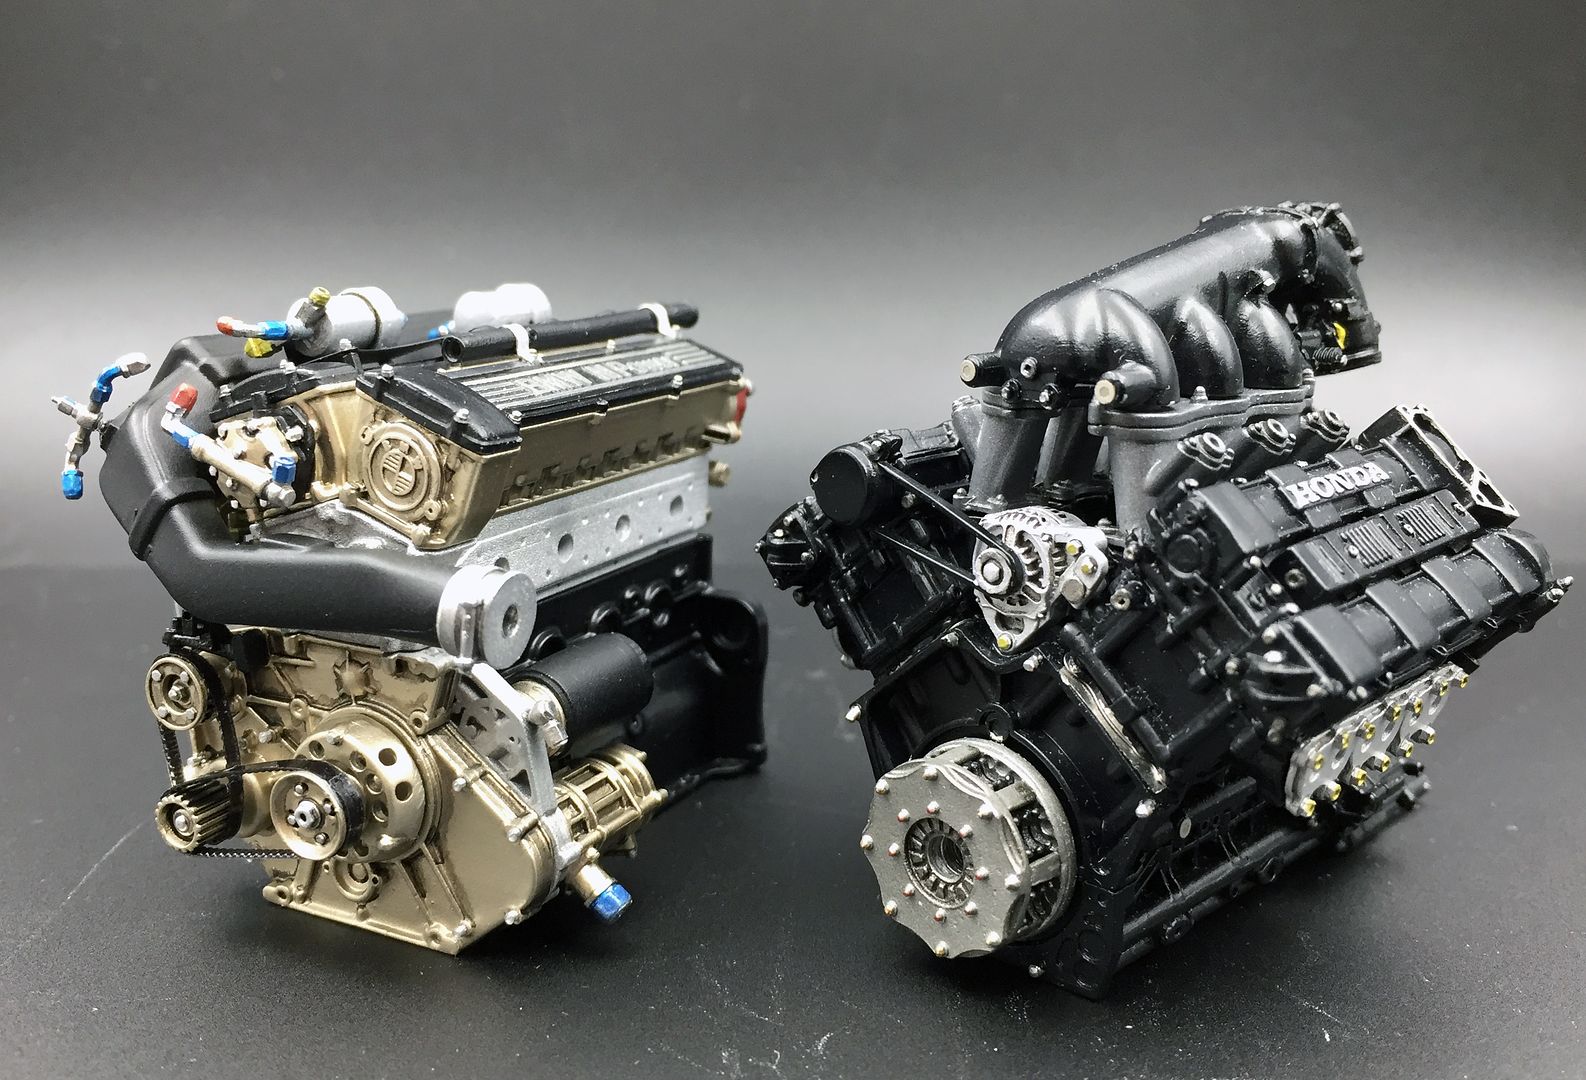
I know this is picture overload!!
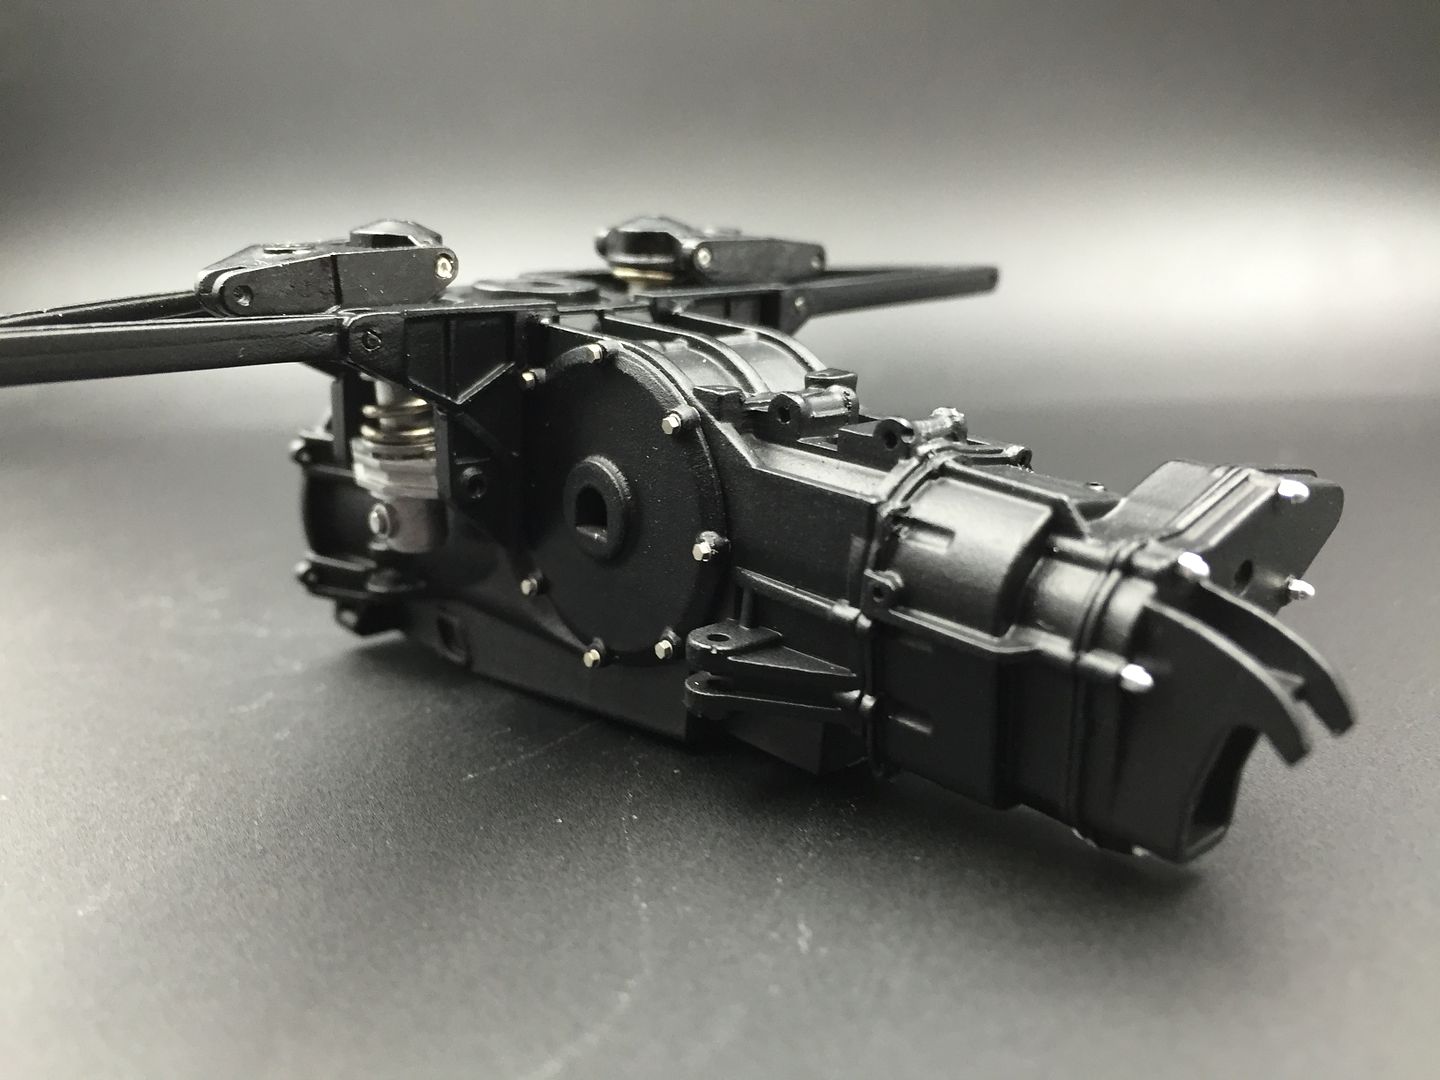
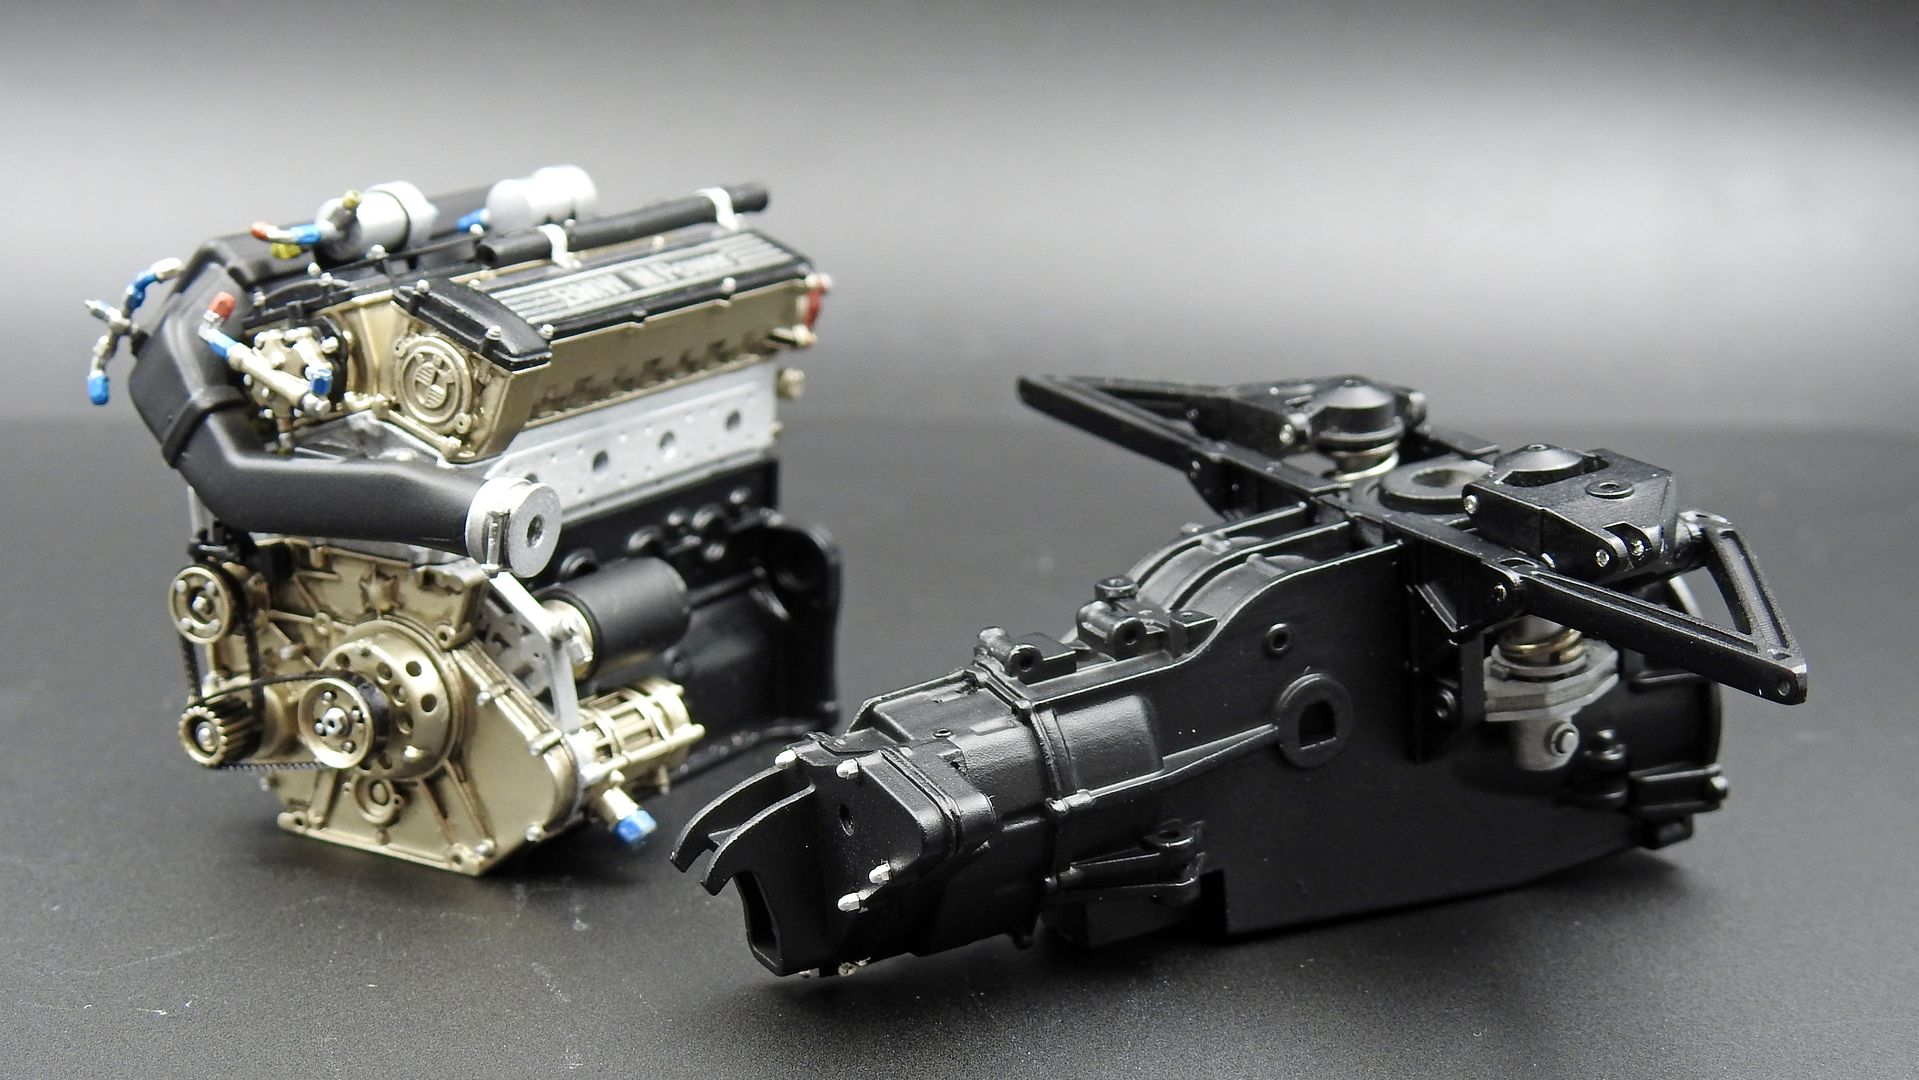
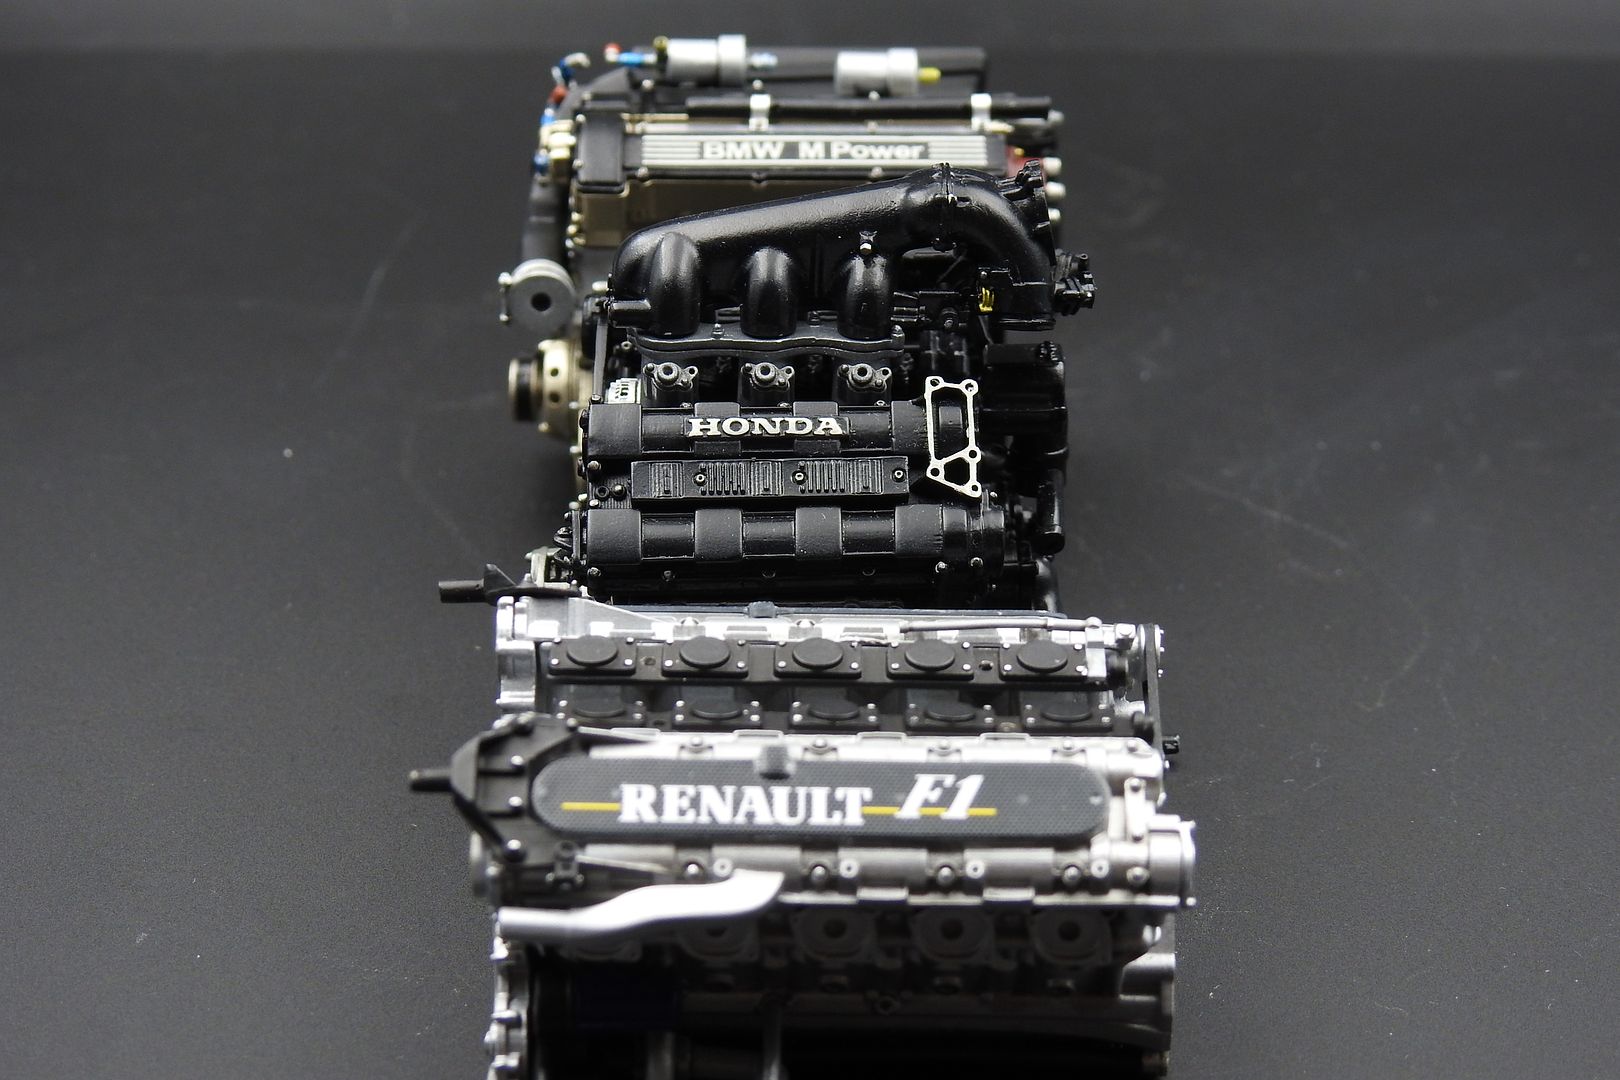
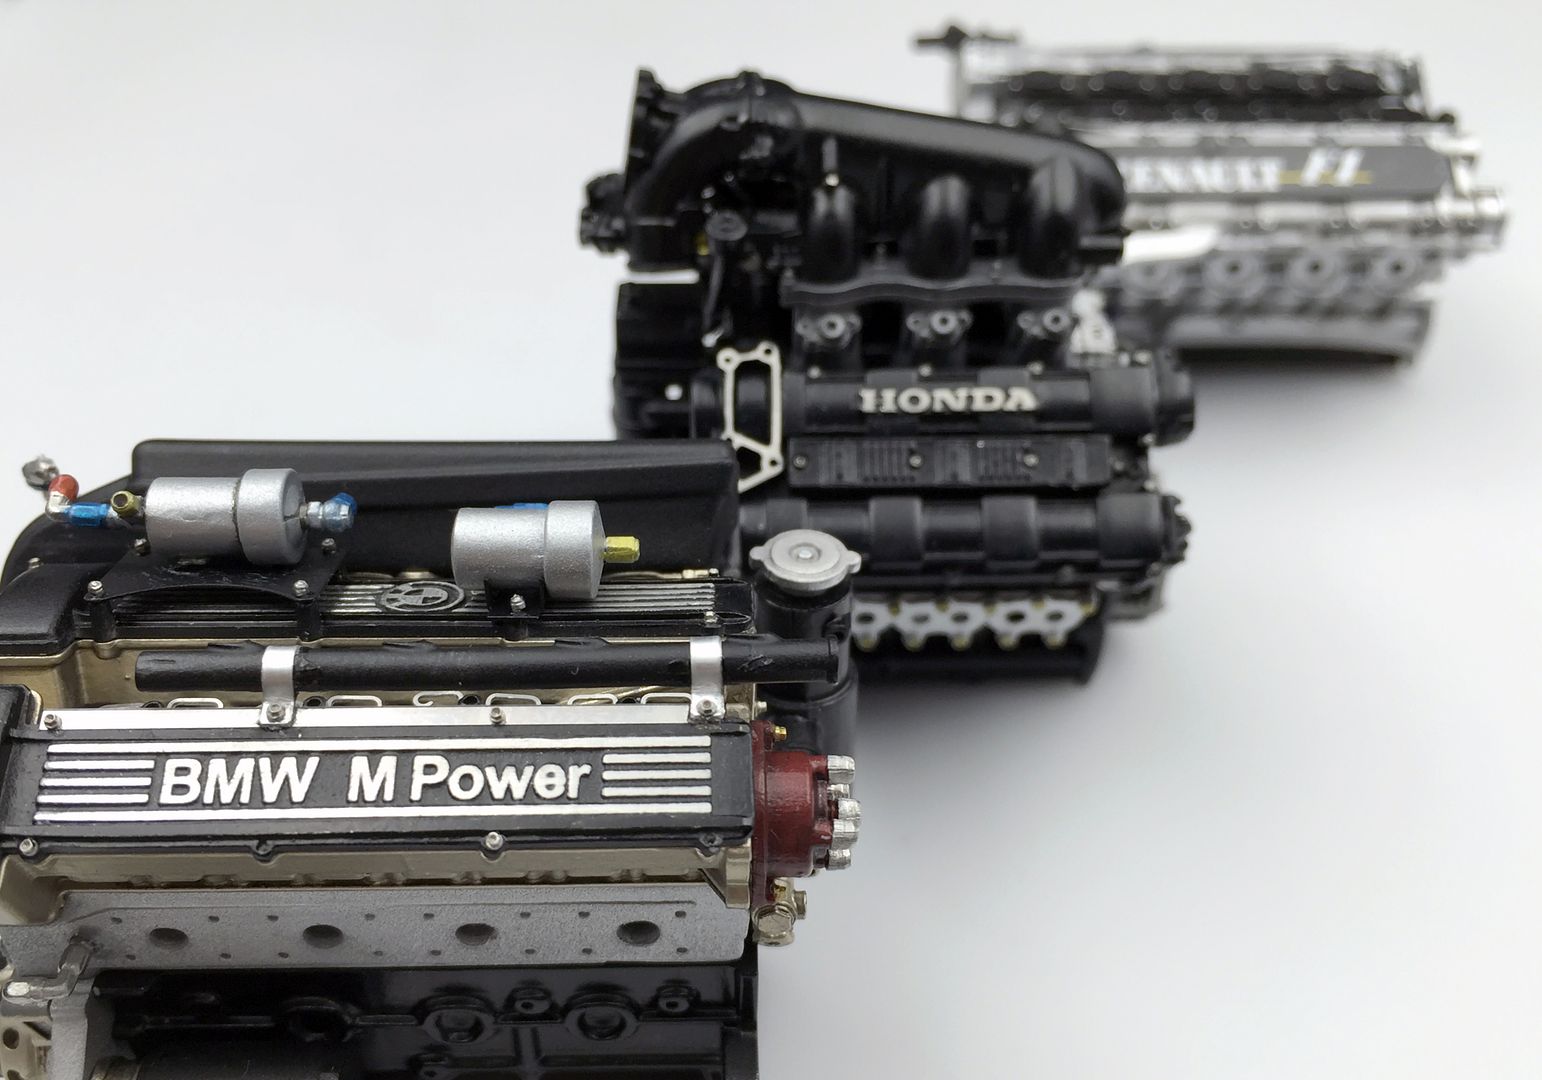
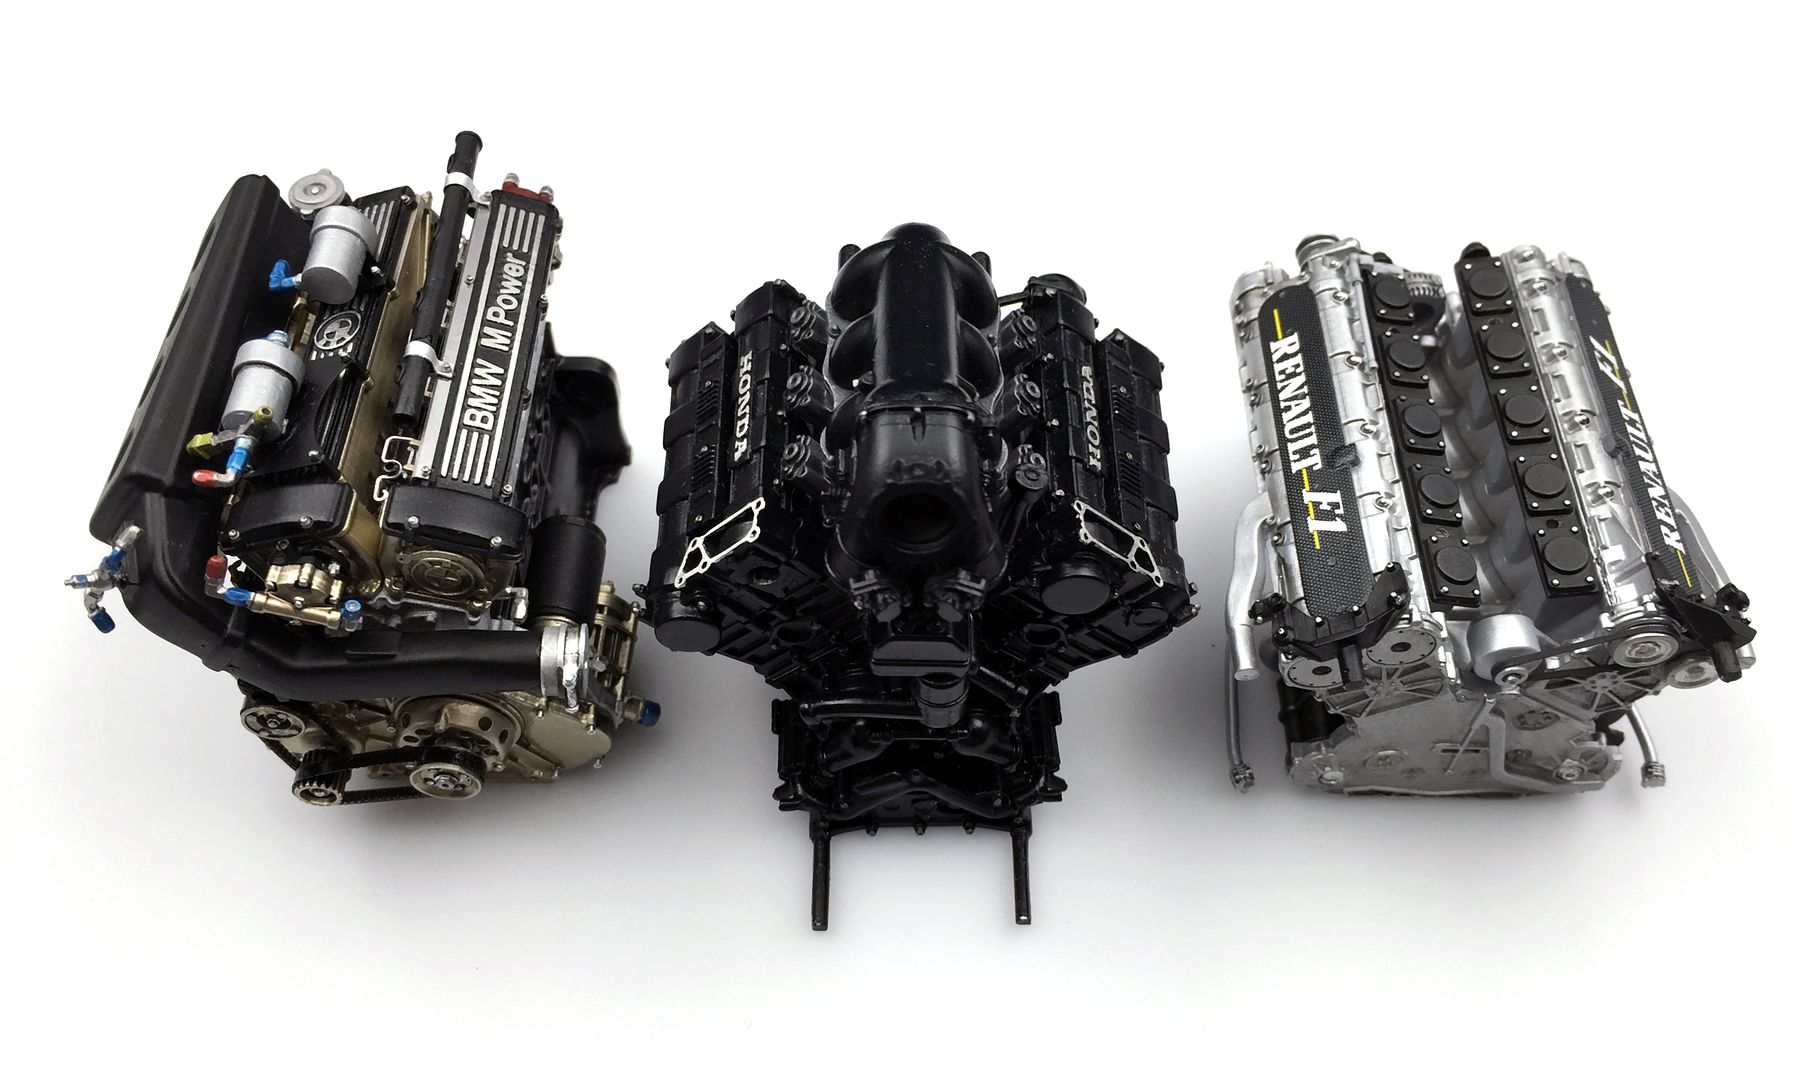
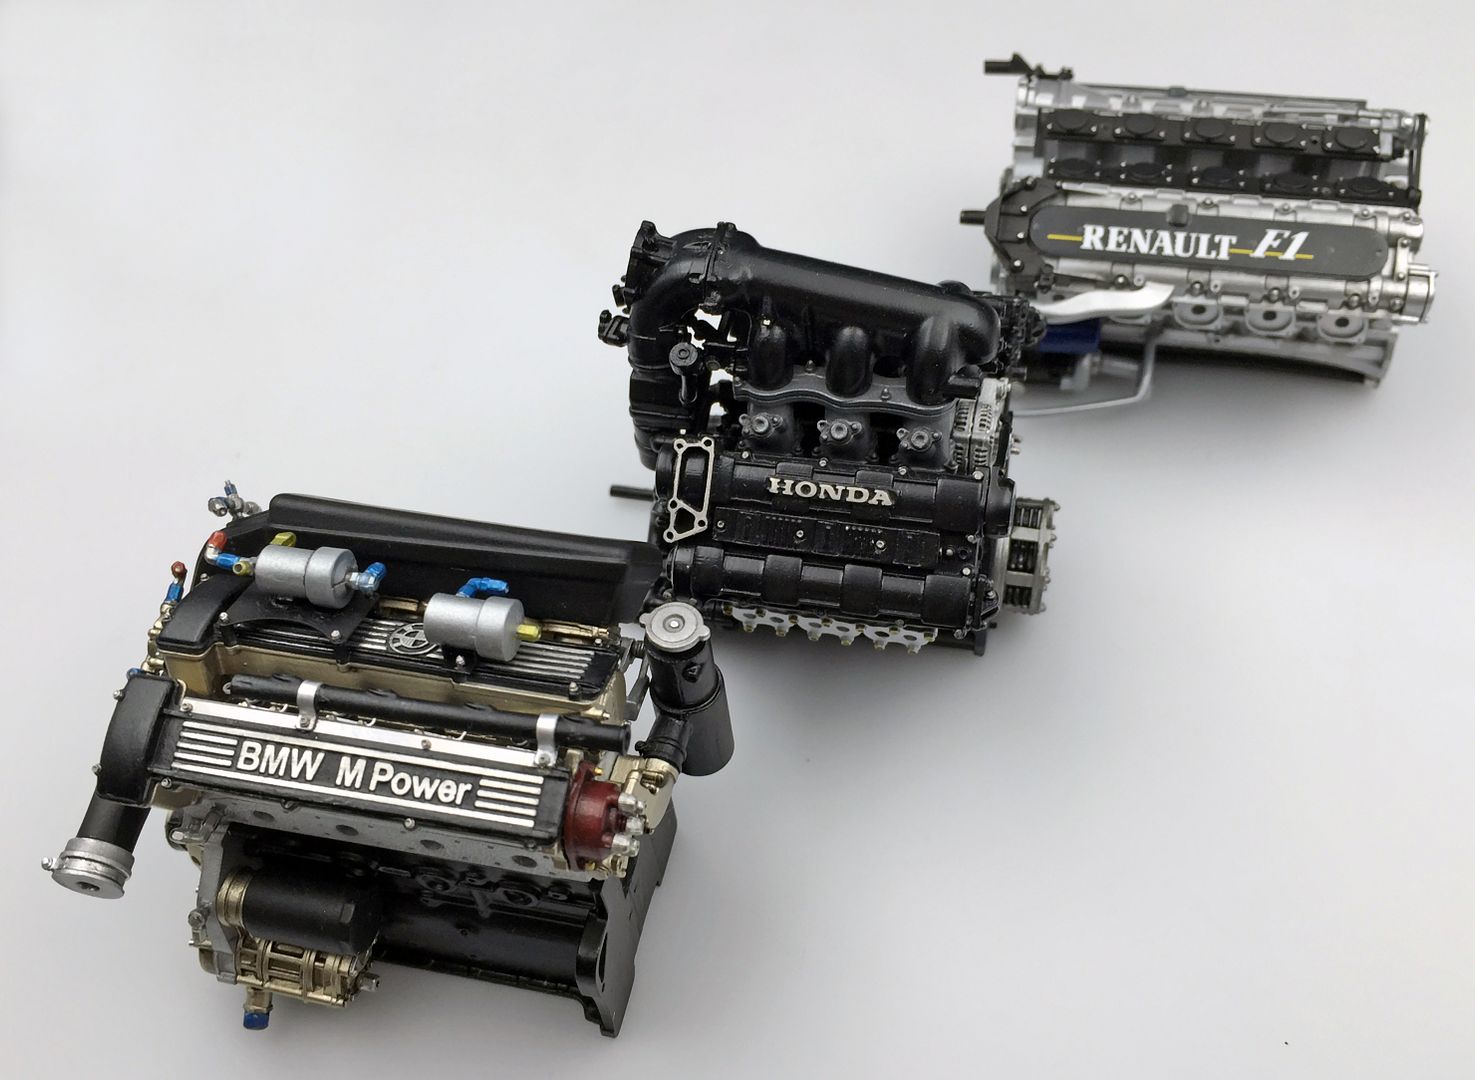
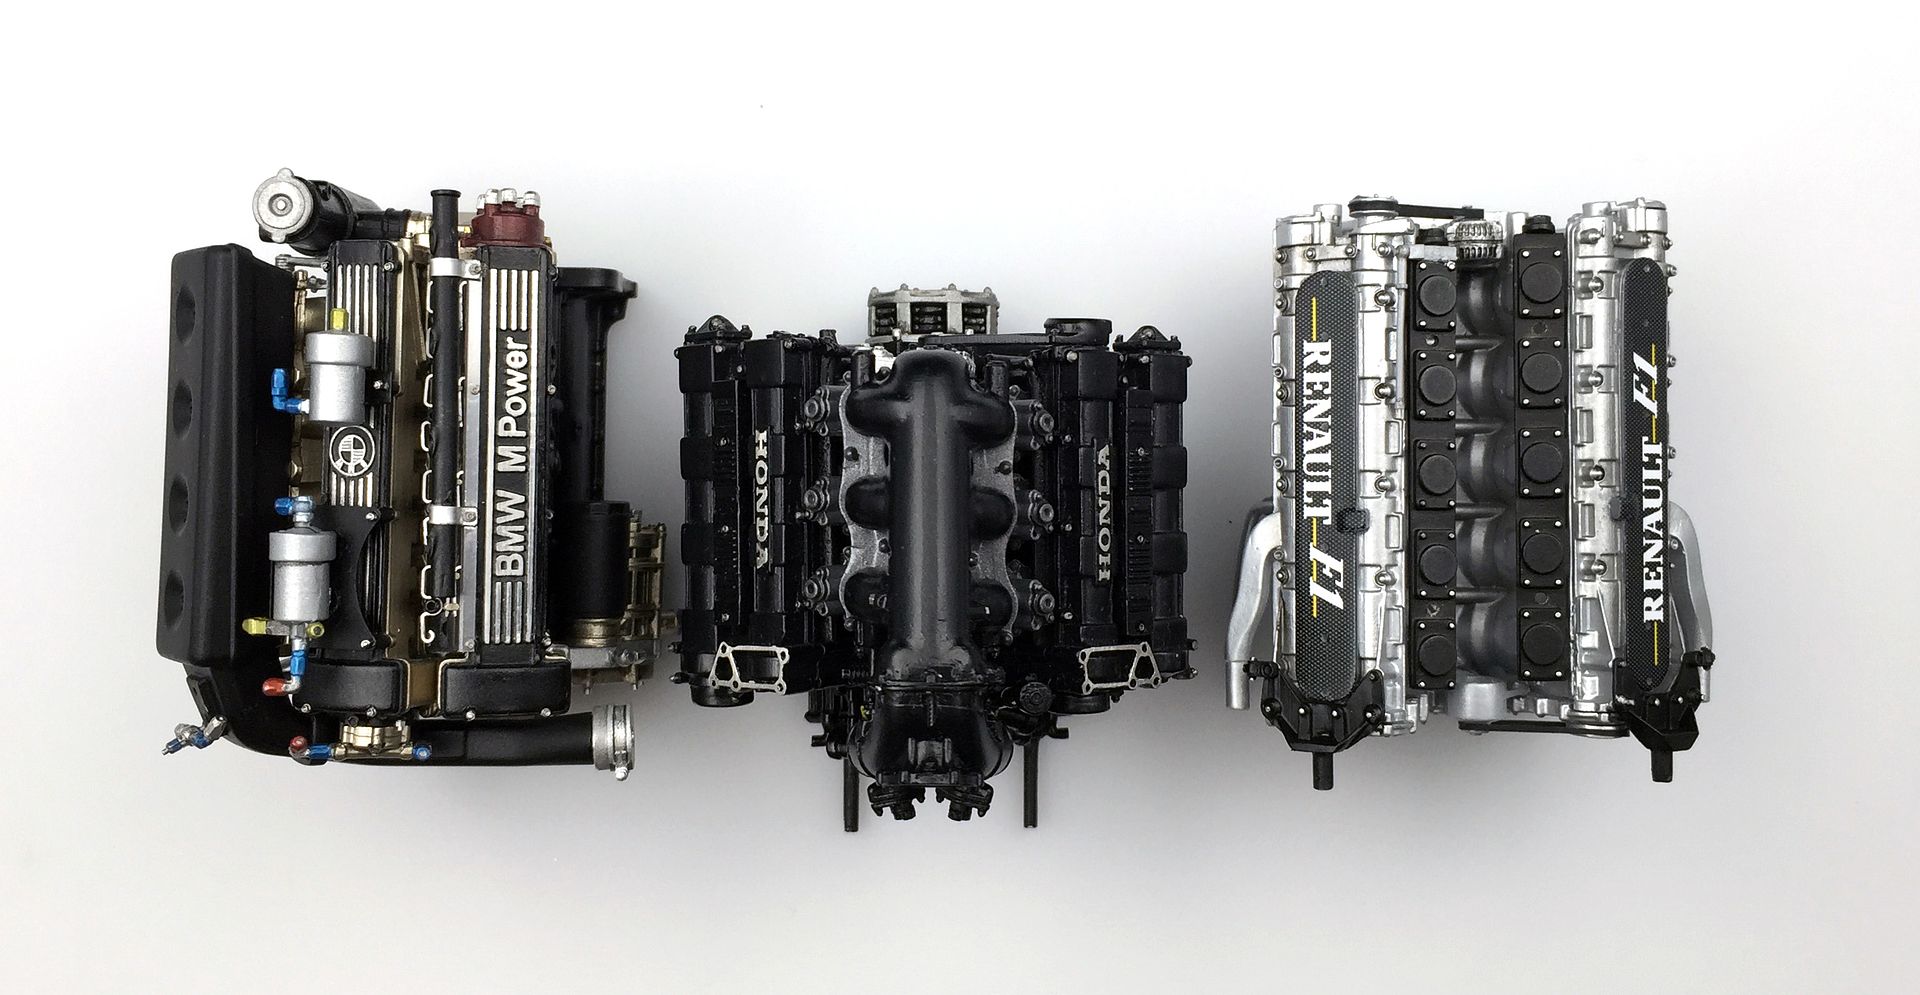
But I also tried some 'group shots' with the other F1 engines. I really need to bring these all up to the same level of wiring, plumbing and final paint etc...


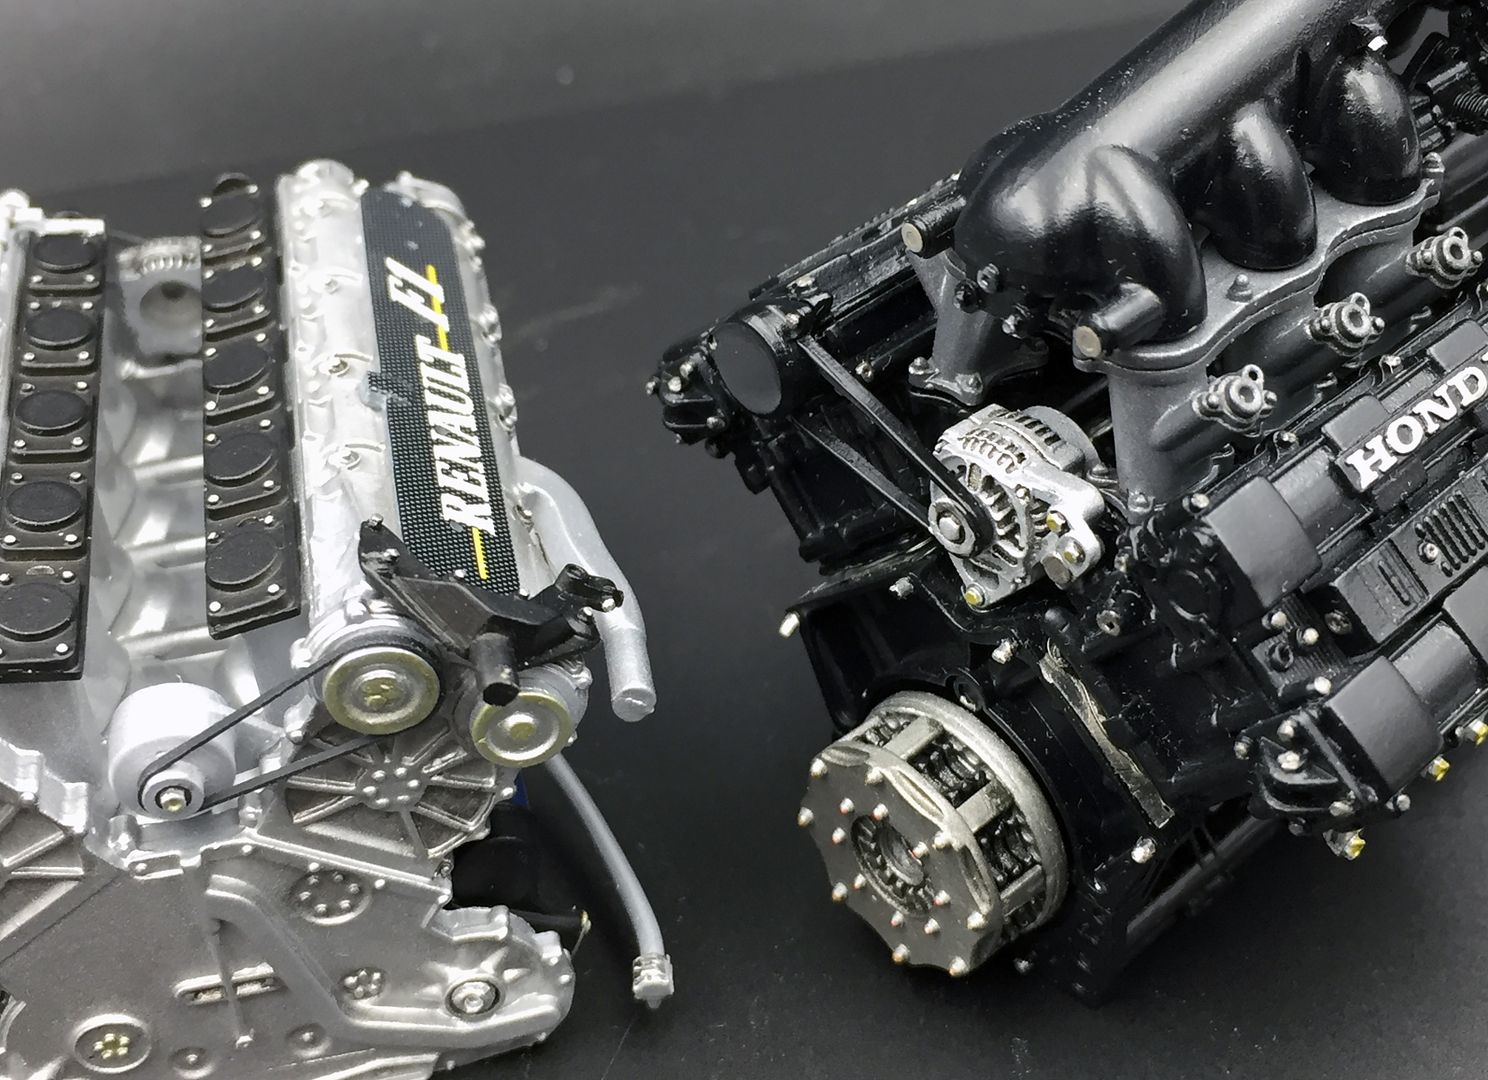
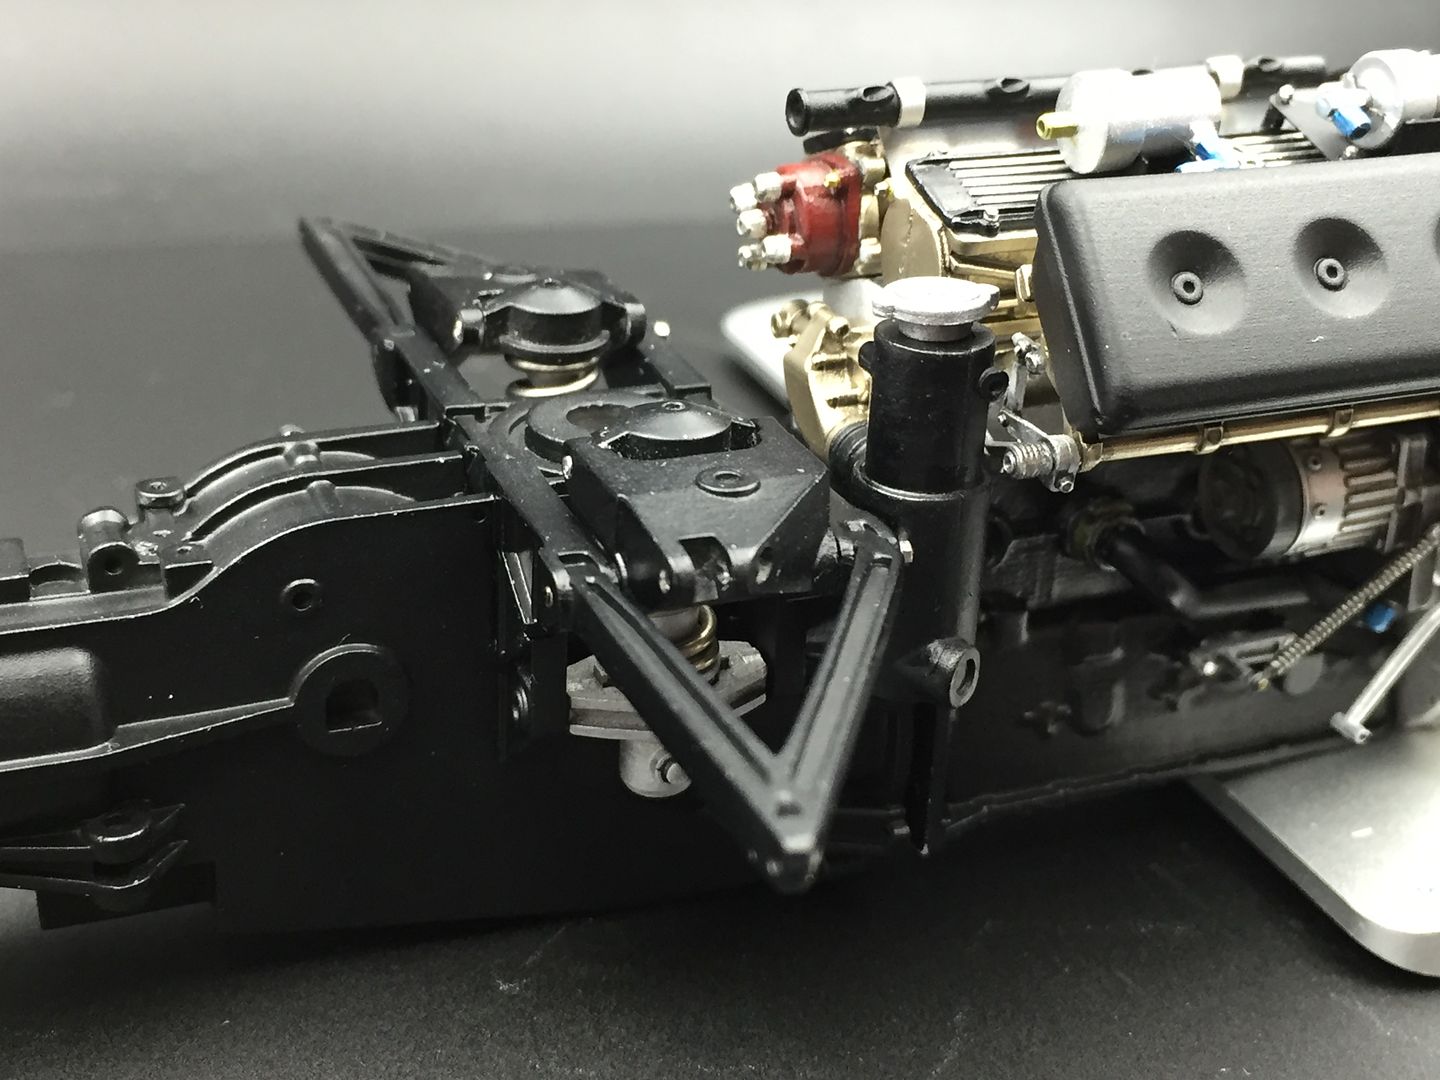
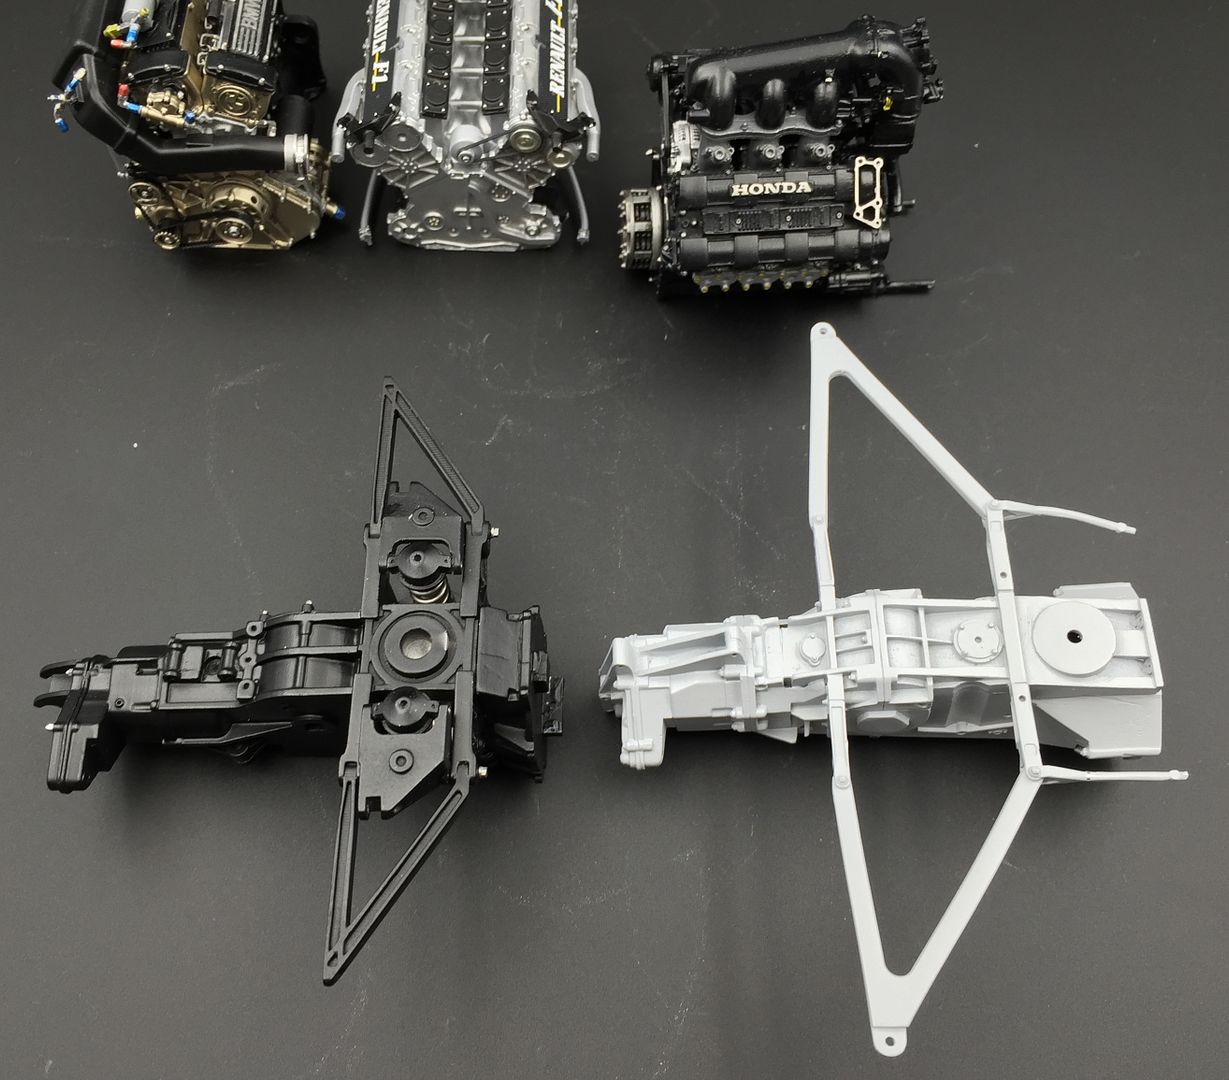
Interesting how different the proportion of the wishbones etc are on these two gearboxes - the grey one is the MP4/4 - obviously the hubs will be different in the way they locate the wheel hub, but obviously the McLaren was a bit wider...
I know this is picture overload!!
But I also tried some 'group shots' with the other F1 engines. I really need to bring these all up to the same level of wiring, plumbing and final paint etc...
Interesting how different the proportion of the wishbones etc are on these two gearboxes - the grey one is the MP4/4 - obviously the hubs will be different in the way they locate the wheel hub, but obviously the McLaren was a bit wider...
Some very quick videos:
360 degree views.
BT52
https://youtu.be/5yfIEBlYQYs
McLaren MP4/4
https://youtu.be/uG0GRutxFA4
Renault FW16
https://youtu.be/3EEAnZajQs4
360 degree views.
BT52
https://youtu.be/5yfIEBlYQYs
McLaren MP4/4
https://youtu.be/uG0GRutxFA4
Renault FW16
https://youtu.be/3EEAnZajQs4
Edited by caterhamnut on Monday 11th July 23:55
Gassing Station | Scale Models | Top of Page | What's New | My Stuff