New restoration project - what have I done!
Discussion


Should I, at any point in my life, ever suggest, contemplate or consider putting in curved walls again, please shoot me!
A full days work! A full bloody day! On one little hallway! And the answer to the age old question of "Do 28mm x 220mm solid timber skirtings bend" is a big, fat, NO!
Before:
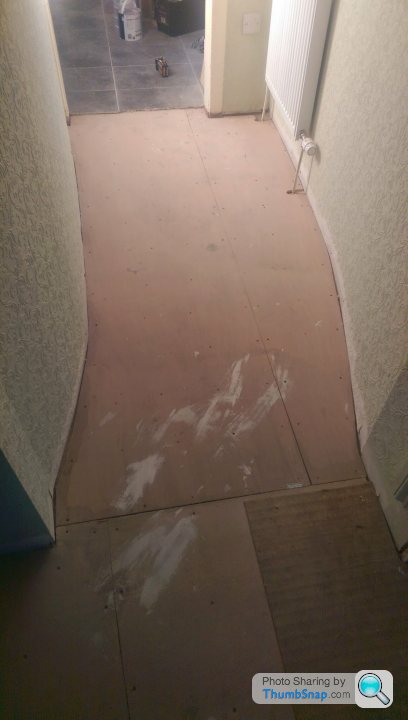
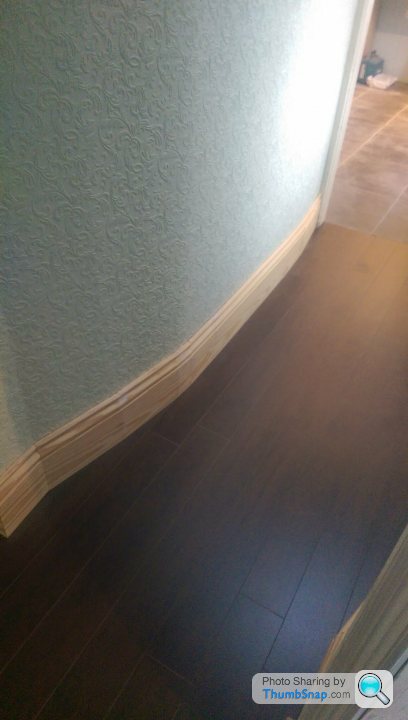
After, ready for sanding and painting on the skirtings.

A full days work! A full bloody day! On one little hallway! And the answer to the age old question of "Do 28mm x 220mm solid timber skirtings bend" is a big, fat, NO!
Before:
After, ready for sanding and painting on the skirtings.
Ha, thanks for the suggestions. For the record, I tried grooving the backs and that didn't work, didn't try steaming them, but as they are 28mm thick it would have taken a nuclear strength steam bath to have any effect! Plus the radius were too tight to bend them, never going to happen!
It's frustrating as it's only one small hallway out of 9 in the house, and only leads to the utility room, but still wanted to get a nice look with it. Still at least another job done and ticked off the list.
It's frustrating as it's only one small hallway out of 9 in the house, and only leads to the utility room, but still wanted to get a nice look with it. Still at least another job done and ticked off the list.
Griff Boy said:
Ha, thanks for the suggestions. For the record, I tried grooving the backs and that didn't work, didn't try steaming them, but as they are 28mm thick it would have taken a nuclear strength steam bath to have any effect! Plus the radius were too tight to bend them, never going to happen!
It's frustrating as it's only one small hallway out of 9 in the house, and only leads to the utility room, but still wanted to get a nice look with it. Still at least another job done and ticked off the list.
stuff steams far easier than you thinkIt's frustrating as it's only one small hallway out of 9 in the house, and only leads to the utility room, but still wanted to get a nice look with it. Still at least another job done and ticked off the list.
https://www.youtube.com/watch?v=--iPQIwSEJM
ive done bits and bobs before using a 9" plastic drain pipe and a couple of kettles - its amazing how floppy the wood gets!
Work on the staircase has carried on recently, resulting in many late nights!
After some research and speaking to some proffesionals I decided not to a) French Polish it myself or b) get a French polisher in to do it for me. The main reasons were the sheer amount of hours it would have taken to do but more importantly I was told by everyone I asked that French polishing is not durable enough for a staircase handrail.
So the decision was to sand it down to 240grit level, apply a coat of stained grain filler to fill in any small variations in the grain of the wood ready for staining with the rich mahogany colour spirit stain. Once the grain filler had dried, then another sand down with 240grit first, then 320 grit. 3 coats of solvent based stain then 3 coats of polyurethane high gloss varnish.
So far I'm up to the first coat of varnish stage and have a right arm I can barely lift!
Here's a few pictures.
After the initial heavy sanding
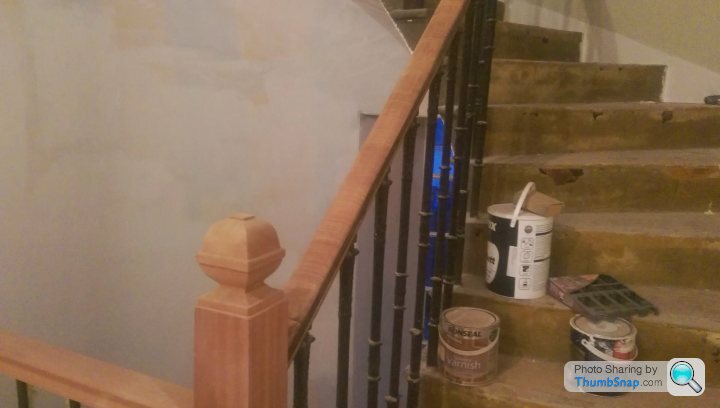
First coat of grain filler on and sanded
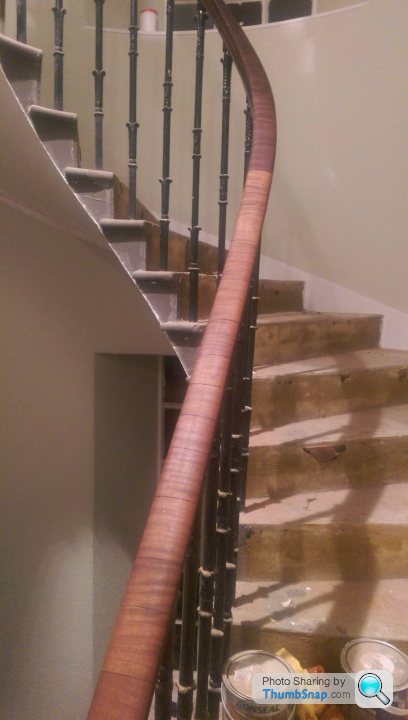
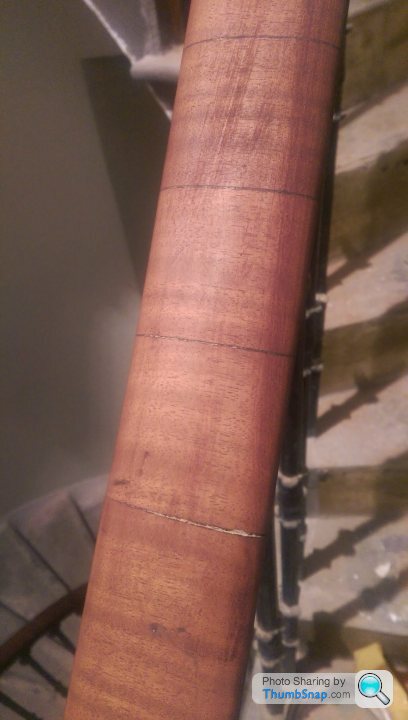
Then with first coat of varnish

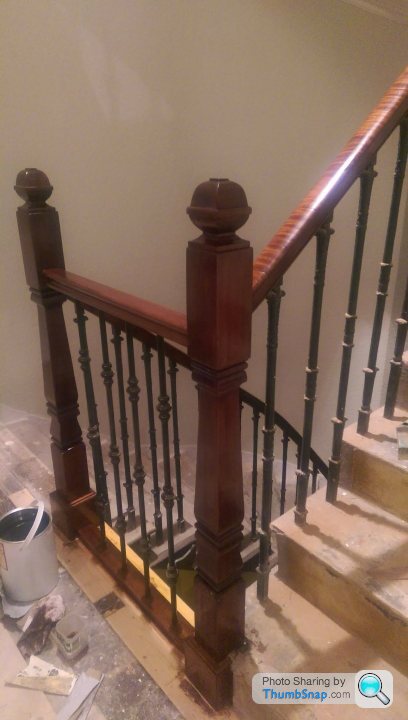
Next step, another coat of varnish, then light wire wool rub down and final coat of varnish! Then I can start painting all the spindles. Woo...
After some research and speaking to some proffesionals I decided not to a) French Polish it myself or b) get a French polisher in to do it for me. The main reasons were the sheer amount of hours it would have taken to do but more importantly I was told by everyone I asked that French polishing is not durable enough for a staircase handrail.
So the decision was to sand it down to 240grit level, apply a coat of stained grain filler to fill in any small variations in the grain of the wood ready for staining with the rich mahogany colour spirit stain. Once the grain filler had dried, then another sand down with 240grit first, then 320 grit. 3 coats of solvent based stain then 3 coats of polyurethane high gloss varnish.
So far I'm up to the first coat of varnish stage and have a right arm I can barely lift!
Here's a few pictures.
After the initial heavy sanding
First coat of grain filler on and sanded
Then with first coat of varnish
Next step, another coat of varnish, then light wire wool rub down and final coat of varnish! Then I can start painting all the spindles. Woo...
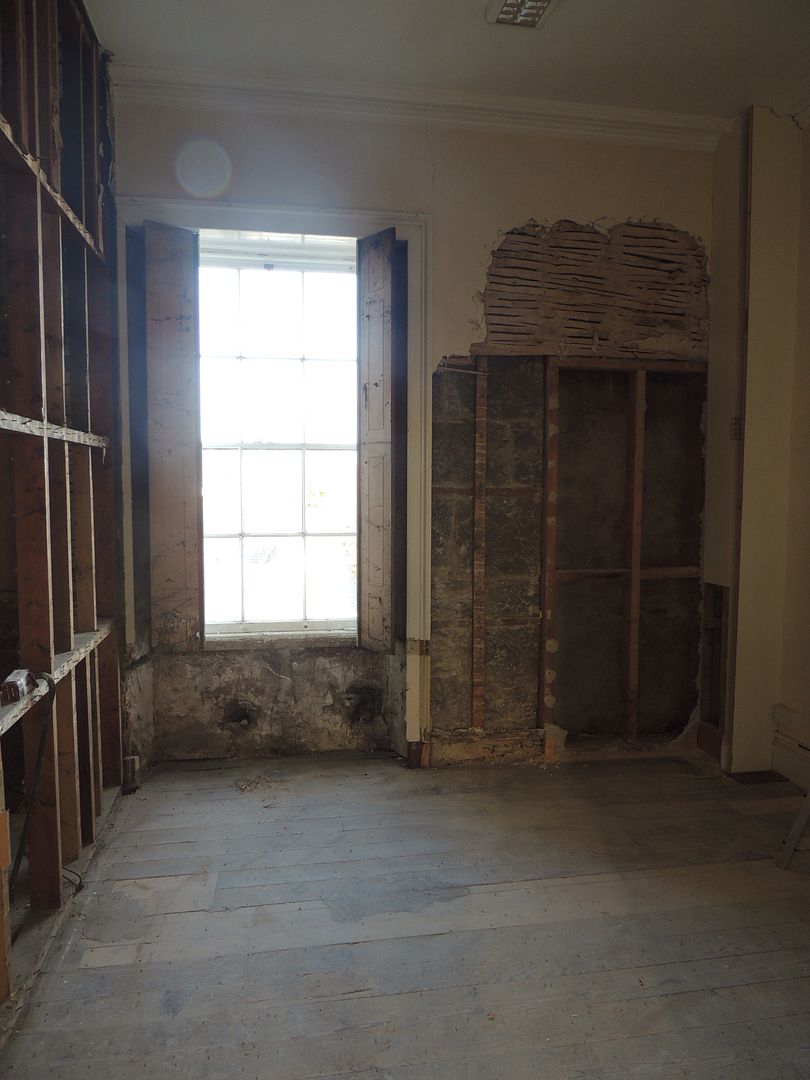
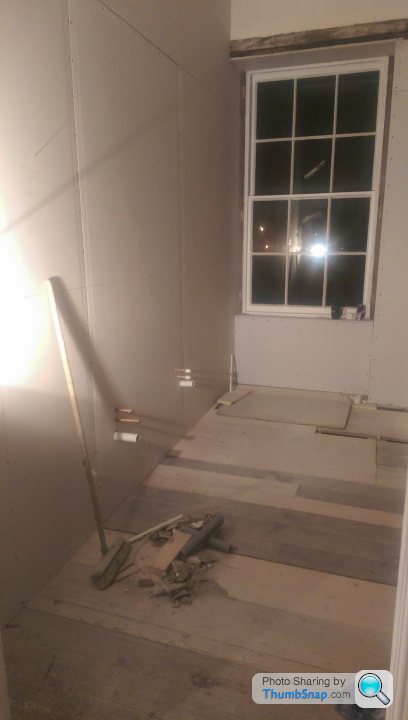
On other news, I've also been working on our ensuite recently, getting it ready for tiling. Only issue is the tiles we've chosen are from a Spanish manufacturer and will take about 3 weeks to get here. So that will be christmas then! Doh!
All the first fixings in ready, final specification is for a free standing bath with a lovely bath tap coming out the floor, large walk in shower 1800x900 with twin built in showers, twin wall mounted 1000mm basin units with moulded ceramic tops, twin dual fuel towel rails, concealed led feature lighting and underfloor heating oh and a bog!
The rooms about 4m x 3.8m so a fair size, but the downside is to tile to 2.9m high and the floor is something in the region of 60m2 of tiling!
Here's a few pictures of the work so far!
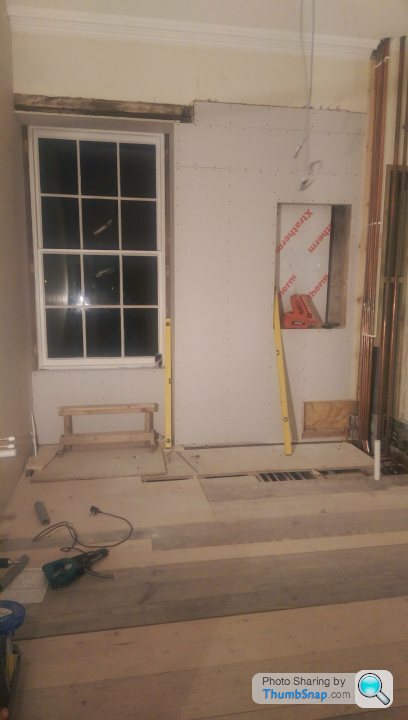
I'll put a cad drawing up later on with some images on what it will look like when it's finished.
edited to add the CAD images
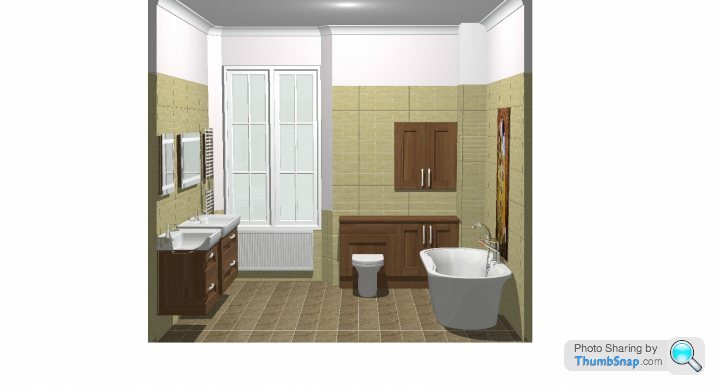
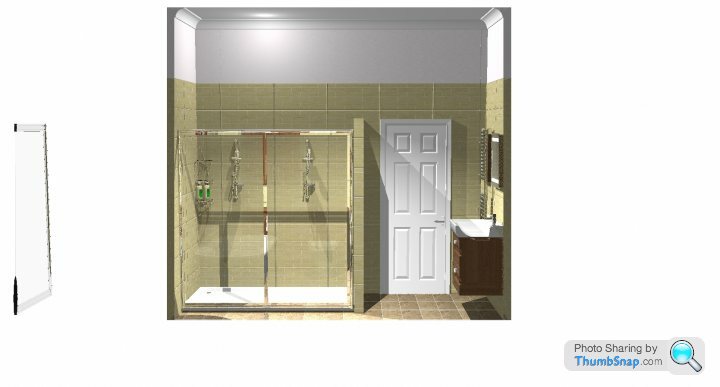

All the first fixings in ready, final specification is for a free standing bath with a lovely bath tap coming out the floor, large walk in shower 1800x900 with twin built in showers, twin wall mounted 1000mm basin units with moulded ceramic tops, twin dual fuel towel rails, concealed led feature lighting and underfloor heating oh and a bog!
The rooms about 4m x 3.8m so a fair size, but the downside is to tile to 2.9m high and the floor is something in the region of 60m2 of tiling!
Here's a few pictures of the work so far!
I'll put a cad drawing up later on with some images on what it will look like when it's finished.
edited to add the CAD images
Edited by Griff Boy on Friday 21st November 09:34
guru_1071 said:
Griff Boy said:
Ha, thanks for the suggestions. For the record, I tried grooving the backs and that didn't work, didn't try steaming them, but as they are 28mm thick it would have taken a nuclear strength steam bath to have any effect! Plus the radius were too tight to bend them, never going to happen!
It's frustrating as it's only one small hallway out of 9 in the house, and only leads to the utility room, but still wanted to get a nice look with it. Still at least another job done and ticked off the list.
stuff steams far easier than you thinkIt's frustrating as it's only one small hallway out of 9 in the house, and only leads to the utility room, but still wanted to get a nice look with it. Still at least another job done and ticked off the list.
https://www.youtube.com/watch?v=--iPQIwSEJM
ive done bits and bobs before using a 9" plastic drain pipe and a couple of kettles - its amazing how floppy the wood gets!

You know, some building restoration people argue that - ethically - you should always be 'honest' in your restoration. That is to say, that the interventions are respectful, but obvious; either to explain the history of the building or because their obviousness is a consequence of the contemporary technologies being used.
With that in mind, and for the former reason, this:
is genuinely lovely.
And, by genuine, I mean authentic. It hints at the story of the building.
With that in mind, and for the former reason, this:
Griff Boy said:
And, by genuine, I mean authentic. It hints at the story of the building.
Some fantastic work in there.
What you really need to do is somehow take 18 months off work whilst still retaining full income, possibly even increasing it a bit and then magic up 30 hour days.
That way you'll have it done in no time
I feel for you on the curved walls. You need someone on funding circle to invent bendy skirting boards.
Henry
Gassing Station | Homes, Gardens and DIY | Top of Page | What's New | My Stuff