Our French farmhouse build thread.
Discussion


We had a phone call today from Wilfrid to make sure we get all the cars out of the way for Monday as he is coming in with a lift to put the outside aircon units on the wall! Another step closer to a warmer working environment and a finished project.
Also today I have finished boarding out the side walls of the ensuites so I can start on the false ceiling. Only problem is I am feeling a little under the weather so accurate work is not going to be my closest ally at the moment. Instead of cracking on with it I helped out cargeekswife on the stairs she is installing.
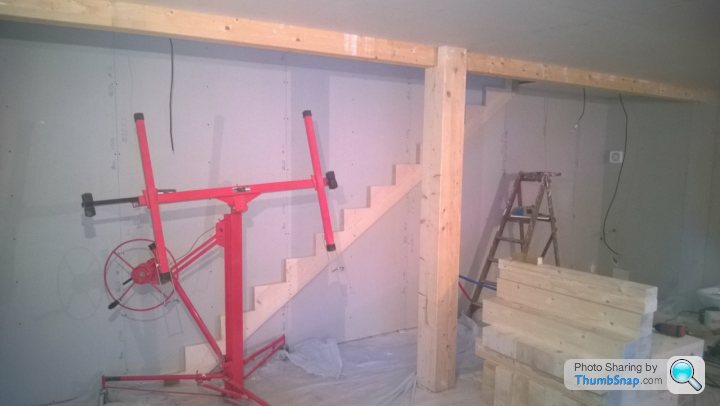
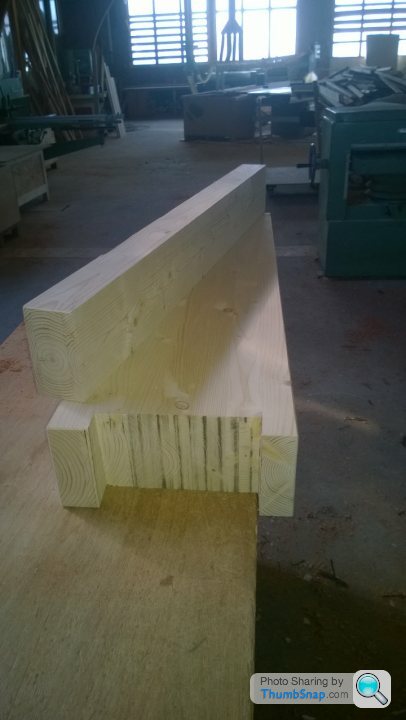
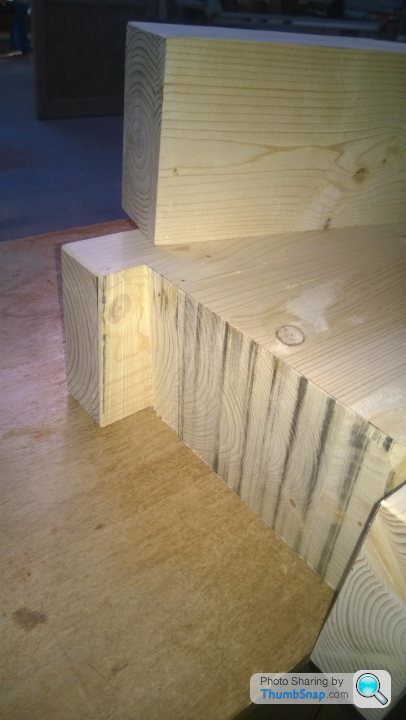
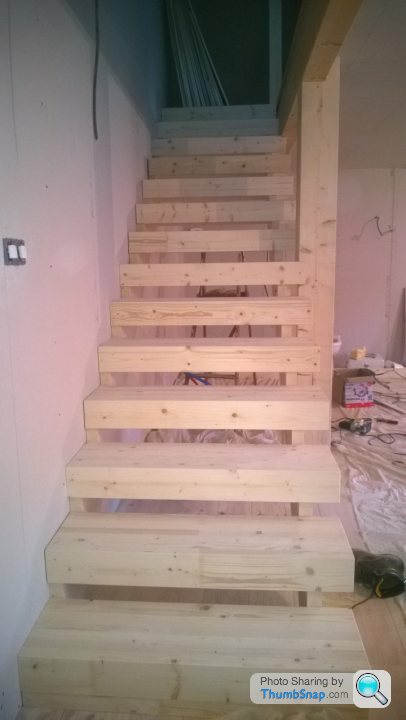
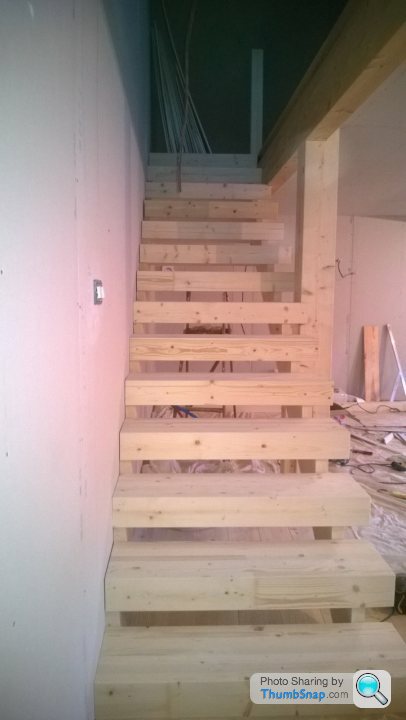
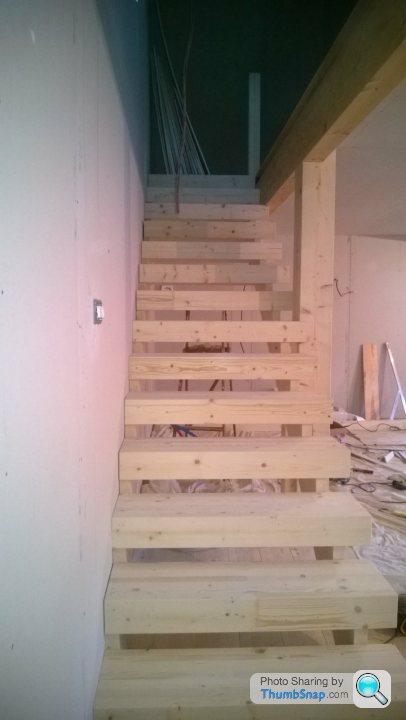
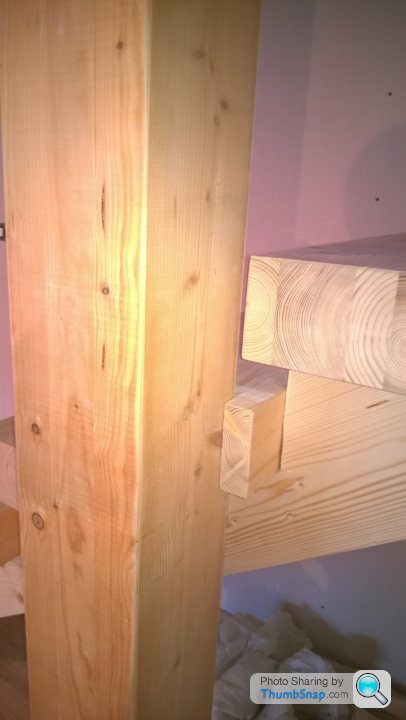
This has been her little project, as she has designed them and worked through their construction with our window man to get them made. The kit of the parts have been with us over a week. So she has measured them drawn the lines for cutting and I have just chopped the ends off. As of lunchtime today we had the 2 stringers up. At half 3 we had 11 treads on and were heading up to the workshop of our window man to have 2 cuts done to fit around beams and the bottom step support planed down to the correct thickness.
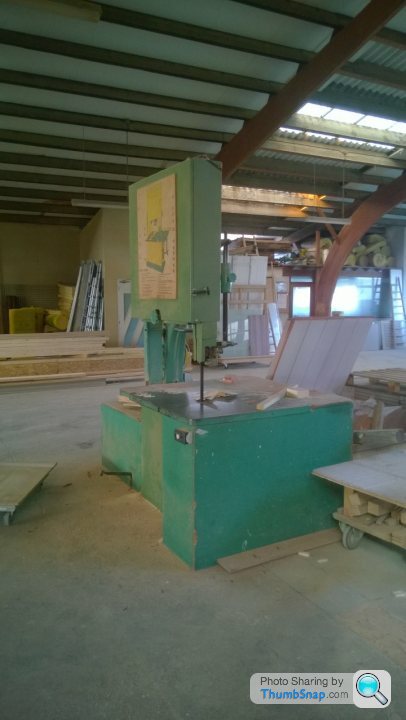
Watching the guy do a cut out on 1 of the beams with just a band saw was an eye opener. Another tread was routed out and then we were heading back home. At times like these you are grateful that you engaged local guys as they are only 5 minutes away from us.
A bit more sanding and cutting and at 5:30pm tonight we had a full set of stairs in. They are as yet not glued or screwed into place, but are the quietest most solid stairs this side of a concrete stair I have ever stood on.
Also today I have finished boarding out the side walls of the ensuites so I can start on the false ceiling. Only problem is I am feeling a little under the weather so accurate work is not going to be my closest ally at the moment. Instead of cracking on with it I helped out cargeekswife on the stairs she is installing.
This has been her little project, as she has designed them and worked through their construction with our window man to get them made. The kit of the parts have been with us over a week. So she has measured them drawn the lines for cutting and I have just chopped the ends off. As of lunchtime today we had the 2 stringers up. At half 3 we had 11 treads on and were heading up to the workshop of our window man to have 2 cuts done to fit around beams and the bottom step support planed down to the correct thickness.
Watching the guy do a cut out on 1 of the beams with just a band saw was an eye opener. Another tread was routed out and then we were heading back home. At times like these you are grateful that you engaged local guys as they are only 5 minutes away from us.
A bit more sanding and cutting and at 5:30pm tonight we had a full set of stairs in. They are as yet not glued or screwed into place, but are the quietest most solid stairs this side of a concrete stair I have ever stood on.
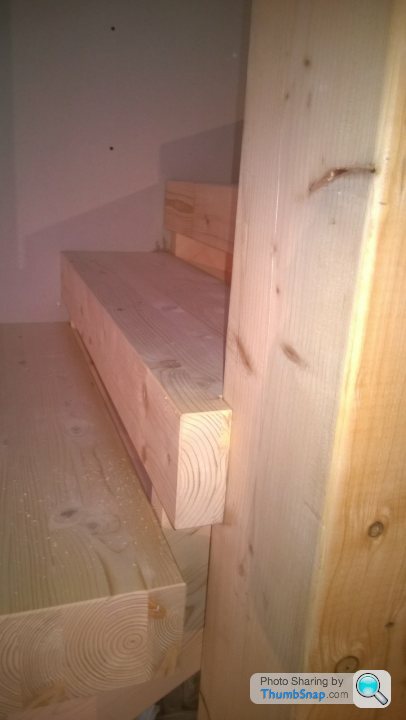
After having the stairs in for 4 days the treads are once again sitting on the floor like a giant jenga game. They need to be sealed but the sealant is looking a little orange and glossy so the boss is looking into other ideas to get the right finish.
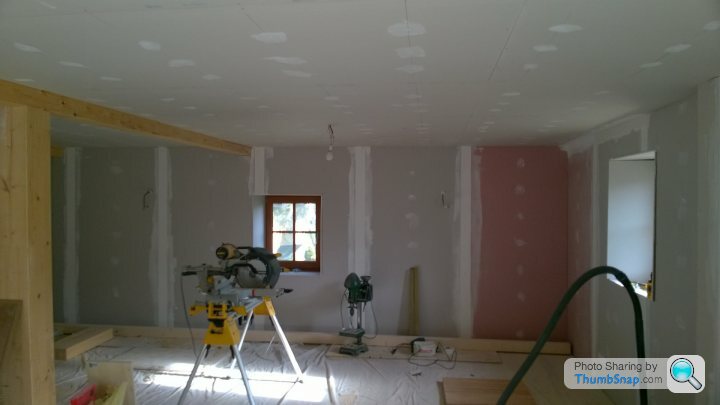
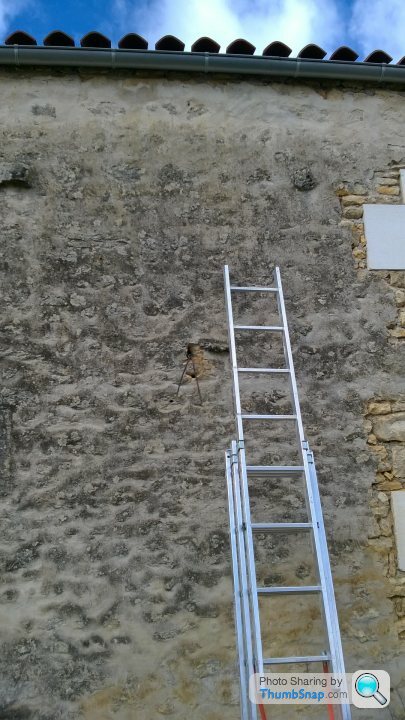
This is good as I needed to put a ladder up to the roof above one of the beams where I needed to put a bit of plaster board. To get the thing in and sitting ok took me half a morning but it has finished off the wall.
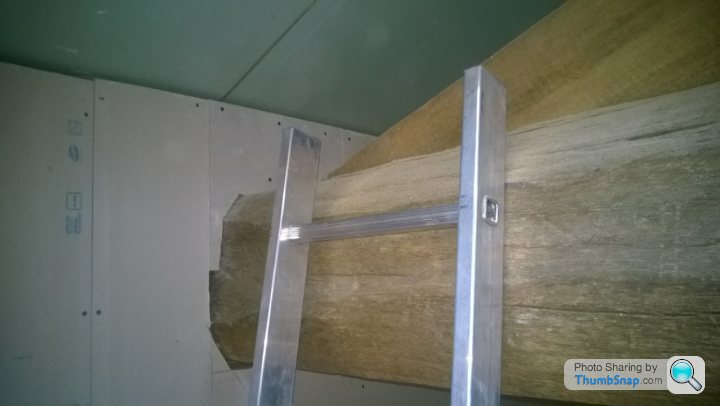

I am still procrastinating over putting the false ceiling in. Cargeekswife has been otherwise engaged so unable to assist which has left me to get on with boarding out other parts.
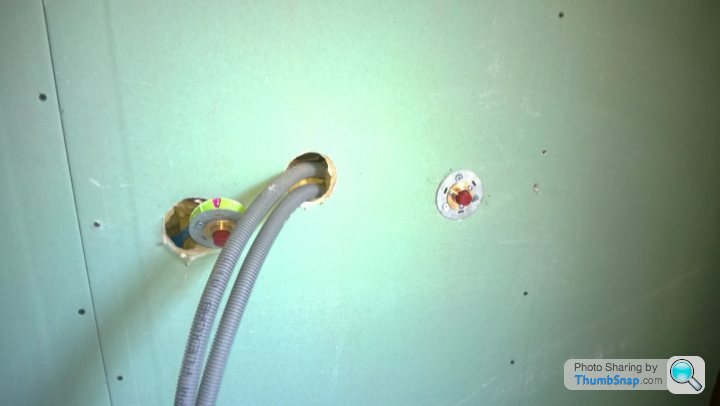
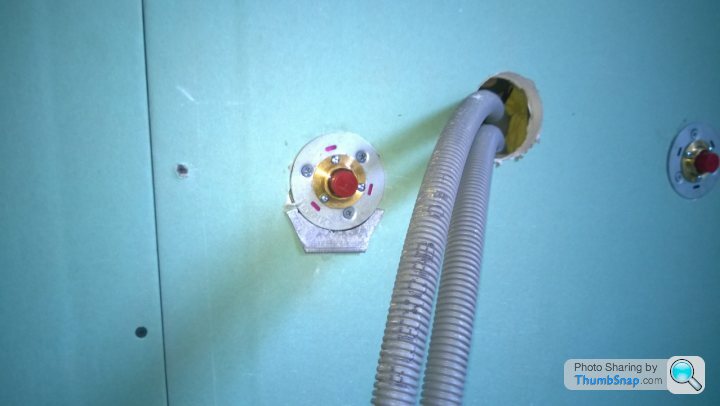
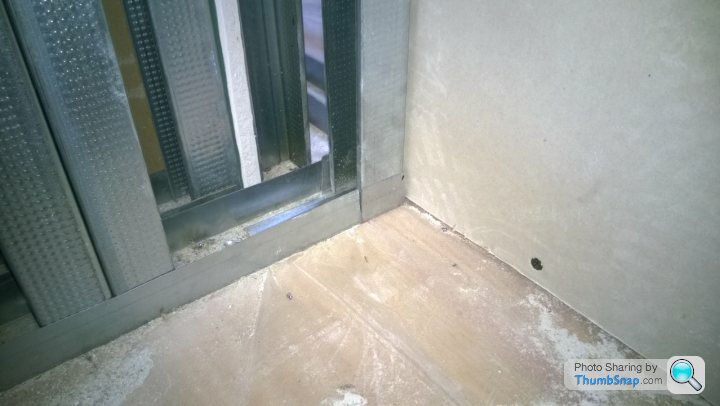
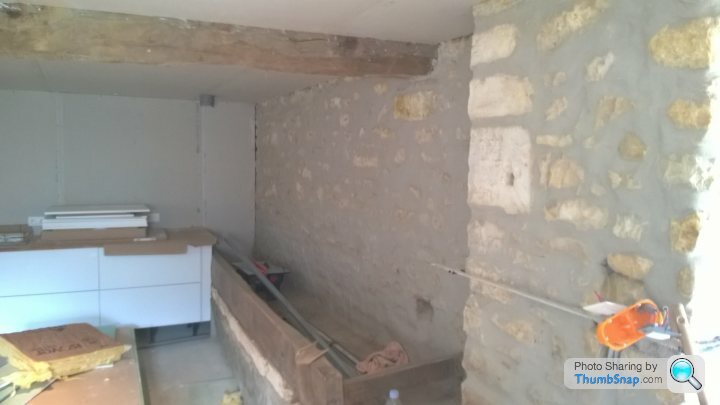
First for this treatment was the other side of the kitchen. The washing machine and dishwasher are going on this wall so the corner had to be done in waterproof sheets. It also meant I got to try out our new wall fittings for the plumbing. After speaking to our plumbers merchants about how they secure the outlets to the wall and them saying the just poke them through with no security and us trying to make it work with a cut up shower fitting kit, we have found what we were looking for!
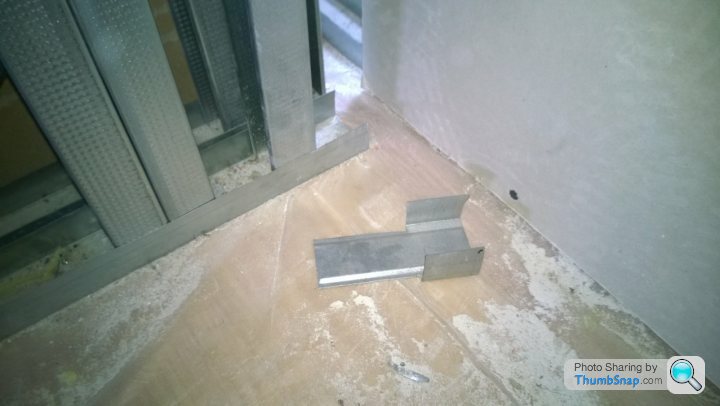
The system it great, drill a hole in the wall, join the pipe to it and put it in the whole and tighten. First one went in a treat and looks a much better finished solution than pipes sticking out. Second one was not so good. When cargeekswife drilled the hole it pulled a little so was a tad larger than it should have been. This meant that the fitting was just pulling itself through the wall. Was a little miffed at this point as the only solution I could see was to replace the board, cut the 2 new fittings off and buy 2 more at 20 euros each. After chilling out I just cut a bit of metal rail out and using the bench grinder made a circular indent to sit behind the fixing but in front of the wall. Not the best looking but it will be hidden behind the appliances.
A couple more bits of board up to frame around the aircon unit on the wall and I am left with just 1 board to go up that will be partially over the old trough. This is where I have stopped as cargeekswife wants to see how it looks bleached so a test will hopefully be done tomorrow so I can do the board on Friday.
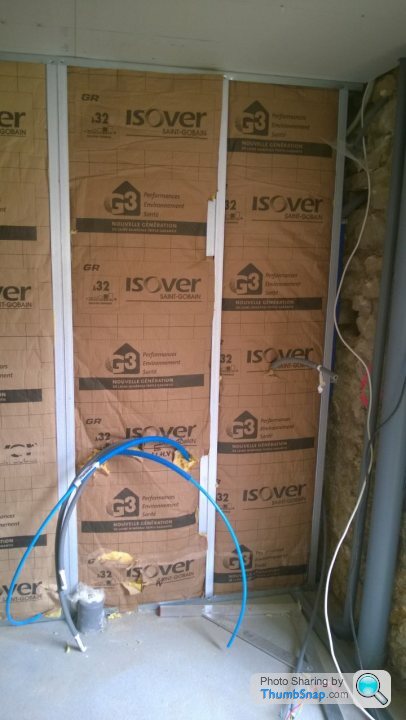
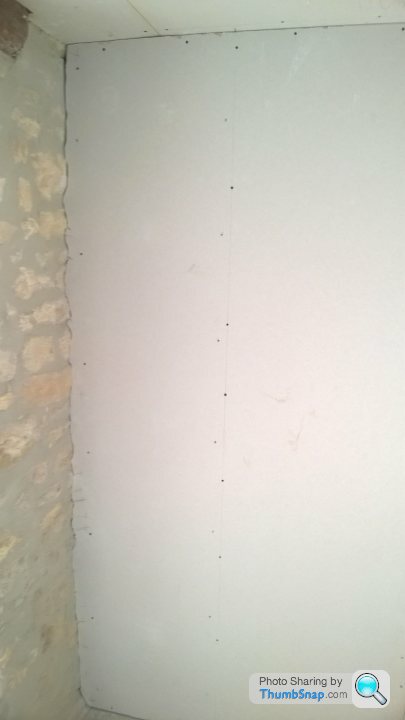
Onto the upstairs bedrooms where I have put more insulation up and put 4 pieces of about 20cm wide plasterboard. This is the best I can do until I get the plumbing in the bathroom. This did reveal a slight error in the fact that we were missing an upright to screw into the corner to secure the plasterboard to. Even worse was the fact that the floor rail was not long enough to locate it so I had to put in a 4cm section. As a silver lining this shortfall did allow me to put the upright in without having to cut the side of the rail to fit it as there was not enough space between this and the next upright.
One other thing that has put me back is having to put extra montant in the walls to support the towel radiators. The things you wish you knew beforehand! Especially as this required taking down 2 plasterboards to gain access. It is now in place and awaiting Wilfrid to fit and then I can put those 2 back and whack in another 2 boards on the other bathroom.
We have had the remnants of a bag of sand sitting on our drive awaiting Wilfrid to finish of the exterior part of the electrics and I got the go ahead this week to finish covering it up. Early Tuesday morning I was shovelling the last 100kg over the cables and we no longer have a big orange bag sitting there.
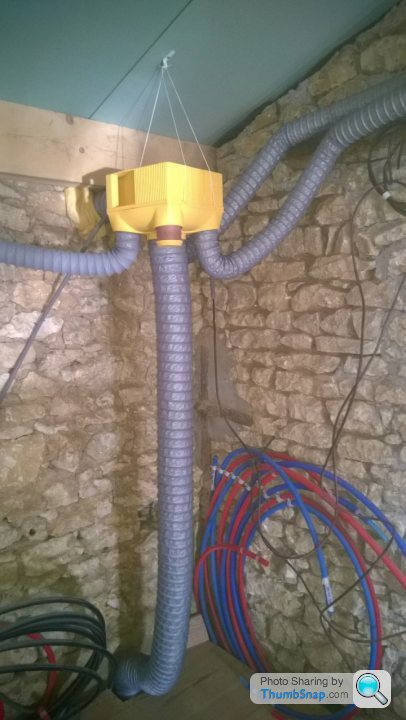
VMC unit has also been mounted and elephant trunks are all over the place!
A frosty start to the morning but turned out to be a nice day.

This is good as I needed to put a ladder up to the roof above one of the beams where I needed to put a bit of plaster board. To get the thing in and sitting ok took me half a morning but it has finished off the wall.
I am still procrastinating over putting the false ceiling in. Cargeekswife has been otherwise engaged so unable to assist which has left me to get on with boarding out other parts.
First for this treatment was the other side of the kitchen. The washing machine and dishwasher are going on this wall so the corner had to be done in waterproof sheets. It also meant I got to try out our new wall fittings for the plumbing. After speaking to our plumbers merchants about how they secure the outlets to the wall and them saying the just poke them through with no security and us trying to make it work with a cut up shower fitting kit, we have found what we were looking for!
The system it great, drill a hole in the wall, join the pipe to it and put it in the whole and tighten. First one went in a treat and looks a much better finished solution than pipes sticking out. Second one was not so good. When cargeekswife drilled the hole it pulled a little so was a tad larger than it should have been. This meant that the fitting was just pulling itself through the wall. Was a little miffed at this point as the only solution I could see was to replace the board, cut the 2 new fittings off and buy 2 more at 20 euros each. After chilling out I just cut a bit of metal rail out and using the bench grinder made a circular indent to sit behind the fixing but in front of the wall. Not the best looking but it will be hidden behind the appliances.
A couple more bits of board up to frame around the aircon unit on the wall and I am left with just 1 board to go up that will be partially over the old trough. This is where I have stopped as cargeekswife wants to see how it looks bleached so a test will hopefully be done tomorrow so I can do the board on Friday.
Onto the upstairs bedrooms where I have put more insulation up and put 4 pieces of about 20cm wide plasterboard. This is the best I can do until I get the plumbing in the bathroom. This did reveal a slight error in the fact that we were missing an upright to screw into the corner to secure the plasterboard to. Even worse was the fact that the floor rail was not long enough to locate it so I had to put in a 4cm section. As a silver lining this shortfall did allow me to put the upright in without having to cut the side of the rail to fit it as there was not enough space between this and the next upright.
One other thing that has put me back is having to put extra montant in the walls to support the towel radiators. The things you wish you knew beforehand! Especially as this required taking down 2 plasterboards to gain access. It is now in place and awaiting Wilfrid to fit and then I can put those 2 back and whack in another 2 boards on the other bathroom.
We have had the remnants of a bag of sand sitting on our drive awaiting Wilfrid to finish of the exterior part of the electrics and I got the go ahead this week to finish covering it up. Early Tuesday morning I was shovelling the last 100kg over the cables and we no longer have a big orange bag sitting there.
VMC unit has also been mounted and elephant trunks are all over the place!
A frosty start to the morning but turned out to be a nice day.
http://brittany.angloinfo.com/forum/viewtopic/1818...
^^
so a VMC is a whole-house extract fan? Is there a heat exchanger in there, too?
^^
so a VMC is a whole-house extract fan? Is there a heat exchanger in there, too?
This morning we went to get the showers so I can locate them and drill the holes for the shower head outlet. Bought 2 more of the in wall water outlets to make the job easy. Along with this we got some plasterboard adhesive to dot and dab the window surrounds. Got back from this and then started to frame the last part of the kitchen wall.
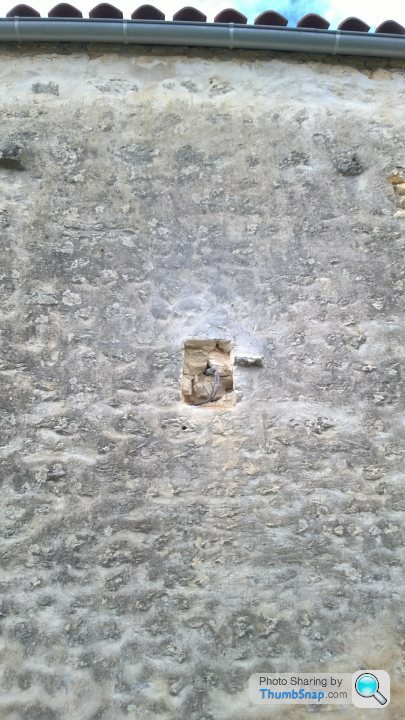
This part of wall rests on the old trough so out with the sander and then the grinder to try and clean up the top stone as the bleach didn’t work at bringing it up. Stone came up ok but not as good as the main part of the trough. Picture taken and emailed to mother in law for opinion on whether it stays or goes.
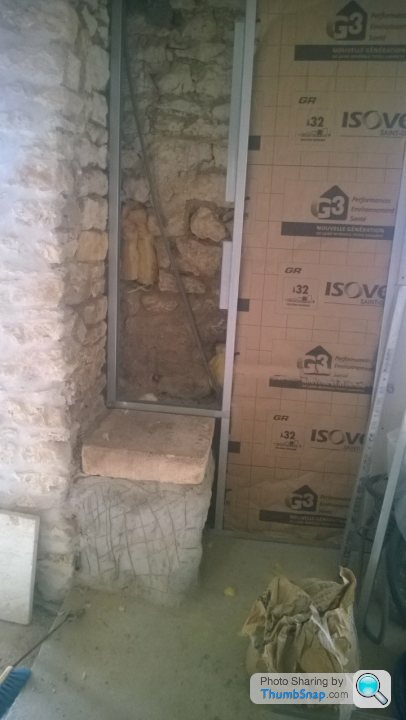
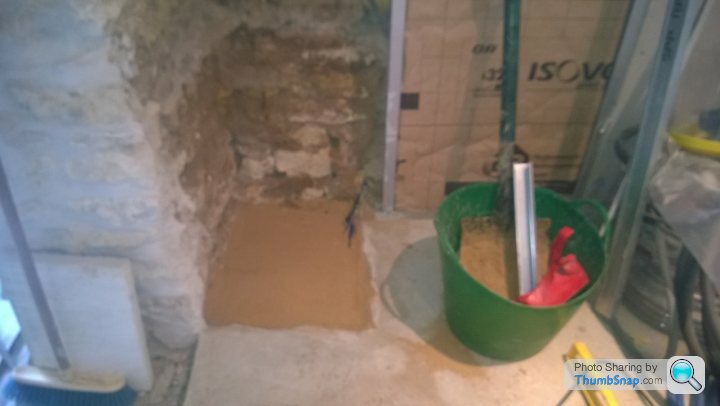
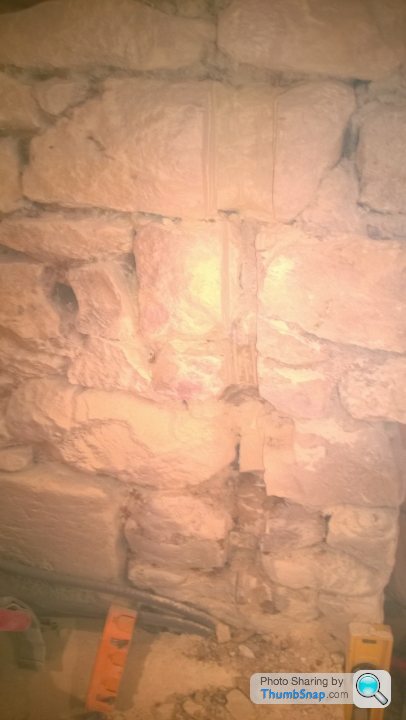
Answer comes back that it should go. Less than impressed I duly sulked, had lunch and then went outside to remove it. After half an hour with the SDS drill it was gone. A quick clean up to remove all the newly liberated stone then time to fill the hole up.
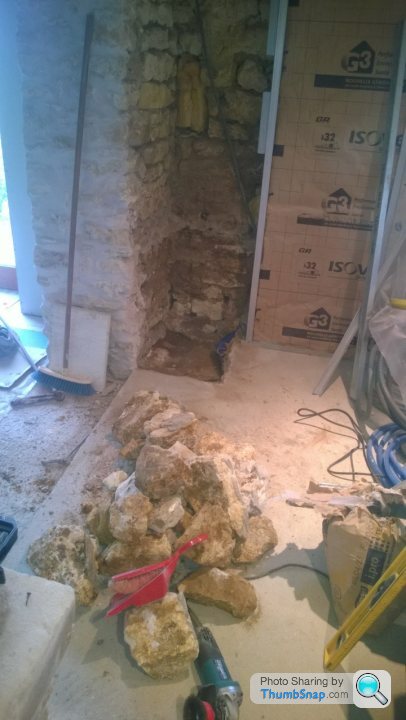
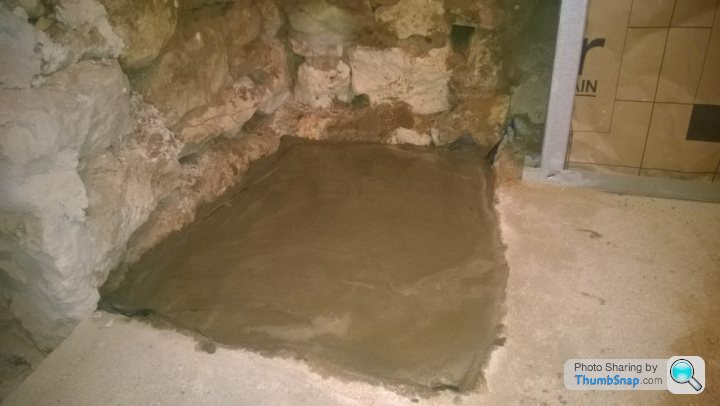
Luckily I still had some sand leftover to put a bottom layer in the new pit and to make some cement to fill it up. Now I have to wait to finish the wall.
Good old bangers and mash for supper and then back out for more work. First up was the shower plumbing. As yet there is no lighting upstairs so I was moving around our 1 working site light and making use of the torch on the mobile phone as working on both sides of the walls. Both are now fitted. While typing this I have realised I won’t be able to cover them up until the sinks are placed as need to sort the drainage and tap locations. Getting ahead of myself again……


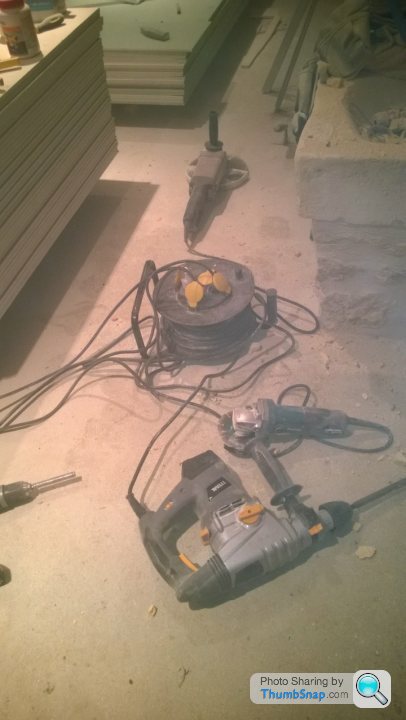
In the kitchen on the exposed stone wall we have a double light switch to be buried in the wall along with the three wires supplying them. Angle grinders and SDS drill again to chase out the wall. Not quite finished but could hardly see a thing for the dust so have left the very bottom until tomorrow as I have no wish to slice through the cables.
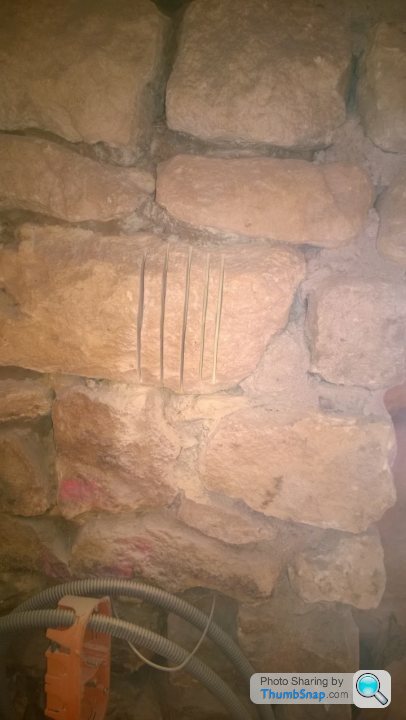
This part of wall rests on the old trough so out with the sander and then the grinder to try and clean up the top stone as the bleach didn’t work at bringing it up. Stone came up ok but not as good as the main part of the trough. Picture taken and emailed to mother in law for opinion on whether it stays or goes.
Answer comes back that it should go. Less than impressed I duly sulked, had lunch and then went outside to remove it. After half an hour with the SDS drill it was gone. A quick clean up to remove all the newly liberated stone then time to fill the hole up.
Luckily I still had some sand leftover to put a bottom layer in the new pit and to make some cement to fill it up. Now I have to wait to finish the wall.
Good old bangers and mash for supper and then back out for more work. First up was the shower plumbing. As yet there is no lighting upstairs so I was moving around our 1 working site light and making use of the torch on the mobile phone as working on both sides of the walls. Both are now fitted. While typing this I have realised I won’t be able to cover them up until the sinks are placed as need to sort the drainage and tap locations. Getting ahead of myself again……
In the kitchen on the exposed stone wall we have a double light switch to be buried in the wall along with the three wires supplying them. Angle grinders and SDS drill again to chase out the wall. Not quite finished but could hardly see a thing for the dust so have left the very bottom until tomorrow as I have no wish to slice through the cables.
Wall has now been chased out fully and deep enough to put some stones in front so you don’t see a channel where we have cut. Got cargeekswife involved with this so she could see how much fun it is!

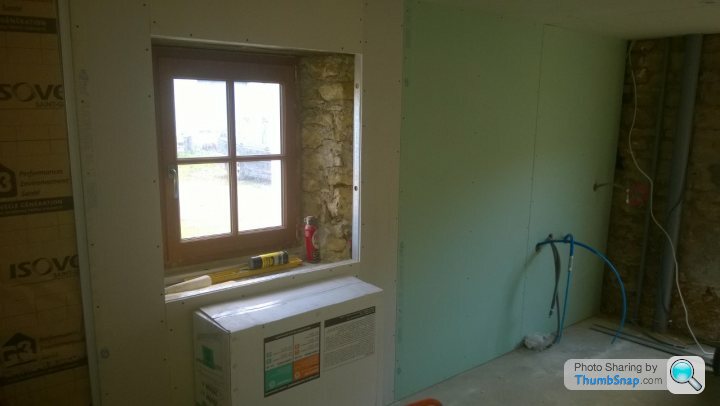
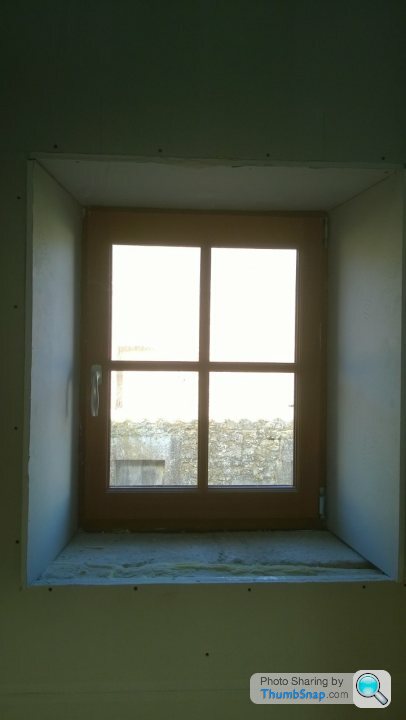
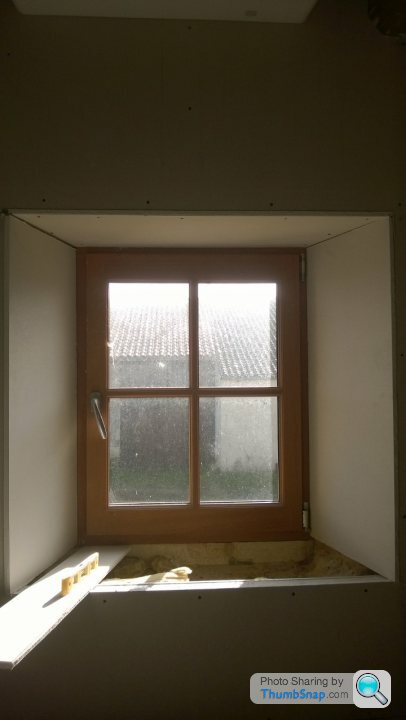
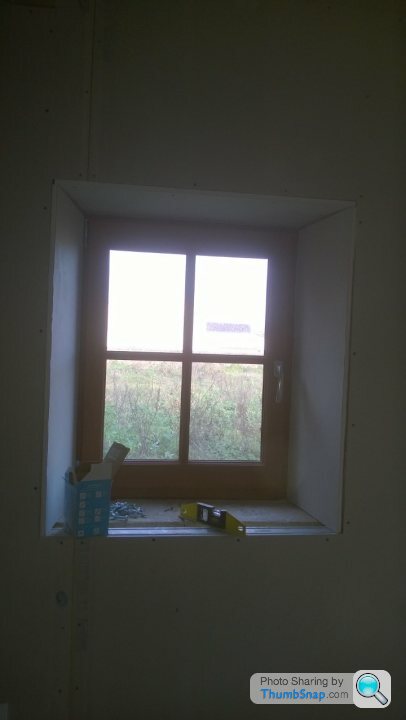
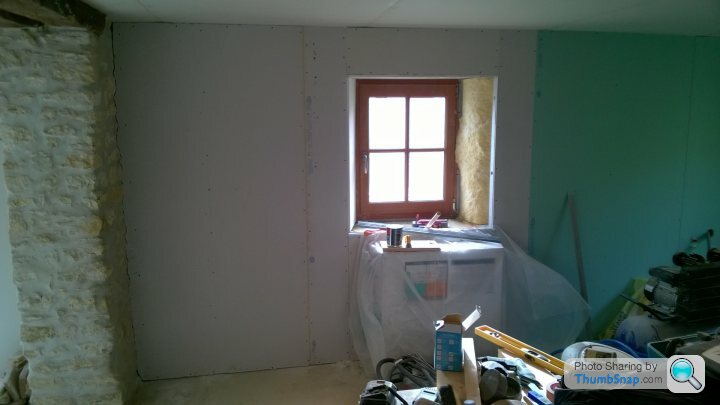
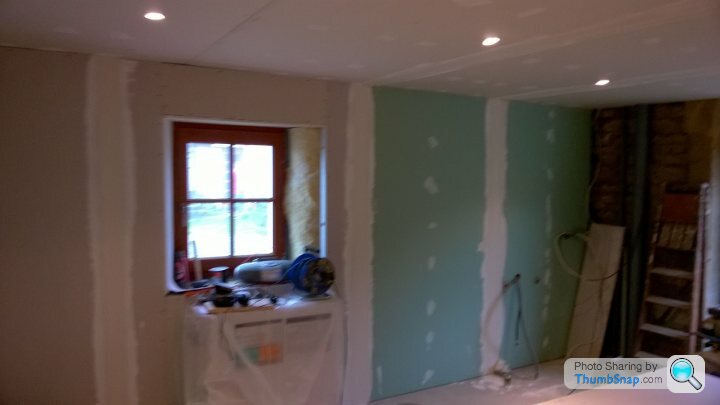
Working on boxing in the windows with plasterboard so it starts to resemble finished rooms. While I started this cargeekswife measured the wall that the electrics are mounted to, to make sure the cupboard we have is the right size to hide it all. Lo and behold it is 6cm too wide. I have a real aversion to doing things 3 times but my suggestion of angling the cupboard walls out to fit was not an option. So like a sulky teenager I disappeared upstairs to box in windows and left her to it with just the caution to be careful around it with wires. She has managed to shrink the wall but has also discovered that the last time it had a change of size Wilfrid did not secure the wall it attaches to so this flexes. Need to have a solution for this before the cupboard goes in.
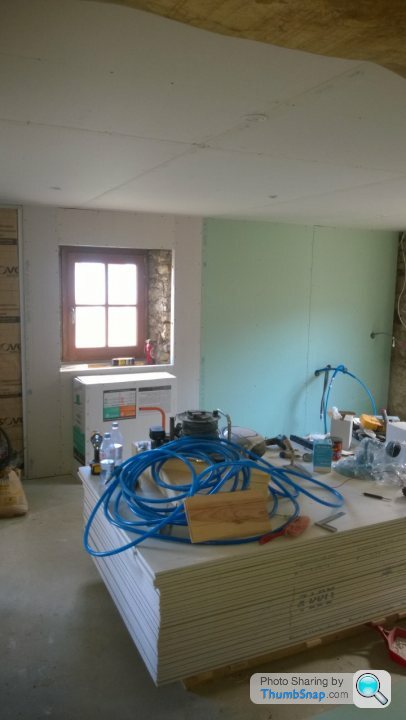
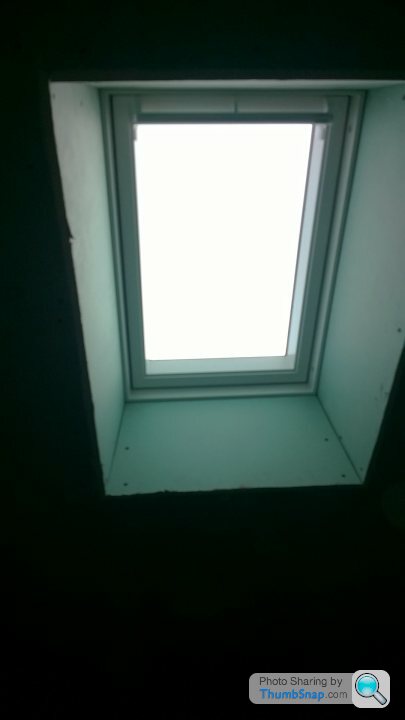
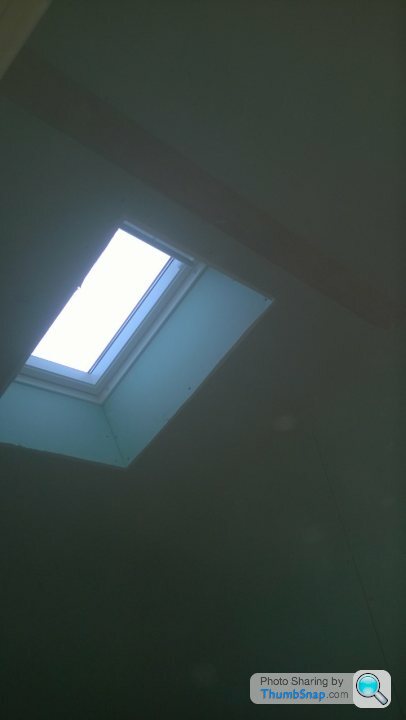
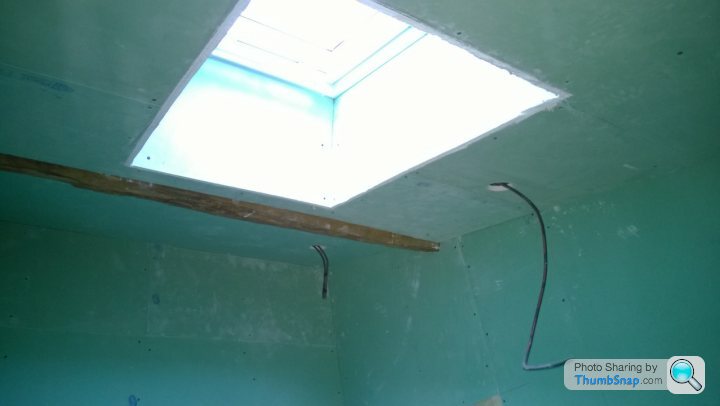
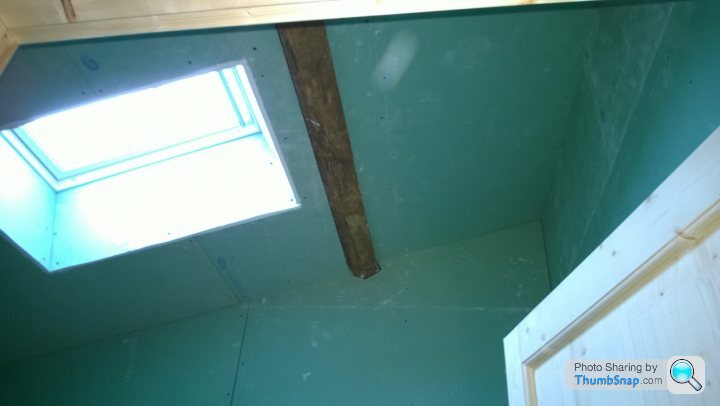
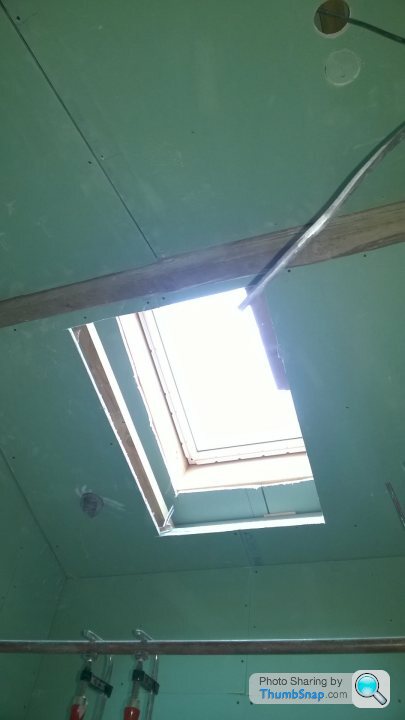
Have finally got around to the false ceilings. The framework is in place now and the first roof board is up. To maintain head height in the first bathroom I am attaching straight to the wooden frame. We need about a 10cm gap between the false ceiling to sink the spot into. This also means that we can have the beam exposed to retain the character of the old place.
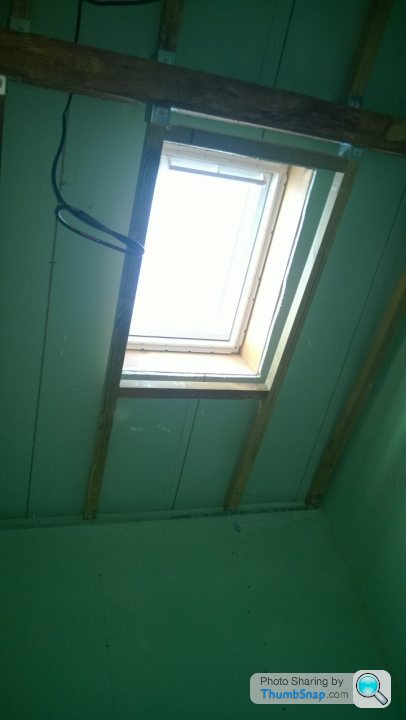
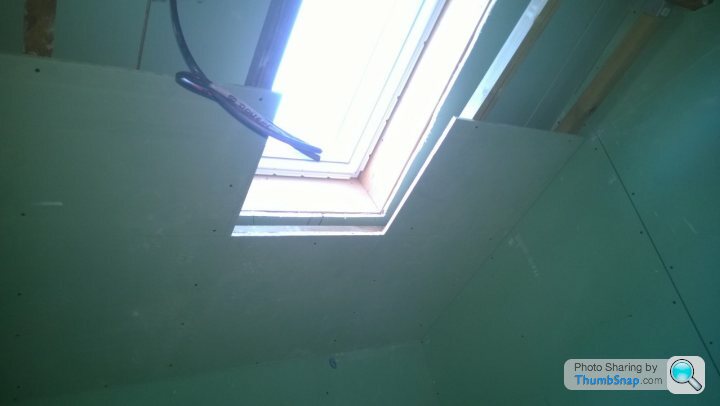
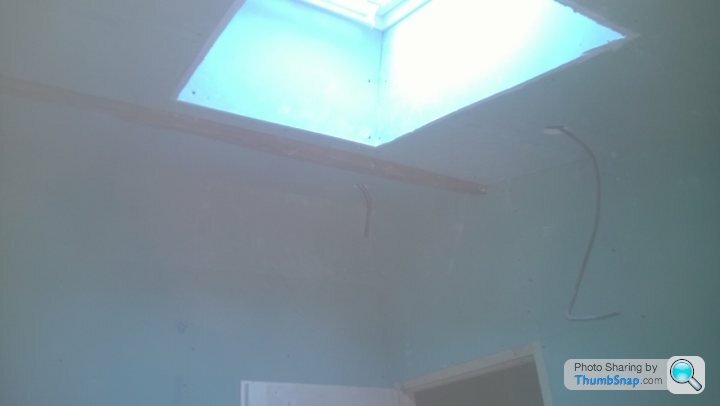
The next bathroom is going to be suspended on rails as we need as it is more complex and with a massive beam across the middle that the VMC pipes need to be run under. I will be tackling this today and hope it doesn’t take too long. Then have the fun and games of getting plaster board into the room, up around the tie bar and secured to the roof.
Another new skill I have been shown by a friend this week is plasterboard taping and jointing. Will be putting this into practice tonight to see how it looks.
Working on boxing in the windows with plasterboard so it starts to resemble finished rooms. While I started this cargeekswife measured the wall that the electrics are mounted to, to make sure the cupboard we have is the right size to hide it all. Lo and behold it is 6cm too wide. I have a real aversion to doing things 3 times but my suggestion of angling the cupboard walls out to fit was not an option. So like a sulky teenager I disappeared upstairs to box in windows and left her to it with just the caution to be careful around it with wires. She has managed to shrink the wall but has also discovered that the last time it had a change of size Wilfrid did not secure the wall it attaches to so this flexes. Need to have a solution for this before the cupboard goes in.
Have finally got around to the false ceilings. The framework is in place now and the first roof board is up. To maintain head height in the first bathroom I am attaching straight to the wooden frame. We need about a 10cm gap between the false ceiling to sink the spot into. This also means that we can have the beam exposed to retain the character of the old place.
The next bathroom is going to be suspended on rails as we need as it is more complex and with a massive beam across the middle that the VMC pipes need to be run under. I will be tackling this today and hope it doesn’t take too long. Then have the fun and games of getting plaster board into the room, up around the tie bar and secured to the roof.
Another new skill I have been shown by a friend this week is plasterboard taping and jointing. Will be putting this into practice tonight to see how it looks.
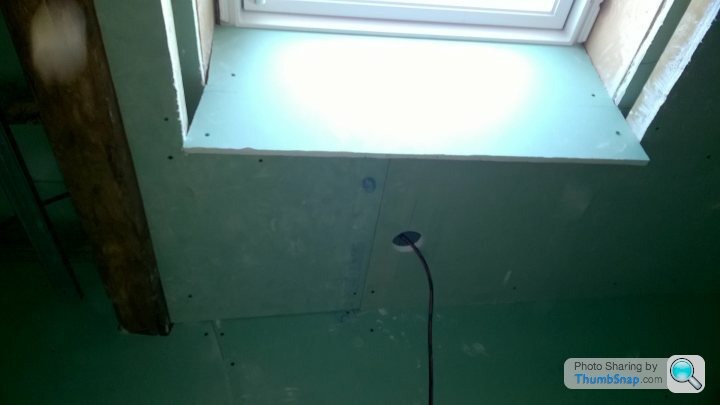
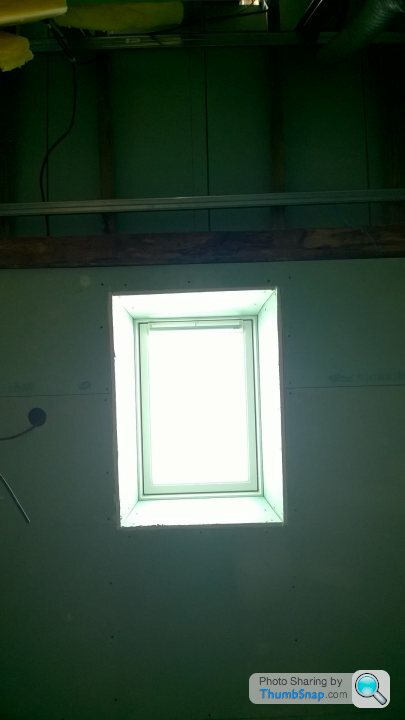
Long overdue update. The first bathroom ceiling is all up and the window boxed in. Very happy with the results in the end. The other bathroom has the rails up waiting for ceiling to be attached. I can’t do this at the moment as I need to drill and 80mm hole in the first bathrooms ceiling for the VMC and can then thread it through from the second bathroom.
I’ve had a visit from Wilfrid to ask me to board out the back wall of the second bedroom so he can mount the next air con unit. While here he cast his eye over the bathroom and asked me where the light wiring was! We found it but he hadn’t moved it into the bathroom as it was just hanging in the upstairs landing amongst other wires. I thought it was the wire that was hanging in the bathroom, but this was for the towel/room heater. With this new nugget of knowledge I then had to re-route the wire into the wall and above all my ceiling rails.
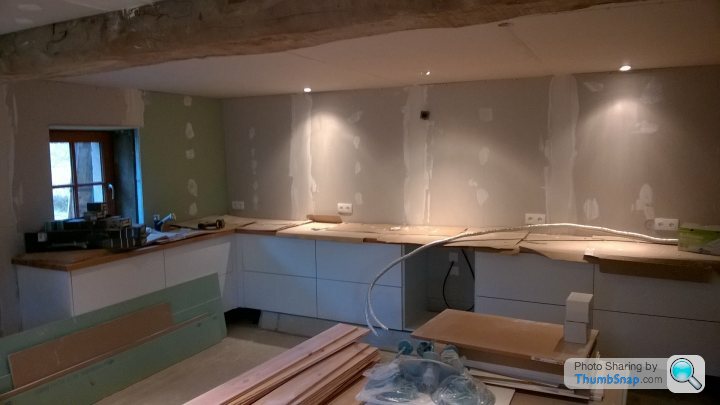
To assist Wilfrid we have now boarded out the back wall of the bedroom and while we were at it have done the final board on the kitchen back wall where I had removed the remnants of the trough.
With the focus on the kitchen we spent Tuesday re-pointing the stone wall behind the trough. This went smoothly apart from where we are burying the cables for the light switches as they did not want to stay in the wall. I eventually ran a clamp in front of them to hold them in position will I filled the void with render. Pleased with the end result and glad to tick it off. With my last mix of the day I must have got some lime down my glove as when I was clearing up my hand started to burn. I have ended up with 8 separate burns around my wrist. It is very uncomfortable!
With my newly acquired knowledge of taping and jointing I have been doing that for an hour at night downstairs and then today I engaged cargeekswife to assist. We have now done 2 thirds of the kitchen with the first coat.

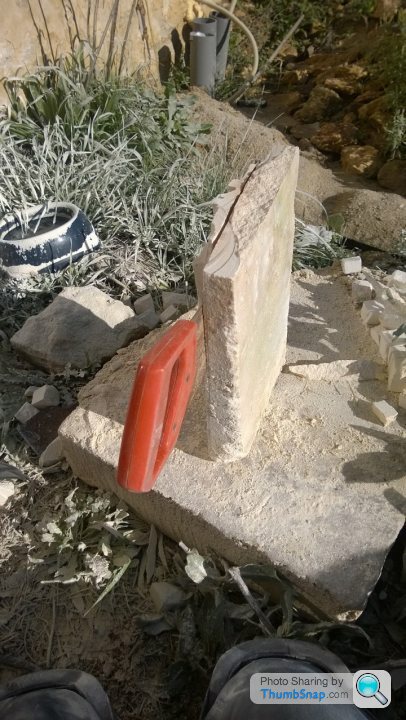
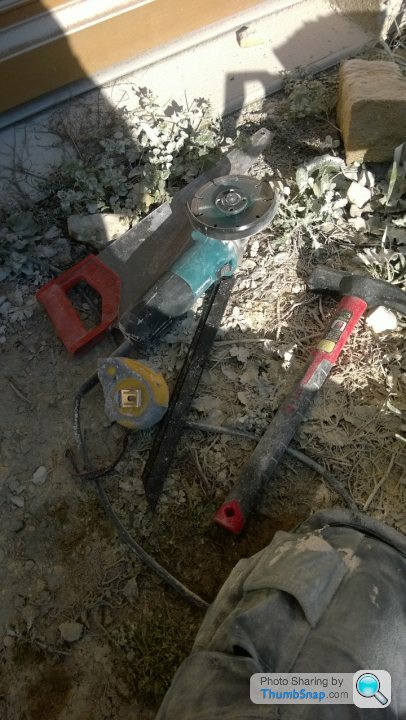
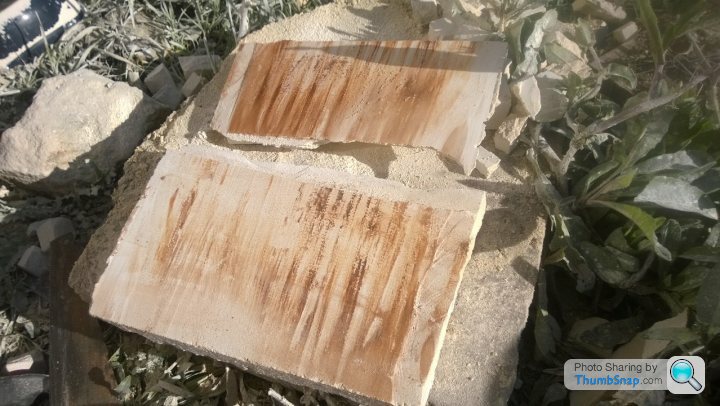
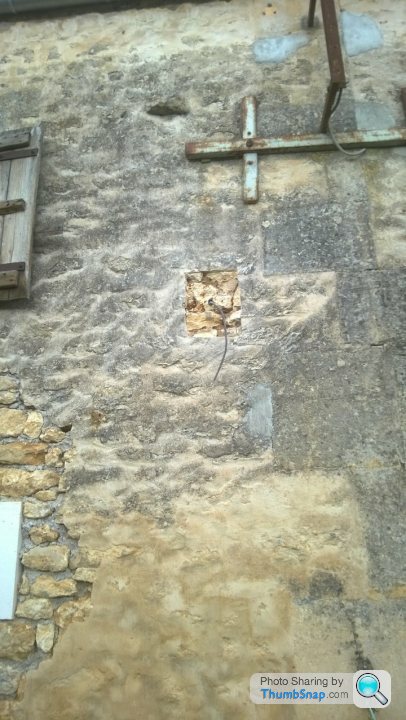
Last job to keep Wilfrid busy has been to cut out 2 sections of the front wall outside for accommodating the outside lights. He has tried to fit them but trying to mount a small fixing on a stone rendered wall is impossible. The solution is to make a cut out and cement in a flat piece of stone to affix to. We had a piece left by the stonemason when he did our windows so was great. We had planned to cut it into 4 as we need three, but on Wilfrid’s last visit he said we could only get 2 out of it. So yesterday I went searching for a third piece to use and came up empty. There was no more of it left. I found a flat faced piece of stone but it was way too deep. Out with the angle grinder and I started cutting the back off. Managed to get most of it off and then had to start sawing it. 45 minutes and I had sawn through 30cm of stone. Pleased with the result and 1 less fiddly thing to do. This afternoon while the boss was clearing I set about making the second hole in the wall. Angle grinder, cold chisel and mallet up the ladder and have a deep enough hole for it to sit in.

I’ve had a visit from Wilfrid to ask me to board out the back wall of the second bedroom so he can mount the next air con unit. While here he cast his eye over the bathroom and asked me where the light wiring was! We found it but he hadn’t moved it into the bathroom as it was just hanging in the upstairs landing amongst other wires. I thought it was the wire that was hanging in the bathroom, but this was for the towel/room heater. With this new nugget of knowledge I then had to re-route the wire into the wall and above all my ceiling rails.
To assist Wilfrid we have now boarded out the back wall of the bedroom and while we were at it have done the final board on the kitchen back wall where I had removed the remnants of the trough.
With the focus on the kitchen we spent Tuesday re-pointing the stone wall behind the trough. This went smoothly apart from where we are burying the cables for the light switches as they did not want to stay in the wall. I eventually ran a clamp in front of them to hold them in position will I filled the void with render. Pleased with the end result and glad to tick it off. With my last mix of the day I must have got some lime down my glove as when I was clearing up my hand started to burn. I have ended up with 8 separate burns around my wrist. It is very uncomfortable!
With my newly acquired knowledge of taping and jointing I have been doing that for an hour at night downstairs and then today I engaged cargeekswife to assist. We have now done 2 thirds of the kitchen with the first coat.
Last job to keep Wilfrid busy has been to cut out 2 sections of the front wall outside for accommodating the outside lights. He has tried to fit them but trying to mount a small fixing on a stone rendered wall is impossible. The solution is to make a cut out and cement in a flat piece of stone to affix to. We had a piece left by the stonemason when he did our windows so was great. We had planned to cut it into 4 as we need three, but on Wilfrid’s last visit he said we could only get 2 out of it. So yesterday I went searching for a third piece to use and came up empty. There was no more of it left. I found a flat faced piece of stone but it was way too deep. Out with the angle grinder and I started cutting the back off. Managed to get most of it off and then had to start sawing it. 45 minutes and I had sawn through 30cm of stone. Pleased with the result and 1 less fiddly thing to do. This afternoon while the boss was clearing I set about making the second hole in the wall. Angle grinder, cold chisel and mallet up the ladder and have a deep enough hole for it to sit in.

Has been slow progress with a lot of taping and jointing, finishing the bathroom ceilings and a visit from the in-laws, along with half term. With the imminent arrival of the in-laws we had to warm up another room, so spent a week keeping another wood burner roaring away which has made a dent in our wood pile but still think we will have a substantial amount left over to start on next winter.
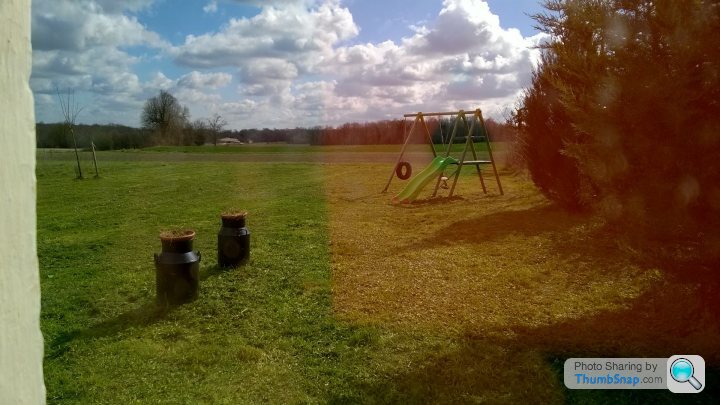
Yesterday I did the first cut of the year in the back garden. It was a nice sunny day and good to get outside again for all of us. Plus it is a bonus to not get tripped up by hidden hazards.
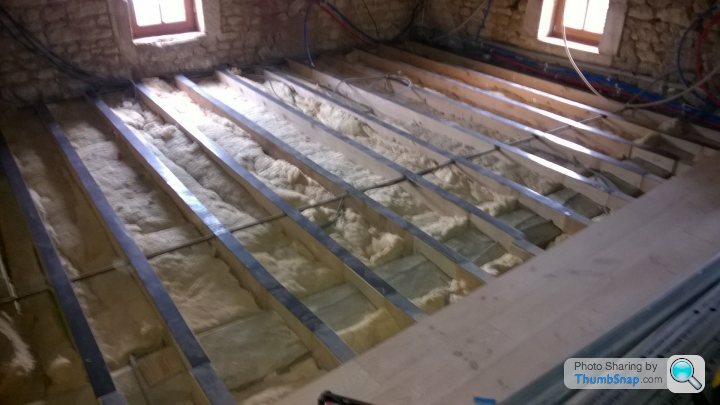
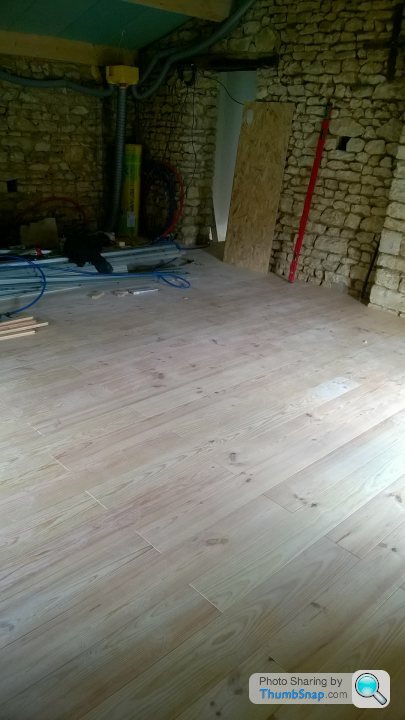
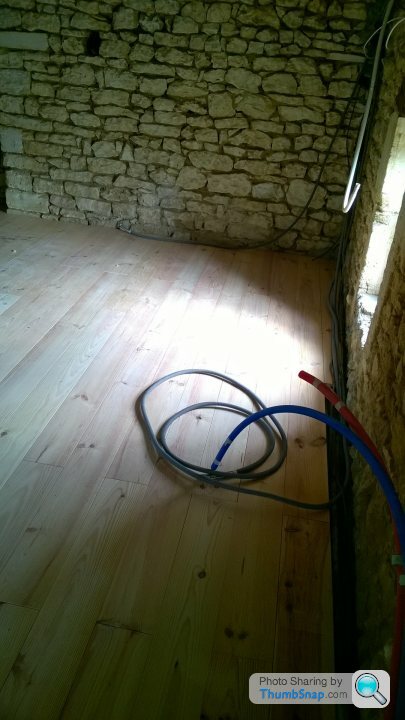
Now back to today and I made a start on the last part of the upstairs wood floors. Made ok progress and should be on target to finish tomorrow lunchtime.
Starting point this morning.
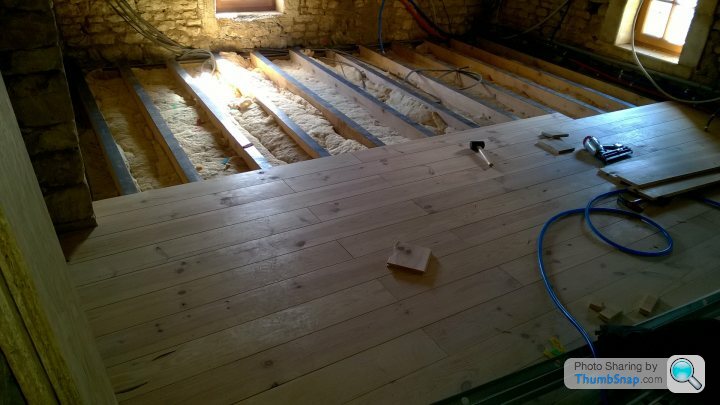
Lunchtime tools down.
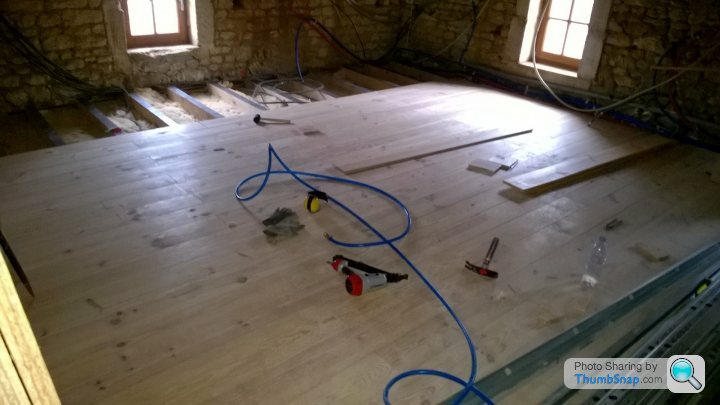
Close of play.
Had a lot of bits to drop off at the tip today including 2 very weather worn and multiple repairs doors. They must have been 3 times thicker than when they started out life with all the extra bits of wood where they have just rotted away. They have born the brunt of the weather for probably the last 50 years plus.
Yesterday I did the first cut of the year in the back garden. It was a nice sunny day and good to get outside again for all of us. Plus it is a bonus to not get tripped up by hidden hazards.
Now back to today and I made a start on the last part of the upstairs wood floors. Made ok progress and should be on target to finish tomorrow lunchtime.
Starting point this morning.
Lunchtime tools down.
Close of play.
Had a lot of bits to drop off at the tip today including 2 very weather worn and multiple repairs doors. They must have been 3 times thicker than when they started out life with all the extra bits of wood where they have just rotted away. They have born the brunt of the weather for probably the last 50 years plus.

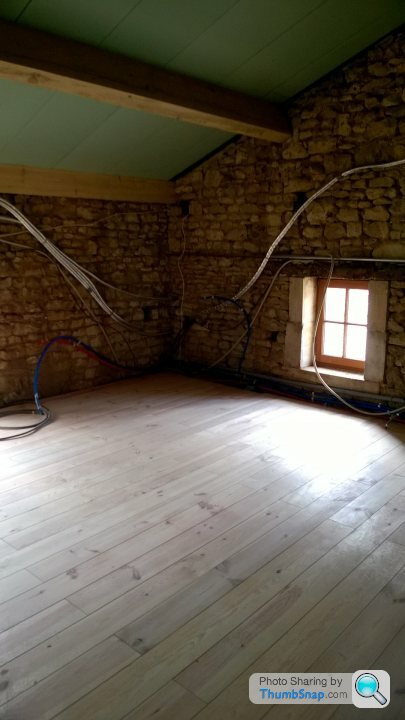
Floor has been completed this morning so have now packed up the nail gun and moved all the leftover boards out of the barn. We are lucky to have enough left to do the entrance and laundry in our own house or perhaps even Millie’s bedroom. Hopefully we have enough of the right ends of the tongue and groove to lock it all in place. If not I think it will be the biscuit jointer doing the job of locking the boards together. That is a job for after the barn is finished. A lot of the boards are warped or rough but will make the best use of them that we can.
Not sure on the plan of action tomorrow, but I do want to get the water heaters upstairs to line up some plumbing. It is either that or start putting some metal rails up for the rooms over the other side. Glad there is only 1 bathroom on this side to put a false ceiling in.
Not sure on the plan of action tomorrow, but I do want to get the water heaters upstairs to line up some plumbing. It is either that or start putting some metal rails up for the rooms over the other side. Glad there is only 1 bathroom on this side to put a false ceiling in.
Gassing Station | Homes, Gardens and DIY | Top of Page | What's New | My Stuff