My *VERY* diy garden kitchen build, BBQ and pizza oven heavy
Discussion
Hey,
So last weekend I finally started my garden kitchen build, its going to be quite a beast.
I am basically planning to build 2 1/2 walls out of block work, one of which will be retaining part of a hill, I will then build the kitchen units, pizza oven base and table base also in block. The walls will be rendered and painted a nice dark colour, (thinking terracotta red or graphite grey at the moment), and all of the kitchen units, and table base will be clad with slate.
The worktop and table top will be distressed and varnished scaffold boards, and I may even try and do something funky with leftover wood off cuts on the left hand wall, but this is yet TBC.
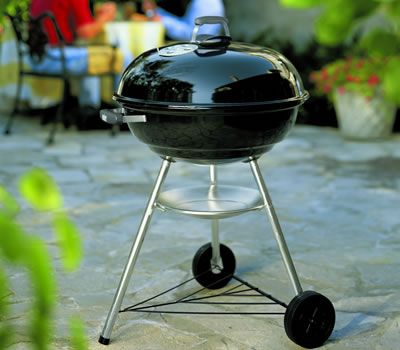
So, going in we have, for charcoal cooking, a Webber compact 47 sunken into the worktop:
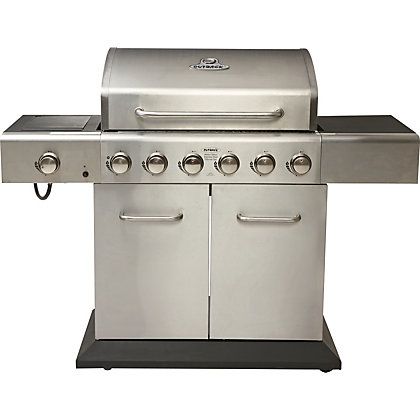
A Coleman 6 burner stainless steel gas BBQ
A 100cm wood fired pizza oven
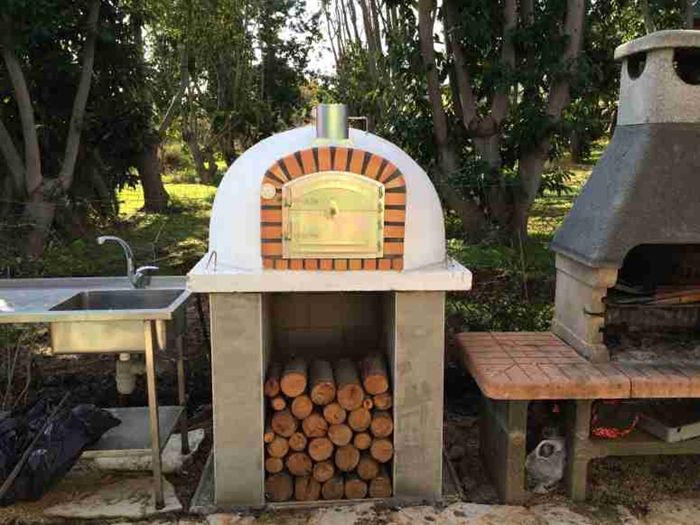
And something I cant picture yet as its been built custom for me, but a 70cm by 30 cm gas fire pit for the centre of the dining table.
I also have a twin stainless steel under mount sink and pump tap, main reason for these is to use as a ice bucket for beers.
All of this is going to be finished off with a thick and durable waterproof canvas cover hanging off 200x200 wooden beams, this will enable me to remove it in the summer, and use it for cover in the winter.
And to top it off, I have never built anything more than a ikea bookshelf before..... wish me luck!
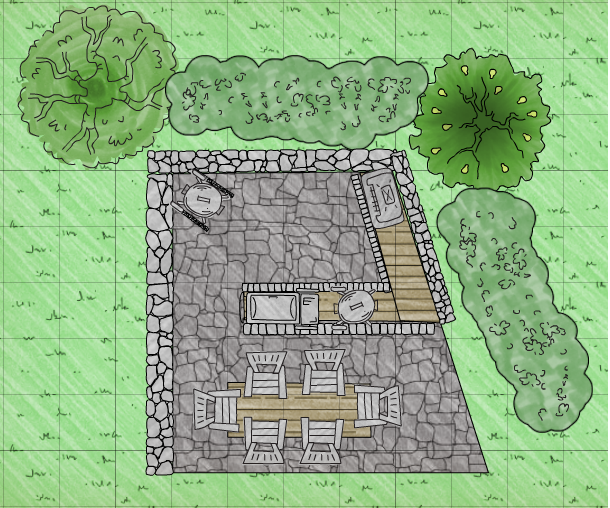
Here is a plan I mocked up, that's supposed to be a pizza oven in the corner and the 2nd grill on the right is the double sink.
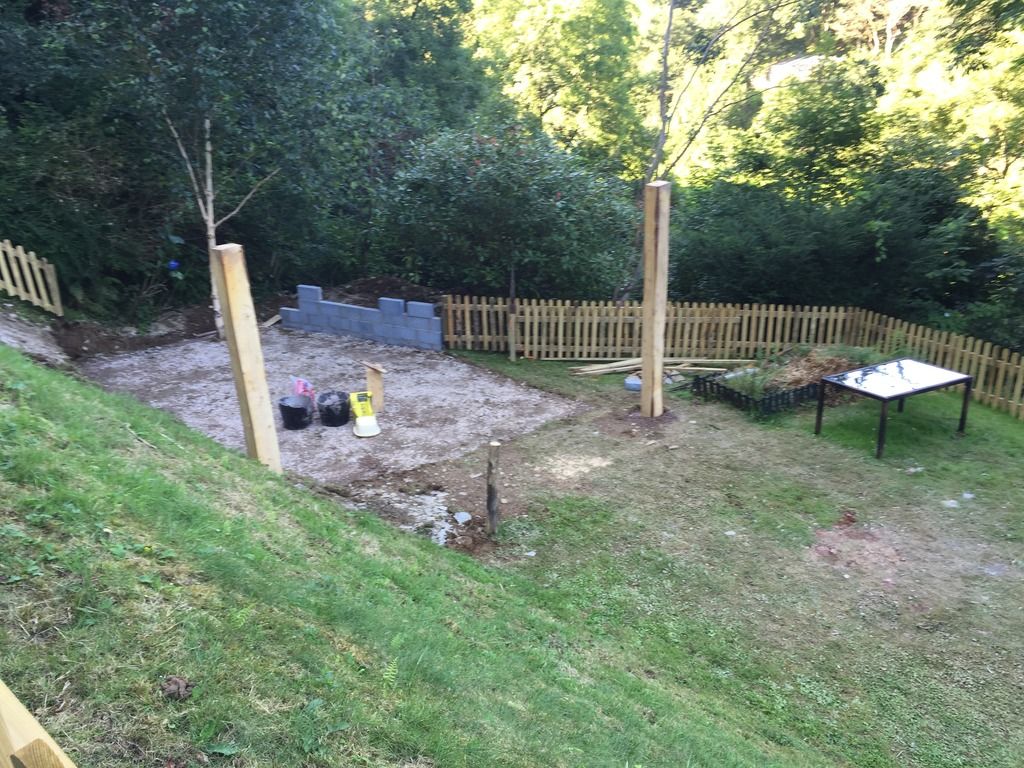
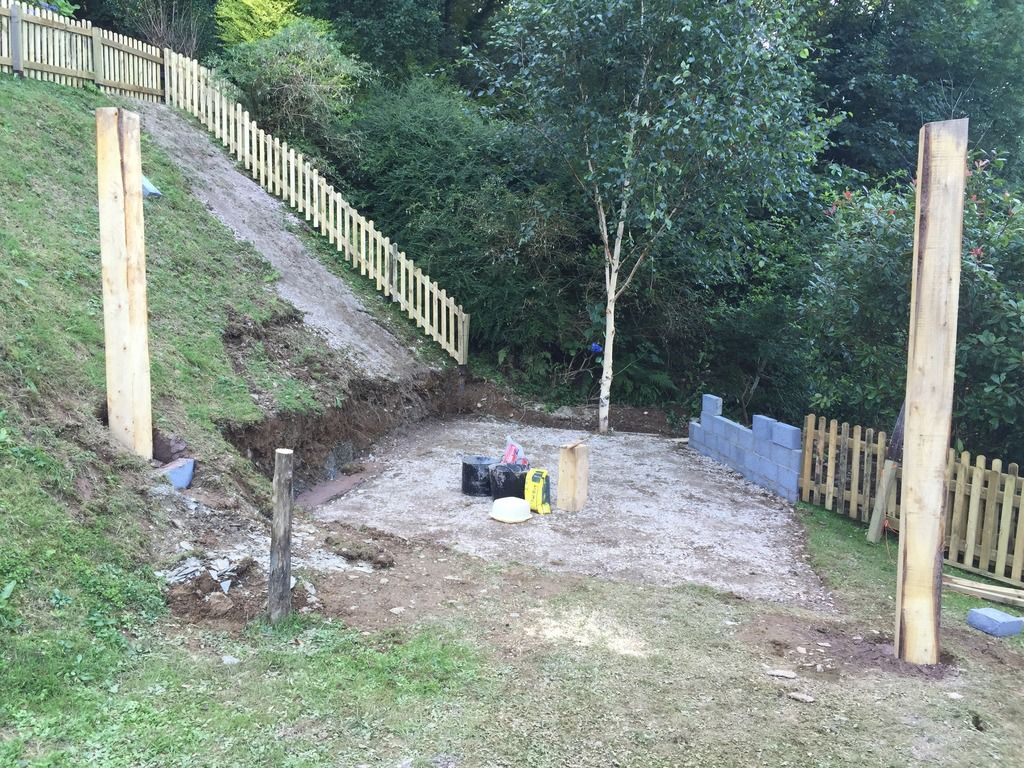
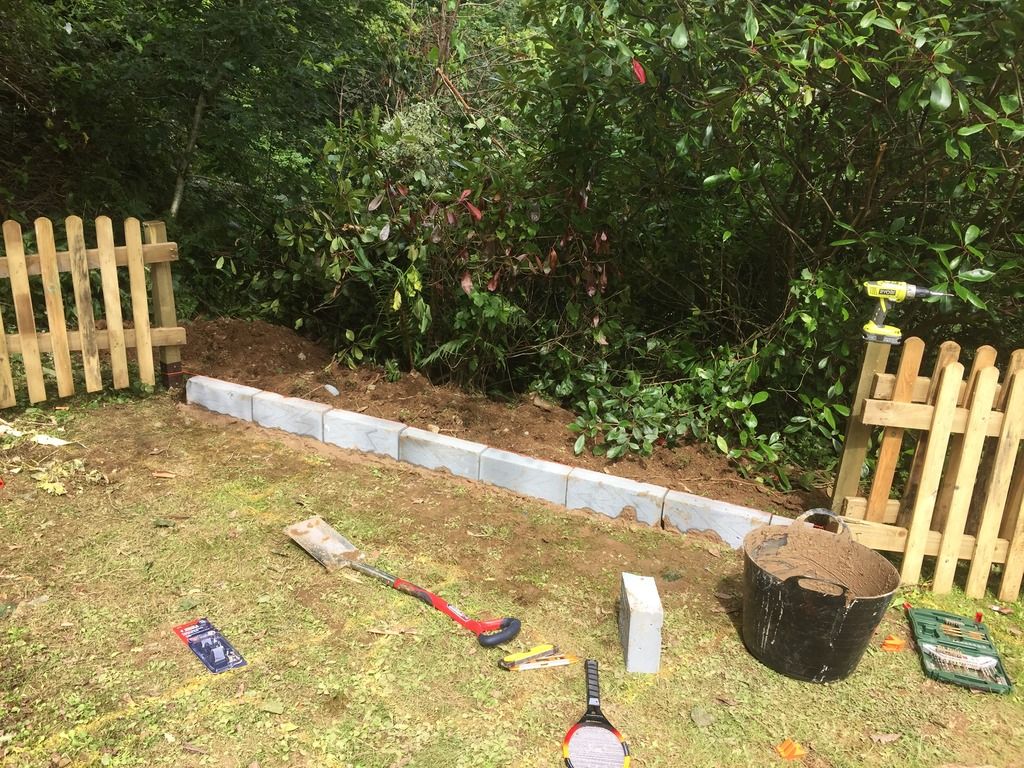
And this is where it's going:
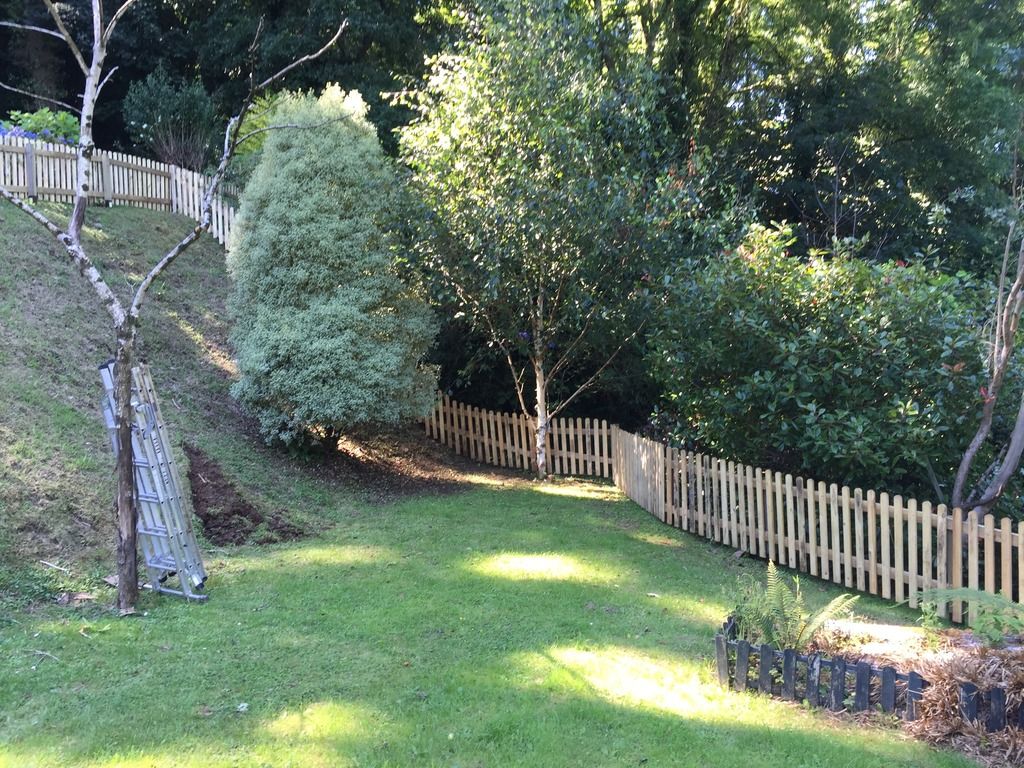
Made a start already, but a lot more progress this weekend I hope!
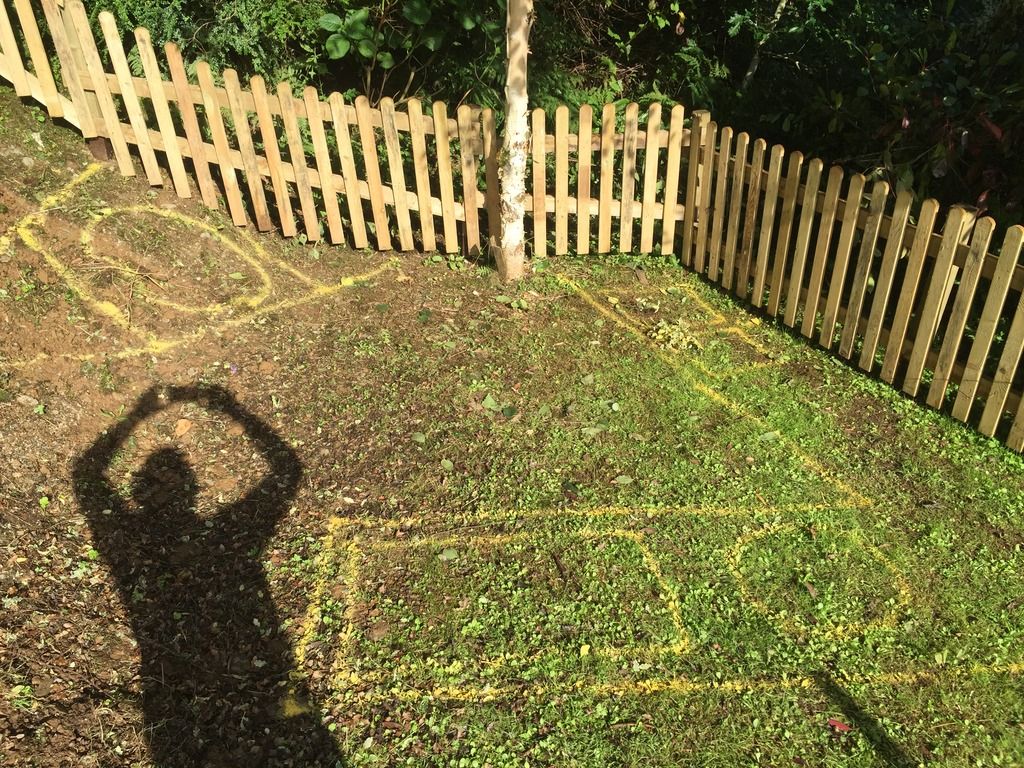
Any comments or changes you would make much appreciated as nows the time to make any changes!
Thanks!
So last weekend I finally started my garden kitchen build, its going to be quite a beast.
I am basically planning to build 2 1/2 walls out of block work, one of which will be retaining part of a hill, I will then build the kitchen units, pizza oven base and table base also in block. The walls will be rendered and painted a nice dark colour, (thinking terracotta red or graphite grey at the moment), and all of the kitchen units, and table base will be clad with slate.
The worktop and table top will be distressed and varnished scaffold boards, and I may even try and do something funky with leftover wood off cuts on the left hand wall, but this is yet TBC.
So, going in we have, for charcoal cooking, a Webber compact 47 sunken into the worktop:

A Coleman 6 burner stainless steel gas BBQ

A 100cm wood fired pizza oven

And something I cant picture yet as its been built custom for me, but a 70cm by 30 cm gas fire pit for the centre of the dining table.
I also have a twin stainless steel under mount sink and pump tap, main reason for these is to use as a ice bucket for beers.
All of this is going to be finished off with a thick and durable waterproof canvas cover hanging off 200x200 wooden beams, this will enable me to remove it in the summer, and use it for cover in the winter.
And to top it off, I have never built anything more than a ikea bookshelf before..... wish me luck!
Here is a plan I mocked up, that's supposed to be a pizza oven in the corner and the 2nd grill on the right is the double sink.

And this is where it's going:

Made a start already, but a lot more progress this weekend I hope!


Any comments or changes you would make much appreciated as nows the time to make any changes!
Thanks!
Edited by sidekickdmr on Wednesday 10th August 17:42
scottri said:
Bookmarked. Looking forward to this. My only suggestion is to run some power to the kitchen area for lighting, music, beer fridge?
Yes I forgot to mention this, I didn’t want to run full electrics as I’m already near the very top of my budget and the armoured cable (Its about 50 meters from the house) and electricians time wouldn’t be cheap. But I have just yesterday purchased 4 LED spotlights and 2 hanging lights all based off a low voltage 12V system, so no need to armour the cable, all completely DIYable, and can be added to at any time. There may even be scope for a couple of USB ports somewhere for a phone charger and speaker power cable.
Make sure your cable is adequately sized, if you've got the transformer in the house and then the usual bell wire type stuff they come with then you'll have problems if you've got a long run.
You could DIY the cable/conduit run if you went 230v SWA and get it terminated by an electrician instead.
You could DIY the cable/conduit run if you went 230v SWA and get it terminated by an electrician instead.
sidekickdmr said:
roofer said:
Are they lightweight blocks in the ground ?
They are but they do say suitable for walling and foundations.....I'm only going by the blurb, it also says foundations on the Ceylon site, I hope this is right!
"Celcon Standard grade is extremely versatile and can be used below DPC as infill for Beam and Block flooring systems, as well as above the ground in walling applications
Extremely versatile
Water resistant
Frost resistant
Infill for beam and block floors"
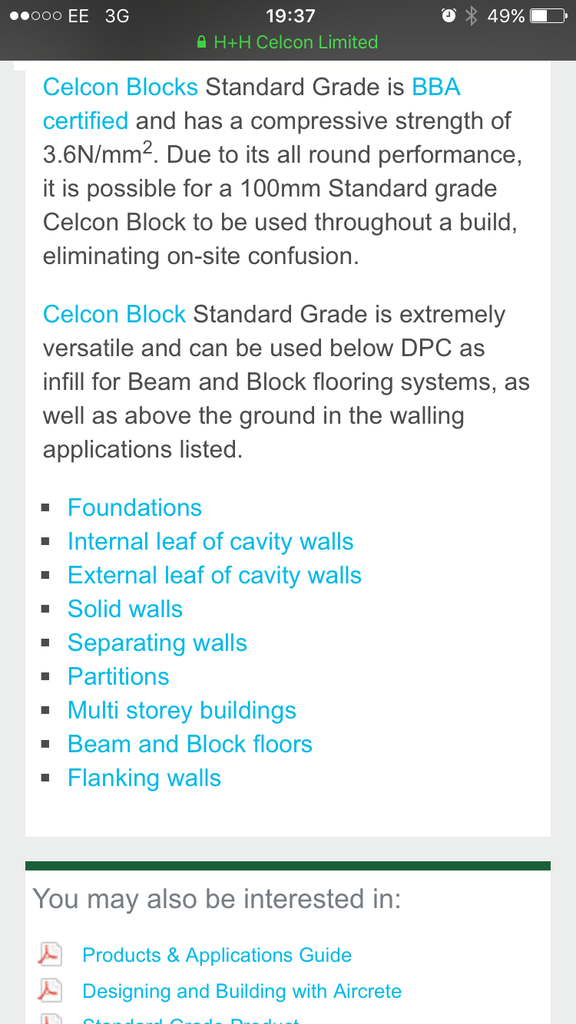
"Celcon Standard grade is extremely versatile and can be used below DPC as infill for Beam and Block flooring systems, as well as above the ground in walling applications
Extremely versatile
Water resistant
Frost resistant
Infill for beam and block floors"

Foundations?
You can't expect bricks/blocks to stay level and straight without some sort of firm footing/foundation.
You'll be sadly disapointed if you get your build nice and level, flat and smooth - only to find that after a couple of seasons of the ground expanding/contracting through being wet/dry and hot/cold all your walls are looking like a miniture version of The Great Wall of China having moved up & down and from side to side.
Squiggs said:
Foundations?
First job this weekend is to pour a little more concrete into the trench and beef the foundations on the other 2 walls when installing. The trench is quite deep and i cant see them going anywhere in a rush, they will also be supported by the kitchen "units" which will make the wall 3d and supported on all 4 sides.Rutter said:
Looks good, wish I had the space for similar. How are you going to manage air flow to the bottom of the Weber if you are building it in?
The compact 47CM doesnt have a bottom vent to the same extent of the larger webers, so im going to try it out and worst case will just remove a block at the back wall. Just an observation. The prep. space between the pizza oven and the webber is a tight corner. Going to get awful hot in there if both are fired up!
Maybe add portable island in the middle? Something that can be wheeled out for the summer and stored in winter? Something akin to a butchers block?
Edit: And the webber, does that sit "in" the top or just within a hole with an airspace between the bowl and the top? Just thinking about scorched timbers.
Edited by 21TonyK on Monday 15th August 10:21
Gassing Station | Homes, Gardens and DIY | Top of Page | What's New | My Stuff


