1:250 HMV Paper model 'Bussard'
Discussion


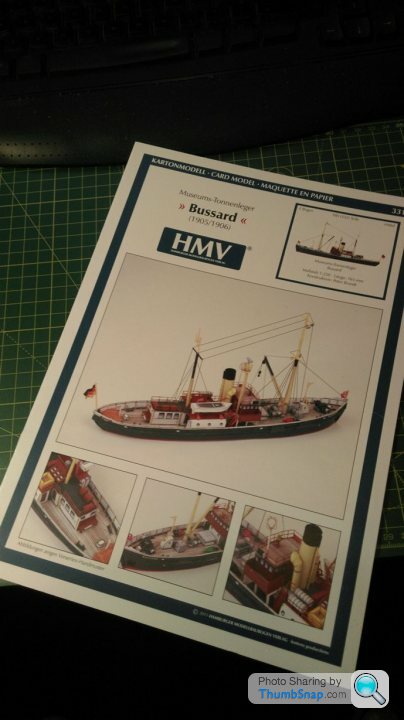
Well having been inspired by the threads on here I've decided to give one of these paper model ships a go  I went for the HMV 'Bussard' as it seemed like a good model for a beginner and should build into quite a nice little ship.
Some of the tiny pieces look a bit daunting though...! But I look forward to the challenge I also thought showing my progress on here might encourage me to actually finish it rather than getting distracted and leaving it to gather dust like most of my half started model projects! 
Anyway - here we go...
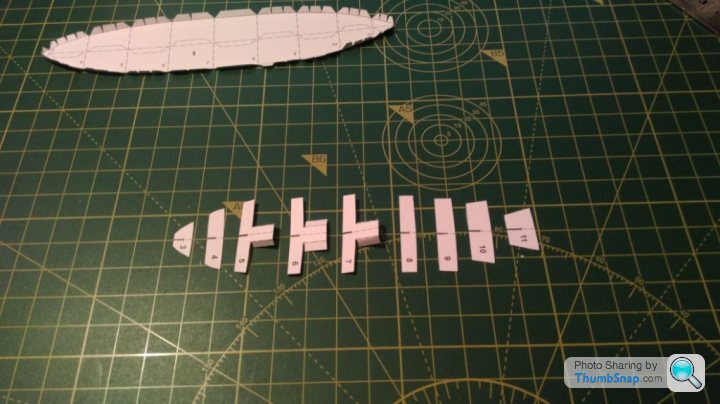
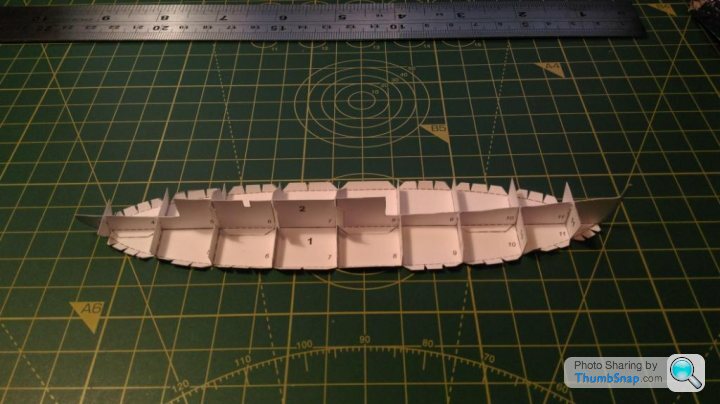
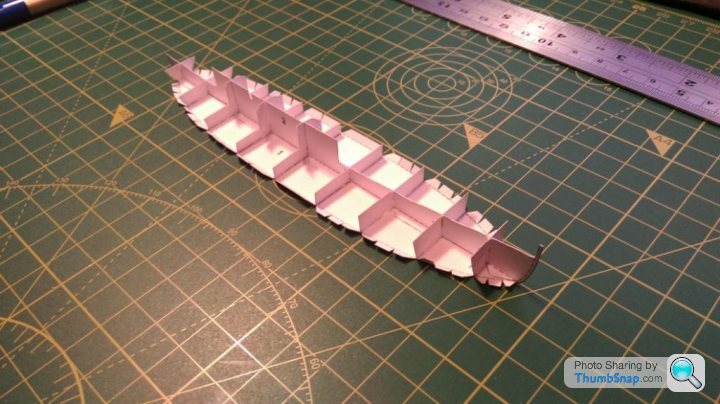
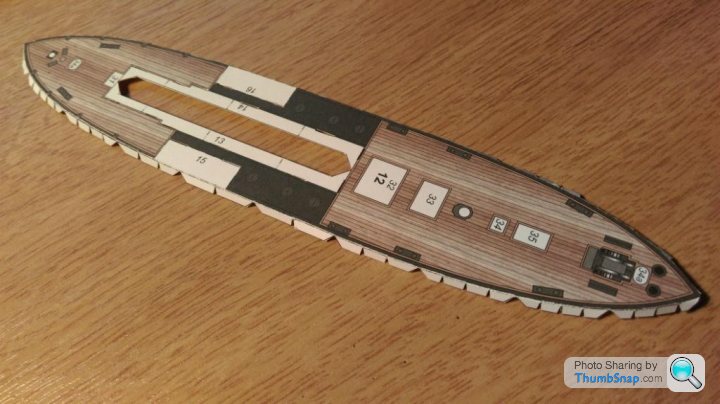
So far I've just cut out the base and longitudinal section:
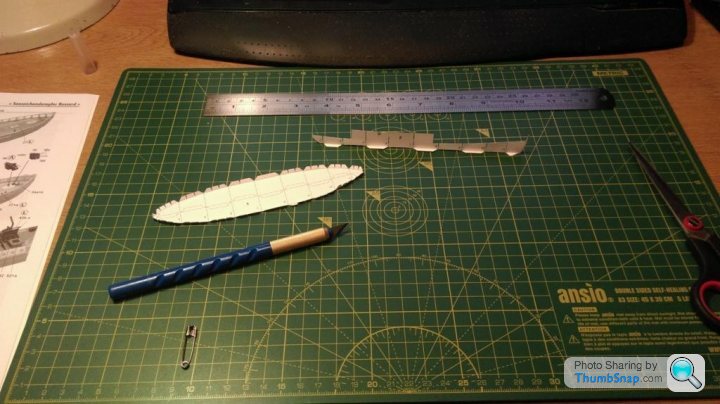
Next up will be all the bulkheads. Enjoying it so far...!
I went for the HMV 'Bussard' as it seemed like a good model for a beginner and should build into quite a nice little ship.Some of the tiny pieces look a bit daunting though...! But I look forward to the challenge
I also thought showing my progress on here might encourage me to actually finish it rather than getting distracted and leaving it to gather dust like most of my half started model projects! Anyway - here we go...
So far I've just cut out the base and longitudinal section:
Next up will be all the bulkheads. Enjoying it so far...!
AJLintern said:
Well I was considering it - depends how I get on with the initial stages. If I cock it up and it looks a bit pants then I might save the laser cut stuff for when I've improved my technique!
It's a shame it's all copyright, otherwise you could duplicate the trickiest parts to use as test assemblies without ruining the original. Oh well.AJLintern said:
I should have thought of that before starting to cut bits out...! 
If it wasn't copyright, you could put the cut-out parts on a plain white backing...I assume you can probably get exactly the right weight/thickness of paper from Hobbycraft?
Edited by dr_gn on Saturday 21st January 23:21
I spoke to the guys from HMV at the Telford show a while ago. They recommended UHU, which is strange because it's pretty much impossible to use on anything but the largest pieces; way too stringy and thick. They didnt recommend PVA because it can wrinkle the paper. This is true to a degree, but having scrapped a couple of parts while initially using UHH, I quickly switched to PVA for all parts. PVA also allows some adjustment before it grabs, and some types can be re-dissolved with water if something needs dismantling. I use Formula 560 canopy glue.
I expect all but the thickest super glue would soak into the paper, and possibly not form a bond. Would be difficult to adjust part fit too if the bond was instant.
I expect all but the thickest super glue would soak into the paper, and possibly not form a bond. Would be difficult to adjust part fit too if the bond was instant.
AJLintern said:
I just made sure I applied the PVA sparingly so as to avoid it soaking in too much. Once it has bonded in position I can always add a little here and there for additional strengthening if necessary.
Yes, you can also dilute it slightly with water, and apply with a paint brush. This is really useful for wicking around small joints to strengthen them.AJLintern said:
Am I correct in thinking that the random extra life rings, hatches etc are to be cut out and stuck over those on the adjacent parts to give a double thickness...? 
That's what I do, unless they are included in the laser-cut stuff. If you very carefully edge them in black, it gives a bit more depth if necessary.
Worth taking your time with deck and hull sides. If you get any misalignment it's game over. You could try assembling these bits dry, with small strips of de-tacked masking tape. When you're happy with the fit, then carefully peel back the deck until you can progressively add glue to the insides.
It's the most critical bit of the whole model.
It's the most critical bit of the whole model.
Yes I'm double checking the fit at every stage before gluing anything. All the cutting and scoring takes a long time when working at the accuracy necessary for it to go together properly, so it pays to plan things out carefully.
Had my first really fiddly bit to deal with today, and it wasn't even shown in the manual - a locker which is attached to one of the deck house walls:
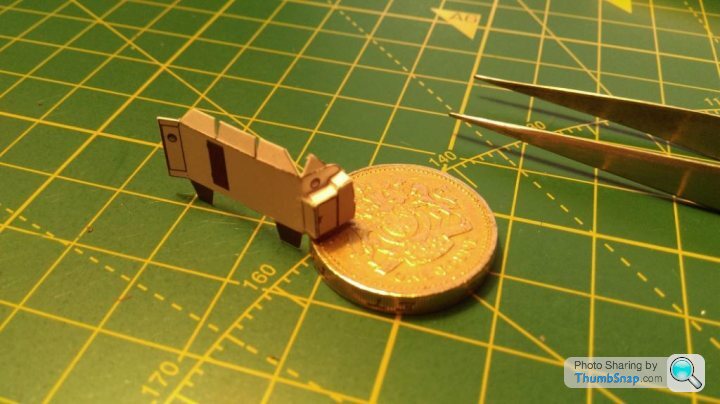
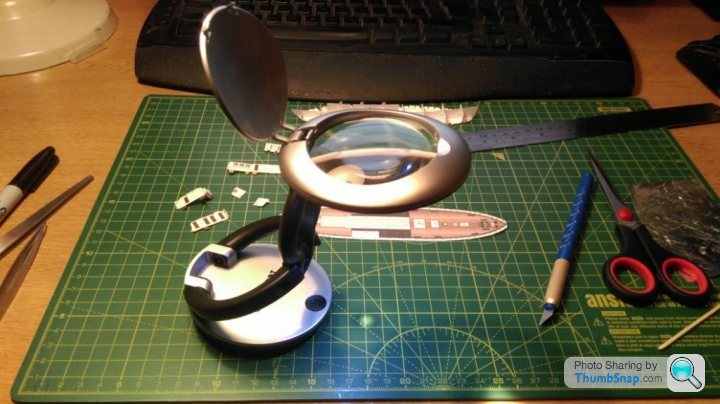
I bought this cheap little illuminated magnifier which is proving very useful for the small bits:
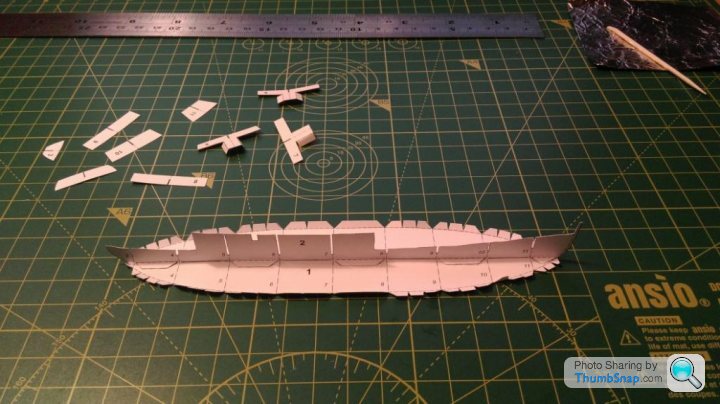
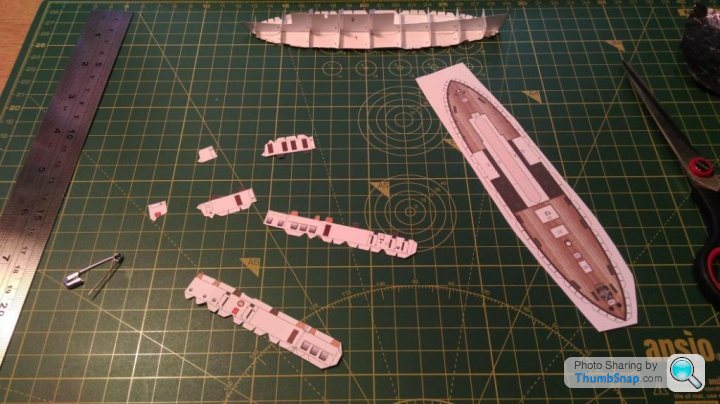
Trial fitted the deck onto the hull structure and it seems to fit pretty well:
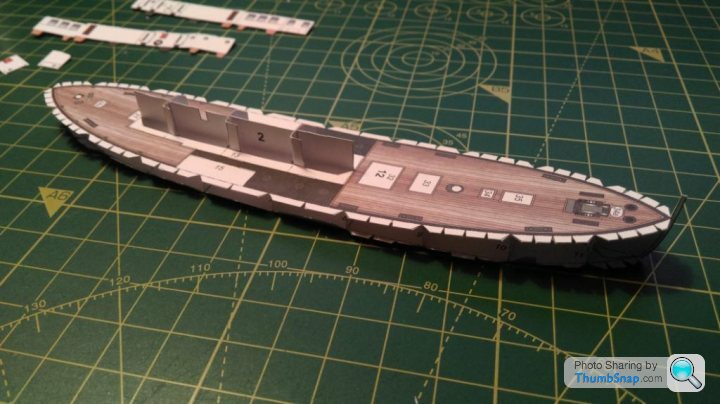
All the parts for this section are ready to be glued on now, but I think I'll leave that for another day!
Had my first really fiddly bit to deal with today, and it wasn't even shown in the manual - a locker which is attached to one of the deck house walls:
I bought this cheap little illuminated magnifier which is proving very useful for the small bits:
Trial fitted the deck onto the hull structure and it seems to fit pretty well:
All the parts for this section are ready to be glued on now, but I think I'll leave that for another day!
Gassing Station | Scale Models | Top of Page | What's New | My Stuff