Supercharged K24 Honda Elise
Discussion


Hello All,
I've posted this on SELOC but thought I'd give it a go on here if anyone is interested, this first post covers everything I've done since September 2015 so apologies if the time line is a bit confusing and I've not corrected some of the wording as it's copied straight from the SELOC thread.
I've wanted to do a major car based project for a few years, I've considered Cobra's and a 32 Ford hot rod copy etc but having done the research on these options it became clear that the money I would need to spend to get one of these finished to the standard I wanted would prove extremely prohibitive. So I ran few nice dailys to keep me interested, 300bhp Focus ST followed by a VXR8.
Usual story I had to settle down and buy a house. With this now sorted it's time to get something exciting back in the garage!
I've only been out in an Elise a couple of times, a very early S2 when they were brand new, which to be honest left me a little cold, and then a friends Honda converted S1, that more than hit the spot.
A few months later and the same friend had gone in to business servicing Lotus' and carrying out Honda conversions.
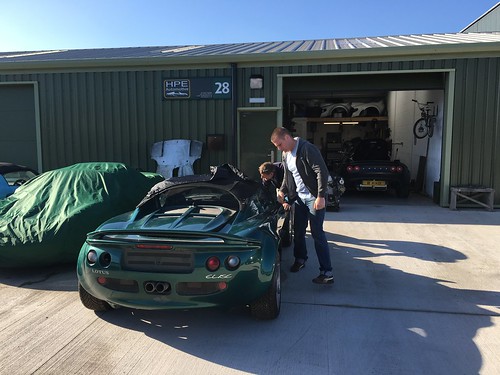
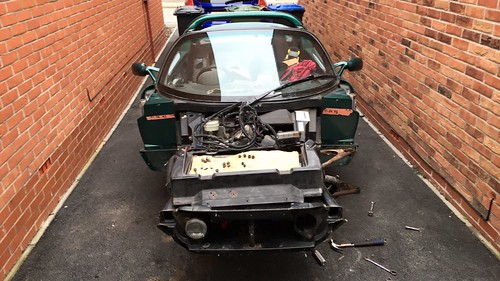
Fast forward to September 2015 and after visiting HPE a few times I started hanging my nose over a rather forlorn looking S1 parked outside.
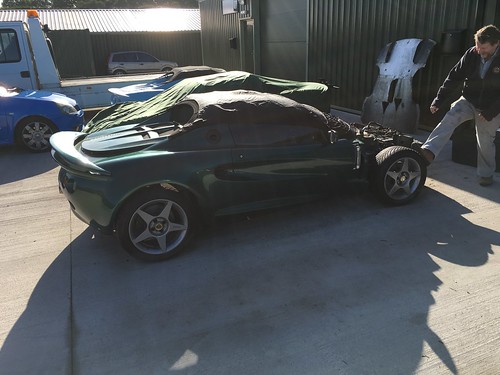
September 2015 I plucked up the courage and the funds to make an offer on what turned out to be Gaz of Spitfire Engineering's car.
A few chats later and a deal was done!
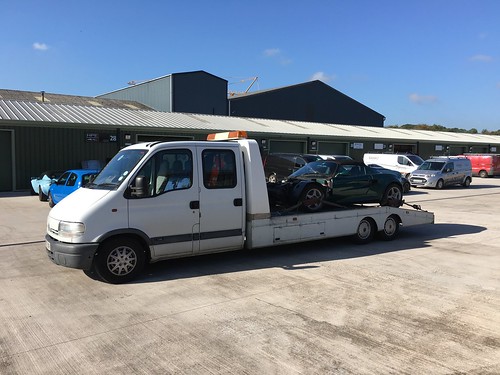
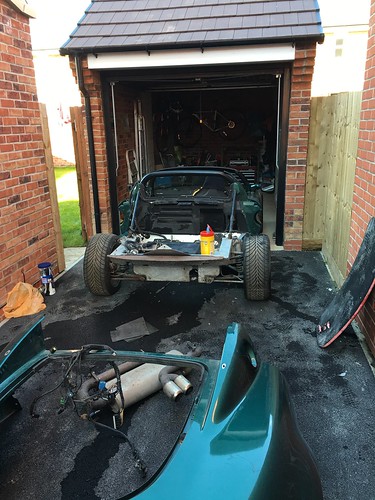
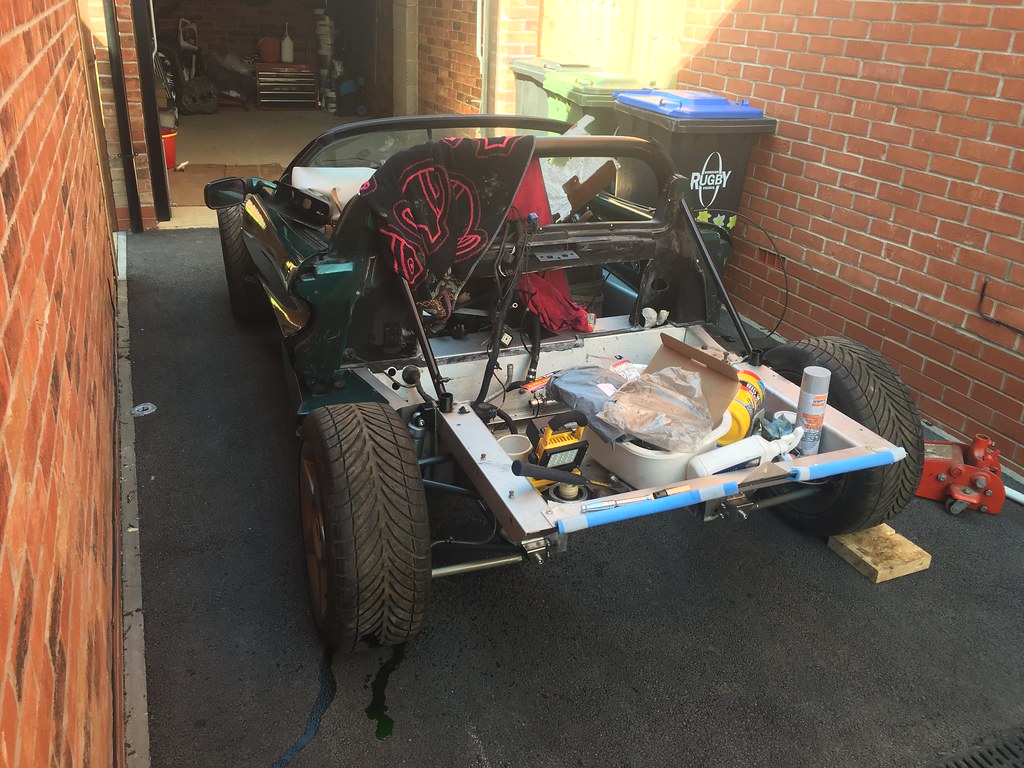
Today was the big day and I ventured over to HPE with a mate and a truck.
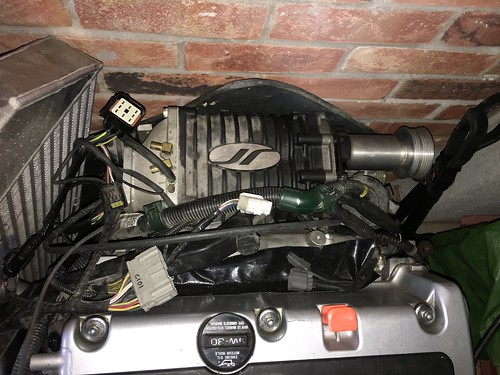
The car is going to be running a K24A2 with JRSC.
All the difficult oily bits on the engine have already been done, K20 sump and oil pump, cam retard kit, supercharger bolted up etc.
The gearbox is out of a UK Type R and has a custom FD, japanese 4th and 5th etc so should be a very tractable bit of kit when it's finished, geared for 45/75/102/133/166/217.
The plan is to get the mechanicals up to scratch run the car for a bit and then take it off the road and do the cosmetics (of which there's quite a bit to do) at a later date.
Once the car was at homeI decided to get cracking with a few bits
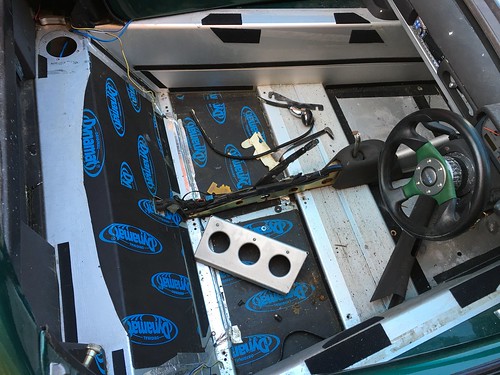
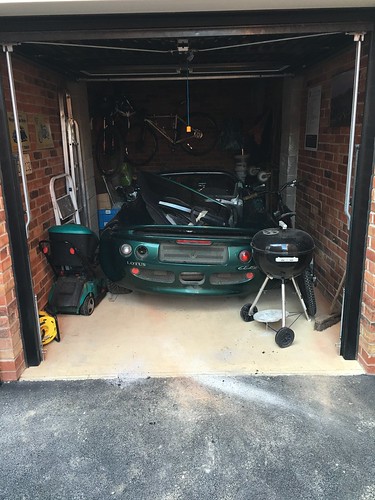
Luckily everything fits back in the garage too!

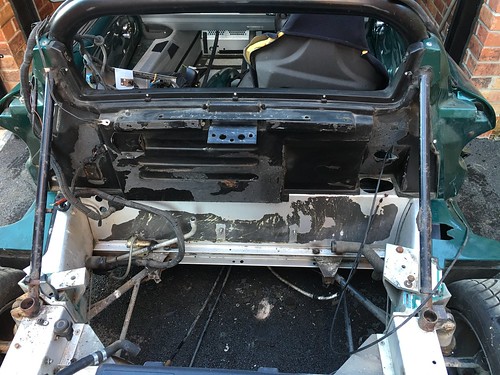
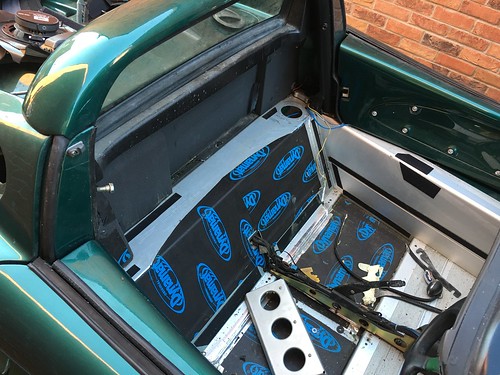
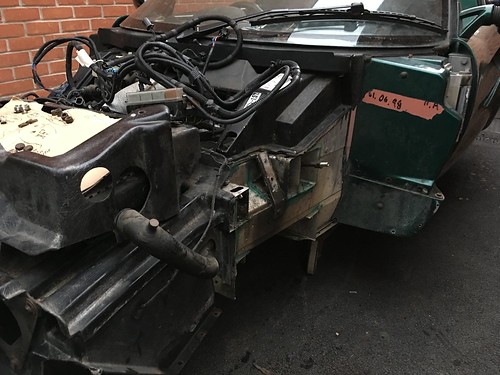
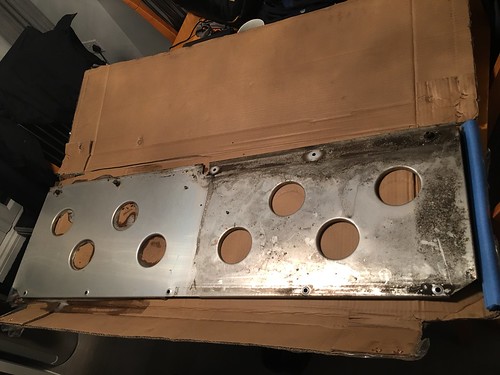
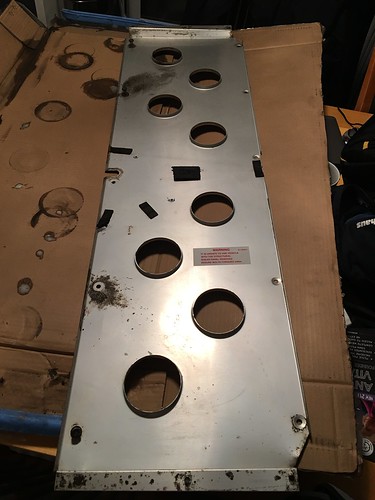
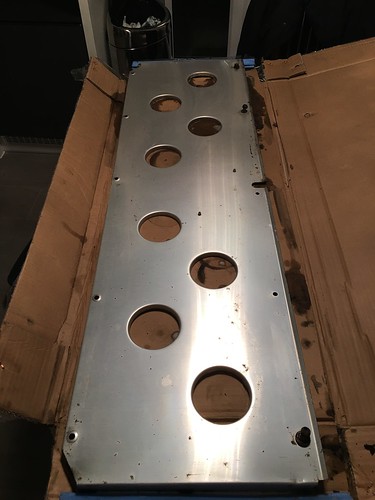
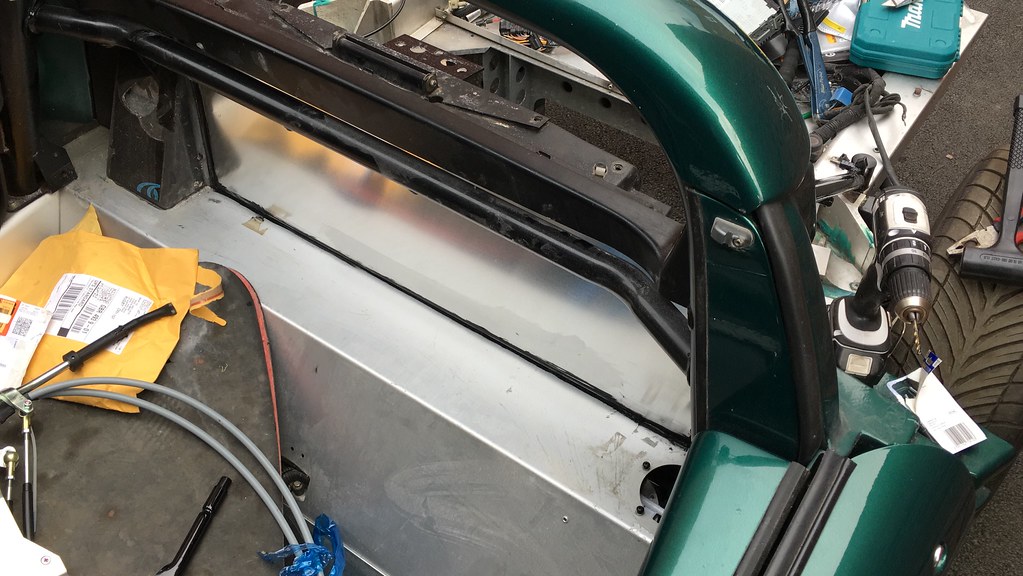
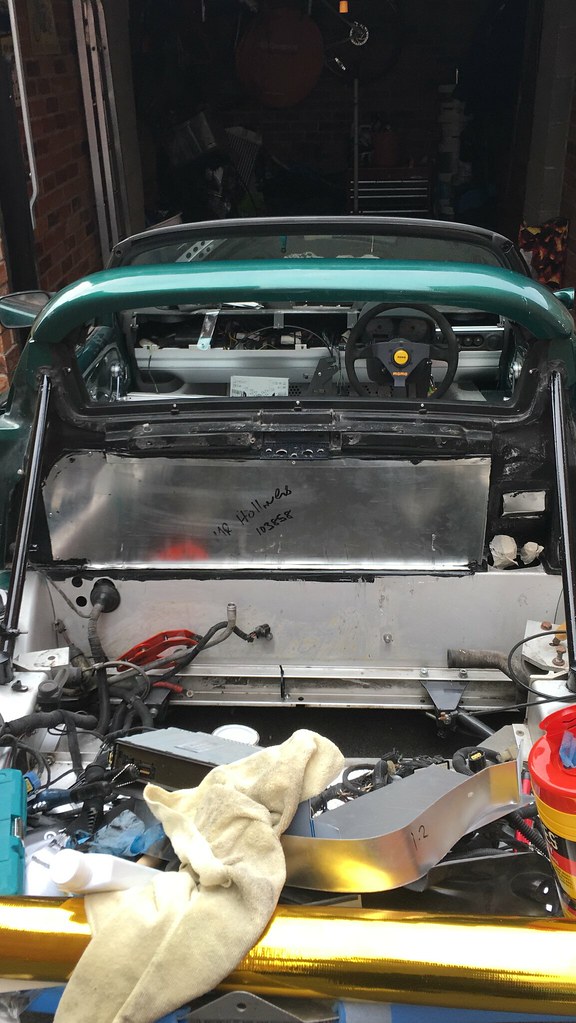
The fuel tank panel is in excellent condition with a couple of 5p sized bits of corrosion. I'll have another go at removing the adhesive on the panel but as it'll all be covered I'm not going to loose any sleep over it.
The powertrain is a brand new Honda K24 from an Acura with a JRSC blower mounted on top. Although have both been sat for the best part of 10 years.
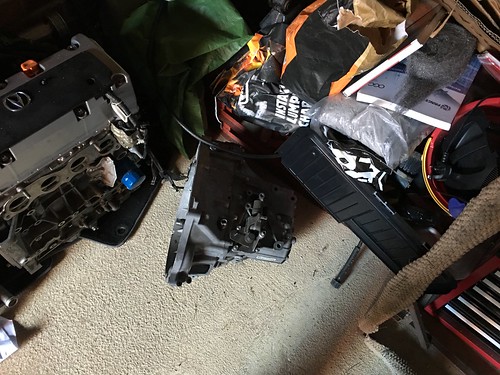

Apparently a rail freight train had an accident while carrying brand new Acura's over in the states, engines were removed and a less than delivery mileage K24 was purchased and ended on a boat coming across the pond.
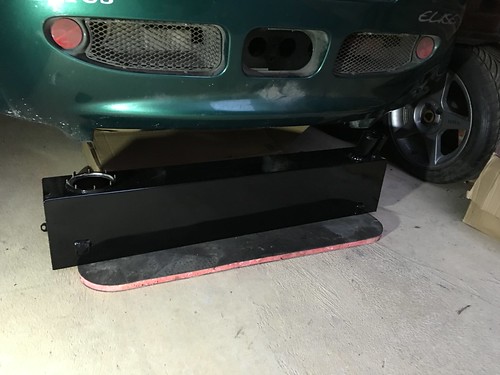
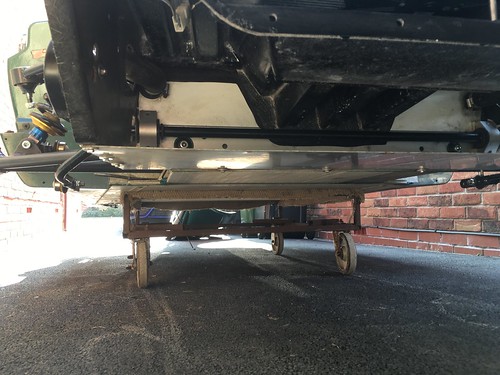
I was very lucky and got given this trolley to get all four corners in the air.
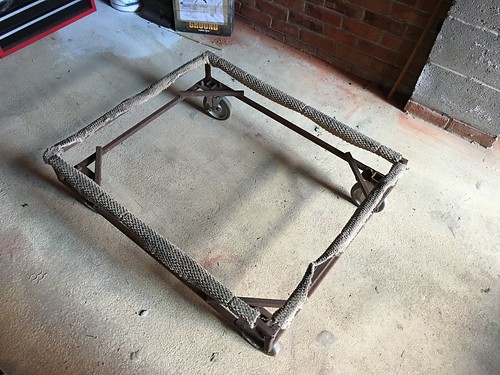
This will make the suspension refurb much easier before I start the engine install.
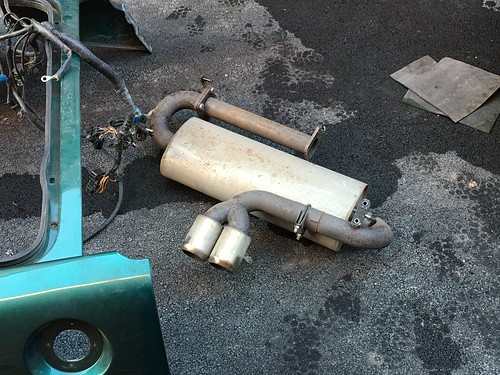
This was the old back box that ended up on eBay.
I went and bit the bullet and went past the point of no return as far as a engine conversion goes.
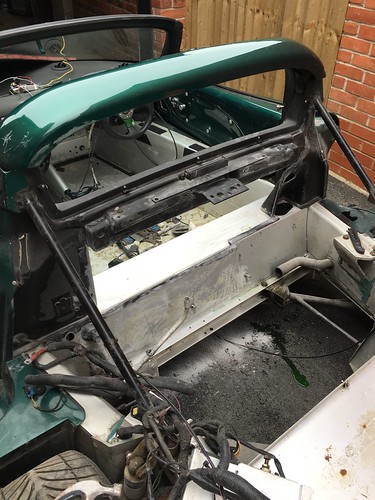
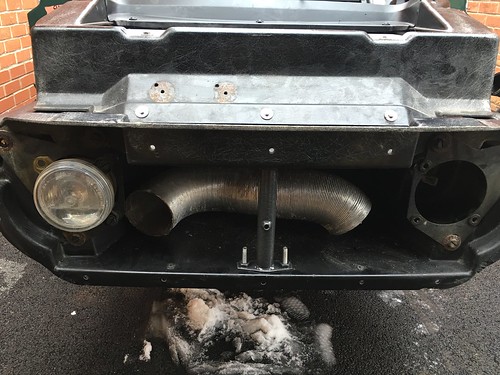
Engine bay ventilation sorted.
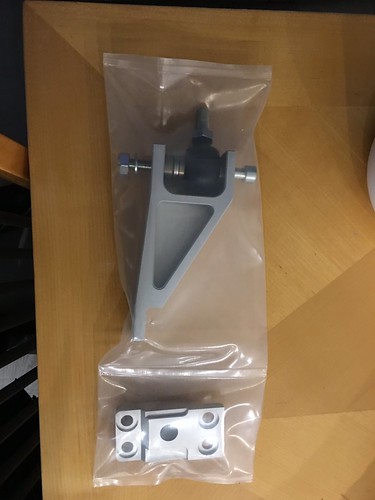
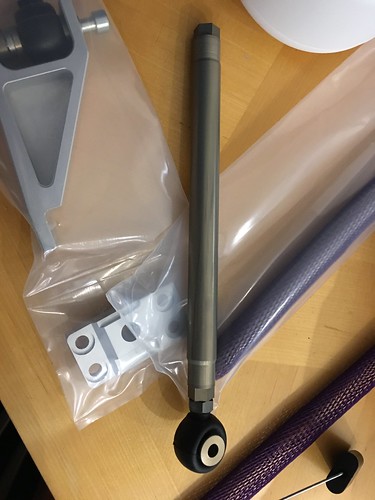
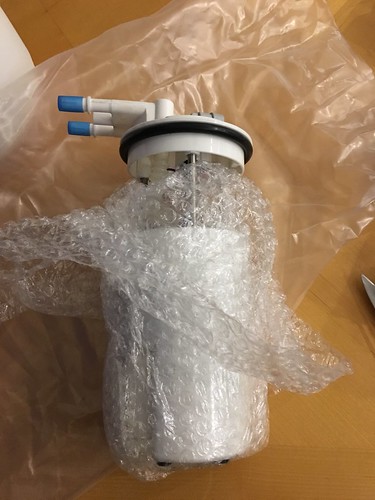
Had a few pre-Christmas presents in the form of uprated fuel pump and toe link kit, both from Spitfire engineering.
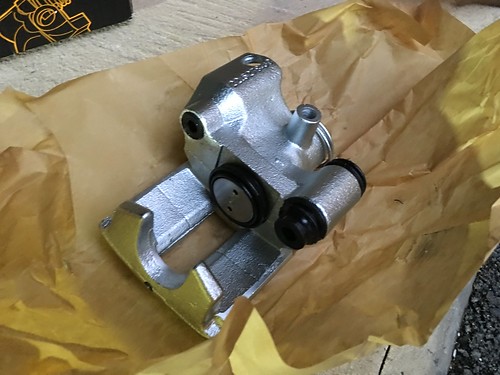
I struggled for a bit finding a firm that would refurb the rear calipers, there is a DIY kit but looks like a nightmare so happily I was able to ship them off to TRW via a local motorfactors and was very pleased with the result.

Original S1 fuel tank powder coated.
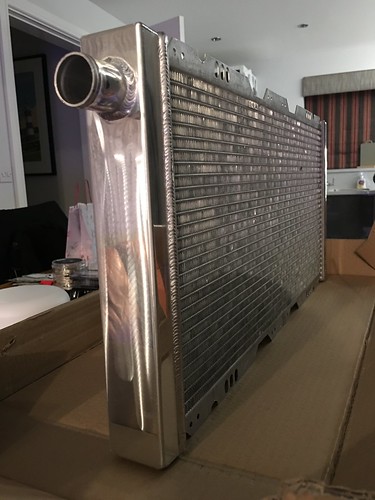
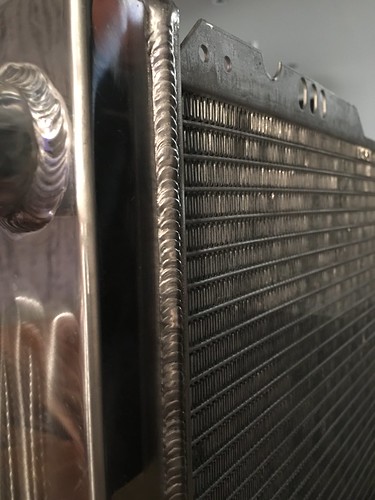
Nice new aluminium radiator, slightly thicker than standard but Honda's run pretty cool so no need to go overboard.
Nitrons cleaned up which now look great.
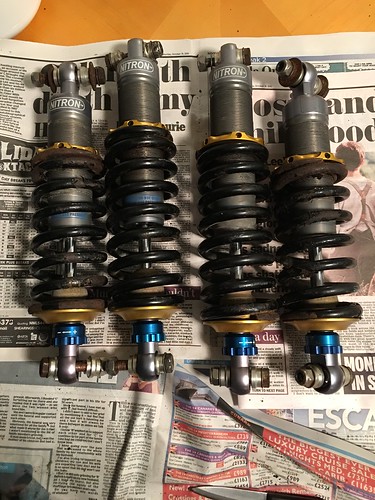
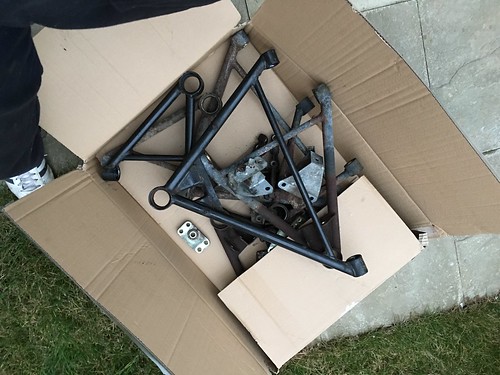
Suspension system fully stripped


I was left with a box ready to head off to powder coat.
I went with charcoal with a hint of metallic. It's exactly what I was looking for and I'm really happy with the finish. A big thumbs up for Washfords in Redditch.
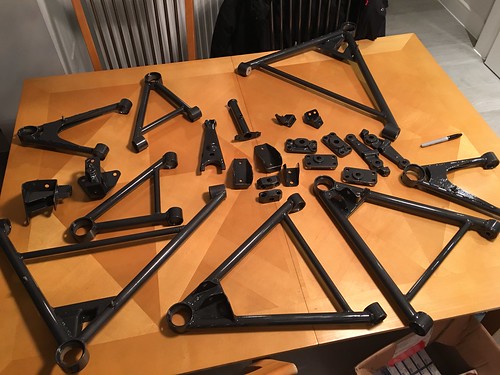

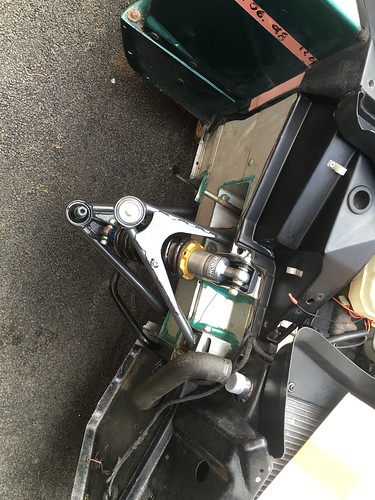
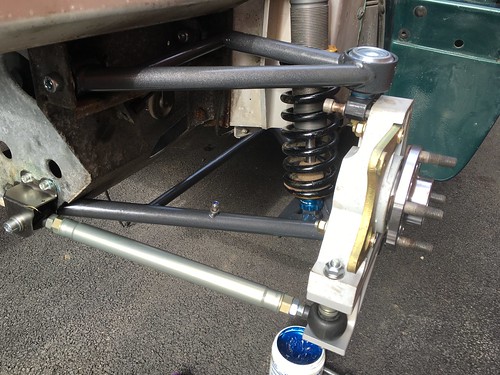
I picked up a set of HPE's custom spherical bearing kits so assembly of the wishbones could start.
So... Why did I decide to use spherical bearings?
Firstly I think it's important to point out that at this point I've never driven an Elise!
The Honda S1 had a bearing kit and I didn't think the ride was any worse than I expected from a car of this type. So I didn't have preconceptions about ride quality although I was being swayed by the numerous topics on SELOC.
I did start worrying about the cost as my budget has rapidly been expanding and was very close to placing an order for a set of Ertacetal bushes. But eventually I decided that this is going to be an extremely capable car when finished and I felt I should be putting the best components possible on when ever I can.
Although the bearings fit easily at ambient temperatures I decided that dropping them in the freezer 2 days before certainly wouldn't hurt.
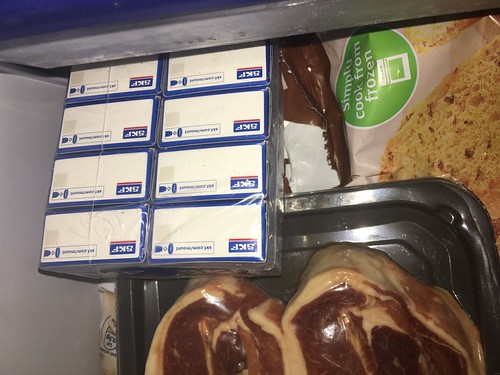
If I were doing this again I would remove all the packing from the bearings as certainly the ones that came out of packaging quickly slotted home more easily.
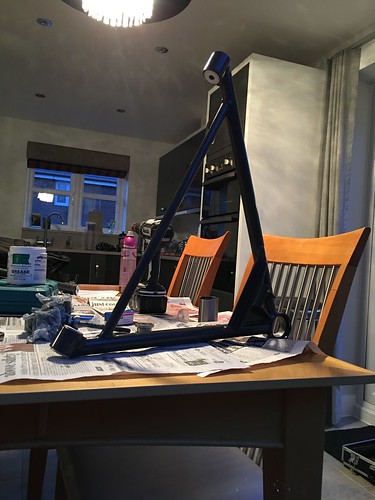
It's been a bit chilly outside so I took the opportunity to set up on the dining table to spend the afternoon assembling the wishbones.
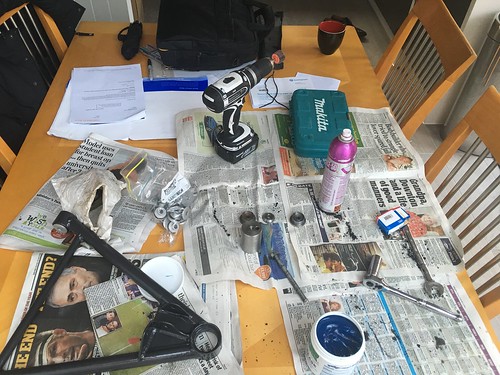
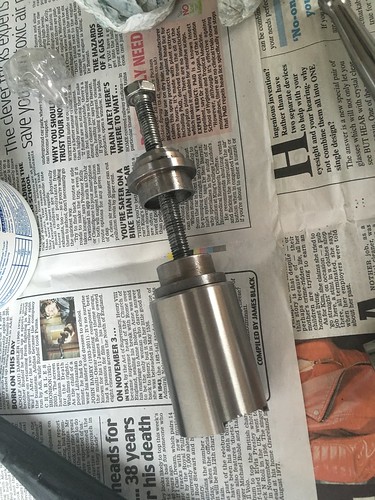
Down side of this was the lack of a vice. But I compromised and reversed the standard bush tool and used the bearing tools to seat the HPE kit.
Give the the wishbone a quick clean with a flapper wheel.

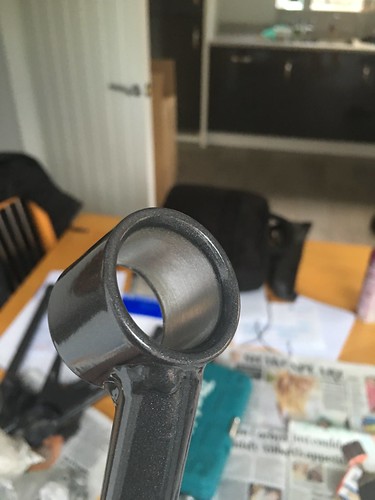
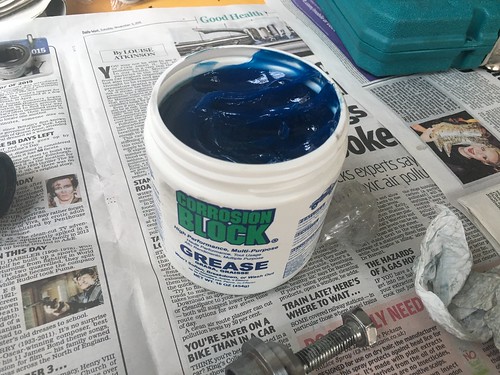
I gave the inner face a smear of Corrosion Block. Not really required but again can't hurt.
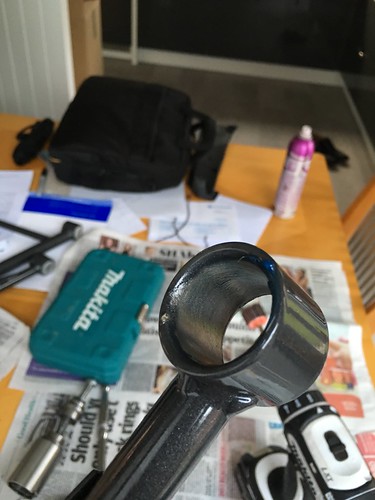
Then line up the bearing in the bore using the fitting tool shown above and tighten the bush tool until the the bearings are fully seated.
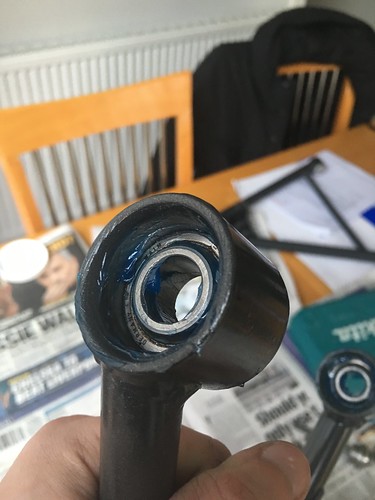
Place more Corrosion Block each side of the bearing
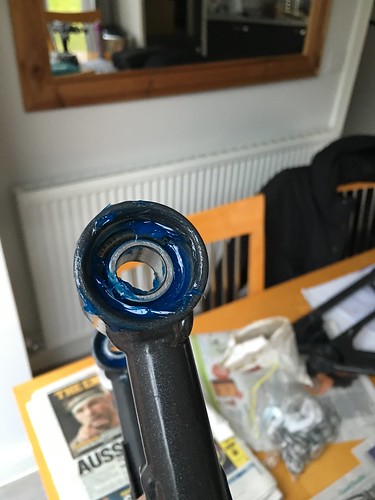
Take 2 collets and press in to each end of the wishbone. These all pressed in by hand.
Easy as that!
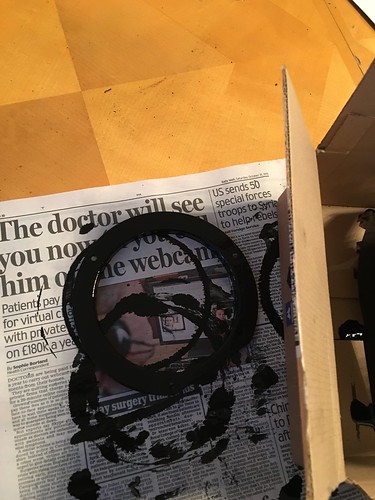
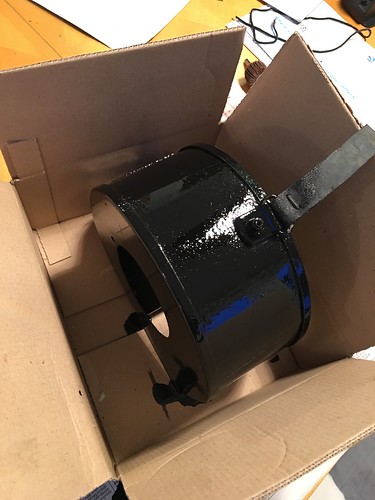
Making the most of my warm workshop I went ahead and started stripping down the heater blower ready for a lick of POR15.
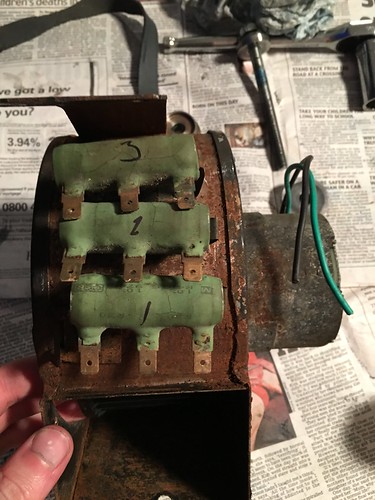
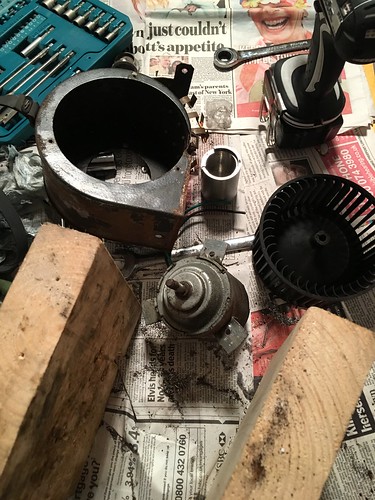
It wasn't as bad as it looks in these pics and it will come up nicely.
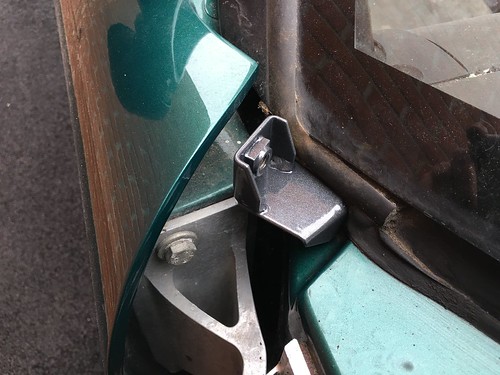
I managed to get out in the snow and refit a few parts.
I'd been waiting to get the tow eye back in as it makes pulling the car back in to the garage much easier.
Also fitted the front damper mounts the upper clam brackets.


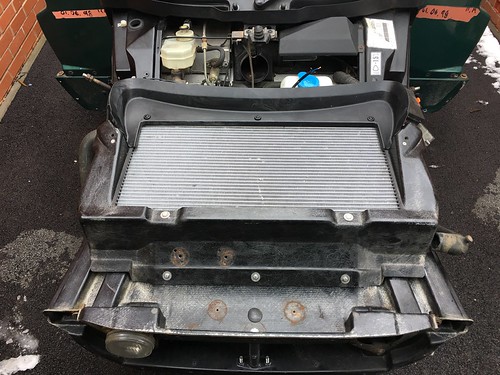
I reassembled and bolted in the radiator and housing. This was a small but significant moment as the upper cowl part of the radiator housing is the first part of the car I've fitted that wasn't on the car when I bought it. It's the little things!!
Anti roll bar has been tidied up and refitted. I've cleaned up under the crash box and refitted the shear panel.
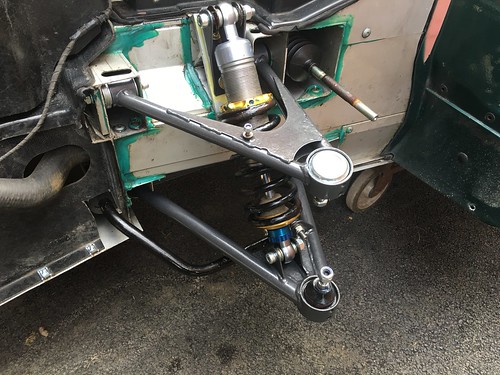
Wishbones have all be refitted along with the dampers.
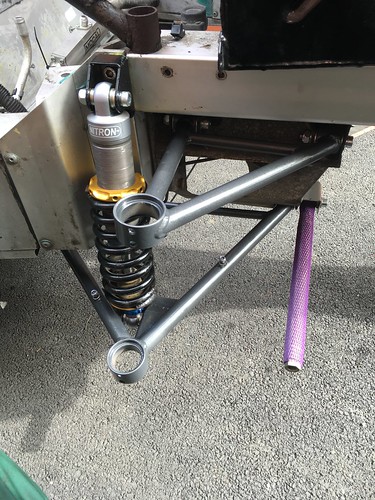
Then fitted new ball joints and drop links.
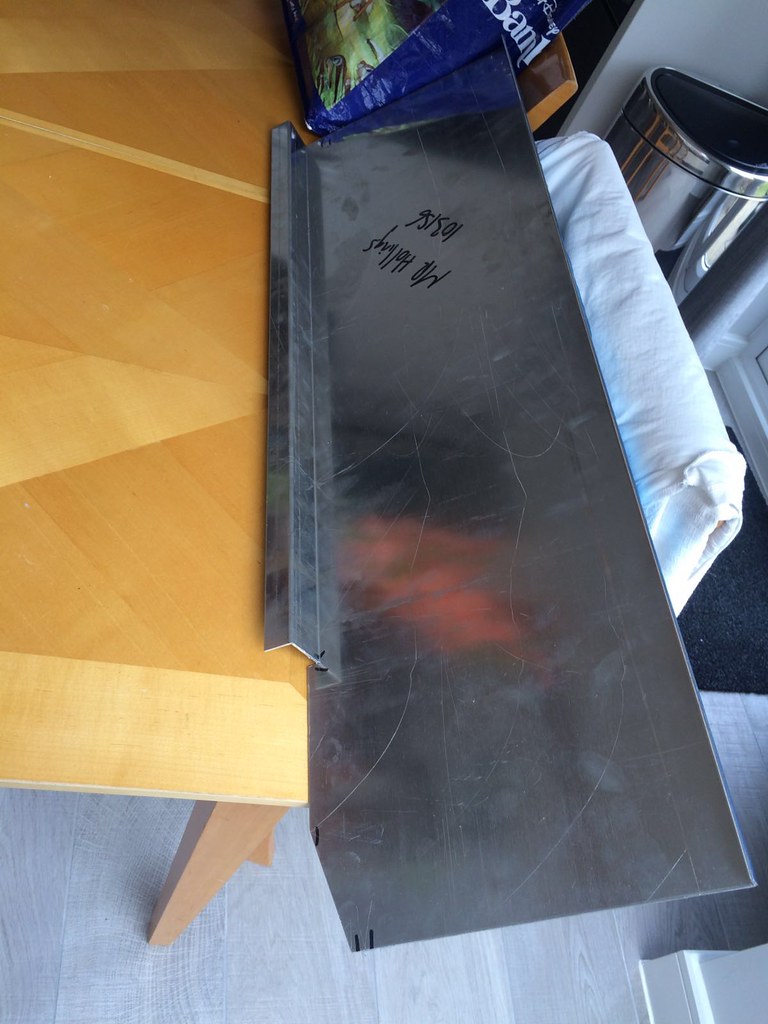
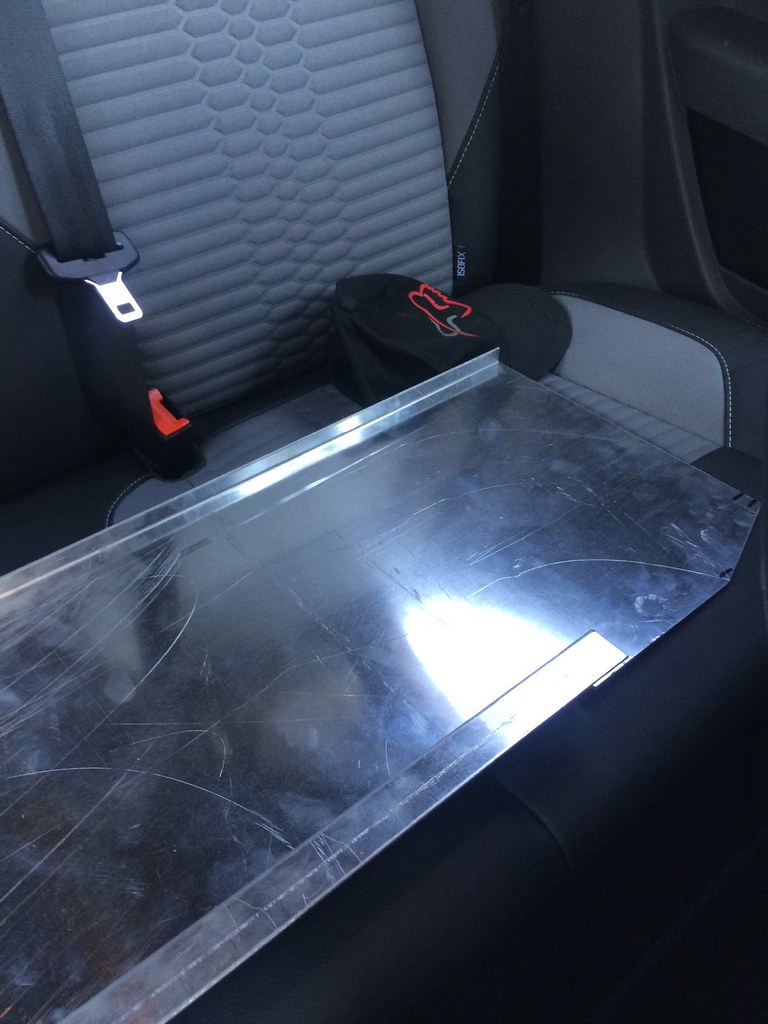
I'd been struggling to pick up a fuel tank shear panel. One popped up in Germany just as I was making (fairly unsuccessful) enquiries in to making one. It's in good condition and cleaned up nicely so that's one less worry bead.
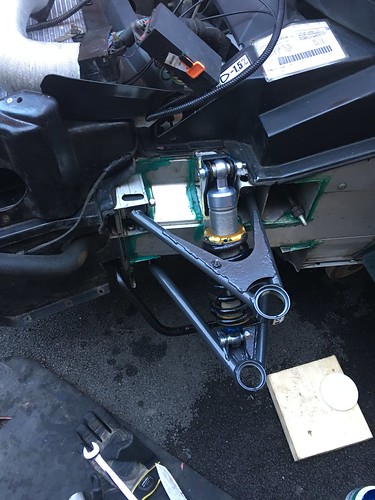
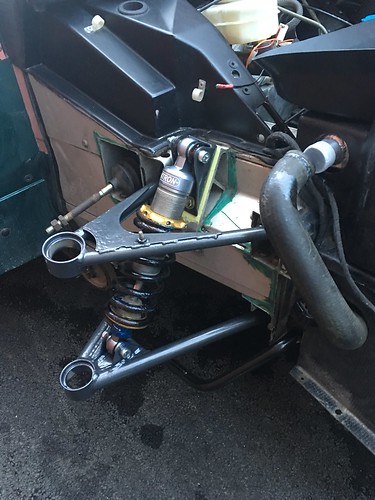
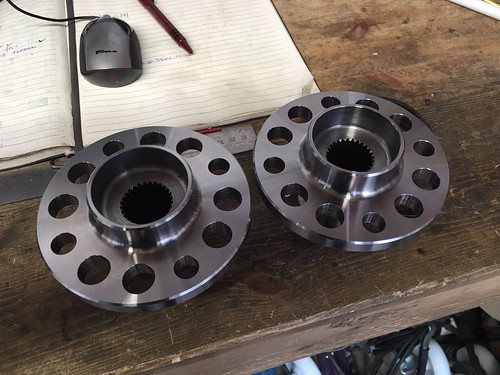
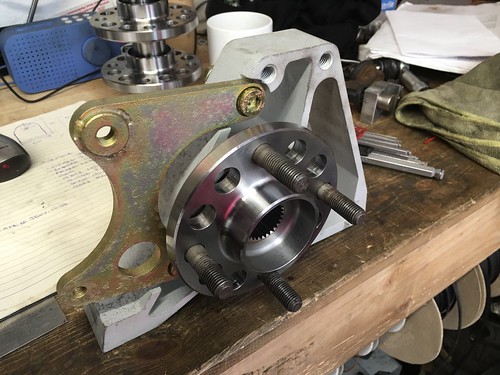
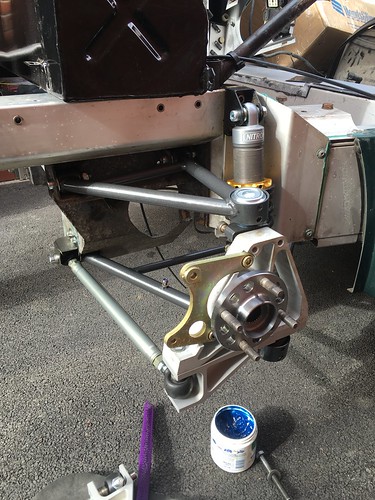
Next up was picking up the refurbished uprights from HPE.
Uprights have been bright anodised, rear caliper brackets zinc plated and drive flanges to suit Honda CV joints pressed in. Usual cracking work from HPE.
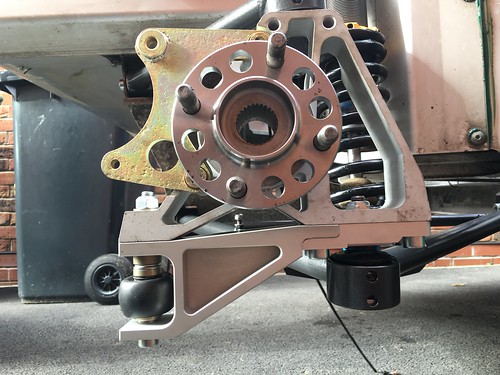
Couldn't resist bolting a corner together to get a look at the Spitfire toe link kit. What a lovely piece kit they are.
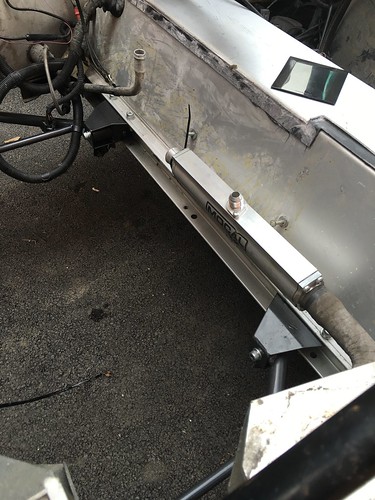
Finally I decided to have a look at what the king size laminova was going to look like. It's a whopper!!
Well thats the thread up to date, I usually manage to make a bit of progress a month but it's a pretty slow (& expensive) process.
Any questions please feel free to ask.
Cheers,
Karl
I've posted this on SELOC but thought I'd give it a go on here if anyone is interested, this first post covers everything I've done since September 2015 so apologies if the time line is a bit confusing and I've not corrected some of the wording as it's copied straight from the SELOC thread.
I've wanted to do a major car based project for a few years, I've considered Cobra's and a 32 Ford hot rod copy etc but having done the research on these options it became clear that the money I would need to spend to get one of these finished to the standard I wanted would prove extremely prohibitive. So I ran few nice dailys to keep me interested, 300bhp Focus ST followed by a VXR8.
Usual story I had to settle down and buy a house. With this now sorted it's time to get something exciting back in the garage!
I've only been out in an Elise a couple of times, a very early S2 when they were brand new, which to be honest left me a little cold, and then a friends Honda converted S1, that more than hit the spot.
A few months later and the same friend had gone in to business servicing Lotus' and carrying out Honda conversions.
Fast forward to September 2015 and after visiting HPE a few times I started hanging my nose over a rather forlorn looking S1 parked outside.
September 2015 I plucked up the courage and the funds to make an offer on what turned out to be Gaz of Spitfire Engineering's car.
A few chats later and a deal was done!
Today was the big day and I ventured over to HPE with a mate and a truck.
The car is going to be running a K24A2 with JRSC.
All the difficult oily bits on the engine have already been done, K20 sump and oil pump, cam retard kit, supercharger bolted up etc.
The gearbox is out of a UK Type R and has a custom FD, japanese 4th and 5th etc so should be a very tractable bit of kit when it's finished, geared for 45/75/102/133/166/217.
The plan is to get the mechanicals up to scratch run the car for a bit and then take it off the road and do the cosmetics (of which there's quite a bit to do) at a later date.
Once the car was at homeI decided to get cracking with a few bits
Luckily everything fits back in the garage too!
The fuel tank panel is in excellent condition with a couple of 5p sized bits of corrosion. I'll have another go at removing the adhesive on the panel but as it'll all be covered I'm not going to loose any sleep over it.
The powertrain is a brand new Honda K24 from an Acura with a JRSC blower mounted on top. Although have both been sat for the best part of 10 years.
Apparently a rail freight train had an accident while carrying brand new Acura's over in the states, engines were removed and a less than delivery mileage K24 was purchased and ended on a boat coming across the pond.
I was very lucky and got given this trolley to get all four corners in the air.
This will make the suspension refurb much easier before I start the engine install.
This was the old back box that ended up on eBay.
I went and bit the bullet and went past the point of no return as far as a engine conversion goes.
Engine bay ventilation sorted.
Had a few pre-Christmas presents in the form of uprated fuel pump and toe link kit, both from Spitfire engineering.
I struggled for a bit finding a firm that would refurb the rear calipers, there is a DIY kit but looks like a nightmare so happily I was able to ship them off to TRW via a local motorfactors and was very pleased with the result.
Original S1 fuel tank powder coated.
Nice new aluminium radiator, slightly thicker than standard but Honda's run pretty cool so no need to go overboard.
Nitrons cleaned up which now look great.
Suspension system fully stripped
I was left with a box ready to head off to powder coat.
I went with charcoal with a hint of metallic. It's exactly what I was looking for and I'm really happy with the finish. A big thumbs up for Washfords in Redditch.
I picked up a set of HPE's custom spherical bearing kits so assembly of the wishbones could start.
So... Why did I decide to use spherical bearings?
Firstly I think it's important to point out that at this point I've never driven an Elise!
The Honda S1 had a bearing kit and I didn't think the ride was any worse than I expected from a car of this type. So I didn't have preconceptions about ride quality although I was being swayed by the numerous topics on SELOC.
I did start worrying about the cost as my budget has rapidly been expanding and was very close to placing an order for a set of Ertacetal bushes. But eventually I decided that this is going to be an extremely capable car when finished and I felt I should be putting the best components possible on when ever I can.
Although the bearings fit easily at ambient temperatures I decided that dropping them in the freezer 2 days before certainly wouldn't hurt.
If I were doing this again I would remove all the packing from the bearings as certainly the ones that came out of packaging quickly slotted home more easily.
It's been a bit chilly outside so I took the opportunity to set up on the dining table to spend the afternoon assembling the wishbones.
Down side of this was the lack of a vice. But I compromised and reversed the standard bush tool and used the bearing tools to seat the HPE kit.
Give the the wishbone a quick clean with a flapper wheel.
I gave the inner face a smear of Corrosion Block. Not really required but again can't hurt.
Then line up the bearing in the bore using the fitting tool shown above and tighten the bush tool until the the bearings are fully seated.
Place more Corrosion Block each side of the bearing
Take 2 collets and press in to each end of the wishbone. These all pressed in by hand.
Easy as that!
Making the most of my warm workshop I went ahead and started stripping down the heater blower ready for a lick of POR15.
It wasn't as bad as it looks in these pics and it will come up nicely.
I managed to get out in the snow and refit a few parts.
I'd been waiting to get the tow eye back in as it makes pulling the car back in to the garage much easier.
Also fitted the front damper mounts the upper clam brackets.
I reassembled and bolted in the radiator and housing. This was a small but significant moment as the upper cowl part of the radiator housing is the first part of the car I've fitted that wasn't on the car when I bought it. It's the little things!!
Anti roll bar has been tidied up and refitted. I've cleaned up under the crash box and refitted the shear panel.
Wishbones have all be refitted along with the dampers.
Then fitted new ball joints and drop links.
I'd been struggling to pick up a fuel tank shear panel. One popped up in Germany just as I was making (fairly unsuccessful) enquiries in to making one. It's in good condition and cleaned up nicely so that's one less worry bead.
Next up was picking up the refurbished uprights from HPE.
Uprights have been bright anodised, rear caliper brackets zinc plated and drive flanges to suit Honda CV joints pressed in. Usual cracking work from HPE.
Couldn't resist bolting a corner together to get a look at the Spitfire toe link kit. What a lovely piece kit they are.
Finally I decided to have a look at what the king size laminova was going to look like. It's a whopper!!
Well thats the thread up to date, I usually manage to make a bit of progress a month but it's a pretty slow (& expensive) process.
Any questions please feel free to ask.
Cheers,
Karl
Edited by karl_h on Thursday 17th March 20:21
Edited by karl_h on Thursday 17th March 20:38
Edited by karl_h on Thursday 17th March 20:45
Edited by karl_h on Friday 18th March 07:52
Seriously cool!
I've always preferred the styling of the S1, would love an S1 Exige with a Honda conversion with my fantasy lottery winnings! My dad bought an S2 160 last year after I kept on at him that he was getting too old and it was now or never. It's at the garage now with HGF...
I've always preferred the styling of the S1, would love an S1 Exige with a Honda conversion with my fantasy lottery winnings! My dad bought an S2 160 last year after I kept on at him that he was getting too old and it was now or never. It's at the garage now with HGF...
Dan at HPE helped a friend who needed his S1 Elise recommissioning & did a great job.....he's a perfectionist indeed & it shows with the waiting list for engine conversions he's got & he knows his stuff (& can also apparently "pedal" an Elise if you watch YouTube).
Keep up the posts & good luck with the project
Keep up the posts & good luck with the project
Right where had I got too!
Quite a bit more has been done over past 2 months.
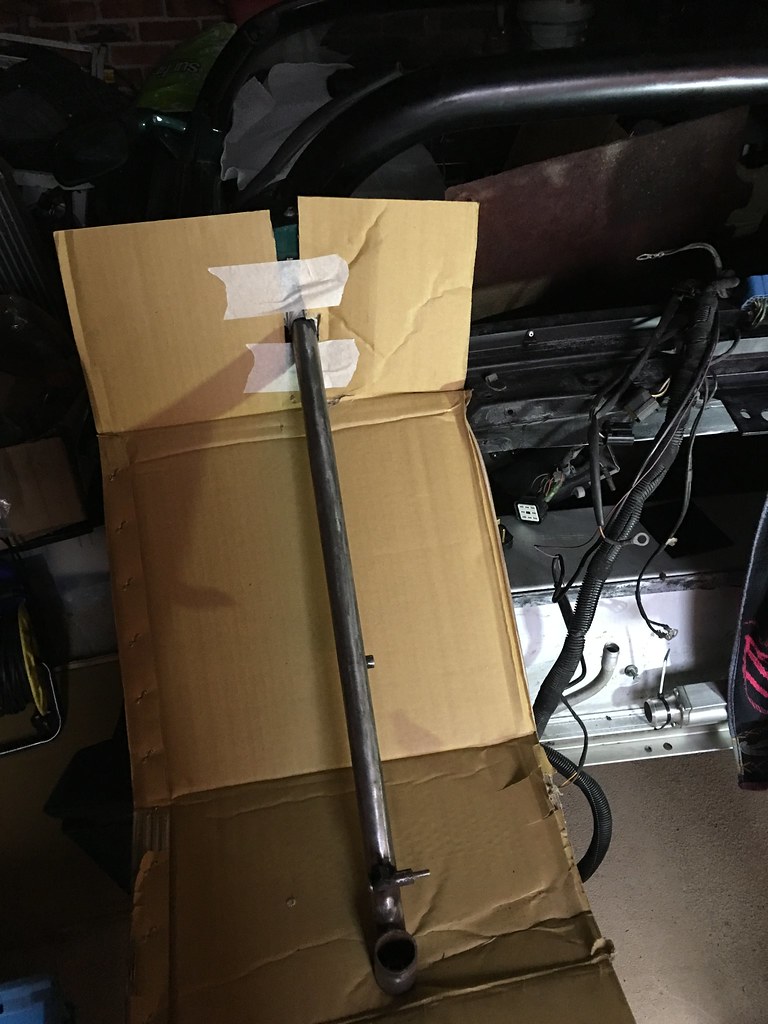
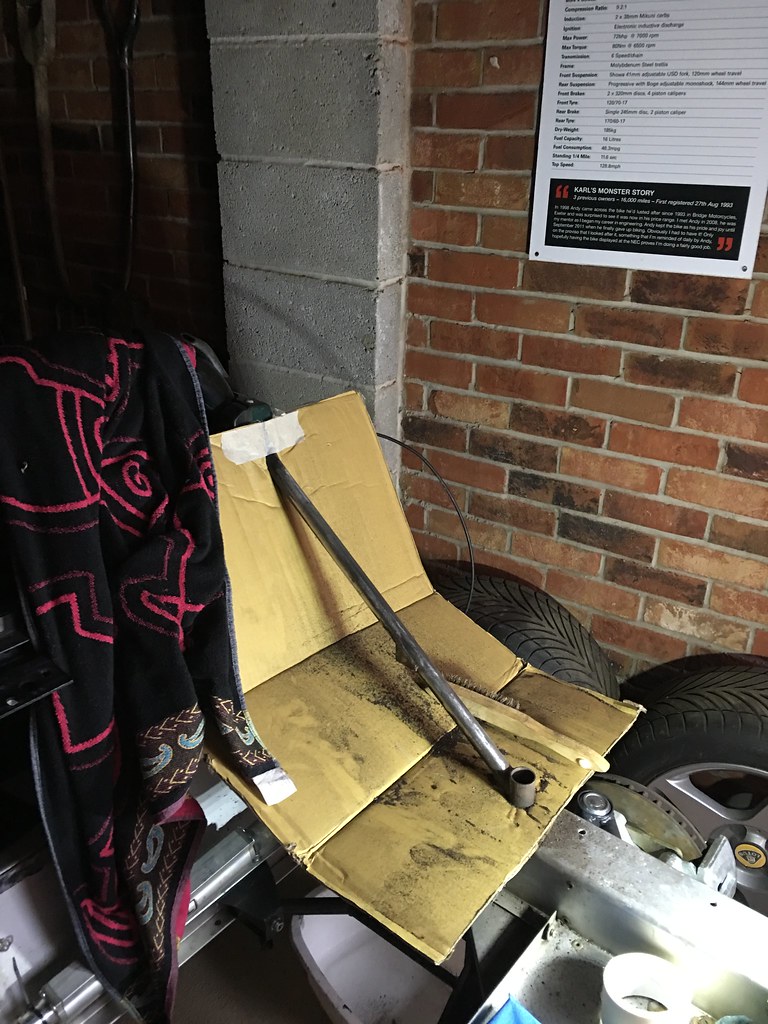
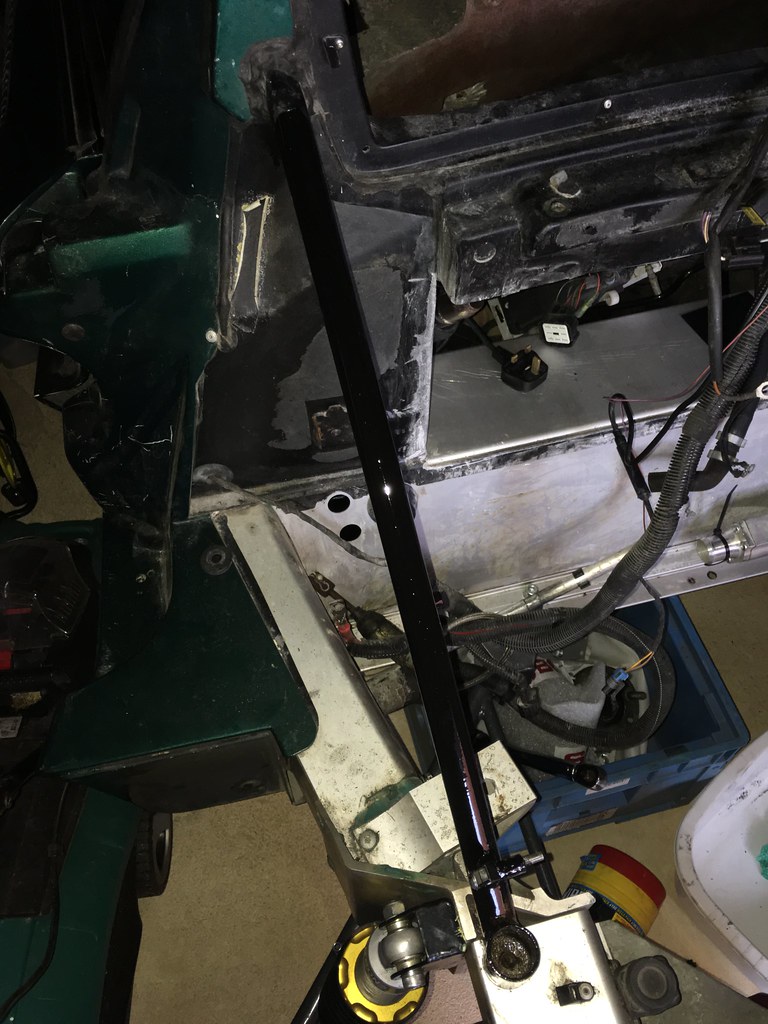
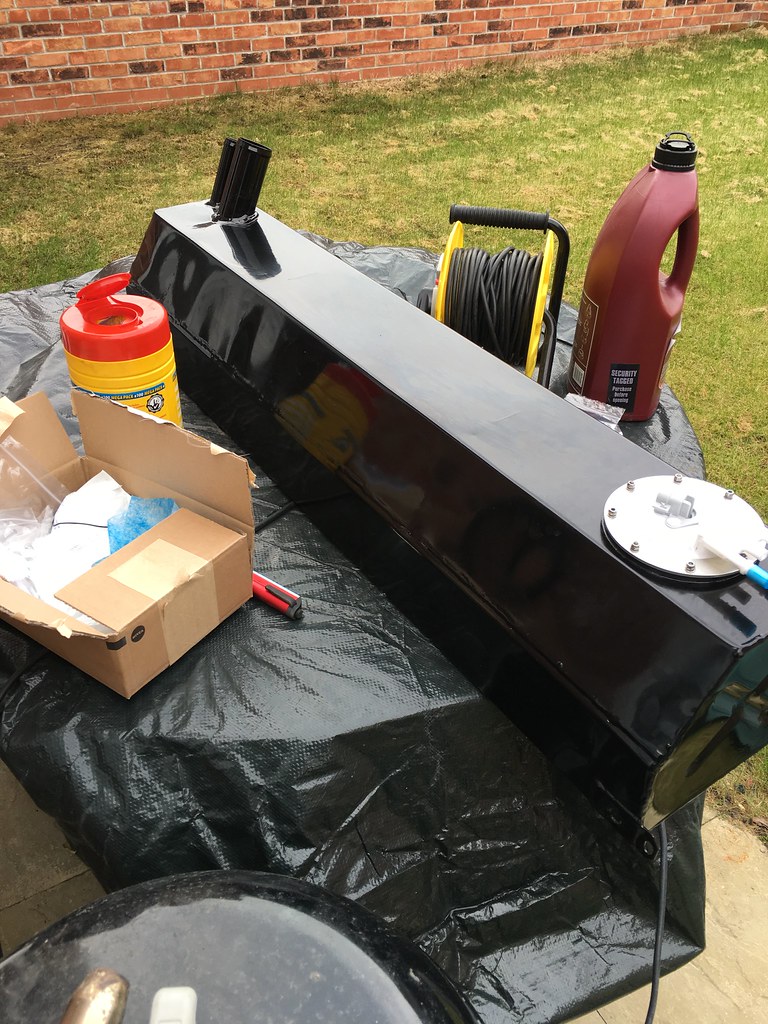
Another S1 rite of passage has been completed with the roll bar stays stripped and POR15'd
Next up was my freshly powder coated fuel tank. Reassembled with a new Spitfire Engineering fuel pump and all new clamp rings and fittings.
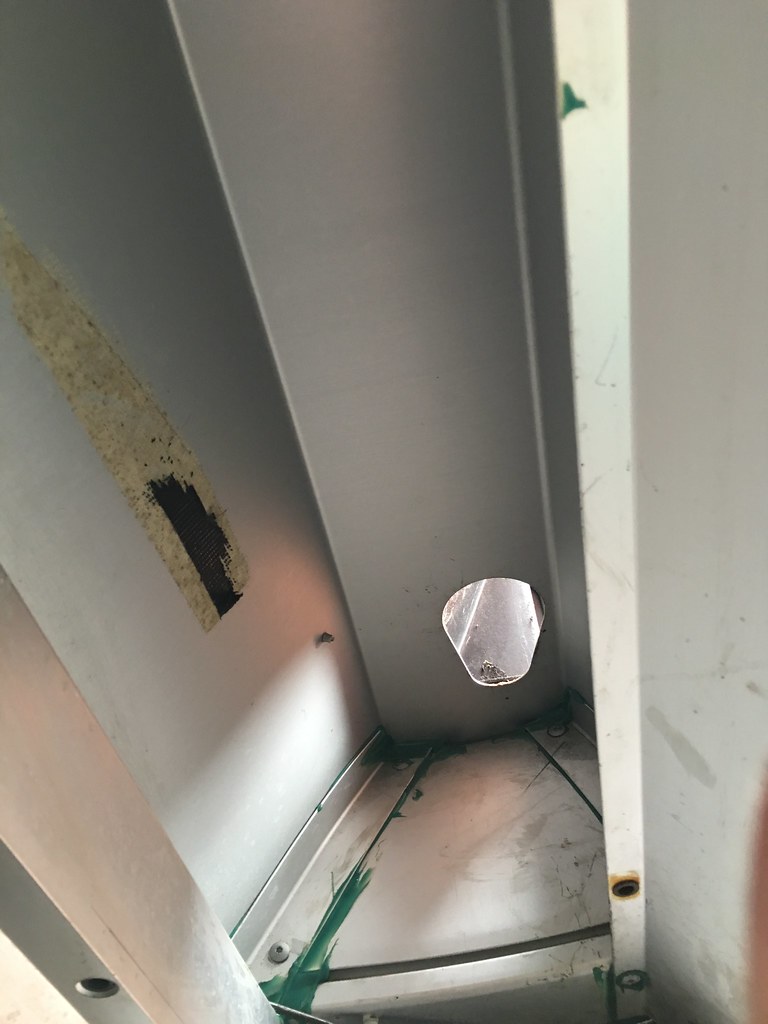
The fuel tank cavity has been given a good clean
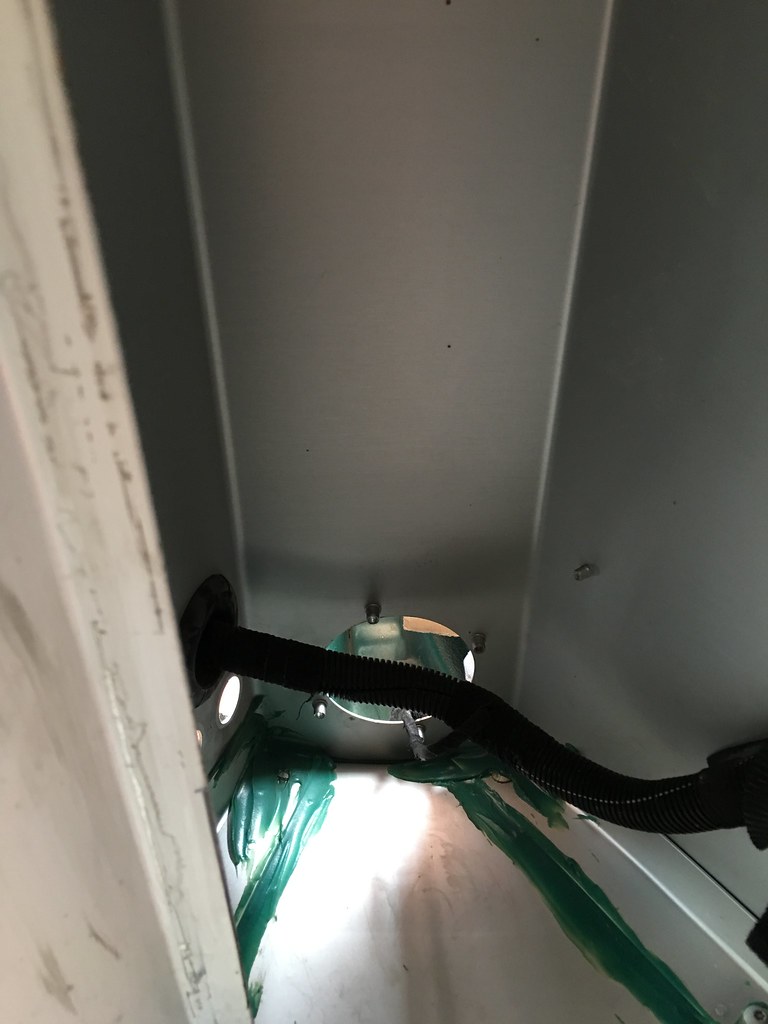
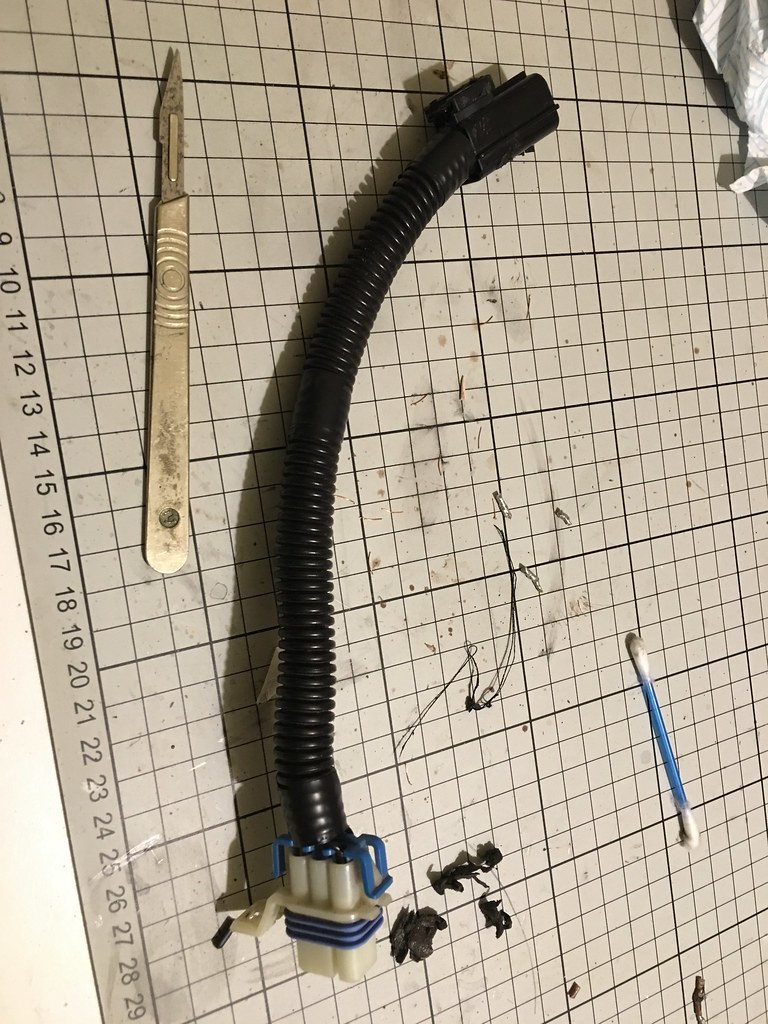
Fuel tank harness repaired.
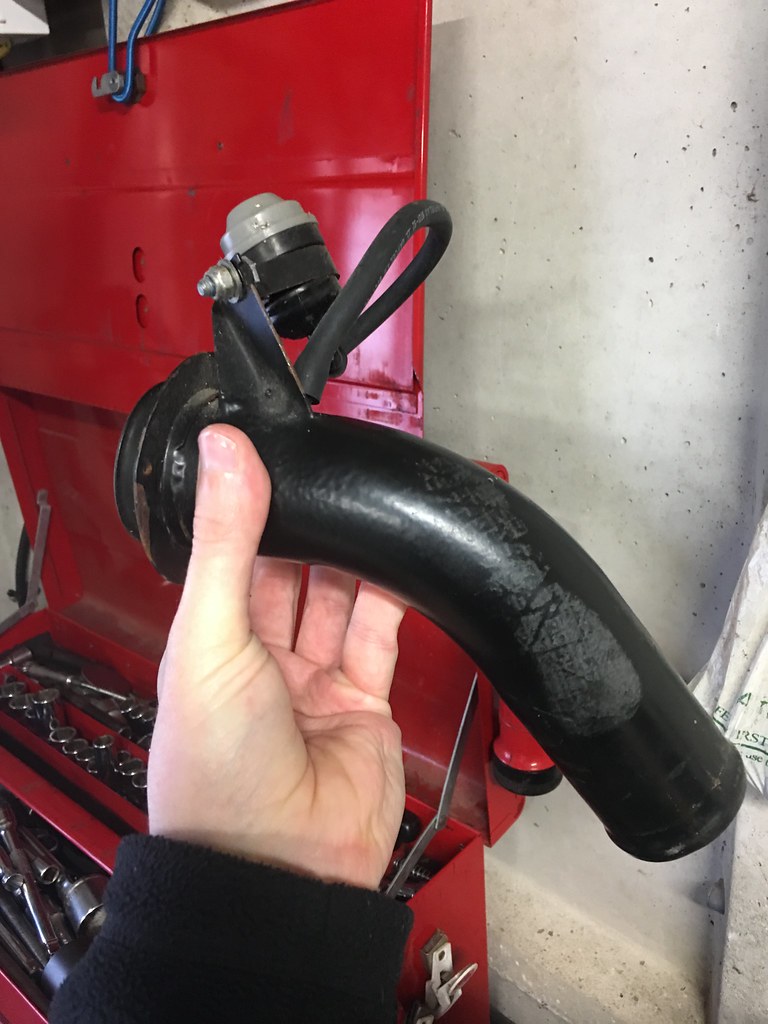
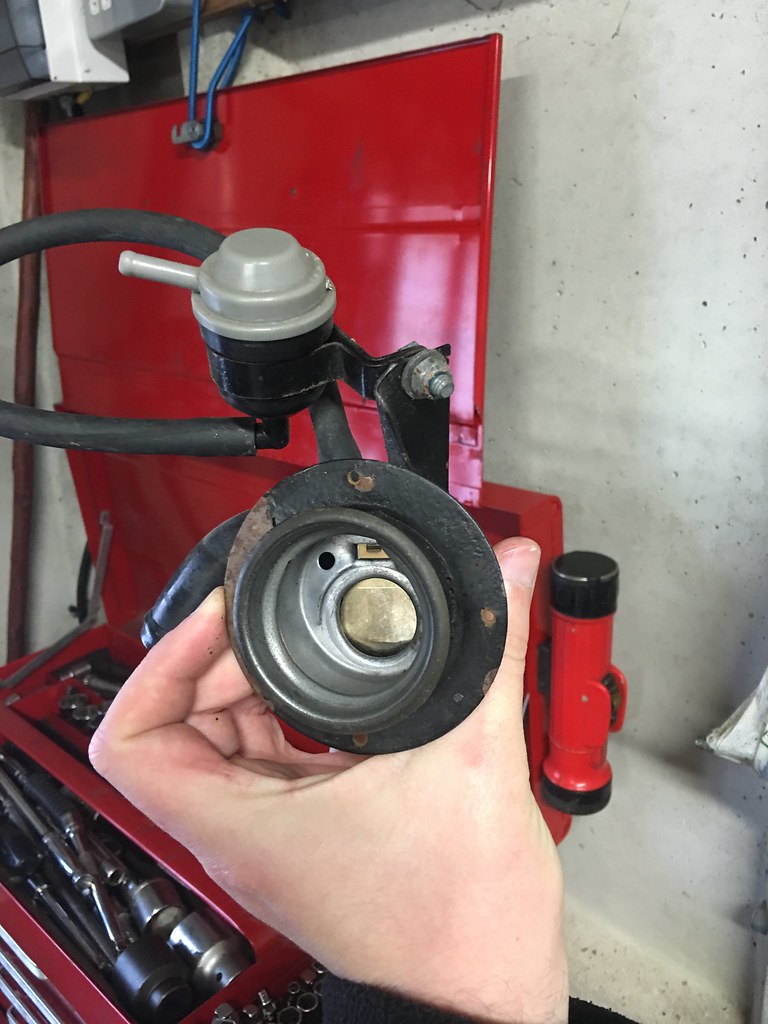
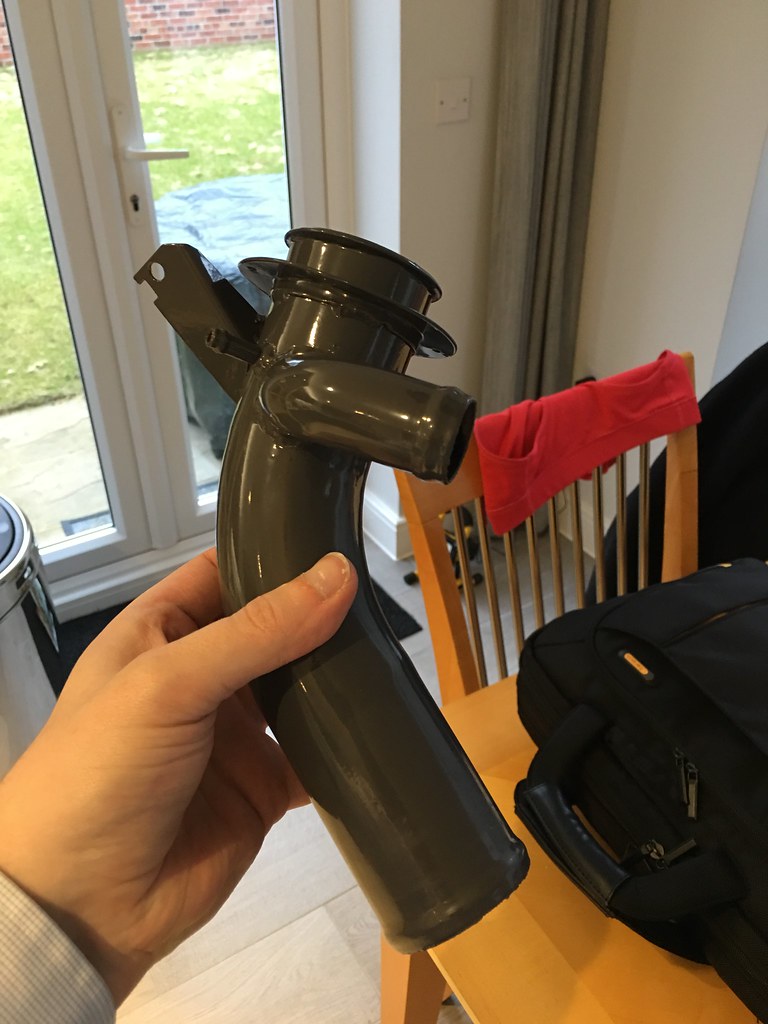
I've also had the filler neck refreshed in charcoal to match the other powder coat on the car.

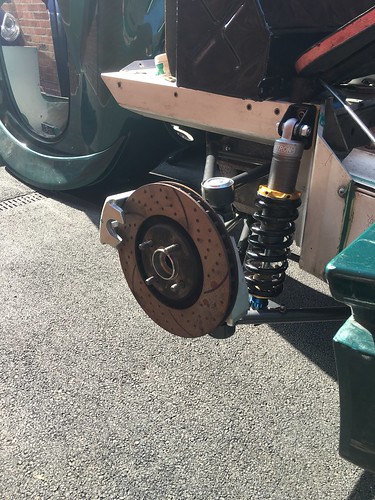
I've finished up all the corners and fitted CL RC5+ pads all round.
Had an interesting week when I found out the front disks I had were 295mm and not the expected standard size. This led to me ordering the required spacers and bolts which then led to me finding out 295's don't fit behind Victories! Standard discs now fitted.
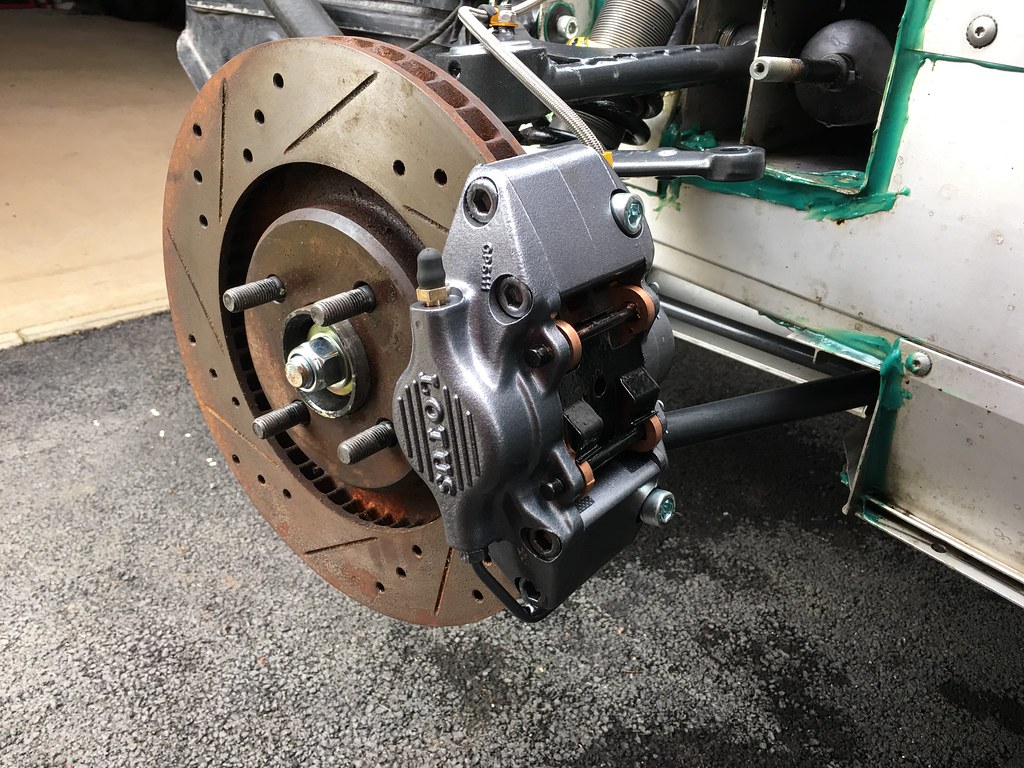
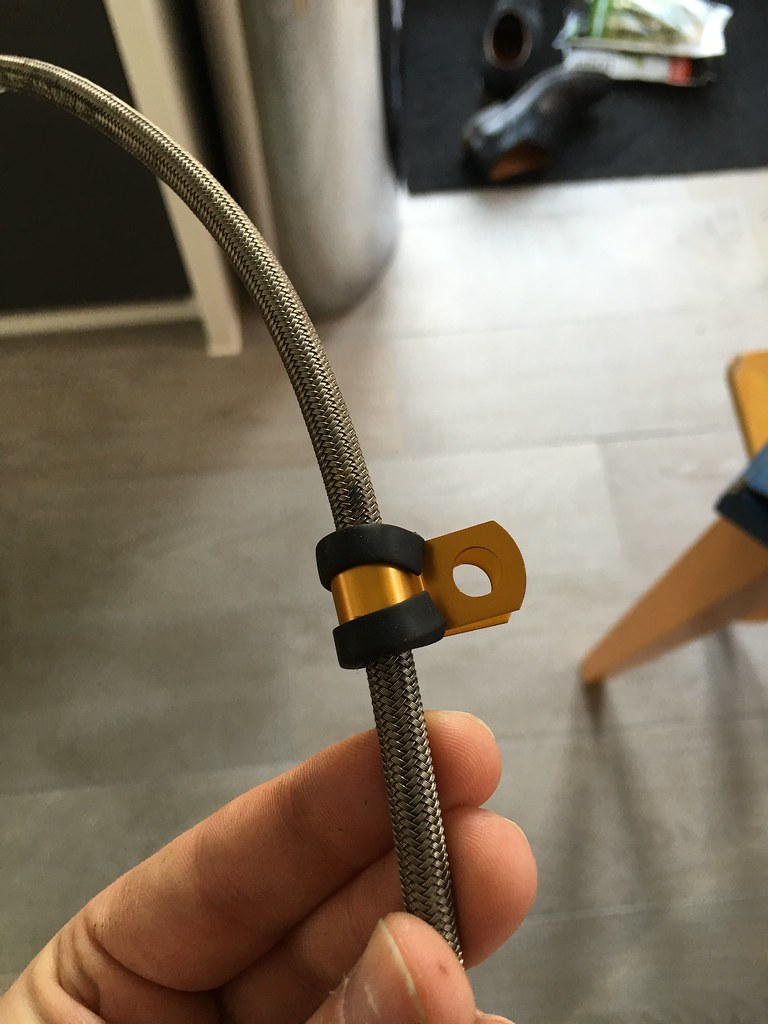
All brake lines fitted back and I found some rather nice gold anodised P clips.
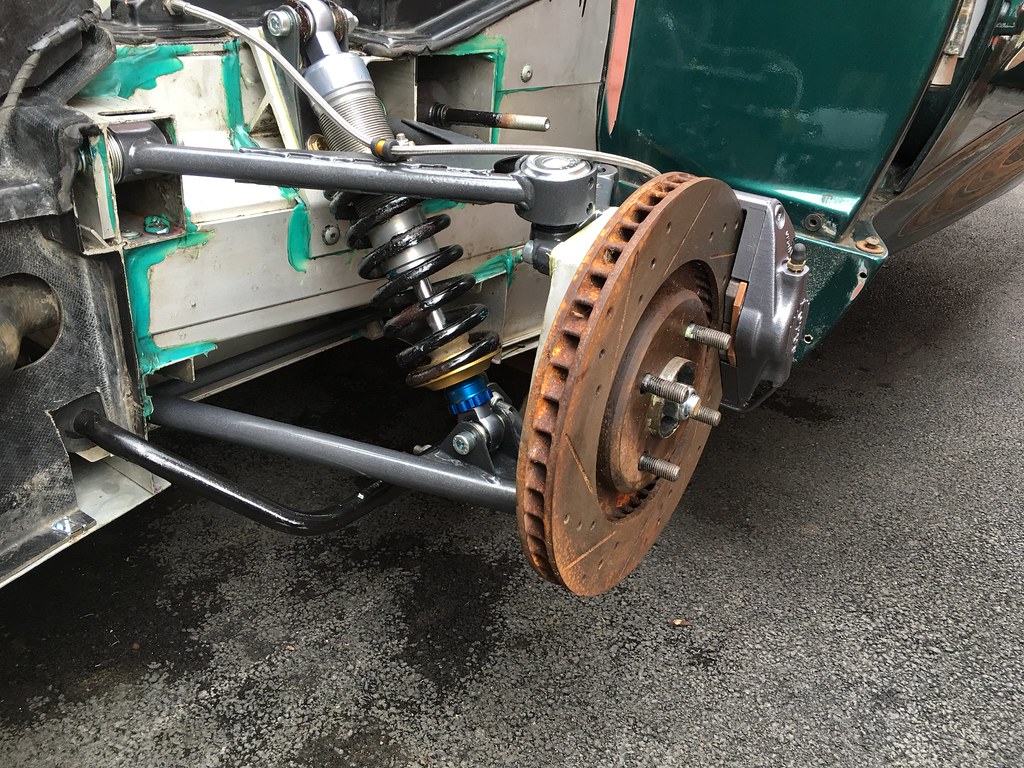
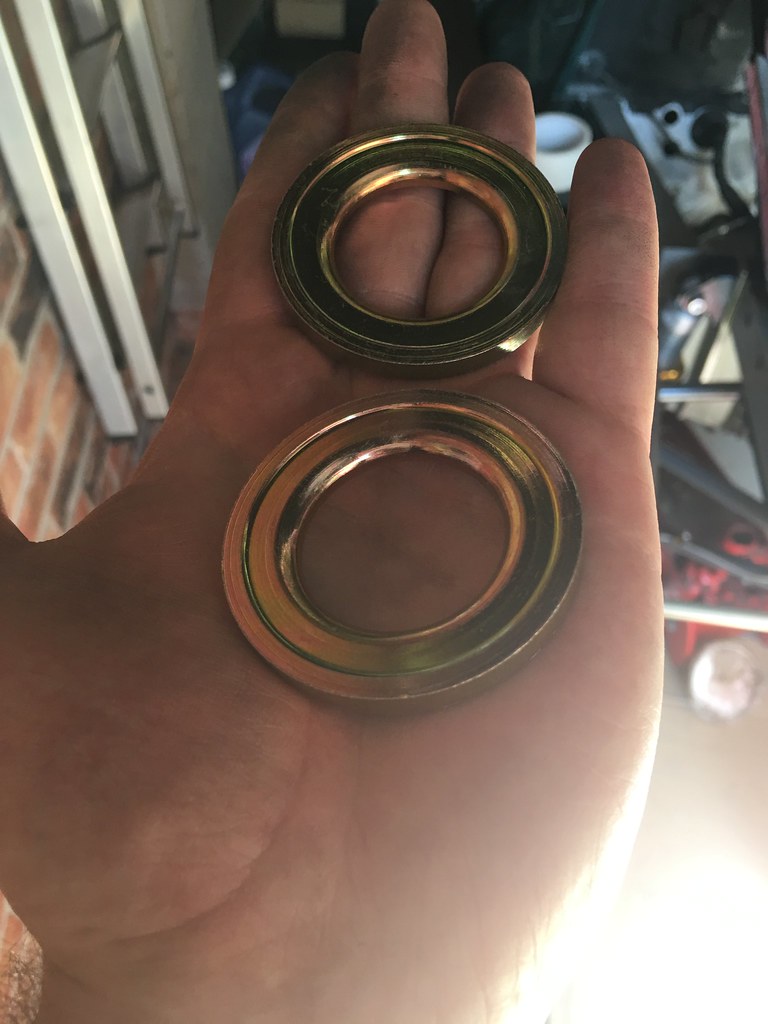
The front end has had all new hub bolts fitted and for those using Honda CV outers at the rear like I am here are the mystical spacers you need to stop the cv joints binding with the hubs, again a bit of head scratching and a message to Dan to figure what was going on sorted this out!
All of this is obviously leading to the next big step. Putting it back on its wheels.


Felt very smug for quite a while with the car being back at something like the right height. You forget just how low the Elise is when it's been on a 12" high dolly for 6 months.
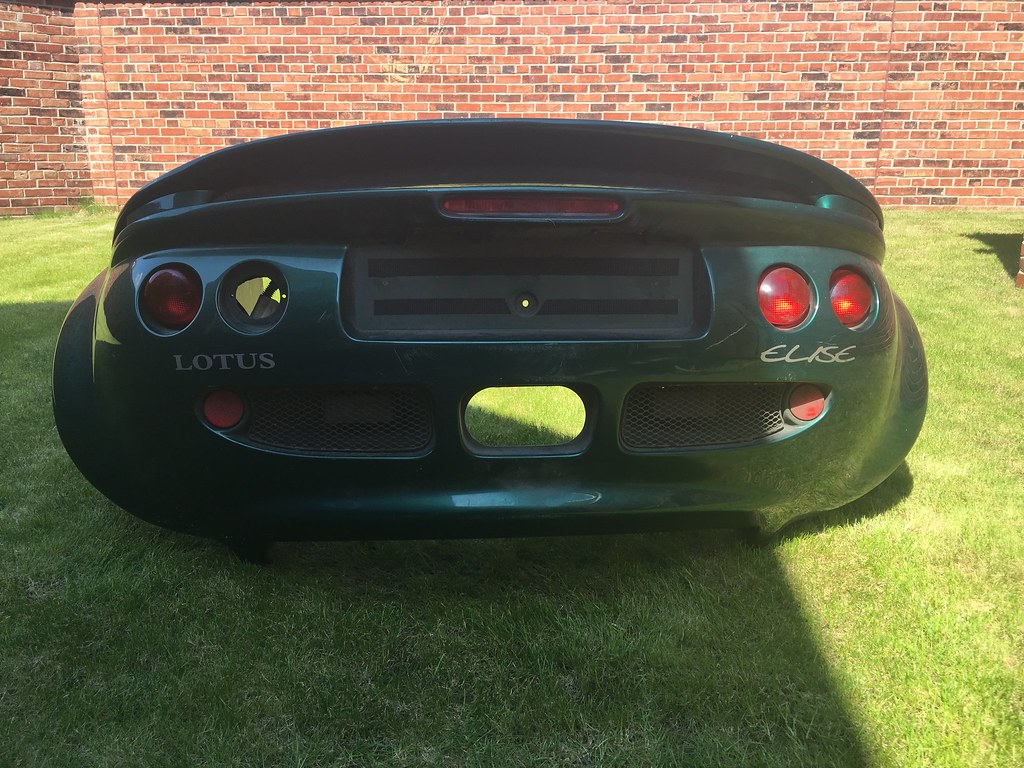
Started on a few other little jobs. I've gone for all red rear lights, wanted to do this from day one but Ste's post spurred me on. Still need to get an additional rear light as one has always been missing. Also done the obligatory swapping of brake and indicator lights. And fitted some more stainless fixings to the rear clam.

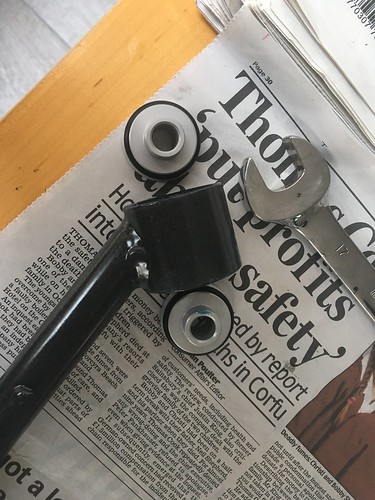
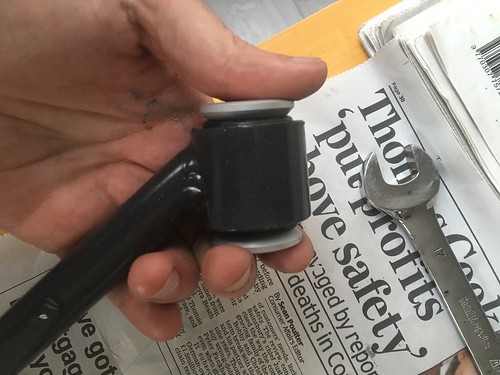
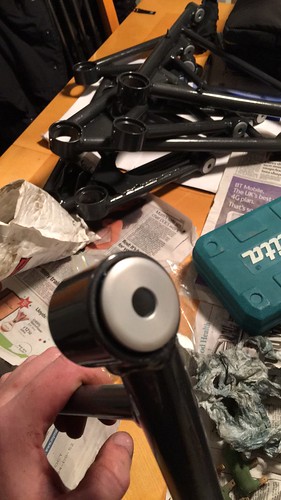
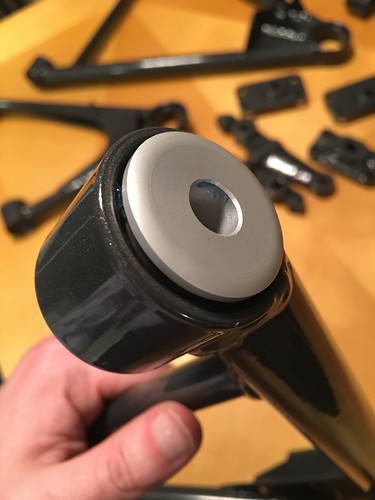
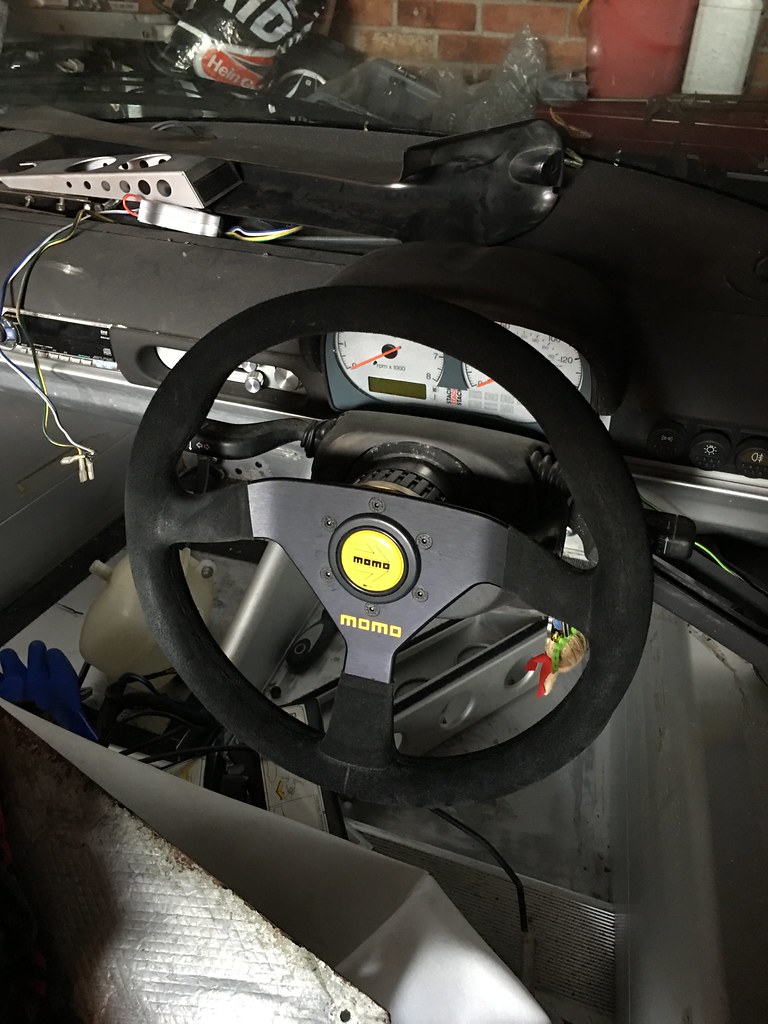
I treated myself to Momo 78 wheel which I spotted in the classifieds. It's fantastic and I'm very pleased with it.
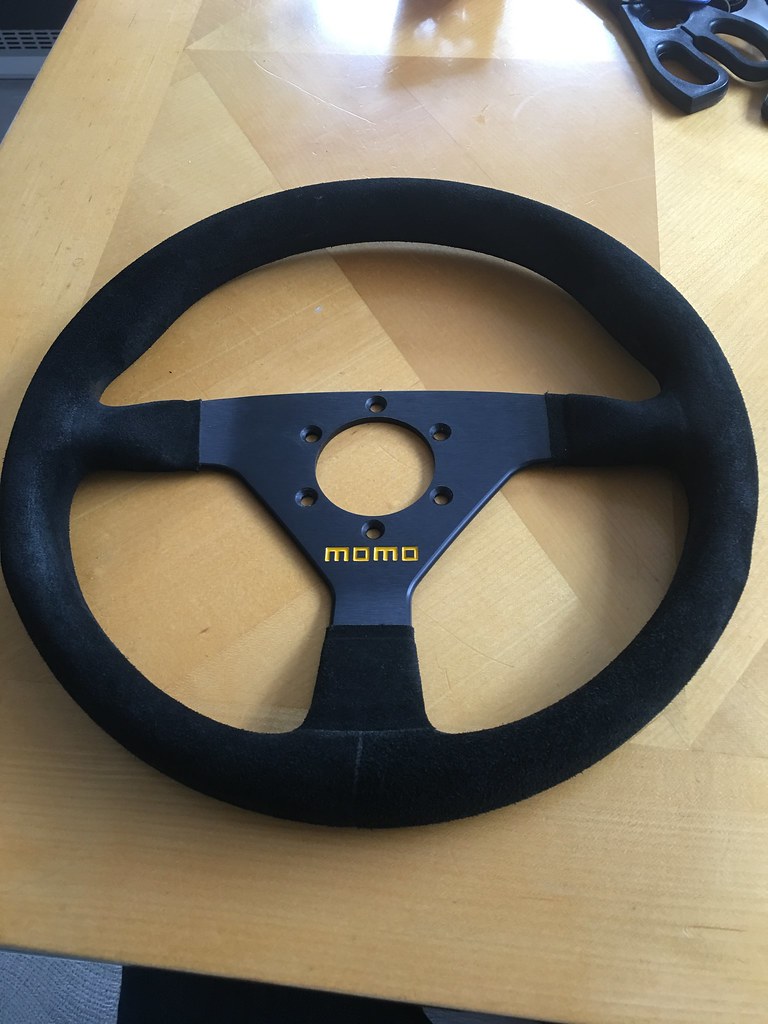
The fittings on the quick release boss were looking a bit tired so they've been treated to a lick of satin black and another gold highlight.

[pic]http://farm8.static.flickr.com/7128/27269291696_e005b12887_b.jpg
I then took the dash apart as there was some wiring is spotted that I didn't understand when I was tidying up the front end. I thought it was associated with the HID lights but turned out to be a radar scanner. Now all removed, the wiring was done very sympathetically and none of the main harness had been affected.
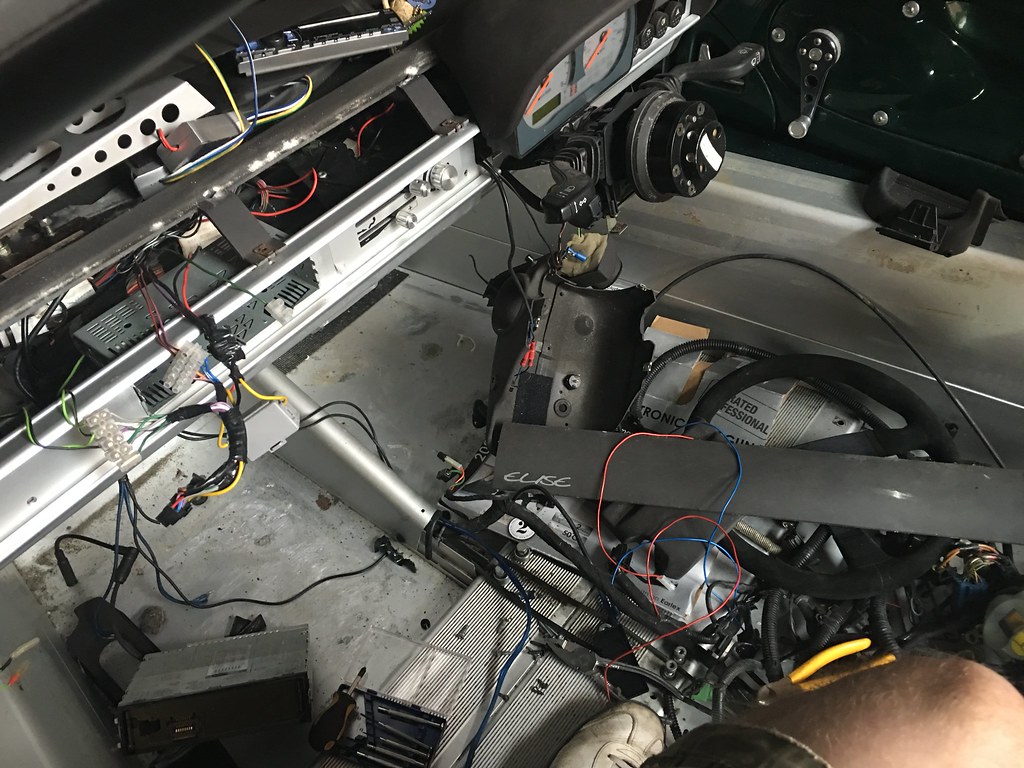
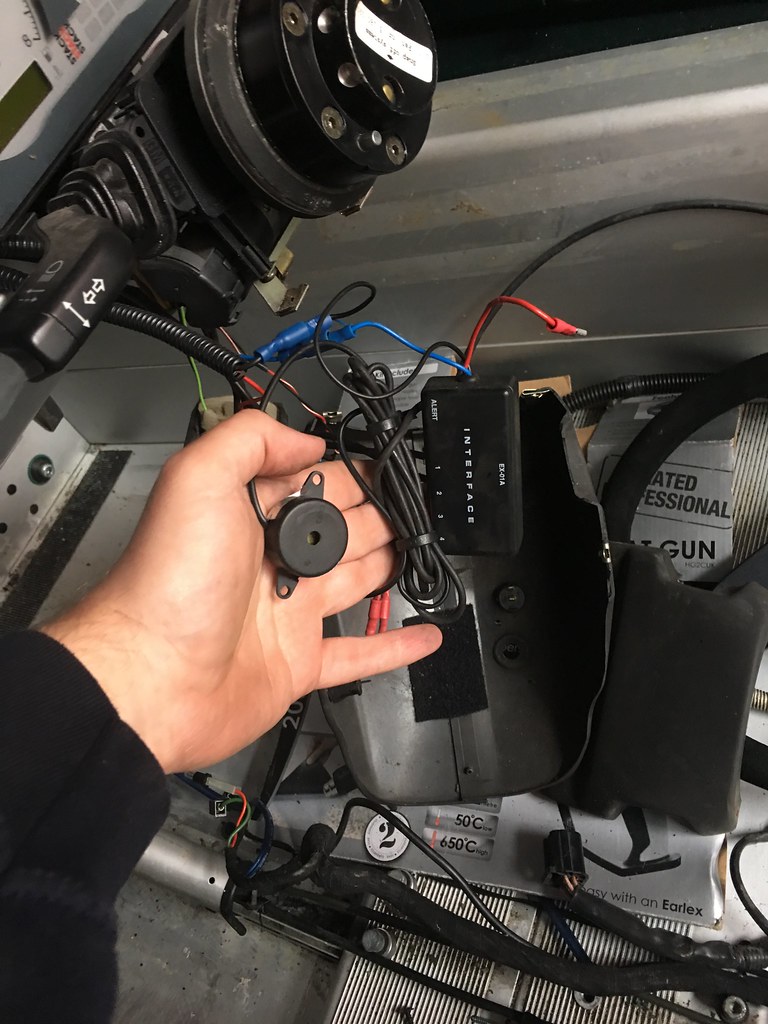
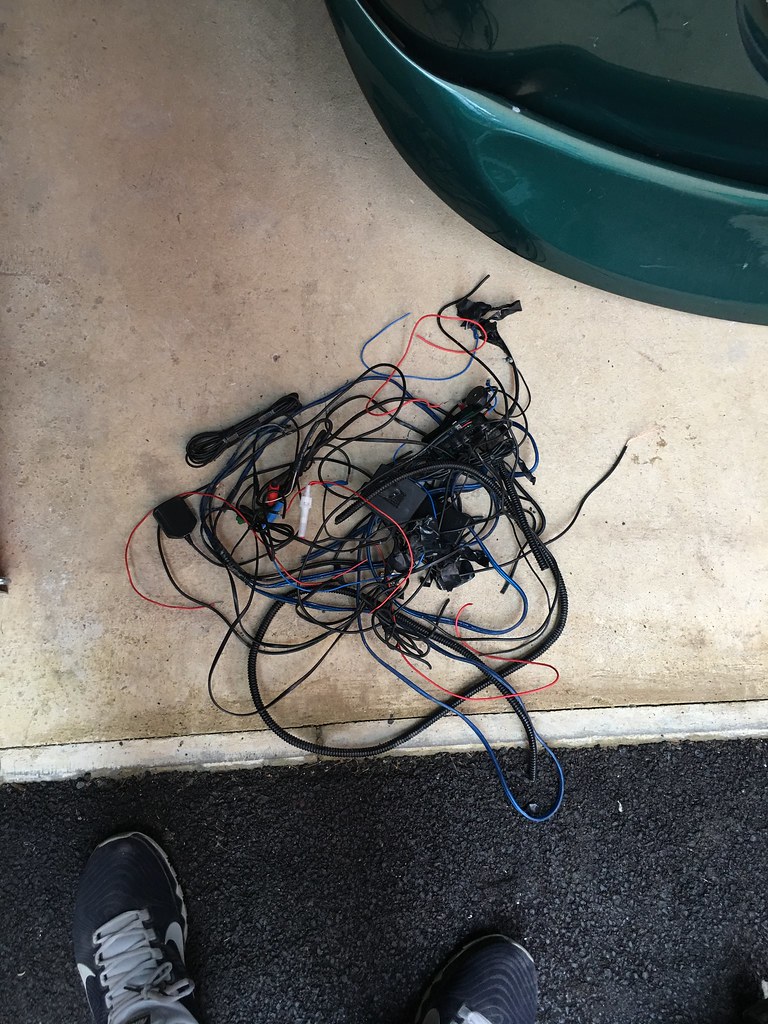
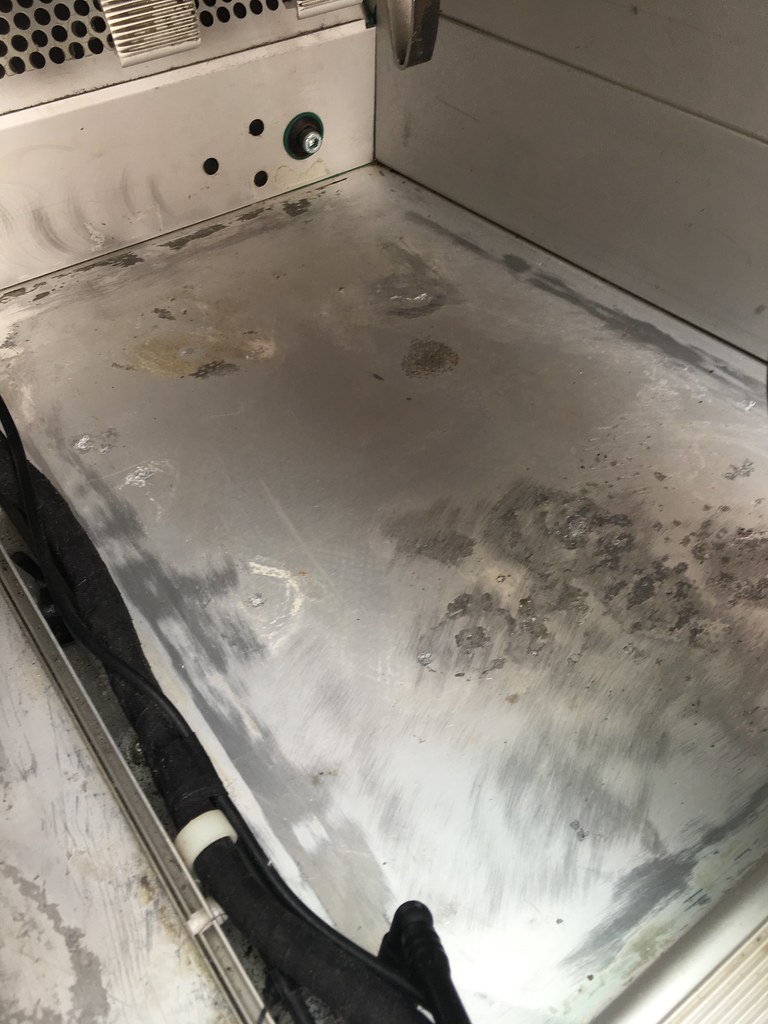
Finally for this update I tackled the small amount of corrosion I had in the footwells. Mine was pretty light so I just rubbed it down, prepped with POR15 metal ready and then 2 coats of POR15 silver topcoat. I'll be fitting floor mats so the slight colour miss won't be seen.


Next up is picking a clutch, likely to be an Action Clutch stage 1 at the minute. Followed by waiting for the mounts to turn up so I can drop the engine in.
Quite a bit more has been done over past 2 months.
Another S1 rite of passage has been completed with the roll bar stays stripped and POR15'd
Next up was my freshly powder coated fuel tank. Reassembled with a new Spitfire Engineering fuel pump and all new clamp rings and fittings.
The fuel tank cavity has been given a good clean
Fuel tank harness repaired.
I've also had the filler neck refreshed in charcoal to match the other powder coat on the car.
I've finished up all the corners and fitted CL RC5+ pads all round.
Had an interesting week when I found out the front disks I had were 295mm and not the expected standard size. This led to me ordering the required spacers and bolts which then led to me finding out 295's don't fit behind Victories! Standard discs now fitted.
All brake lines fitted back and I found some rather nice gold anodised P clips.
The front end has had all new hub bolts fitted and for those using Honda CV outers at the rear like I am here are the mystical spacers you need to stop the cv joints binding with the hubs, again a bit of head scratching and a message to Dan to figure what was going on sorted this out!
All of this is obviously leading to the next big step. Putting it back on its wheels.
Felt very smug for quite a while with the car being back at something like the right height. You forget just how low the Elise is when it's been on a 12" high dolly for 6 months.
Started on a few other little jobs. I've gone for all red rear lights, wanted to do this from day one but Ste's post spurred me on. Still need to get an additional rear light as one has always been missing. Also done the obligatory swapping of brake and indicator lights. And fitted some more stainless fixings to the rear clam.
I treated myself to Momo 78 wheel which I spotted in the classifieds. It's fantastic and I'm very pleased with it.
The fittings on the quick release boss were looking a bit tired so they've been treated to a lick of satin black and another gold highlight.
[pic]http://farm8.static.flickr.com/7128/27269291696_e005b12887_b.jpg
I then took the dash apart as there was some wiring is spotted that I didn't understand when I was tidying up the front end. I thought it was associated with the HID lights but turned out to be a radar scanner. Now all removed, the wiring was done very sympathetically and none of the main harness had been affected.
Finally for this update I tackled the small amount of corrosion I had in the footwells. Mine was pretty light so I just rubbed it down, prepped with POR15 metal ready and then 2 coats of POR15 silver topcoat. I'll be fitting floor mats so the slight colour miss won't be seen.
Next up is picking a clutch, likely to be an Action Clutch stage 1 at the minute. Followed by waiting for the mounts to turn up so I can drop the engine in.

Nice work.
Any reason you went for the JRSC over a Rotrex? Have you got the chargecooler setup for the JRSC or running it with no intercooler?
I have a Rotrex on my EP3 and no intercooler and the intake temps are way to high, I'd imagine the JRSC in the back on an Elise will be pretty warm!!
Any reason you went for the JRSC over a Rotrex? Have you got the chargecooler setup for the JRSC or running it with no intercooler?
I have a Rotrex on my EP3 and no intercooler and the intake temps are way to high, I'd imagine the JRSC in the back on an Elise will be pretty warm!!
Thanks all.
Went JRSC as that's the package that came with the car. That's about as far as the thought process went really!
But obviously thought has gone in to it since. Couple of things on my side.
It's not a track car - I hope to go to a few but I'm building it to be a summer day toy so all out performance and extended temps not such a worry although they will be higher than you'd want.
Not going charge cooled (yet!) on the Elise the pipe and coolant to the front of the car soon starts to add a fair bit of weight and although the route is well proven it's not the prettiest so I'll hold off going down that route for as long as possible.
What I am going to do is install water injection and have it controlled via the nitrous controller on the Hondata ECU. Results for this solution look great with the added benefit that it increases the efficiency of the charger when injecting through the lobes.
karl_h said:
Thanks all.
Went JRSC as that's the package that came with the car. That's about as far as the thought process went really!
But obviously thought has gone in to it since. Couple of things on my side.
It's not a track car - I hope to go to a few but I'm building it to be a summer day toy so all out performance and extended temps not such a worry although they will be higher than you'd want.
Not going charge cooled (yet!) on the Elise the pipe and coolant to the front of the car soon starts to add a fair bit of weight and although the route is well proven it's not the prettiest so I'll hold off going down that route for as long as possible.
What I am going to do is install water injection and have it controlled via the nitrous controller on the Hondata ECU. Results for this solution look great with the added benefit that it increases the efficiency of the charger when injecting through the lobes.
Interesting idea and I hadn't thought of that. You got any links to information with people using water injection through the Kpro?Went JRSC as that's the package that came with the car. That's about as far as the thought process went really!
But obviously thought has gone in to it since. Couple of things on my side.
It's not a track car - I hope to go to a few but I'm building it to be a summer day toy so all out performance and extended temps not such a worry although they will be higher than you'd want.
Not going charge cooled (yet!) on the Elise the pipe and coolant to the front of the car soon starts to add a fair bit of weight and although the route is well proven it's not the prettiest so I'll hold off going down that route for as long as possible.
What I am going to do is install water injection and have it controlled via the nitrous controller on the Hondata ECU. Results for this solution look great with the added benefit that it increases the efficiency of the charger when injecting through the lobes.

Butter Face said:
Interesting idea and I hadn't thought of that. You got any links to information with people using water injection through the Kpro?
Google Hondata water injection nitrous controller. There's simple wiring diagrams etc. I guess you would need to inject poster blower but I'm no expert. Few updates - Again apologies for the formatting - cut and paste from the SELOC thread.
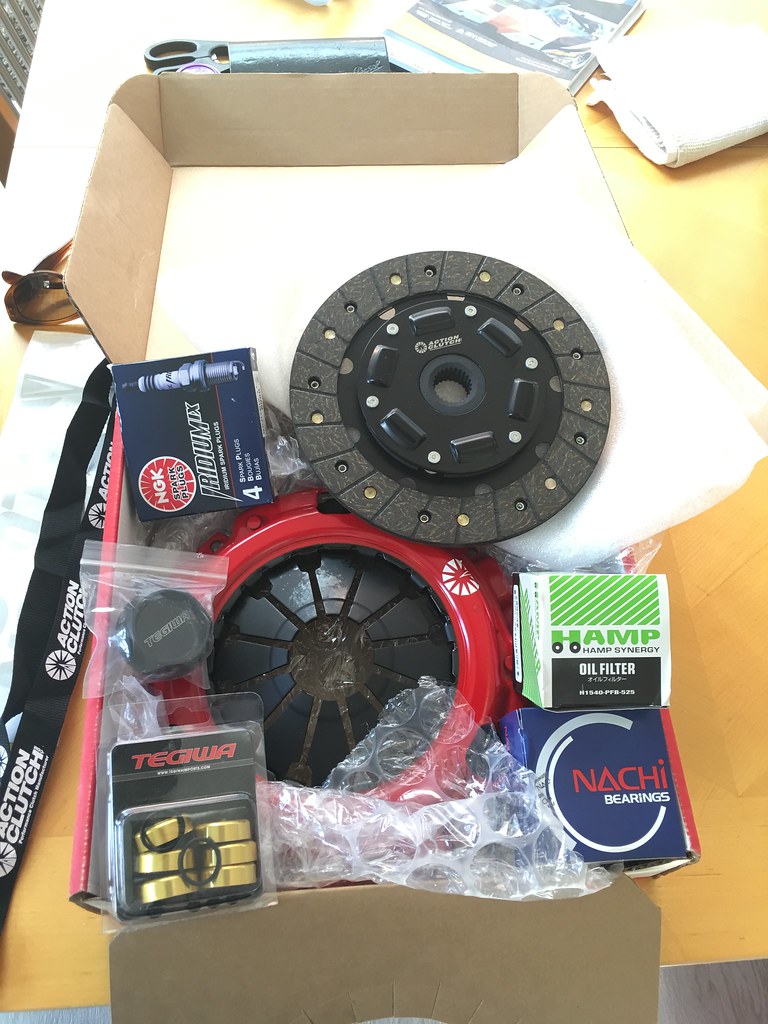
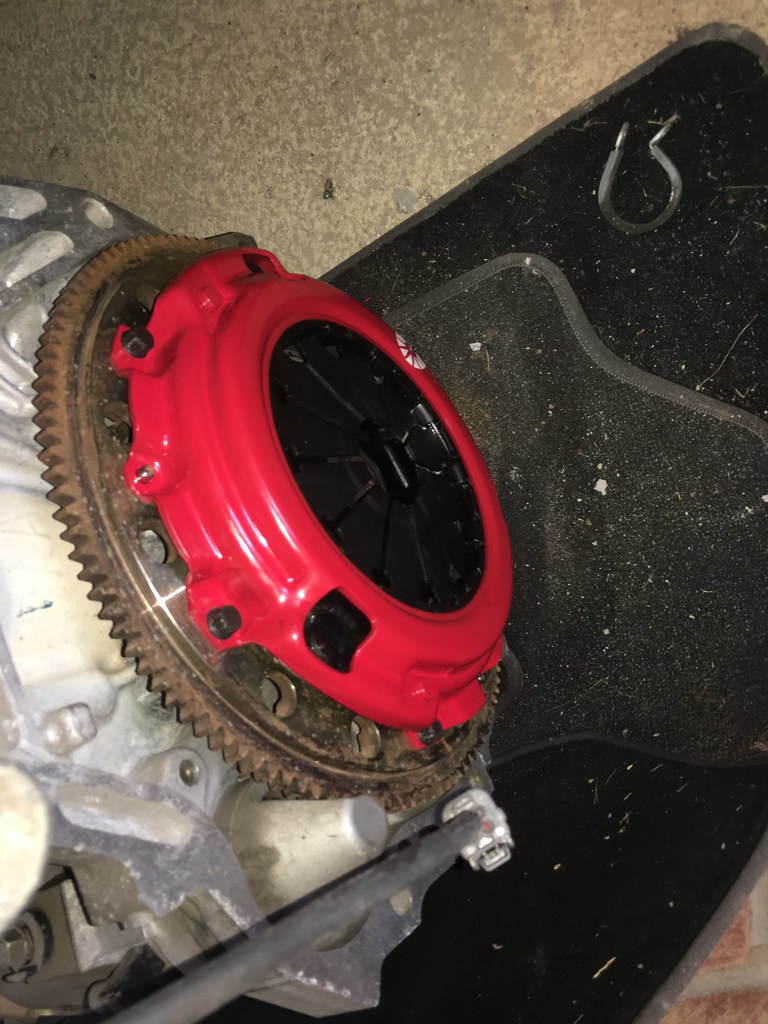
Clutch has arrived. Looks great quality, equal to the clutch master 4 puck I sold as it was going to be way too racy for this car. It's an Action Clutch stage 1, so not too much of an increase over stock, around 40% increased clamping and hopefully similar pedal effort. I could have gone for a stock set up and all the lovely OEM driveability that comes with it, but as it's likely to produce 40lb.ft more torque than the most powerful 2.2 NA car we know of, it seems sensible to upgrade a little and price was very competitive.
Couldn't resist a few trinkets and yet more gold highlights!
Haven't made great strides unfortunately but it's getting there.
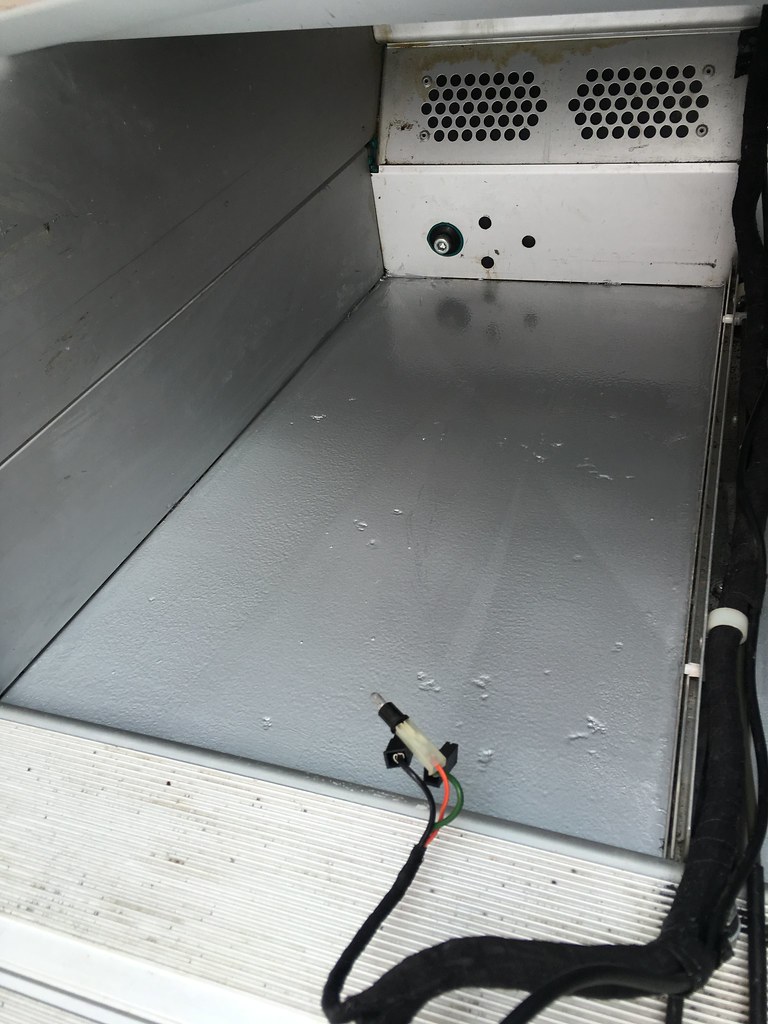
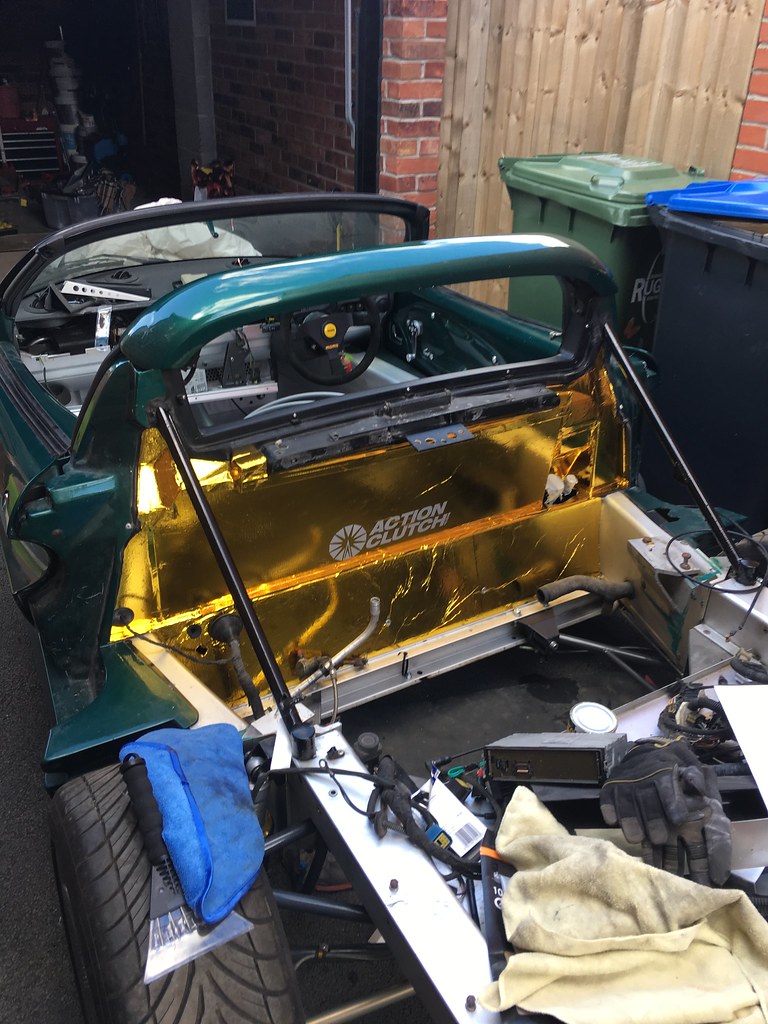
Engine bay/cabin ventilation issue has been finished off..
Followed by it being covered in the obligatory gold bling. If you've never fitted this stuff yourself - Take a deep breath step back and go very slowly it's a total nightmare, one of the jobs that I'm not best pleased about how well it came out, but once it's on, it's on! Would have preferred fewer creases but when the engines in it won't be noticeable and from a function stand point it's fine.

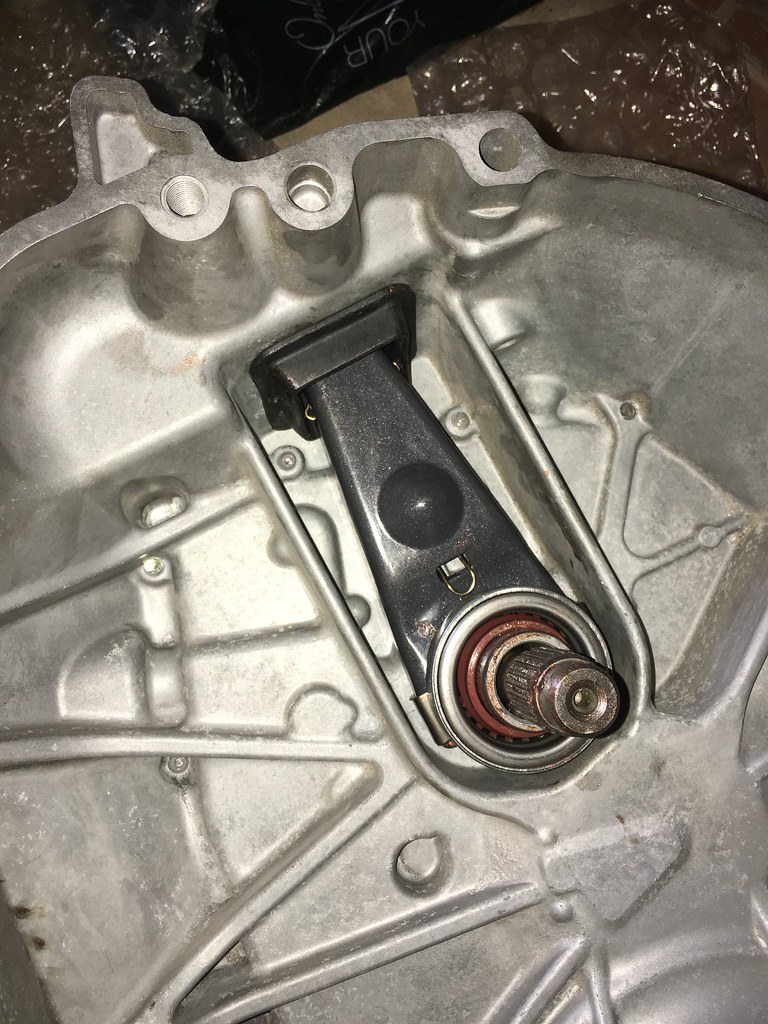
I've also bolted up the clutch, shift fork and bearing.
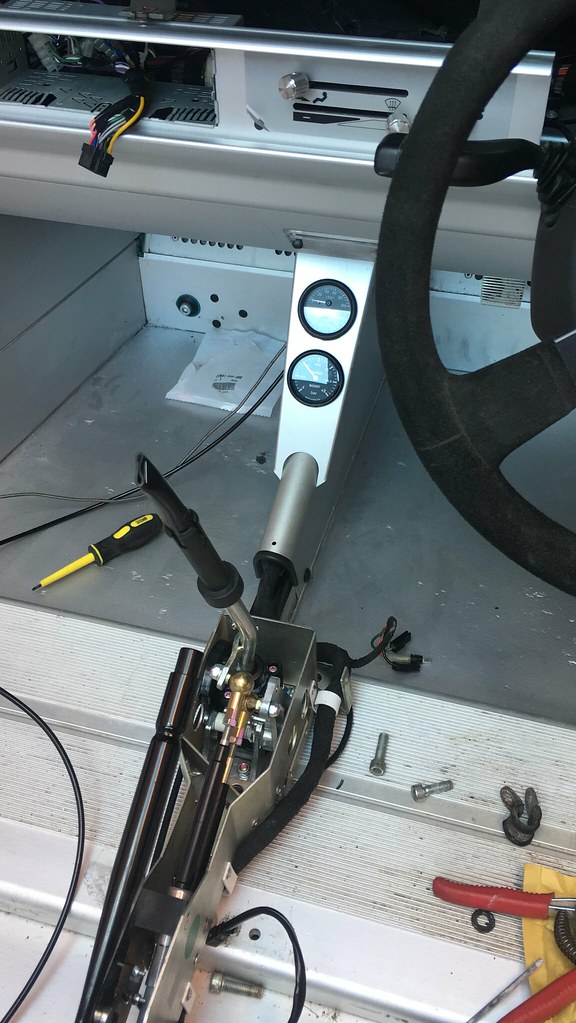
On the inside, I've found a set of Mocal gauges for boost, oil temp & oil pressure on eBay.
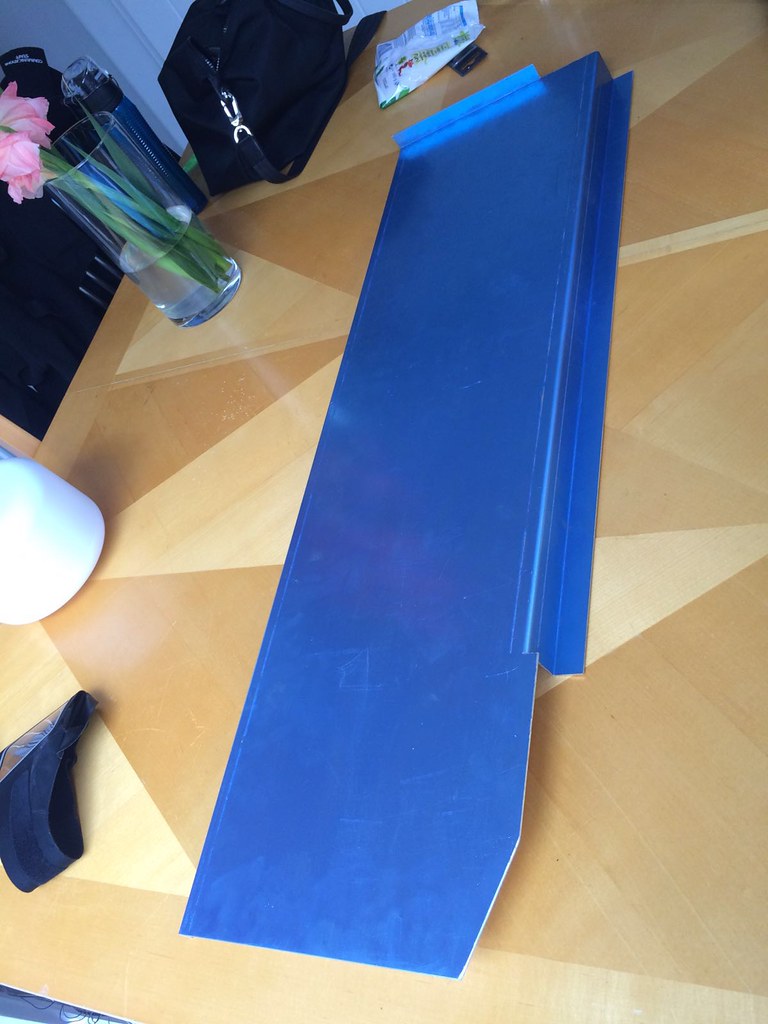
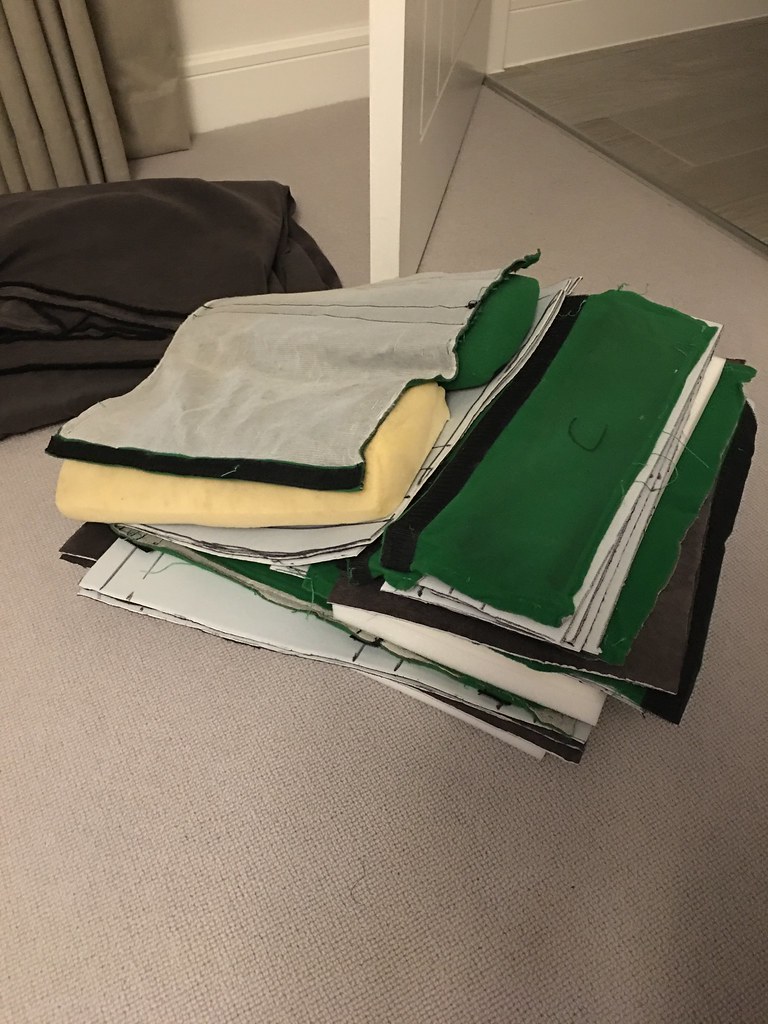
I've also cut all the templates and had new foam ordered to have the seat cushions recovered thanks to a helpful MIL. Going from green to charcoal.

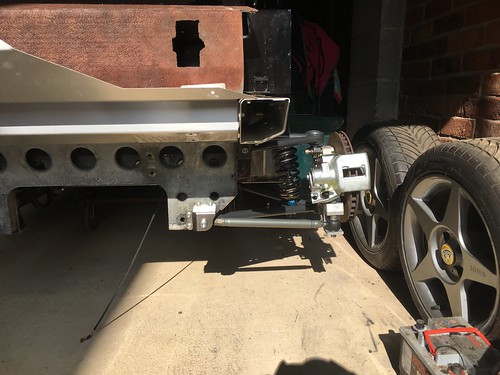
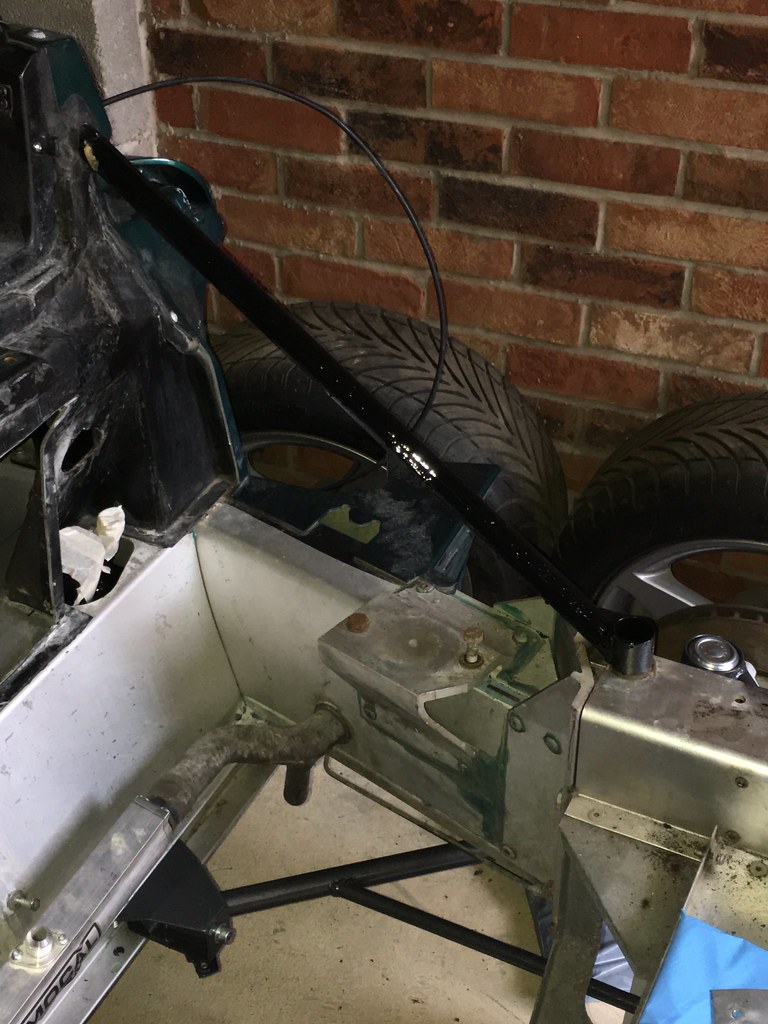
This update unfortunately ends with a rather undignified shot of the car back up on blocks!
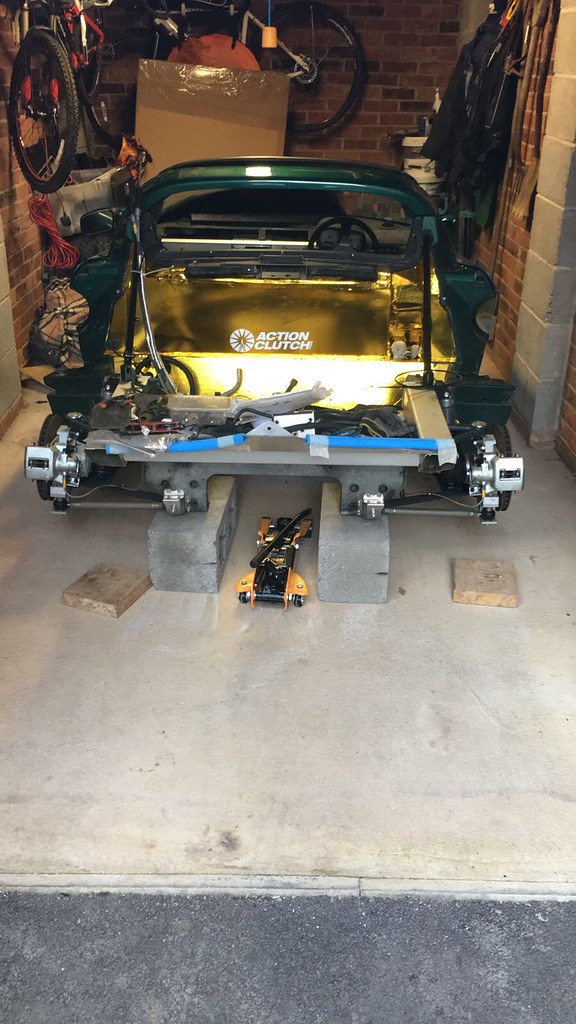
I bought a set of 340R delivery wheels a while ago and finally got round to taking the Victory's off to cover the hole in the bank balance. Unfortunately the wheels are on a car in deepest darkest Wales, so a trip to Travis Perkins sorted out my make shift stands. I have got axle stands but that meant getting the car up quite high and there's limited space in the garage so these were perfect to get the car just high enough!
Clutch has arrived. Looks great quality, equal to the clutch master 4 puck I sold as it was going to be way too racy for this car. It's an Action Clutch stage 1, so not too much of an increase over stock, around 40% increased clamping and hopefully similar pedal effort. I could have gone for a stock set up and all the lovely OEM driveability that comes with it, but as it's likely to produce 40lb.ft more torque than the most powerful 2.2 NA car we know of, it seems sensible to upgrade a little and price was very competitive.
Couldn't resist a few trinkets and yet more gold highlights!
Haven't made great strides unfortunately but it's getting there.
Engine bay/cabin ventilation issue has been finished off..
Followed by it being covered in the obligatory gold bling. If you've never fitted this stuff yourself - Take a deep breath step back and go very slowly it's a total nightmare, one of the jobs that I'm not best pleased about how well it came out, but once it's on, it's on! Would have preferred fewer creases but when the engines in it won't be noticeable and from a function stand point it's fine.
I've also bolted up the clutch, shift fork and bearing.
On the inside, I've found a set of Mocal gauges for boost, oil temp & oil pressure on eBay.
I've also cut all the templates and had new foam ordered to have the seat cushions recovered thanks to a helpful MIL. Going from green to charcoal.
This update unfortunately ends with a rather undignified shot of the car back up on blocks!
I bought a set of 340R delivery wheels a while ago and finally got round to taking the Victory's off to cover the hole in the bank balance. Unfortunately the wheels are on a car in deepest darkest Wales, so a trip to Travis Perkins sorted out my make shift stands. I have got axle stands but that meant getting the car up quite high and there's limited space in the garage so these were perfect to get the car just high enough!
Yazza54 said:
Nice work, what made you go K24? I'm assuming they aren't quite as revvy as a K20 Type R and either would have plenty of torque in such a light car with the charger.
Engine and charger came with the car so not much choice in it. However there is the obvious torque improvement I think we will see 240 lb.ft Edited by Yazza54 on Friday 23 December 09:28
Car will rev to 7500 so still quite revvy.
Although the crank pulley is slightly bigger on a K24 the 1000-1800rpm lower red line should reduce blower speeds significantly and the additional mid range will hopefully mean it spends less time right at the top end which will improve blower life - if there is a weak spot with these it is the blower - but everything is brand new so I'm not expecting too many problems.
I've also got a custom FD and gear set (one of the big downfalls of Honda Elise conversions, 1st becomes nearly unusable) giving 46, 75, 102, 133, 166, 217 0-100 times should be fairly impressive only needing 3rd gear (standard Honda box would need 4th I think?) and 80mph cruise should sit at around 2600rpm. This and the driveability that the additional capacity will bring should make it an exceptional fast road car, lots of thought went in to the package as it was destined to be a demonstrator for Spitfire Engineering, the previous owner.
Butter Face said:
Good work. K24 will be a monster.
As above though you'd think a K20 with a Charger would be sufficent, it is in my EP3 and that weighs a fair chunk more!
Yeah it'll be quite a rare thing as the K20 conversions are more plentiful than you might think, although K24's (and stroked 2.2 K20's) getting there, few others in build currently. As above though you'd think a K20 with a Charger would be sufficent, it is in my EP3 and that weighs a fair chunk more!
It's a case of 'not better, just different' going K24 I think.
Charged EP3 must be a good laugh. Do like fast hatches.
Gassing Station | Readers' Cars | Top of Page | What's New | My Stuff