Wrinkle/Crinkle Paint
Discussion


If the trade winds are in my favour I should be receiving a spray can of wrinkle paint today.
I have 4 steel seat side covers to paint with it as the old paint is falling off.
I have read online about spraying this stuff and the general opinion seems to be that it is an absolute nightmare to do and the result can be mixed for what appears to be no reason at all.
Does anyone have experience with applying it and can you offer me any words of wisdom to help me not waste the whole can before I get a finish that looks good.
I've bought a can of VHT wrinkle plus btw.
Thanks.
Edited by longshot on Wednesday 18th May 10:30
I used the VHT wrinkle paint for my cam cover and it came out quite nice. It went on OK and did wrinkle up in time. I don't really have any advice on how to make it wrinkle, just follow the instructions on the can. The only point of note I would add that when I later went to use the rest of the can to do the plenum, the nozzle clogged and was hopeless despite clearing it after each use and had to liberate one from another can, so maybe have one to hand ?
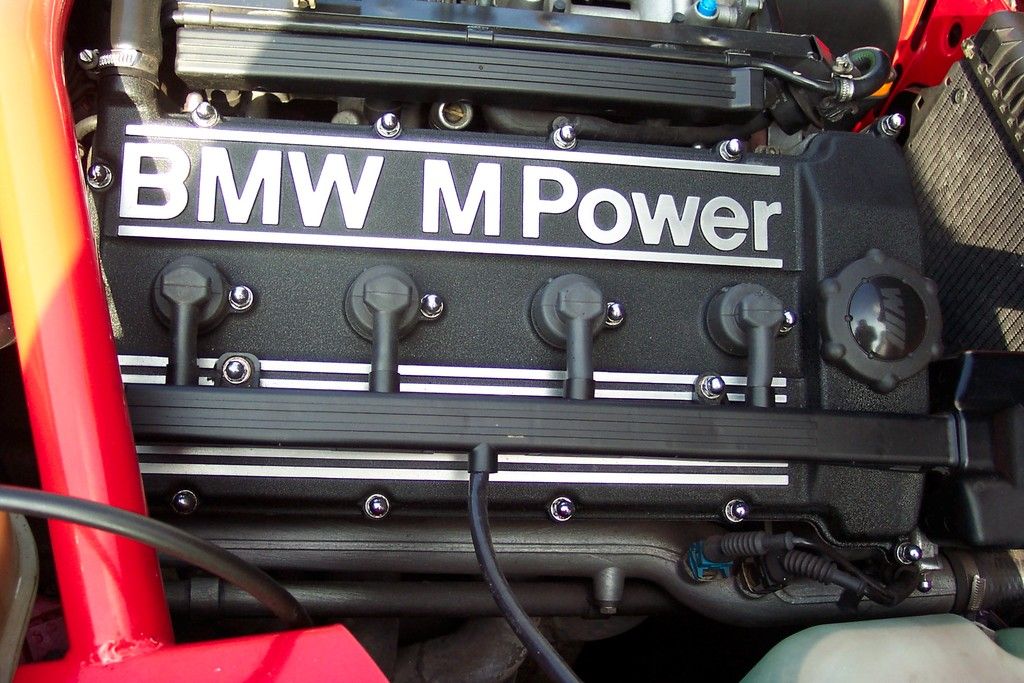

I did LOADS for my old Corrado and TT project and perfected the results. I found VHT Wrinkle the only paint to work with constant results.
- Prep is key. You want to clean and degrease all parts. You want absolutely no grease, old paint or rust. Bare metal only and scuffs/sanding marks aren't too much of a worry.
- Apply 3 to 5 very light coats (to the point where the first 2/3 coats cover any metal colouring and the next 2 add a nice coat). If your fist 1/2 coats fully cover the metal you're applying too thick. Each coat 2-5 minutes apart and each coat from a different angle. You are aiming for a uniform cover all around, no drips/runs and no excessive covering (in the corners etc). You basically want each coat to be just about be touch dry before applying the next coat. Any areas which don't have uniform thickness of paint will wrinkle differently and you'll ruin the piece.
- After the final coat leave for 5 minutes until touch dry.
- Heatgun time! You want to heat the piece without blowing the paint (you don't want the paint to to be pushed by the airflow), move around the gun on the entire piece without concentrating on any specific area for too long - burning the paint will fail the wrinkle too. If you've done everything correct, suddenly the paint will transform into it's wrinkled finish instantly and spread very quickly across the piece - very satisfying.
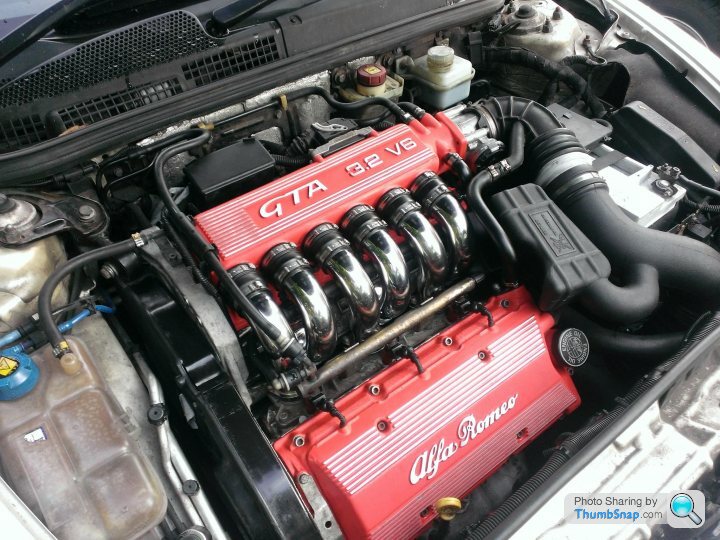
I did this recently on my cam cover, first time using wrinkle paint or a heat gun.
Came out perfectly in my opinion, I went for something a bit less low-key than black
I would echo the tips above, light coats at first. Some people advise doing it in different directions like Vertically Up -> Down the piece, Left -> Right, Down -> up, and Right -> left.
Only thing I would add is don't go too gung ho with the heat gun I did and the paint started to boil in one area but luckily it cant be spotted.
Oh also: get a decent mask, there is no way this paint is good for your lungs, it stinks for days even after fully cured so I kept my 3M mask on at all times when using it.
Excise the rest of the dirty engine bay


Came out perfectly in my opinion, I went for something a bit less low-key than black
I would echo the tips above, light coats at first. Some people advise doing it in different directions like Vertically Up -> Down the piece, Left -> Right, Down -> up, and Right -> left.
Only thing I would add is don't go too gung ho with the heat gun
I did and the paint started to boil in one area but luckily it cant be spotted.Oh also: get a decent mask, there is no way this paint is good for your lungs, it stinks for days even after fully cured so I kept my 3M mask on at all times when using it.
Excise the rest of the dirty engine bay
Edited by Samjeev on Wednesday 18th May 11:48
Edited by Samjeev on Wednesday 18th May 11:48
Thank you all for your posts and pics.
I'm feeling a lot less convinced that I will completely balls it up now.
I will heed your advice Sam with the gun. I can imagine it is very easy to overdo it with the heat.
Thankfully my pieces will be inside the car and won't have to cope with engine bay temperatures.
I'm feeling a lot less convinced that I will completely balls it up now.
I will heed your advice Sam with the gun. I can imagine it is very easy to overdo it with the heat.
Thankfully my pieces will be inside the car and won't have to cope with engine bay temperatures.
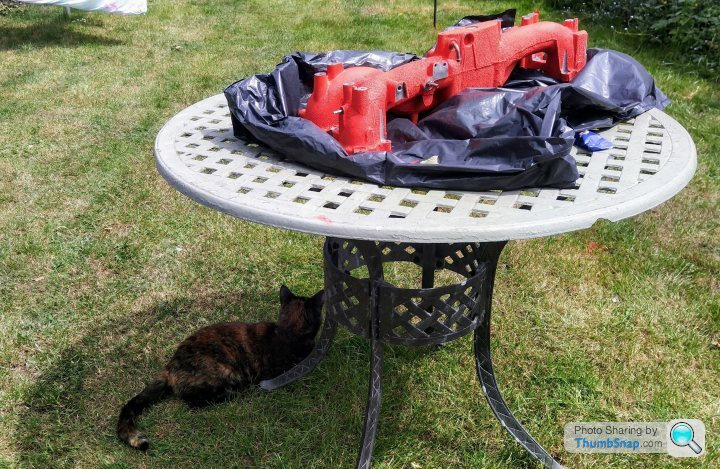
I did the plenum for my car yesterday as part of its full restoration ( previous pic was 10 years ago ), and please with the results. I used a heat gun this time around and within a few mins of gentle heating, the paint started to wrinkle to leave a pleasing result. Great result for the cost of a spray can.
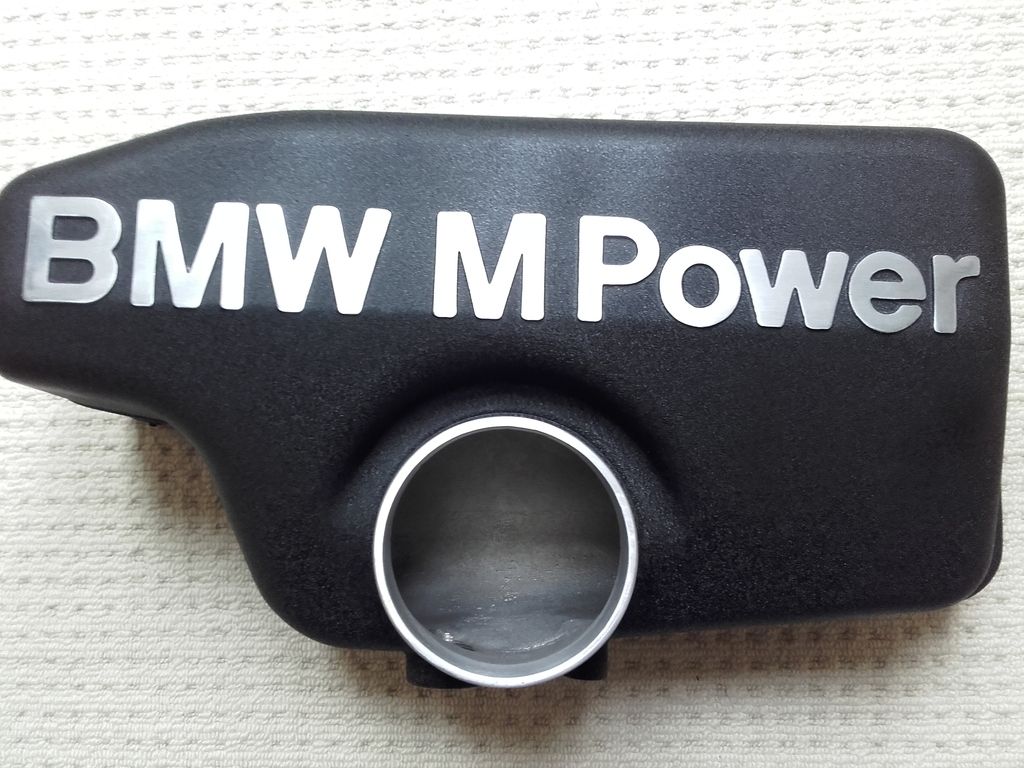
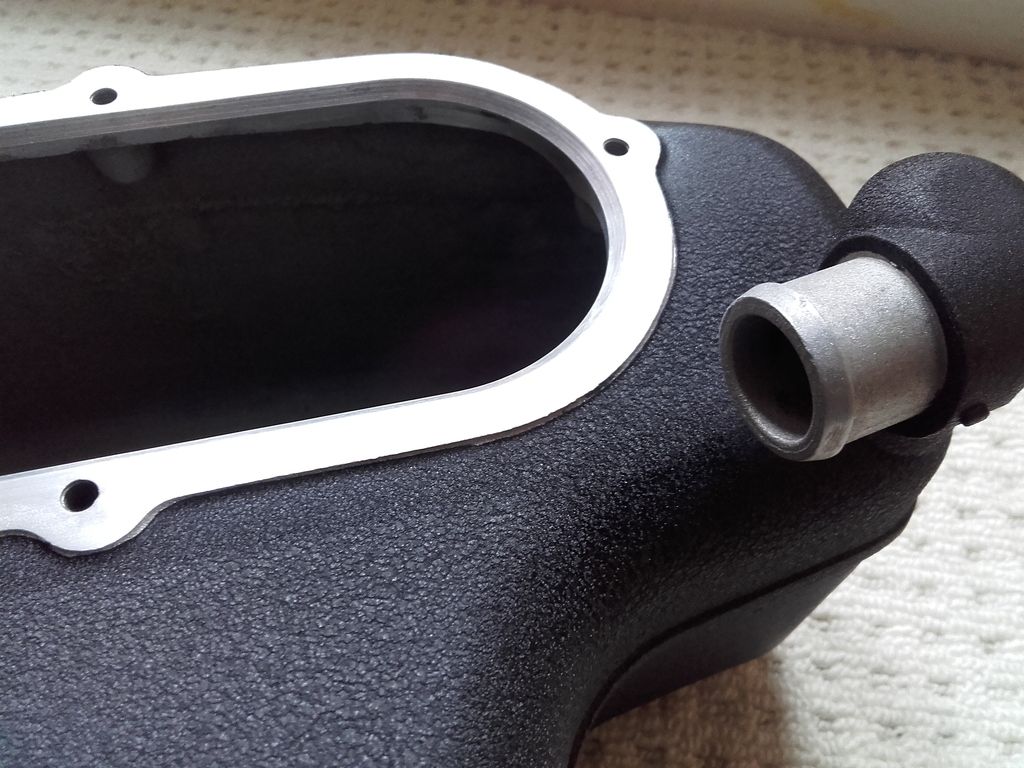


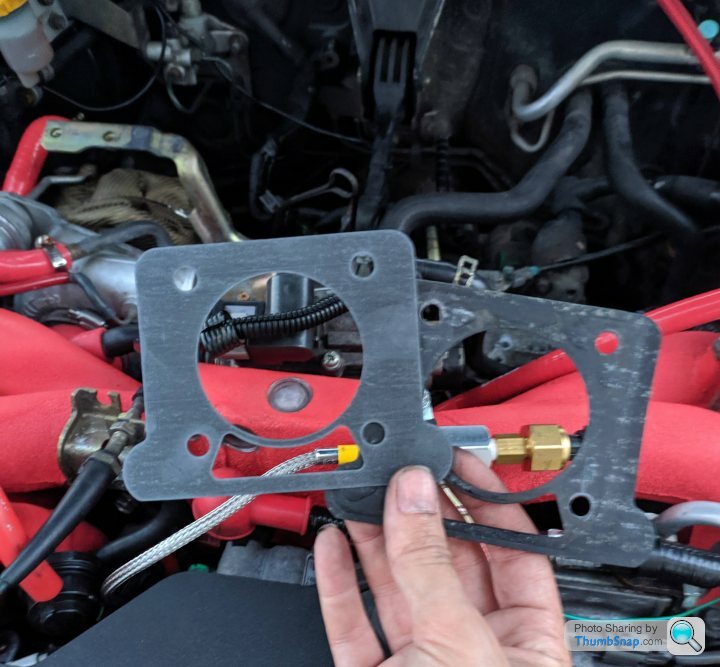
It's worth using a decent painters tape (frog tape or similar) for masking off the mating surfaces/areas you don't want painted combined with a solo razor blade to trim the excess around the mating surfaces
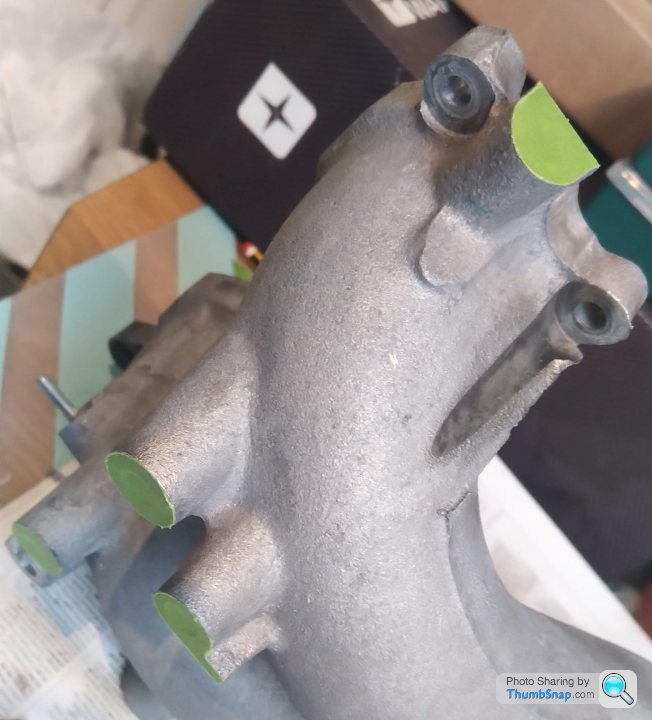
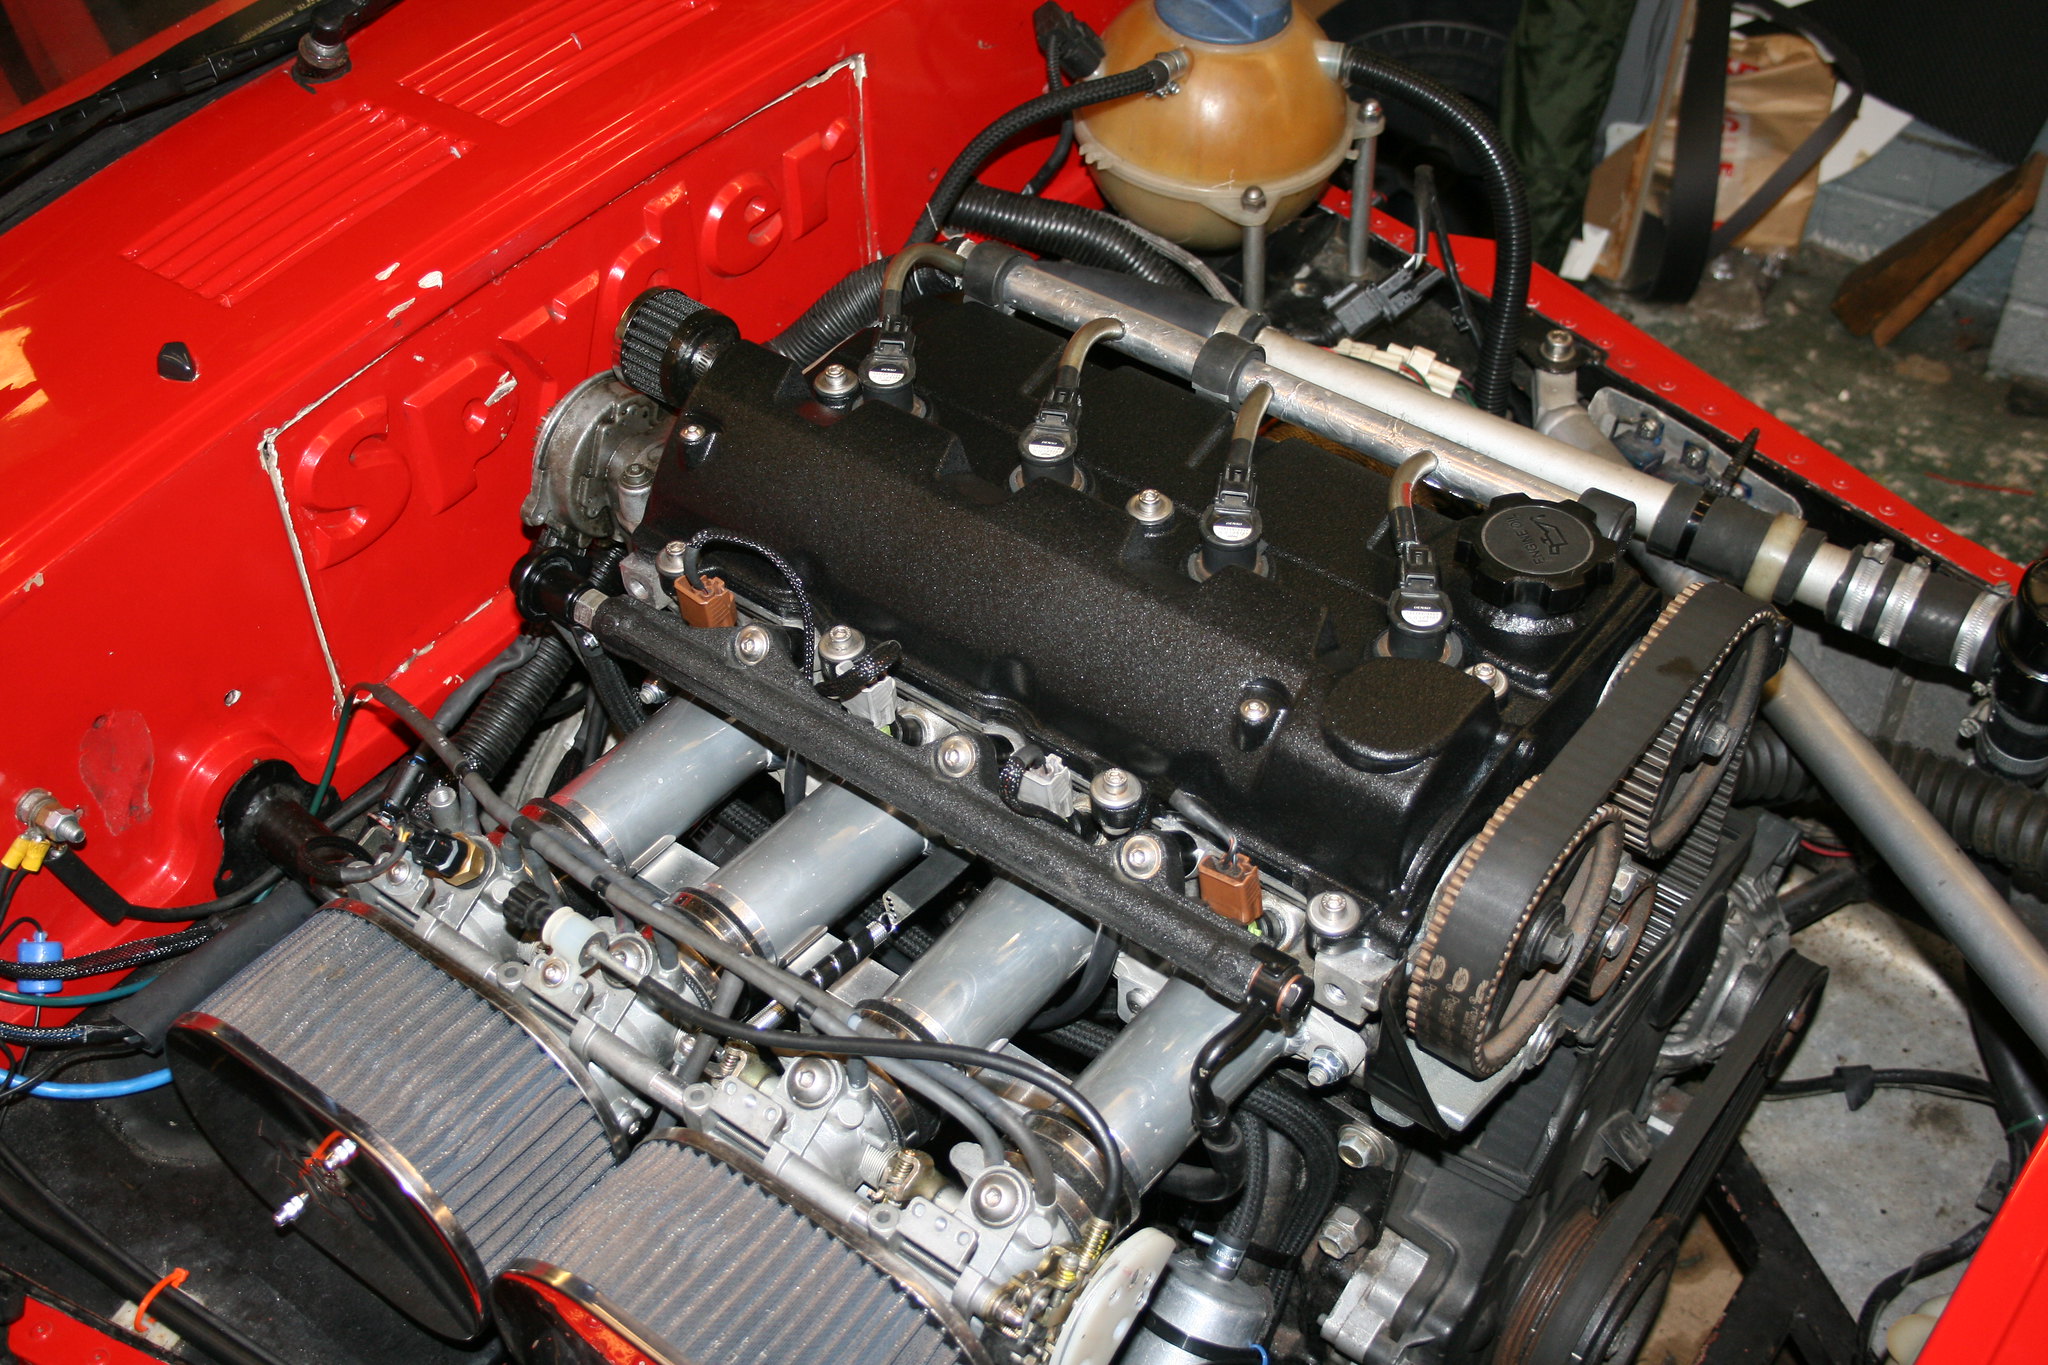
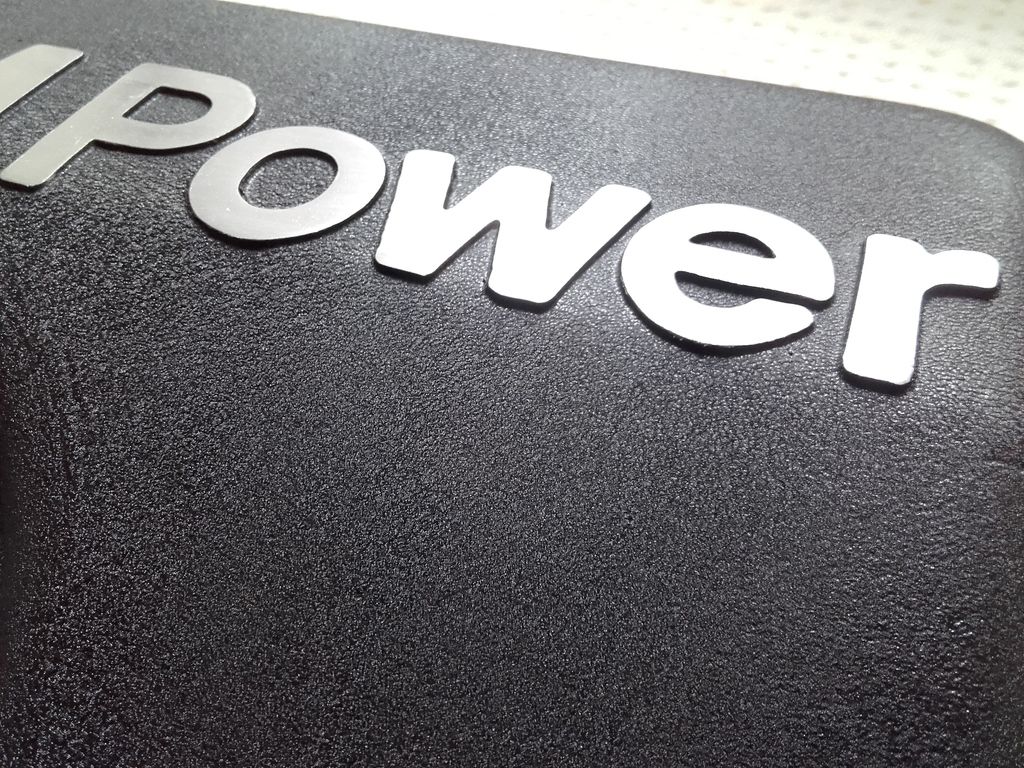
I repainted my inlet manifold a couple of years back with VHT as it was looking grubby and was flaking.
I didn't use a heatgun and couldn't see much wrinkling but I left it outside in the sun for a few hours in a bin bag and it came up good, finish looks very similar to the OEM one Subaru used after a heat cycle in the engine bay.
Finished result after heat cycle (the wrinkles shrink a bit), it's lasted well over the past couple years and coped well with the heat and also the chemicals in an engine bay.
Gassing Station | Bodywork & Detailing | Top of Page | What's New | My Stuff