Ducati Street Fighter build
Discussion


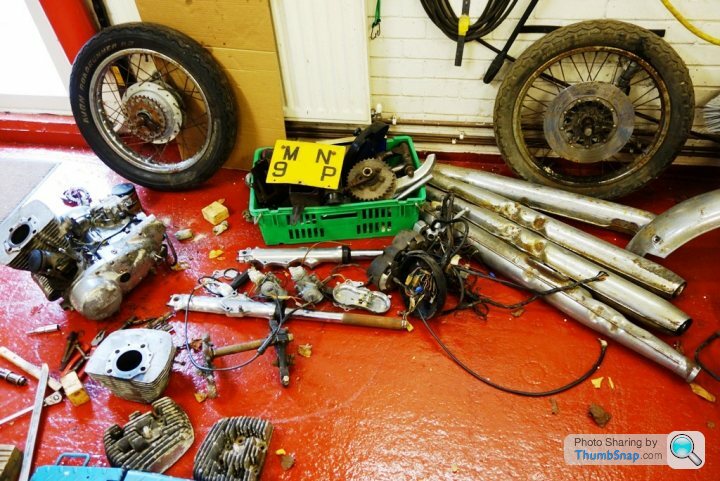
Last winters project was a GT500 Cafe Racer build... I finished it in April, and rode it for a few hundred miles, but it was not for me... far too uncomfortable, mainly due to the weight on my wrists. Thing is, I REALLY enjoyed the build of it! kept me sane over the cold winter months!
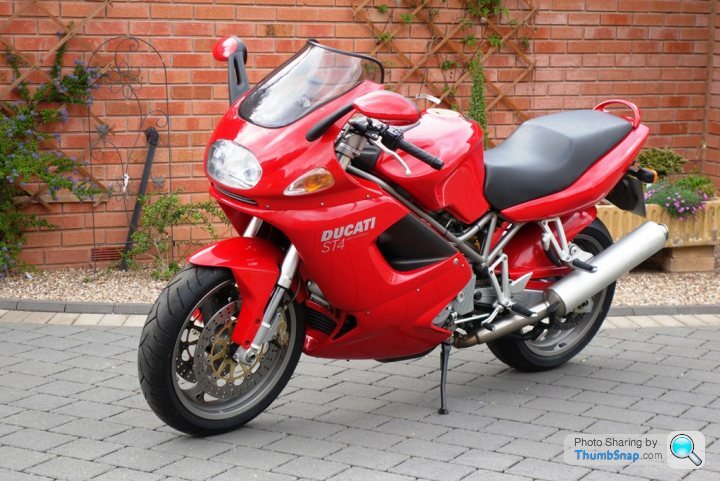
I decided that I wanted to do something with a Ducati and was half heartedly looking on Ebay for the right bike... Plenty of time I told myself, I dont want to start the build until October, so I can spend the summer riding rather than in the garage. Then this came up at a bargain price... 6000 miles, full history... so I bought it! The riding position is not bad, plan is to do a belt service just to be safe, fit some bar risers on it, and use it over the summer... and then over the winter so "something" with it. what ever I do it must be fairly upright though... I do fancy a street fighter...
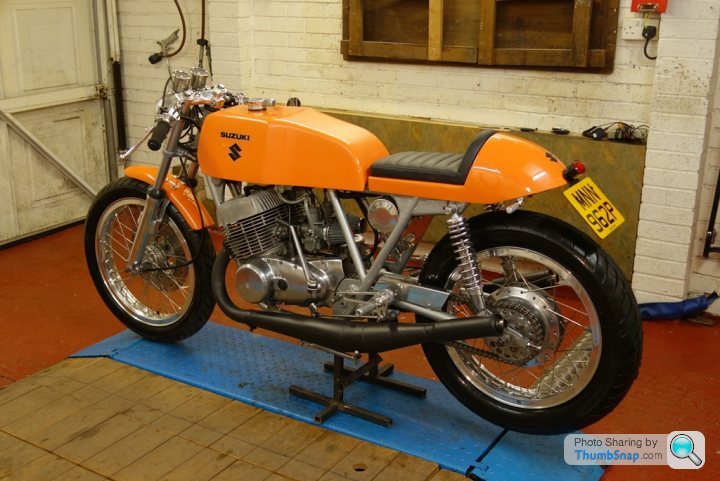
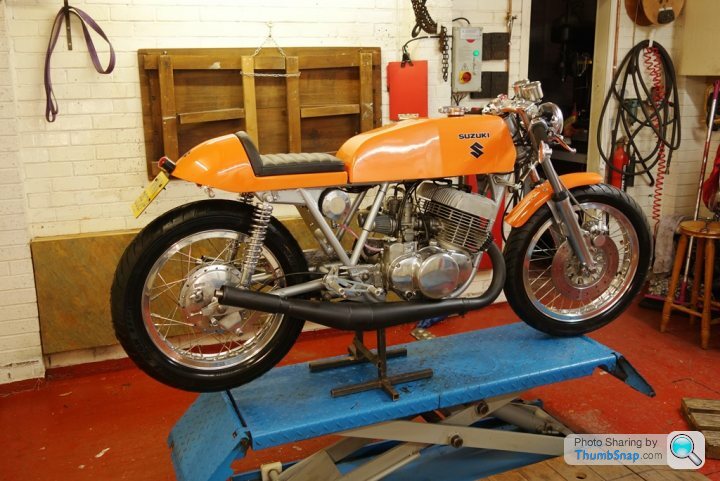
here is a link to the build blog on the Suzuki
https://jtccc.wordpress.com/our-motorbikes/suzuki-...

Day one of the project!
I decided that I wanted to do something with a Ducati and was half heartedly looking on Ebay for the right bike... Plenty of time I told myself, I dont want to start the build until October, so I can spend the summer riding rather than in the garage. Then this came up at a bargain price... 6000 miles, full history... so I bought it! The riding position is not bad, plan is to do a belt service just to be safe, fit some bar risers on it, and use it over the summer... and then over the winter so "something" with it. what ever I do it must be fairly upright though... I do fancy a street fighter...
here is a link to the build blog on the Suzuki
https://jtccc.wordpress.com/our-motorbikes/suzuki-...
Day one of the project!
Saw this ST4 on a US site;

Shark's teeth aside, looks good to me.
More info here; http://www.ducati.ms/forums/40-sport-touring/14433...
Shark's teeth aside, looks good to me.
More info here; http://www.ducati.ms/forums/40-sport-touring/14433...
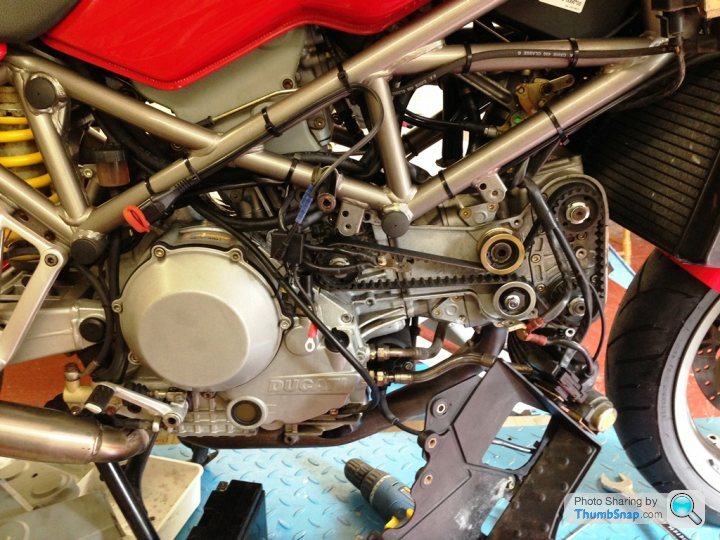
First job following a good look over was to remove all the plastic and inspect the belts. they looked new but as this is a critical item I decided to replace them. Expensive... £112 for two belts from Ducati! Not a bad job and there are plenty of guides on the internet how to do it.
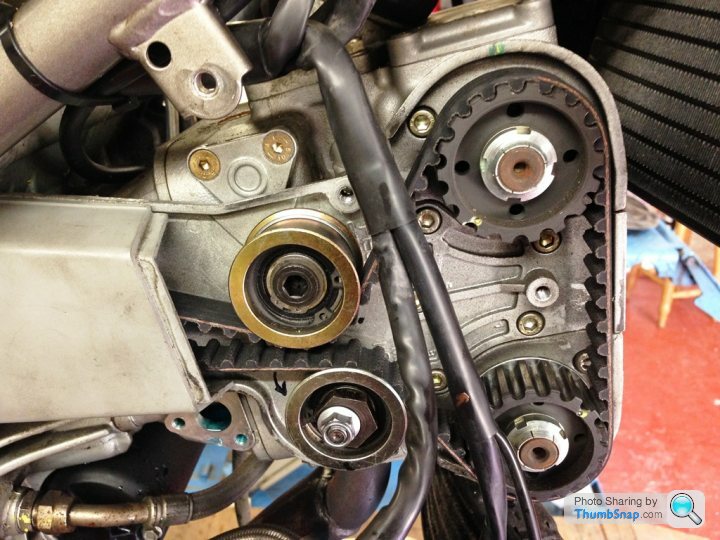
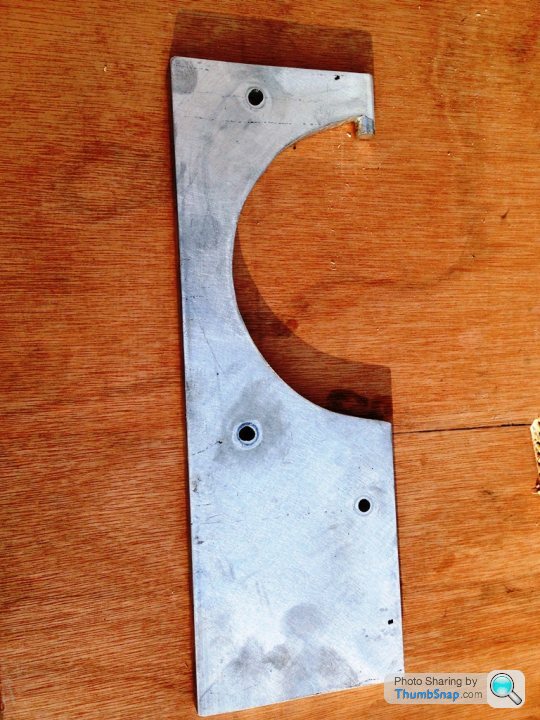
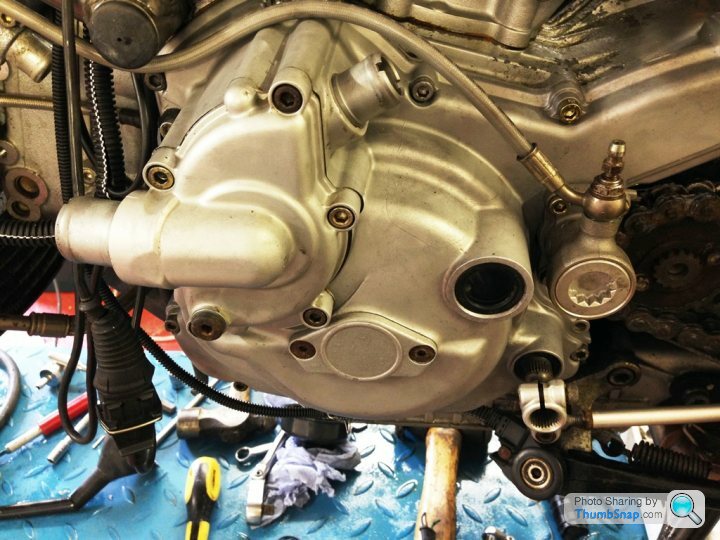
Next up was another service item, checking the tightness of the alternator nut! I cant believe this is on the service schedule, its no wonder Ducati have a reputation for expensive service costs, I can now see why! to remove the case I had to make a simple puller, it came off very easy though. There is the offending nut which apparently is prone to coming loose.
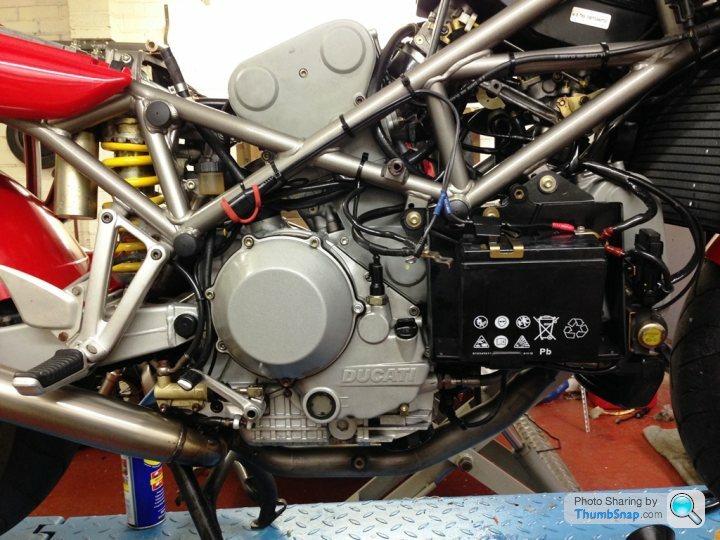
While taking the cover off I noticed that the wiring for the stand switch was burnt... seems this is a common fault caused by a bad earth on the engine. I stripped back the wiring and replaced the burnt wire. Fortunately it had not done any other damage. I now need to fix the bad earth problem, I will also double up on the engine earth to be sure.
One of the things Ducati engines suffer from is flaking paint on the engine cases, and this is no exception. I left the case overnight in some thinners and covered it with tissue. Next day the paint was soft enough to jet was off completely. Not sure yet how I am going to finish the cases.

Next up was another service item, checking the tightness of the alternator nut! I cant believe this is on the service schedule, its no wonder Ducati have a reputation for expensive service costs, I can now see why! to remove the case I had to make a simple puller, it came off very easy though. There is the offending nut which apparently is prone to coming loose.
While taking the cover off I noticed that the wiring for the stand switch was burnt... seems this is a common fault caused by a bad earth on the engine. I stripped back the wiring and replaced the burnt wire. Fortunately it had not done any other damage. I now need to fix the bad earth problem, I will also double up on the engine earth to be sure.
One of the things Ducati engines suffer from is flaking paint on the engine cases, and this is no exception. I left the case overnight in some thinners and covered it with tissue. Next day the paint was soft enough to jet was off completely. Not sure yet how I am going to finish the cases.
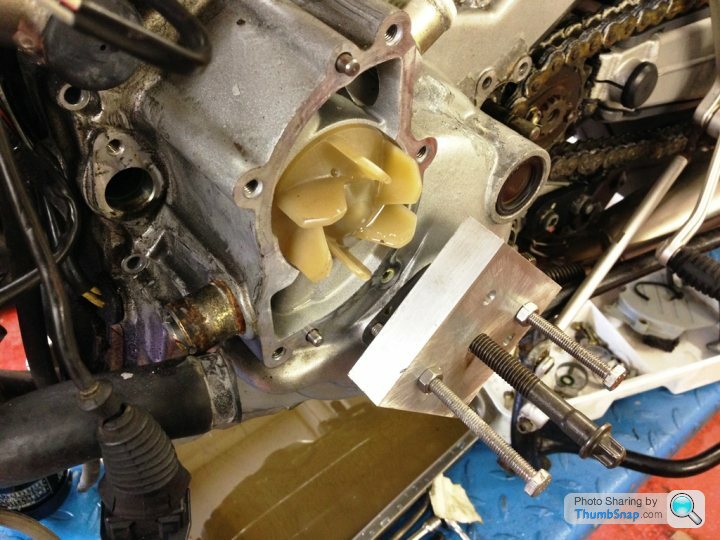
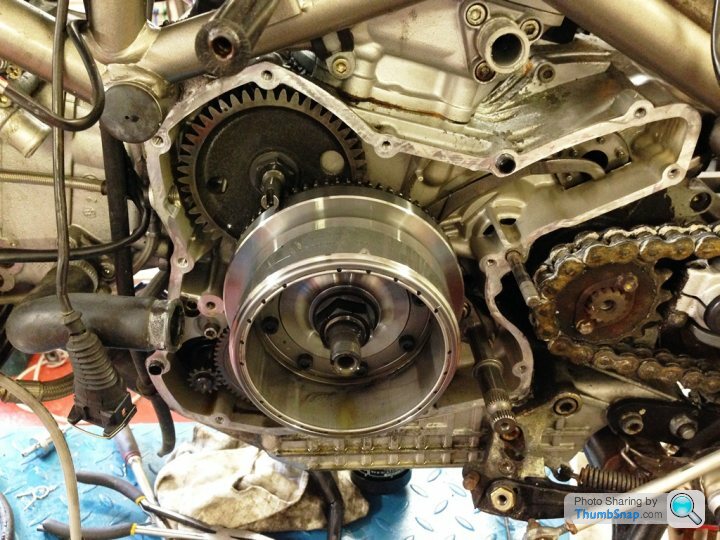
Looking at the torque figure for the nut on the crank its VERY tight at 186 NM.
I saw some references on various forums to using a soft copper penny between the gears to prevent the crank turning… Shame on you! It took a couple of hours, but this is the tool I made. The nut was tight on my bike.
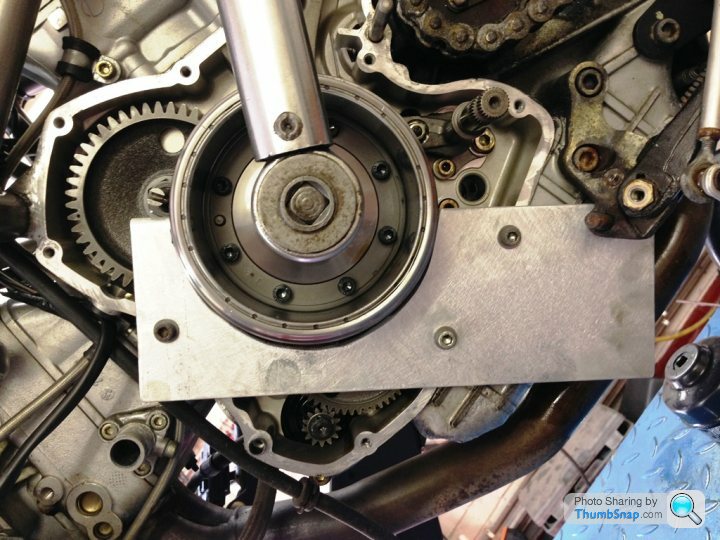
I saw some references on various forums to using a soft copper penny between the gears to prevent the crank turning… Shame on you! It took a couple of hours, but this is the tool I made. The nut was tight on my bike.
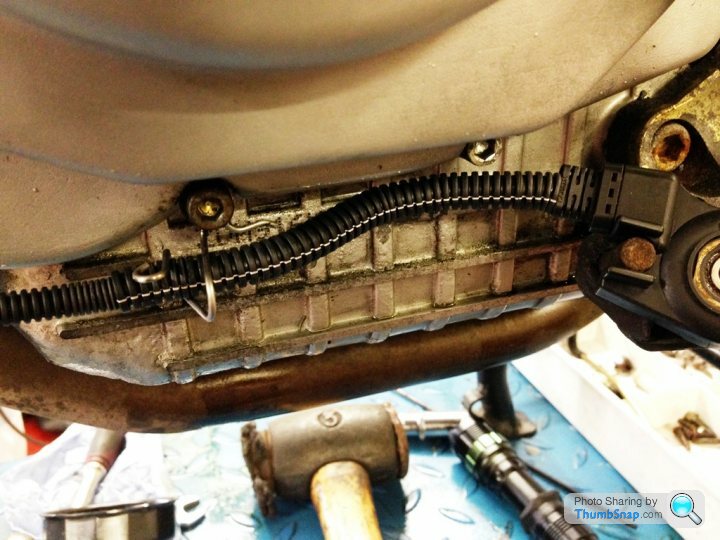
Half day in the garage today... I have replaced the burnt wire on the stand switch by splicing in some new wires. I do like the plastic conduit you can get now in solid or split form, makes a nice job of wiring, and its highly resistant to abrasion due to its design.
I decided that rather than paint the side case, I would bead blast it… and leave it bare and give it a coat of ACF-50 now and then. we will see how it stands up, if not when I do a full rebuild, I will paint it.
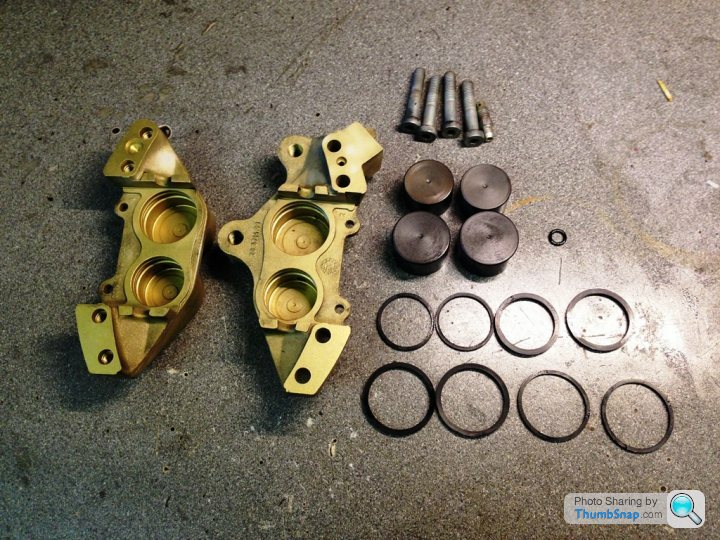
The brakes were free, but as its an easy job to strip and rebuild, I took them apart for a good clean.
I decided that rather than paint the side case, I would bead blast it… and leave it bare and give it a coat of ACF-50 now and then. we will see how it stands up, if not when I do a full rebuild, I will paint it.
The brakes were free, but as its an easy job to strip and rebuild, I took them apart for a good clean.
theshrew said:
Probably teaching my granny to suck eggs here but its worth a mention. If you are using conduit like that use the stuff that is smooth inside and not ribbed to match the outside. It can cause as much trouble as not having it on at all.
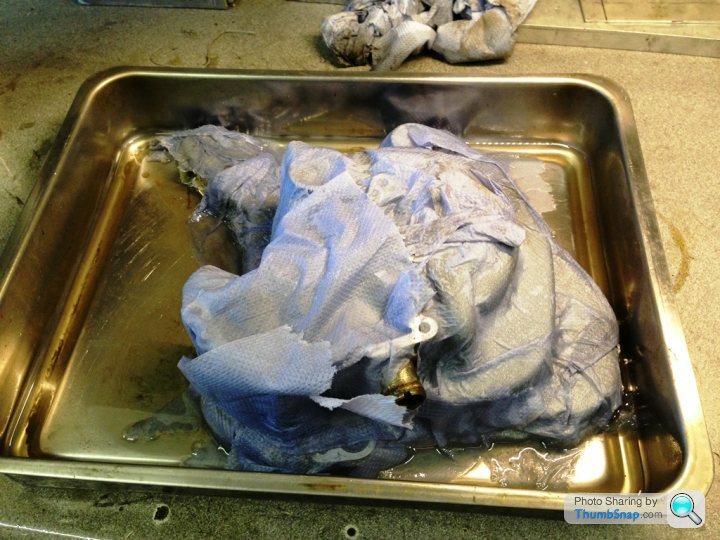
Ah, tell me more... Not seen anyting on it. This war rubbed in the inside, boes it give problems?Sometimes when you are working through a car or a bike service you question if a job is worth doing... To be honest, there was nothing wrong with the brakes. I guess they did benefit from a strip and clean, but they would have been fine without it. So I pondered on changing the fuel filter... as always I eared on the side of caution and decided to do it.
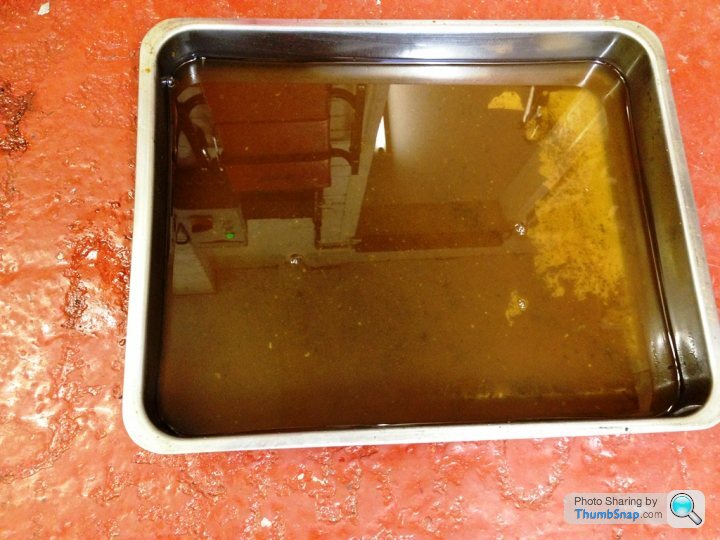
So glad I did! this was what was in the tank on the first drain after a swish about!
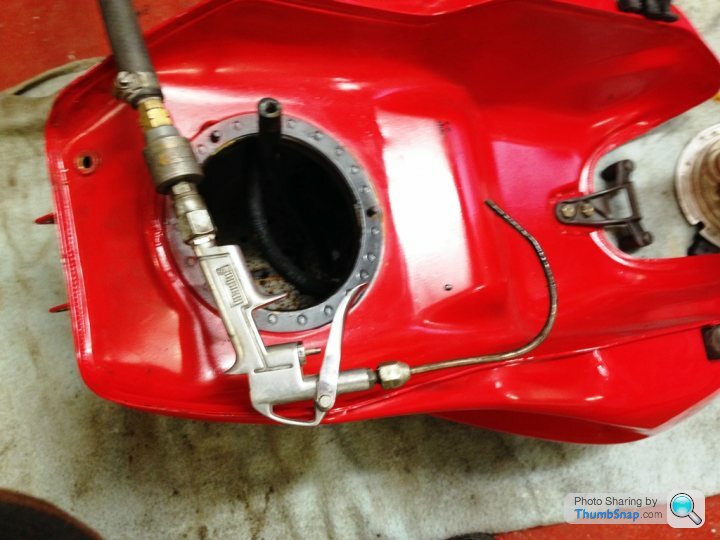
So I took the base off the bottom of the tank and gave it a good clean out... after a while I realised that there was lots of trapped dirt in the section where the inner and outer meet. I used the air line (Bent to shape)to blast it clear, and a bent bottle brush to clear it all out. it took quite a while to get all the debris out.
Its all going back together
So glad I did! this was what was in the tank on the first drain after a swish about!
So I took the base off the bottom of the tank and gave it a good clean out... after a while I realised that there was lots of trapped dirt in the section where the inner and outer meet. I used the air line (Bent to shape)to blast it clear, and a bent bottle brush to clear it all out. it took quite a while to get all the debris out.
Its all going back together
graham22 said:
Stop servicing it, make something FFS!!
Oops - did I type that out loud!
Looking forward to this too.
Sorry to disappoint Oops - did I type that out loud!
Looking forward to this too.
 I doubt there will be much "made" this side of summer... reasons...
A - I want to do a few miles on it over the summer to make sure I like it....
B- we have some long holidays planned
C- I promised my wife I would not spend all summer in the garage
D - I have some DIY jobs to do and she will be "disappointed in me" if I don't do them
I do hope you understand...
Back to the servicing... almost done.
Gassing Station | Biker Banter | Top of Page | What's New | My Stuff