Road Runner SR2 build
Discussion


rdodger said:
Hi. Looking good!
You are using a similar setup to me with the BRP MP62 Supercharger on the BP 1.8.
Have you looked into the coolant reroute? Basicaly helps with the cooling of cylinder 4.
Like this http://mazdafield.wordpress.com/2012/01/22/test-fi...
though I have done away with the front thermostat housing and used a core plug.
What size pully are you using? Intercooler or charge cooler?
I have heard about the coolant re route but was told It doesn't work the same on the mk2 engine due to the 'lean burn head'? You are using a similar setup to me with the BRP MP62 Supercharger on the BP 1.8.
Have you looked into the coolant reroute? Basicaly helps with the cooling of cylinder 4.
Like this http://mazdafield.wordpress.com/2012/01/22/test-fi...
though I have done away with the front thermostat housing and used a core plug.
What size pully are you using? Intercooler or charge cooler?
have you got anymore info on it, I havn't started the coolant pipes yet but as I was doing the cam belt I couldn't decide whether to blank it off from the head.... I ended up leaving the housing on due to hearing about the lean burn head on the mk2?
Im running a 7cm pulley, am I right in thinking thats standard? Eventually i'll run an intercooler but to start with i'll run the pipe work straight into the inlet then once the cars passed IVA I can look into the coolers etc.
chuntington101 said:
If thats the Magnuson M112 then its just a tad biiger than the engine in terms of displacement! Think you should give it a try 
You know your Superchargers then! you are right, its the Magnuson..... don't think i'll put it on my engine though, although it would be interesting!

It's going in an Ultima....
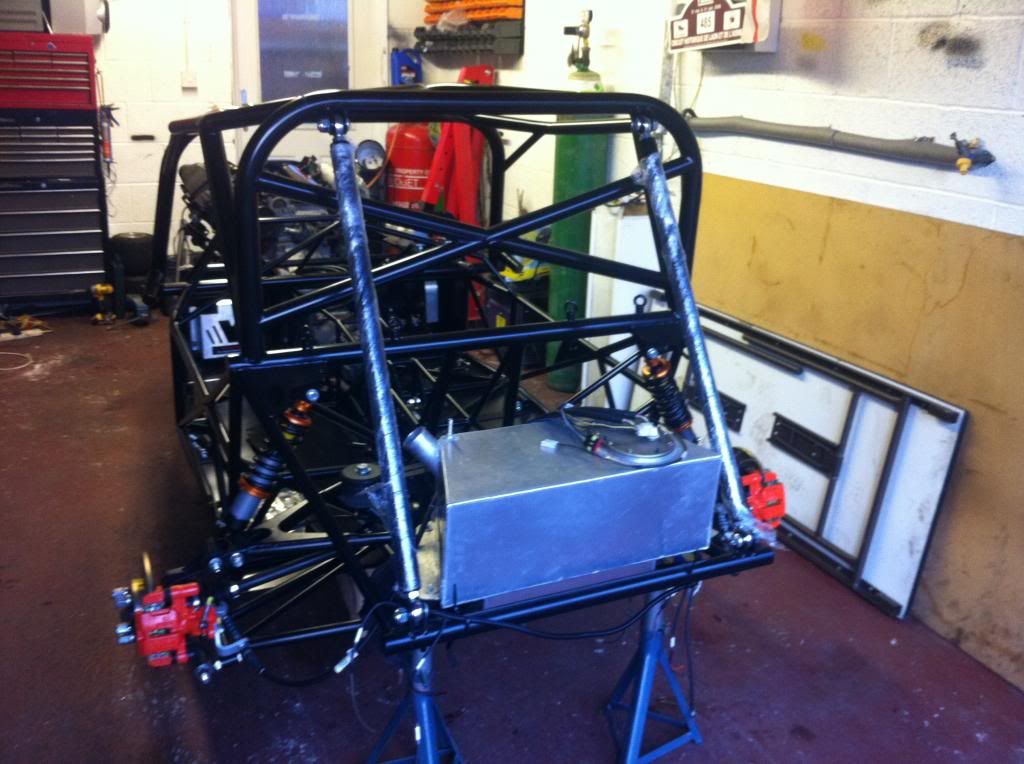
Turned the car round to start fitting the body,
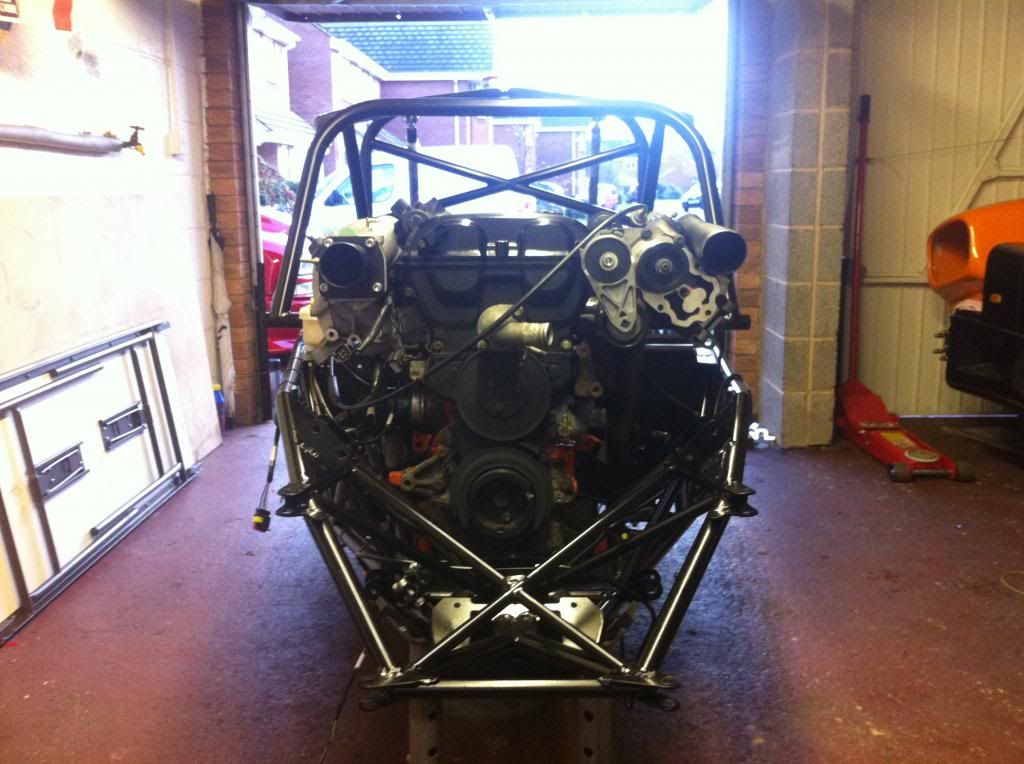
A few pictures of the car before the body goes on!
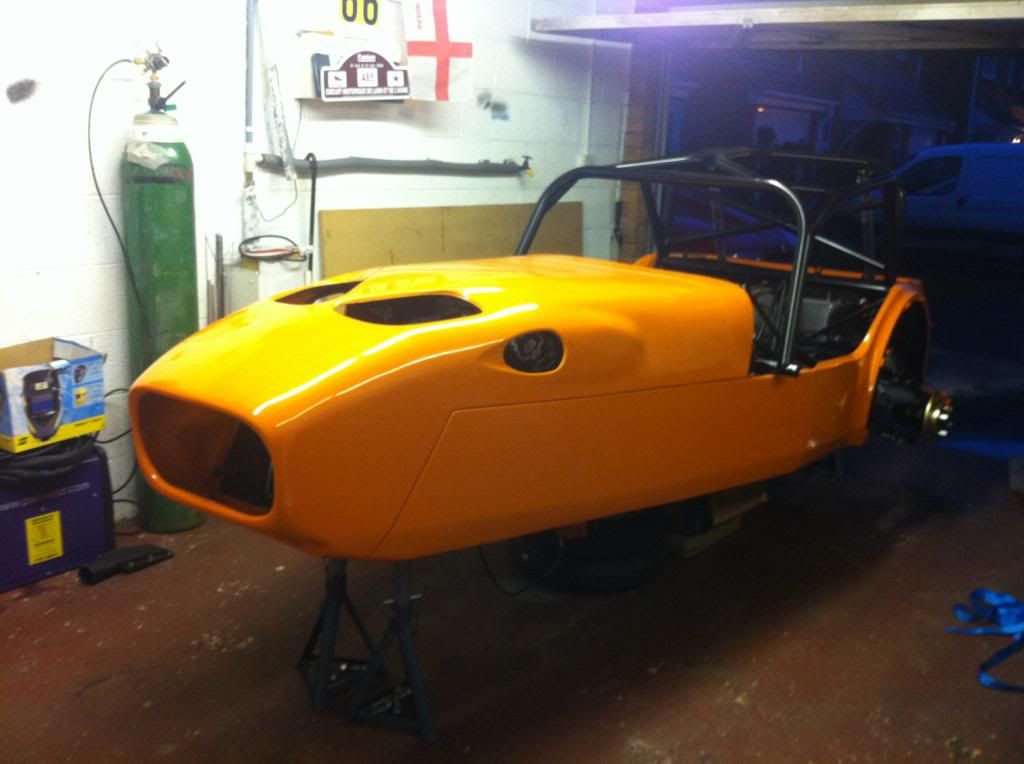
Painted the inside of the bodywork to give it a bit more of a 'finished' look

Sides fitted with bonnet.... just need to sort the shut lines and secure the sides, although it sits pretty well as it is.
Fitted the rear cover that sits over the eyelets, also cut and fitted the rear carbon covers

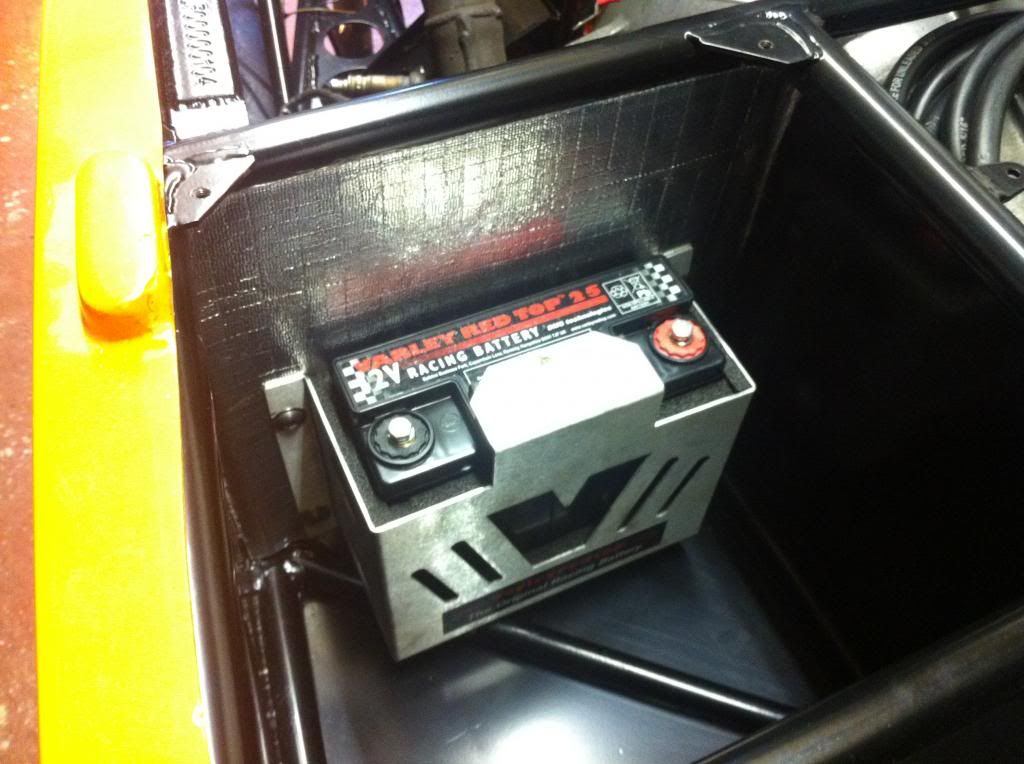
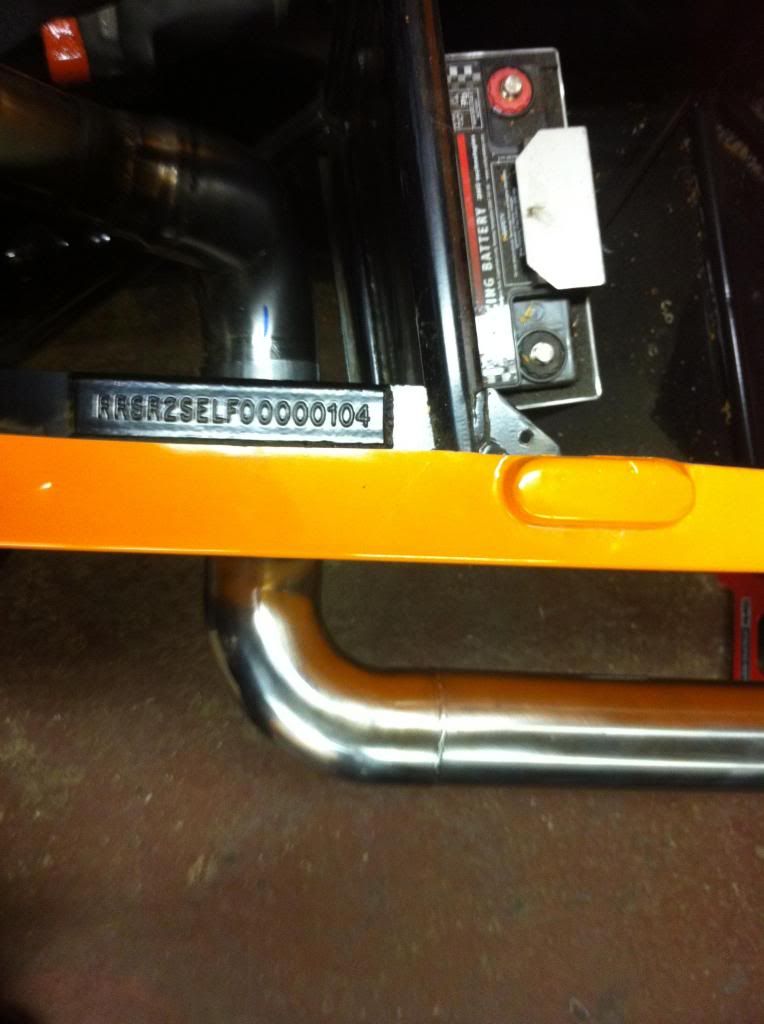
Fitted the battery with some heat matting behind it, I'll put this the other side as well as the exhaust will be quite close to the bulk head.
Next is the exhaust......
A few pictures of the car before the body goes on!
Painted the inside of the bodywork to give it a bit more of a 'finished' look
Sides fitted with bonnet.... just need to sort the shut lines and secure the sides, although it sits pretty well as it is.
Fitted the rear cover that sits over the eyelets, also cut and fitted the rear carbon covers
Fitted the battery with some heat matting behind it, I'll put this the other side as well as the exhaust will be quite close to the bulk head.
Next is the exhaust......
Life Saab Itch said:
I really like the look of this kit.
It's about the only kit on the market at the moment that looks to be of a top quality in design and finish, apart from maybe the Birkin.
thanks....It's about the only kit on the market at the moment that looks to be of a top quality in design and finish, apart from maybe the Birkin.
I was very impressed with the quality of the car when I first saw it, I do however think it looks so much better in the flesh quality wise compered to other kits on the market (nothing against other kits as I've had them in the past)

Edited by petrol head ash on Tuesday 18th December 22:11
TheLastPost said:
Is there any provision for a front anti-roll bar with the SR2, and if so how does it work; is it inboard or outboard?
And what bearings do the rockers use, out of interest?
As far as I'm aware there isn't an anti roll bar option (although I could be wrong). Not sure what bearings are used in the rockers but I'm sure if you contact Roadrunner themselves they should be able to help!And what bearings do the rockers use, out of interest?
I used the SR2 demonstrator/track weapon! (about 3000 track miles this year) with the standard suspension setup, Ive got the pushrod setup so should be better as most weight's in board, I wouldn't think an anti roll bar was really necessary with the standard setup but It can't be that difficult for some one to retro fit... if thats what they want?
Started the exhaust...
I'm using three inch pipe because it looks massive!.... and for the future in case I decide to use bigger injectors, smaller pulley etc.
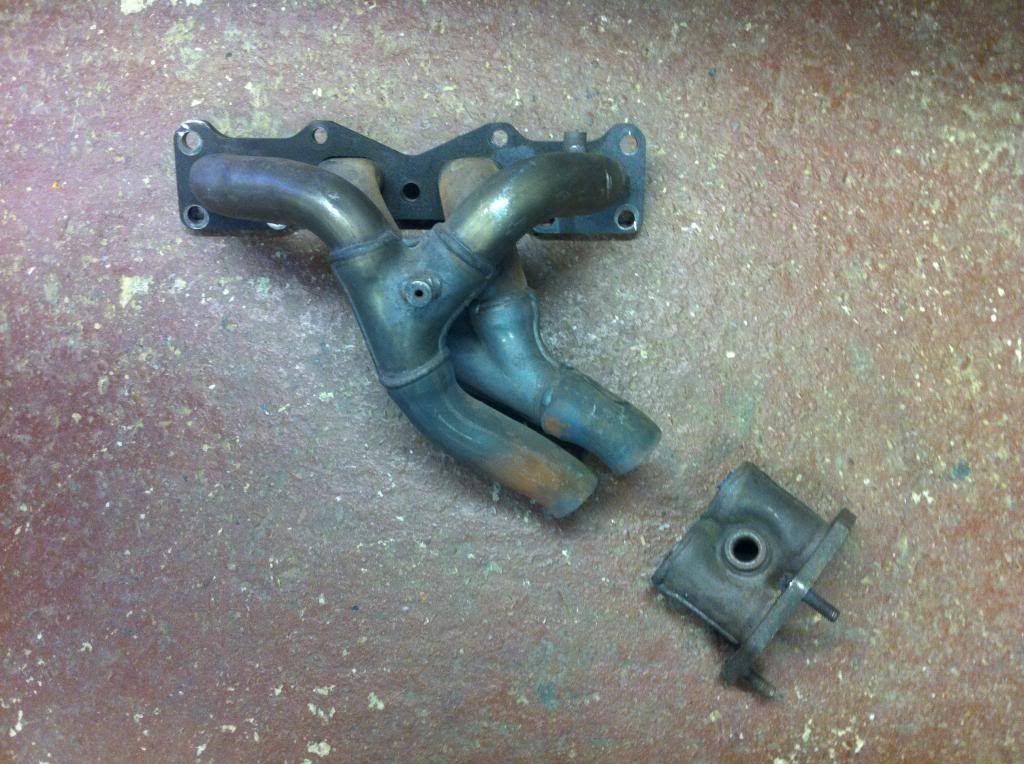
I'll be using the standard manifold as it sits very neatly under the charger and looks like a very good flowing/well build part... for a production car anyway.
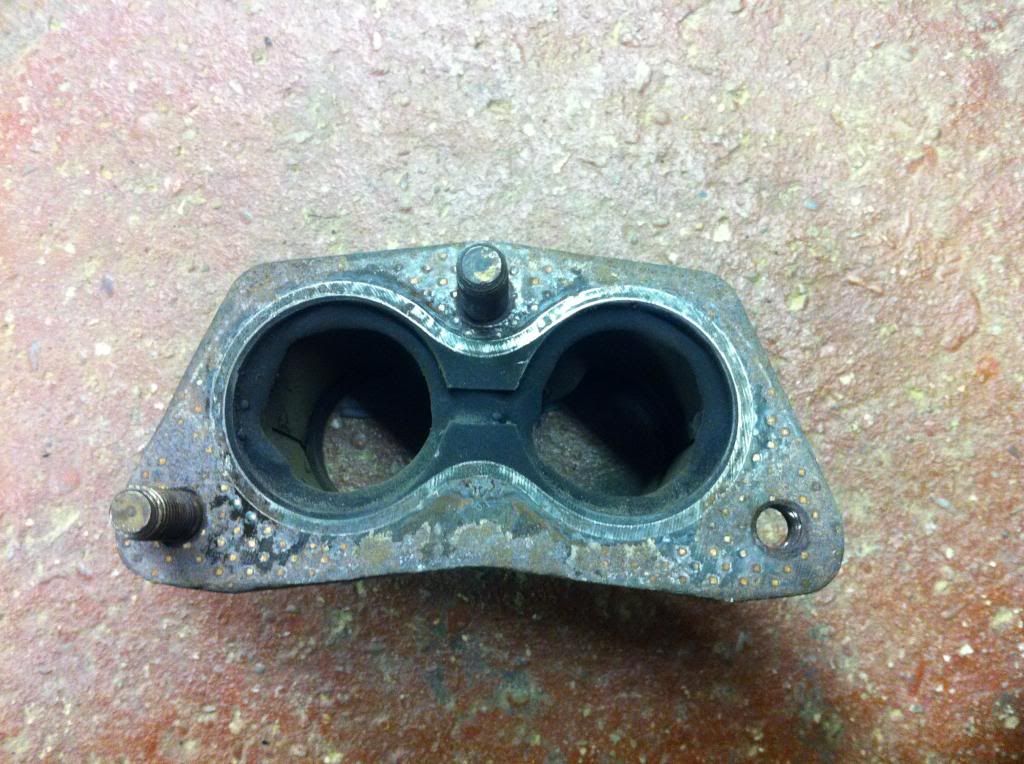
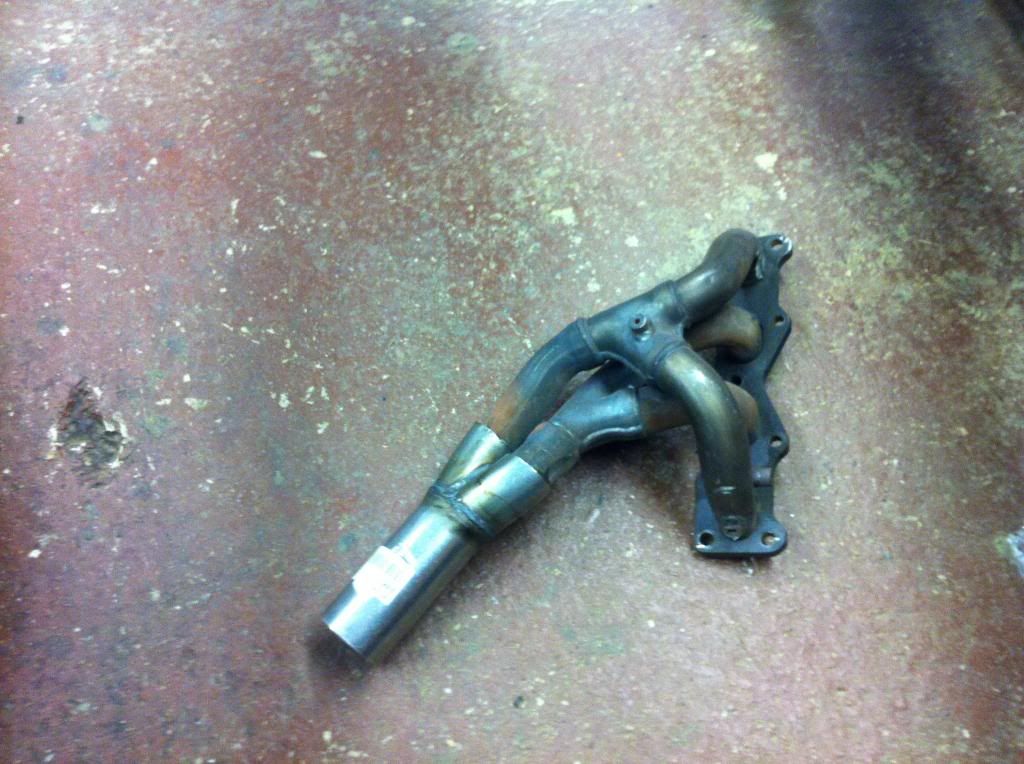
The mk2 engine uses a different flange to the Mk1, two pipes rather than one. I decided to cut this off as it was the easiest way to use the three inch pipe I wanted in the available space
A 'y' section then made the single outlet...
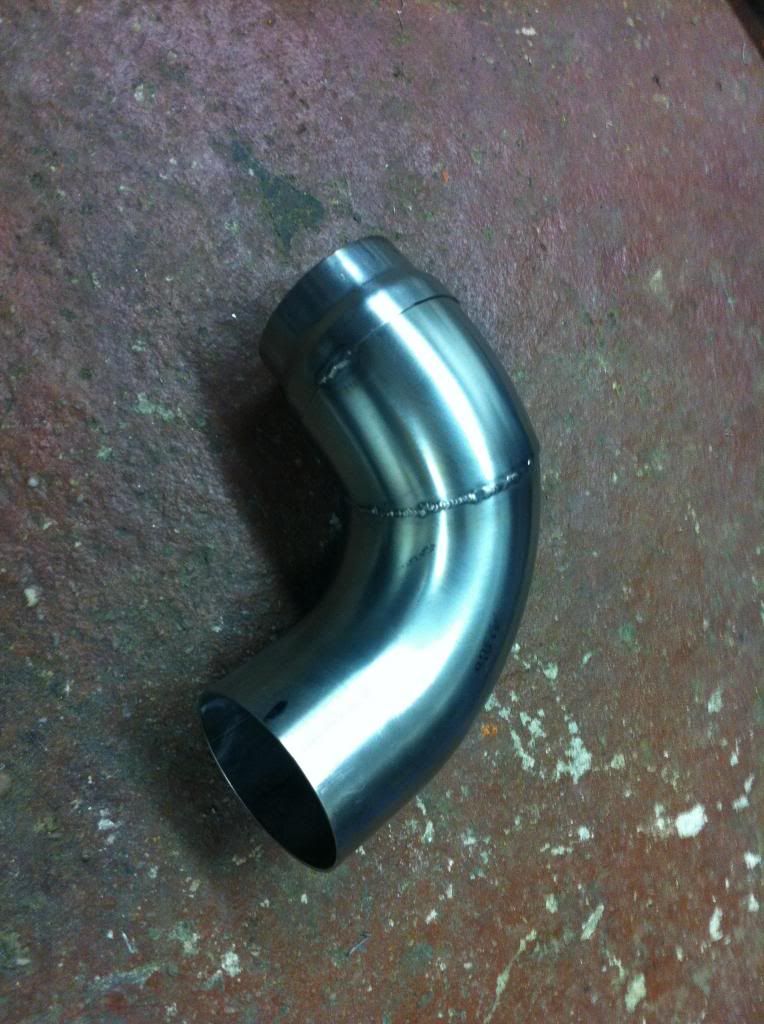
Then a 2.5'' to 3'' reducer with some 90 degree bends 'chopped up'
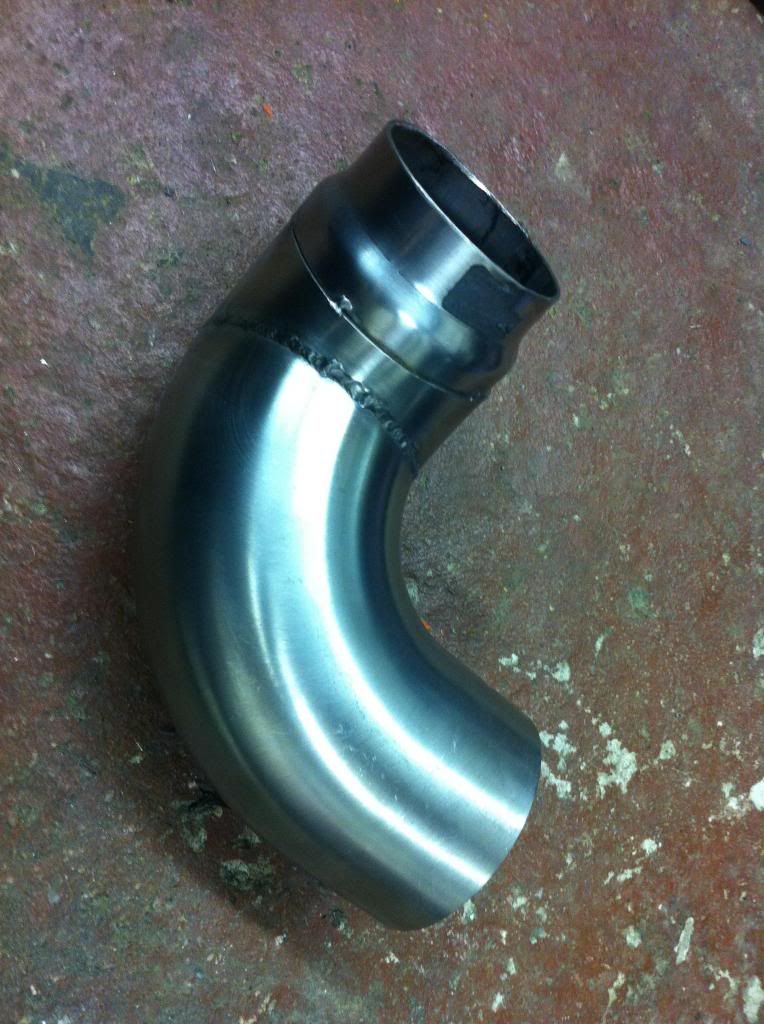
All welded and fitted.... the dust is from the hole I cut in the body work!

I'll use a long 90 degree with a flared end so it's easily removable (you can see this in the above pic) then straight pipe with a cat to the silencer.
Im waiting upon delivery of the silencer, I should receive this towards the end of the week then I can finish off the exhaust.
I'm using three inch pipe because it looks massive!.... and for the future in case I decide to use bigger injectors, smaller pulley etc.
I'll be using the standard manifold as it sits very neatly under the charger and looks like a very good flowing/well build part... for a production car anyway.
The mk2 engine uses a different flange to the Mk1, two pipes rather than one. I decided to cut this off as it was the easiest way to use the three inch pipe I wanted in the available space
A 'y' section then made the single outlet...
Then a 2.5'' to 3'' reducer with some 90 degree bends 'chopped up'
All welded and fitted.... the dust is from the hole I cut in the body work!
I'll use a long 90 degree with a flared end so it's easily removable (you can see this in the above pic) then straight pipe with a cat to the silencer.
Im waiting upon delivery of the silencer, I should receive this towards the end of the week then I can finish off the exhaust.
Edited by petrol head ash on Tuesday 18th December 21:54
Hi everyone, bit of a late reply due to selling my daily driver....
Made a start on my exhaust from where I left off, tacked everything together to make sure it all lines up ok. I decided to weld one end of the silencer then rivet the other then that way I can repack it in the future for track days etc.
I still need to make the lower silencer brackets and finish the tail pipe with a rolled lip,


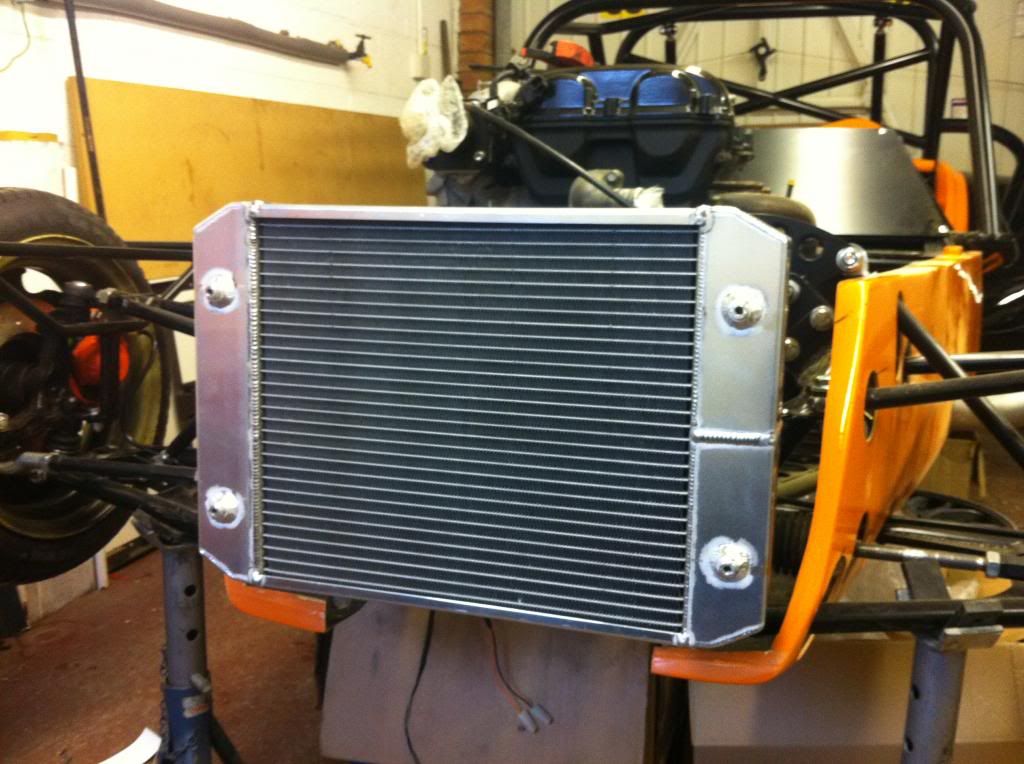
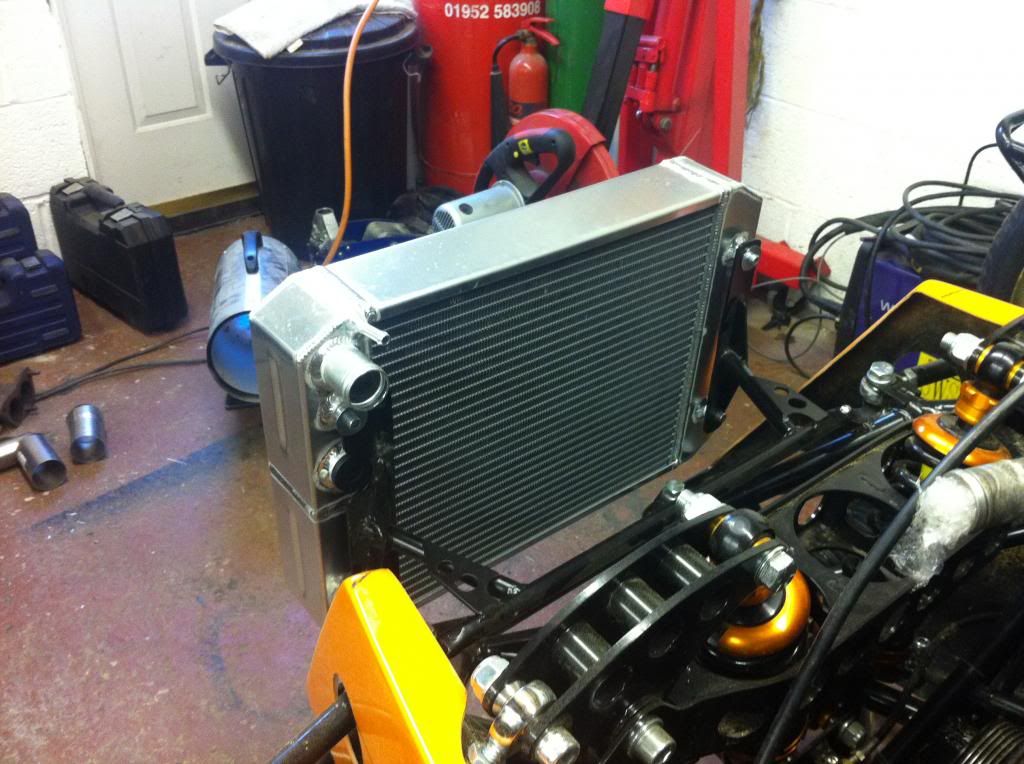
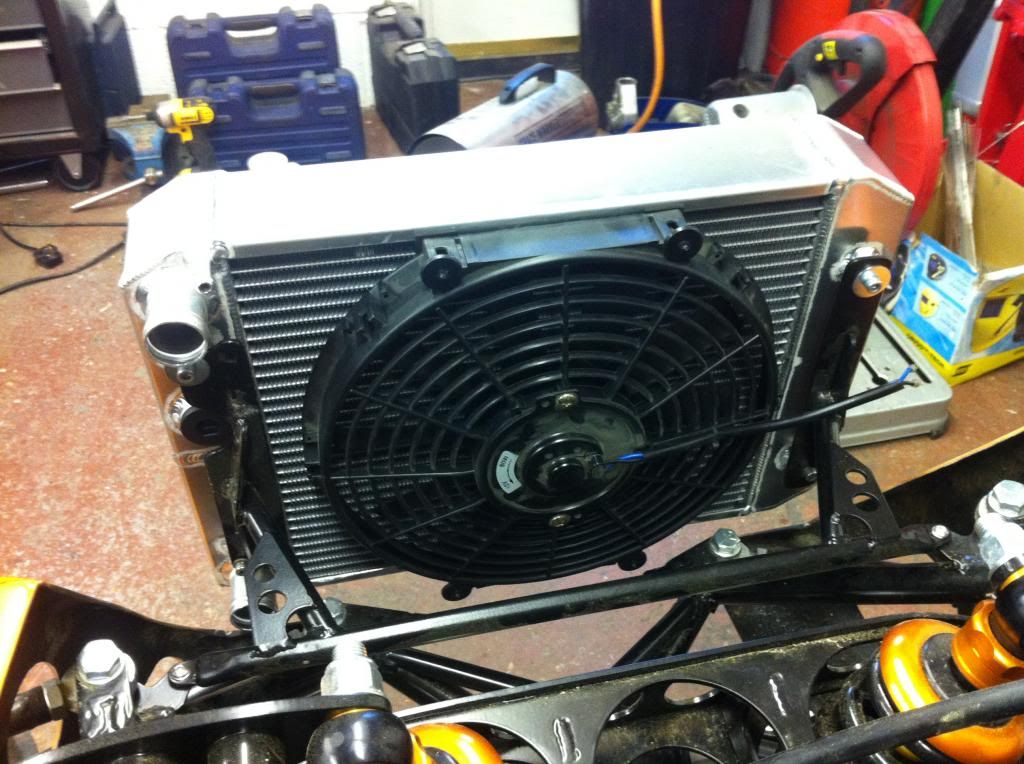
Picture of the radiator I made this morning........ not really, wish I could though Radtec made it!
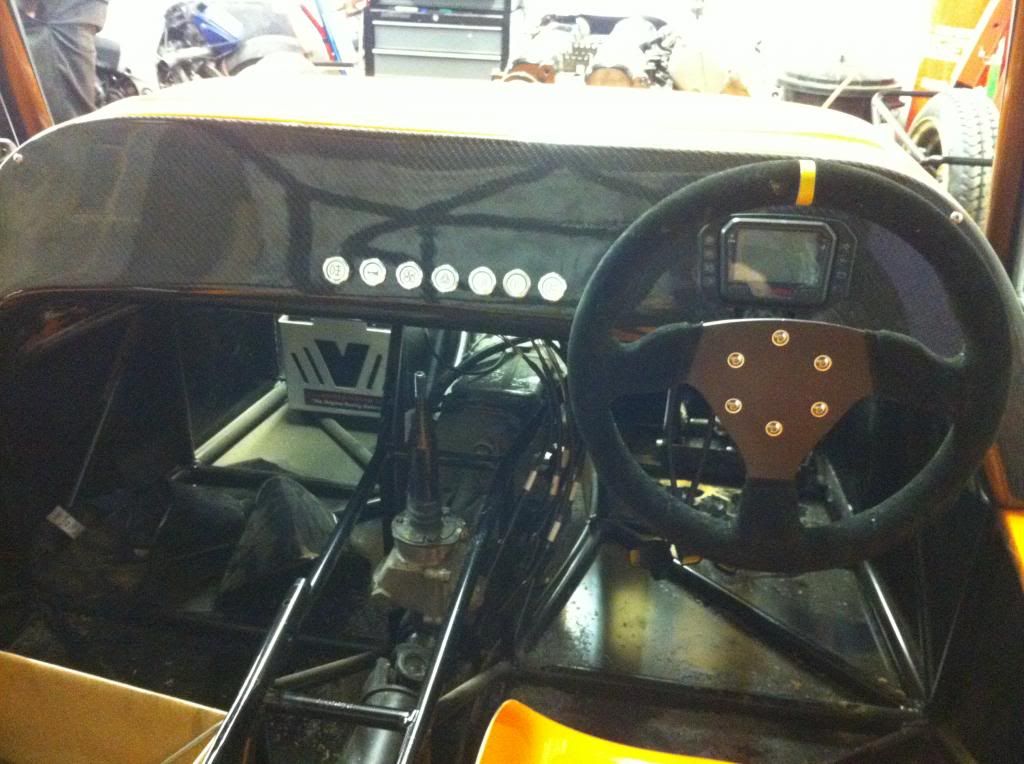
Fitting the scuttle,

Started on the dash, I had so many different ways of doing the dash but due to funds and me being indecisive I'v gone for a standard setup,
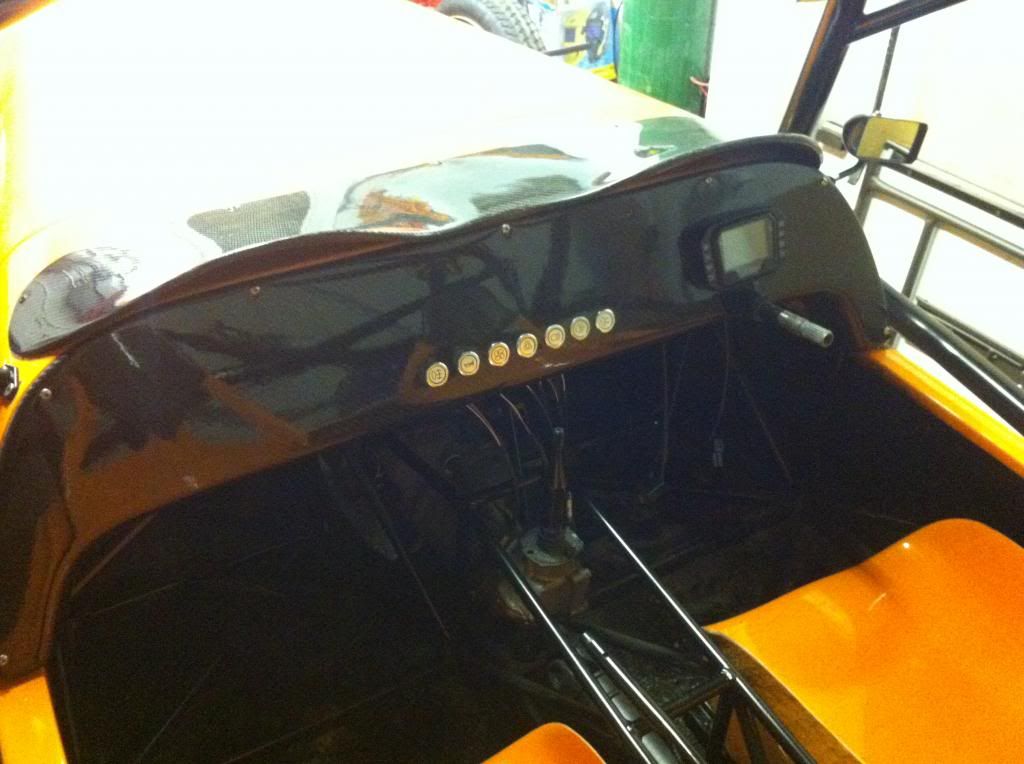
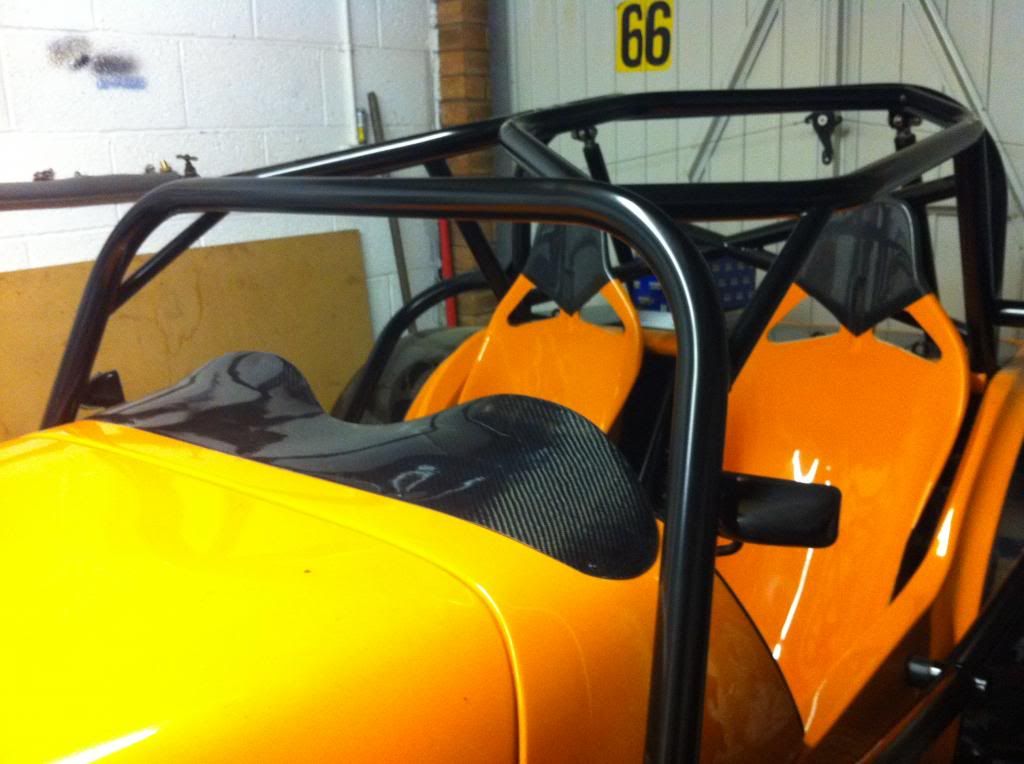
A picture of the scuttle, areo screen, mirrors and seats fitted
Made a start on my exhaust from where I left off, tacked everything together to make sure it all lines up ok. I decided to weld one end of the silencer then rivet the other then that way I can repack it in the future for track days etc.
I still need to make the lower silencer brackets and finish the tail pipe with a rolled lip,
Picture of the radiator I made this morning........ not really, wish I could though
Radtec made it!Fitting the scuttle,
Started on the dash, I had so many different ways of doing the dash but due to funds and me being indecisive I'v gone for a standard setup,
A picture of the scuttle, areo screen, mirrors and seats fitted
Edited by petrol head ash on Tuesday 18th December 21:52

MH said:
Life Saab Itch said:
I really like the look of this kit.
It's about the only kit on the market at the moment that looks to be of a top quality in design and finish, apart from maybe the Birkin.
Even with the bodywork popped straight off a Westfield mould It's about the only kit on the market at the moment that looks to be of a top quality in design and finish, apart from maybe the Birkin.


Mike
...Similar but different, unlike early Westfields and Caterhams

Starting cutting the holes for my rear lights,
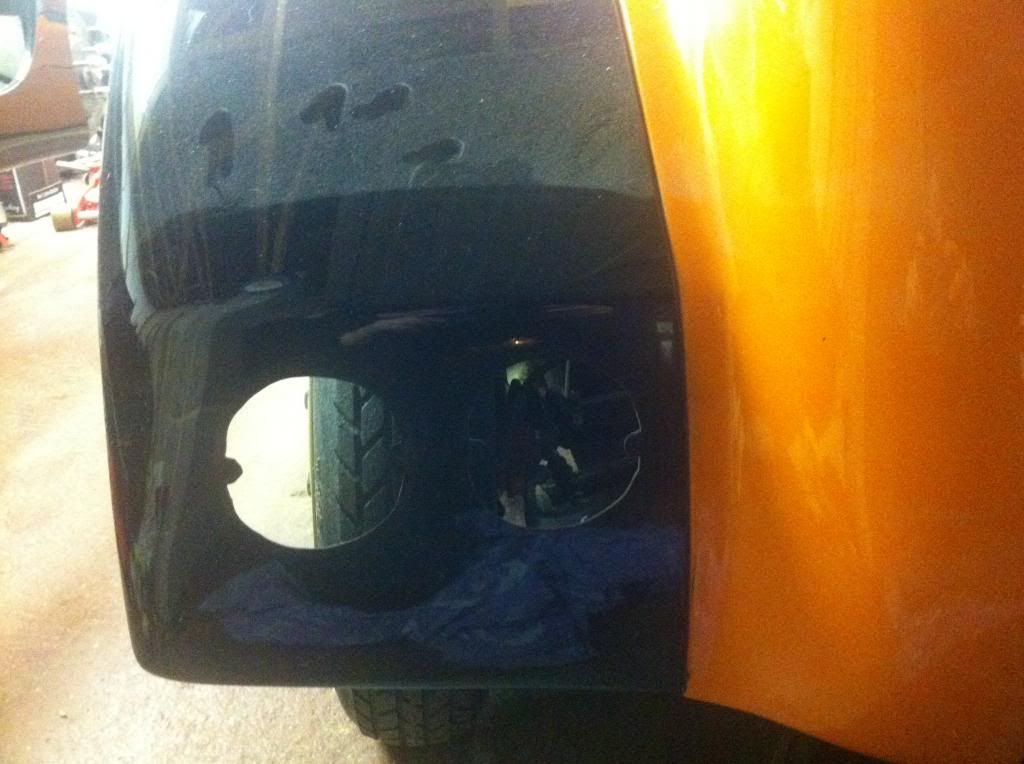
Rear lights placed in there new home, not bolted up in the picture as I needed to clean the pen marks off the fibreglass first

Due to the supercharger not fitting under the bonnet as well as I originally hoped, I decided to cut the end of the outlet pipe off so the hole that needs to be cut in the bonnet isn't merging into the one on the top and the side... (thats how big it wanted to be)
Cut the first part of the hole then welded an extra piece of aluminium to point the outlet pipe down, across and a bit further out!
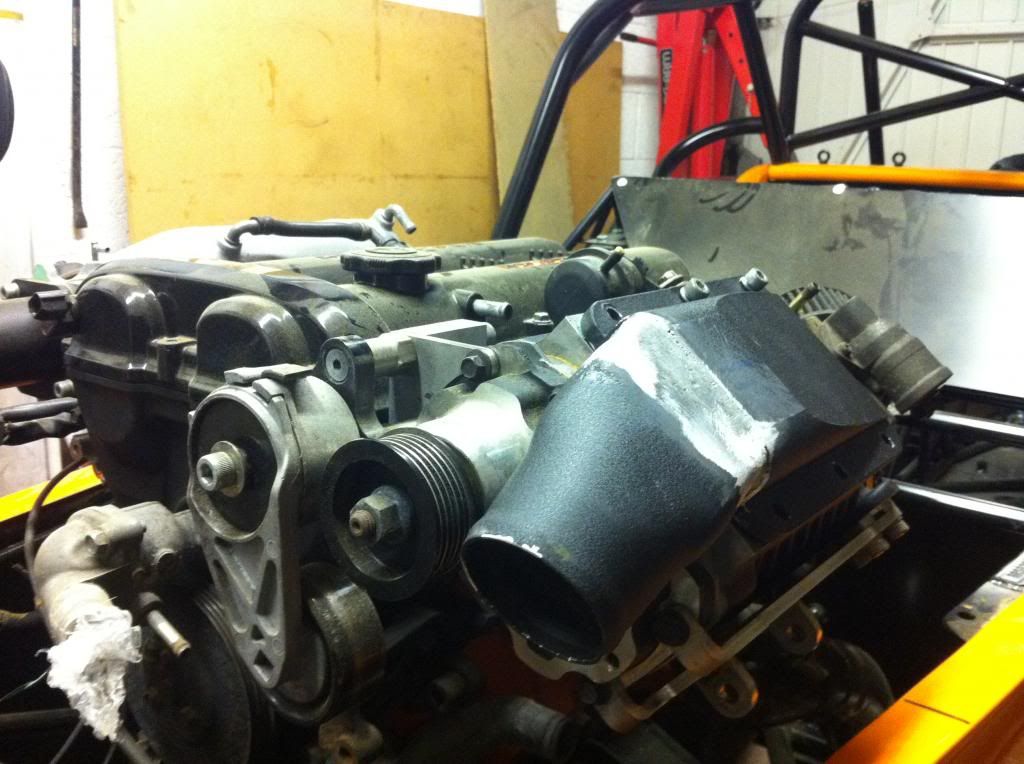
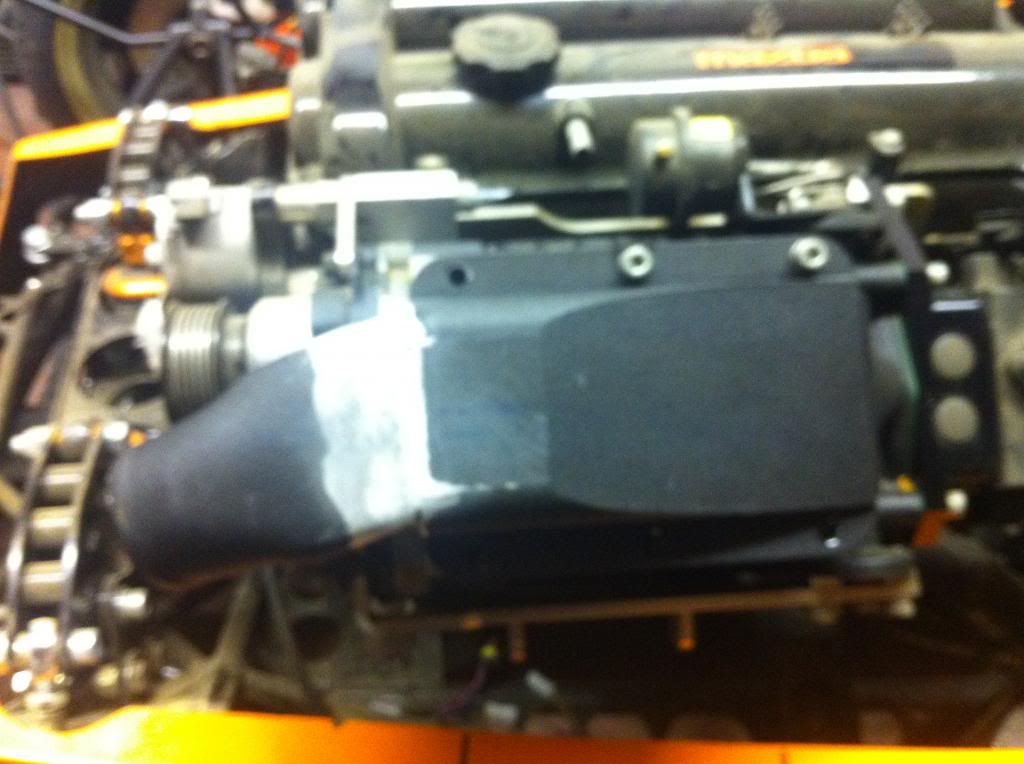
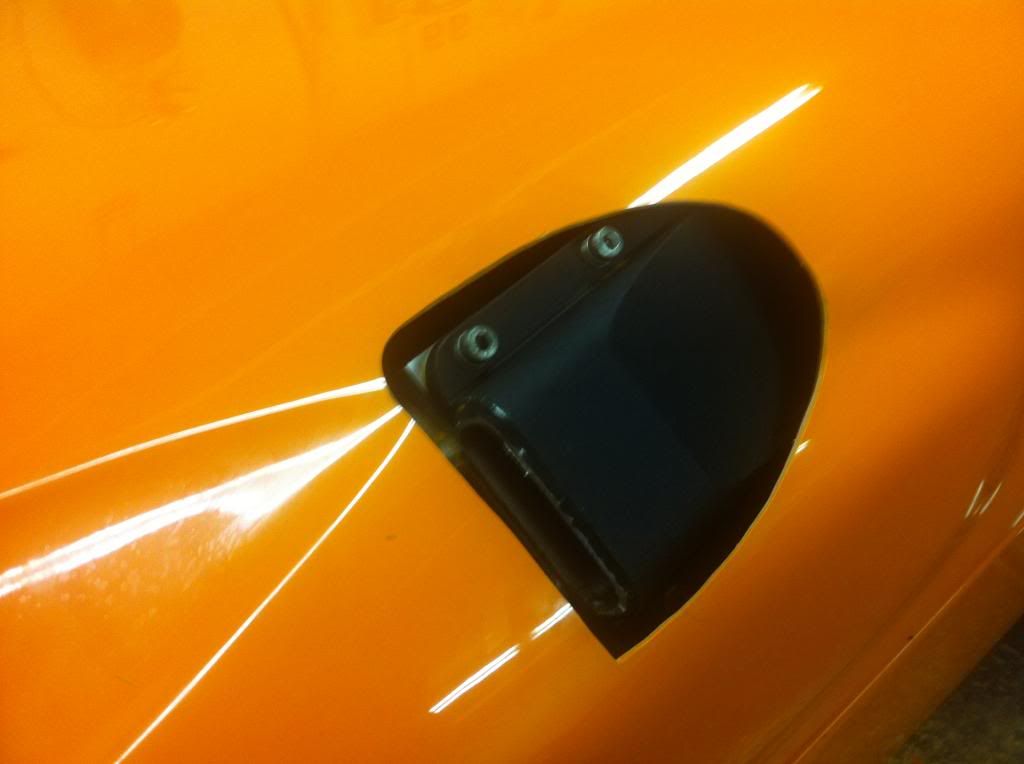
You can see in the picture below roughly where the hole will be. Hopefully you can see why I changed the angle? if it stayed in its original position the hole on the side would have joined with the supercharger hole.... wouldn't have looked right I don't think?
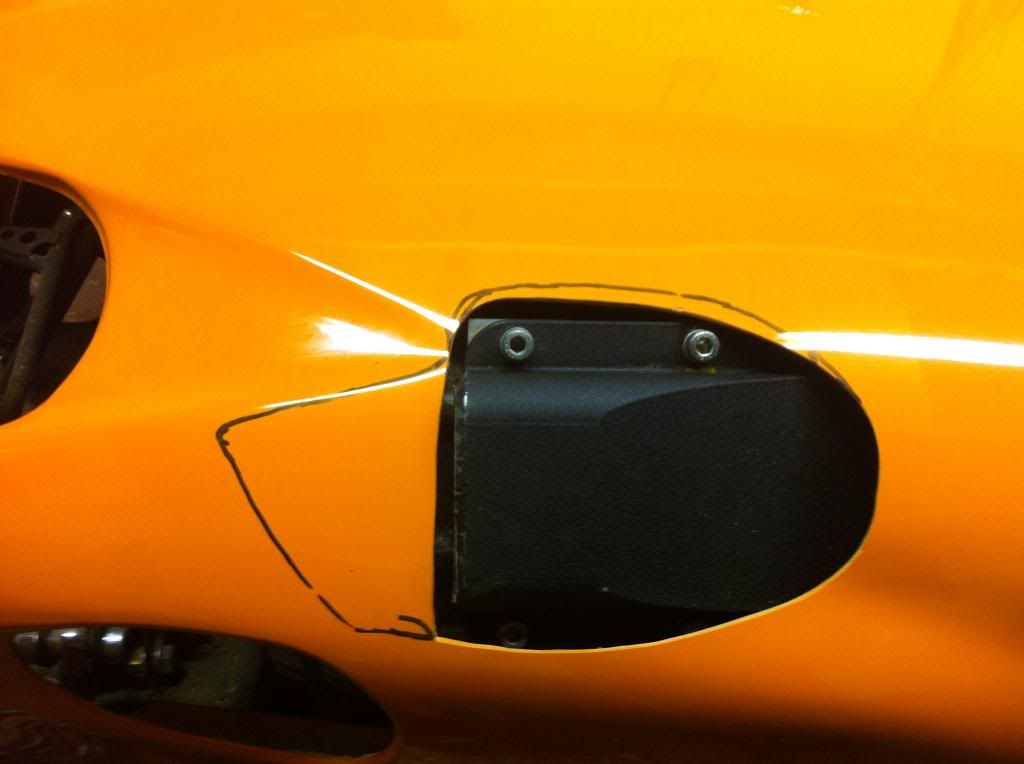
I haven't finished the outlet pipe yet, still need to weld underneath then get it powder coated again.
Rear lights placed in there new home, not bolted up in the picture as I needed to clean the pen marks off the fibreglass first
Due to the supercharger not fitting under the bonnet as well as I originally hoped, I decided to cut the end of the outlet pipe off so the hole that needs to be cut in the bonnet isn't merging into the one on the top and the side... (thats how big it wanted to be)
Cut the first part of the hole then welded an extra piece of aluminium to point the outlet pipe down, across and a bit further out!
You can see in the picture below roughly where the hole will be. Hopefully you can see why I changed the angle? if it stayed in its original position the hole on the side would have joined with the supercharger hole.... wouldn't have looked right I don't think?
I haven't finished the outlet pipe yet, still need to weld underneath then get it powder coated again.
Gassing Station | Kit Cars | Top of Page | What's New | My Stuff