My "building a cobra" thread
Discussion


I've just acquired a suitable donor car for the project; is there any interest in a documentary of the build? I've always liked before/during/after photos and hope that others might like to see them. Suggestions & ideas are very welcome.
I'm starting with a 2.8 BMW Z3 with a little bit of rust on some of the body panels which I'll be removing anyway. It also has a mildly antisocial exhaust which will be perfect for the finished item.
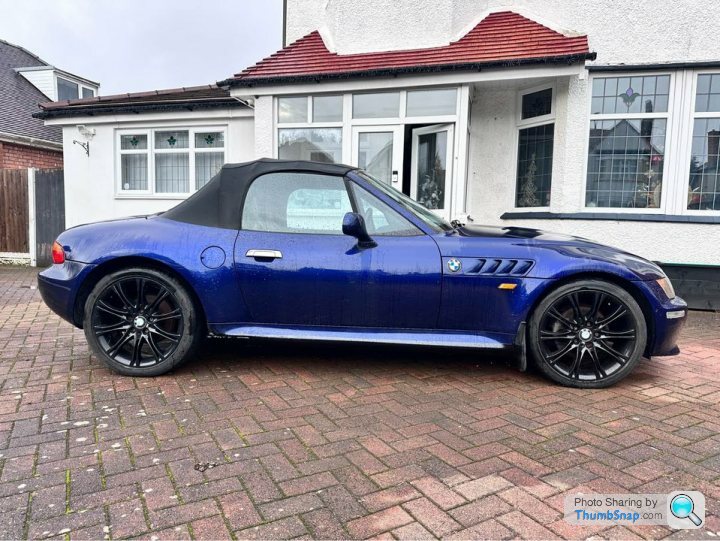
For the colour scheme I'll probably have the same blue paint as it has now, plus a white stripe or two.
First step is rather mundane: a basic service with oil, filters, plugs, etc. I'll hold fire on changing the PAS fluid until I fit an oil cooler in place of the crappy cooling loop. Gearbox & differential oil changes will be done at the end of the build.
I'm starting with a 2.8 BMW Z3 with a little bit of rust on some of the body panels which I'll be removing anyway. It also has a mildly antisocial exhaust which will be perfect for the finished item.
For the colour scheme I'll probably have the same blue paint as it has now, plus a white stripe or two.
First step is rather mundane: a basic service with oil, filters, plugs, etc. I'll hold fire on changing the PAS fluid until I fit an oil cooler in place of the crappy cooling loop. Gearbox & differential oil changes will be done at the end of the build.
PeteS2k said:
What Cobra kit are you planning to build?
Build diaries are always interesting - I'd follow, even though I'm not actually building one myself! There's always some ideas and solutions that can read across to other projects. It's a useful record for the car's history, as well.
I'll almost certainly be using a Tribute kit. It's what I used last time & I was pleased with it.Build diaries are always interesting - I'd follow, even though I'm not actually building one myself! There's always some ideas and solutions that can read across to other projects. It's a useful record for the car's history, as well.
I regret not doing a build diary on the last one so this should be an opportunity to record my progress (or lack of it).
And so it begins- the donor car arrived lunchtime today. 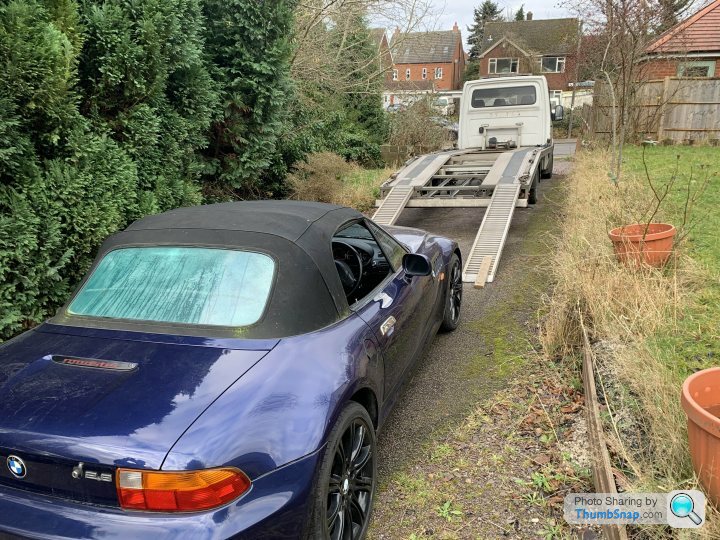
First job after adding some fuel was to run the engine, warming it up for an oil change. According to the records it was changed 9,000 miles ago; it was a bit dark but not dirty & the filter looked almost new. A good start. Resetting the service indicator took a few seconds with a piece of wire.
Air filter looked almost new so I didn't bother replacing it. PAS fluid looked clean & fresh.
From here it was less good- brake fluid is dark & dingy & will require flushing through completely. Then the first of the headaches arrived:
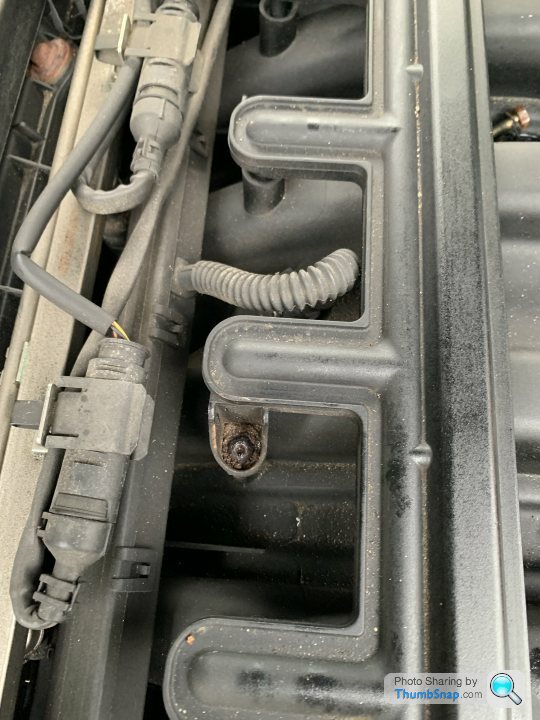
There are four torx screws holding the cover down; three of them came out with no problem but before I even touched the fourth I could see it was going to be a problem. The head has rusted to the extend that there's no grip at all for the torx bit. I tried drilling into the centre & using an extraction bit but I can't get it to grip. I have a horrible feeling I'll have to drill the lot out. Not an insurmountable problem but one I could do without.
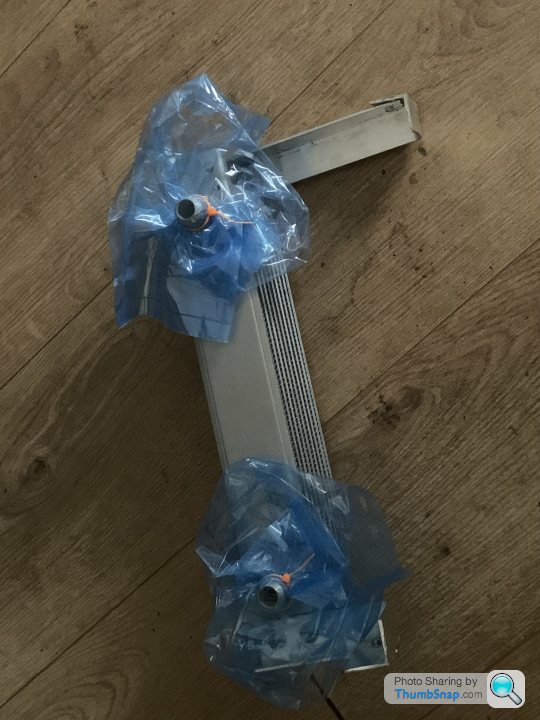
Meanwhile, the result of my shopping spree have started to arrive- everything from LED indicators to an oil cooler. Every day will resemble Christmas for a while.
First job after adding some fuel was to run the engine, warming it up for an oil change. According to the records it was changed 9,000 miles ago; it was a bit dark but not dirty & the filter looked almost new. A good start. Resetting the service indicator took a few seconds with a piece of wire.
Air filter looked almost new so I didn't bother replacing it. PAS fluid looked clean & fresh.
From here it was less good- brake fluid is dark & dingy & will require flushing through completely. Then the first of the headaches arrived:
There are four torx screws holding the cover down; three of them came out with no problem but before I even touched the fourth I could see it was going to be a problem. The head has rusted to the extend that there's no grip at all for the torx bit. I tried drilling into the centre & using an extraction bit but I can't get it to grip. I have a horrible feeling I'll have to drill the lot out. Not an insurmountable problem but one I could do without.
Meanwhile, the result of my shopping spree have started to arrive- everything from LED indicators to an oil cooler. Every day will resemble Christmas for a while.
Edited by Biggy Stardust on Monday 8th January 15:41
It's the little things which can make or break a car for me. From the moment I saw this gear lever I utterly detested it: 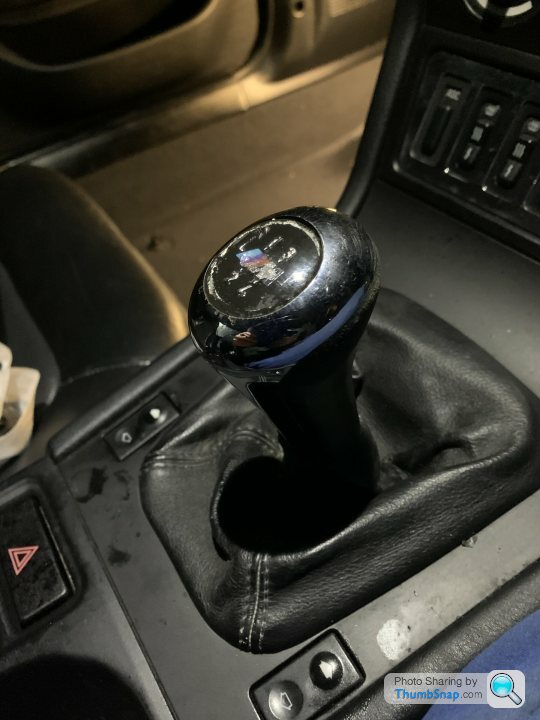
In due course I'll probably get something nicer but for now I've replaced it with a spare I had in the garage that doesn't make my teeth itch quite so much.
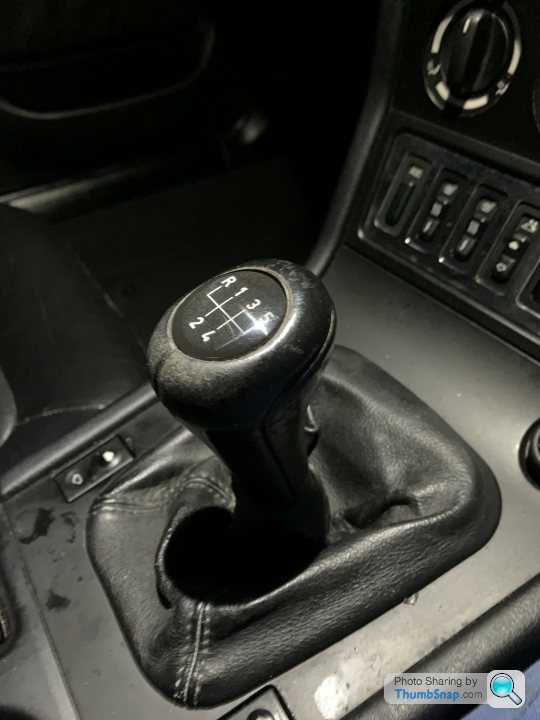
The old one is headed for the bin.
In due course I'll probably get something nicer but for now I've replaced it with a spare I had in the garage that doesn't make my teeth itch quite so much.
The old one is headed for the bin.
Having just bought the donor car, cash flow means I'll have to wait a short while until I can buy the bodyshell. In the meantime I have other jobs to do.
I want to be able to charge things in the boot and/or have a rear-end power supply so I made a plate for the boot cubby & assembled this:
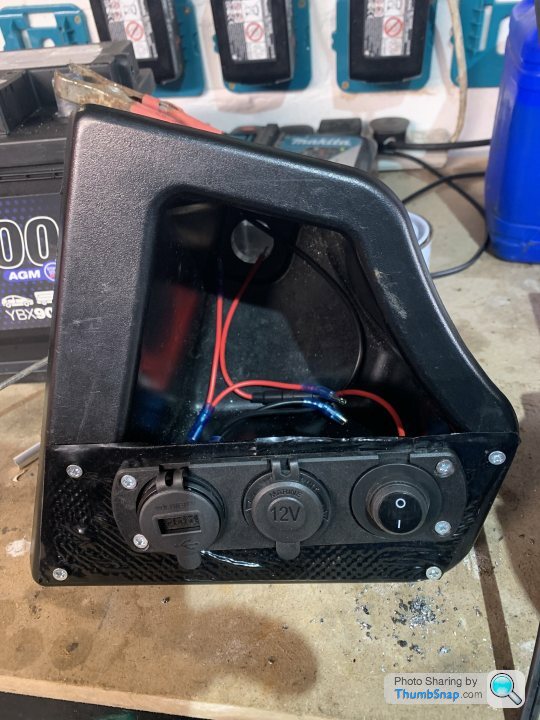
I wanted it manually switched rather than with the ignition; it has 2x 3A USB, 1x cigarette-type socket and the switch. Between the 2 USBs is a voltmeter. The battery wire has an inline fuse. A simple job but very satisfying.
Also I need a prop for the boot. A piece of aluminium rod cut to length, put in a vice & smacked with a hammer. A piece of heatshrink then went on each end.
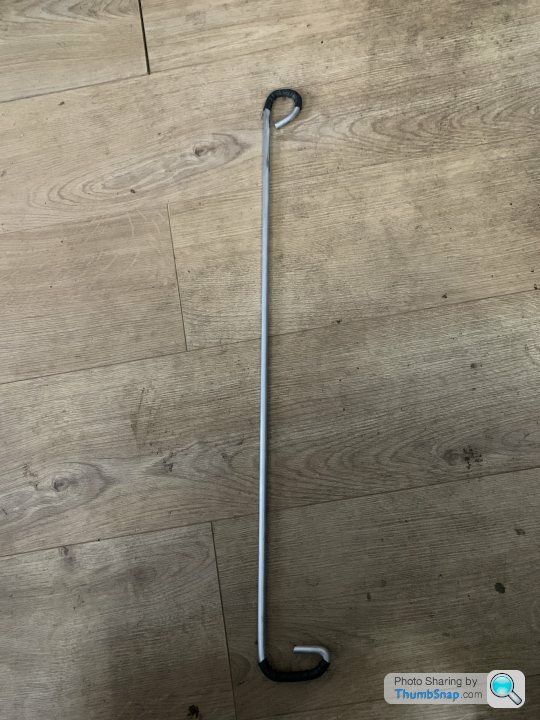
Minor jobs but they all move the project forward.
I also changed all the spark plugs but that's hardly worthy of photgraphic record.
I want to be able to charge things in the boot and/or have a rear-end power supply so I made a plate for the boot cubby & assembled this:
I wanted it manually switched rather than with the ignition; it has 2x 3A USB, 1x cigarette-type socket and the switch. Between the 2 USBs is a voltmeter. The battery wire has an inline fuse. A simple job but very satisfying.
Also I need a prop for the boot. A piece of aluminium rod cut to length, put in a vice & smacked with a hammer. A piece of heatshrink then went on each end.
Minor jobs but they all move the project forward.
I also changed all the spark plugs but that's hardly worthy of photgraphic record.
Edited by Biggy Stardust on Wednesday 10th January 18:48
Next item on the menu was the weird spare wheel & carrier- they've been on the outside of the car for 25 years & could reasonably be presumed to be scrap.
I pulled the little toggle that allows the mechanism to drop the spare wheel & nothing happened. 10 minutes with the reciprocating saw meant I could remove the spare wheel & carrier. Unsurprisingly all the bolts to remove the metal frame had seized solid so the saw came out again. Another 10 minutes of cutting & hammering dropped everything on the floor.
The guess about scrap proved to be correct- I don't like space savers at the best of times but in this case both the wheel & the tyre had rotted to dangerous levels. Straight in the bin and 10kg of weight removed from the car.

Next step will probably be to remove everything from the boot (including carpets & battery) and see what needs to be rustproofed.
I pulled the little toggle that allows the mechanism to drop the spare wheel & nothing happened. 10 minutes with the reciprocating saw meant I could remove the spare wheel & carrier. Unsurprisingly all the bolts to remove the metal frame had seized solid so the saw came out again. Another 10 minutes of cutting & hammering dropped everything on the floor.
The guess about scrap proved to be correct- I don't like space savers at the best of times but in this case both the wheel & the tyre had rotted to dangerous levels. Straight in the bin and 10kg of weight removed from the car.
Next step will probably be to remove everything from the boot (including carpets & battery) and see what needs to be rustproofed.
Edited by Biggy Stardust on Wednesday 10th January 16:32
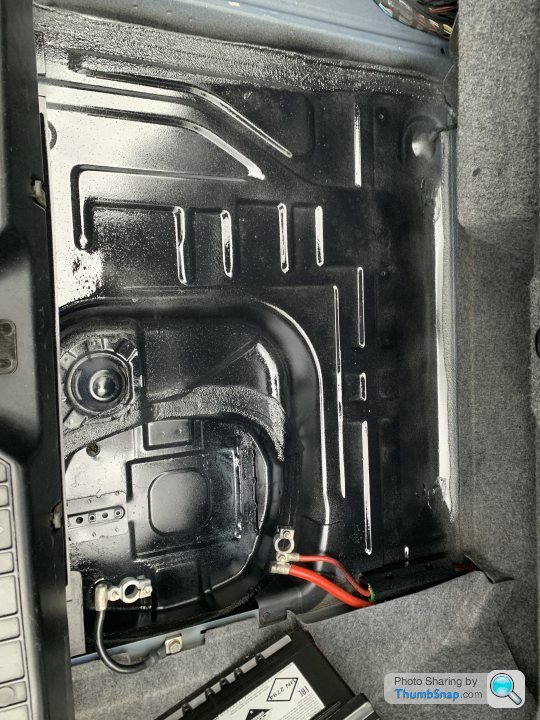
Today's task was to clear out the boot & see what was there. As expected, it was pretty filthy. Cleaning it out revealed less rust than expected but a few spots where the paint has been rubbed through.
Once everything was clean & dry I gave it a coat of galv spray followed later by some black paint. Much better.
I notice I'm missing a bracket to hold the battery in place but that's easily made from garage scraps.
Once everything was clean & dry I gave it a coat of galv spray followed later by some black paint. Much better.
I notice I'm missing a bracket to hold the battery in place but that's easily made from garage scraps.
Scrump said:
What lessons learnt from the last build are you going to incorporate into this build?
As an example I tried several different types of indicator repeater before settling on something that works. First time round I positioned them badly & I'll know better this time.Various jobs will be done in a different sequence to prevent having to undo previous work.
I'll paint the flowcoat onto the inside of the body in cooler weather so it doesn't set too quickly.
I'll run various of the wiring through ducts before putting the connections on.
I'm fitting the spotlights with LED bulbs before putting them on the car.
Various sizes of bits and pieces are now known, so no more trial & error fittings.
Now I know just how fast drilling through fibreglass erodes the drillbits I'll start with a decent supply
Overall I hope to be able to do the job in a much more sensible sequence with foreseen problems & difficulties dealt with before it's too late. All of the "how the hell do I manage that?" questions have been addressed.
I also now know the right people for the jobs I can't do for myself.
Happy Jim said:
Why flowcoat on the inside of the panels? Sounds like an odd choice to me.
I do it on the advice of the kit manufacturer & someone who has built a lot of them. The f/glass has a rough, splintery surface- this smoothes it & adds strength.
Edited by Biggy Stardust on Thursday 18th January 21:28
Using flowcoat is a good thing imo, all of the inner panels on my car have been done and produces a much more finished looking panel.
The f/glass has a rough, splintery surface- this smoothes it & adds strength.
Biggy Stardust said:
Happy Jim said:
Why flowcoat on the inside of the panels? Sounds like an odd choice to me.
I do it on the advice of the kit manufacturer & someone who has built a lot of them. The f/glass has a rough, splintery surface- this smoothes it & adds strength.
Edited by Biggy Stardust on Thursday 18th January 21:28
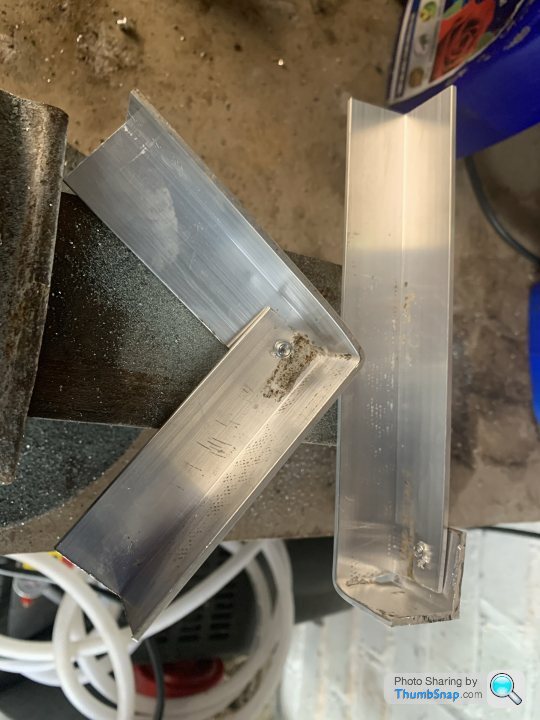
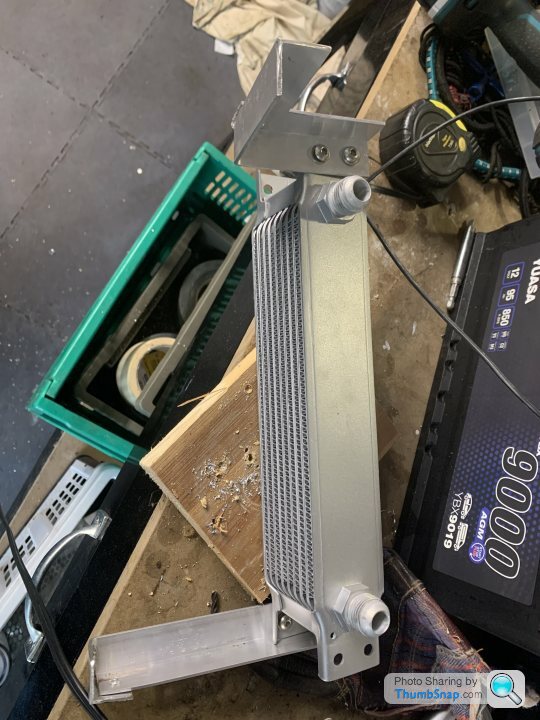
While I'm waiting for the body to arrive I decided to get on with some minor jobs. The first of these is making some brackets to hold the oil cooler in place. Dimensions for the bracket were taken from my other cobra so it should fit equally well.
Nothing fancy- some 25x25x2 aluminium angle cut & bent to shape, anchored with a rivet. Coupla holes drilled to match the cooler.
Bolts were loosely fitted just to check the holes line up properly. I'll measure & drill the other holes when I go to fit it on the car- currently I can't see the attachment area because of the bumper etc so I'll just wait. Pipe holes in the cooler covered up just to keep everything clean in the meantime.
Edited by Biggy Stardust on Monday 29th January 14:51

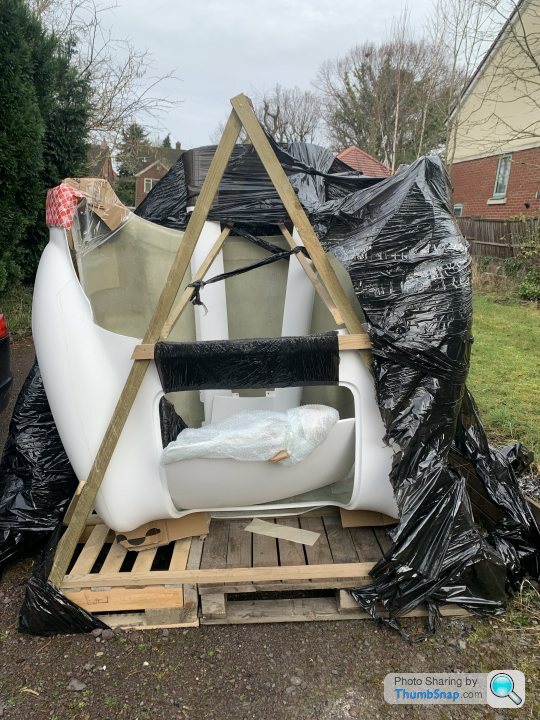
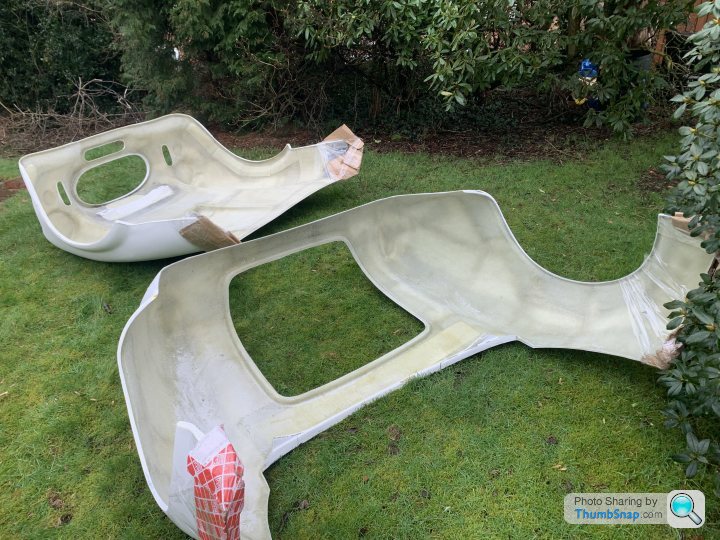
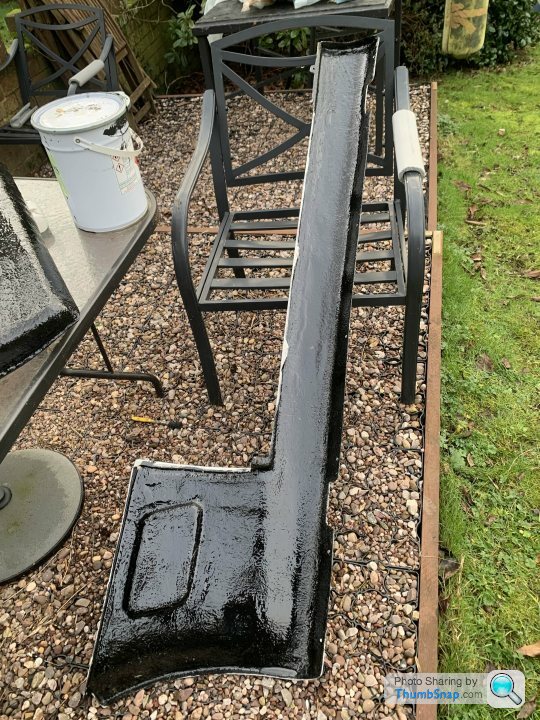
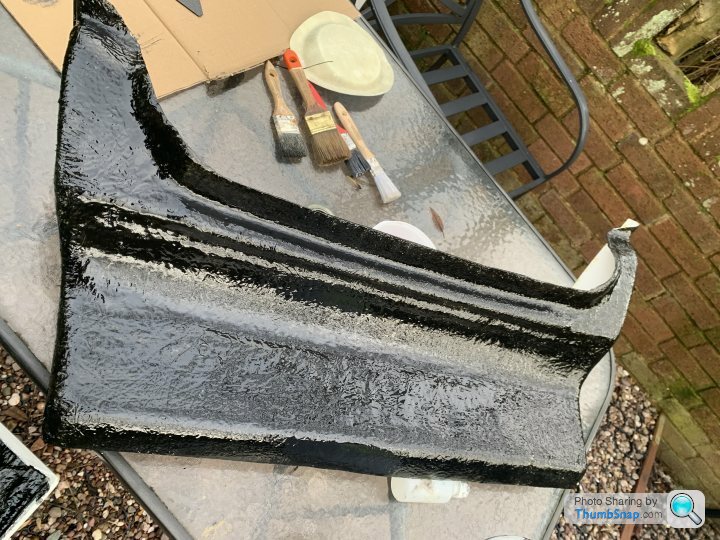
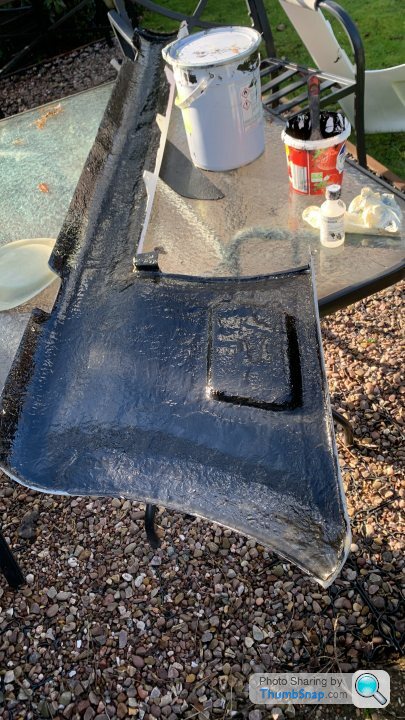
And so we begin: bodykit arrived today. Everything has been taken from the pallet & laid out ready for flowcoating. Some boiling water has been poured over areas covered in wax from the moulding process then the resin was mixed & painted. The rest will be finished tomorrow and then it's time to start marking for holes to be drilled.
A quick blast with the leafblower removed a surprisingly large quantity of dust from the panels before painting.

A quick blast with the leafblower removed a surprisingly large quantity of dust from the panels before painting.
As it's the first dry day for a while I removed the water from the body panels & finished flowcoating- it's noticeable how much easier it spreads when just a few degrees warmer.
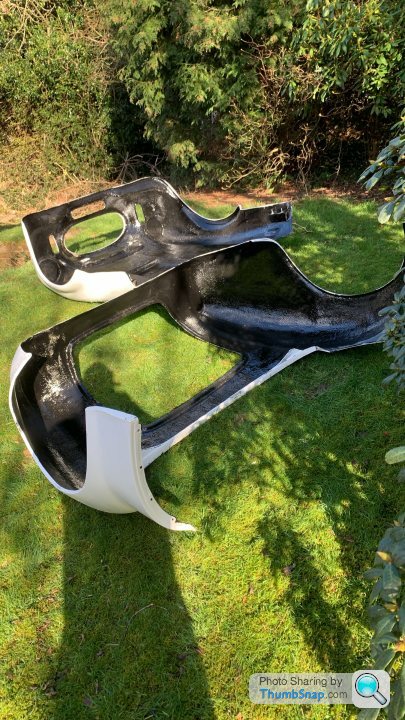
As soon as everything has properly set I'll start drilling for lights, etc.
As soon as everything has properly set I'll start drilling for lights, etc.
Edited by Biggy Stardust on Monday 12th February 16:21
Gassing Station | Kit Cars | Top of Page | What's New | My Stuff