New Vixen Project
Discussion


I don't have any date as such would be nice to be ready for the pre 80s but don't think it will be the 2016 one lol. Should get the body back soon and then I can get cracking. The chassis is pretty much ready but will need the brackets welding on for the roll cage then of for blasting powder coating If I can get That all done by the end of January I will be happy. Then it's just a case of refitting now that all the messy oily work is just about done.
Chris
Chris
Edited by chris52 on Monday 7th December 19:33


It had to be red I had to do the ML white as that was its original colour. The original colour of this was a horrible and I mean horrible beige I toyed with the idea of blue and even orange my wife had the final decision and that was it no turning back. To be honest it's the colour I wanted anyway.
Chris
Chris

Andrew Gray said:
This may sound strange but the period colours are coming back into fashion in a strange way I kind of like them as its a part of motoring history that's disappearing I know that the 78 Porsche I bought and sorted for my Brother a few years ago was originally Mocca Brown in many ways rather horrid but as cars have been changed then the pool of those cars disappears I think I would have re painted in the original colour of Mocca Brown.
However Red well a great Choice what shade is it Ford Radiant or Ford Rossa Red or another?
Andrew
Some things are best left in the sixties including the original colour of this car. The Red is not a Ford red can't remember of top of my head the name but it looks good in the picture I haven't seen it in the flesh as I can't drive at the moment (doctors orders) but hope to get it back just after Xmas.However Red well a great Choice what shade is it Ford Radiant or Ford Rossa Red or another?
Andrew
Chris
The shell on this one was very bad with loads or gel type cracks all over. I had it soda blasted but this was very aggressive and did leave the top/gel coat very uneven. I then ground down all the cracks and re - glassed all the damage finishing of with two layers of tissue over the whole car. This was a major job to do and took a ridiculous amount of time. The whole body was then sanded down with an 400 grit and sent to the body shop.
Chris
Chris
Incognegro said:
Not sure if this will be of any use but I will have 2 sets of Cerbera uprights (with brackets for AP CP5200 calipers) if also wanted the 4pot 4 bolt version of the caliper will also be available painted black with red TVR logo and polished AP racing lettering.
Holla if required
Merry Crimbo
Many thanks for the offer but I don't think these would work on a Vixen. Holla if required
Merry Crimbo
Cheers Chris
Bit of an update body now painted and getting delivered back to me Monday colour is Maserati Red


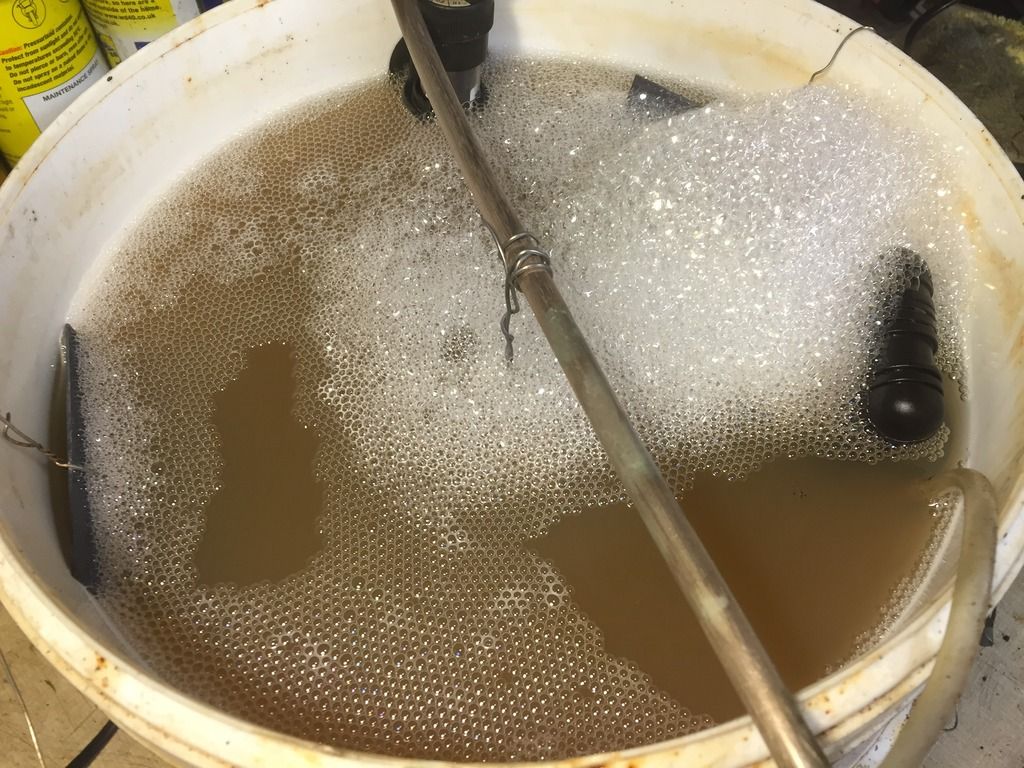
So today I started restoring the door and bonnet catches using the zinc plating kit I bought for the 3000ML. To make the cleaning process easier I bought myself a blasting cabinet which really helps.
Before

Degreased

Blasted

In the plating Tank
Finished. When using the yellow passivate you need to heat it up to dry it I used a heat gun which really works well

Chris


So today I started restoring the door and bonnet catches using the zinc plating kit I bought for the 3000ML. To make the cleaning process easier I bought myself a blasting cabinet which really helps.
Before

Degreased

Blasted

In the plating Tank

Finished. When using the yellow passivate you need to heat it up to dry it I used a heat gun which really works well

Chris
The plating kit is this one from eBay http://www.ebay.co.uk/itm/Zinc-Electroplating-Plat...
The blasting cabinet is this one also from eBay the side opening is very handy and it is big enough to get rocker cover inside and easily blast it. You can actually get an Essex v6 bellhousing in but its a bit awkward to blast it but doable. http://www.ebay.co.uk/itm/Bench-Sandblaster-Bead-S...
The compressor I have is this one from machine mart Ive had it for a few years now and easily copes with the blasting cabinet.I bought it to use with an air sander and my air tools as the one I had would keep overheating. The main thing to have to look for in a compressor is the CFM but the most important is that it needs to be able to run continuously. https://www.machinemart.co.uk/p/se16c150-air-compr...
Cheers guys. You don't need a blasting cabinet just a wire wheel on a bench grinder to get rid of all the rust and old paint does the job. The most important part is to make sure that you get rid of all of the grease and crap. I practiced on a few bits of scrap first and to be honest it is really easy. I found that the best results were had using a 12v car battery I tried a battery charger but it kept blowing the fuse with the current being drawn. Well worth the money.
Chris
Chris


 can anyone identify all the parts?
Dollyman1850 said:
Hi Chris.
Spacer goes between servo rear face and bulkhead, approx 10mm thick.
Spacer between the Brake and Clutch, The pedal box also uses little phosphor bronze bushings.
Originally there were also little flat springs on each side but I think they are no longer available so many just use an appropriate side washer to take up side thrust.
Its always best to build it all up off the car and to polish the running rod faces where they pass through the bushes, I build with plenty of copper slip.
All parts as usual via Adrian, I think he also does a service exchange unit?
N.
Thanks Neil Spacer goes between servo rear face and bulkhead, approx 10mm thick.
Spacer between the Brake and Clutch, The pedal box also uses little phosphor bronze bushings.
Originally there were also little flat springs on each side but I think they are no longer available so many just use an appropriate side washer to take up side thrust.
Its always best to build it all up off the car and to polish the running rod faces where they pass through the bushes, I build with plenty of copper slip.
All parts as usual via Adrian, I think he also does a service exchange unit?
N.
The pedal box spacer I meant was the one that fits between the body and the box on the M series cars does the Vixen have the same set up?
Chris


Cheers Guys
I will be fitting all the brake lines and fuel lines soon, I have changed the master cylinder to the Cortina Mk4 unit which is the same as the M. Does anyone have any pictures or drawings for the brake pipe layout especially the rear from the hub forward. I have a full set of stainless steel flexible pipes that came with the car one side is longer than the other. On the Vixen does the front flexi go direct into the front caliper or is it like an M where it has a short copper pipe in between?
Any help would be great
Chris
Gassing Station | TVR Classics | Top of Page | What's New | My Stuff