Discussion


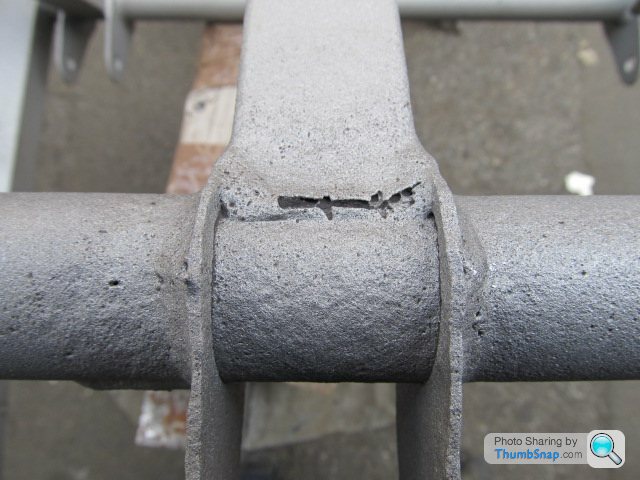
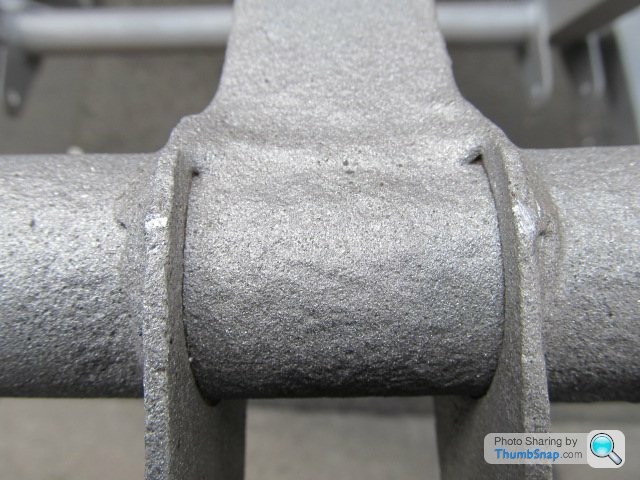
Just to update on this, the chassis travelled to RT and has now been blasted, they are working to correct a few welds, powdercoat chassis and refurbish rear hubs. I generously received an ARB from a club member, so that was that problem solved. Chassis turned out to be in good condition with outriggers previously replaced, they believe with body on at the time as the welds have not formed over the top.

 [url]
[url]
 |http://thumbsnap.com/Ryo2M6yb[/url]
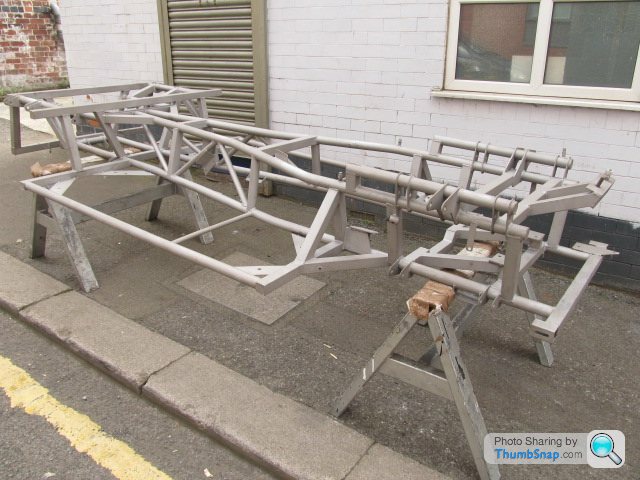
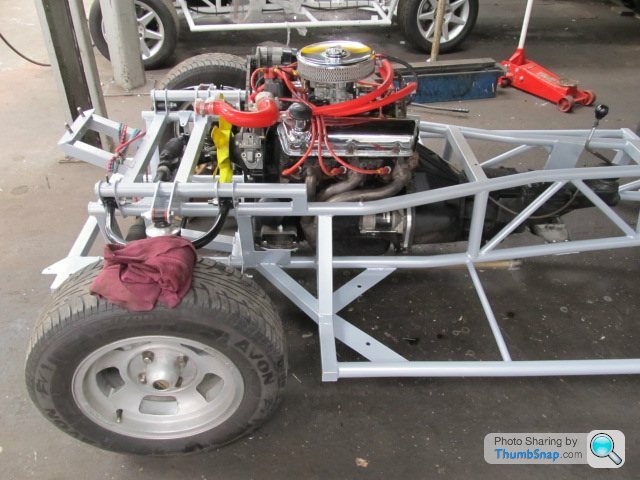
[url]|http://thumbsnap.com/Ryo2M6yb[/url]Collected the chassis from RT today and over the moon with the result. Great job by the guys and a very knowledgeable friendly bunch! few extras fitted including towing eyes, mixture of polly and rubber bushes, few bits of metal replaced here and there. Hopefully I can be given the time over winter to build the remainder of the chassis up and start the body next year, slow progress but I will get there!
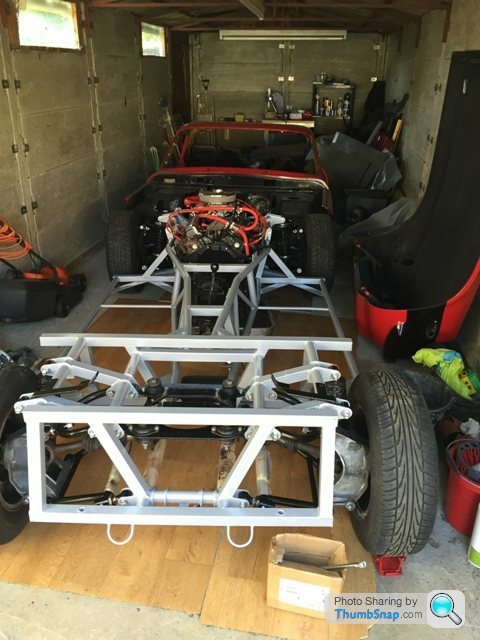
Back in my grandfathers garage, getting cramped in there now, parts need to go back on to make space.
Back in my grandfathers garage, getting cramped in there now, parts need to go back on to make space.
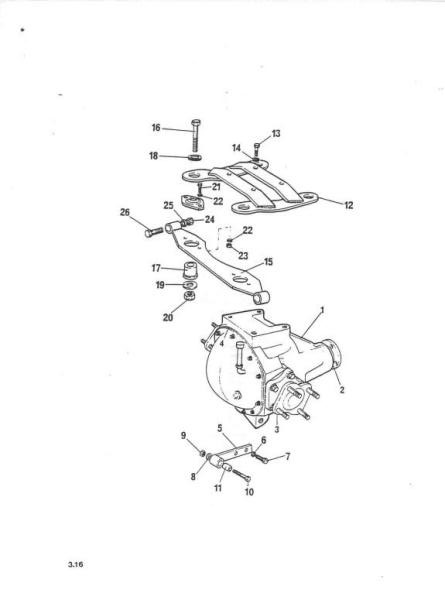
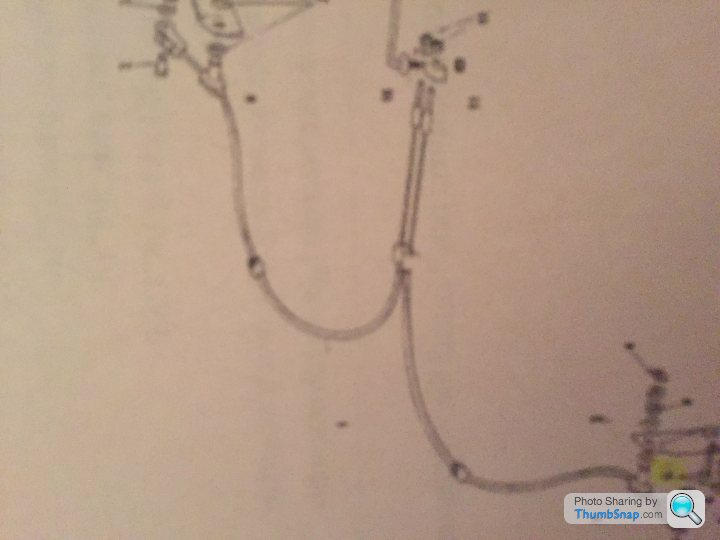
Getting ready to refit the diff at the end of the month and I forgot to send off the lower brackets so consequently these didn't get done, I've stripped and painted them myself but need new bushes, anyone know the source? number 11 in the below picture. Also what grease should I be using on splined shaft at rear of gearbox and prop shaft? Thank you.
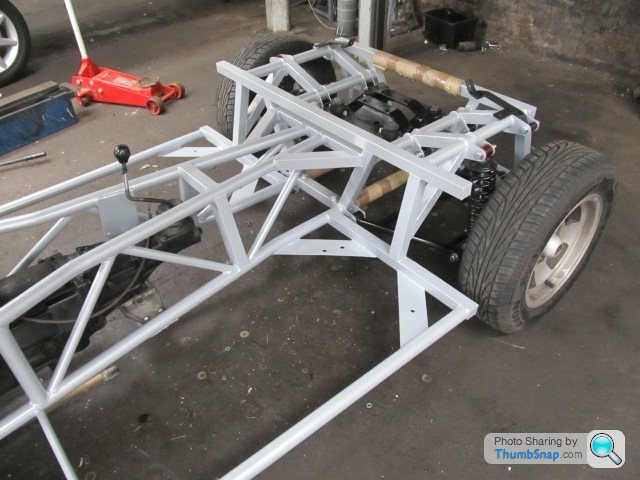
Fitting the diff and prop shaft today and with the diff in position and all nuts and bolts tight, to get the prop shaft to line up it had to be eased out of its splined housing in the gearbox, rearwards towards the diff, this left about a 4cm gap as can be seen in pictures below. Wondering if this is correct orientation or am I missing something? just got that 'it doesn't look right' feeling about it.
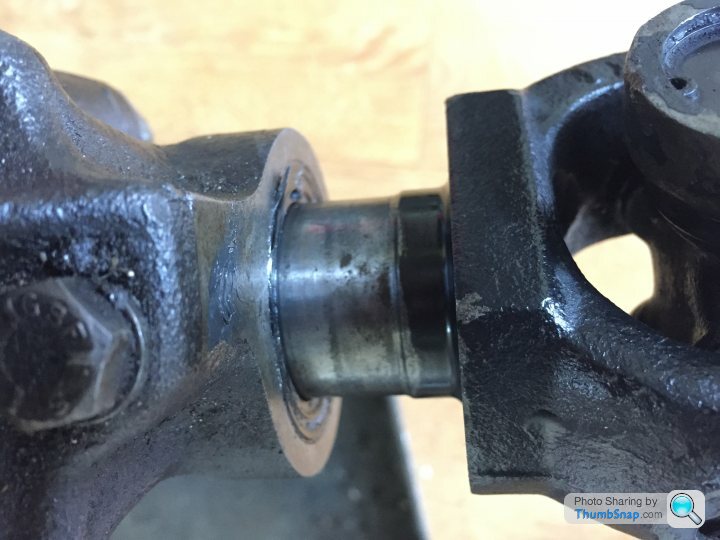
It doesn't look too bad. Technically the M and vixen has a fixed driveline with a relatively solid mounted diff and box.so tolerances etc can be quite tight.. in practise however things do flex so having a bit of space between the prop and gearbox won't hurt…as long as you have the splines fully engaged is all that matters about an inch of free travel is OK. It looks about an inch to where the polished surface on the prop ends
N.
N.
Just refitting the braking system, got to fit the rad and a few other tidy up jobs but then chassis work is complete. The nut that sits behind the grease cap on the stub axle, holding in the D washer and bearing, is there a torque setting for this? As dependant on how tight it is, seems to affect the rotation of the hub.
DAKOTAstorm said:
Just refitting the braking system, got to fit the rad and a few other tidy up jobs but then chassis work is complete. The nut that sits behind the grease cap on the stub axle, holding in the D washer and bearing, is there a torque setting for this? As dependant on how tight it is, seems to affect the rotation of the hub.
I am assuming you are talking about the front hub. This is a taper roller bearing.Google adjusting front Taper wheel bearings and you won't go wrong.
N.
DAKOTAstorm said:
Thanks Dollyman. From that Google I got tighten the nut whilst spinning the hub, as soon as the hub starts to bind or I feel resistance stop there, back the nut off until resistance disappears.
I generally tighten until it has a bit of resistance then back off 1/4 turn.. A little drag is OK and sharp beds in. Never too slack..In reality you end up backing off to a point where you can get the split pin back in…Do it by feel and you will get the hang of it….Spin the slack hub by hand while tightening and as said you will get a feel for the lock up point..
Every mechanic will tell you his own particular method…
N.
Anyone know what the handbrake cable is from or a replacement item? Everything thus far has been triumph but the handbrake assembly appears not to be. Fitted handbrake today and the outer sleeving is flaking/torn, with everything else being fresh and restored it will really annoy me if I fit this and leave it in poor condition!
DAKOTAstorm said:
Anyone know what the handbrake cable is from or a replacement item? Everything thus far has been triumph but the handbrake assembly appears not to be. Fitted handbrake today and the outer sleeving is flaking/torn, with everything else being fresh and restored it will really annoy me if I fit this and leave it in poor condition!
http://www.speedograph-richfield.com
N.
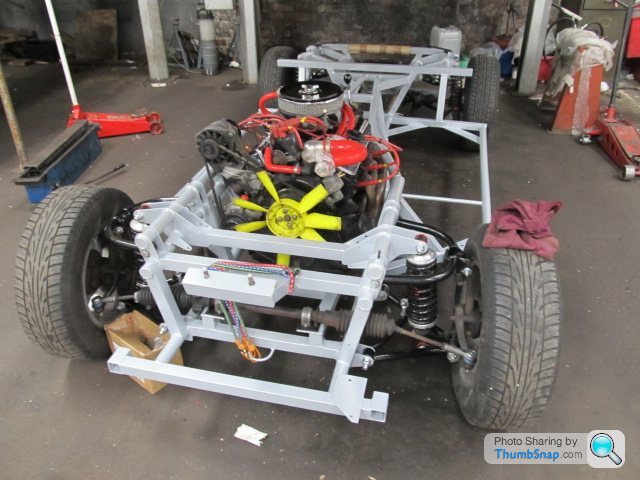
OK I will get in touch with the refurbishment companies and the usual sources into the new year. Took a little extra leave over Christmas and progressed quite while. Barring brake pipes, hand brake cables and fuel lines, everything is back on chassis and work on body started. Few pictures below.
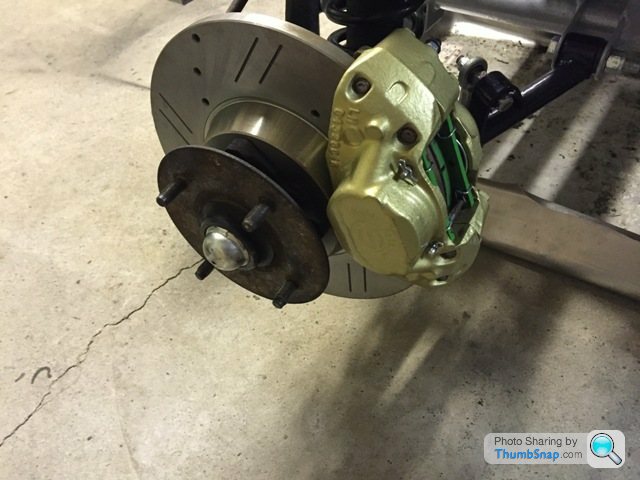
I refurbished calipers and fitted new stainless pistons and seals.
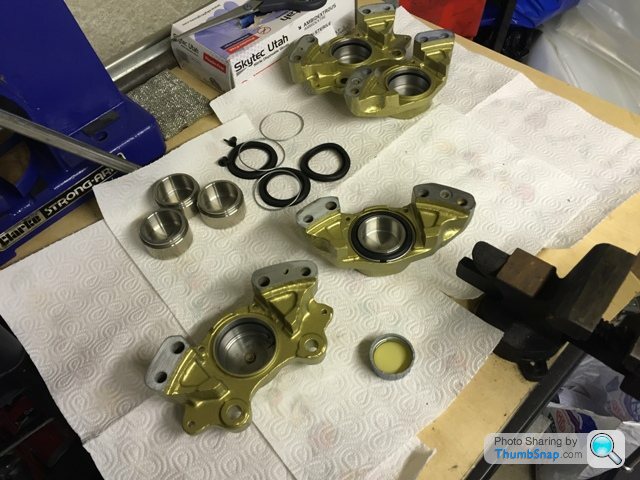
Fitted with new discs and EBC Green Stuff pads.
 [url]
[url]
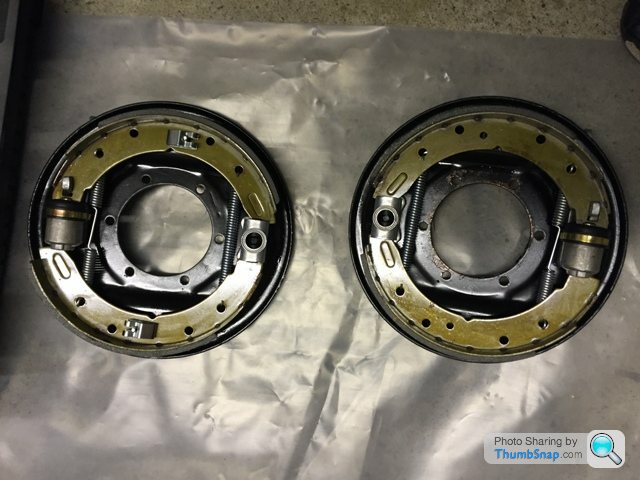
Refurbished and rebuilt rear drums, the RH one in photo is incorrect, trial and error for a while with these for me!
 |http://thumbsnap.com/NSEqQJTO[/url][url]
Bonnet frame was removed and had been fibre glassed in, every where it had been glassed in was rotten, every where it hadn't was solid!
 |http://thumbsnap.com/DMdAAmfr[/url][url]
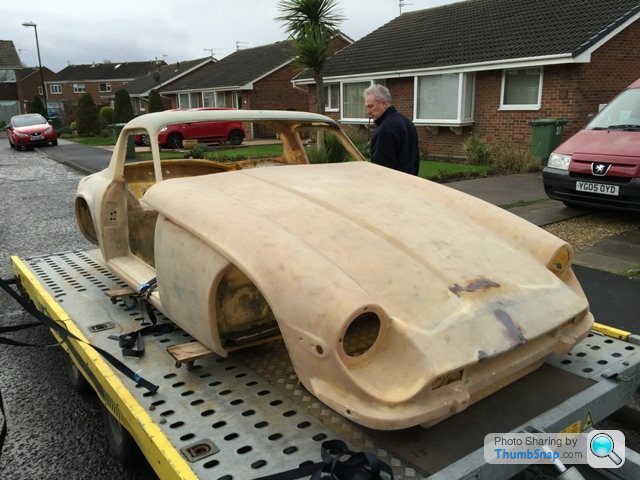
Body returning from being blasted.
 |http://thumbsnap.com/Yn5KeGpv[/url]
I need to drag the chassis out and give it a good clean down, paint a few more things and then it will be complete, I cant imagine I will have time for this until start of summer. Then start final touches on body before my skills run out and its off to a professional for the finish.
I refurbished calipers and fitted new stainless pistons and seals.
Fitted with new discs and EBC Green Stuff pads.
[url]Refurbished and rebuilt rear drums, the RH one in photo is incorrect, trial and error for a while with these for me!
|http://thumbsnap.com/NSEqQJTO[/url][url]Bonnet frame was removed and had been fibre glassed in, every where it had been glassed in was rotten, every where it hadn't was solid!
|http://thumbsnap.com/DMdAAmfr[/url][url]Body returning from being blasted.
|http://thumbsnap.com/Yn5KeGpv[/url]I need to drag the chassis out and give it a good clean down, paint a few more things and then it will be complete, I cant imagine I will have time for this until start of summer. Then start final touches on body before my skills run out and its off to a professional for the finish.
Gassing Station | TVR Classics | Top of Page | What's New | My Stuff