99t's Saab 99 Turbo
Discussion


99t said:
awesome stuff
The quality of workmanship on that tailgate repair, sorry restoration, is a credit to your attention to detail here! All that effort on an area that won't even be visible from inside or out - amazing.My 900 Carlsson is in for the exact same repair you are tackling now on both rear wheel arches, found a fair bit of grot above the fuel tank and forward of the arches too unfortunately. Seems to be a constant battle but I enjoy the car so much I couldn't bear to part with it.
Bookmarked! Best of luck with it, will be worth a bit when it's done !
NiceCupOfTea said:
Had a lot of work done on the boot floor and the front of the rear arches on my 900 earlier in the year by Martin at Jamsaab. Expensive but worth it; I will never sell.
yeah Martin did my driveshaft tunnels and front arches earlier this year - top bloke! I've only not gone back as I'm away from Bristol for a month or so on holiday.Can't see myself selling either!

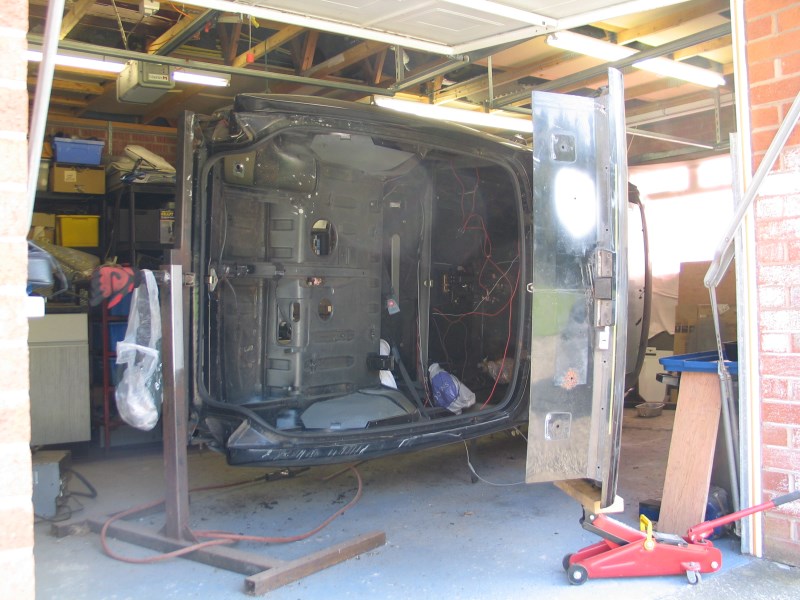
A mini-update, I'm trying not to let the project or myself enter hiberation at the moment, not easy when the temp in the garage is barely into single figures, even with a couple of fan heaters on full blast.
I have made a little progress though..
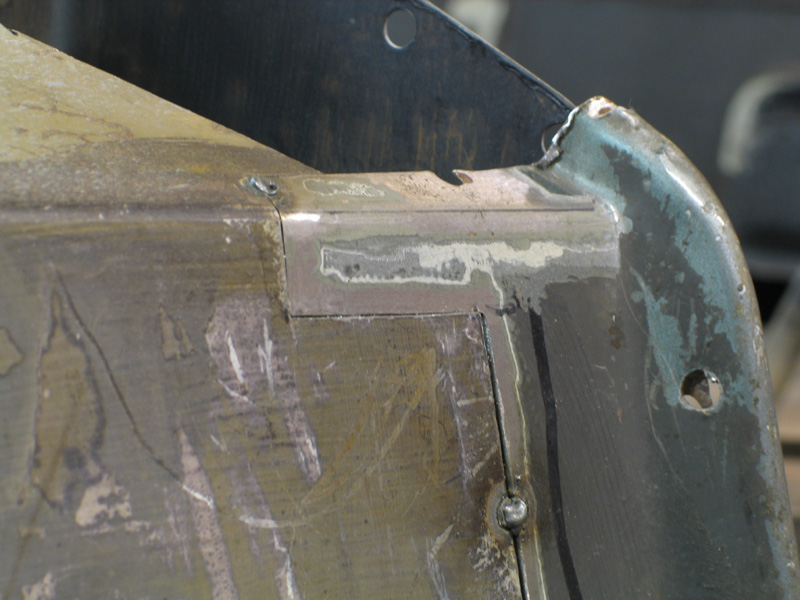
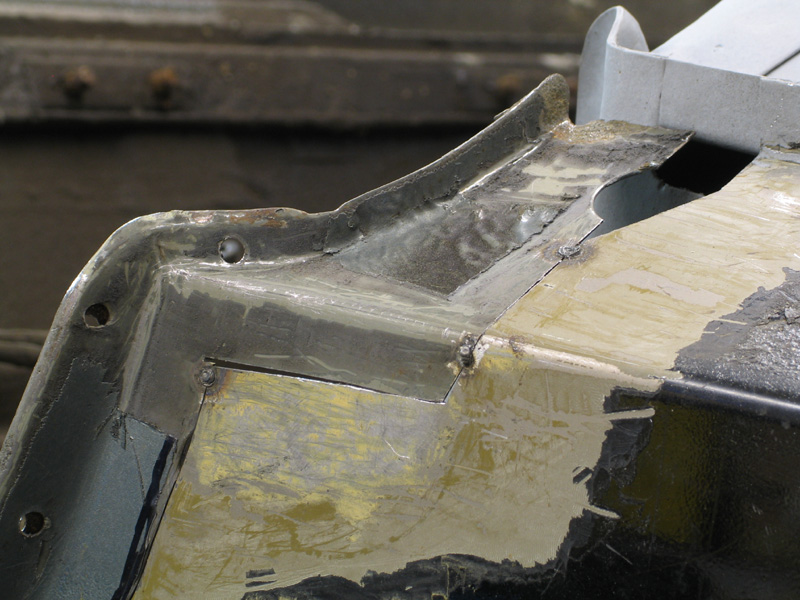
Boot floor corner / flange section fabbed and welded into place
Boot closing section made and has now been welded into place.
I've also been working on the sill section forward of the rear arch
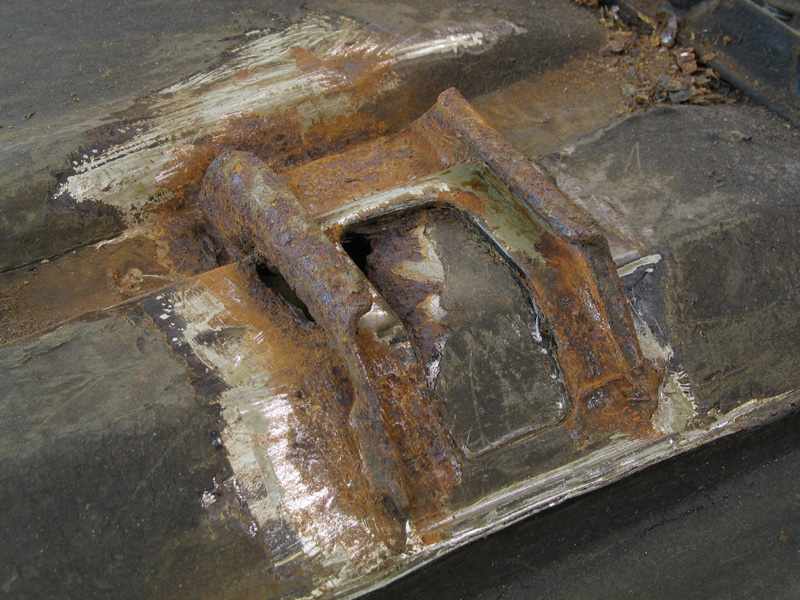
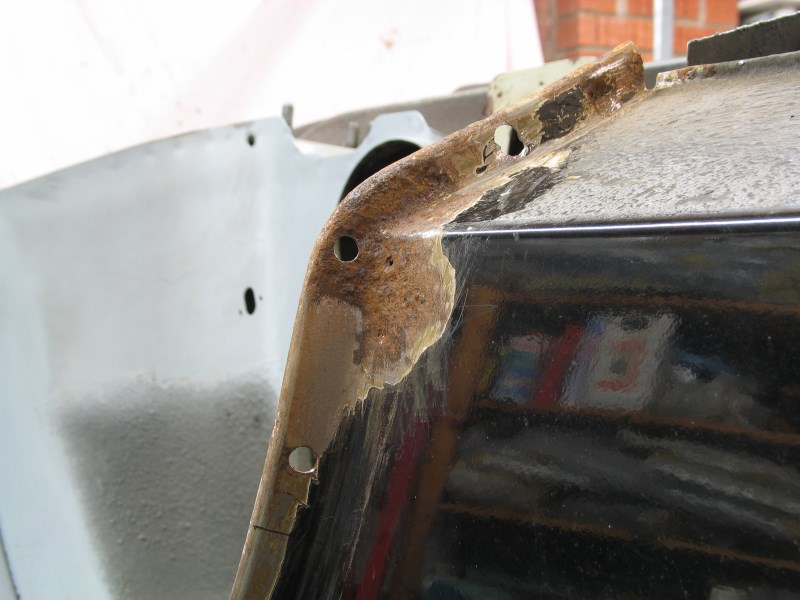
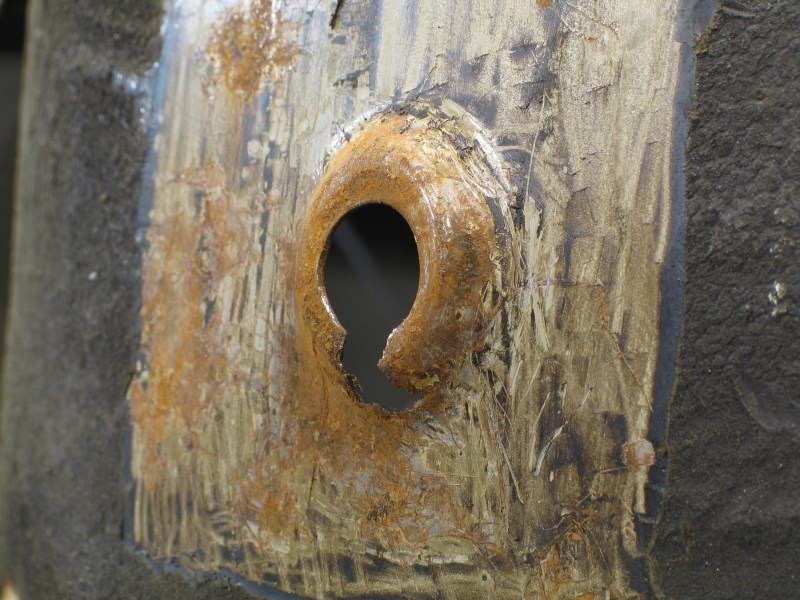
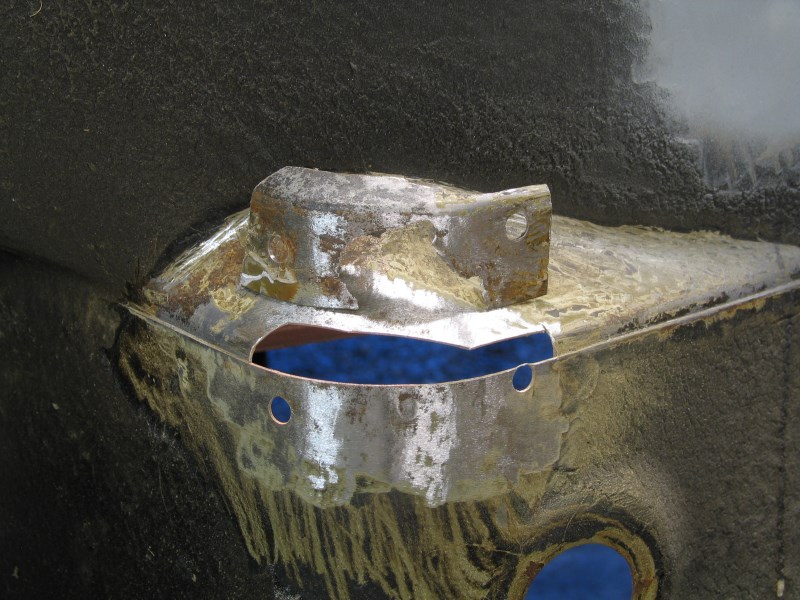
Jacking point (possibly from the Titanic)
More fun drilling out spot welds (inner ones were HUGE and hard to locate) and slicing through seam welds at either side, took two evenings to fully separate the jacking point..
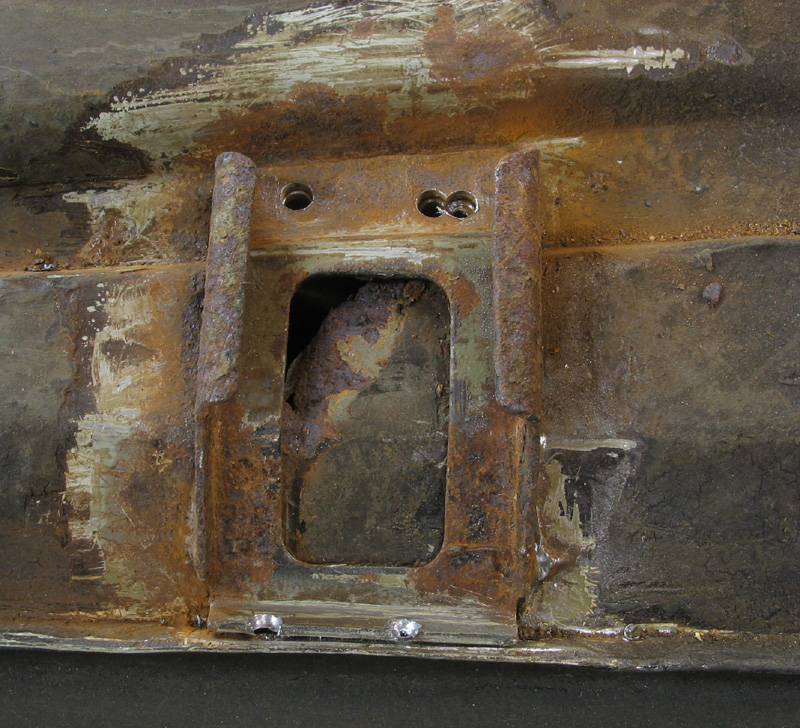
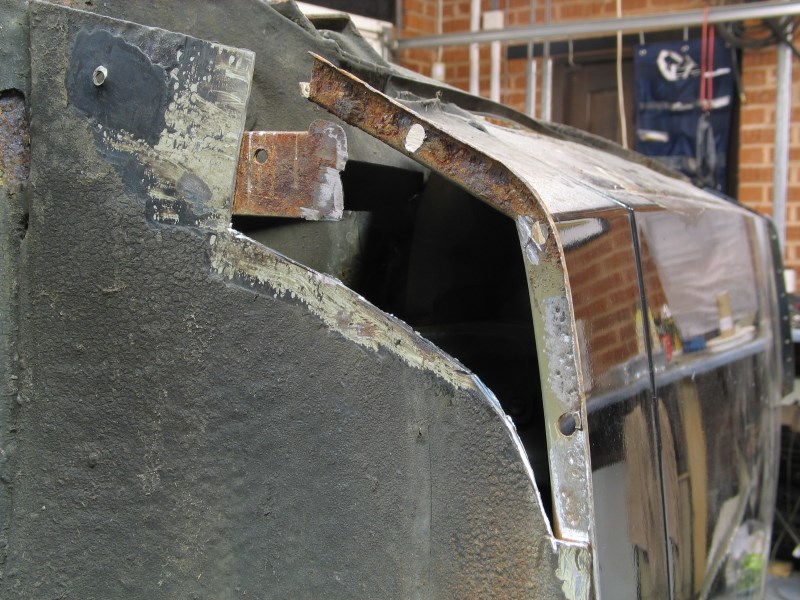
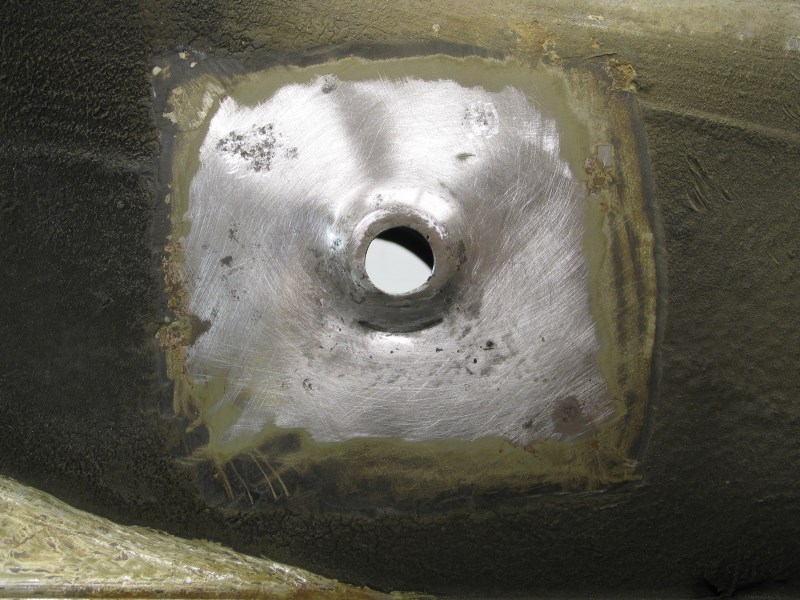
Finally off
Thinned metal cut out and the rest thoroughly de-rusted and coated awaiting new metal. Inner sill is rot free fortunately and I'll use the holes drilled in removing the spot welds for plug welds when I start reassembly..
I have made a little progress though..
Boot floor corner / flange section fabbed and welded into place
Boot closing section made and has now been welded into place.
I've also been working on the sill section forward of the rear arch
Jacking point (possibly from the Titanic)
More fun drilling out spot welds (inner ones were HUGE and hard to locate) and slicing through seam welds at either side, took two evenings to fully separate the jacking point..
Finally off
Thinned metal cut out and the rest thoroughly de-rusted and coated awaiting new metal. Inner sill is rot free fortunately and I'll use the holes drilled in removing the spot welds for plug welds when I start reassembly..
Edited by 99t on Friday 14th December 13:36
Steady progress over Christmas and New Year
Folded up the repair section for the floor under the jacking point, which was harder than it looks since none of the flat pieces of the section have parallel edges, they all need to converge or diverge a little. So if the angle of the fold is even a fraction out it throws all the rest of the piece out too!!
Welded in, will dress the welds back later. Jacking point will be re-attached once I've de-rusted it.
Continued working around the driver side rear arch. Front end of the inner arch..
.. and from another angle.
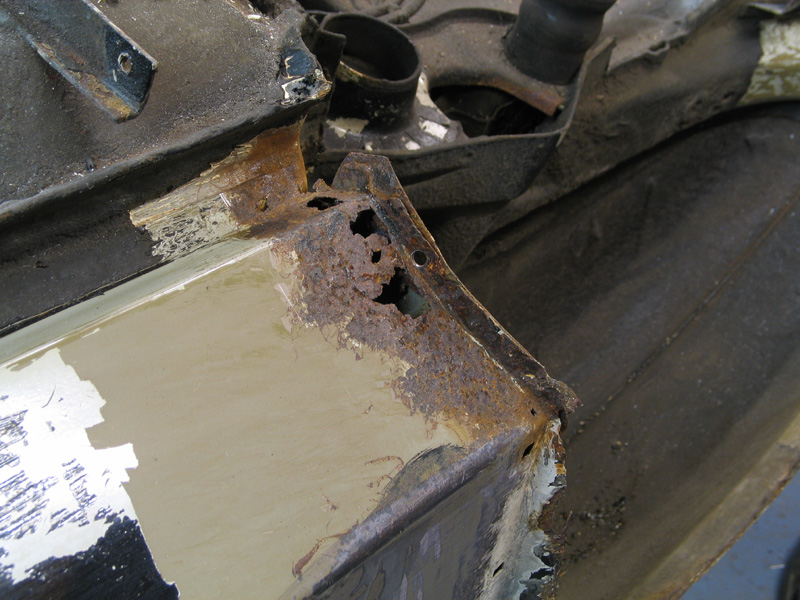
Worst rust cut out
And small hole in sill repaired and area de-rusted. I'll deal with the rust hole lower down separately!
Repair sections knocked up


But not welded in yet as I want to retain access to the inner arch for the next bit.
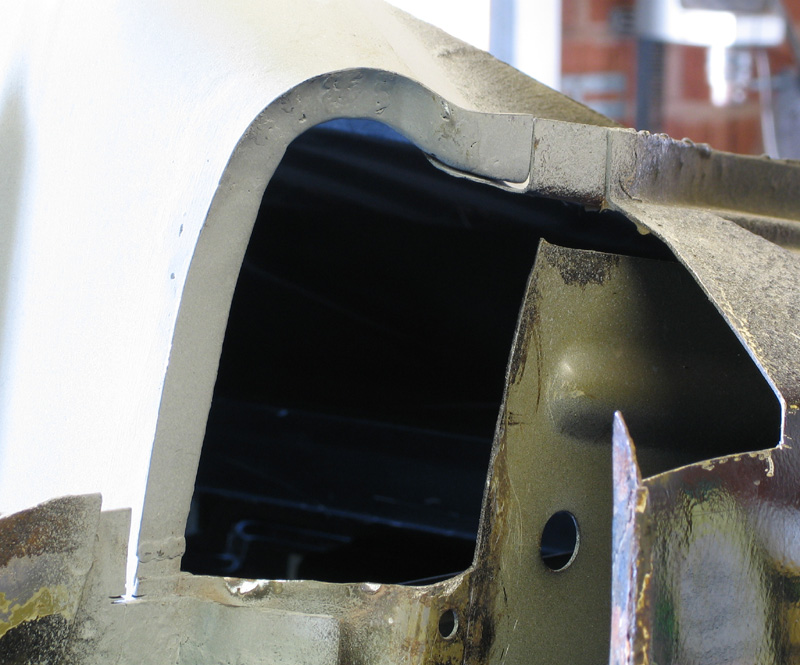
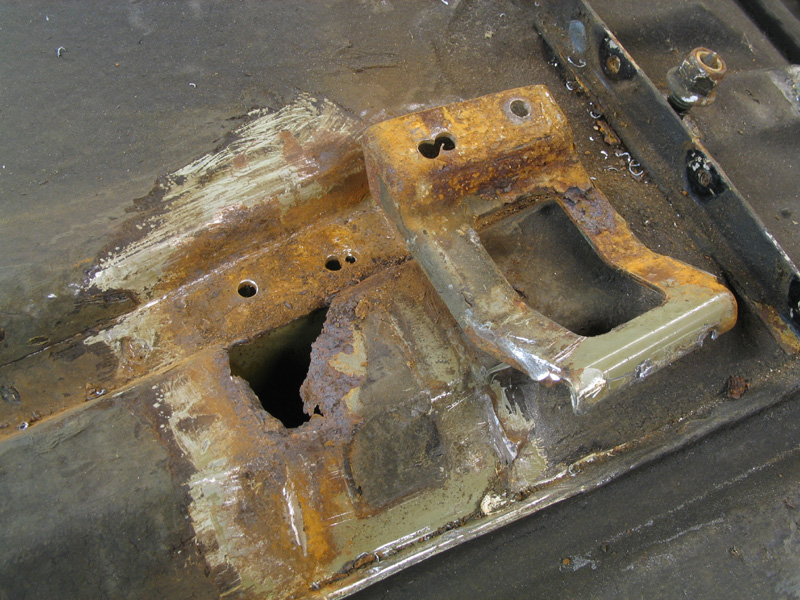
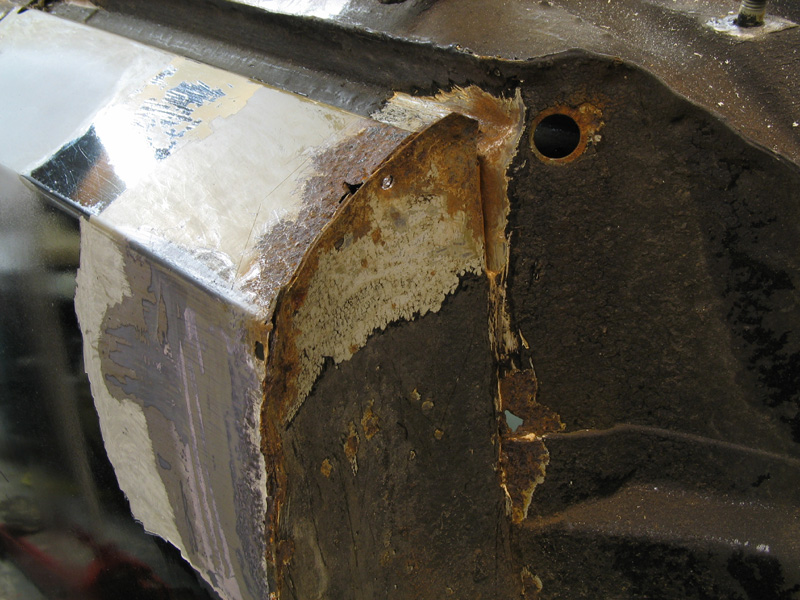
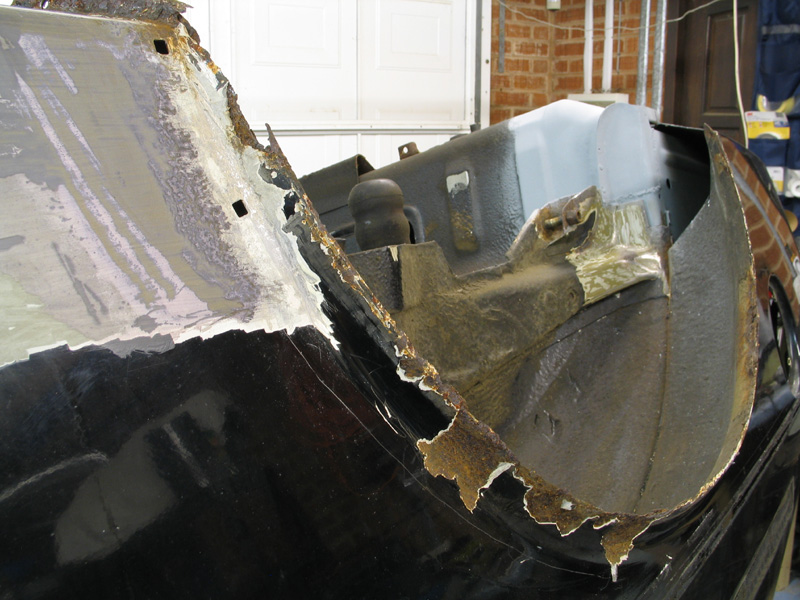
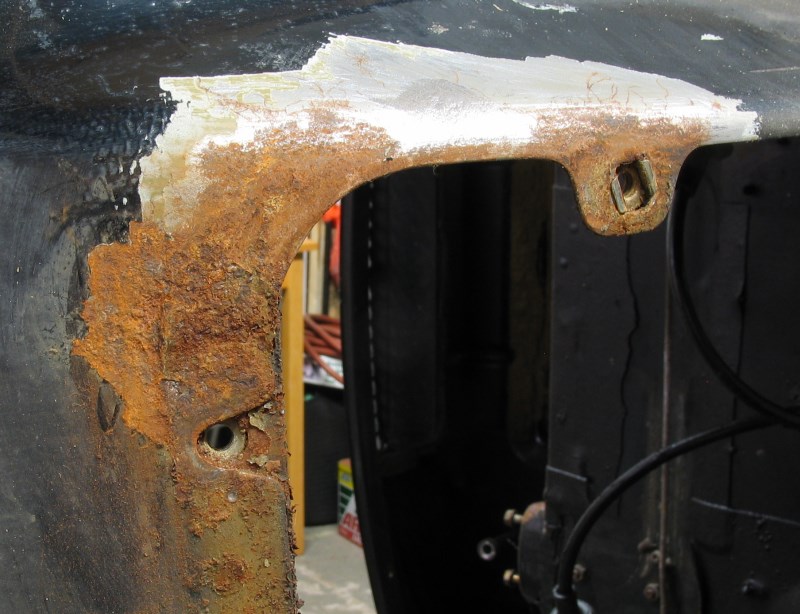
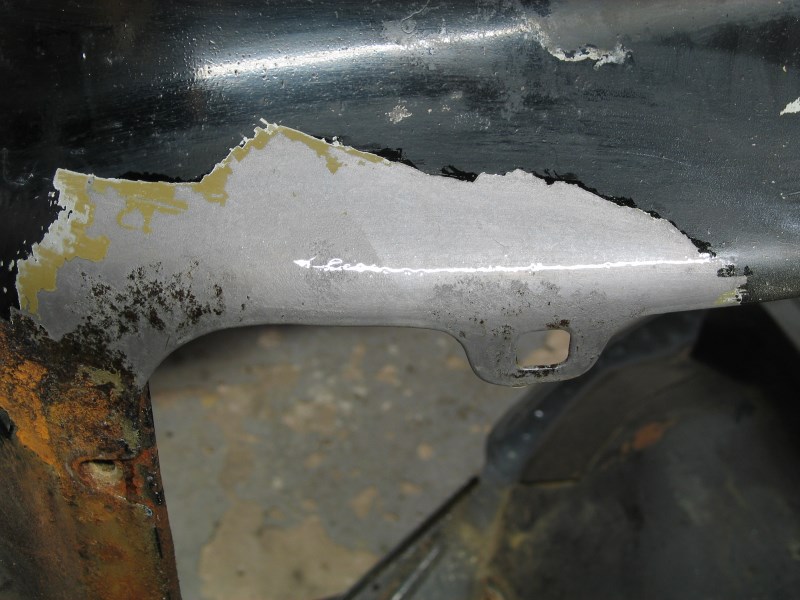
Main wheel arch well rotted, inner and outer arches bulging apart and also full of filler.
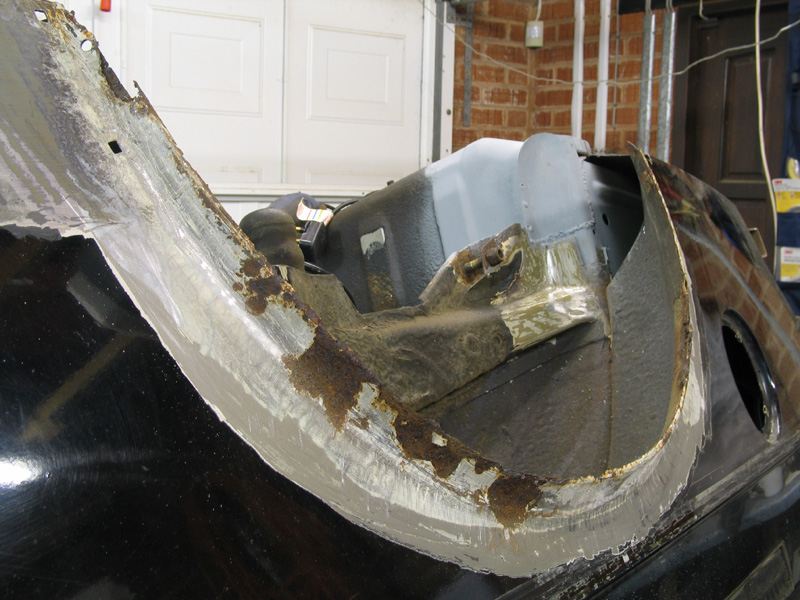
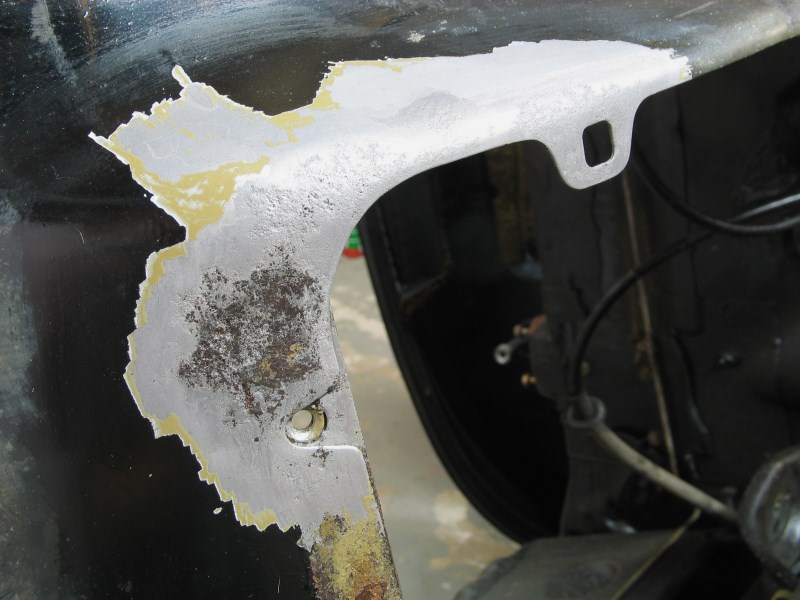
Stripped back
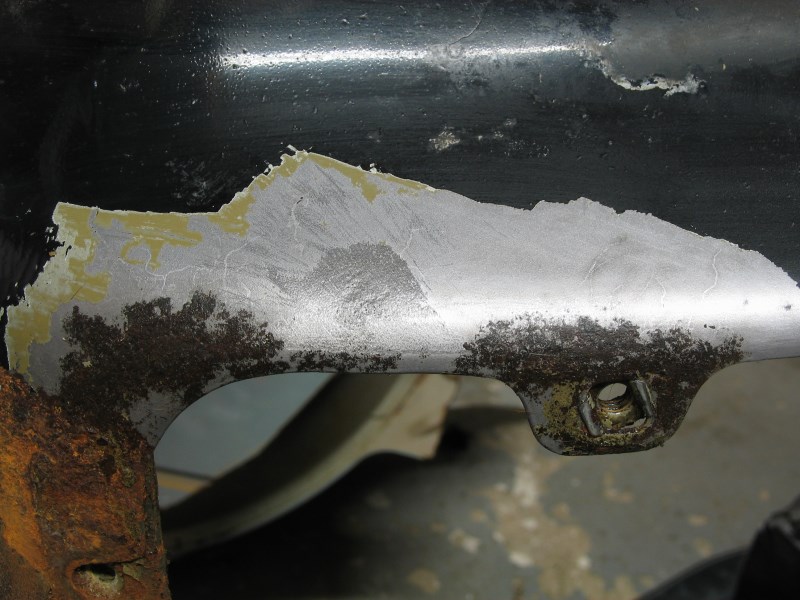
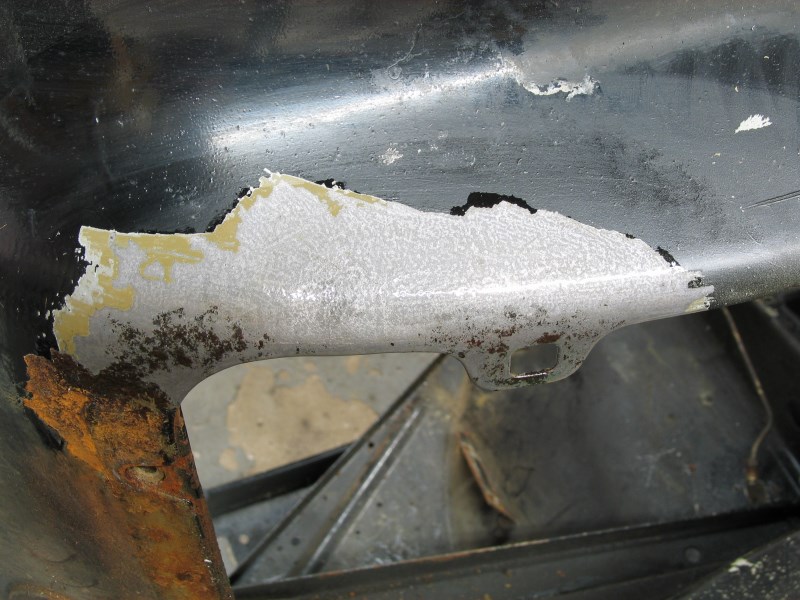
In the meantime I had been prepping a donor arch cut from a C900. It appeared rust free initially, but stripping the sealant revealed that it was just starting to go slightly, but only light surface rust fortunately.
De-rusting it properly meant splitting the inner and outer sections but I intended to do this anyway so no problem really.
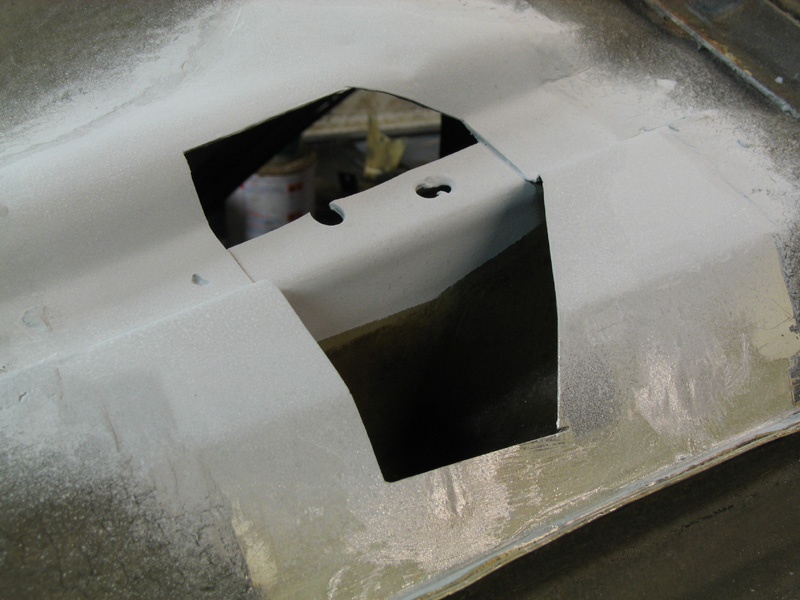
Once split and cleaned I marked around the outer section.

Slowly and carefully cut the outer arch away and drilled the spot-welds to the inner arch (some of which were an absolute swine to find due with all the rust damage)
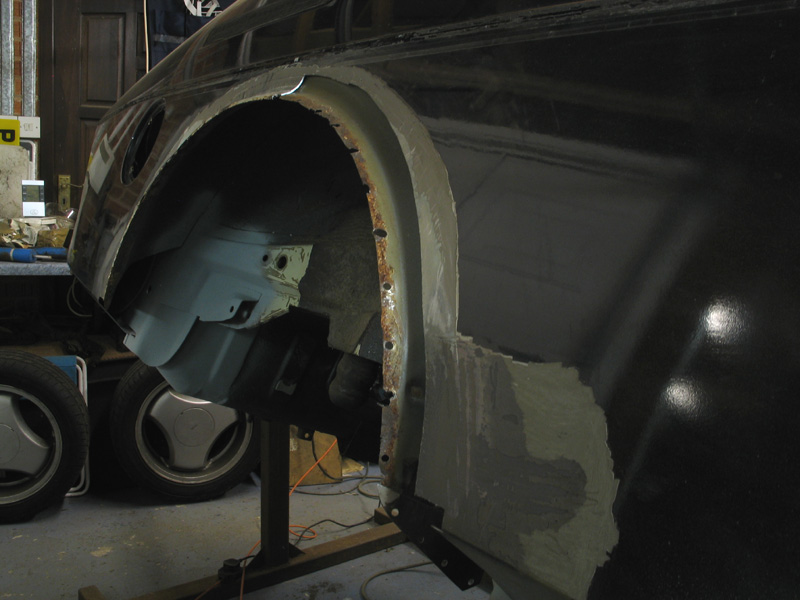
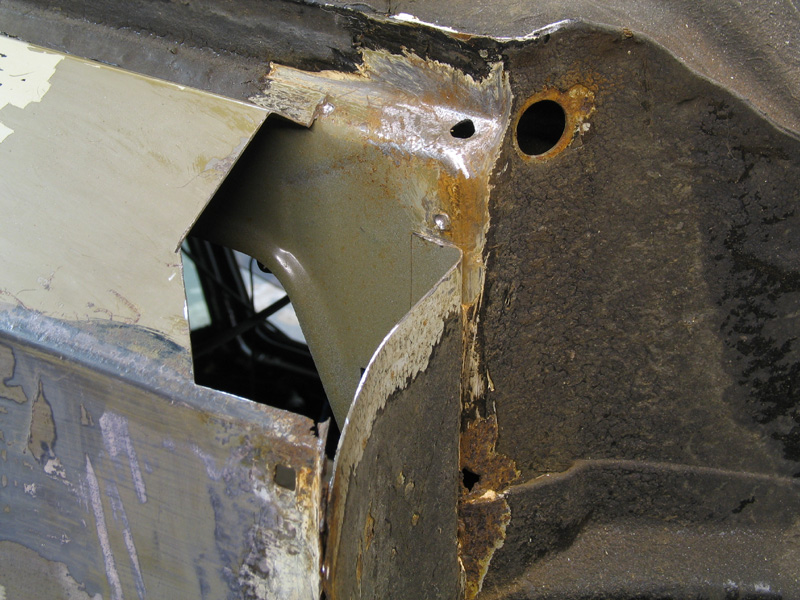
Finally, outer arch removed. At this stage I removed the worst flaky / lumpy rust from the inner arch and flattened down a few high points so that my outer repair section would slot nicely into place.
I will be replacing a section of the inner arch later on but for now I left it in place to help ensure correct alignment of the outer section.
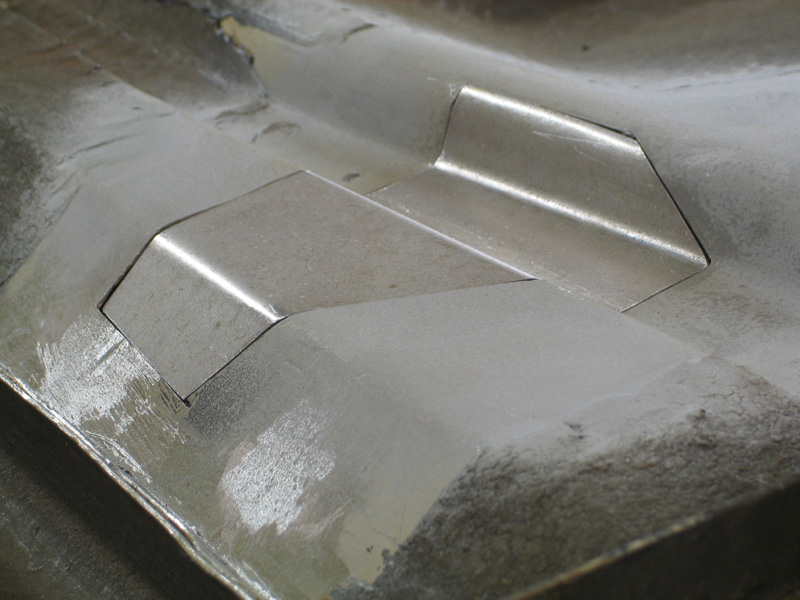
I also incorporated small sections at the bottom of the arch where it folds under the car to help with 3D alignment
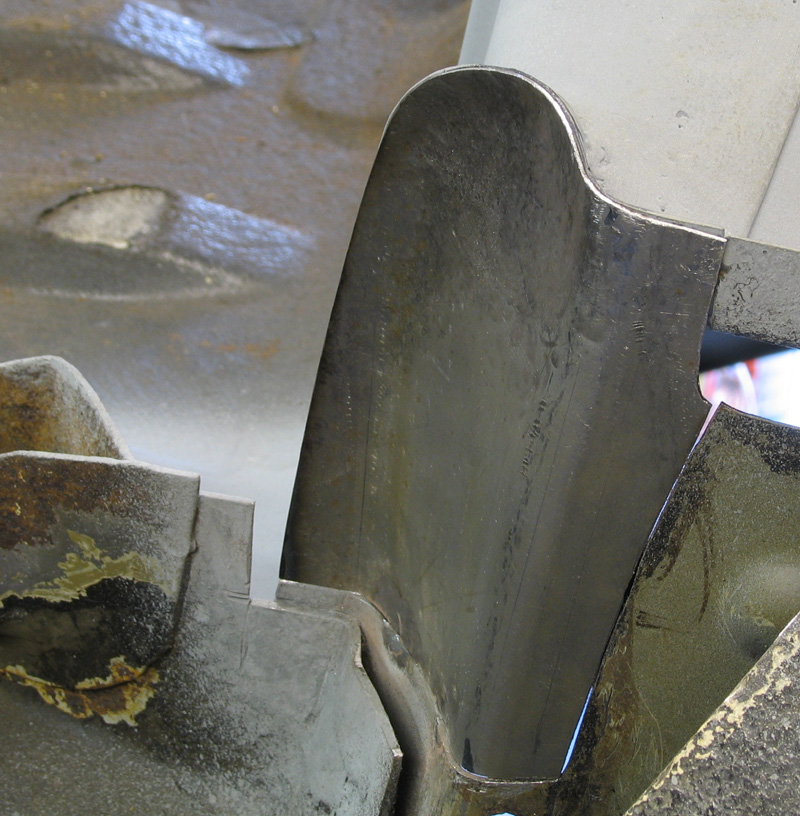
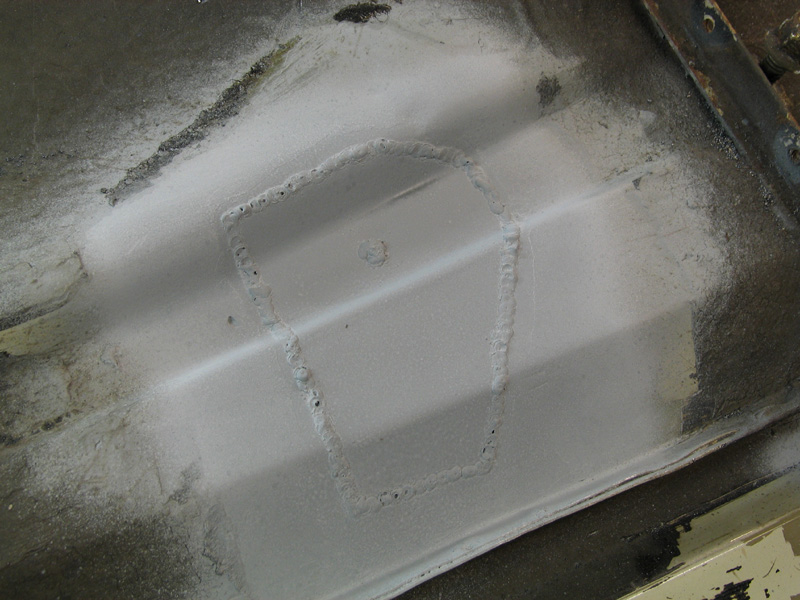
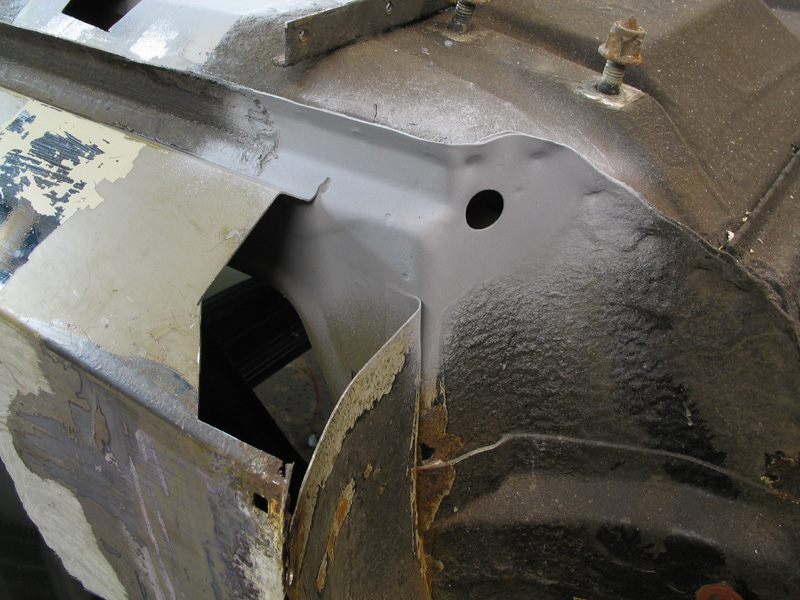
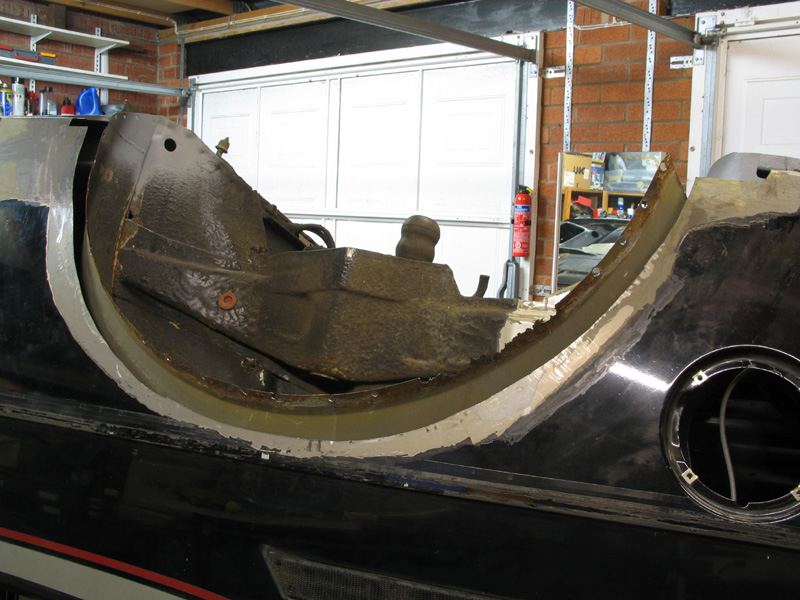
After much trimming, fettling, repositioning, checking, checking and re-checking, I tacked the outer arch into place.

Next job is to add spot welds slowly (whilst quenching) to build up a seam weld all the way round without distorting and then for the first time since I've owned it the car will have one solid rear arch!!
Folded up the repair section for the floor under the jacking point, which was harder than it looks since none of the flat pieces of the section have parallel edges, they all need to converge or diverge a little. So if the angle of the fold is even a fraction out it throws all the rest of the piece out too!!
Welded in, will dress the welds back later. Jacking point will be re-attached once I've de-rusted it.
Continued working around the driver side rear arch. Front end of the inner arch..
.. and from another angle.
Worst rust cut out
And small hole in sill repaired and area de-rusted. I'll deal with the rust hole lower down separately!
Repair sections knocked up
But not welded in yet as I want to retain access to the inner arch for the next bit.
Main wheel arch well rotted, inner and outer arches bulging apart and also full of filler.
Stripped back
In the meantime I had been prepping a donor arch cut from a C900. It appeared rust free initially, but stripping the sealant revealed that it was just starting to go slightly, but only light surface rust fortunately.
De-rusting it properly meant splitting the inner and outer sections but I intended to do this anyway so no problem really.
Once split and cleaned I marked around the outer section.
Slowly and carefully cut the outer arch away and drilled the spot-welds to the inner arch (some of which were an absolute swine to find due with all the rust damage)
Finally, outer arch removed. At this stage I removed the worst flaky / lumpy rust from the inner arch and flattened down a few high points so that my outer repair section would slot nicely into place.
I will be replacing a section of the inner arch later on but for now I left it in place to help ensure correct alignment of the outer section.
I also incorporated small sections at the bottom of the arch where it folds under the car to help with 3D alignment
After much trimming, fettling, repositioning, checking, checking and re-checking, I tacked the outer arch into place.
Next job is to add spot welds slowly (whilst quenching) to build up a seam weld all the way round without distorting and then for the first time since I've owned it the car will have one solid rear arch!!

Time for a rather overdue update!
2013 seems to have mainly been a year of family stuff so far, including making an honest woman of the long-suffering Mrs 99t in August.
As a result the poor old Saab has been somewhat neglected, and when I have made it out to the garage, progress has consisted of tinkering rather than making significant progress..
I'll return to the wheelarch I was last working on another time – it is welded in properly now but I've not yet dressed the welds yet as I find it a mind-numbingly boring task! A job for a wet Sunday in January perhaps!
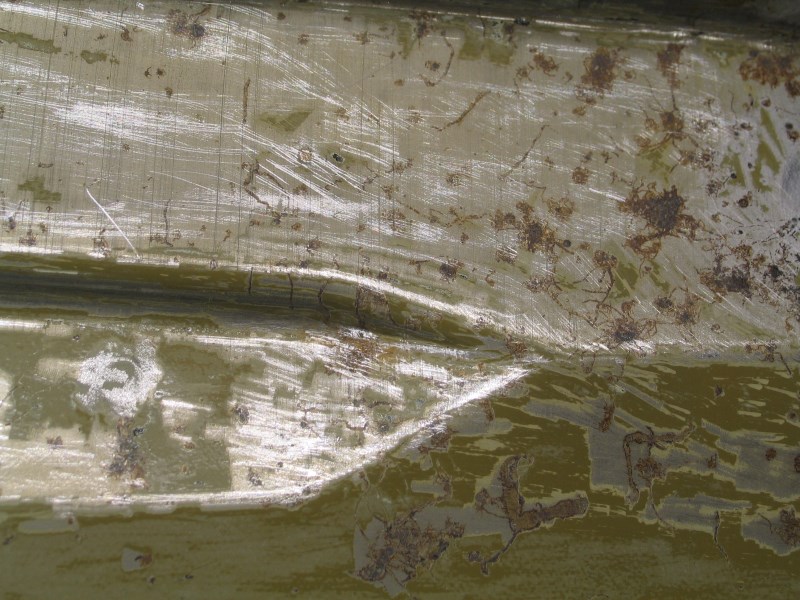
One thing I have found, and which means I have to bare-metal far more of the underside than I thought I would, it the amount of rust underneath what appears to be perfectly sound paint and underseal.
Saab were reputed to be using poor quality steel in the late Seventies, and this must be a contributing factor to the survival rates of these cars being so low.
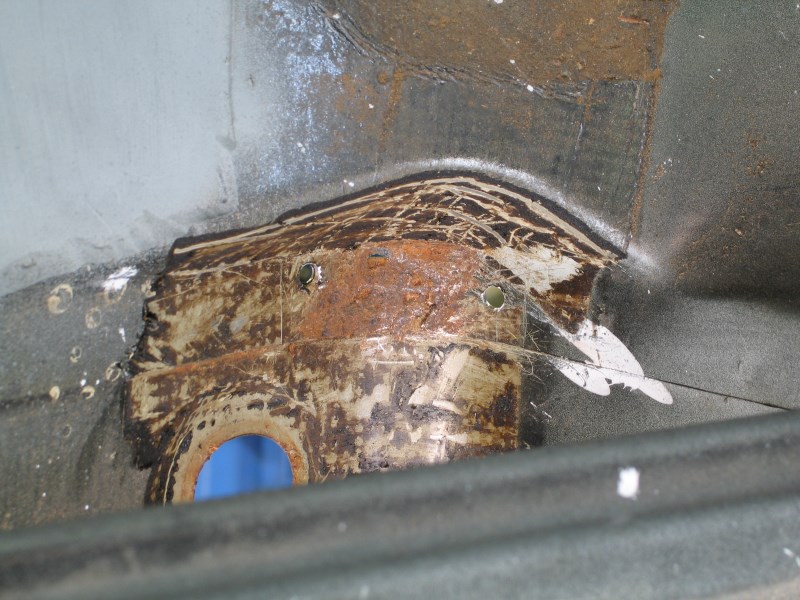
E.g. really sound looking paint and stone chip protection behind rear wheel arch
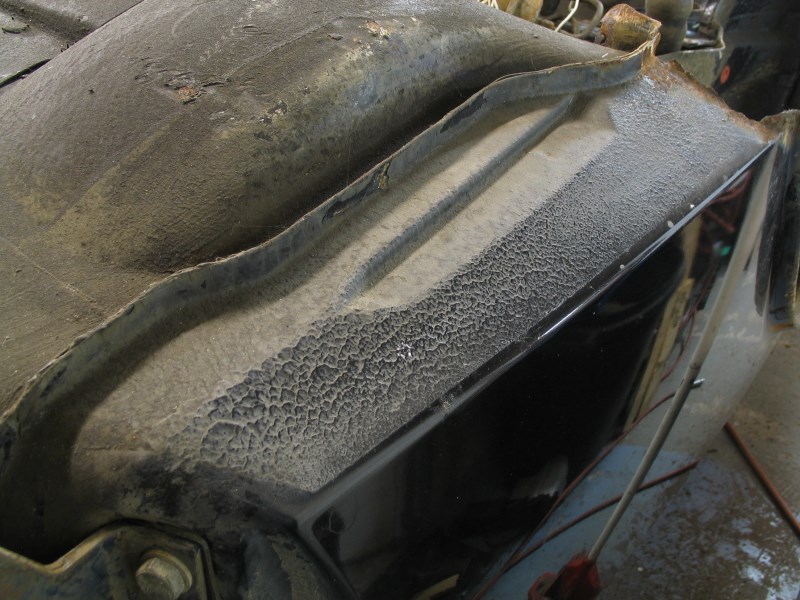
Stripped back (yes ok it's the other side, but it looked exactly the same before stripping!)
Rust spiders everywhere!
The way I have been dealing with surface rust like this is using undiluted 75% phosphoric acid, brushed on in a very thin layer. It is, by far, the quickest and most effective way of cleaning up metal I have come across.
Although very watery, it only needs to be applied very sparingly - just enough to wet the panel, so even when applied vertically it barely runs at all.
So for example, this
Becomes this after about ten minutes
Twenty minutes
After half an hour just the deepest bits remain – give these a very light rub with a wire brush to loosen the surface deposits
By an hour the first section is almost entirely clean metal (may just need a touch from a tiny diamond bit in a Dremel in one or two deep pits) and I've started cleaning the next section.
As a bonus, the acid “pickles” the metal surface and makes it fairly rust resistant if left untreated, not that I intend to do that, but it must surely help with future rust resistance...?
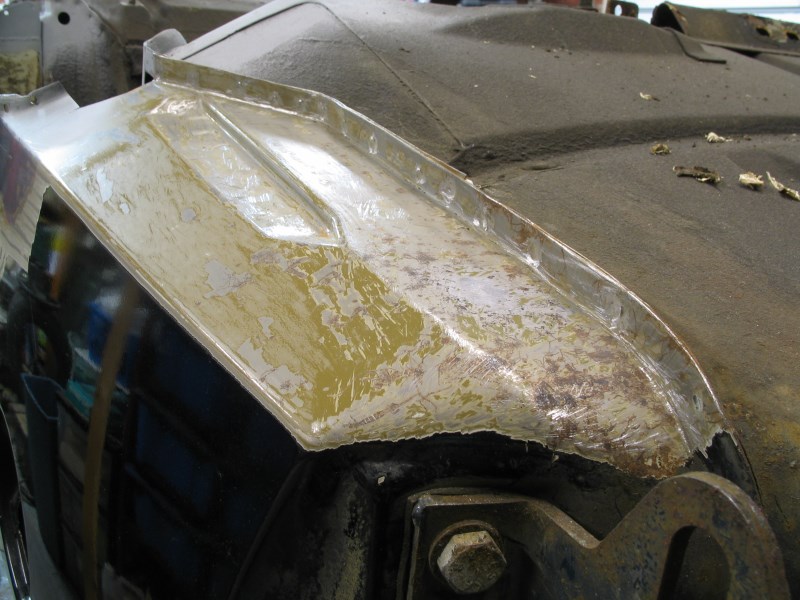
Other bits – lower front arch
Inner arch cut back
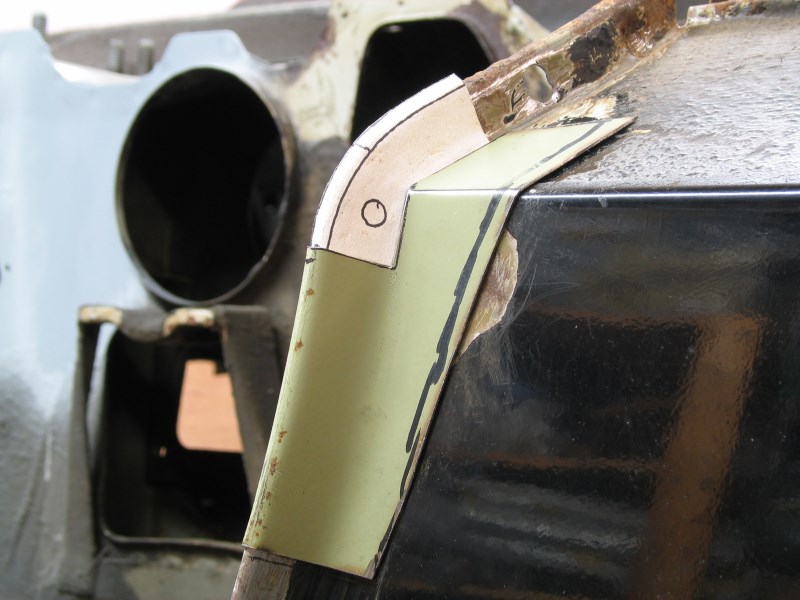
Piece cut from a NOS wing section that didn't include the required part, but does share the same radius

Corner section I'll have to make up (ongoing)
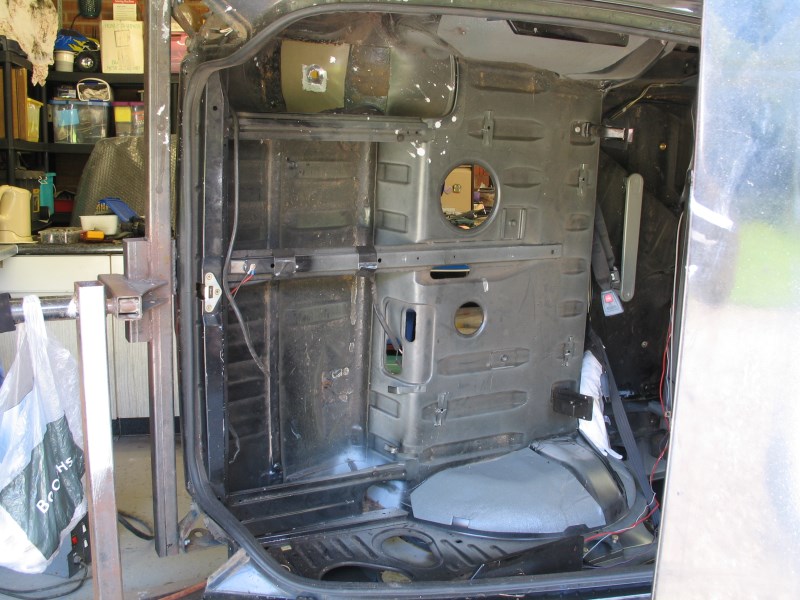
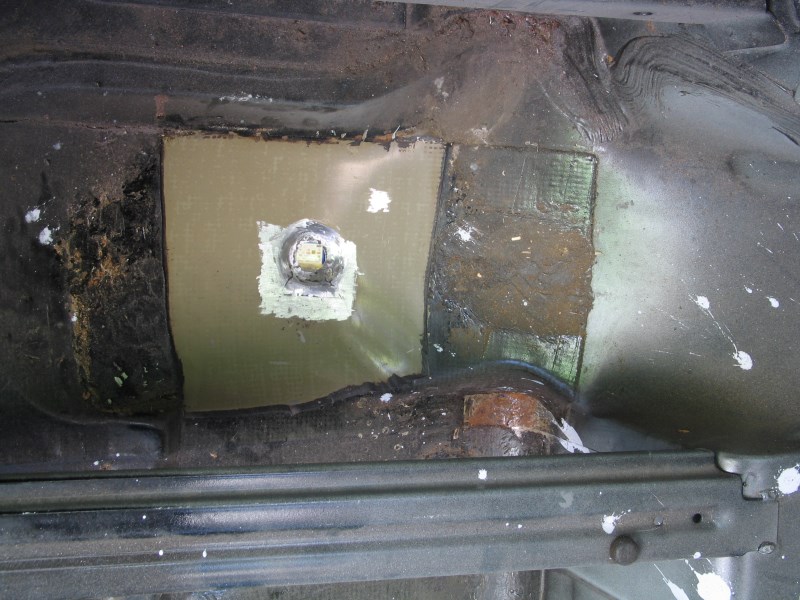
Apologies, this update is flitting around all over the car, the next bits were in the boot floor – bright spot at top of boot floor below
Closer
Next two bits in progress
Spare wheel well drain hole - before
After
And just another rusty seam!!
Only the inner section needs replacing
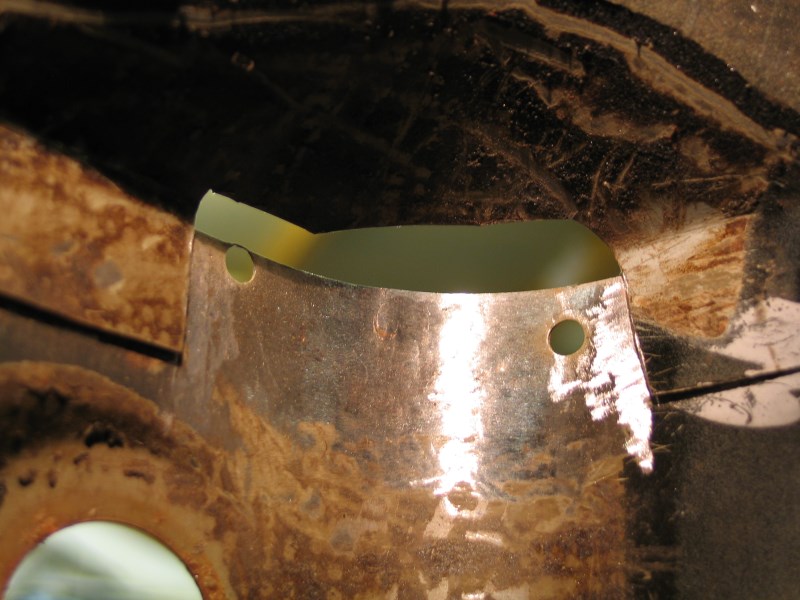
And viewed from the other side – repair section to make..
And that brings things pretty much up to date. Hopefully future updates will be more regular and focussed than this ramble!!
2013 seems to have mainly been a year of family stuff so far, including making an honest woman of the long-suffering Mrs 99t in August.
As a result the poor old Saab has been somewhat neglected, and when I have made it out to the garage, progress has consisted of tinkering rather than making significant progress..
I'll return to the wheelarch I was last working on another time – it is welded in properly now but I've not yet dressed the welds yet as I find it a mind-numbingly boring task! A job for a wet Sunday in January perhaps!
One thing I have found, and which means I have to bare-metal far more of the underside than I thought I would, it the amount of rust underneath what appears to be perfectly sound paint and underseal.
Saab were reputed to be using poor quality steel in the late Seventies, and this must be a contributing factor to the survival rates of these cars being so low.
E.g. really sound looking paint and stone chip protection behind rear wheel arch
Stripped back (yes ok it's the other side, but it looked exactly the same before stripping!)
Rust spiders everywhere!
The way I have been dealing with surface rust like this is using undiluted 75% phosphoric acid, brushed on in a very thin layer. It is, by far, the quickest and most effective way of cleaning up metal I have come across.
Although very watery, it only needs to be applied very sparingly - just enough to wet the panel, so even when applied vertically it barely runs at all.
So for example, this
Becomes this after about ten minutes
Twenty minutes
After half an hour just the deepest bits remain – give these a very light rub with a wire brush to loosen the surface deposits
By an hour the first section is almost entirely clean metal (may just need a touch from a tiny diamond bit in a Dremel in one or two deep pits) and I've started cleaning the next section.
As a bonus, the acid “pickles” the metal surface and makes it fairly rust resistant if left untreated, not that I intend to do that, but it must surely help with future rust resistance...?
Other bits – lower front arch
Inner arch cut back
Piece cut from a NOS wing section that didn't include the required part, but does share the same radius
Corner section I'll have to make up (ongoing)
Apologies, this update is flitting around all over the car, the next bits were in the boot floor – bright spot at top of boot floor below
Closer
Next two bits in progress
Spare wheel well drain hole - before
After
And just another rusty seam!!
Only the inner section needs replacing
And viewed from the other side – repair section to make..
And that brings things pretty much up to date. Hopefully future updates will be more regular and focussed than this ramble!!

iva cosworth said:
Correct EMS ,because the first EMSs had D jetronic an ECU electric system,completely different to
the later much more common K jetronic.
Thanks for the info re the V5.
I always thought it odd for people to describe them that way in for sale ads eg
I used to pass a gorgeous black 900 turbo on my walk home from school. It had an APC badge on the back, I think they liked the three extra letter designations. Never knew what it meant... the later much more common K jetronic.
Thanks for the info re the V5.
I always thought it odd for people to describe them that way in for sale ads eg
On another note my dentist had a bright red 99 turbo, must have been about an X-reg, not as pretty a shape as yours. Was this a standard colour?
Loving the car and the work op. I started and gave up on my Lancia, reading threads like this would get me started again, unfortunately I have no real skills and the extent and compications of the work have led me to bite the bullet and give it to a specialist to complete.
Gassing Station | Readers' Cars | Top of Page | What's New | My Stuff