Defender 110 Restoration
Discussion


Well last weekend I was doing this..

But now its time to get back to more important things.. Namely the defender!..
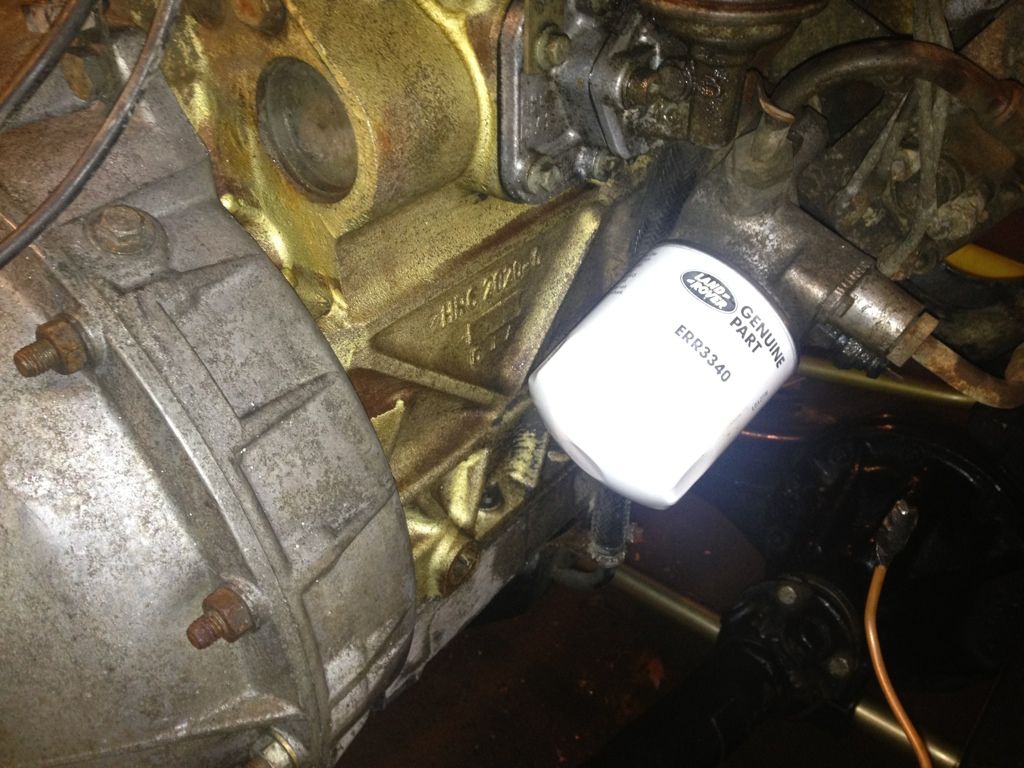
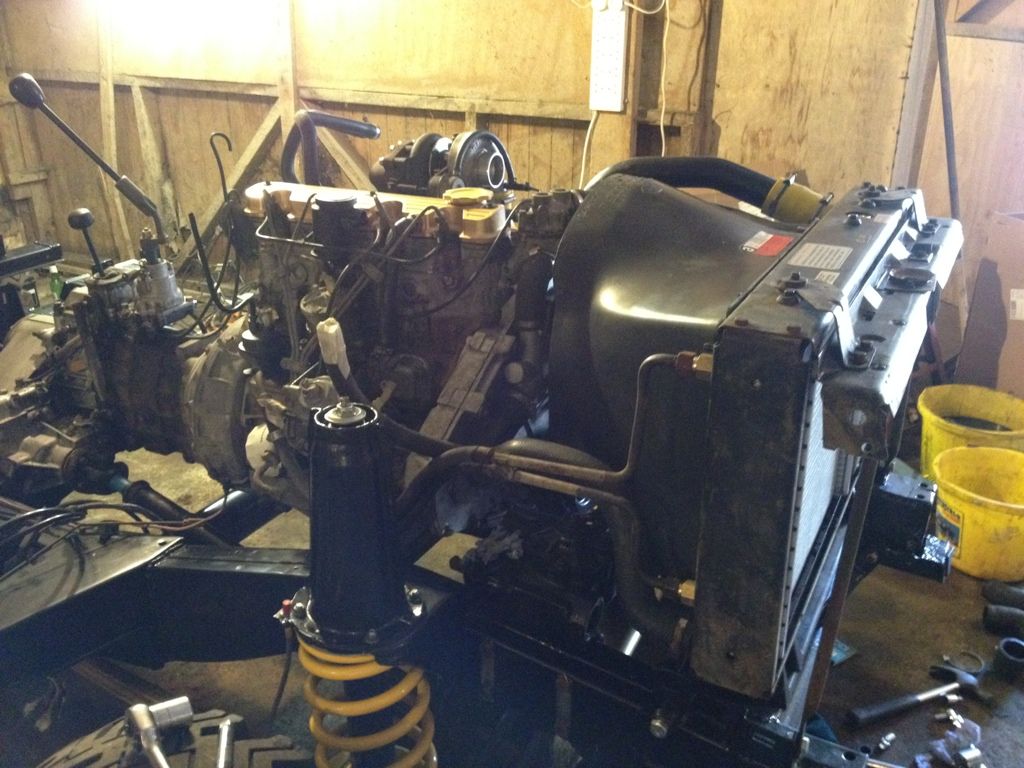
Next job after giving the engine and box a clean was to give the engine a service.. Oil, filter and glow plugs were changed.
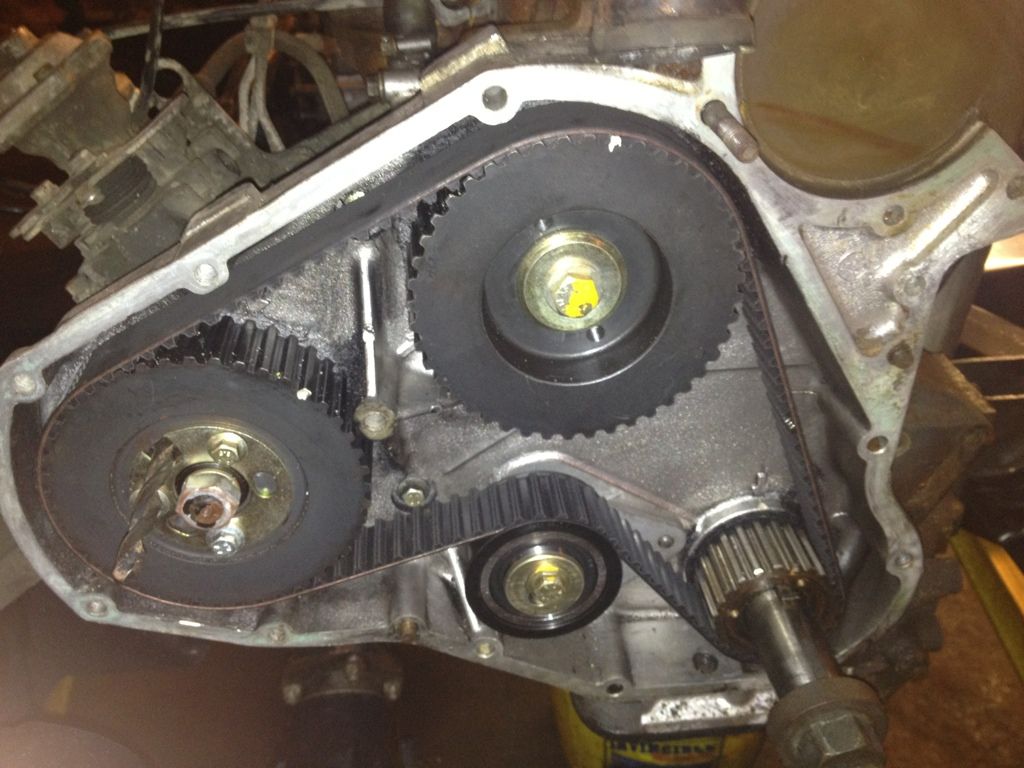
The timing belt was changed too, this wasnt too difficult..
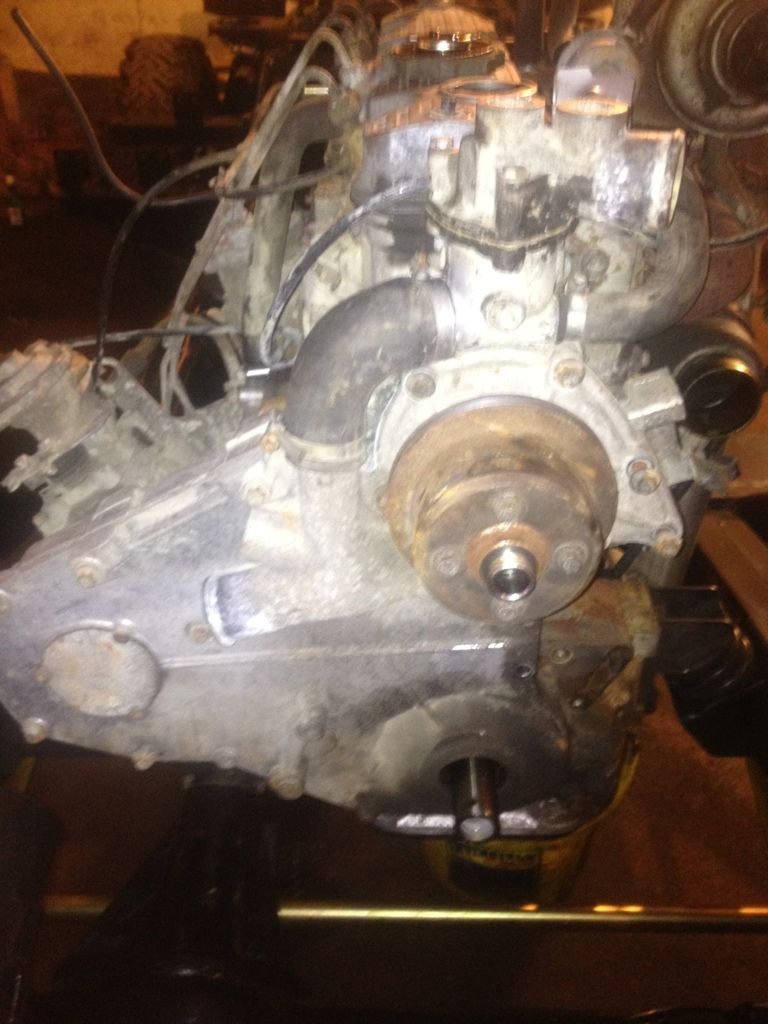
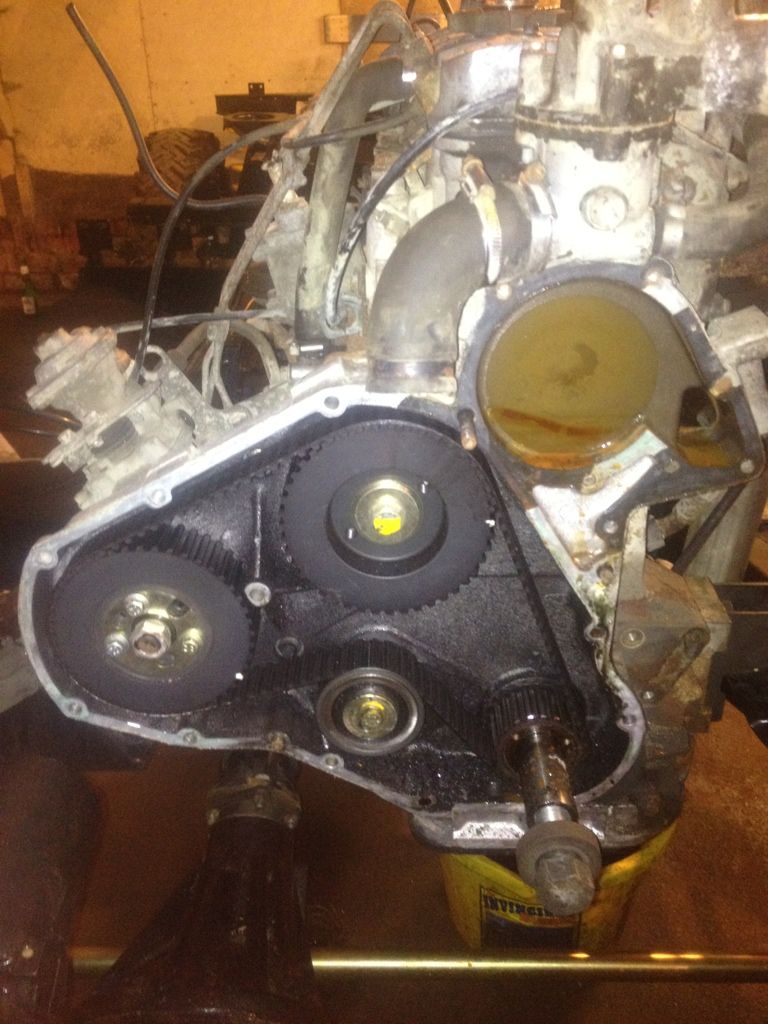
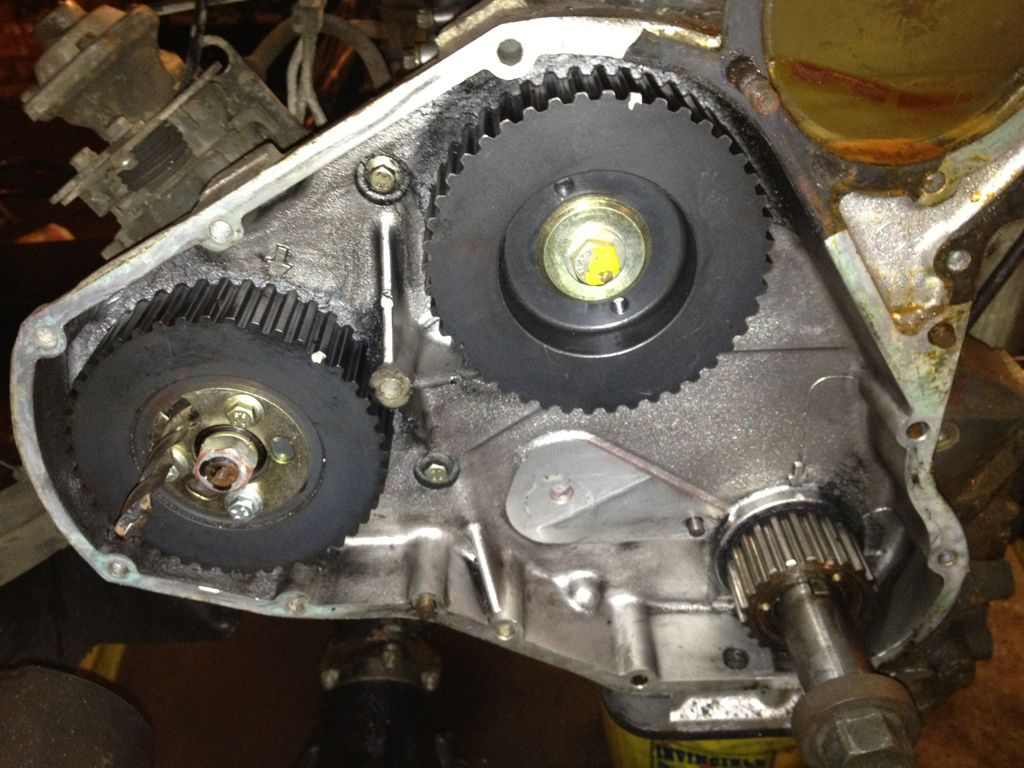
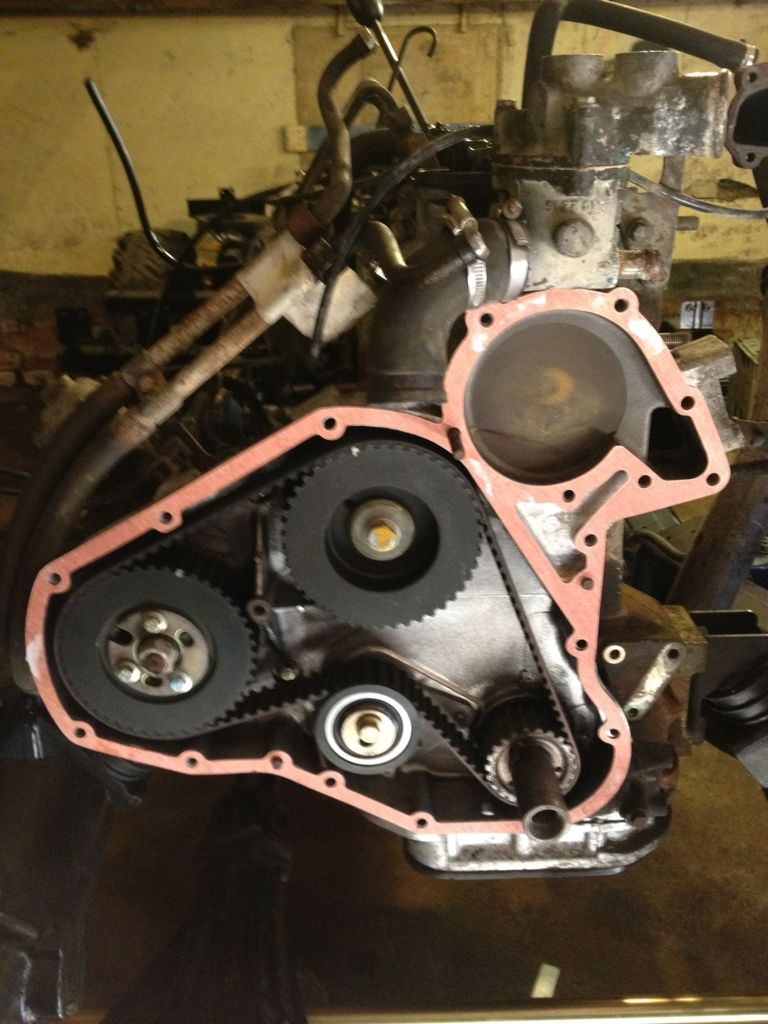
And the timing case back on with a new water pump.
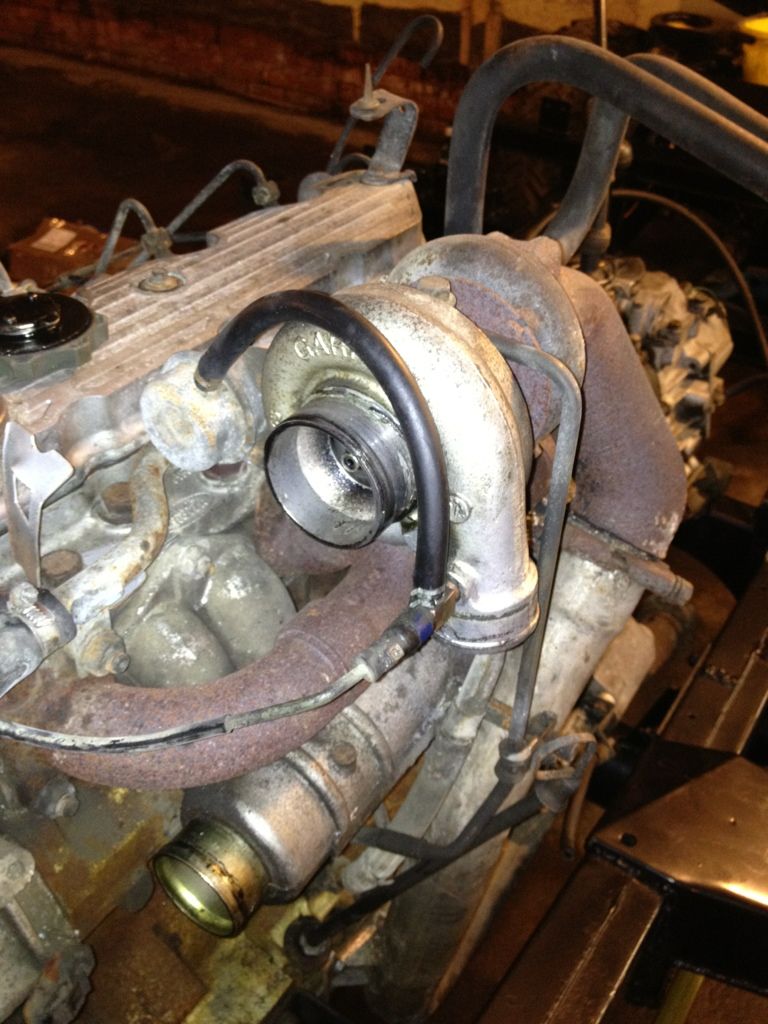
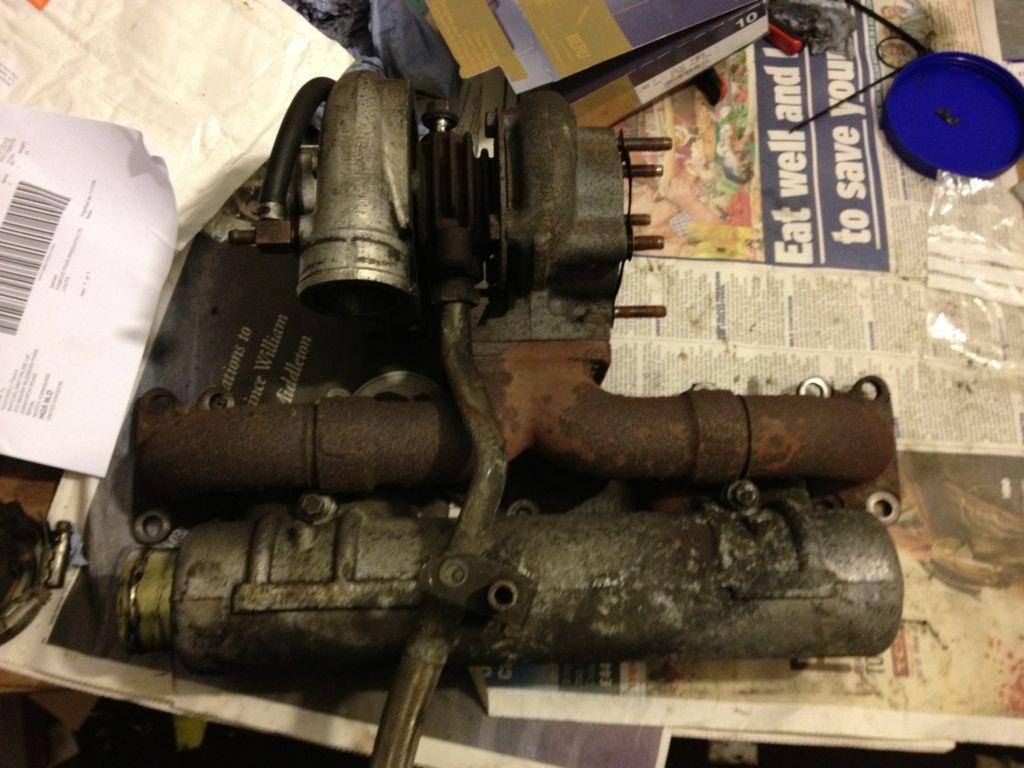
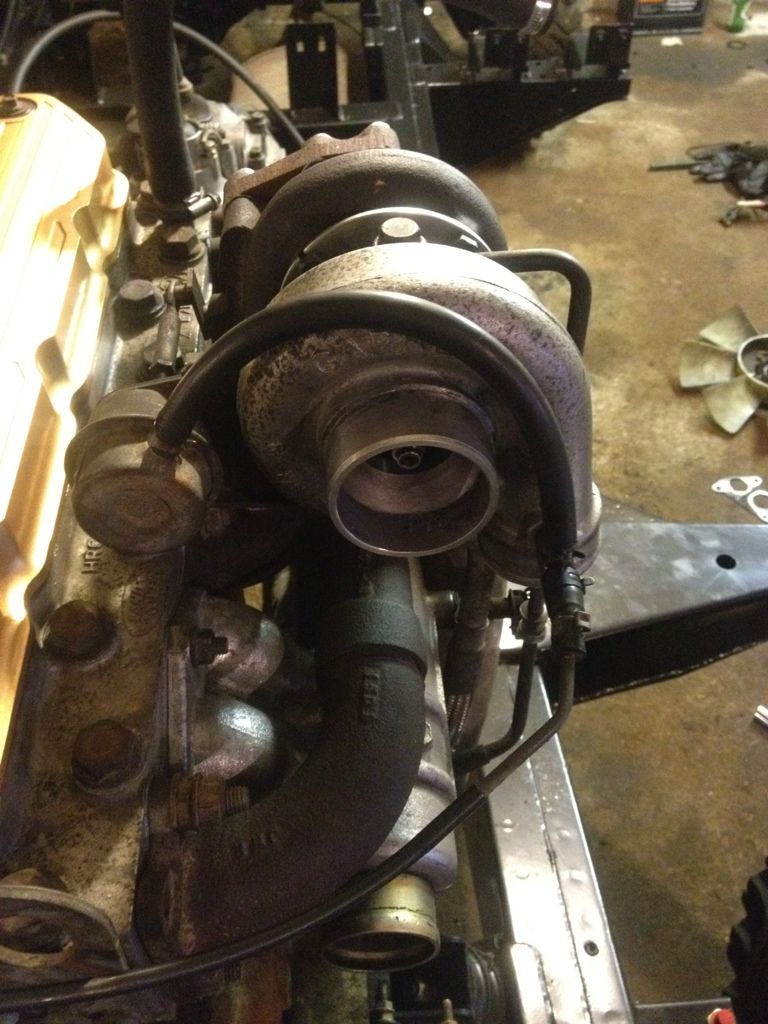
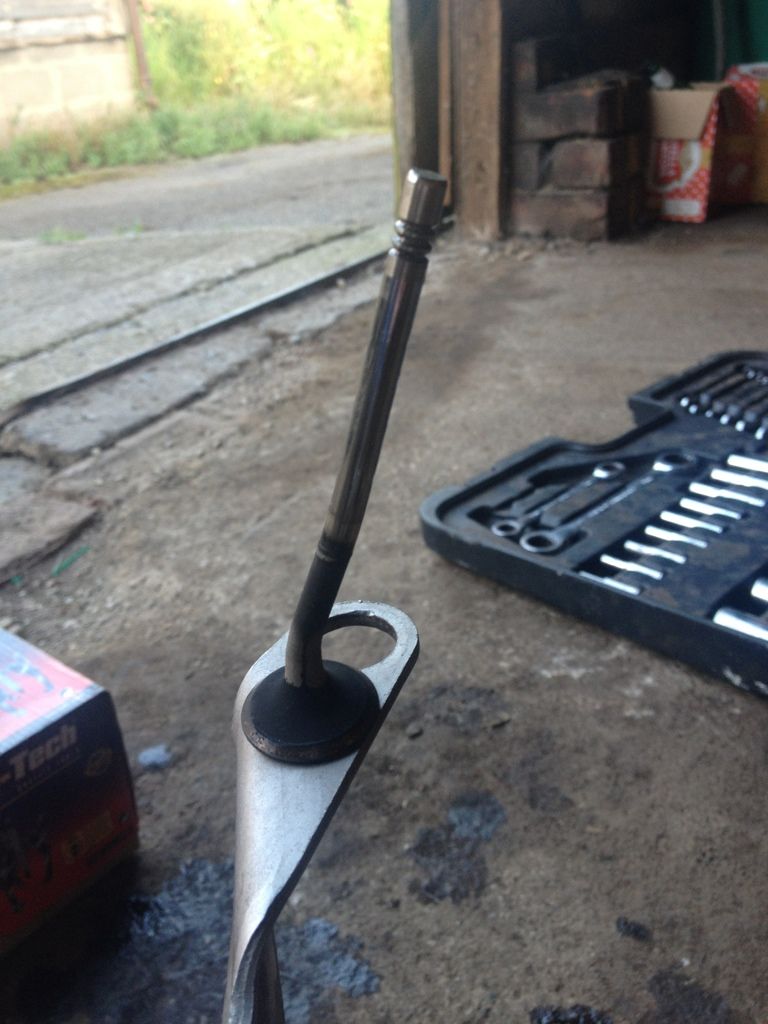
The next job on the long list of inevitable work on the defender was to check the turbo over.... Didnt take much to realise there was too much play in the impeller shaft meaning a re-build was in order. On my previous 200tdi i had to do the same job so I wasnt too daunted by it.. It would have gone smoothly if it wasnt for a snapped stud on the exhaust manifold which took too much time to drill out..
Anyway it went from this...
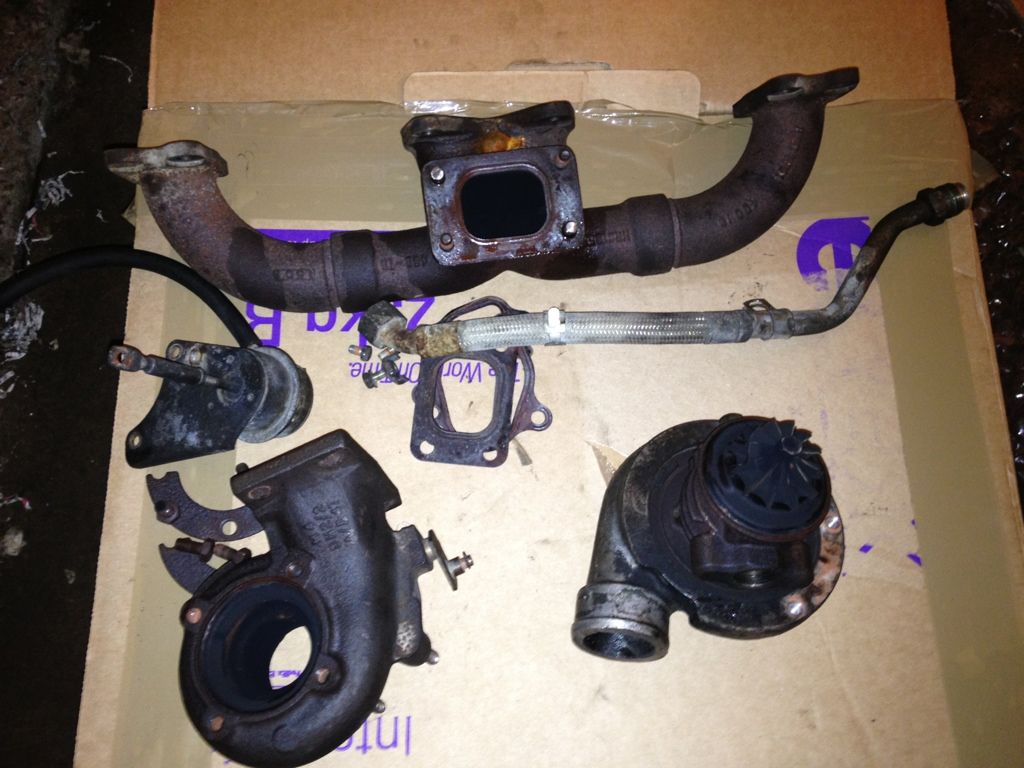
To this...
To this...
To this...
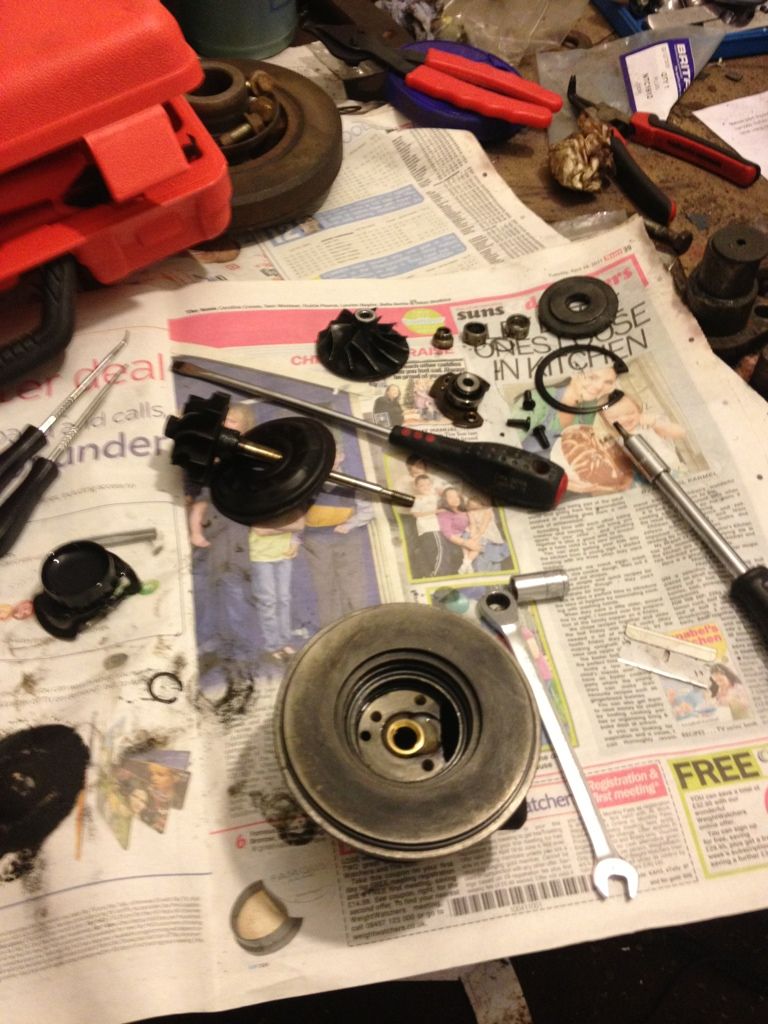
And with the addition of some new bearings, seals and circlips (And balancing) it went back to this...
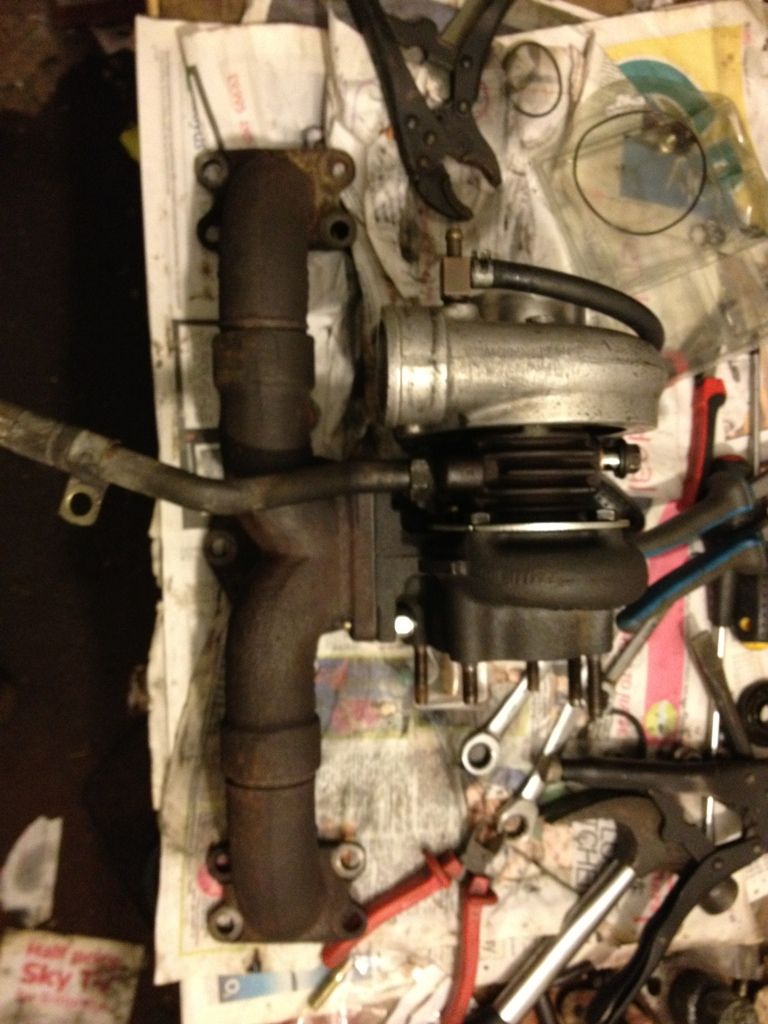
Next job was to put the exhaust back on...
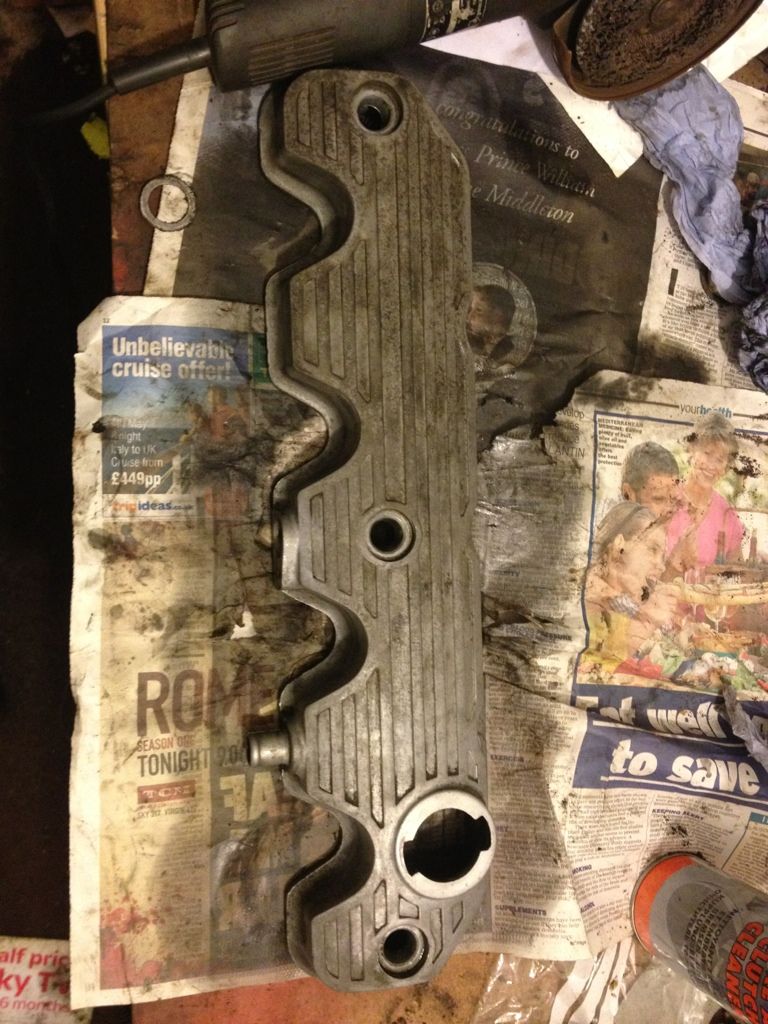
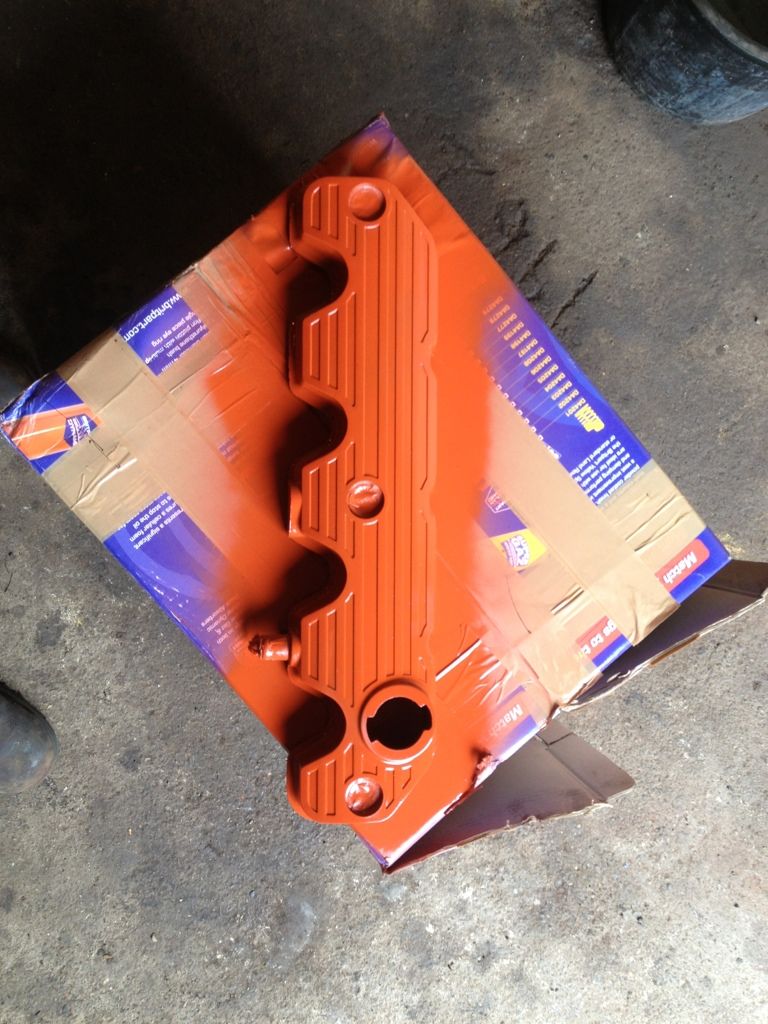
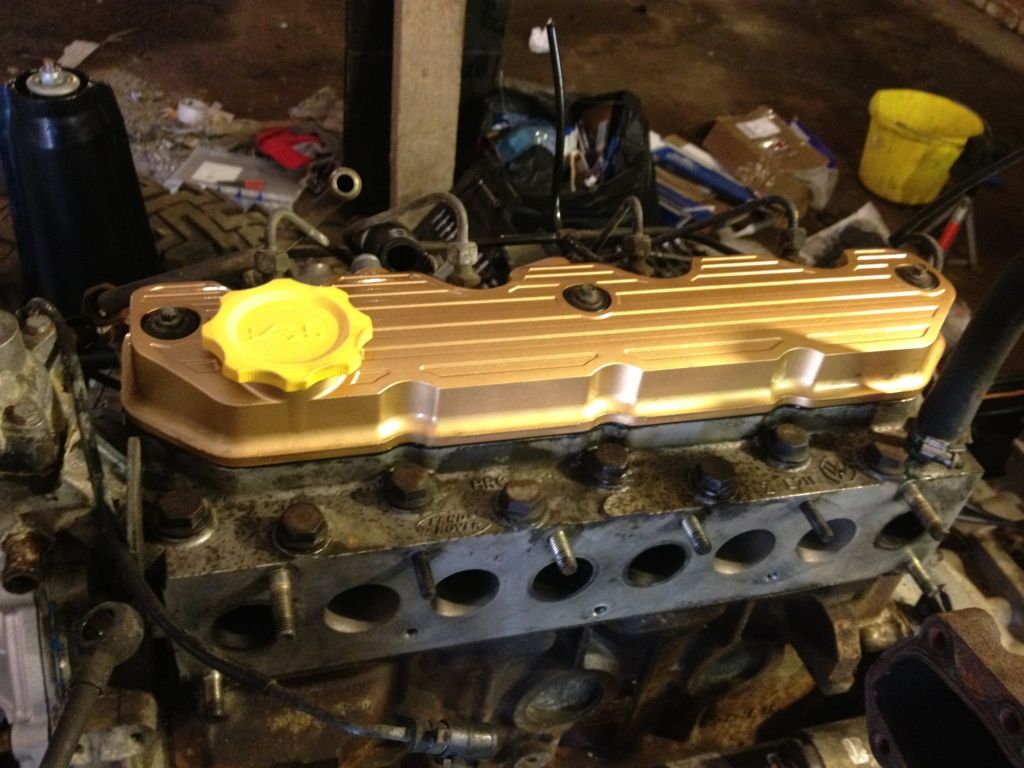
Now to bring everyone up to date the latest job was to give me rocker cover a lick of paint and a fresh seal and filler cap...
Now as I say you are now in real time so updates might be a bit slower... I am expecting all the body panels back from the bodyshop at the end of the month so things should start to appear to be making more progress soon!..
But now its time to get back to more important things.. Namely the defender!..
Next job after giving the engine and box a clean was to give the engine a service.. Oil, filter and glow plugs were changed.
The timing belt was changed too, this wasnt too difficult..
And the timing case back on with a new water pump.
The next job on the long list of inevitable work on the defender was to check the turbo over.... Didnt take much to realise there was too much play in the impeller shaft meaning a re-build was in order. On my previous 200tdi i had to do the same job so I wasnt too daunted by it.. It would have gone smoothly if it wasnt for a snapped stud on the exhaust manifold which took too much time to drill out..
Anyway it went from this...
To this...
To this...
To this...
And with the addition of some new bearings, seals and circlips (And balancing) it went back to this...
Next job was to put the exhaust back on...
Now to bring everyone up to date the latest job was to give me rocker cover a lick of paint and a fresh seal and filler cap...
Now as I say you are now in real time so updates might be a bit slower... I am expecting all the body panels back from the bodyshop at the end of the month so things should start to appear to be making more progress soon!..

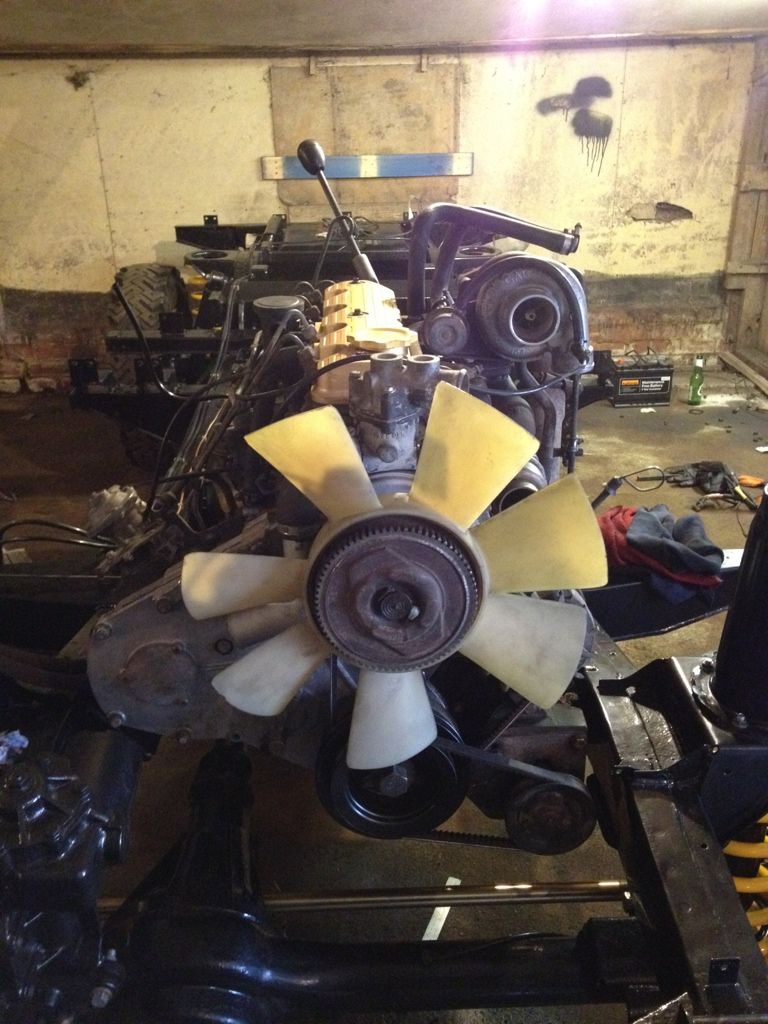
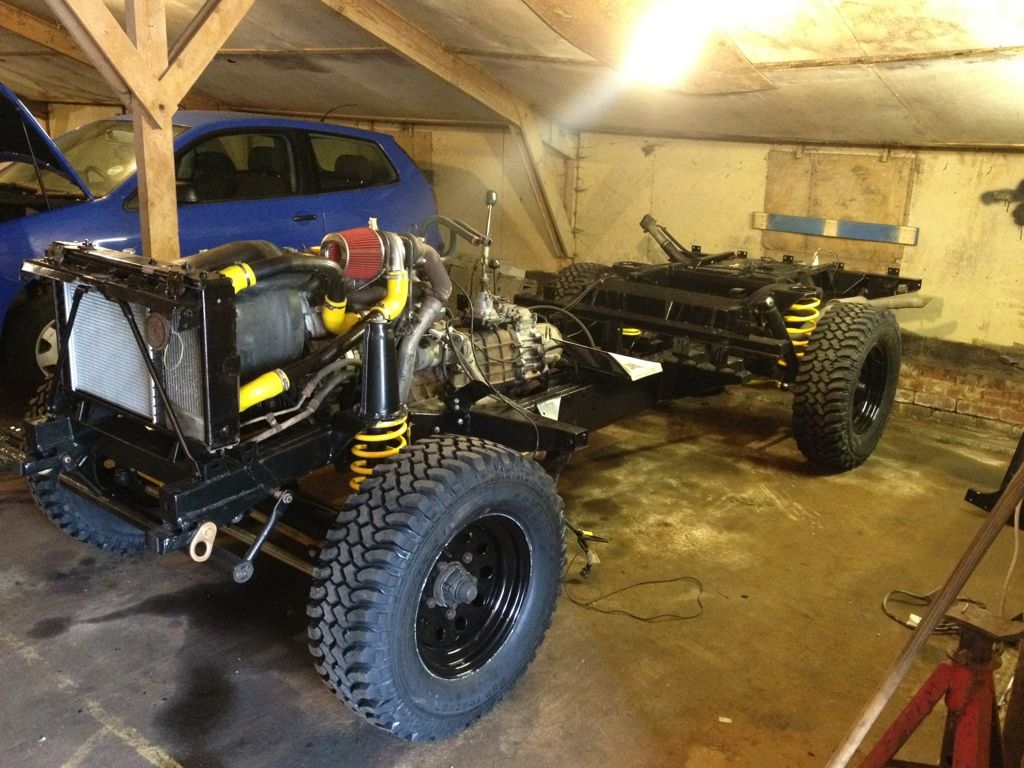
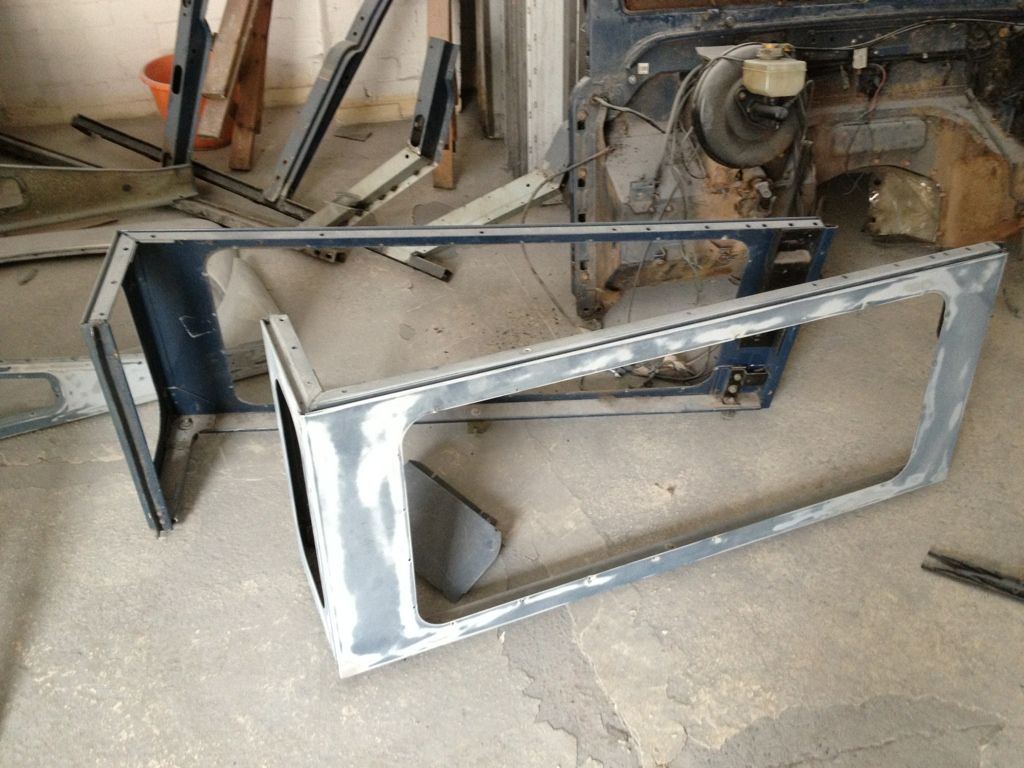
Ok well the Defender is now 100% ready to start putting the body back on... I have done some final work as detailed below...
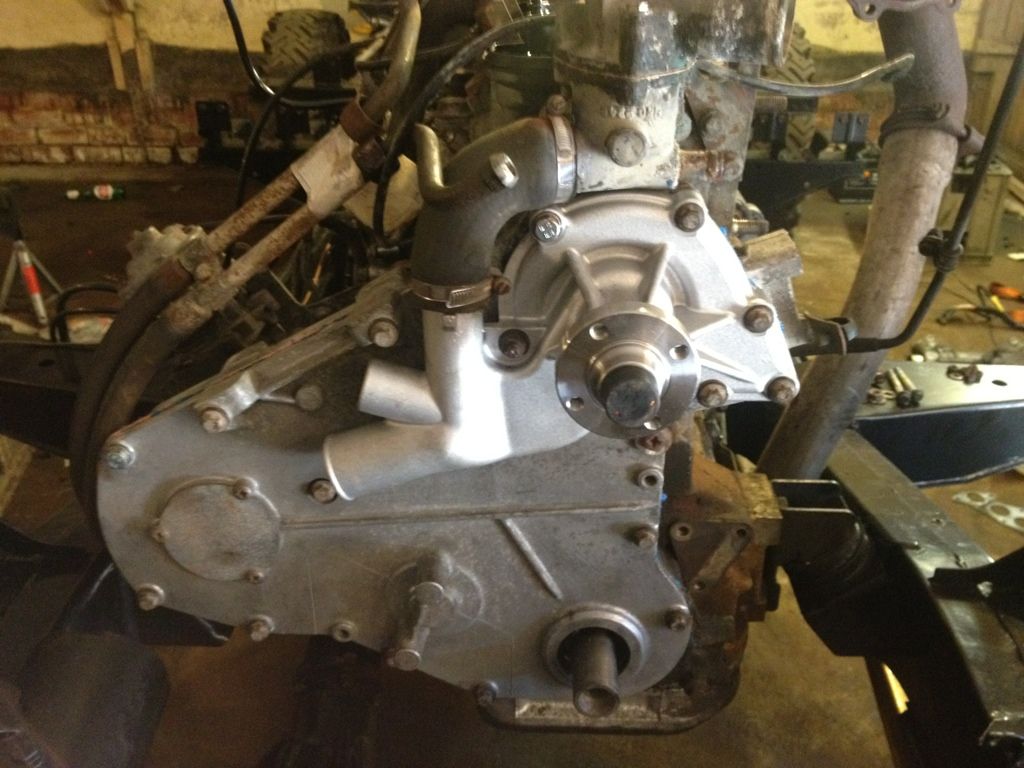
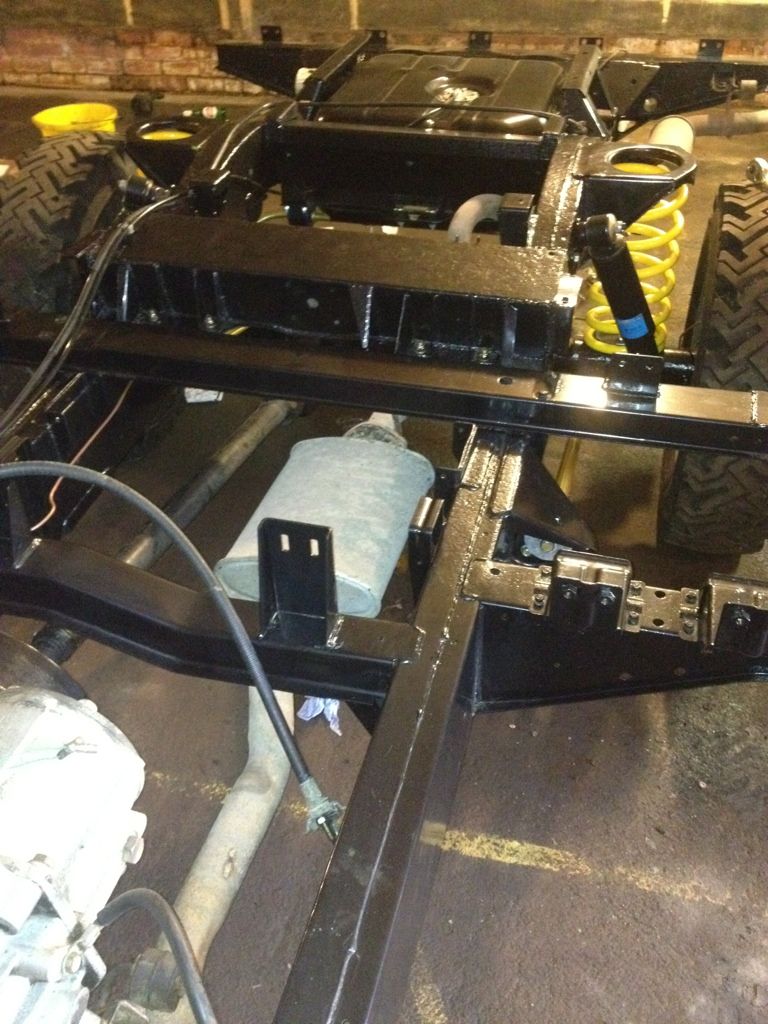
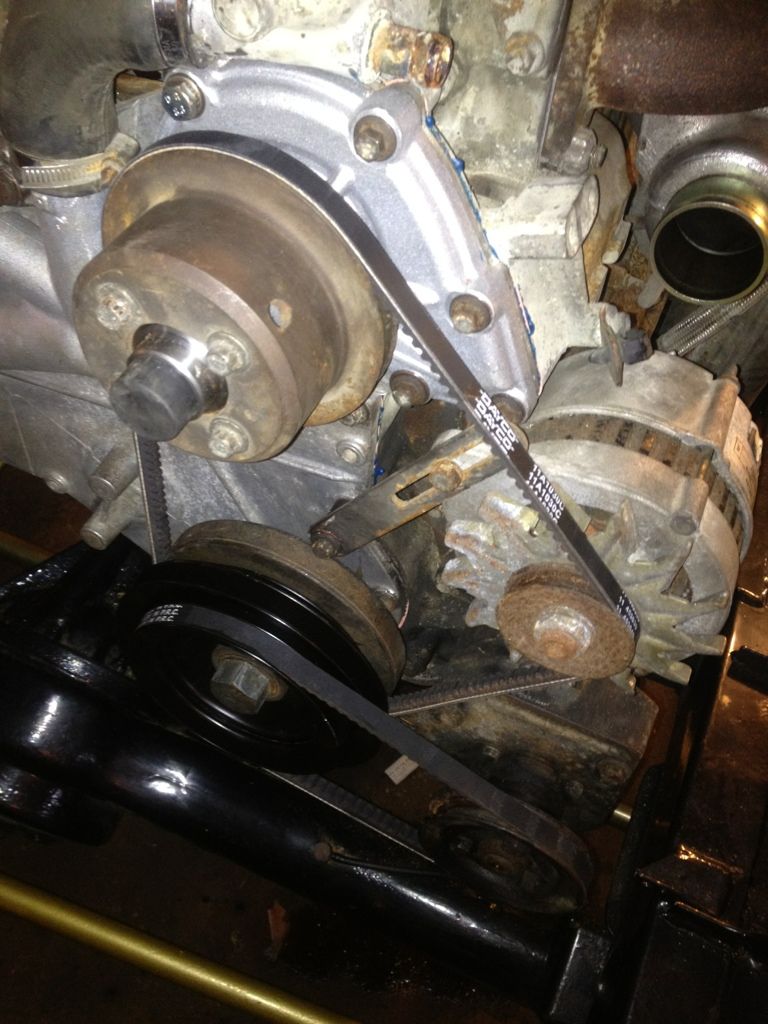
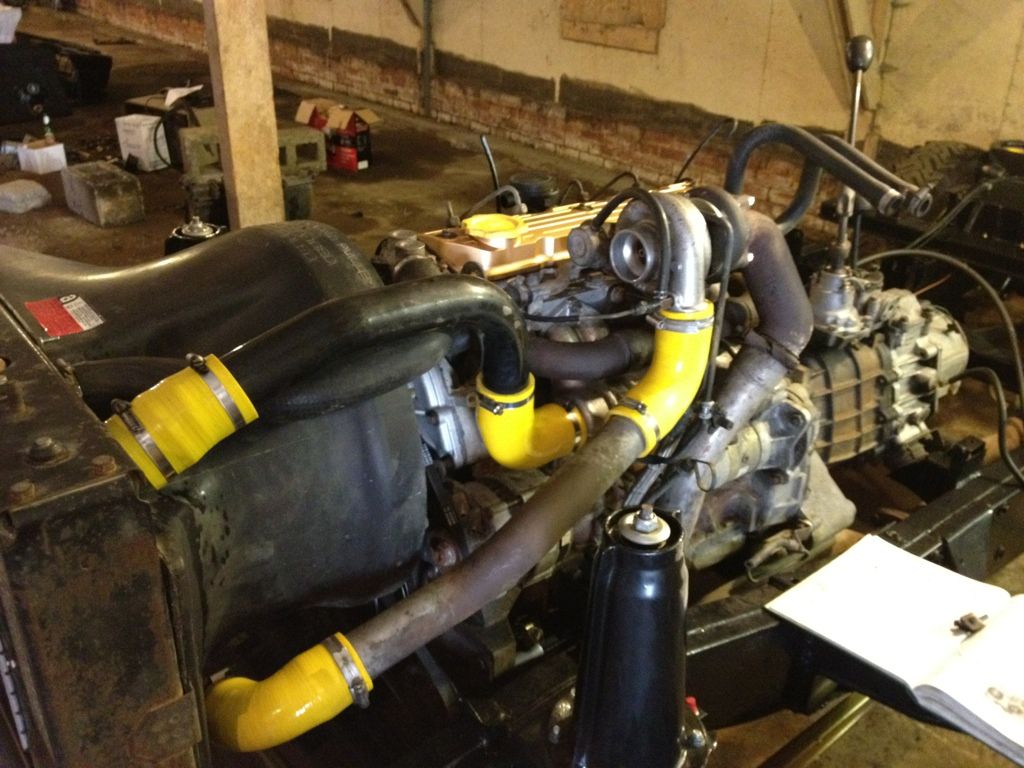
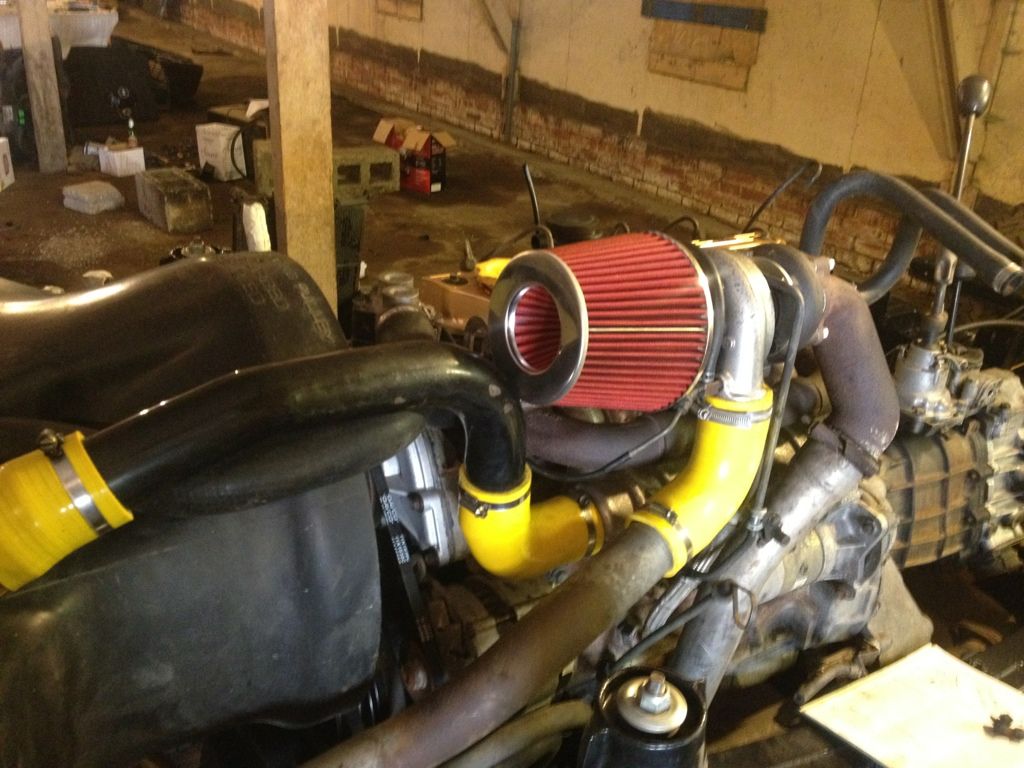
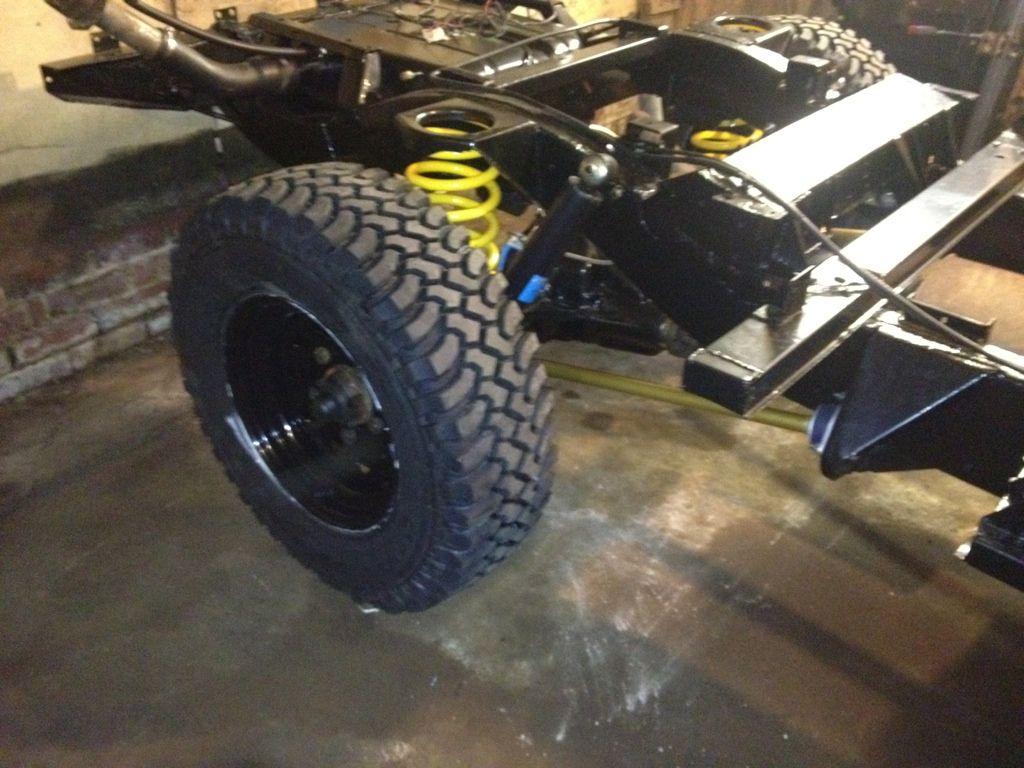
Once the rebuilt turbo and timing case cover were back on the next job was to put the Alternator, power steering pump and drive belts back on..
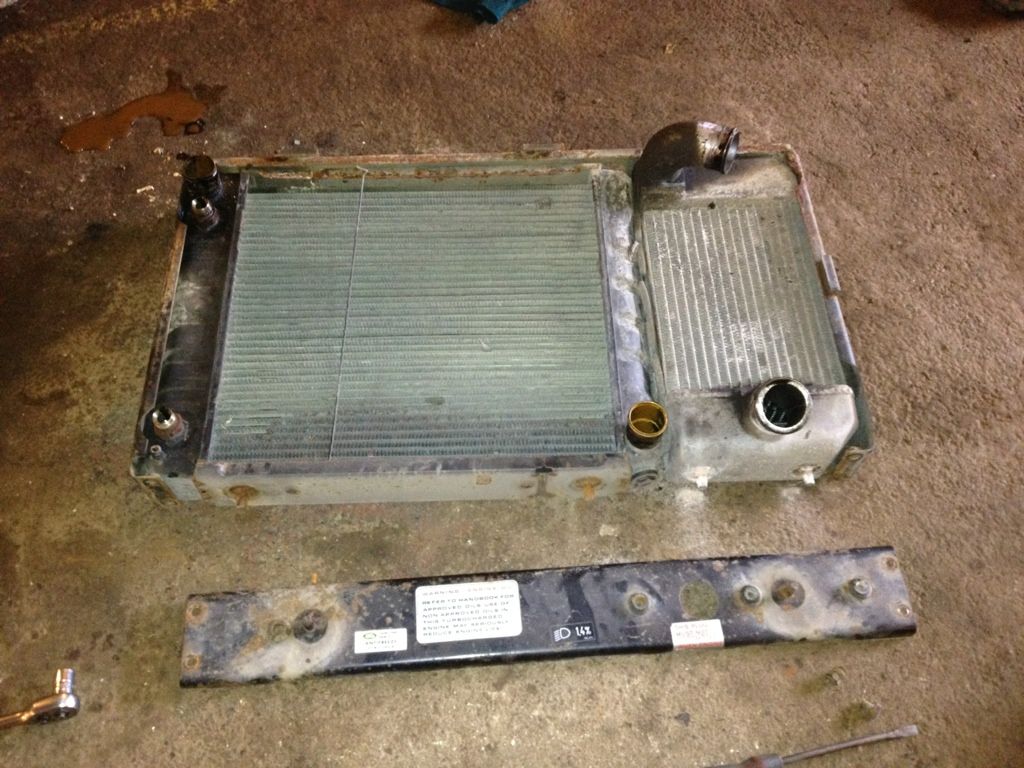
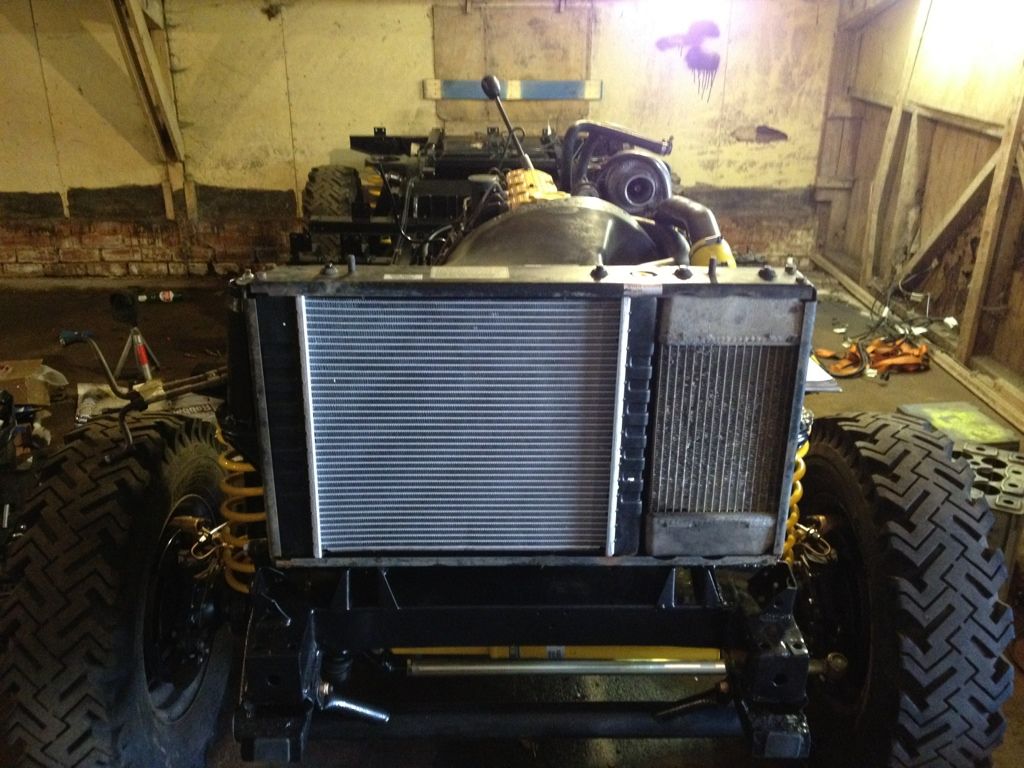
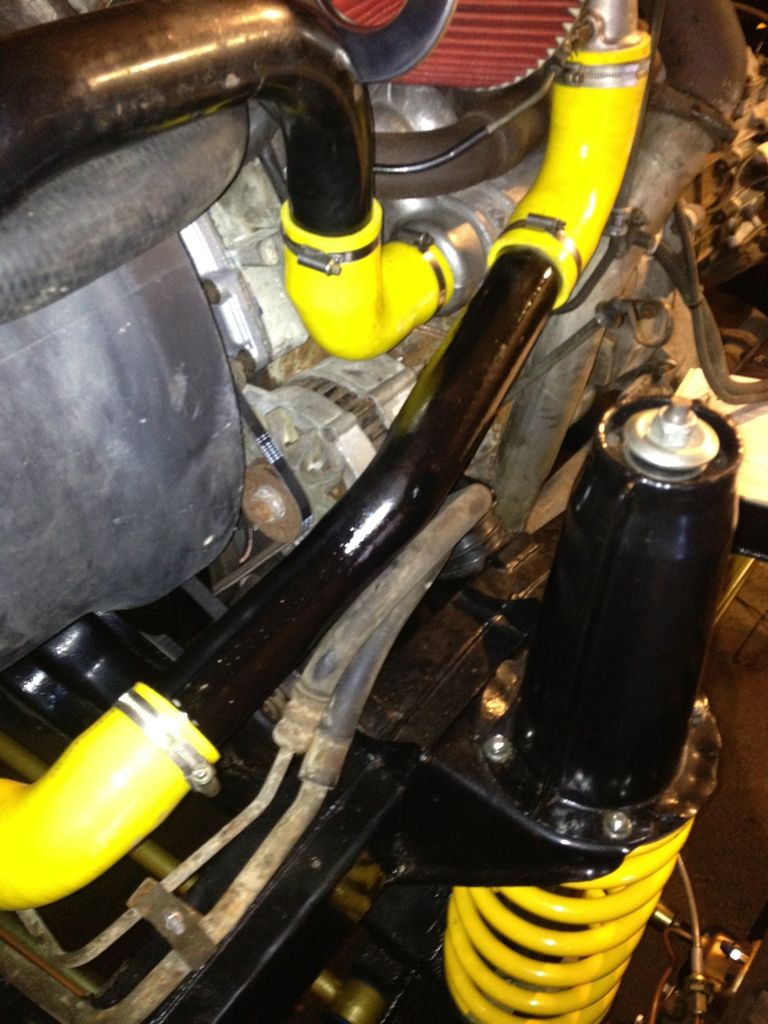
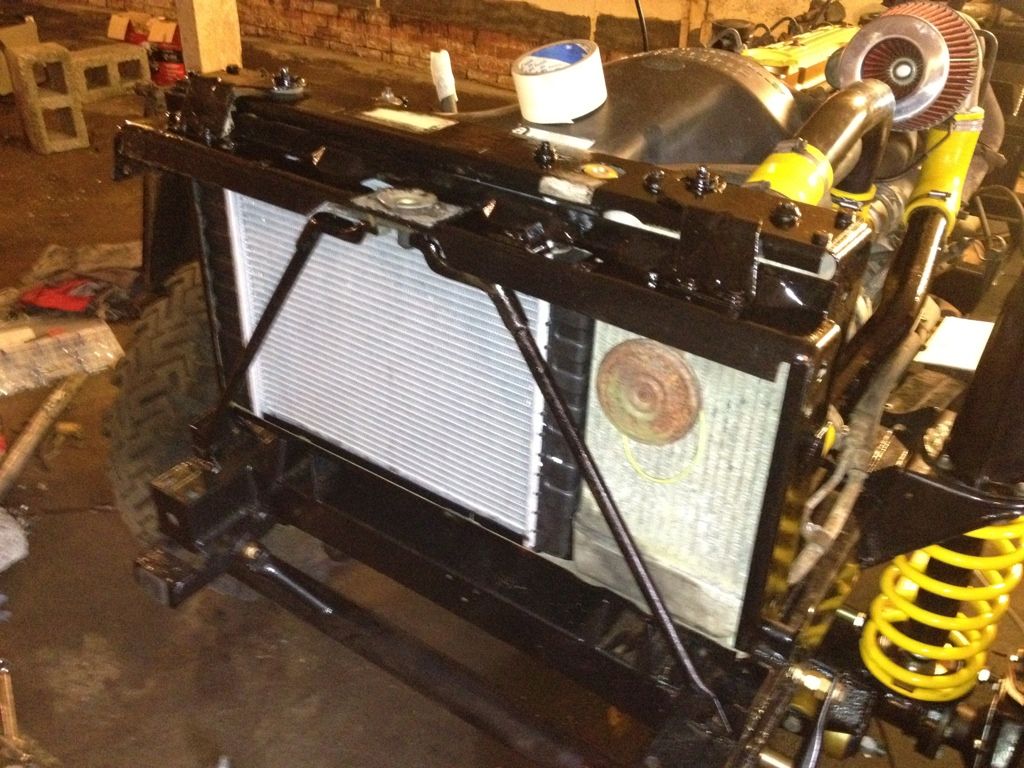
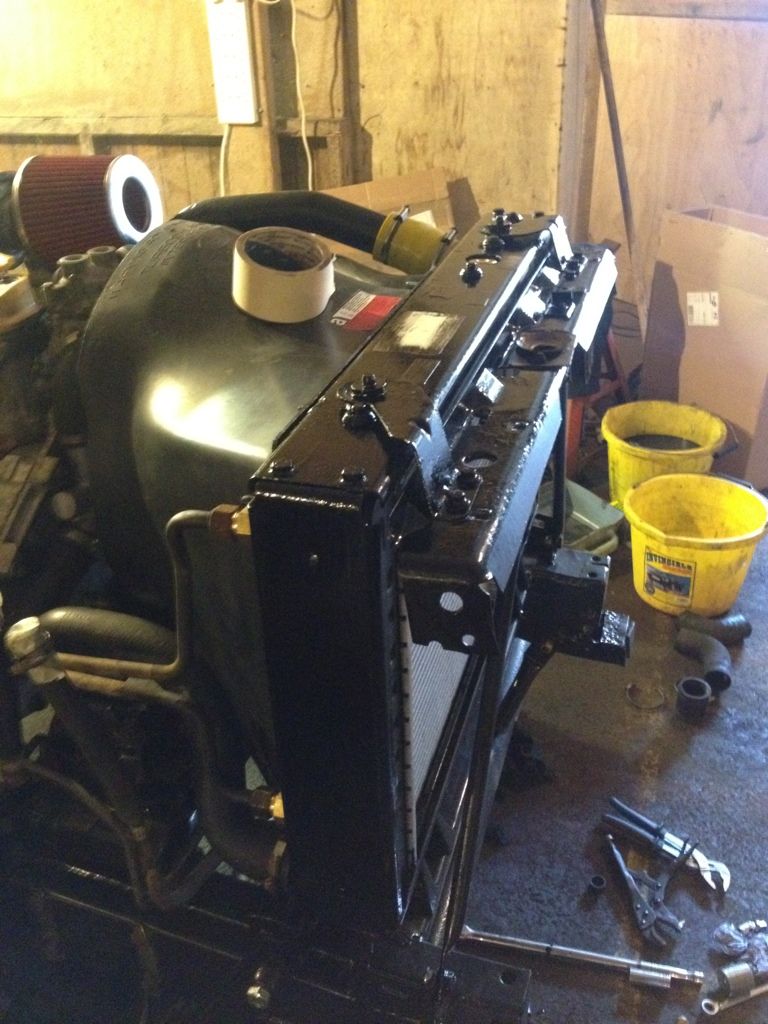
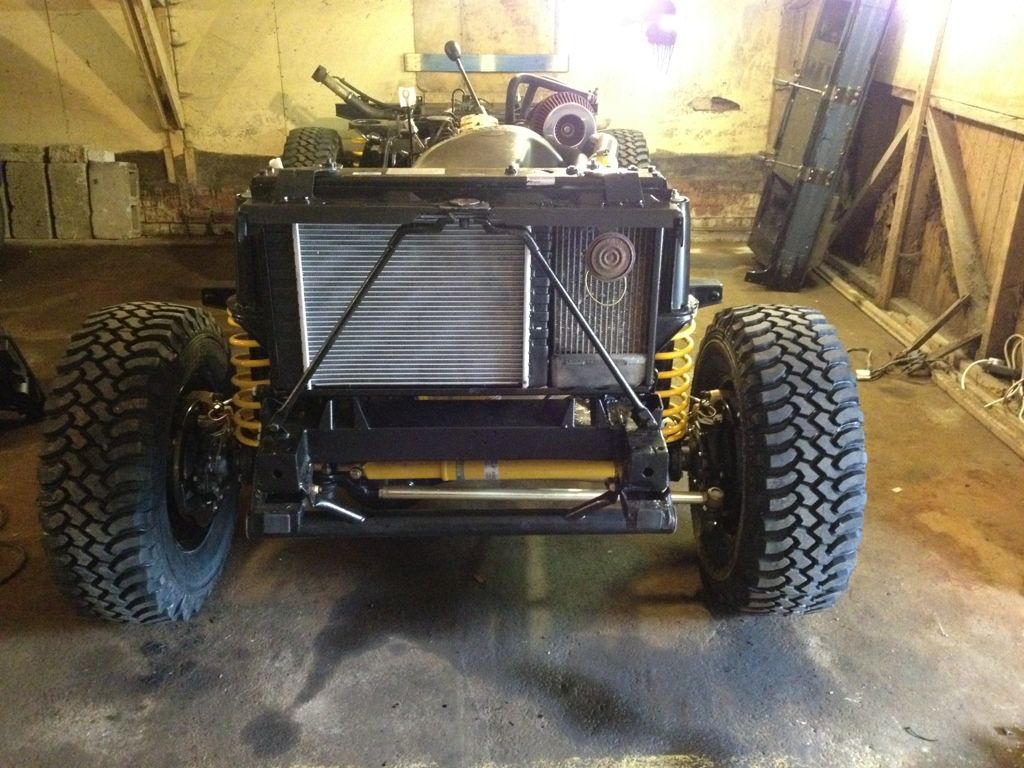
The next job was to replace the shot radiatior, flush any oil out of the intercooler and re fit the units with fresh silicone hoses..
Old...
Back in place...
Plumbed in...
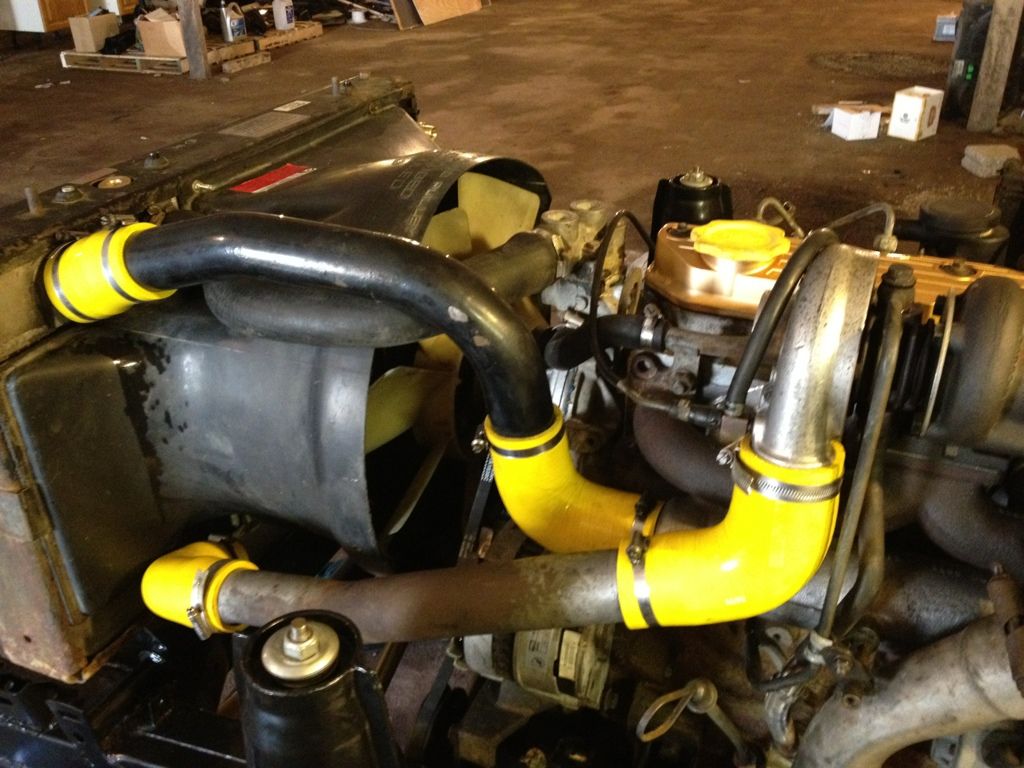
With Oil cooler lines plumbed back in..
Air filter on... (Needs adjustment as currently sat a bit crooked!)
Power steering pipes back in place..
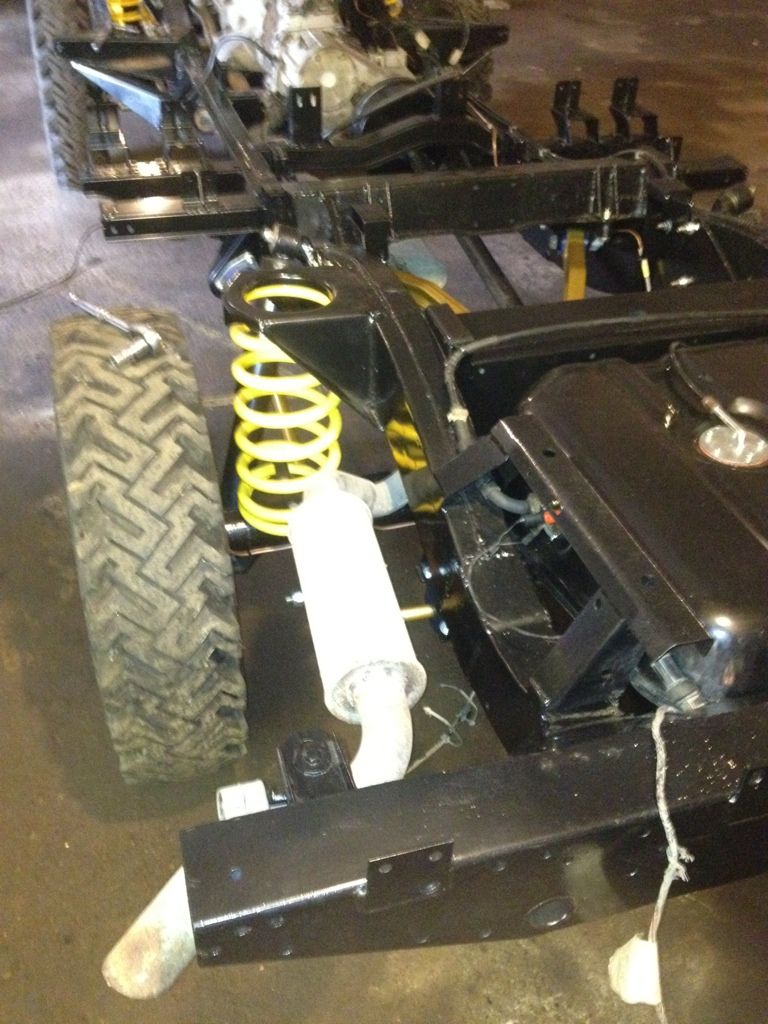
Radiator and intercooler support bracket after a lick of paint!..
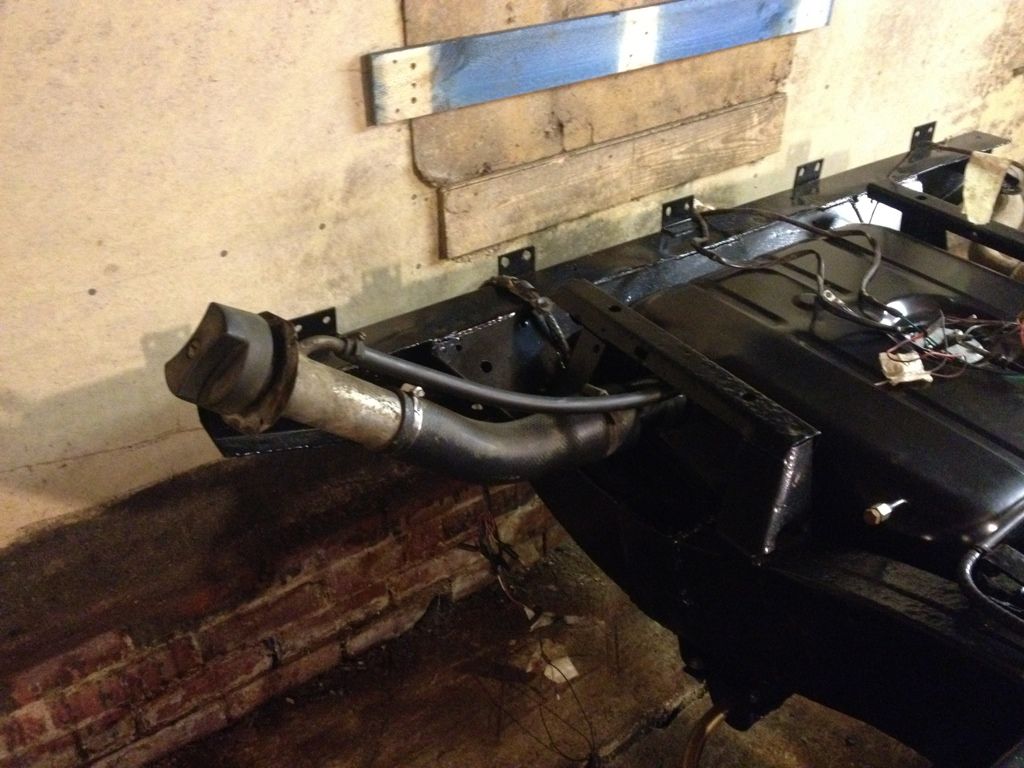
Fuel filler neck in place...
There has been a couple of other odd jobs to do but thats about it now!.. I am waiting for my painted body to come back and then I can start to put things back together! Once the body is back things should start to appear to be making some progress and it might actually start to look like a defender again!..
Once the rebuilt turbo and timing case cover were back on the next job was to put the Alternator, power steering pump and drive belts back on..
The next job was to replace the shot radiatior, flush any oil out of the intercooler and re fit the units with fresh silicone hoses..
Old...
Back in place...
Plumbed in...
With Oil cooler lines plumbed back in..
Air filter on... (Needs adjustment as currently sat a bit crooked!)
Power steering pipes back in place..
Radiator and intercooler support bracket after a lick of paint!..
Fuel filler neck in place...
There has been a couple of other odd jobs to do but thats about it now!.. I am waiting for my painted body to come back and then I can start to put things back together! Once the body is back things should start to appear to be making some progress and it might actually start to look like a defender again!..
Caulkhead said:
Looks great - did you consider fitting a Zeus timing gear conversion instead of the belt? I hate timing belts! 
In all honesty I hadn't even heard of it! Since your comment I googled it and can see how it might be benefitial and it looks an interesting set up!.. Maybe for the next one!FlashBastd said:
Excellent progress, I just wondered why you chose a cone filter; will it cope with wading like an airbox arrangement?
Well I used a cone filter direct to the turbo on my last defender project and chose to do the same on this one as I quite like the neatness... It keeps the engine bay clear of an air box and the associated pipe work. Another reason I didn't keep the air box with snorkel setup is that the plan with this defender was for more of an urban assault vehicle than a mud plugger!.. Ok, a bit of an update for everyone...
Not too much progress really over the last couple of weeks as I am still waiting for the body to come back from the painters...
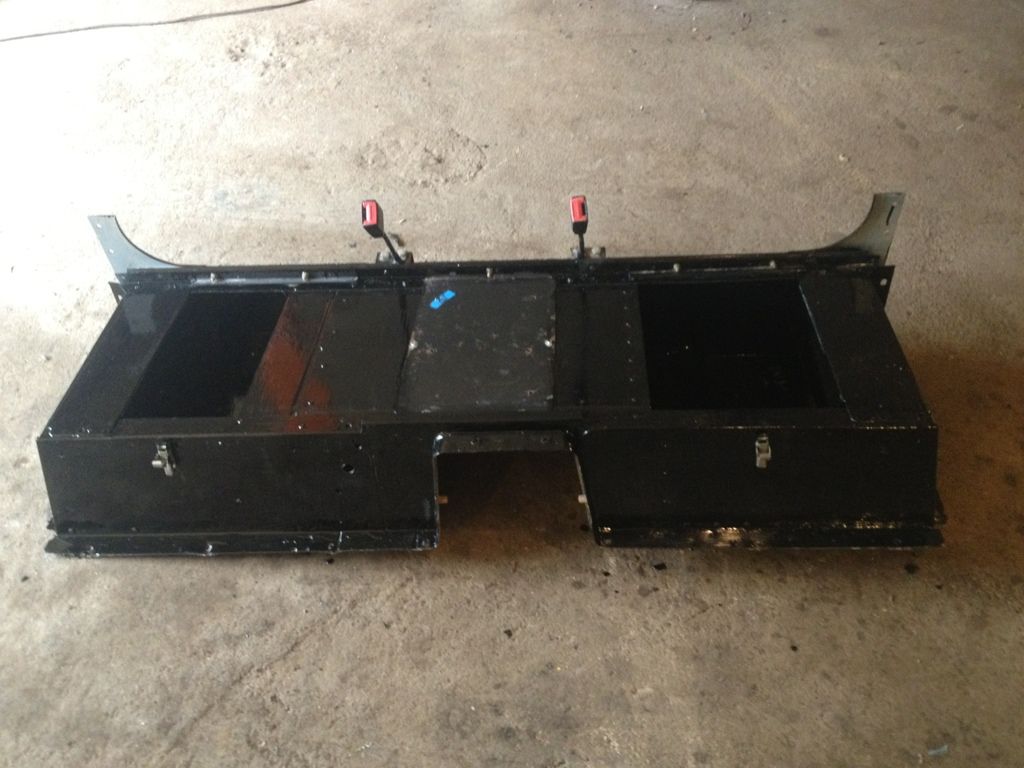
Not having any big jobs to get stuck into has meant I have been able to get some small jobs out of the way. The first of these was to give the seat box a lick of paint. Most of the seat box is covered in carpet so I wasn't fussed to have it body colour however I didn't want bits of blue visible so It got a lick of black paint!..
The next job was to put some fresh oil in the differentials and gearbox (trying to keep best practice with new seals etc)...
I decided to renew all the carpets in the defender. On my last one I found some good automotive carpet so I bought another roll and set about replicating the factory carpet sections.
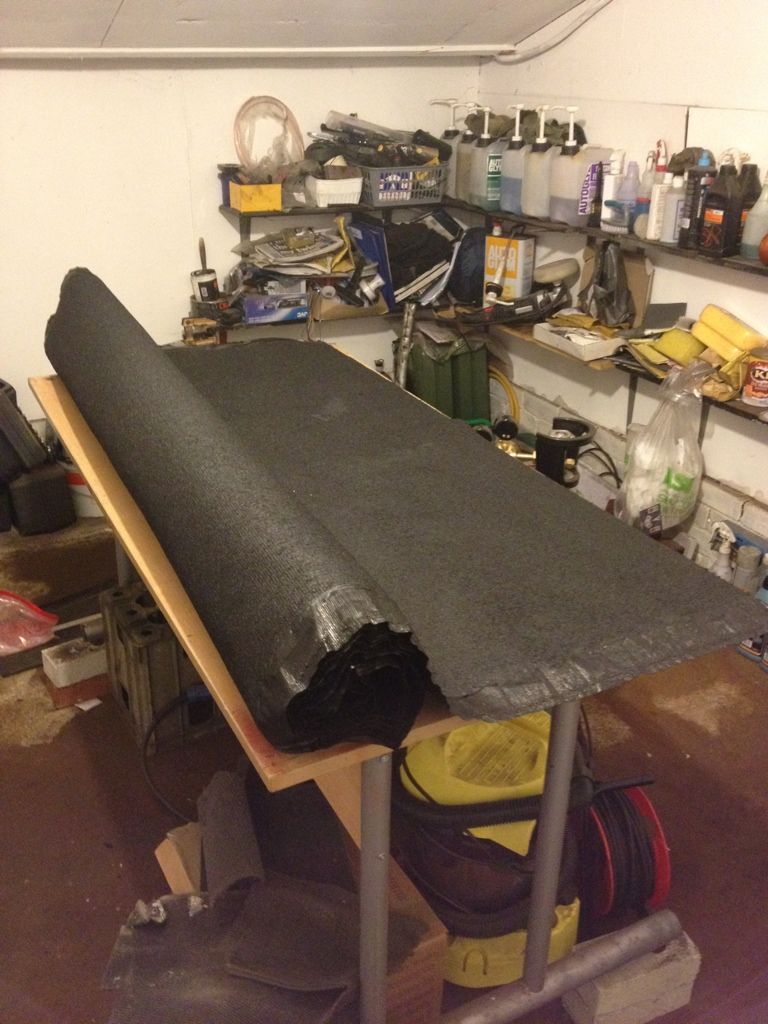
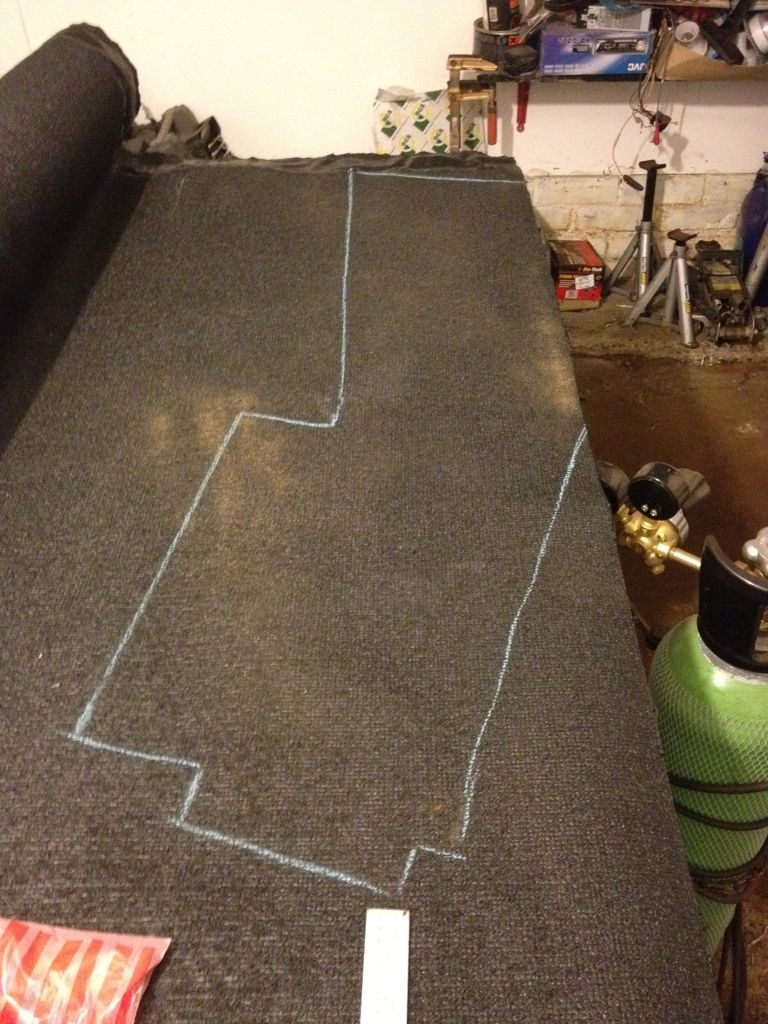
I have taken the fresh carpet panels to a lady who re-upholsters chairs and she is going to sew some edging strips on for me..
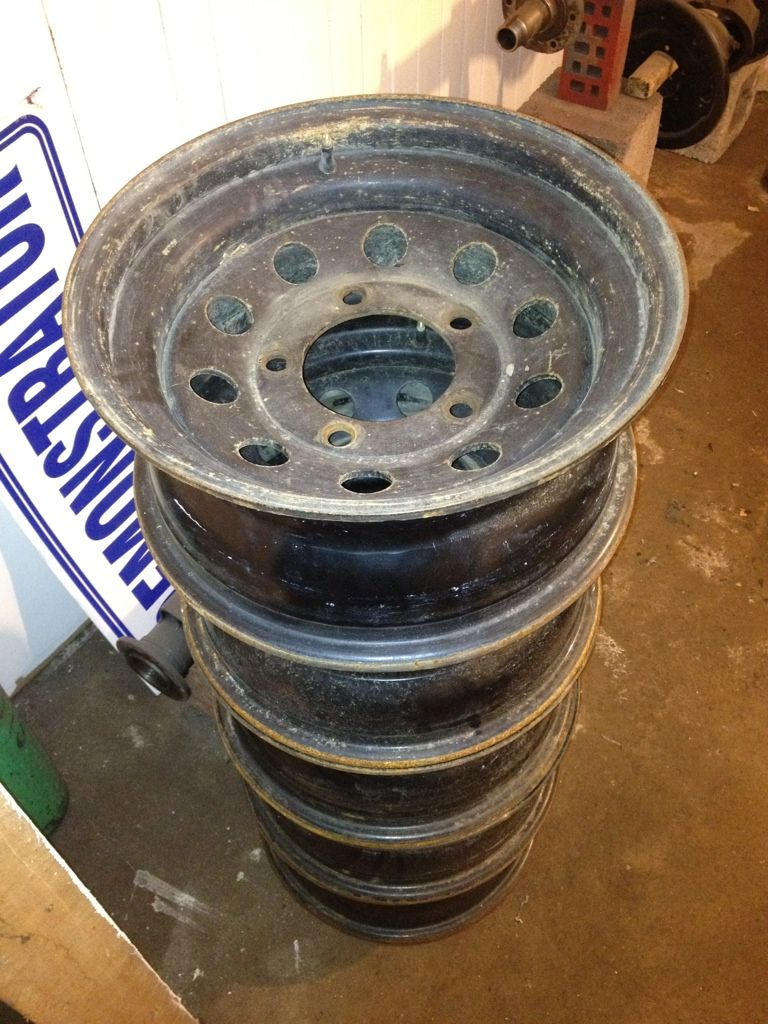
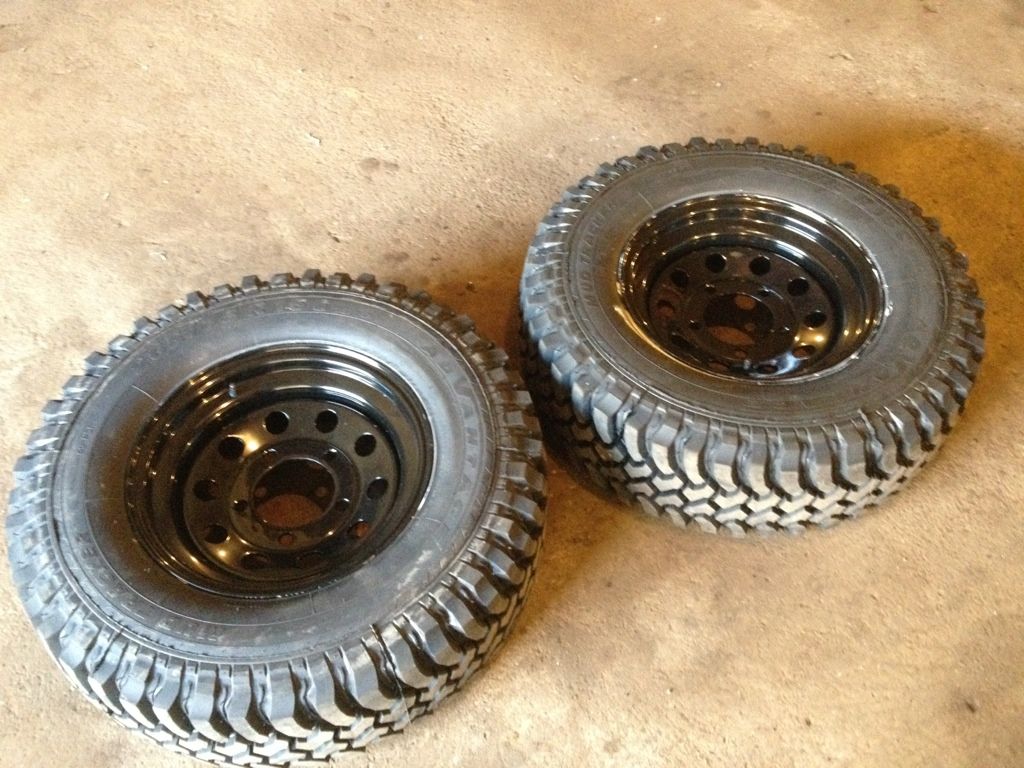
Next job on the list was to get the rusty modular steel wheels I bought blasted and powder coated.. They went from this...
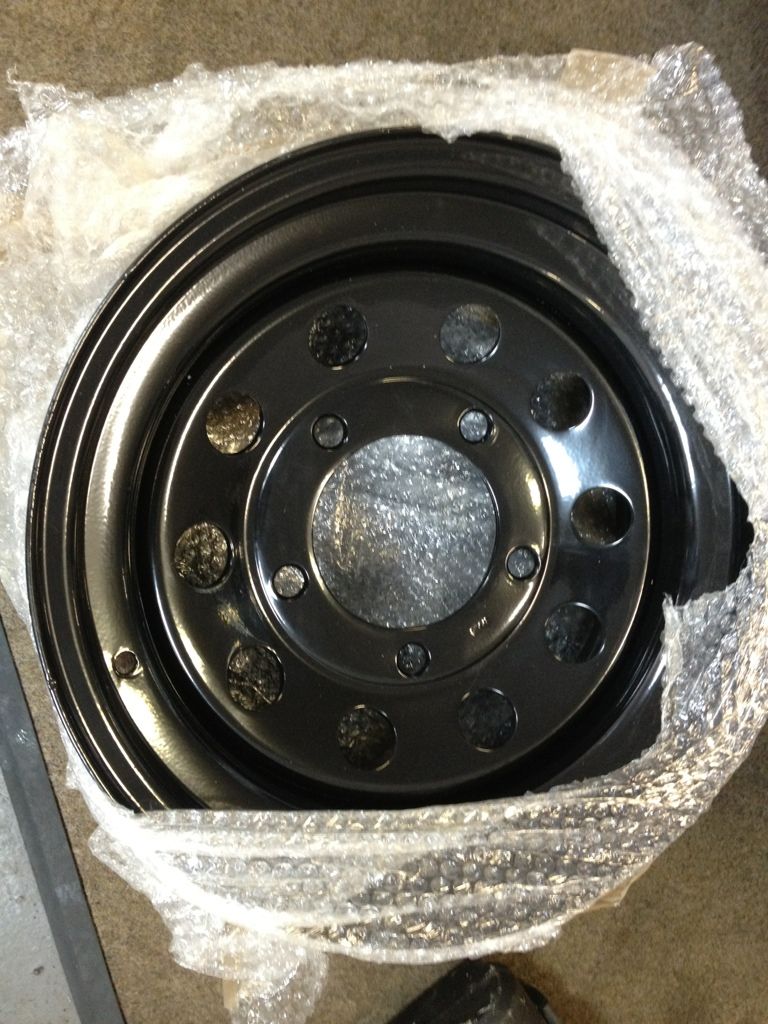
£100 later (which seemed a very good price to me) we have 5 of these in Satin Black...
Now an inevitable expense which I had been putting off was 5 new tyres to go on the newly powder coated rims. I went for the same tyres as I used on the last Defender which were 265/75/16's. These give the vehicle a nice stance with a relatively attractive tread pattern.
Now as I say I've been a bit slow on progress on the defender due to waiting for the body however this has given me an opportunity to try and help a friend with a 1.2 polo that has suffered from the common timing chain skipping resulting in this!...
So at least I've got something to keep me entertained whilst Im waiting for my freshly painted body!.. (It does not keep me entertained!.. It is a chore and I would rather be in the pub!)
Hopefully the next update will include some nice new Stornoway Grey panels!..
Not too much progress really over the last couple of weeks as I am still waiting for the body to come back from the painters...
Not having any big jobs to get stuck into has meant I have been able to get some small jobs out of the way. The first of these was to give the seat box a lick of paint. Most of the seat box is covered in carpet so I wasn't fussed to have it body colour however I didn't want bits of blue visible so It got a lick of black paint!..
The next job was to put some fresh oil in the differentials and gearbox (trying to keep best practice with new seals etc)...
I decided to renew all the carpets in the defender. On my last one I found some good automotive carpet so I bought another roll and set about replicating the factory carpet sections.
I have taken the fresh carpet panels to a lady who re-upholsters chairs and she is going to sew some edging strips on for me..
Next job on the list was to get the rusty modular steel wheels I bought blasted and powder coated.. They went from this...
£100 later (which seemed a very good price to me) we have 5 of these in Satin Black...
Now an inevitable expense which I had been putting off was 5 new tyres to go on the newly powder coated rims. I went for the same tyres as I used on the last Defender which were 265/75/16's. These give the vehicle a nice stance with a relatively attractive tread pattern.
Now as I say I've been a bit slow on progress on the defender due to waiting for the body however this has given me an opportunity to try and help a friend with a 1.2 polo that has suffered from the common timing chain skipping resulting in this!...
So at least I've got something to keep me entertained whilst Im waiting for my freshly painted body!.. (It does not keep me entertained!.. It is a chore and I would rather be in the pub!)
Hopefully the next update will include some nice new Stornoway Grey panels!..
No real updates to offer!.. I am still waiting for my painted panels to come back. A friend is doing the painting for me and his circumstances have changed since he took on the project meaning that he is struggling for time to get it finished. I am hoping Im not going to be waiting too much longer as the original plan was to have had the defender finished by now.
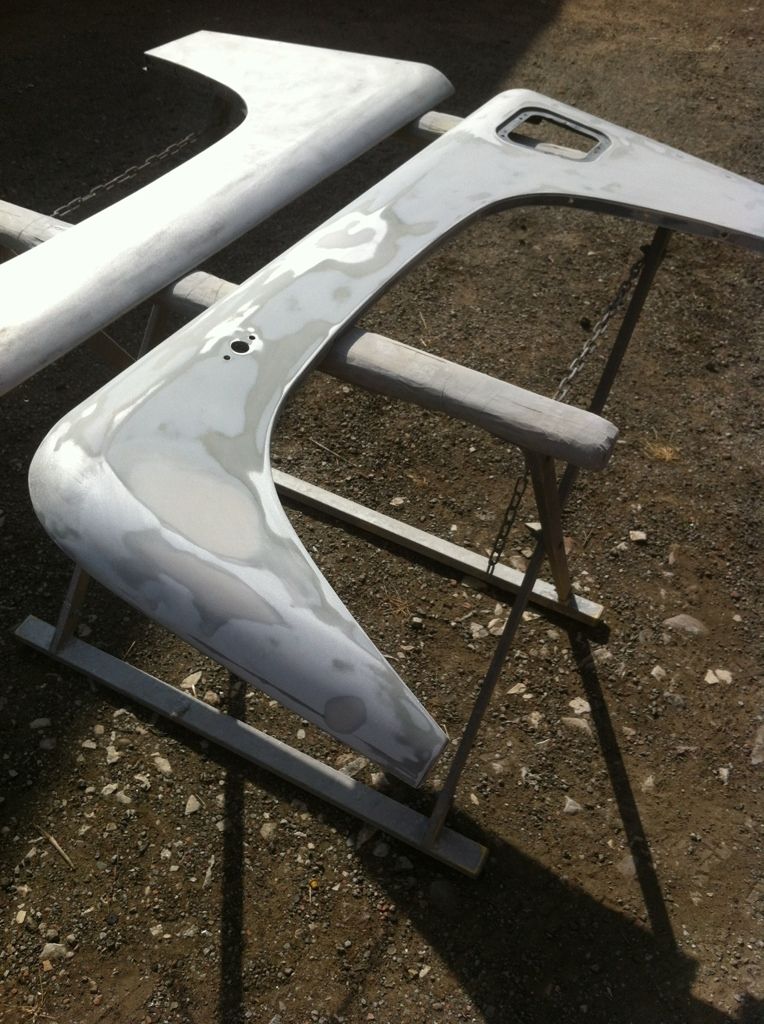
I have managed to get some photos of the paint prep in progress.. I believe that some of the panels have had their first coat of primer by now.
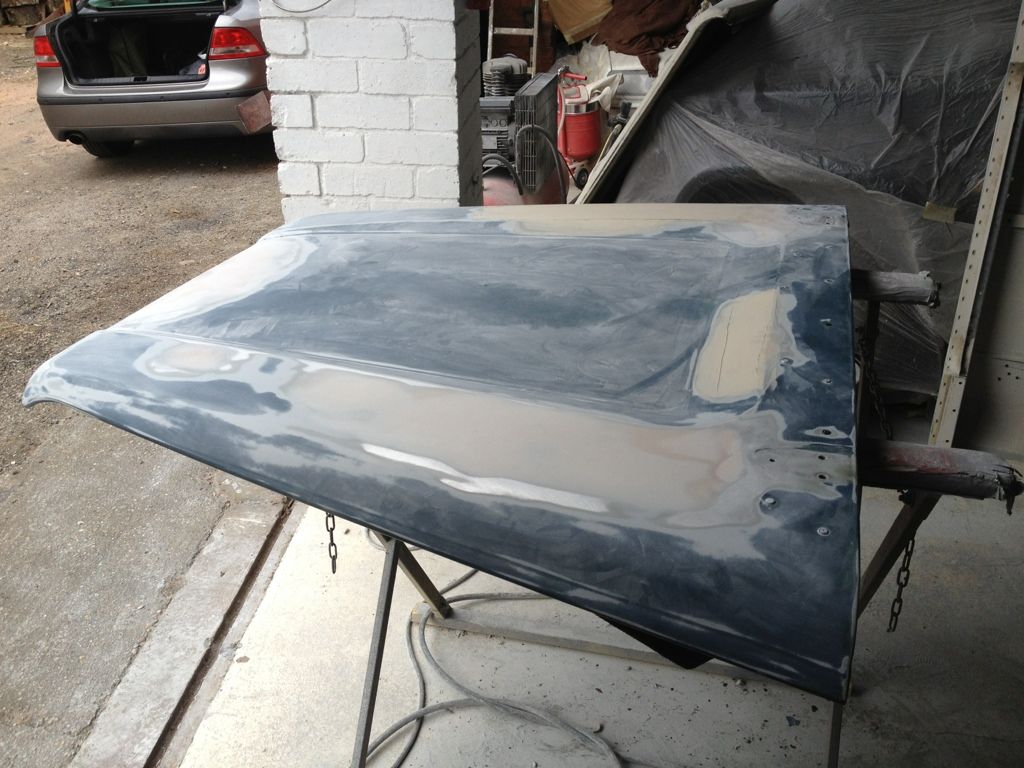
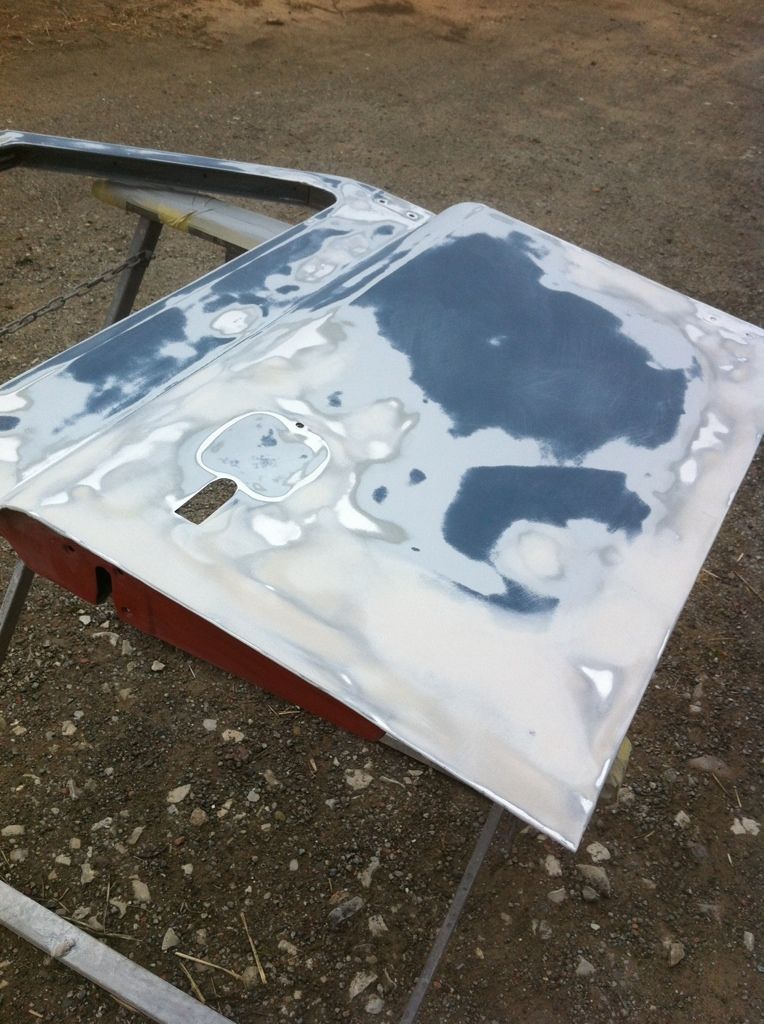
Hopefully for those interested there will be some colour soon...
I have managed to get some photos of the paint prep in progress.. I believe that some of the panels have had their first coat of primer by now.
Hopefully for those interested there will be some colour soon...

Well still no painted panels back so I have had to try and find some other small jobs to be getting on with...
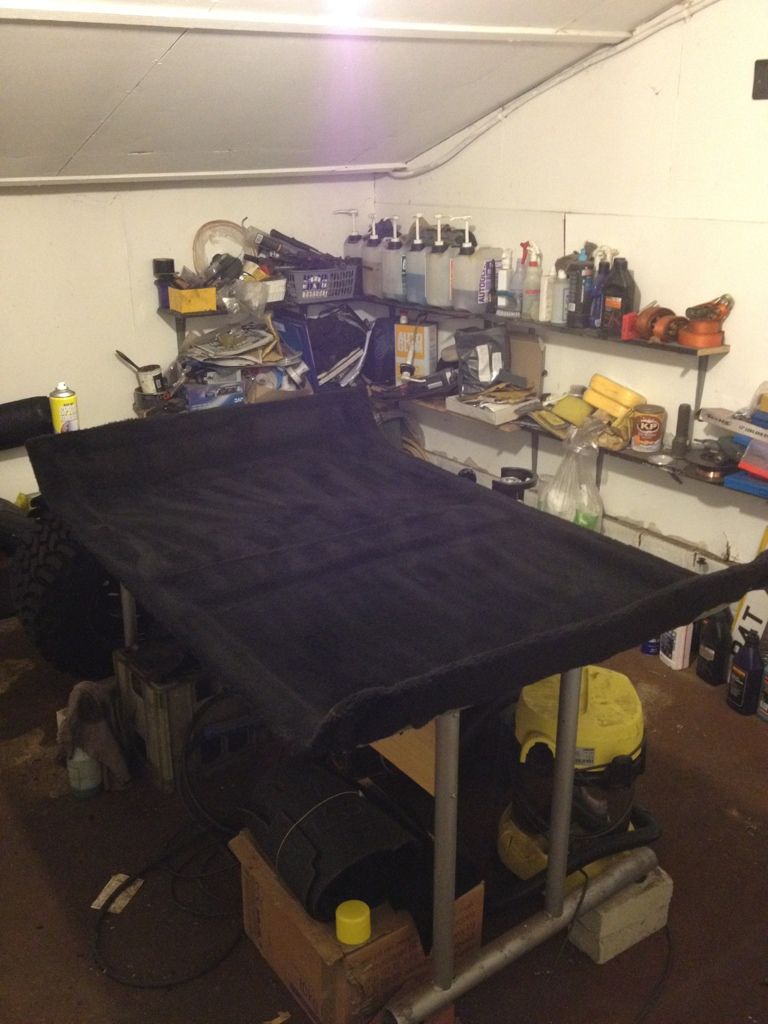
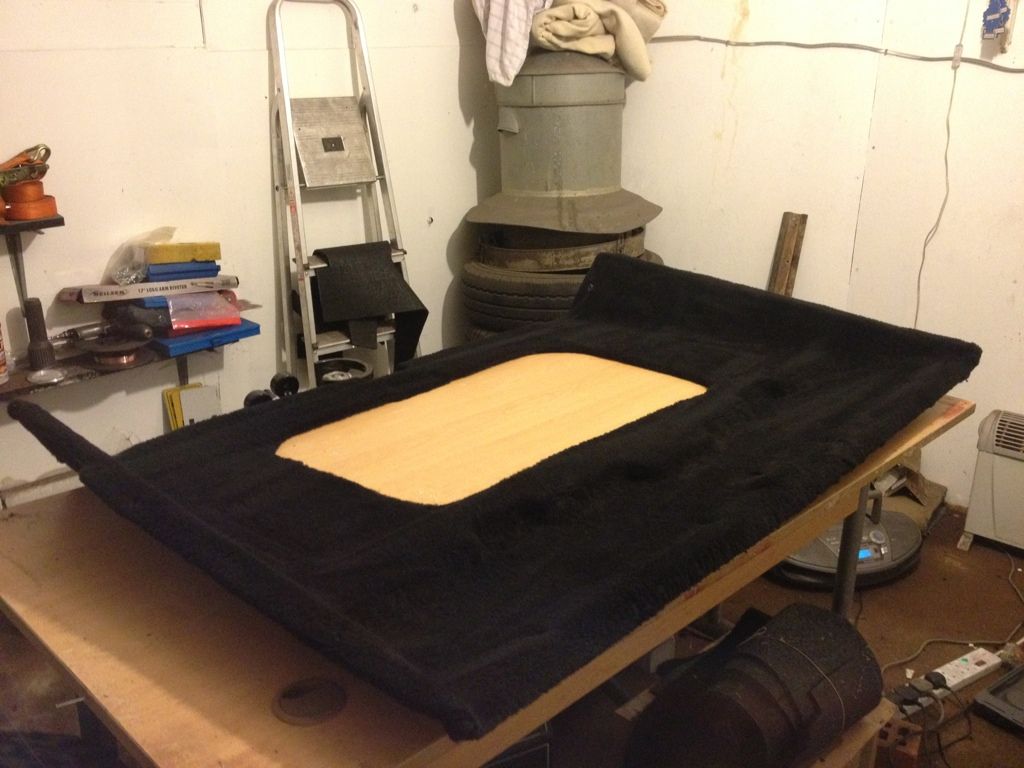
I decided to re-trim my headlining as it was looking in a very sorry state. I bought a roll of some fleece type material and some contact adhesive and away I went!..
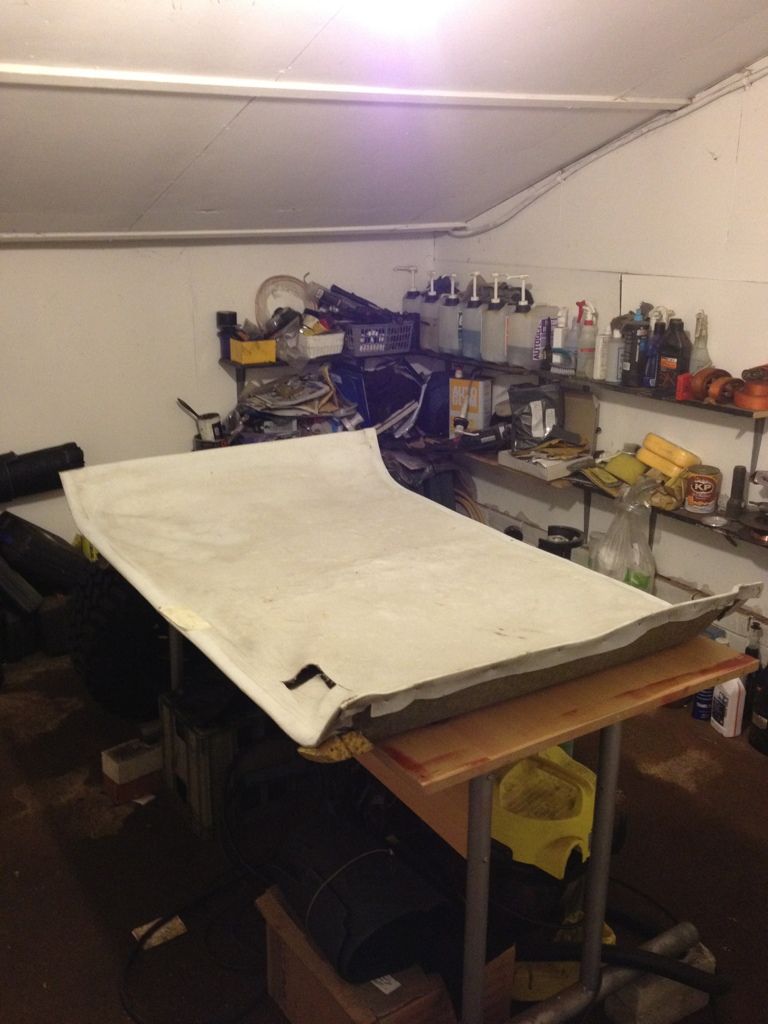
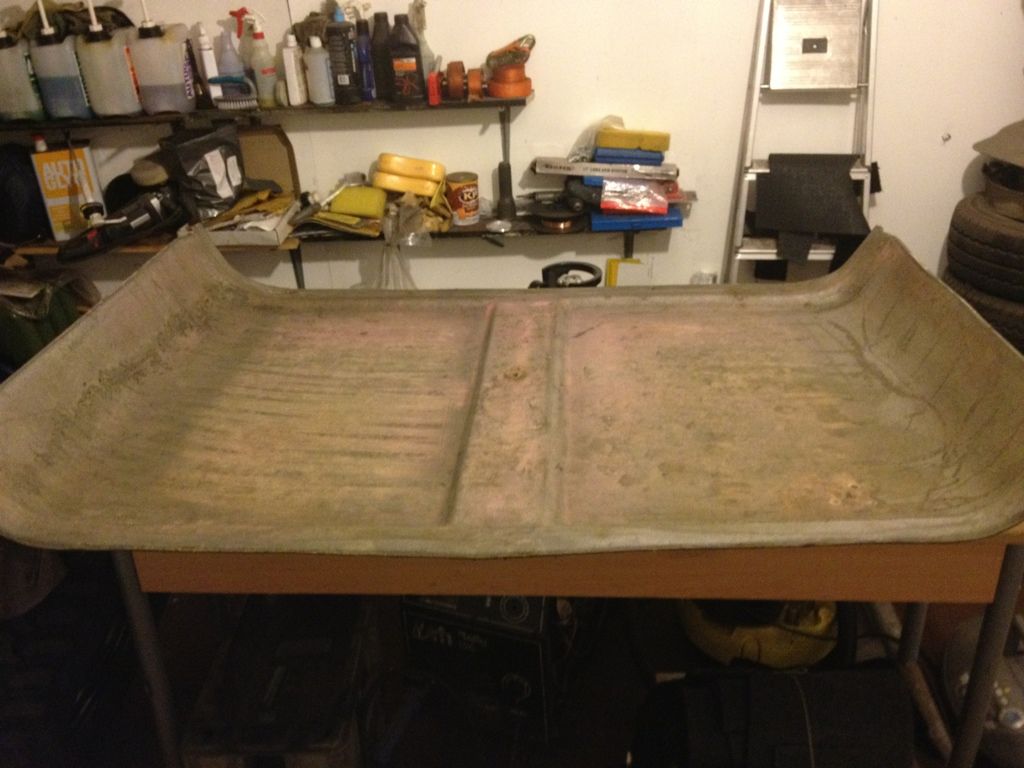
Before....
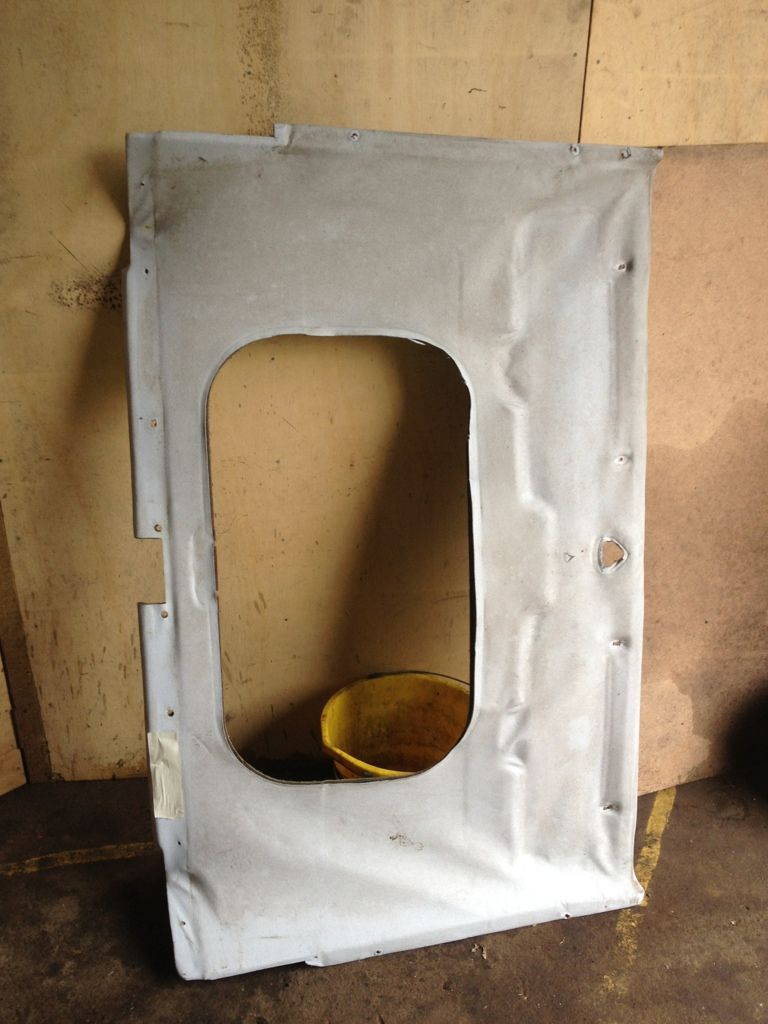
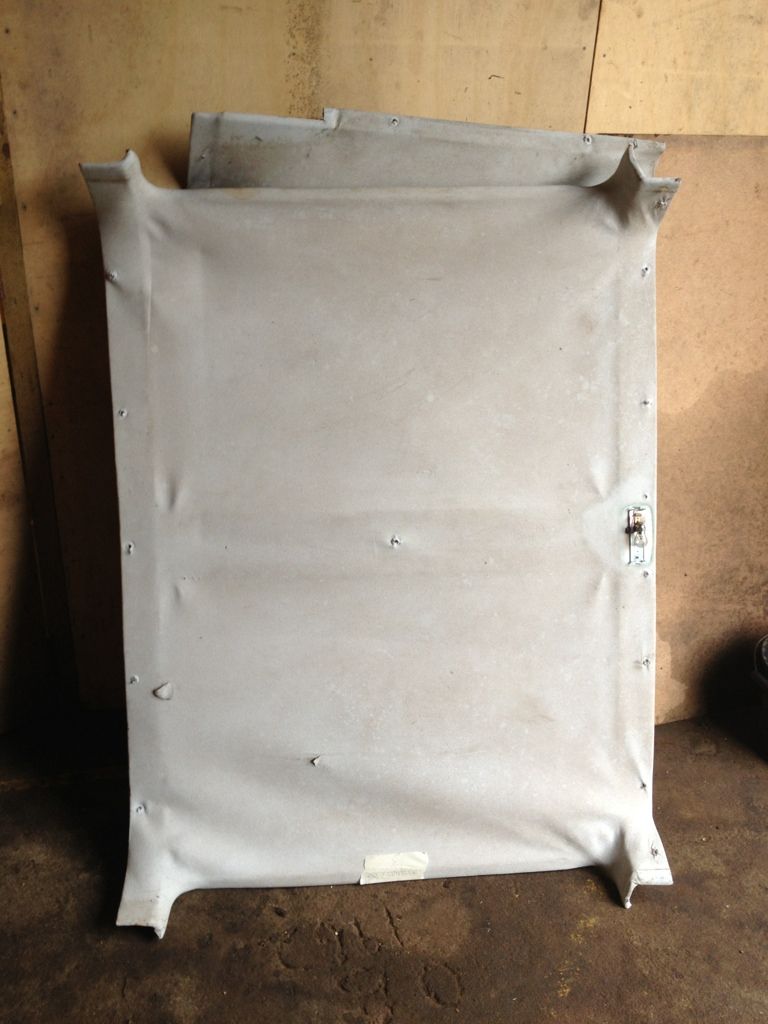
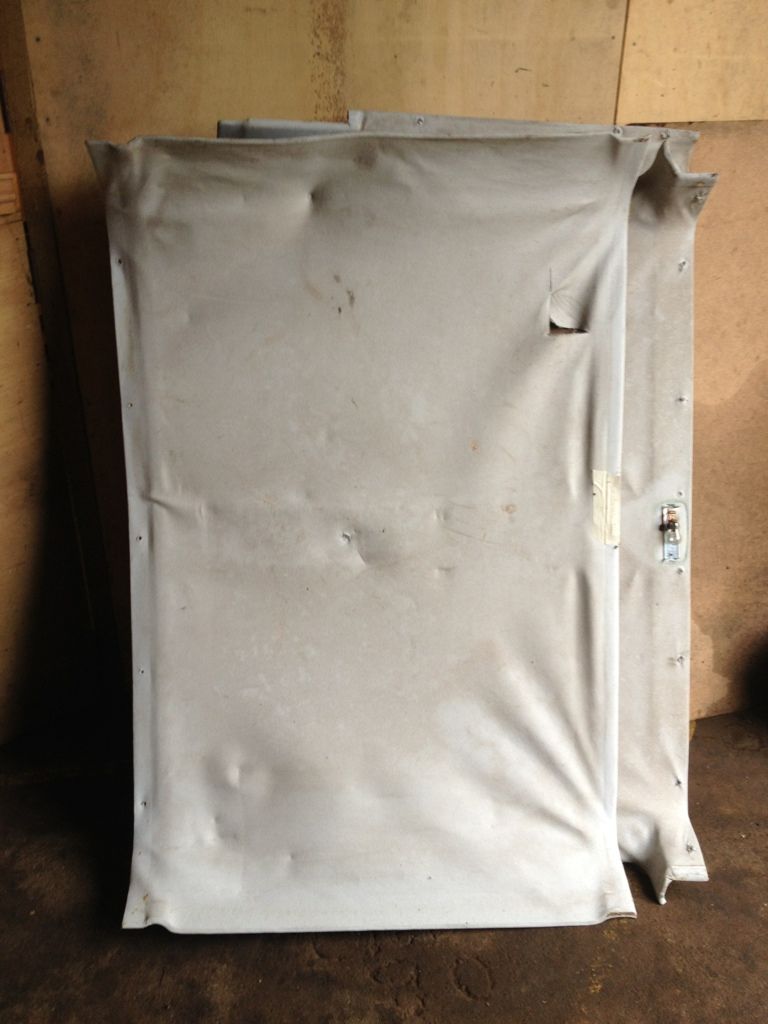
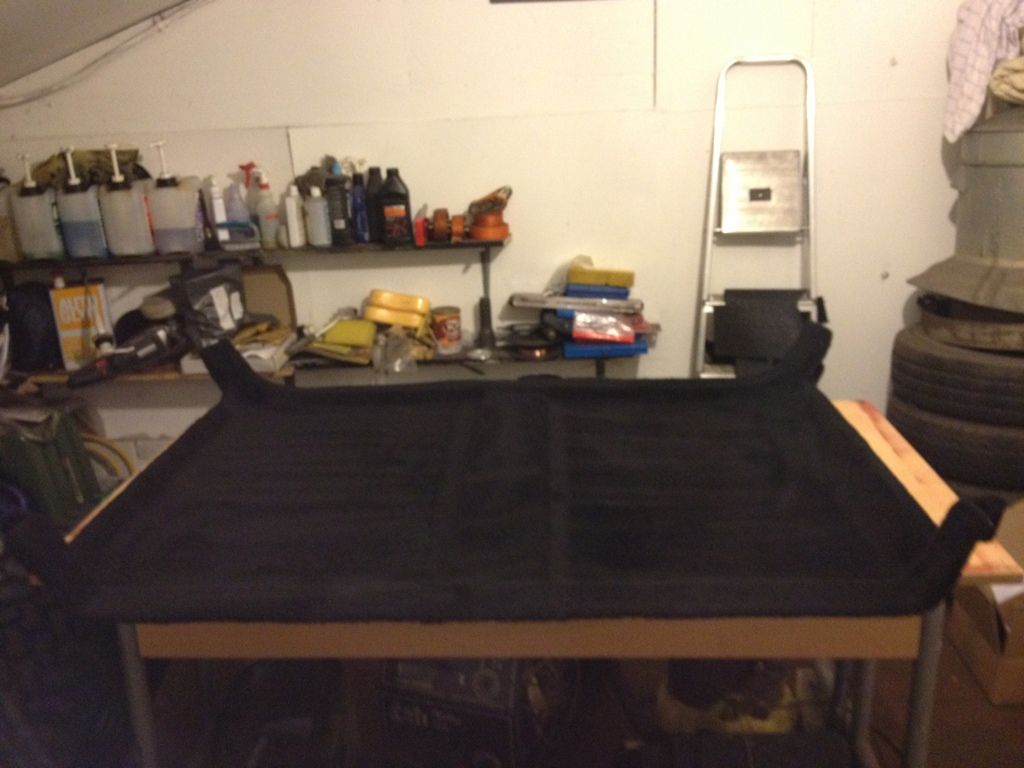
The current white vinyl coverings were attached with staples so I unpicked them and removed the vinyl.. (lots of dead spiders etc under there!)

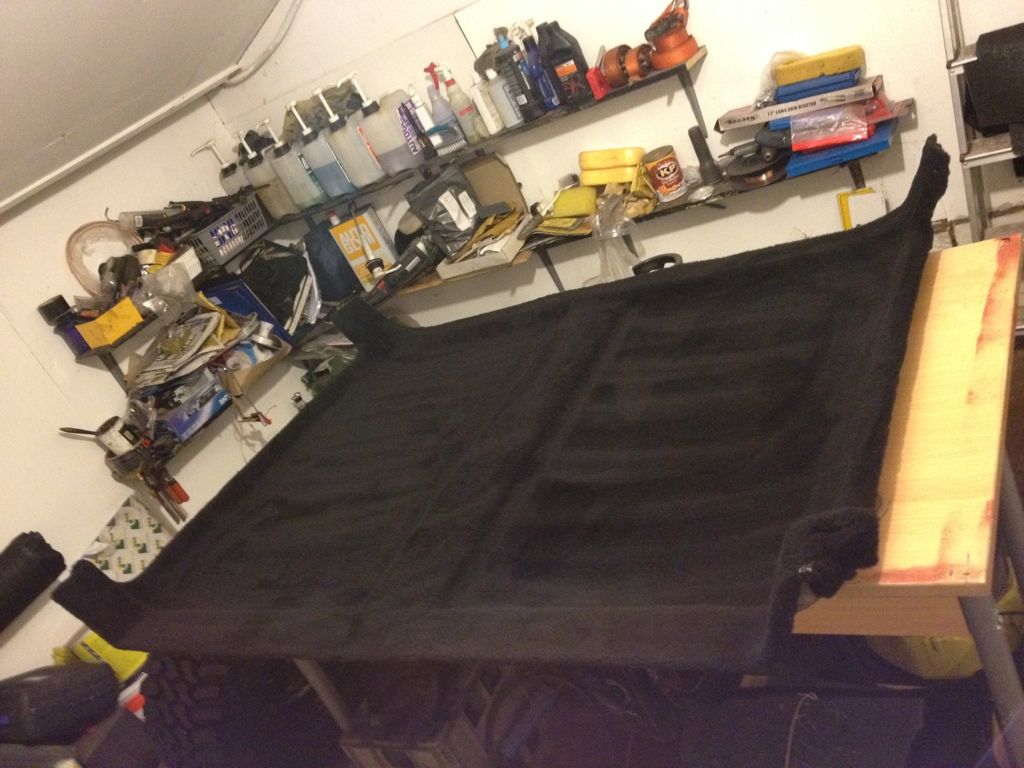
The material was laid on and stuck in place!
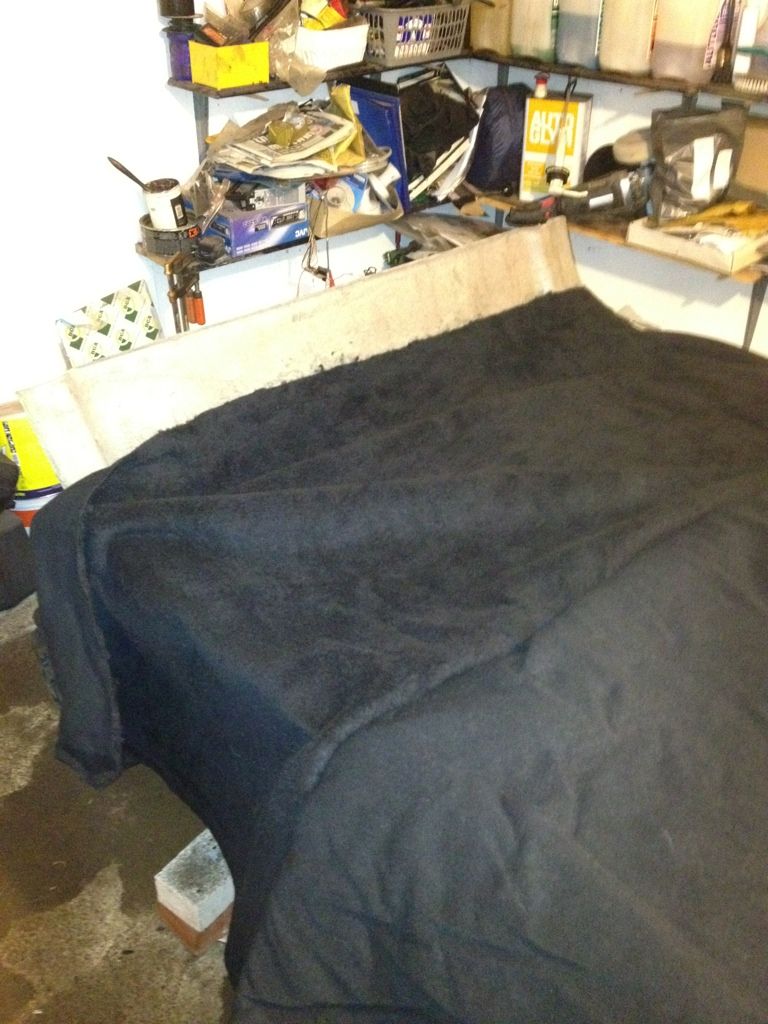
And the final results on all 3 pieces of headlining..
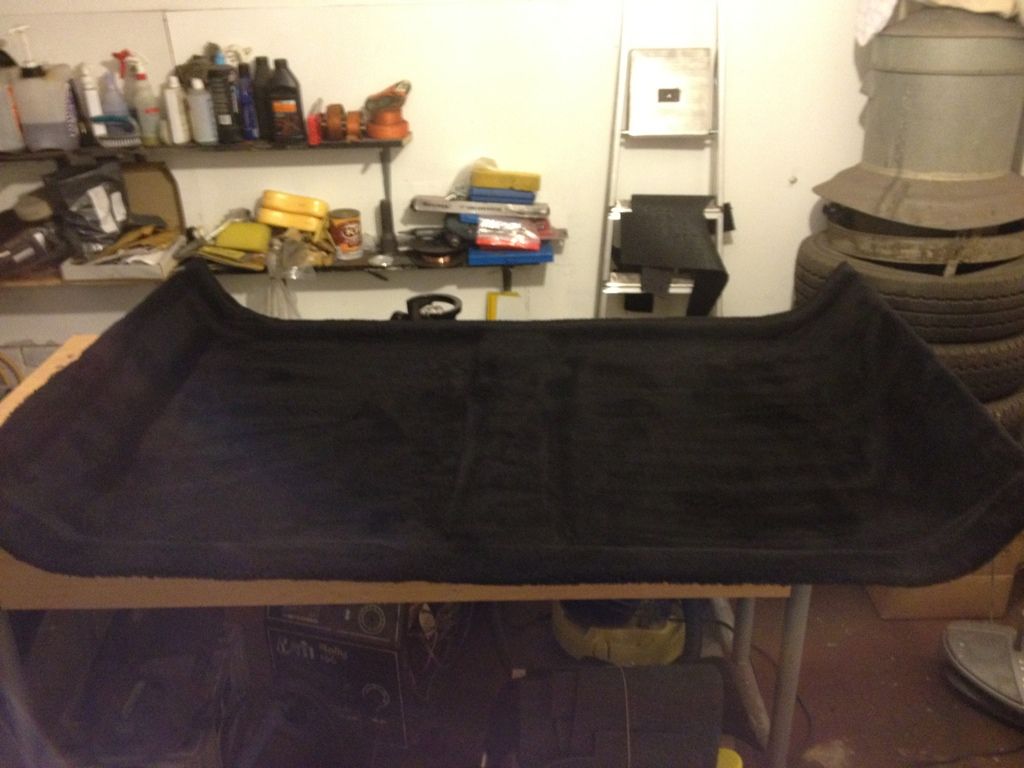
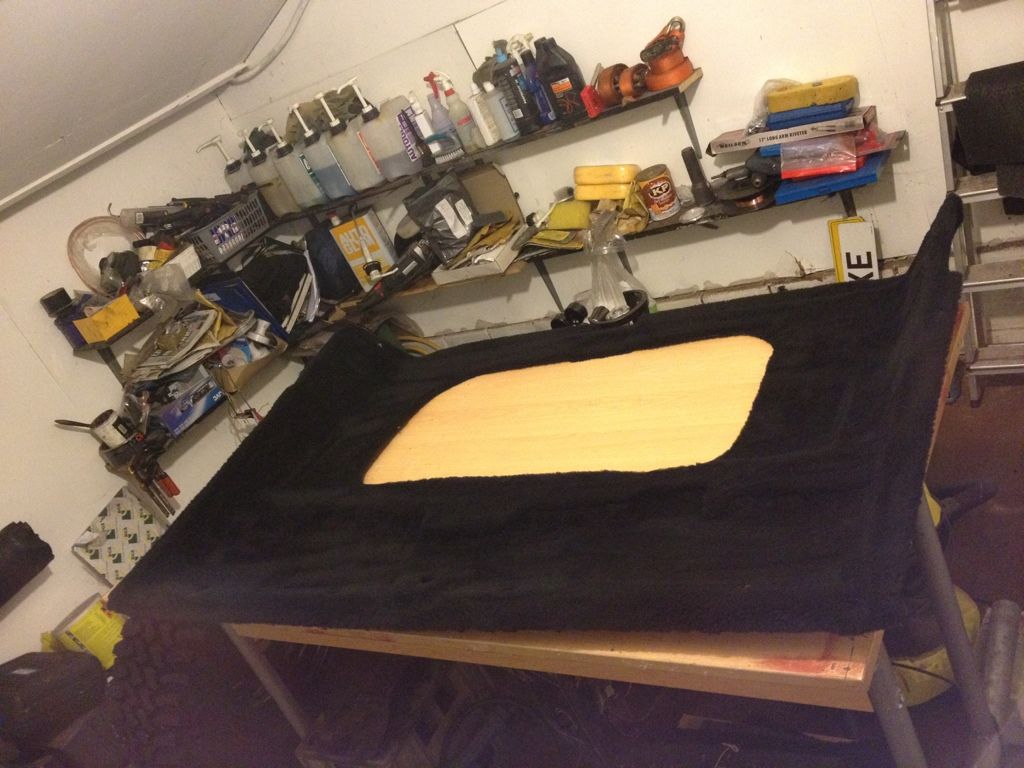
On the whole I am very pleased with the results!.. If Im honest the fleece type material wasn't entirely as I expected... A bit Austin Powers but it looks a lot better than it did..
I decided to re-trim my headlining as it was looking in a very sorry state. I bought a roll of some fleece type material and some contact adhesive and away I went!..
Before....
The current white vinyl coverings were attached with staples so I unpicked them and removed the vinyl.. (lots of dead spiders etc under there!)
The material was laid on and stuck in place!
And the final results on all 3 pieces of headlining..
On the whole I am very pleased with the results!.. If Im honest the fleece type material wasn't entirely as I expected... A bit Austin Powers but it looks a lot better than it did..
Gassing Station | Readers' Cars | Top of Page | What's New | My Stuff