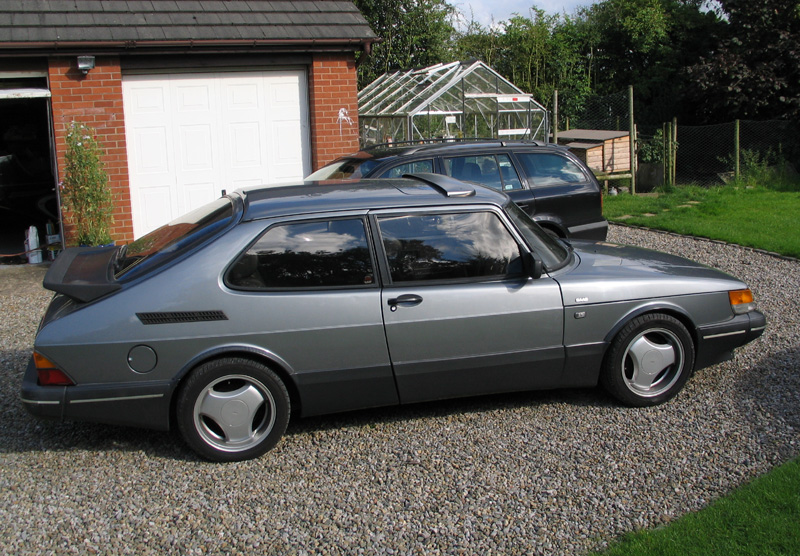
Saab 900 T16S "The Exxon Valdez"
Discussion


Made a bit of progress yesterday, after a short pause whilst waiting for a genuine slave cylinder to arrive.
In the absence of both a working slave cylinder and the Saab special tool to compress the clutch cover springs, I used the "nuts and bolts" method to gain the clearance to get the spacer ring into the clutch.
[ ] Basically this involves levering the cover away from the flywheel enough to place a nut between the two, and then threading longer bolts through the cover, the aforementioned nut and into the flywheel.
Repeat all the way round and then the nuts can be sequentially rotated to lever the clutch cover away from the flywheel evenly by about 20mm all round until the spacer ring can be inserted into the fingers of the clutch cover springs.
The nuts and bolts can then be removed and the spacer ring holds the cover in the "depressed" position as though you have your foot on the clutch. This then gives the required clearance for the whole lot to be removed. [/]
Did I say depressed? Well you will be if you ever need to do this...
Anyway, clutch removed, and pleased to see that it has still managed to avoid contamination, so that is some expense saved
Old slave out (remember this is not actually old at all) and stripped for examination. Seals look ok, but the piston has large areas where the smooth machined finish that the seal has to seal to, has large pits in it.
It isn't corrosion, it looks more like the surface layer has separated from the metal behind it... A manufacturing fault I would suspect, and makes me glad I paid the extra for a genuine replacement (which hopefully doesn't come from the same production line..)
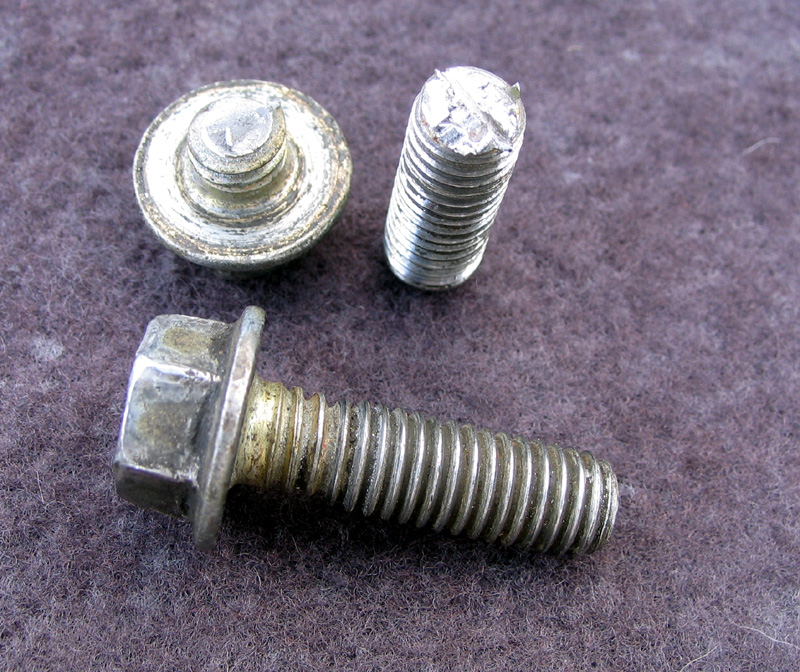
As for the snapped bolt in the flywheel, I knew it wasn't rusted in, and with the head snapped off there shouldn't be any torque on it any more, so I figured it shouldn't need much turning force to remove.
The was only a very small and uneven stump of bolt standing proud of the flywheel, but it was enough to cut a tiny slot in with a dremel and then using a fine screwdriver I got it turning. Had to re-cut the slot a couple of times as it still needed quite a bit of force a first, but eventually it came out and importantly without any damage to the thread in the flywheel.
Interesting point re: the snapped clutch -> flywheel bolt.
None of these bolts had any markings on the heads (8.8 or similar) so not sure if these were the original ones, or whether they had been replaced with cheap "no grade" bolts at some point.
When I examined the others, all had very noticeable stretching of the bolt / thread just under the bolt head, so all the others were well on their way to failure too. Don't use cheap fasteners folks!!
Anyway, my back cried "enough!" at that point so re-assembly today if the rain stops...
In the absence of both a working slave cylinder and the Saab special tool to compress the clutch cover springs, I used the "nuts and bolts" method to gain the clearance to get the spacer ring into the clutch.
[
] Basically this involves levering the cover away from the flywheel enough to place a nut between the two, and then threading longer bolts through the cover, the aforementioned nut and into the flywheel. Repeat all the way round and then the nuts can be sequentially rotated to lever the clutch cover away from the flywheel evenly by about 20mm all round until the spacer ring can be inserted into the fingers of the clutch cover springs.
The nuts and bolts can then be removed and the spacer ring holds the cover in the "depressed" position as though you have your foot on the clutch. This then gives the required clearance for the whole lot to be removed. [/
]Did I say depressed? Well you will be if you ever need to do this...
Anyway, clutch removed, and pleased to see that it has still managed to avoid contamination, so that is some expense saved
Old slave out (remember this is not actually old at all) and stripped for examination. Seals look ok, but the piston has large areas where the smooth machined finish that the seal has to seal to, has large pits in it.
It isn't corrosion, it looks more like the surface layer has separated from the metal behind it... A manufacturing fault I would suspect, and makes me glad I paid the extra for a genuine replacement (which hopefully doesn't come from the same production line..)
As for the snapped bolt in the flywheel, I knew it wasn't rusted in, and with the head snapped off there shouldn't be any torque on it any more, so I figured it shouldn't need much turning force to remove.
The was only a very small and uneven stump of bolt standing proud of the flywheel, but it was enough to cut a tiny slot in with a dremel and then using a fine screwdriver I got it turning. Had to re-cut the slot a couple of times as it still needed quite a bit of force a first, but eventually it came out and importantly without any damage to the thread in the flywheel.
Interesting point re: the snapped clutch -> flywheel bolt.
None of these bolts had any markings on the heads (8.8 or similar) so not sure if these were the original ones, or whether they had been replaced with cheap "no grade" bolts at some point.
When I examined the others, all had very noticeable stretching of the bolt / thread just under the bolt head, so all the others were well on their way to failure too. Don't use cheap fasteners folks!!
Anyway, my back cried "enough!" at that point so re-assembly today if the rain stops...
Edited by 99t on Sunday 2nd September 17:08
GC8 said:
Was the name Exxon Valdez given due to its ability to spill oil and pollute, or as a nod to its handling prowess? 
 Well now the leak is fixed, yes probably the handling. The un-pronounceable brand of ditchfinders fitted probably won't help..
IroningMan said:
Those bolts would have locking compound on them if they were OEM, wouldn't they?
I believe so, yes.Anyway, next problem now, it won't go into 5th gear...

Ok panic over.
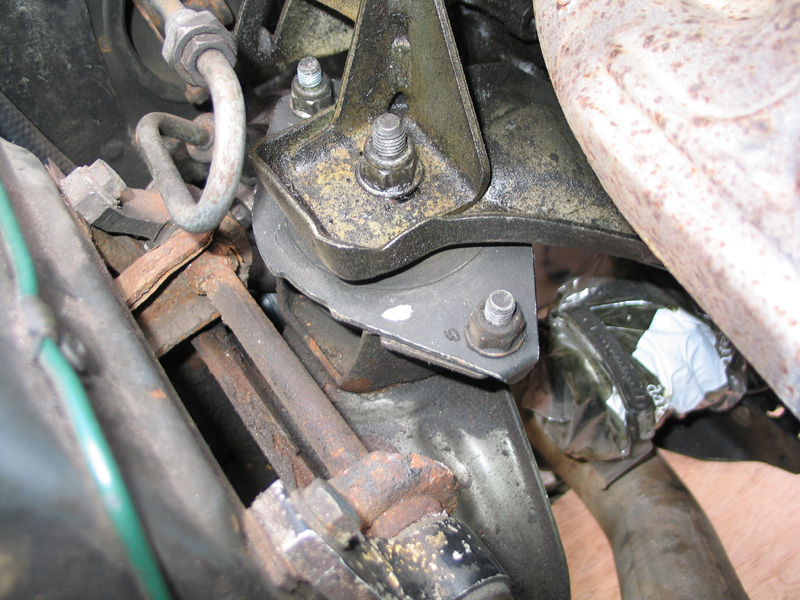
Having stripped, cleaned and reassembled the shifter mechanism and reverse gear lock out, still without gaining the use of fifth gear, I read up on the problem and it appears to only take a very small misalignment in the linkage to make 5th hard to engage. Failing engine mounts are often suggested as a probable couse.
Checked mine and sure enough the (hydraulic) offside mount is starting to ooze black gunk. With assistance from the future Mrs 99t levering the mount upwards with a large screwdriver, I checked the gears again and 5th had become selectable
As a quick fix until a new mount is obtained I have bodged the problem by loosening and retightening the shifter retaining screws with the shifter pushed slightly to one side to mirror the offset, all gears now selectable and actually the shift is probably better than it has ever been!
Thanks, the front mount looks ok at the moment.
I've put a few miles on EV now and all seems well, no signs of any further leakage. I'm really enjoying the mid-range poke that these things are famous for. First and second gears are a bit pointless as they just produce wheel spin but third, fourth and fifth are good fun and the urge available at 70(ish) in fifth with just a twitch of the ankle is addictive and makes me grin every time.
A previous owner has commented that EV has the best engine out of a number of T16's that he has owned and although I have no idea what sort of power it is producing, it feels much quicker than my Octavia VRS which theoretically has a similar power to weight ratio to a bog-standard T16. Of course as an older, high mileage car with greater amounts of NVH present, EV may simply feel quicker than it really is..
Saturday will be a good test anyway; I'm taking EV to a trackday at Aintree Circuit. Due to time constraints, preparation is going to consist of checking the tyre pressures and fluid levels and filling up with super unleaded. I've not driven Aintree before so I will be taking it fairly steady, so hopefully both EV and I will survive the day!!
Cheers! Made it to the lunch break without wreckage - actually that word was meant to be breakage but predictive's choice of word is possibly better!
Finished the last session with a worrying rattle from under the bonnet but it was just the battery heat shield working loose and rattling against the turbo elbow. 'Tis a touch warm at the moment but will tighten back up ok when I can touch it!!
Finished the last session with a worrying rattle from under the bonnet but it was just the battery heat shield working loose and rattling against the turbo elbow. 'Tis a touch warm at the moment but will tighten back up ok when I can touch it!!
Last update, EV and I were half way through a track day at Aintree Circuit. And a really good fun day it was, with no mechanical failures, although it did reveal just how tired the front suspension was and pretty much finished off the already blowing exhaust.
It was also the day on which EV's MOT ran out and given that quite a bit of work was needed, I SORN'ed the old girl and parked her up - awaiting a bit of dry weather before cracking on. And I waited, and waited...
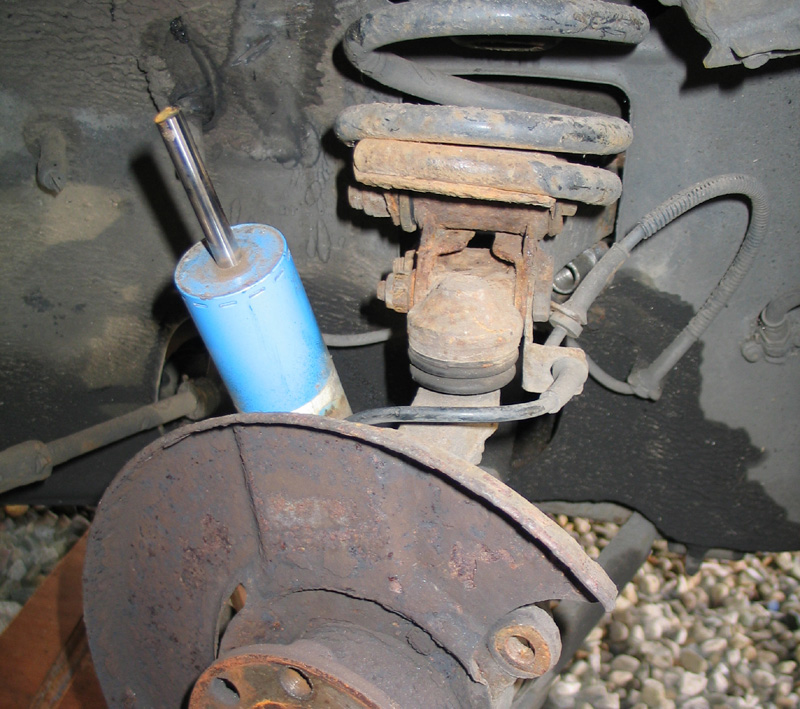
Finally a dry day allowed me to strip the front suspension, which went smoothly until I tried to undo the upper nuts on the offside damper and found the damper to be rotating quite freely in the inner wing with accompanying crunchy rust noises. This plus restricted access made the nuts impossible to undo and I eventually resorted to the angle grinder to remove the damper.
Destroying a perfectly good damper
Umm, well maybe not so good after all
This hole should only be about 10mm round

Found a suitably sized thick washer and broke out the welder, hateful upside-down welding but solid enough and should do the job.
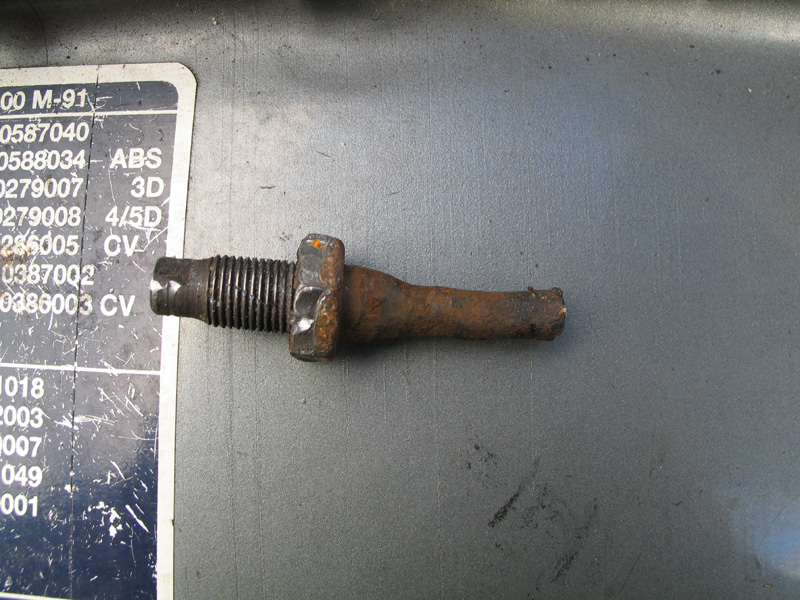
Around the same time I got around to fitting a good used offside engine mount to replace the leaky original
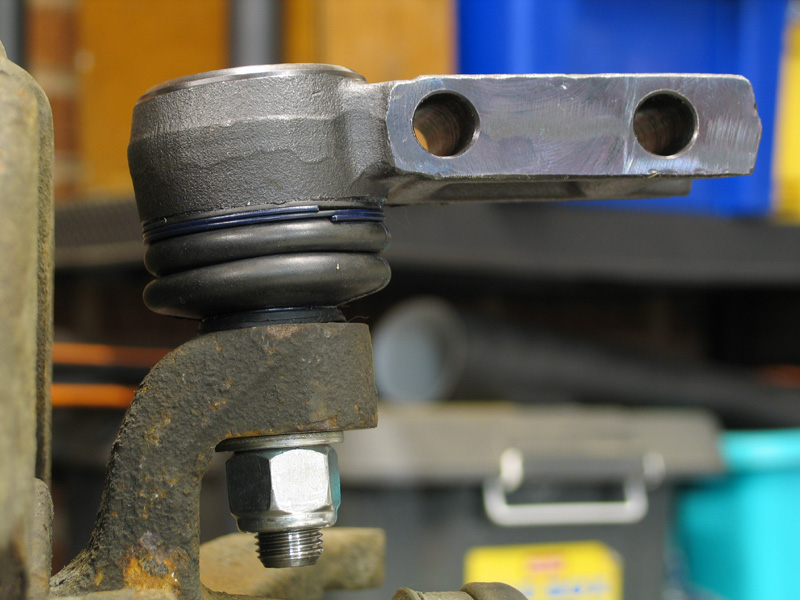
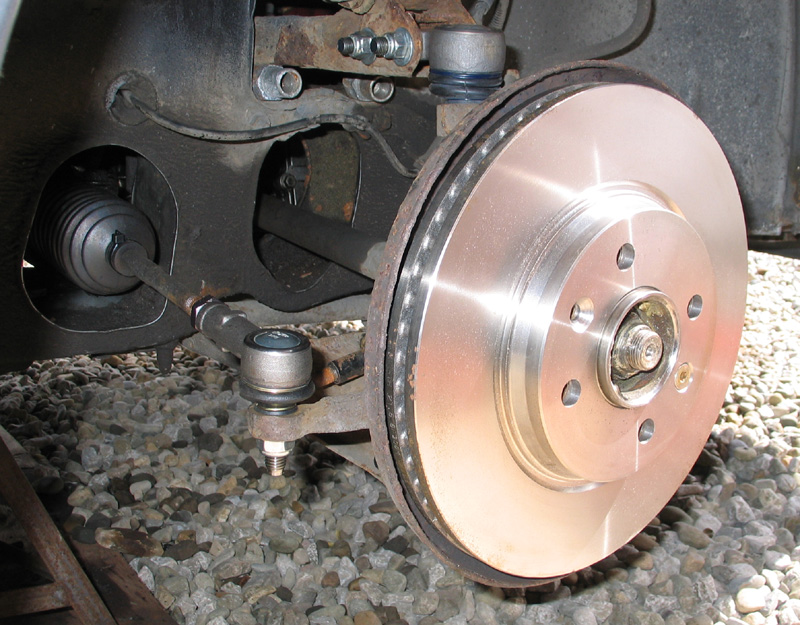
Fitted new ball joints to the steering knuckles (much easier done on the workbench)
Then winter arrived (ok pretty mild compared to what some people got) and both EV and I went into hibernation...
It was also the day on which EV's MOT ran out and given that quite a bit of work was needed, I SORN'ed the old girl and parked her up - awaiting a bit of dry weather before cracking on. And I waited, and waited...
Finally a dry day allowed me to strip the front suspension, which went smoothly until I tried to undo the upper nuts on the offside damper and found the damper to be rotating quite freely in the inner wing with accompanying crunchy rust noises. This plus restricted access made the nuts impossible to undo and I eventually resorted to the angle grinder to remove the damper.
Destroying a perfectly good damper
Umm, well maybe not so good after all
This hole should only be about 10mm round
Found a suitably sized thick washer and broke out the welder, hateful upside-down welding but solid enough and should do the job.
Around the same time I got around to fitting a good used offside engine mount to replace the leaky original
Fitted new ball joints to the steering knuckles (much easier done on the workbench)
Then winter arrived (ok pretty mild compared to what some people got) and both EV and I went into hibernation...
Good stuff.
I have to drag mine out of the garage and give it a going over. There's a leak somewhere that needs attention but not sure where the rain's getting in. Giving serious consideration to replacing Kilen springs with some OE ones as it's a nightmare for fast road driving on potholed or uneven roads.
I have to drag mine out of the garage and give it a going over. There's a leak somewhere that needs attention but not sure where the rain's getting in. Giving serious consideration to replacing Kilen springs with some OE ones as it's a nightmare for fast road driving on potholed or uneven roads.
 you have me worried about my engine mounts now!
Ok so winter had set in and progress stalled for a month or four.
Eventually the long suffering future Mrs 99tthrew her toys out of the pram (...erm scratch that it makes me sound like a paedo!!) said "move that wheel-less shed from the driveway by the end of April or take me out for a meal"!!
Well obviously I wasn't going to spring for a Sub, so I cracked on...
Lots of shiny bits
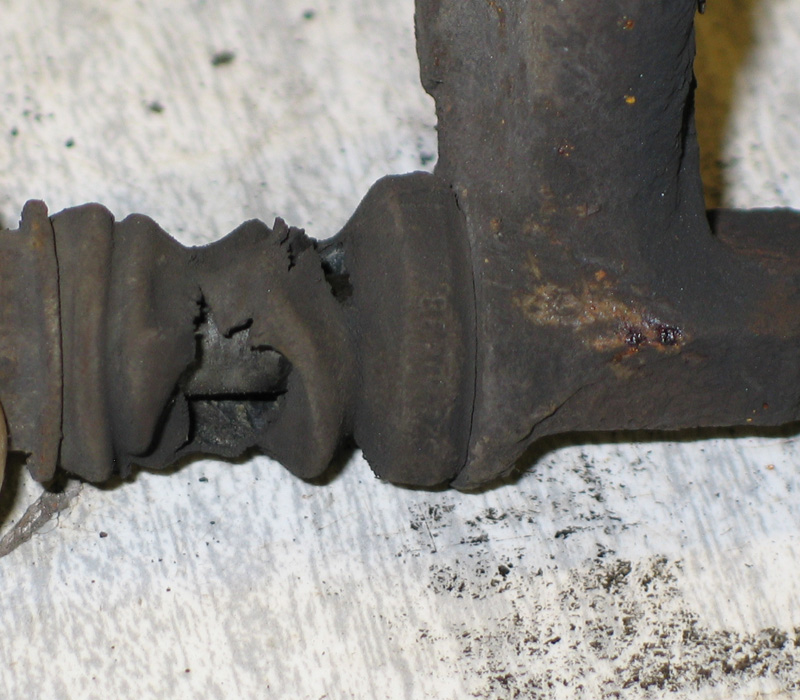
Brake caliper slider boot wasn't clever
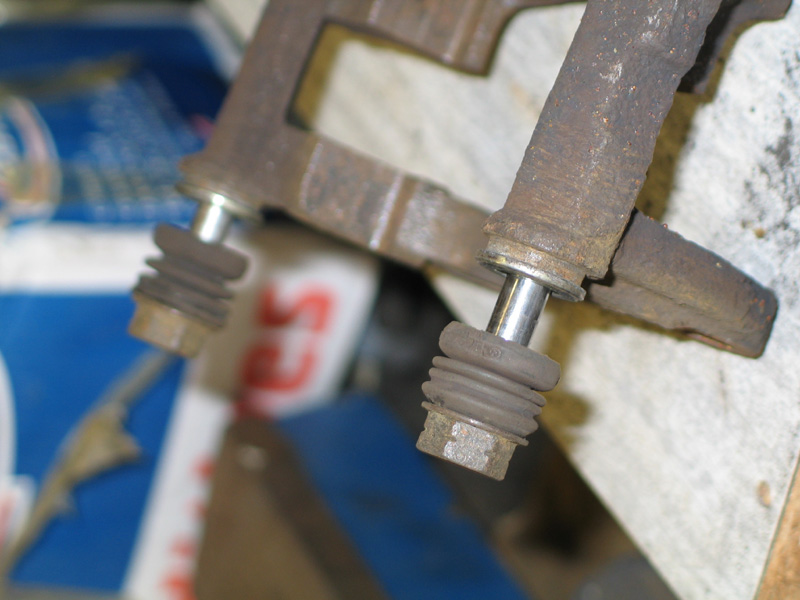
Spares collection raided
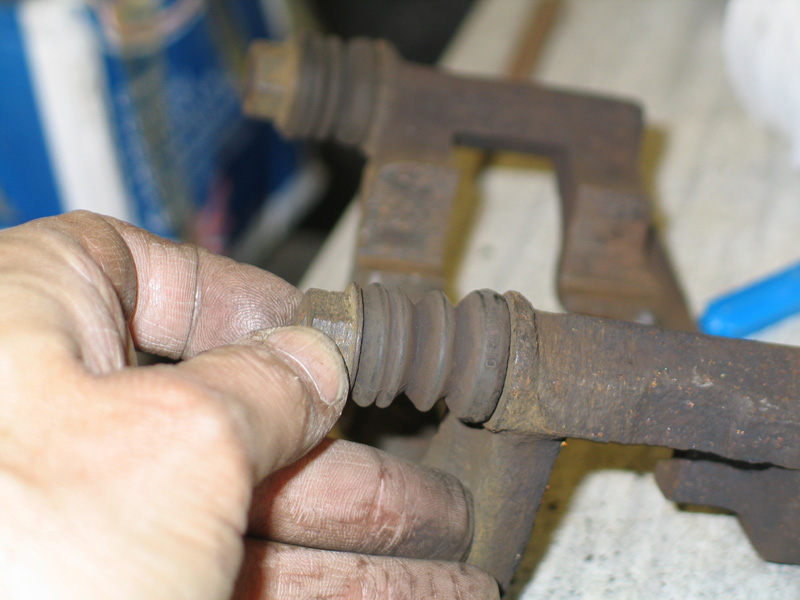
Greased up and reassembled
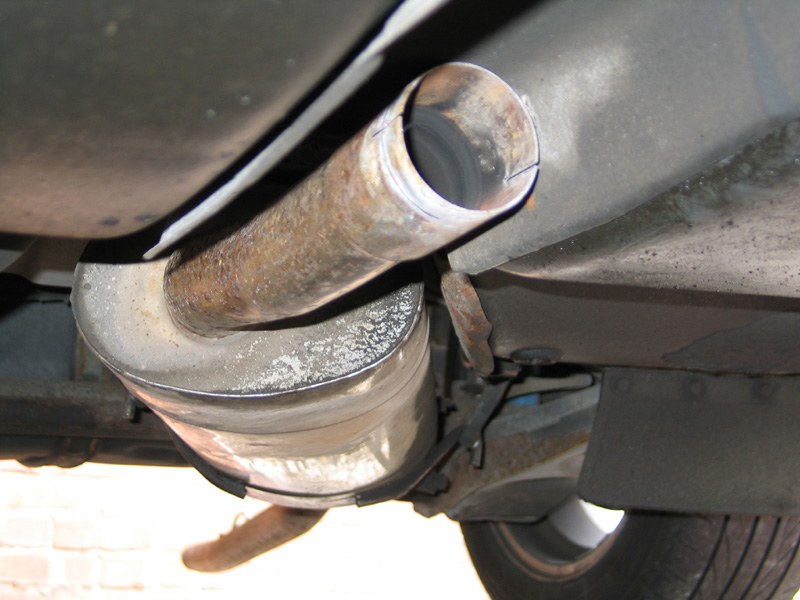
Middle exhaust box had been damaged and botched previously
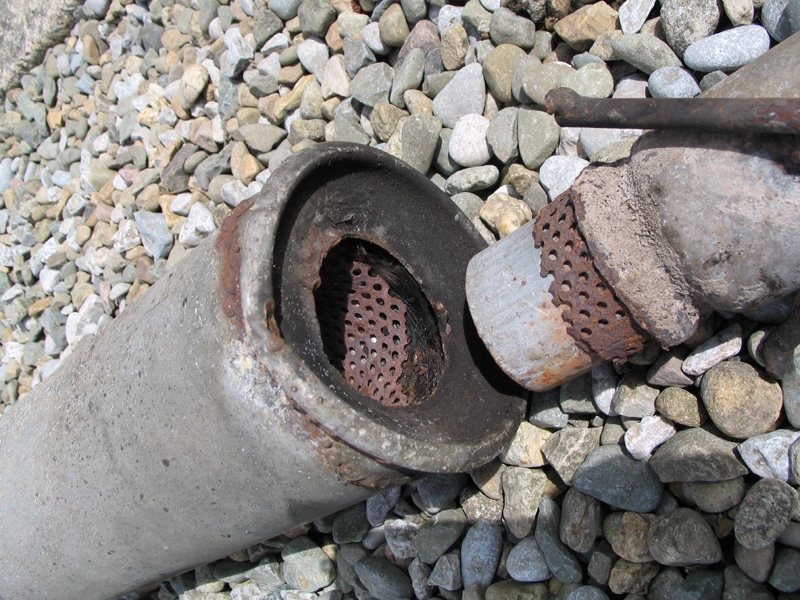
It also stepped the exhaust diameter down by at least 10mm so I elected to run a straight through pipe between the end of the downpipe (after cutting off damaged remains)...
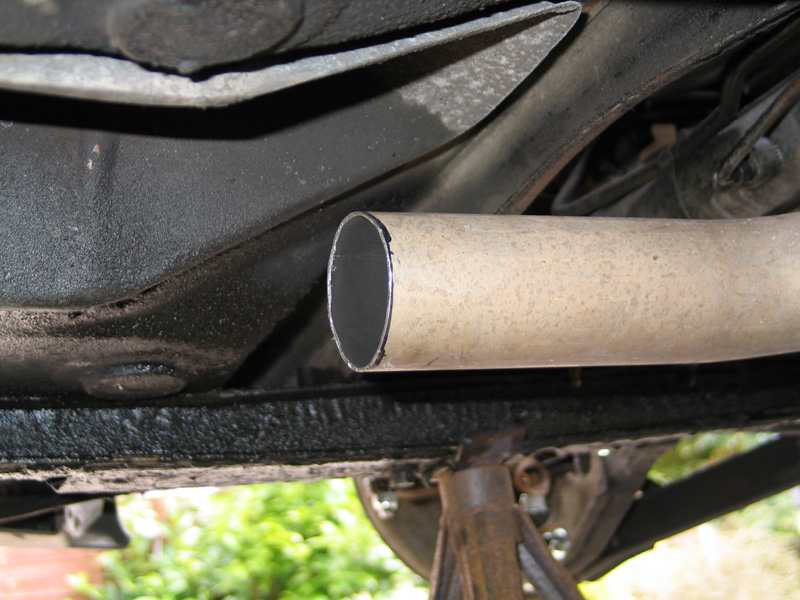
and the back box.
At this point I was so engrossed in getting the car back together before the deadline, I forgot to take any more pictures!
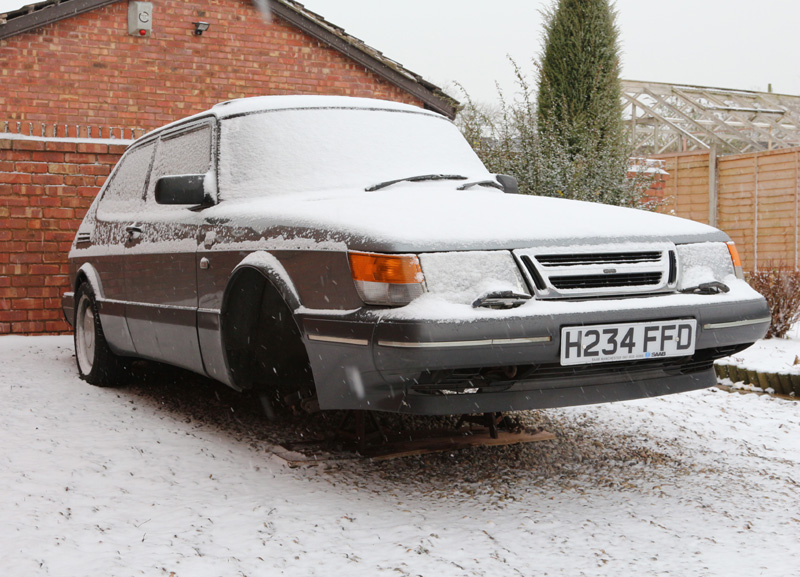
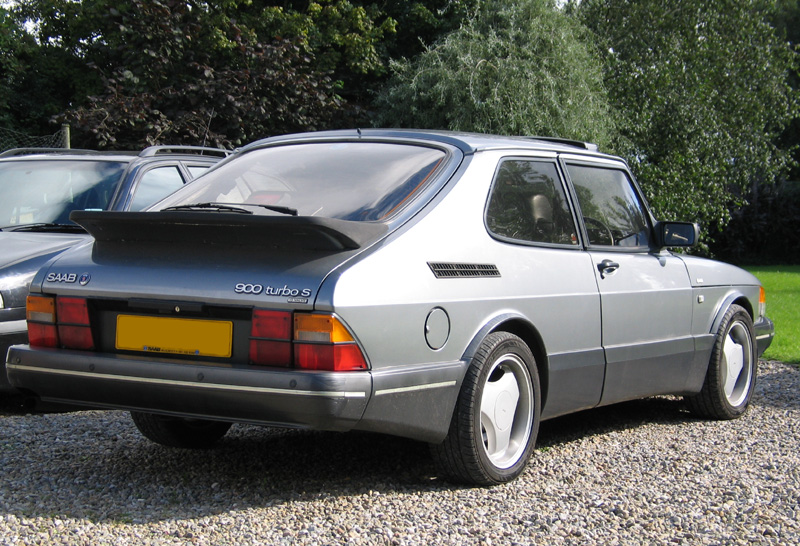
This picture wasn't taken this year but you get the gist - car on wheels looking like a car again
MOT tomorrow...
Eventually the long suffering future Mrs 99t
Well obviously I wasn't going to spring for a Sub, so I cracked on...
Lots of shiny bits
Brake caliper slider boot wasn't clever
Spares collection raided
Greased up and reassembled
Middle exhaust box had been damaged and botched previously
It also stepped the exhaust diameter down by at least 10mm so I elected to run a straight through pipe between the end of the downpipe (after cutting off damaged remains)...
and the back box.
At this point I was so engrossed in getting the car back together before the deadline, I forgot to take any more pictures!
This picture wasn't taken this year but you get the gist - car on wheels looking like a car again
MOT tomorrow...
99t said:
NiceCupOfTea said:
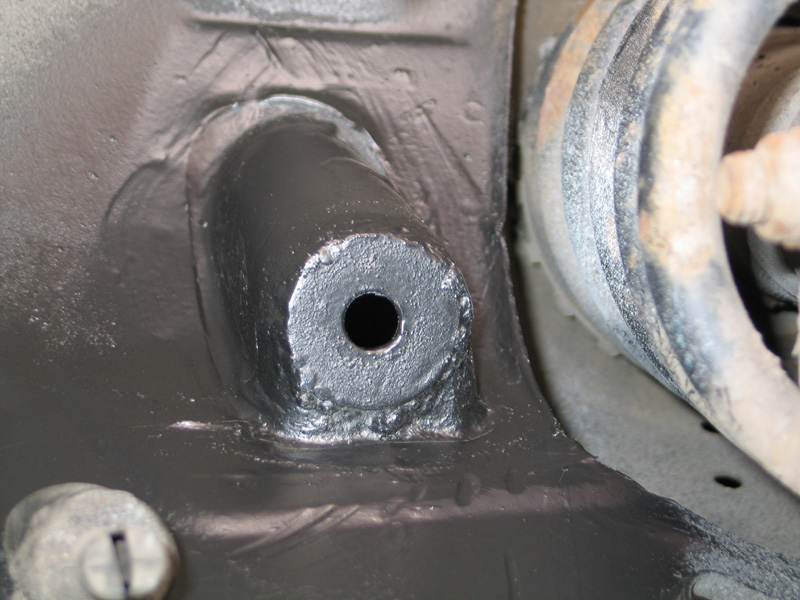
Love it. Is that a spot of rust in the driveshaft tunnel?
Cheers, yes there is a little bit just starting but overall the tunnels appear good and solid, and well coated in oil from the earlier gearbox leak!!
Gassing Station | Readers' Cars | Top of Page | What's New | My Stuff