E36 328i Touring. When it breaks, upgrade it...
Discussion


Awesome build history!
I'm genuinely in love with your touring^^ (especially when it had the Hartge wheels and that special bumper!)
I have a very similar car (Arktissilber E36 328 touring manual) but mine is completely stock at the moment. I would like to modify it slightly to make it a fast road estate so your's is giving me loads of ideas!!!
Thanks for sharing and keep up the good work
Paul
Time for one of those mammoth updates...
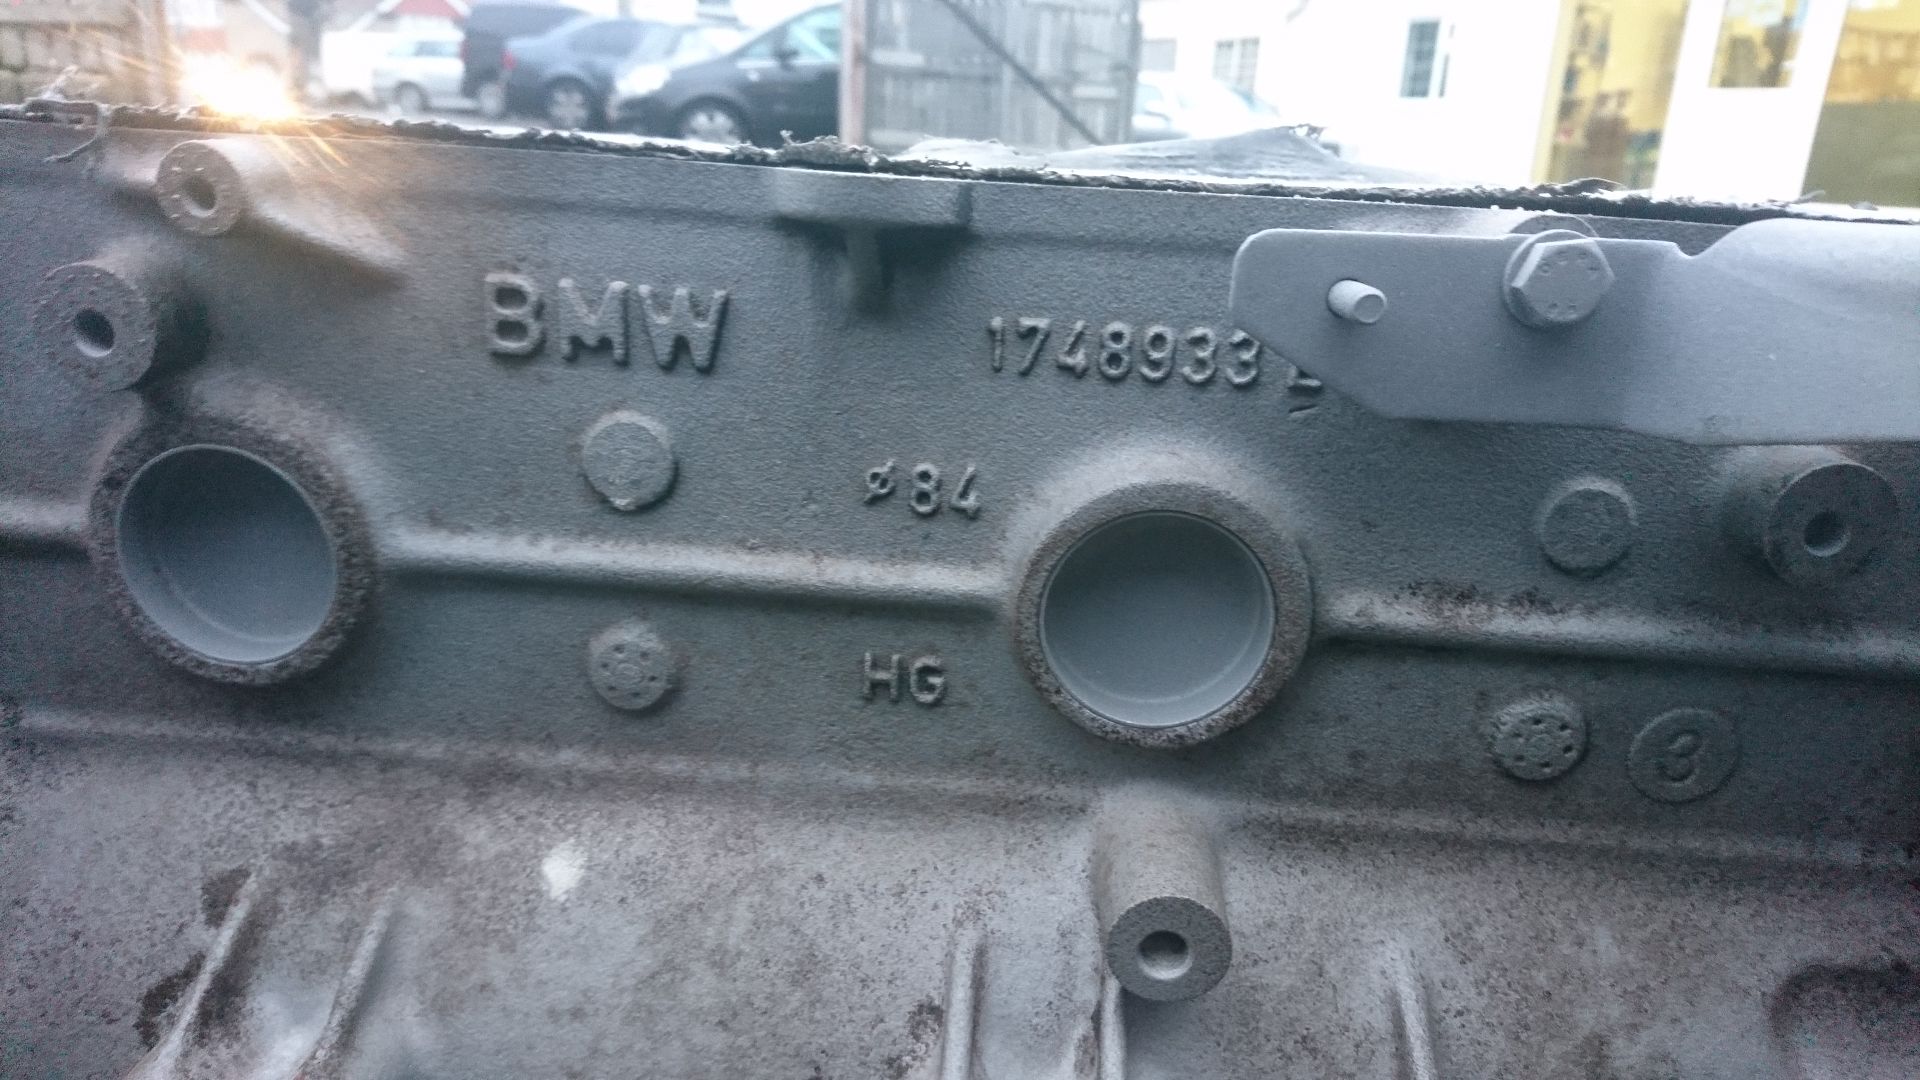
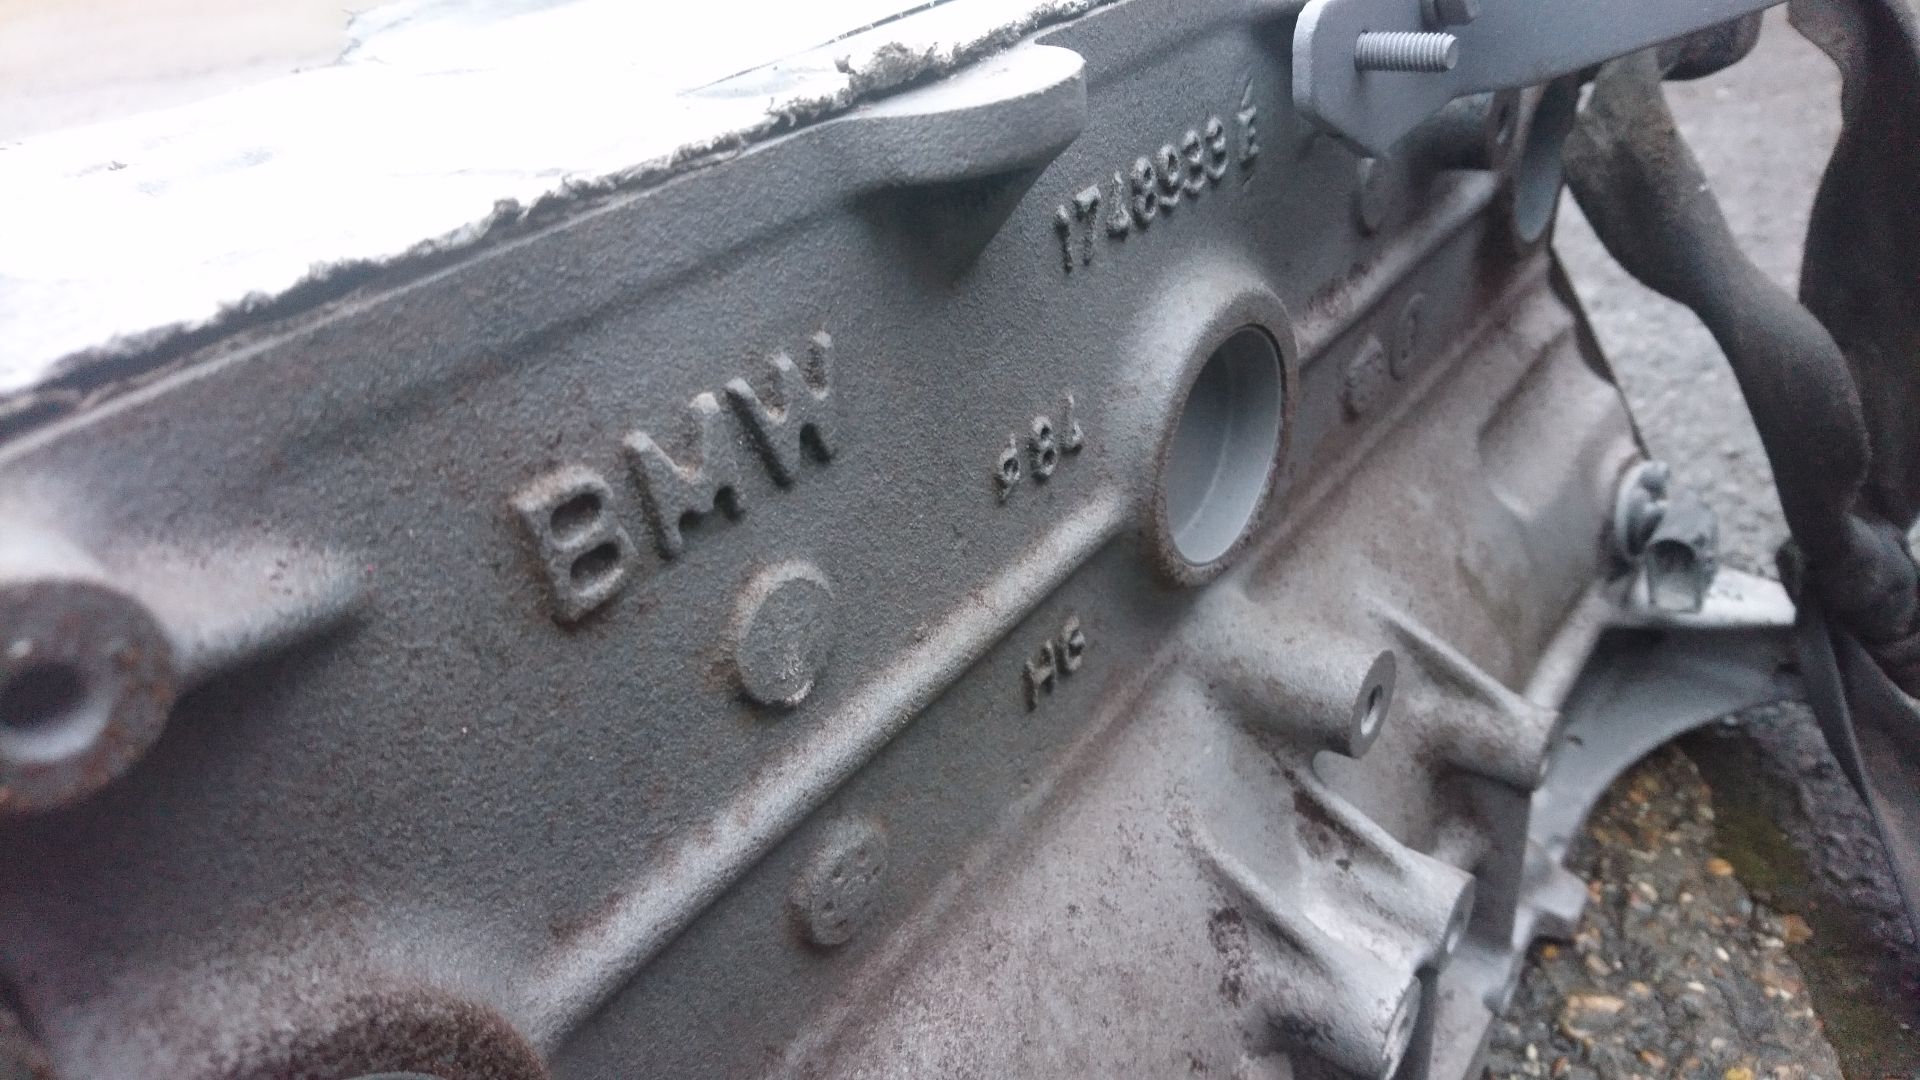
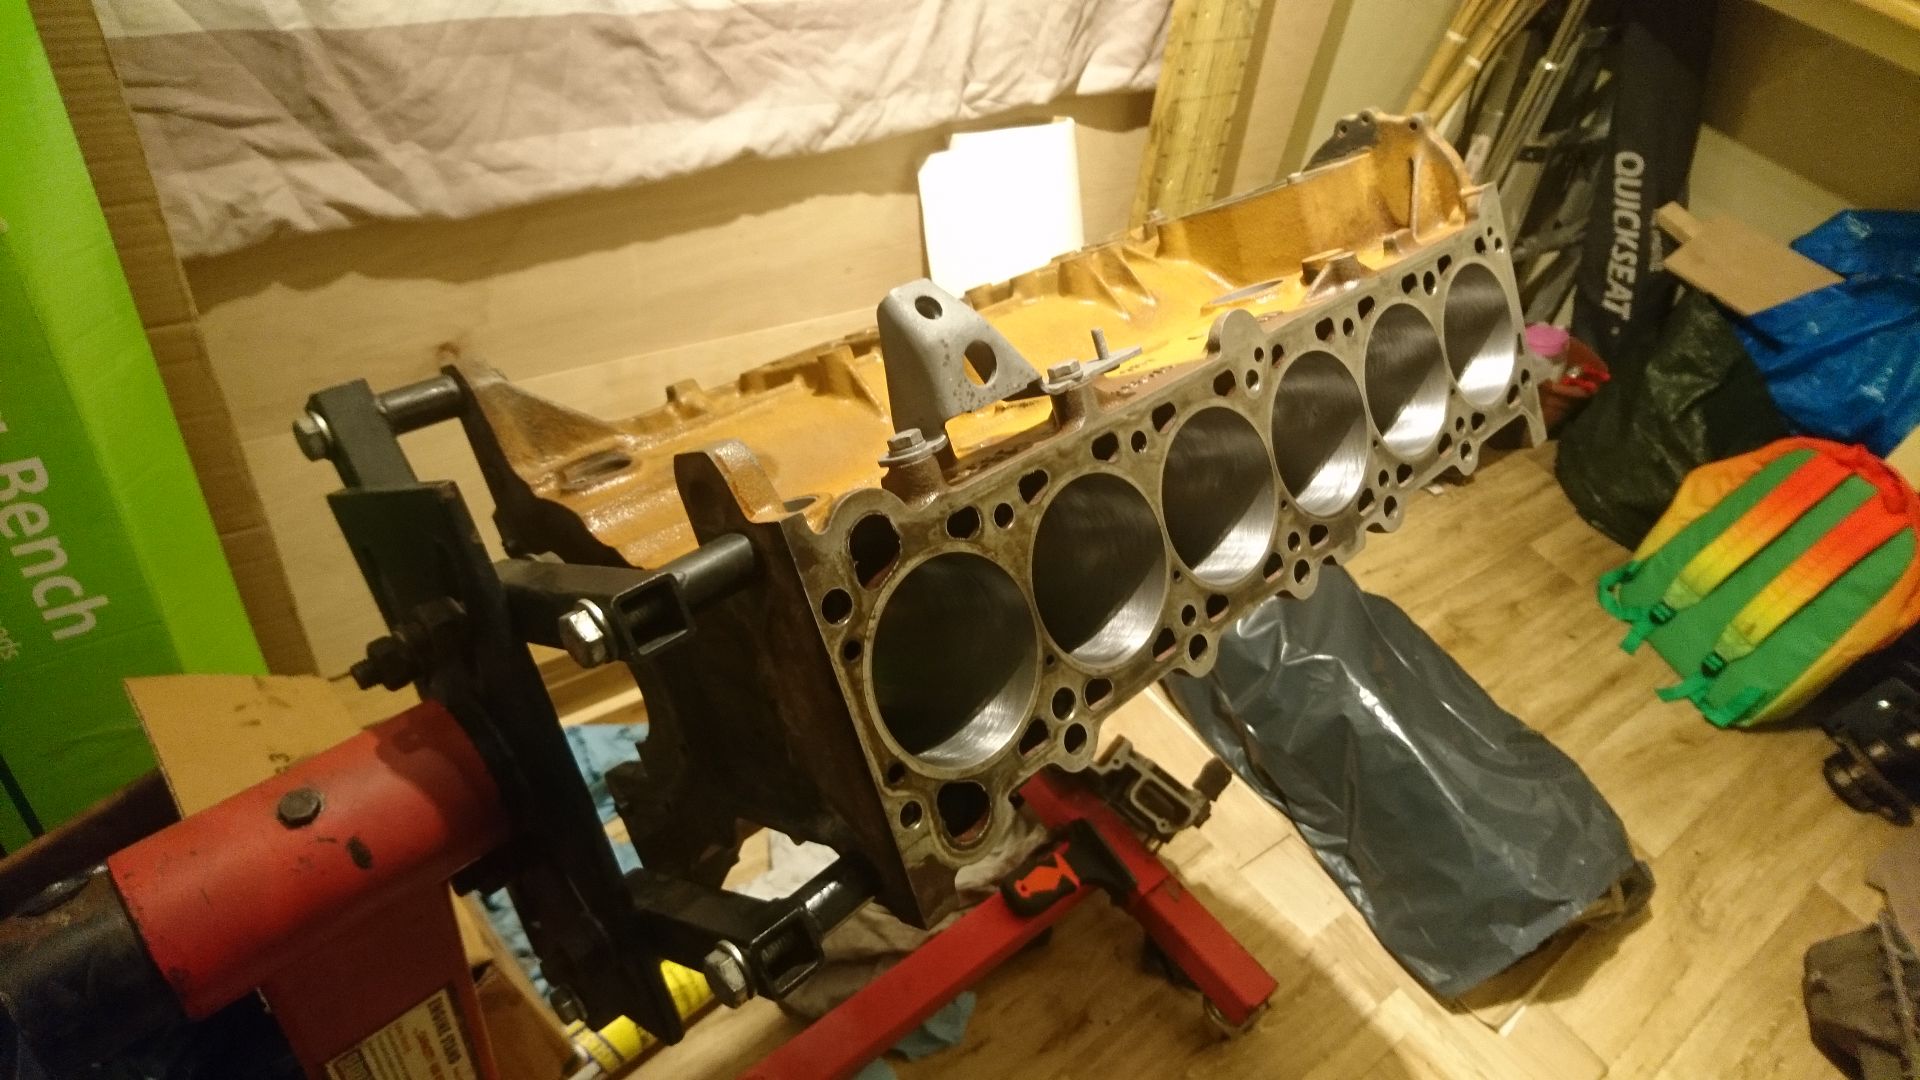
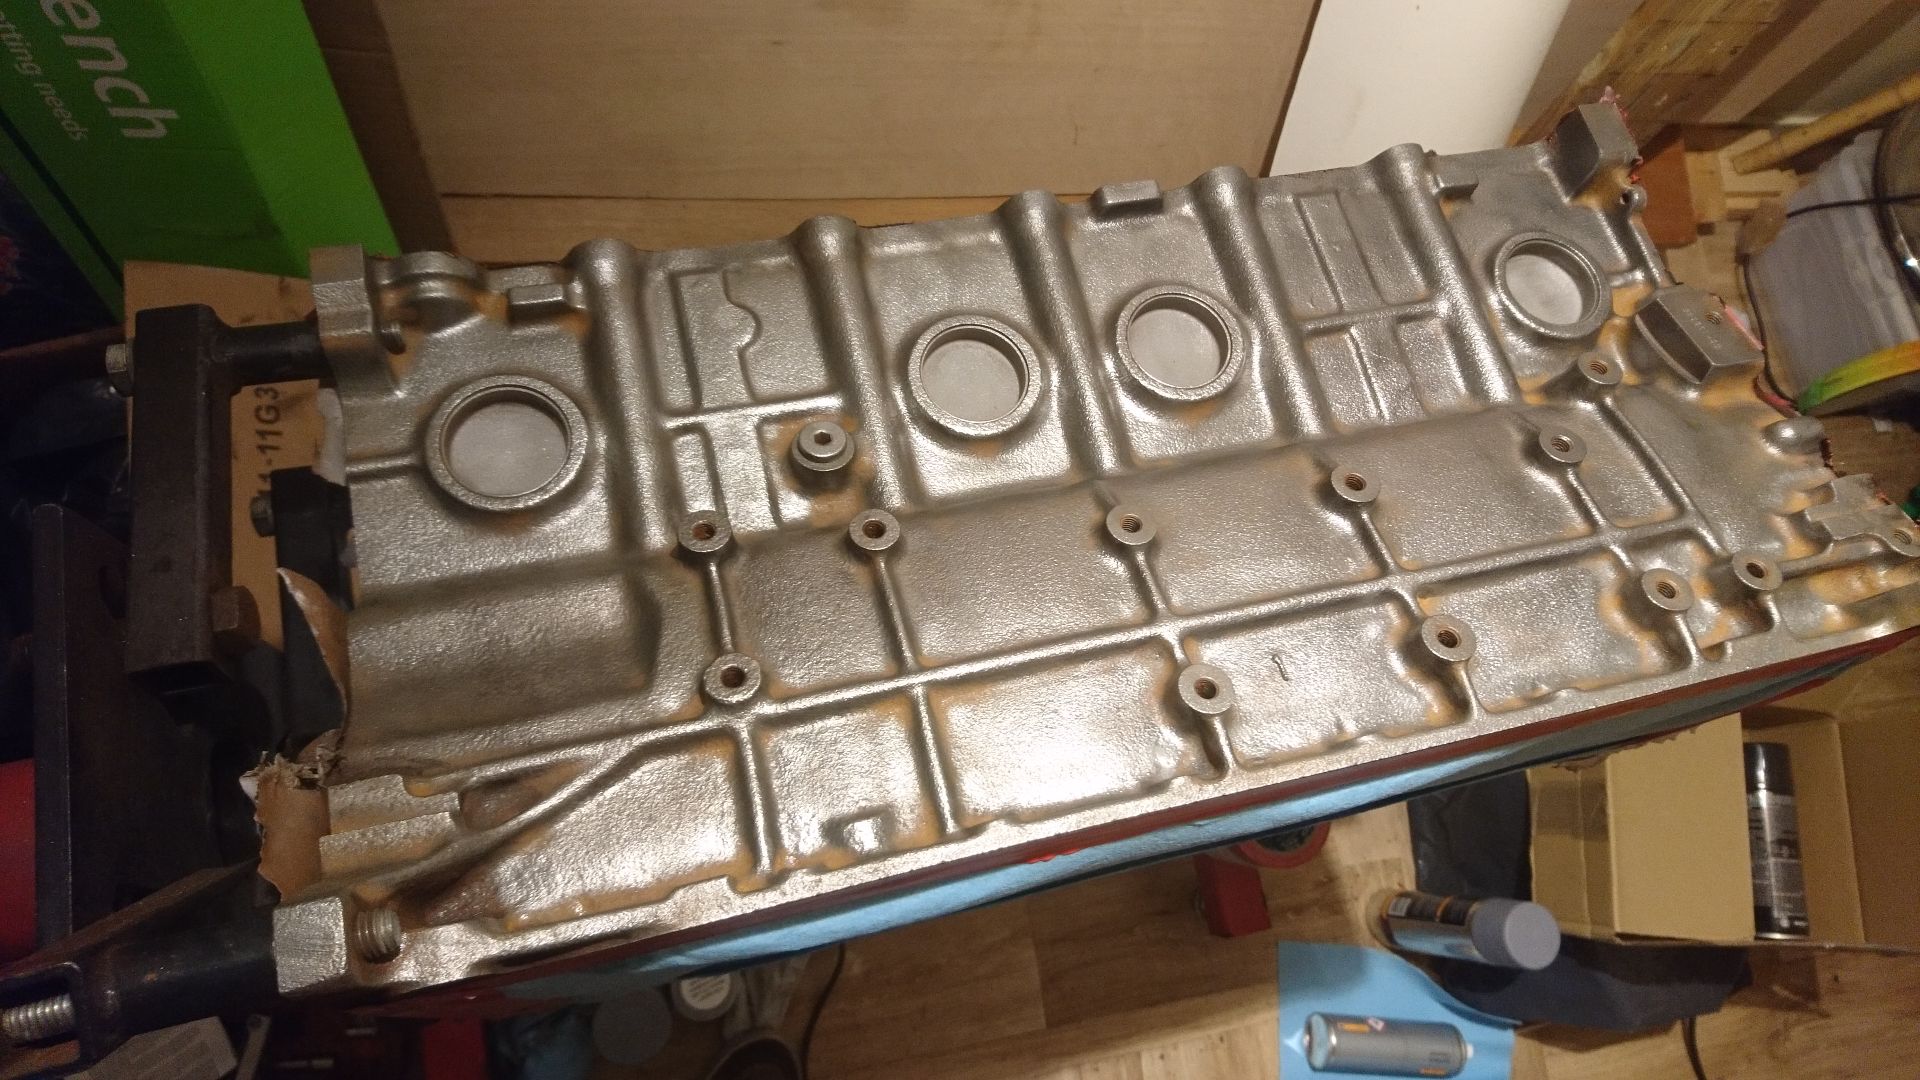
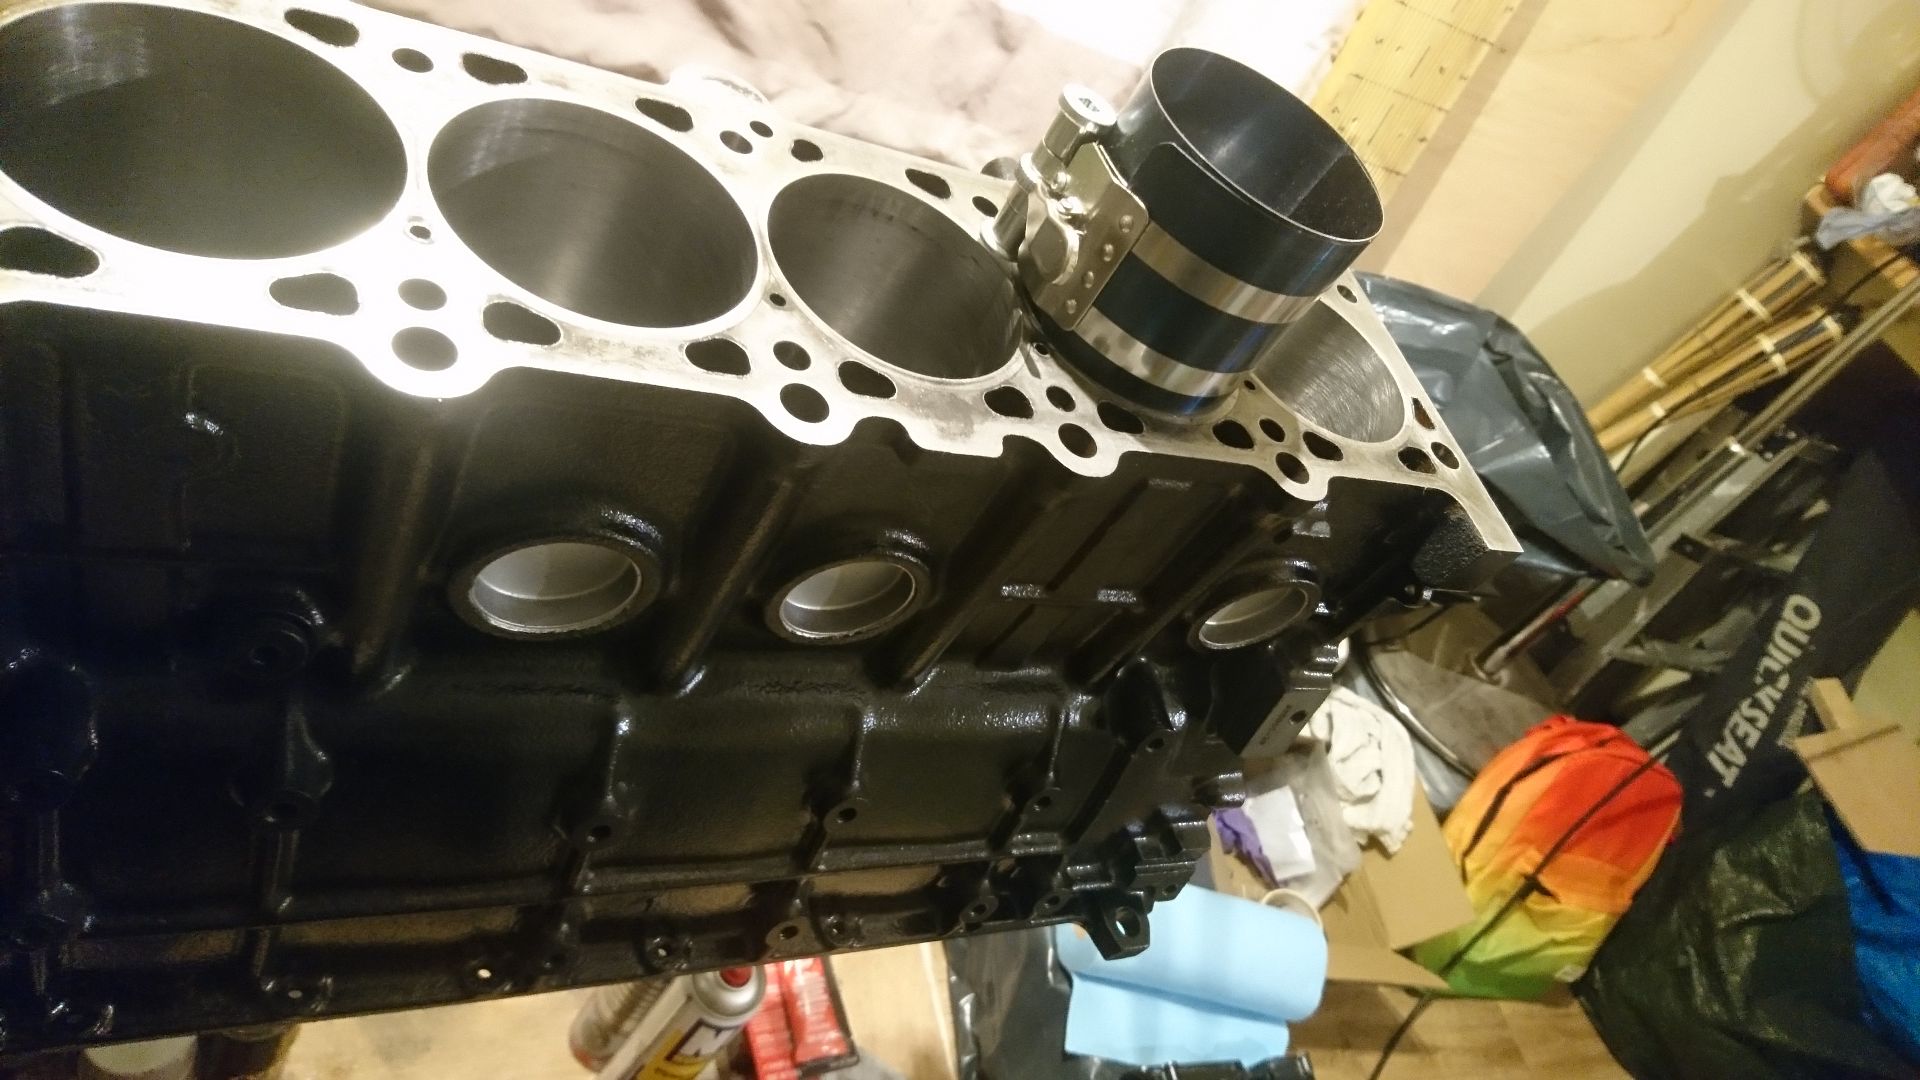
The block came back from the sandblaster's... looking very bare!
It was unfortunately full of s t where they'd failed to actually block off the bottom.
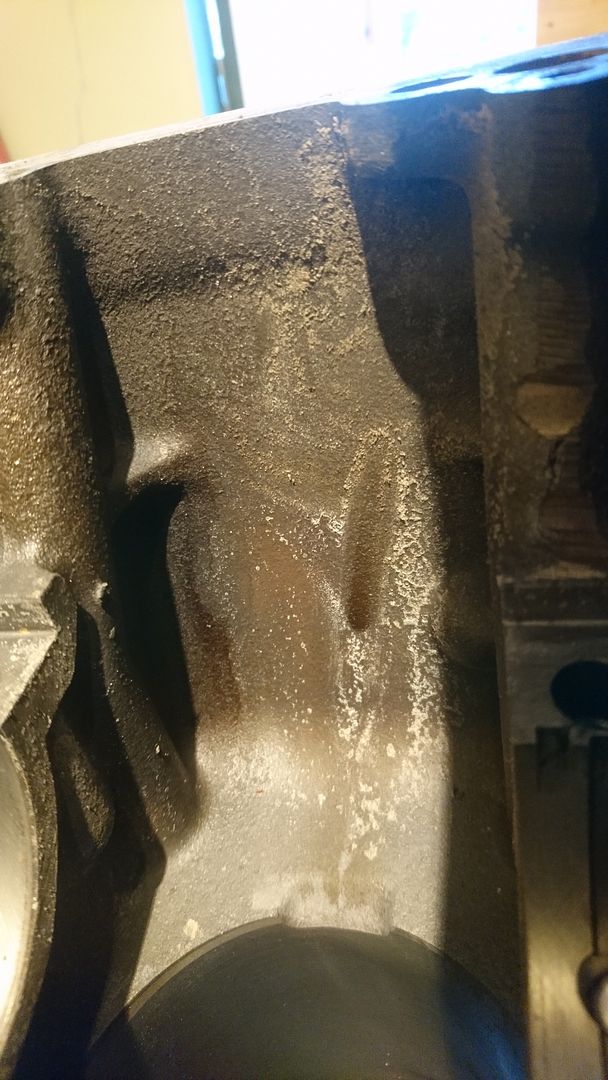
So I cleaned it.
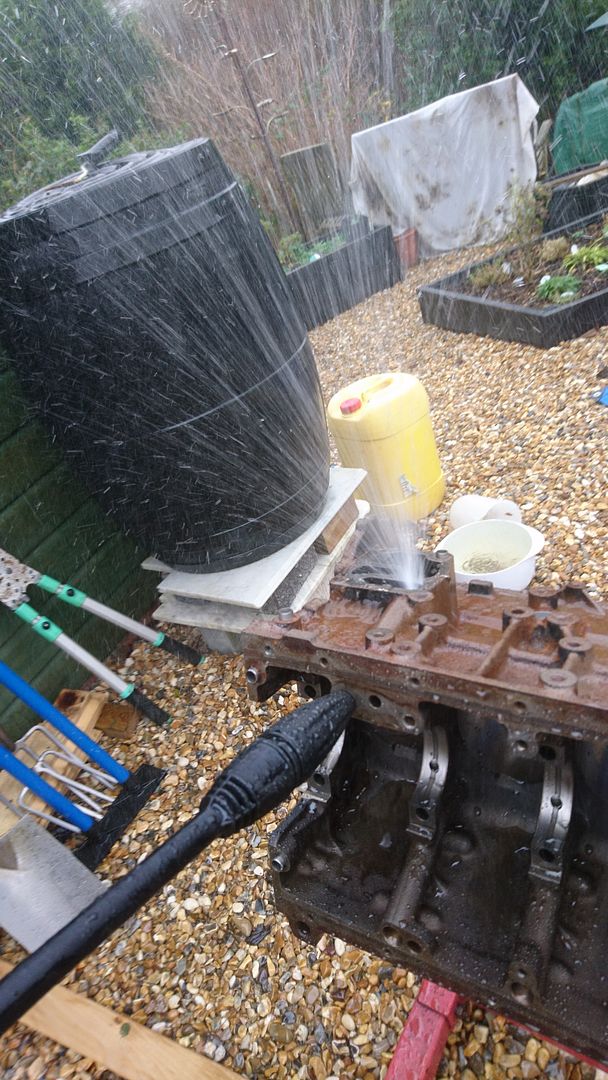
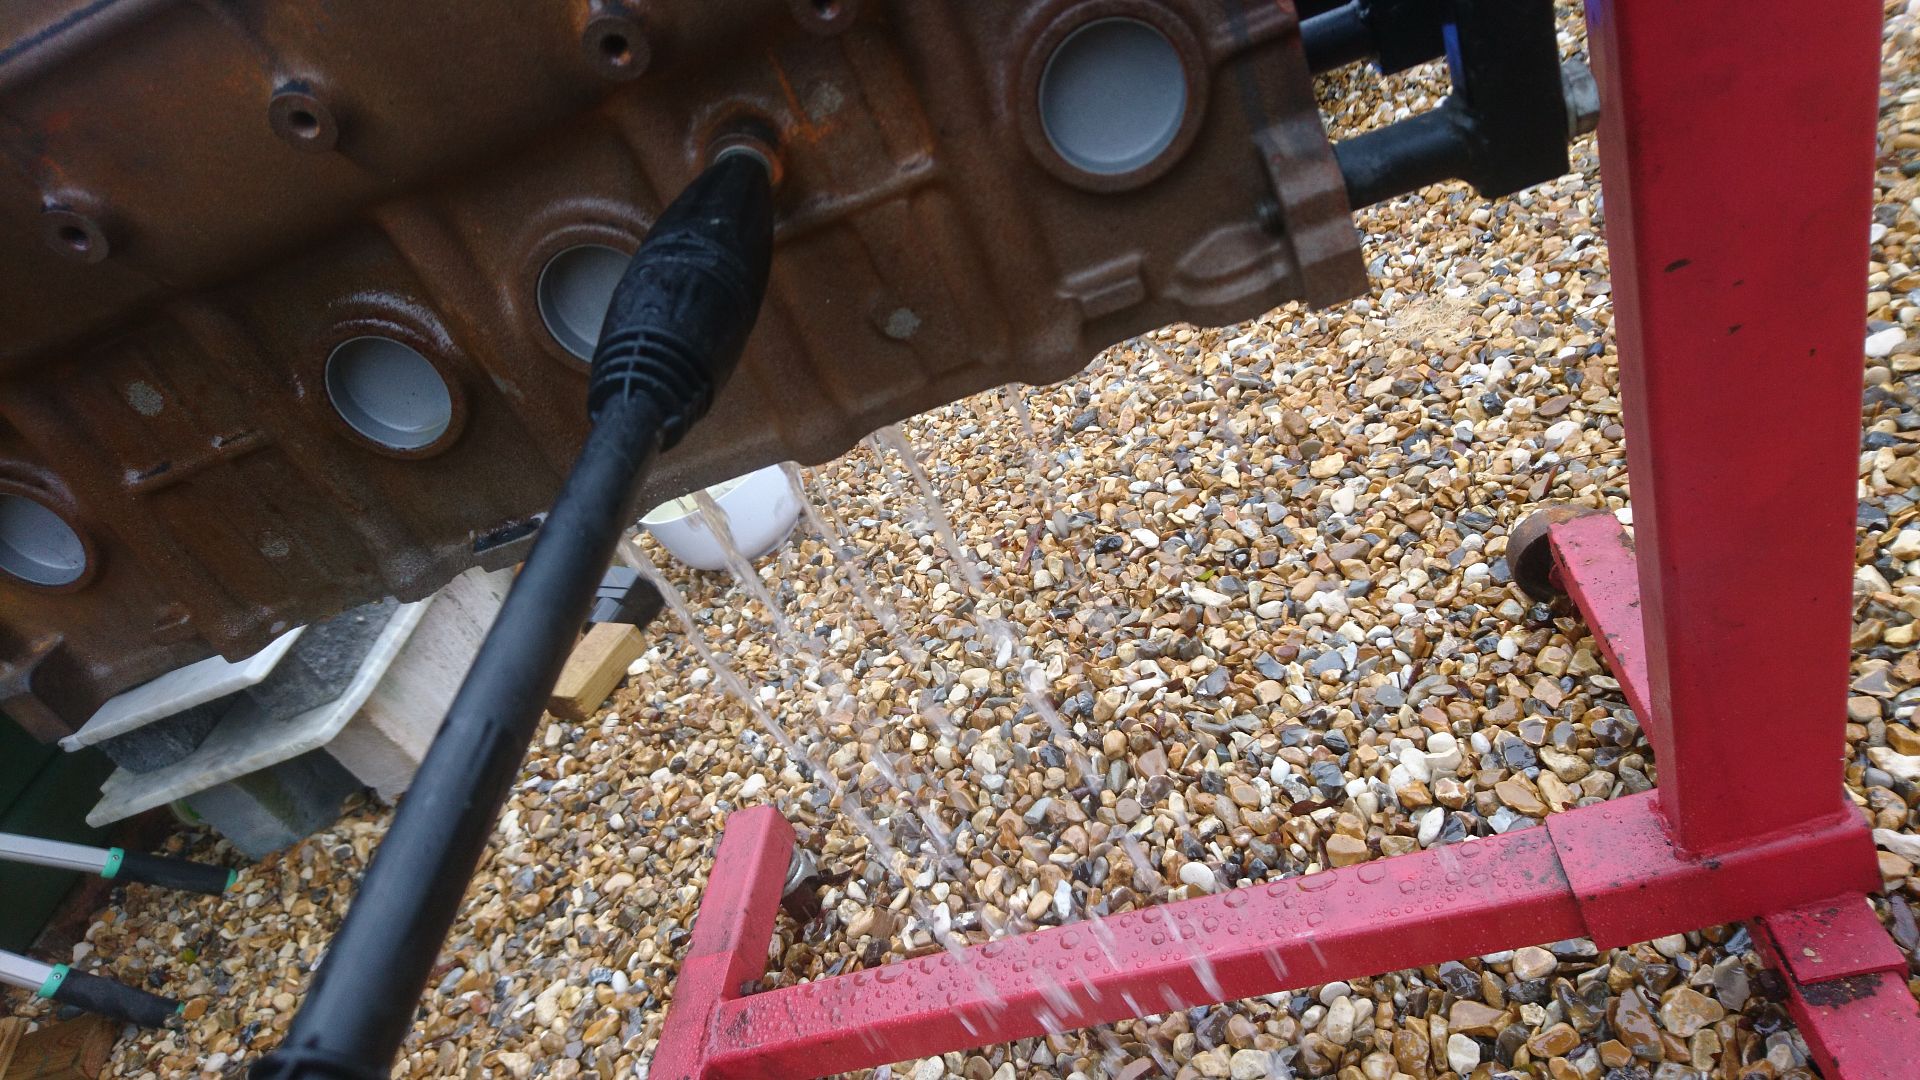
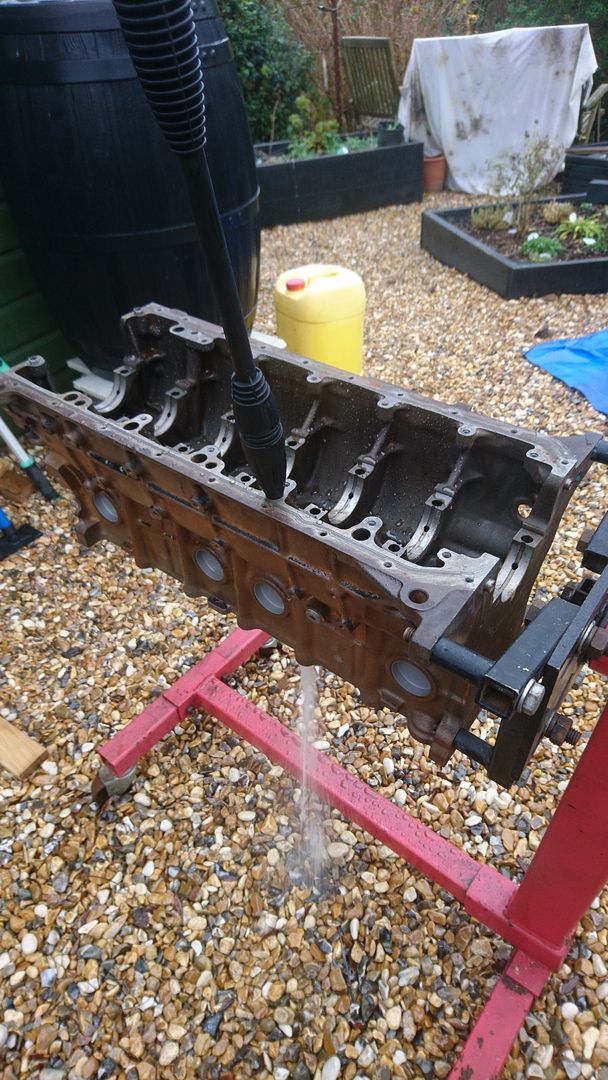
And dried it.
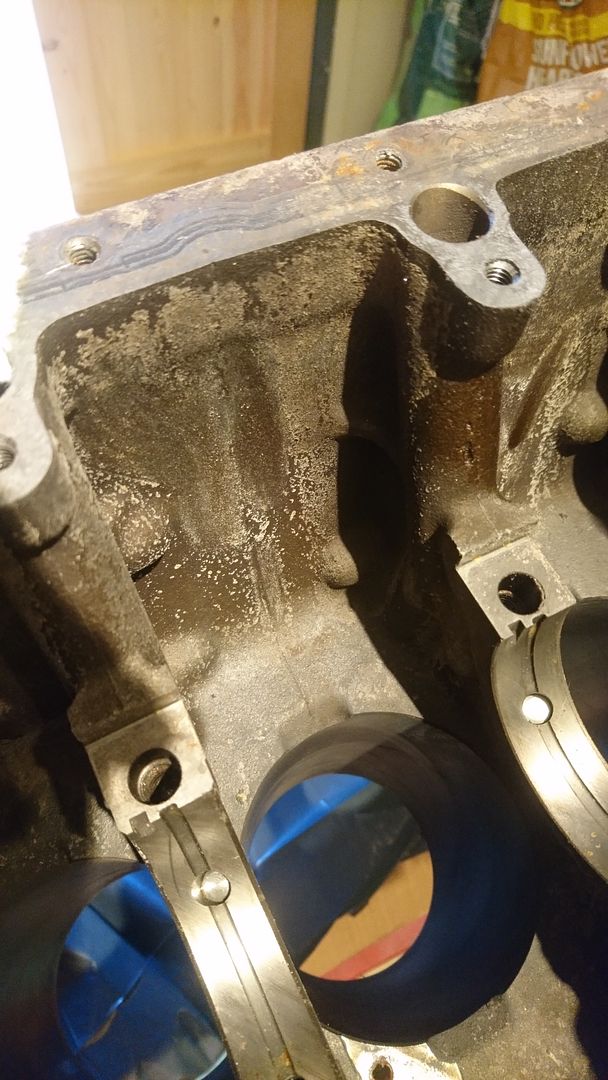
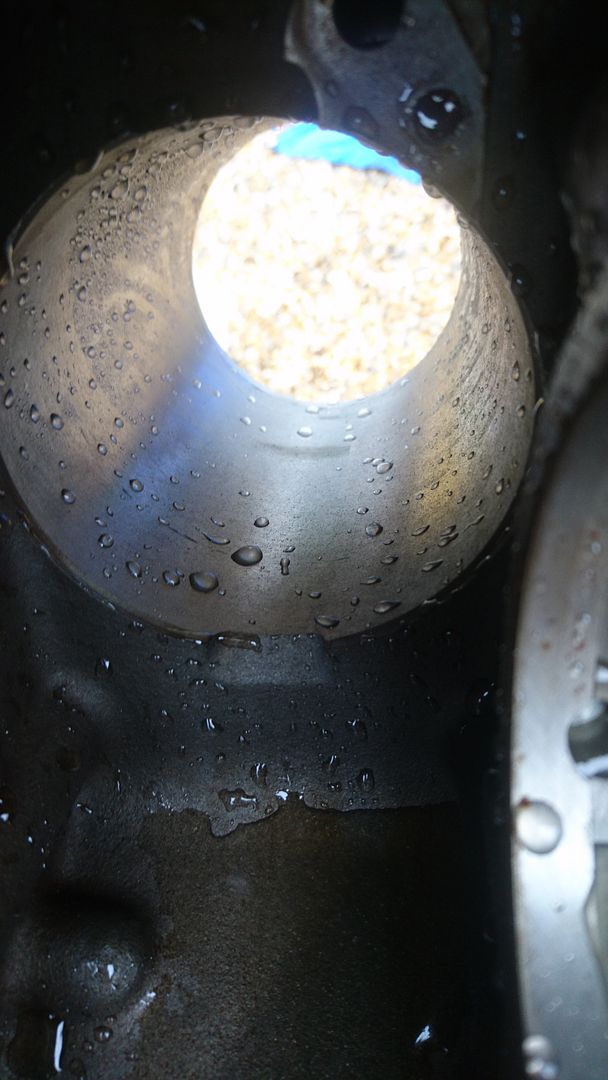
Then I noticed that *every single* cylinder had some sort of issue, bearing in mind that the block had just come back from being honed... I was not impressed.

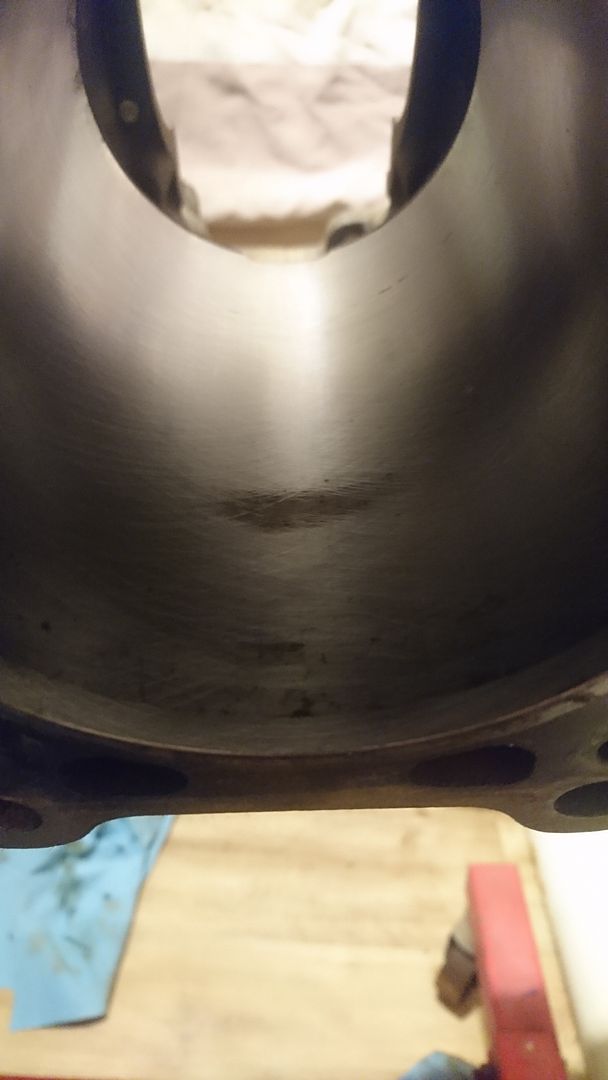
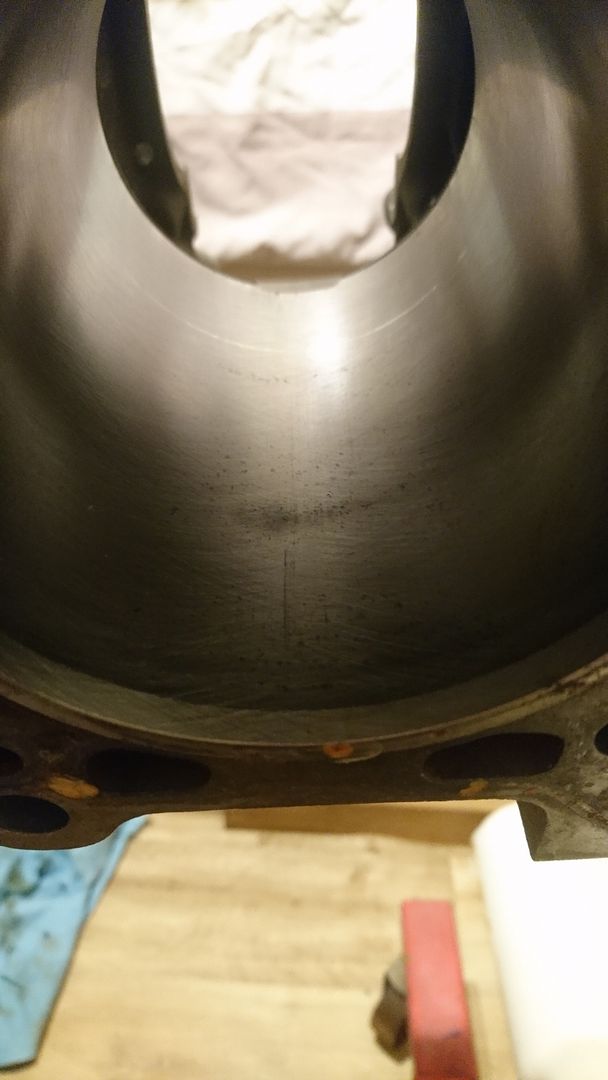
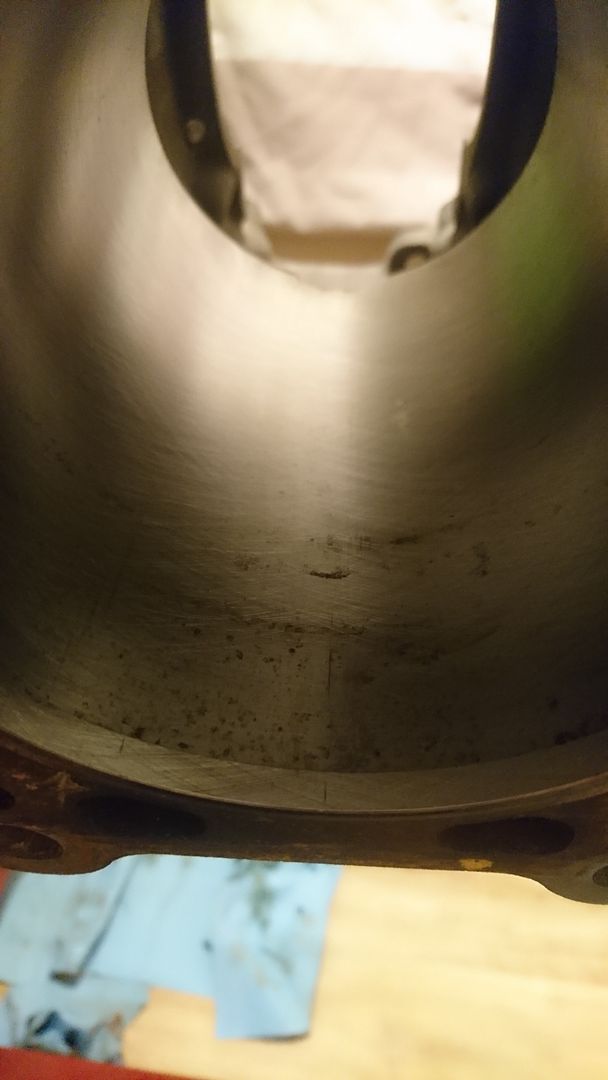
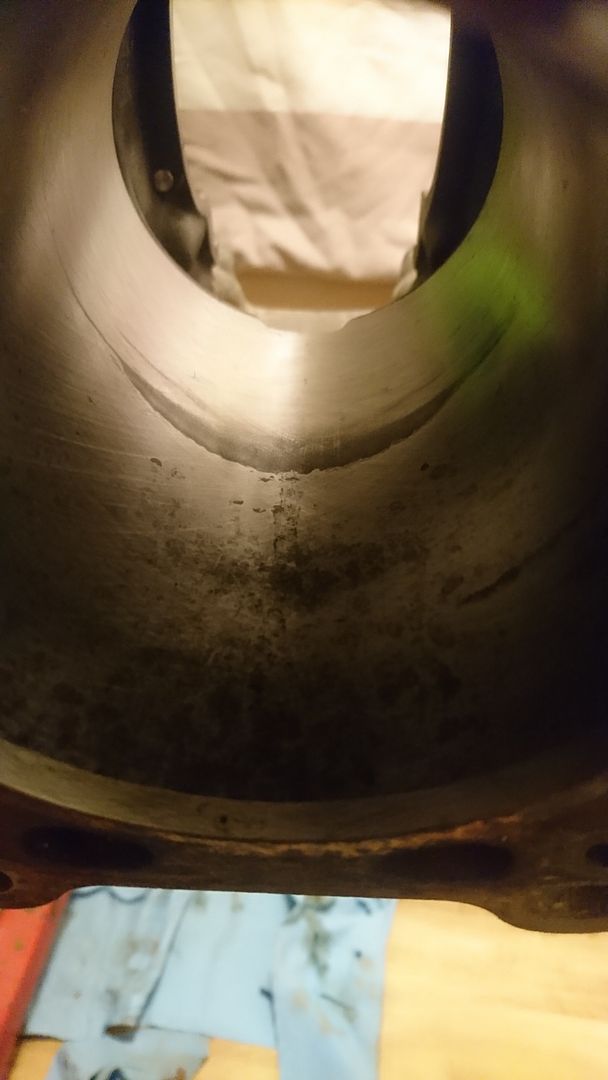
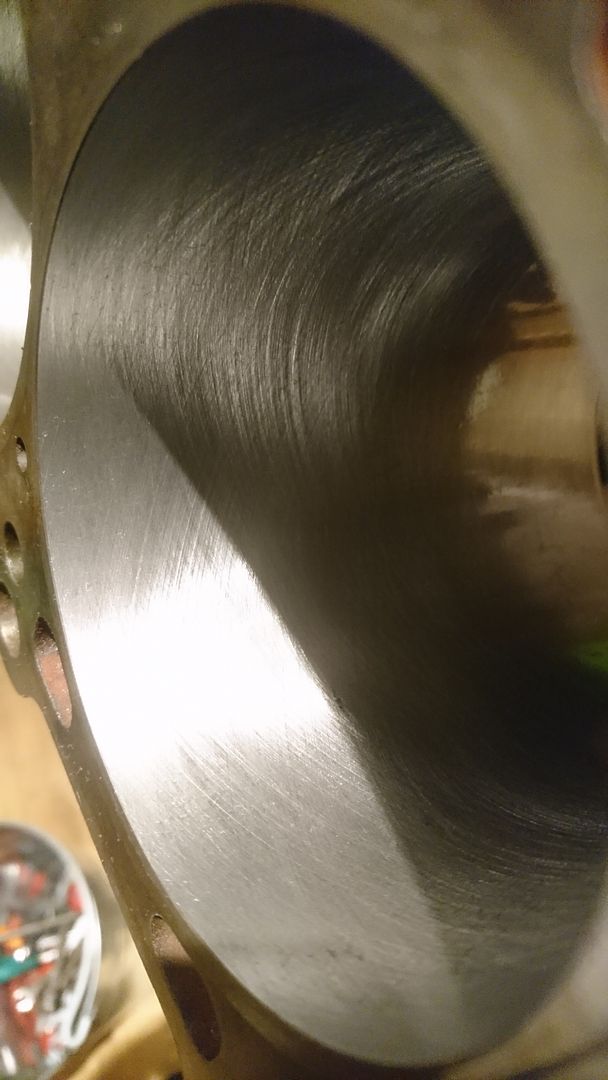
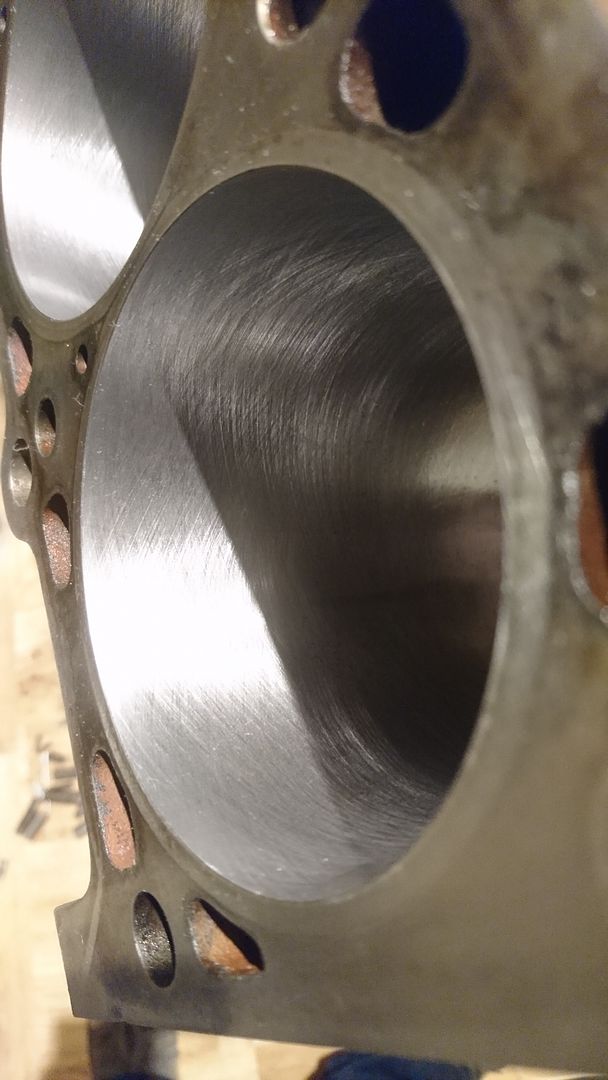
Bother. So I sent it to an engine shop that weren't dogst, and hey presto, nice clean bores.
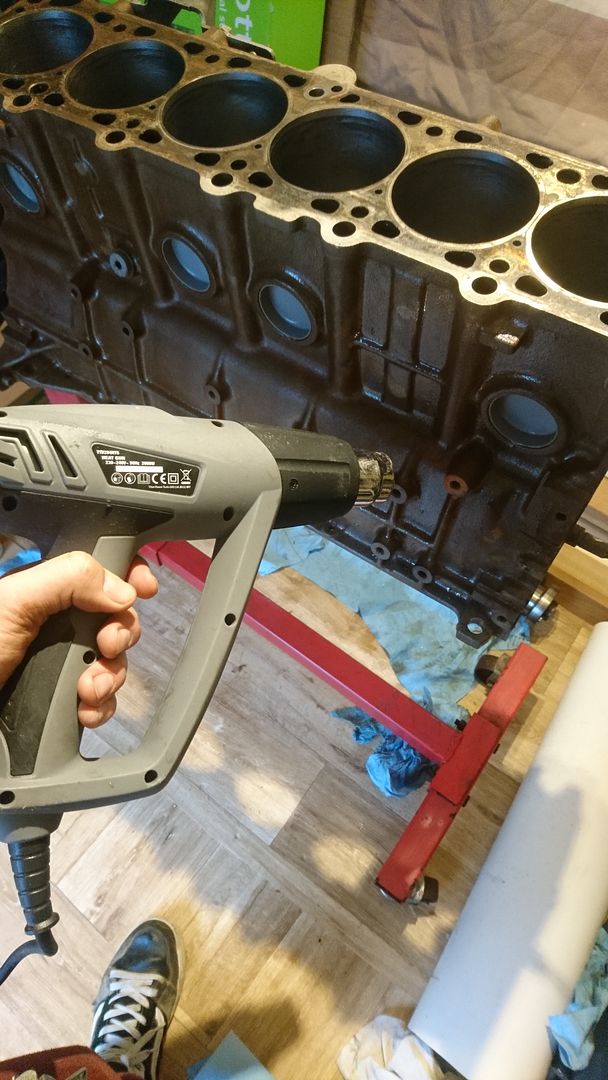
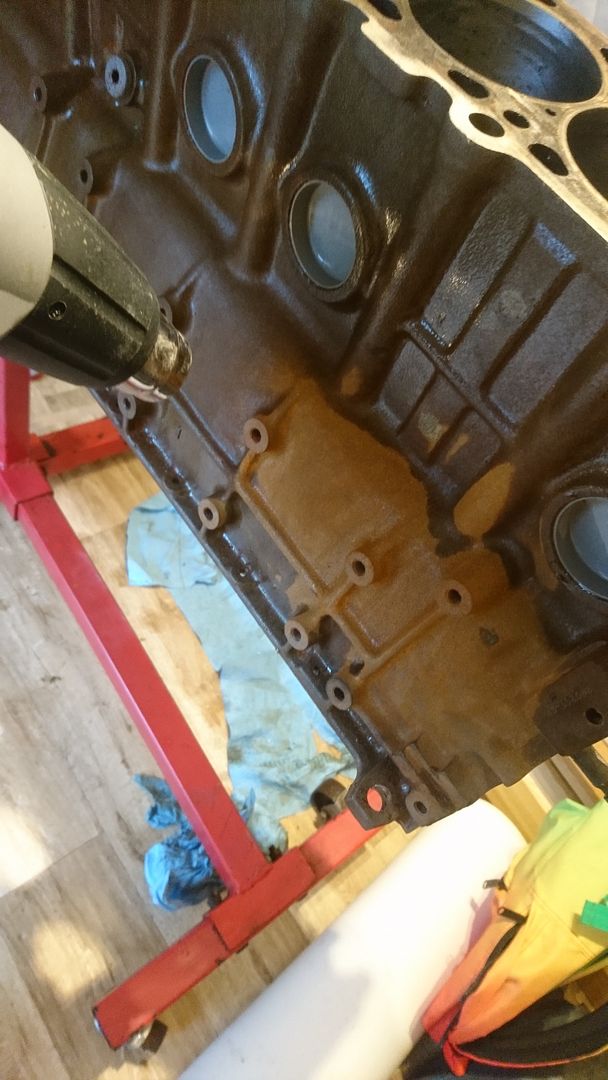
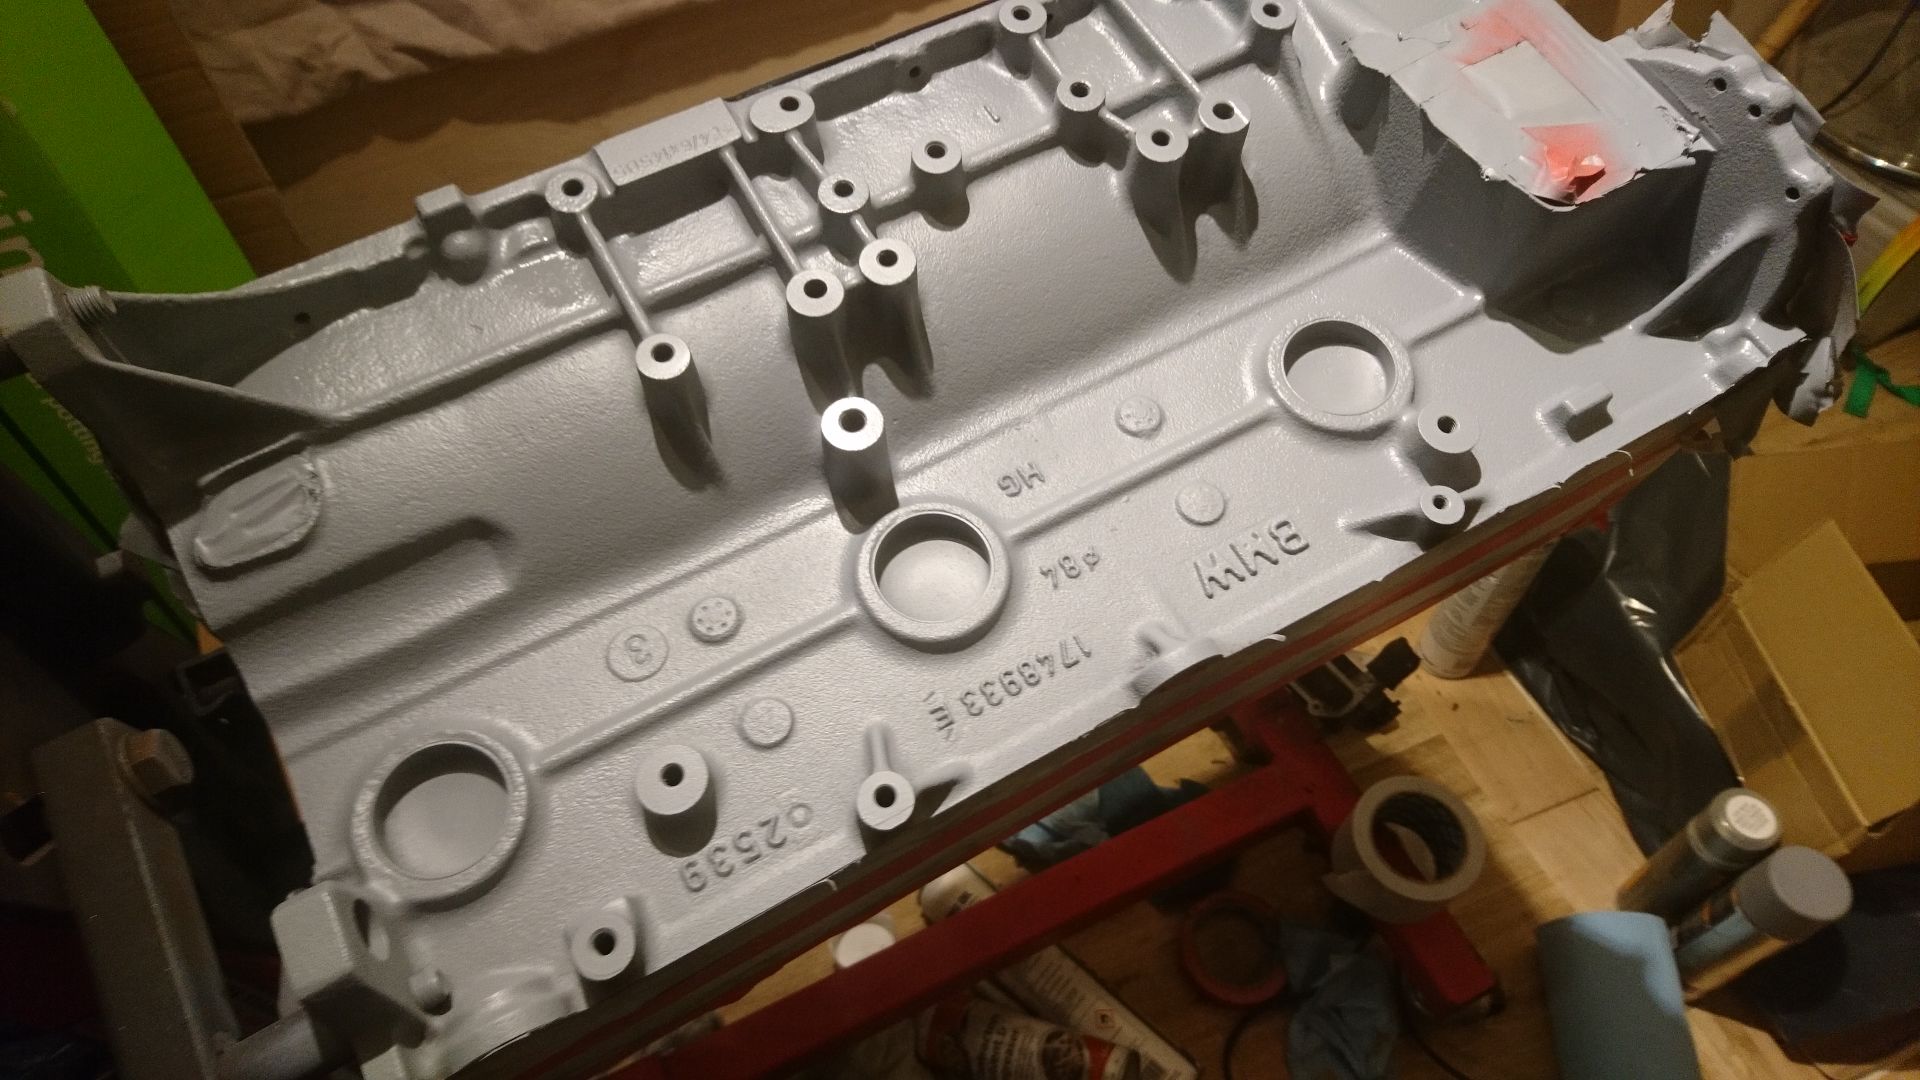
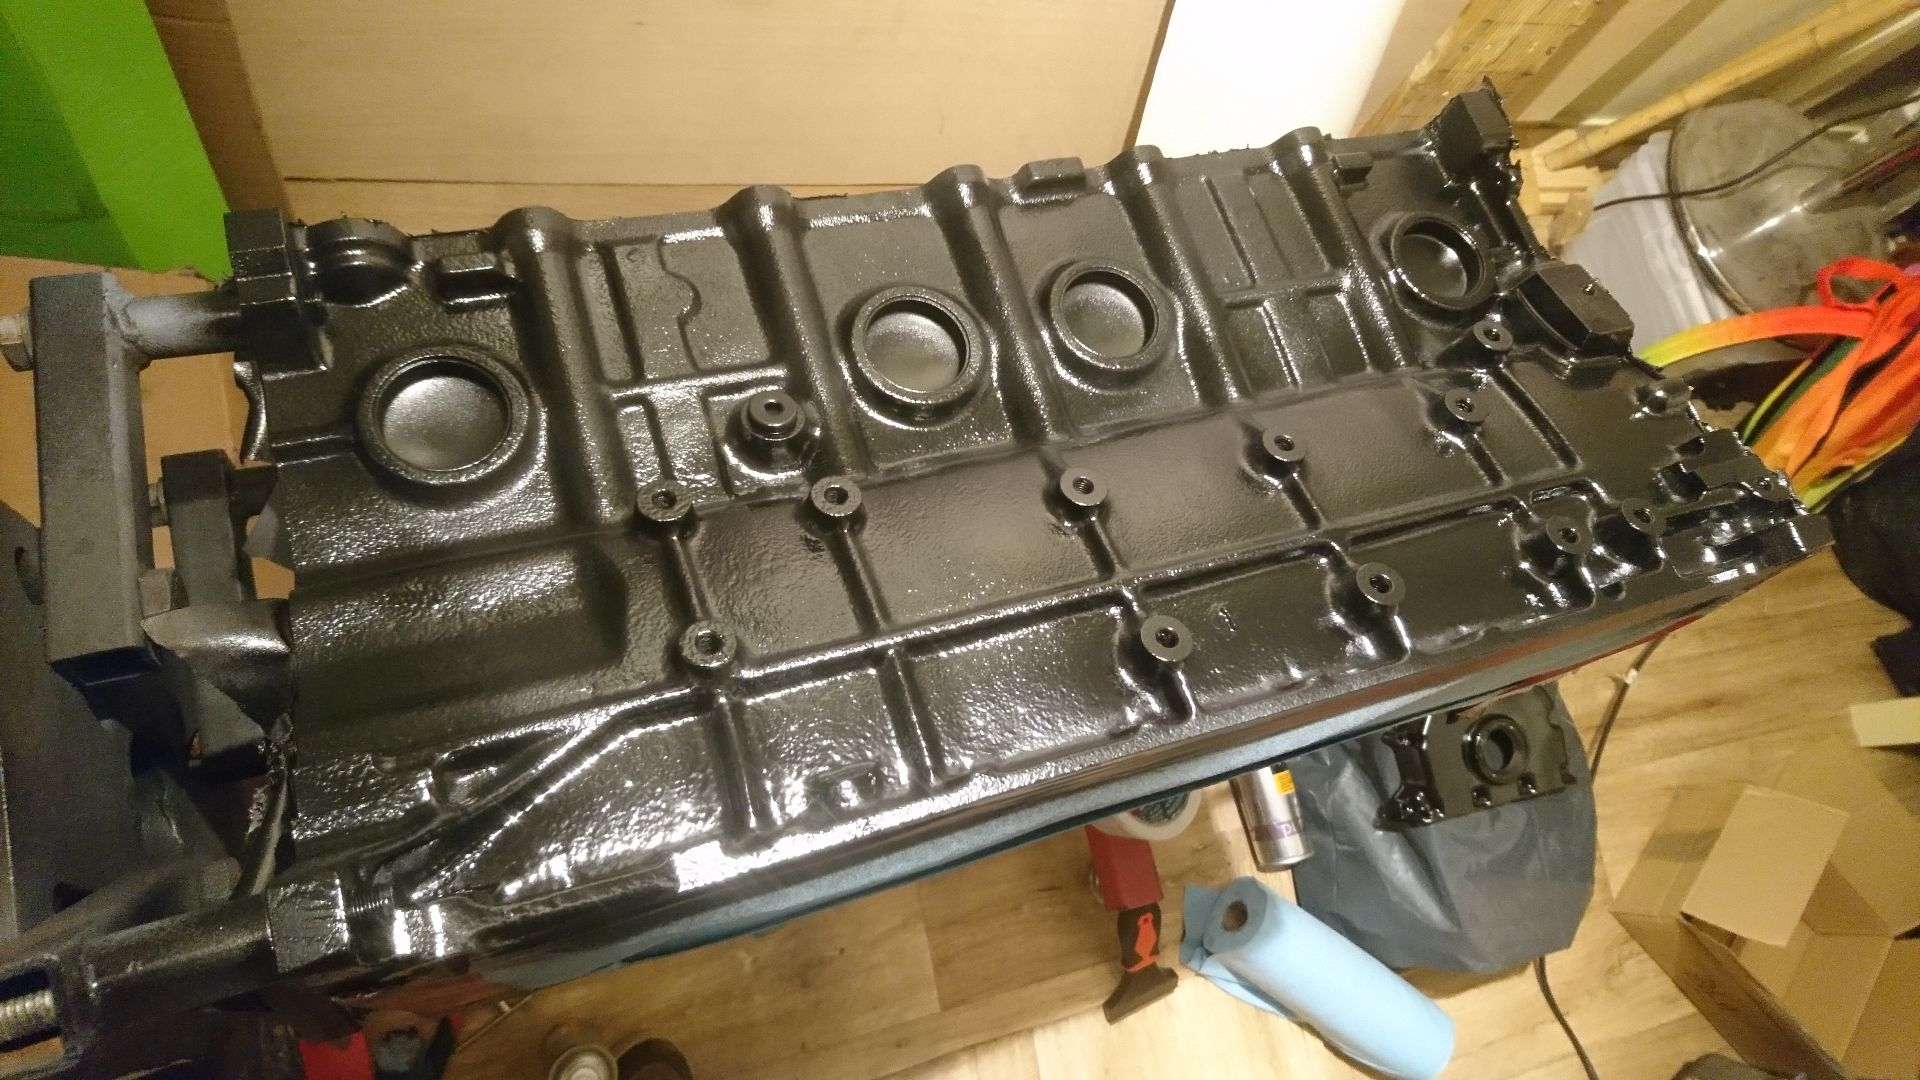
Now to paint it...
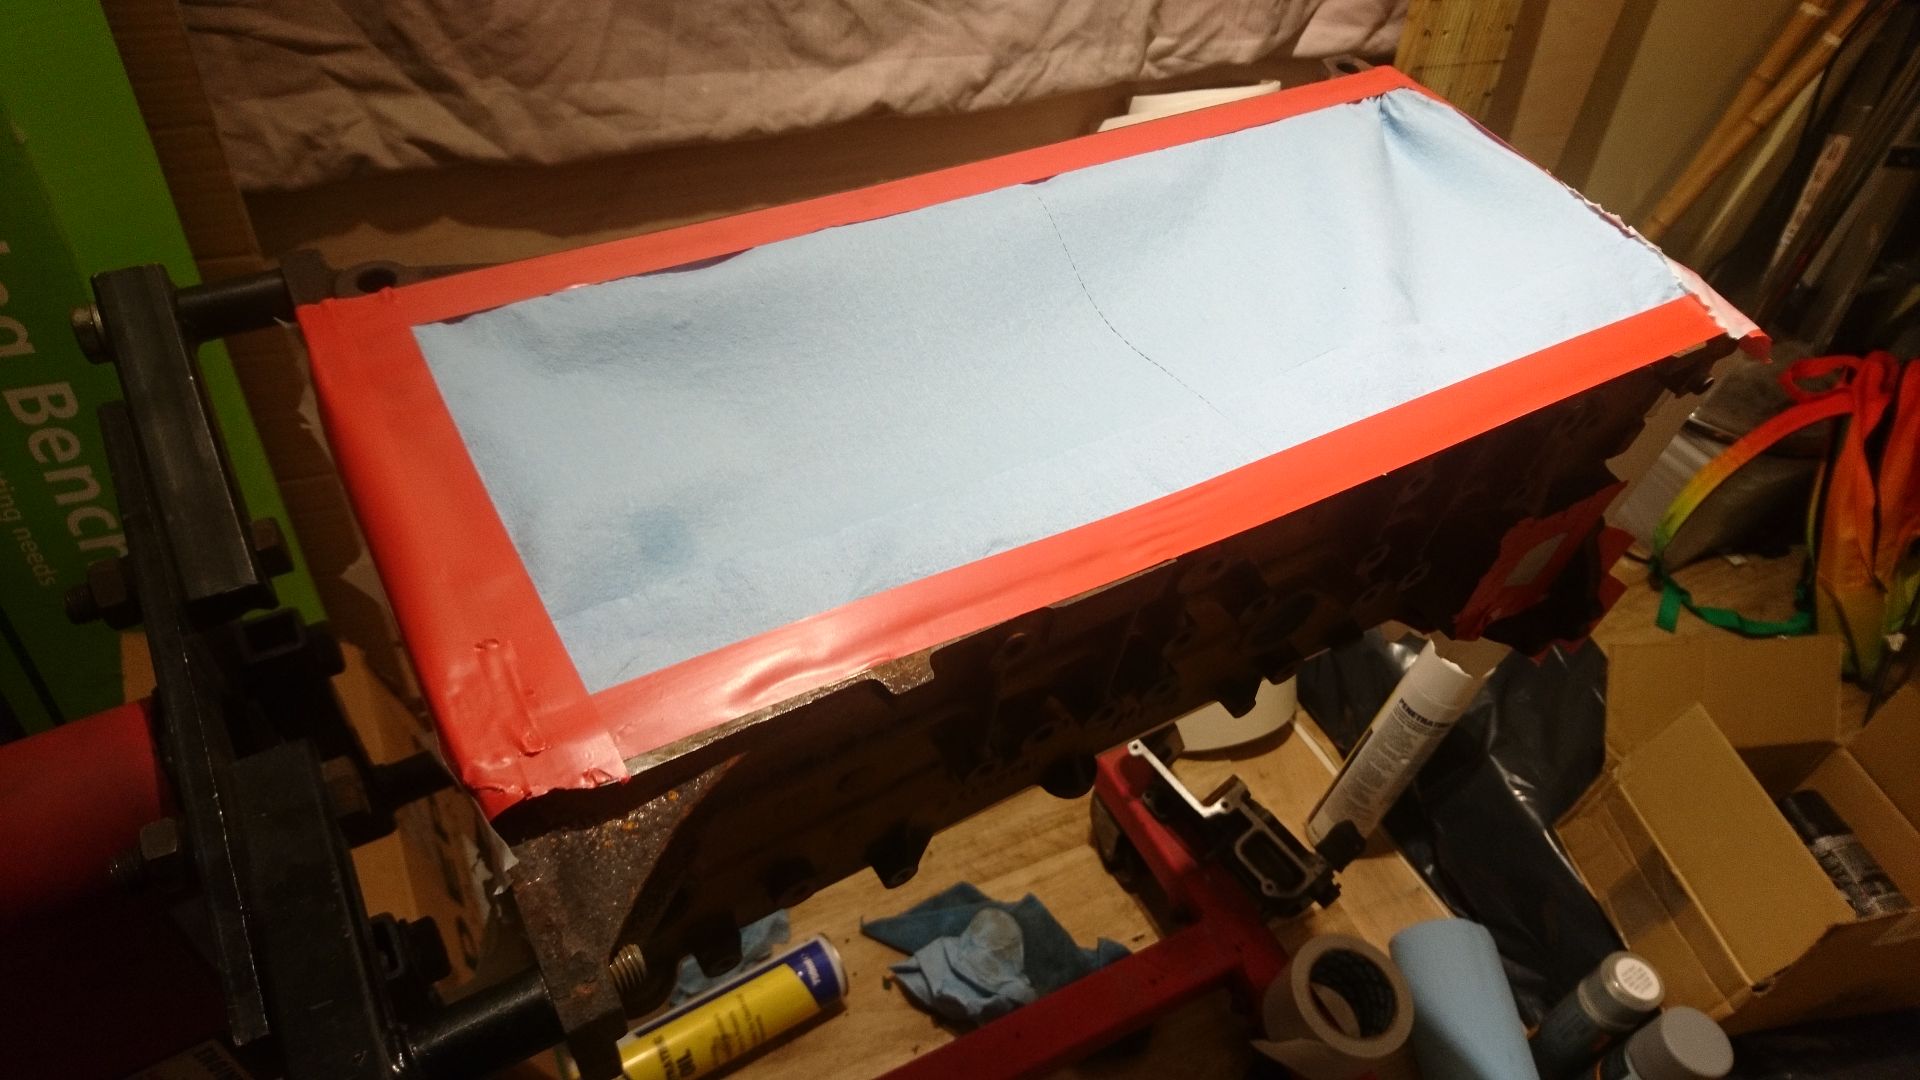
All covered and ready to be sprayed appropriately... had to de-rust it first, leaving a beautiful rustic (ha!) finish that I'd have loved to have preserved.
Primed...
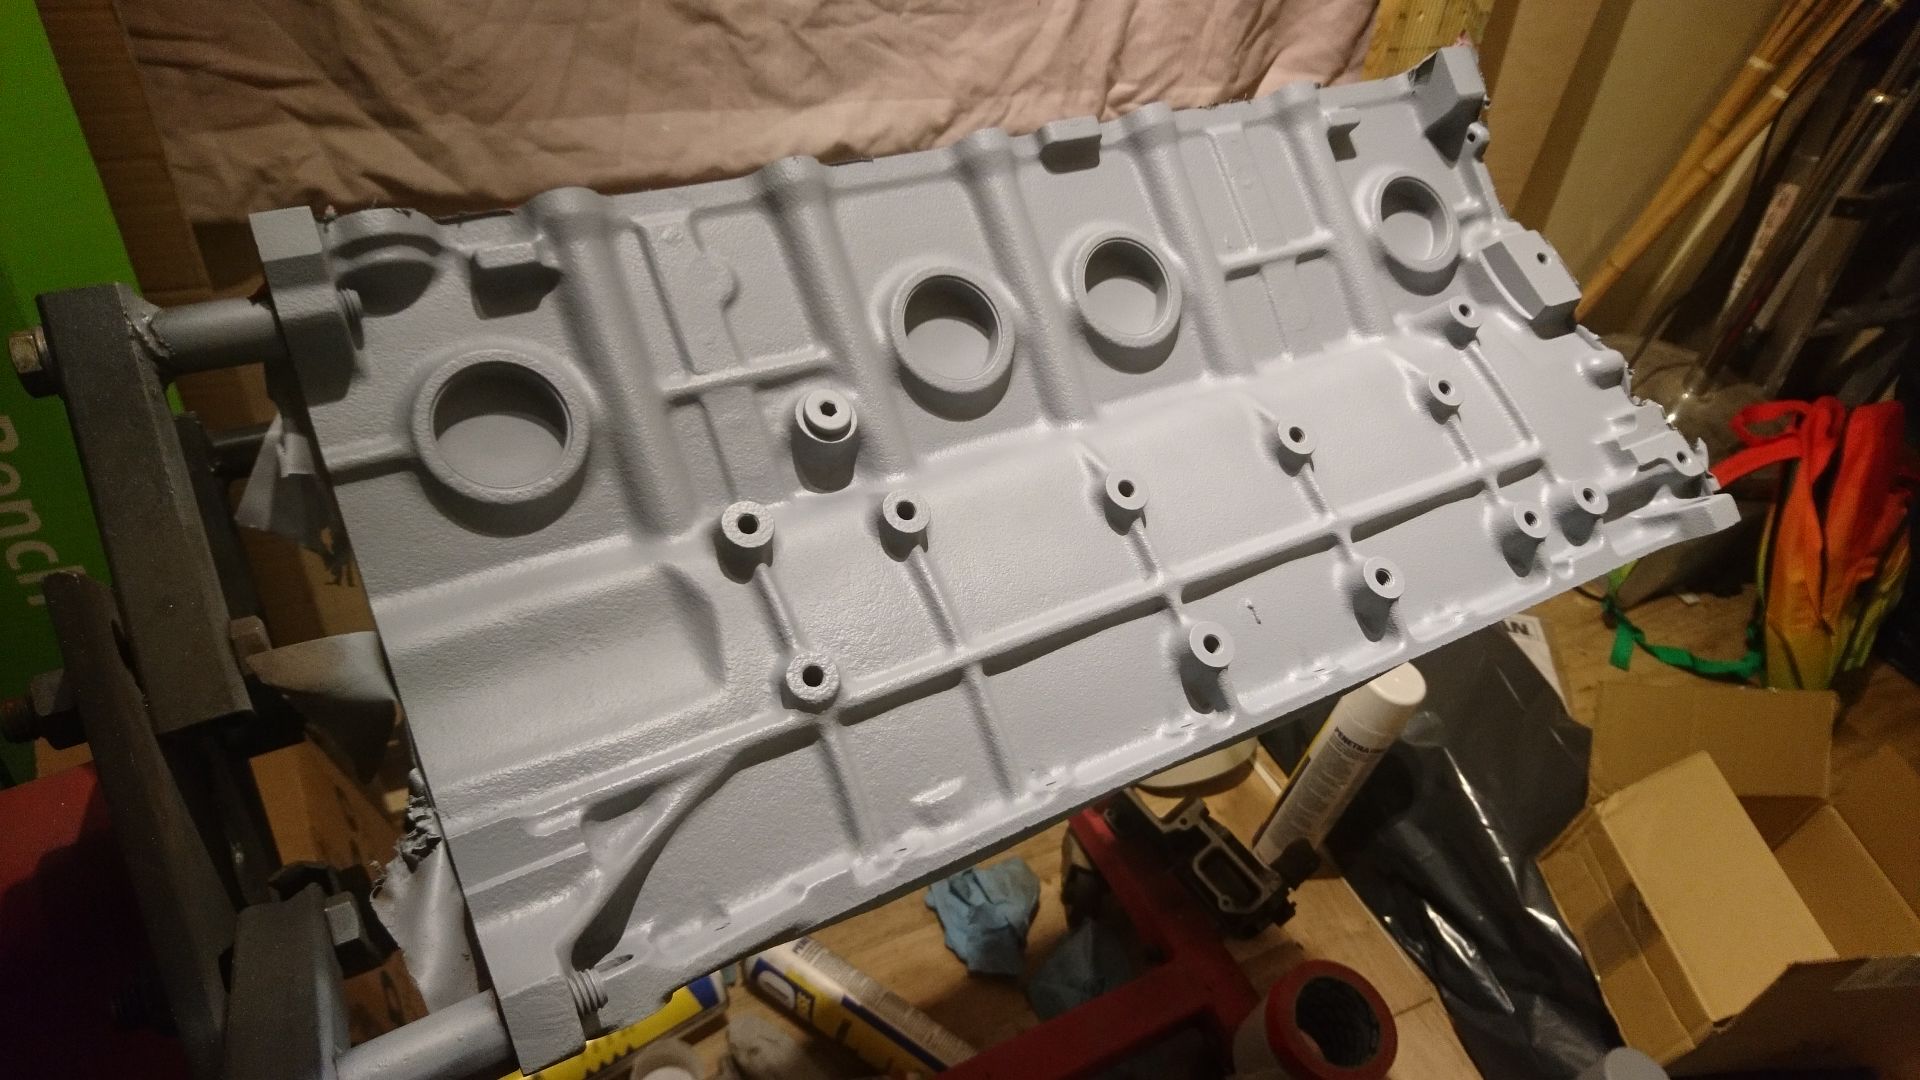
A coat or two of jet black...
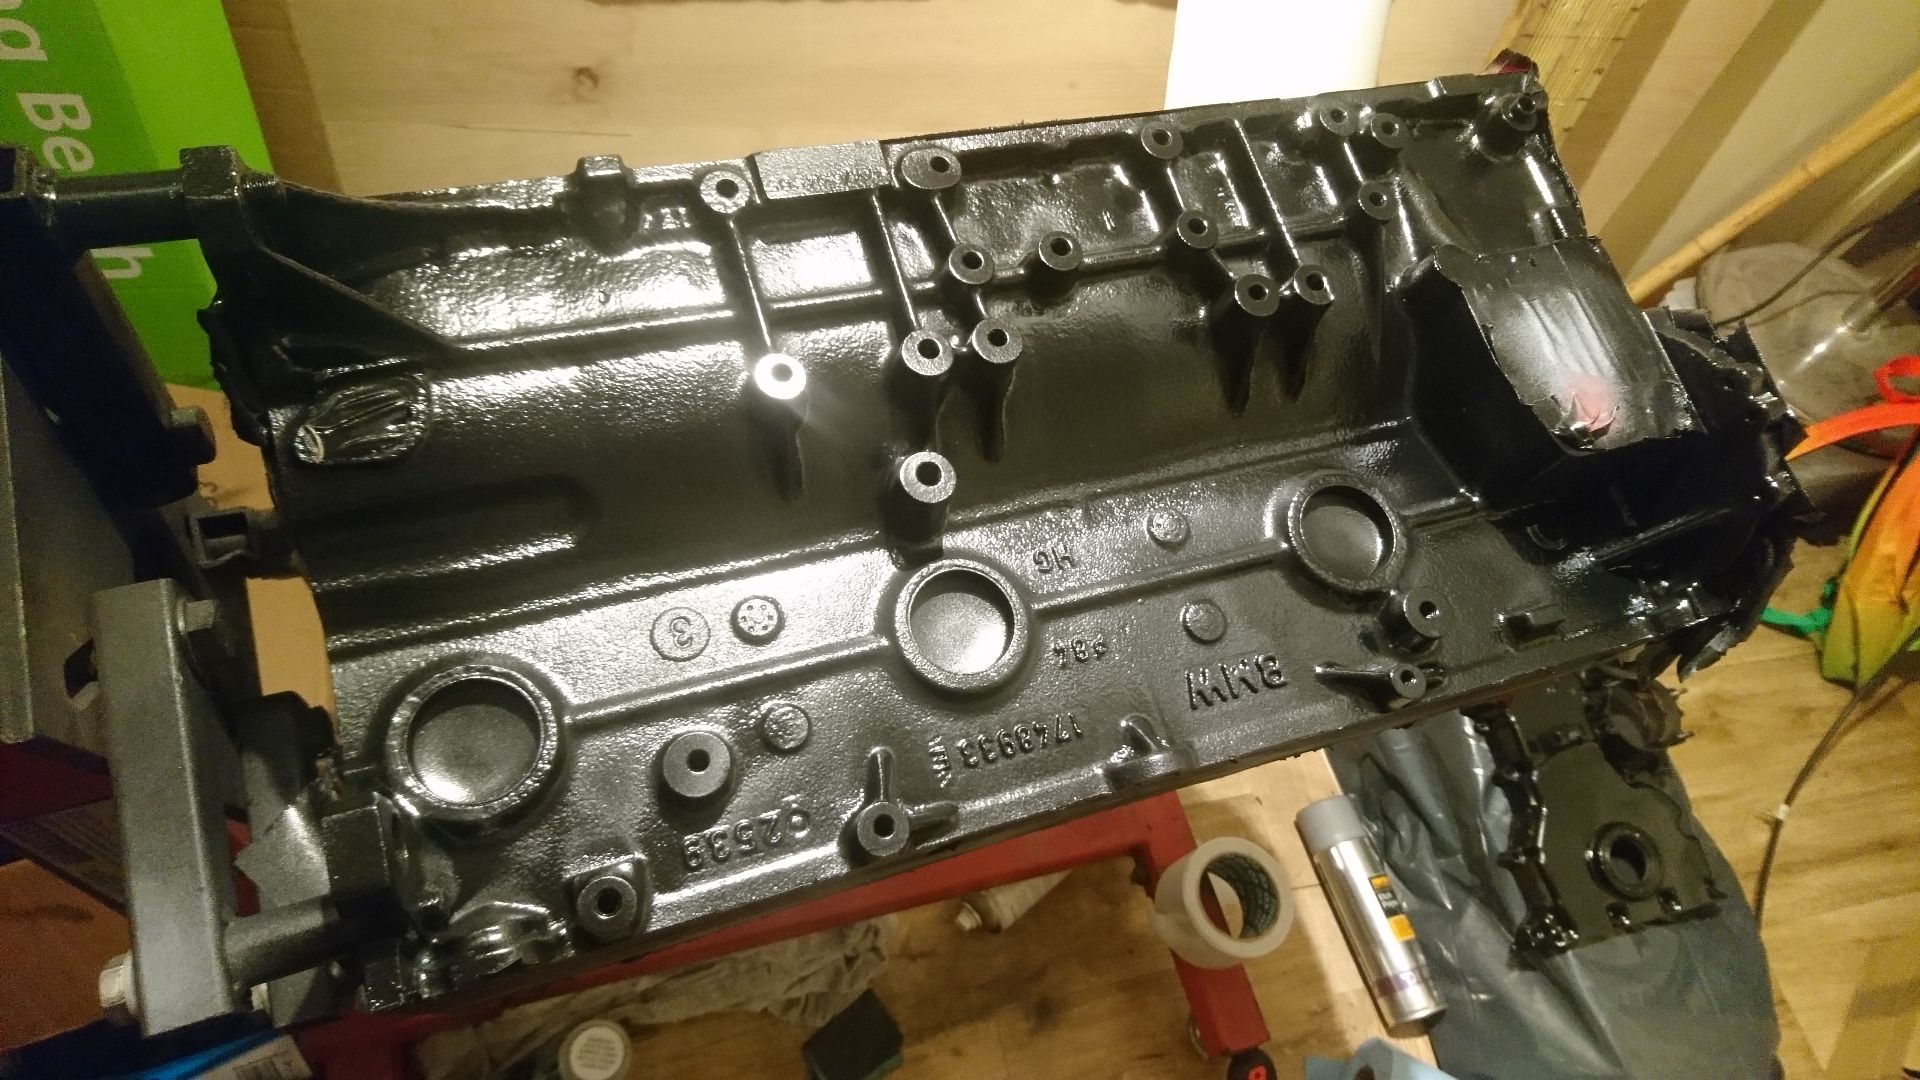

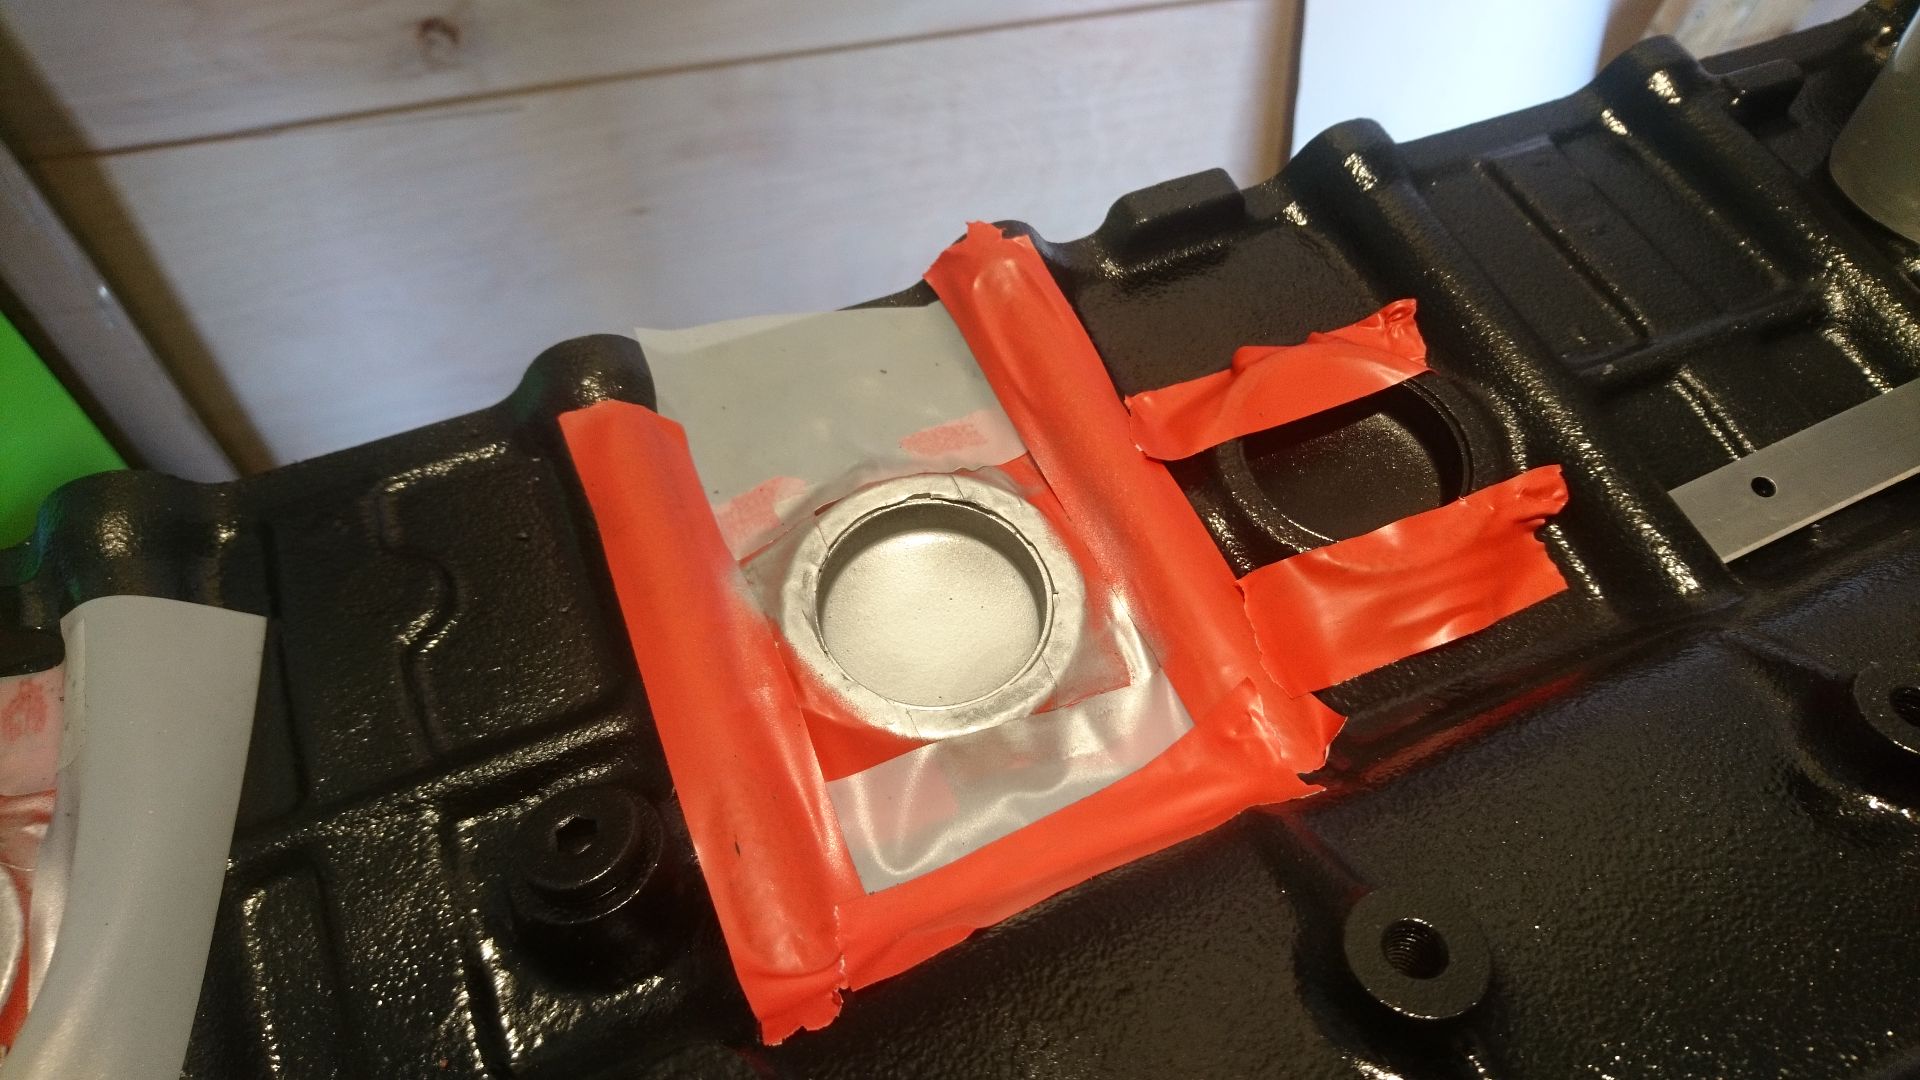
Then did the core plugs...
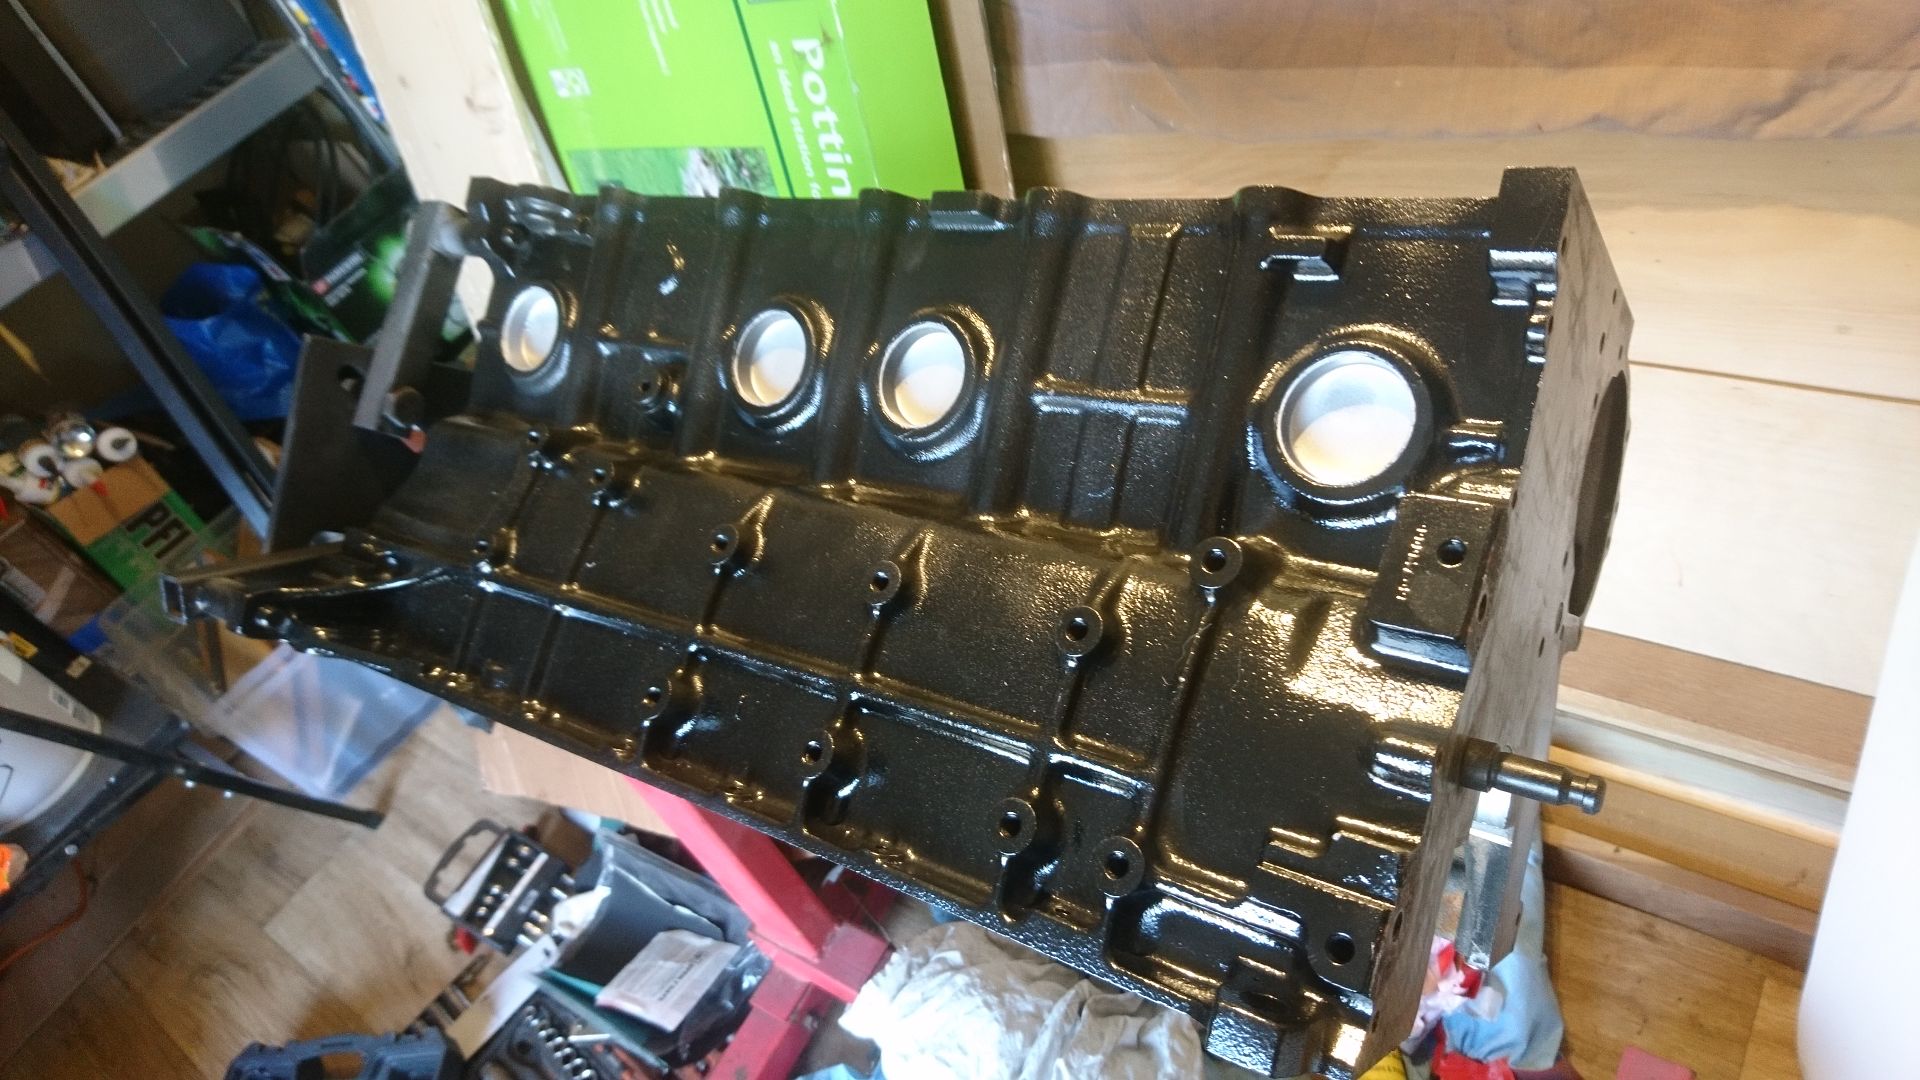
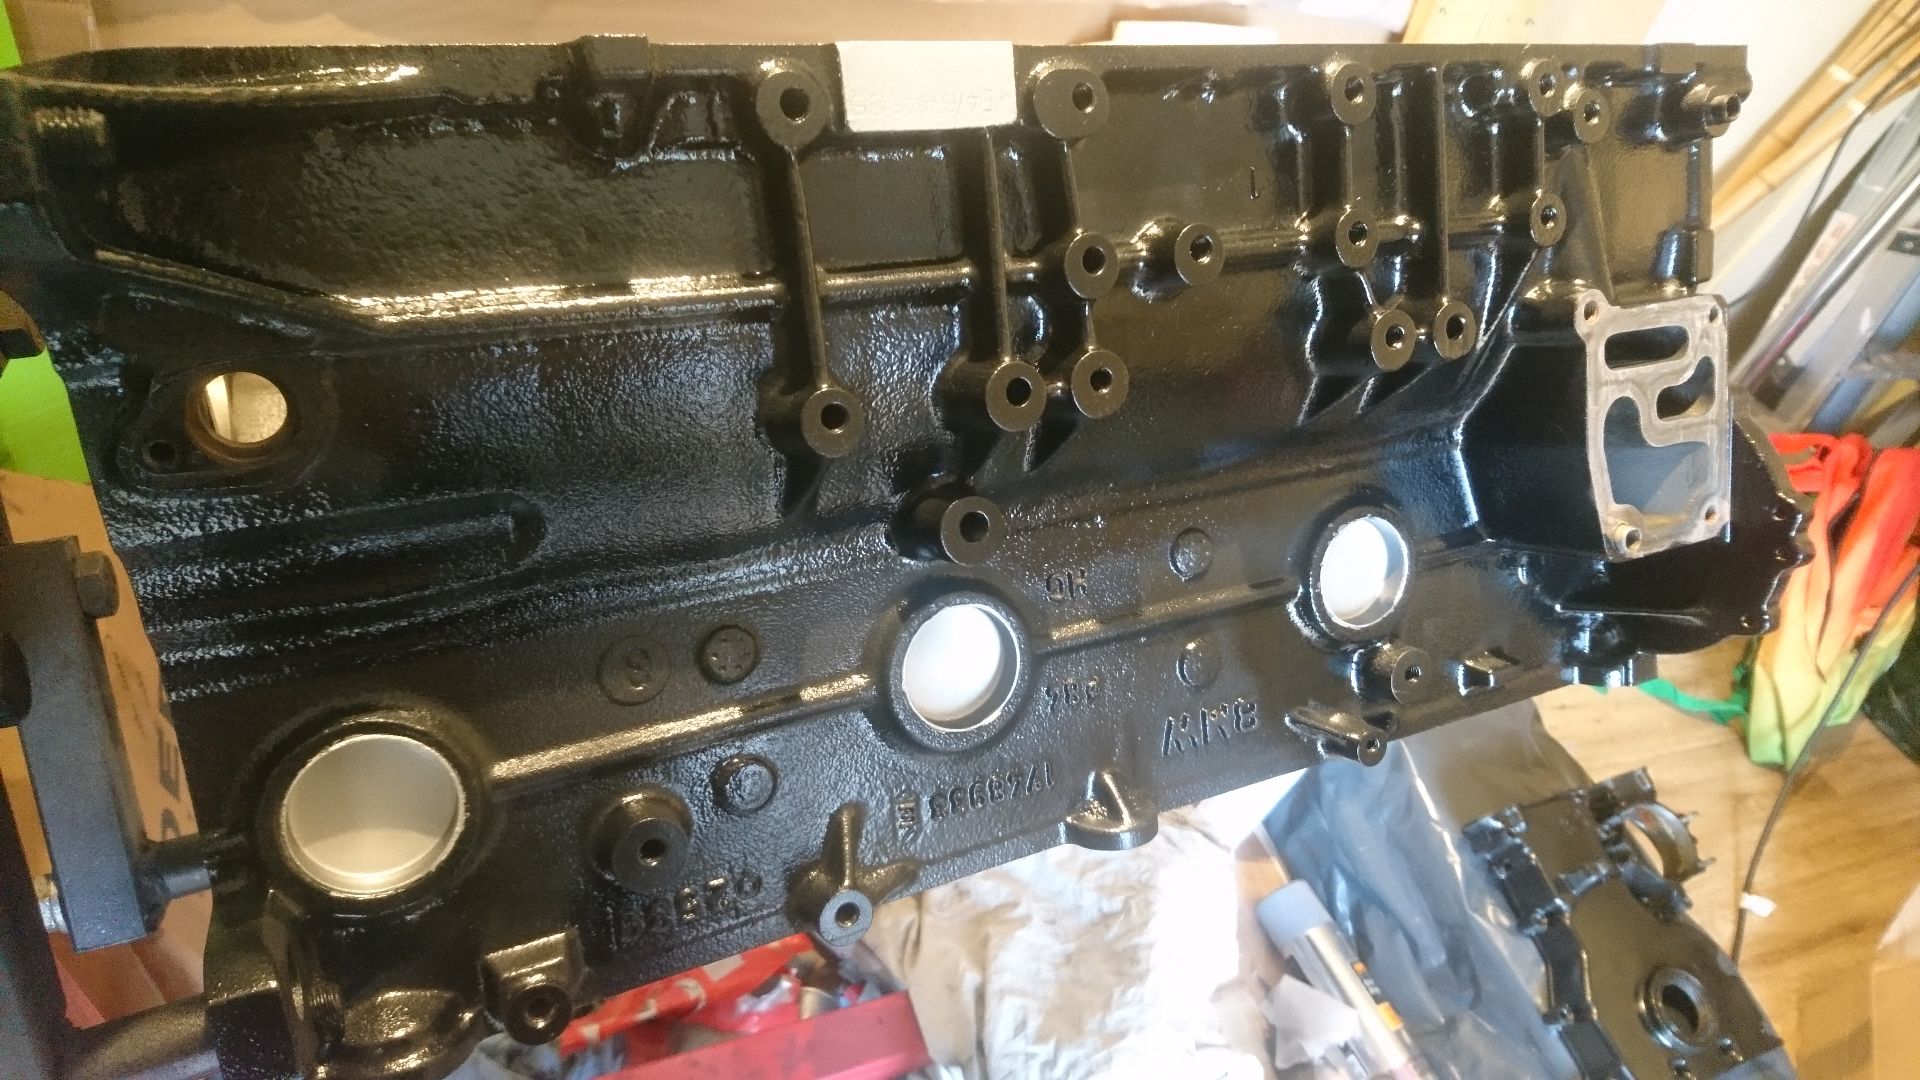
So now it's fully painted, let's move onto the grubby mechanical bits...
The block came back from the sandblaster's... looking very bare!


It was unfortunately full of s
t where they'd failed to actually block off the bottom.

So I cleaned it.


And dried it.


Then I noticed that *every single* cylinder had some sort of issue, bearing in mind that the block had just come back from being honed... I was not impressed.


Bother. So I sent it to an engine shop that weren't dogs
t, and hey presto, nice clean bores.

Now to paint it...


All covered and ready to be sprayed appropriately... had to de-rust it first, leaving a beautiful rustic (ha!) finish that I'd have loved to have preserved.


Primed...


A coat or two of jet black...


Then did the core plugs...


So now it's fully painted, let's move onto the grubby mechanical bits...
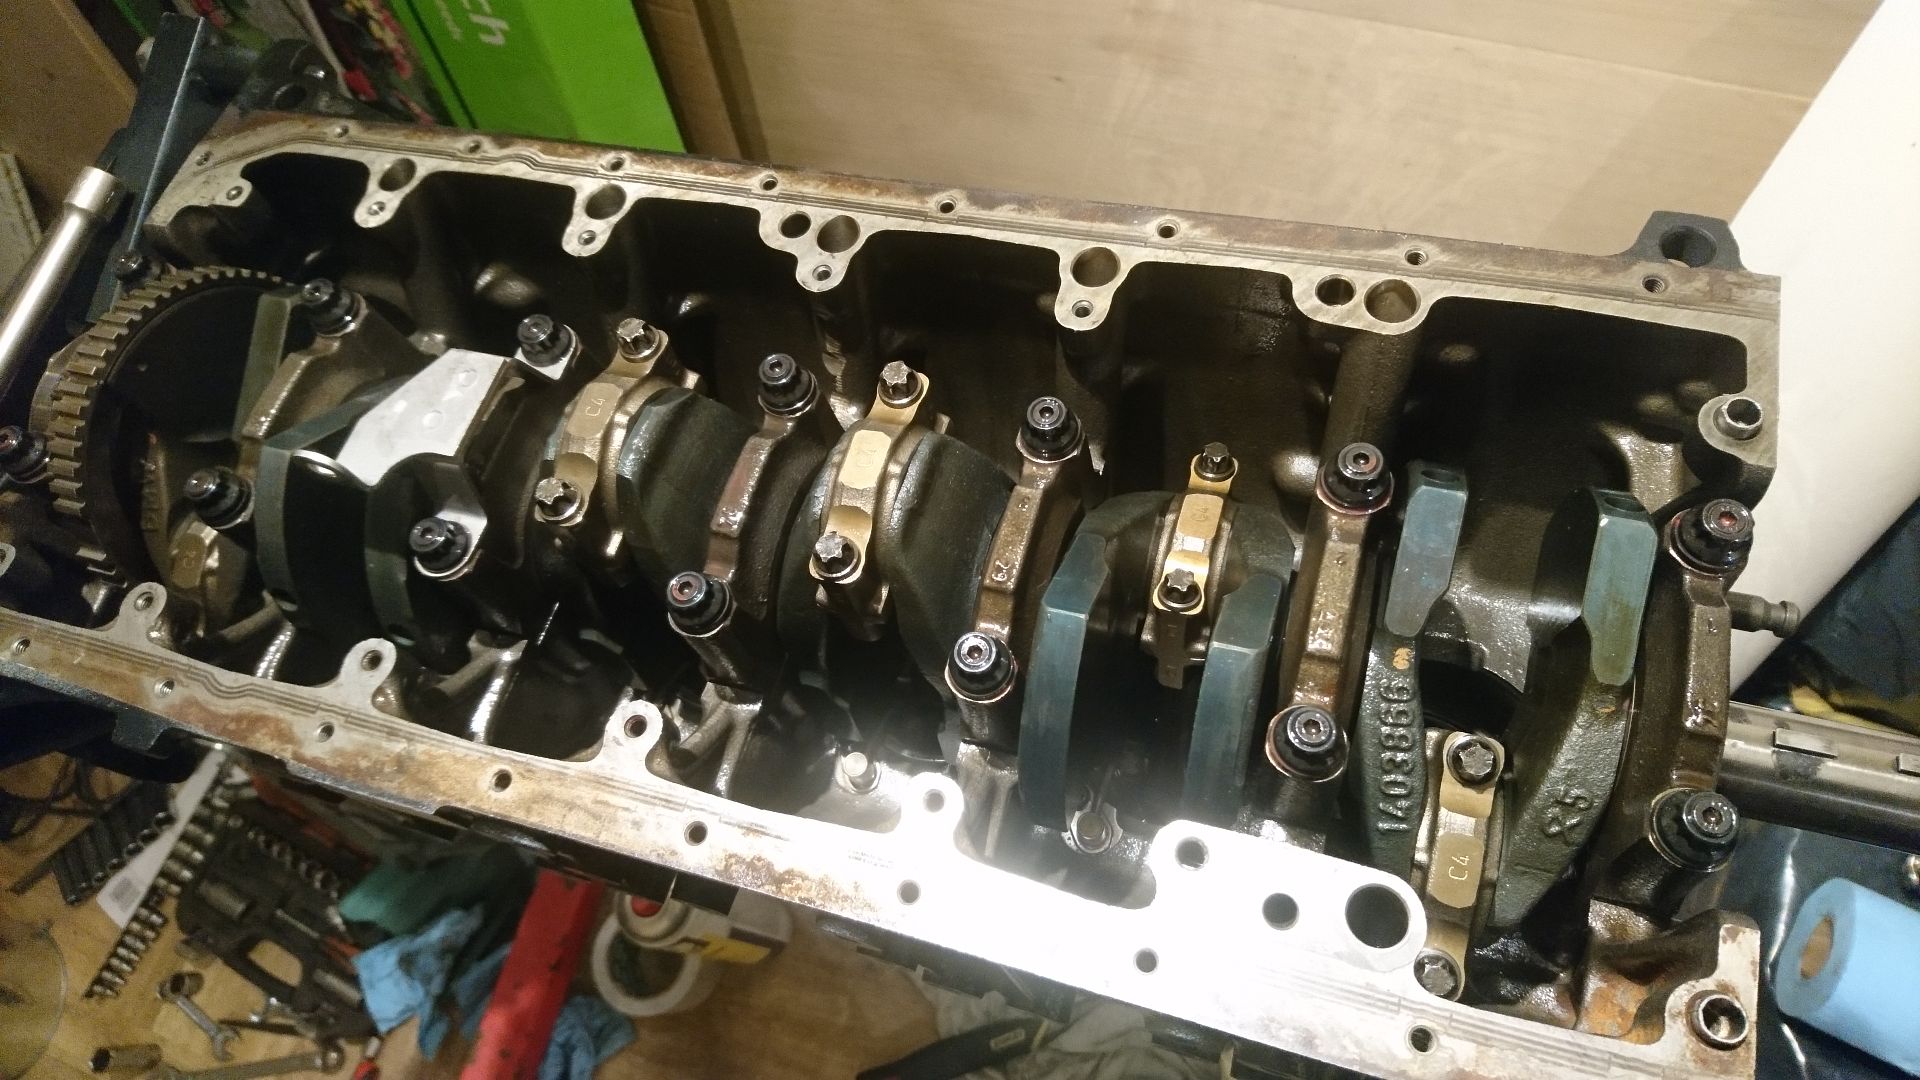
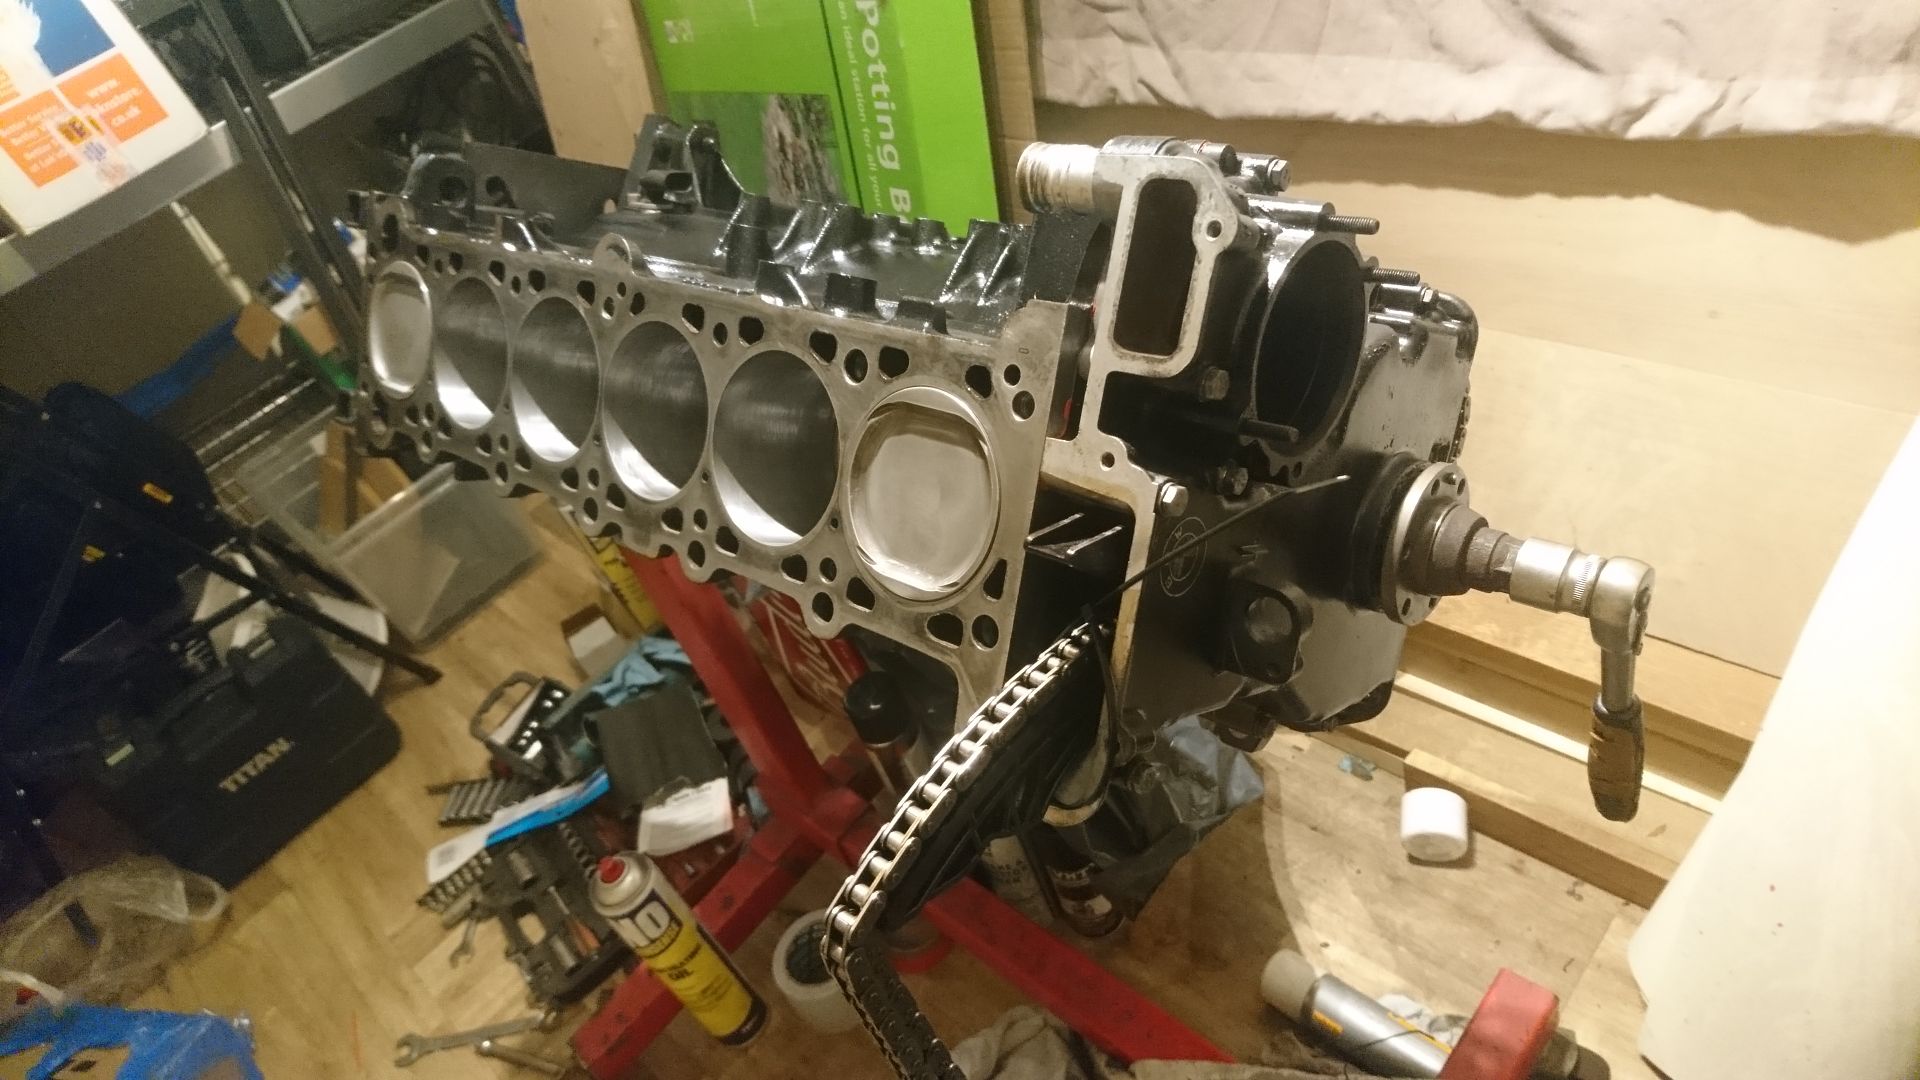
Now we get into the seriously fun bits. Rebuilding a fairly bespoke engine, but with a bit of added zing...
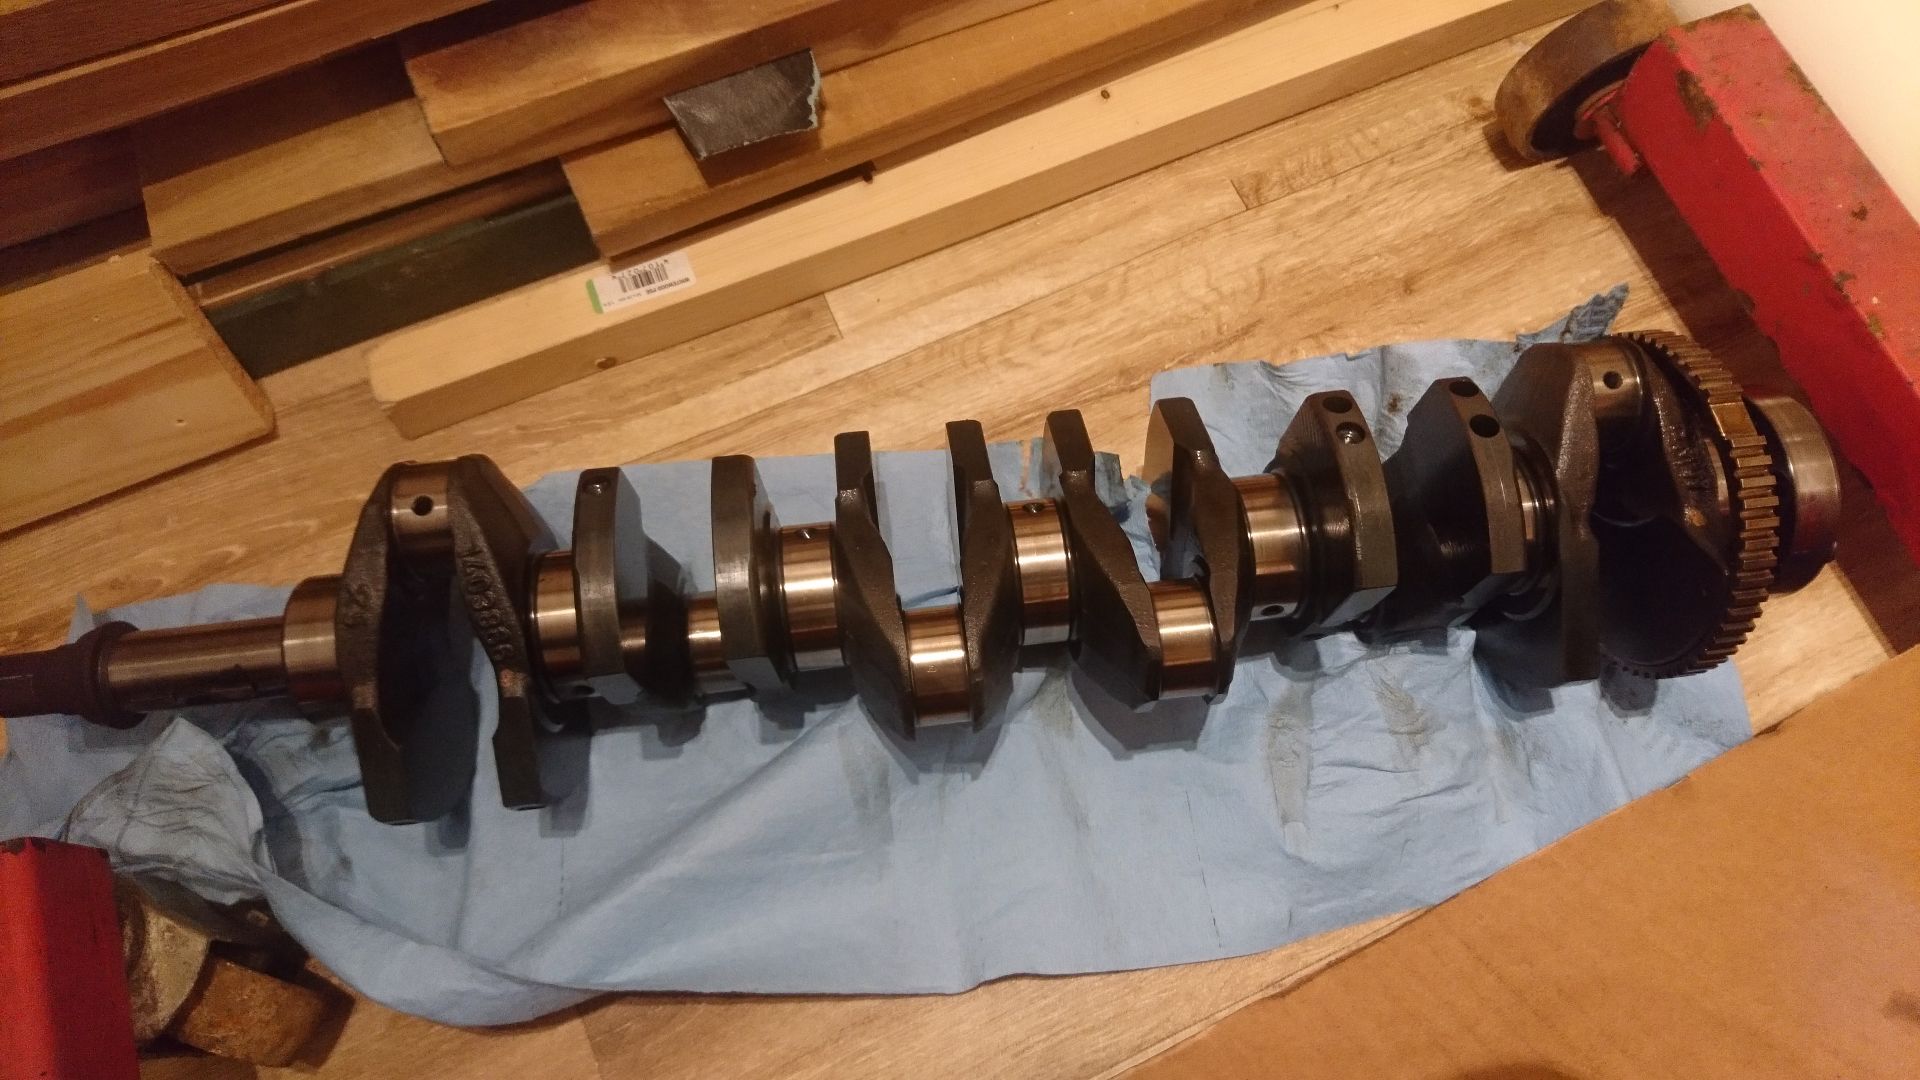
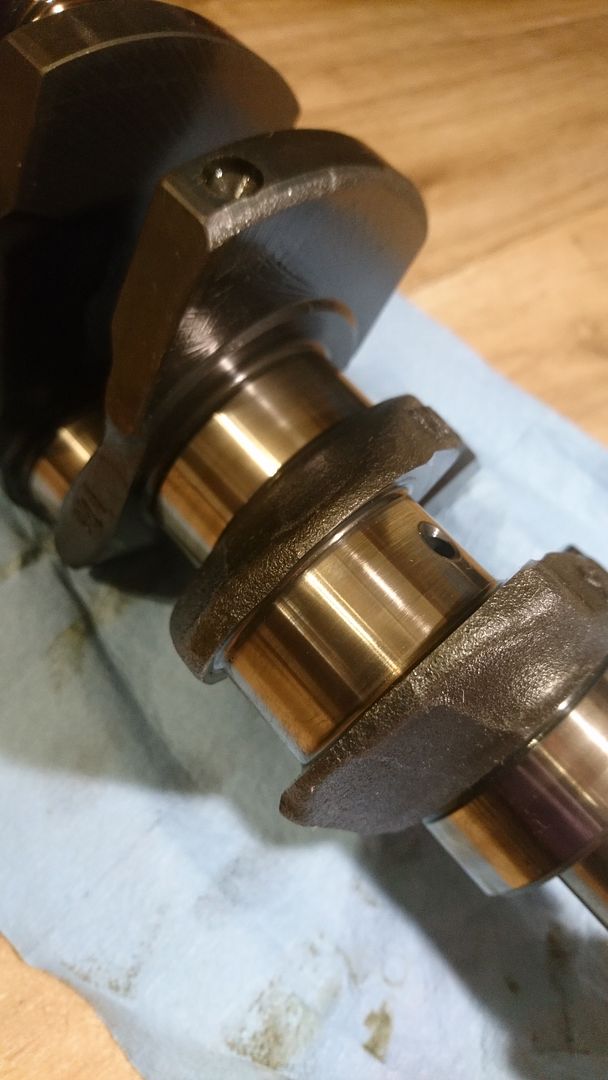
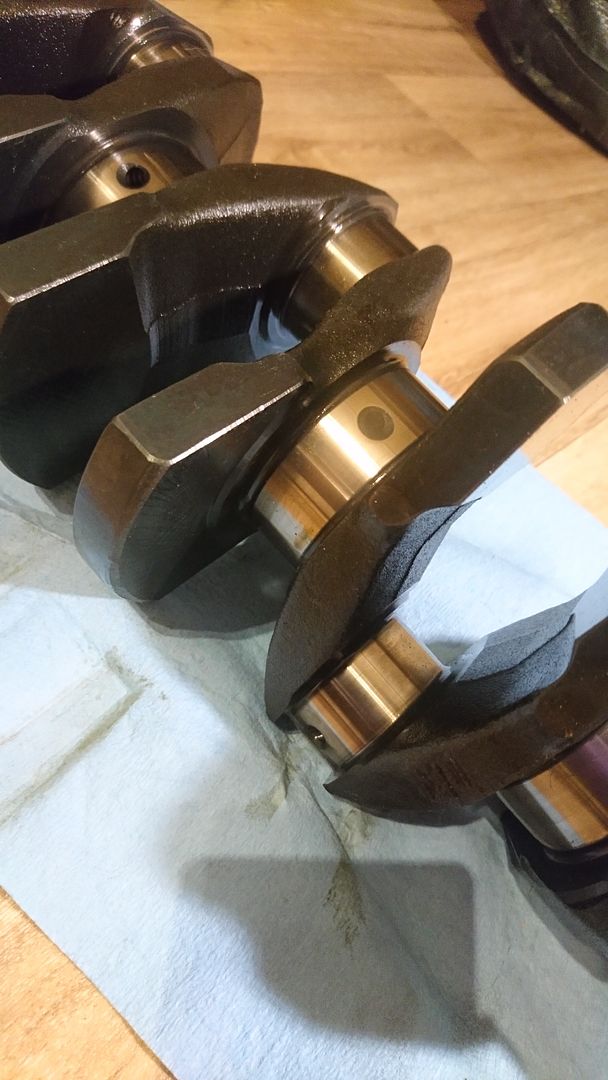
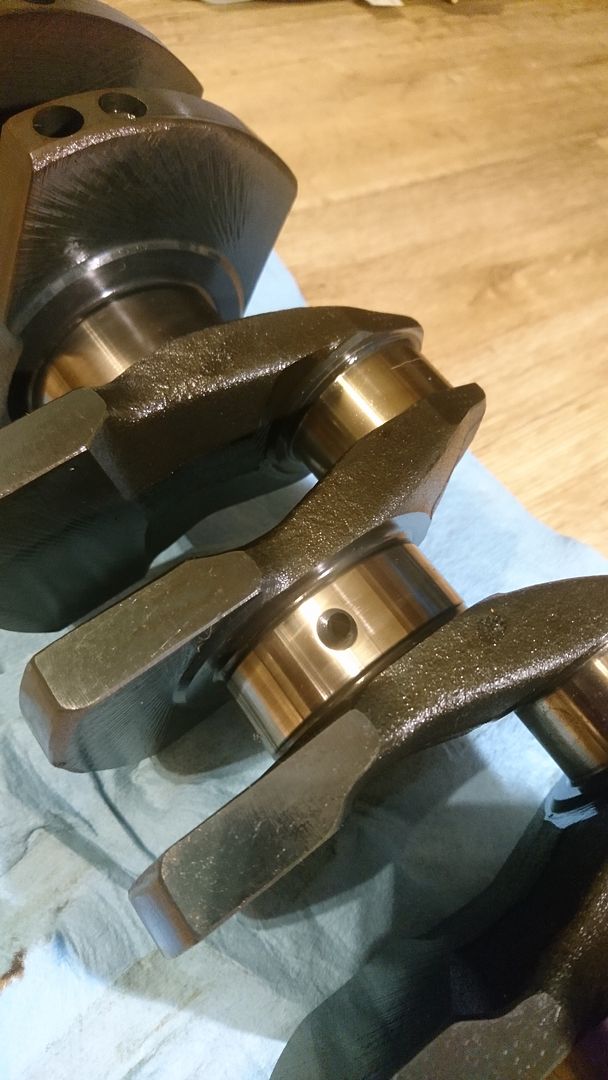
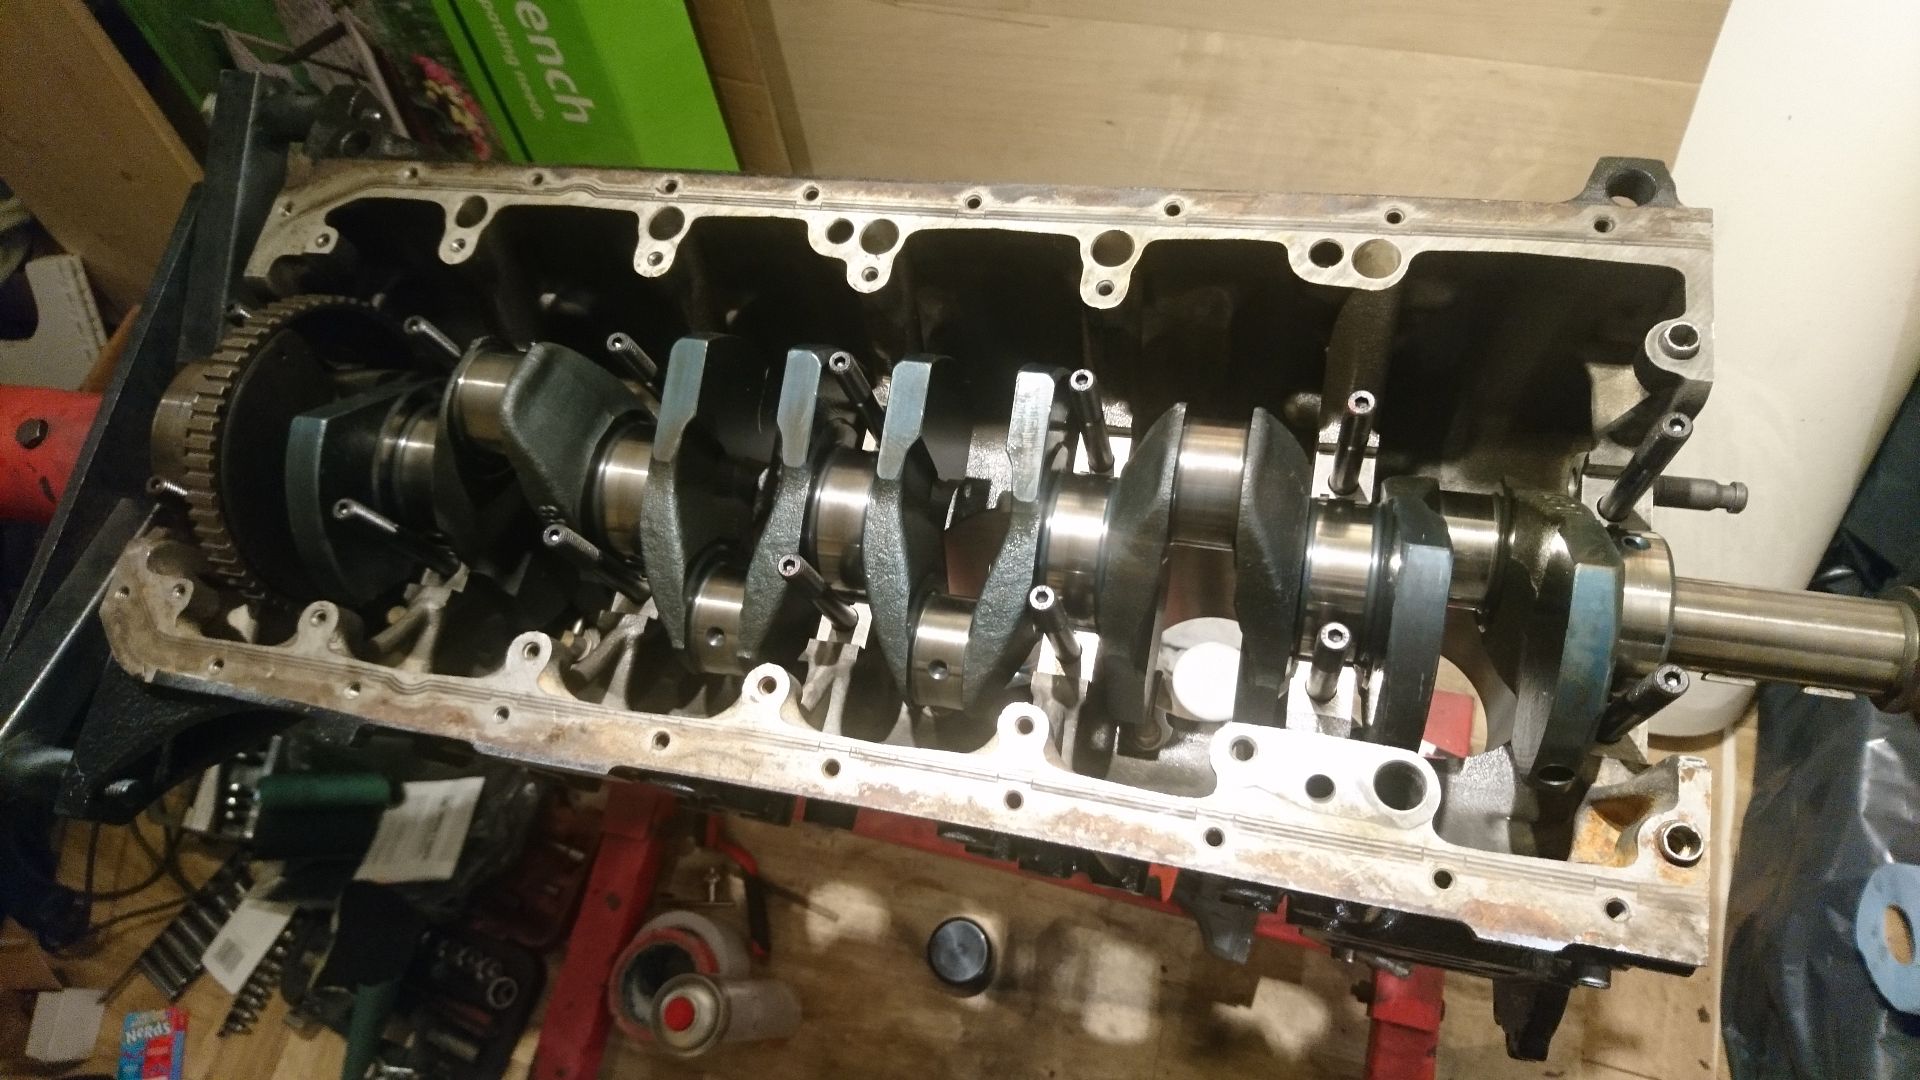
Look at the crank! It's a thing of beauty. Dedicated 93.8mm stroke, which is huge- an M50B25 has a 75mm stroke, an M52B28 has an 84mm stroke... and an M54B30 is 89.5mm. These things are monsters. All the journals are absolutely immaculate.
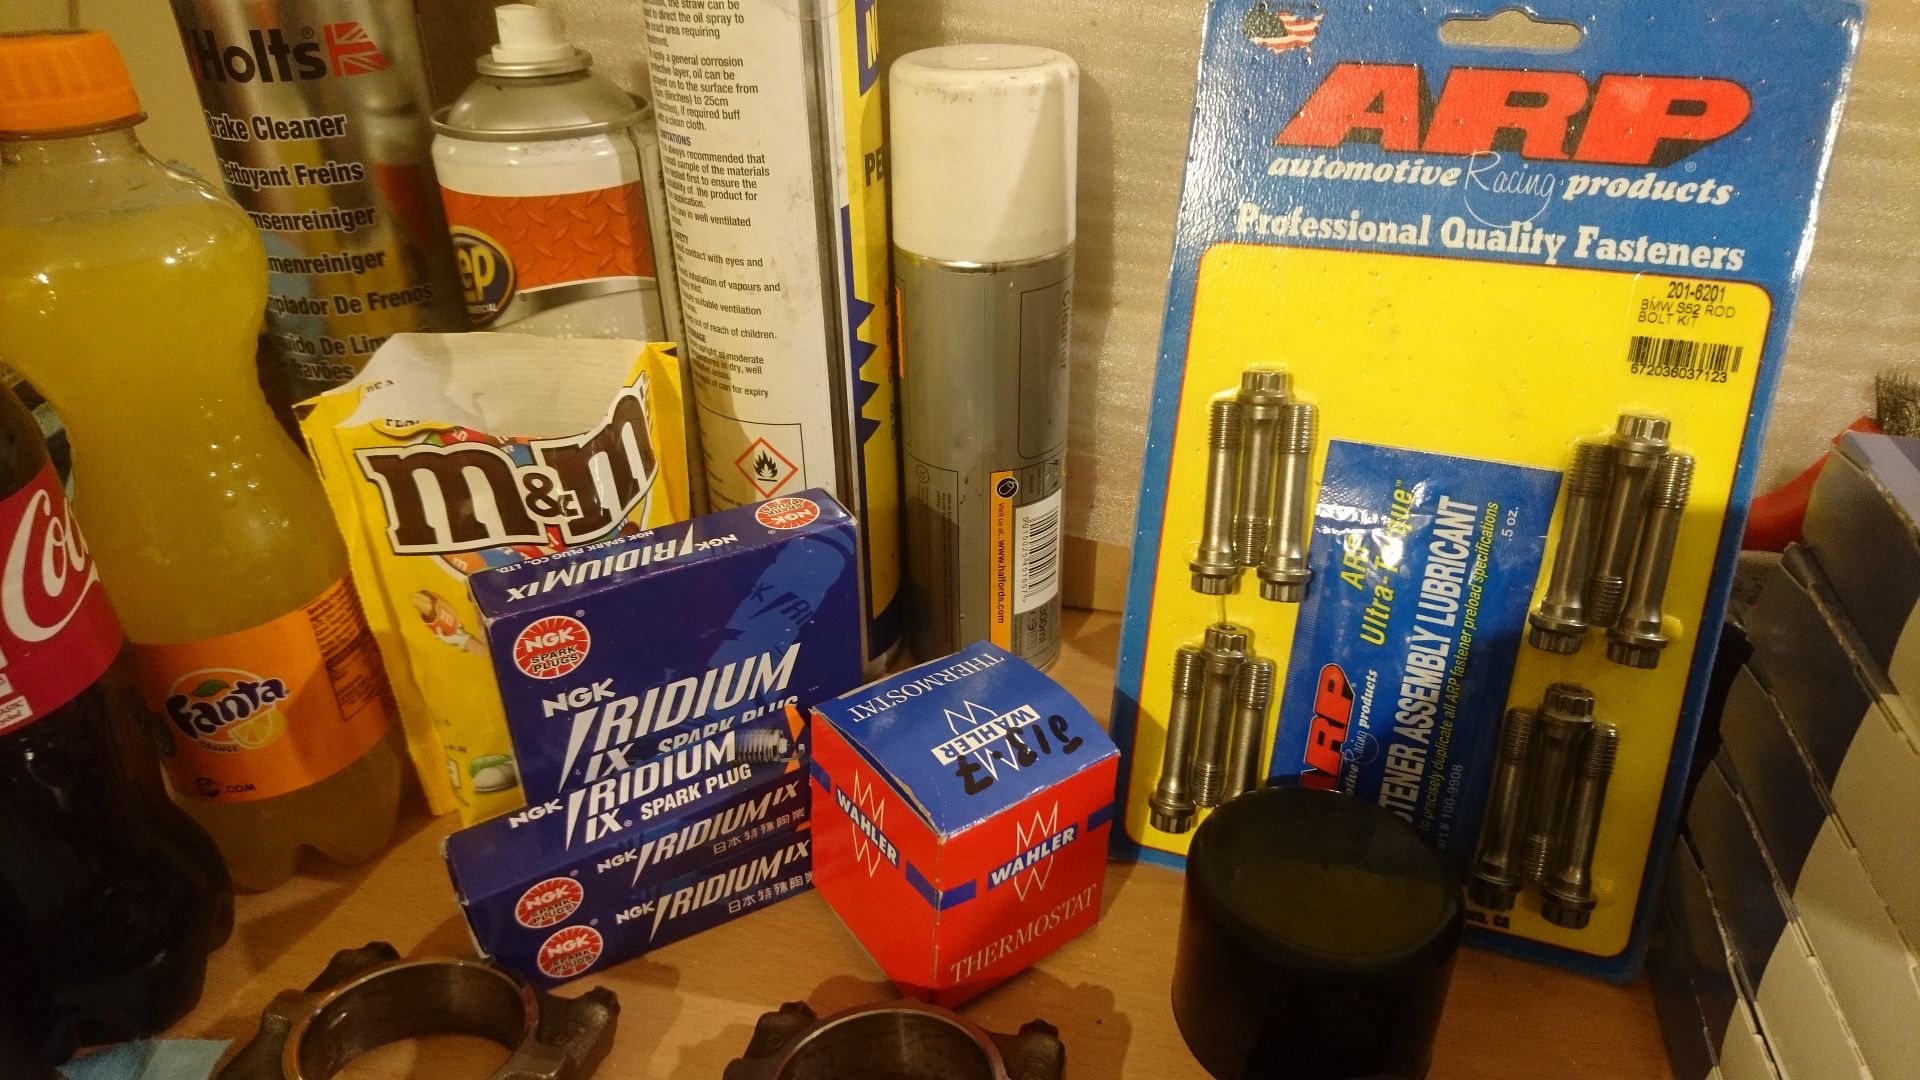
A very large pile of parts...
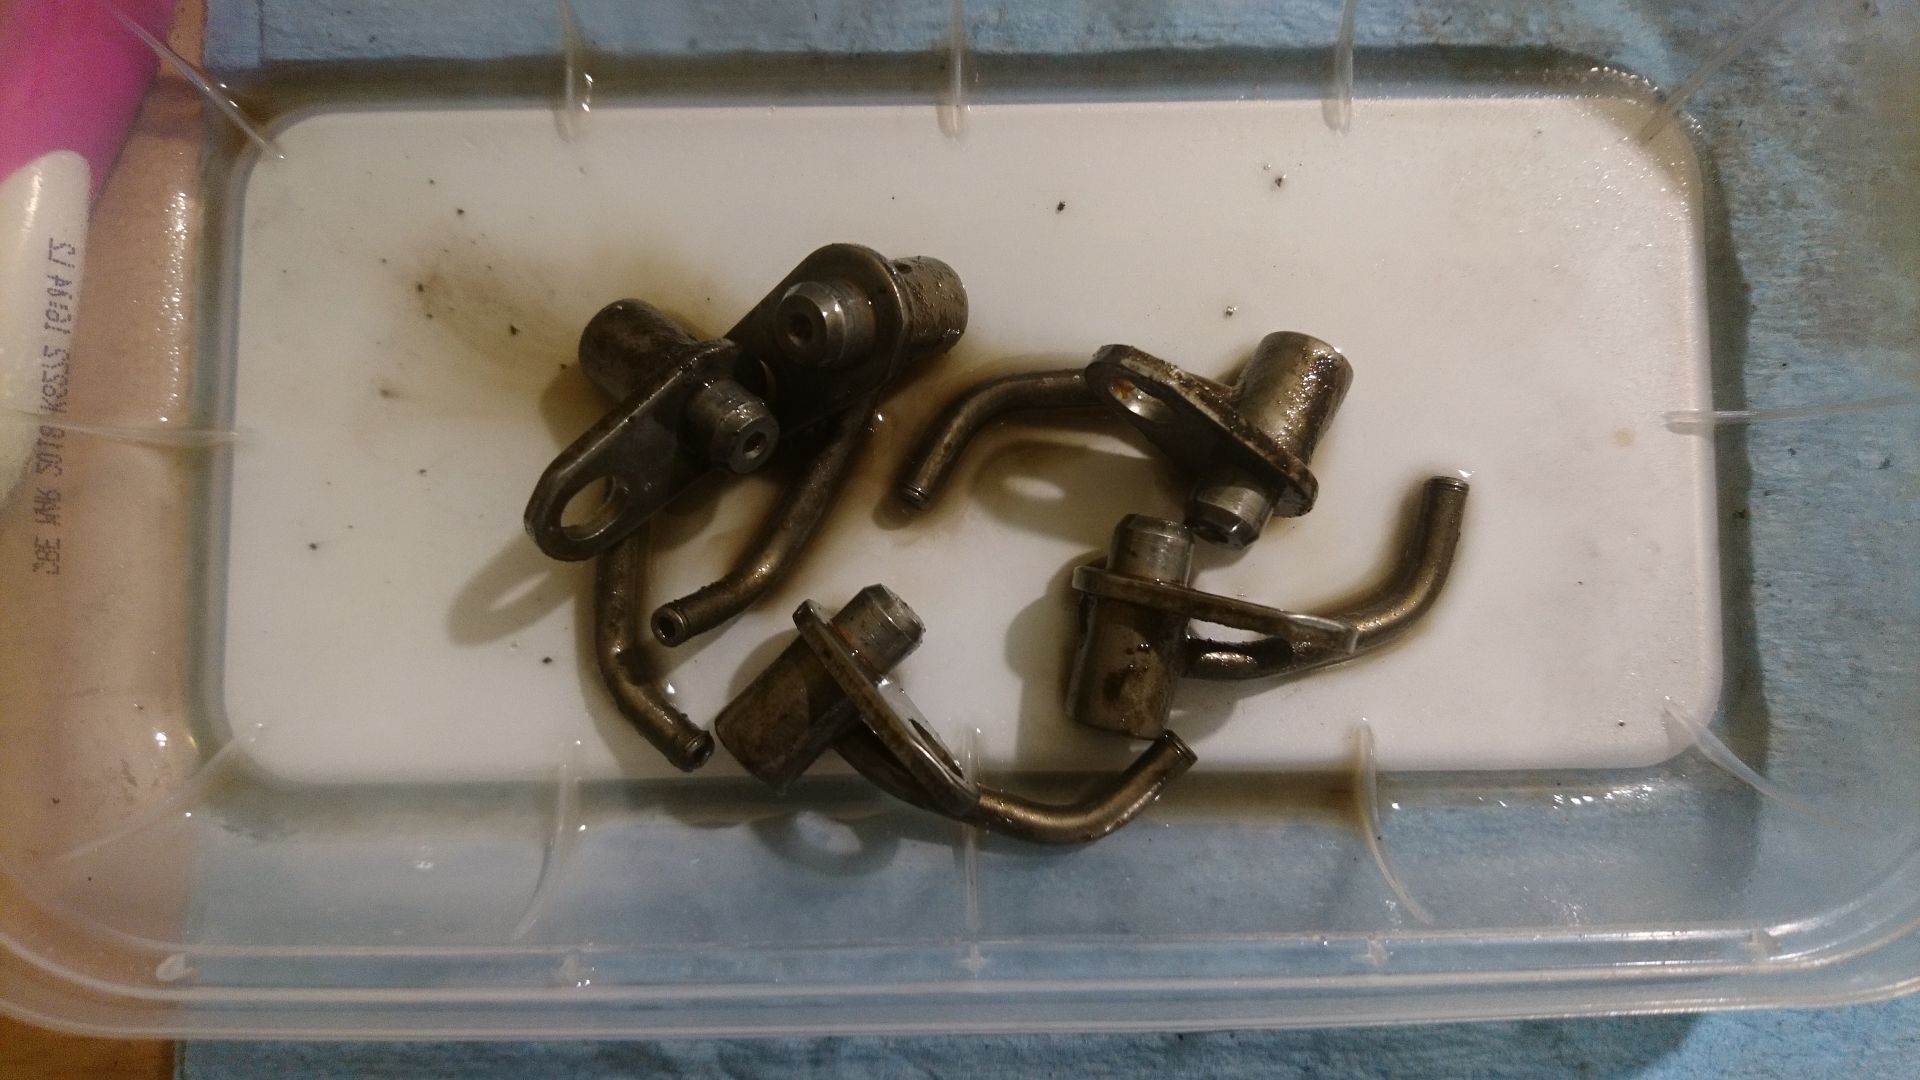
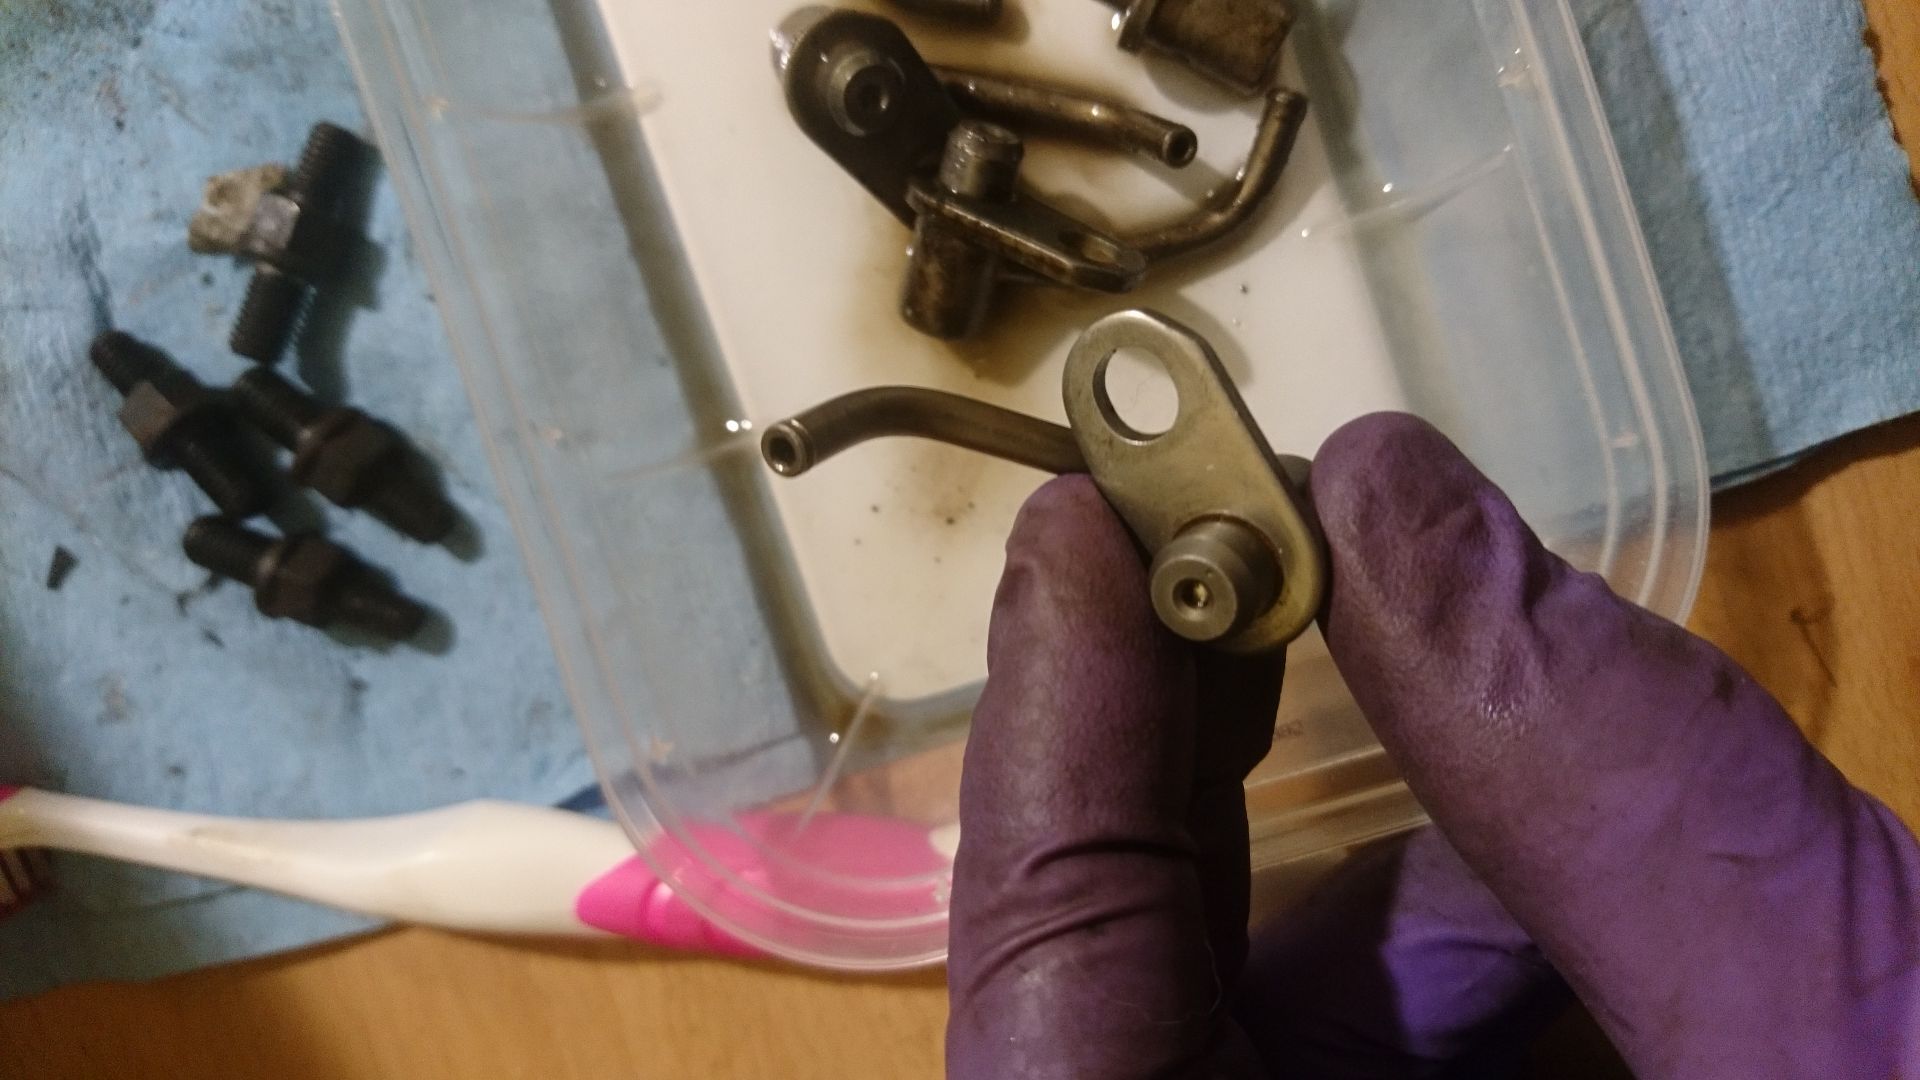
Oil squirters cleaned and ready for action...
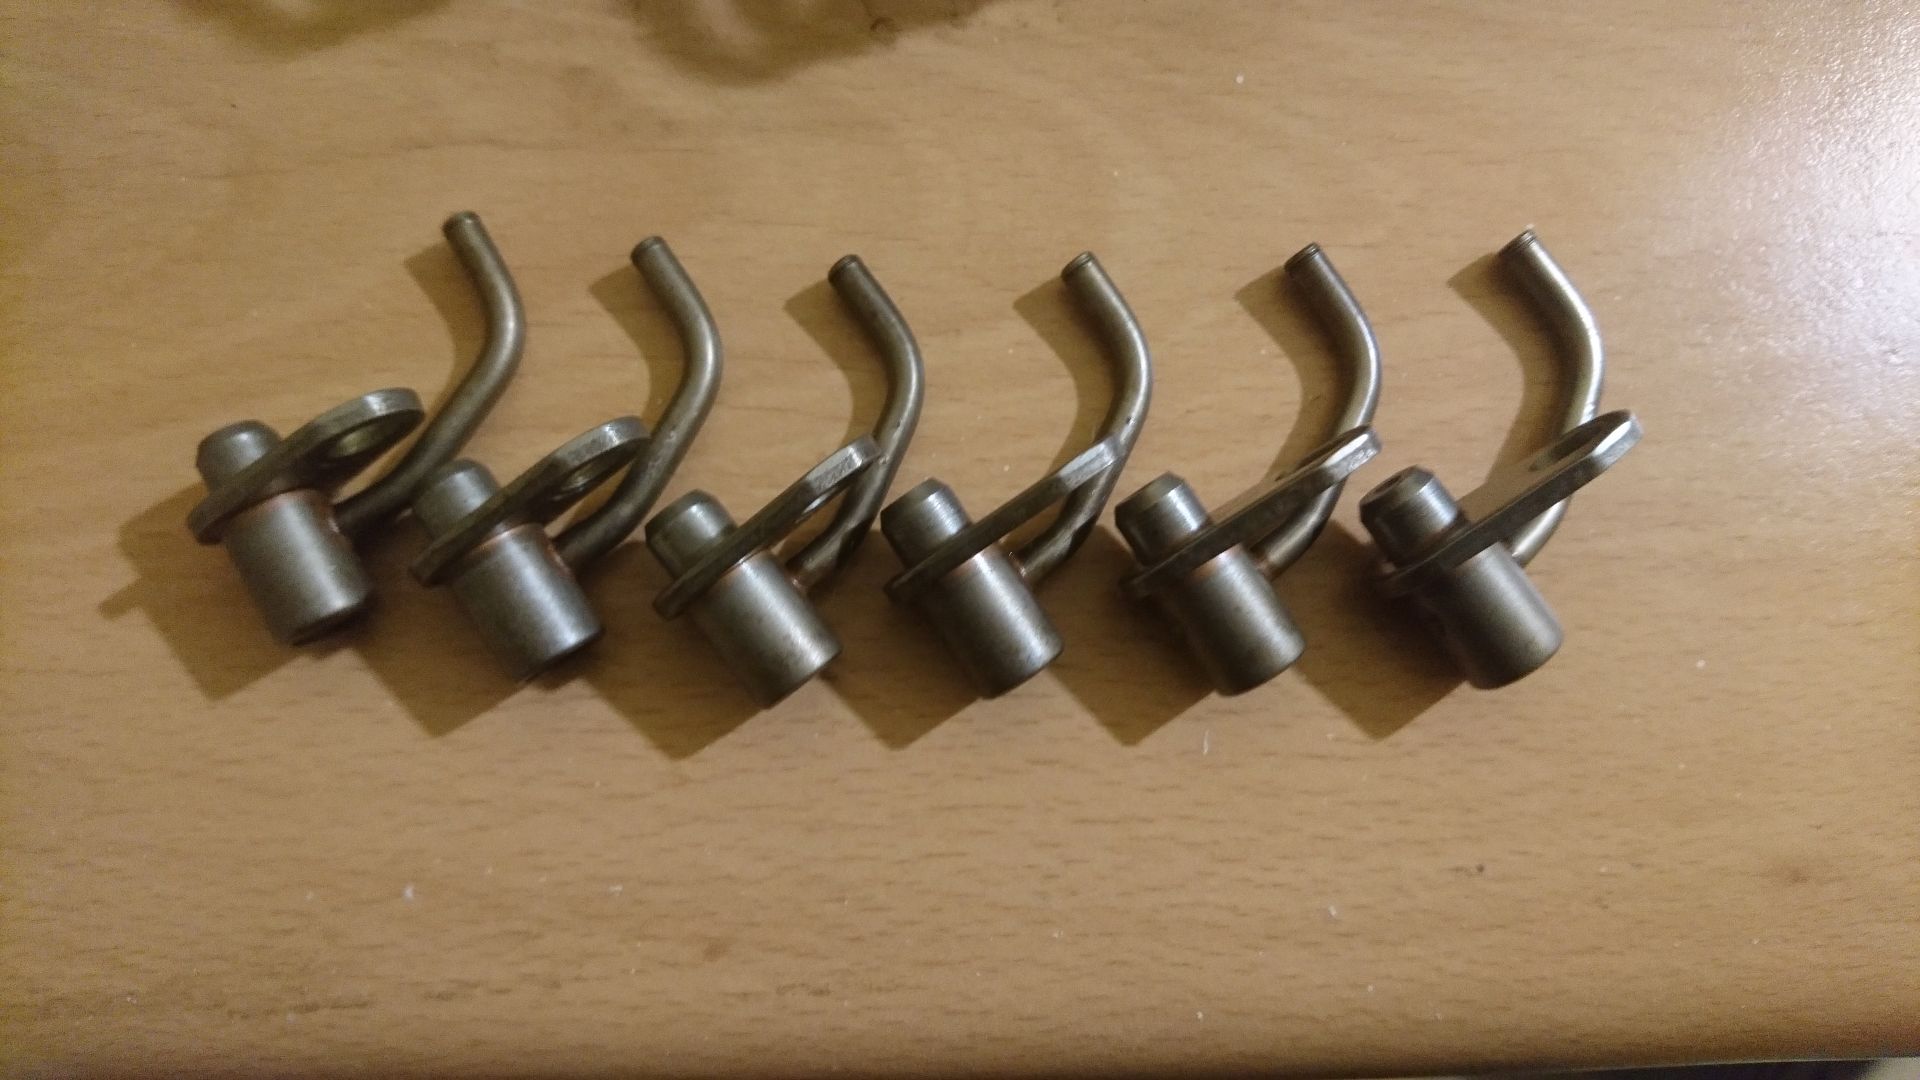
Inserted in the block...
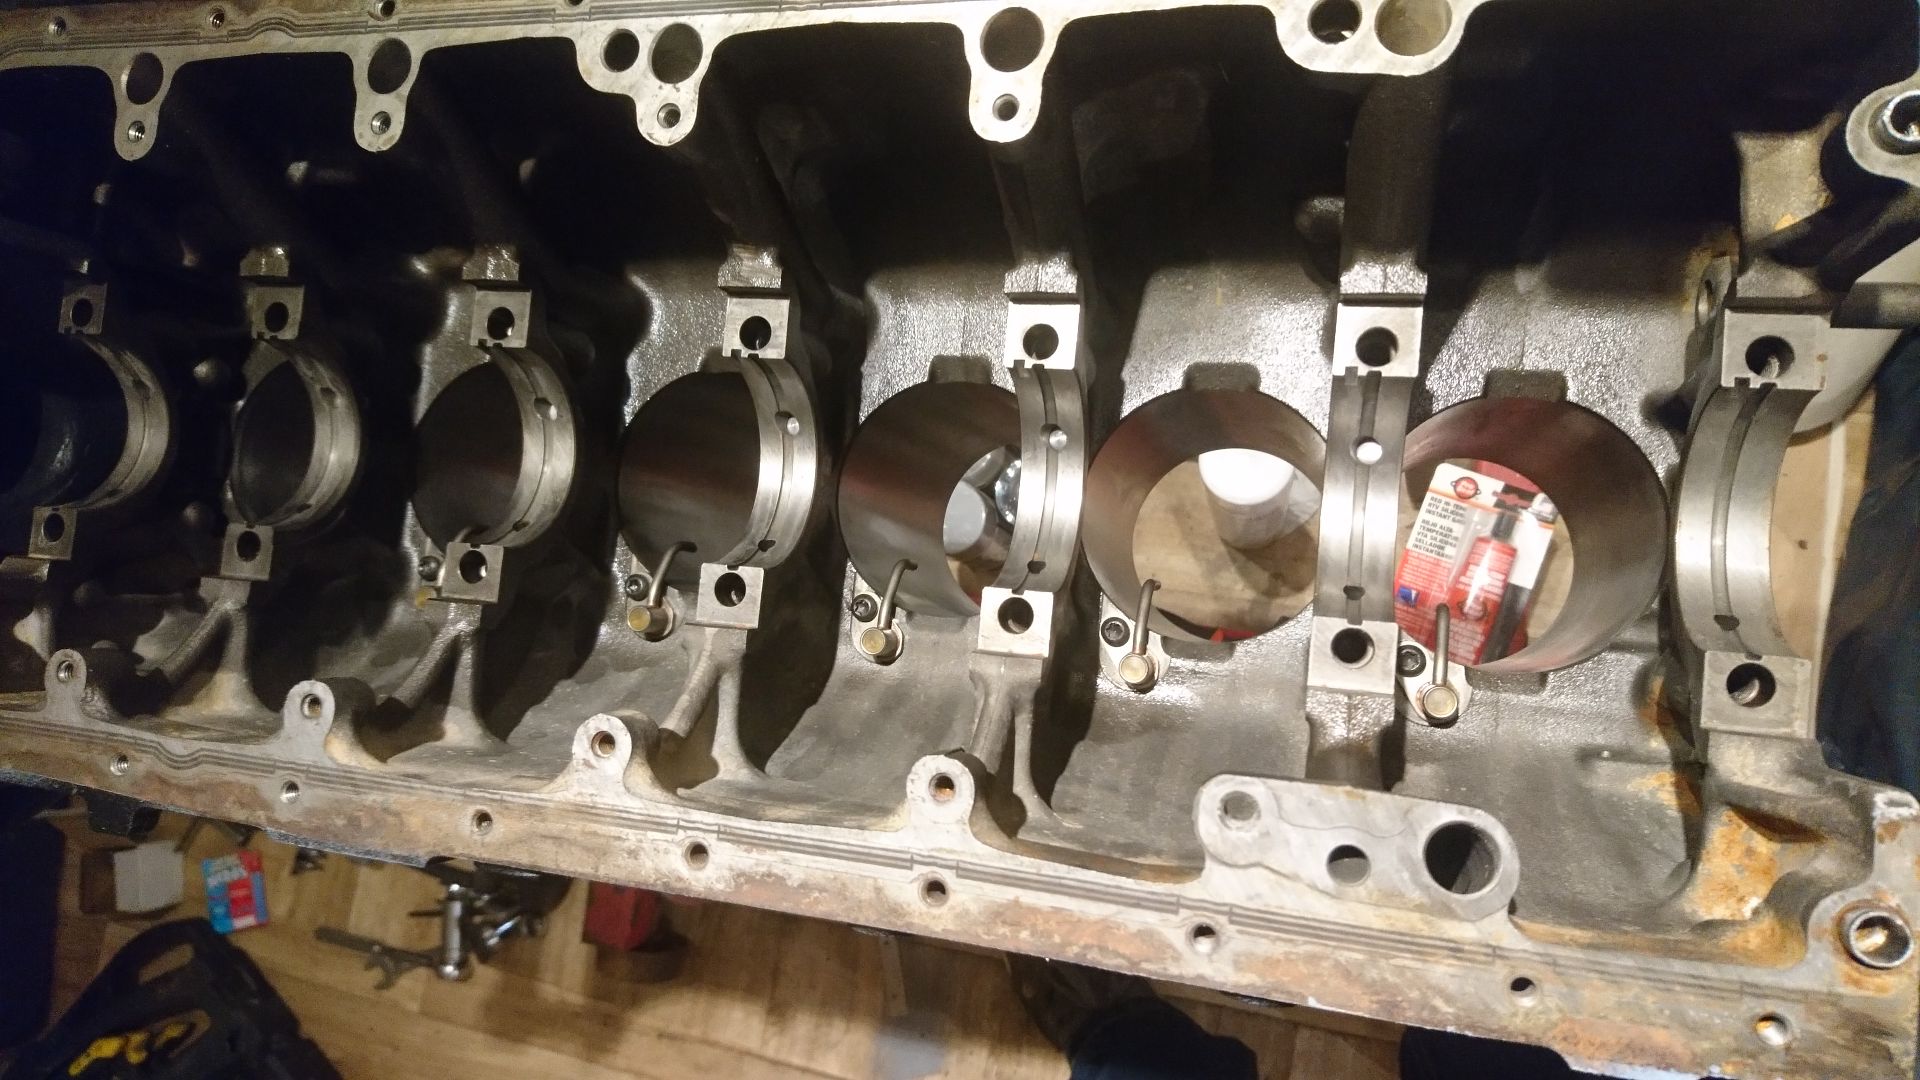
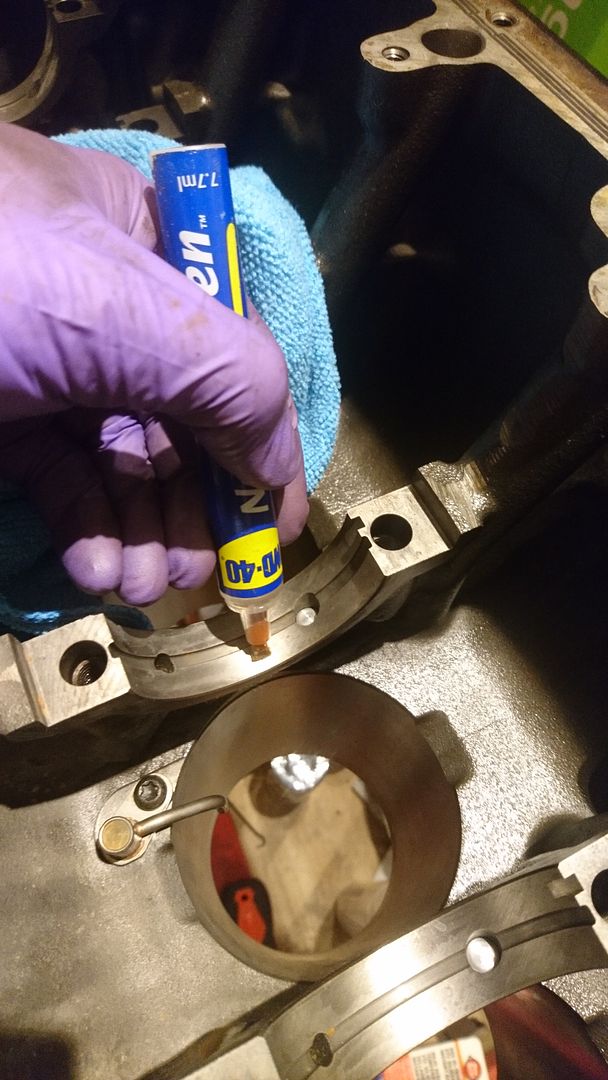
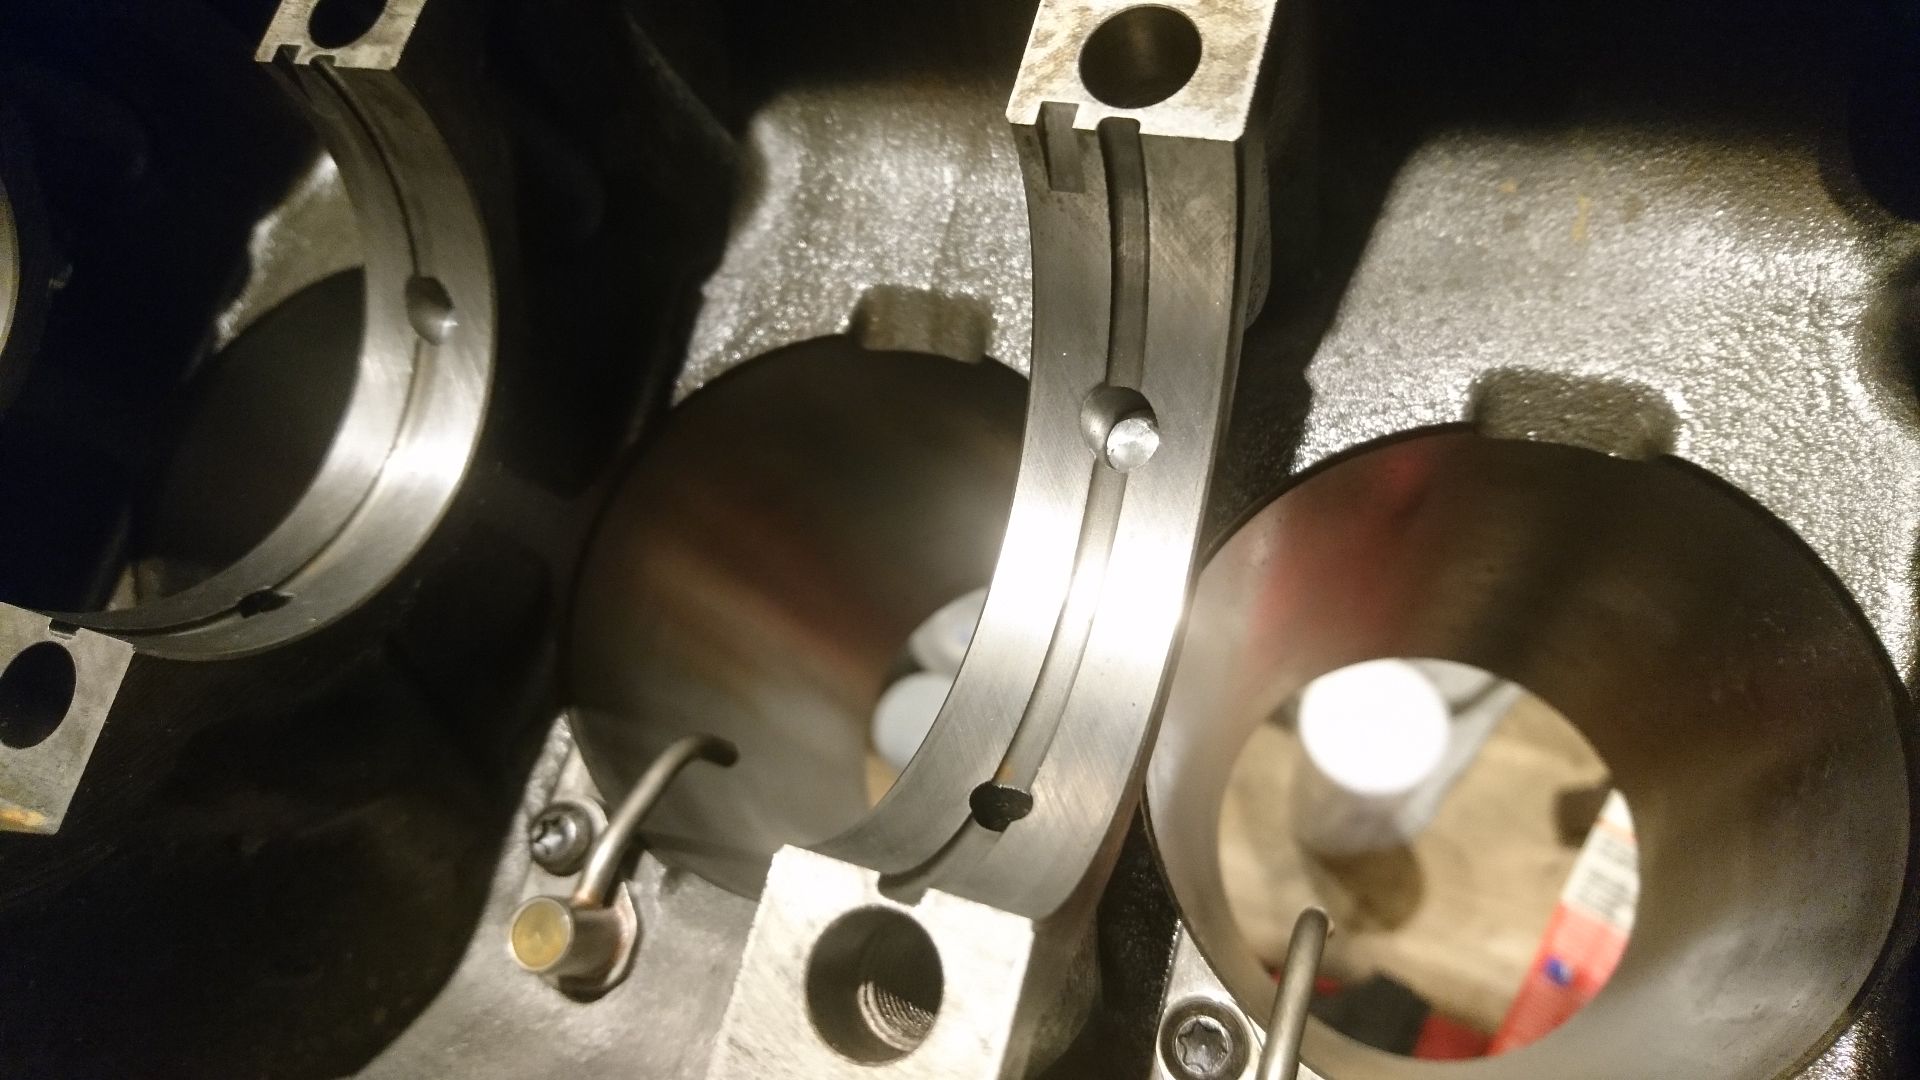
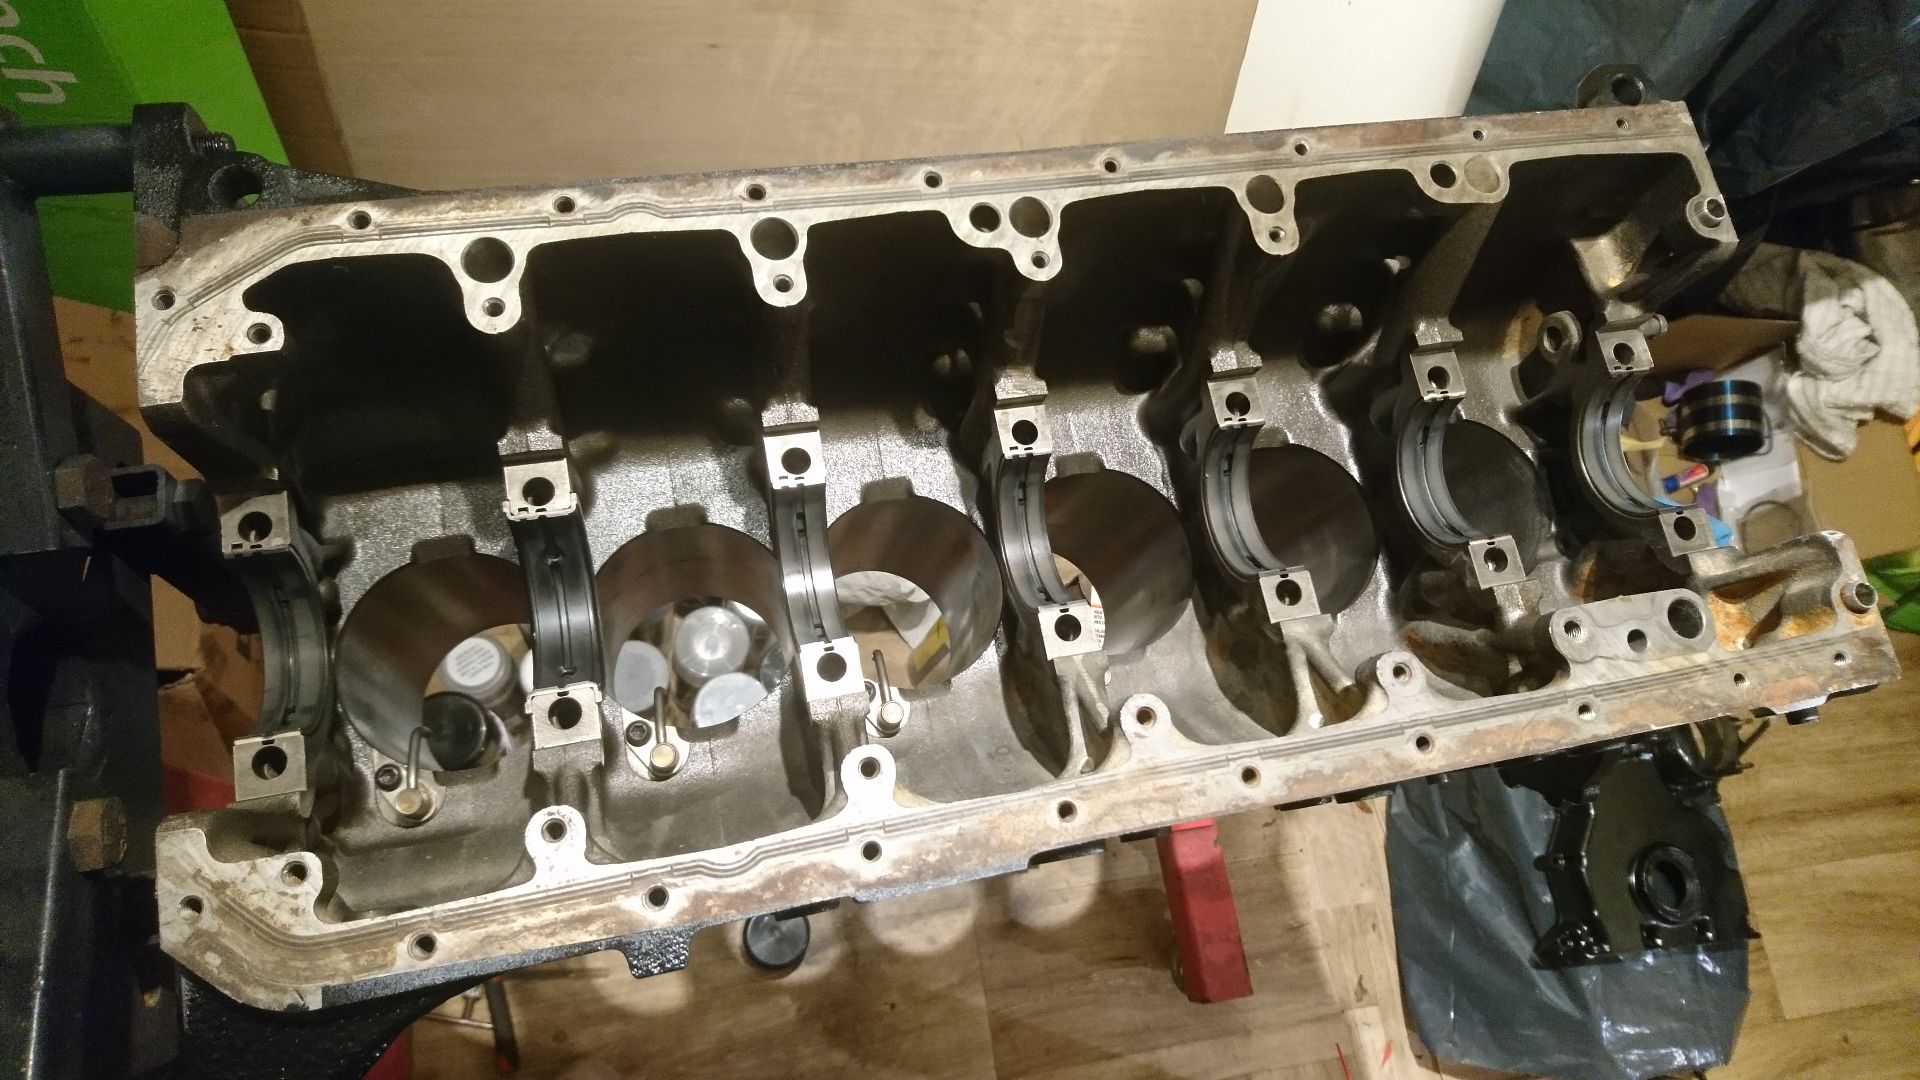
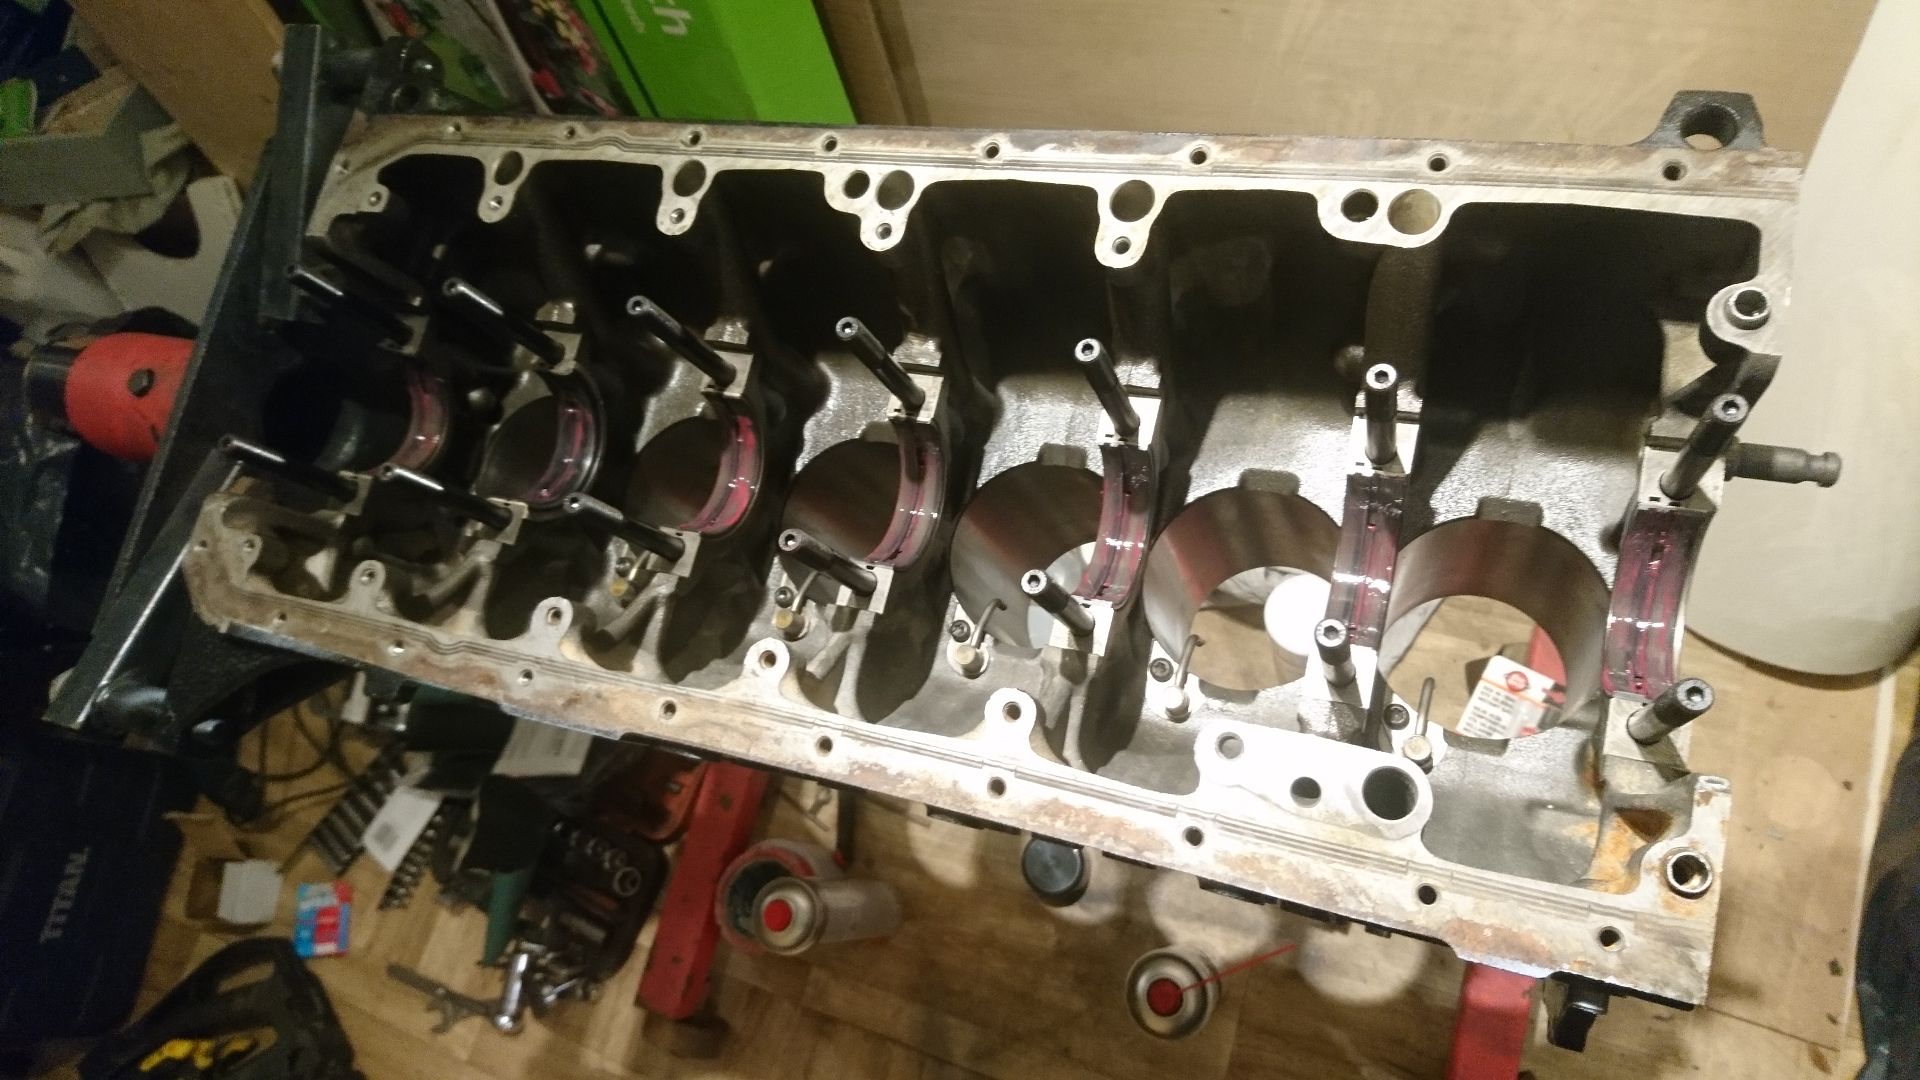
Look how empty it is! Time to change that. First things first... WD40 pen (everyone needs one of these!) cleaning off little bits of surface rust on the journals. Look at that cross-hatching. Beautiful.
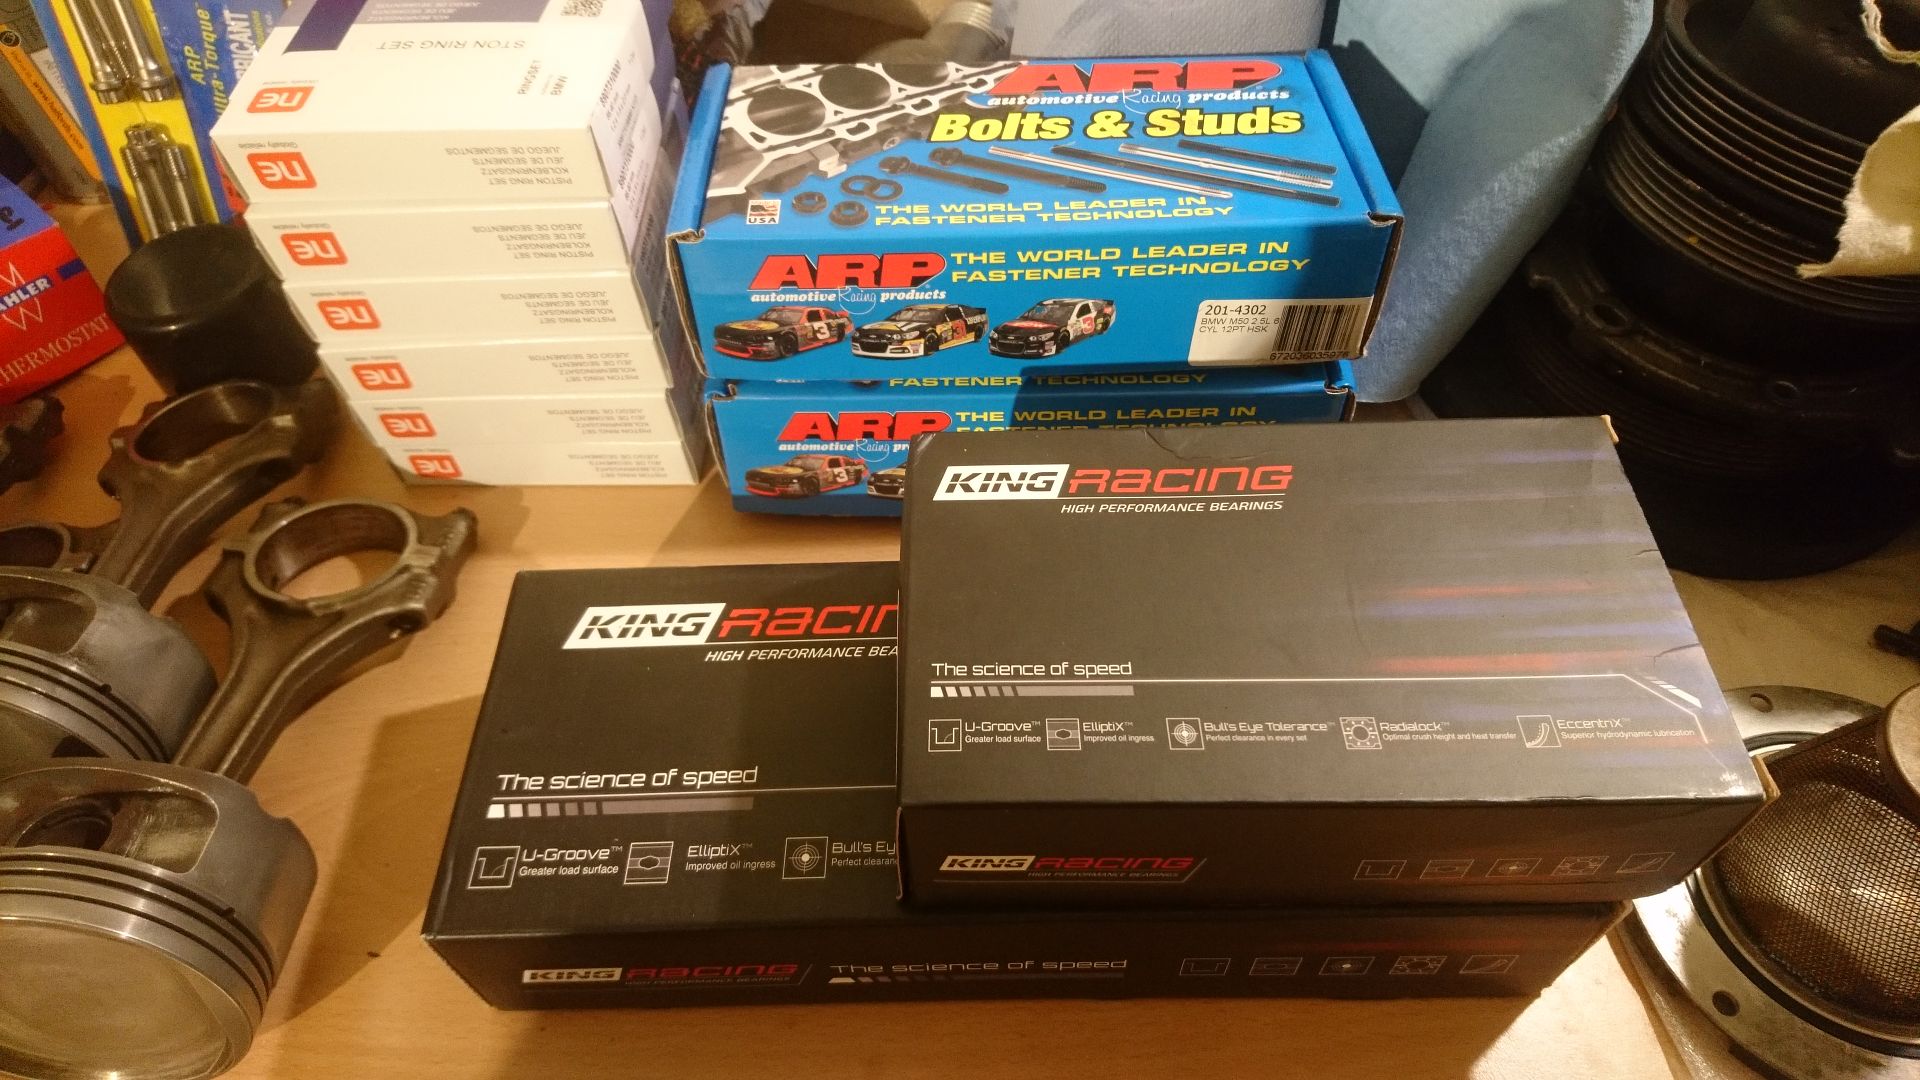
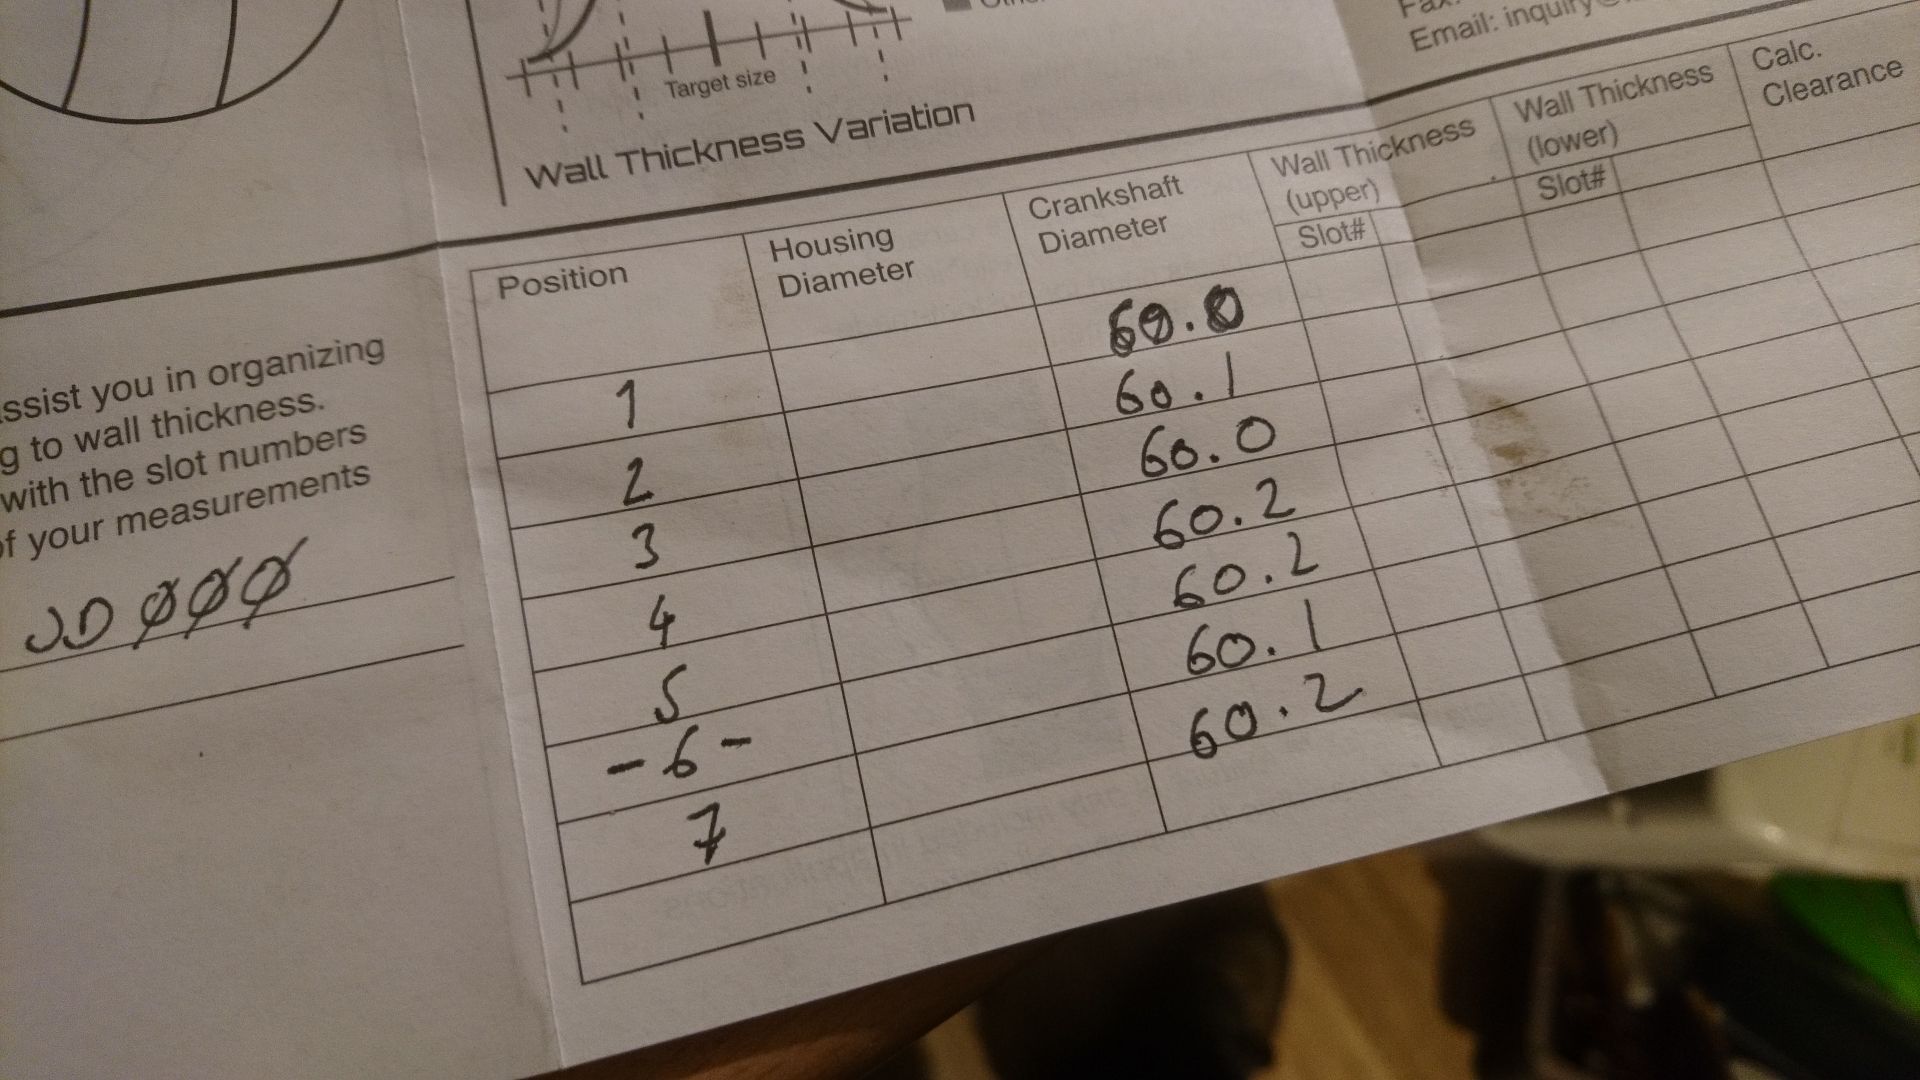
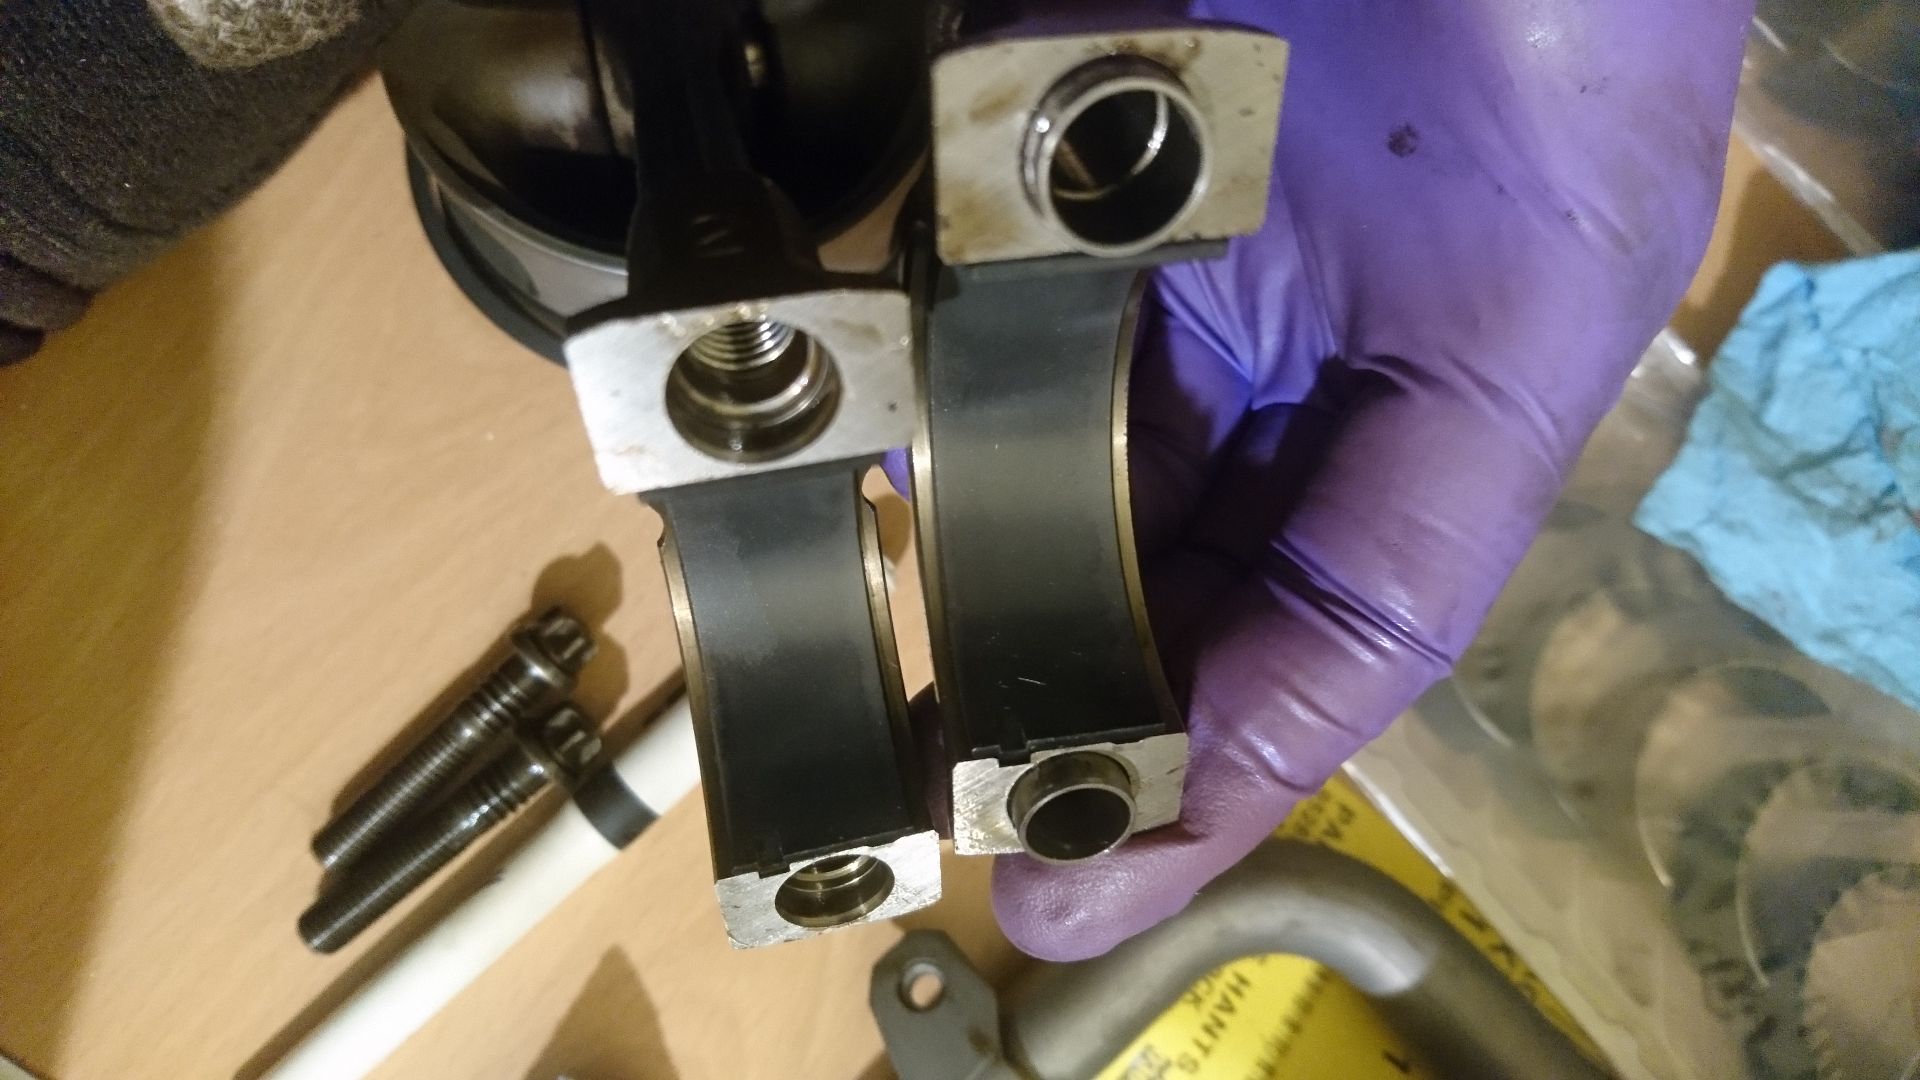
King Racing very kindly gave me a couple of little crib sheets for my rod/main bearing clearances. What nice people.

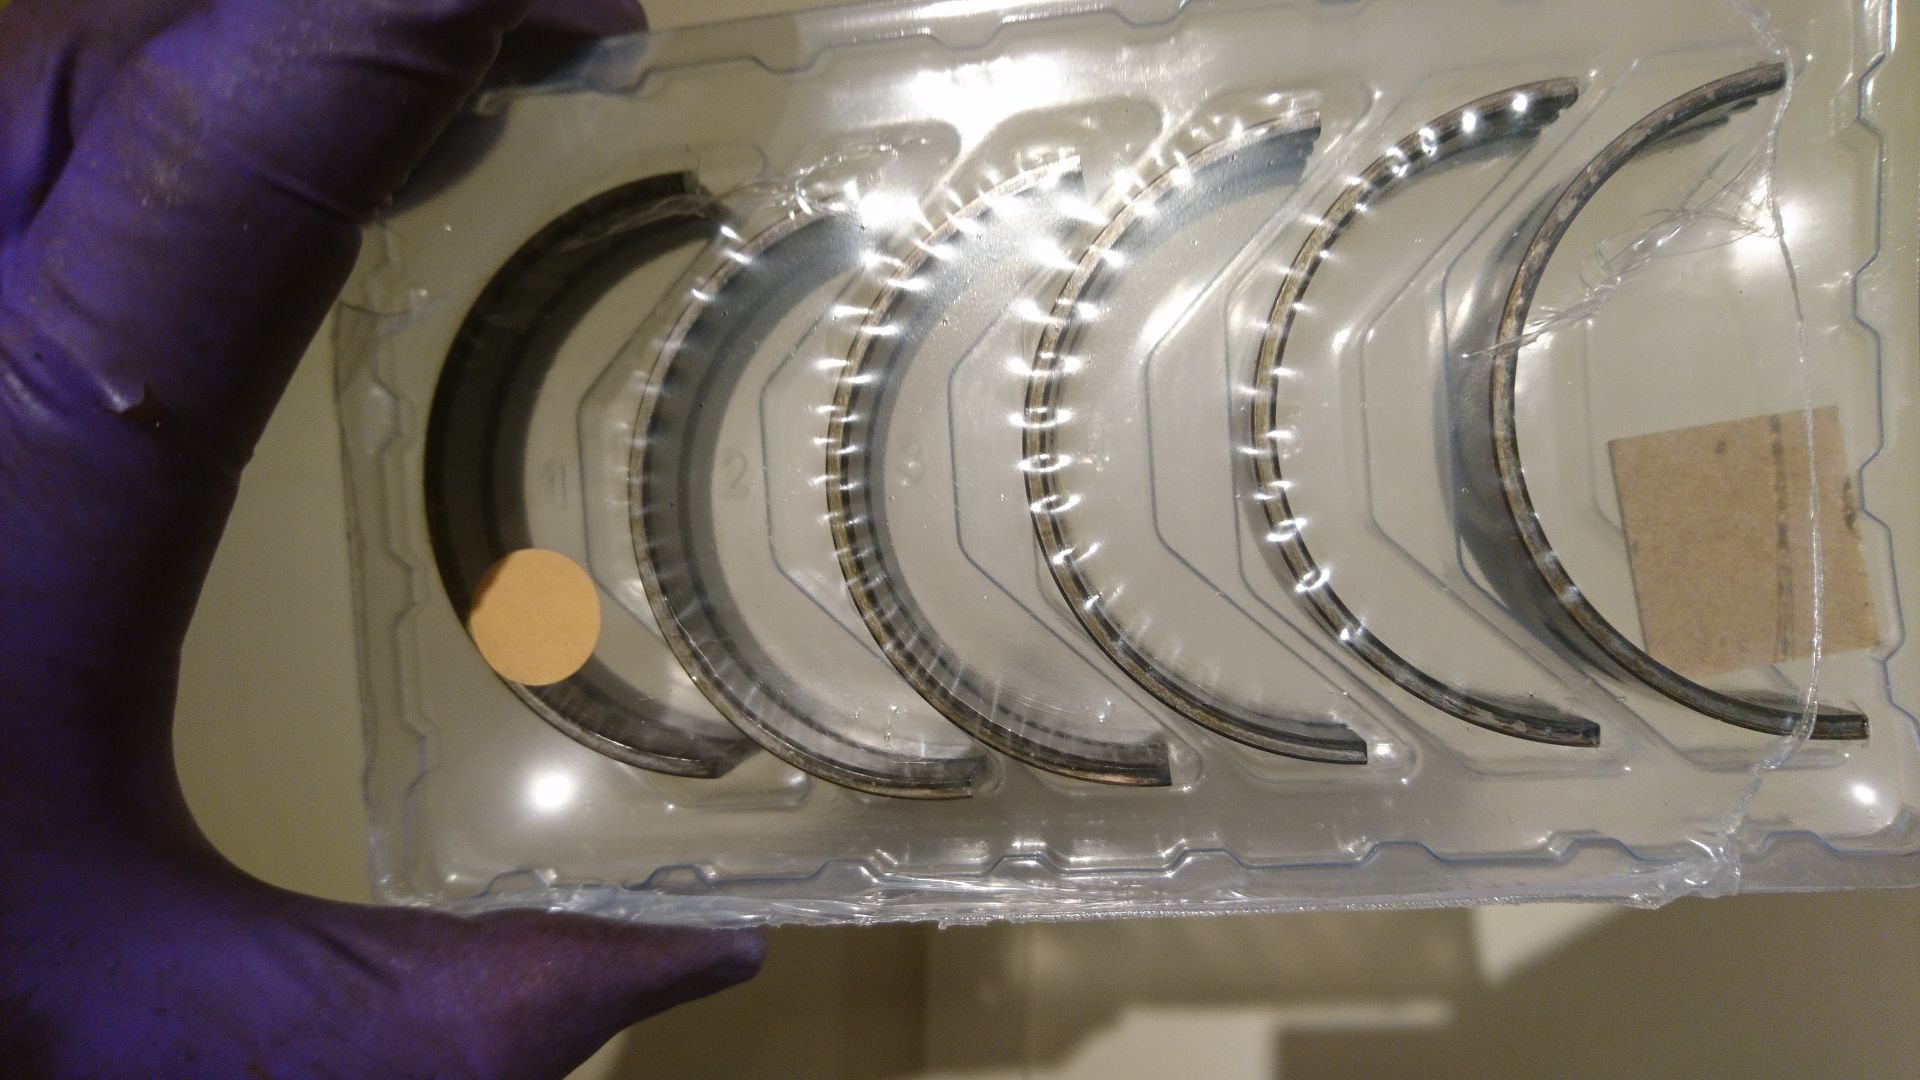
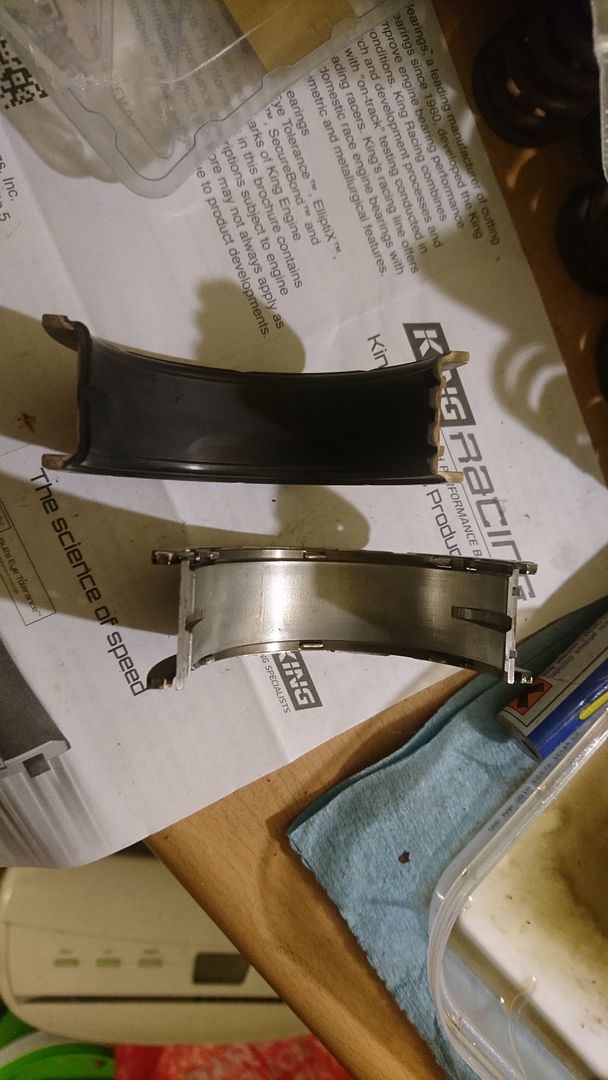
All bearings are supplied as matched pairs...
...and carefully inserted into the main journals.
Then the ARP main studs need winding into the block...
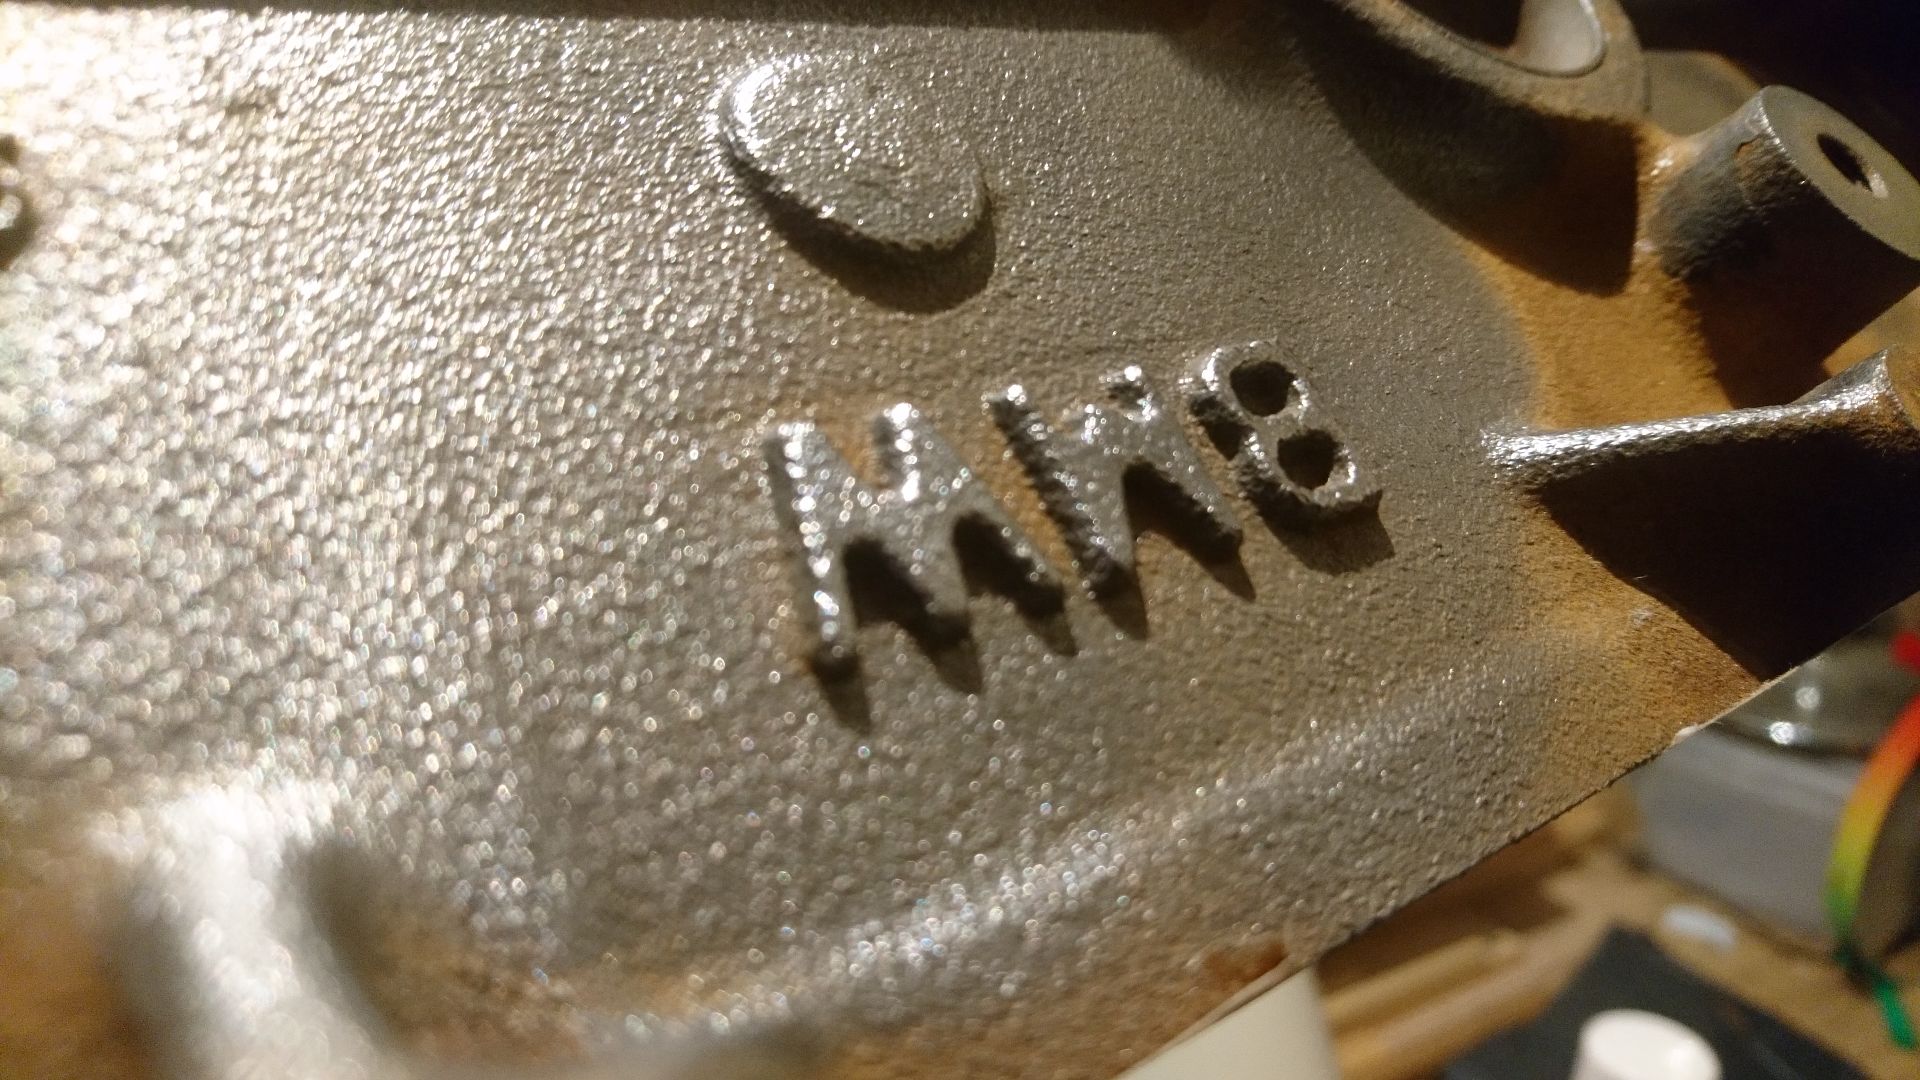
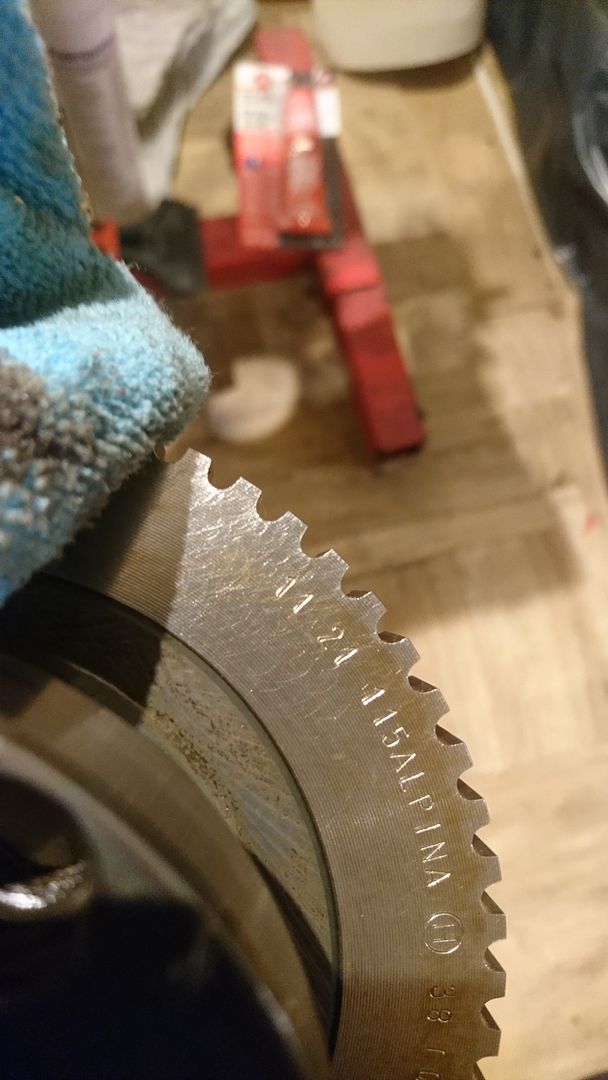
Rare shot of an actual bit of Alpina branding!
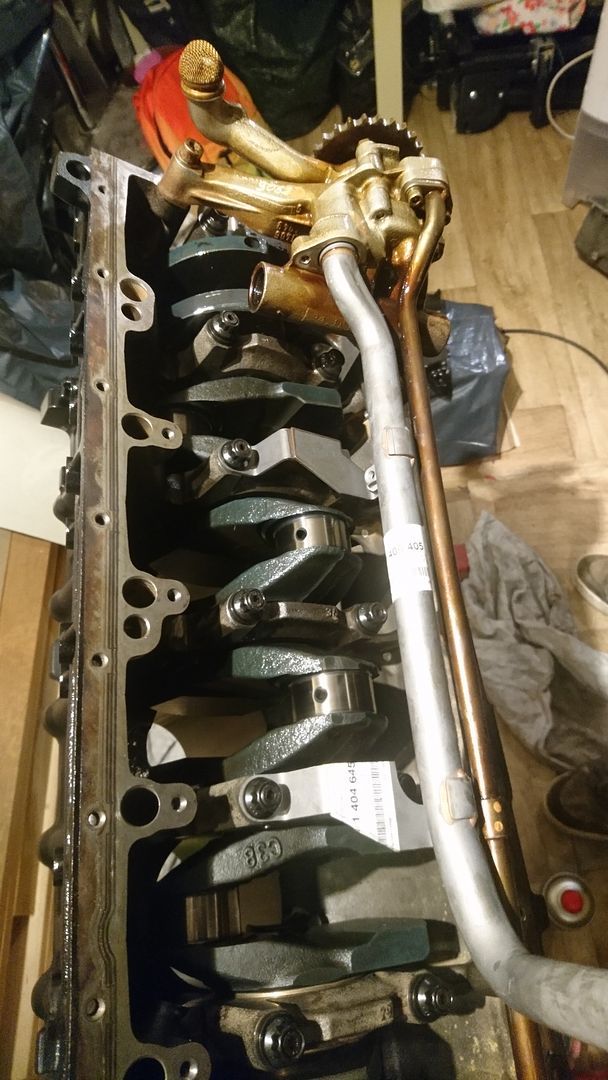
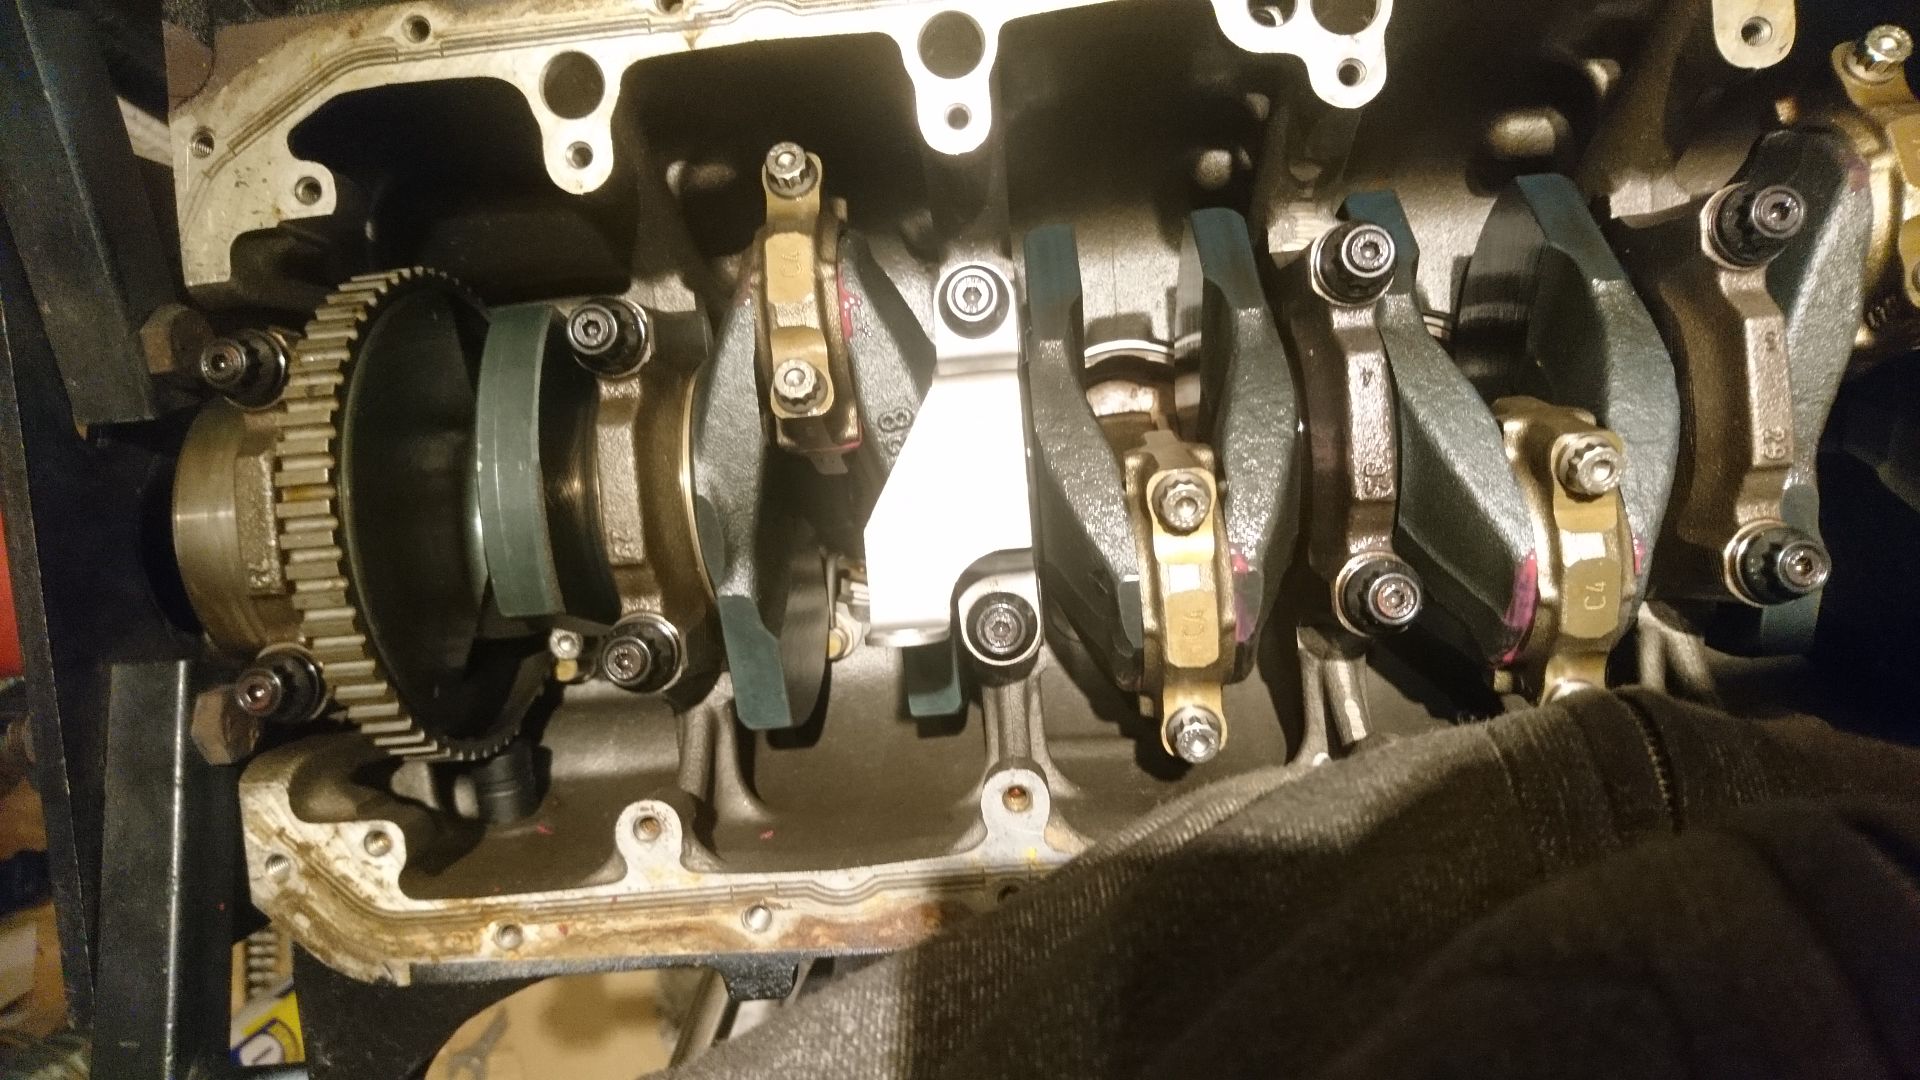
The oh-so-lovely crank goes into the block...
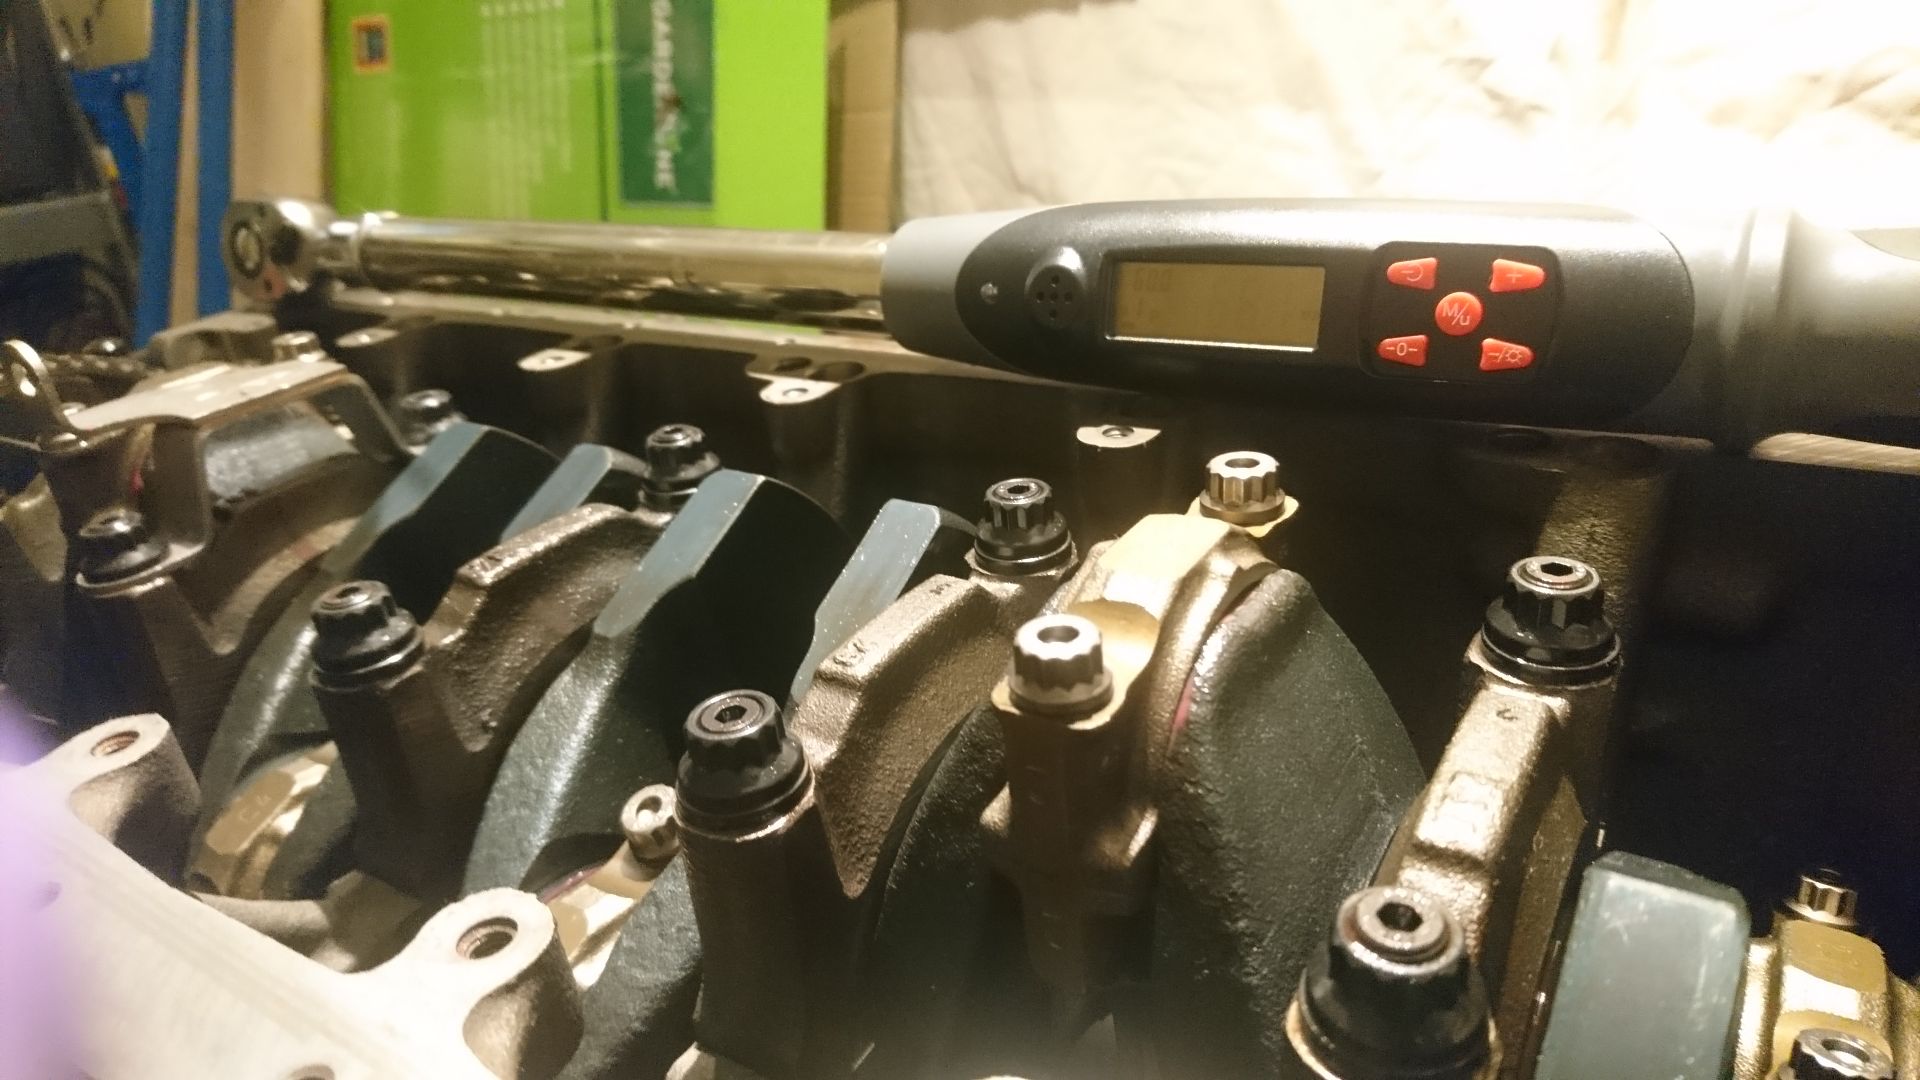
Time to put the main caps in...
Oil pump test fitted, but not at final fit stage yet.
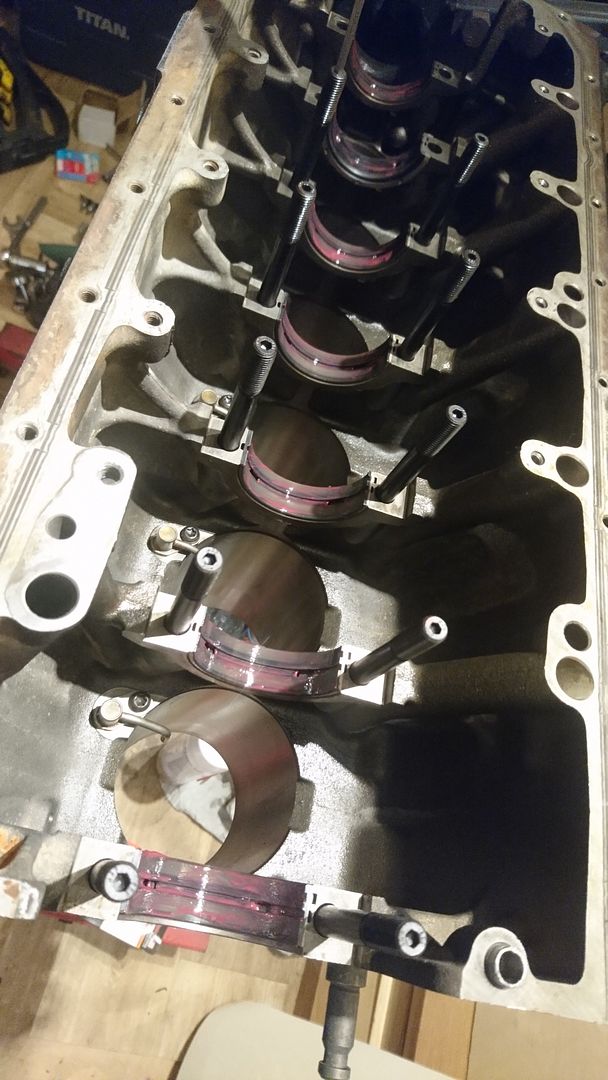
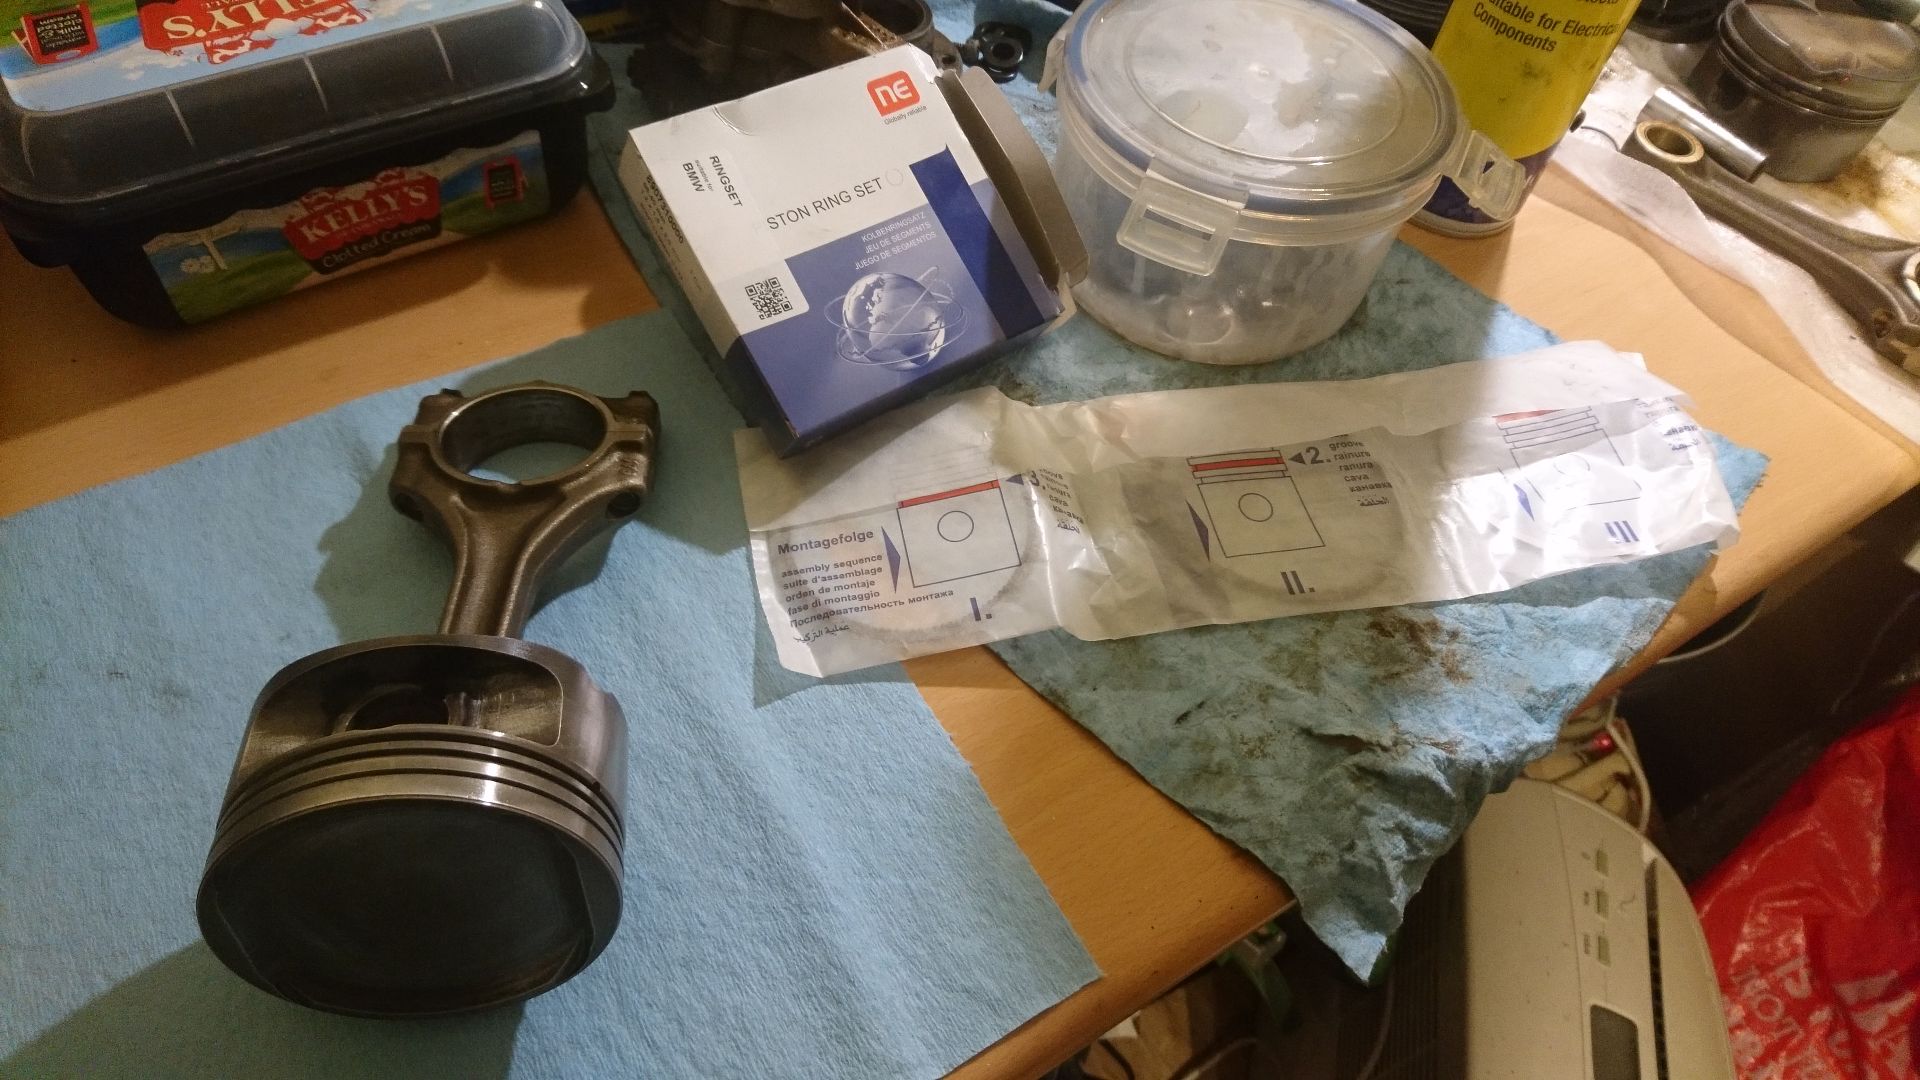
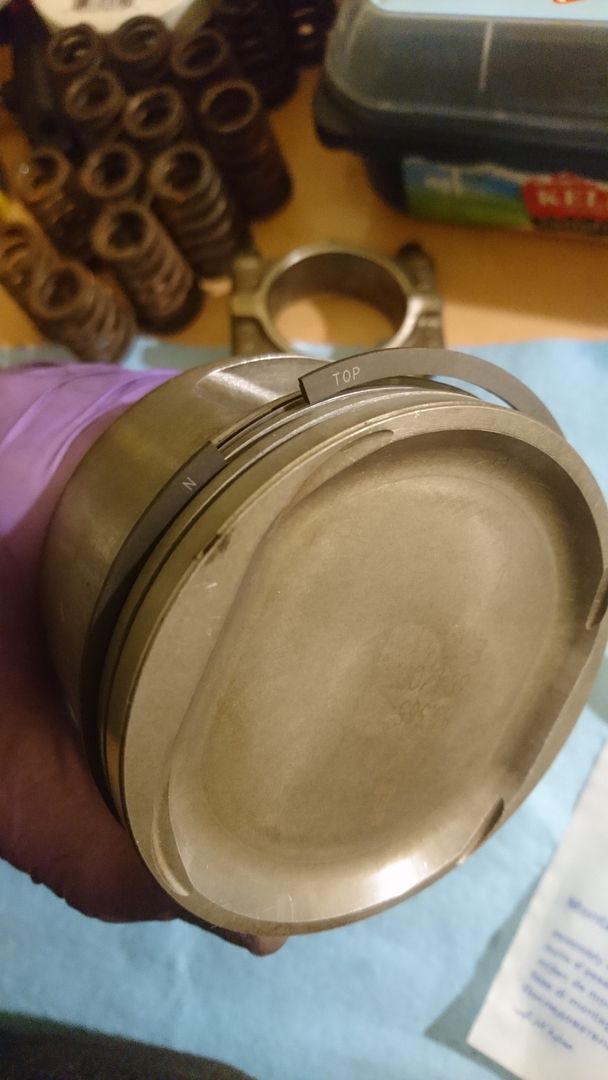
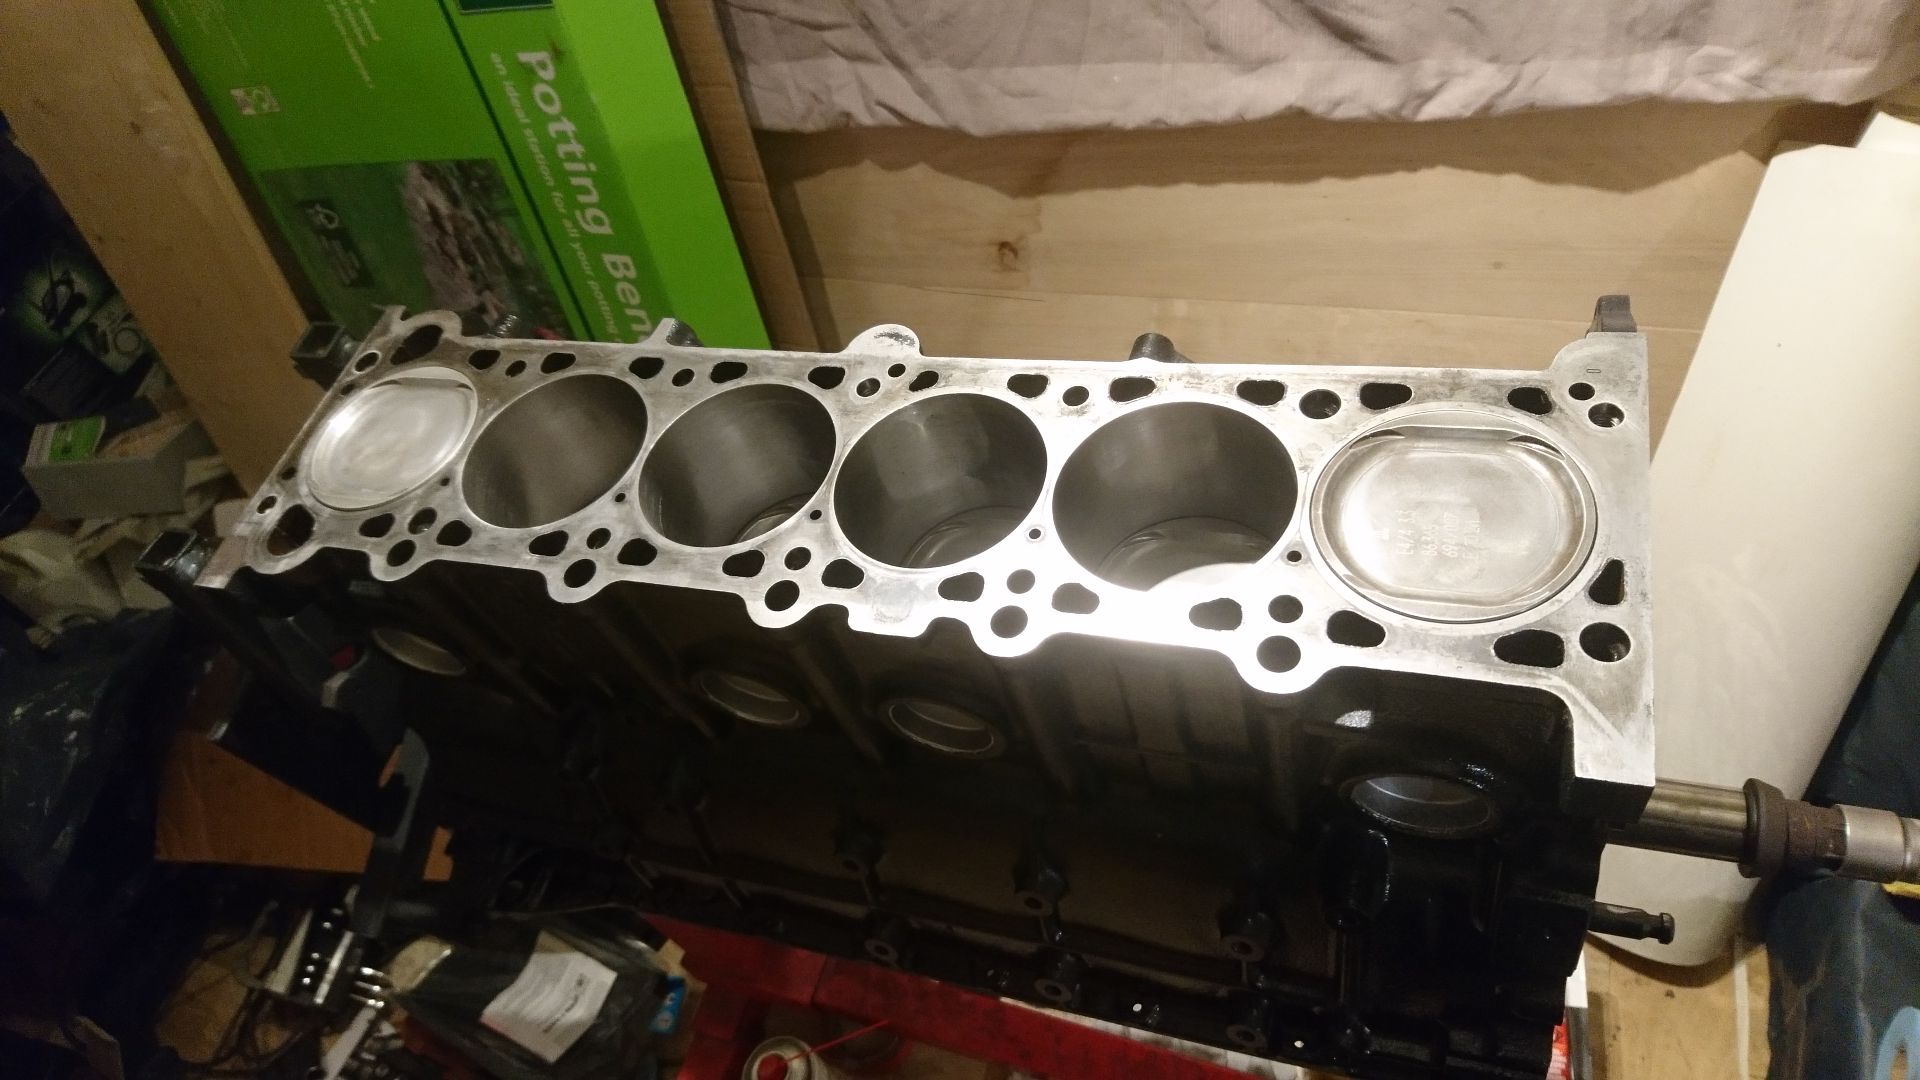
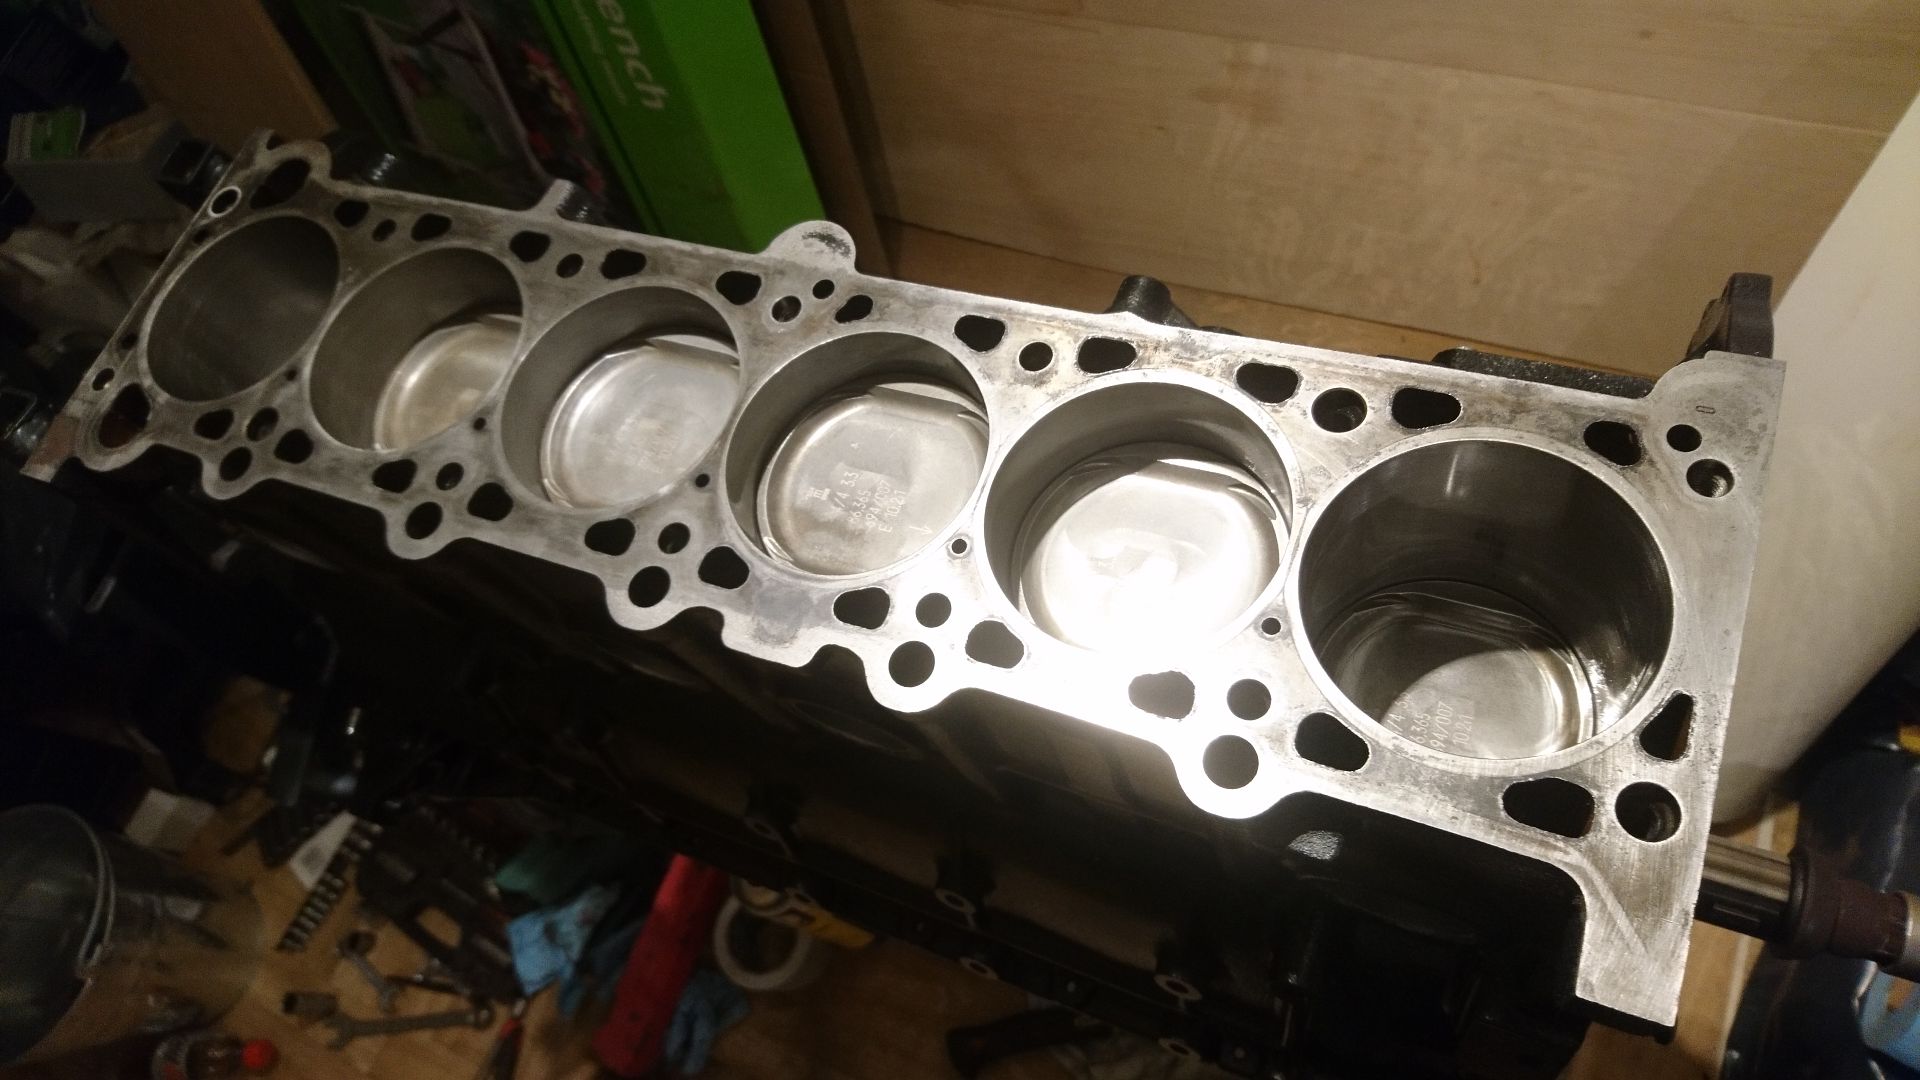
Pistons outfitted with rings...
Then it was time to check the main bearing clearances and fit the pistons... on Christmas Day. Because that's completely normal (all the previous shots in the last two posts are 23rd/24th... fk festivities, right?). Anyway, I celebrated appropriately (see 4th pic down).
Rod bearings inserted, then pistons put in...
Then we ended up here... late on Christmas Night.
There are st-tonne more pictures- the bottom end is now built- but I've not had time to get them from my phone to Photobucket. Stay tuned.
Look at the crank! It's a thing of beauty. Dedicated 93.8mm stroke, which is huge- an M50B25 has a 75mm stroke, an M52B28 has an 84mm stroke... and an M54B30 is 89.5mm. These things are monsters. All the journals are absolutely immaculate.


A very large pile of parts...


Oil squirters cleaned and ready for action...


Inserted in the block...

Look how empty it is! Time to change that. First things first... WD40 pen (everyone needs one of these!) cleaning off little bits of surface rust on the journals. Look at that cross-hatching. Beautiful.


King Racing very kindly gave me a couple of little crib sheets for my rod/main bearing clearances. What nice people.


All bearings are supplied as matched pairs...

...and carefully inserted into the main journals.

Then the ARP main studs need winding into the block...


Rare shot of an actual bit of Alpina branding!

The oh-so-lovely crank goes into the block...

Time to put the main caps in...


Oil pump test fitted, but not at final fit stage yet.


Pistons outfitted with rings...


Then it was time to check the main bearing clearances and fit the pistons... on Christmas Day. Because that's completely normal (all the previous shots in the last two posts are 23rd/24th... f
k festivities, right?). Anyway, I celebrated appropriately (see 4th pic down).


Rod bearings inserted, then pistons put in...


Then we ended up here... late on Christmas Night.


There are s
t-tonne more pictures- the bottom end is now built- but I've not had time to get them from my phone to Photobucket. Stay tuned. 
shalmaneser said:
How much go are you expecting out of this? Surely it would be more cost effective to just drop in a s54B32?
Fair play mind, it's fun seeing an engine being bolted together!
Ahhhhh... one of you 'just S5x it' types... Fair play mind, it's fun seeing an engine being bolted together!
Here's the thing. I like S50s and S54s. I do not, however, like the prices they command for basic maintenance, etc. I can do the maintenance on them, like setting valve clearances, but to put it in perspective...
S50B32 - £2,500 minimum these days for a good one. Then it'll need peeling apart and it'll warrant some ARP rod bolts to stop the rod bearings from spinning (common fault). Then when I do an Inspection 2 on the engine and realise it needs the valves shimming, it's £12.15 per shim. If more than 10 shims need doing, you're talking £121.50 in just shims... I shimmed one the other day that took 17 shims. Big bill! Vanos issues- rebuilding them is expensive. Spare Vanos units are obscene.
S54B32 - £3,500 for a decent one. Again, ARP rod bolts a must. Loom to convert it to run. Shimming is about £4/shim, which isn't so bad, but bad enough if you get a few out. Plus they're quite fragile- they run an 87mm bore, and they're prone for losing the head gasket between cyls 1-2 and cyls 5-6. On top of that, there's Vanos issues, which can be insanely costly.
So... we look at my engine. The head is available off any common or garden 2.5/2.8, M50 or M52. The head gasket is a US M3 item, which costs a whopping £65 or thereabouts. The Vanos unit is, again, just the typical single Vanos unit, which can be rebuilt for a small fee and is desperately easy to install. The valve clearances are hydraulic. The engine itself doesn't actually owe me much- I won't reveal how little, but let's just say that the bits I threw inside it cost about £1,000, so we're still at desperately less than any healthy S5x engine before we start.
Then there's the power/torque stuff. This engine I'm planning on having at least 300bhp, and 270lb/ft. I know of more than a few S50B32s that struggle to hit that figure. They are notoriously tetchy. Back to the 3.3... it's got a huge stroke, so masses of torque, and is safely rated to 7,200rpm- just 300rpm shy of an S50B32. The cams are my own design and can be swapped in and out with ease. It's a strong, reliable, single Vanos base with a tough iron block. It's also lighter than both the S50B32 and the S54B32.
I hope that clears it up a bit.
Plus, I can legitimately use a 333i badge on my car with this engine.
5harp3y said:
just realised you are in Southampton, i will be in touch re some upgrades for my m52
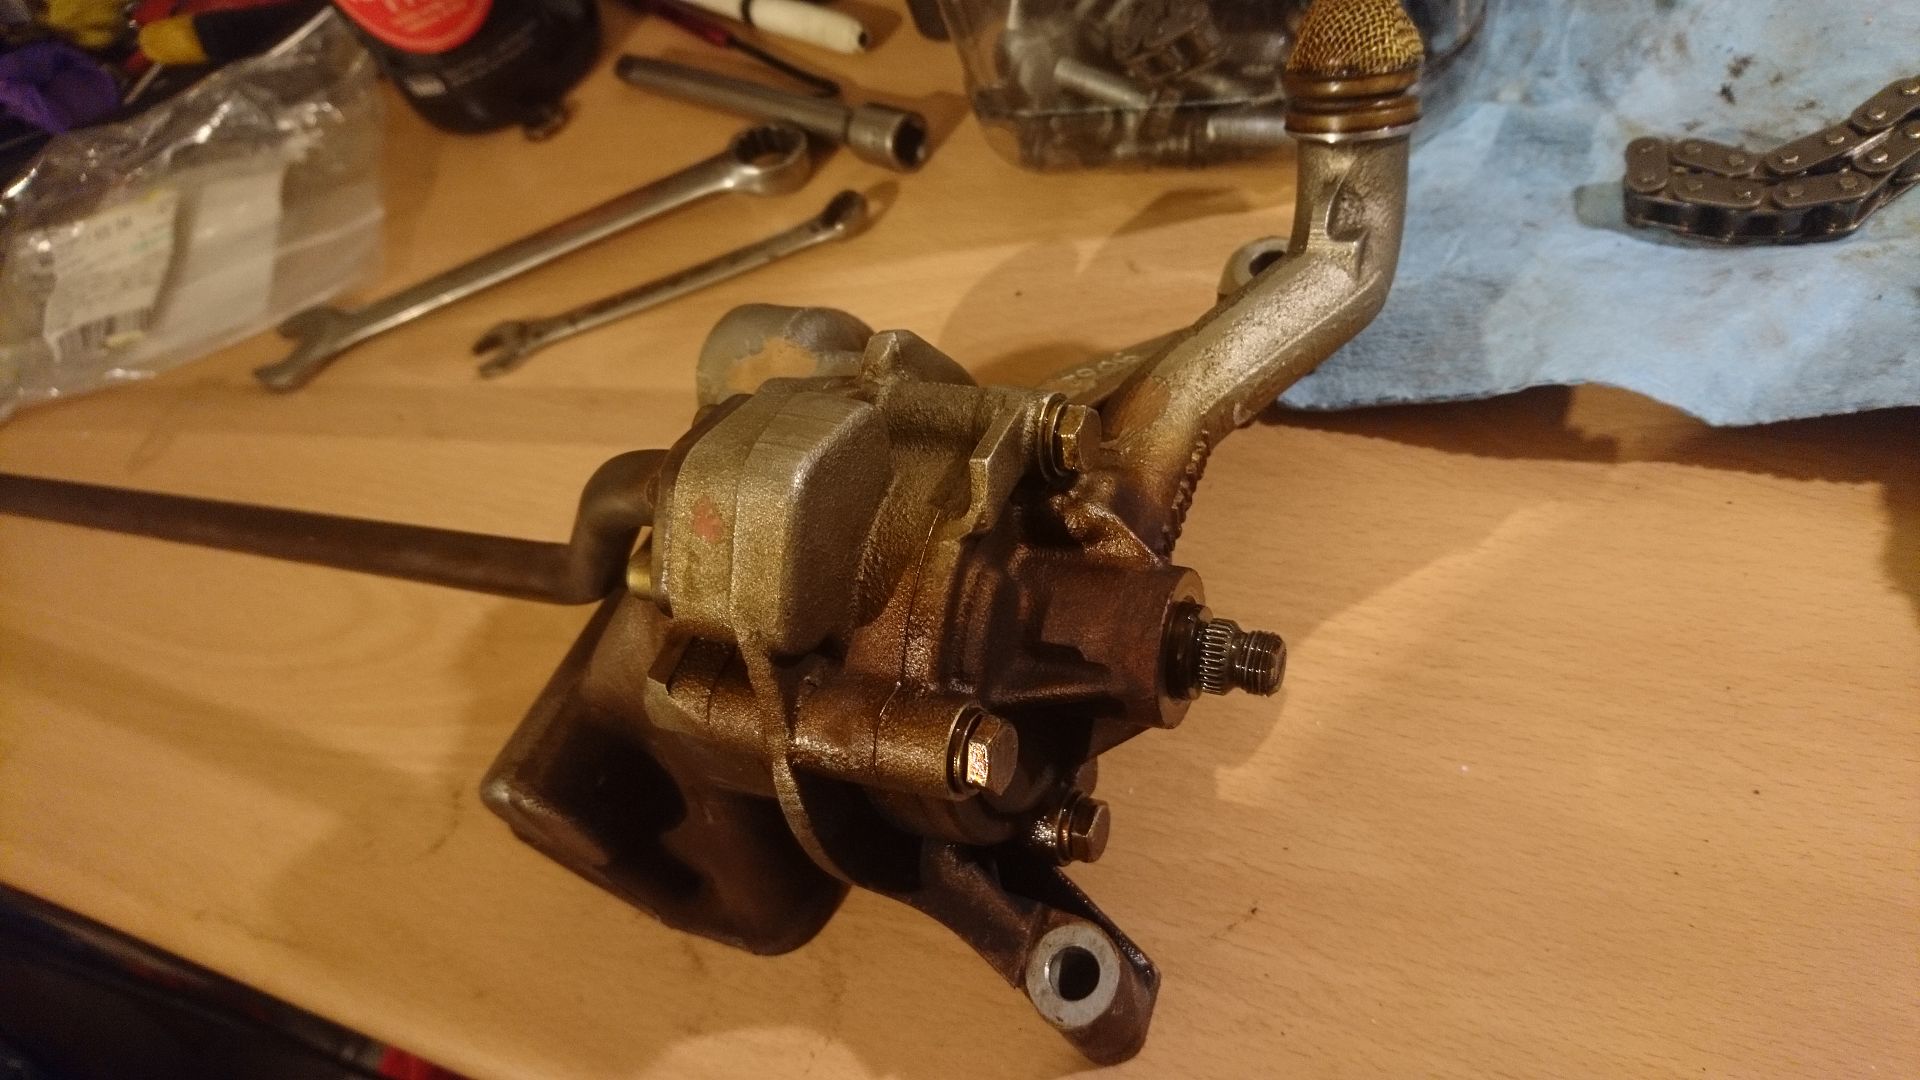
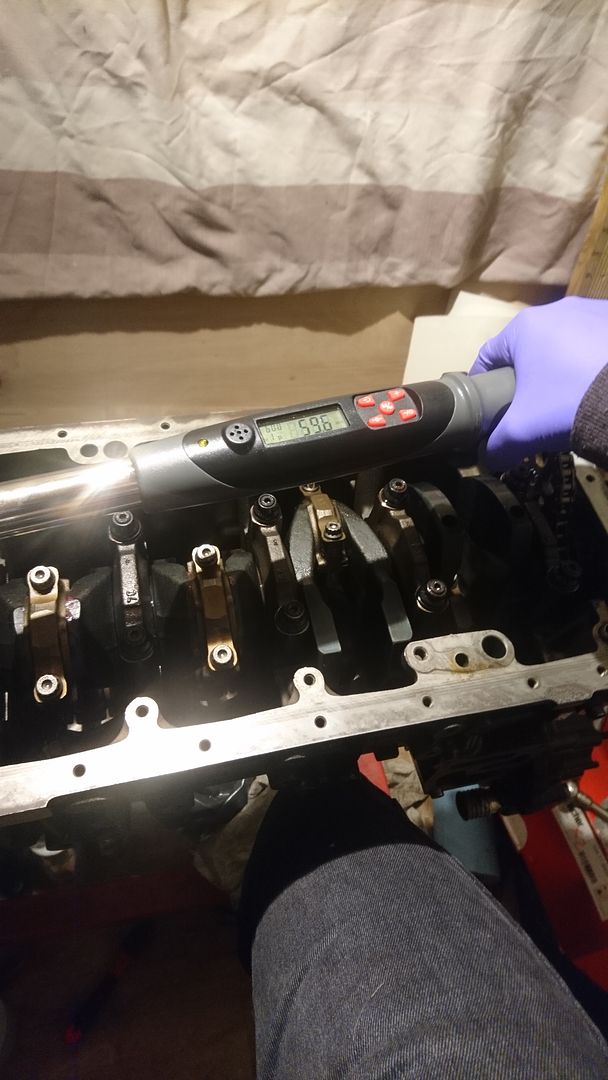
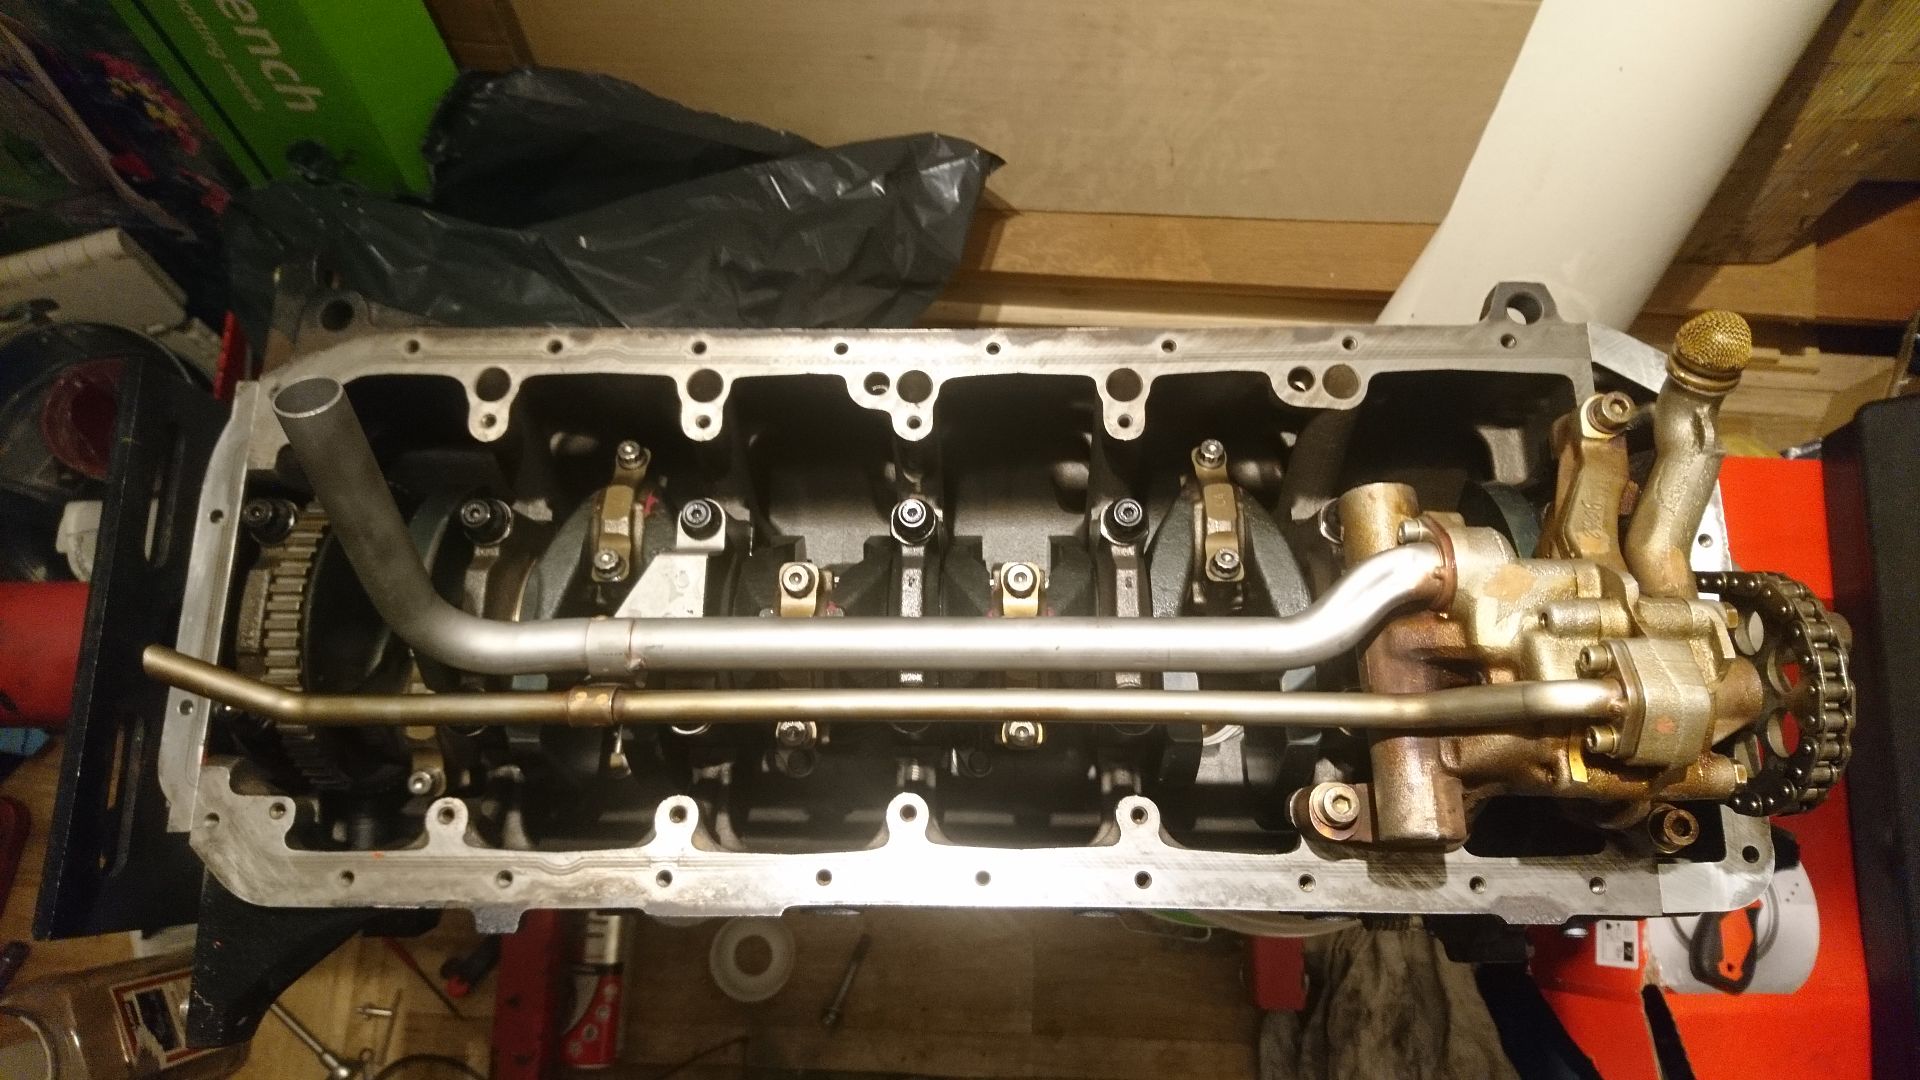
Have a poke on the page- www.facebook.com/justdeutsch - and drop me a message if you want to see what the deal is. Also happy to take you out in the demonstrator car. I decided that I wanted to re-check all my torque values, so stripped the oil pump off and got to work with a digital, freshly calibrated torque wrench. I just felt more comfortable with it.
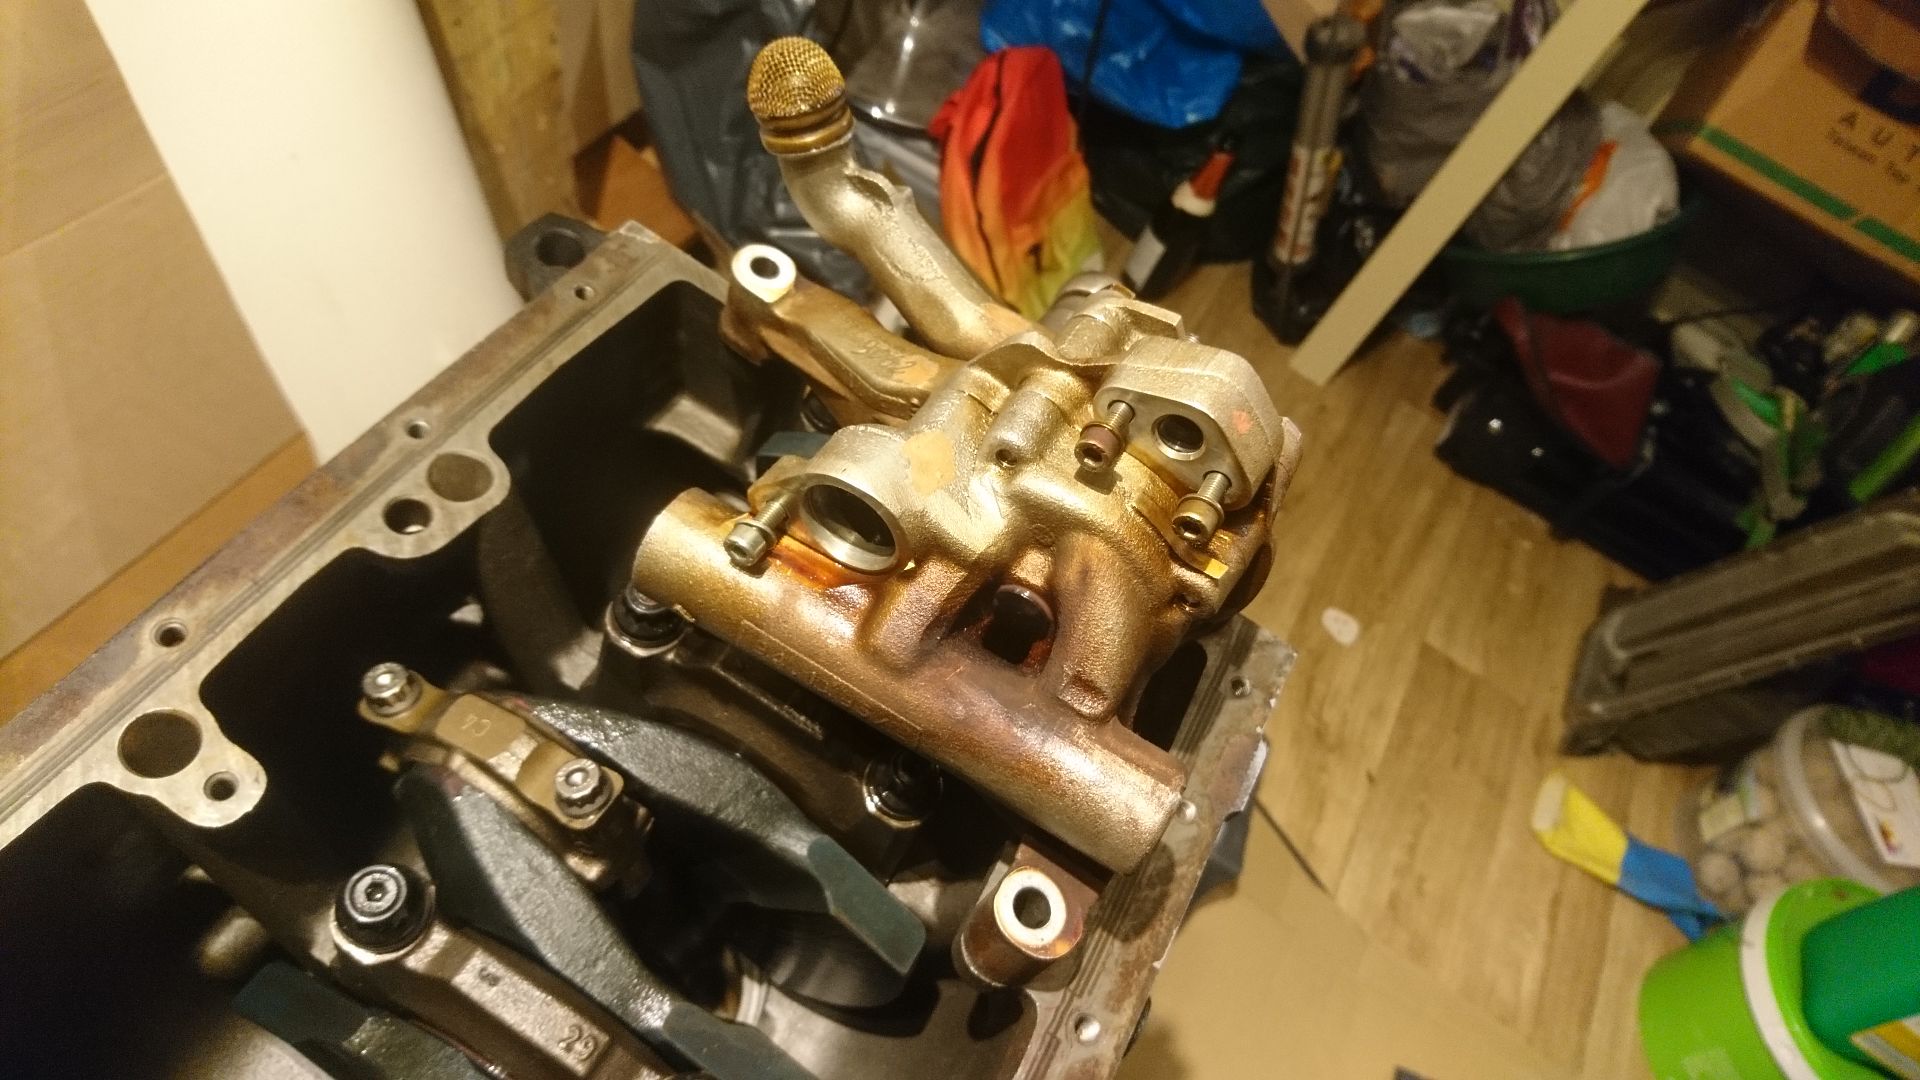
So... this is how an S50 oil pump works.
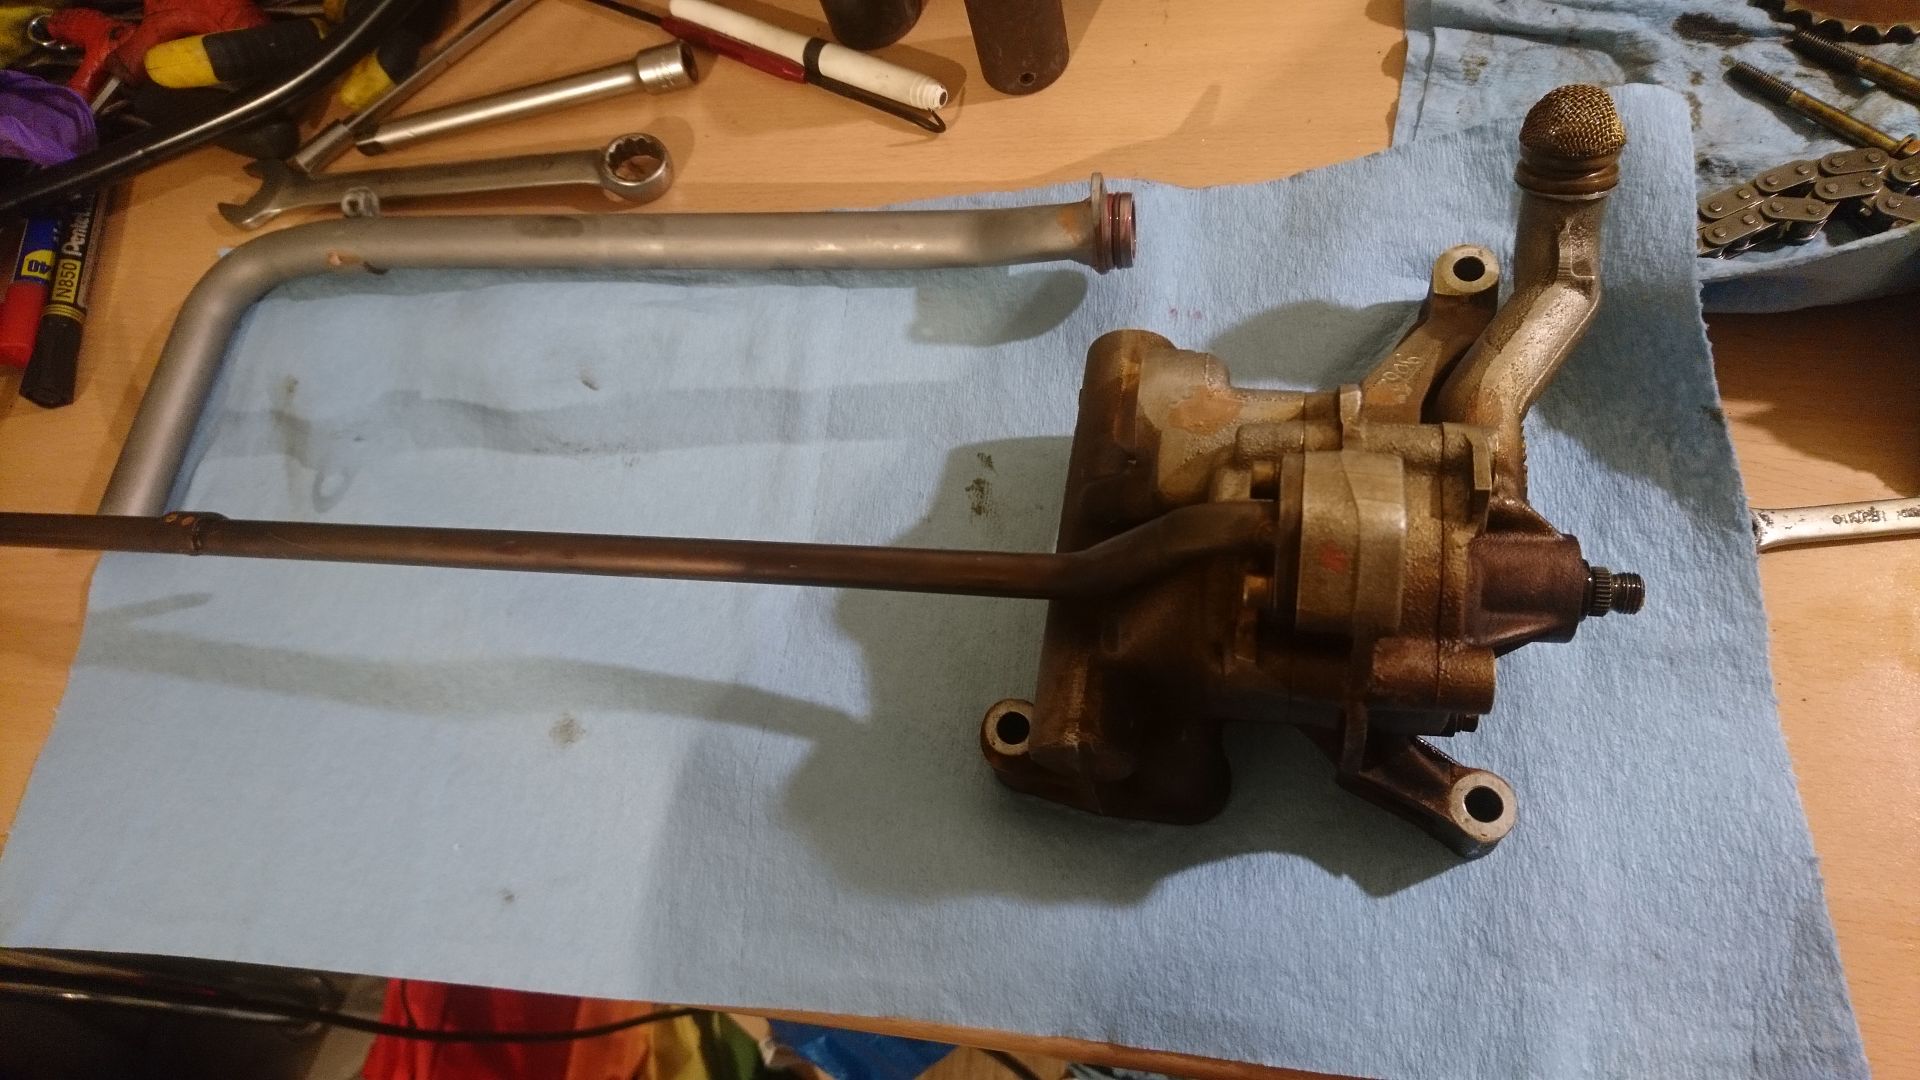
Top side removed... and it's a twin-rotor design. very, very cool.
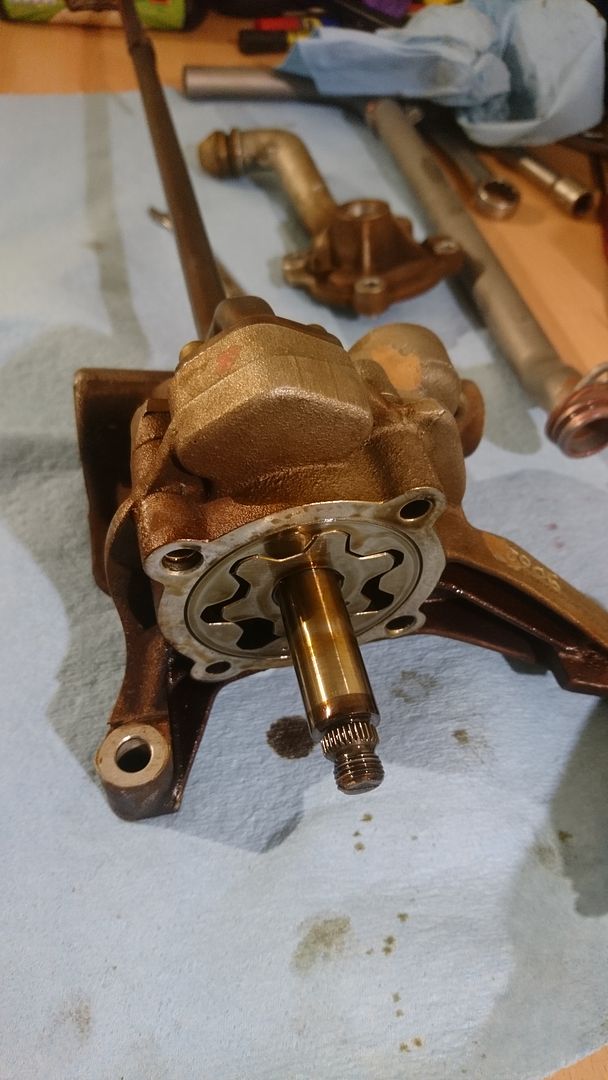
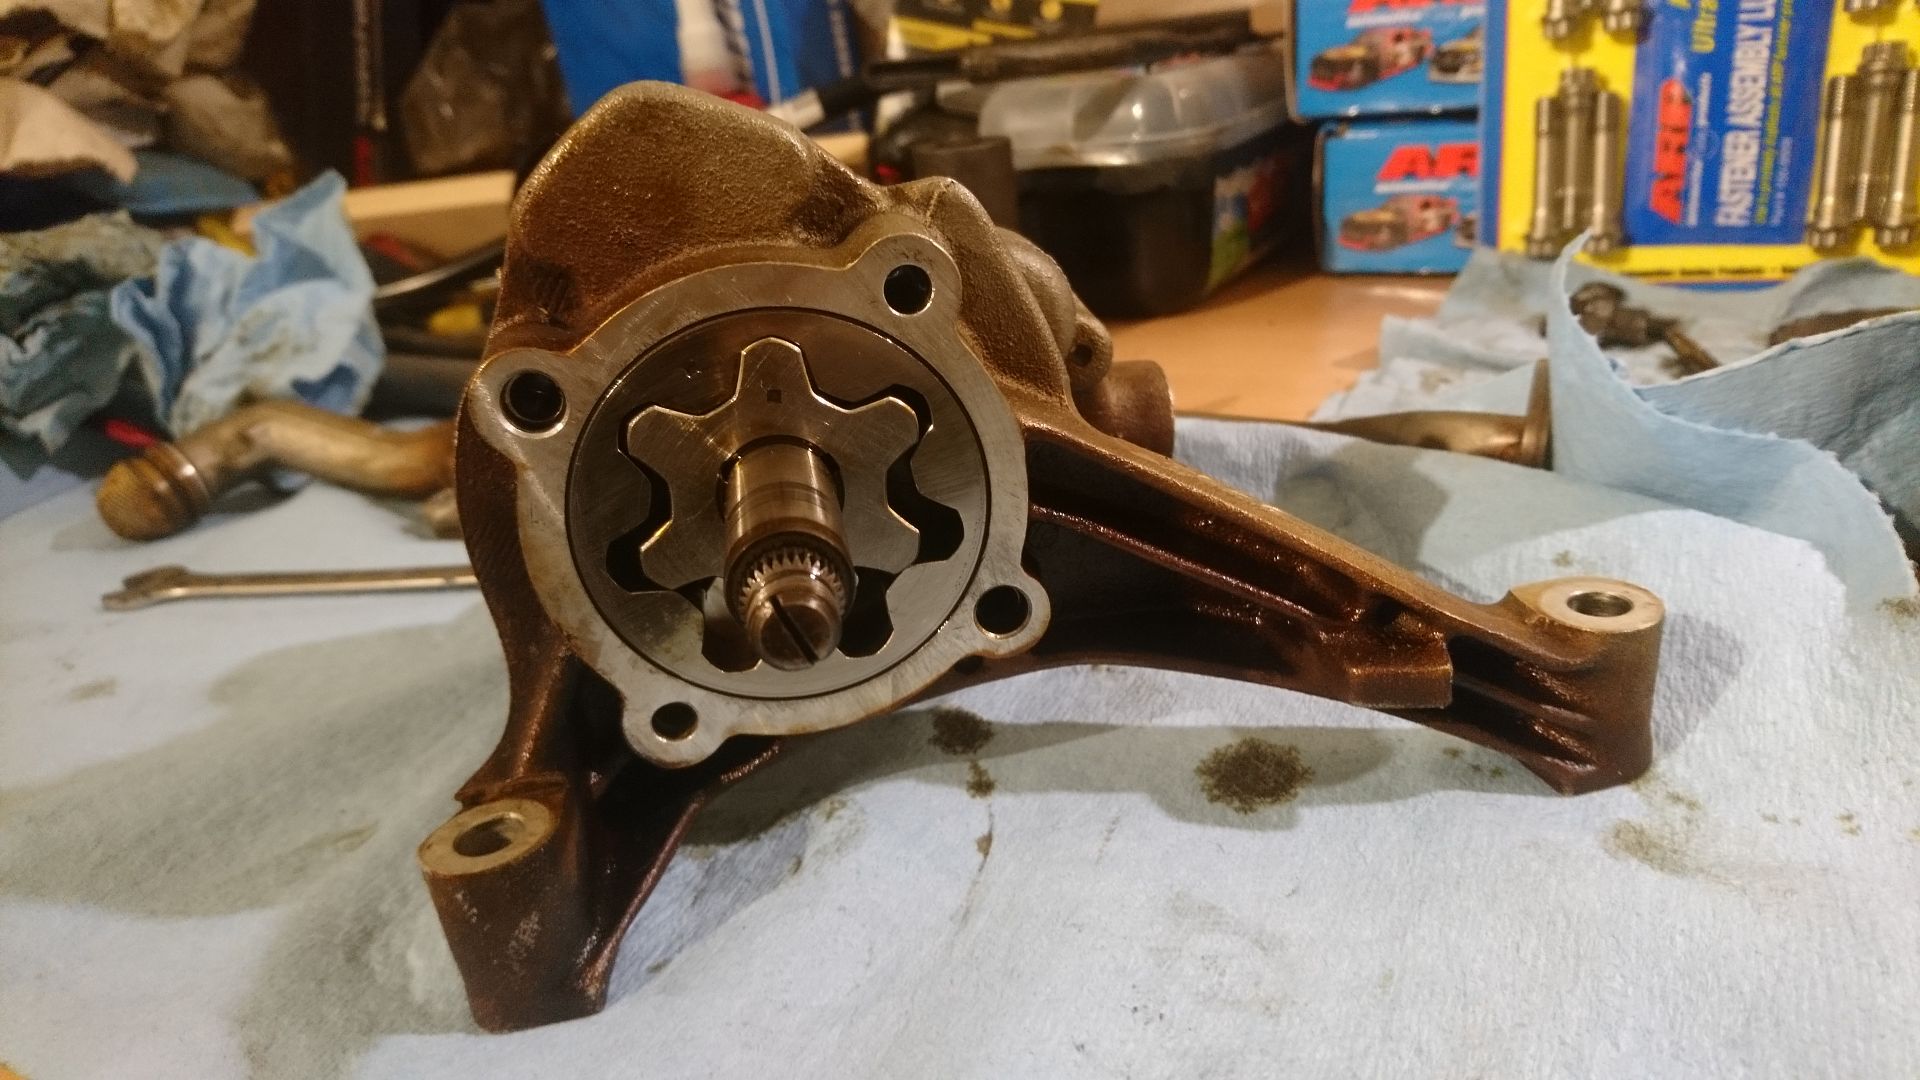
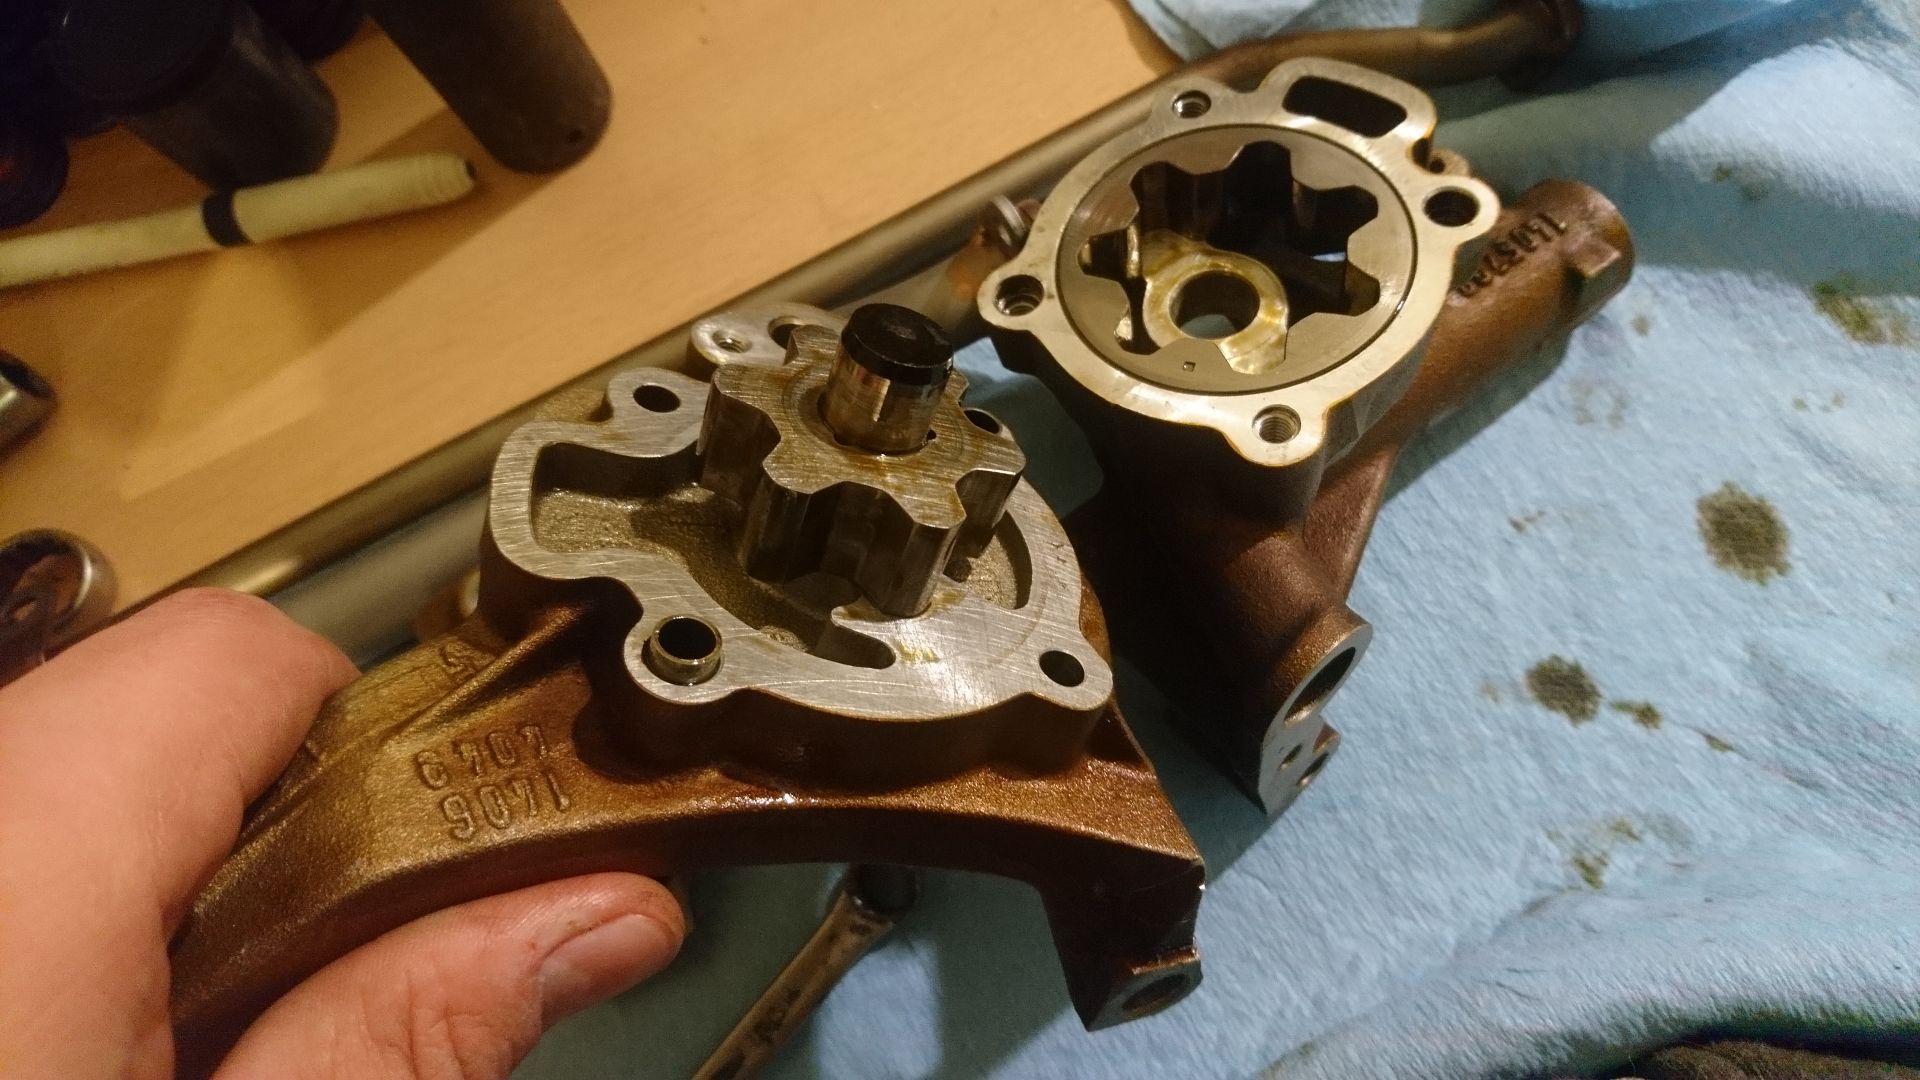
Split down to its component parts...
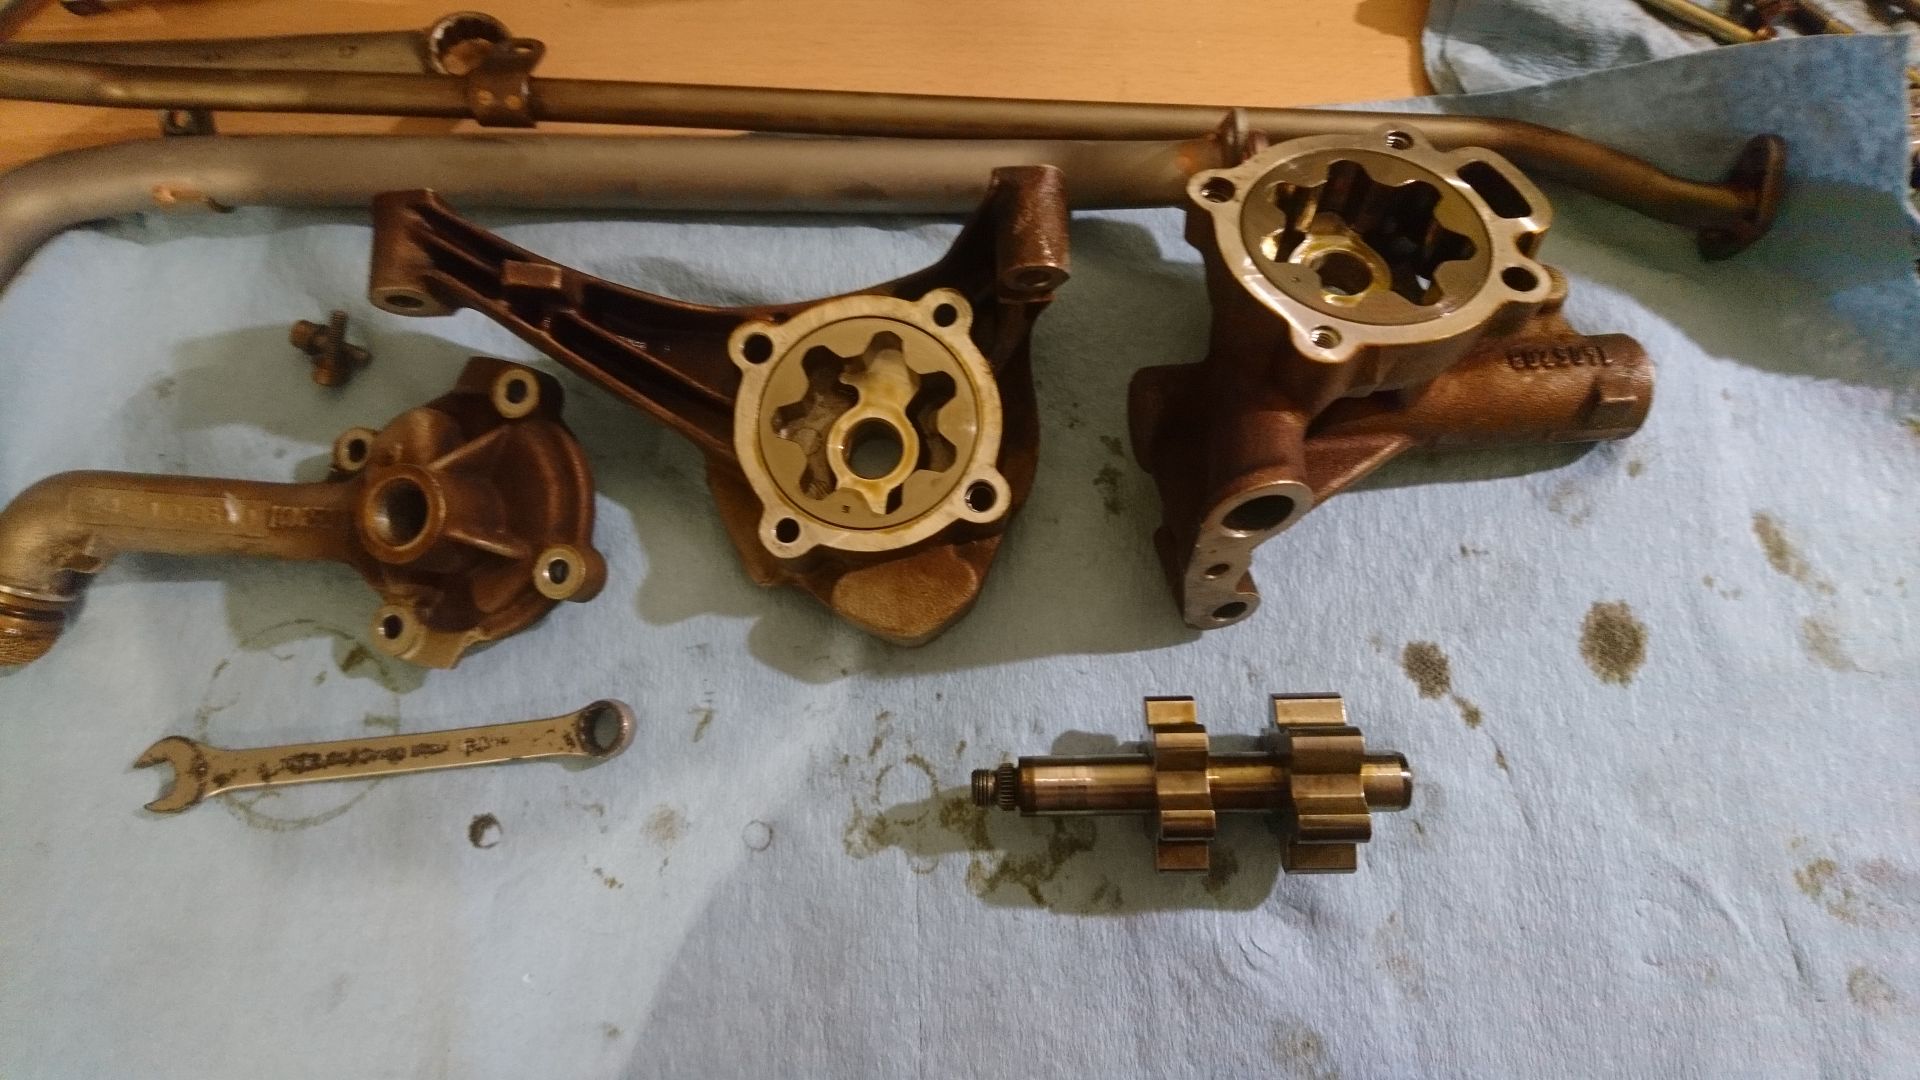
...and rebuilt...
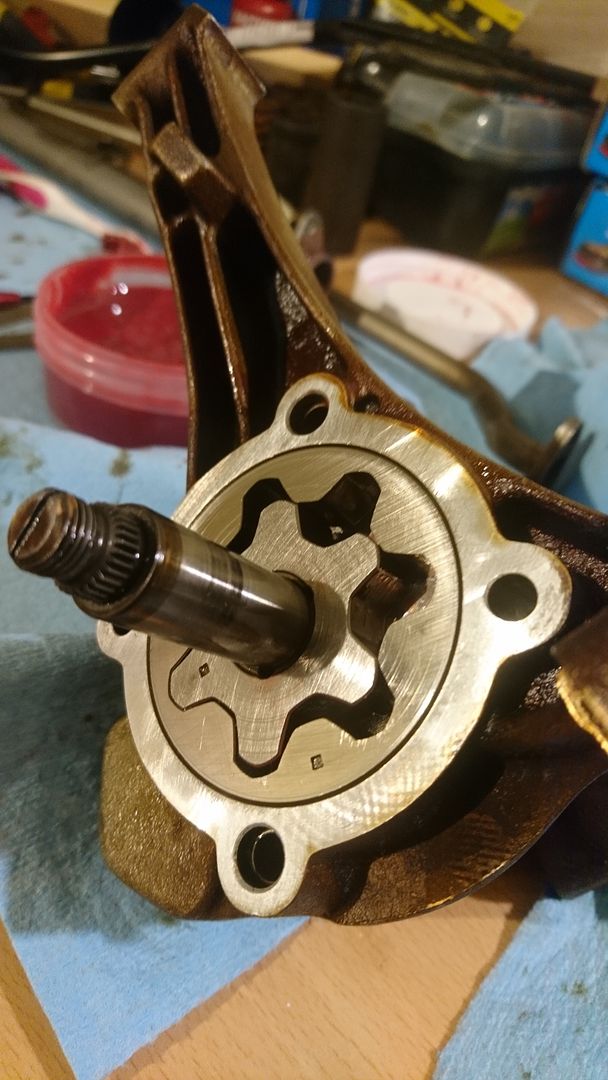
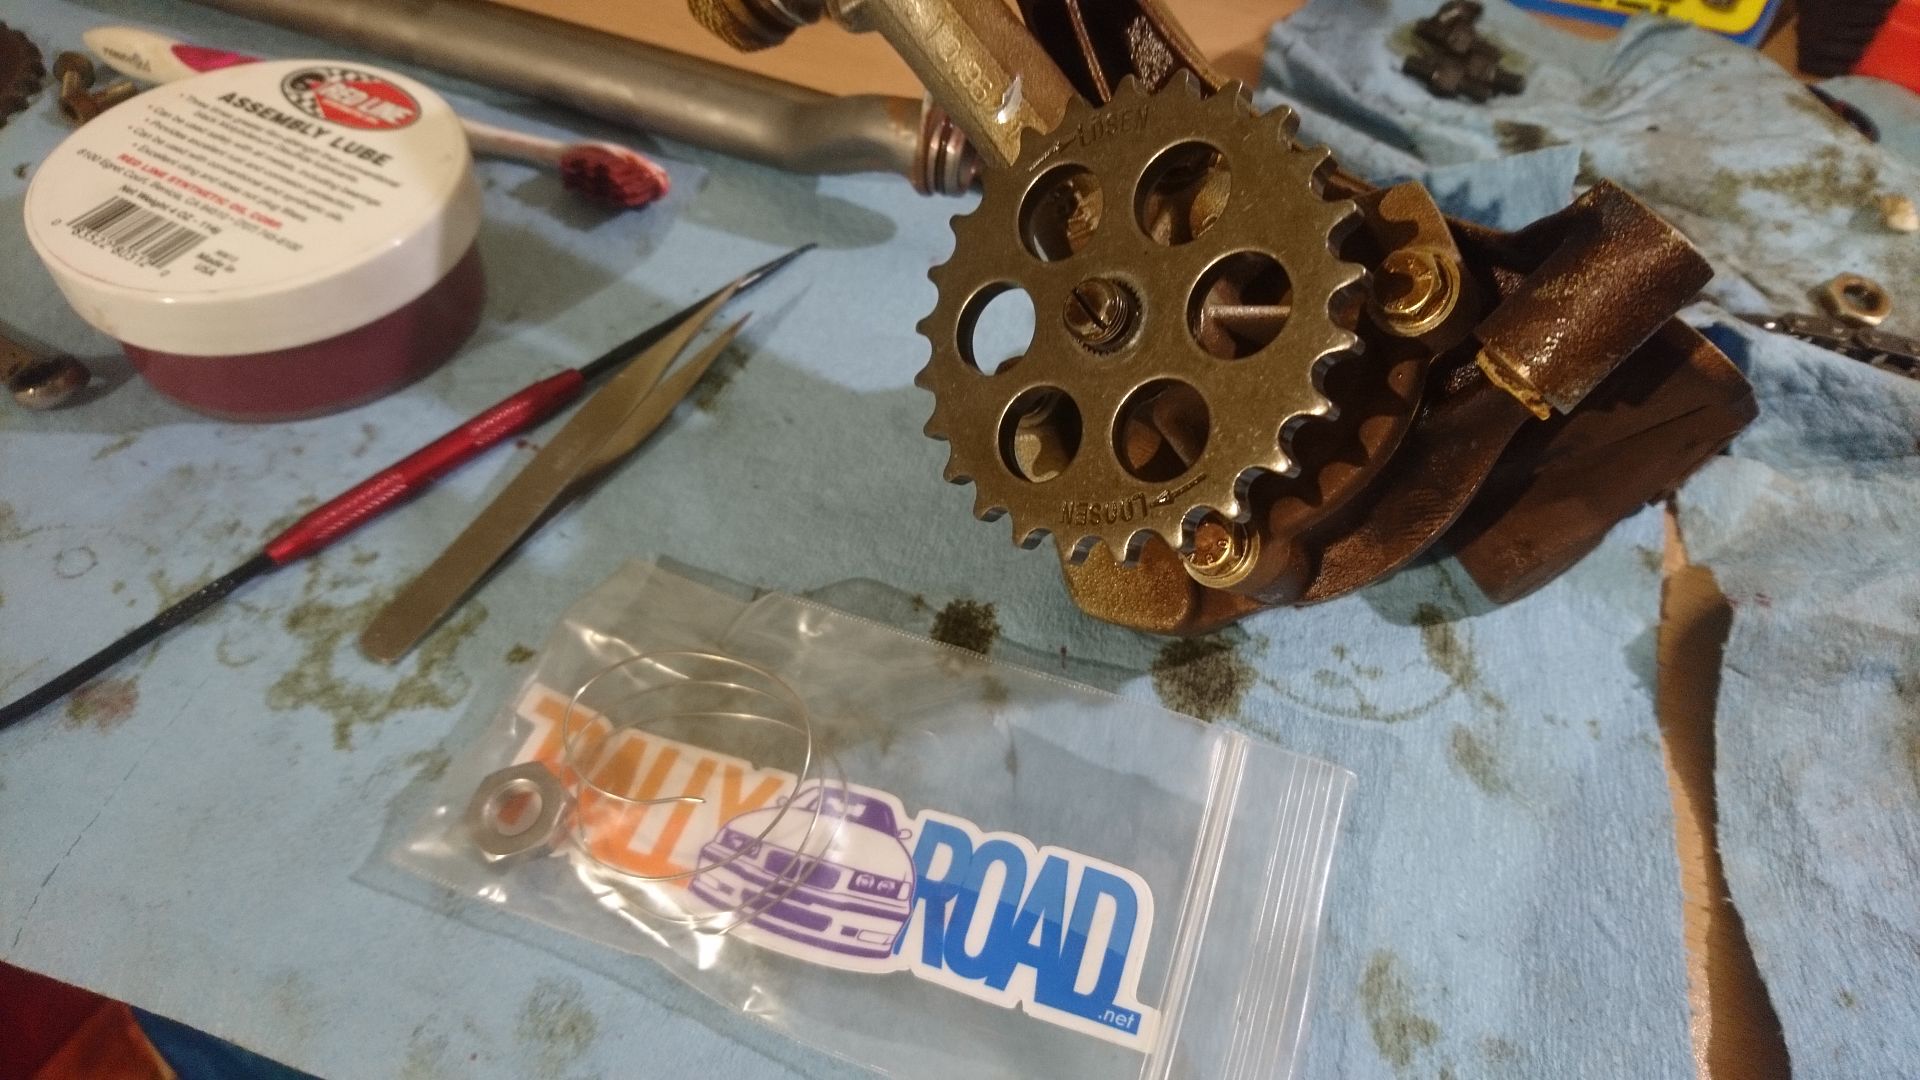
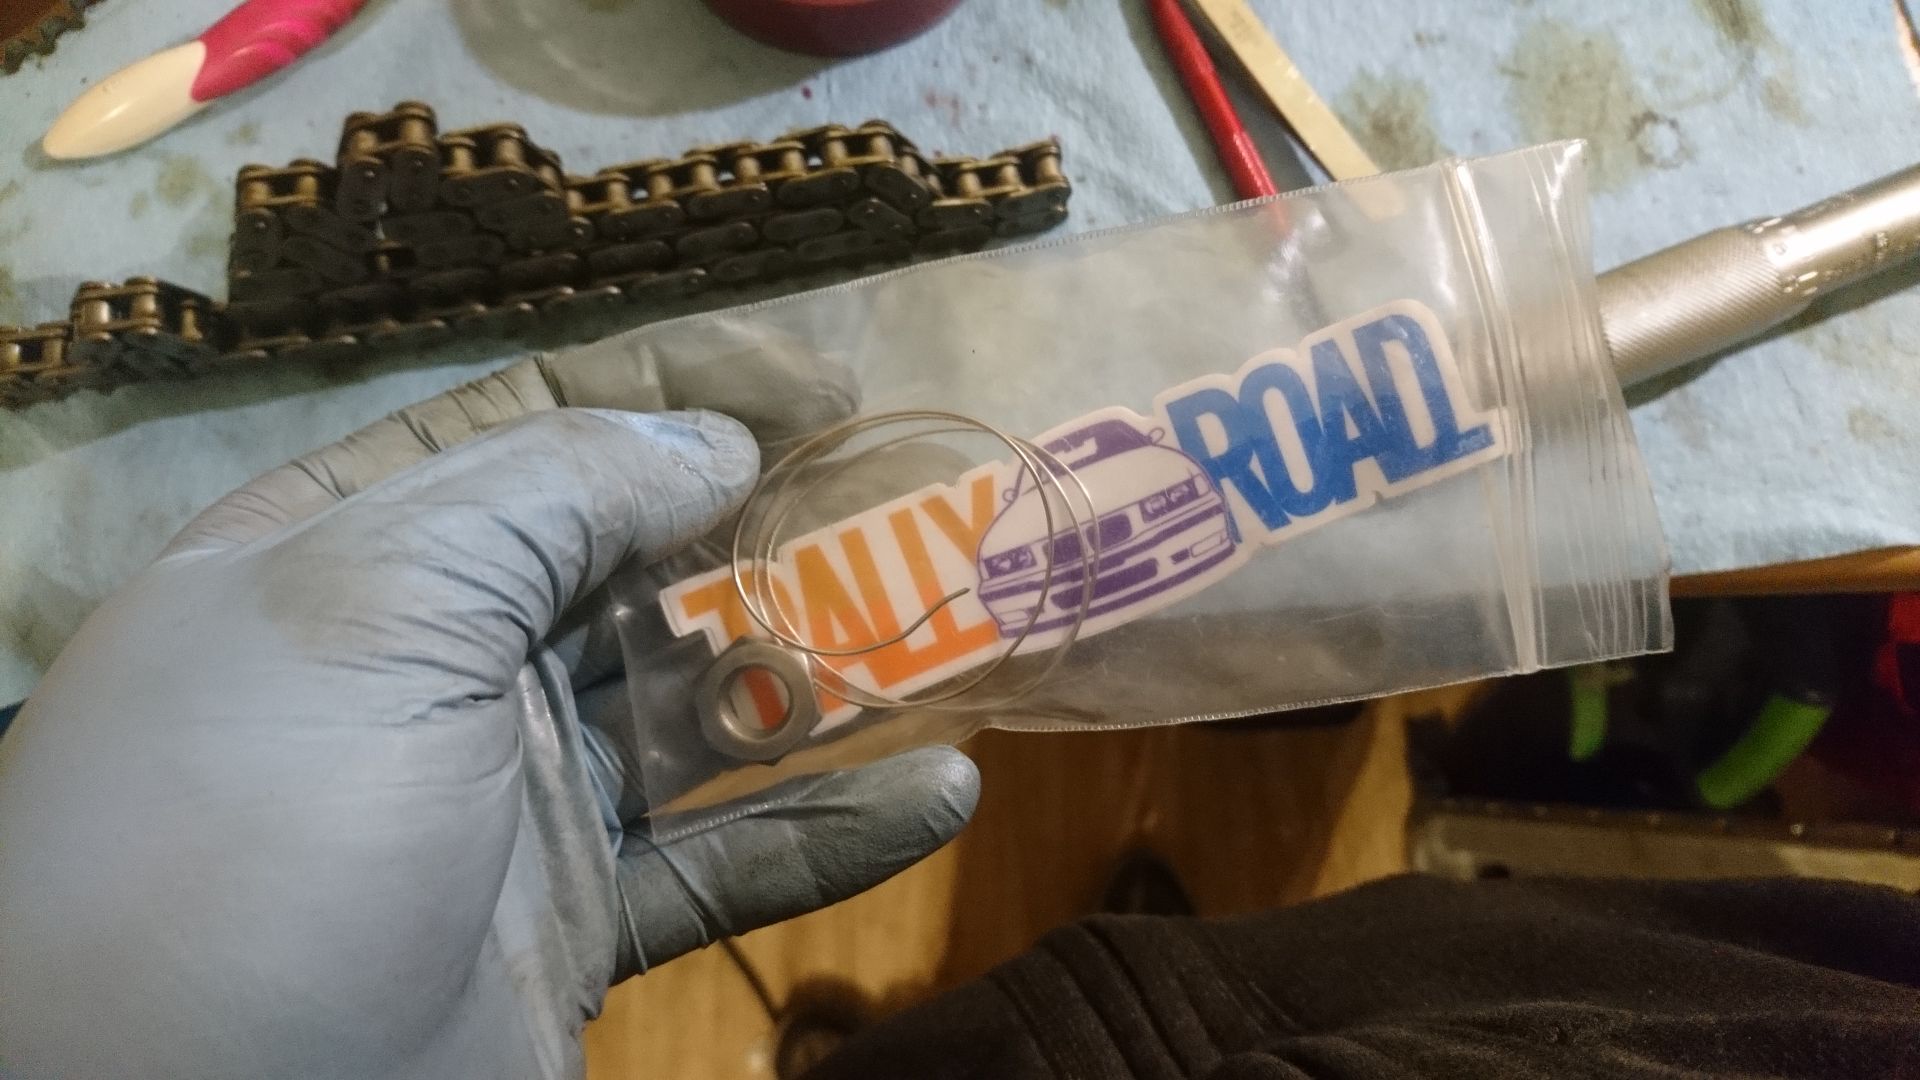
With an M50/M52 oil pump sprocket, as the S50/S54 item is too large. Also secured a lockwired pump nut from Rally Road.
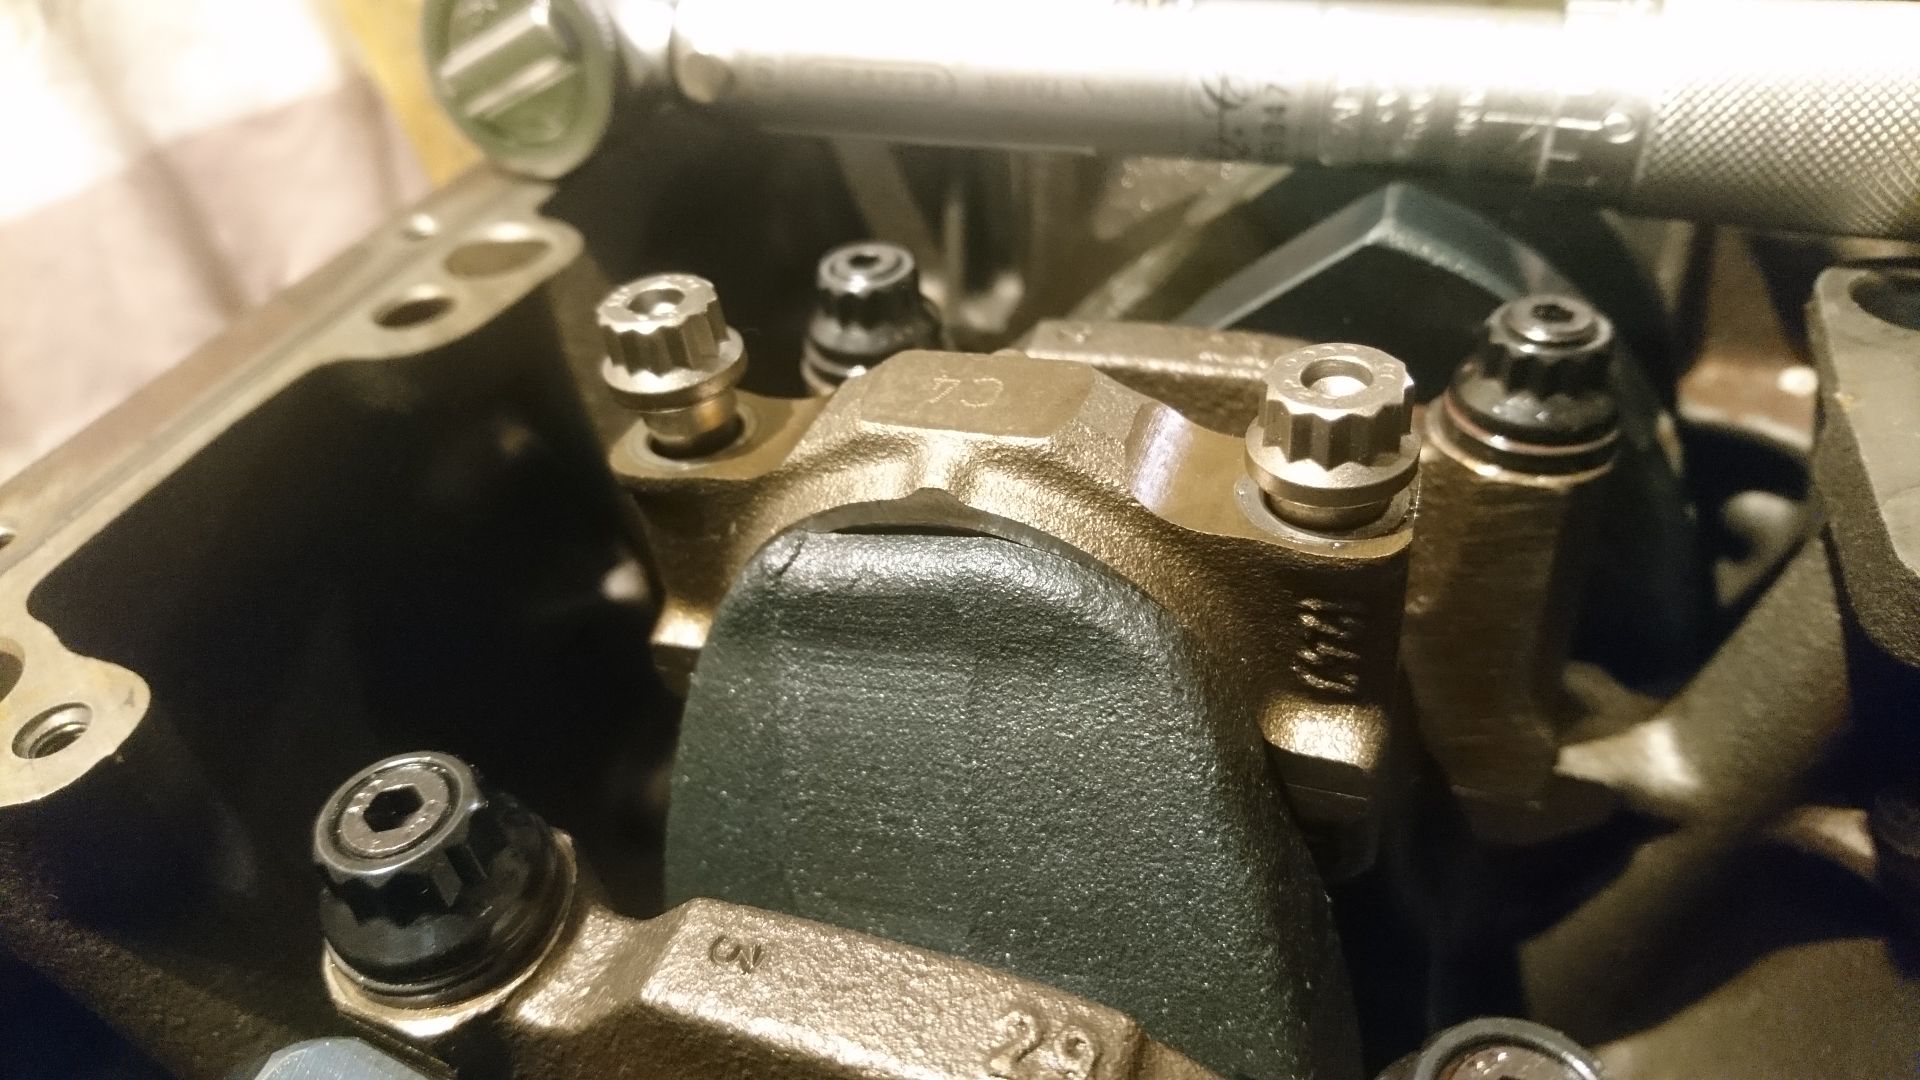
Now... onto the rod bearing clearances.
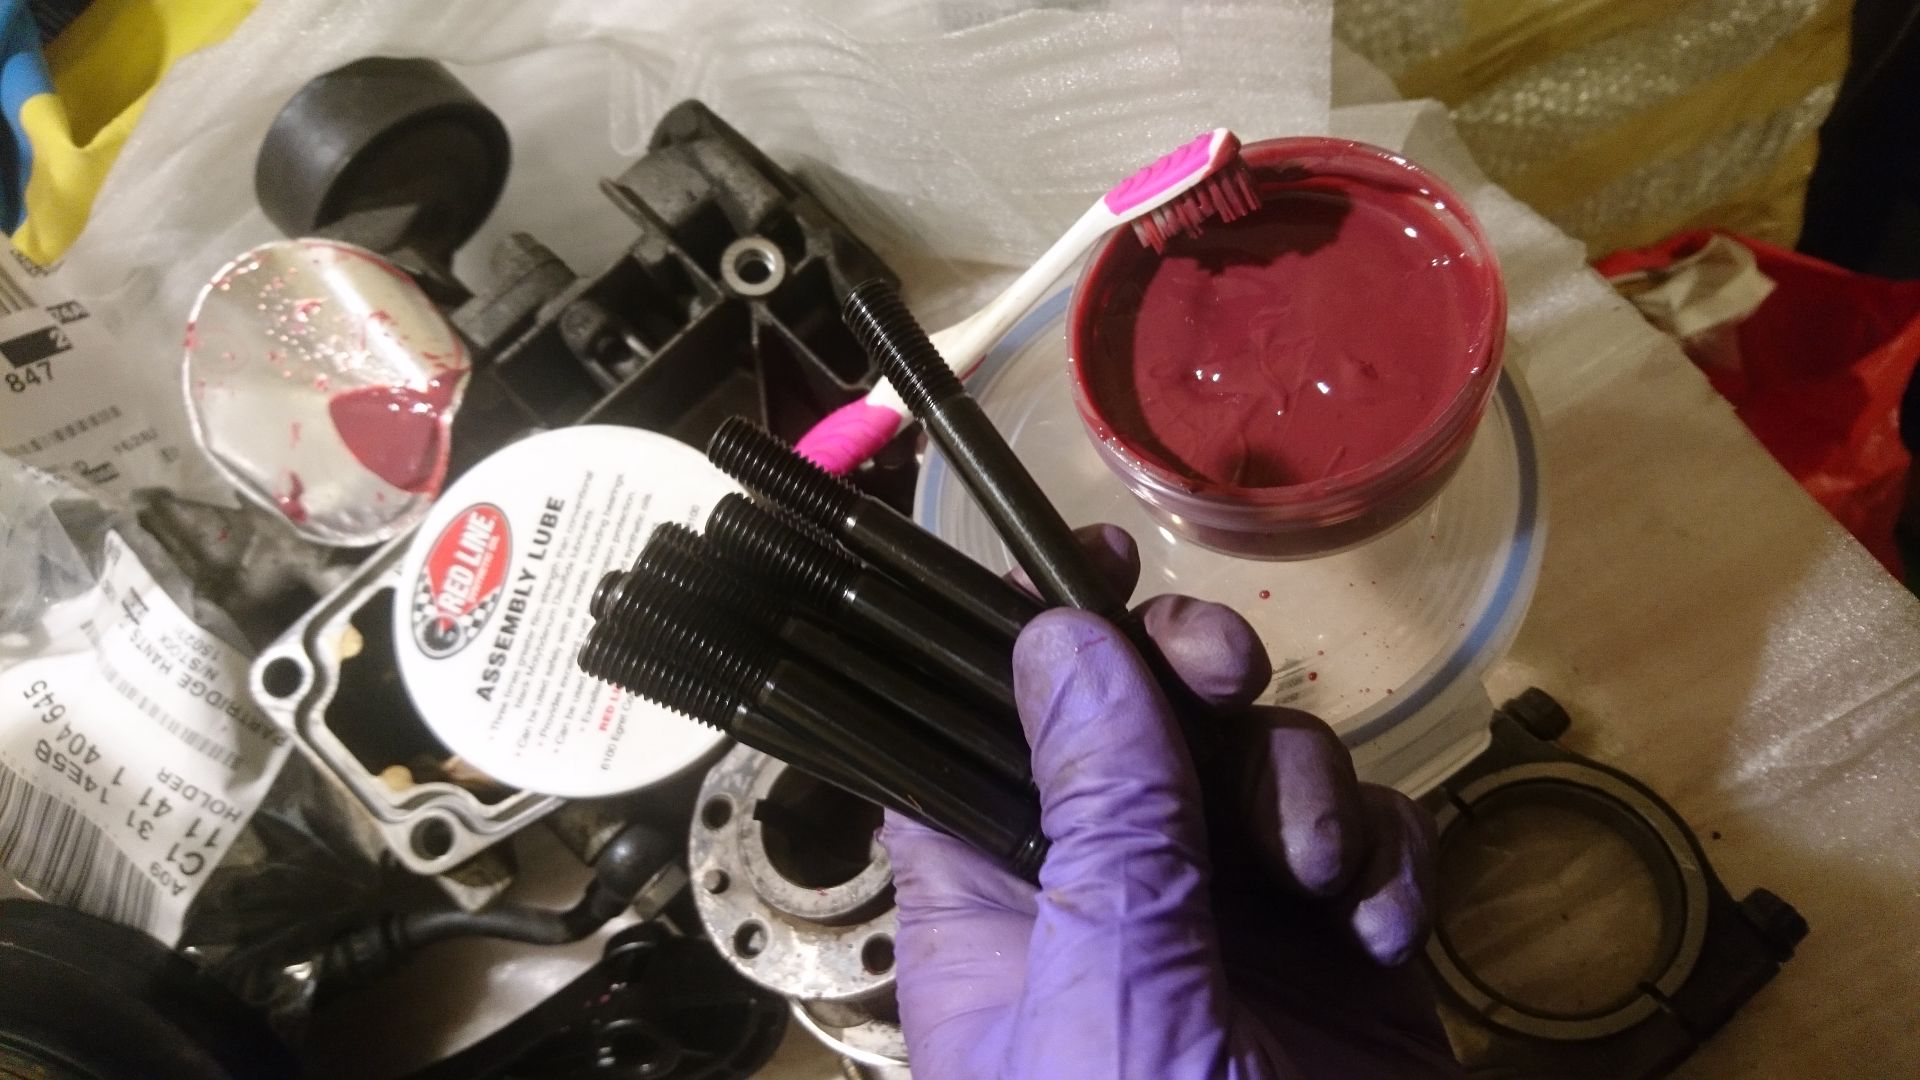
Final fit for the ARP rod bolts.
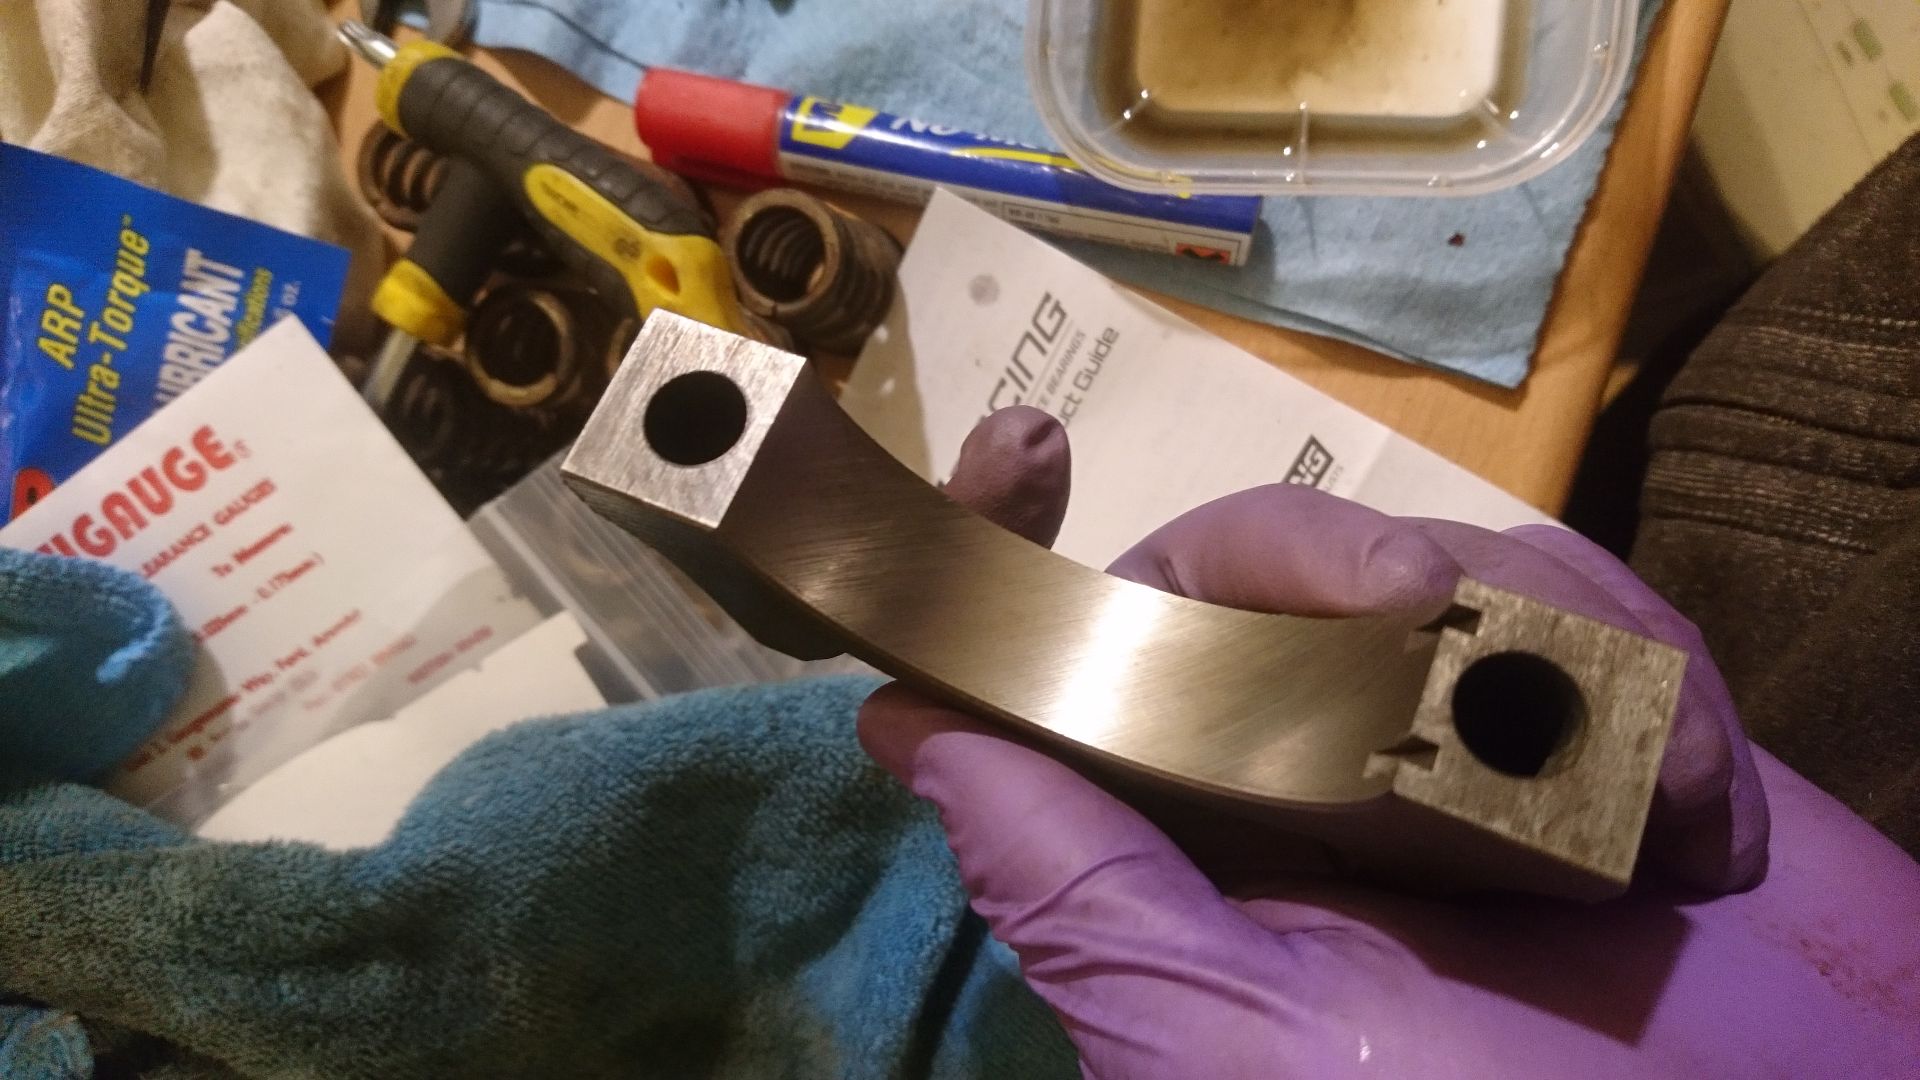
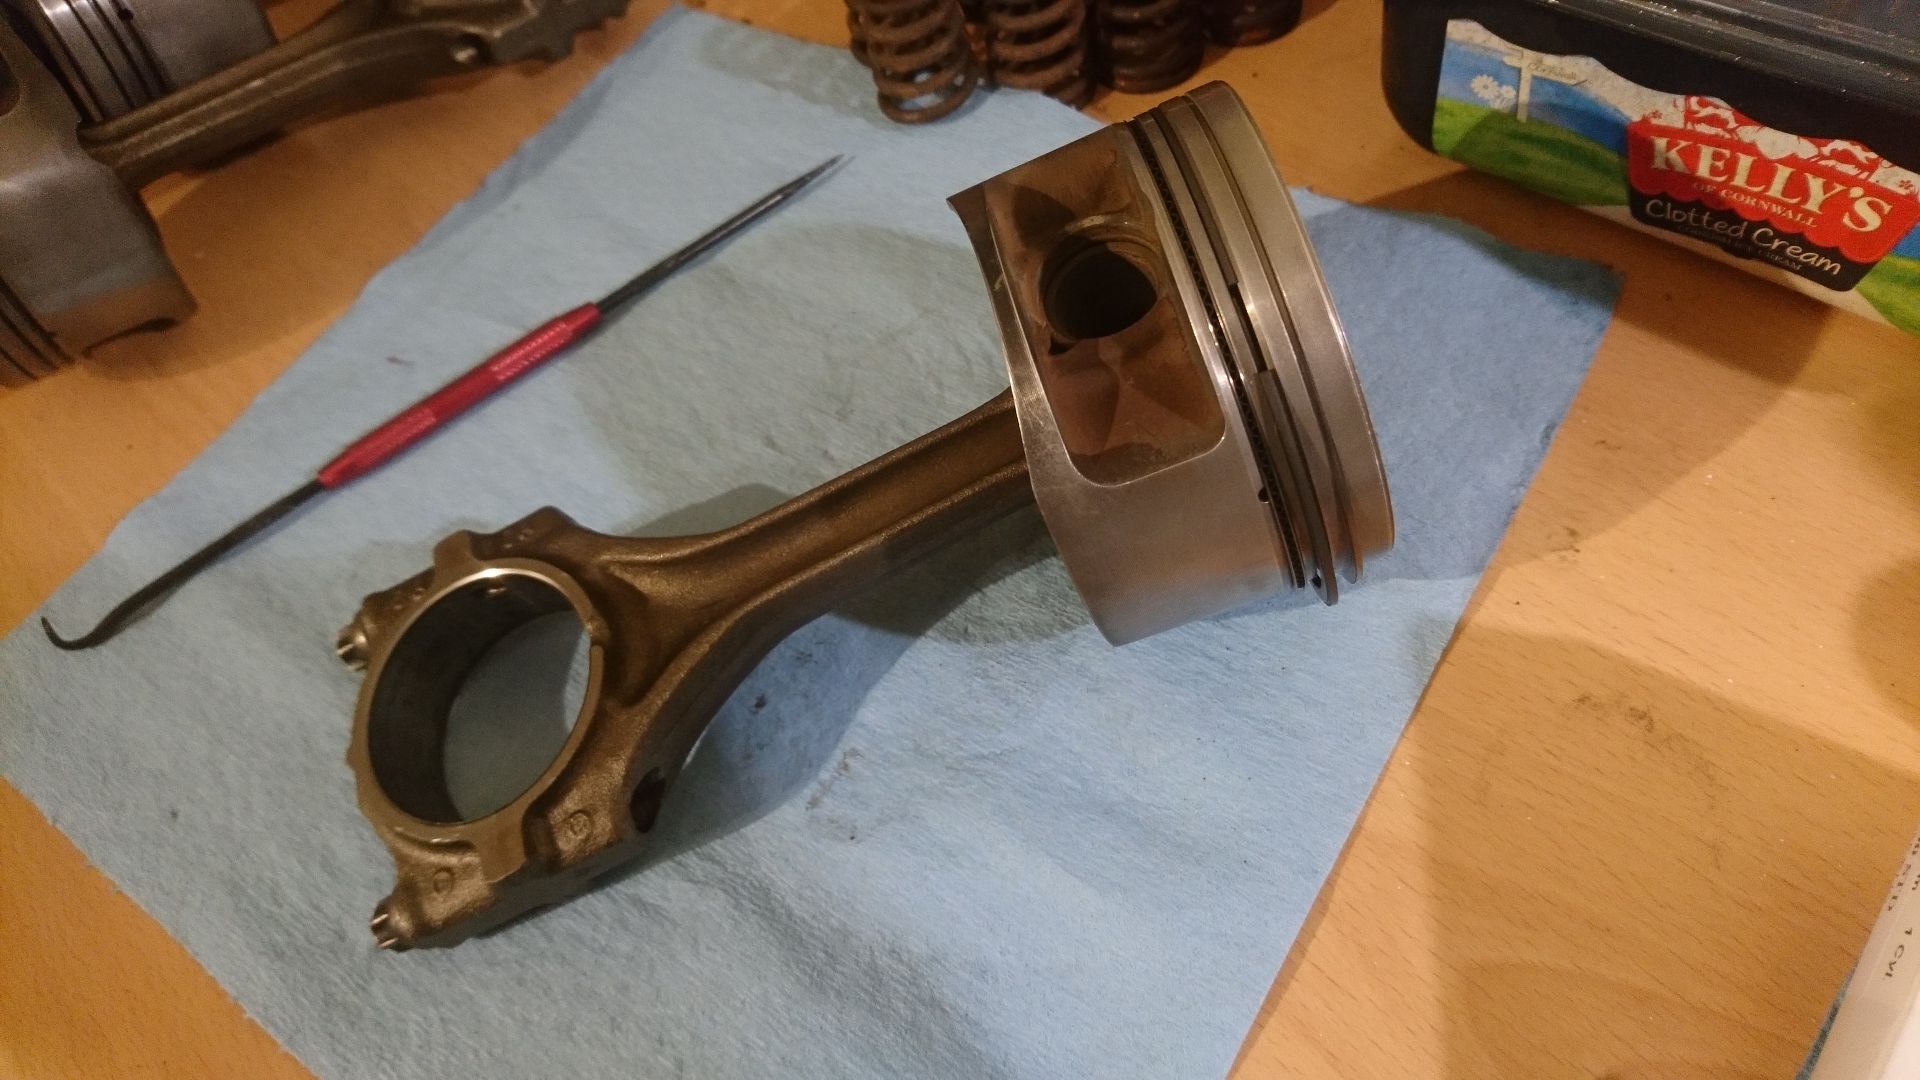
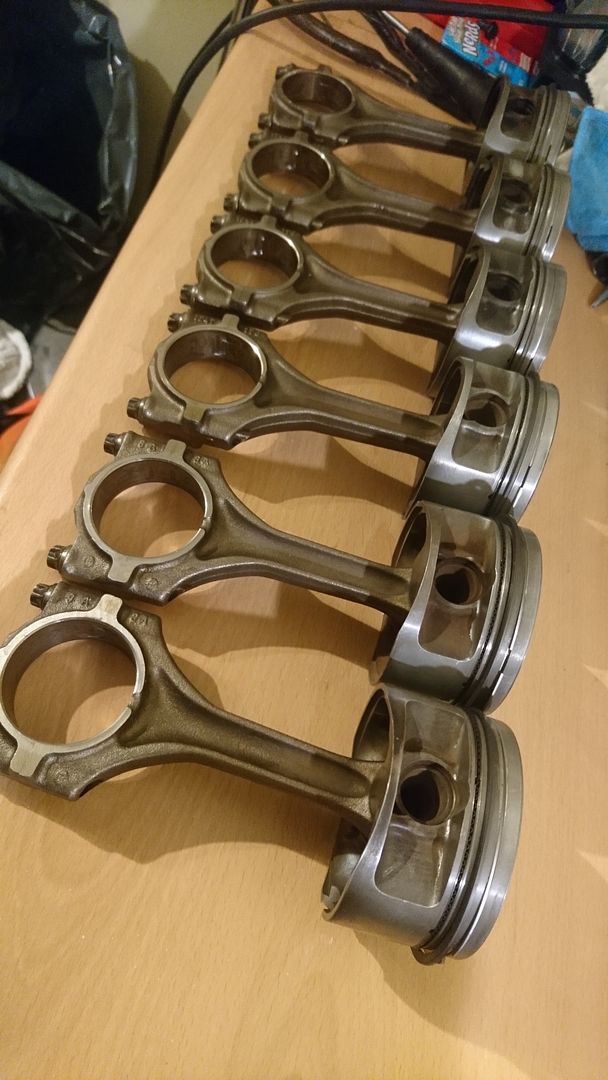
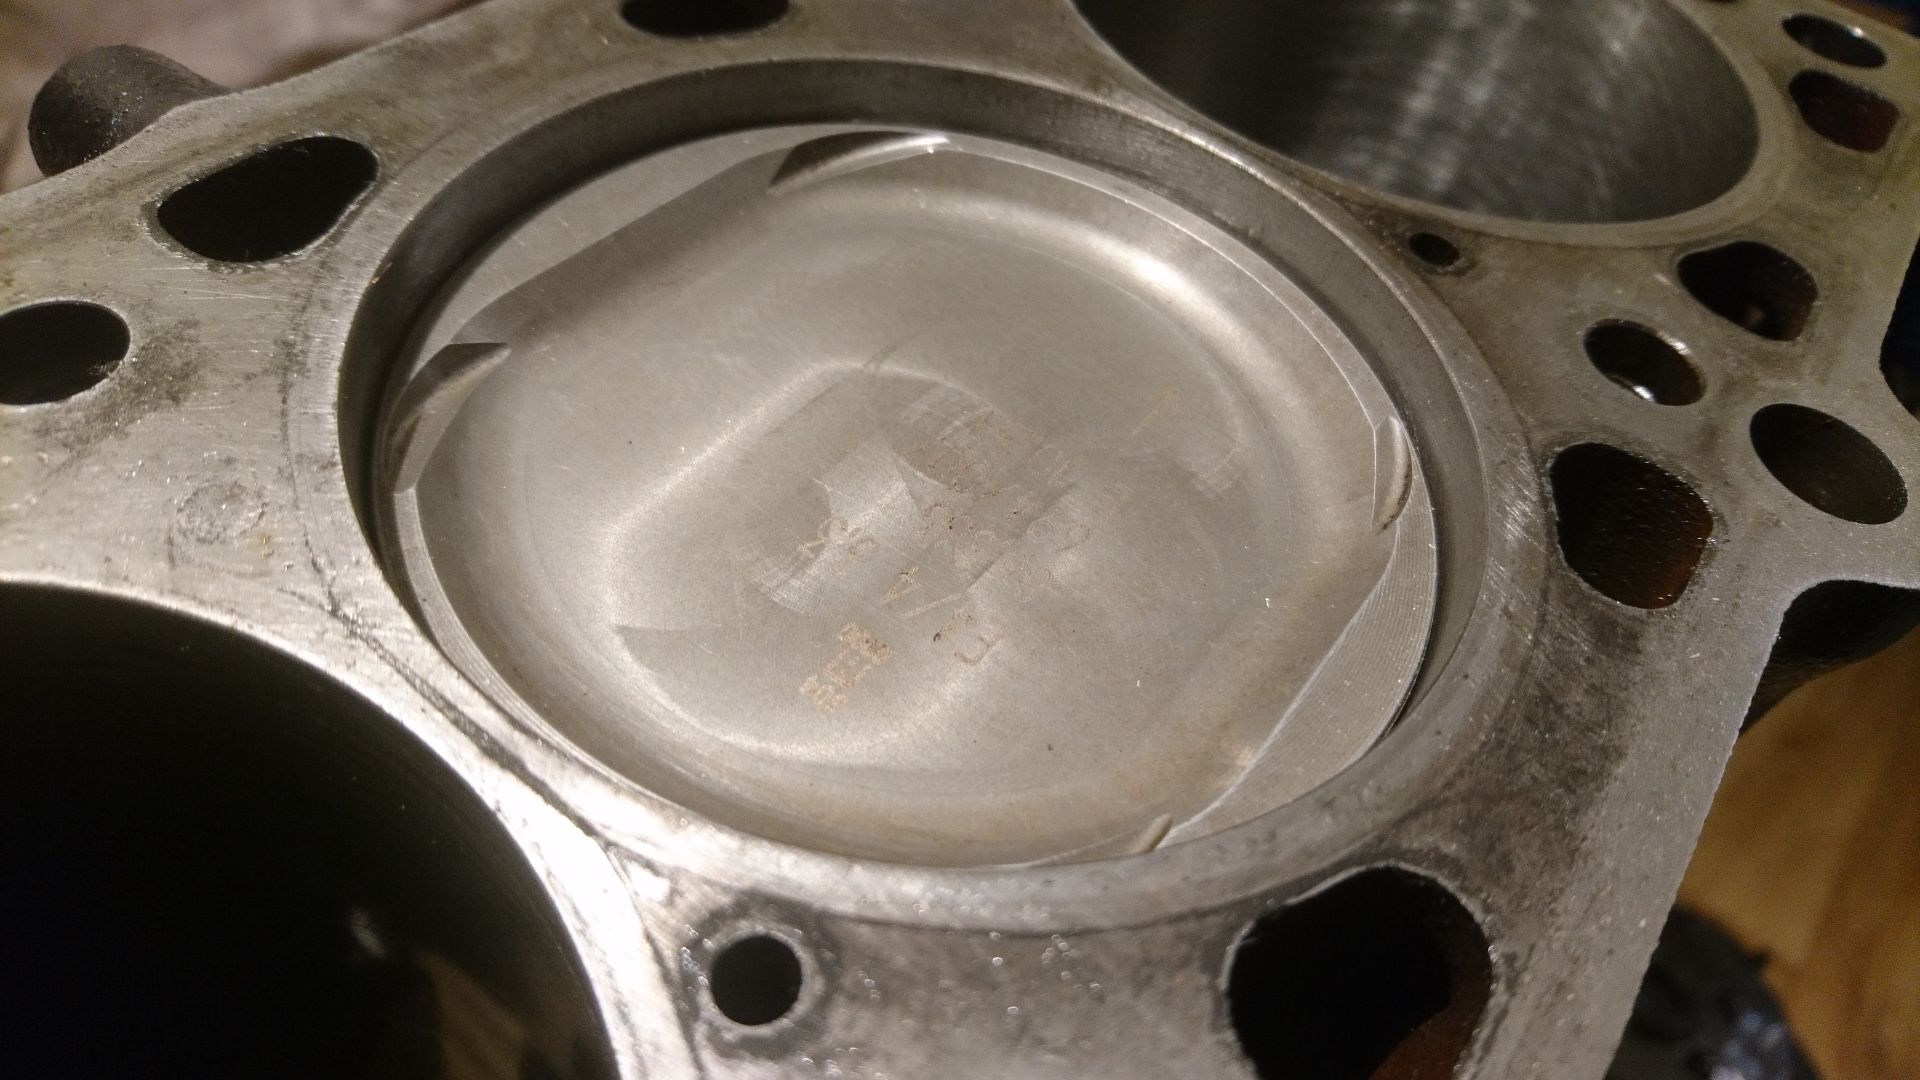
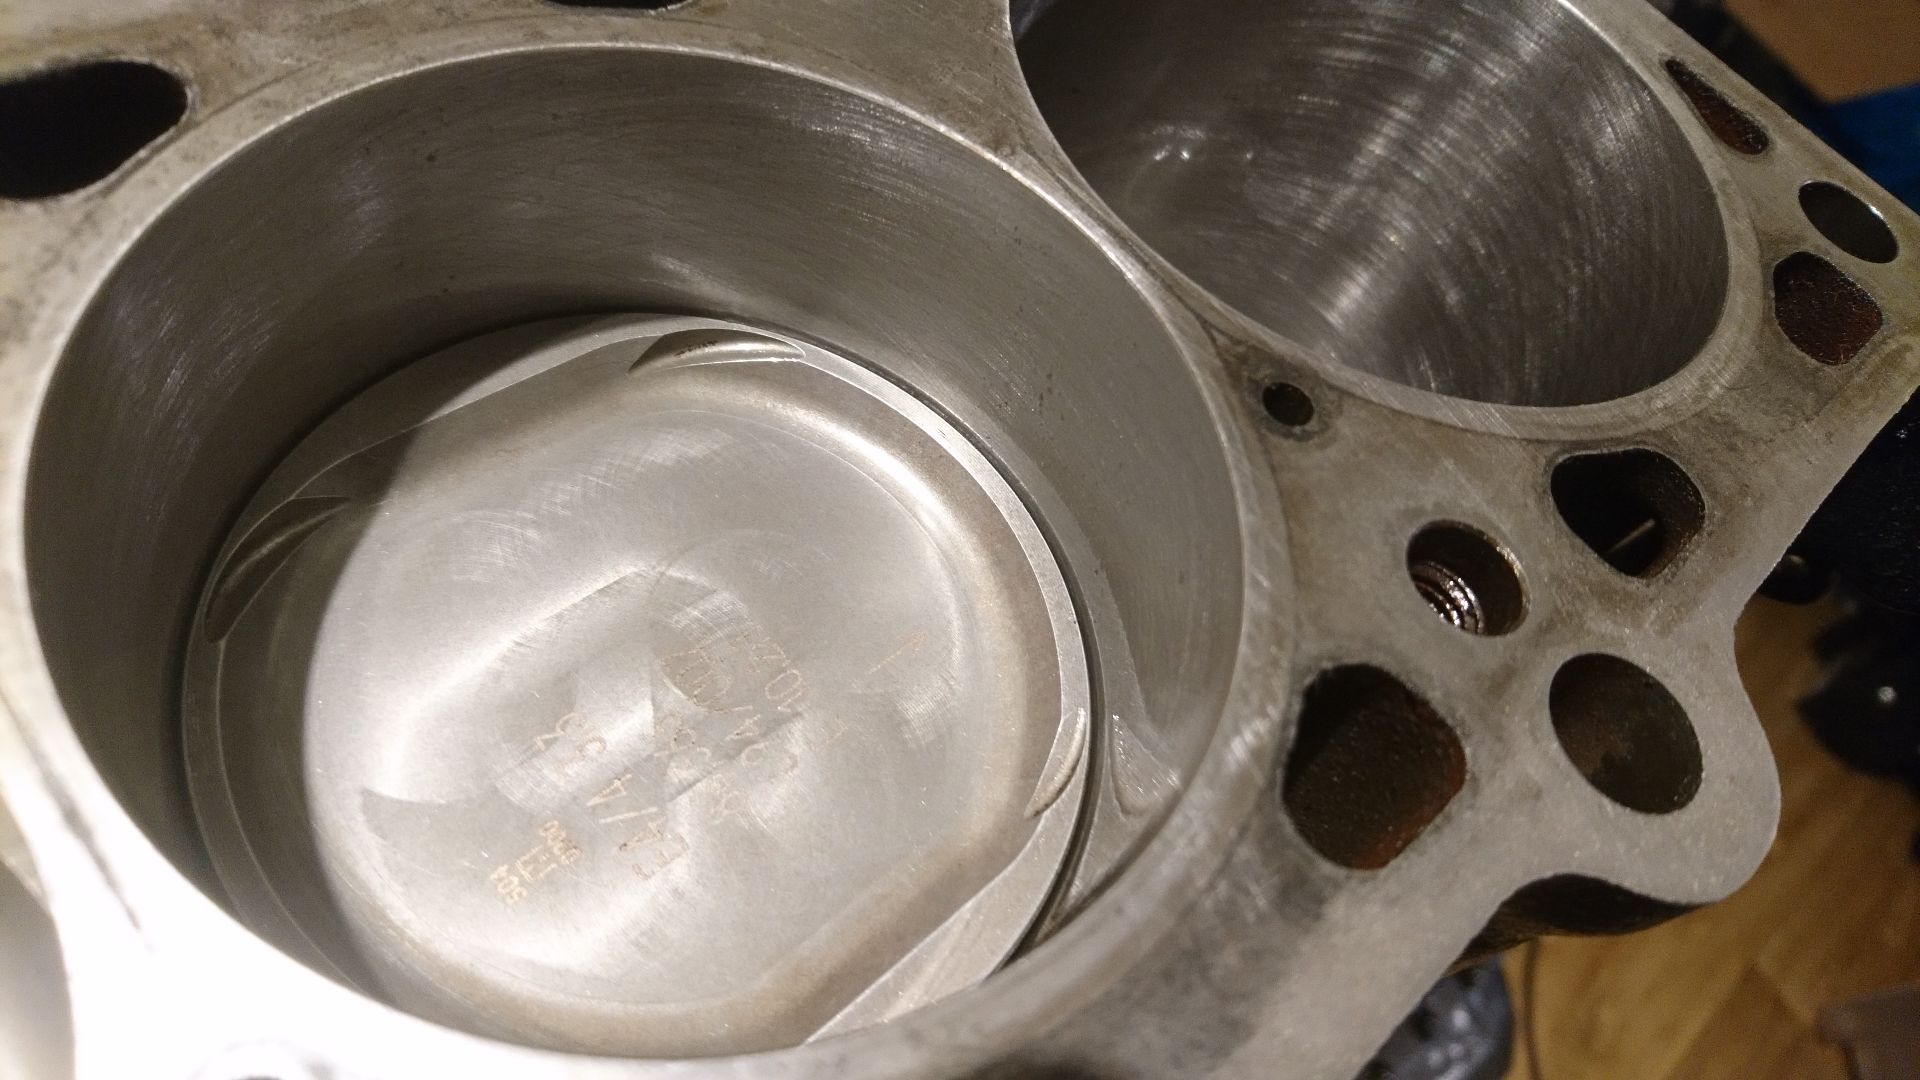
This picture more accurately shows just how much these lumps were doctored to deal with the simply huge stroke- cut-outs in the piston for the oil squirter. Don't mind if I do.
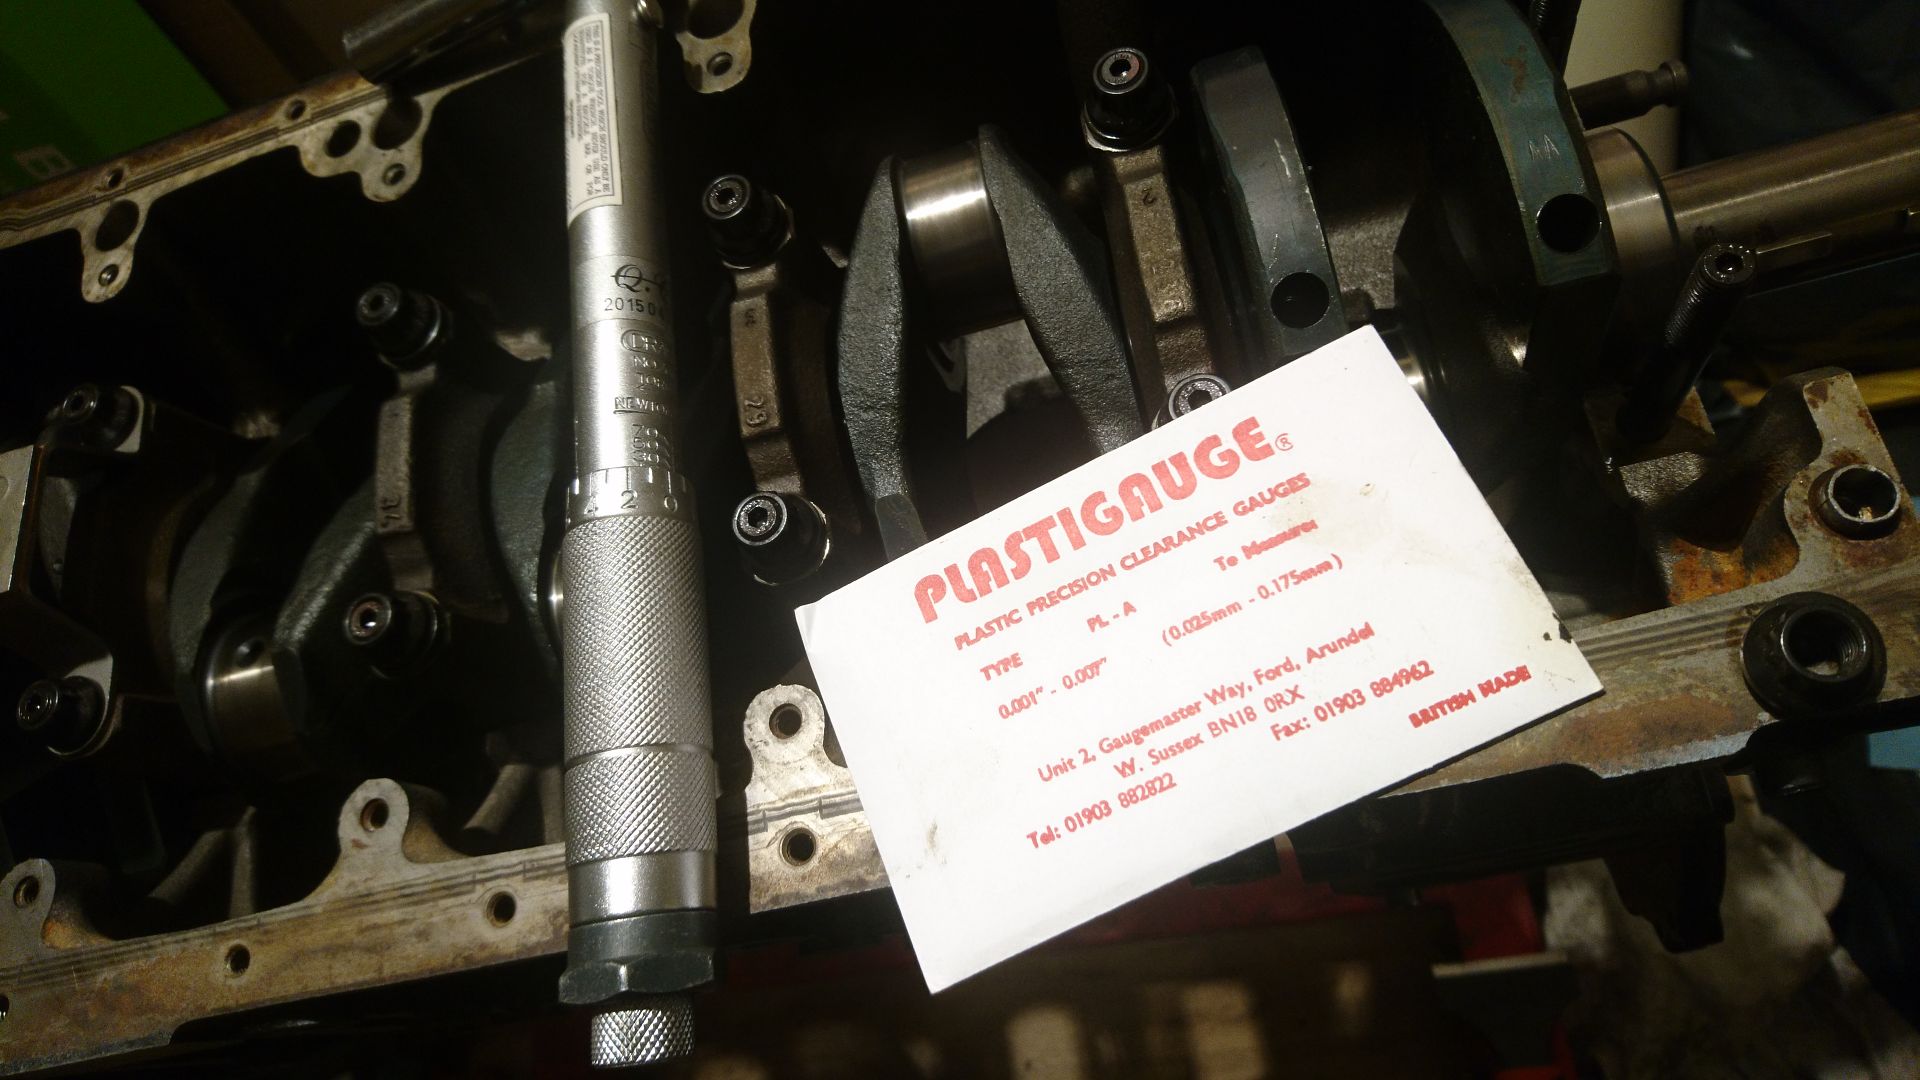
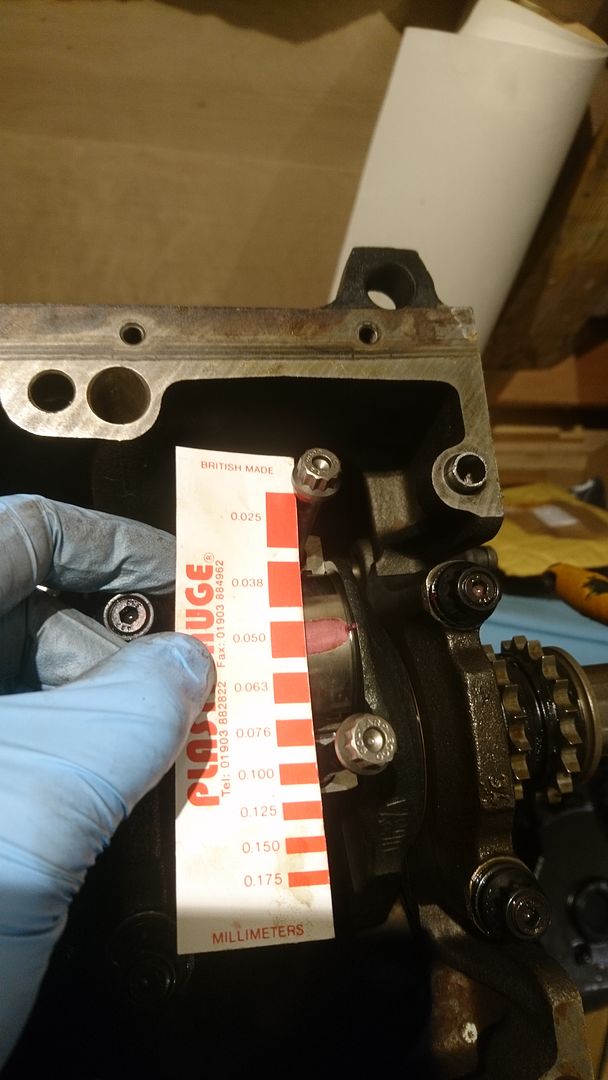
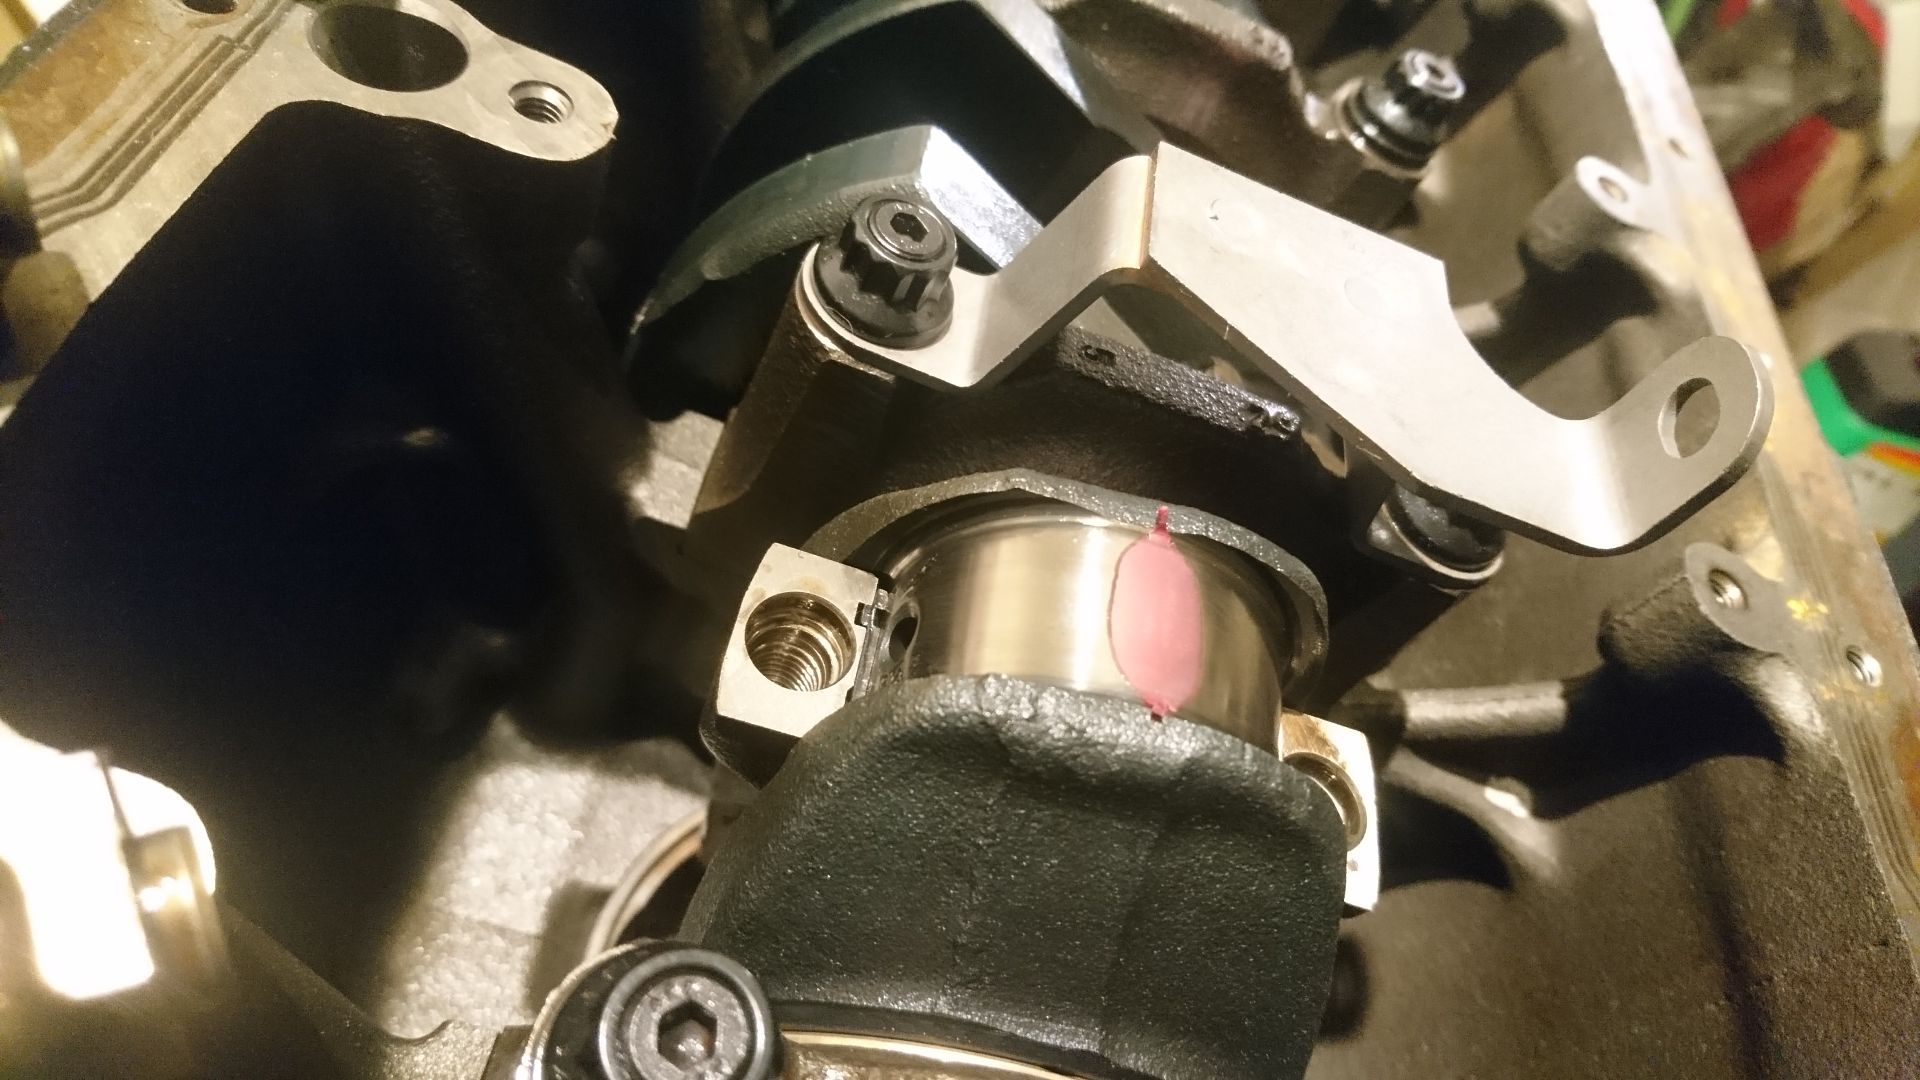
Plastigauge applied to my rod journal, and Redline assembly lube applied to the ARP rod bolts. Time to get bolting.
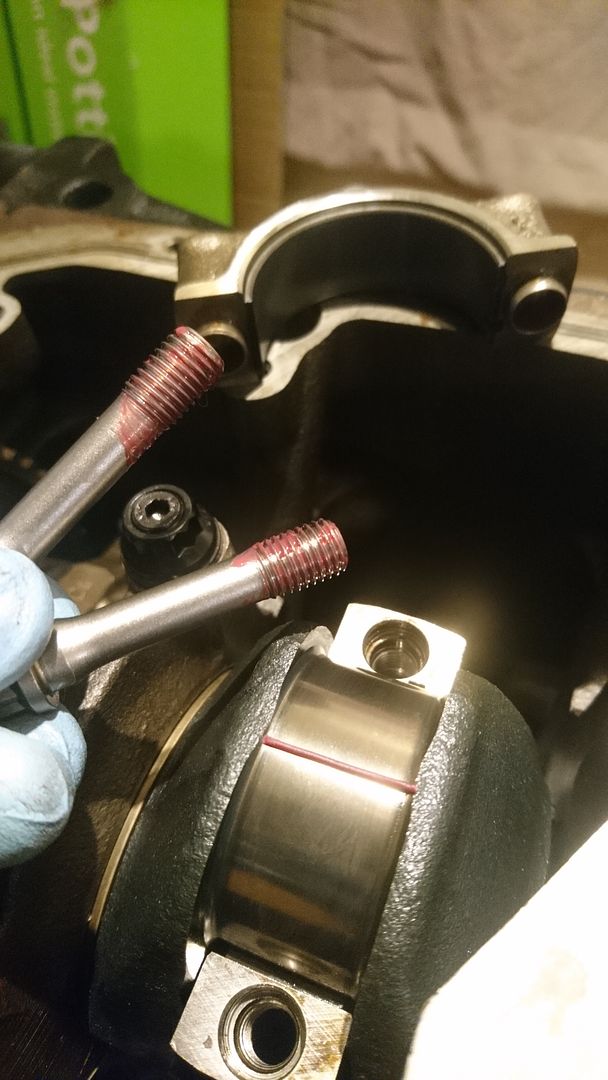
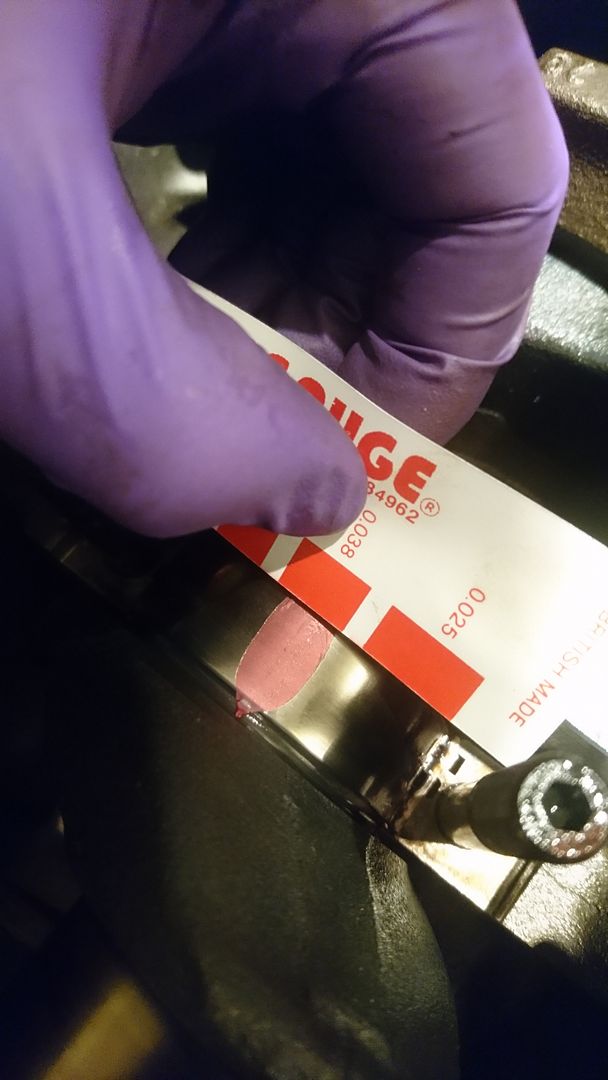
S50 oil pump bracket replaces 2 of the ARP main stud washers, plus the Plastigauge following full spread.
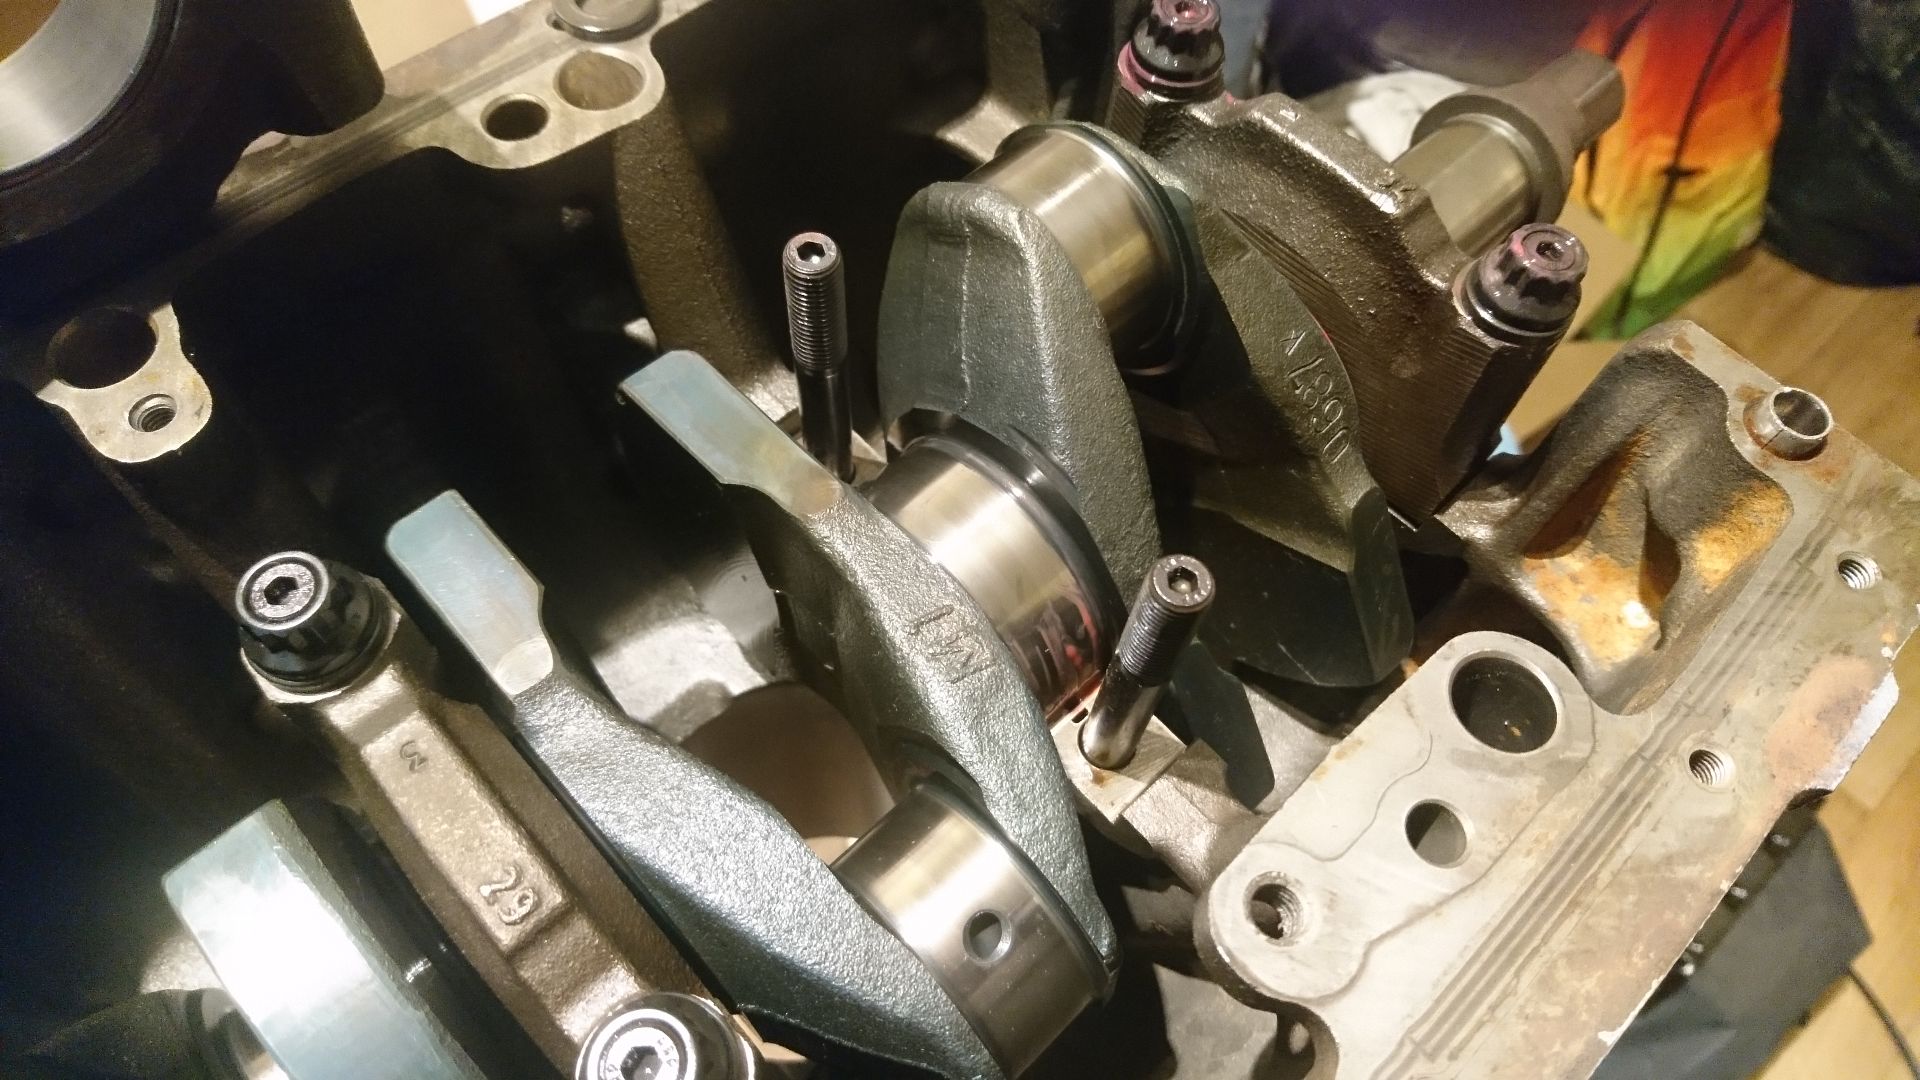
Just a mid-work shot showing how clean the rod journals are.
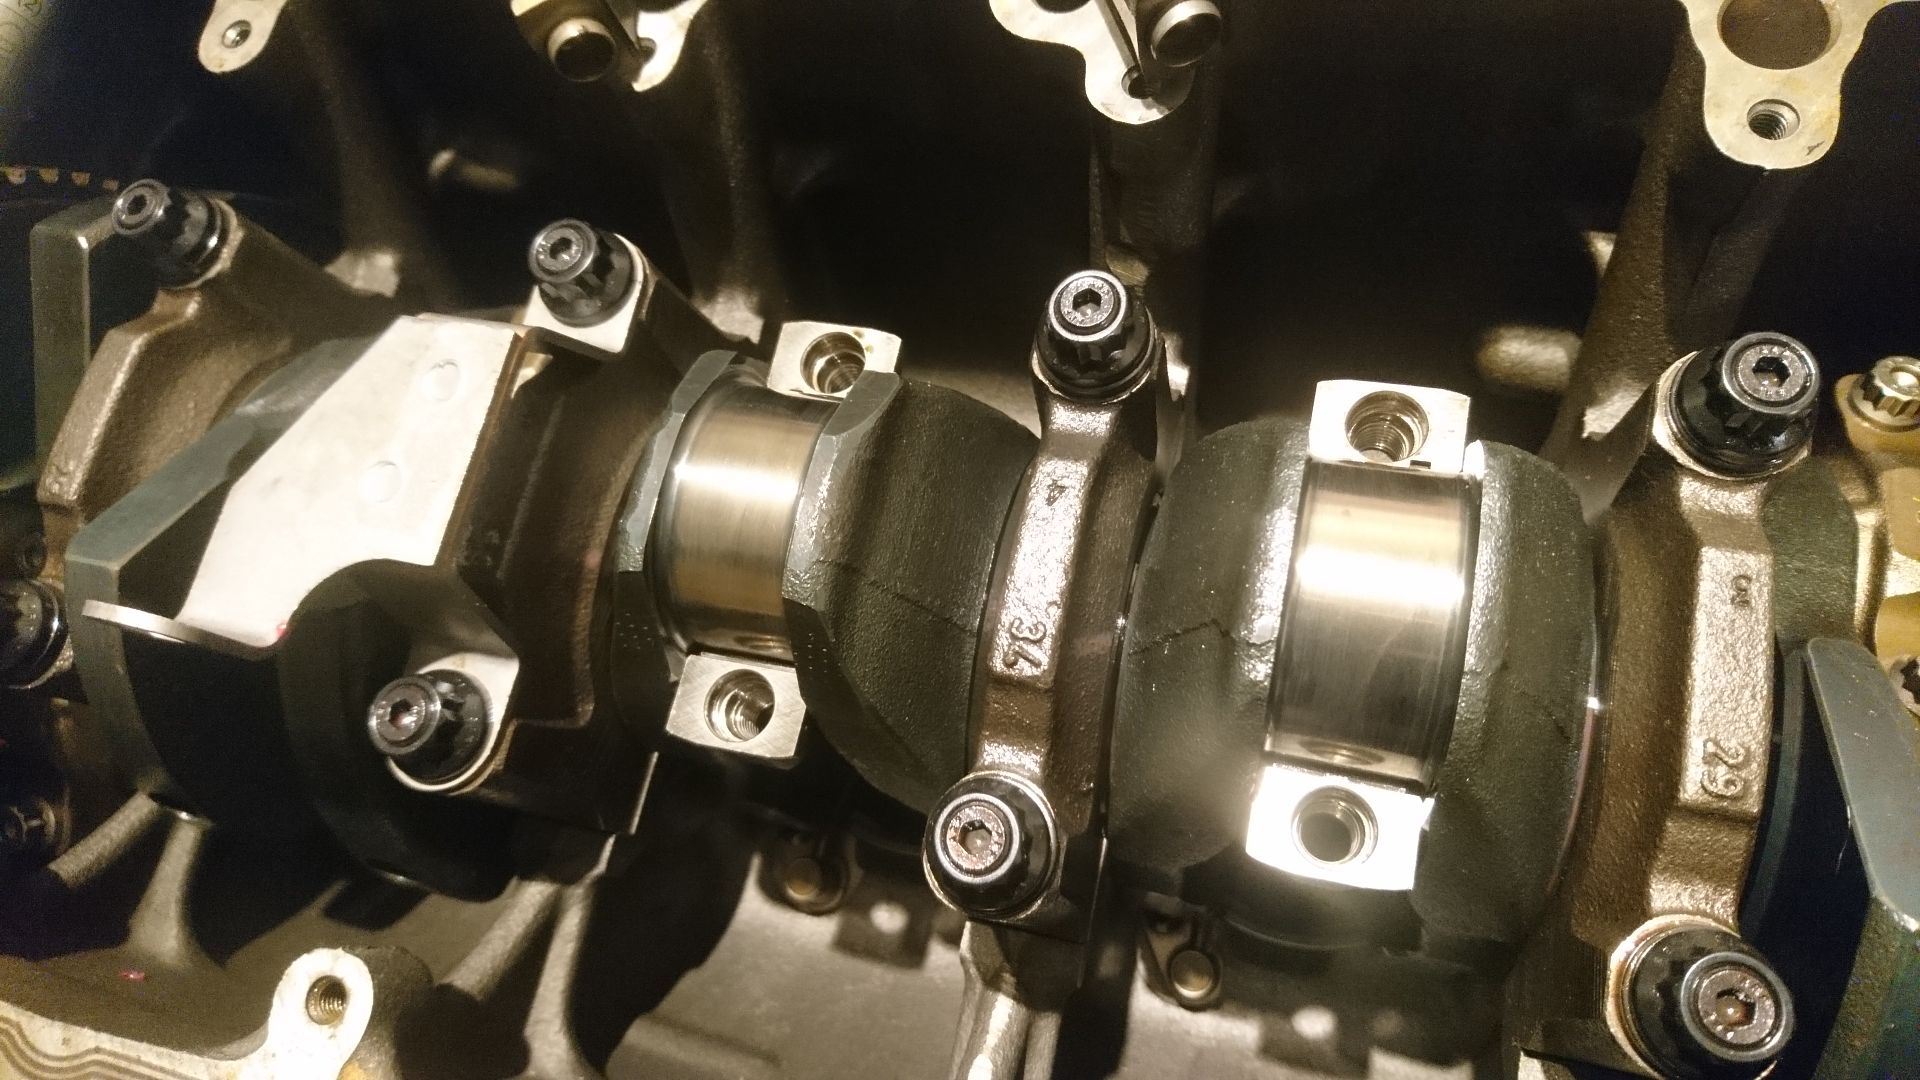
All in place...
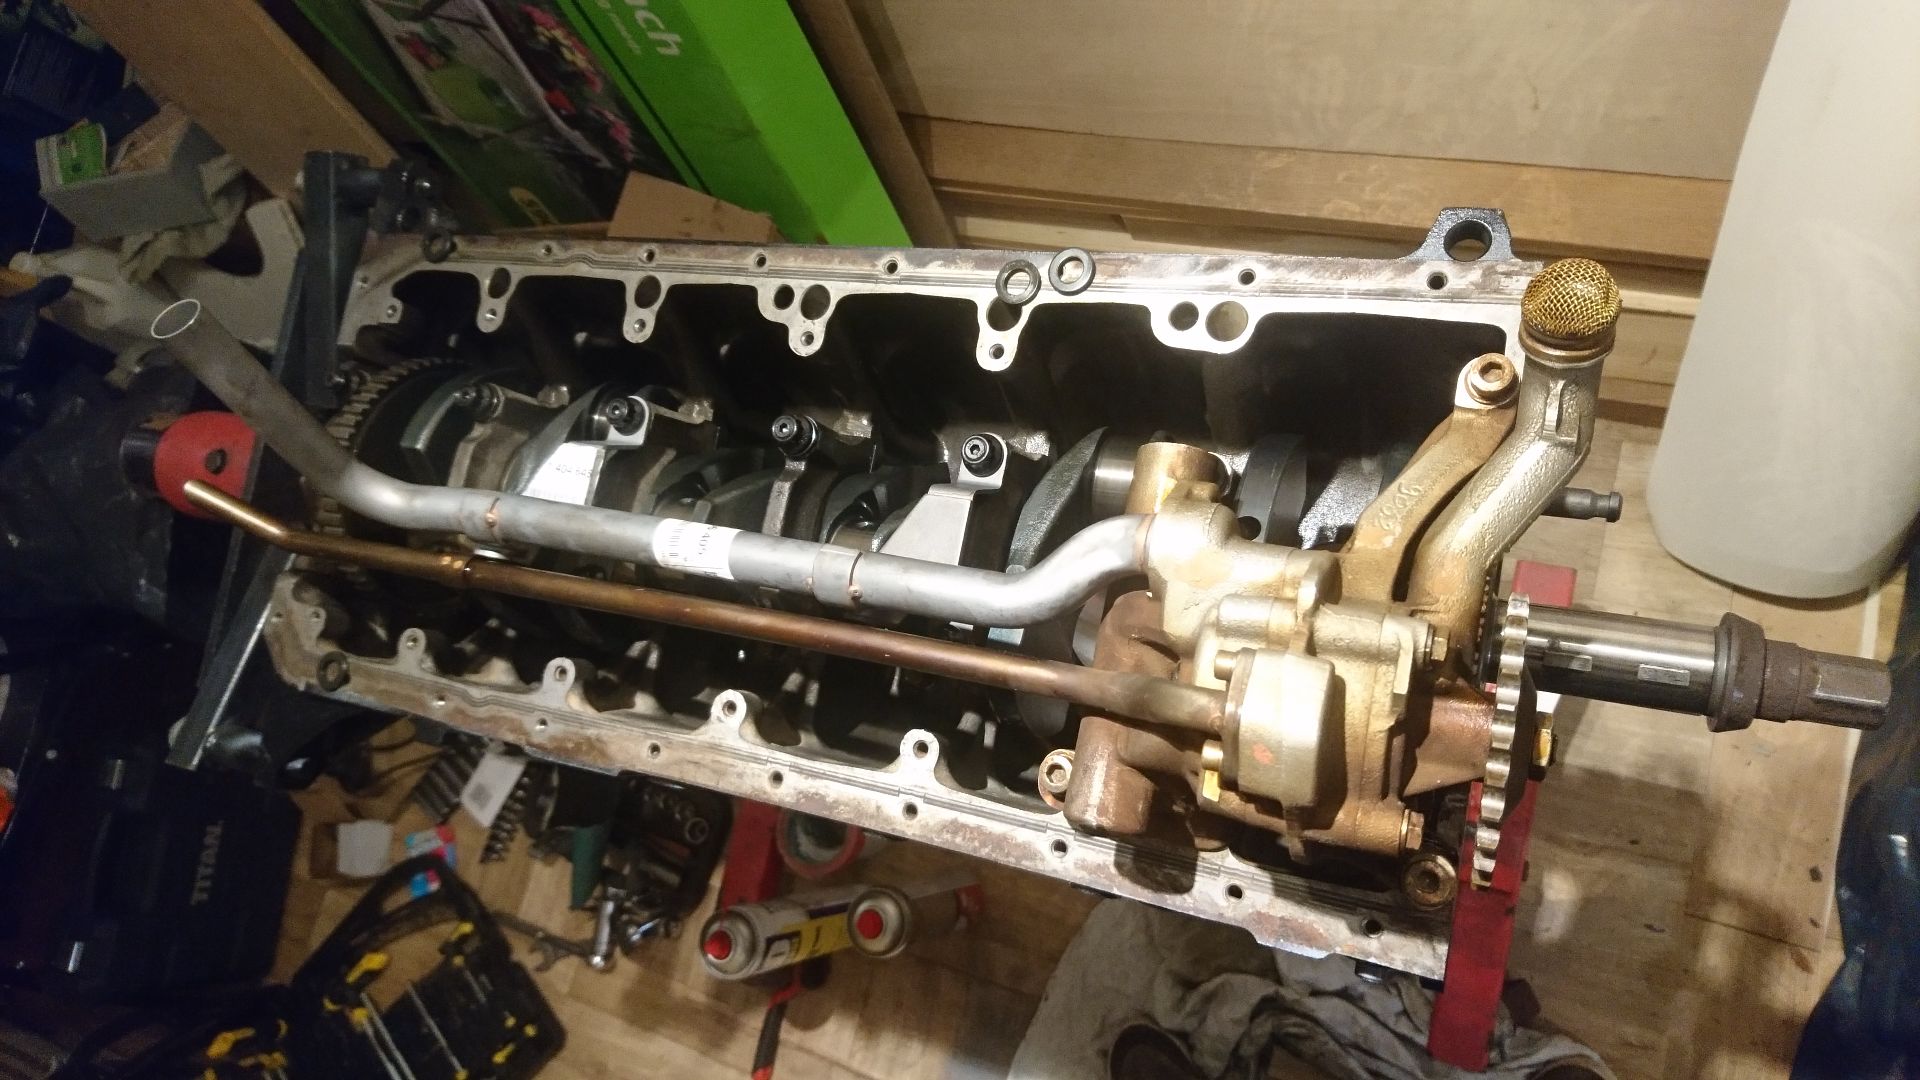
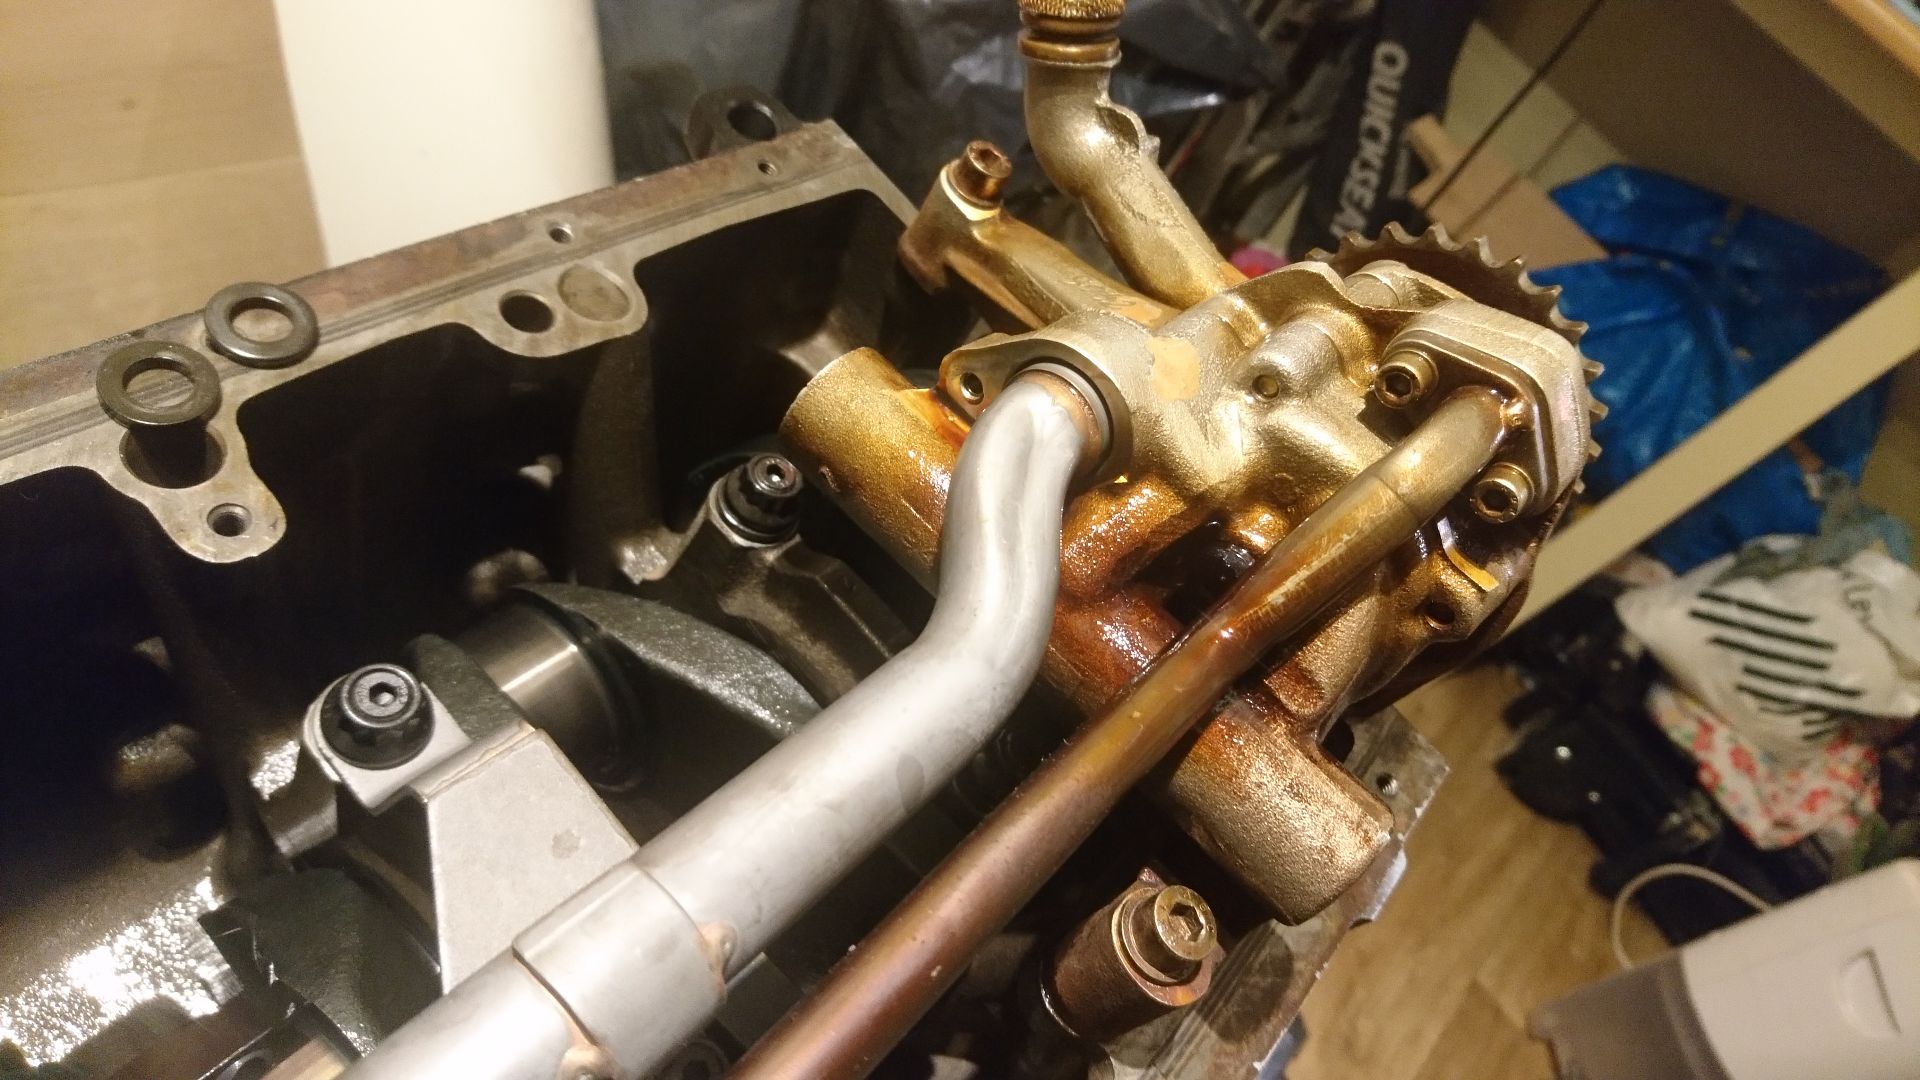
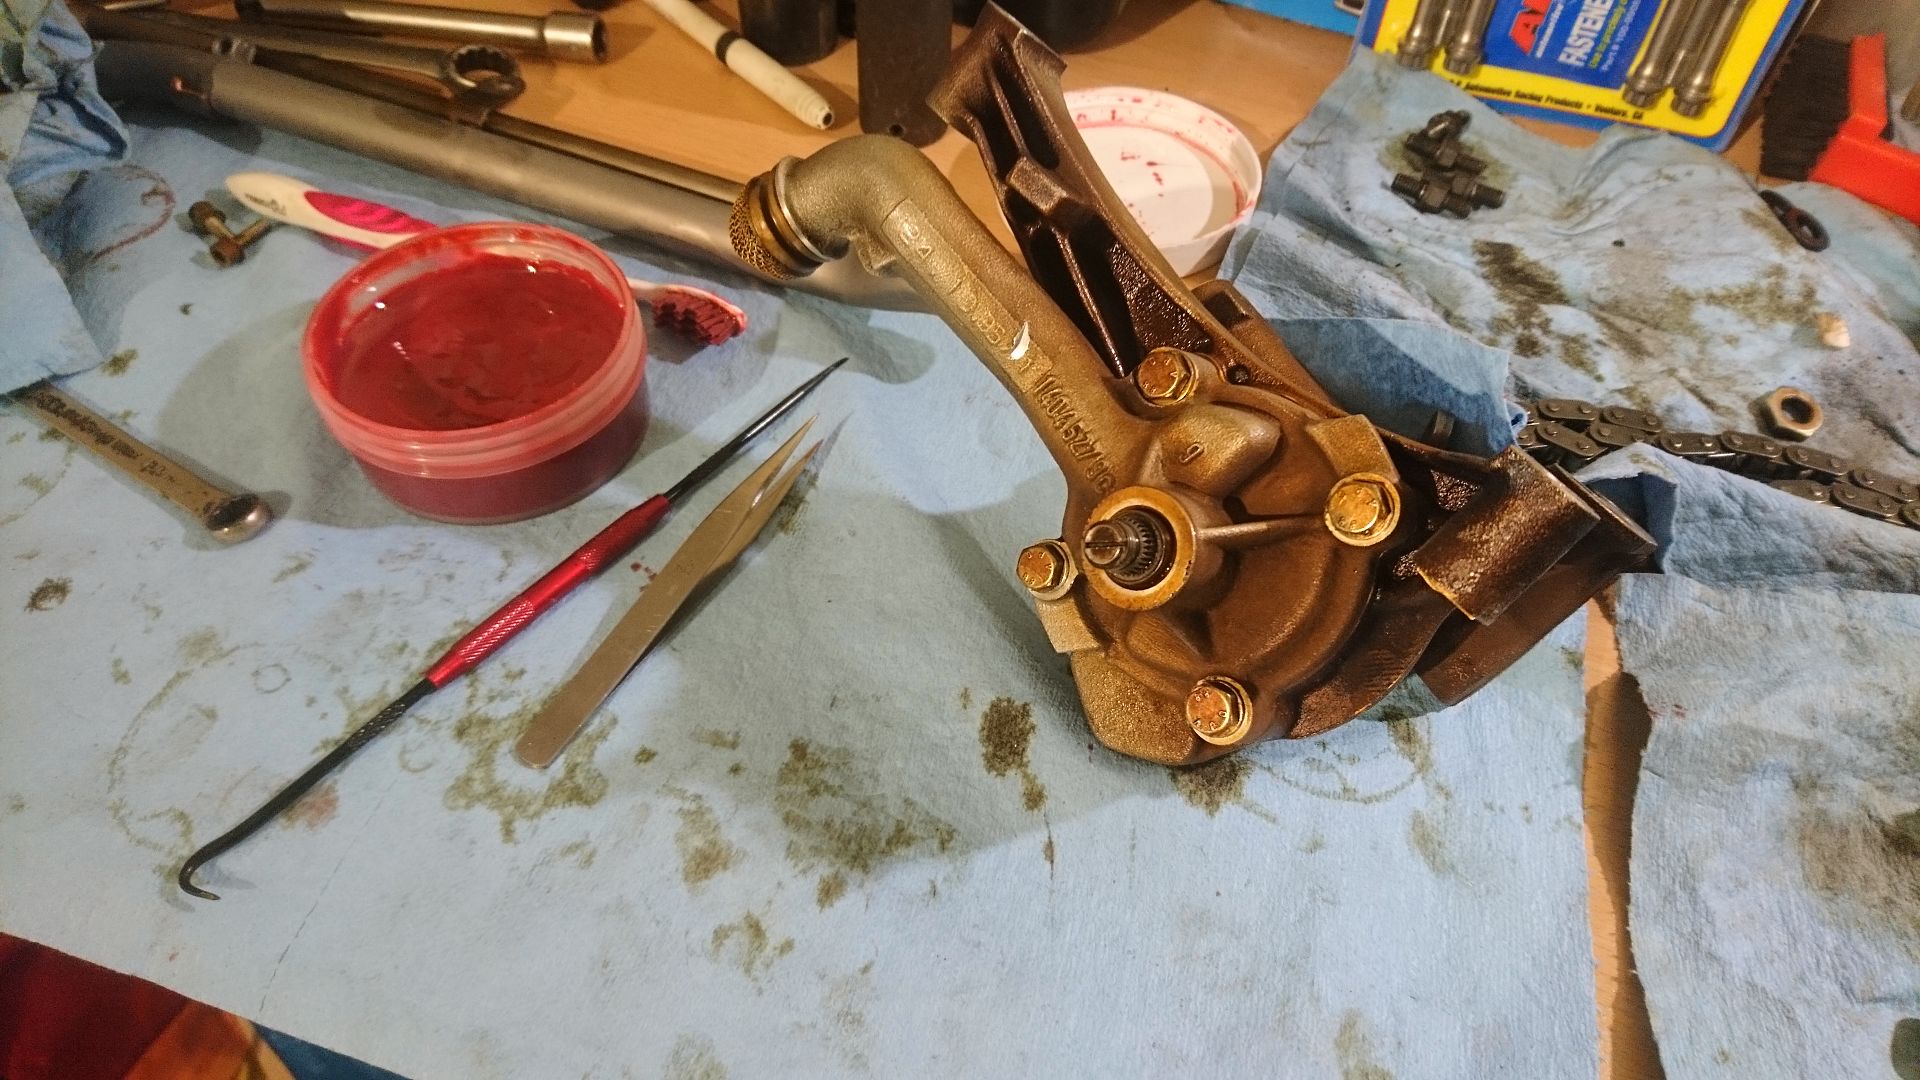
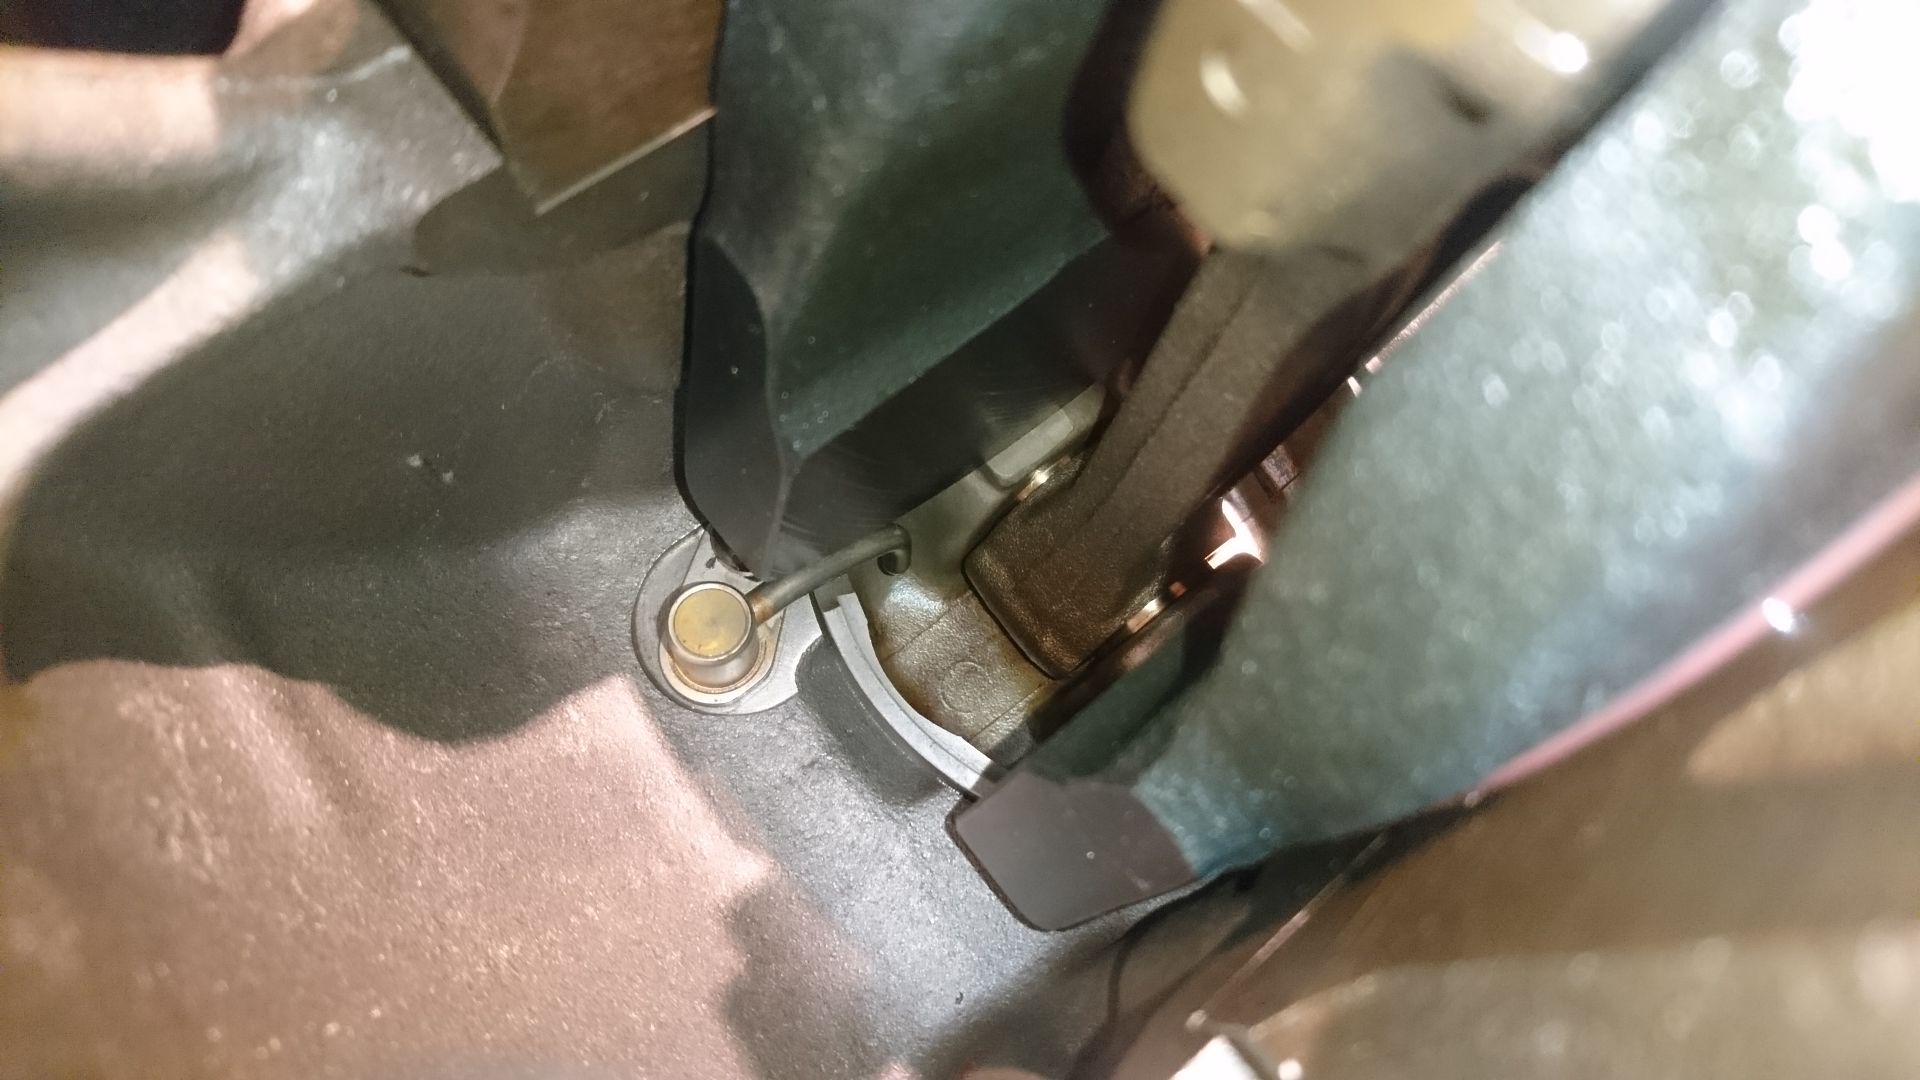
Oil pump bolted in...
...and re-fitted with the correct pipe. In 1998 they swapped to having twin pump brackets on the main caps, and removed the Allen bolt that holds the main oil feed pipe in place- it's push fit on later S50s and S54s. As mine was a 1996 pump, I decided to do it properly and ordered the proper oil feed pipe and replacement Allen bolt.

Oil pump nut...
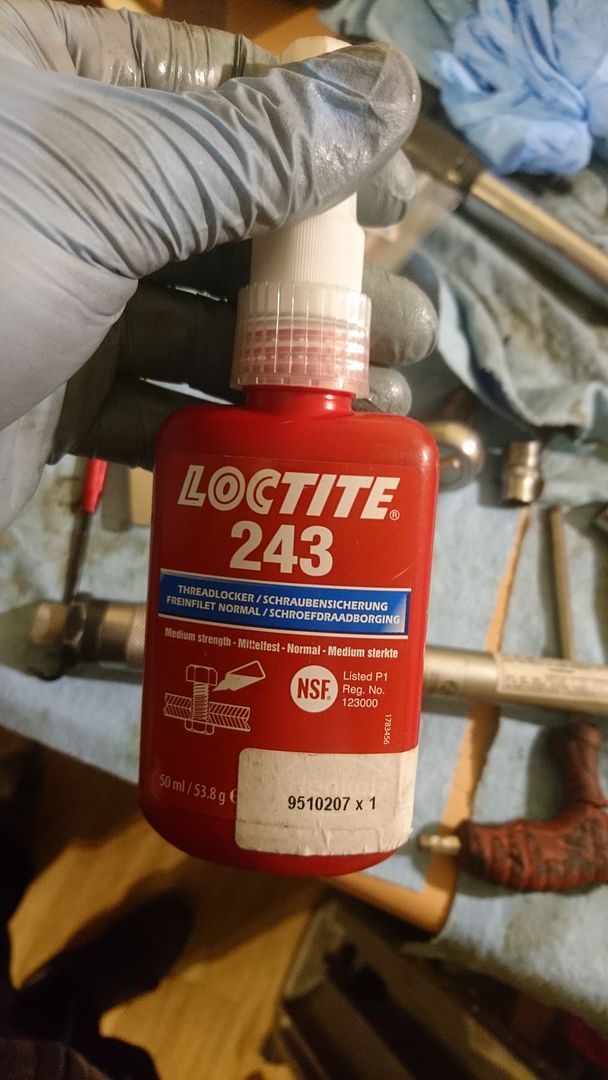
...and Loctite 243, which is oil resistant and great for locking the nut in place.
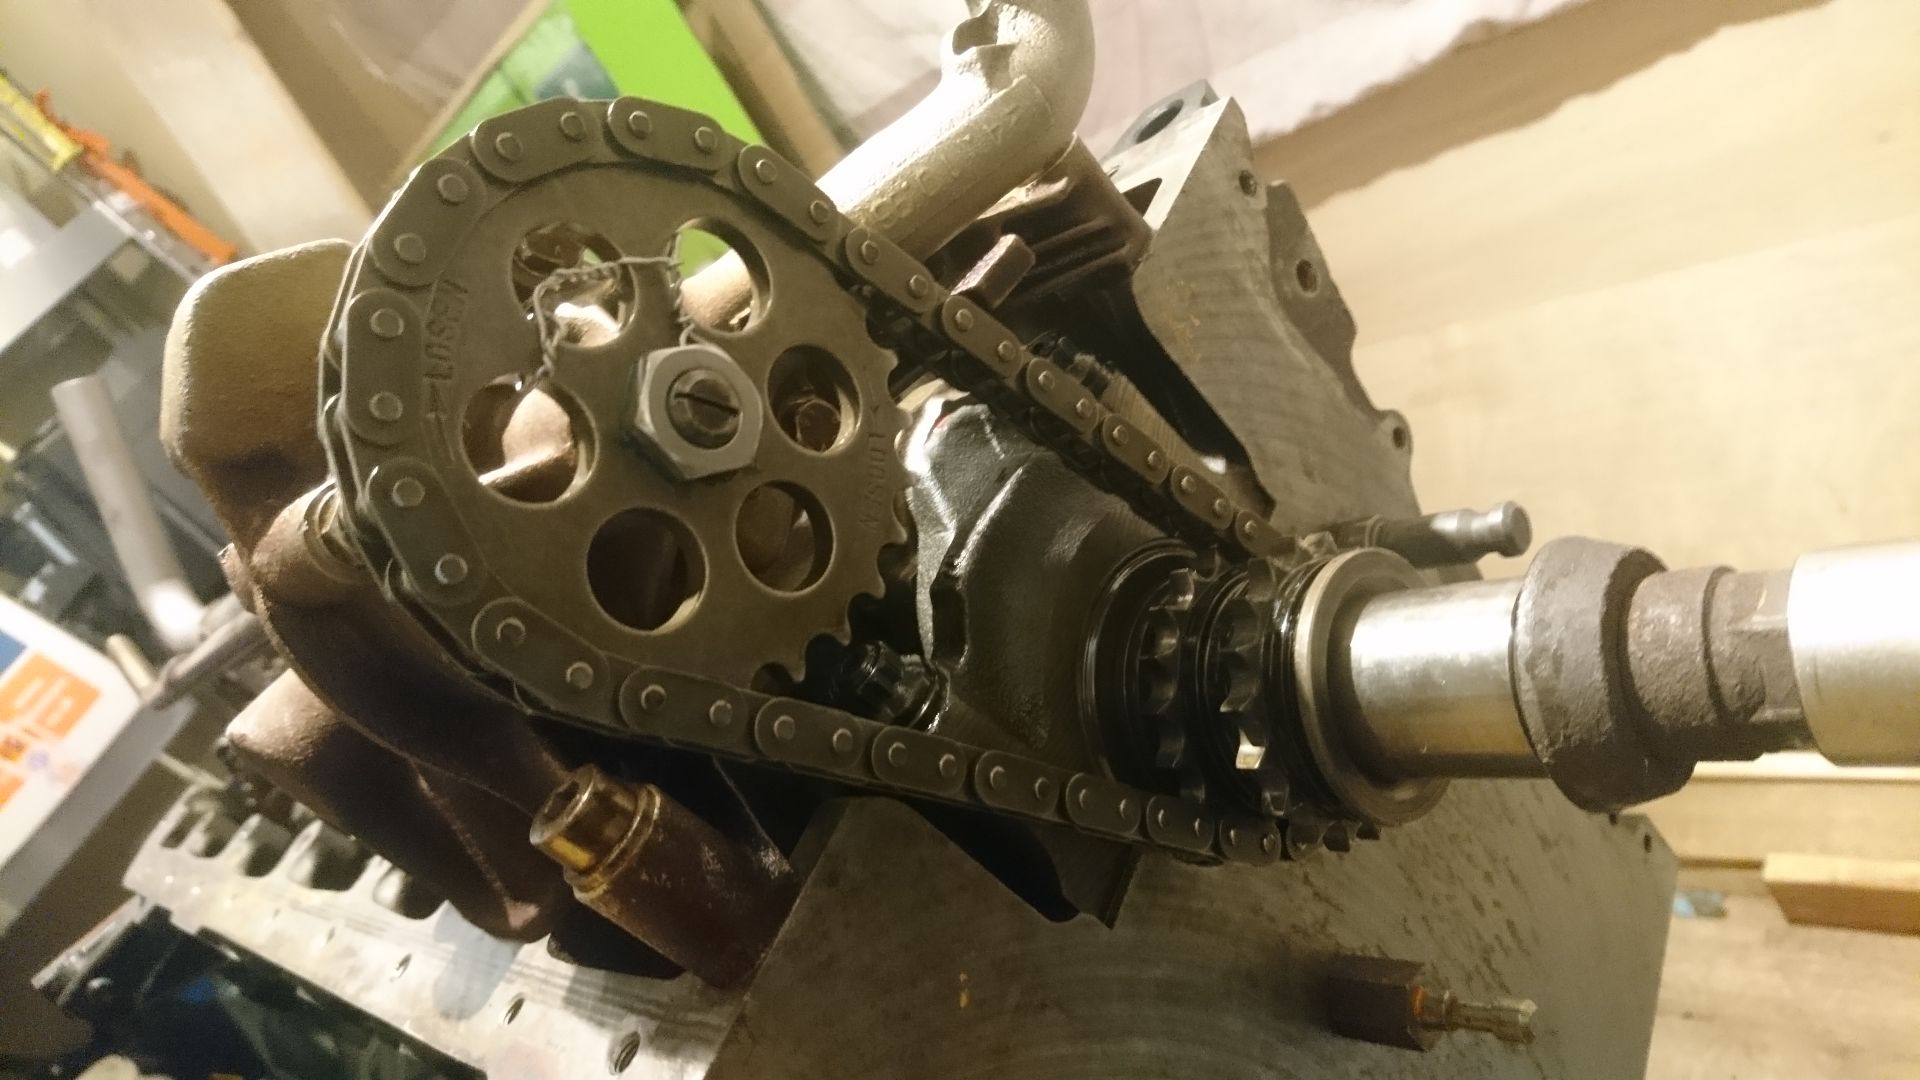
All wired and applied.
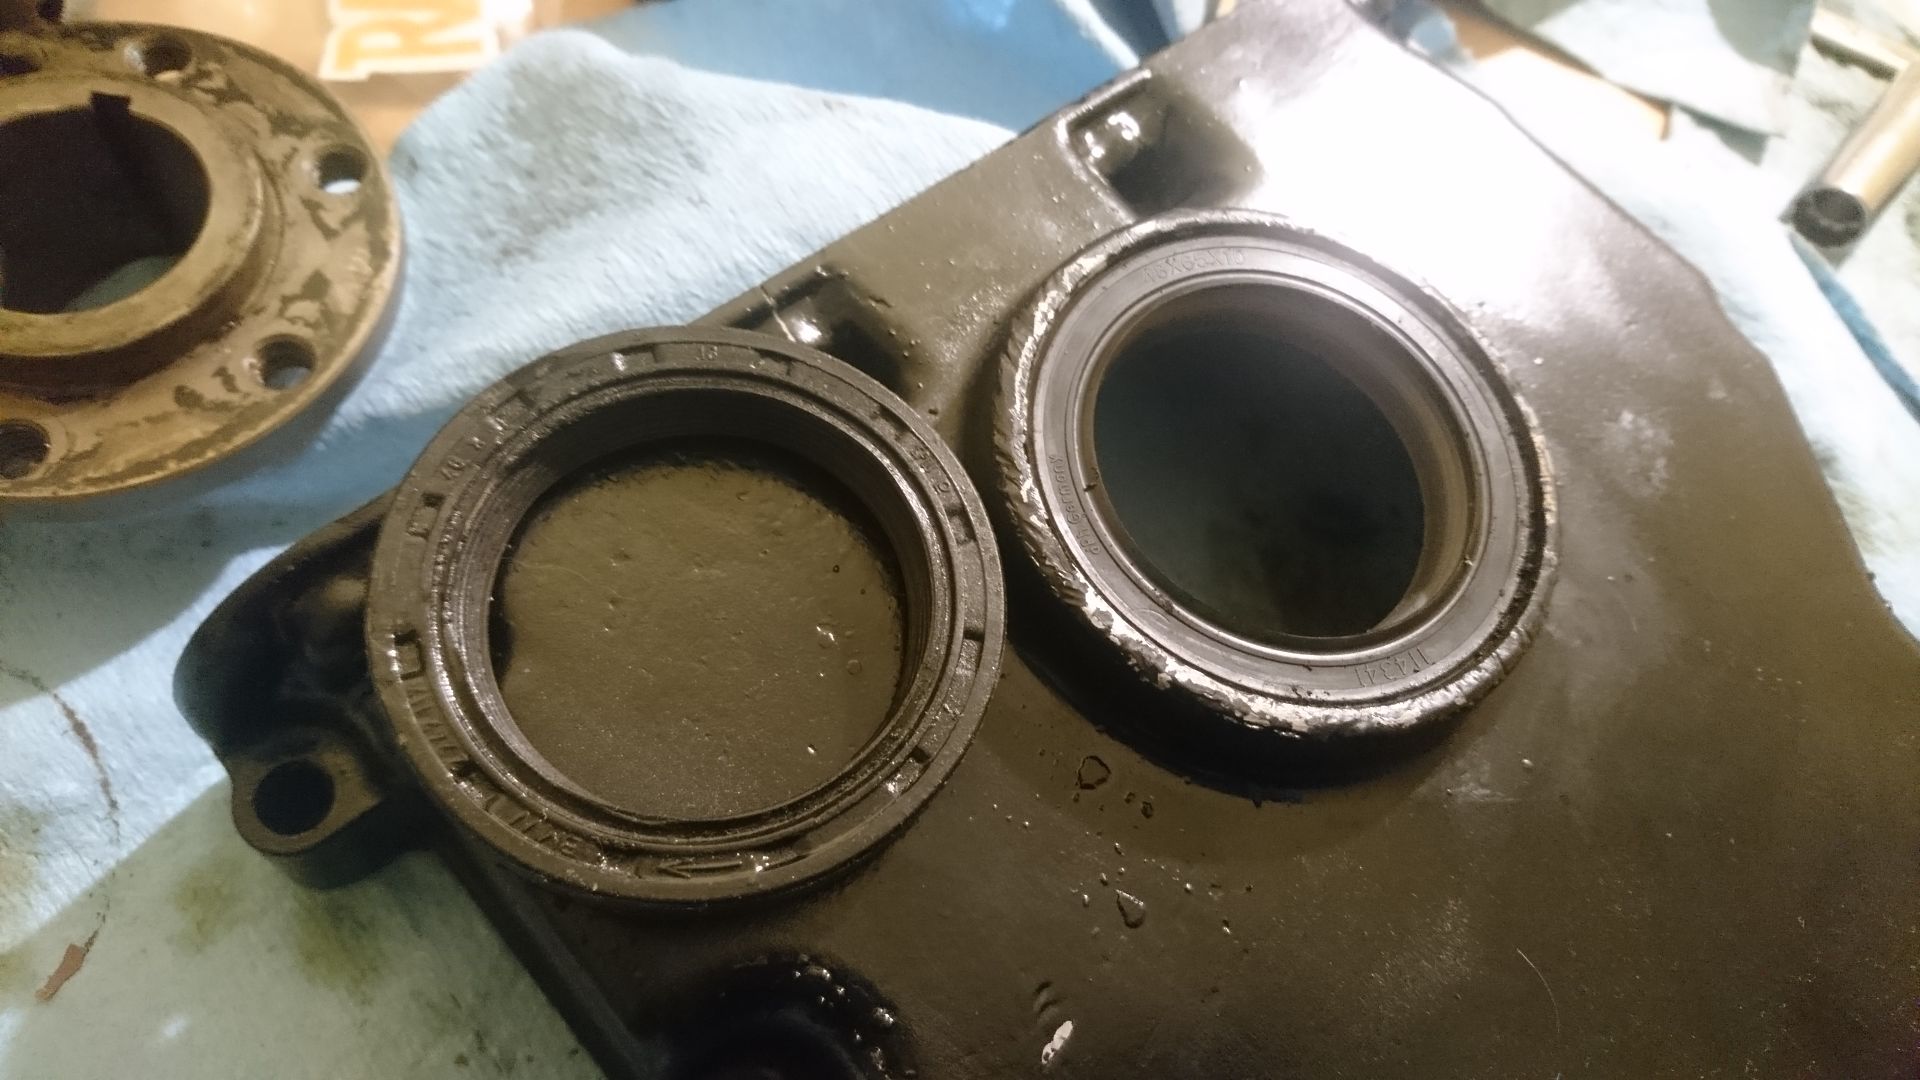
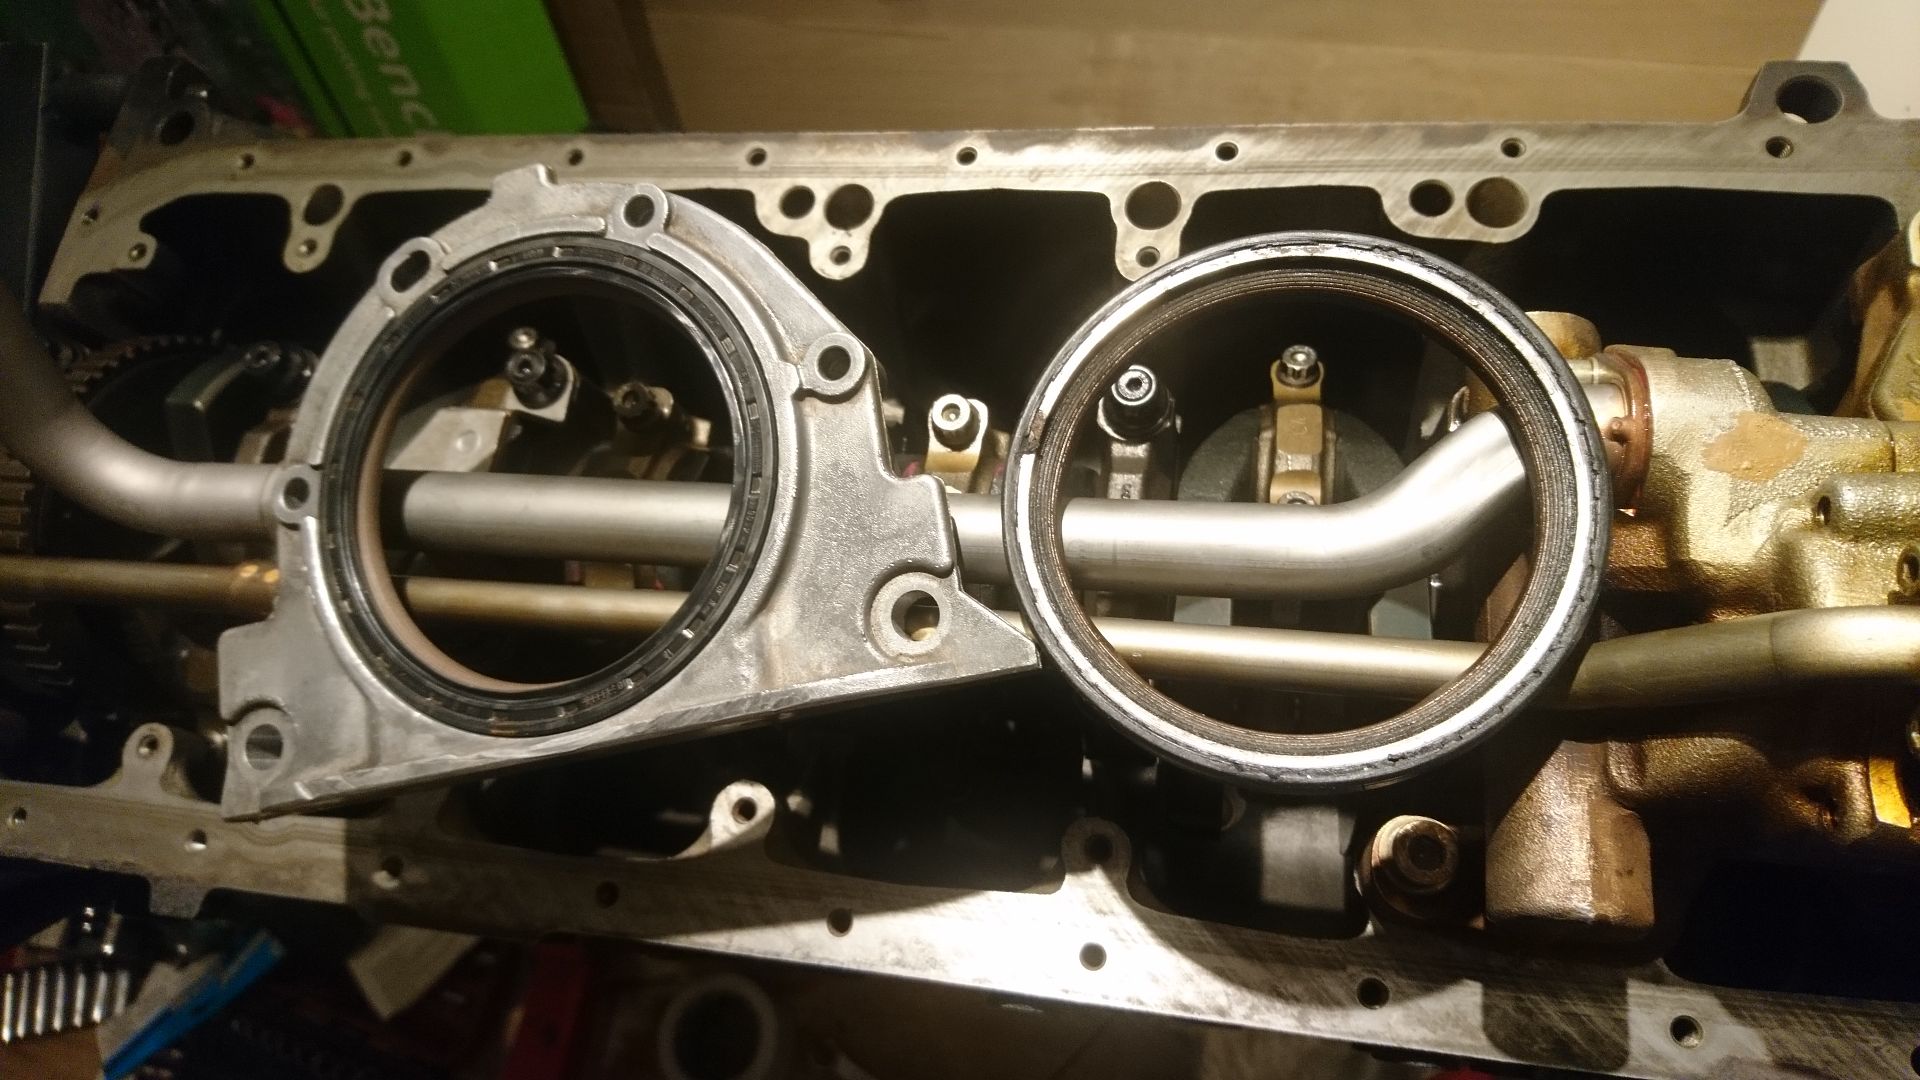
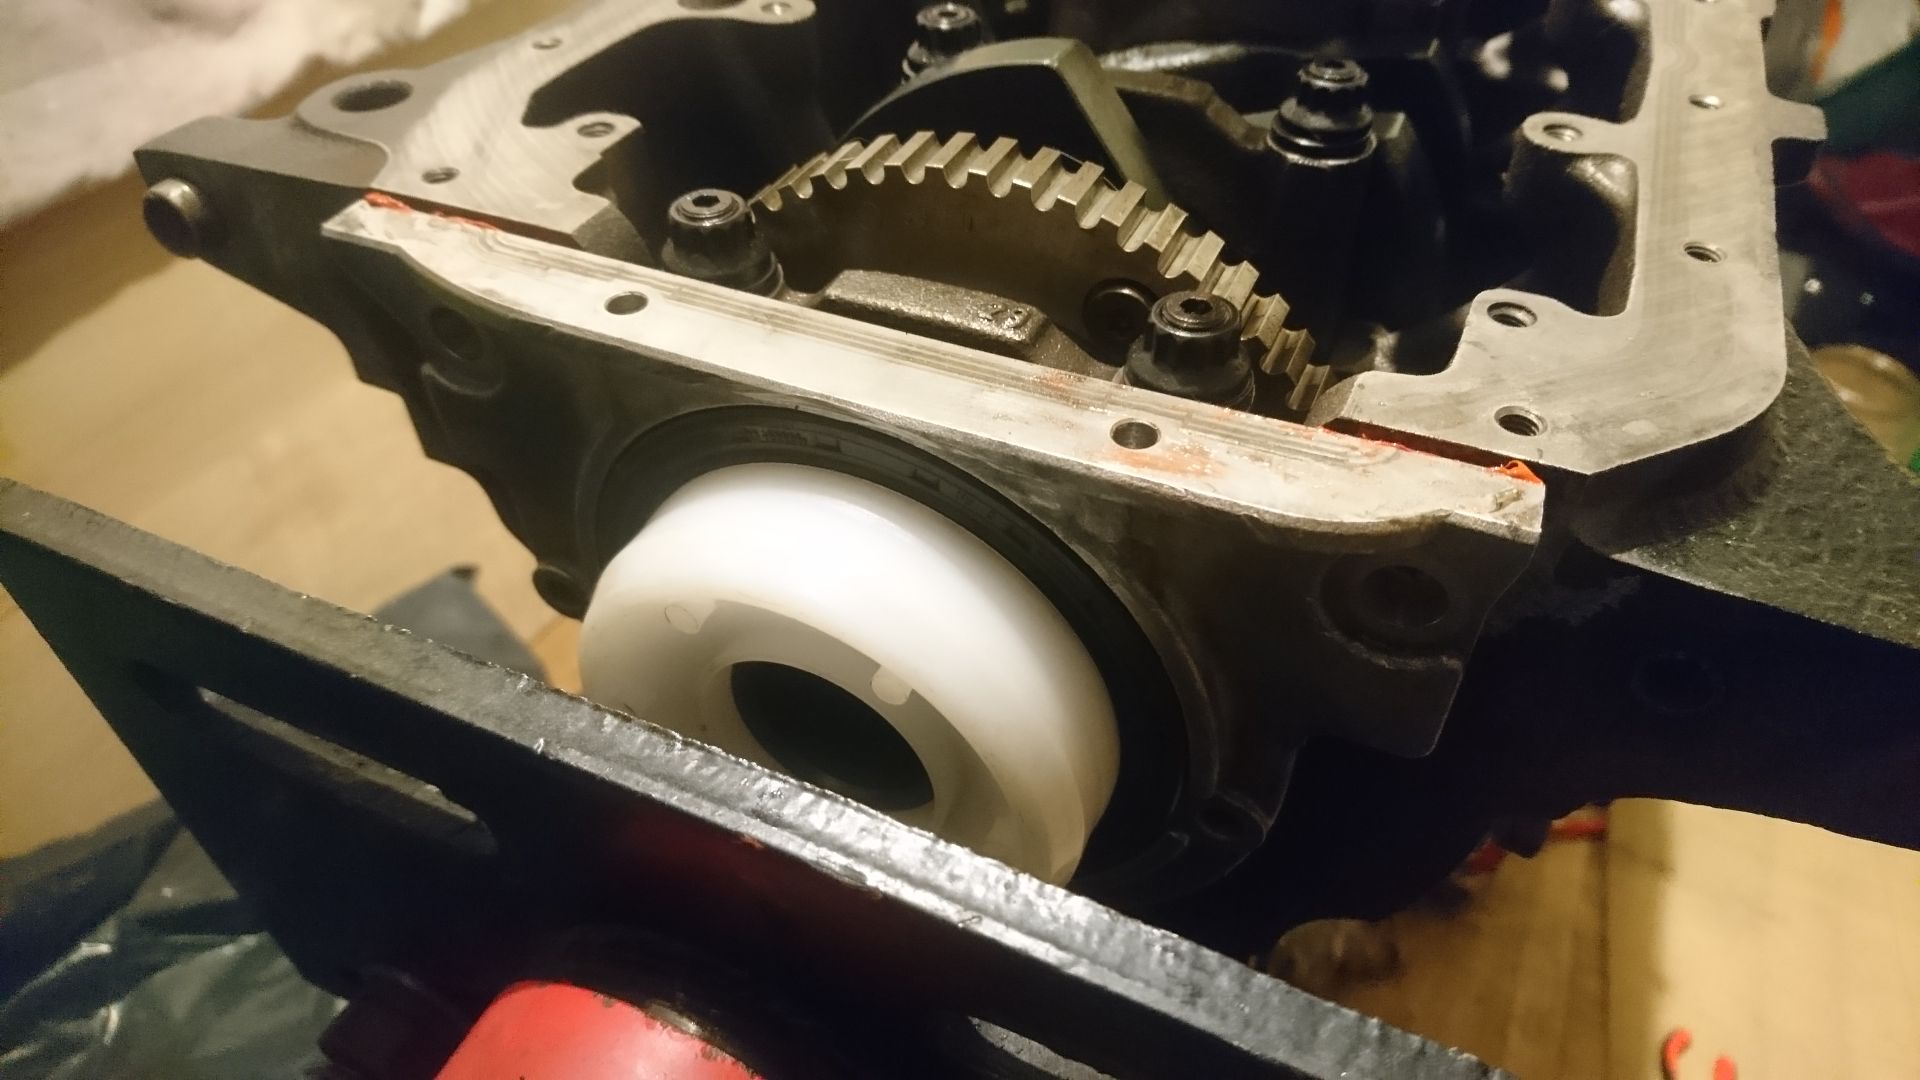
Replaced the timing cover oil seal...
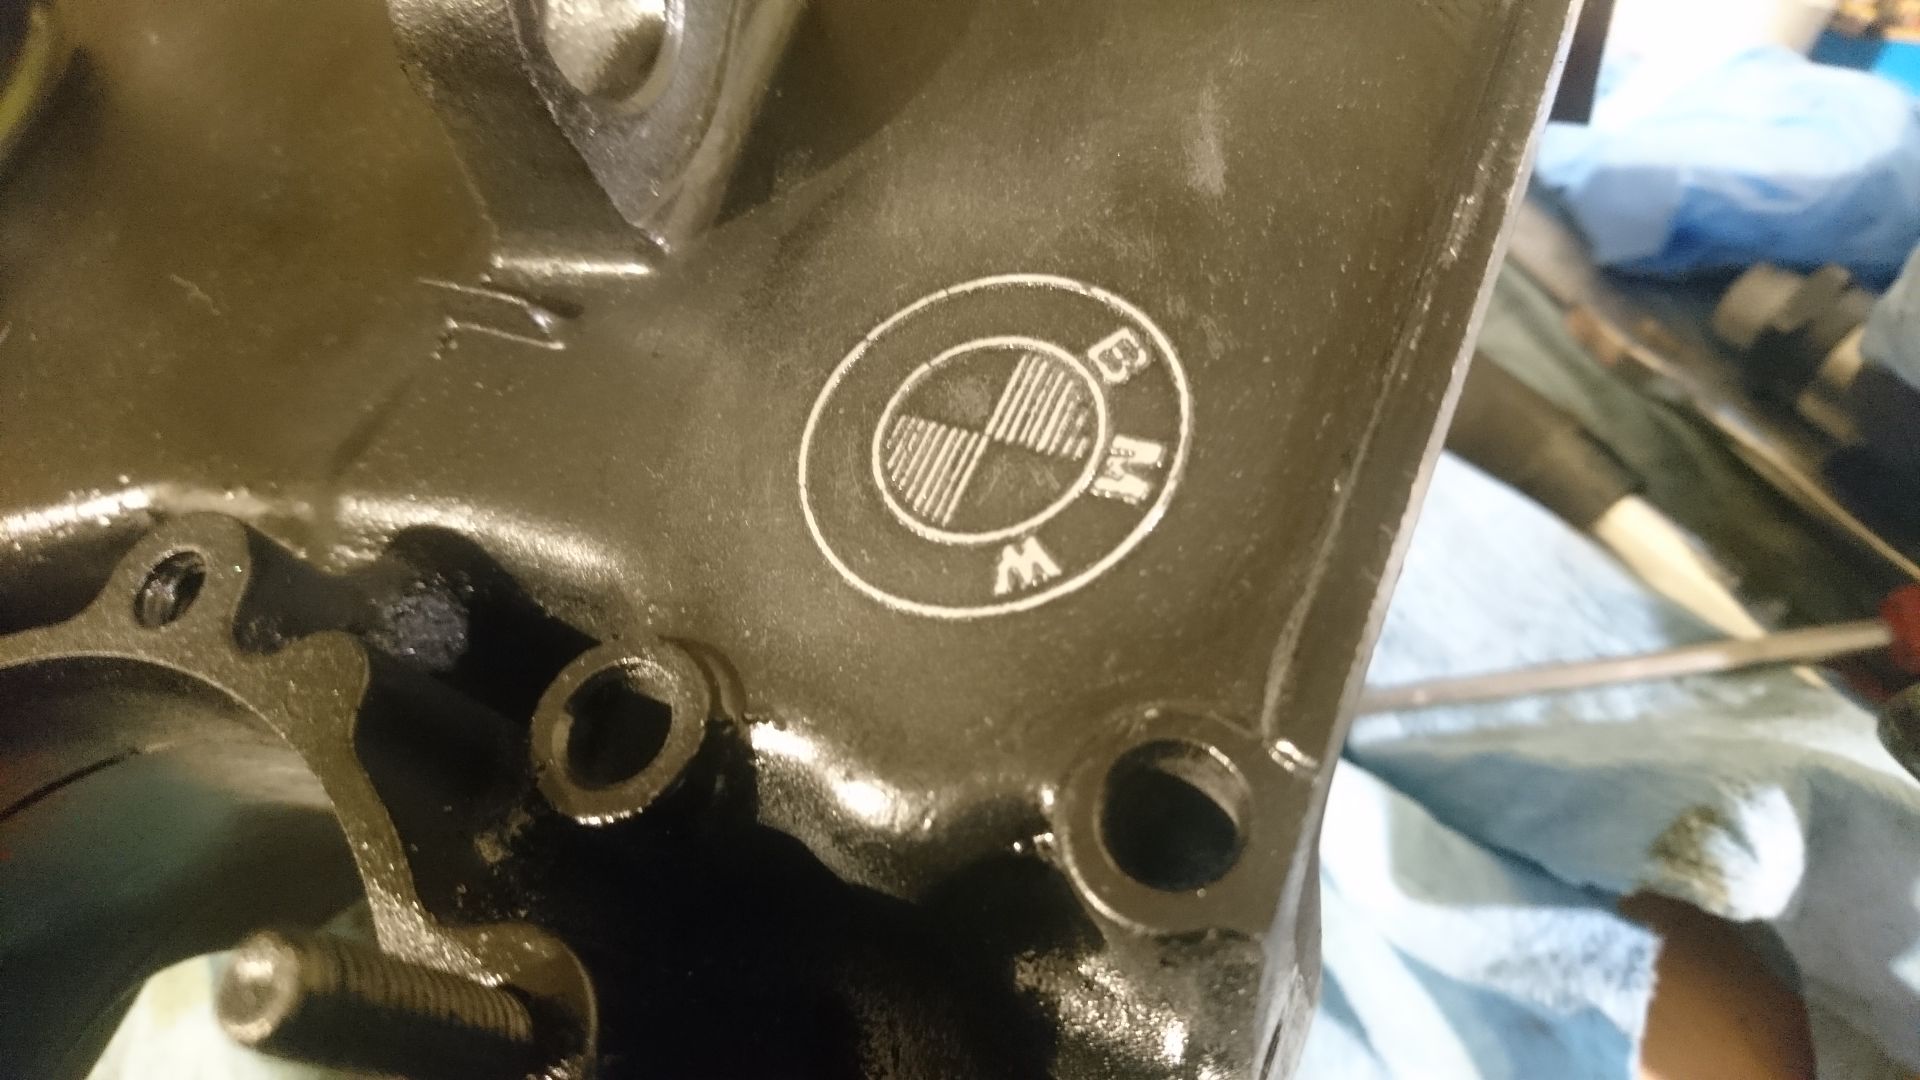
Neat little touch- I painted the timing cover black to match the block, but decided that I wanted a little bit of 'zazz'... a bit of 600 emery paper gave me back a nice, plain metal BMW logo, with a slight rustic touch.
Cleaned the timing cover up inside.
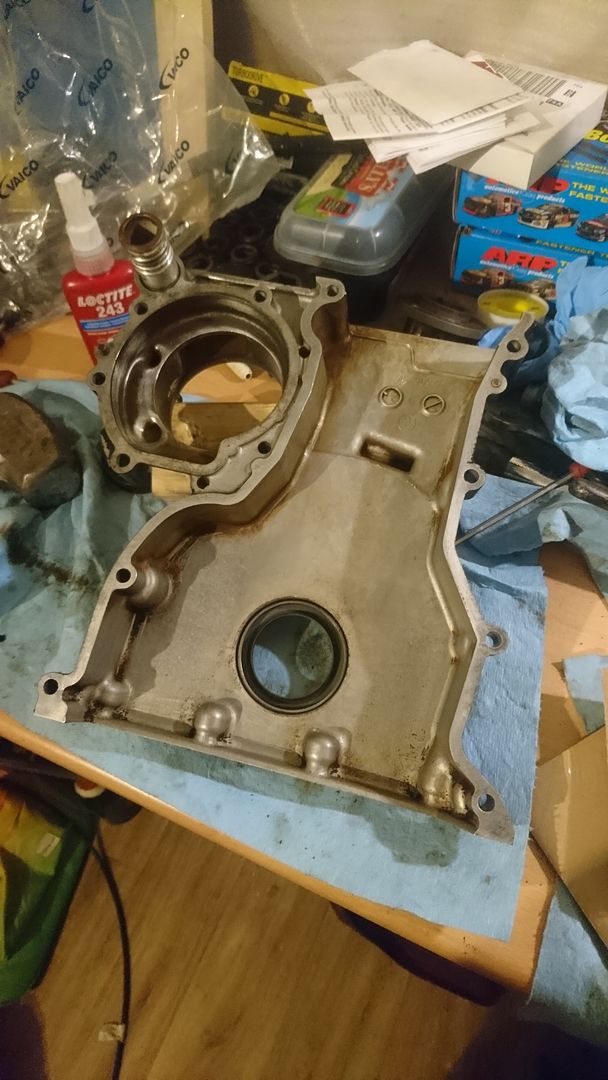
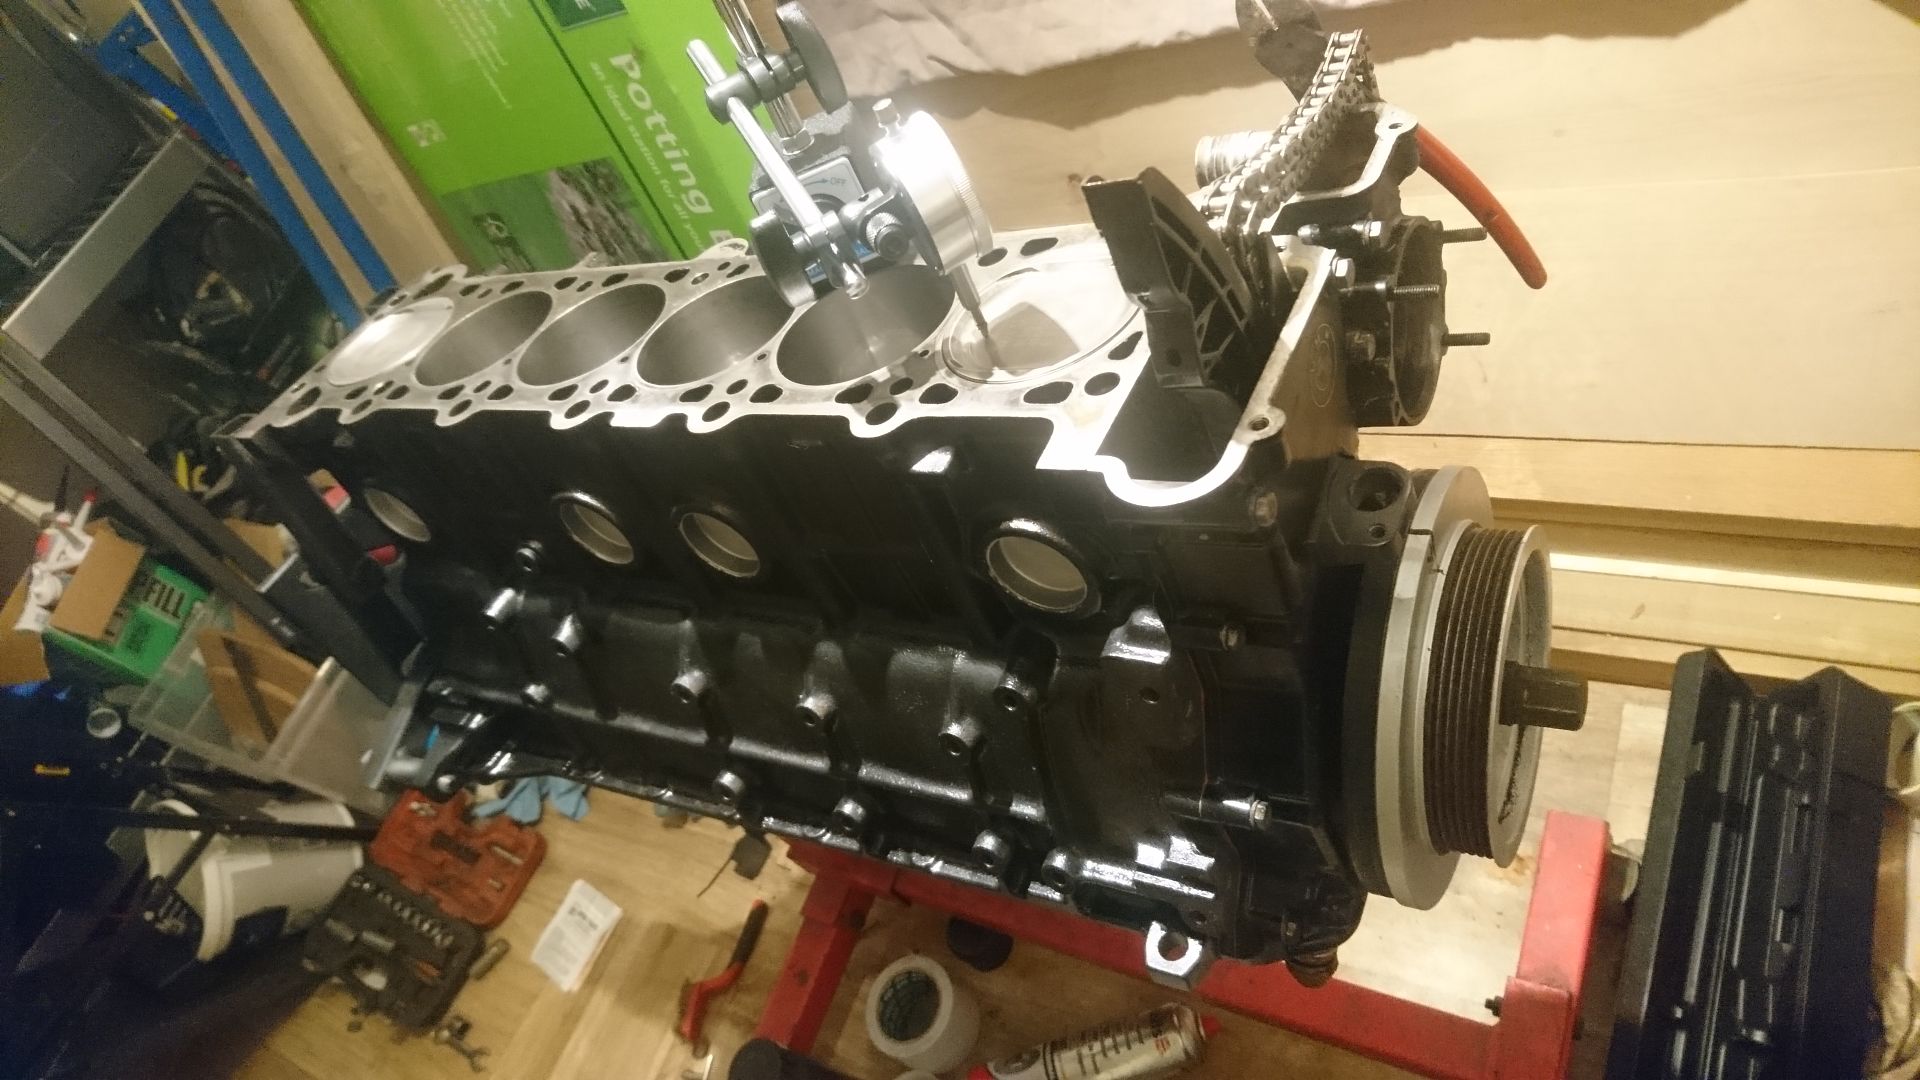
Bing. On.
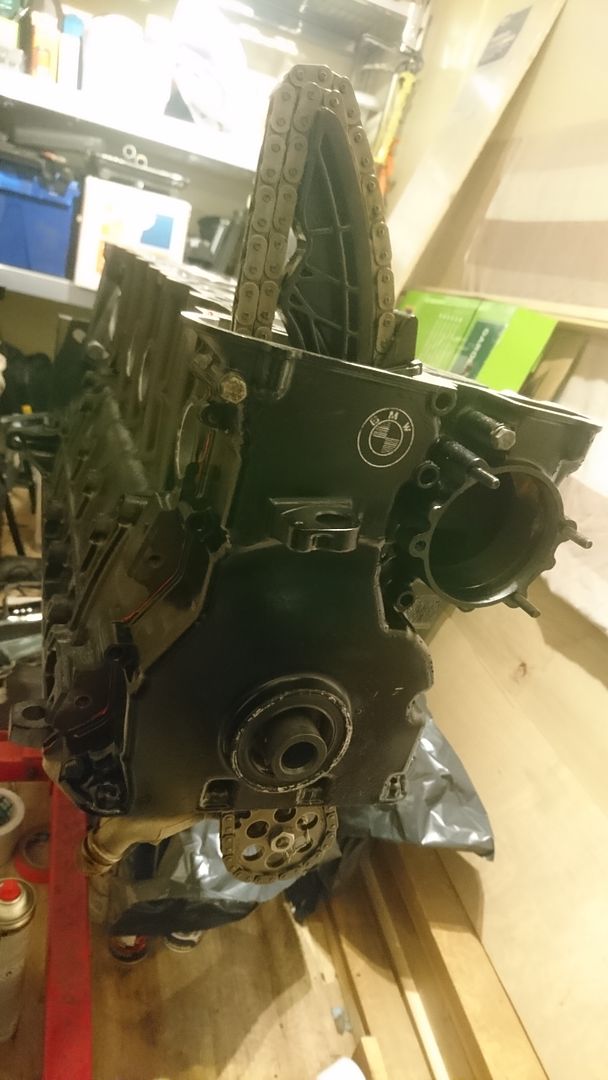
Starting to resemble an engine now!

Then I remembered that I had a digital torque wrench at my disposal, so I pulled the bd oil pump off again...
New rear oil seal applied- old one had definitely seen better days!
Neat little 'tool' BMW supply in the box with new oil seals so you can put them on properly.
Bottom end? Done.
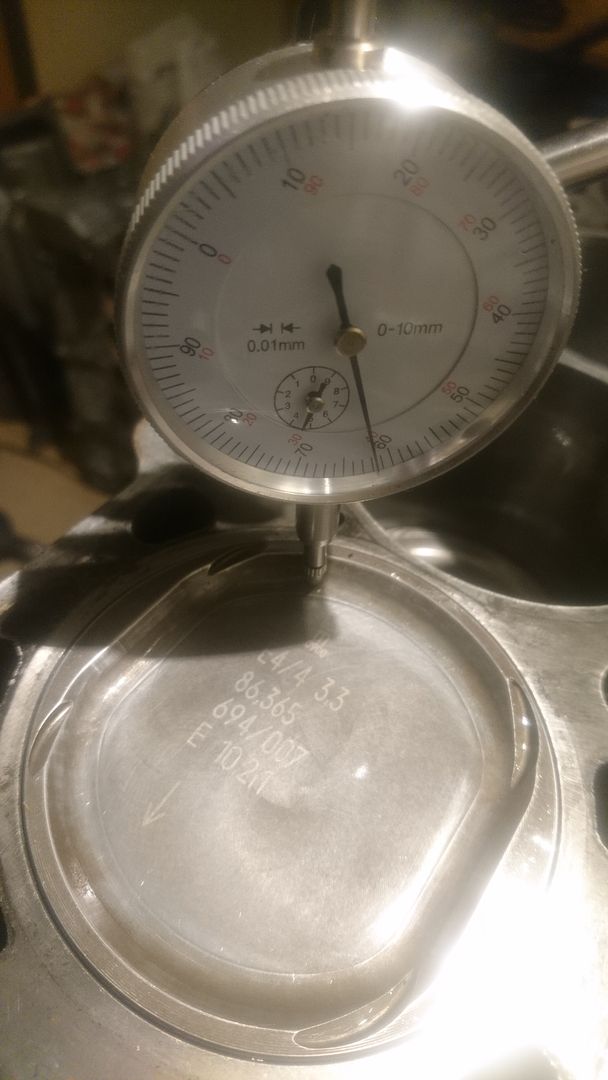
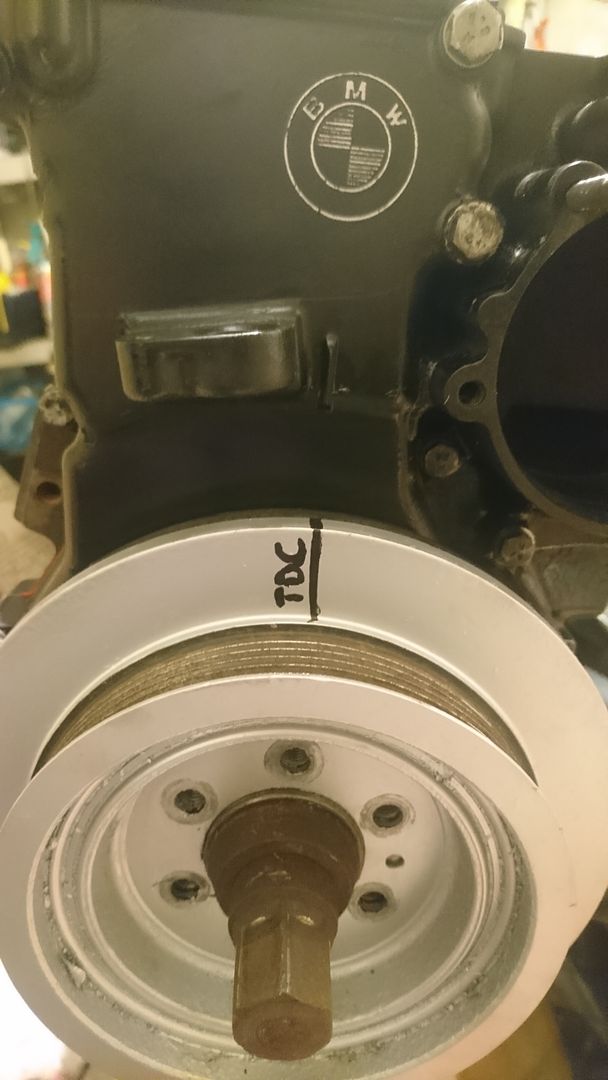
Now... Alpina, in their infinite wisdom, didn't put the usual O|T mark on the crank pulley so you can time them easily. Time to crack out something that isn't used often anymore...
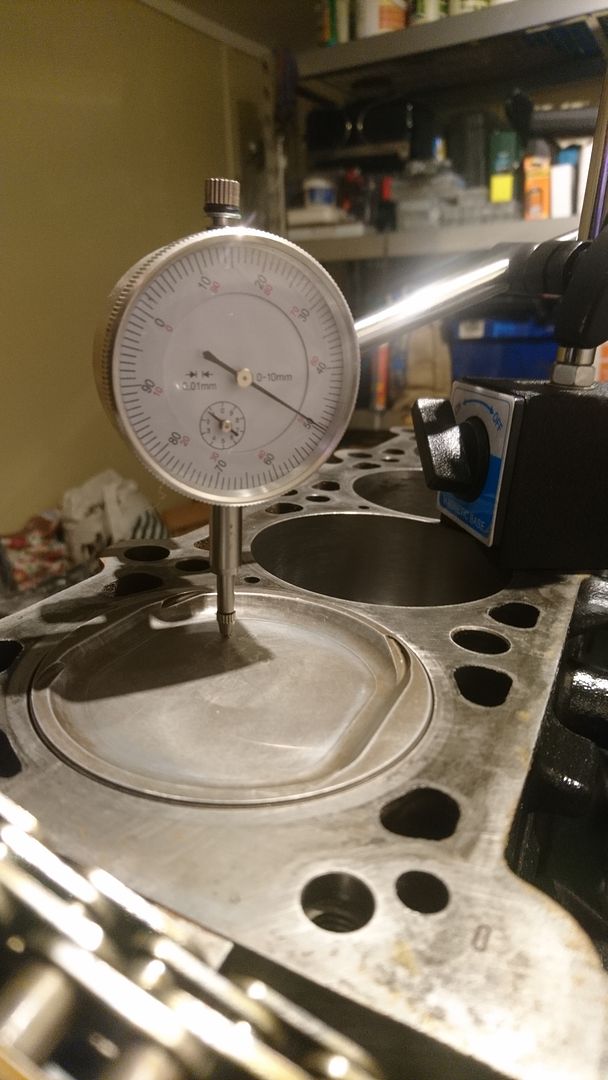
DTI! Found TDC.
Crank pulley on just to check what the deal was...
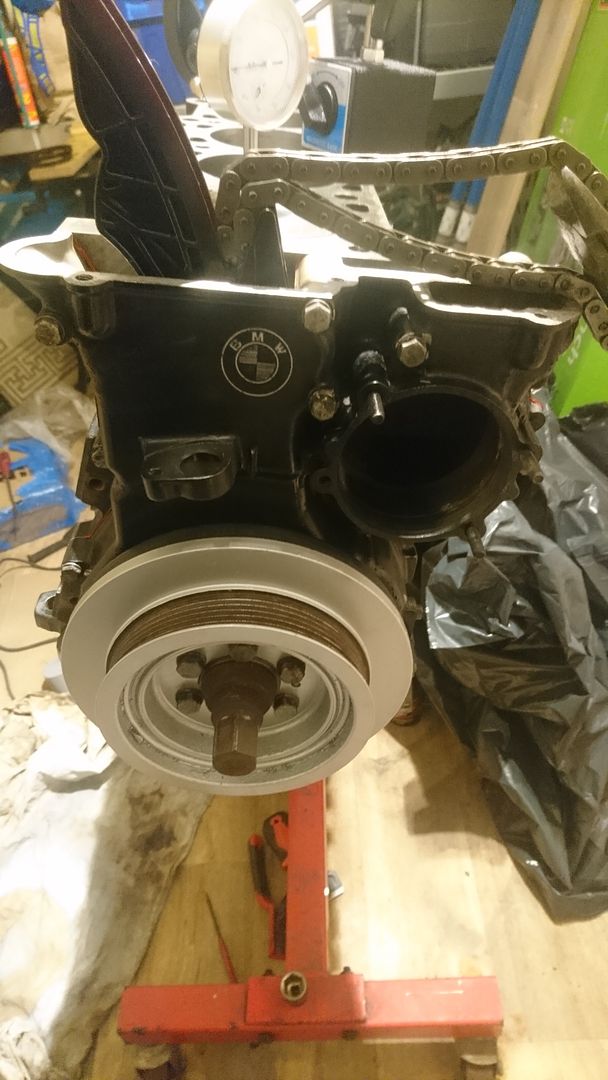
...and rather unprofessionally scribble on it, after its lick of paint, to ensure the engine remained timed adequately.
And here we are. I have since chased all the ARP head studs in, but my phone ran out of battery.
Next stop- got a head to rebuild! I've acquired a cheapo GoPro copy that does time lapse, so I'll try and get time lapse of the valves being lapped in, installed, etc. So close now it's not even funny- the silver beast, which hasn't turned a wheel since May 11th last year, is about to be alive again...
Stay tuned.
So... this is how an S50 oil pump works.


Top side removed... and it's a twin-rotor design.
very, very cool.


Split down to its component parts...

...and rebuilt...


With an M50/M52 oil pump sprocket, as the S50/S54 item is too large. Also secured a lockwired pump nut from Rally Road.

Now... onto the rod bearing clearances.

Final fit for the ARP rod bolts.

This picture more accurately shows just how much these lumps were doctored to deal with the simply huge stroke- cut-outs in the piston for the oil squirter. Don't mind if I do.

Plastigauge applied to my rod journal, and Redline assembly lube applied to the ARP rod bolts. Time to get bolting.

S50 oil pump bracket replaces 2 of the ARP main stud washers, plus the Plastigauge following full spread.

Just a mid-work shot showing how clean the rod journals are.

All in place...

Oil pump bolted in...

...and re-fitted with the correct pipe. In 1998 they swapped to having twin pump brackets on the main caps, and removed the Allen bolt that holds the main oil feed pipe in place- it's push fit on later S50s and S54s. As mine was a 1996 pump, I decided to do it properly and ordered the proper oil feed pipe and replacement Allen bolt.

Oil pump nut...

...and Loctite 243, which is oil resistant and great for locking the nut in place.

All wired and applied.

Replaced the timing cover oil seal...

Neat little touch- I painted the timing cover black to match the block, but decided that I wanted a little bit of 'zazz'... a bit of 600 emery paper gave me back a nice, plain metal BMW logo, with a slight rustic touch.

Cleaned the timing cover up inside.

Bing. On.

Starting to resemble an engine now!


Then I remembered that I had a digital torque wrench at my disposal, so I pulled the b
d oil pump off again...

New rear oil seal applied- old one had definitely seen better days!

Neat little 'tool' BMW supply in the box with new oil seals so you can put them on properly.

Bottom end? Done.

Now... Alpina, in their infinite wisdom, didn't put the usual O|T mark on the crank pulley so you can time them easily. Time to crack out something that isn't used often anymore...

DTI! Found TDC.

Crank pulley on just to check what the deal was...

...and rather unprofessionally scribble on it, after its lick of paint, to ensure the engine remained timed adequately.

And here we are. I have since chased all the ARP head studs in, but my phone ran out of battery.

Next stop- got a head to rebuild! I've acquired a cheapo GoPro copy that does time lapse, so I'll try and get time lapse of the valves being lapped in, installed, etc. So close now it's not even funny- the silver beast, which hasn't turned a wheel since May 11th last year, is about to be alive again...
Stay tuned.
JakeT said:
Excellent work, well done! Gave the JD facebook page a like recently. Some nice metal you're working on there, for sure.
Thanks! Yeah it's been a busy few months. I'm likely to be taking a break for a couple of months once my current back log is cleared out- it's just a hobby that's got slightly out of hand! I still work full-time in another job. Percent said:
What happened to the plug and play E36 gauge kit? Are you still selling them? I have a E36 328i coupe which I'd like some gauges for.
Patience will be required! It's just me getting a lot of bits done. Again, as above, once the current back log is out of the way, I want to use some of the funds accrued to put into some R&D time with gauge kit, plus various other bits (M50 fitting kit, etc!)ChrisDT said:
I'm amazed, your attention to detail and knowledge is outstanding!
Haha thanks Chris. plenty more to come! Hopefully when you come to visit, this will be one step closer to running. 
Gassing Station | Readers' Cars | Top of Page | What's New | My Stuff