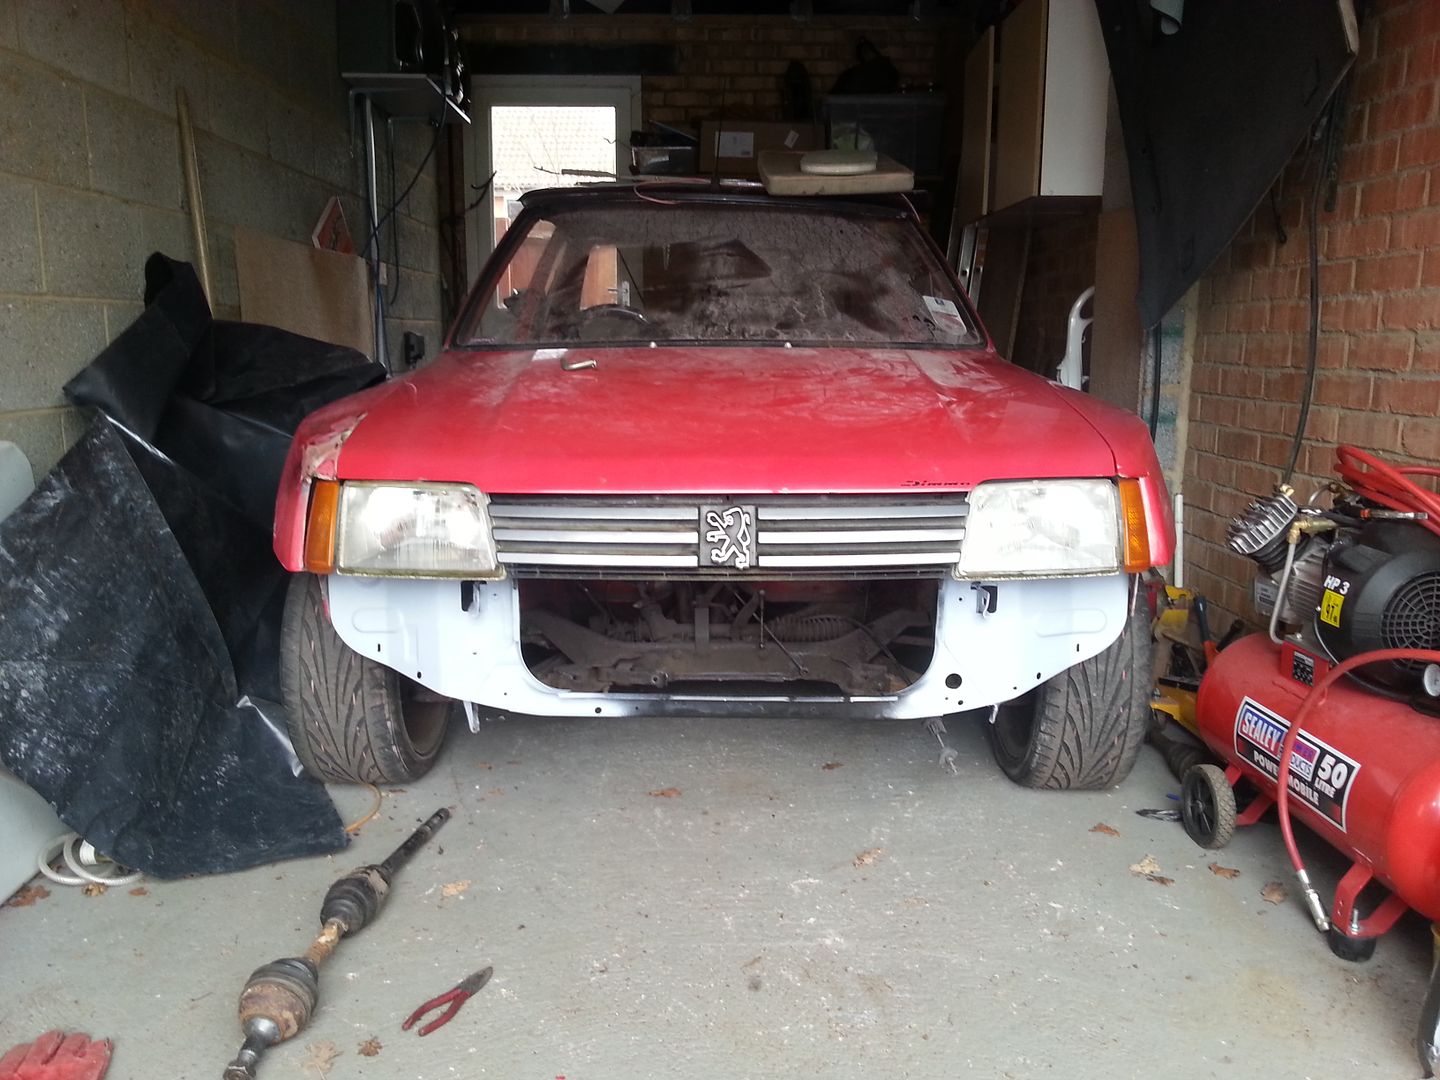
My Peugeot 205gti (Dimma) Restoration
Discussion


Well done for saving it, the car will be lovely when finished!
I have a soft spot for Dimmas having owned 2 Dimma 205 Turbo Technics cars in the past, including A4 PUG the Max Power cover car shown in this thread. I also ran a standard bodied 1.9 Turbo Technics car. They are fantastic to drive and just ooze 80's style, very jealous!
I have a soft spot for Dimmas having owned 2 Dimma 205 Turbo Technics cars in the past, including A4 PUG the Max Power cover car shown in this thread. I also ran a standard bodied 1.9 Turbo Technics car. They are fantastic to drive and just ooze 80's style, very jealous!
I have not done too much of late due to no time but I have managed to source a good boot floor and a really good floor at a local scapyard so going over there in week or so to cut out parts.I have been getting my spit sorted out and hoping that will be complete in a couple of weeks then I can really make a start on the floor. I have managed to make a start on the roof panel I have that im using as a template to fit vaccum sunroof to my car I have removed the support beams just got to strip roof to skin and use as template.
I had a little play with the front wings and they line up quite well but will need some adjustment for a really good fit.
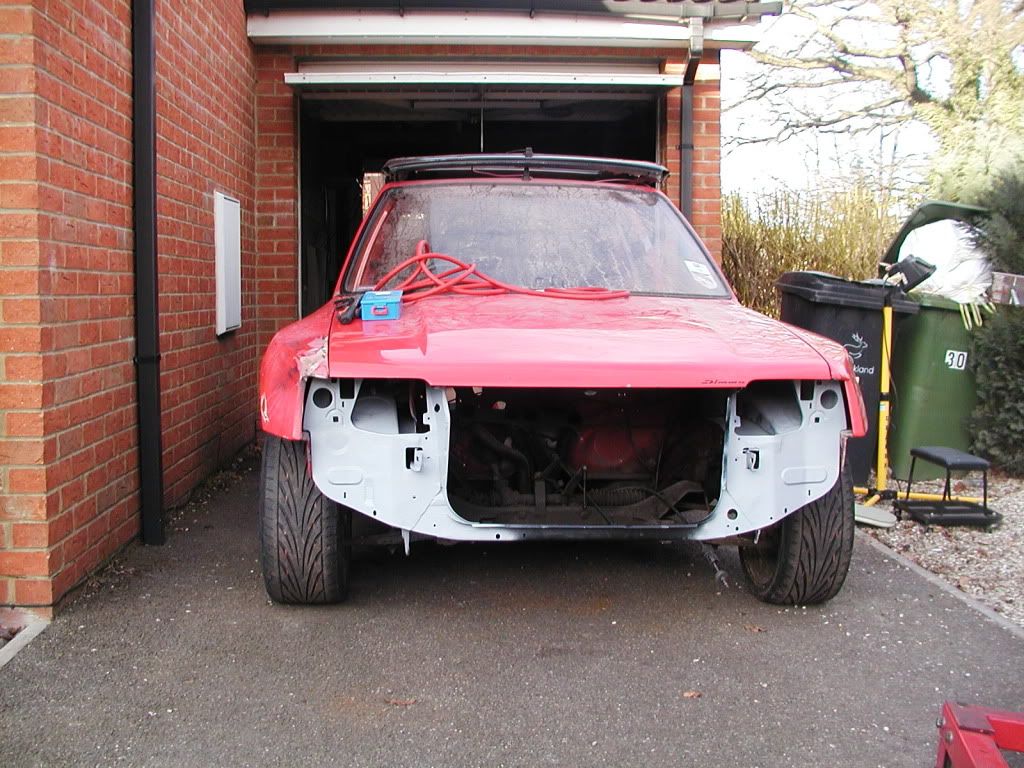

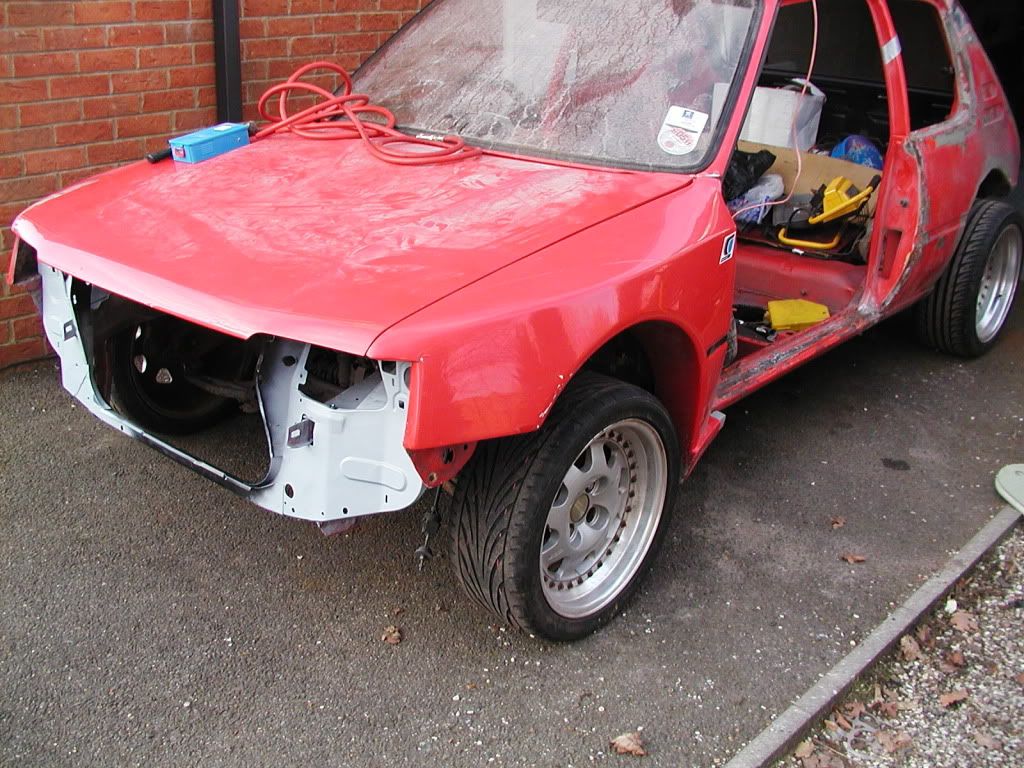
I had a little play with the front wings and they line up quite well but will need some adjustment for a really good fit.
I have not done as much as i would have likes due to no spare time I have had my heart set on removing a mint floor from a car i found ina scrapyard this has turned in too big a job so now just going to cut out parts i need and carry on patching mine.
I have had a play with the headlights i picked up from scapyard to see how they line up as i have carried out major repairs to the front really happy how it looked.
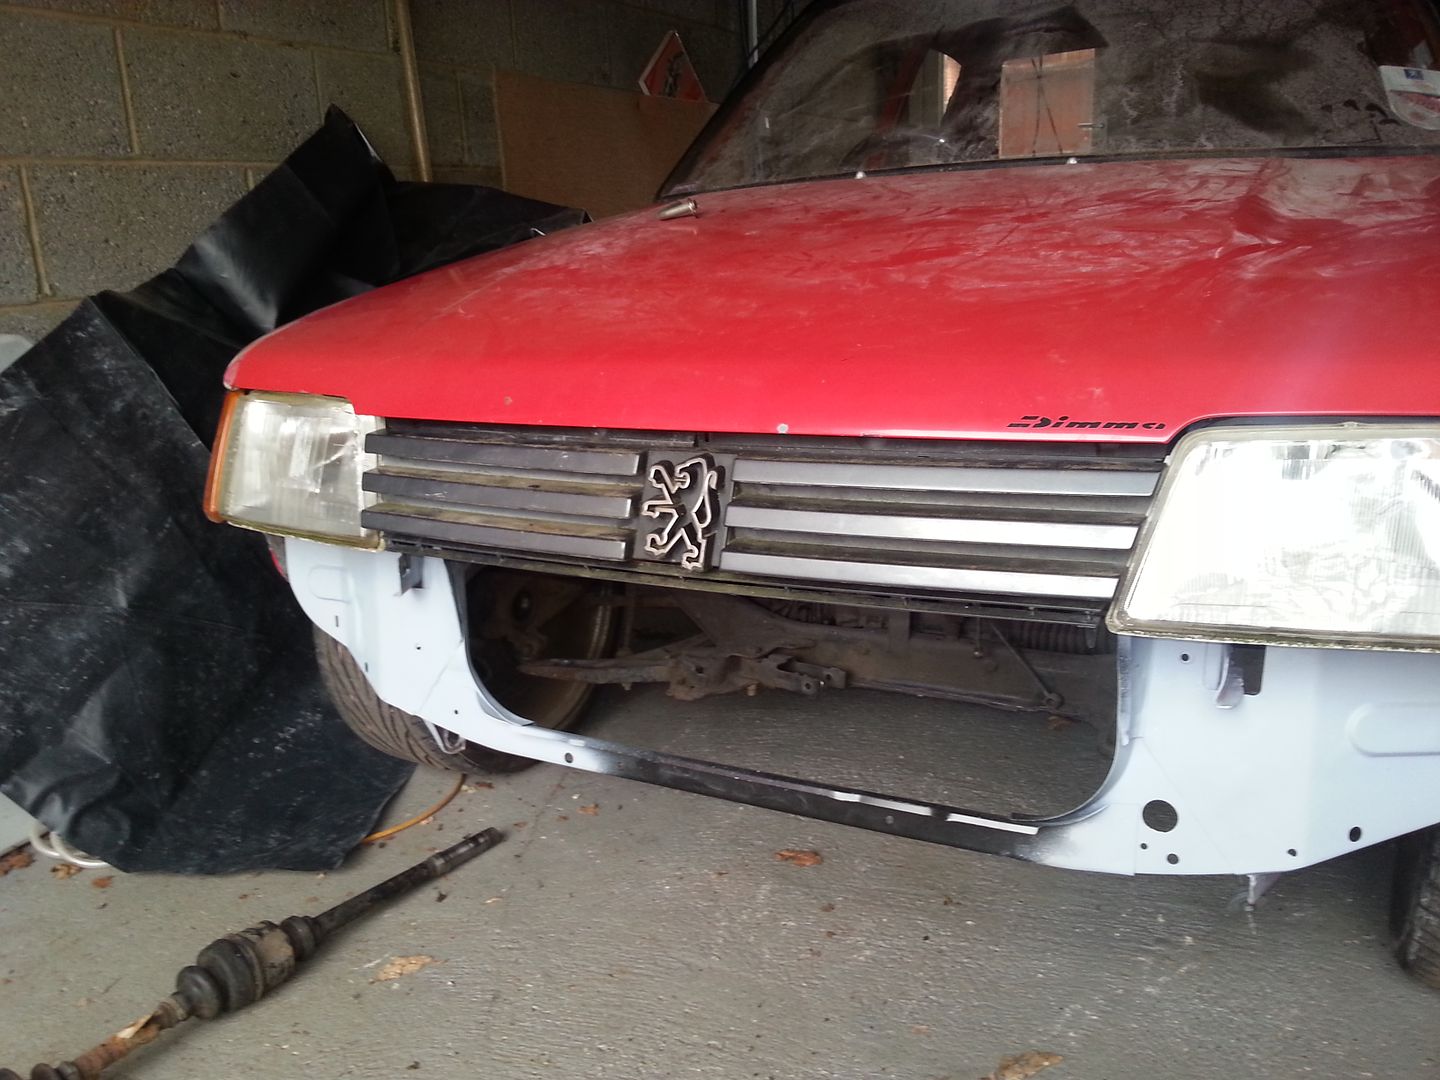
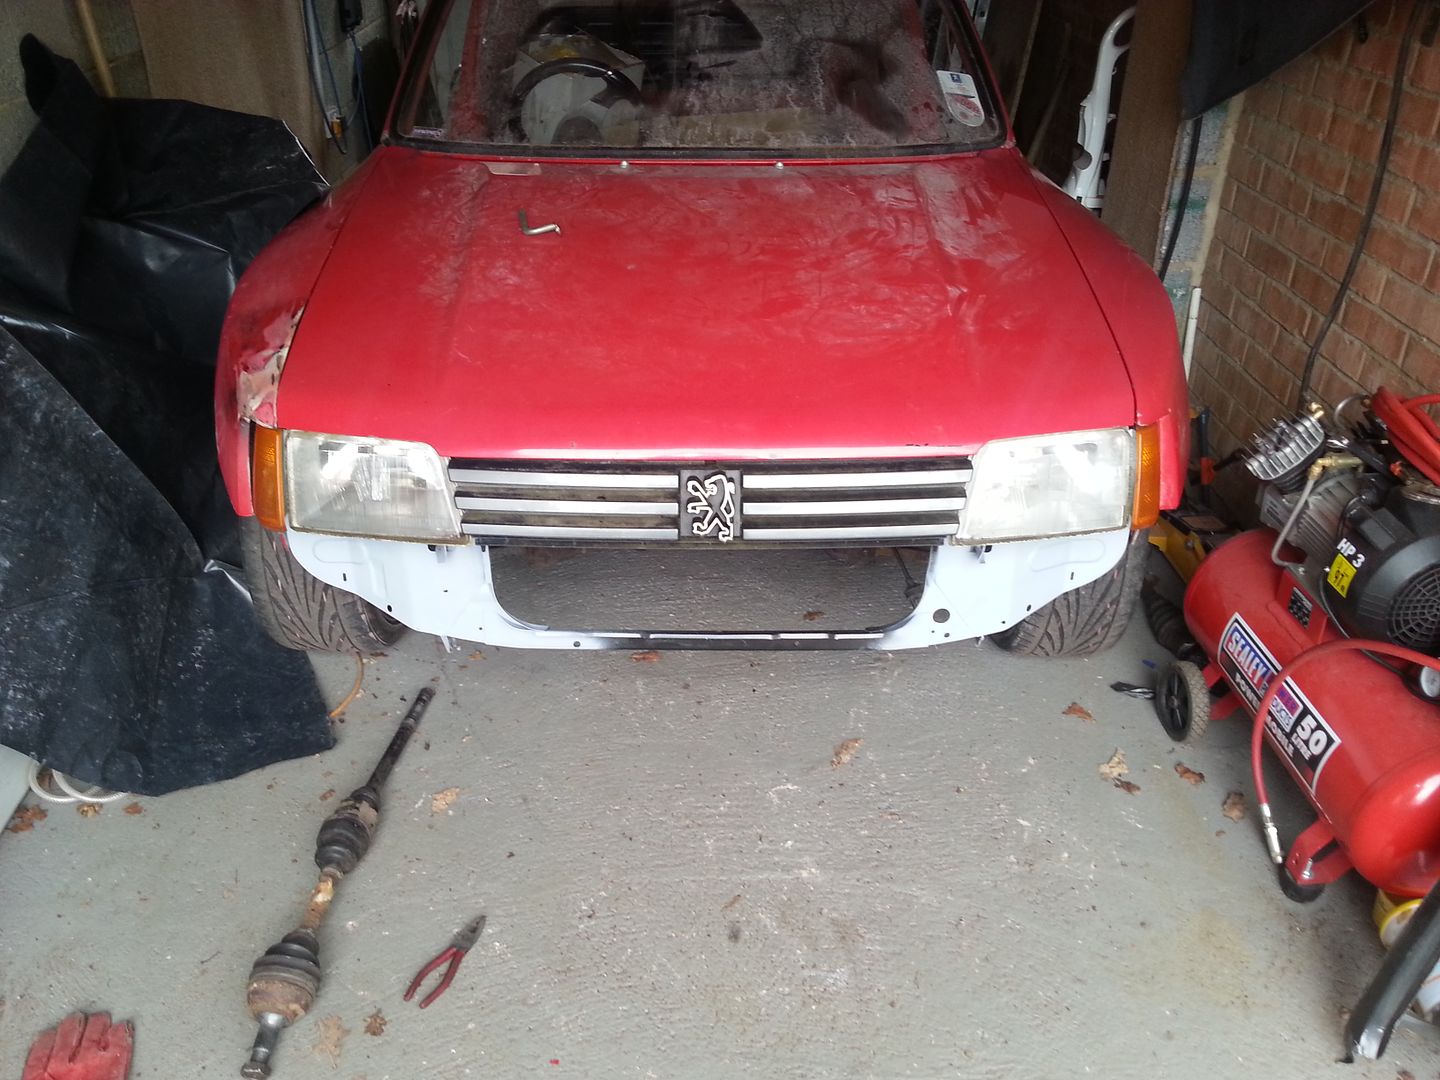
I have had a play with the headlights i picked up from scapyard to see how they line up as i have carried out major repairs to the front really happy how it looked.


this is my car now has retrimmed interior :-)
magpie21 said:
Great project.
There was another thread I followed a couple of years ago about a guy who restored one and put a Cosworth engine in with 4x4 running gear!!!
http://www.detailingworld.com/forum/showthread.php...
There was another thread I followed a couple of years ago about a guy who restored one and put a Cosworth engine in with 4x4 running gear!!!
http://www.detailingworld.com/forum/showthread.php...
ninjacost said:
this is my car now has retrimmed interior :-)
Congratulations, seriously mental car!magpie21 said:
Great project.
There was another thread I followed a couple of years ago about a guy who restored one and put a Cosworth engine in with 4x4 running gear!!!
http://www.detailingworld.com/forum/showthread.php...
There was another thread I followed a couple of years ago about a guy who restored one and put a Cosworth engine in with 4x4 running gear!!!
http://www.detailingworld.com/forum/showthread.php...
Do you have pics or a thread on it anywhere, I would love to know more?
no not at moment hoping to get some pics posted soon, interior was shabby when I got it so retrimmed to smarten it up two tone black /cream , still needs a bit of paint to get rid of stone chips on rear arches but that's work in progress , its a very quick car when turbo spools up but it has proper old school lag ! will take it to a few shows when it looks how I want it , car as done 2000 miles in about 4 yrs claimed to have close to 500bhp but I haven't had it verified regards steve
Do you have pics or a thread on it anywhere, I would love to know more?
magpie21 said:
ninjacost said:
this is my car now has retrimmed interior :-)
Congratulations, seriously mental car!magpie21 said:
Great project.
There was another thread I followed a couple of years ago about a guy who restored one and put a Cosworth engine in with 4x4 running gear!!!
http://www.detailingworld.com/forum/showthread.php...
There was another thread I followed a couple of years ago about a guy who restored one and put a Cosworth engine in with 4x4 running gear!!!
http://www.detailingworld.com/forum/showthread.php...
Do you have pics or a thread on it anywhere, I would love to know more?
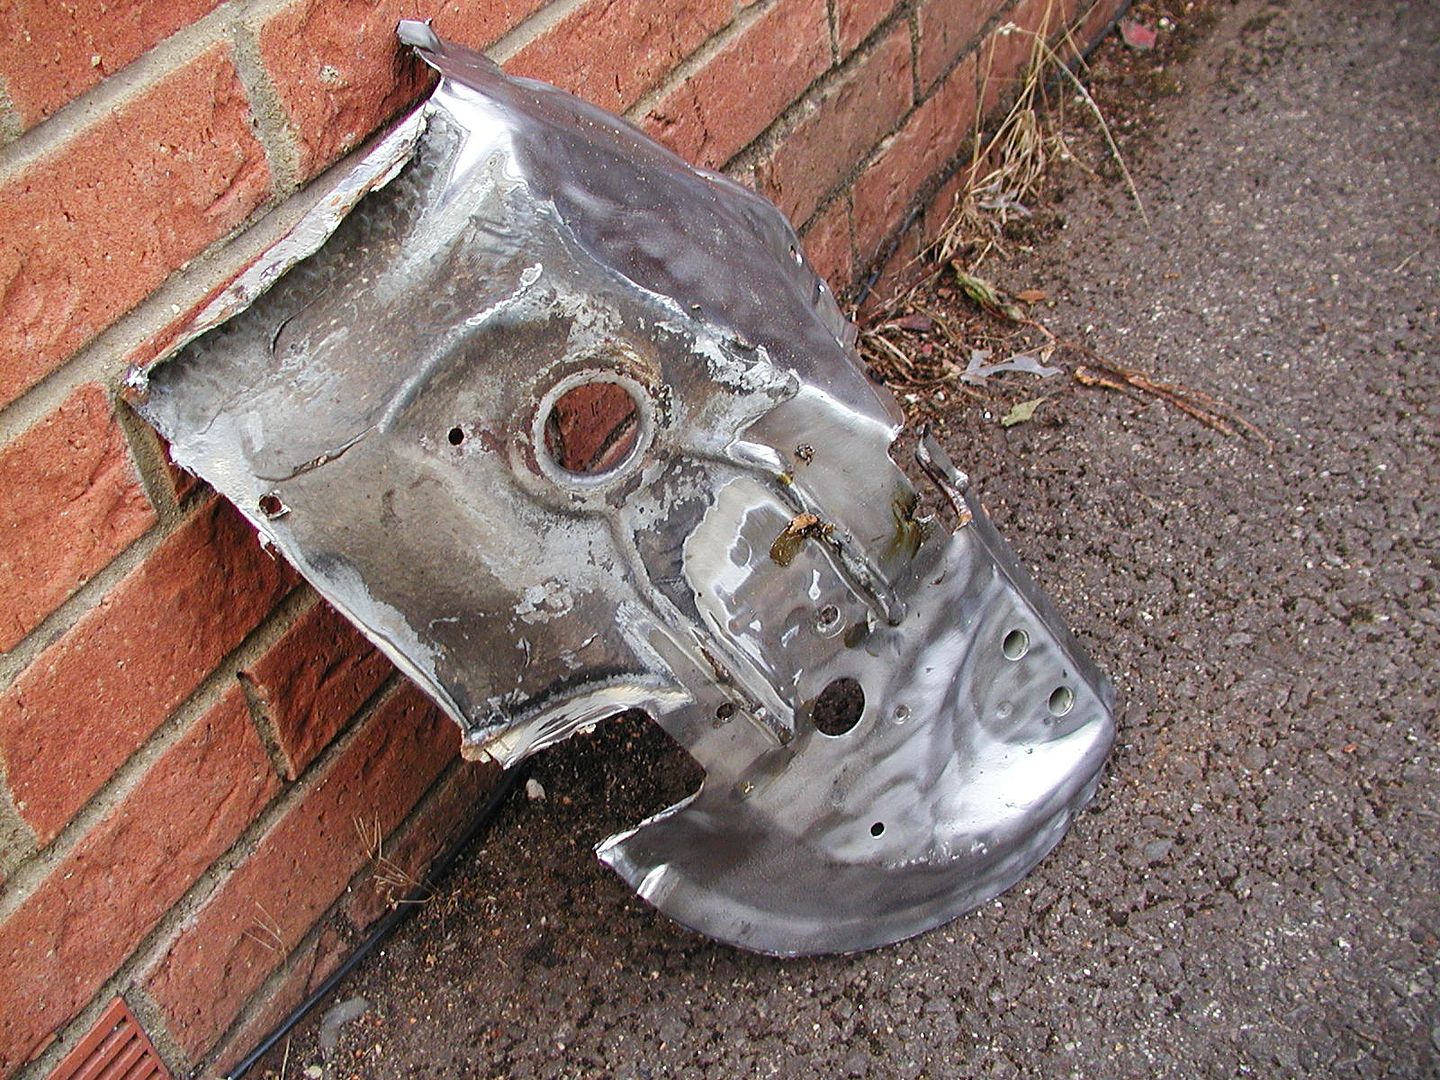
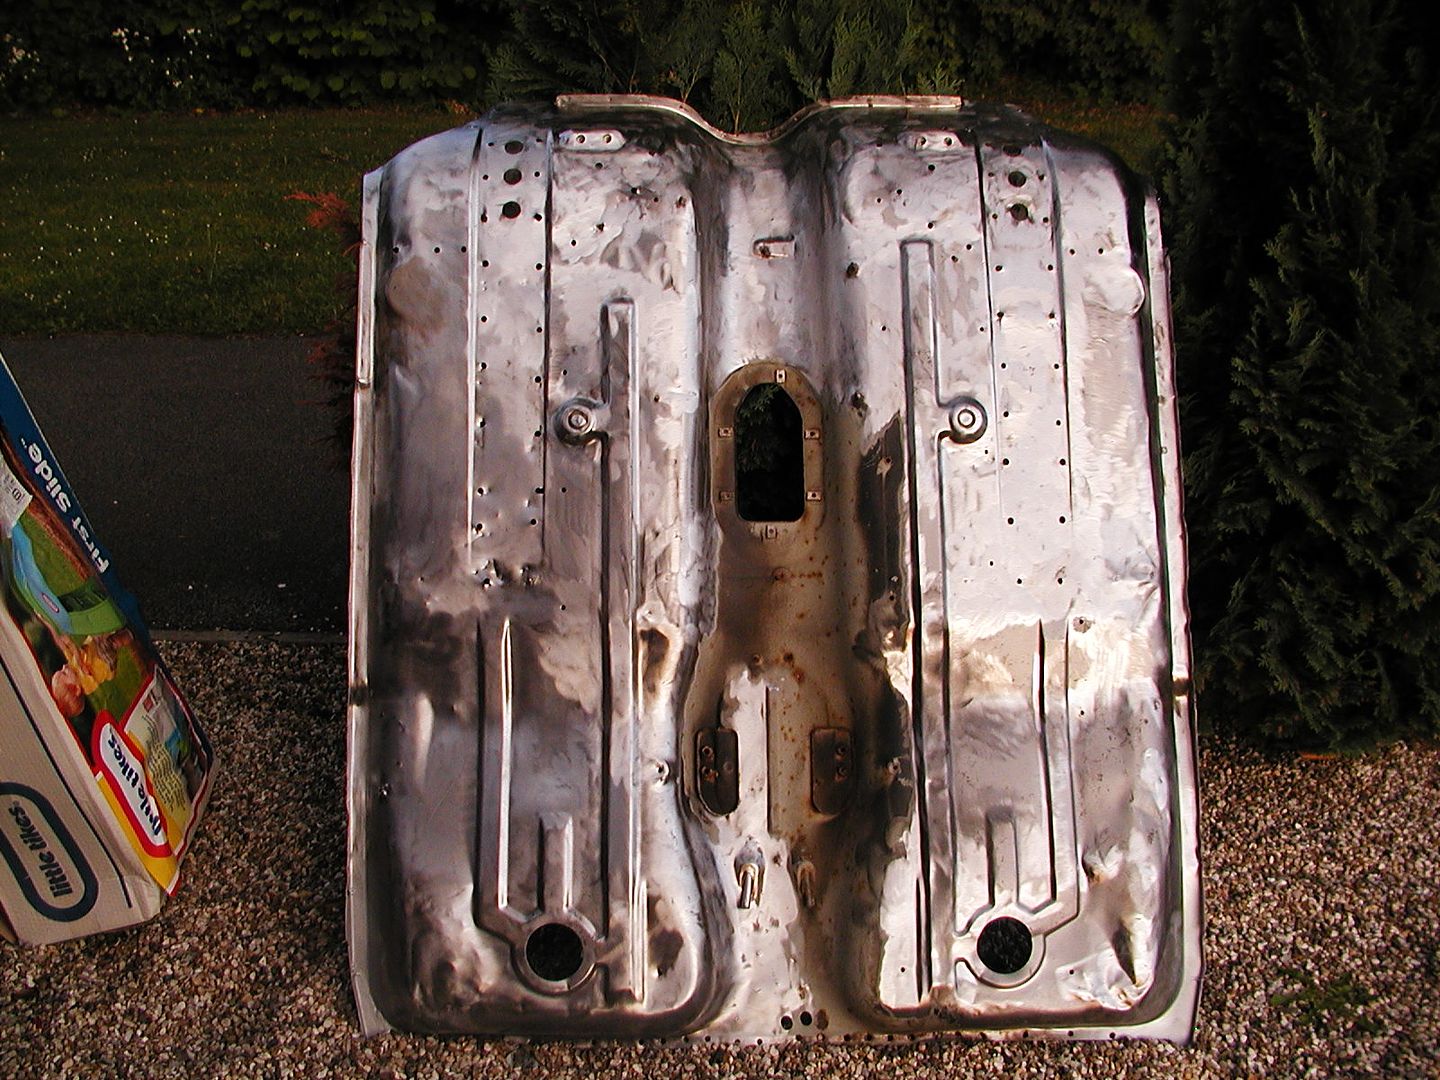
Well updates have been really slow due to just not finding anytime to get out into the garage or over the scrapyard where I was obtaining parts to carry on with any works but there has been some progress as I have now managed to get the floor removed from the car at the scrapyard.
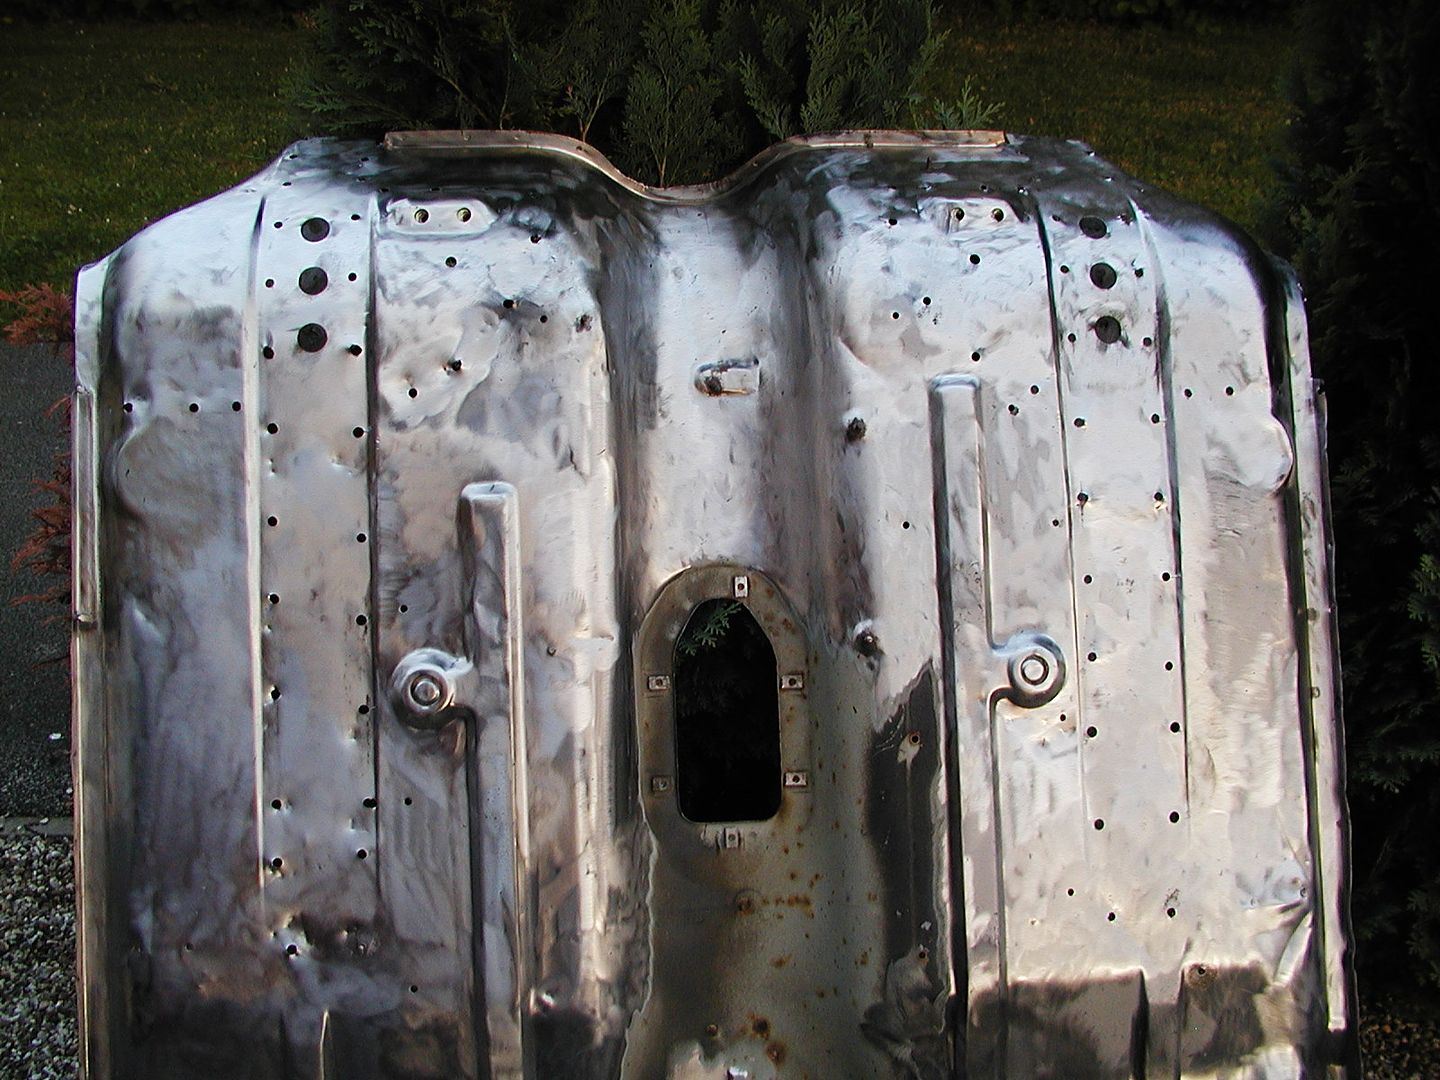
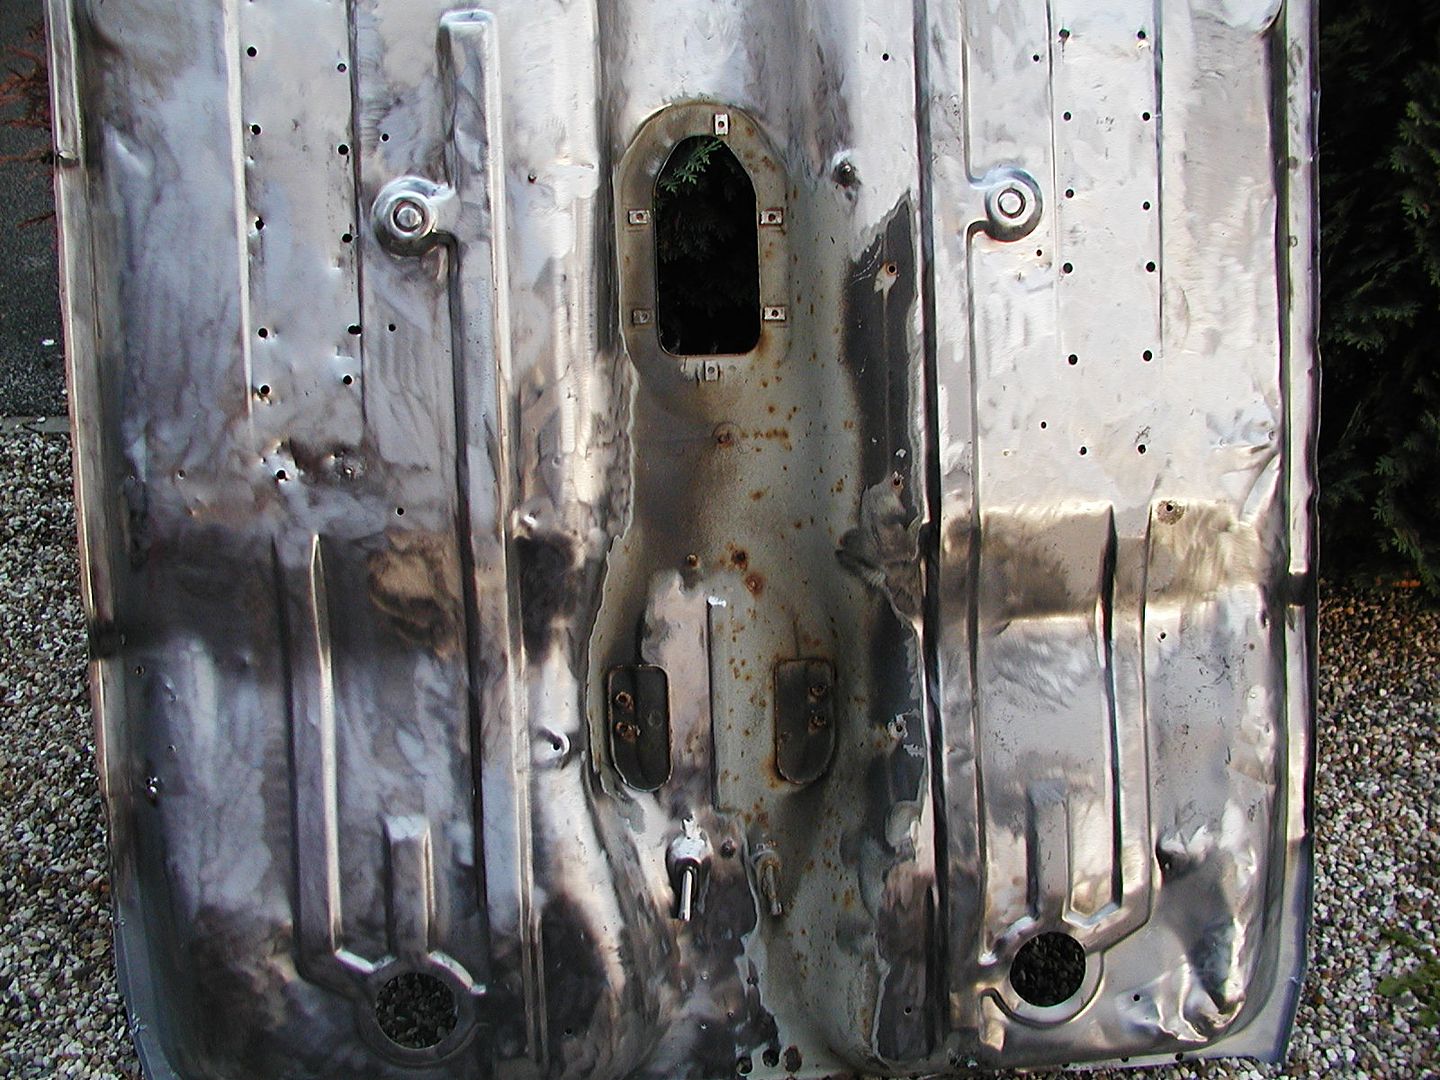
I have made a start on stripping the new floor with the intension of replacing the complete floor in my car im really happy so far with the condition of the new floor with only a couple of bits needing attention now I know I had made a start patching my floor and people may think im mad for taking the approach that I am but I feel that if I can replace the floor with just plug welding and not using patches the repair will be of a better standard.
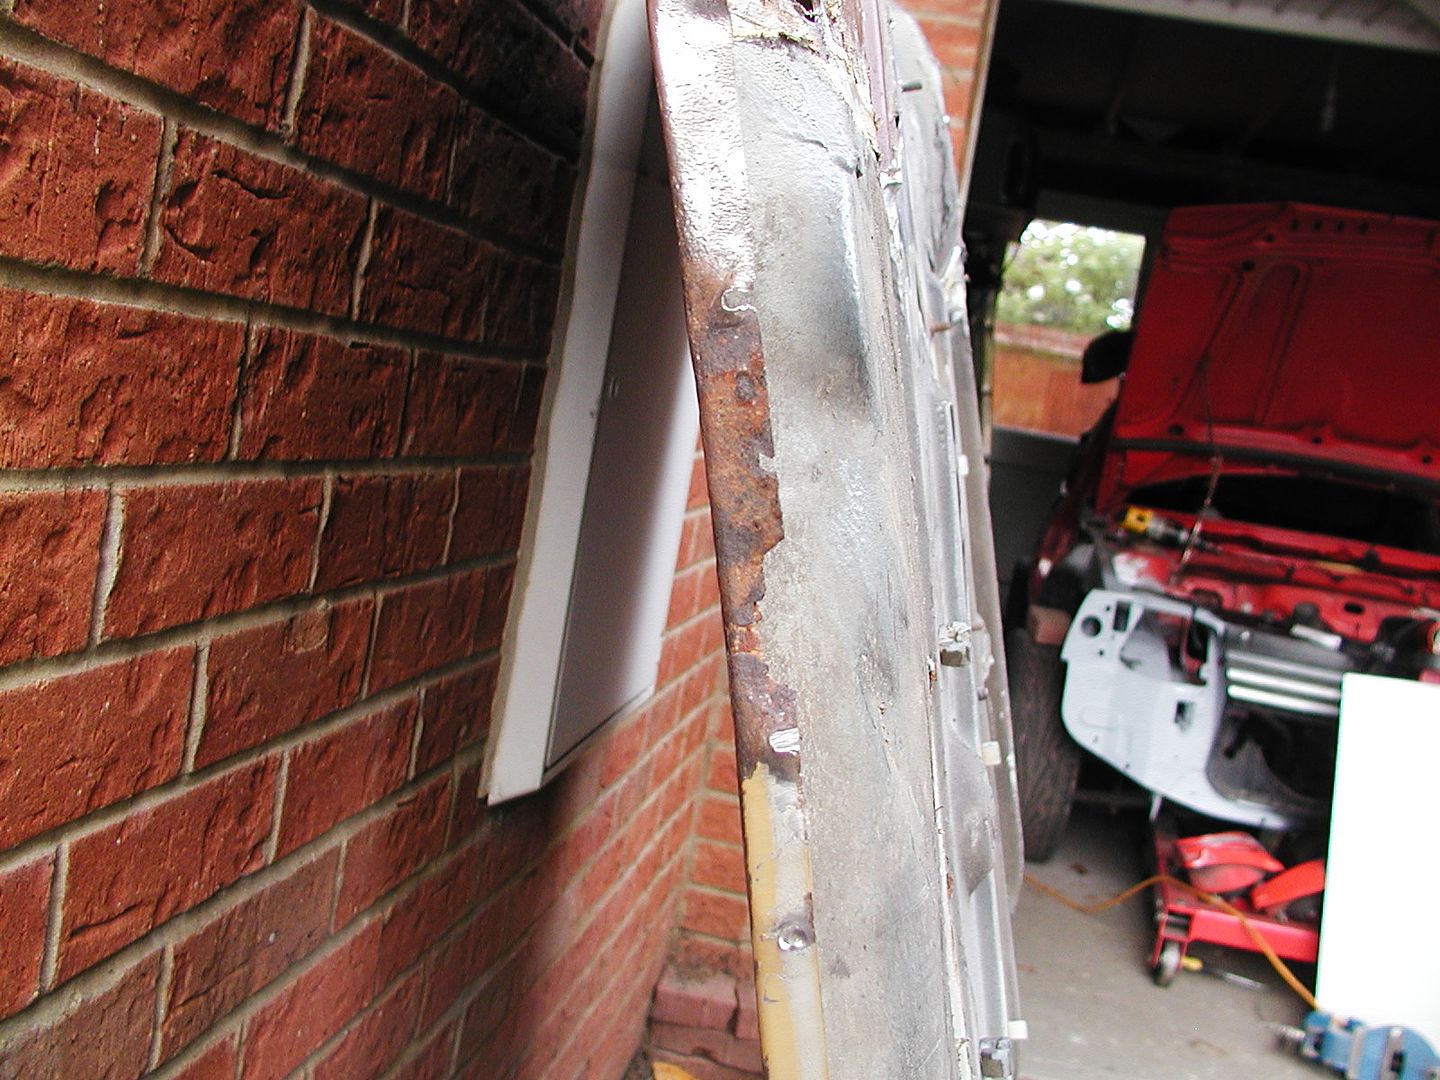
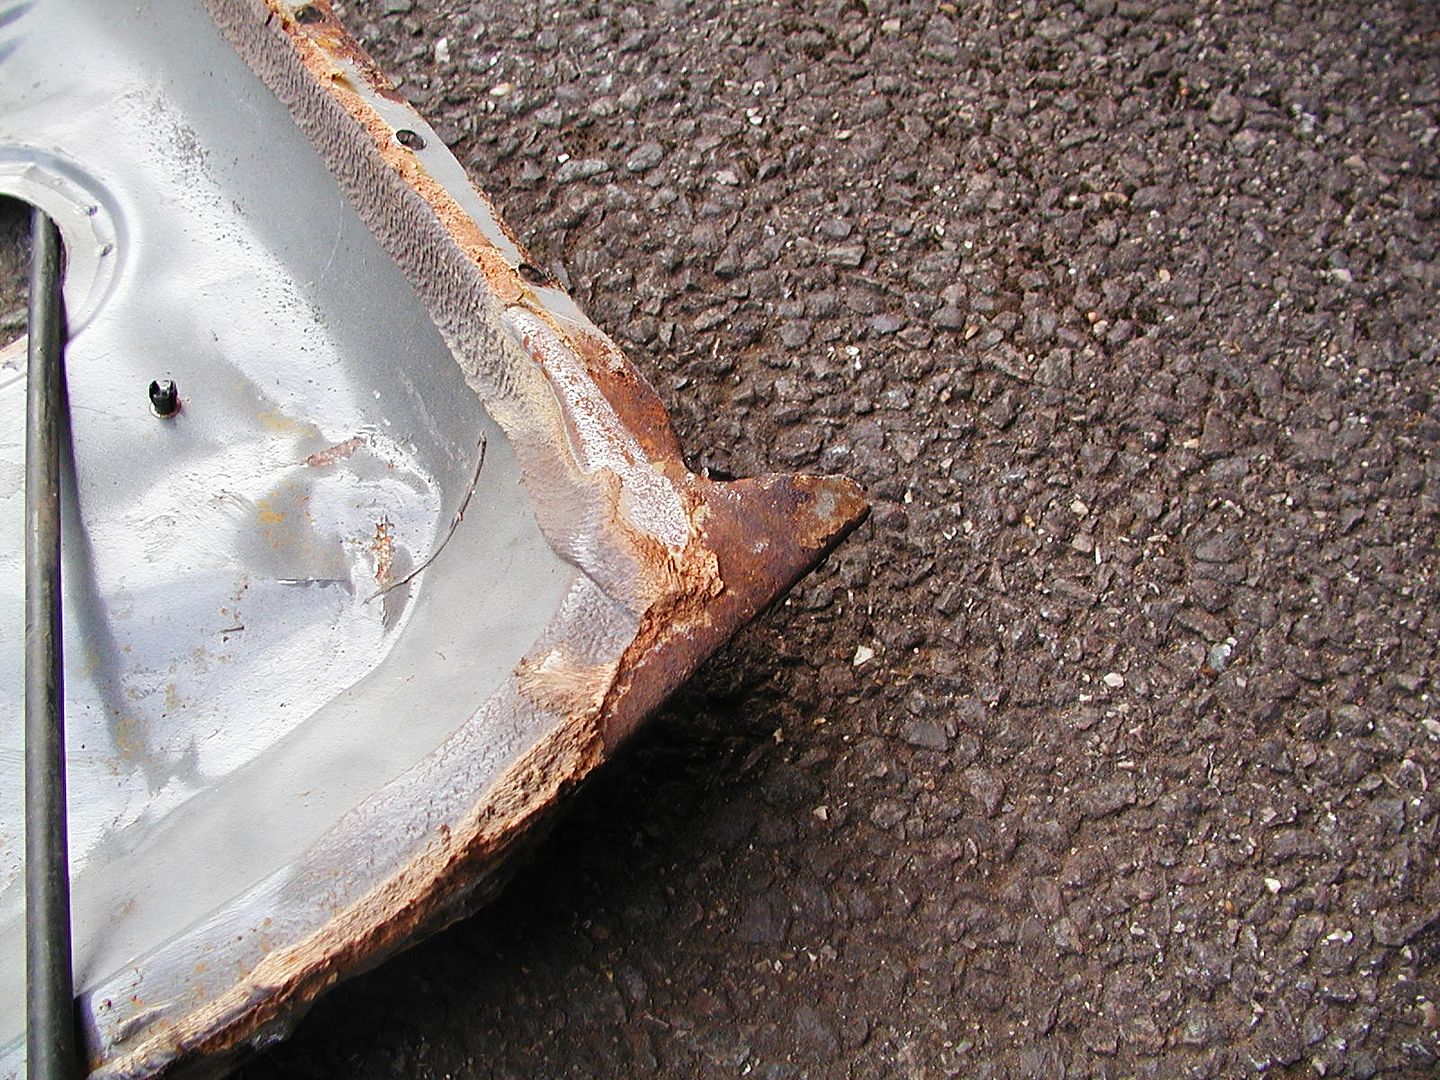
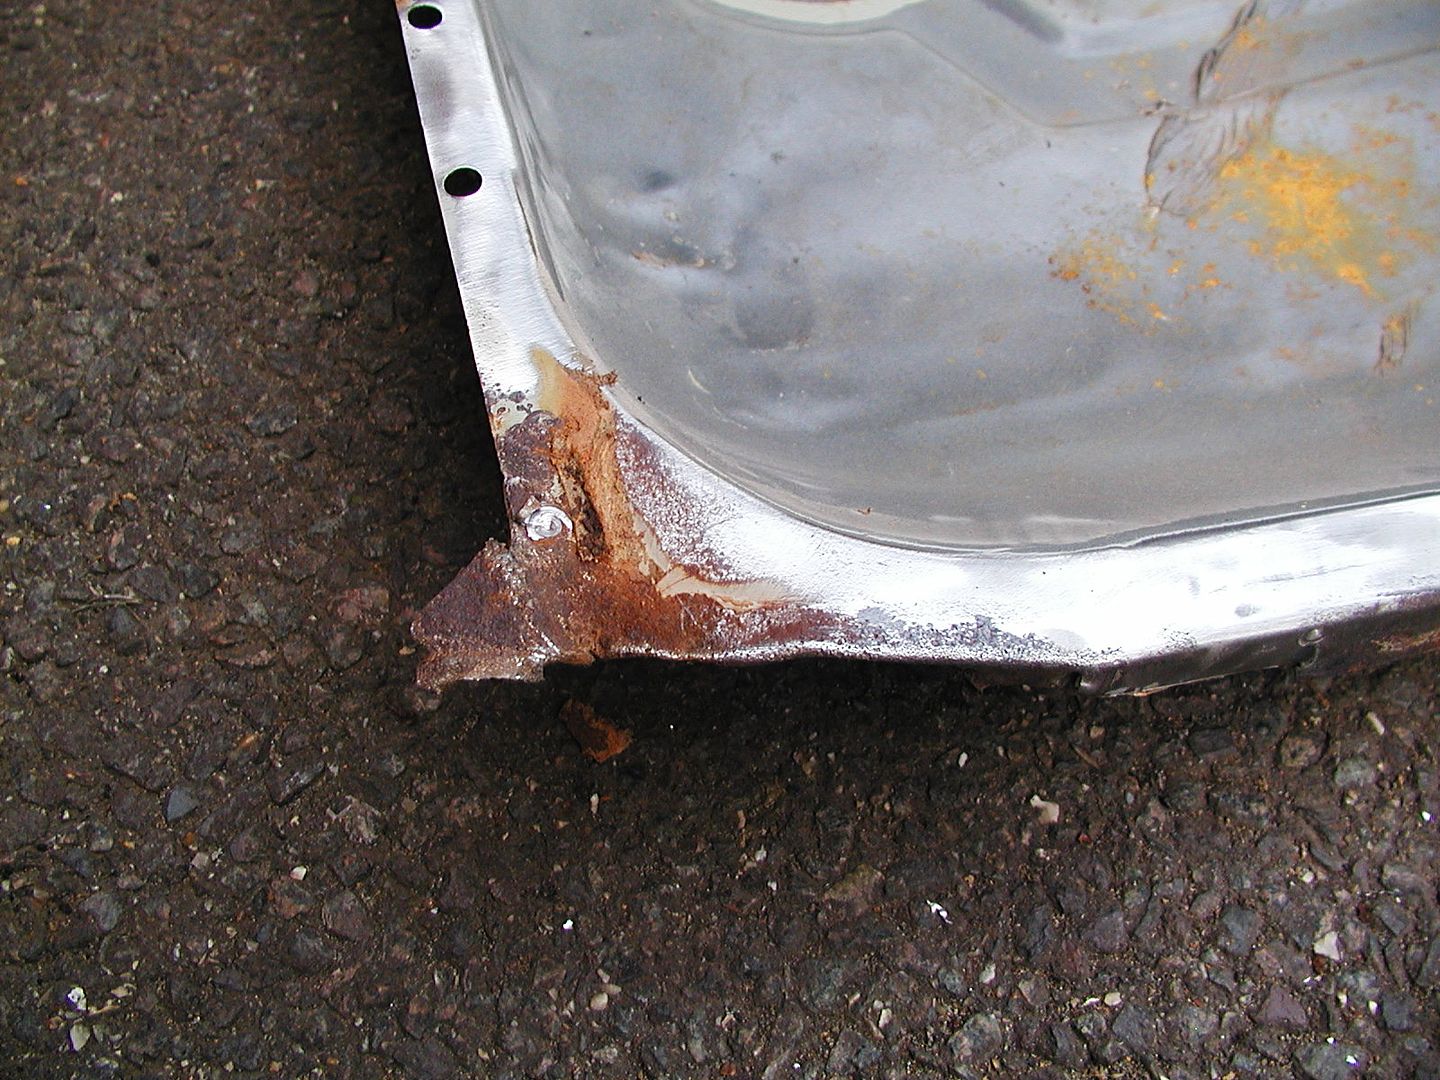
Few pics off the floor panel
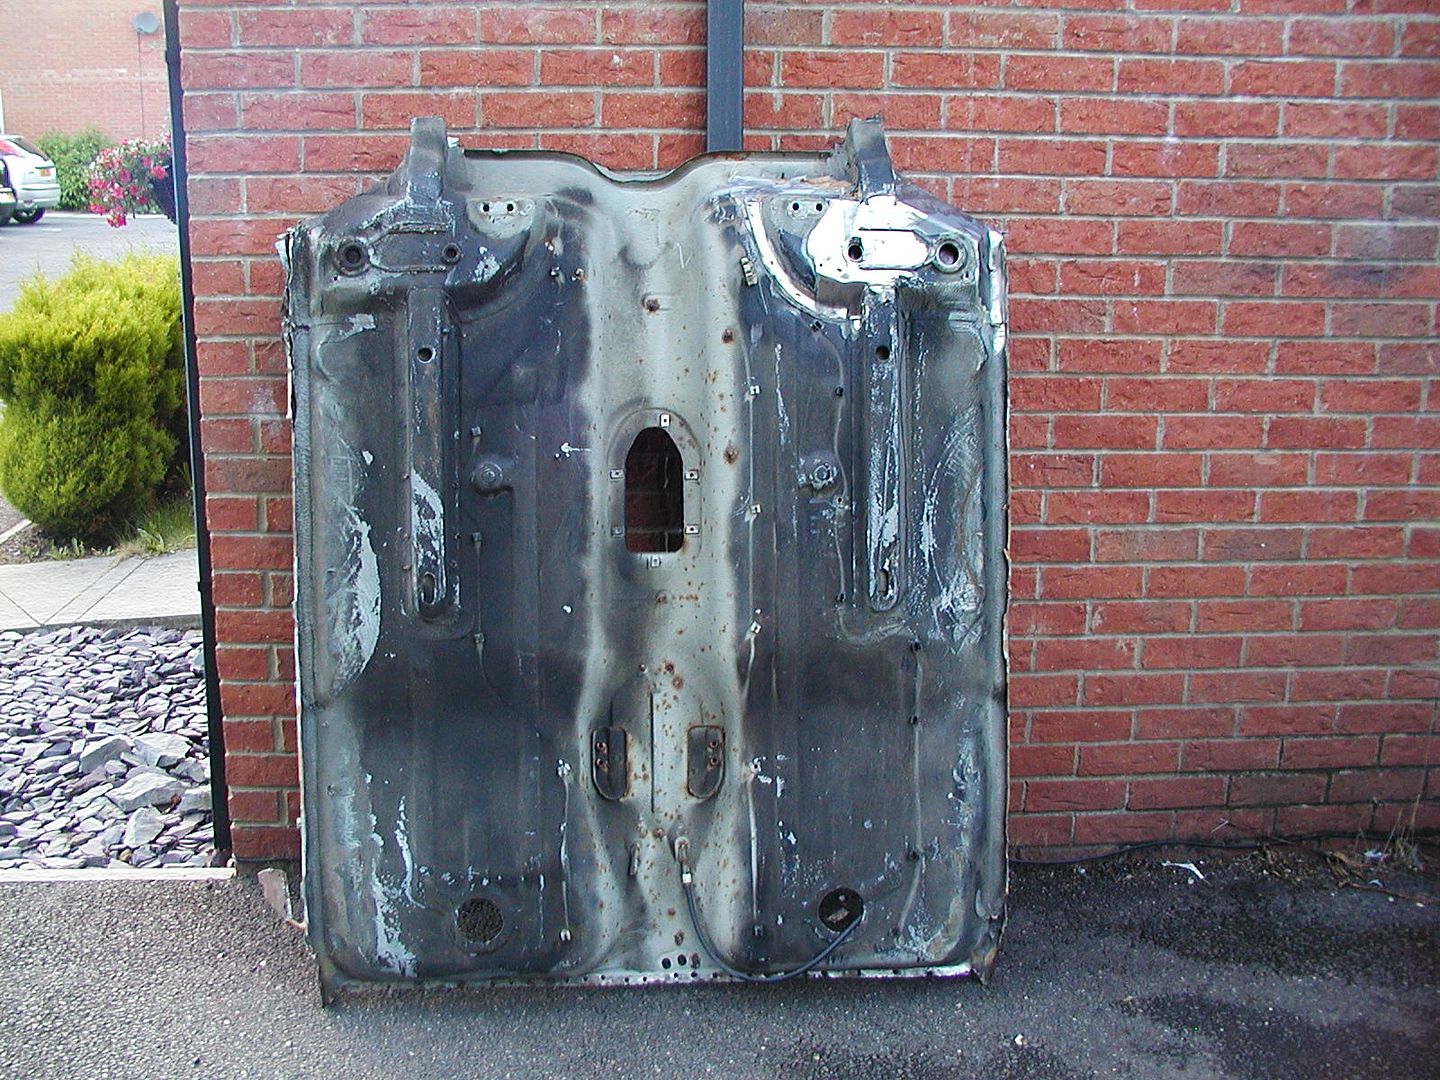
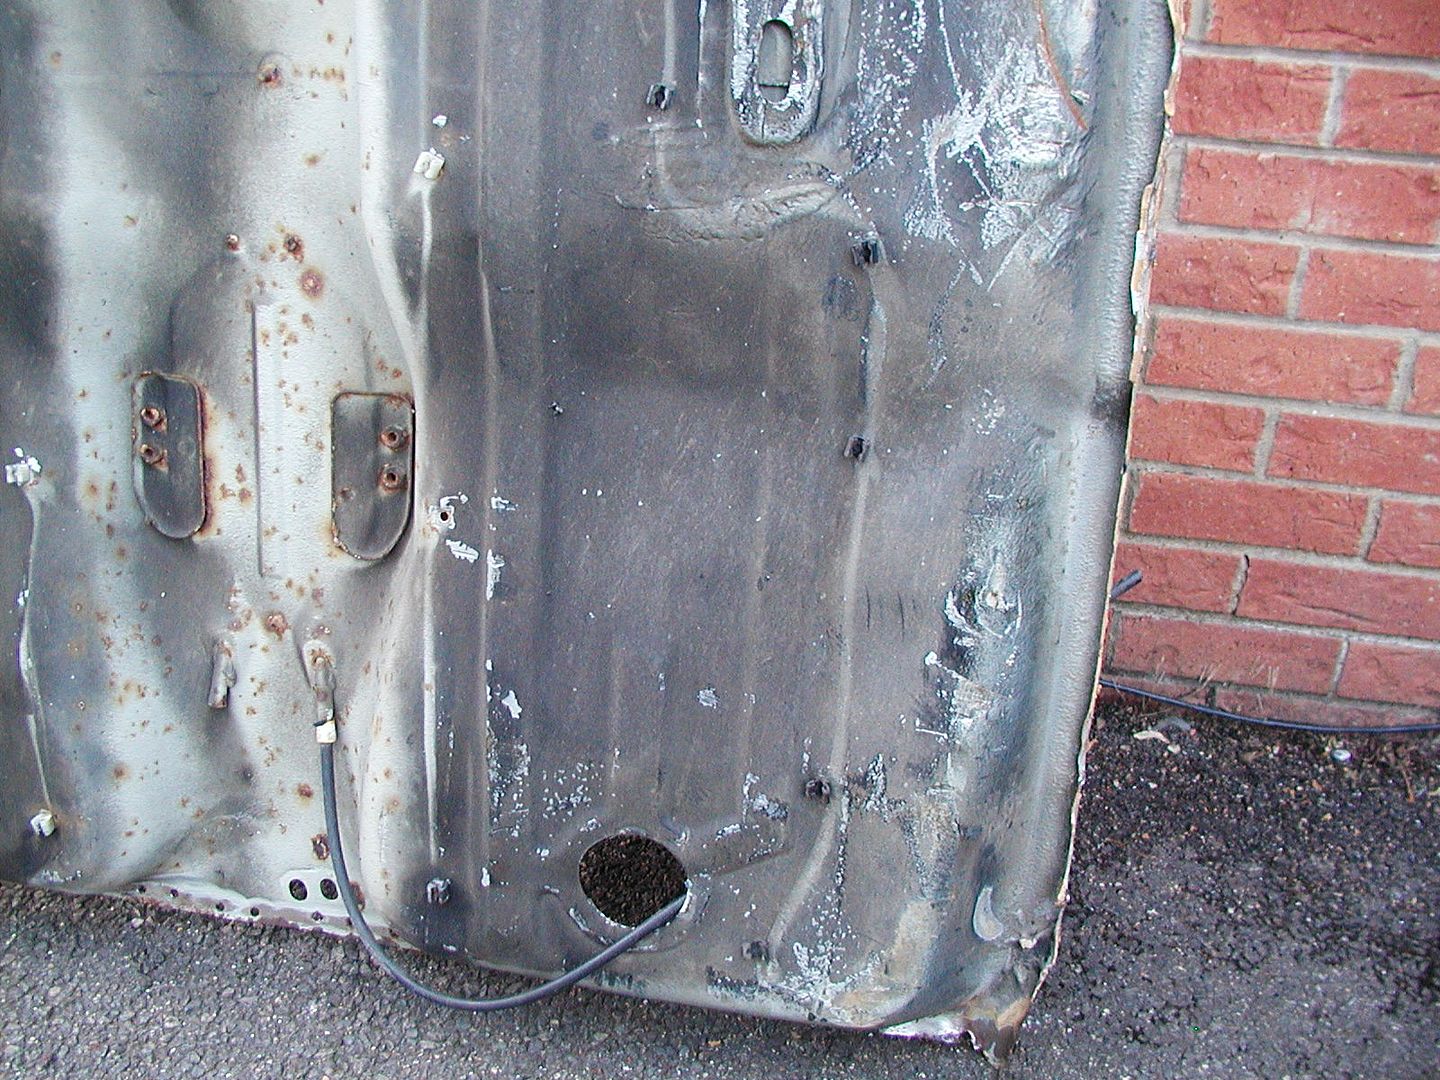

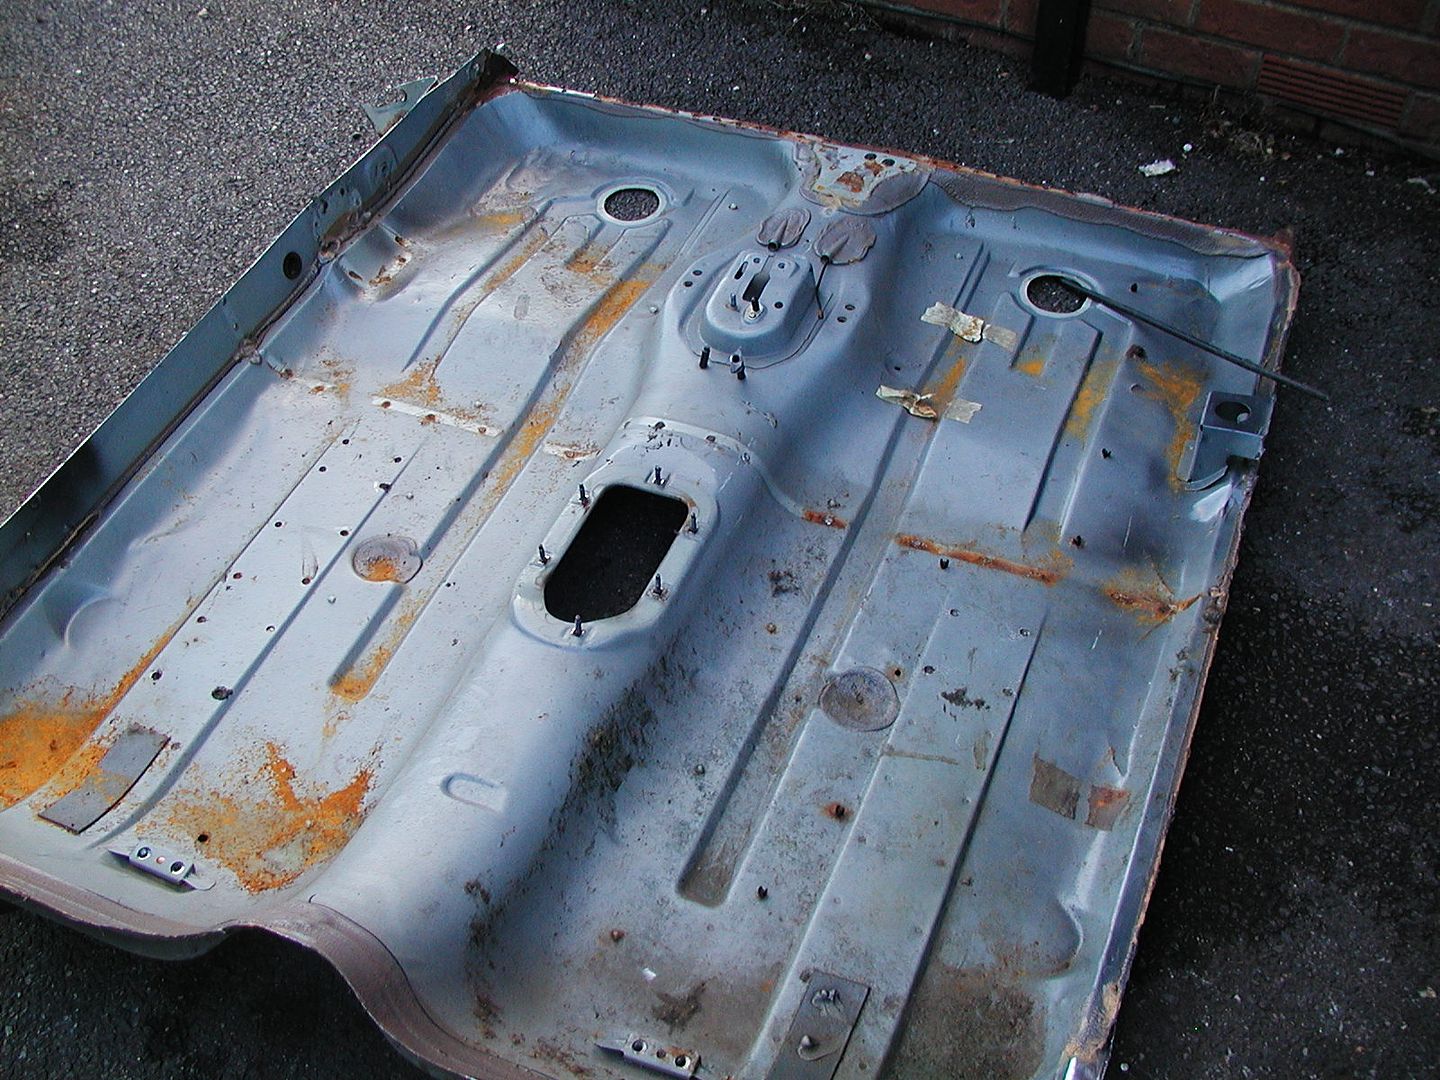
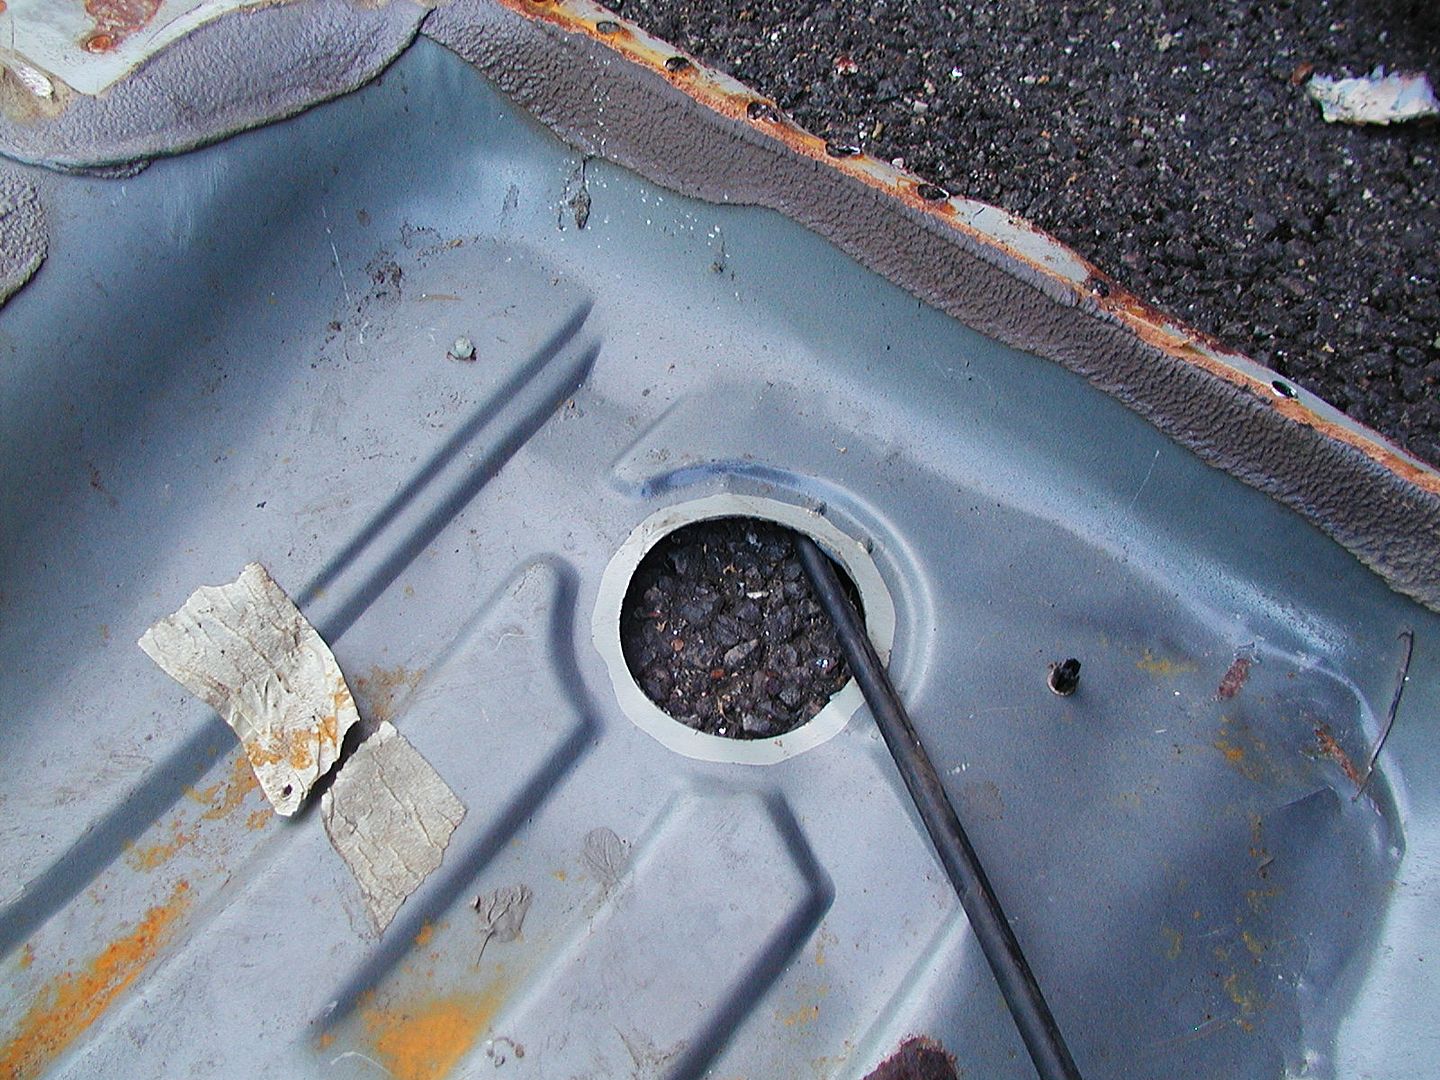
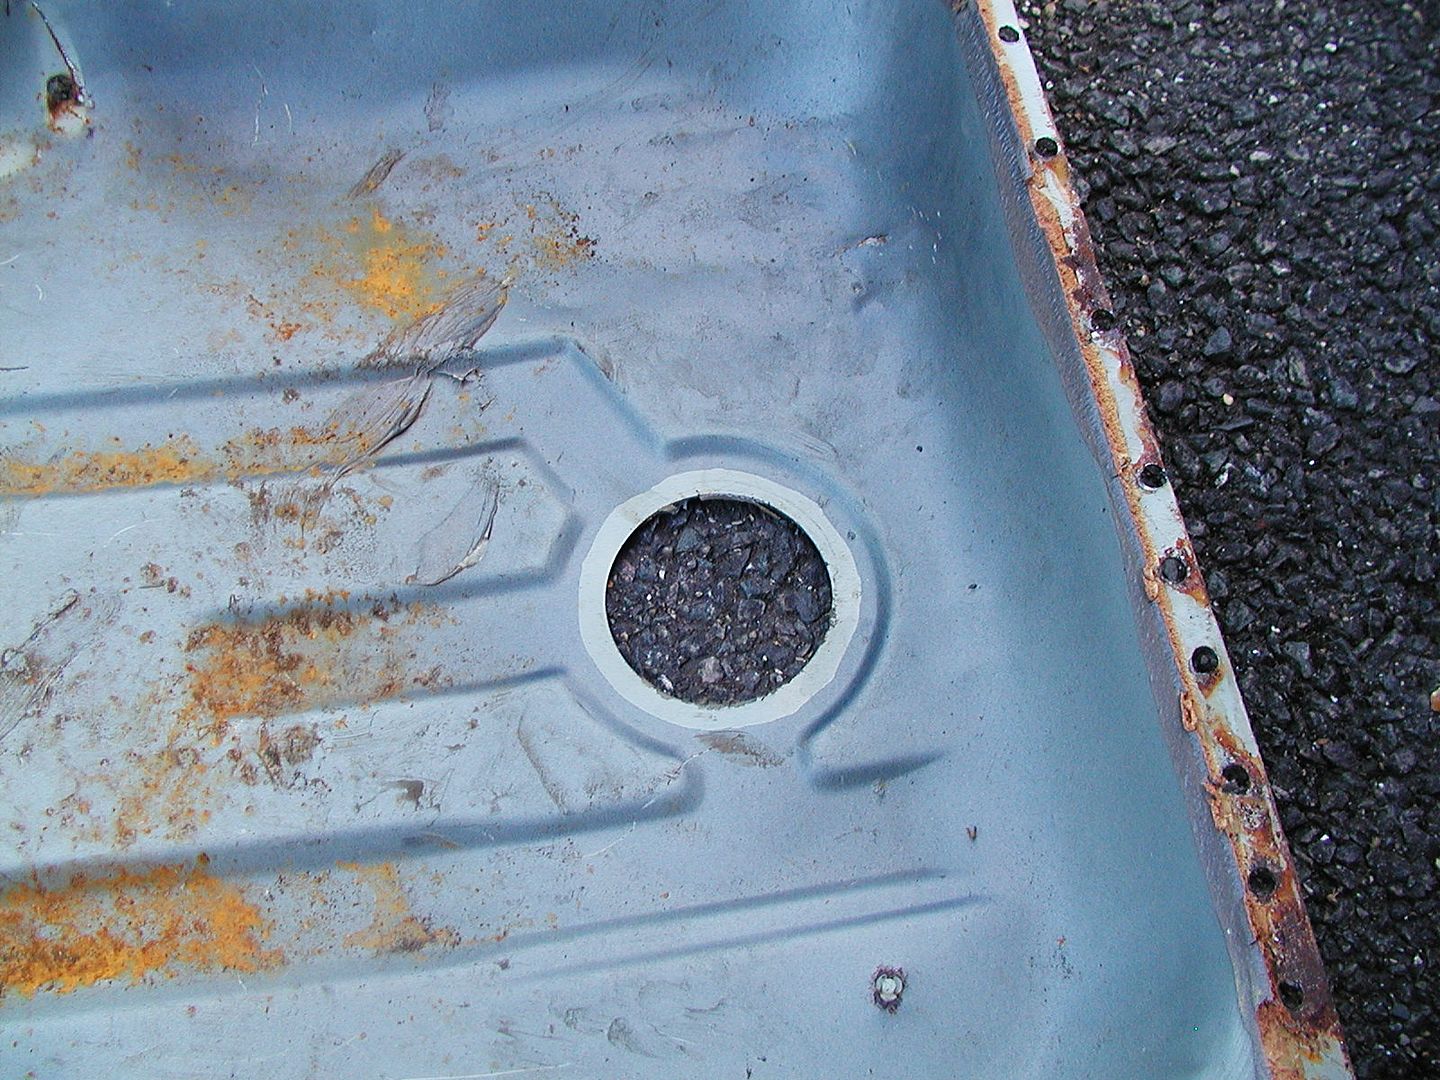
I have made a start on removing jacking point and one of the old chassis rails and found a few areas that will need a bit of repair but not too bad.
I have made a start on stripping the new floor with the intension of replacing the complete floor in my car im really happy so far with the condition of the new floor with only a couple of bits needing attention now I know I had made a start patching my floor and people may think im mad for taking the approach that I am but I feel that if I can replace the floor with just plug welding and not using patches the repair will be of a better standard.
Few pics off the floor panel


I have made a start on removing jacking point and one of the old chassis rails and found a few areas that will need a bit of repair but not too bad.


top job ! be great to see another dimma back to former glory :-)
dimma205 said:
Well updates have been really slow due to just not finding anytime to get out into the garage or over the scrapyard where I was obtaining parts to carry on with any works but there has been some progress as I have now managed to get the floor removed from the car at the scrapyard.
I have made a start on stripping the new floor with the intension of replacing the complete floor in my car im really happy so far with the condition of the new floor with only a couple of bits needing attention now I know I had made a start patching my floor and people may think im mad for taking the approach that I am but I feel that if I can replace the floor with just plug welding and not using patches the repair will be of a better standard.
Few pics off the floor panel
I have made a start on removing jacking point and one of the old chassis rails and found a few areas that will need a bit of repair but not too bad.


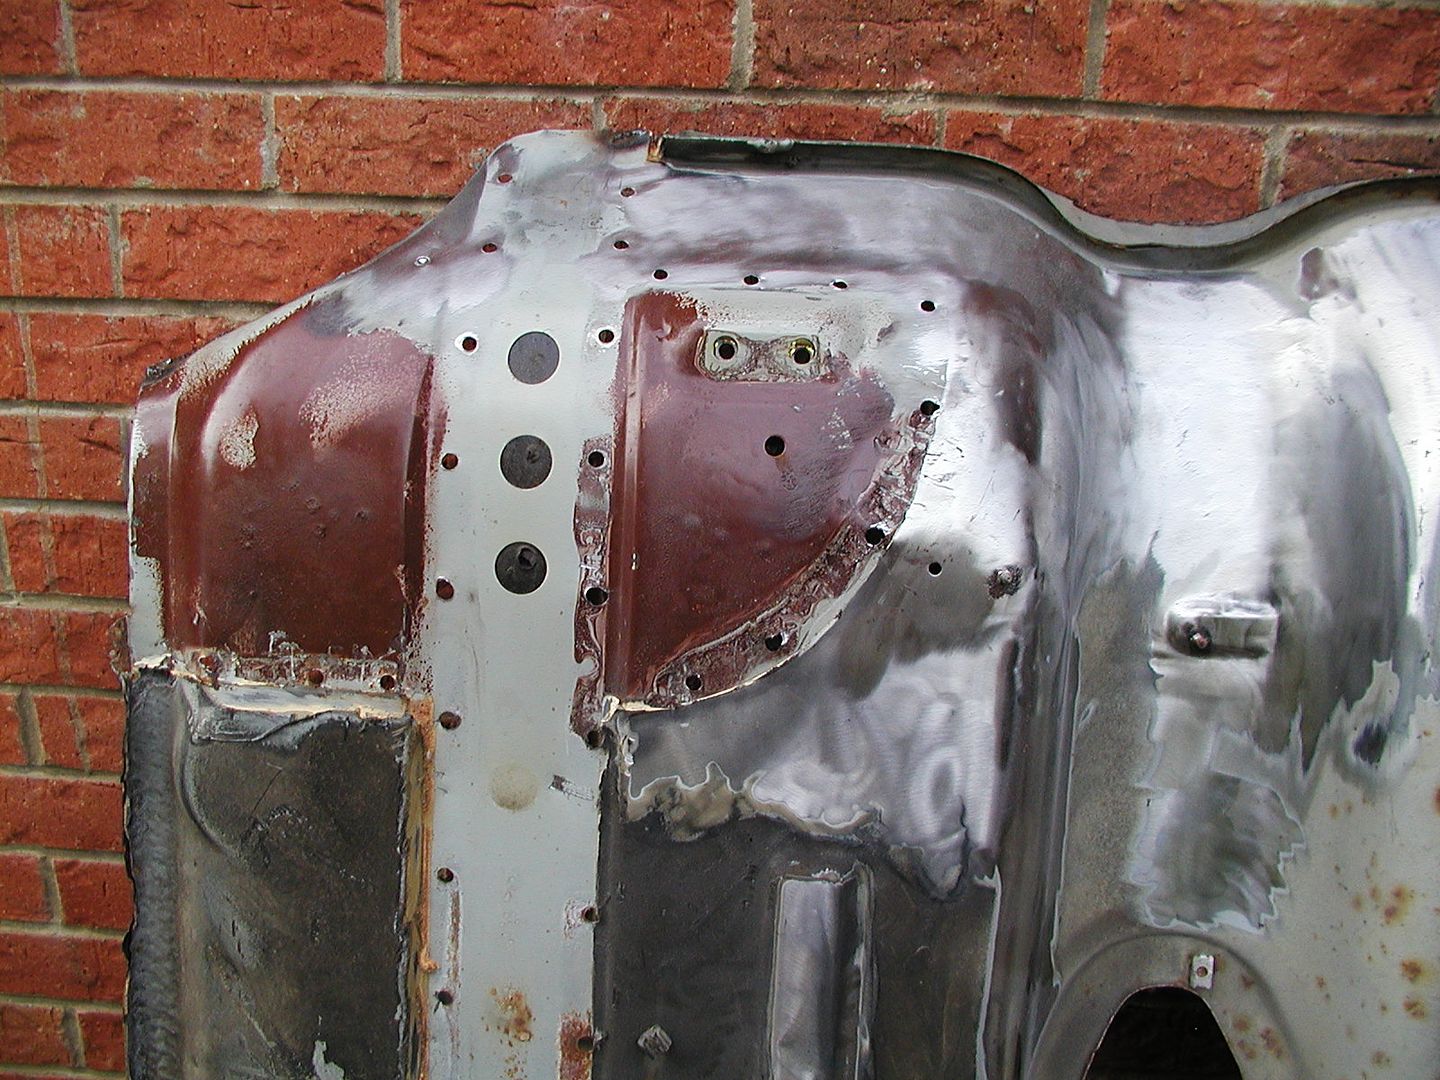
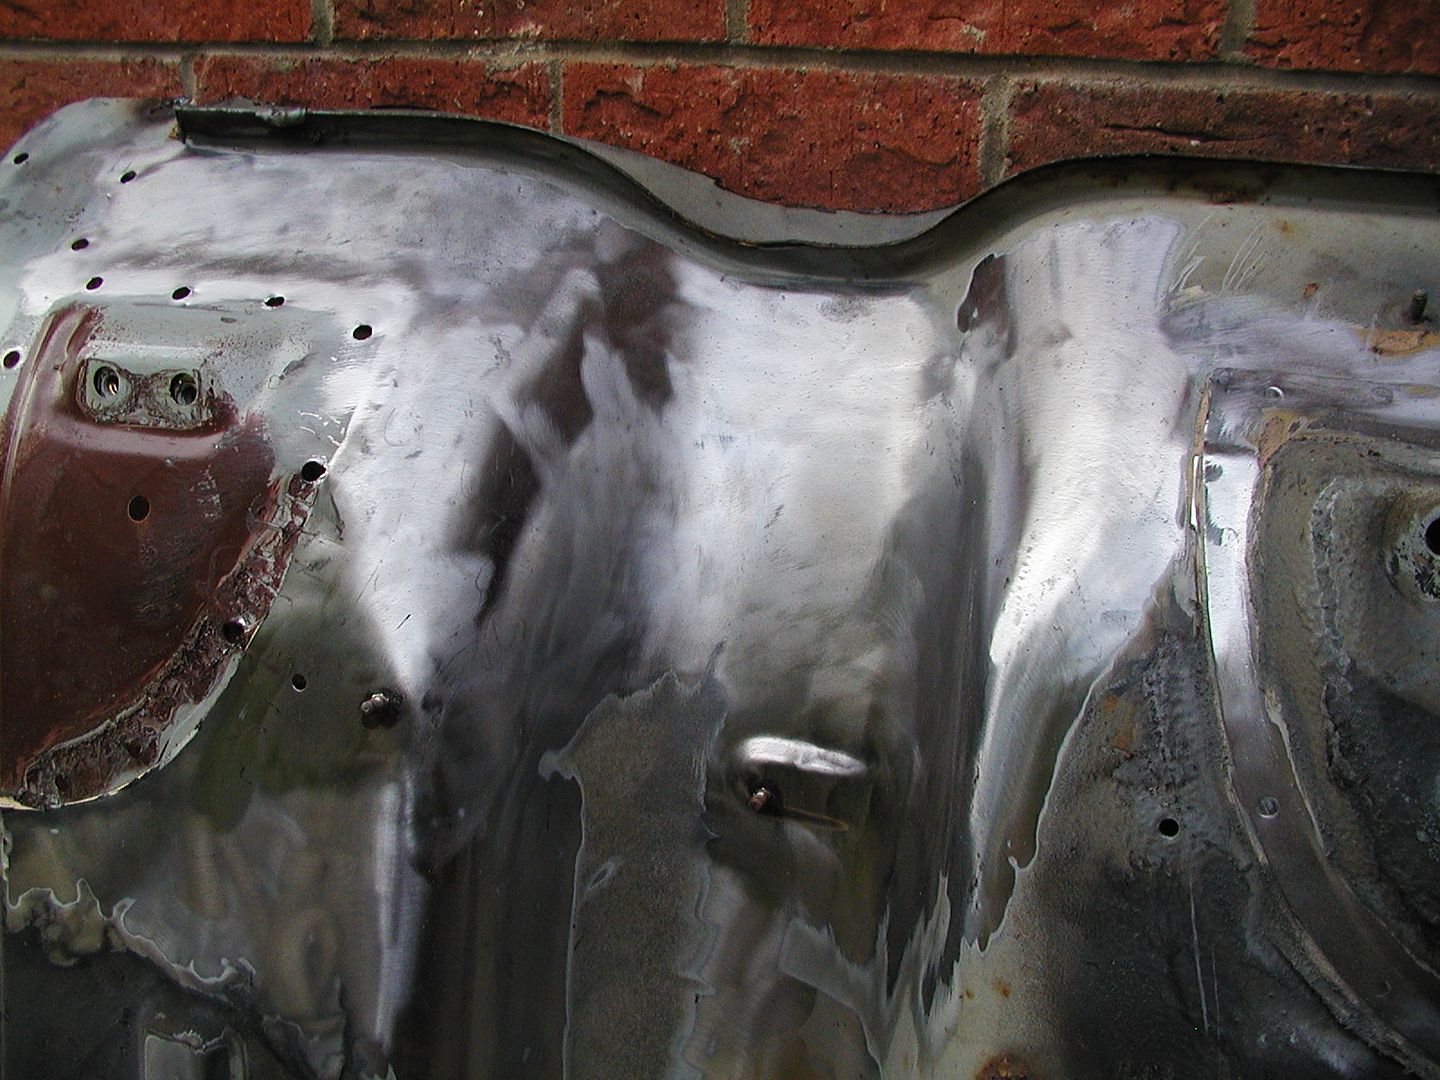
All repairs now done on the new floor and its almost stripped of all underseal and ready to be fitted to the car I have just got to weld some braces into the shell to support it once floor removed.
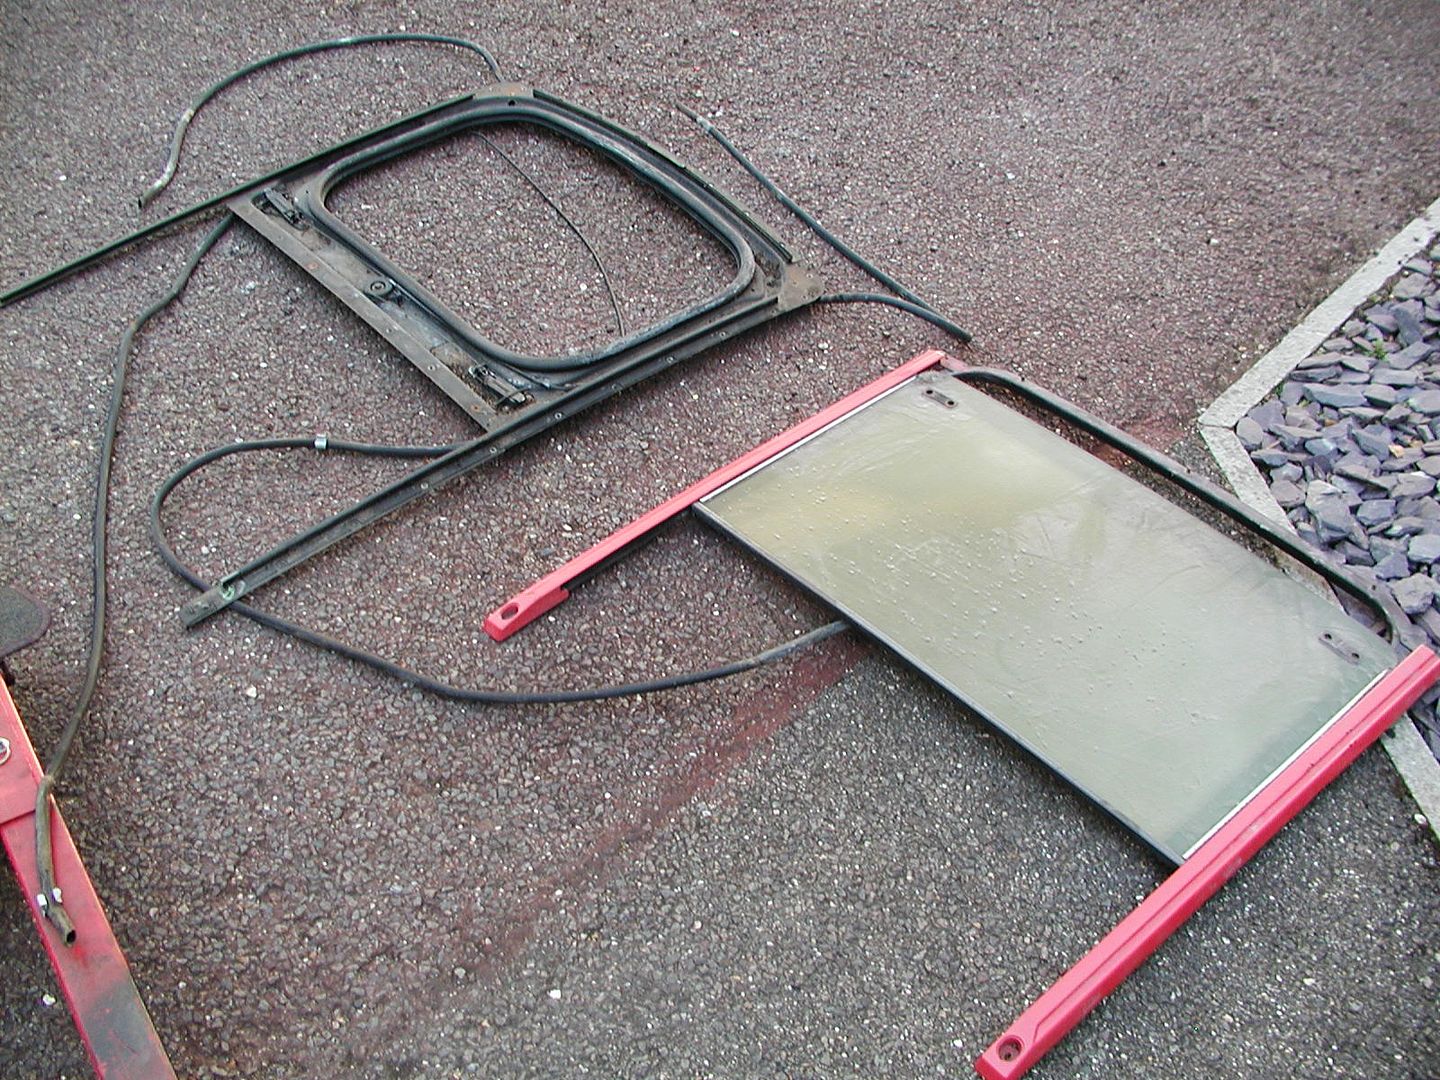
I have turned my attention's back to the sunroof conversion as I had to removed the dealer fitted sliding sunroof due to it having bits missing and was silicone shut so guess it leaked.
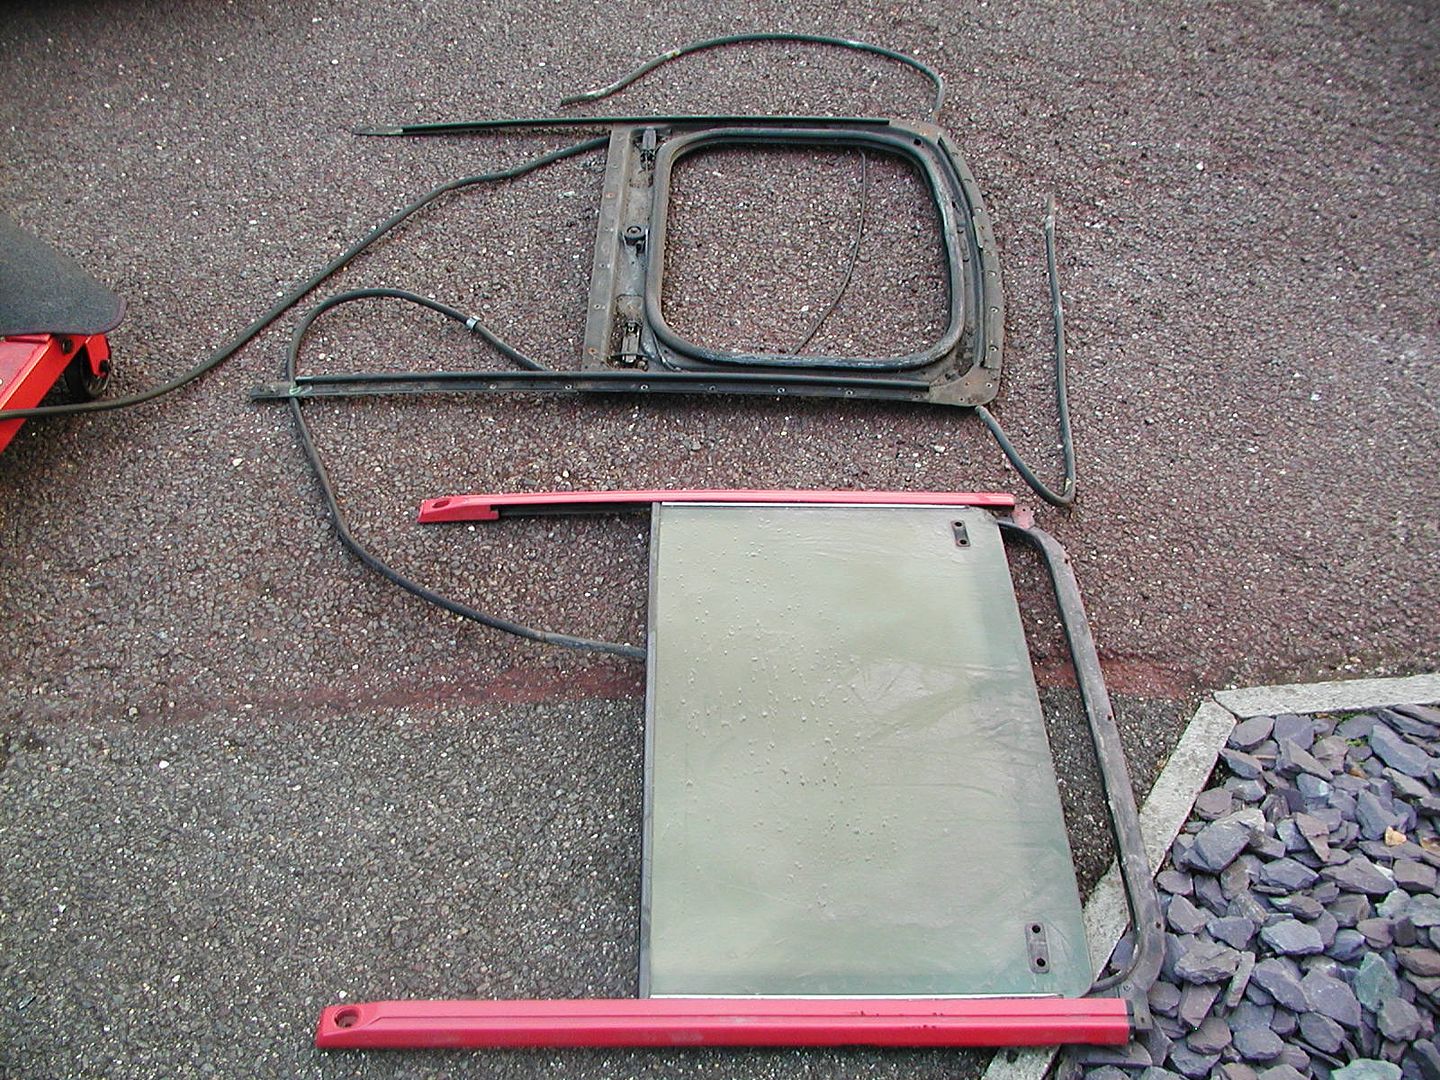
I managed to get a complete roof from a scrap 205 with all the vacuum sunroof parts needed. First up was to remove all bits from roof so it only left me with a roof skin which is now the template.
Now I know people will say it would have been easier to fit a new roof but I believe this is easier and on another note if other people wanted to carry out this the no paint would need doing.
the two sunroofs
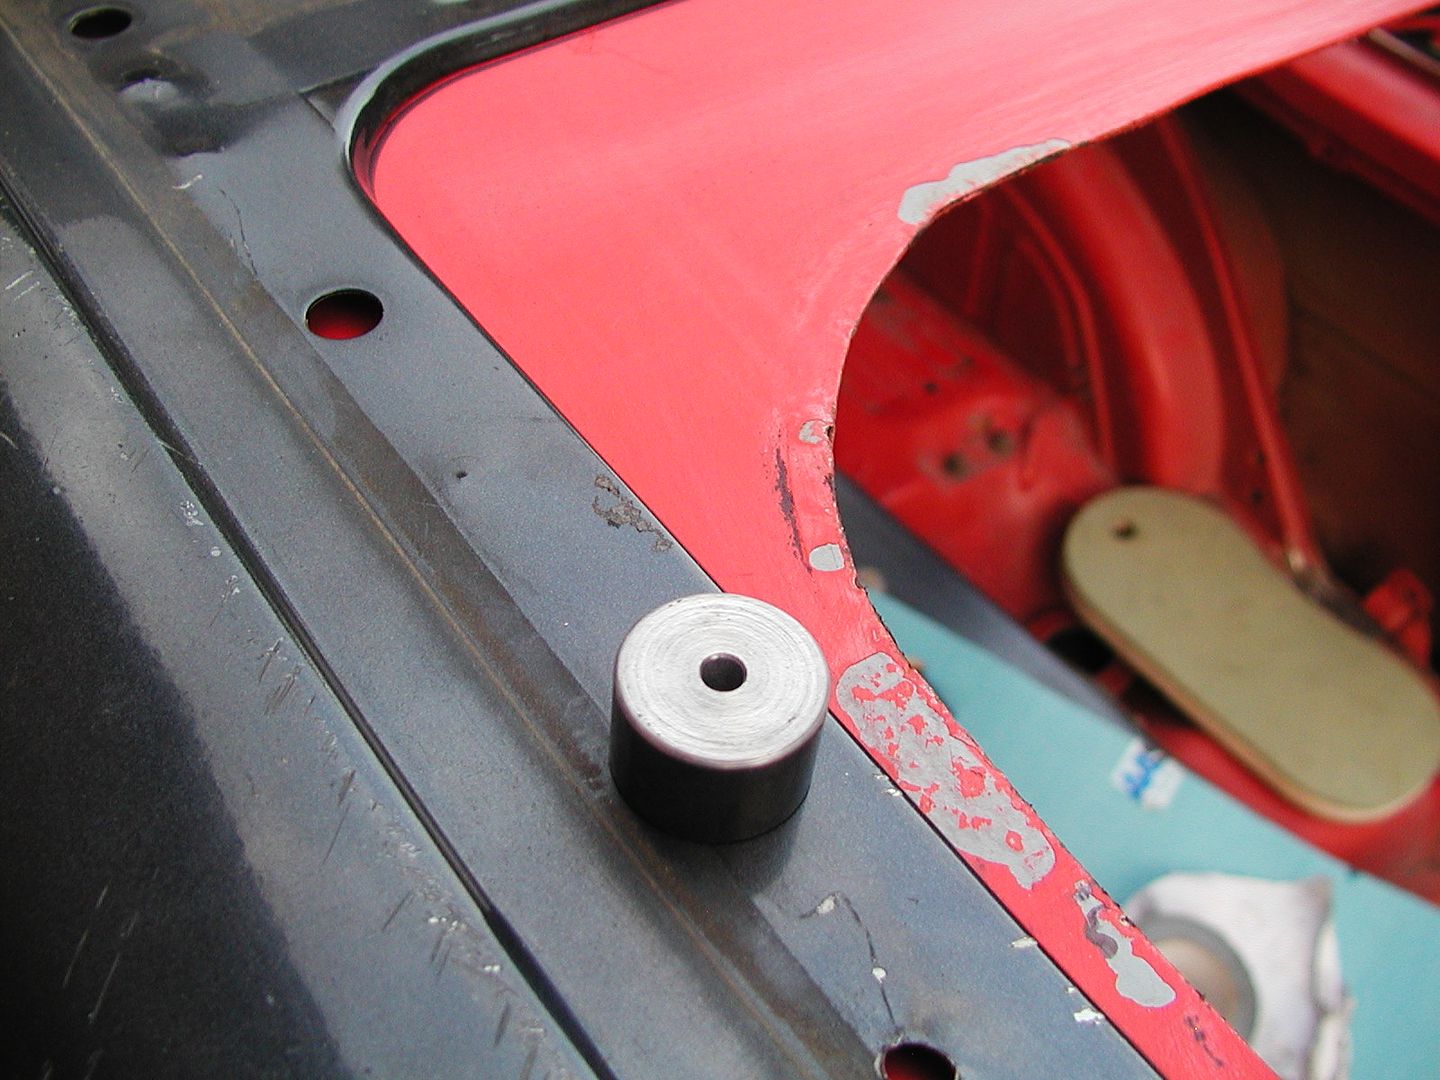
I the place the roofskin over my roof and secured into place with a bolt through the Ariel hole.
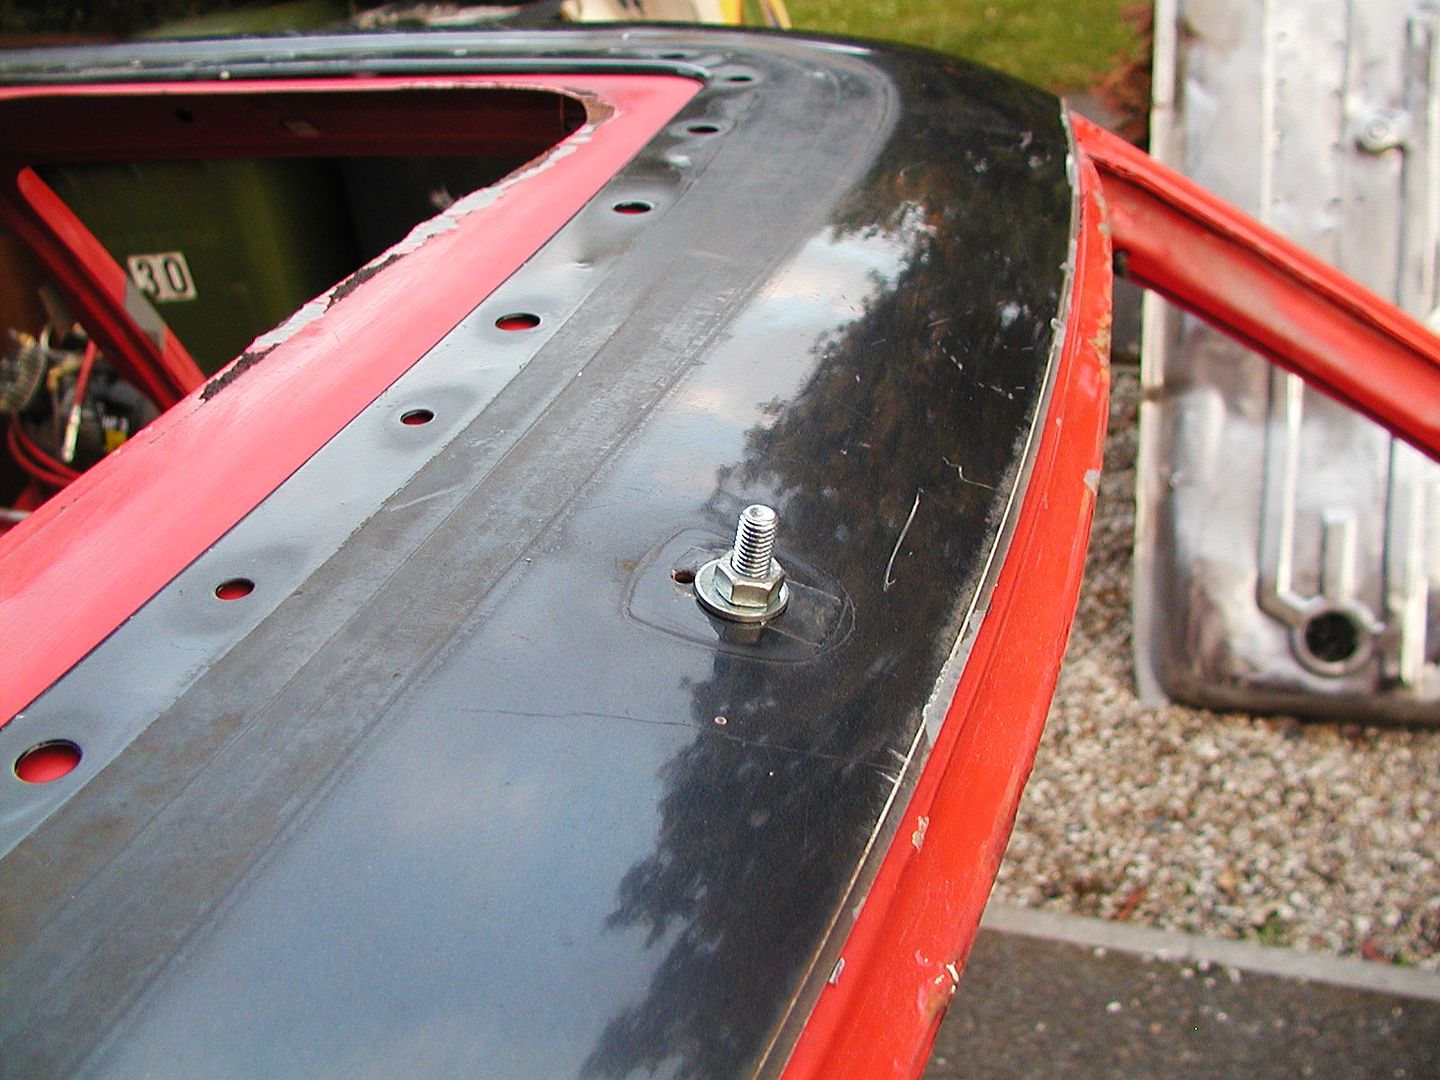
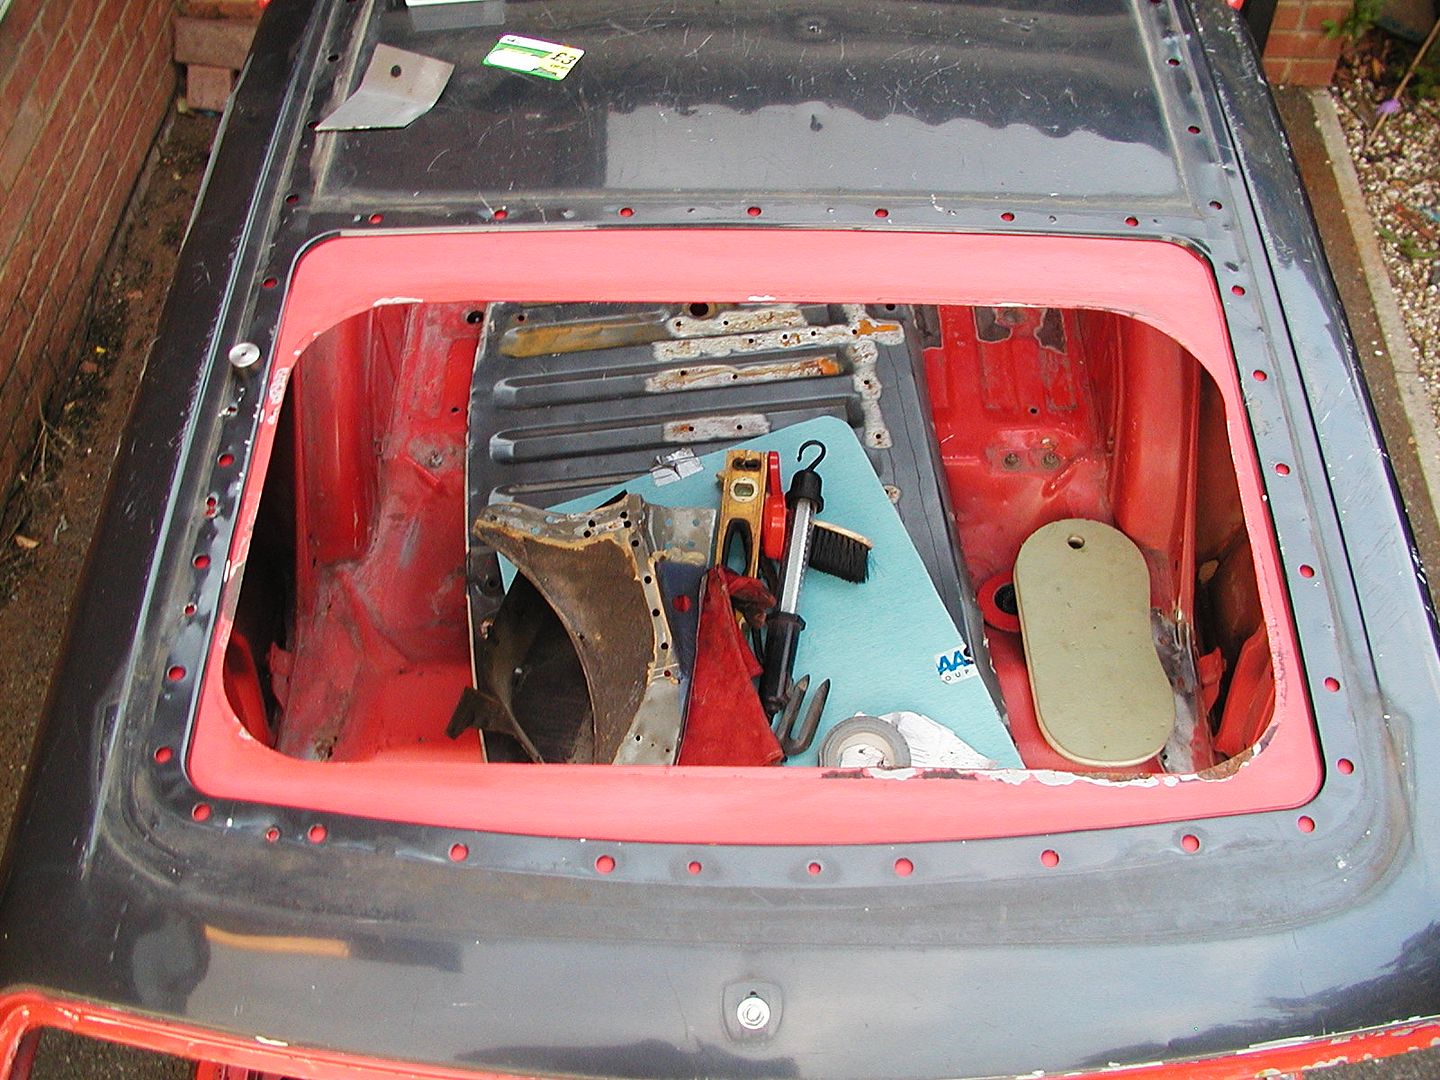
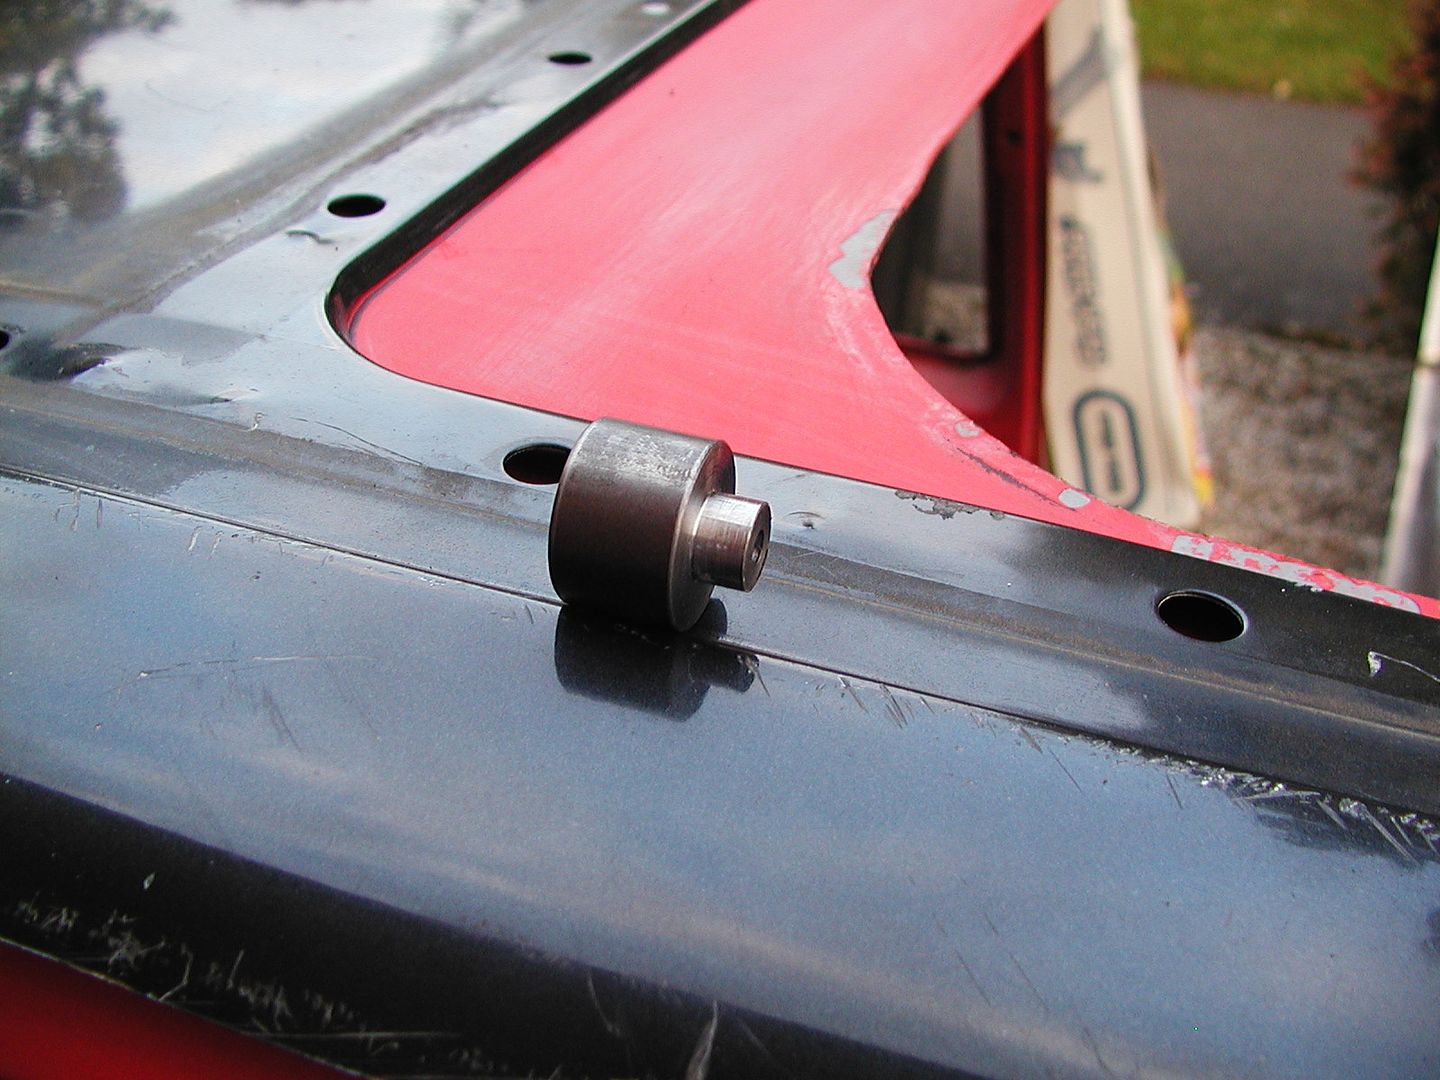
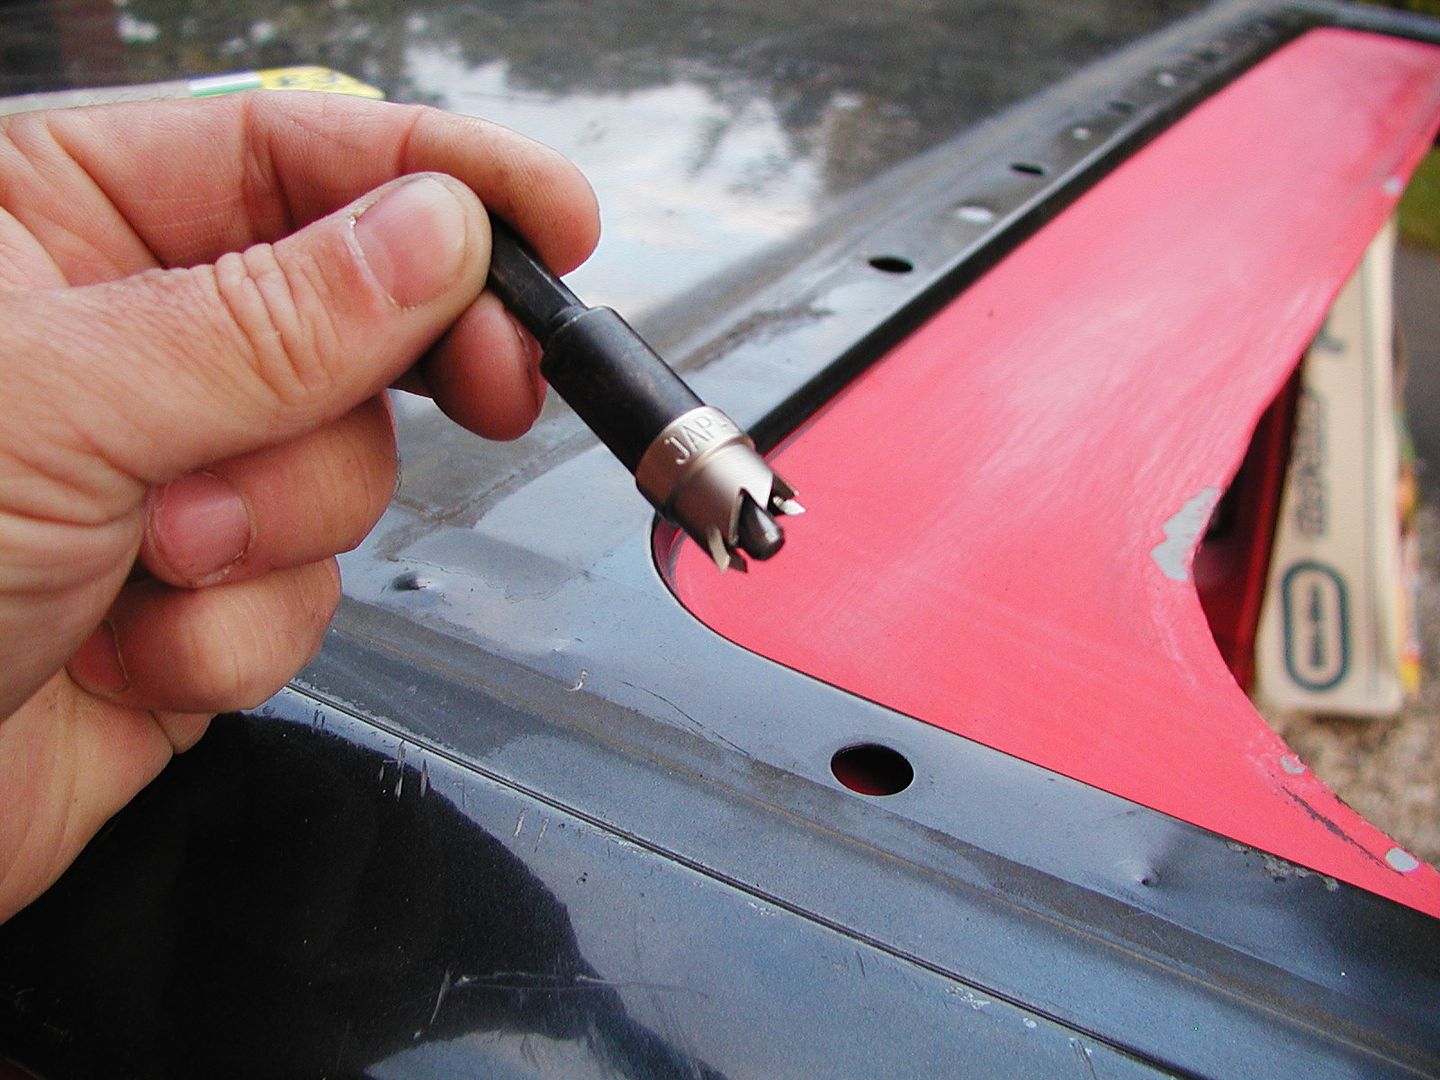
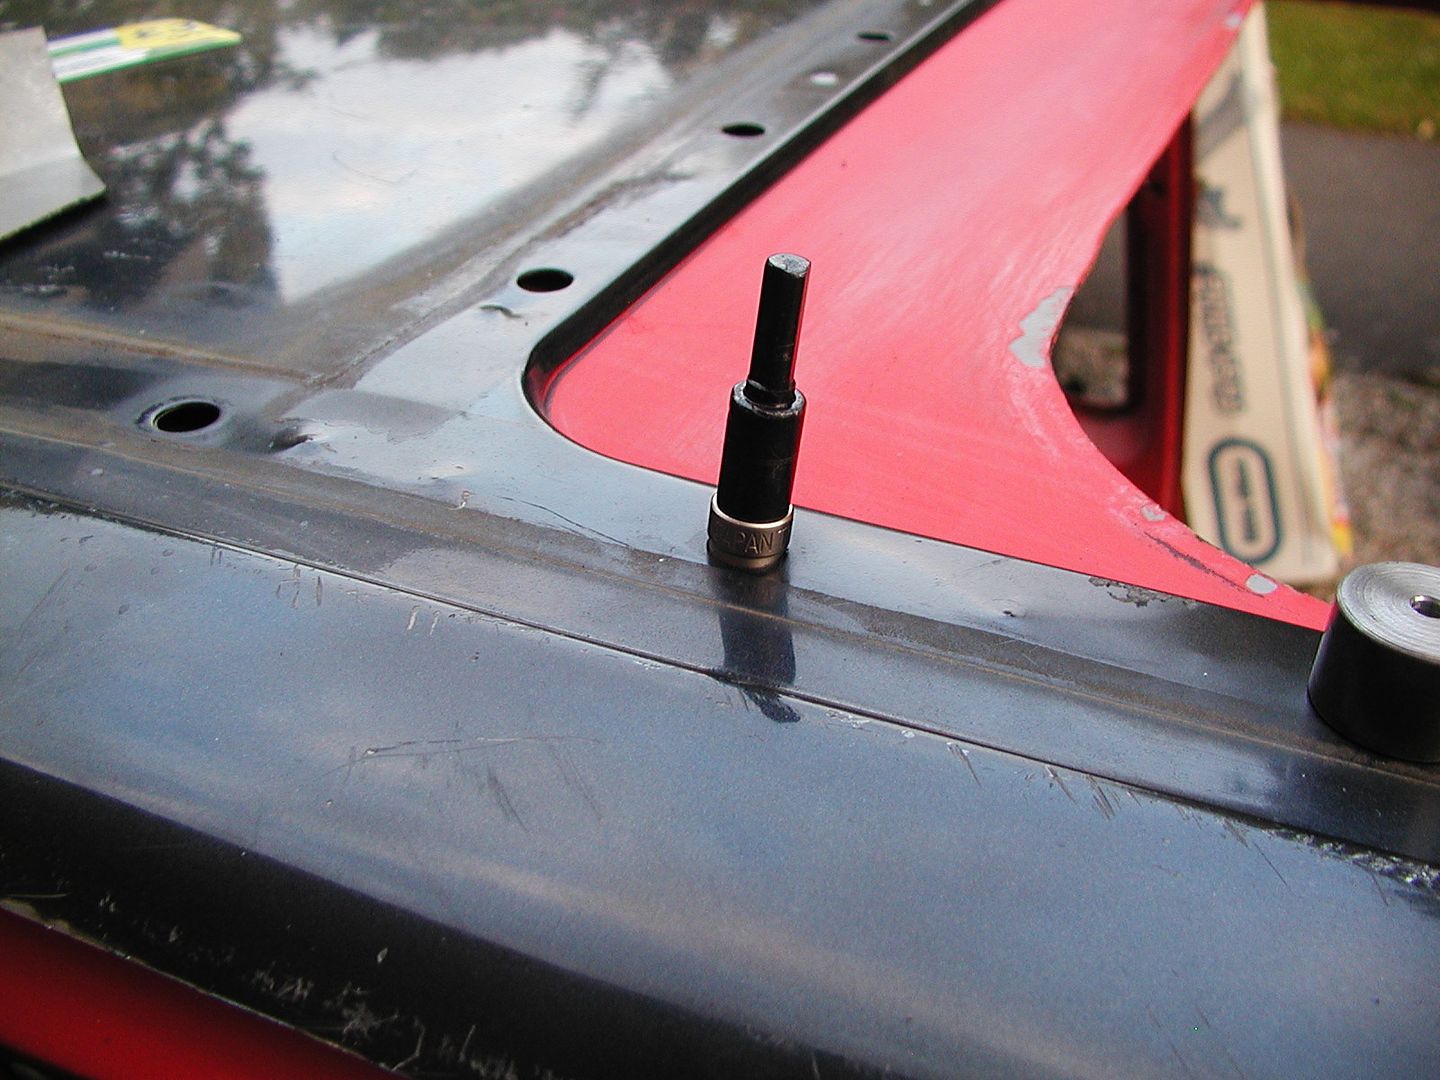
Next up is to drill the holes these are a 12mm hole so to make sure these are drill in the correct position I got my dad to make a drill guide that will fit into the 12mm hole with a 5mm pilot hole through it then I will run a 12mm hole saw through the roof as this will give very little burring.
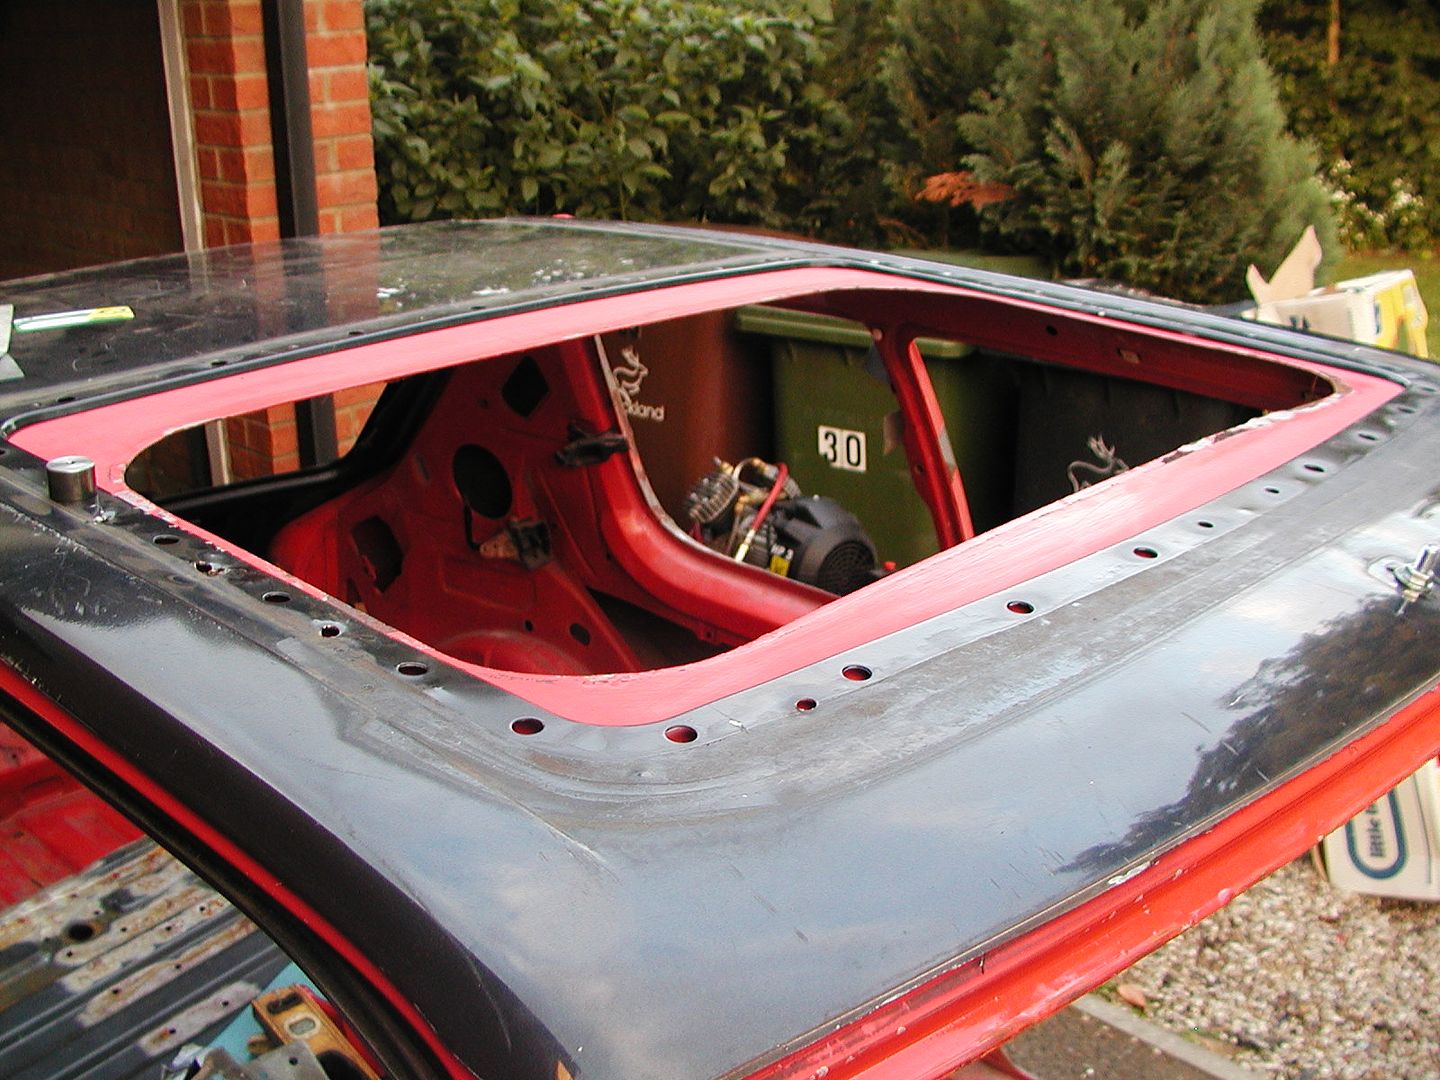
Once all the holes are drilled I will fit some bolts through the roof skins before I jigsaw the hole larger then I will glue the support bars once the new rivnuts have been fitted I believe this can be done to any aftermarket sunroof fitted sunroof as long as the hole is in the right place.
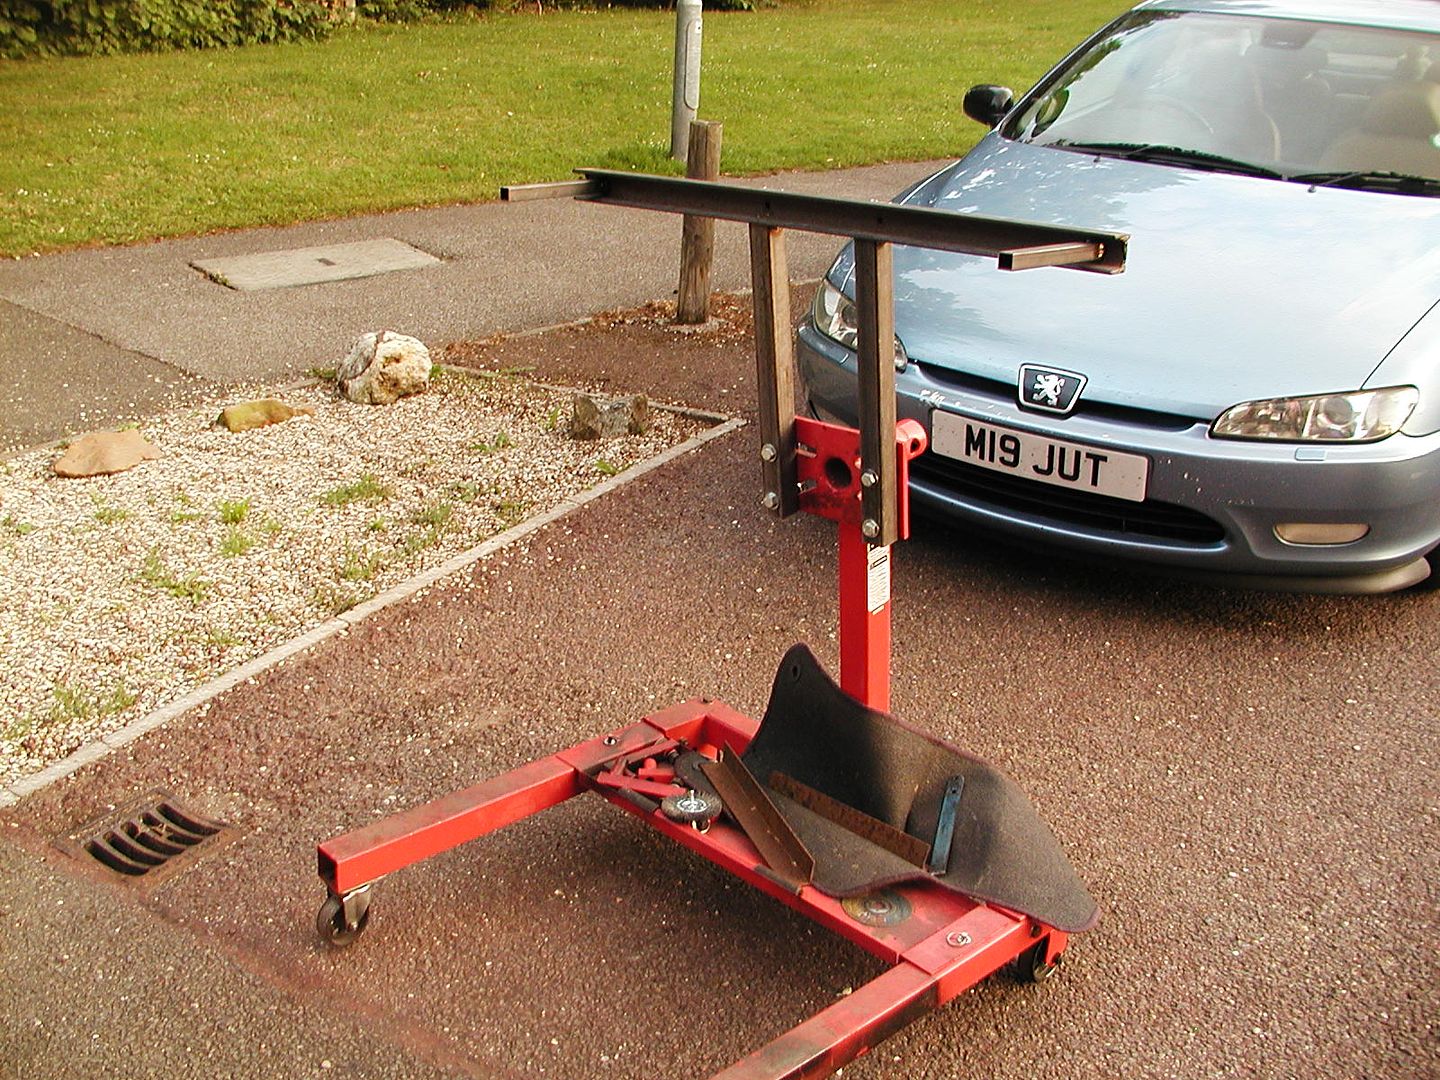
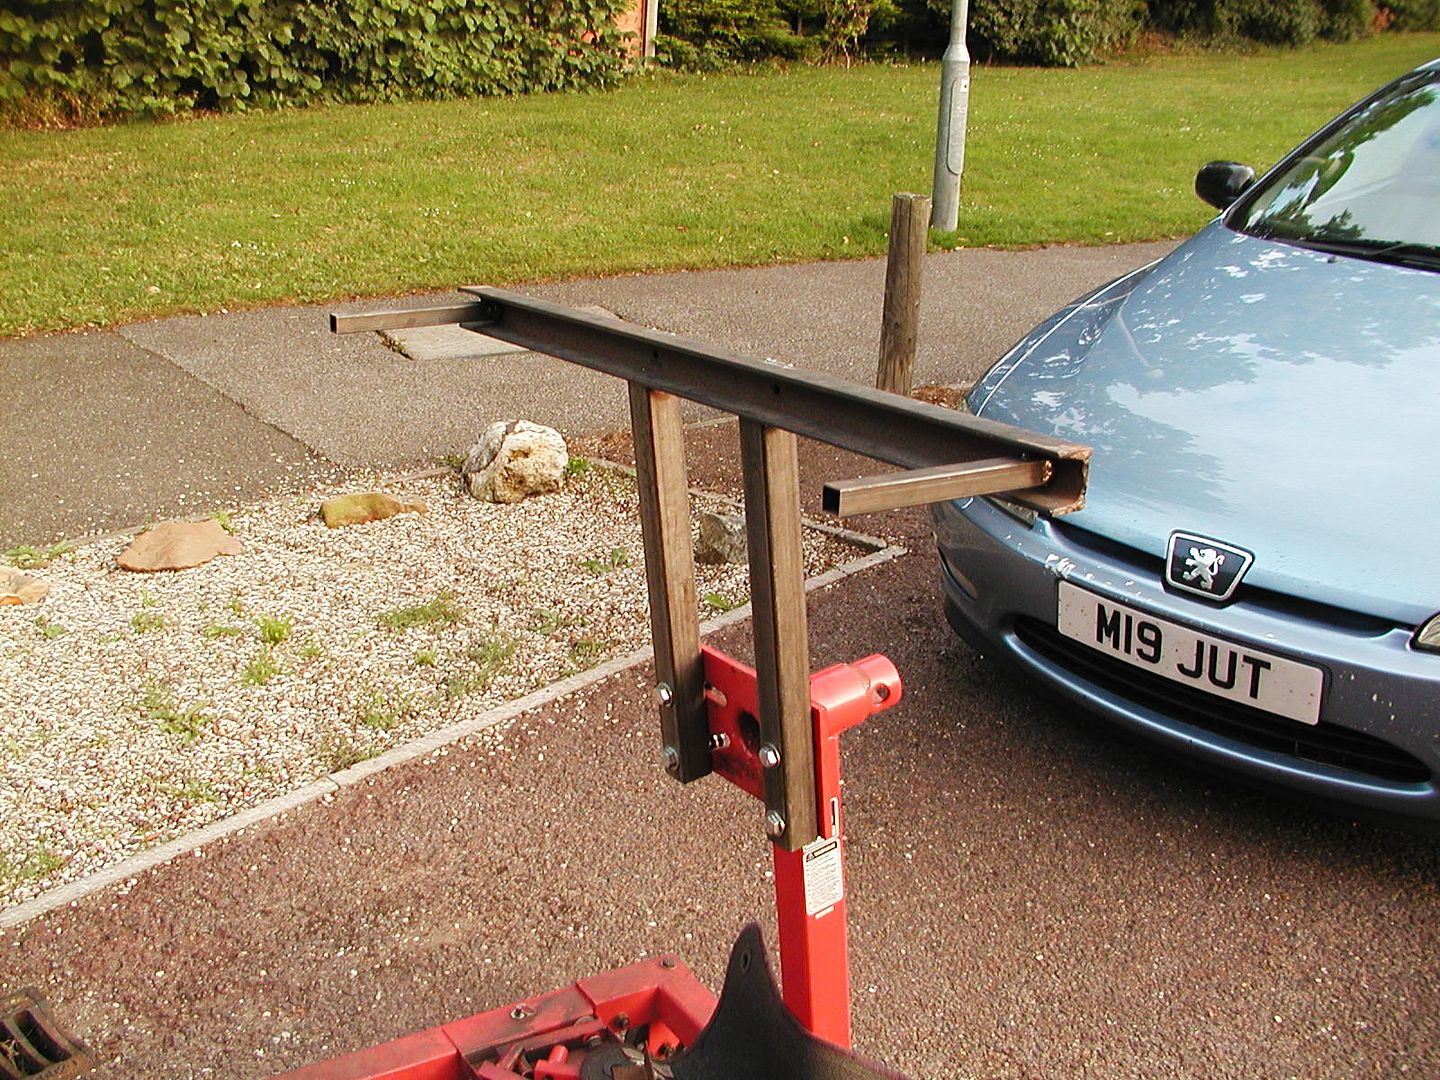
My dad has been working on the car rotating stand with the front almost complete and the rear one getting there progress will be very slow now as I going offshore for 3 weeks with work.


I have turned my attention's back to the sunroof conversion as I had to removed the dealer fitted sliding sunroof due to it having bits missing and was silicone shut so guess it leaked.
I managed to get a complete roof from a scrap 205 with all the vacuum sunroof parts needed. First up was to remove all bits from roof so it only left me with a roof skin which is now the template.
Now I know people will say it would have been easier to fit a new roof but I believe this is easier and on another note if other people wanted to carry out this the no paint would need doing.
the two sunroofs


I the place the roofskin over my roof and secured into place with a bolt through the Ariel hole.


Next up is to drill the holes these are a 12mm hole so to make sure these are drill in the correct position I got my dad to make a drill guide that will fit into the 12mm hole with a 5mm pilot hole through it then I will run a 12mm hole saw through the roof as this will give very little burring.


Once all the holes are drilled I will fit some bolts through the roof skins before I jigsaw the hole larger then I will glue the support bars once the new rivnuts have been fitted I believe this can be done to any aftermarket sunroof fitted sunroof as long as the hole is in the right place.
My dad has been working on the car rotating stand with the front almost complete and the rear one getting there progress will be very slow now as I going offshore for 3 weeks with work.


Gassing Station | Readers' Cars | Top of Page | What's New | My Stuff