Peugeot 205 Saloon Libre - RWD Space-Frame Silhouette Racer
Discussion


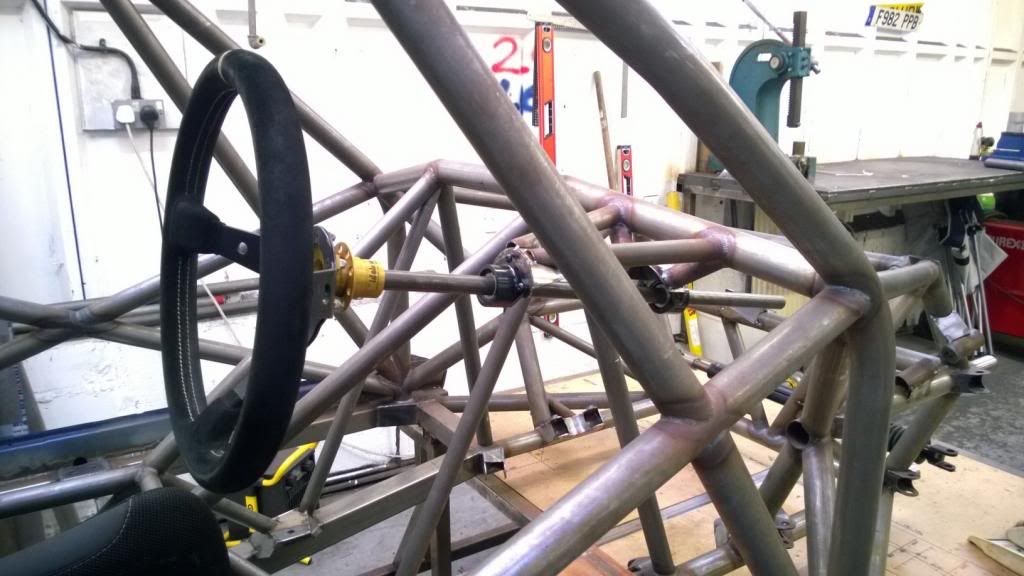
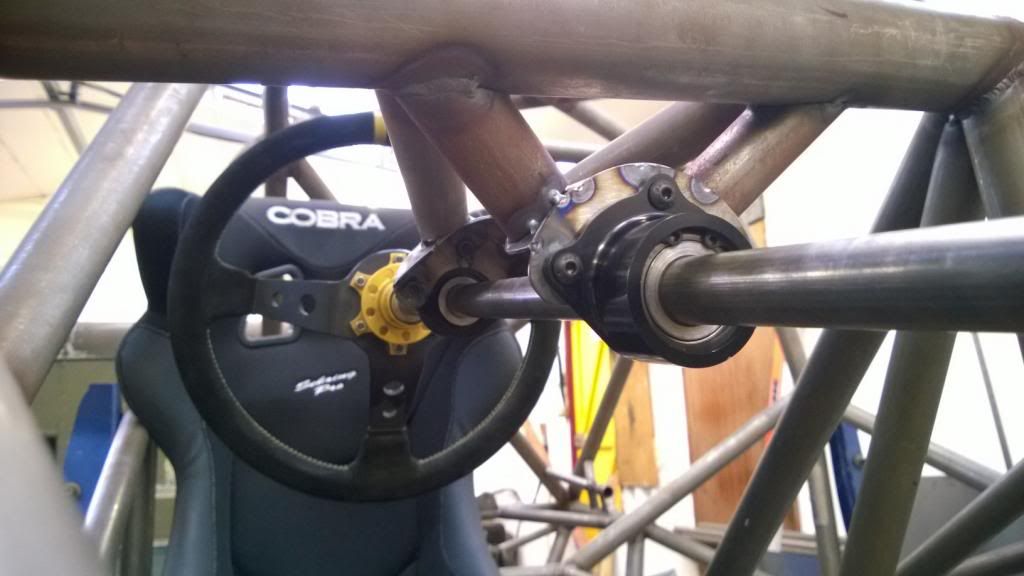
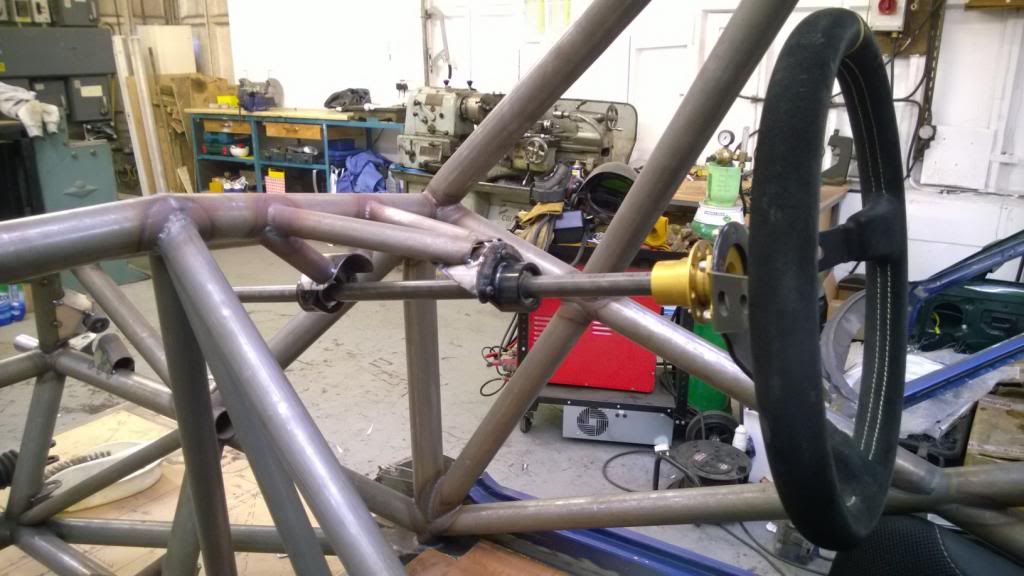
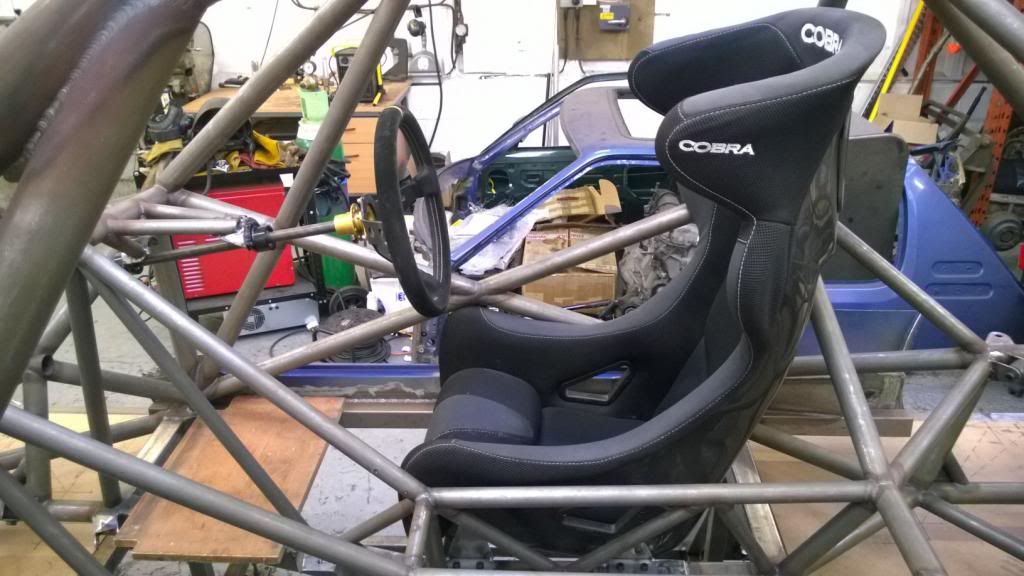
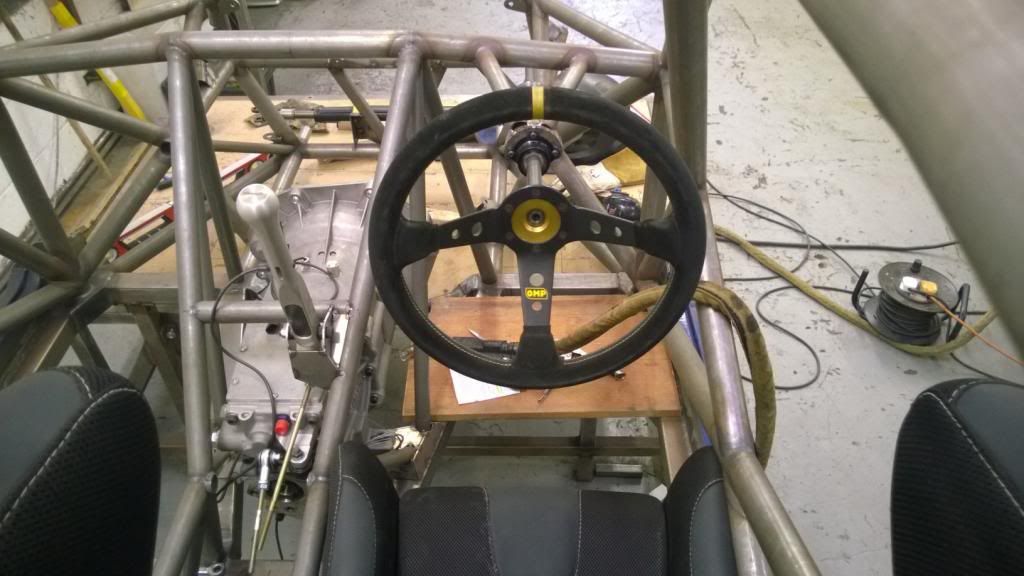
Today I sorted out my seat mounts and re-worked my steering column bearings.. the mounts are now bolt-in because having the welded-in ones was a massive f king pain in the arse when it came to getting the seat in or out! The column bearings (after faffing with several different ideas - all rubbish) are now some nice needle rollers in bolt-on aloominum housings. The whole thing is just so much nicer than any of the other options so I'm glad to have chopped it out and tried again!
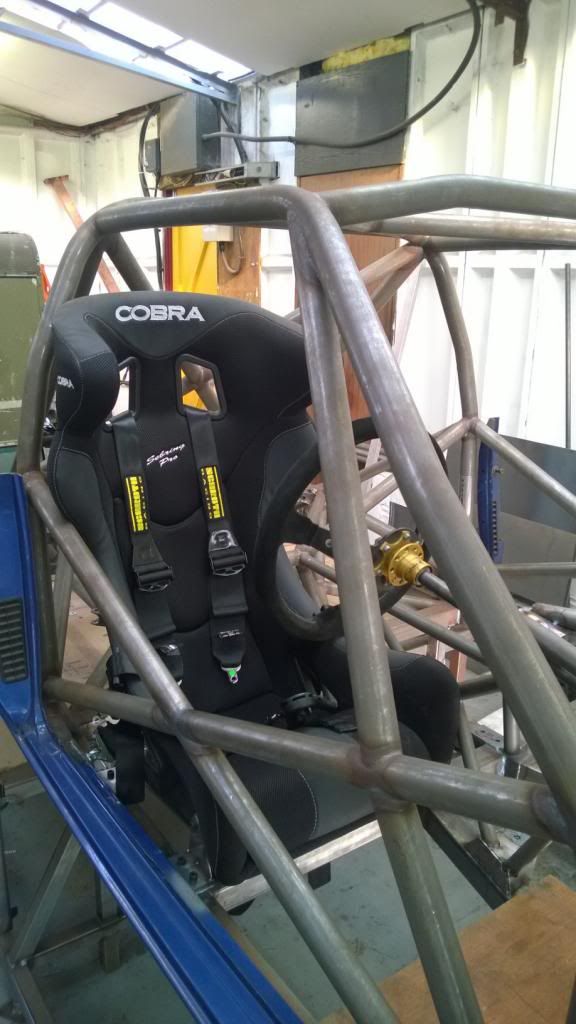
I've kept the same position for everything.. just much nicer and more maintenance-friendly.
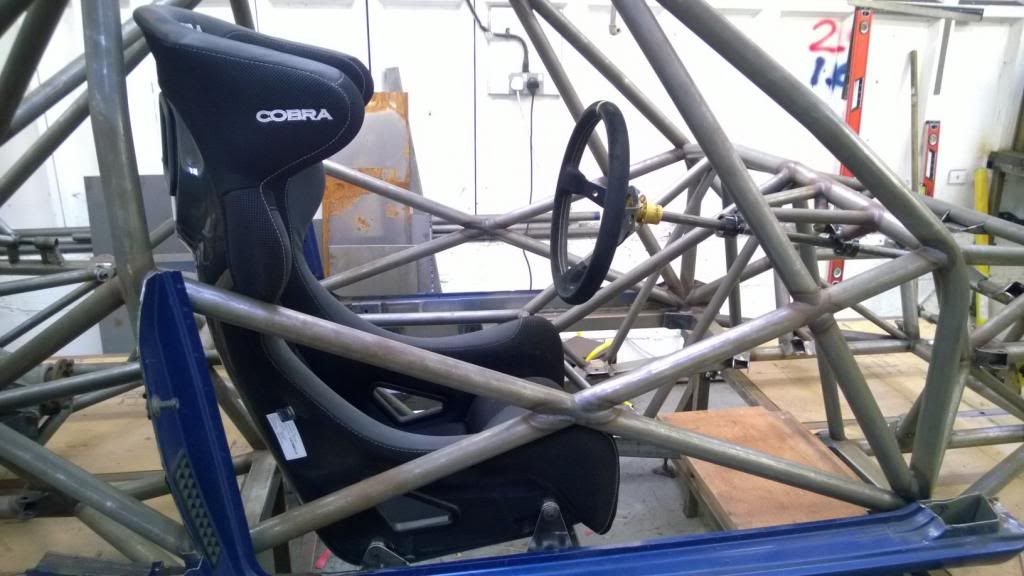
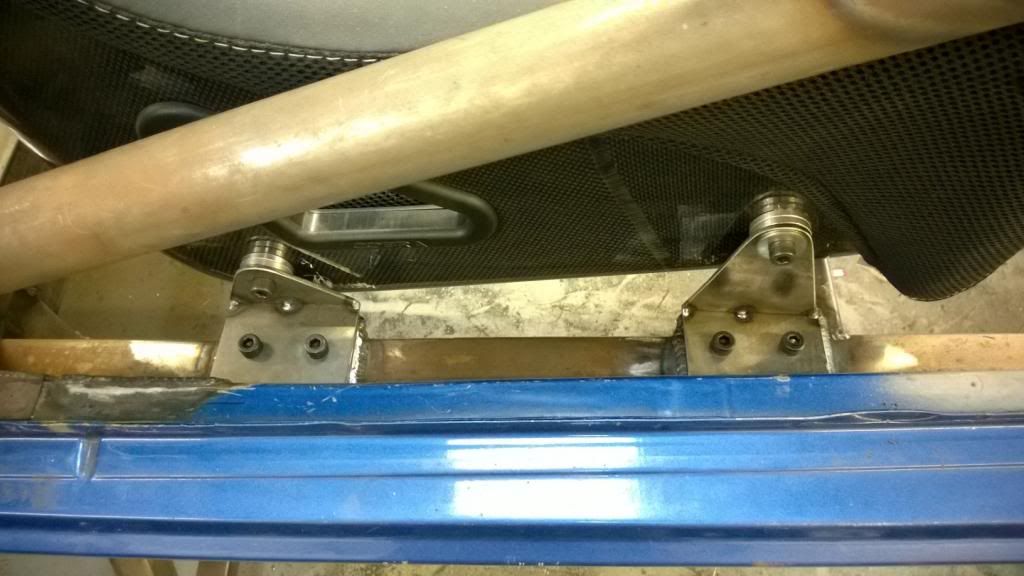
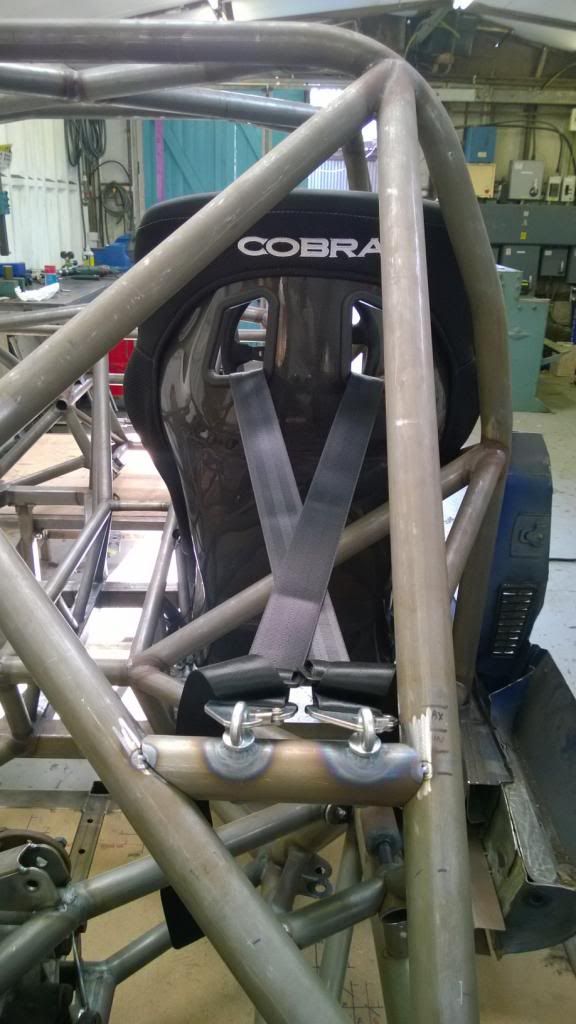
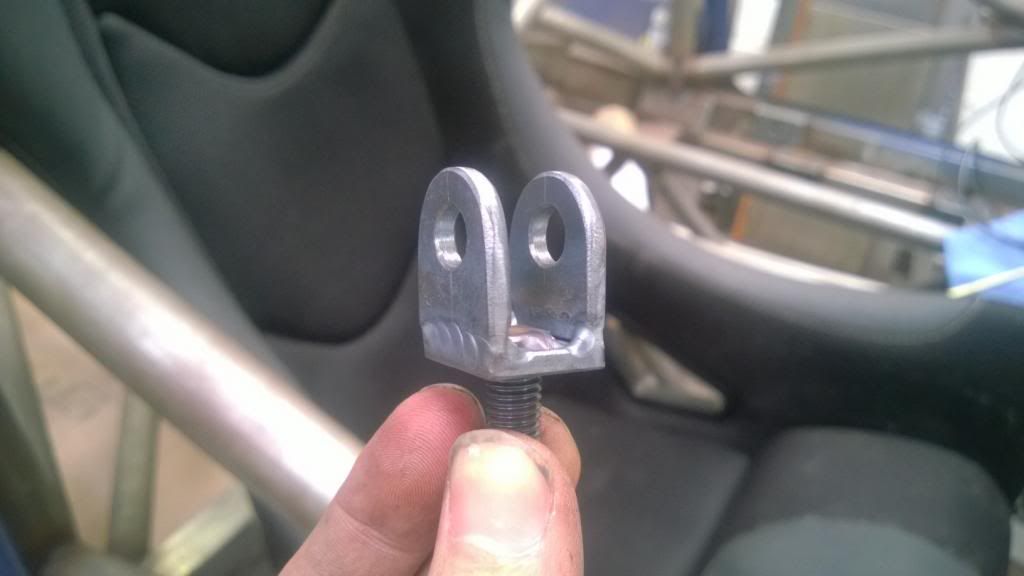
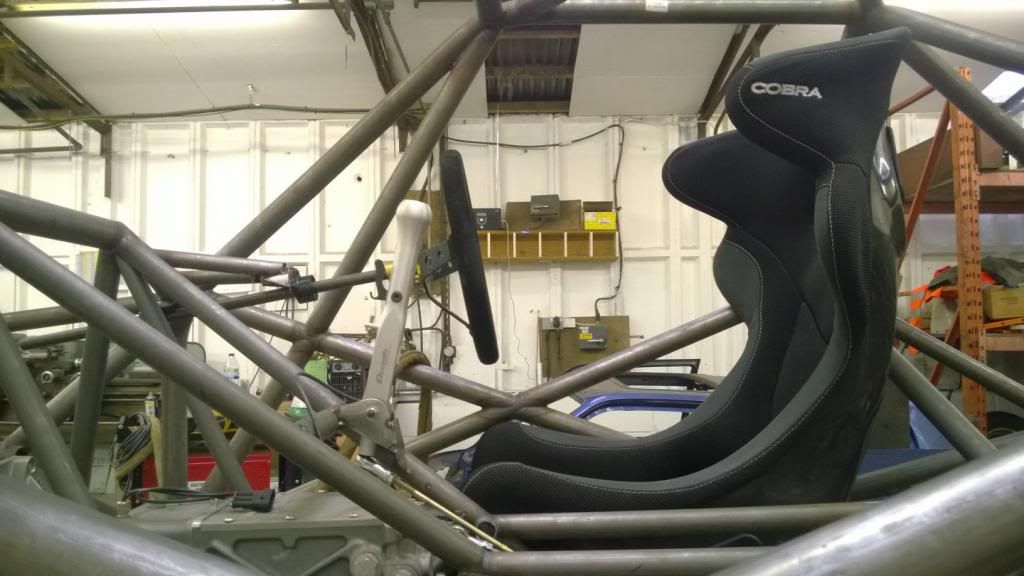
Bolt-in seat mounts to MSA spec.. I used 2 M8 bolts for each since the front & rear aren't joined together.
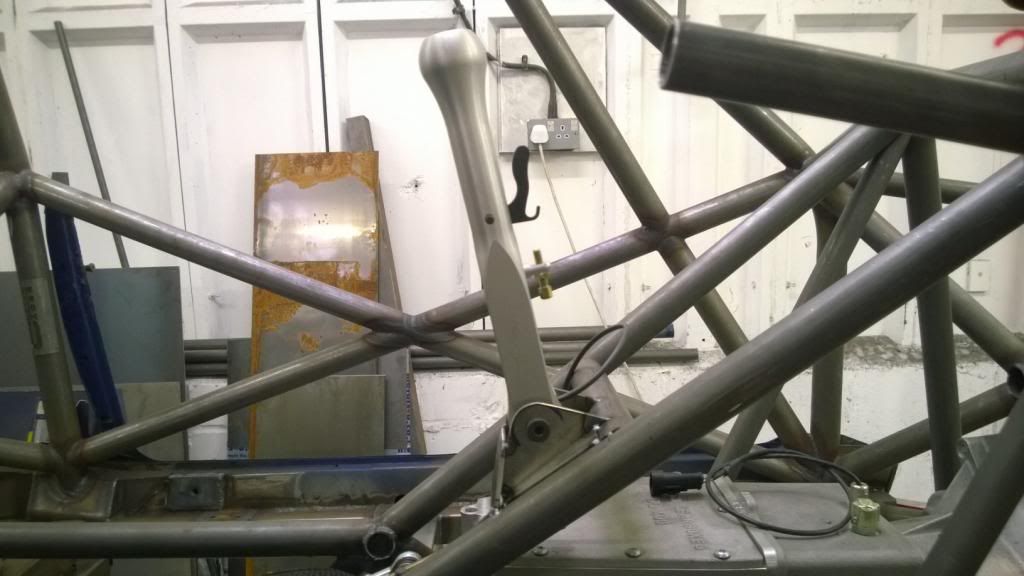
Very nice column bearings.
Driving position is really good too.
king pain in the arse when it came to getting the seat in or out! The column bearings (after faffing with several different ideas - all rubbish) are now some nice needle rollers in bolt-on aloominum housings. The whole thing is just so much nicer than any of the other options so I'm glad to have chopped it out and tried again! I've kept the same position for everything.. just much nicer and more maintenance-friendly.
Bolt-in seat mounts to MSA spec.. I used 2 M8 bolts for each since the front & rear aren't joined together.
Very nice column bearings.
Driving position is really good too.
Couple of points, which i'm sure you've already got covered:
1) Is the steering column collapsible? It's difficult to tell from the pics?
2) Your chassis looks excellent, but rather solid! Ok, i can't tell the wall thicknesses you've used, and certain parts are dimensionally mandated in the regs, but you car looks a lot more solid/strong than a lot of pure racing cars in the paddock! ;-)
The suspension is all to my own design. Whether it's any good or not remains to be seen!
The ROPS is MSA mandated and I've been very careful not to try and be too inventive with my reading of the rulebook. Roll hoops are 45mm x 2.5mm and all "optional members" are 40mm x 2.0mm, then everything else is to my own specs and a fair bit thinner or smaller diameter.
Max_Torque said:
Couple of points, which i'm sure you've already got covered:
1) Is the steering column collapsible? It's difficult to tell from the pics?
2) Your chassis looks excellent, but rather solid! Ok, i can't tell the wall thicknesses you've used, and certain parts are dimensionally mandated in the regs, but you car looks a lot more solid/strong than a lot of pure racing cars in the paddock! ;-)
The column isn't collapsible, although I have thought about it. The upper column is very short and there isn't much room to make it collapsible, so it's pretty likely I won't bother.1) Is the steering column collapsible? It's difficult to tell from the pics?
2) Your chassis looks excellent, but rather solid! Ok, i can't tell the wall thicknesses you've used, and certain parts are dimensionally mandated in the regs, but you car looks a lot more solid/strong than a lot of pure racing cars in the paddock! ;-)
The ROPS is MSA mandated and I've been very careful not to try and be too inventive with my reading of the rulebook. Roll hoops are 45mm x 2.5mm and all "optional members" are 40mm x 2.0mm, then everything else is to my own specs and a fair bit thinner or smaller diameter.
carlpea said:
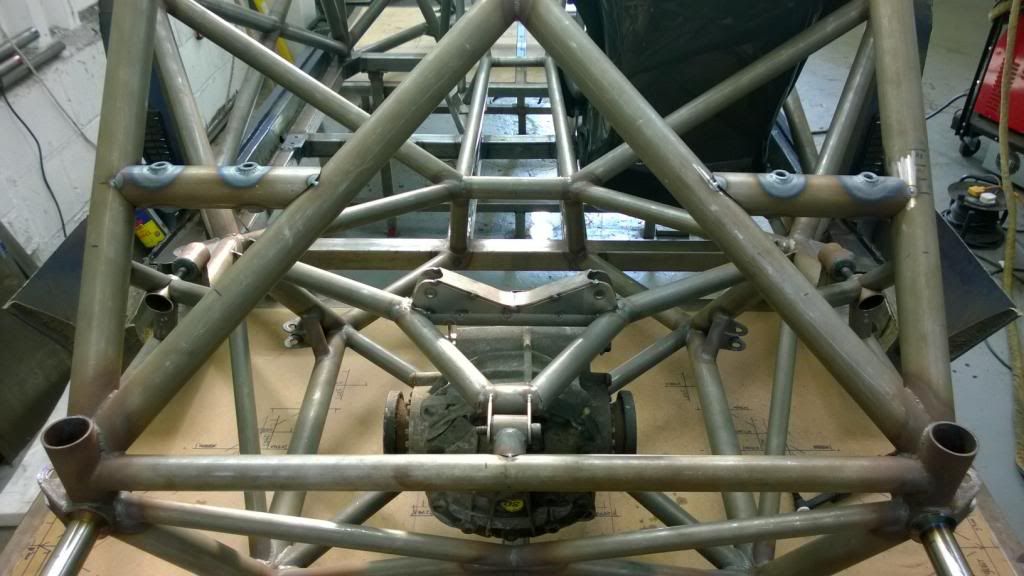
The way the suspension sits at the moment with no weight on it seems a bit low?
Will it sit ok once it's all together?
I guess you mean low as in the vehicle will sit high? The dampers are at the rebound position in the pics, so it'll be compressed by some 20mm at ride height. Will it sit ok once it's all together?
Yesterday I finished my harness mounts by fitting the shoulder strap bars.. it's nice to be able to properly strap myself in to the seat now!

The shoulder straps cross over as per the HANS instructions.
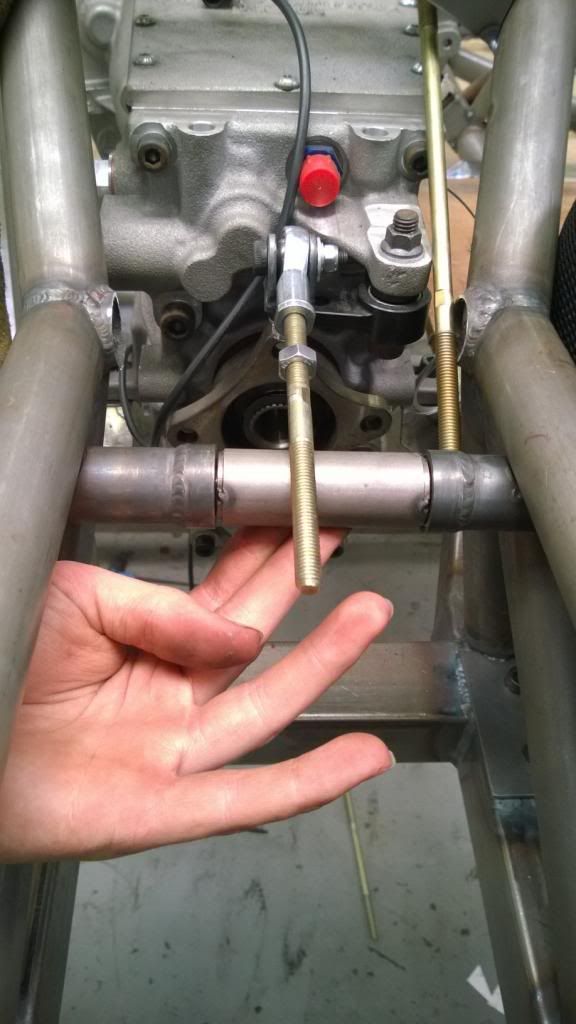
And then today (after a long drive to pick up some bits from the lovely Mr Trundle) I got started on the shifter mount & linkage. This is a really complicated job, because the gearbox is so far back that the shifter is well in front of the lever on the box! I'm having to use some monkey-motion trickery to send the linkage rearwards, via a rocker, and then forwards to the gearbox. It's a pain, but it means the shifter location is perfect, and that's what matters!
I'll work out the rocker bar tomorrow.. that should be fun!


Good to see you too, sausage! I'll give you a shout about the laser stuff once I have it all sorted.
Today is a bit of a 2-parter.. I started off by finishing the gear linkage, but then ran out of gas just as I was going to tack it in the chassis so had to move on to something else!
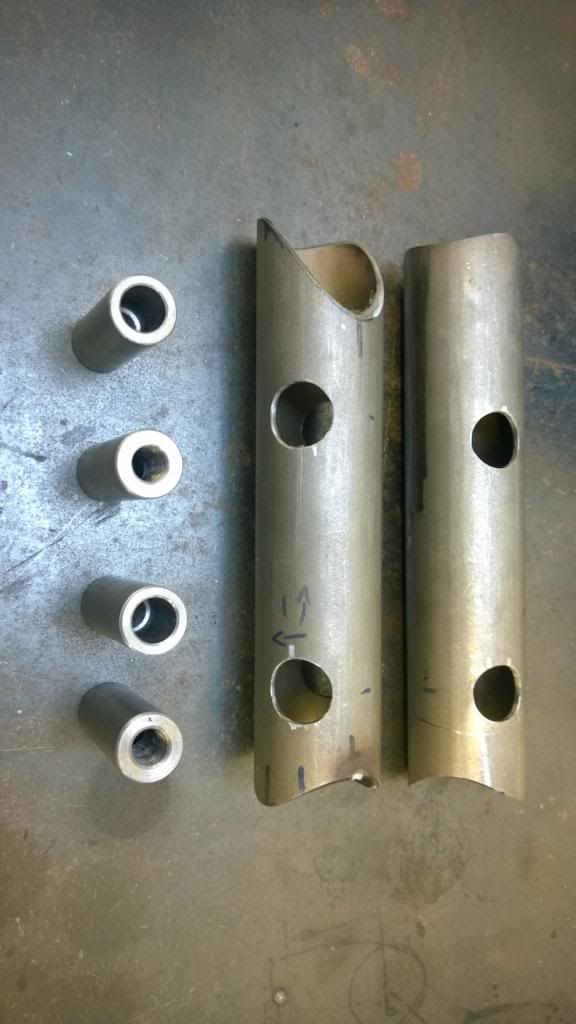
The rocker bar went from a scribble on my workbench to some little machined bearing housings.
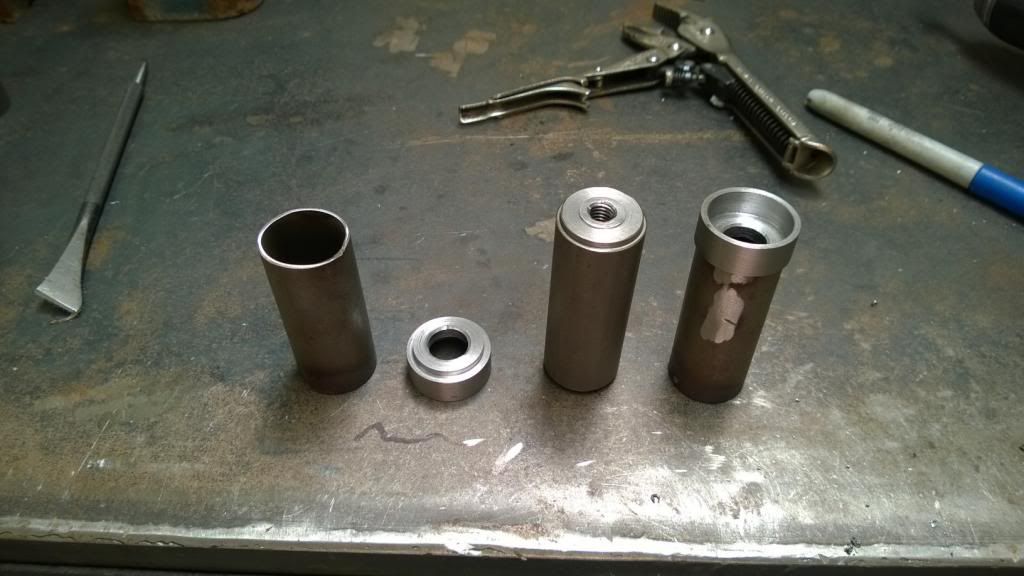
I just about had enough gas to weld the housings on..
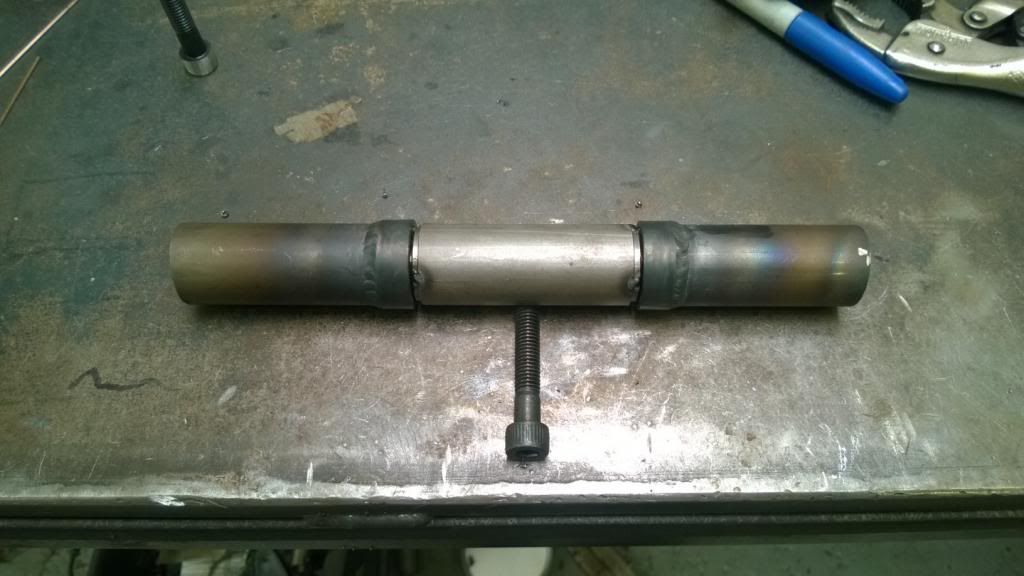
Then ran out!
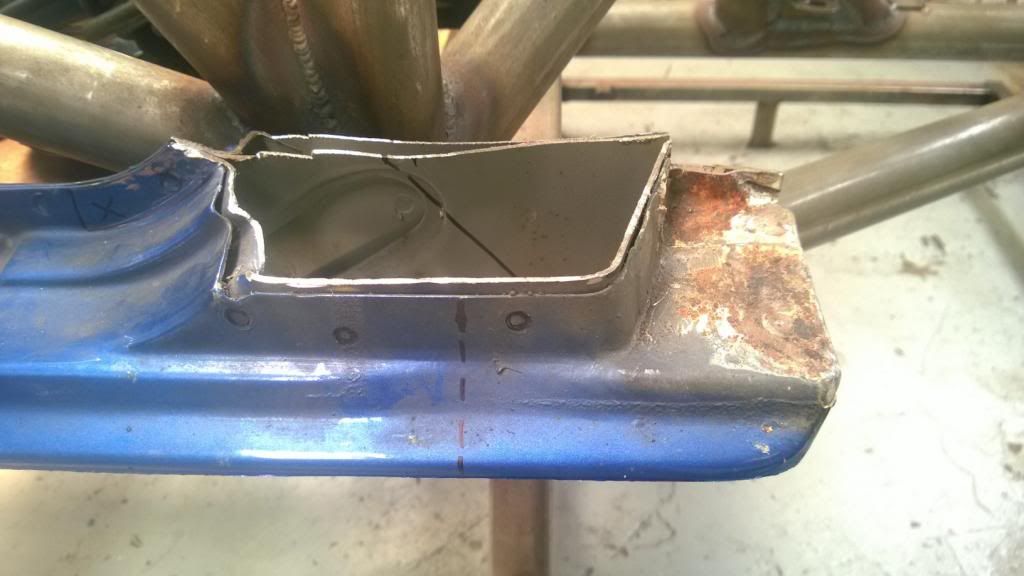
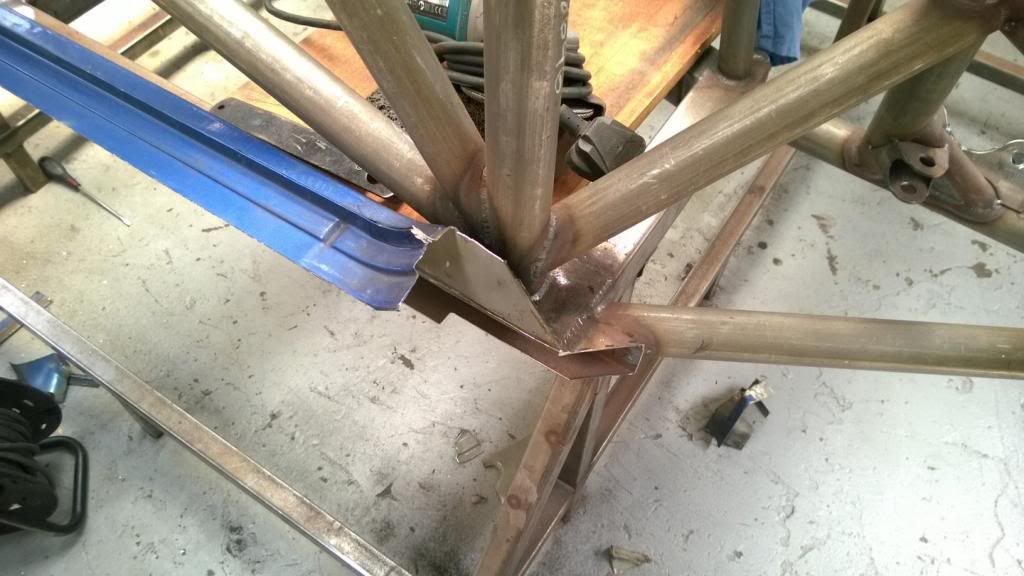
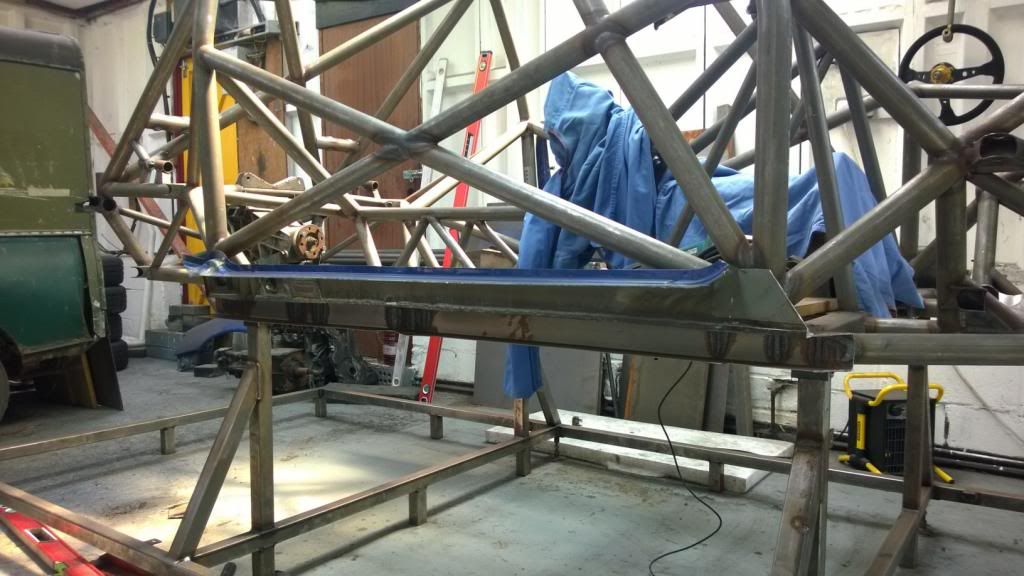
So I figured I could get on with cutting away what was left of the sills and getting the door & windscreen surrounds ready to go on.
Chopped the outer sills off..
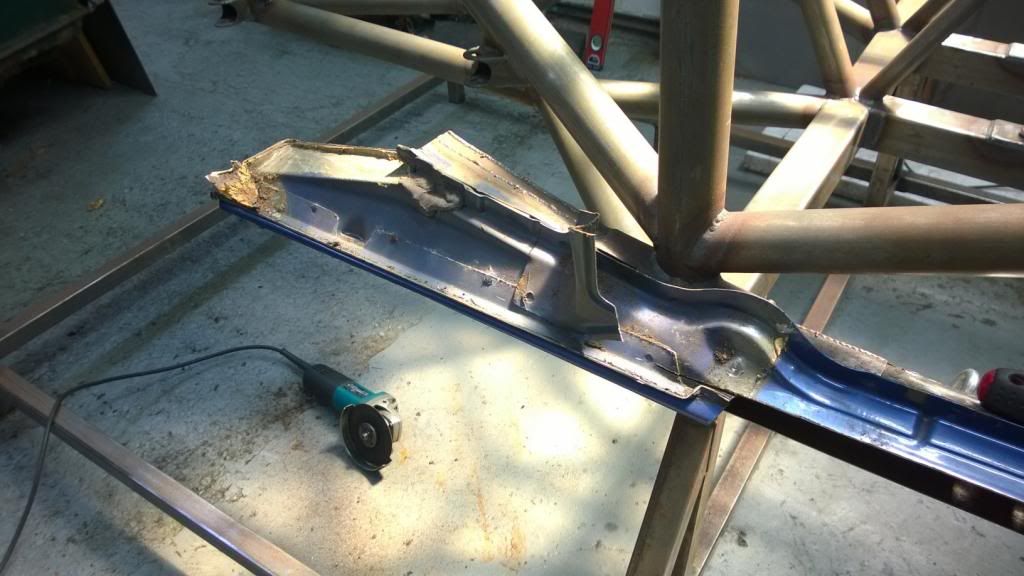
..And then stuck the front bodywork back on to have a look at where to trim.
Then err.. got busy!
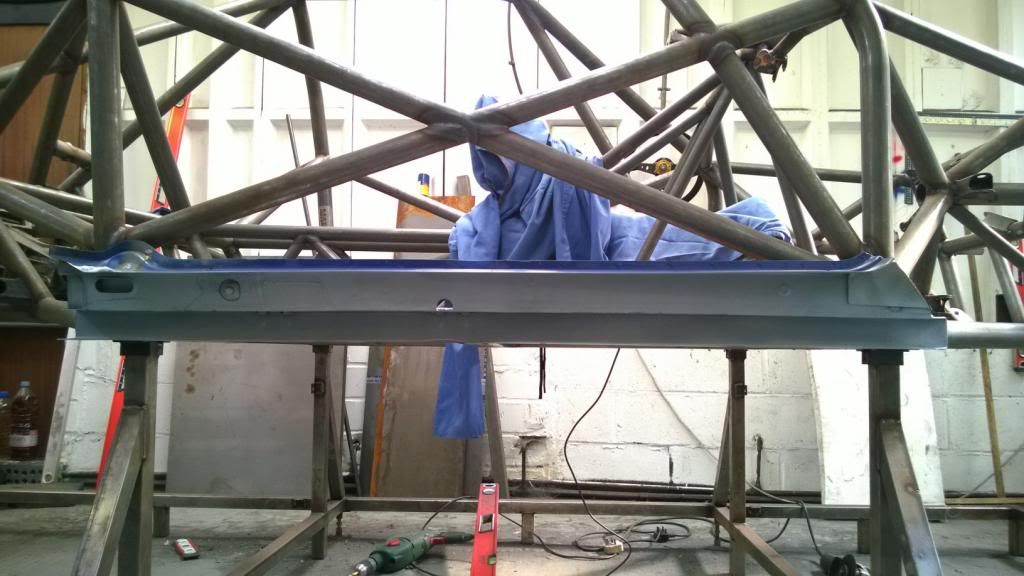
And before too long I had chopped a whole load of meat out of it.
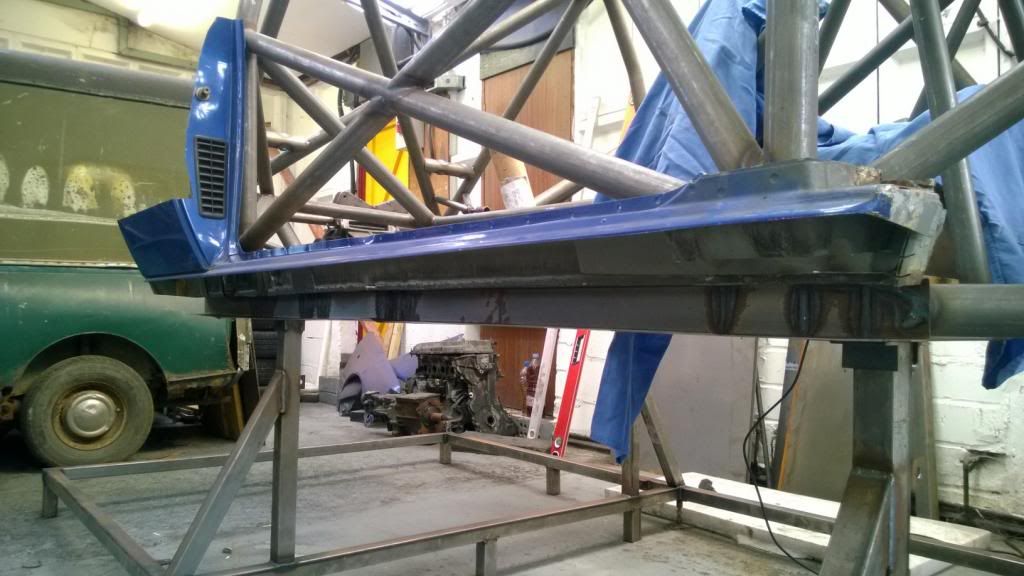
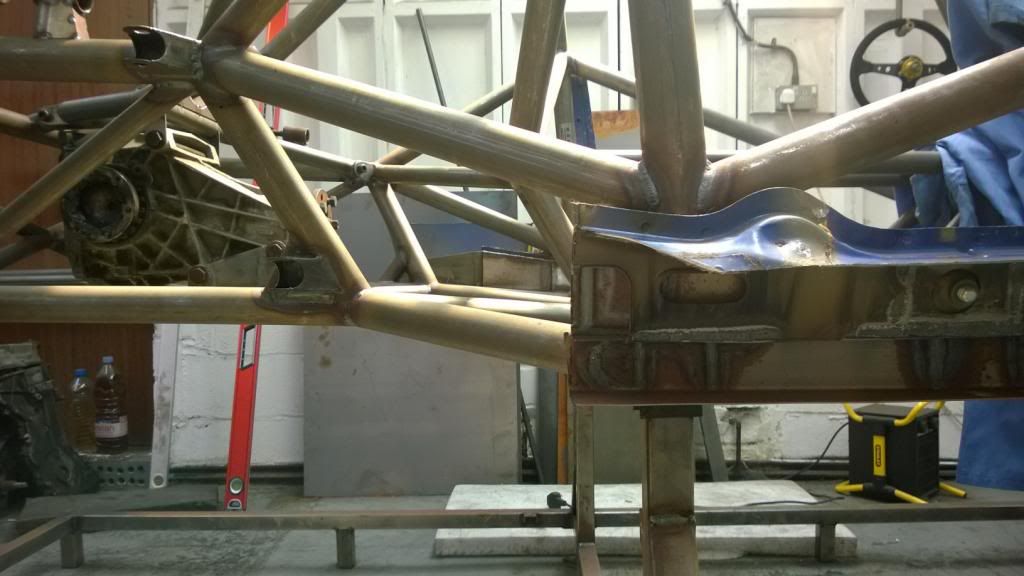
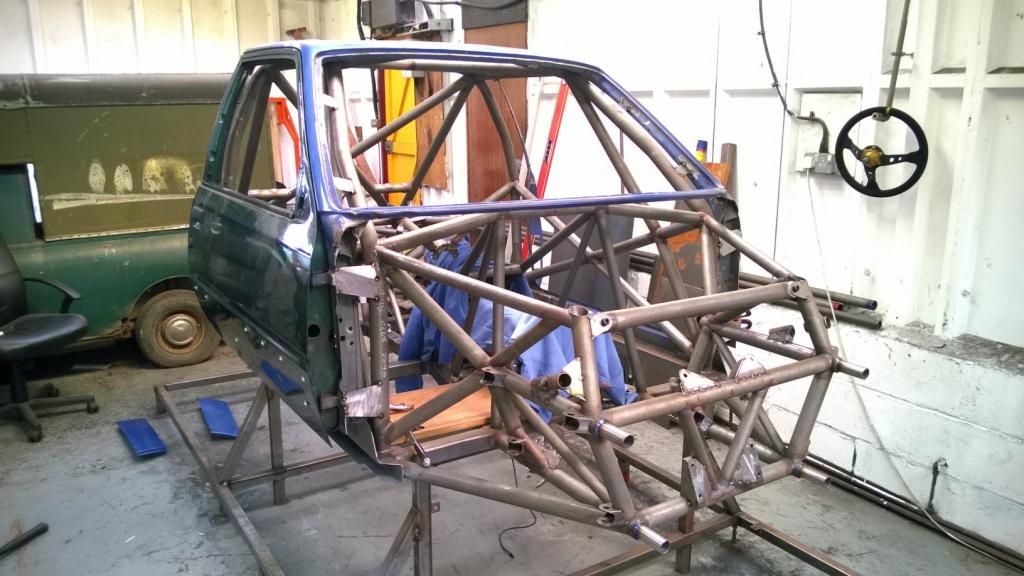
So then with the body substantially flimsier I weighed it and had removed 6.2kg in total! Much better. The front bodywork now weighs in at 12kg with the roof still on, so hopefully that will come down to 10kg with a carbon skin. I'll tie all the door brackets in to the cage for strength.
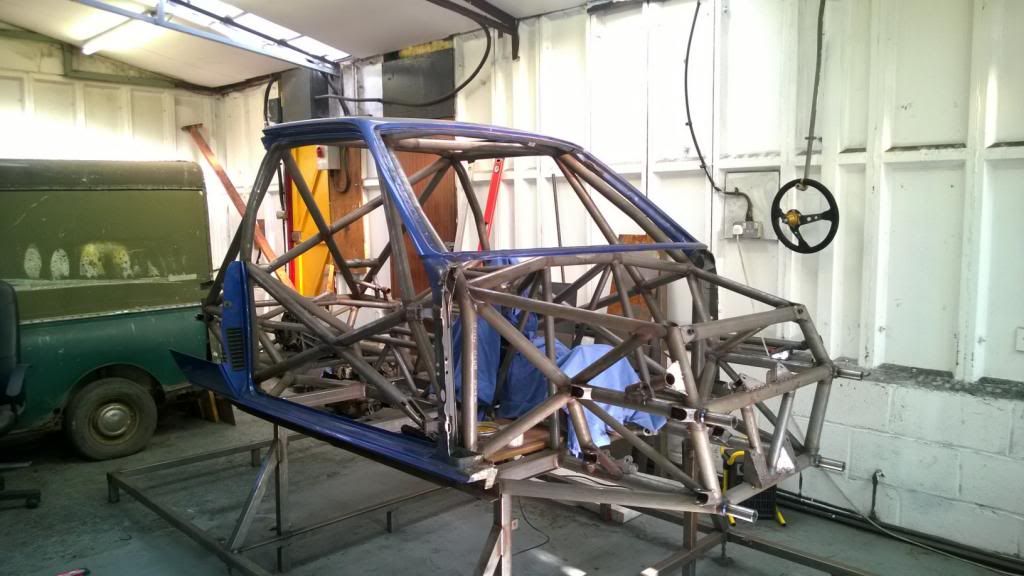
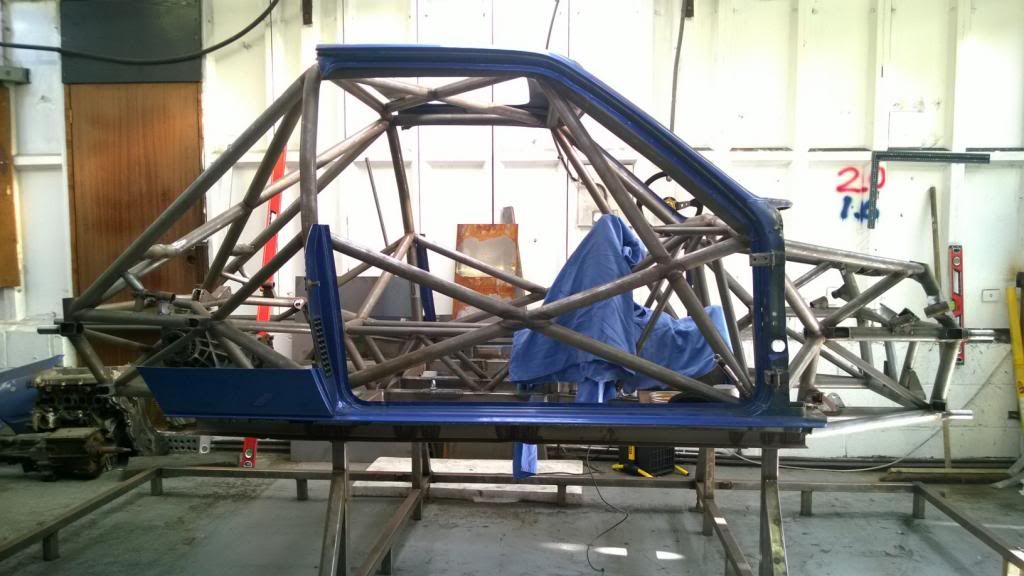
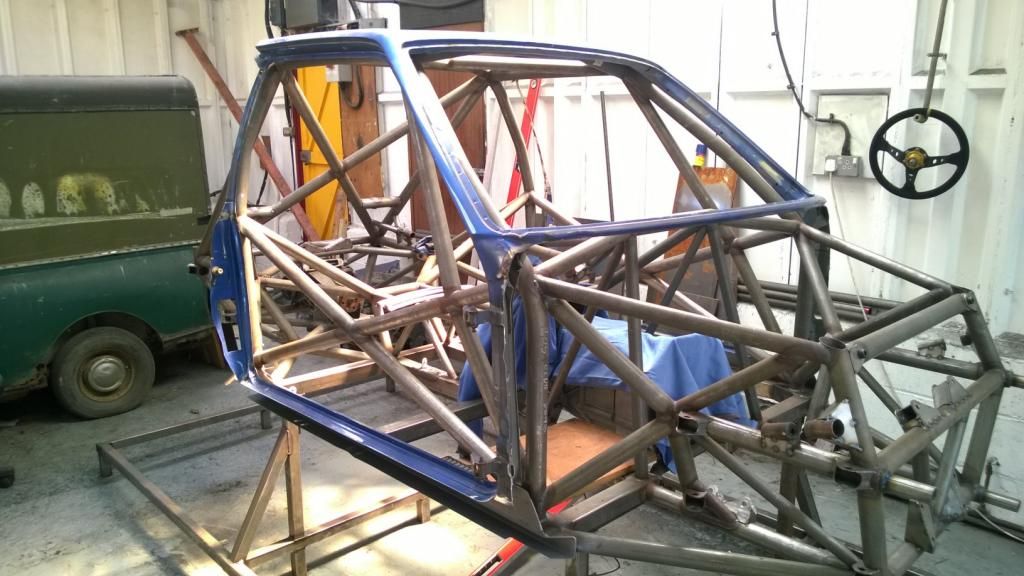
You kinda lose sight of just how far back the engine & gearbox are when it's just the space-frame.. with the body you can get an idea of just how far I've gone to try and get good weight distribution!
Today is a bit of a 2-parter.. I started off by finishing the gear linkage, but then ran out of gas just as I was going to tack it in the chassis so had to move on to something else!
The rocker bar went from a scribble on my workbench to some little machined bearing housings.
I just about had enough gas to weld the housings on..
Then ran out!
So I figured I could get on with cutting away what was left of the sills and getting the door & windscreen surrounds ready to go on.
Chopped the outer sills off..
..And then stuck the front bodywork back on to have a look at where to trim.
Then err.. got busy!
And before too long I had chopped a whole load of meat out of it.
So then with the body substantially flimsier I weighed it and had removed 6.2kg in total! Much better.
The front bodywork now weighs in at 12kg with the roof still on, so hopefully that will come down to 10kg with a carbon skin. I'll tie all the door brackets in to the cage for strength.You kinda lose sight of just how far back the engine & gearbox are when it's just the space-frame.. with the body you can get an idea of just how far I've gone to try and get good weight distribution!
I should have given it a slightly more conspicuous title really! 
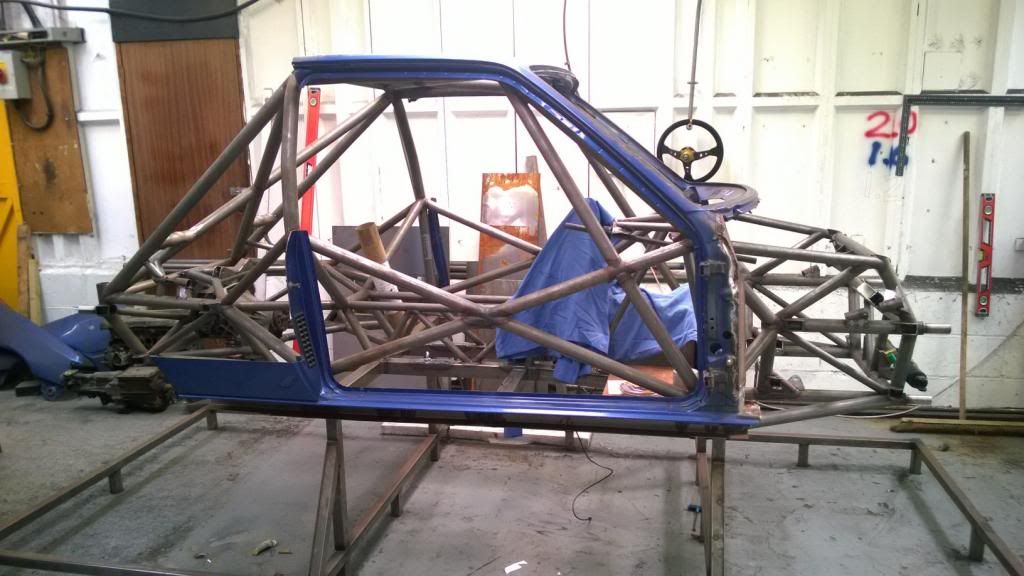
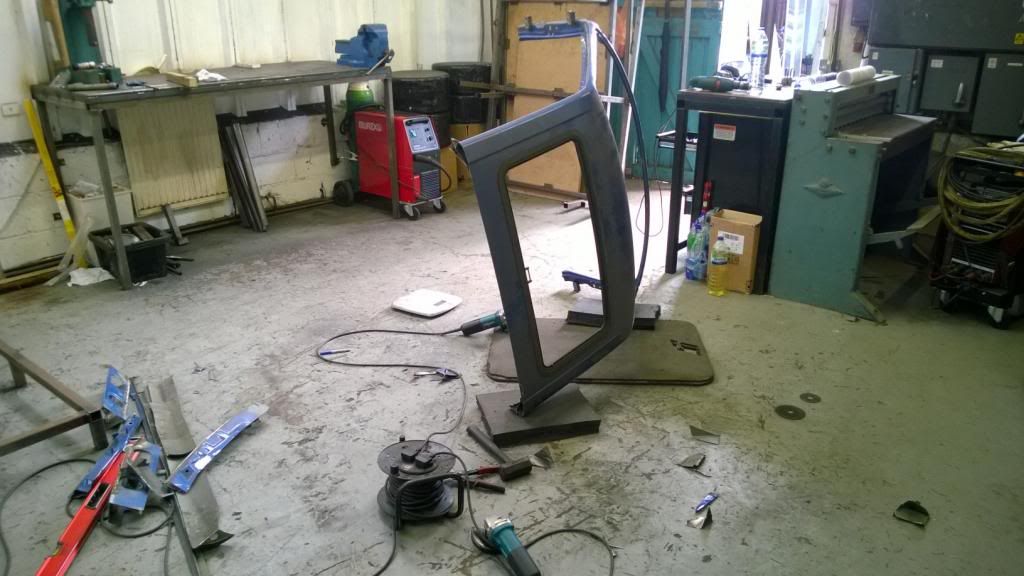
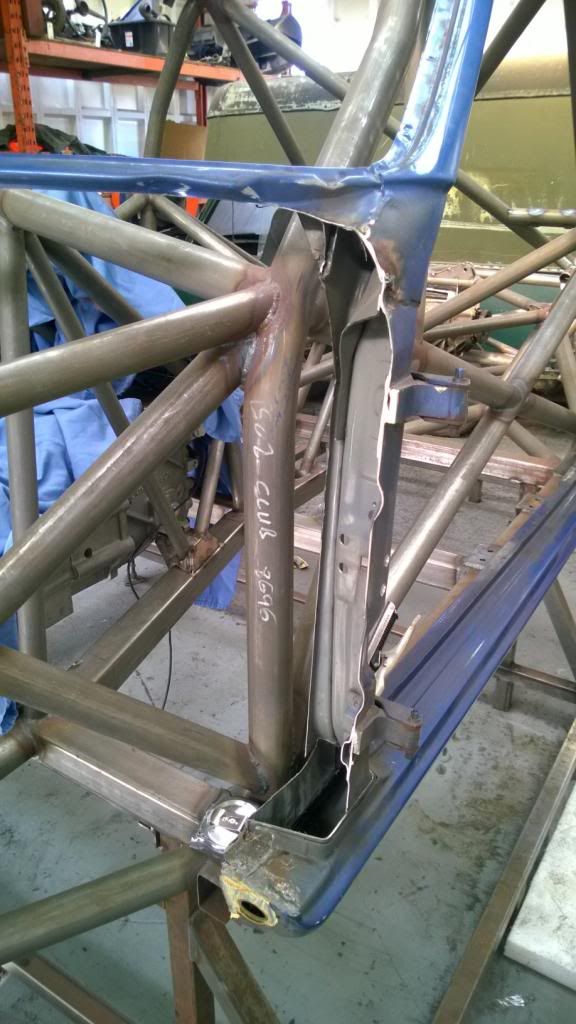
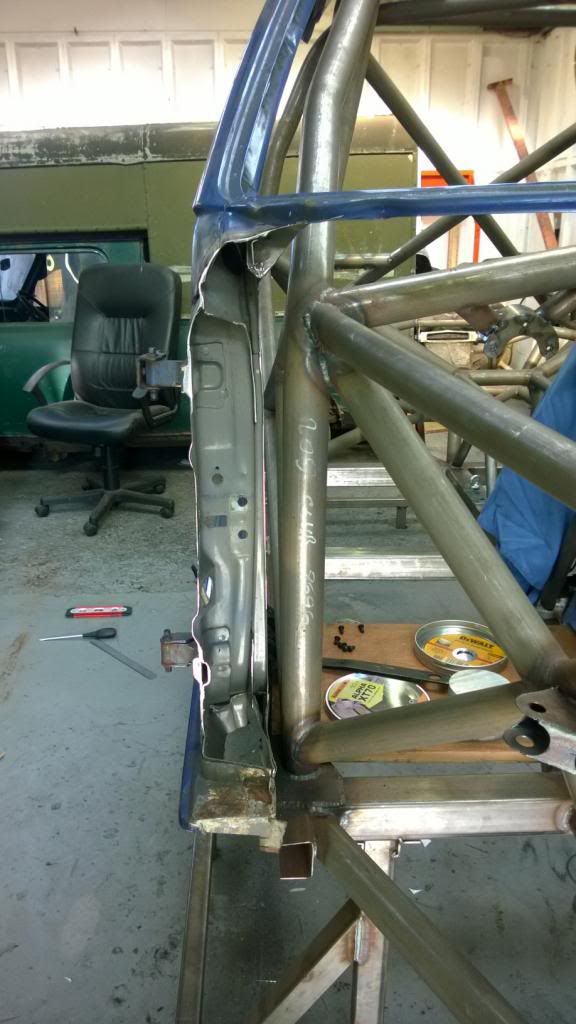
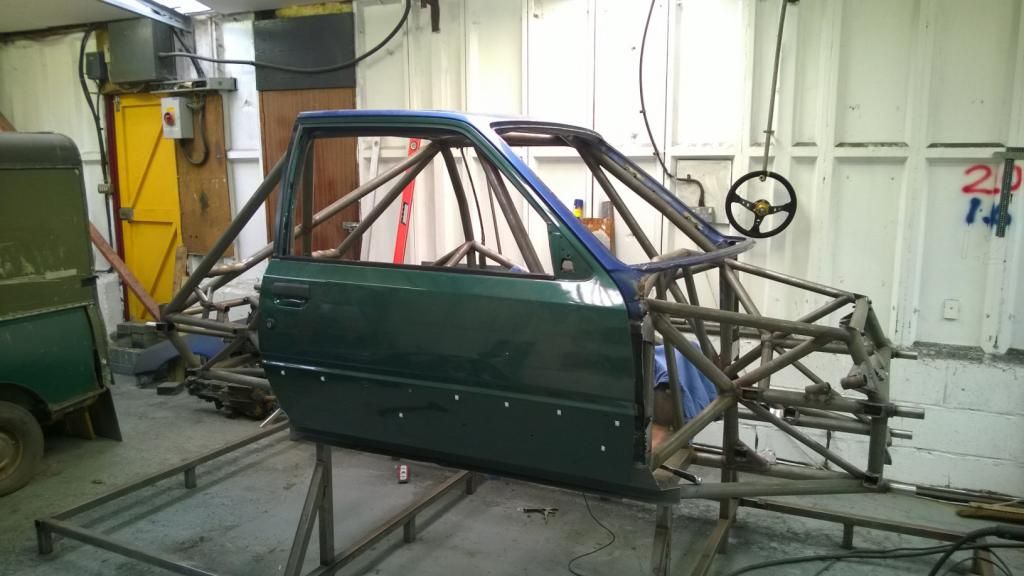
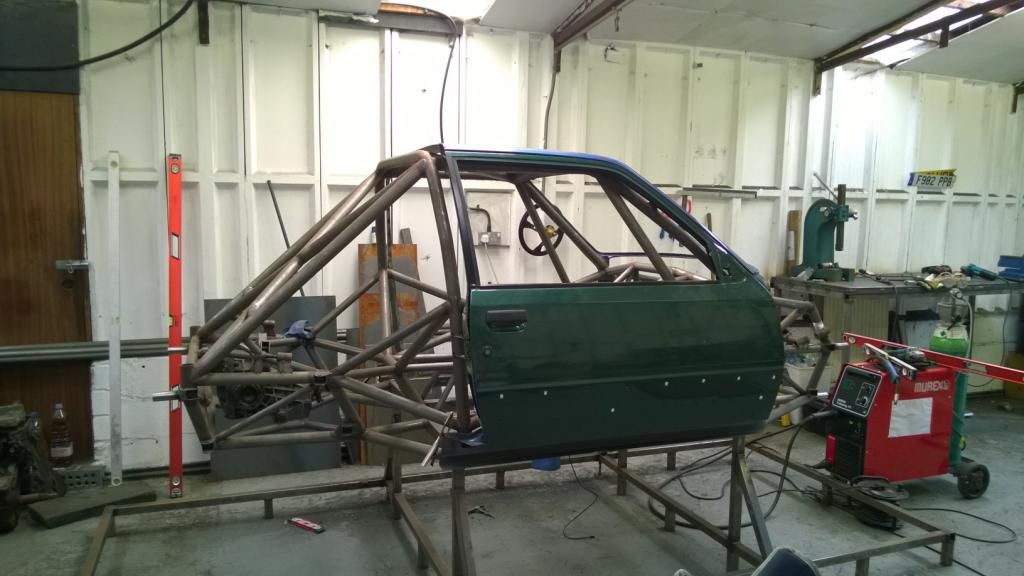
Today I got the trimmed bodywork cleaned up and then tacked it on. I had painted the sill tunnels (more on them later) so needed another job to do.. seeing as I had a spare door kicking about I figured I'd tab the shell in to the space frame and sort out the hinge & latch reinforcements.
Door apertures tacked together:
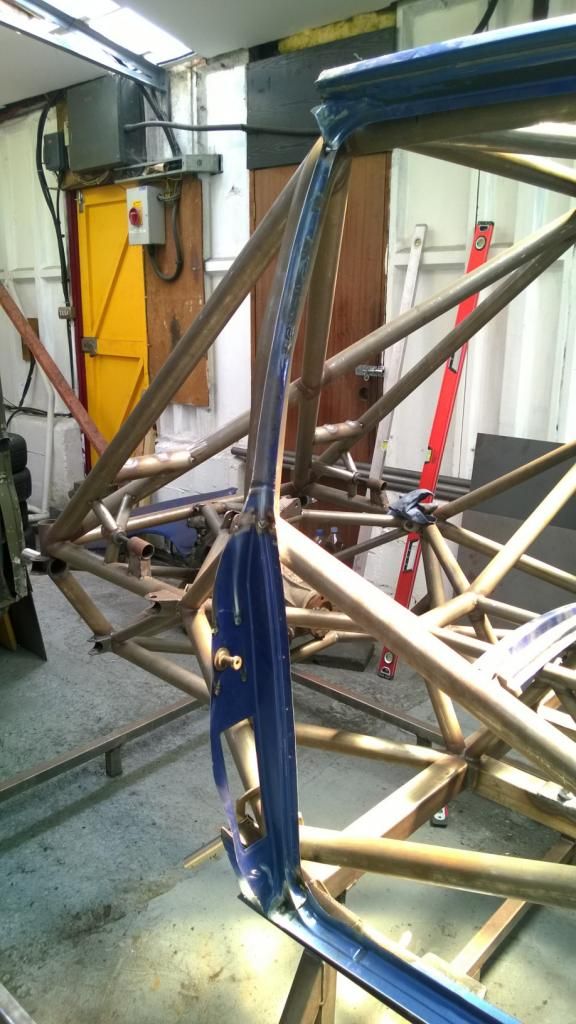
And then hung the door and reinforced the latch back to the frame:
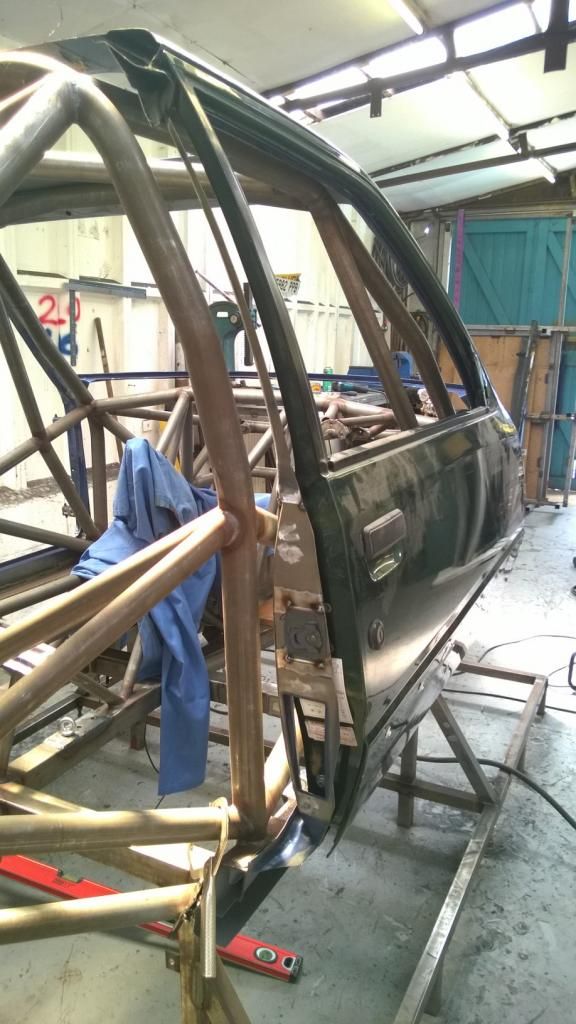
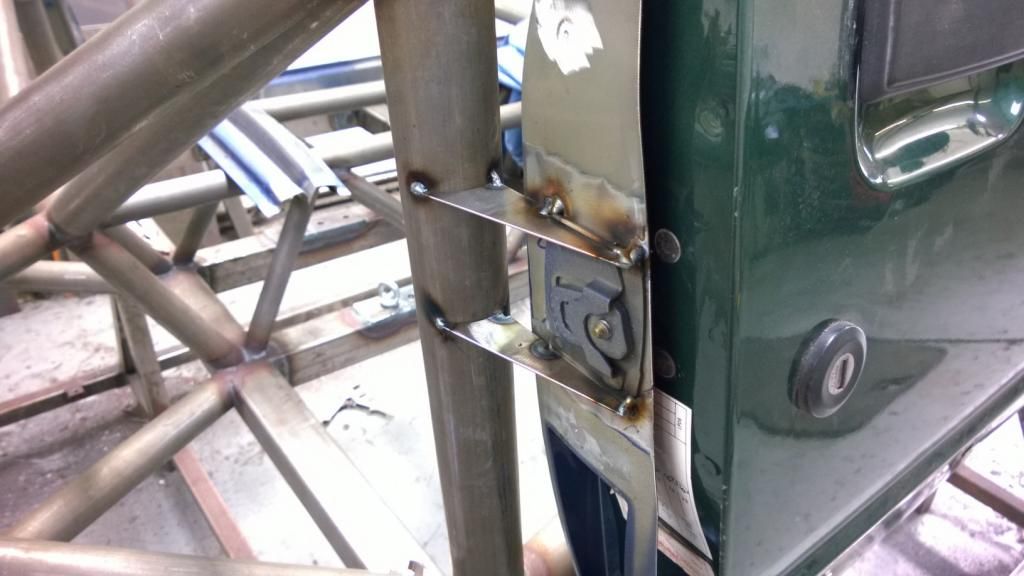
Then reinforced the hinges. Shut lines are pretty decent too.
Today I got the trimmed bodywork cleaned up and then tacked it on. I had painted the sill tunnels (more on them later) so needed another job to do.. seeing as I had a spare door kicking about I figured I'd tab the shell in to the space frame and sort out the hinge & latch reinforcements.
Door apertures tacked together:
And then hung the door and reinforced the latch back to the frame:
Then reinforced the hinges. Shut lines are pretty decent too.
Gassing Station | Readers' Cars | Top of Page | What's New | My Stuff