Peugeot 205 Saloon Libre - RWD Space-Frame Silhouette Racer
Discussion


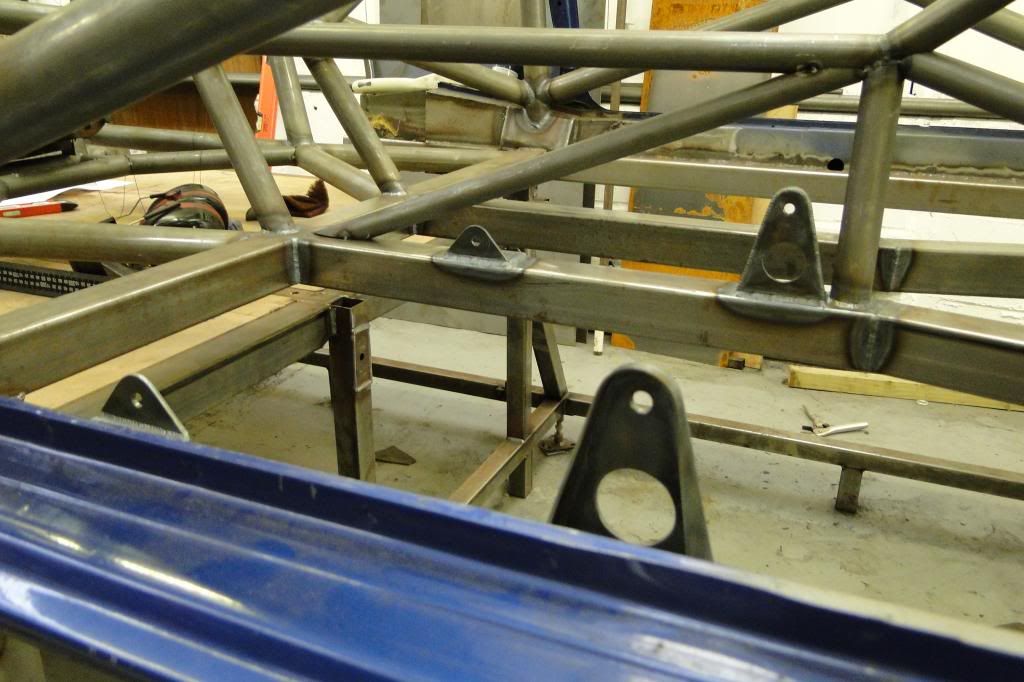
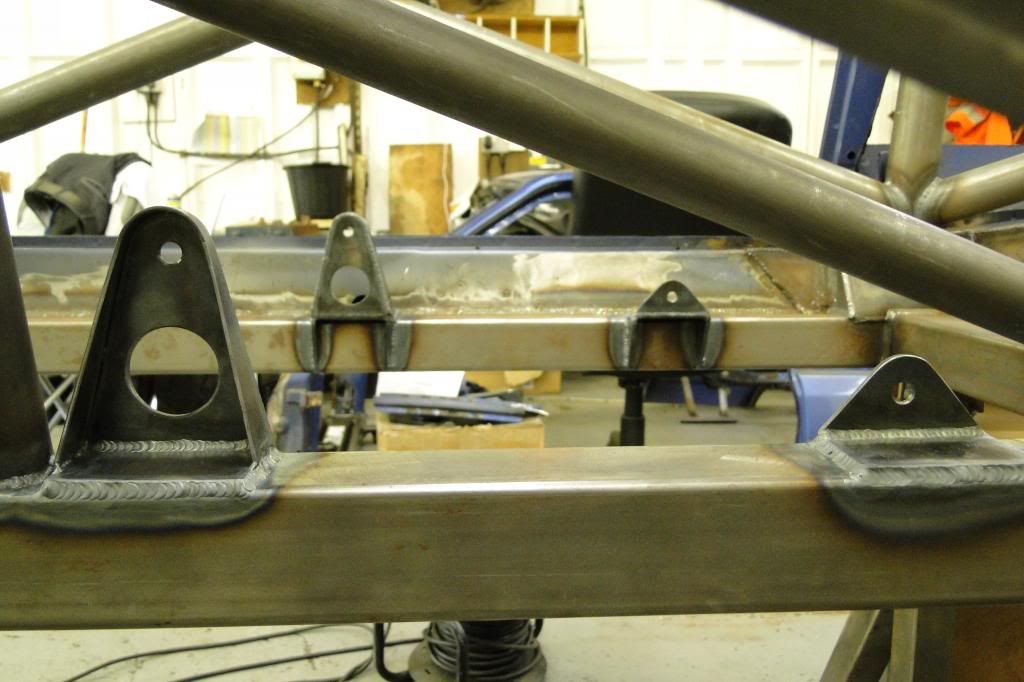
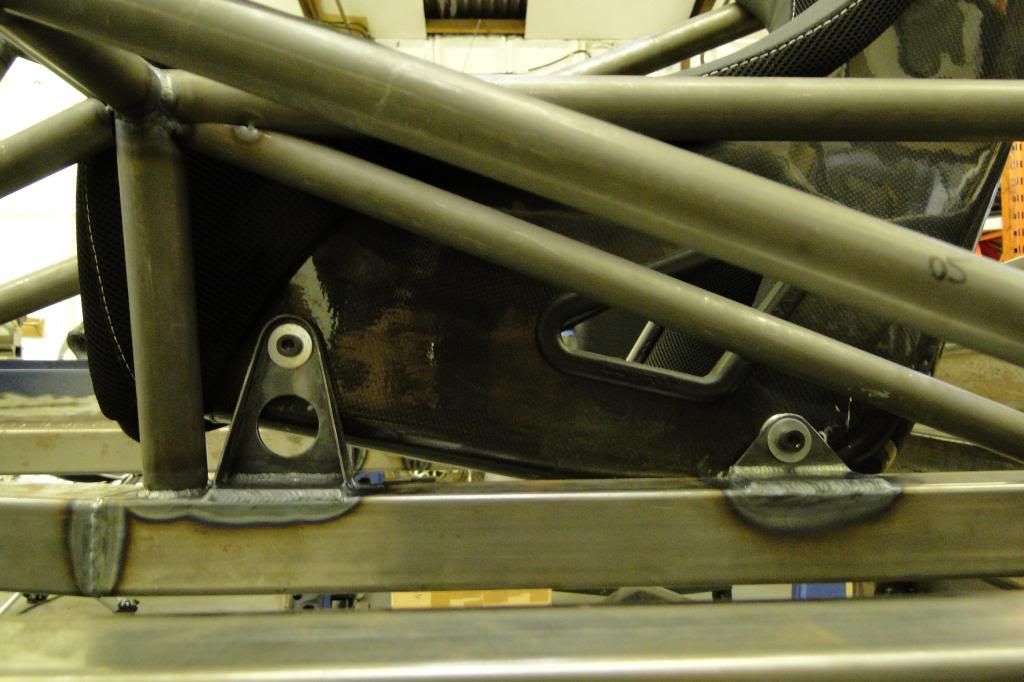
The next thing I did was put in some proper seat mounts, as it was previously only tacked in with some flimsy ones.. the new ones were made to MSA spec and welded in.
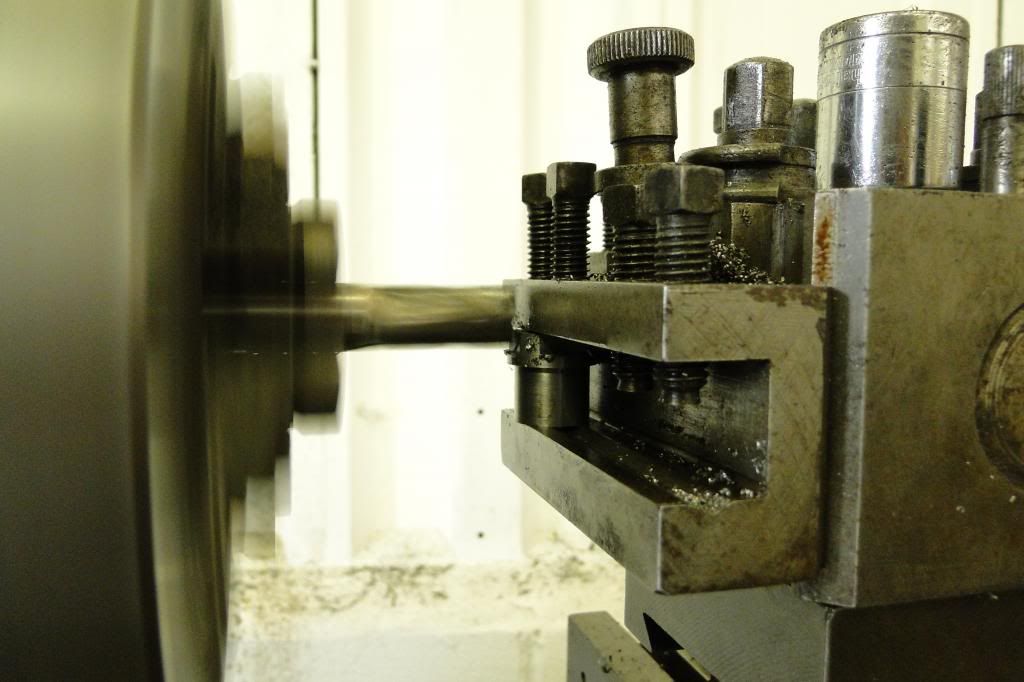
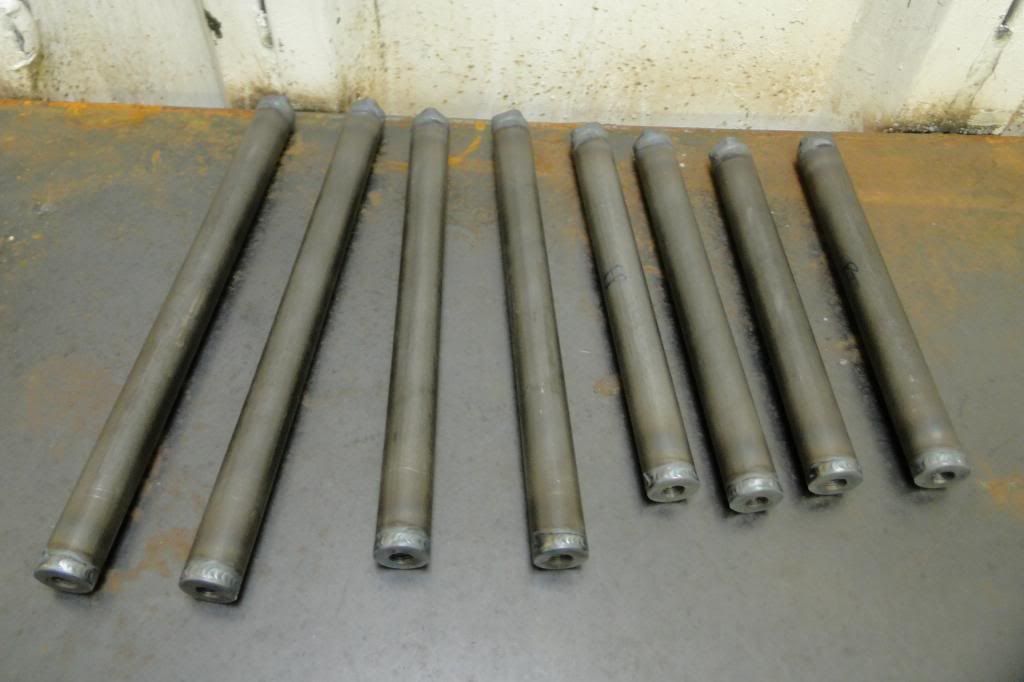
Then the next thing was making push & track rods.. I spent more long hours at the lathe turning the bosses up, and due to the lack of hex bar in a suitible grade (T45 rods, so needed EN14 bar) had to get creative with the lathe and an endmill. It was a fairly simple job to weld the bits together after that! I featured a poke-yoke by only adding flats to the RH threaded end, so it's easy to tell which way to turn the thngs without having to get up close and check the threads.
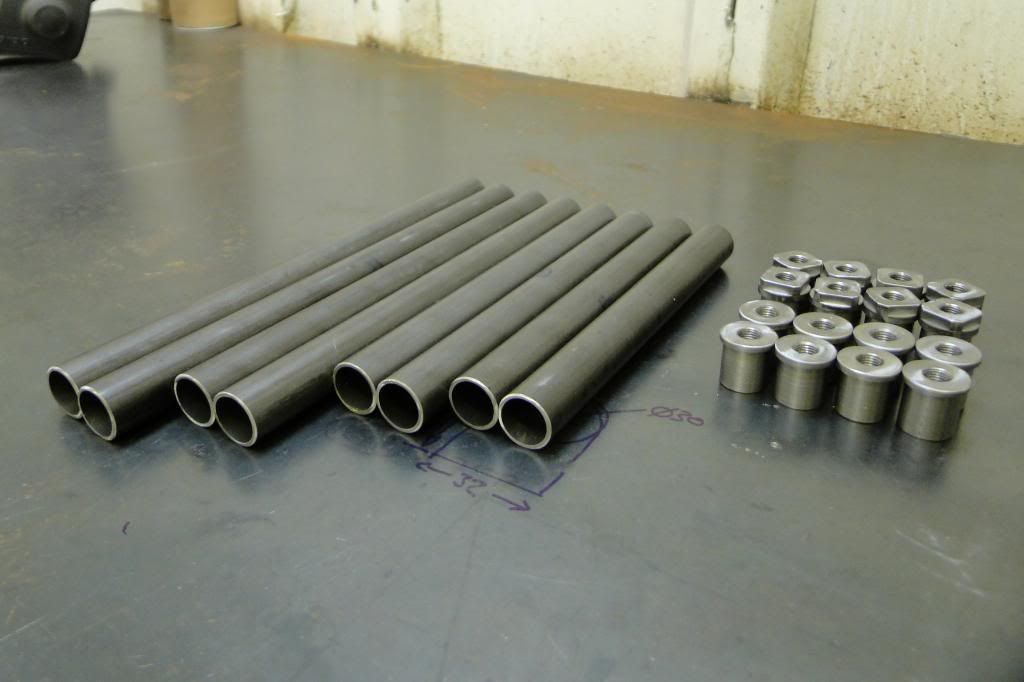
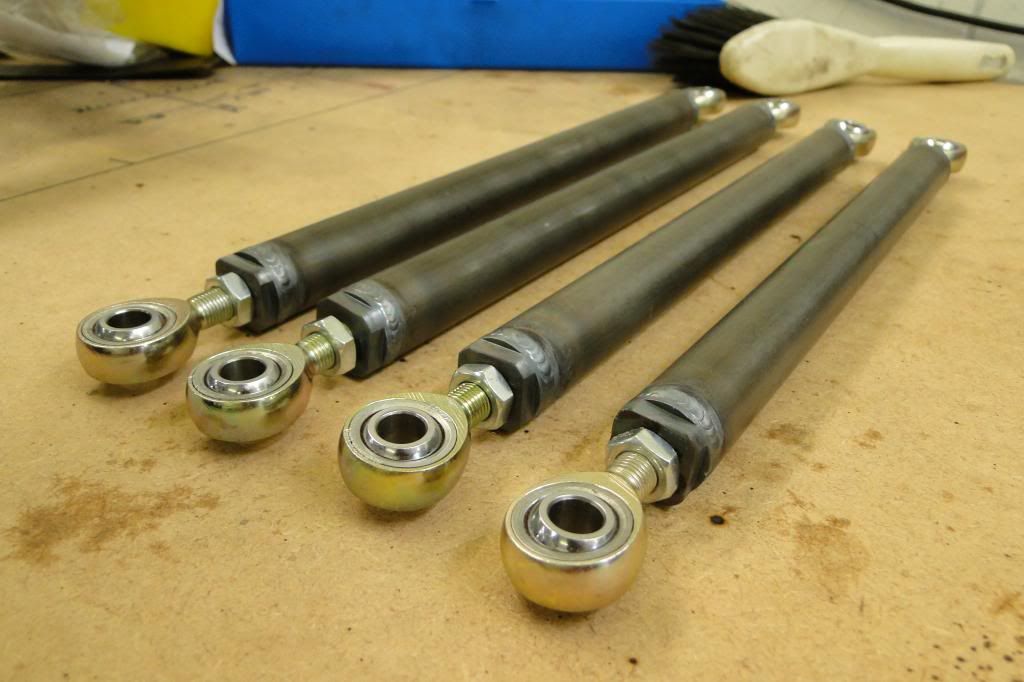
Those got sent off for powder coating along with the wishbones.
Then the next thing was making push & track rods.. I spent more long hours at the lathe turning the bosses up, and due to the lack of hex bar in a suitible grade (T45 rods, so needed EN14 bar) had to get creative with the lathe and an endmill. It was a fairly simple job to weld the bits together after that! I featured a poke-yoke by only adding flats to the RH threaded end, so it's easy to tell which way to turn the thngs without having to get up close and check the threads.
Those got sent off for powder coating along with the wishbones.
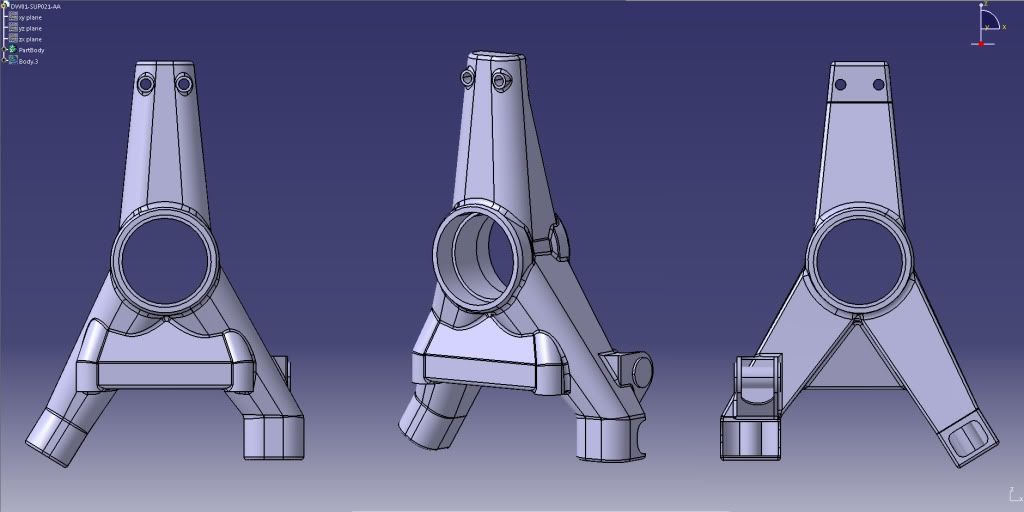
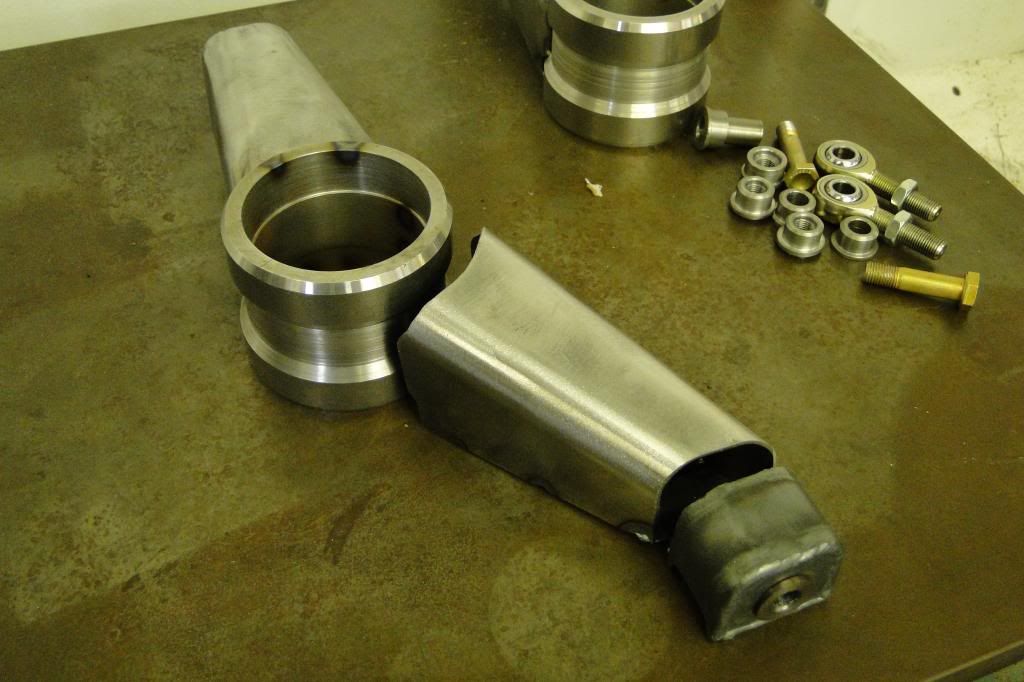
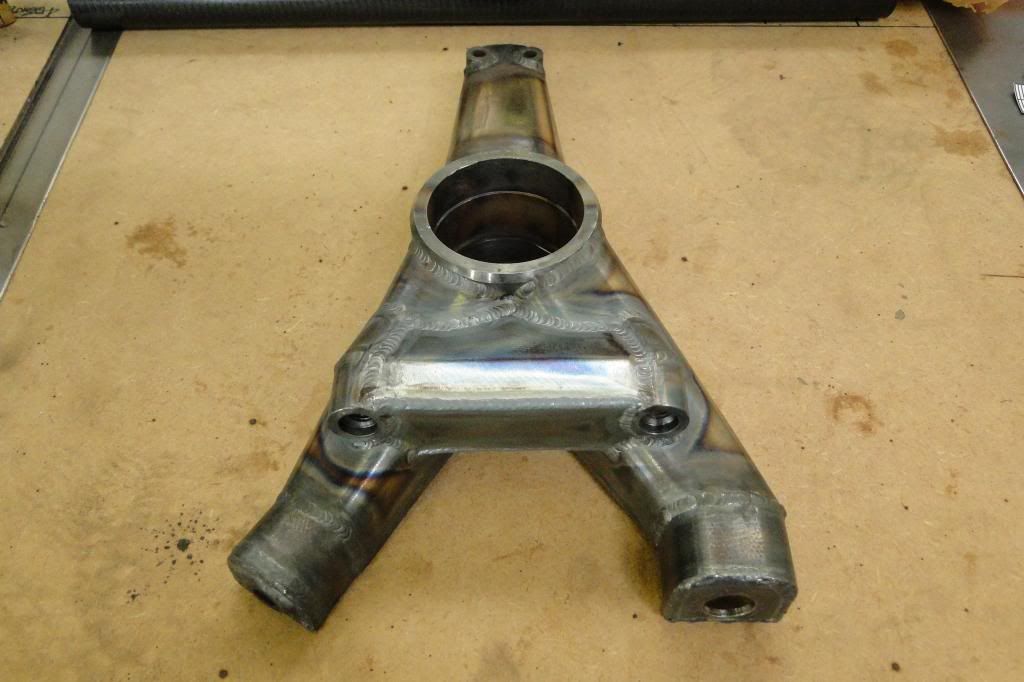
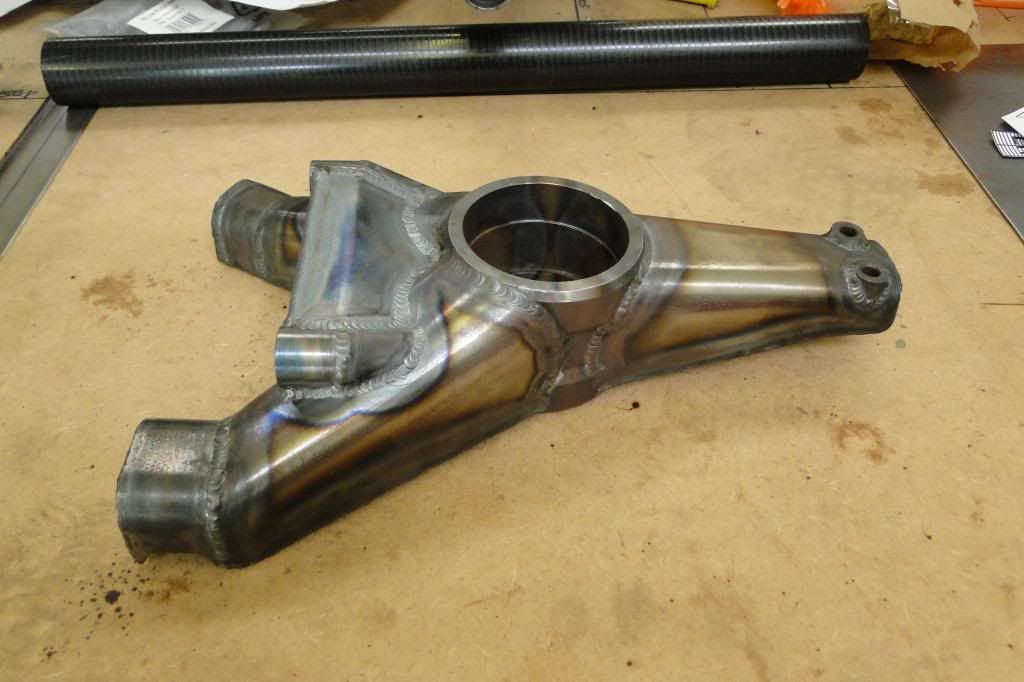
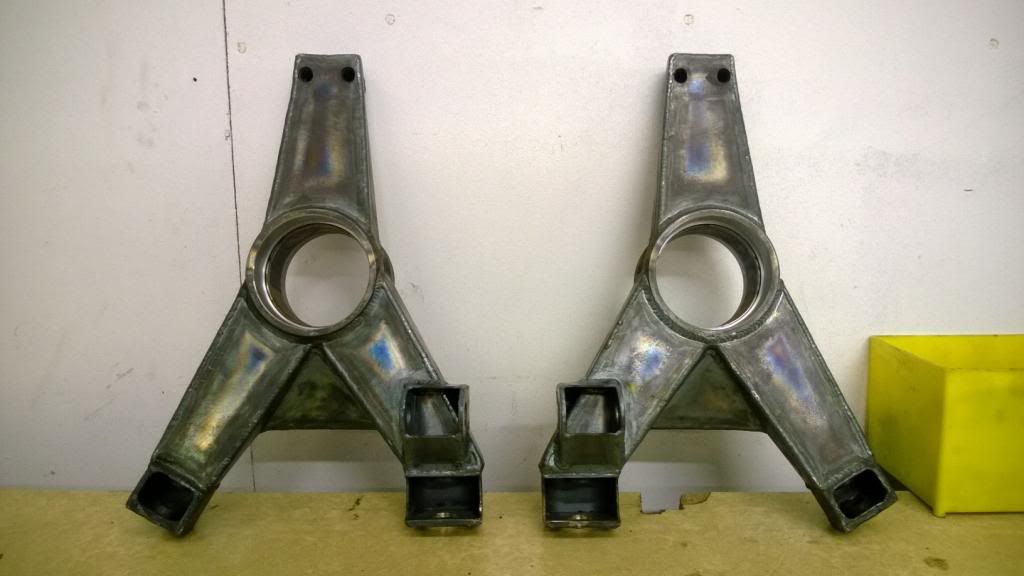
Then came my favourite bit of the project so far.. making the rear uprights. These, like everything else, started off as a CAD program, then ran FEA to check strength and a few iterations to try and reduce weight. I had a local CNC place machine up the centre bearing housings, then fabricated the rest.
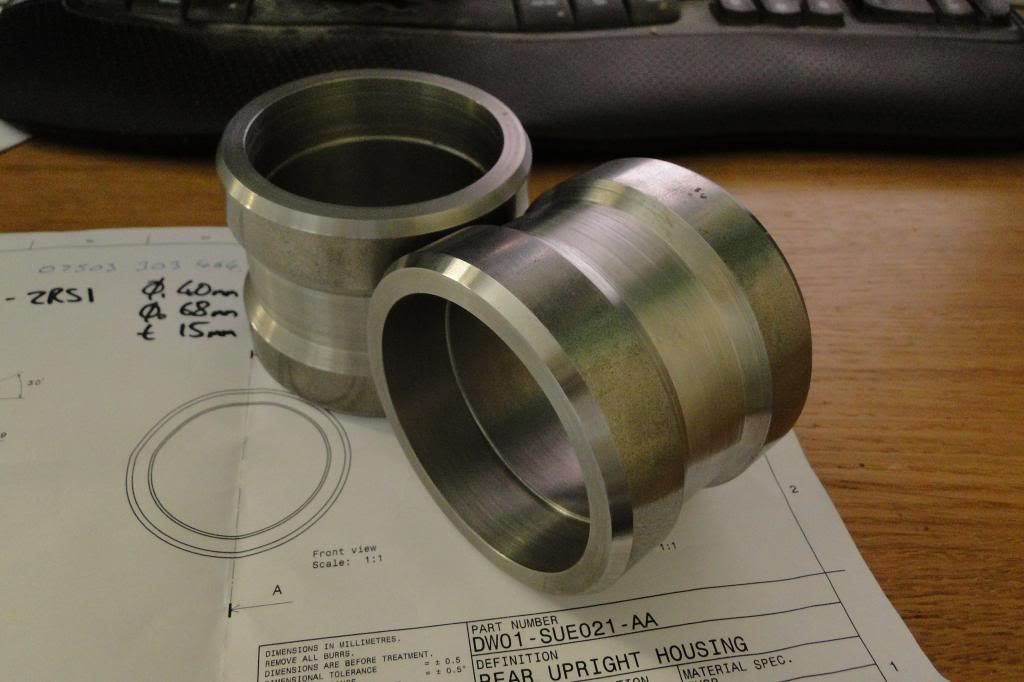
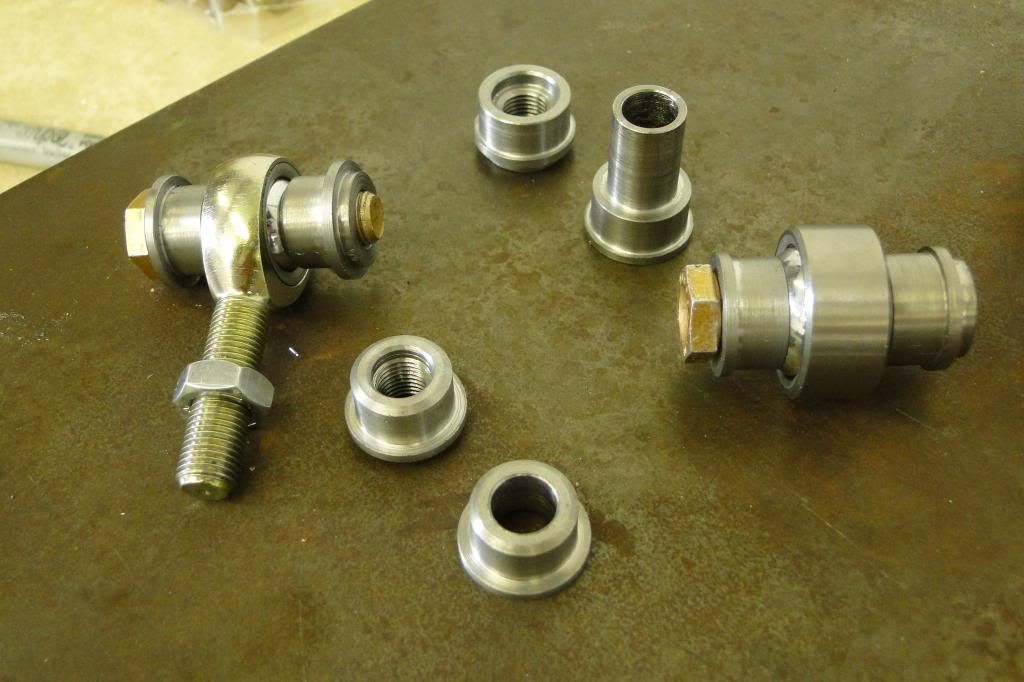
I turned the various bosses & spacers myself to save a bit of cash..
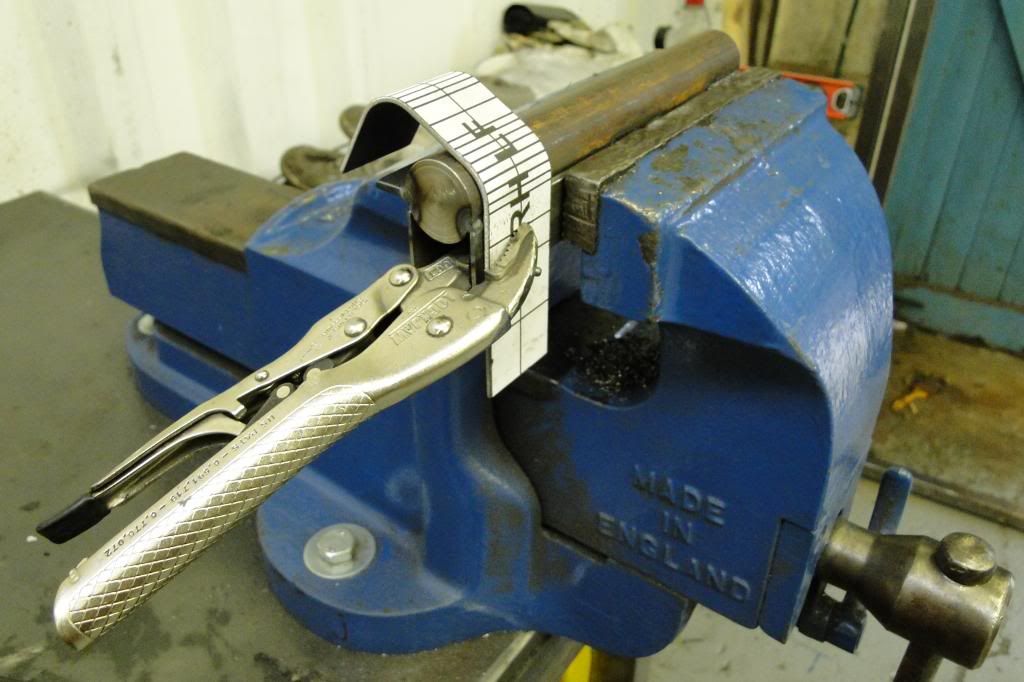
Since I didn't have a fly press or any other "proper" forming tools, I got creative with some bar stock and RHS to make a little tool I could use in the vice to form the curved edges. I picked up an old surface plate off eGay that I used as a jig table, and made a few fixtures up to hold everything in place for welding.
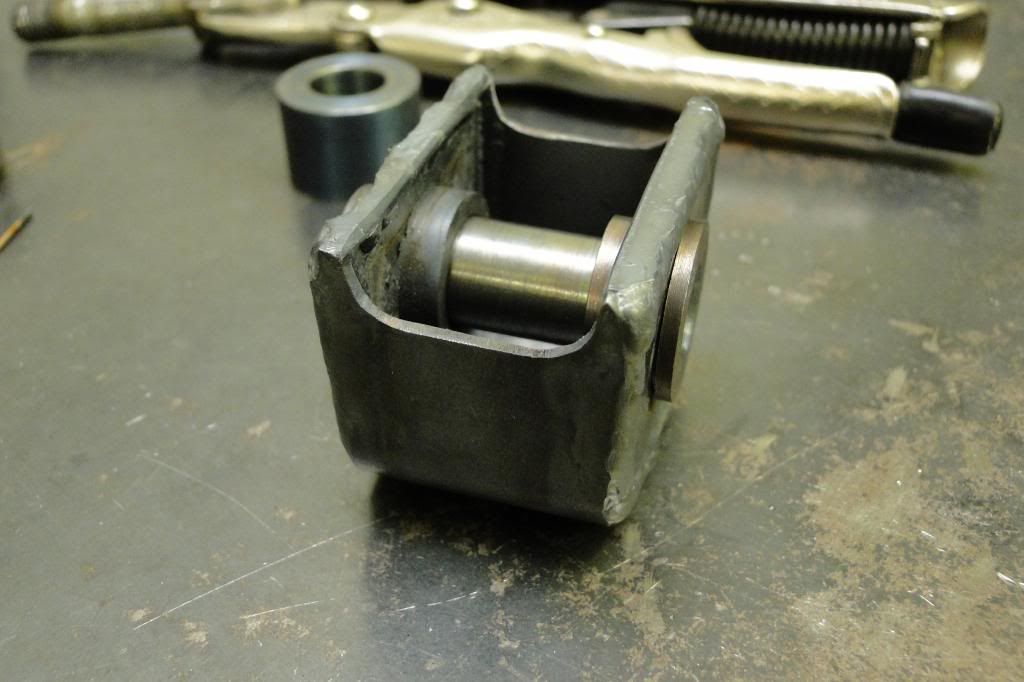
Then I could start forming the "legs" and welding the bits together.

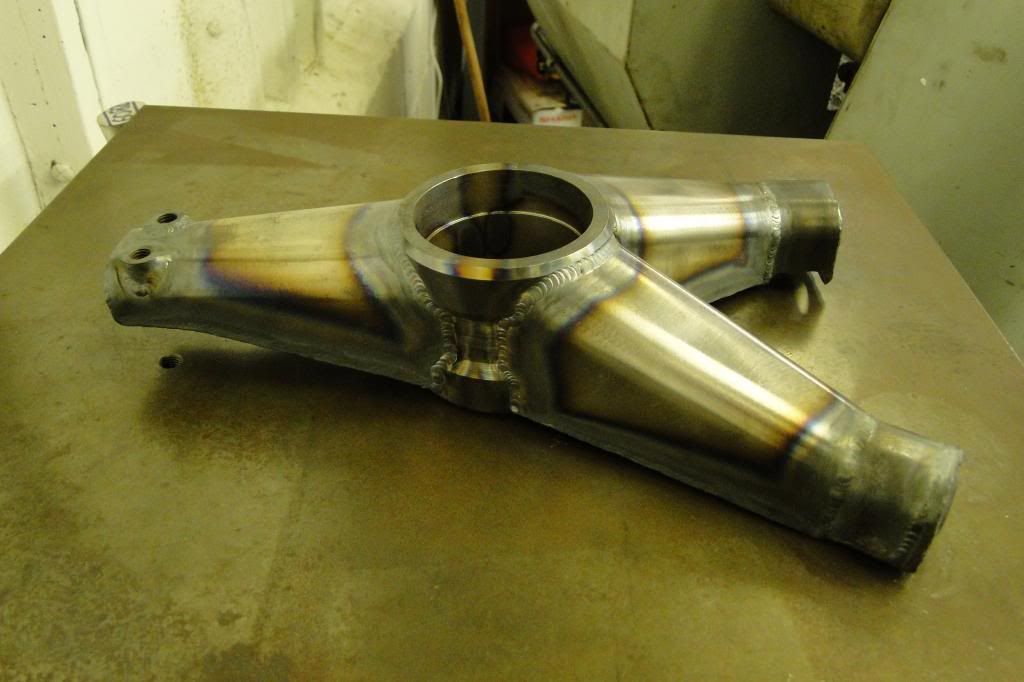

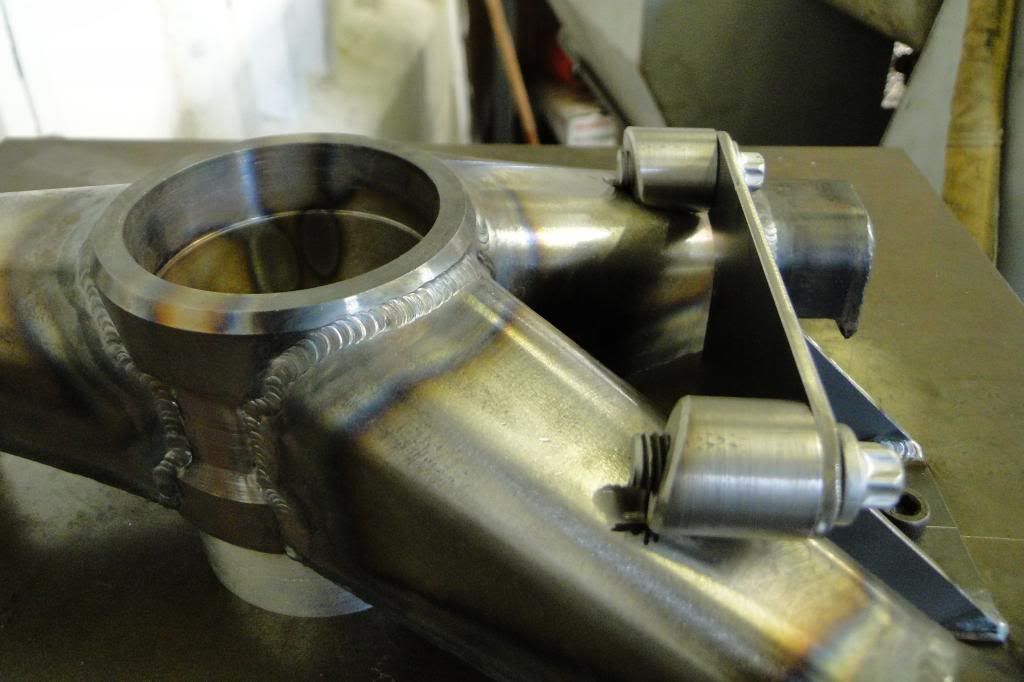
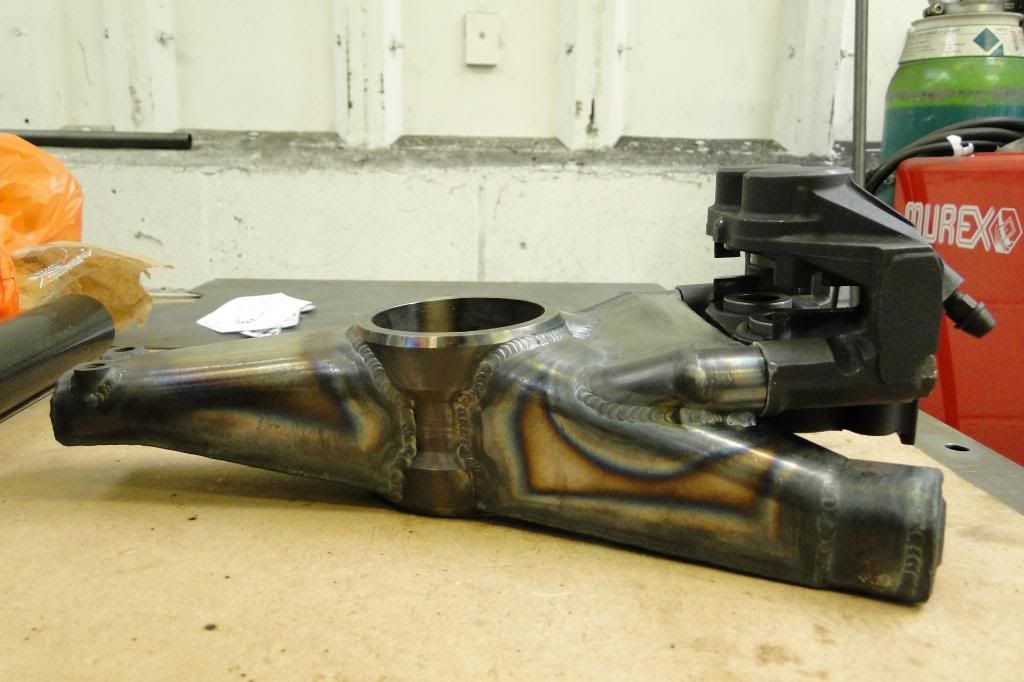
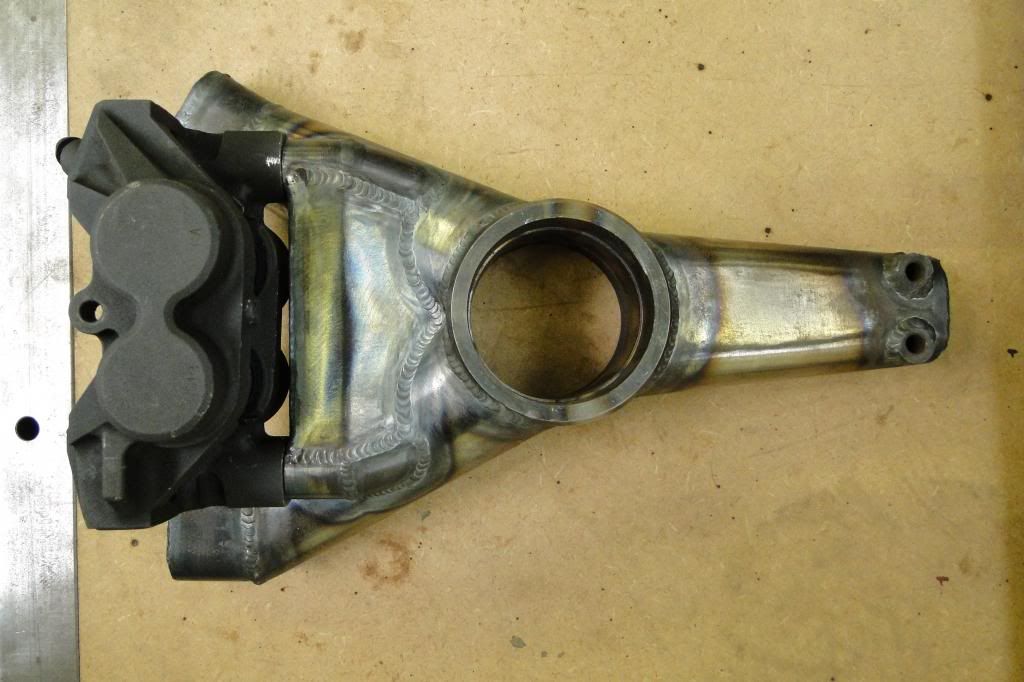
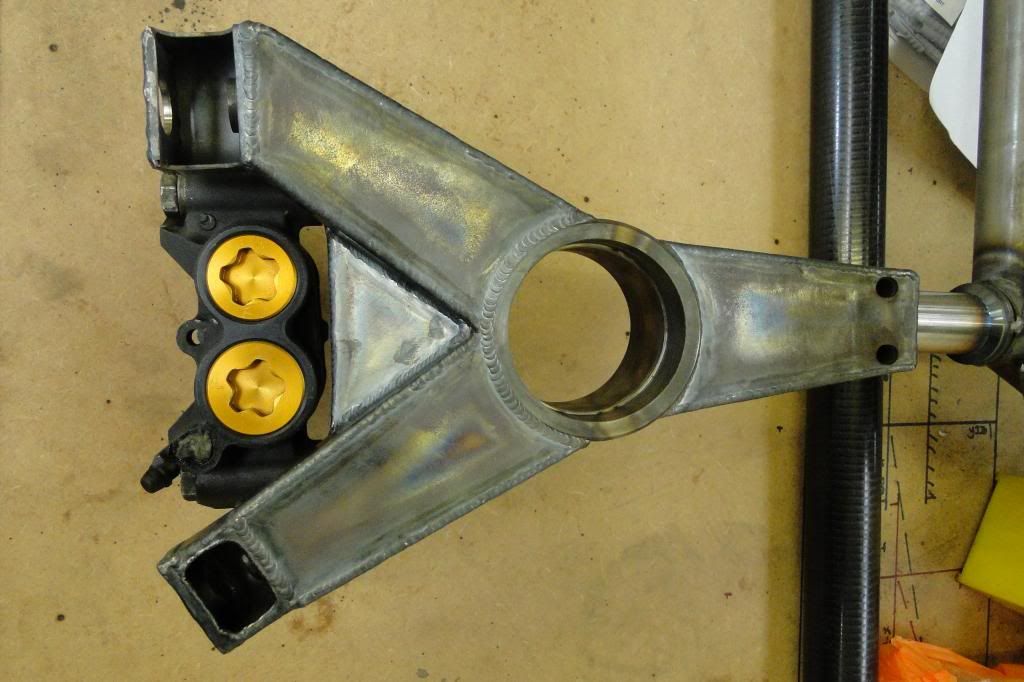
That was the basic structure, so next was making the brake caliper and push-rod mounts. More tasty jig action, and probably my favourite jig so far (<3 jgs) was to hold the caliper bosses in place.
Then, like an excited child, I put the brake caliper on and took some more photos. The calipers are Yamaha R1 monoblocks.. from a 2004 bike I think. I think the pimp-spec gold caps should go well with the rest of the colour scheme!
I turned the various bosses & spacers myself to save a bit of cash..
Since I didn't have a fly press or any other "proper" forming tools, I got creative with some bar stock and RHS to make a little tool I could use in the vice to form the curved edges. I picked up an old surface plate off eGay that I used as a jig table, and made a few fixtures up to hold everything in place for welding.
Then I could start forming the "legs" and welding the bits together.
That was the basic structure, so next was making the brake caliper and push-rod mounts. More tasty jig action, and probably my favourite jig so far (<3 jgs) was to hold the caliper bosses in place.
Then, like an excited child, I put the brake caliper on and took some more photos. The calipers are Yamaha R1 monoblocks.. from a 2004 bike I think. I think the pimp-spec gold caps should go well with the rest of the colour scheme!
Aha, Ian! I thought it might be you from the Manta name.. Yeah I miss that old 205, but it had to go to make way for this build. It was so ratty as I wasn't really worried so much about how it looked as long as it went well.. a student loan can only go so far! Haha. I'm hoping this will be much, much tidier!
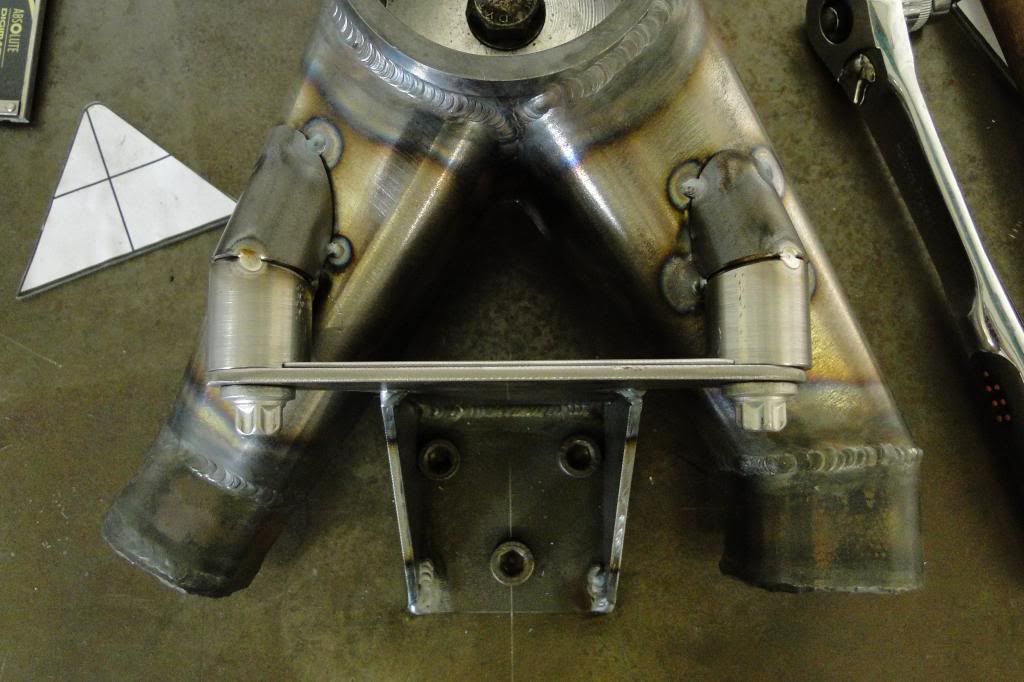
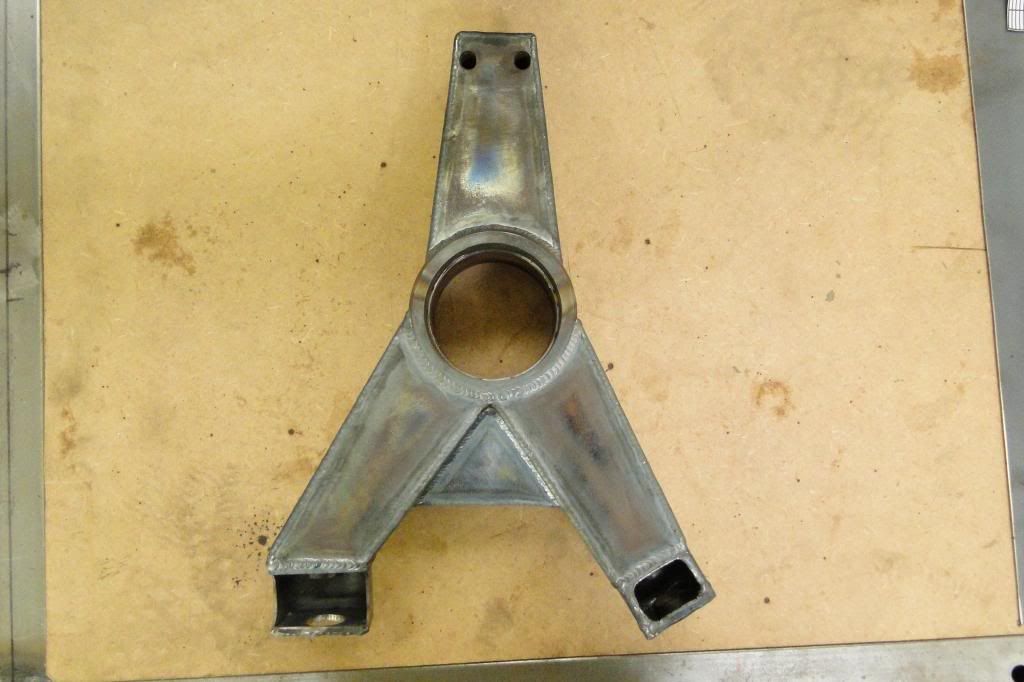
The last thing for those uprights was to machine out the bearing surfaces to take care of any warping (I'd had them machined 4mm undersize). It was pretty fiddly to set up, but worth taking my time on as the two surfaces need to be absolutely concentric! I made up a few fixture to locate it on the surface plate then bored them out.
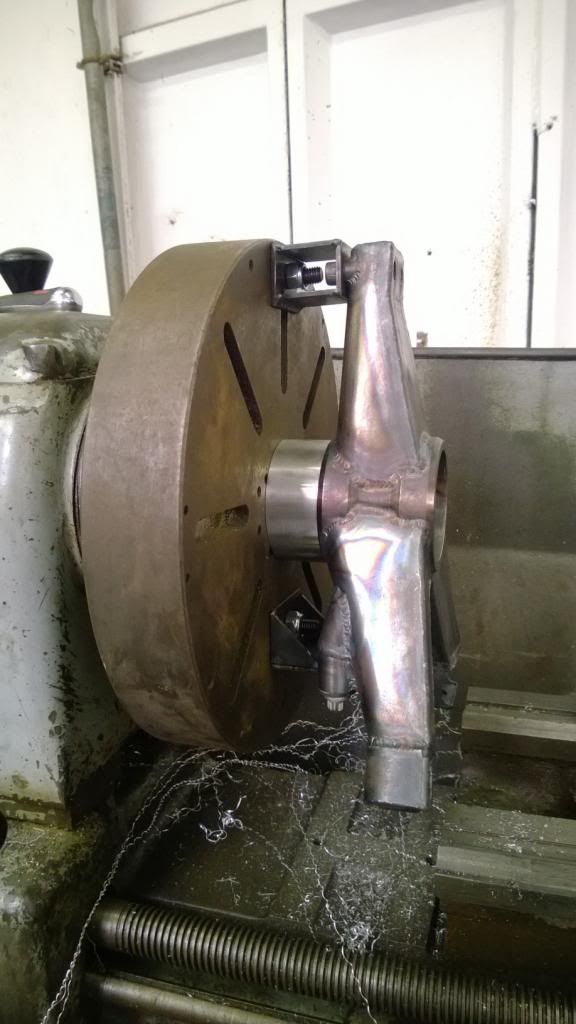
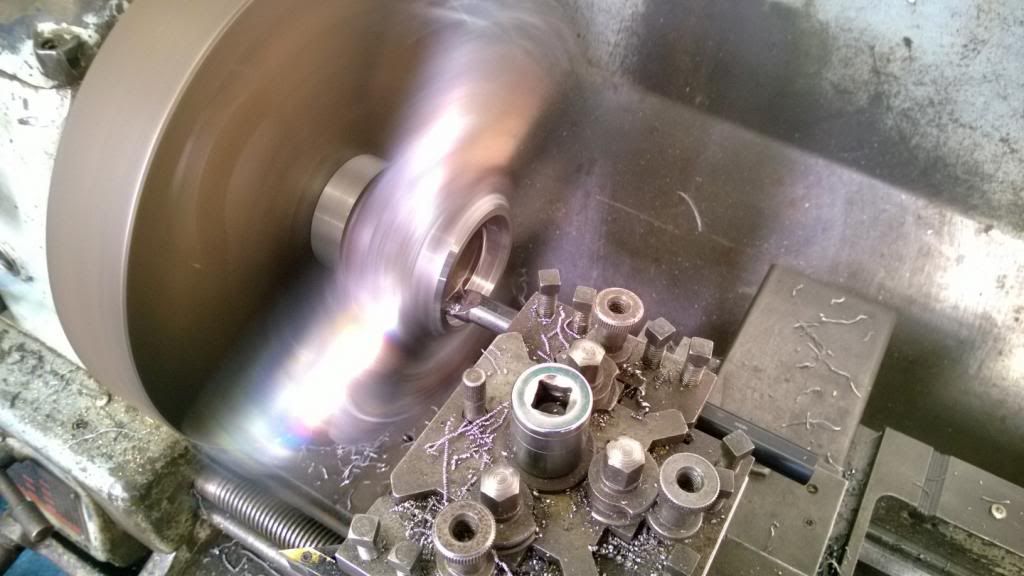
Then finally welded on the push-rod mounts and they were ready for powder coating.
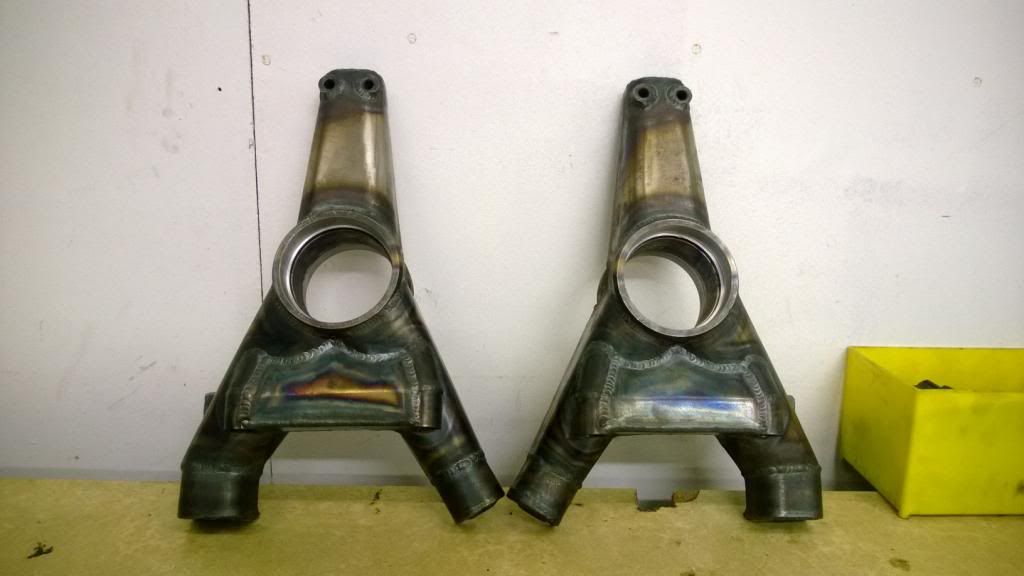
Then finally welded on the push-rod mounts and they were ready for powder coating.
CamMoreRon said:
Aha, Ian! I thought it might be you from the Manta name.. Yeah I miss that old 205, but it had to go to make way for this build. It was so ratty as I wasn't really worried so much about how it looked as long as it went well.. a student loan can only go so far! Haha. I'm hoping this will be much, much tidier!
Given if it's on the same level as UH13 was, which is pretty much what I'm seeing, it ought to be!I'm down in Chatham these days, working at Caterham on their SP300R, the Manta's still mothballed till work goes permenant though, been a bit tough bouncing between contract jobs

Still this should be rather bonkers, though surprised you're going with turbo with the duratec, been talking to one of our guys here and apparently supercharging suits the engine better and gives a smoother powercurve.
End of the day, either way, it should be 'interesting' to drive

This will bring the project up to date..
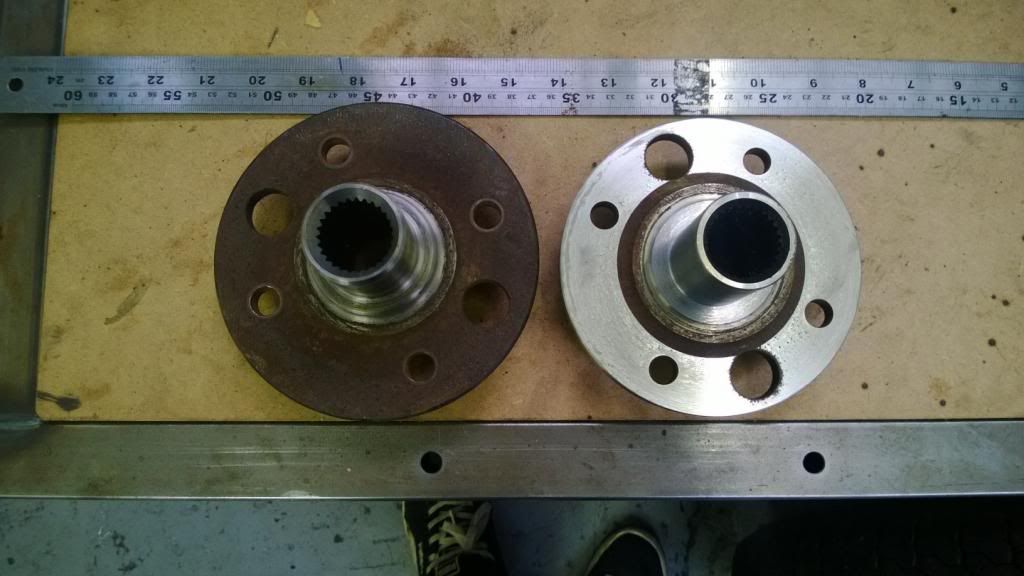
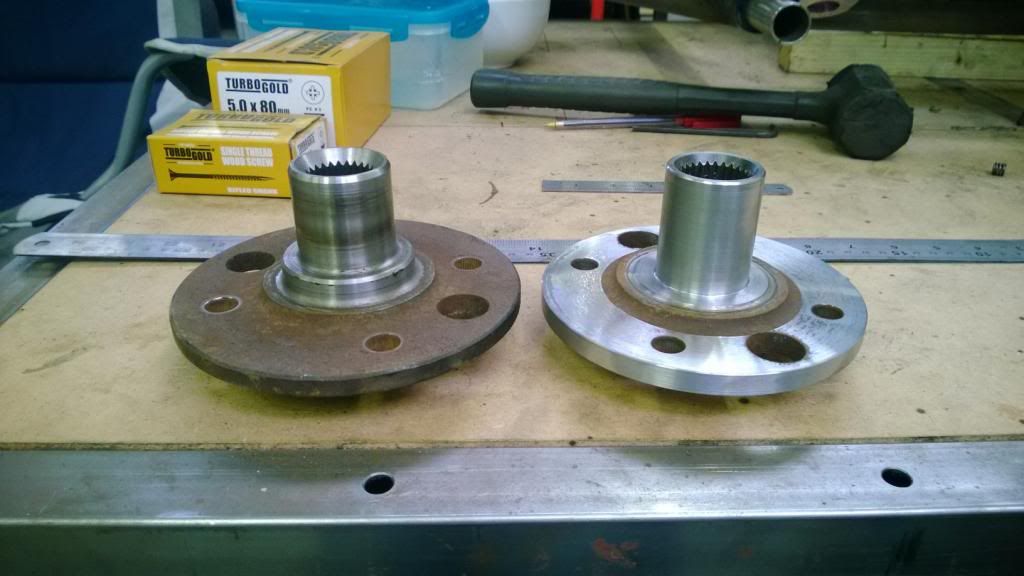
The last thing I did was to machine down the rear hubs. They started off as Sierra parts, but needed to have the faces skimmed and the diameter turned down as it was pretty large. I then flipped the things round and machined the spindle down to extend it's length slightly and reduce the OD from 41mm to 40mm so that it would fit the wheel bearings.
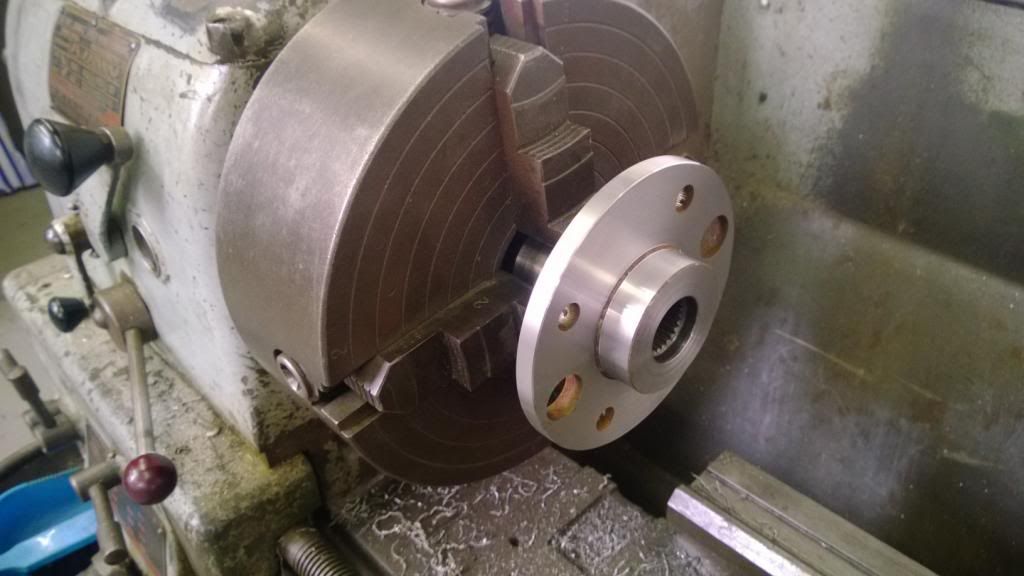
You can see the difference in these pics:
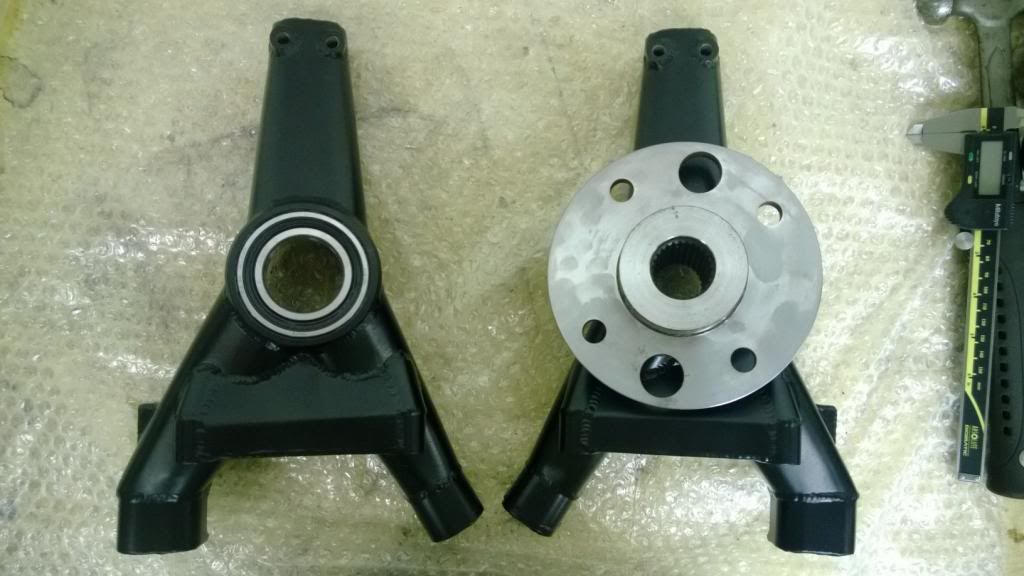
Then, once I'd got all the bits back from powder coating, I pressed in the wheel bearings and assembled the hubs to check everything fits.

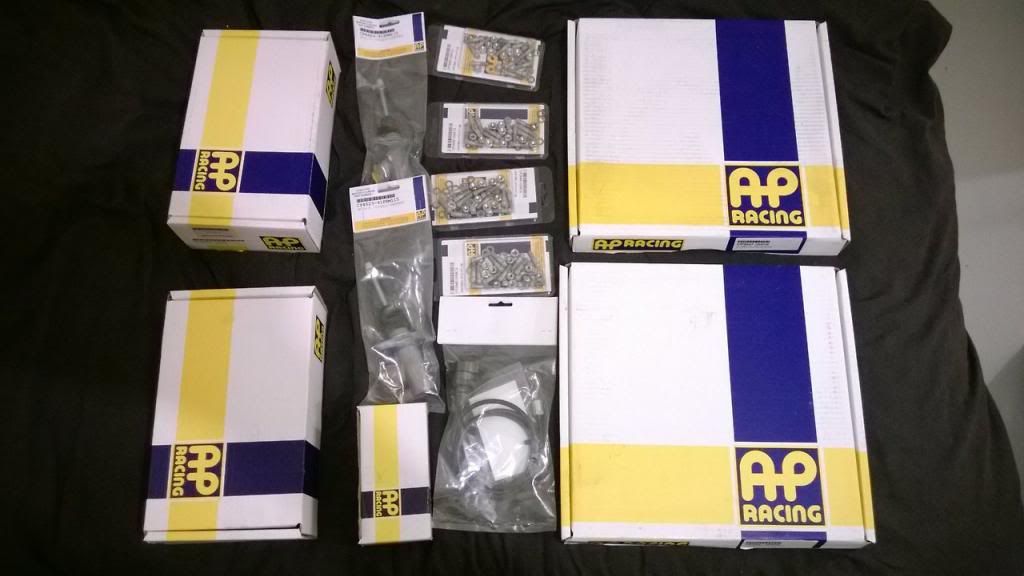
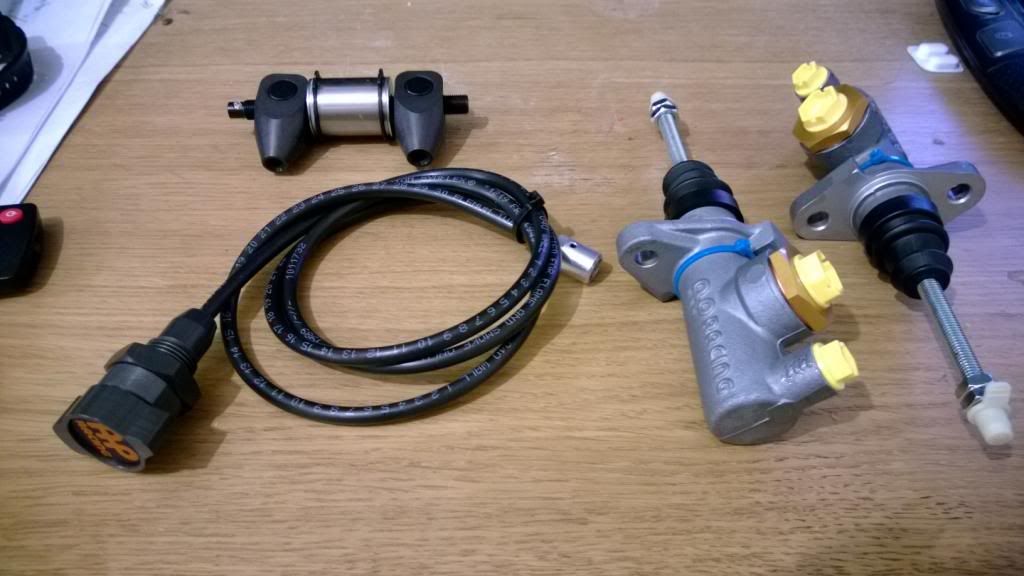
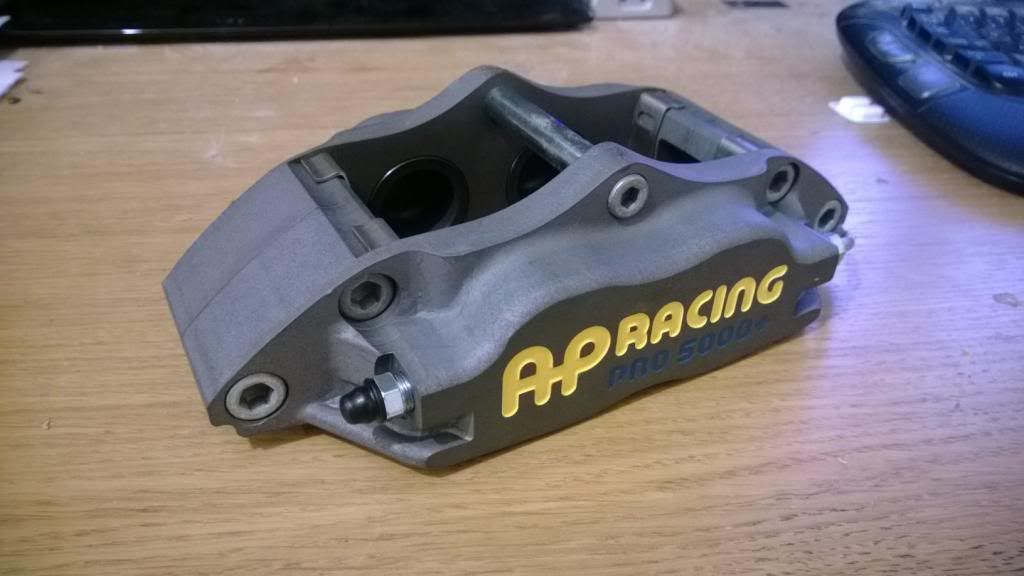
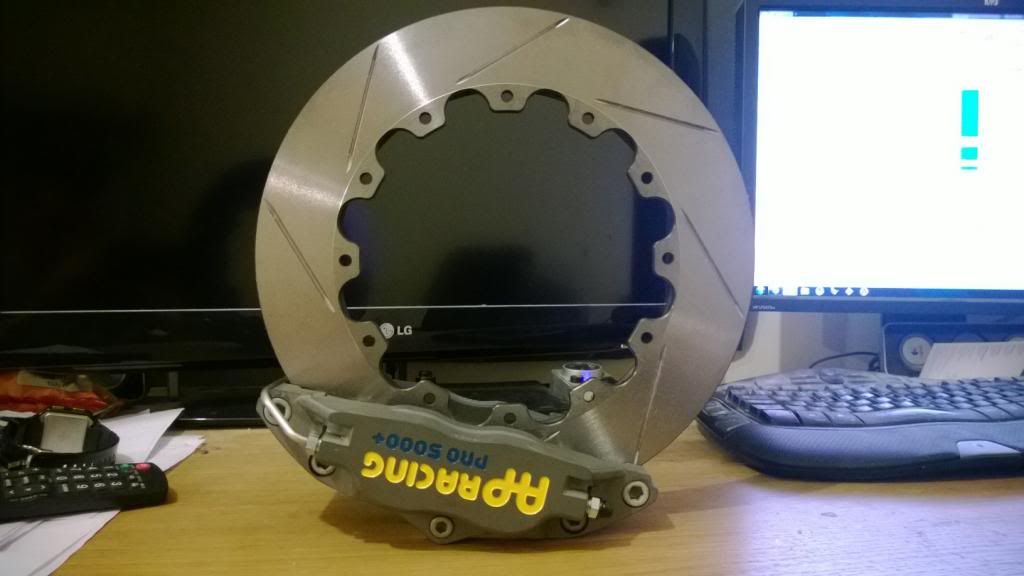
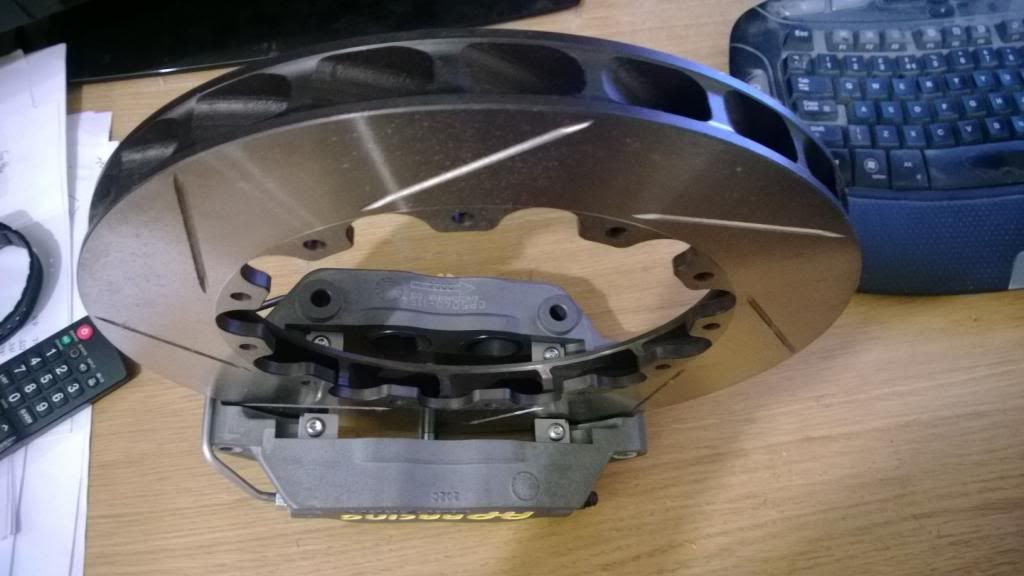
Then, finally, I'll leave you with some pics of my brakes, as everyone likes perving over brakes.
That's pretty much your lot for now! I'm currently waiting for a load of CNC bits to come back so that I can start getting the thing on it's wheels. Once that happens, it'll be powertrain and bodywork.
The last thing I did was to machine down the rear hubs. They started off as Sierra parts, but needed to have the faces skimmed and the diameter turned down as it was pretty large. I then flipped the things round and machined the spindle down to extend it's length slightly and reduce the OD from 41mm to 40mm so that it would fit the wheel bearings.
You can see the difference in these pics:
Then, once I'd got all the bits back from powder coating, I pressed in the wheel bearings and assembled the hubs to check everything fits.
Then, finally, I'll leave you with some pics of my brakes, as everyone likes perving over brakes.
That's pretty much your lot for now!
I'm currently waiting for a load of CNC bits to come back so that I can start getting the thing on it's wheels. Once that happens, it'll be powertrain and bodywork. 
Gassing Station | Readers' Cars | Top of Page | What's New | My Stuff