Peugeot 205 Saloon Libre - RWD Space-Frame Silhouette Racer
Discussion


top skills and good pictures to show what your doing too...the action shots of the lathe going are a favourite. The hubs look super close to the wheel rims. . i expect there is plenty of clearance but i kept studying the picture thinking blimey, fag paper between the rim and the upright !
Bookmarked and full of admiration for the project, keep showing me the way ...
Bookmarked and full of admiration for the project, keep showing me the way ...
benters said:
top skills and good pictures to show what your doing too...the action shots of the lathe going are a favourite. The hubs look super close to the wheel rims. . i expect there is plenty of clearance but i kept studying the picture thinking blimey, fag paper between the rim and the upright !
Bookmarked and full of admiration for the project, keep showing me the way ...
There isn't much clearance! In fact, without the brake bell in there the wheel won't go round. Bookmarked and full of admiration for the project, keep showing me the way ...
 With the bell on (+6mm) there's only a few mm of clearance.
Thanks for the kind words everyone. I did get a few bits back from machining / anodising on Friday, but I'll upload pics when I get the rest as that's when I can start putting them together.
At the moment I'm staying inside where it's warm and doing some CFD. I started off by making a simple model of the 205 body, and have run a few iterations of splitter / diffuser / wing and cooling ducts. I'll stick up a good report on that once things progress a little further; it takes about 8 hours to run each iteration, so will definitely be keeping me busy.
Oh today is a good day! 
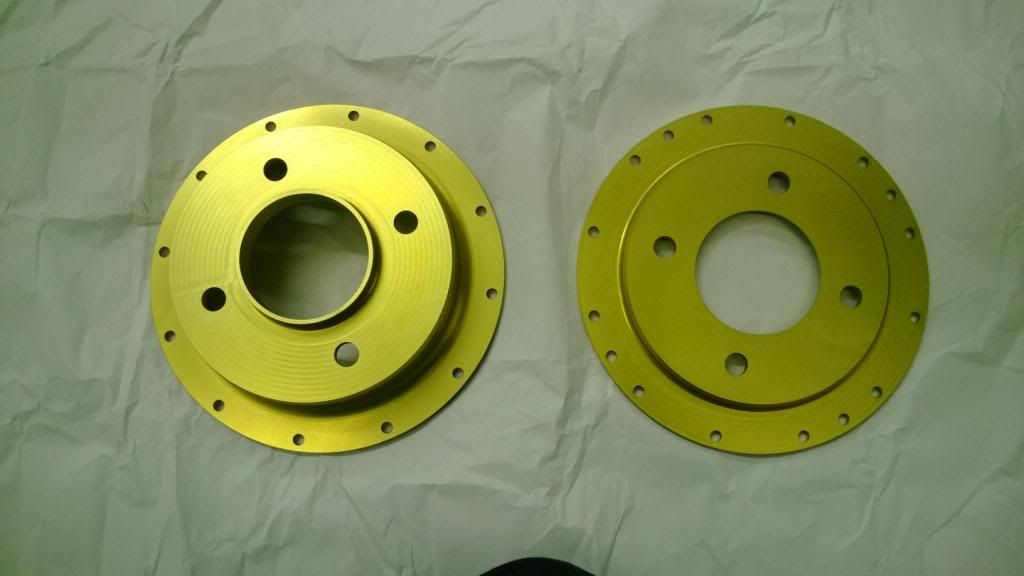
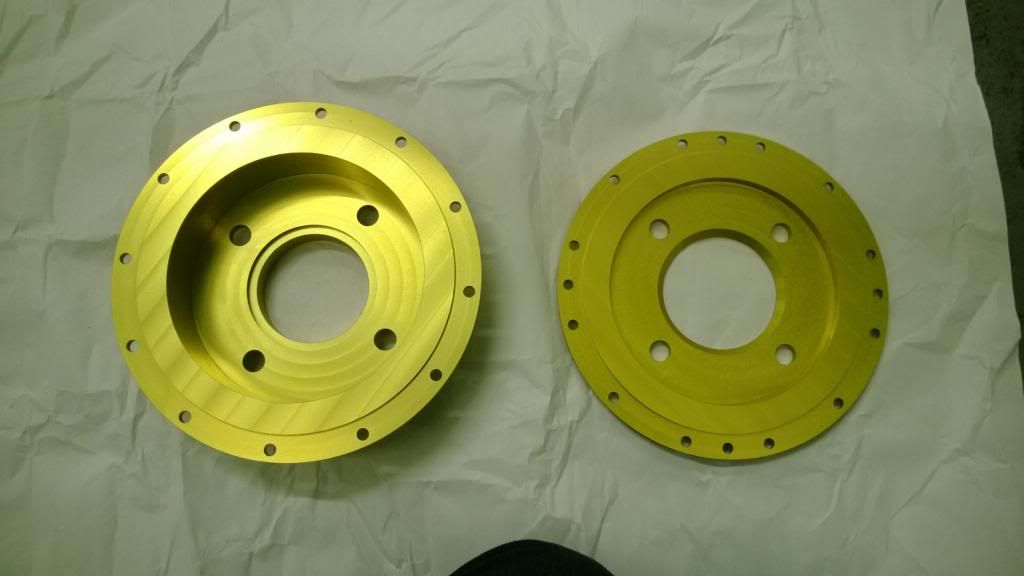
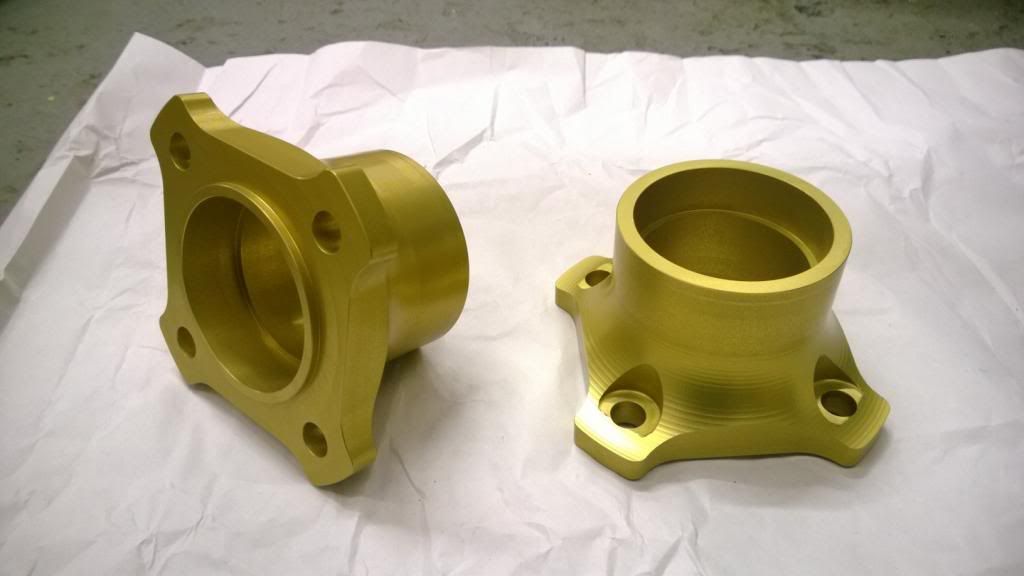
After a bit (a lot) of a wait I got my parts back from my machinist, and it was definitely worth it. Since I am an impatient child I rushed to the unit after work and checked that everything went together properly, and took some quick pics while I was at it.
Front & rear disc bells:
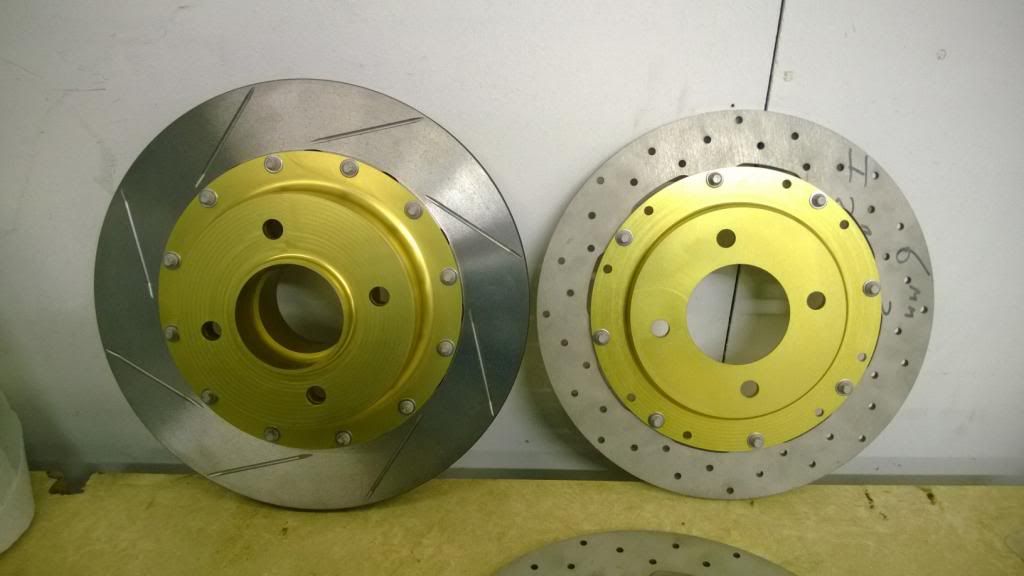
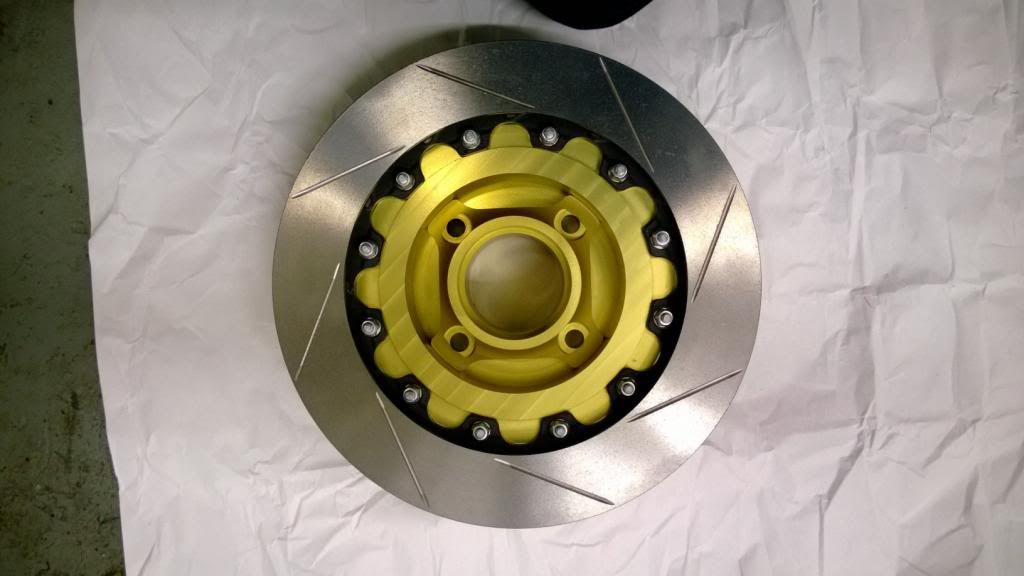
Front hubs:
Which fit inside the front bell:
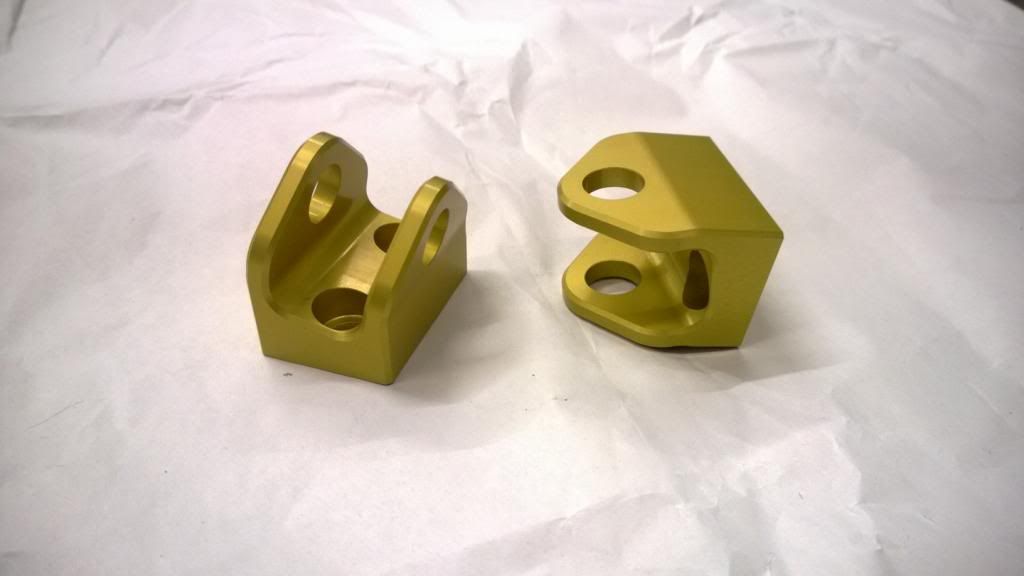
Upper wishbone clevises:
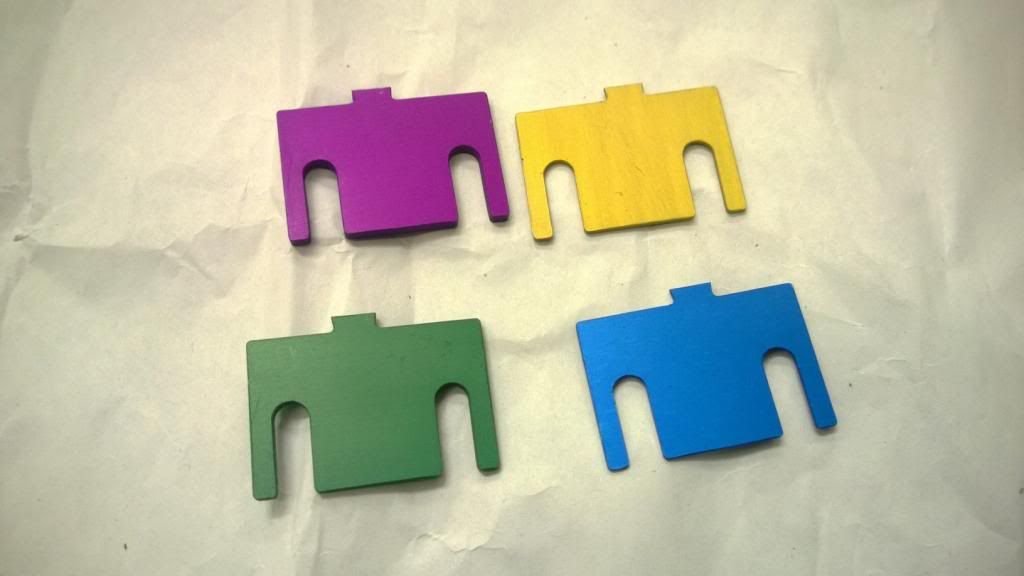
Camber shims - colour coded by thickness:
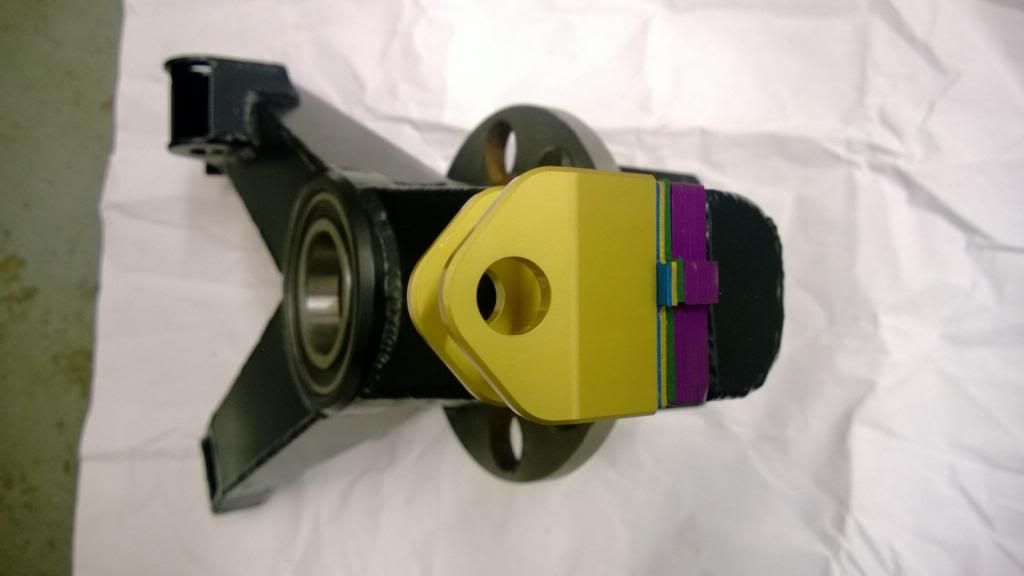
Clevis & upright assembly:
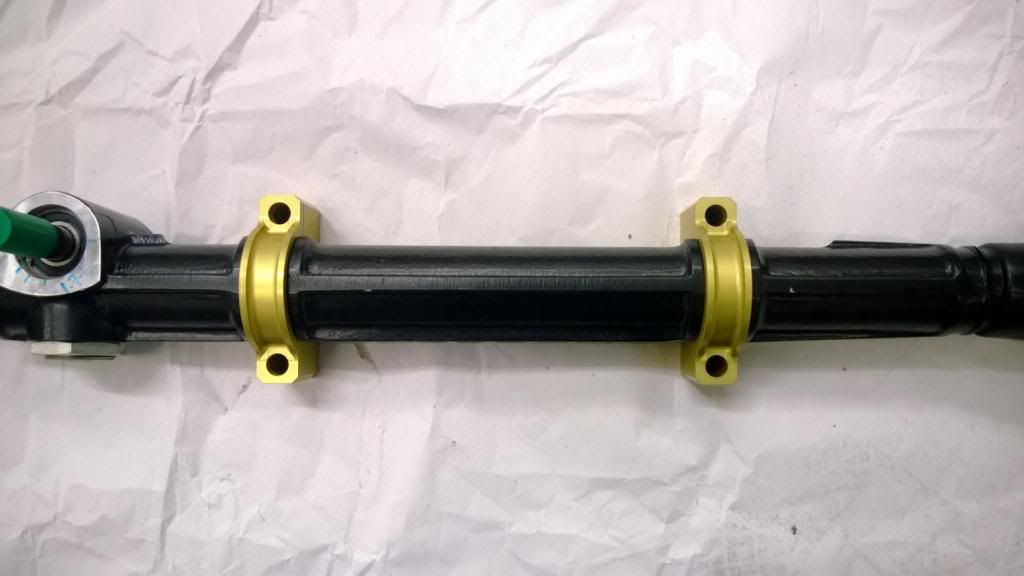
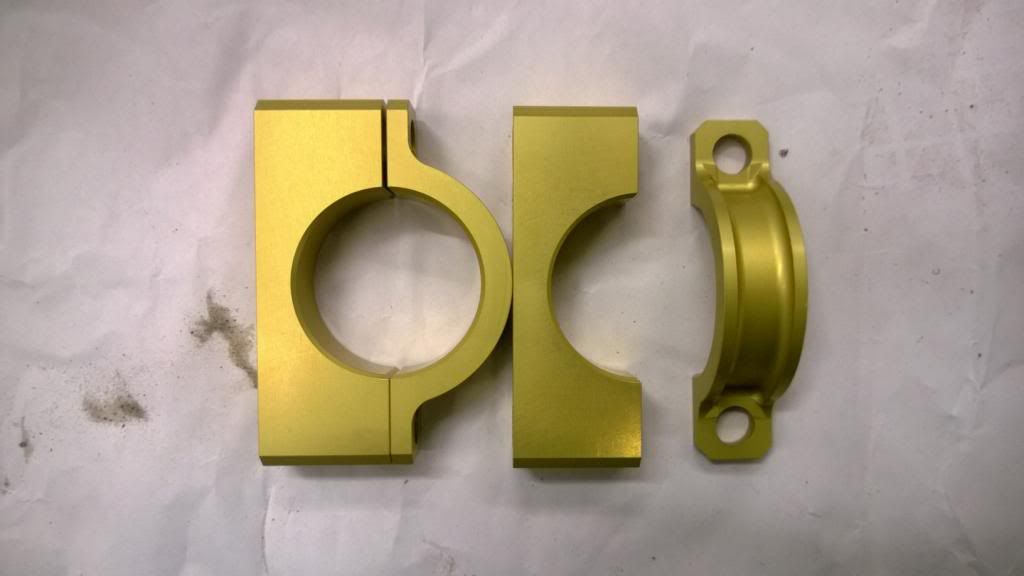
Steering rack mounting blocks:
I'm very happy with all that! I just need to wait for a couple more bits and then I can fit it all to the car and get a glimpse of what it'll look like on it's wheels.
After a bit (a lot) of a wait I got my parts back from my machinist, and it was definitely worth it. Since I am an impatient child I rushed to the unit after work and checked that everything went together properly, and took some quick pics while I was at it.
Front & rear disc bells:
Front hubs:
Which fit inside the front bell:
Upper wishbone clevises:
Camber shims - colour coded by thickness:
Clevis & upright assembly:
Steering rack mounting blocks:
I'm very happy with all that!
I just need to wait for a couple more bits and then I can fit it all to the car and get a glimpse of what it'll look like on it's wheels.Gassing Station | Readers' Cars | Top of Page | What's New | My Stuff