Mini 1275 rebuild
Discussion


Justin S said:
Go metro turbo, big boy........... get the boost up.........
You mean like this 
http://www.youtube.com/watch?v=u0NhCK5jqoA
It's a bit of a sleeper to say the least. Would see it in the car park every day and never took any notice of it, until I spotted the R888's one day lurking under the arches.
When I saw the owner I asked what he was doing with them and he started laughing, the work done on the car is superb.
Thanks for the comments and the links so far, although a long way off yet, am thinking the A series with a straight cut box is the way to go. ZTec or bike would be nice but having looked into the work involved seems a lot of hassle to get it right.
Ideally If I can I want to junk ECU's and all the electronic junk that goes with them and go back to basics. Is that possible to do that with all the emission regs these days ? all that gadgetry leaves me cold and uninterested.
Edited by Westy Pre-Lit on Monday 27th January 23:13
 d bolts to hold the box to engine together. Straight cut drop gears, straight cut box. Youre at the age of needing a hearing aid, so that's sorted then.
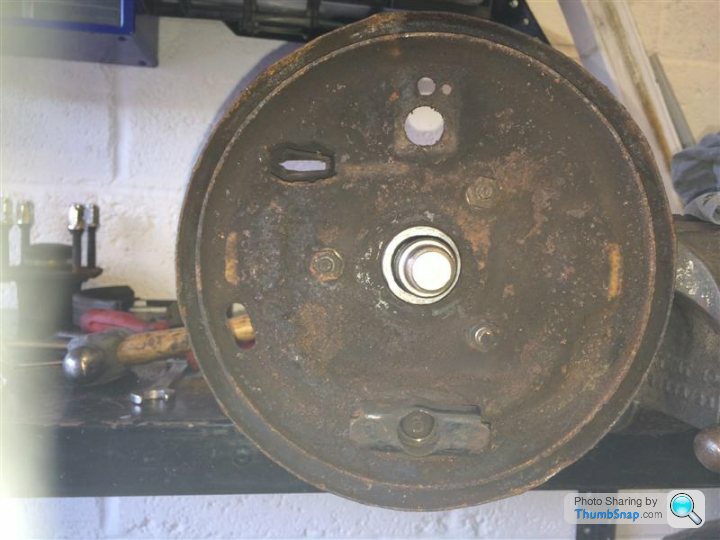
With the rear subframe removed I was able to get a good look at it's condition.
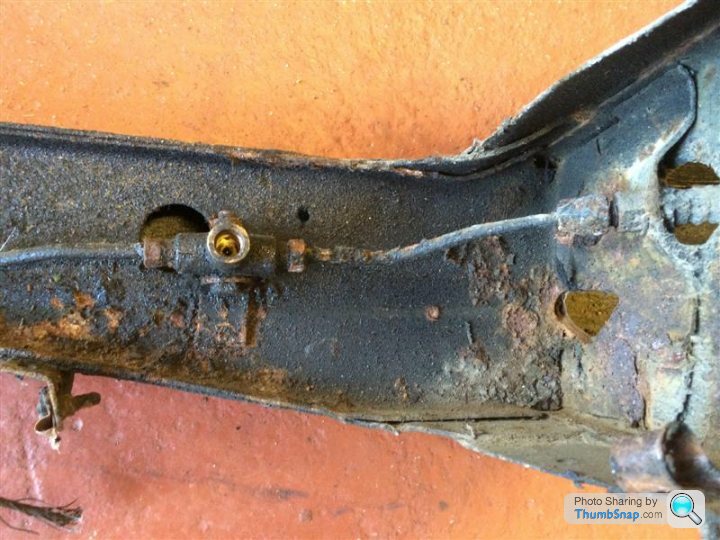
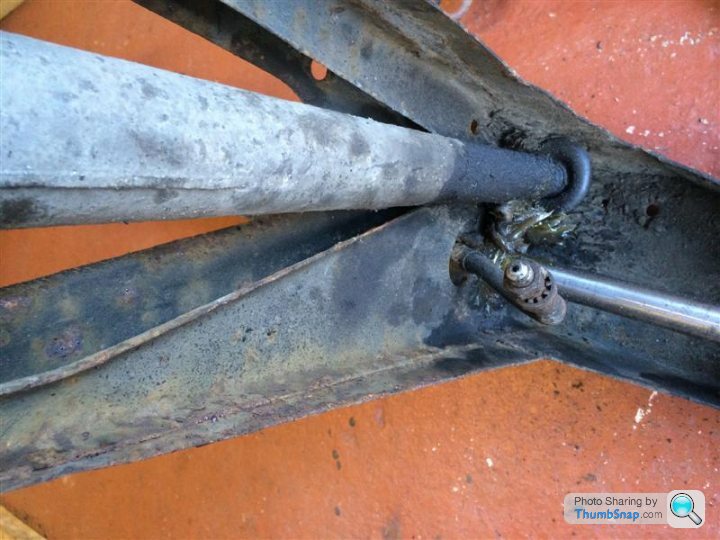
Apart from being caked in dirt / grease and some surface rust it didn't look too bad.
So I gave it a quick clean and degrease and was left with this.
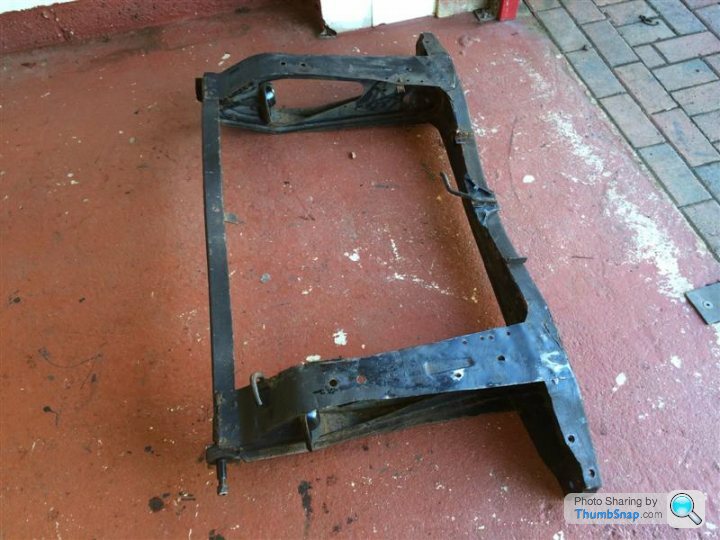
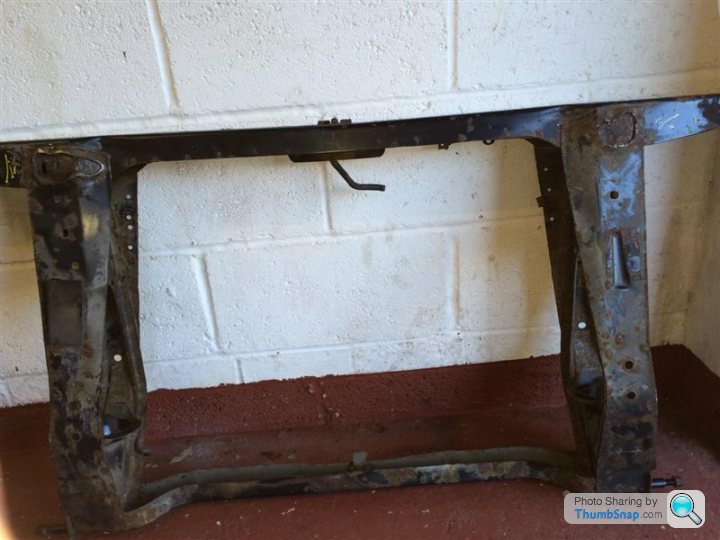
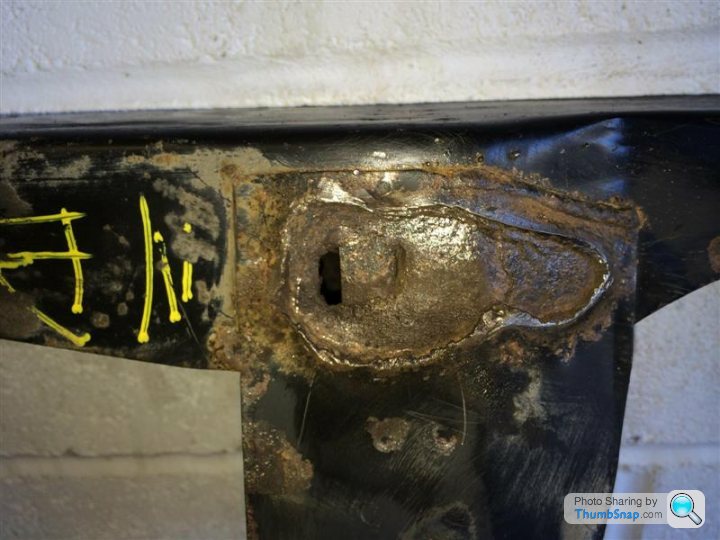
After a good poke and prod about it didn't look too bad, apart from these rather scabby bits on the top part of the frame. I cut out all the crusty bits and was left with these either side.

The frame has now been taken to work for a welder friend of mine to have a look at. He hasn't seen it yet but hopefully he should be able to do something with it. If he can repair it and I'm sure he will be able to, it will then be off for blasting then powder coating.
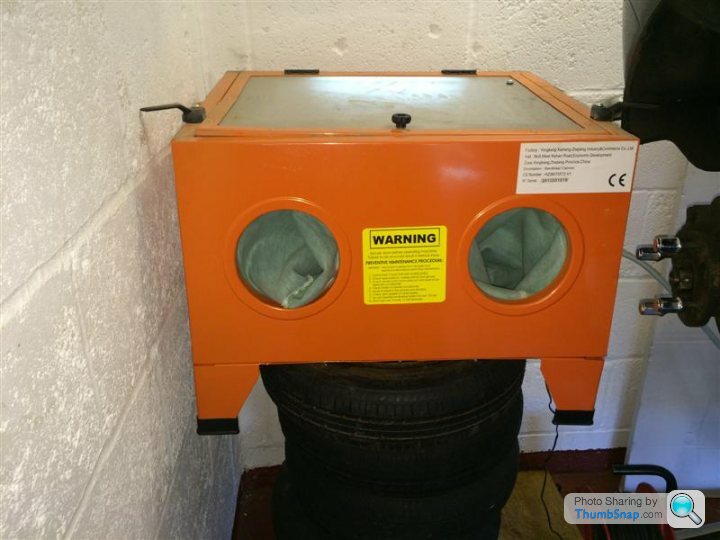
Wanting to make my life as easy as possible, last week I had the bright idea of buying a sand blaster. As soon as I got it home I couldn't wait to set it all up and position it at the back of the garage out of the way....Oh yeaaahh, I couldn't wait to use the new toy.
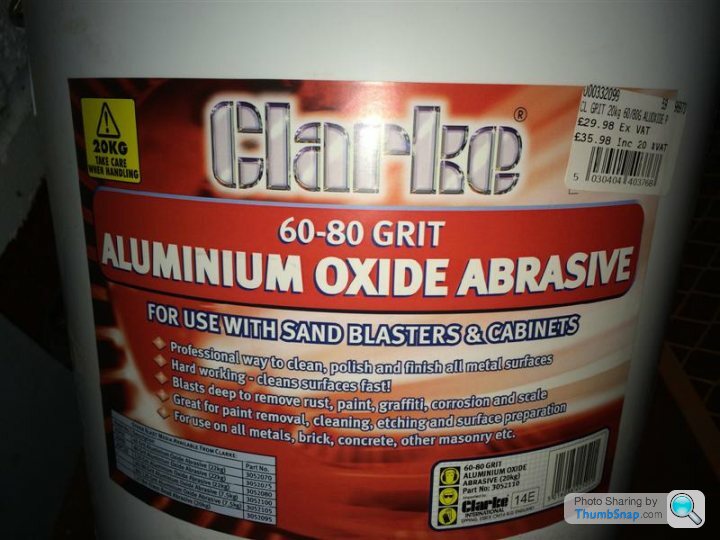
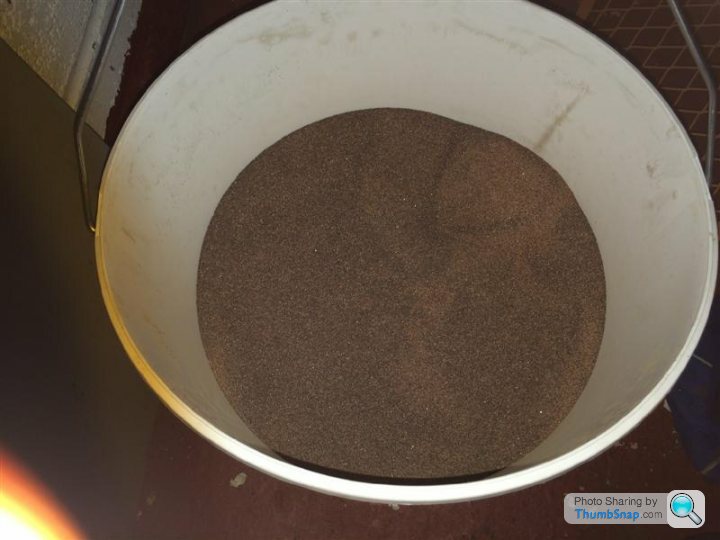
Then it was off to Machine Mart to get a load of this stuff to fill it with.
..........................You know those bright idea's you think are good at the time In my haste and as per usual I cast aside the instructions and got to work. I connected it up to the compressor, whacked up the pressure and cracked on....... Why O why do I never read the instructions of anything.
Thankfully I was wearing a mask and safety glasses because within a few short minutes the garage was full of dust and I couldn't see a thing. Last time I had done this was over 20 years ago and I don't remember anything like this. Within just a few minutes there was crap literally everywhere and everything in sight was covered in a thick layer of pink dust.
Anyway to cut a long story short and a good few hours worth of cleaning up, I think I've now got the hang of the thing. I've also now managed to get it connected up to a hoover which was being thrown out. I'm yet to try it out in anger but trials so far seem pretty promising.
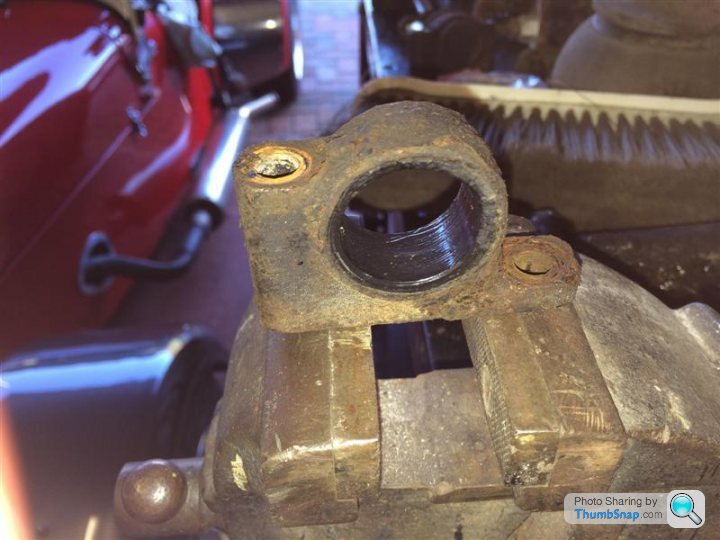
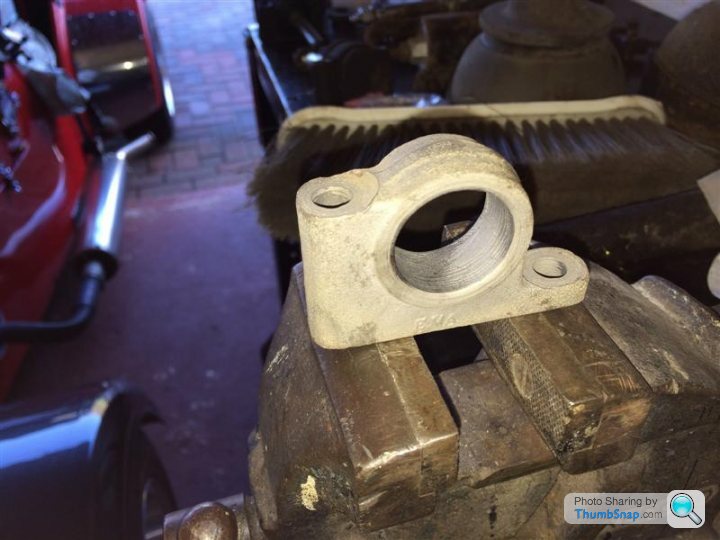
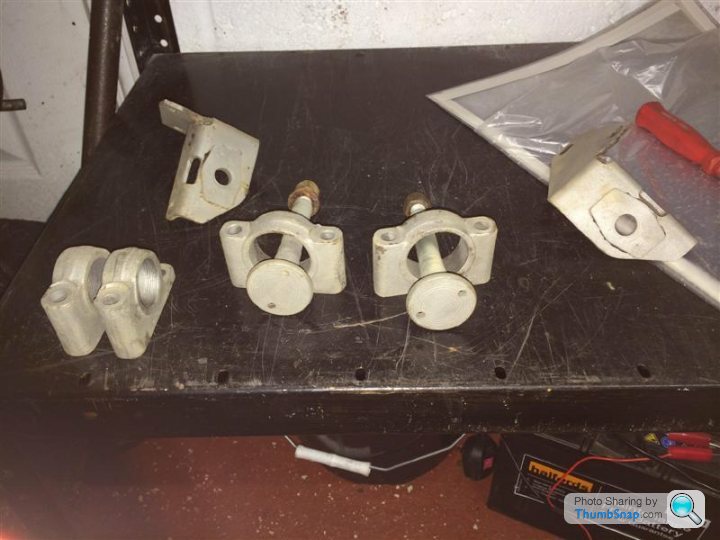
Anyway here's a few before and after shots of some subframe brackets etc, pre reading of instructions and hoover connection.
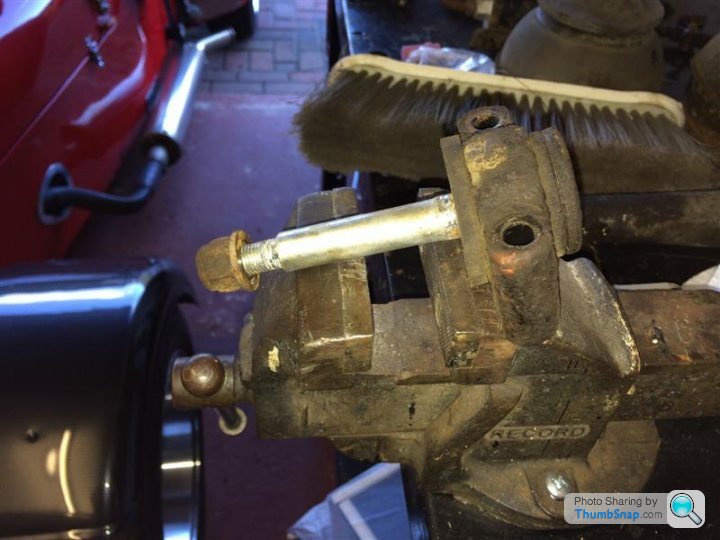
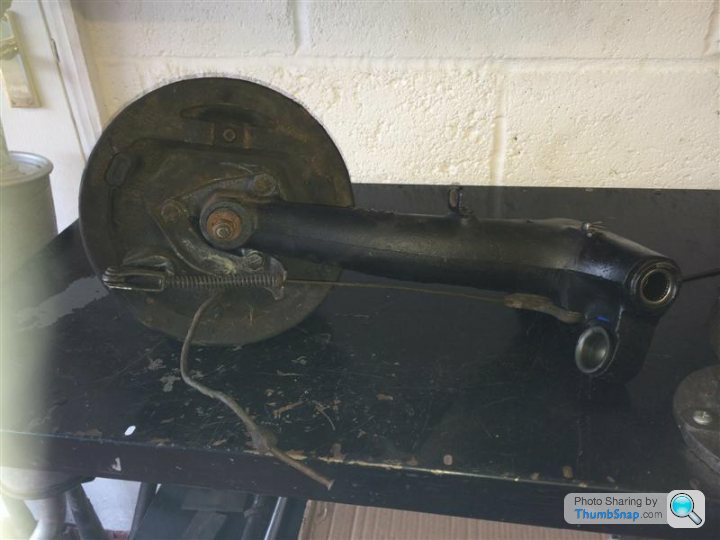
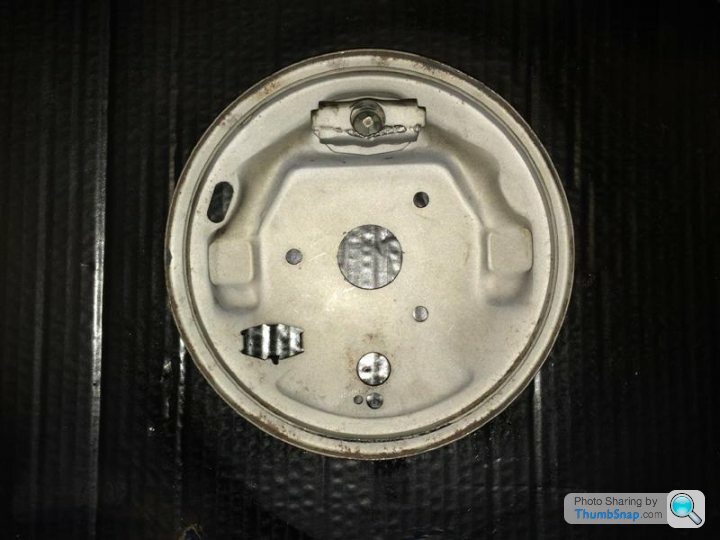
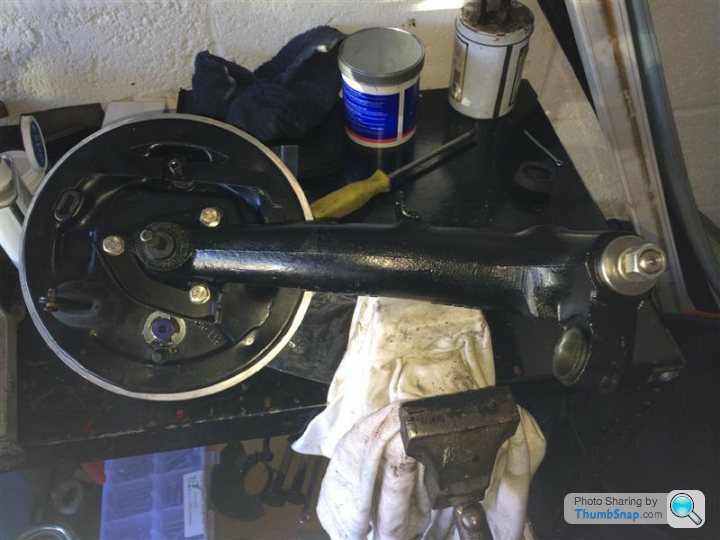
I then stripped down one of the radius arms and it's drum brake ready for cleaning.

That's it so far, hopefully by the next write up I should have a few shiney bits delivered.
During the week, thinking and reading about future wax protection and rust removal, I decided to buy this lot direct from Bilt Hamber. I haven't used any of it yet, but by all accounts it does seem to get some very good reviews. So thought it was worth a punt and bought some of the stuff I thought I will be needing in the future.
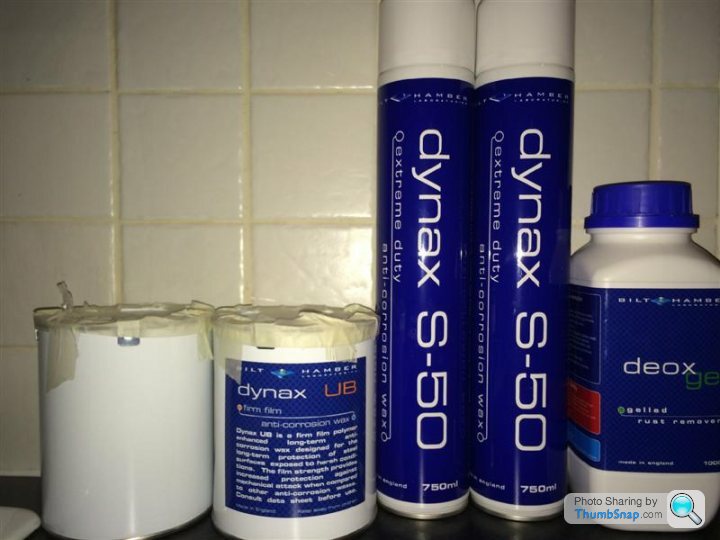
http://www.bilthamber.com/
Apart from being caked in dirt / grease and some surface rust it didn't look too bad.
So I gave it a quick clean and degrease and was left with this.
After a good poke and prod about it didn't look too bad, apart from these rather scabby bits on the top part of the frame. I cut out all the crusty bits and was left with these either side.
The frame has now been taken to work for a welder friend of mine to have a look at. He hasn't seen it yet but hopefully he should be able to do something with it. If he can repair it and I'm sure he will be able to, it will then be off for blasting then powder coating.
Wanting to make my life as easy as possible, last week I had the bright idea of buying a sand blaster. As soon as I got it home I couldn't wait to set it all up and position it at the back of the garage out of the way....Oh yeaaahh, I couldn't wait to use the new toy.
Then it was off to Machine Mart to get a load of this stuff to fill it with.
..........................You know those bright idea's you think are good at the time
In my haste and as per usual I cast aside the instructions and got to work. I connected it up to the compressor, whacked up the pressure and cracked on....... Why O why do I never read the instructions of anything.Thankfully I was wearing a mask and safety glasses because within a few short minutes the garage was full of dust and I couldn't see a thing. Last time I had done this was over 20 years ago and I don't remember anything like this. Within just a few minutes there was crap literally everywhere and everything in sight was covered in a thick layer of pink dust.
Anyway to cut a long story short and a good few hours worth of cleaning up, I think I've now got the hang of the thing. I've also now managed to get it connected up to a hoover which was being thrown out. I'm yet to try it out in anger but trials so far seem pretty promising.
Anyway here's a few before and after shots of some subframe brackets etc, pre reading of instructions and hoover connection.
I then stripped down one of the radius arms and it's drum brake ready for cleaning.
That's it so far, hopefully by the next write up I should have a few shiney bits delivered.
During the week, thinking and reading about future wax protection and rust removal, I decided to buy this lot direct from Bilt Hamber. I haven't used any of it yet, but by all accounts it does seem to get some very good reviews. So thought it was worth a punt and bought some of the stuff I thought I will be needing in the future.
http://www.bilthamber.com/
Edited by Westy Pre-Lit on Saturday 15th February 14:52
Westy Pre-Lit said:
Hi Dan, have you got any more pics/specs etc as that looks interesting ?
I think my worry would be the obvious vulnerability of the carbs. How did it run if you got caught in the rain etc ?
Tons yes...i'll post some up in a separate thread if you like I think my worry would be the obvious vulnerability of the carbs. How did it run if you got caught in the rain etc ?
It was fine in the rain, never had an issue with it. Drove it all year round, even with a foot of snow on it.

Due to my computer deciding to no longer wanting to start up  , it's taken till now to finally be able post any updates.
Although this isn't going to be the quickest of builds I have taken quite a lot of pictures of the work carried out so far, will try to upload them over the next few days as and when I get the chance.
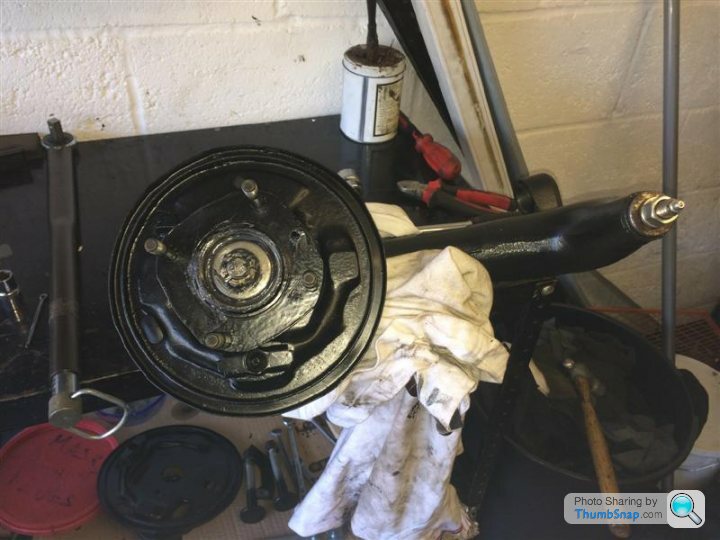
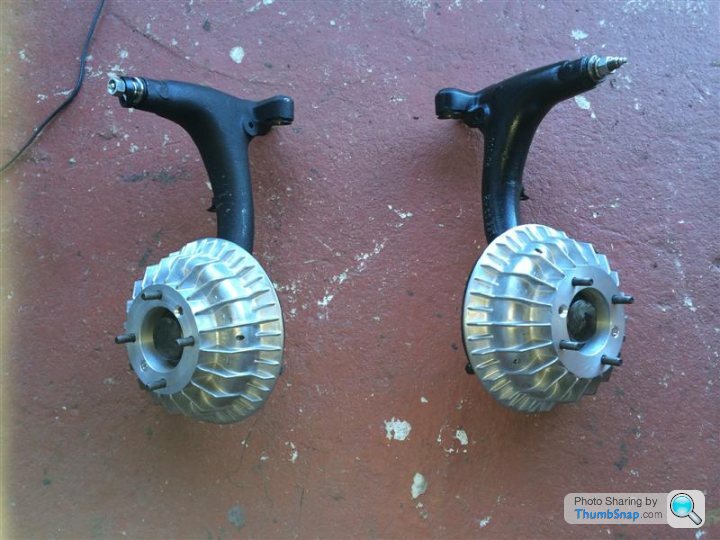
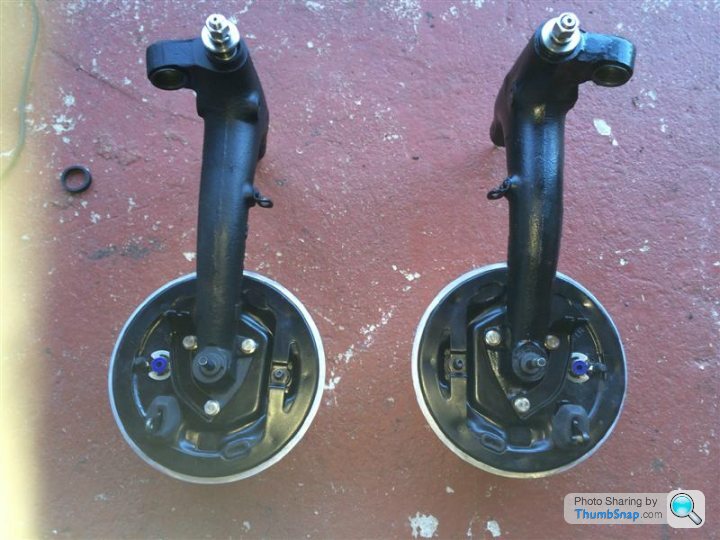
I had toyed with the idea of putting disks on the back but after much reading up decided to keep to drums.
New parts to rebuild the brakes.
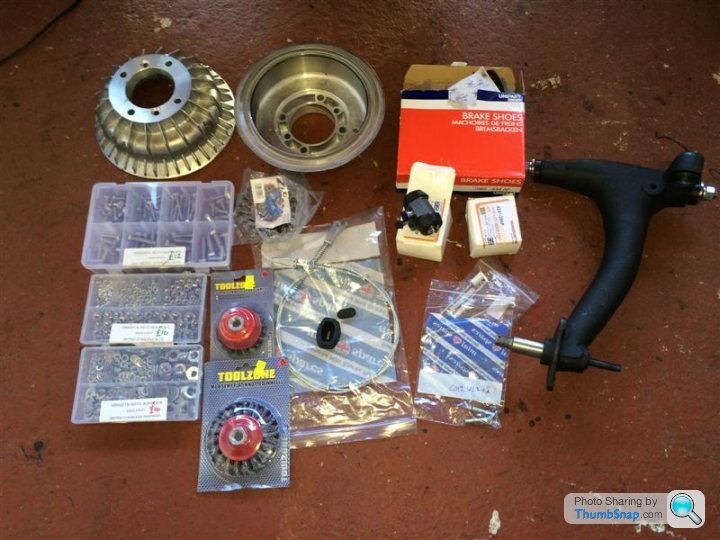
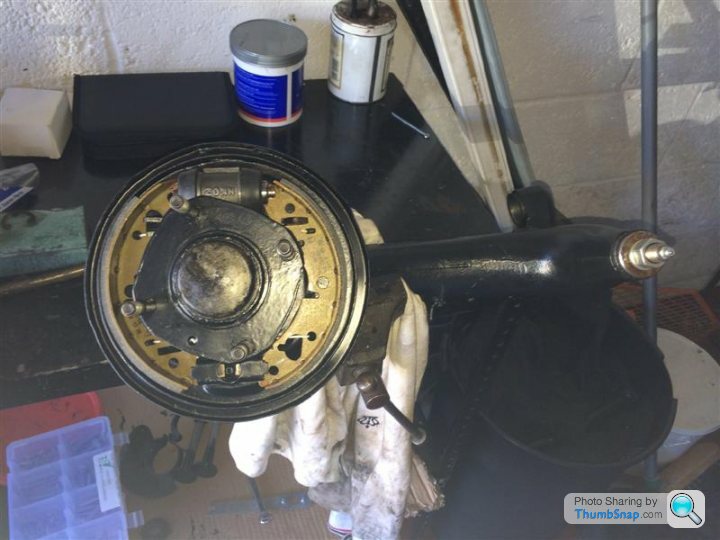
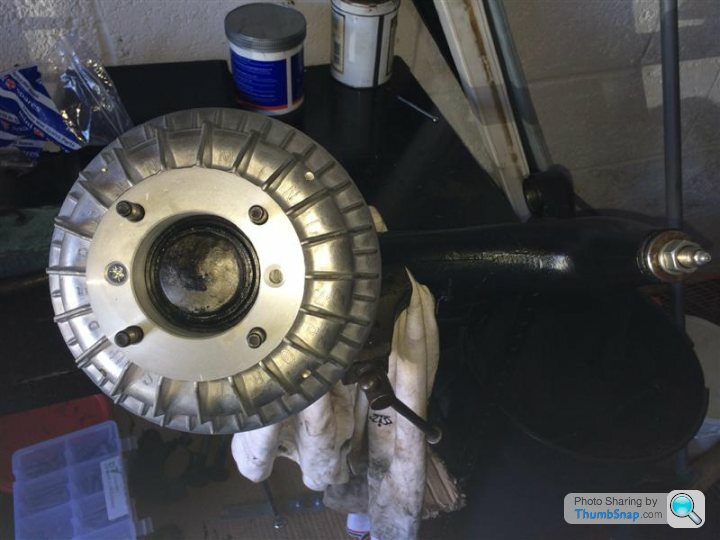
All the usable brake parts were blasted and painted then rebuilt. The slave cylinders actually looked ok but for £10 each thought I might as well stick some new ones in. I believe the bearings had previously not long been done and looked fine so just packed and refitted them.
, it's taken till now to finally be able post any updates.Although this isn't going to be the quickest of builds I have taken quite a lot of pictures of the work carried out so far, will try to upload them over the next few days as and when I get the chance.
I had toyed with the idea of putting disks on the back but after much reading up decided to keep to drums.
New parts to rebuild the brakes.
All the usable brake parts were blasted and painted then rebuilt. The slave cylinders actually looked ok but for £10 each thought I might as well stick some new ones in. I believe the bearings had previously not long been done and looked fine so just packed and refitted them.
Edited by Westy Pre-Lit on Saturday 7th June 13:08
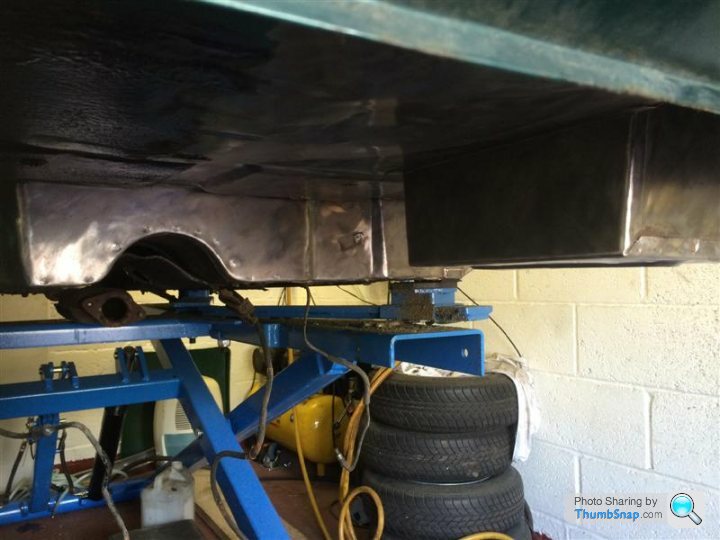
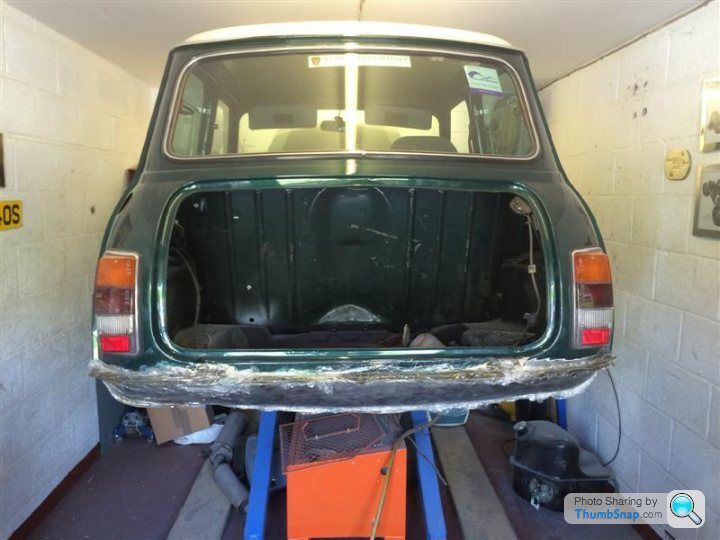
One rainy saturday I found myself with not much to do, so rather than kick my feet about I found myself a 'Job'. Yep you know them jobs you should just leave alone, you know you should just leave them alone but you do them anyway knowing full well it's all going to go pear shaped in the end but carry on regardless.........Yep it was one of them jobs
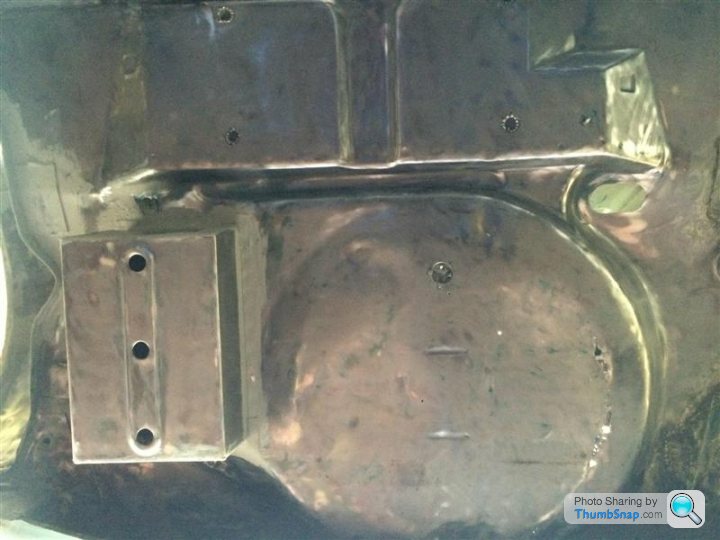
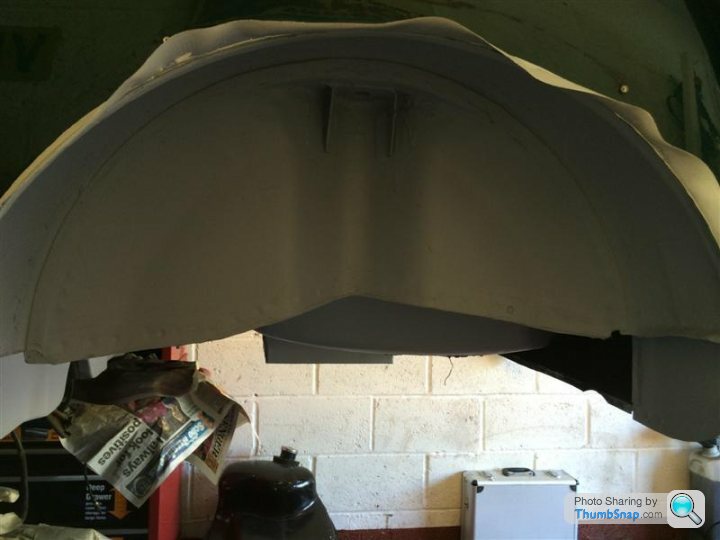
Having already cleaned and degreased the rear underside of the mini a few weeks earlier and found it in a pretty good condition, I decided to give it a coat of black satin hammerite.
This wasted a good few hours and to be honest once I had finished I was rather pleased with my days work.
Here started the first lesson.......When i read about what I should have done, every single thing I read said 'DON'T paint the underside with hammerite !'
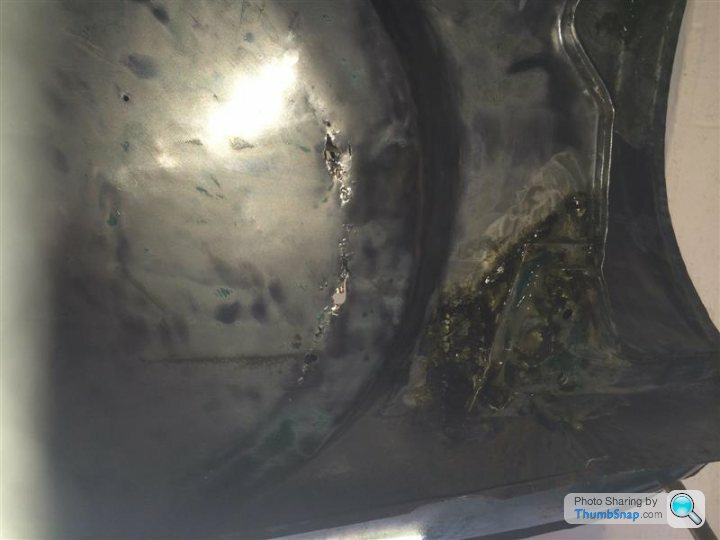
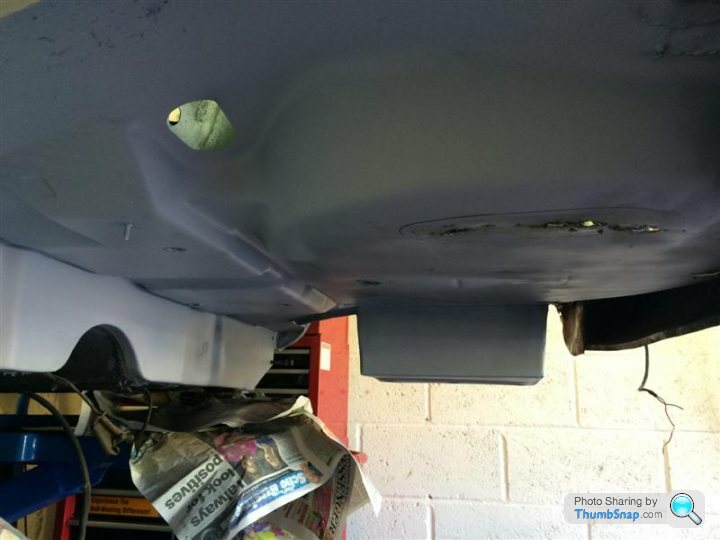
So the week after, I took it all back off and went back to bare metal. To be honest I'm glad I did as it's shown up quite a few bits that need to be welded up and will hopefully be a better job in the end.
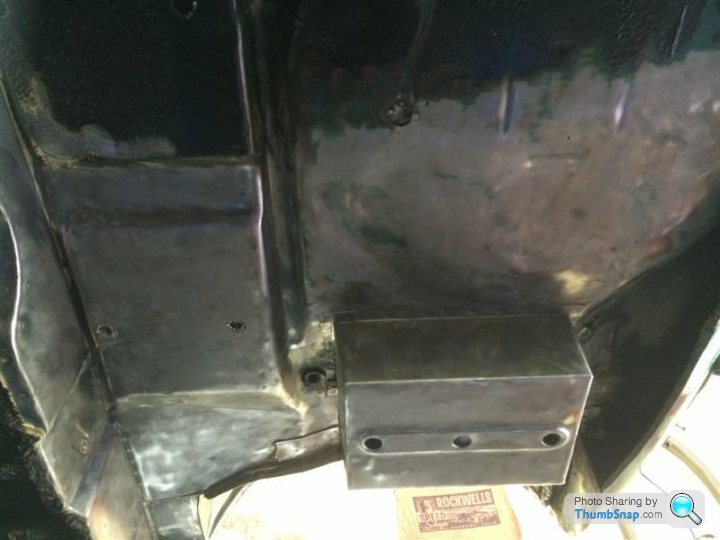

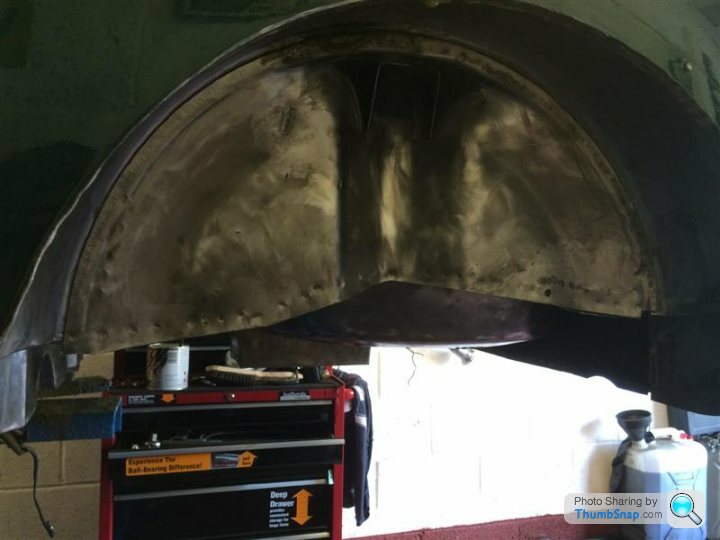

Here you can see daylight through the wheel well which wasn't visible or apparent before taking it back to bare metal. This will need to be sorted out later.
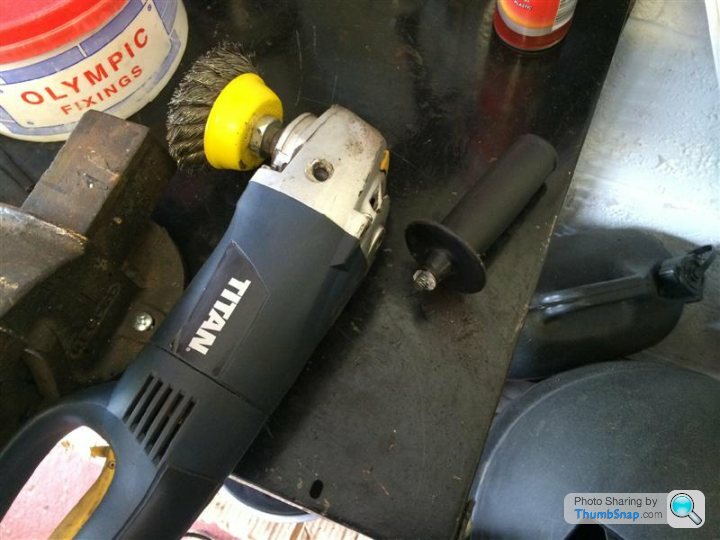
And a warning to always wear gloves when using an angle grinder, when they bite back they tend to hurt a tad.
Having already cleaned and degreased the rear underside of the mini a few weeks earlier and found it in a pretty good condition, I decided to give it a coat of black satin hammerite.
This wasted a good few hours and to be honest once I had finished I was rather pleased with my days work.
Here started the first lesson.......When i read about what I should have done, every single thing I read said 'DON'T paint the underside with hammerite !'
So the week after, I took it all back off and went back to bare metal. To be honest I'm glad I did as it's shown up quite a few bits that need to be welded up and will hopefully be a better job in the end.
Here you can see daylight through the wheel well which wasn't visible or apparent before taking it back to bare metal. This will need to be sorted out later.
And a warning to always wear gloves when using an angle grinder, when they bite back they tend to hurt a tad.
Edited by Westy Pre-Lit on Saturday 7th June 12:50

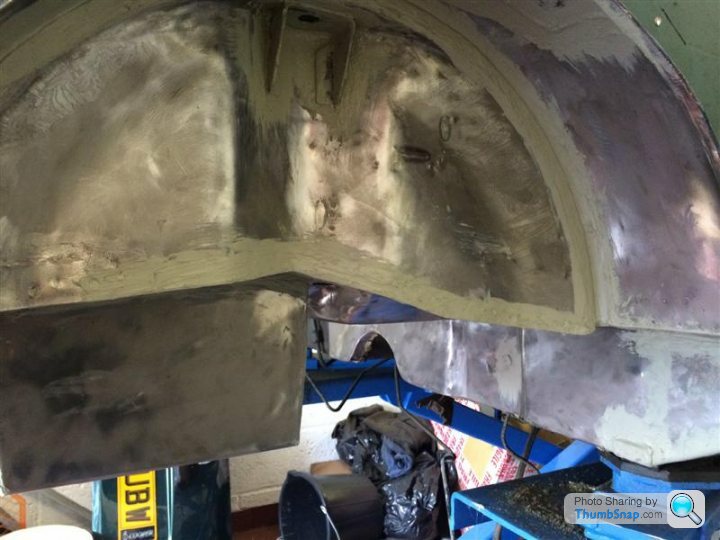
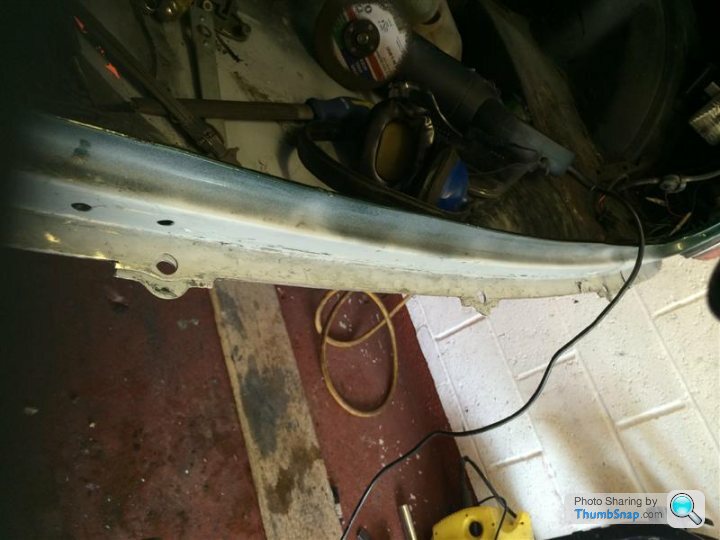
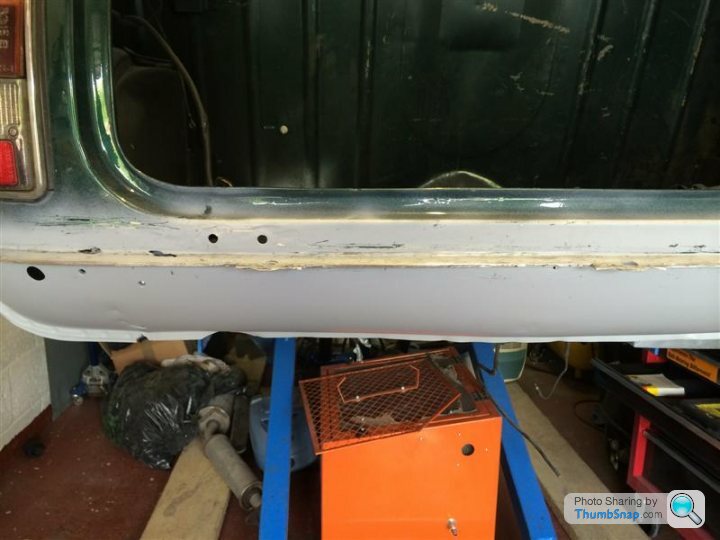
As they say, I've started so I'll finish........so it was on to the sills........
Now these looked pretty good and straight to be honest until I started to attack them with the grinder, but as soon as I started I hit filler which didn't bode well.
Unfortunately I didn't take many pics at this point, so there will be more in a later post. What I should do really is replace the sills, but at the moment I'm going to use them to practice my welding on. The last time I touched a welder was over 20 years ago, so with the help of my neighbour ( who thinks they are salvageable ) we are going to have a go at making them good. So far, but not showing in these pics, I have cut back to good metal ready for repair and as already said will touch on these in a later post.
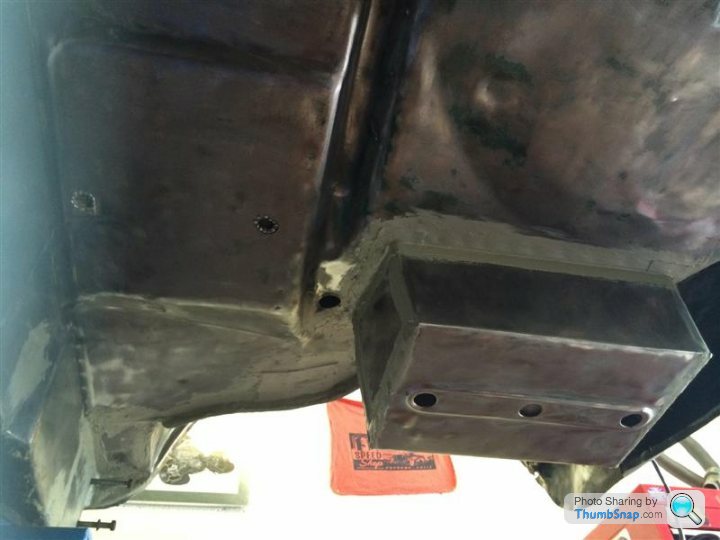
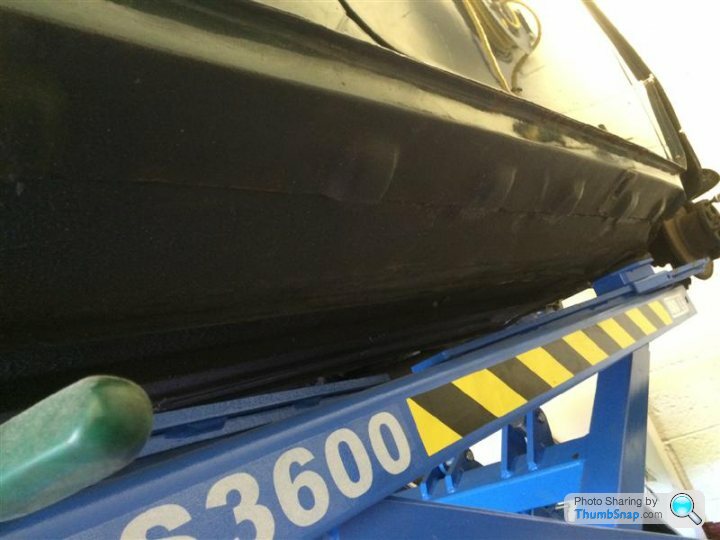
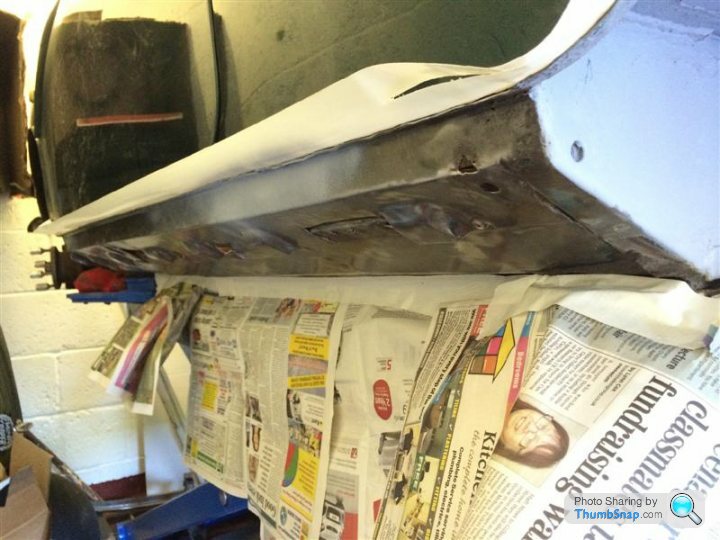
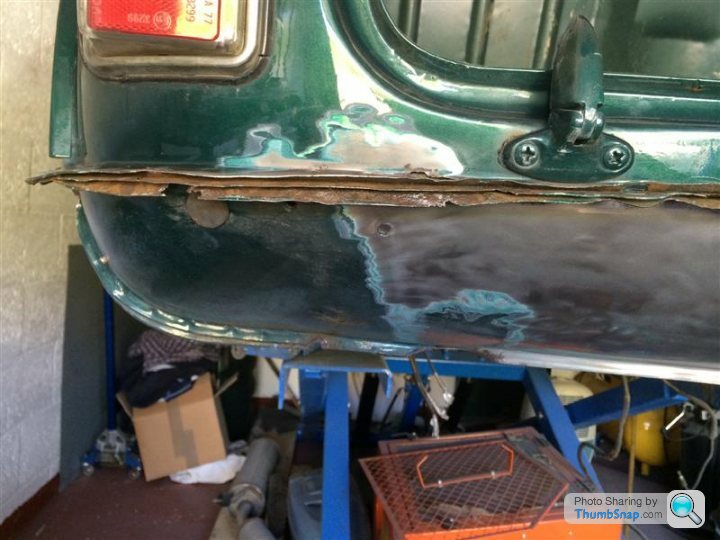
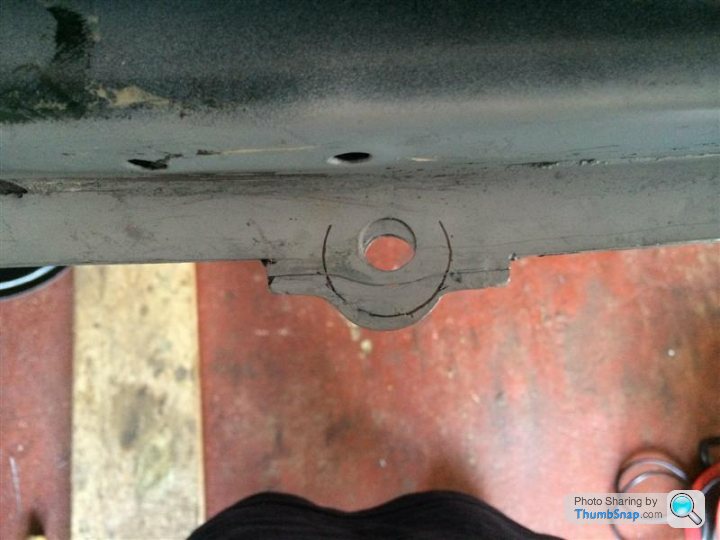
It was then onto the rear valance.
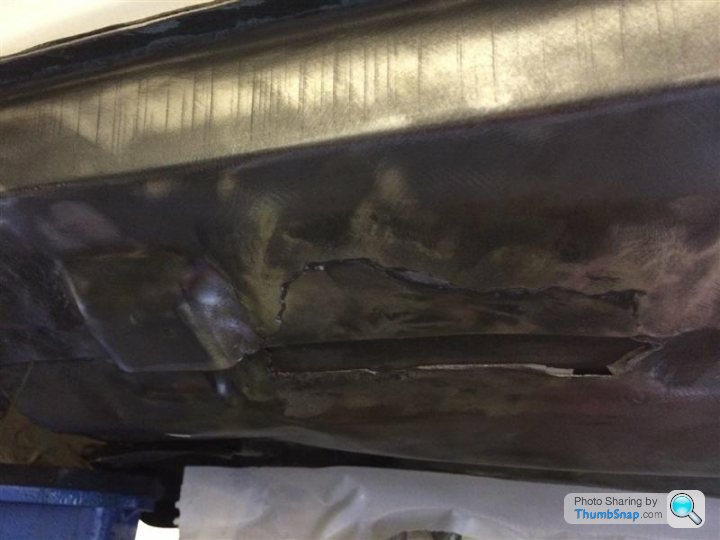
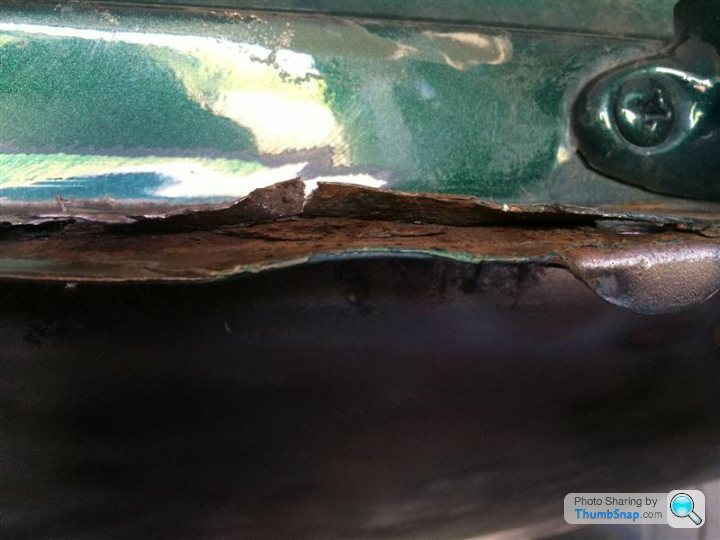
The join was quite frankly a mess, having been replaced before but overall a good panel which just needed sorting out. I opened up the join, wire brushed the rust out and left over night coated in Bilt Hamber Deox Gel.
Wrapped it in Cling Film so it wouldn't dry out.

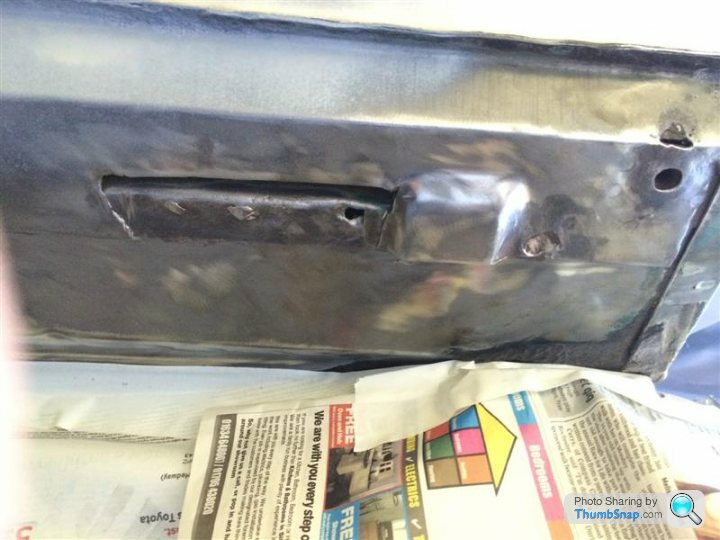
Once the rust eater had done it's job I washed it off and sprayed inside the join to give it some added protection.
I then tidied up the join and made straight again.
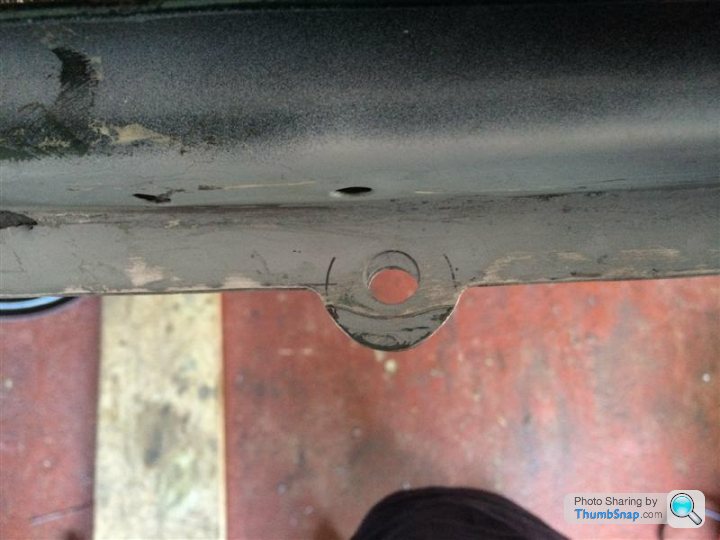
....I now need to work out how to resize my pictures so I can post the rest of them, I'm not very good on this new thing
The join was quite frankly a mess, having been replaced before but overall a good panel which just needed sorting out. I opened up the join, wire brushed the rust out and left over night coated in Bilt Hamber Deox Gel.
Wrapped it in Cling Film so it wouldn't dry out.
Once the rust eater had done it's job I washed it off and sprayed inside the join to give it some added protection.
I then tidied up the join and made straight again.
....I now need to work out how to resize my pictures so I can post the rest of them, I'm not very good on this new thing
Gassing Station | Readers' Cars | Top of Page | What's New | My Stuff