clarkson's e46 m3 and previous cars - lots of pics
Discussion


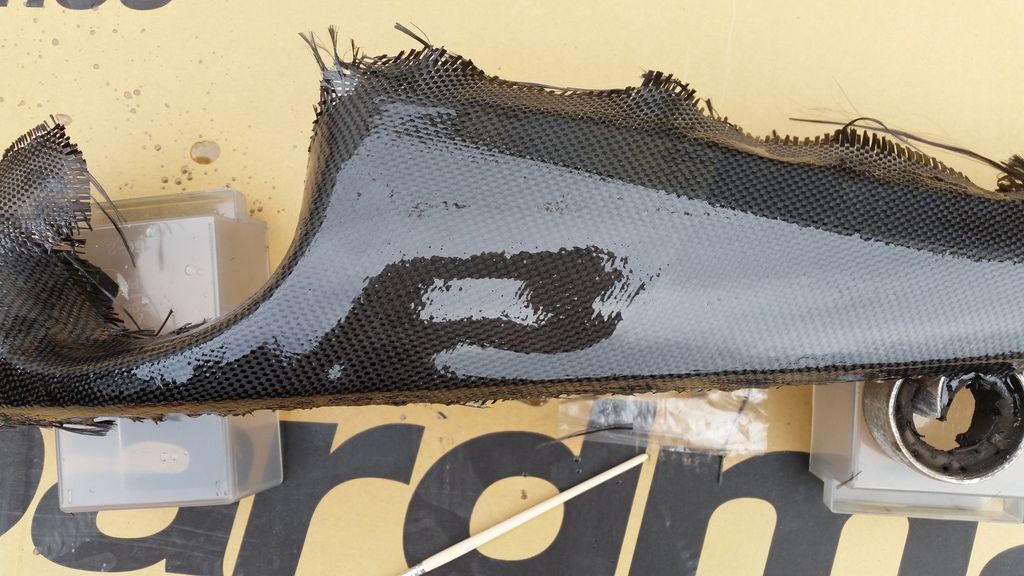
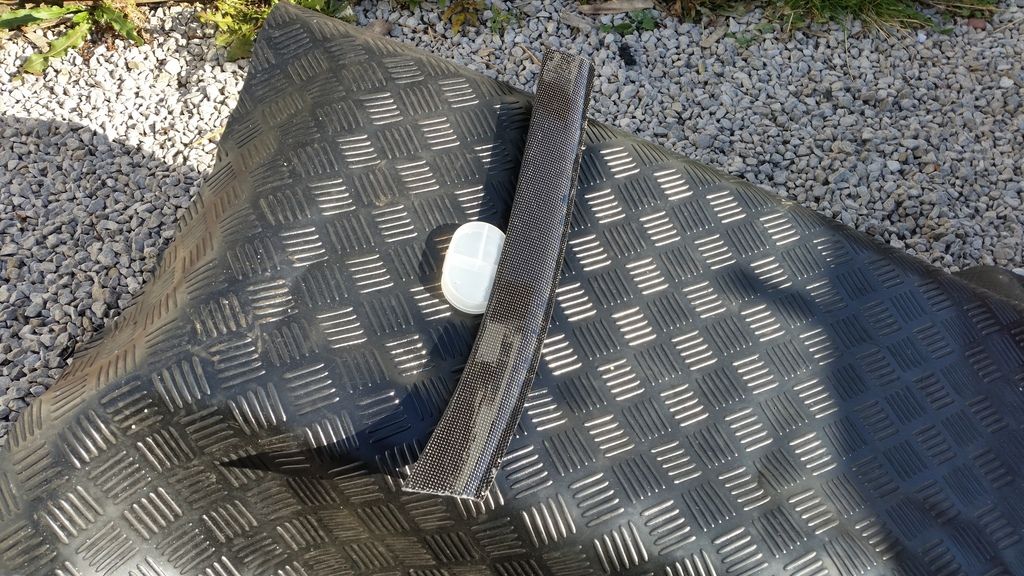
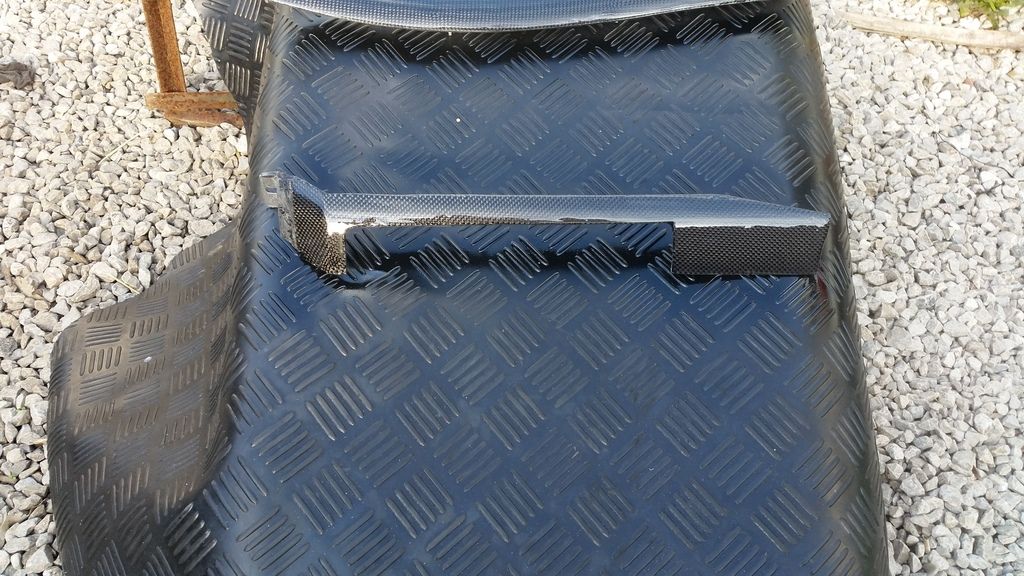
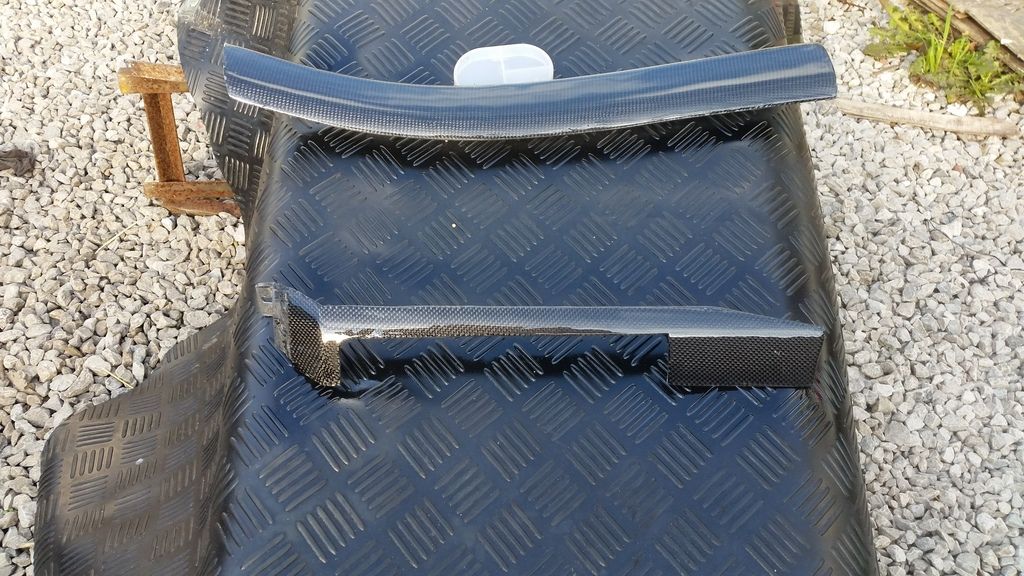
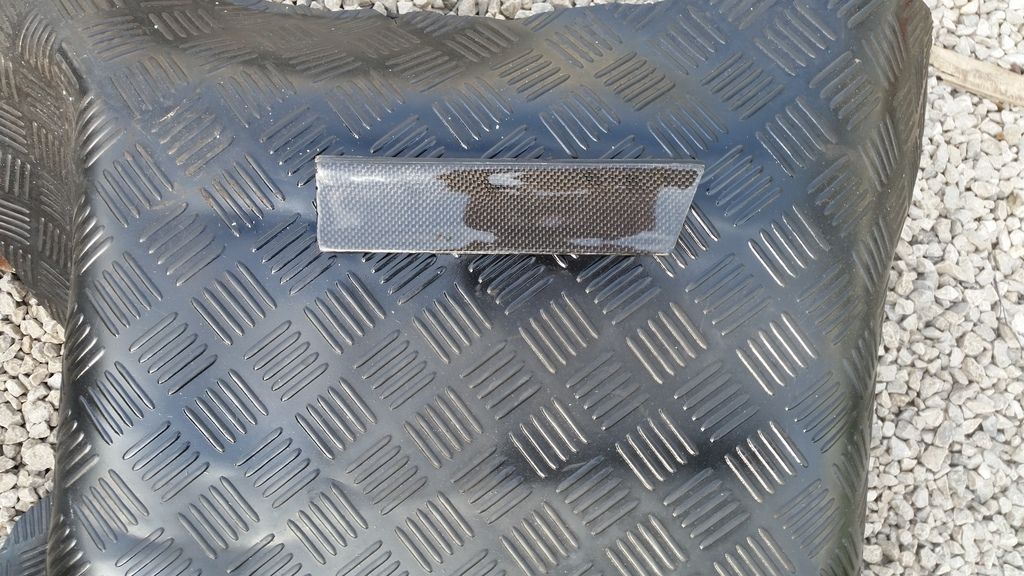
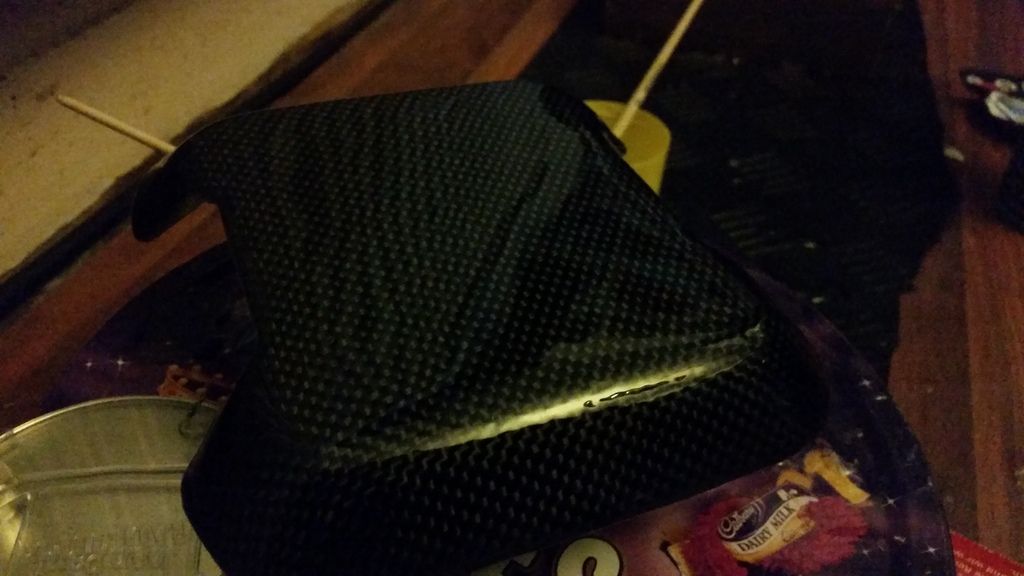
wasnt happy with the other side so making afullpiece instead of half
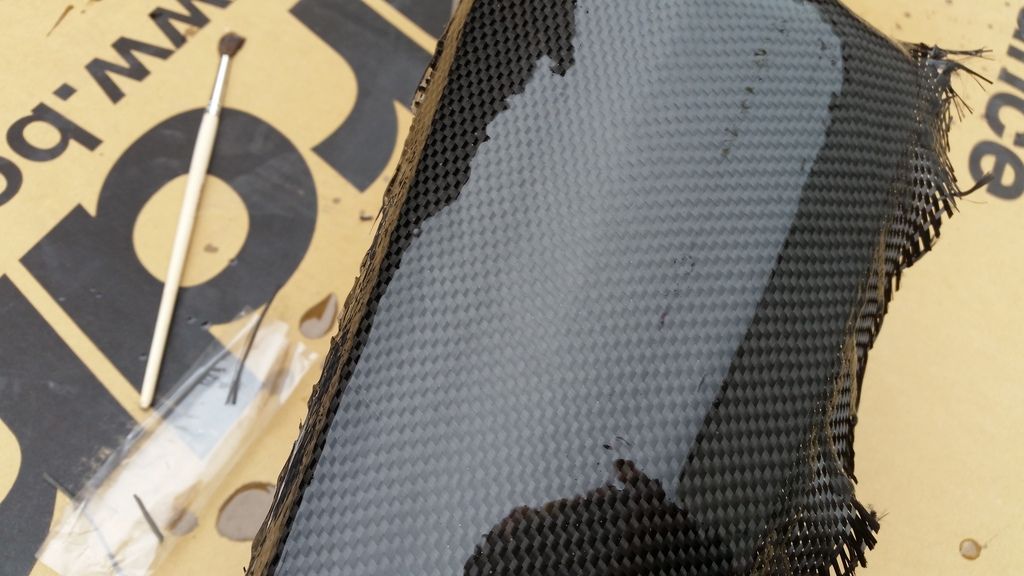
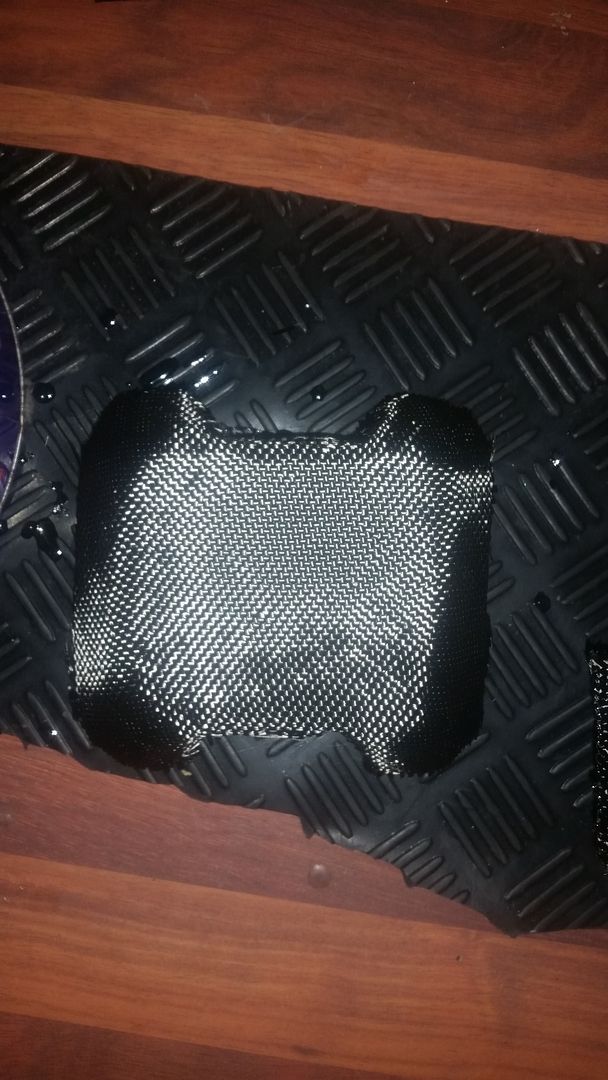
the weave also turned out alot nicer
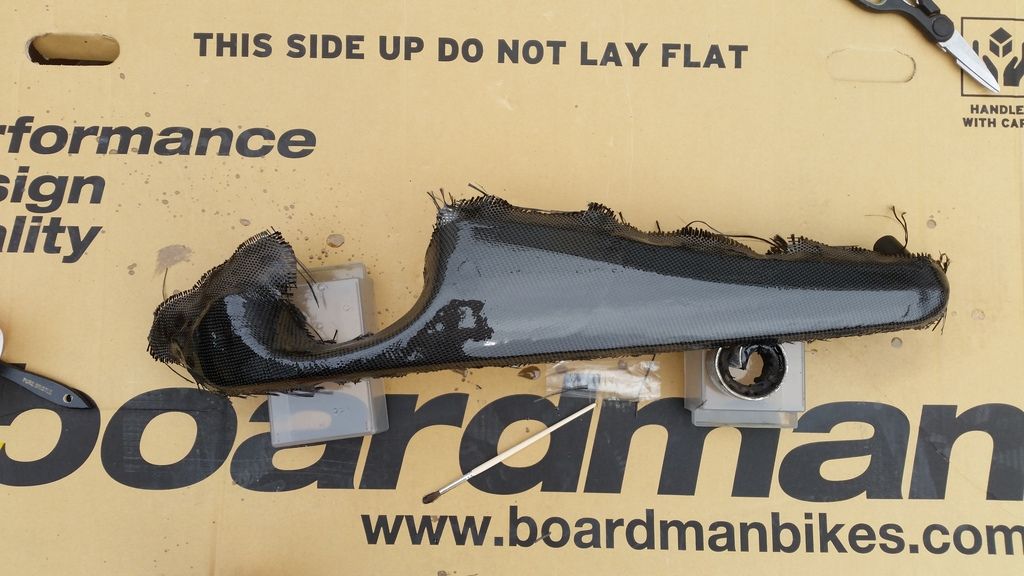
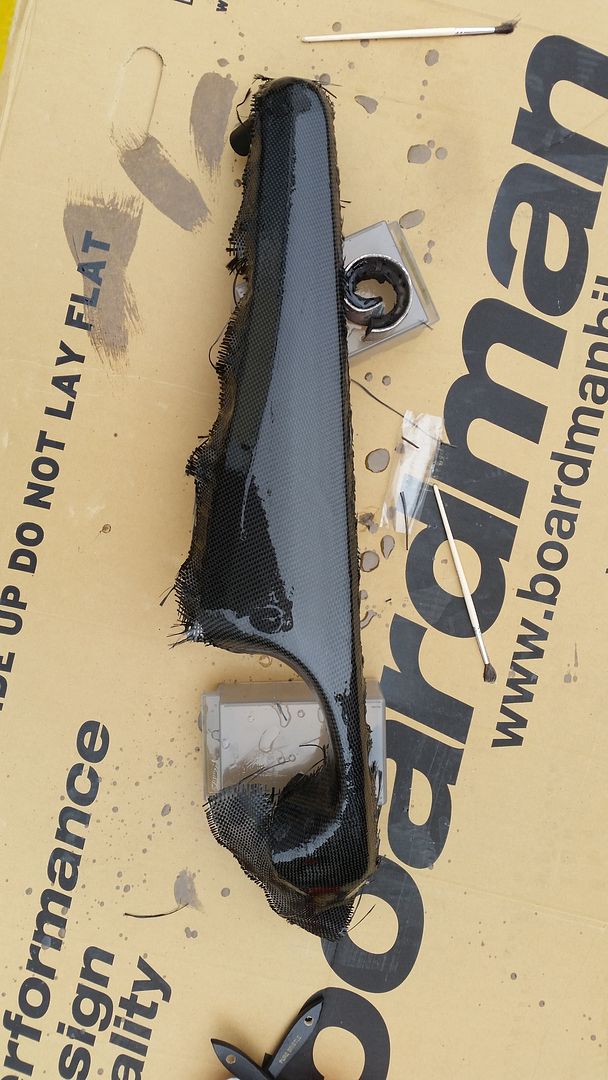
the smaler pice is the lid for the cubby hole above the ash tray

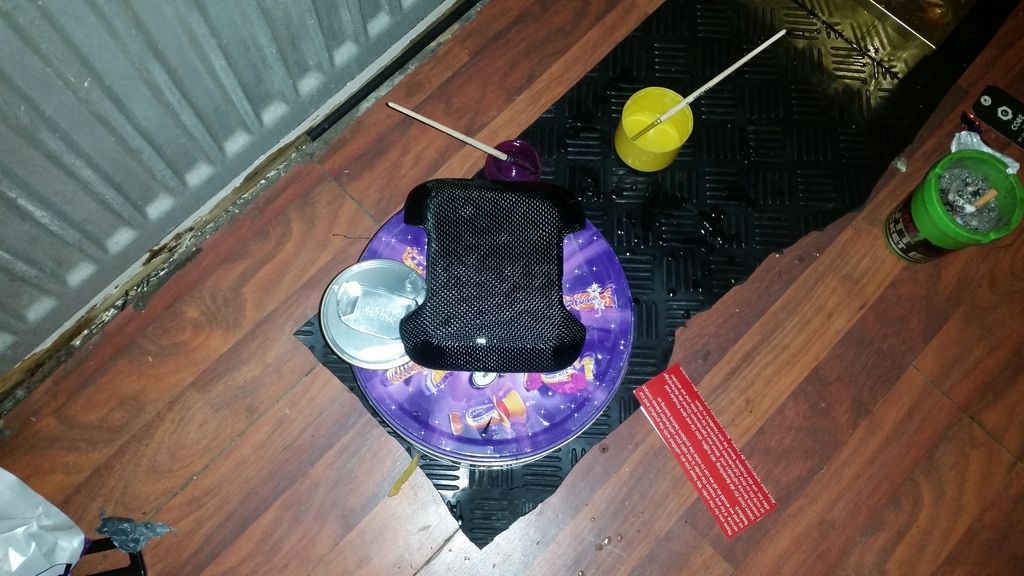
im getting moaned at by my mother for getting carbon strands in all carpets ..women pfff
once the back door card handles are done im going to take everything off and flat and polish it all in one go , i must admit it makes it look alot better inside the car
Edited by clarkson22 on Tuesday 18th August 17:35
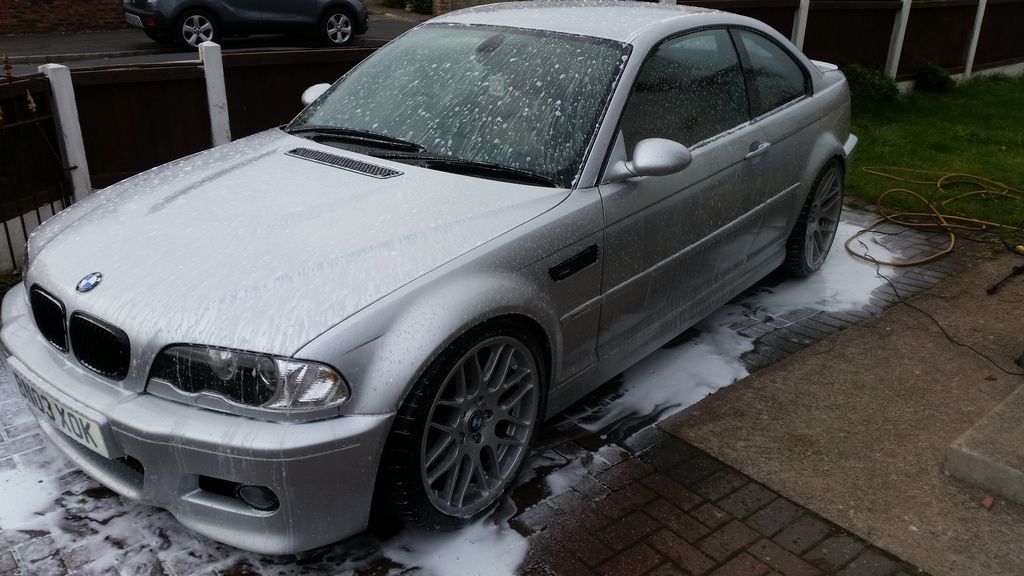
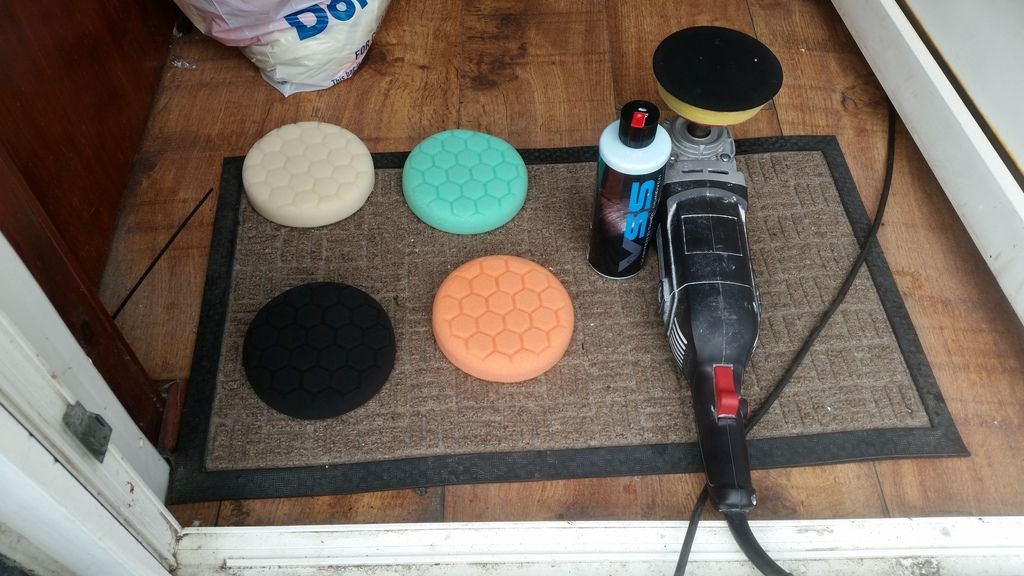
been doing a few things , got some more dash trims for free so skinning them in the matching carbon cloth and gave it a serious clean today,snow foam , caly bar vss swirl remover on orange hex pad meguris ultimate finishg polish on a black hex pad and a wax , and also have a small coolant leak from somewhere so will have to find that tomorrow 
will update again soon , but needs a new topmounts, going to sort coolant leak , get a new radiator and elec fan and delete the viscous fan , remove the cdv valve, just ordered a verniar caliper and the weisco shims to do valve clearences as i know some are out , few other bits to do before the baby arrives in 19 weeks, so gotta spend now lol


will update again soon , but needs a new topmounts, going to sort coolant leak , get a new radiator and elec fan and delete the viscous fan , remove the cdv valve, just ordered a verniar caliper and the weisco shims to do valve clearences as i know some are out , few other bits to do before the baby arrives in 19 weeks, so gotta spend now lol
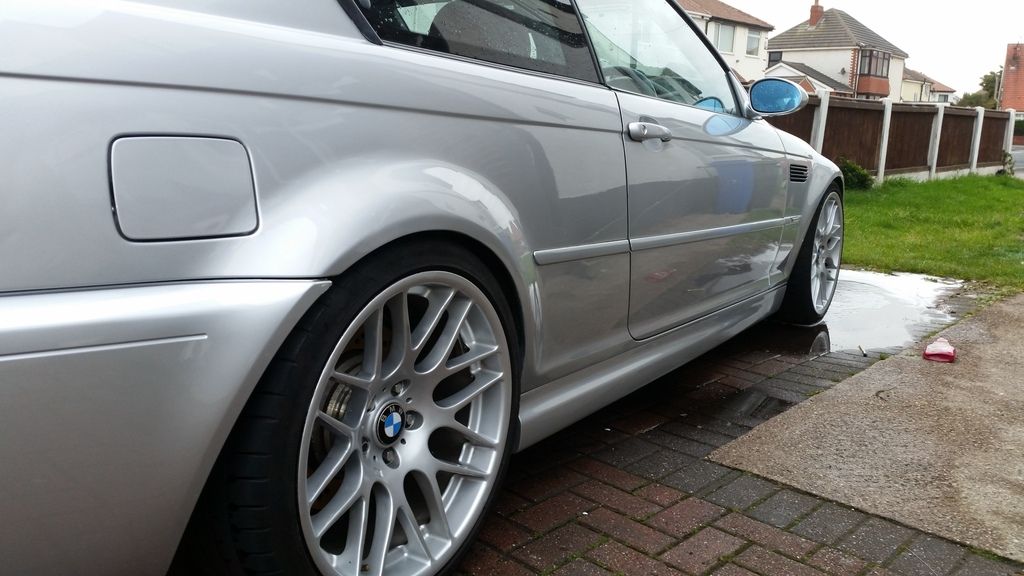
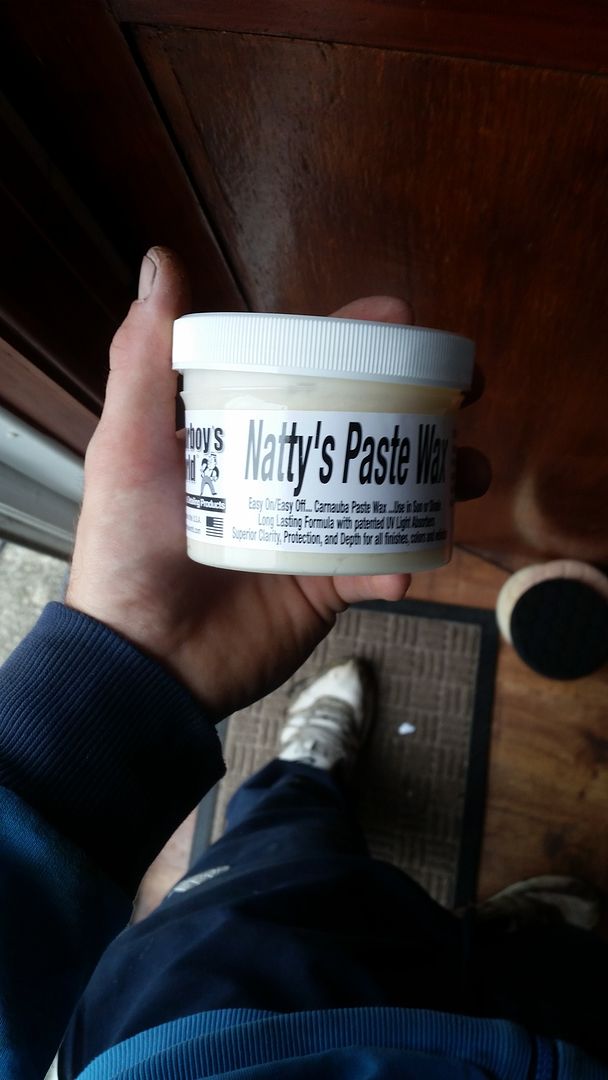
well finished the other half the car and gave it a full wax all over with some poorboys wax it looks mint it feels like gloss glass everywhere
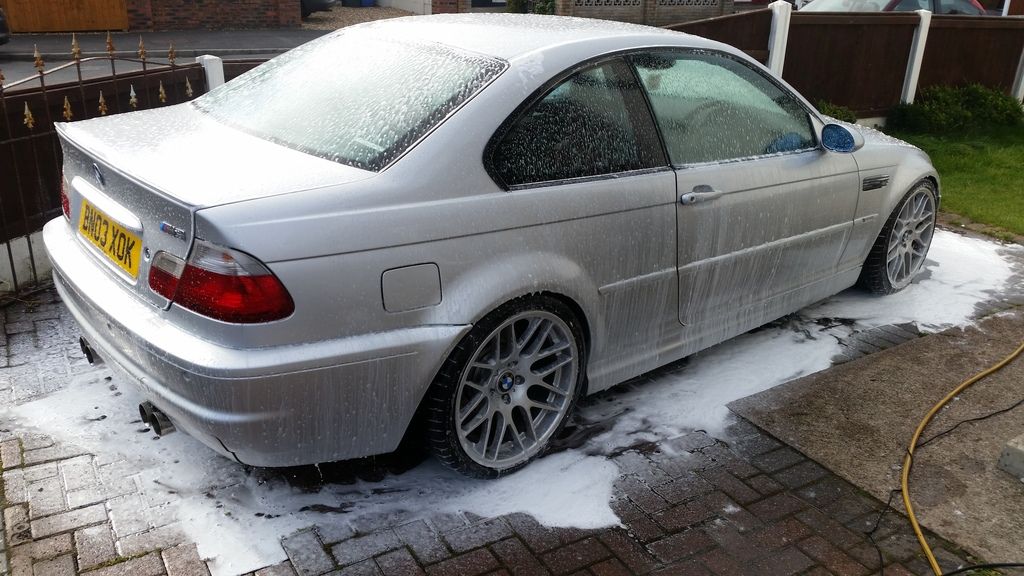
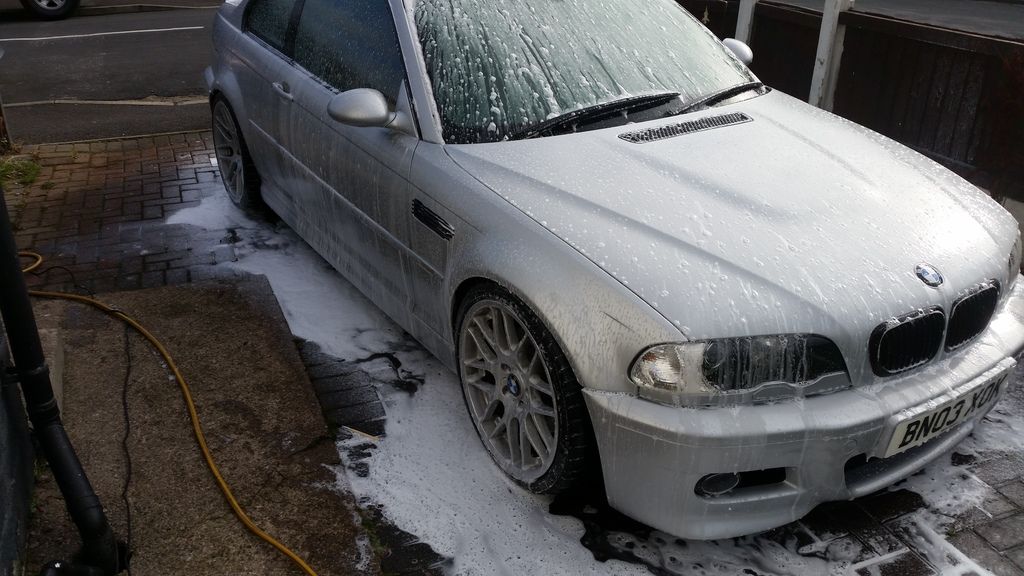
snow foam after 10 mins
clayed the other half yesterday and ths side today
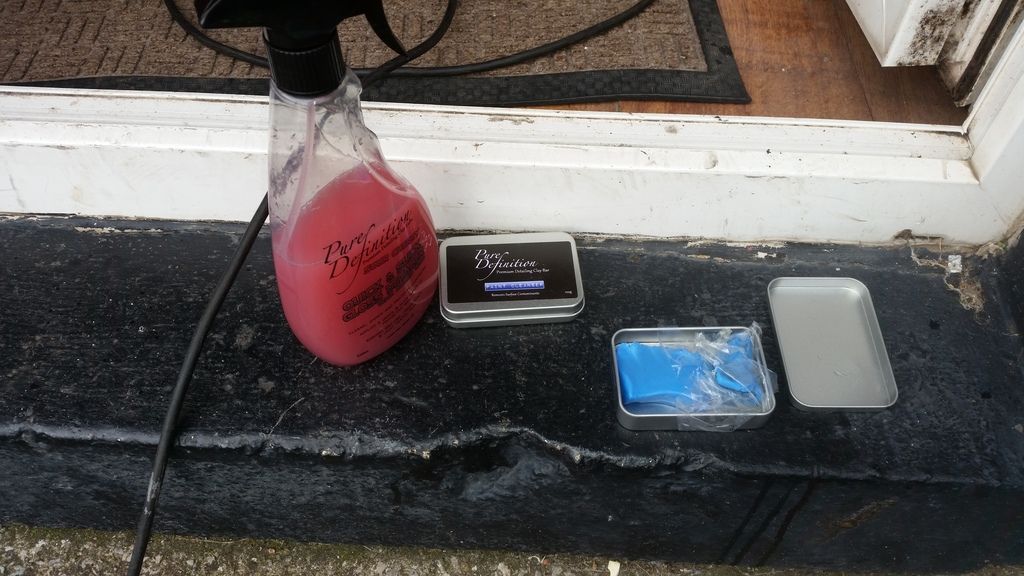
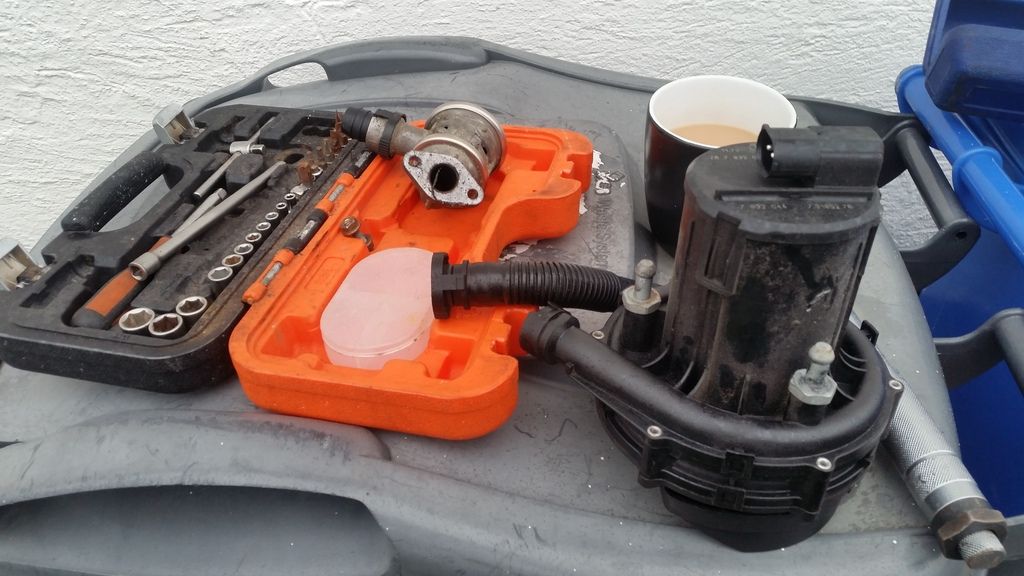
the tools
the wax
done

did some more carbon fibreing
my roof one was broken so got this for free but its grey so.......
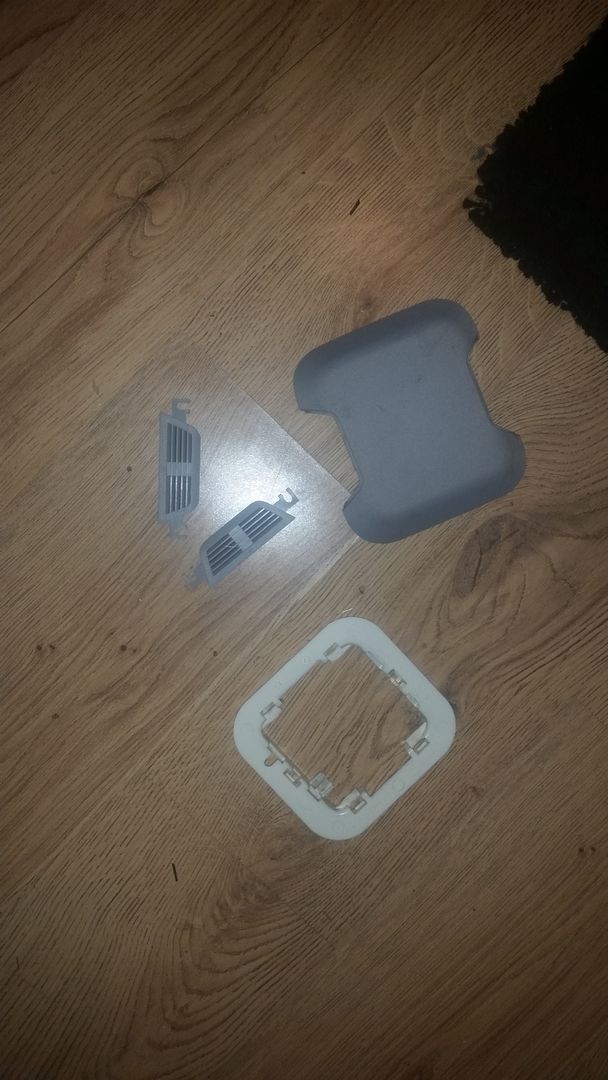
stuck with
epoxy
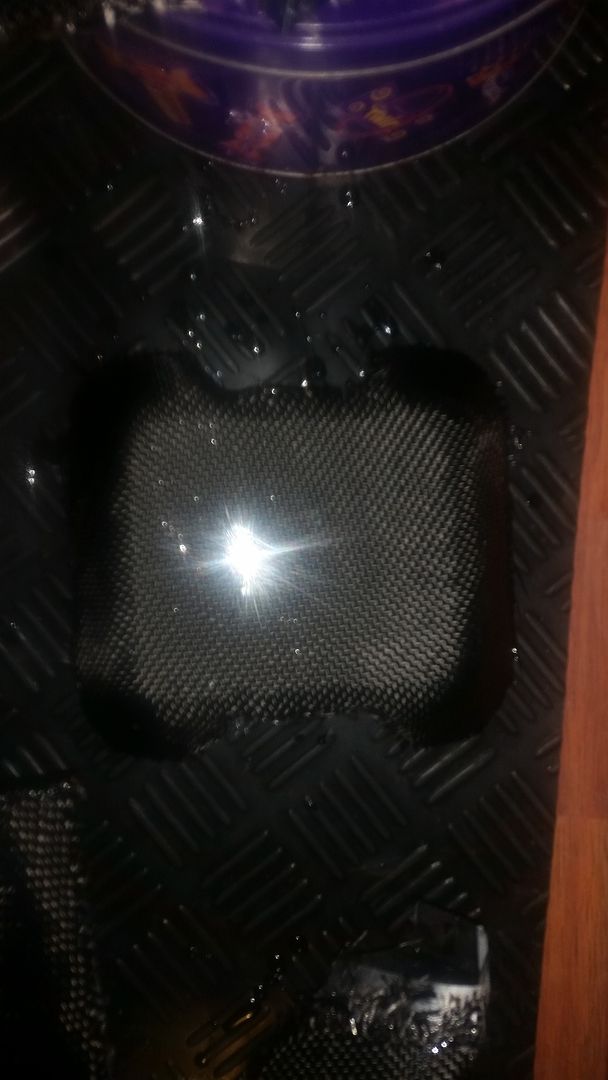
trimmed and sanded and lacquered
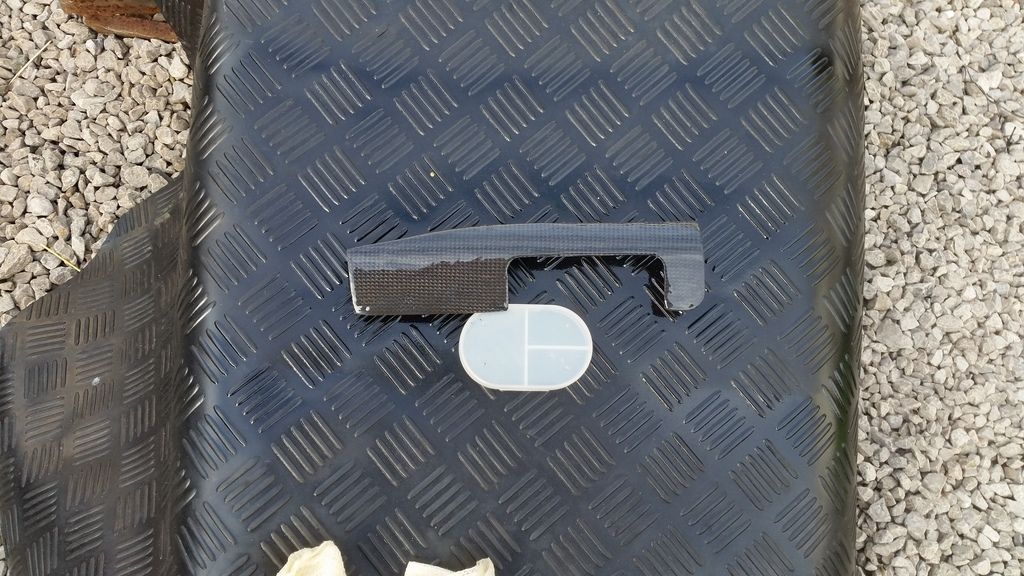
ashtray cover
letting some things dry and will finish everything off its alot easier skinning now ive done it a few times
snow foam after 10 mins

clayed the other half yesterday and ths side today

the tools

the wax

done


did some more carbon fibreing
my roof one was broken so got this for free but its grey so.......


stuck with

epoxy

trimmed and sanded and lacquered


ashtray cover

letting some things dry and will finish everything off
its alot easier skinning now ive done it a few times


started to redo the trim above the cdplayer wasnt happy with it , but on the otherhand
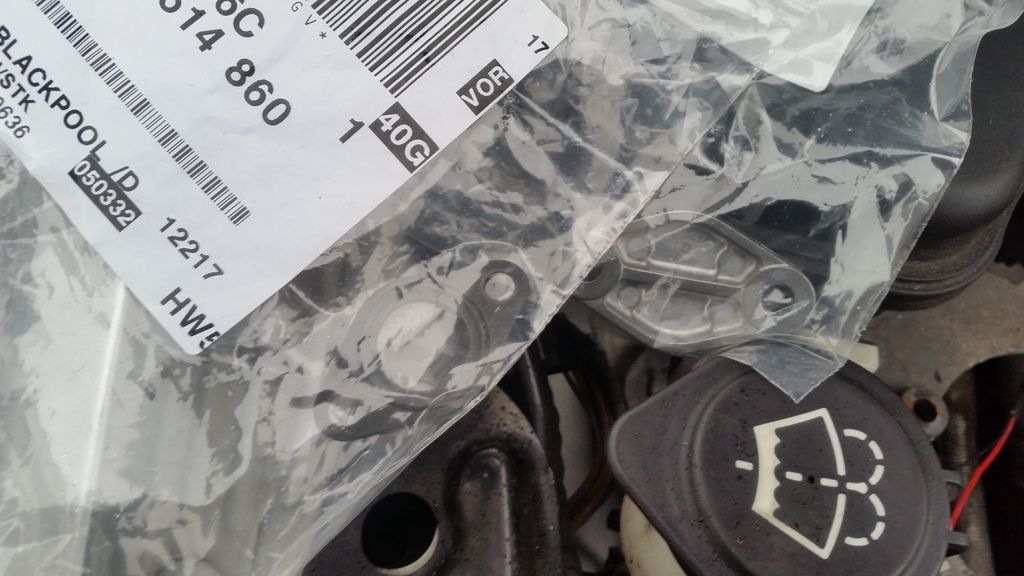
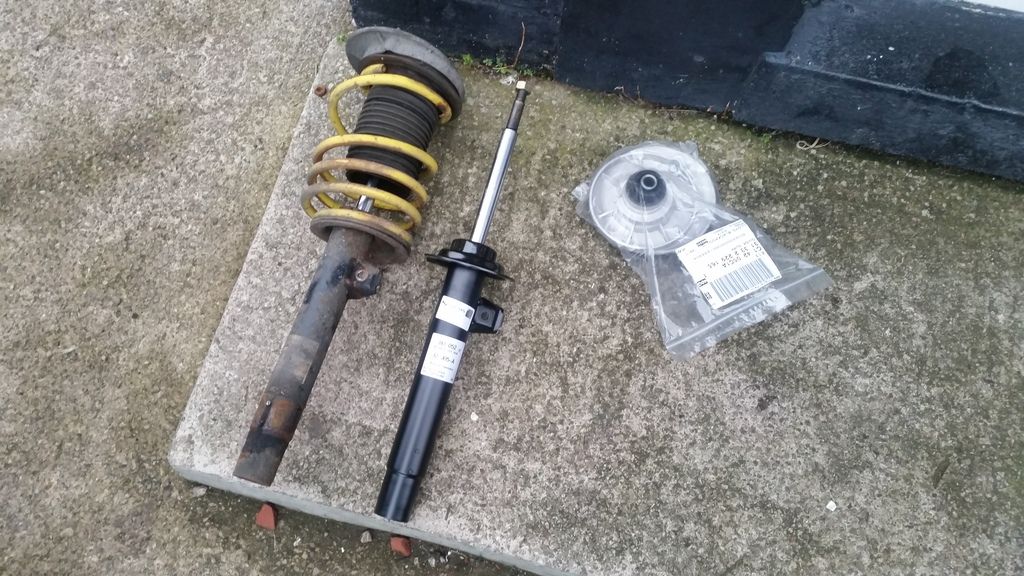
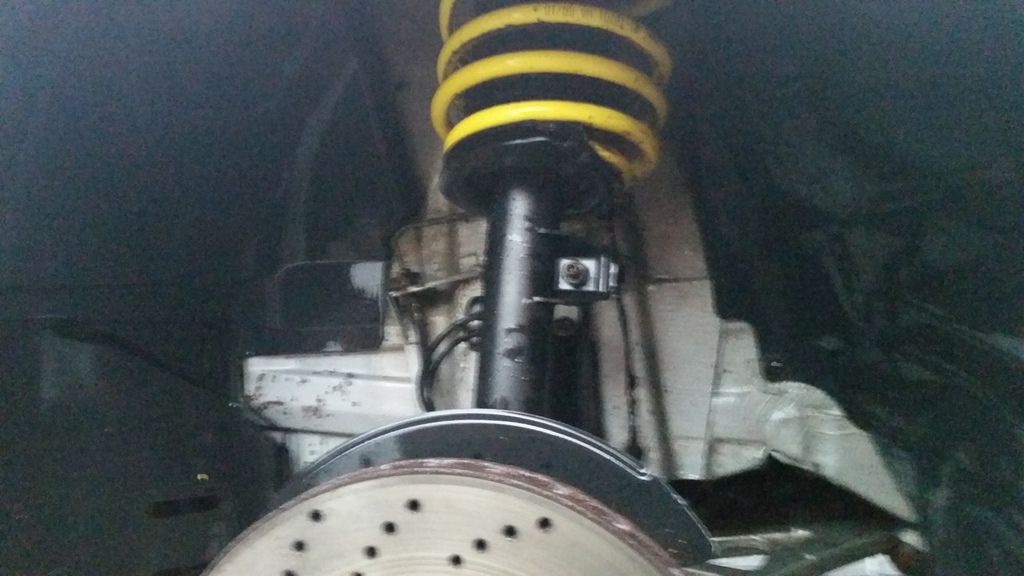
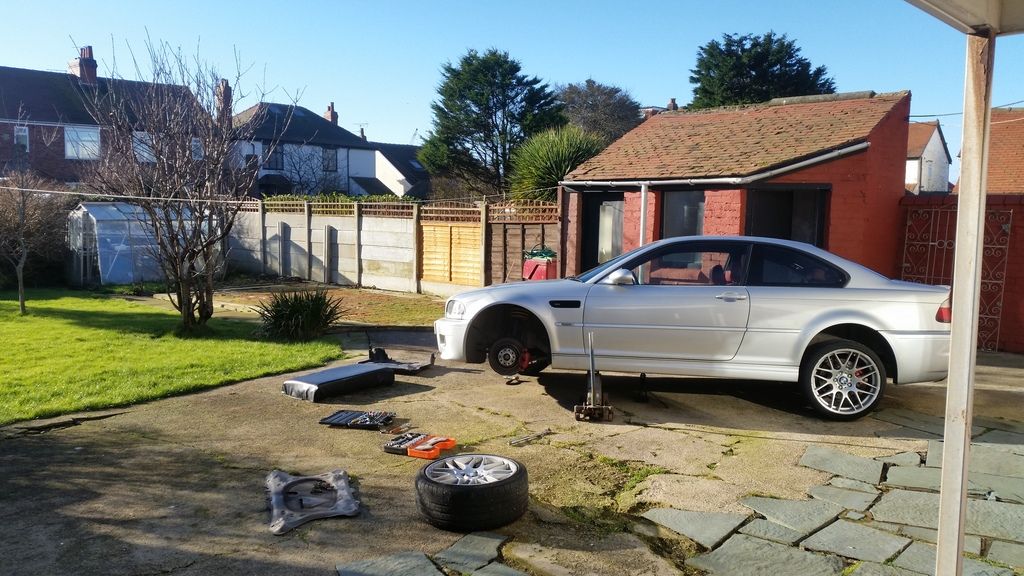
well i had a blow from the secondary air pump , so seen as i coded it out with martyn software off m3cutters , got a blank and gasket and got rid of it, i decided to get 2 new struts for front , i could littrally push the piston with hardky any force when i got the springs off lol , and went to do my valve clearence' s first one i came to was just out , so went to get the magnet tool...and i have lost it so ordering a new one tommorow so hopefully can get on with them.
anway pics
gone
the sachs struts and topmounts
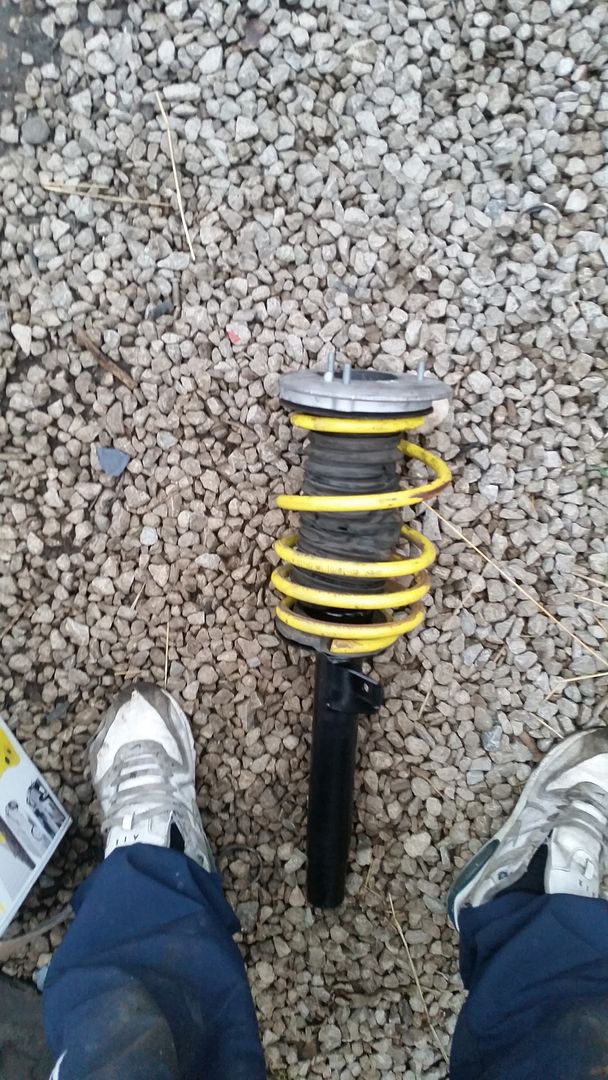
both sides done
i snapped the hose thats why its wraped in blue tape another thing on the list..just waiting to do the shims
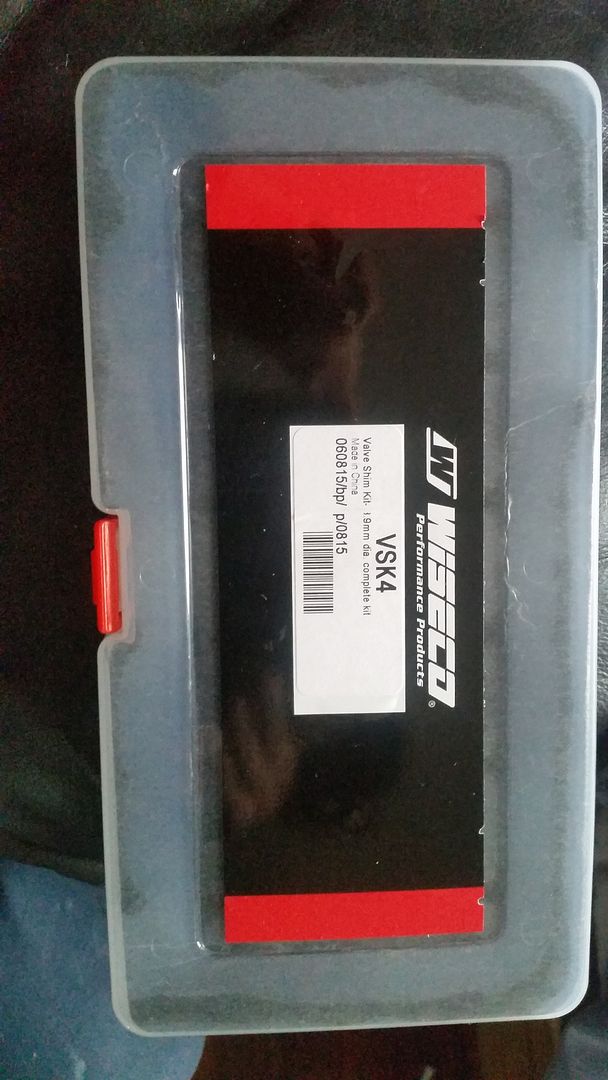
weisco shims
well i got sick off the totally gutted back box so i bought a standard one of jason on here , ftted new gasket and clamps and robbed a battery holder off the 320 im breaking
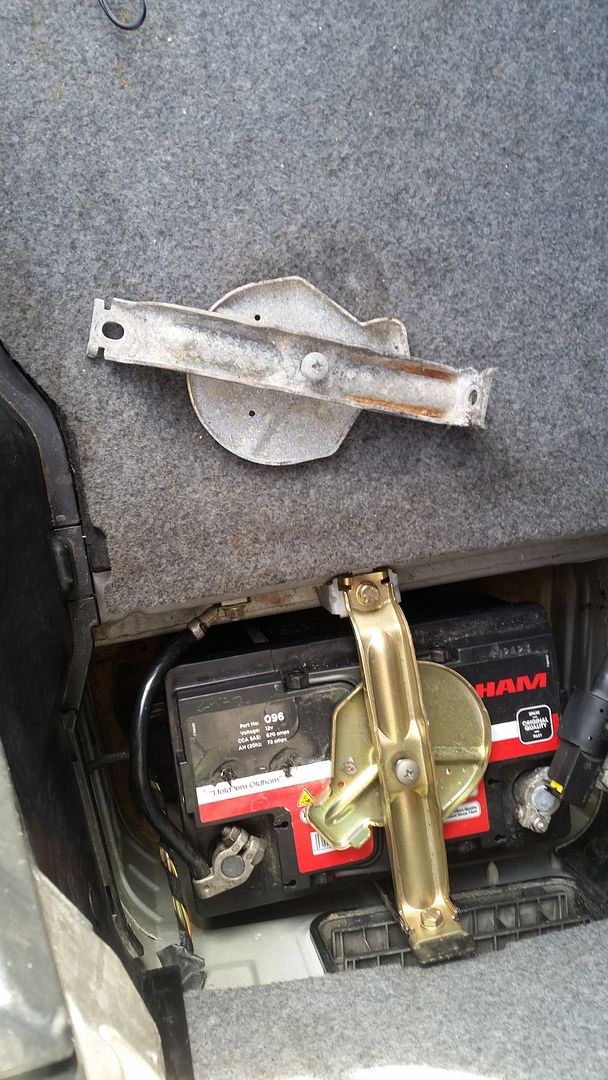

that was with a whack from the hammer
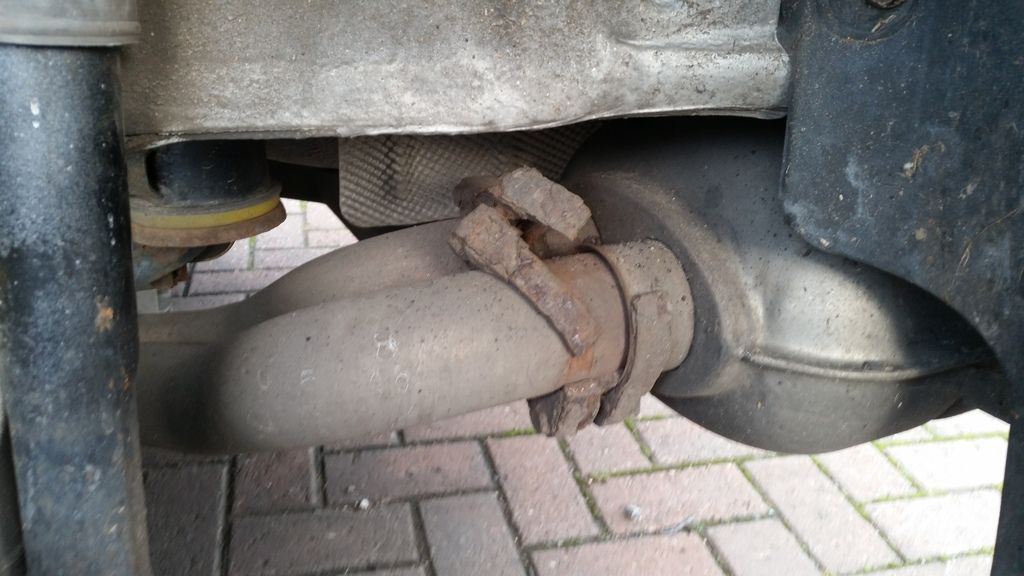
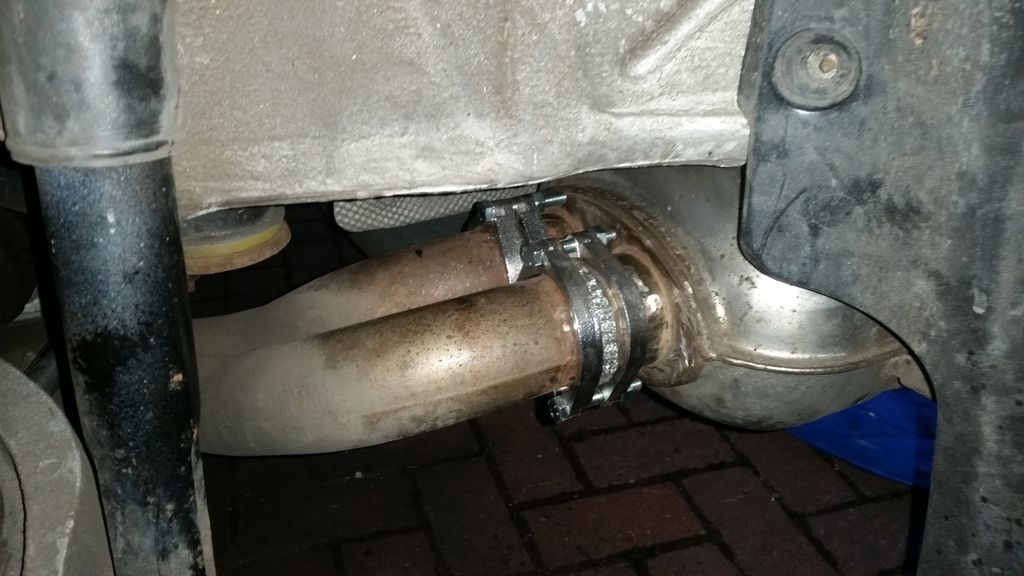
just gotta get some more euro tips now, but went for a drive, no drone so quiet on normal driving ,maybe a little to quiet , i might take the wadding out but with the decat its alot more raspier on full chat still sounds great


well i had a blow from the secondary air pump , so seen as i coded it out with martyn software off m3cutters , got a blank and gasket and got rid of it, i decided to get 2 new struts for front , i could littrally push the piston with hardky any force when i got the springs off lol , and went to do my valve clearence' s first one i came to was just out , so went to get the magnet tool...and i have lost it so ordering a new one tommorow so hopefully can get on with them.
anway pics
gone


the sachs struts and topmounts


both sides done

i snapped the hose thats why its wraped in blue tape another thing on the list..just waiting to do the shims

weisco shims
well i got sick off the totally gutted back box so i bought a standard one of jason on here , ftted new gasket and clamps and robbed a battery holder off the 320 im breaking


that was with a whack from the hammer


just gotta get some more euro tips now, but went for a drive, no drone so quiet on normal driving ,maybe a little to quiet , i might take the wadding out but with the decat its alot more raspier on full chat still sounds great
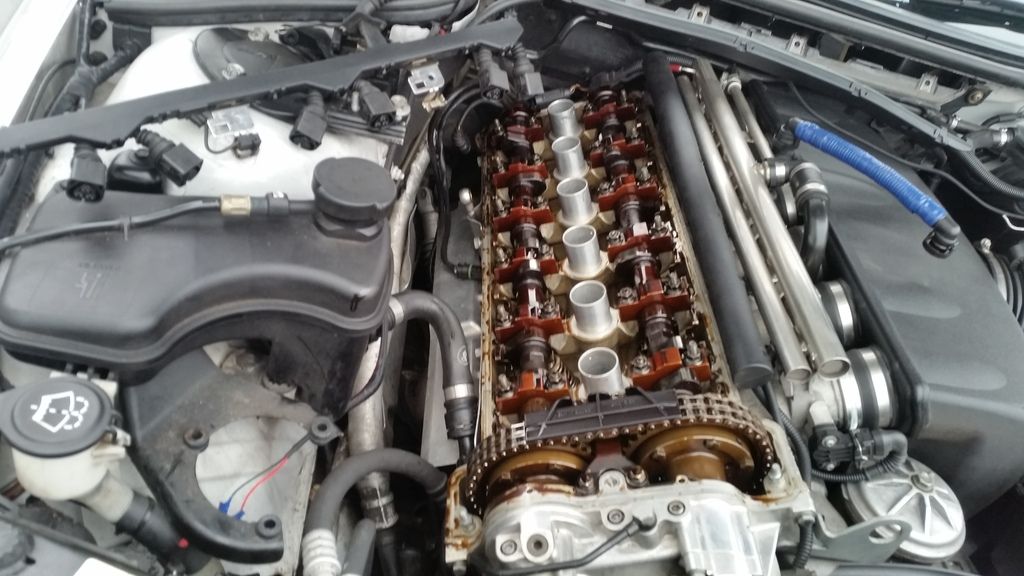
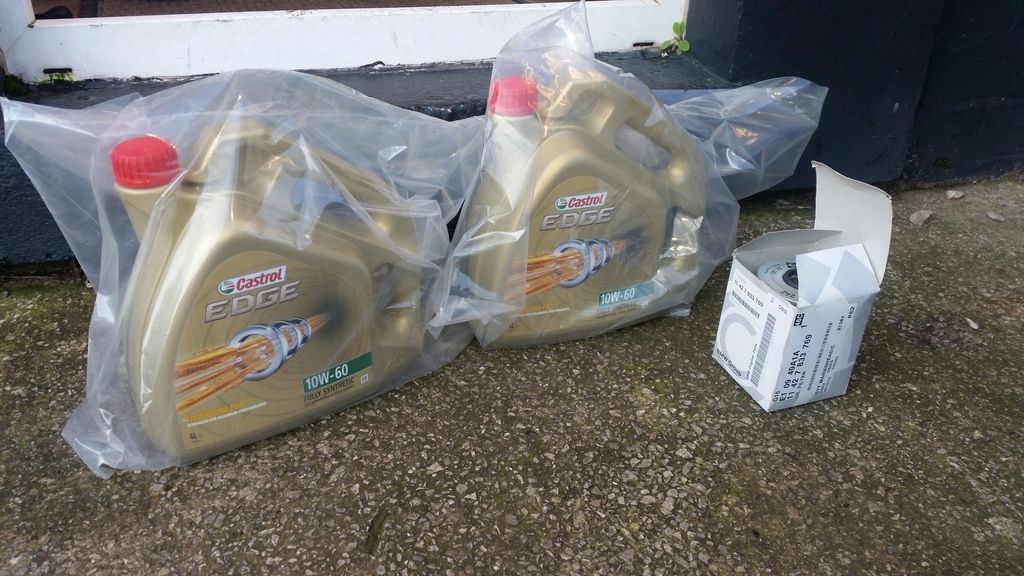
well done a few things , did my valve clearences i knew a few were out from when i did my headgasket , i had to change 11 lol but it is so much quieter on idle , i droped the last shim on exhaust side and it landed between the valve and cylinder head, i was prepared to strip and take cams off, turned it over by hand held a magnet next to the valve and it flew out once i cranked it by hand caught the shim with the magnet thank ****!! but also changed the oil , filter and spark plugs , and had some fun polishing stuff with the new dremel

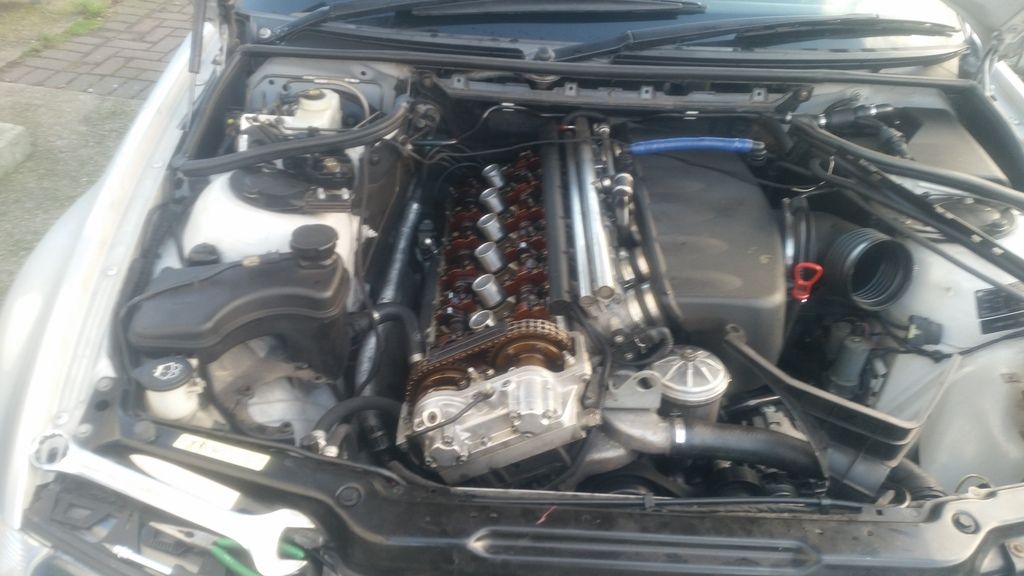
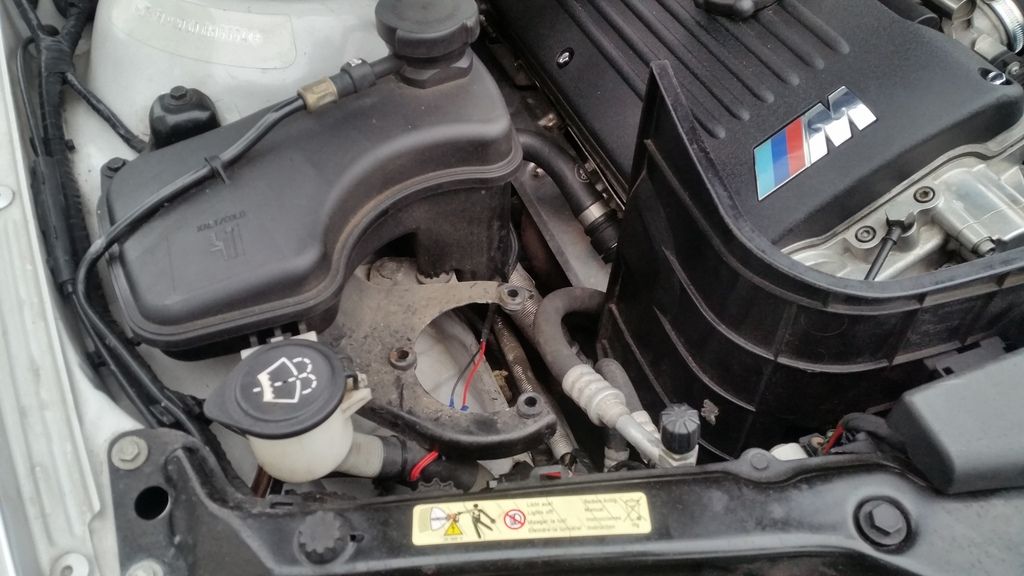
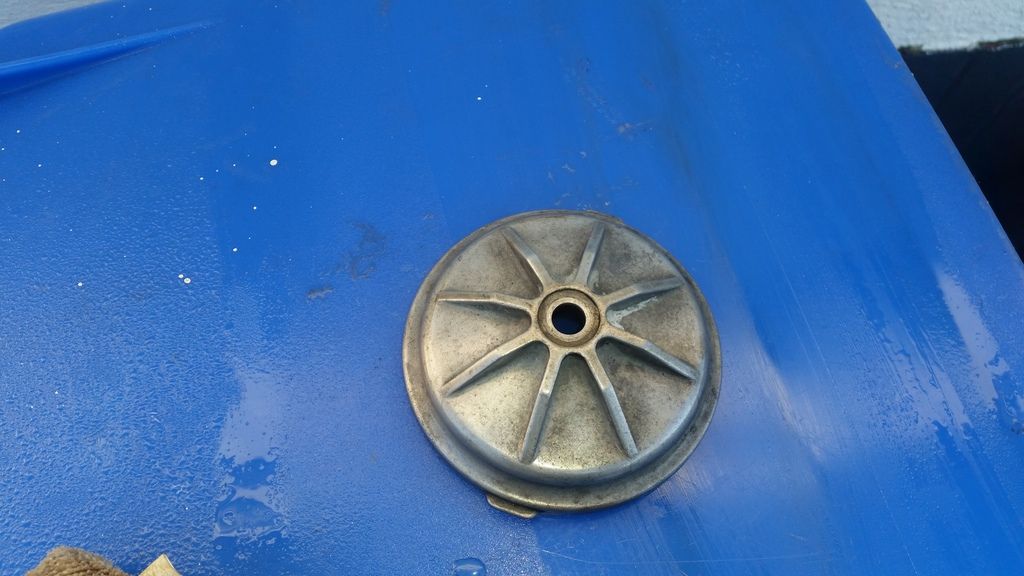
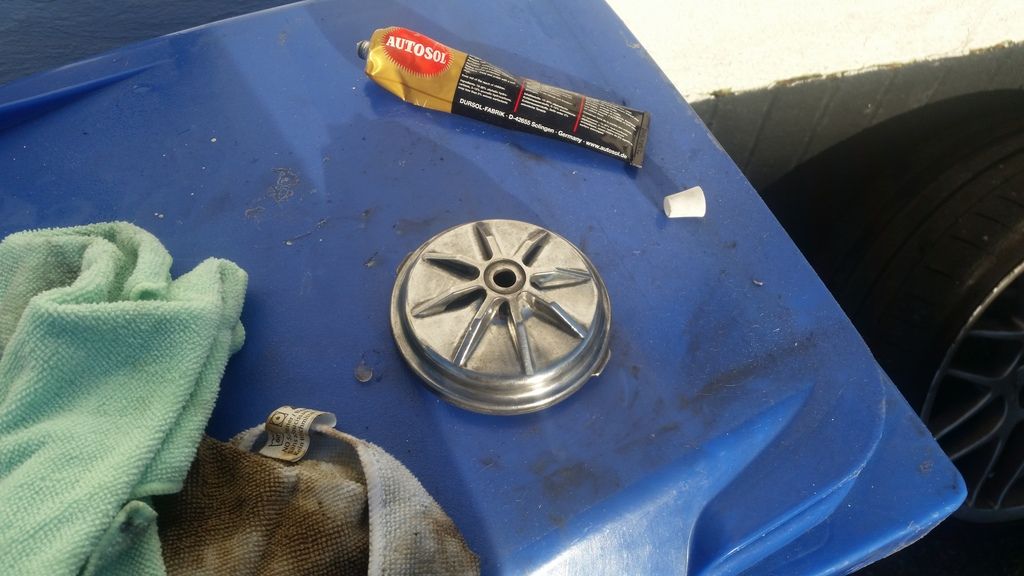
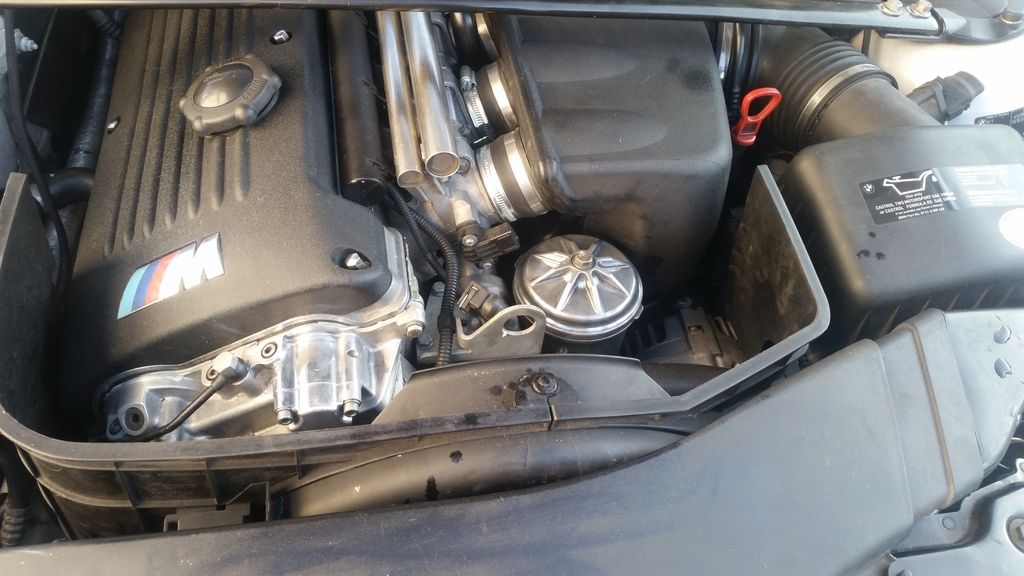
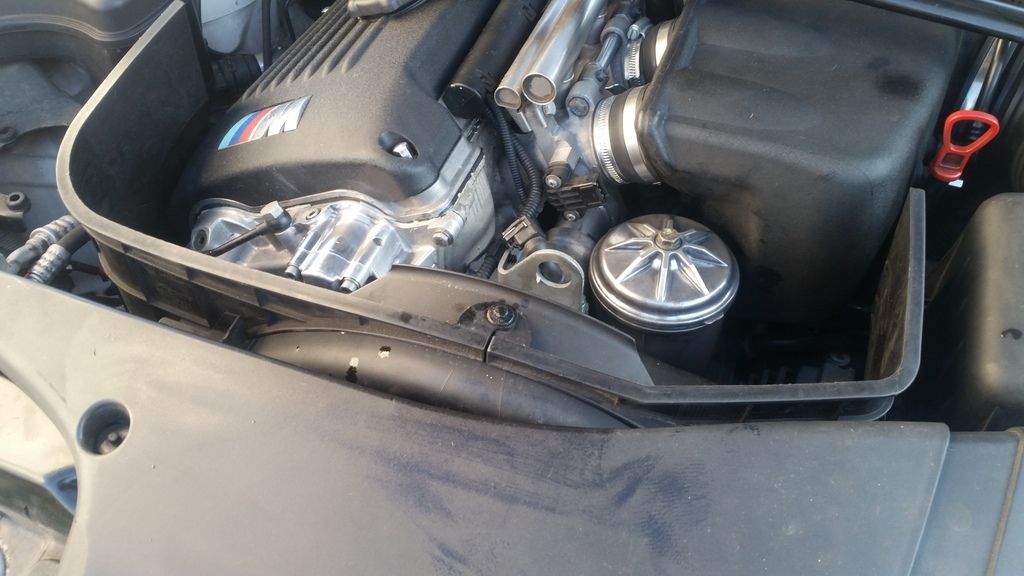
cleaning the filter housing
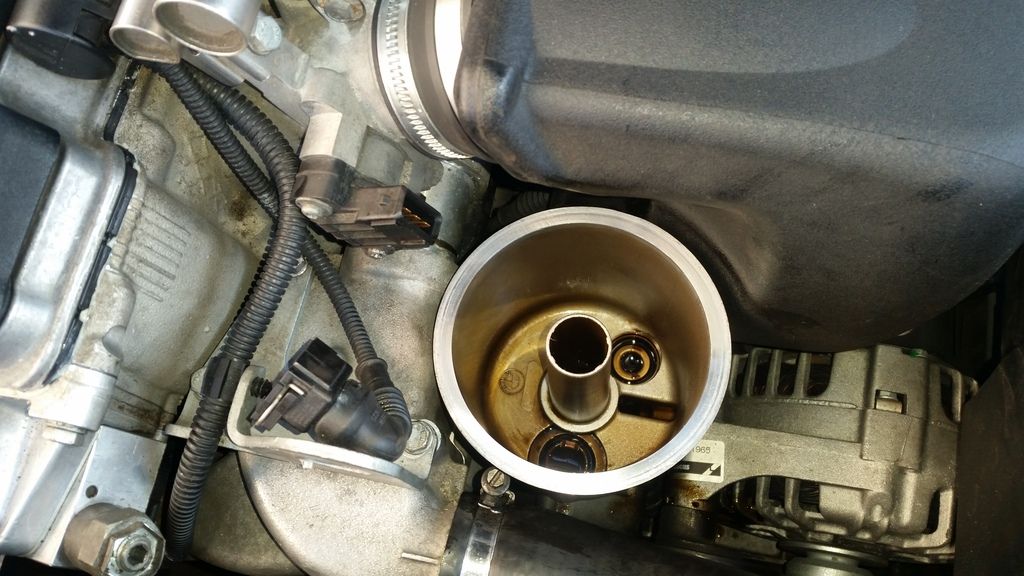
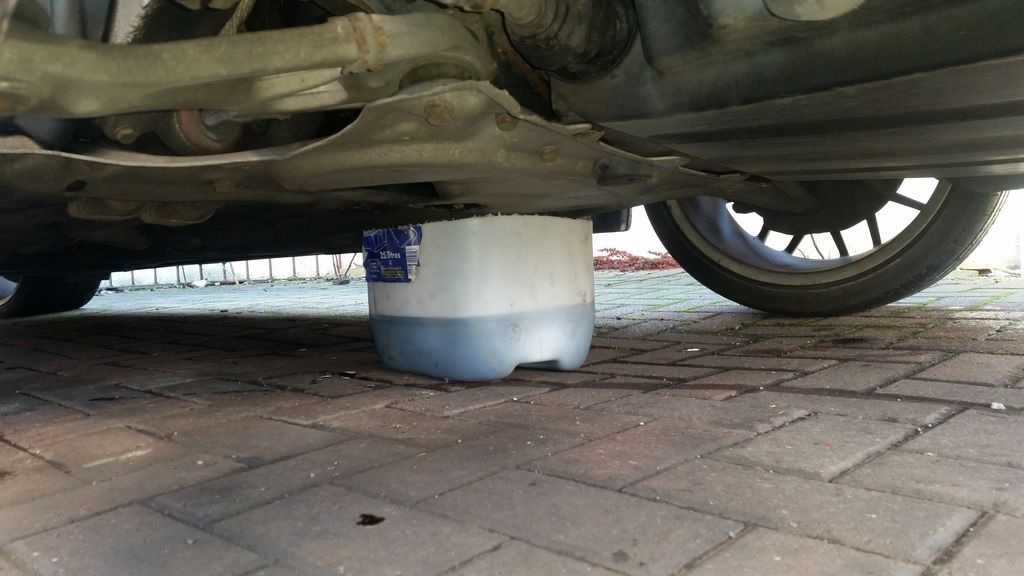
draining oil
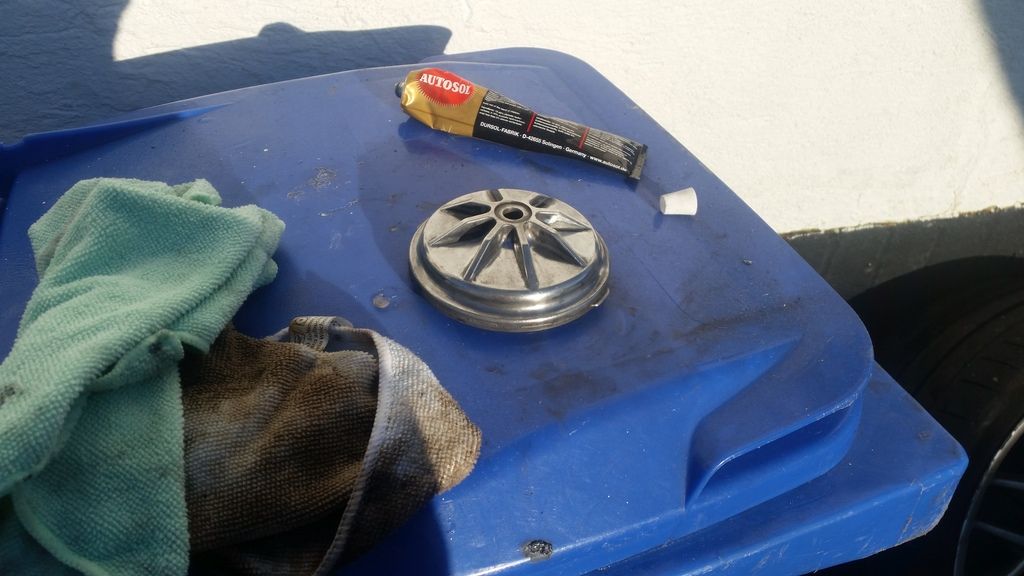
polishing this
did half the vanos
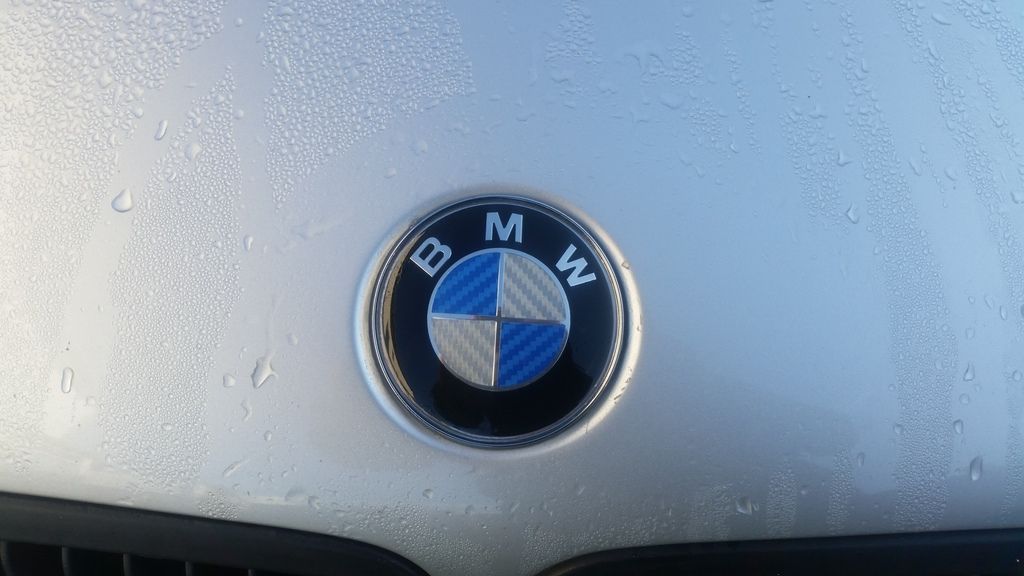
new badges
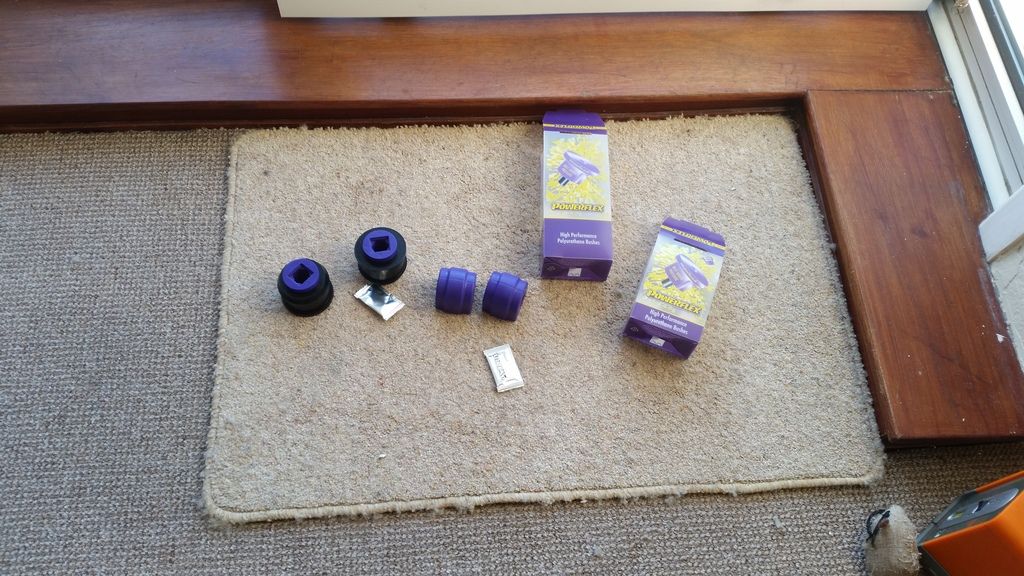
got some powerflex front anti roll bar bushes to replace the ****e flo flex orange ones and the same for front wishbone lolipop
cheers for reading


cleaning the filter housing

draining oil


polishing this


did half the vanos


new badges


got some powerflex front anti roll bar bushes to replace the ****e flo flex orange ones and the same for front wishbone lolipop
cheers for reading
I love to see people getting hands-on with the mucky bits of quite complicated cars, so hats off to you. Not everyone is so brave.
However, as someone with the same interior, that carbon looks incredibly tacky compared with the original 'carbon look', particularly on things like the cubby-hole covers. But, to each their own, of course.
However, as someone with the same interior, that carbon looks incredibly tacky compared with the original 'carbon look', particularly on things like the cubby-hole covers. But, to each their own, of course.
Edited by C70R on Thursday 14th January 12:42
C70R said:
I love to see people getting hands-on with the mucky bits of quite complicated cars, so hats off to you. Not everyone is so brave.
However, as someone with the same interior, that carbon looks incredibly tacky compared with the original 'carbon look', particularly on things like the cubby-hole covers. But, to each their own, of course.
to be fair mate they were sHowever, as someone with the same interior, that carbon looks incredibly tacky compared with the original 'carbon look', particularly on things like the cubby-hole covers. But, to each their own, of course.
Edited by C70R on Thursday 14th January 12:42
 t, i have redone everysingle piece and they look hundred times better , i was just using a file and saw to trim them i now have a dremel and it makes them alot easier to trim and look neater i will upload some pics soon
 clarkson22 said:
C70R said:
I love to see people getting hands-on with the mucky bits of quite complicated cars, so hats off to you. Not everyone is so brave.
However, as someone with the same interior, that carbon looks incredibly tacky compared with the original 'carbon look', particularly on things like the cubby-hole covers. But, to each their own, of course.
to be fair mate they were sHowever, as someone with the same interior, that carbon looks incredibly tacky compared with the original 'carbon look', particularly on things like the cubby-hole covers. But, to each their own, of course.
Edited by C70R on Thursday 14th January 12:42
t, i have redone everysingle piece and they look hundred times better , i was just using a file and saw to trim them i now have a dremel and it makes them alot easier to trim and look neater i will upload some pics soon Hi Clarkson,
Awesome job looks exquisite!! So glad you changed the wheel colour back :P
A small question, your floor mats with the M logos on. Could you give me the dimensions in relation to the mat and a picture? I have just ordered some mats and logos to put on but I'm unsure on where the correct place to put them
Looking forwarded to more updates
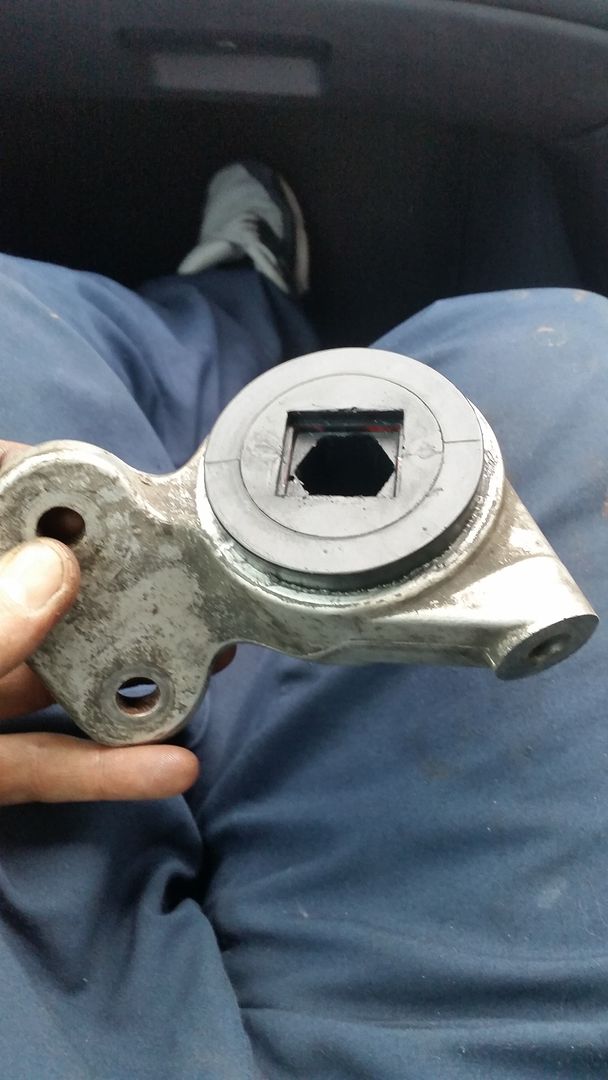
hi been doing some **** to it again, front controll arm nushes had some **** flo flex ones in they were crap i litrally pulled it out the lolipop with pliers bought ome powerlex ones but they sent me the bigger size so eurocar parts saved the day with some black series ones and fitted my front anti roll bar powerflex bushes as they aslo had ****ty flo flew:muttley:

little clean
still got to do the solid steering coupler


little clean


still got to do the solid steering coupler
It was hard to open the door from outside
sometimes , sometimes couldnt and had to use passanger side, so i replaced that yesterday and what a world of difference!!
old one on left

back in place

now it was easier to remove the door lock then slide it back in one the actuator was bolted back in every video i watched they p*ssed about wrestling it in to position , this was billion times easier, bolt for door lock unbolt then slide it out

polished my tips with dremel
50/50


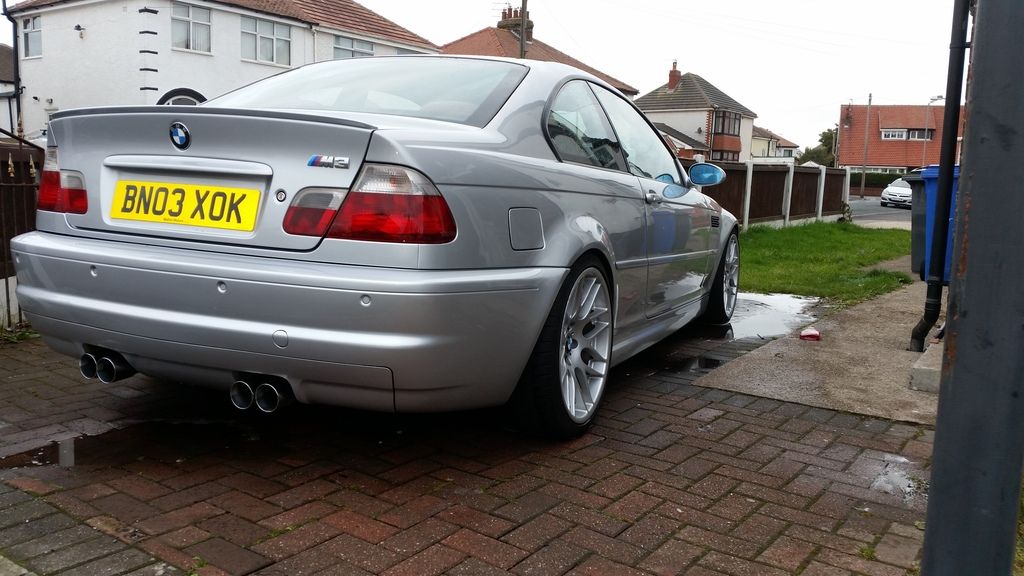
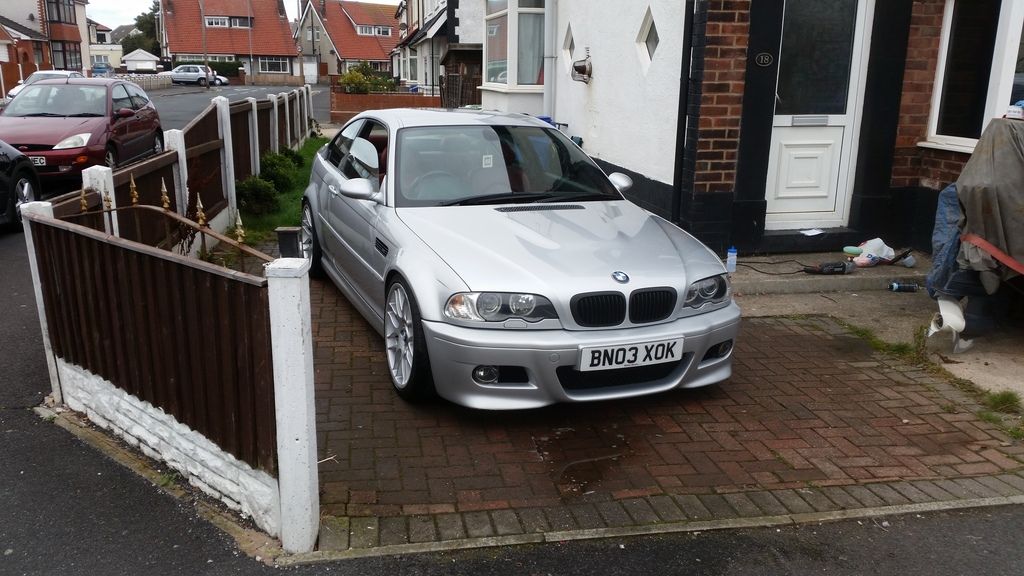
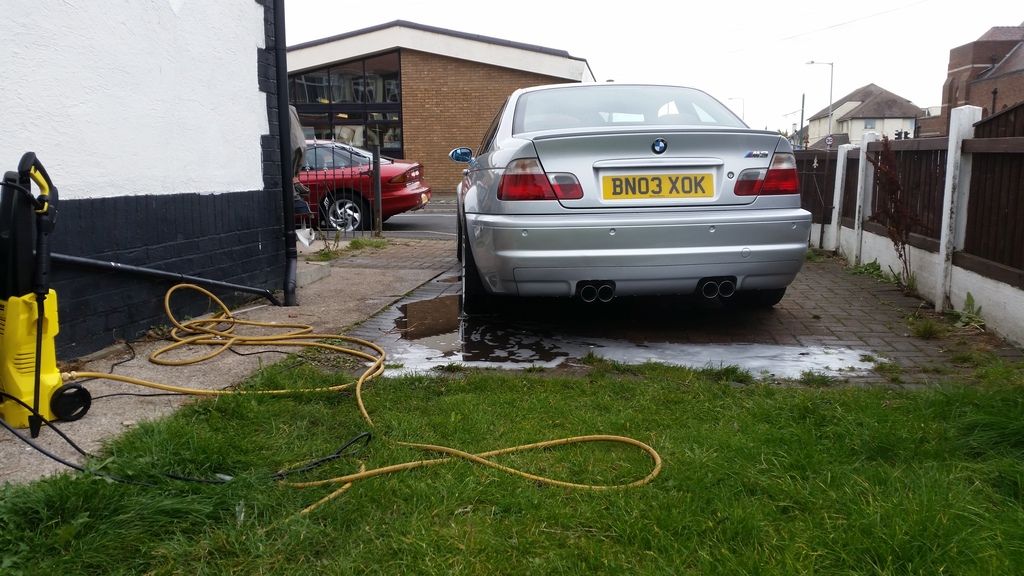
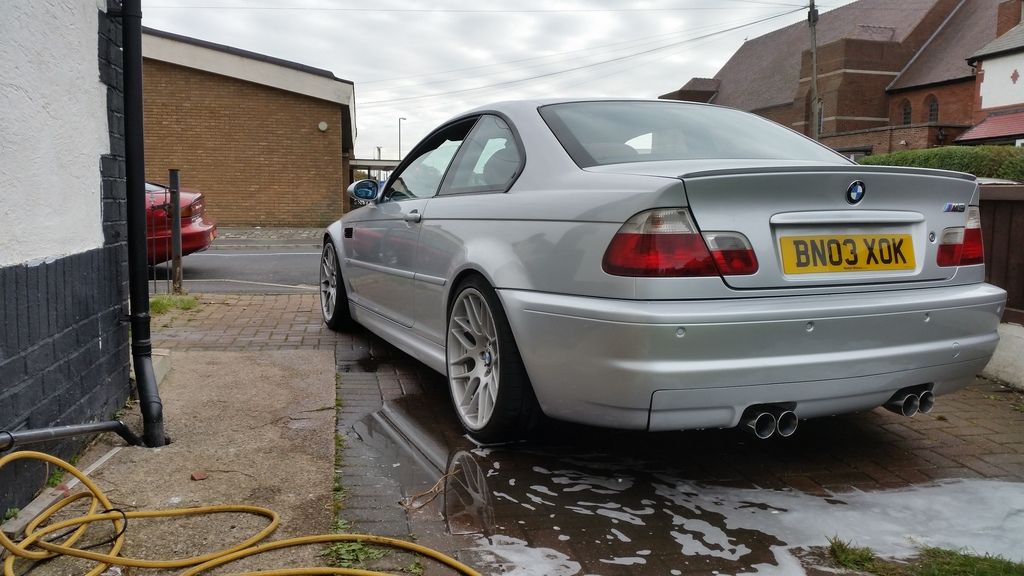
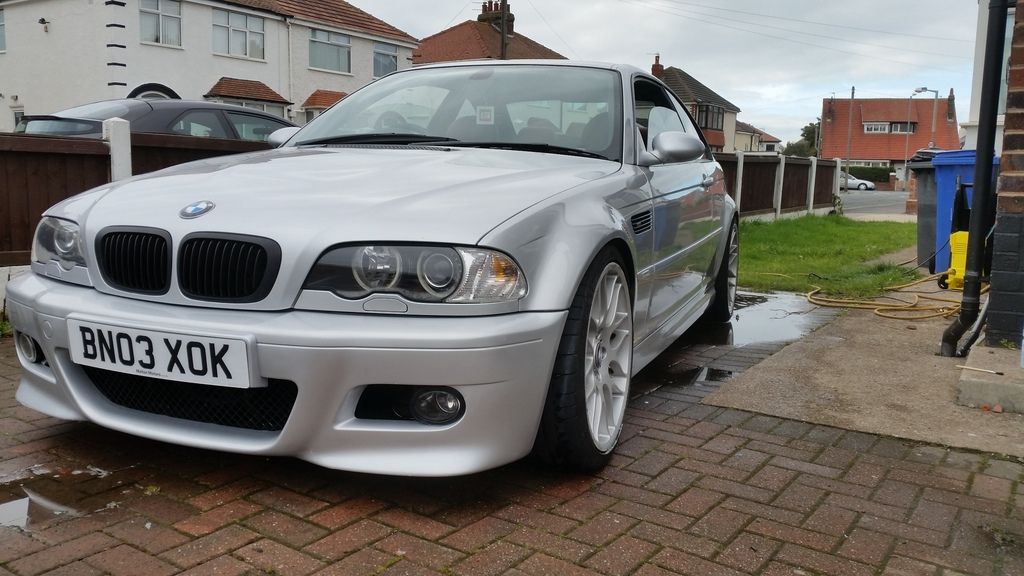
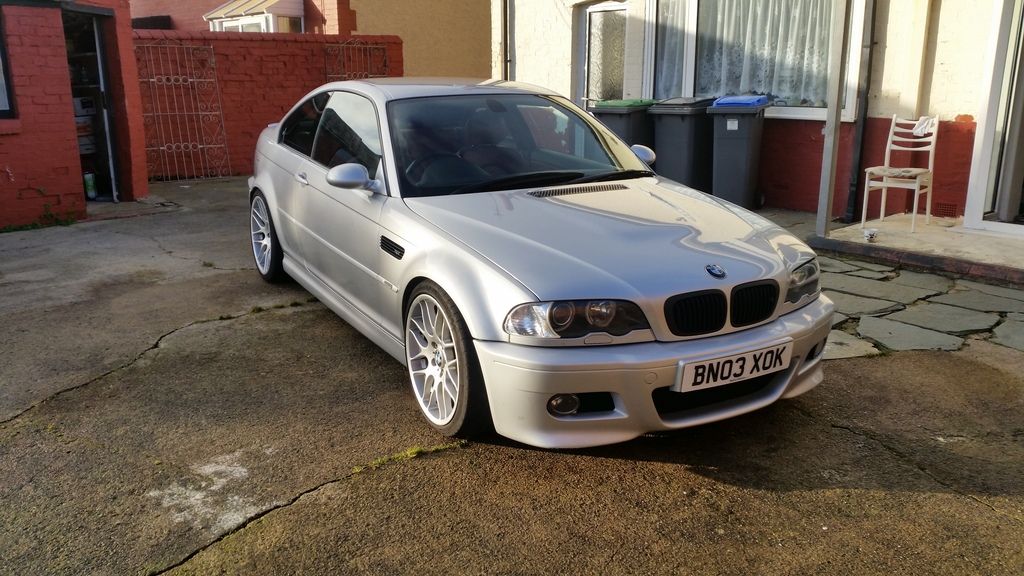
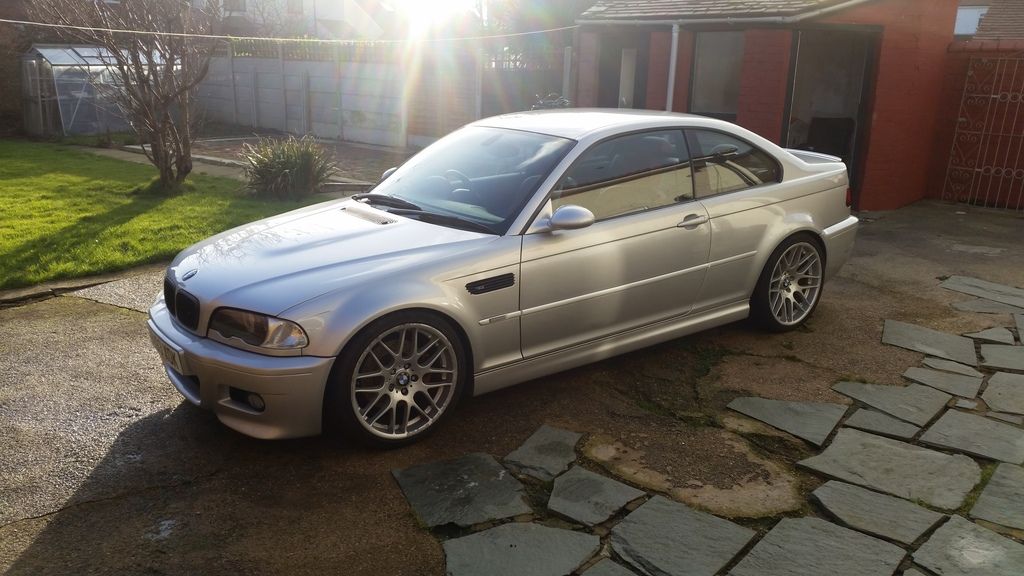
and a few pics after a wash


my month old boy sporting some m3 wear

going to get the steering wheel re-trimmed soon its a bit knackered...
Edited by clarkson22 on Thursday 14th April 21:00
Gassing Station | Readers' Cars | Top of Page | What's New | My Stuff