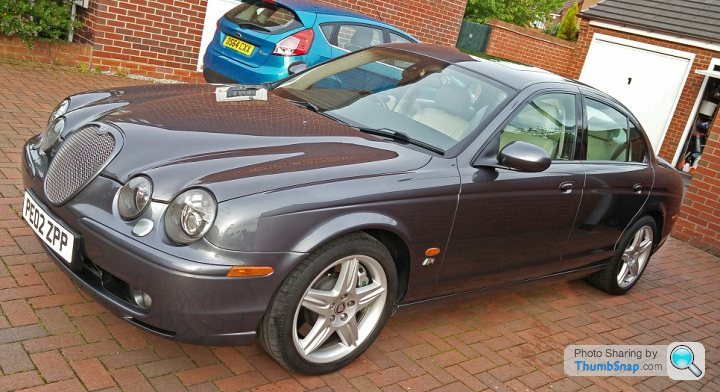
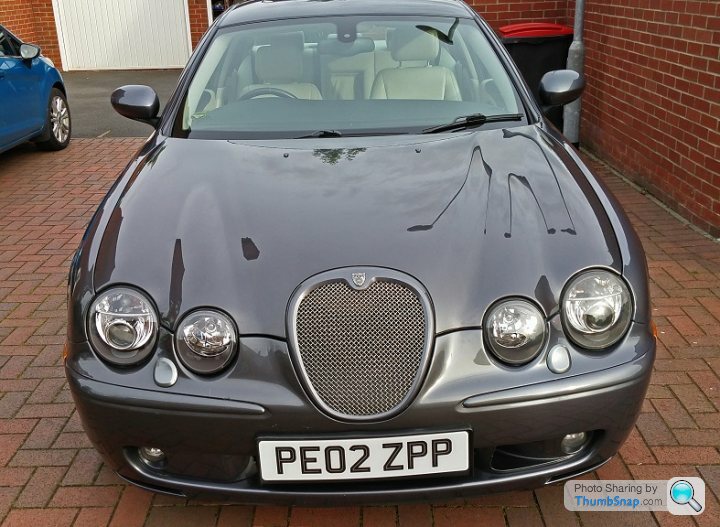
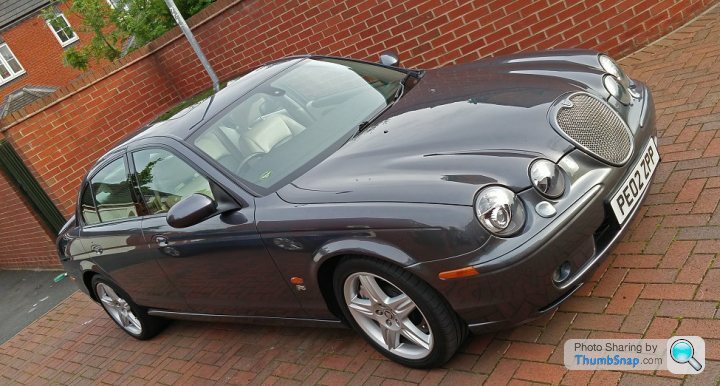
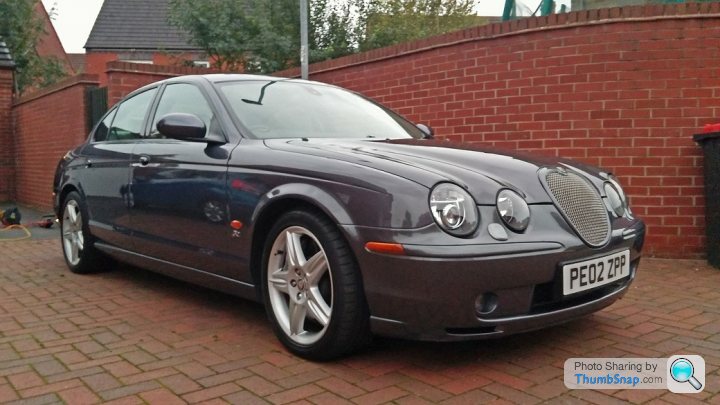
My just collected Jaguar S Type R
Discussion


samj2014 said:
Very nice. Good work on those alloys, I may have to give this a go on mine, how long was the process?
Was really quite quick but I think the key thing is the prep and allowing time between various stages - probably a couple of hours per wheel but over 2-3 days. The wheel in the pic was the most time consuming purely down to the amount of kerbingThe filler can be sanded down after about an hour then it was acid etch high build primer, after 10 mins that could be topped with standard grey primer - 15 mins of light sanding down then 2-3 coats of the silver then another light sanding followed by 2 coats of lacquer
After allowing lacquer to dry for 24 hours (fortunately I have heating in the garage that speeds that up it was then simply protecting with wheel wax
Getting decent quality materials definitely helped the nozzles on the rattle cans were superb, absolutely no clogging and gave a superb spray pattern - massively better than any other rattle cans I have used
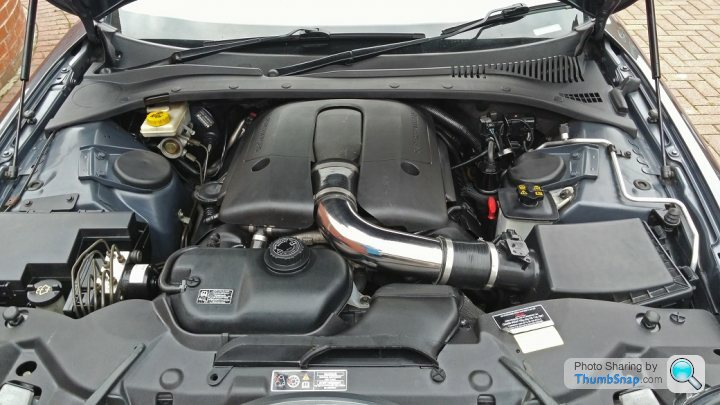
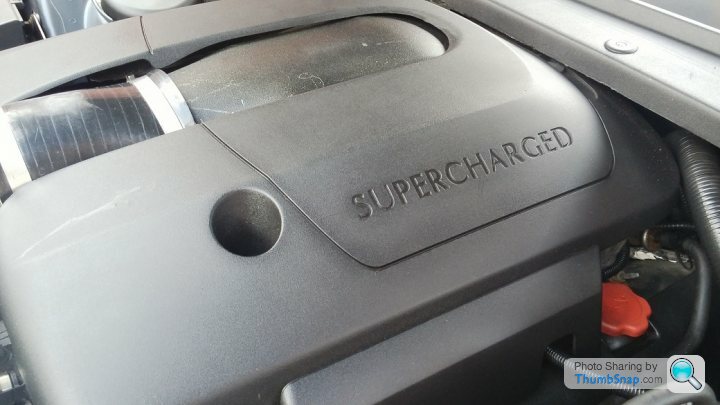
Lovely cars these. I never took any notice of them until my mate ran one for a few months last year. Must admit I was very surprised how quickly it shifted, especially above 100 when it really seemed to get into its stride. His had a power upgrade to 550ish bhp and I got 140 out of it until my bottle went....
Great job with the DIY alloy wheel refurb too. I've just bought some second hand wheels that are in need of a colour change, so I think I'll give it a go myself.
Great job with the DIY alloy wheel refurb too. I've just bought some second hand wheels that are in need of a colour change, so I think I'll give it a go myself.

MOT time today - always gets me very nervous. more so on a car like this as you just know that anything that needs doing is not going to be cheap
I was not aware of any issues but you never know what may be lurking and I always use Severn Valley Motorsport as I know they are rigorous in their testing
Passed with no advisories and with the comment that its one of the cleanest and cars they have ever seen - not bad for a 13 year old car
I was not aware of any issues but you never know what may be lurking and I always use Severn Valley Motorsport as I know they are rigorous in their testing
Passed with no advisories and with the comment that its one of the cleanest and cars they have ever seen - not bad for a 13 year old car
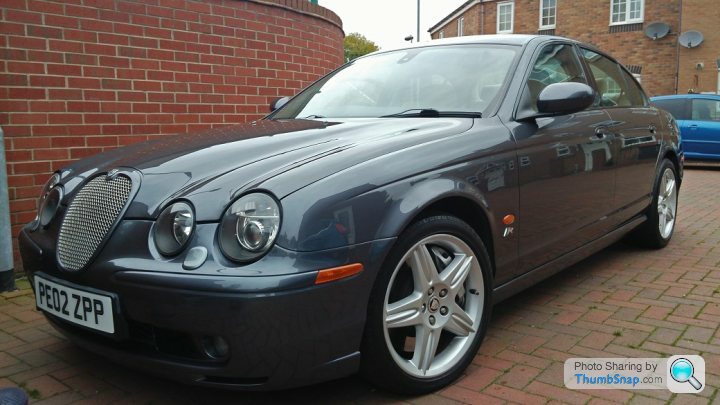

This is the best car I have ever owned - seriously underrated - probably because its not German - I may be forced in to selling in the next couple of months due to a potential move out of the UK and it will be painful to part with it
MPG - on a journey high 20's, when I collected her she did 35mpg over the 220 mile journey home. Around town 18-18mpg
MPG - on a journey high 20's, when I collected her she did 35mpg over the 220 mile journey home. Around town 18-18mpg
Andy665 said:
MPG - on a journey high 20's, when I collected her she did 35mpg over the 220 mile journey home. Around town 18-18mpg
That's better then i'm getting.99% on my journeys are around town and i average about 13 - 14 MPG. If i put my foot down a lot it sits around 11 MPG, and recently on a trackday i got 5.1 MPG

OP that is stunning! Also, I am amazed at the alloy refurb you achieved. Thinking of trying a similar refurb myself, would you be able to tell me where you got the products and how many cans etc would be needed to do a set of 5 alloys please? Also, did you sand by hand or use a machine?
All wheel refurb stuff bought from TWG Sports - Ebay shop - all GT Pro stuff.
Used 1 can of primer per wheel, 1 -1.5 cans of actual colour and 1 can of lacquer - I did both the front and rear of each wheel
Can highly recommend the aluminium filler, sands down really well and much better than putty
All sanding was done by hand, starting at 80 grade, progressively working up to 3000 grade - few months since they were done and no discolouring or cracking appearing at all
pbarlow0032 said:
Hi Andy, when you say 1-1.5 cans of colour, 1 can of lacquer, are you talking per wheel?
So for a set of 5 alloys you'd be talking 5 cans of primer, 5 cans of lacquer, 6 cans of colour? I'll check out the ebay shop, thanks for the info!
Used 1 can of primer per wheel, 1 -1.5 cans of actual colour and 1 can of lacquer - I did both the front and rear of each wheelSo for a set of 5 alloys you'd be talking 5 cans of primer, 5 cans of lacquer, 6 cans of colour? I'll check out the ebay shop, thanks for the info!
pbarlow0032 said:
Hi Andy, when you say 1-1.5 cans of colour, 1 can of lacquer, are you talking per wheel?
So for a set of 5 alloys you'd be talking 5 cans of primer, 5 cans of lacquer, 6 cans of colour? I'll check out the ebay shop, thanks for the info!
I'd go for 7-8 cans of colour - the trick is many very light coats - their webshop has lots of combinations of primers / top coats and lacquers to save moneySo for a set of 5 alloys you'd be talking 5 cans of primer, 5 cans of lacquer, 6 cans of colour? I'll check out the ebay shop, thanks for the info!
Gassing Station | Readers' Cars | Top of Page | What's New | My Stuff