BMW Z3 2.8 - OEM+ long term project
Discussion


Hi Everyone,
Thought i'd create a log of what i'm up to with my Z3.
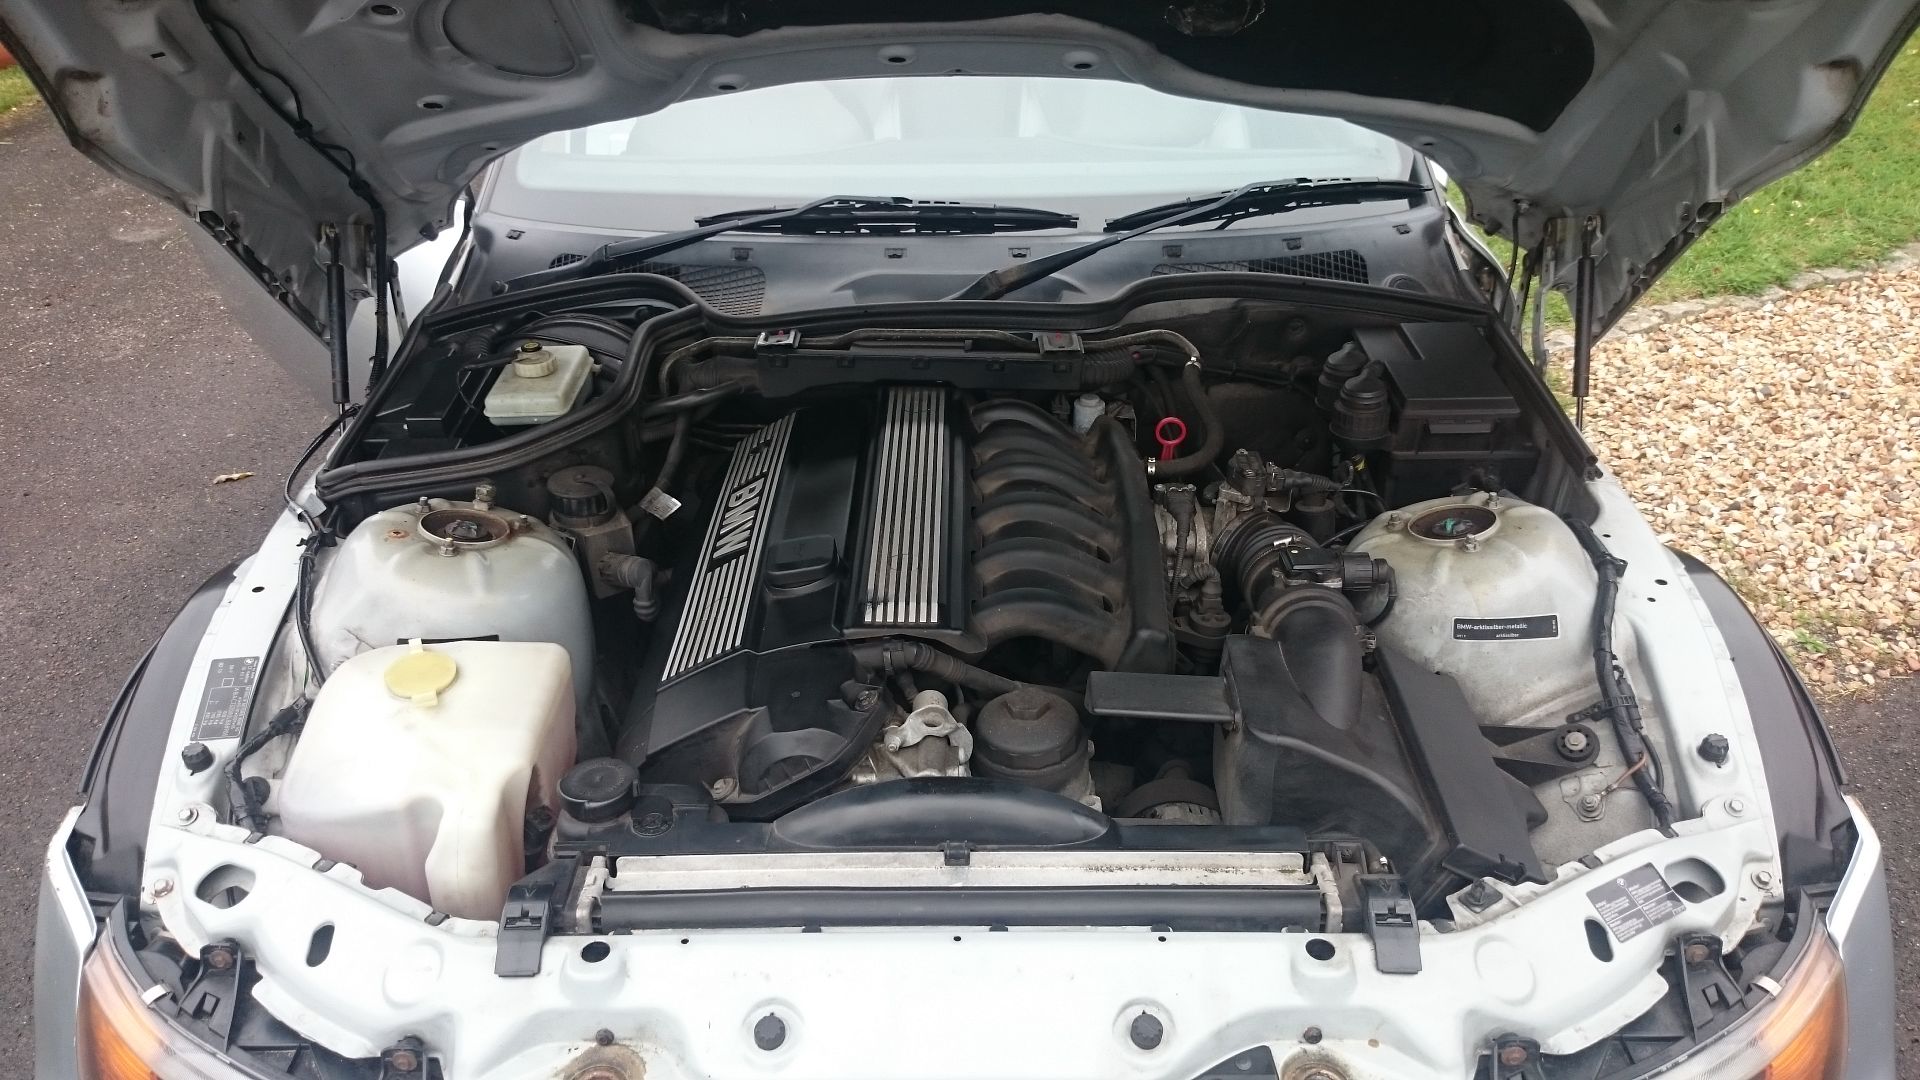
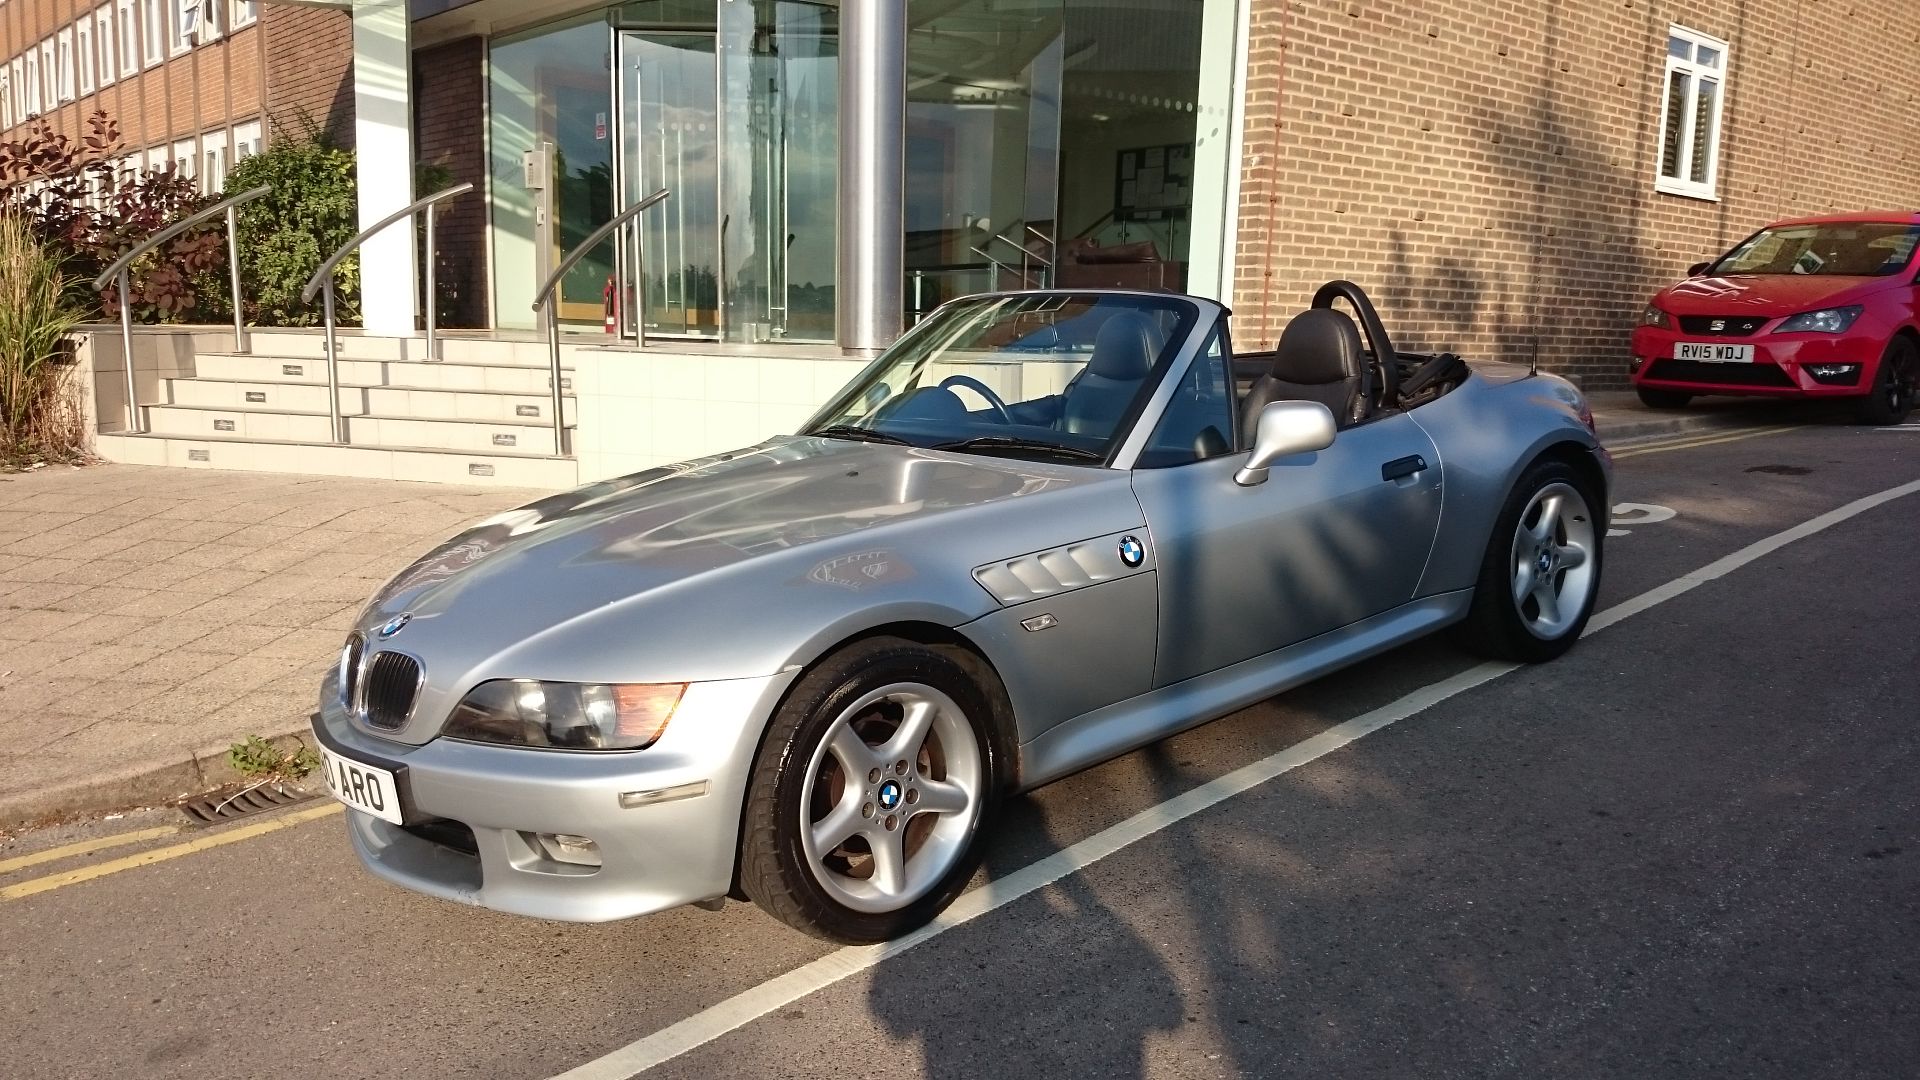
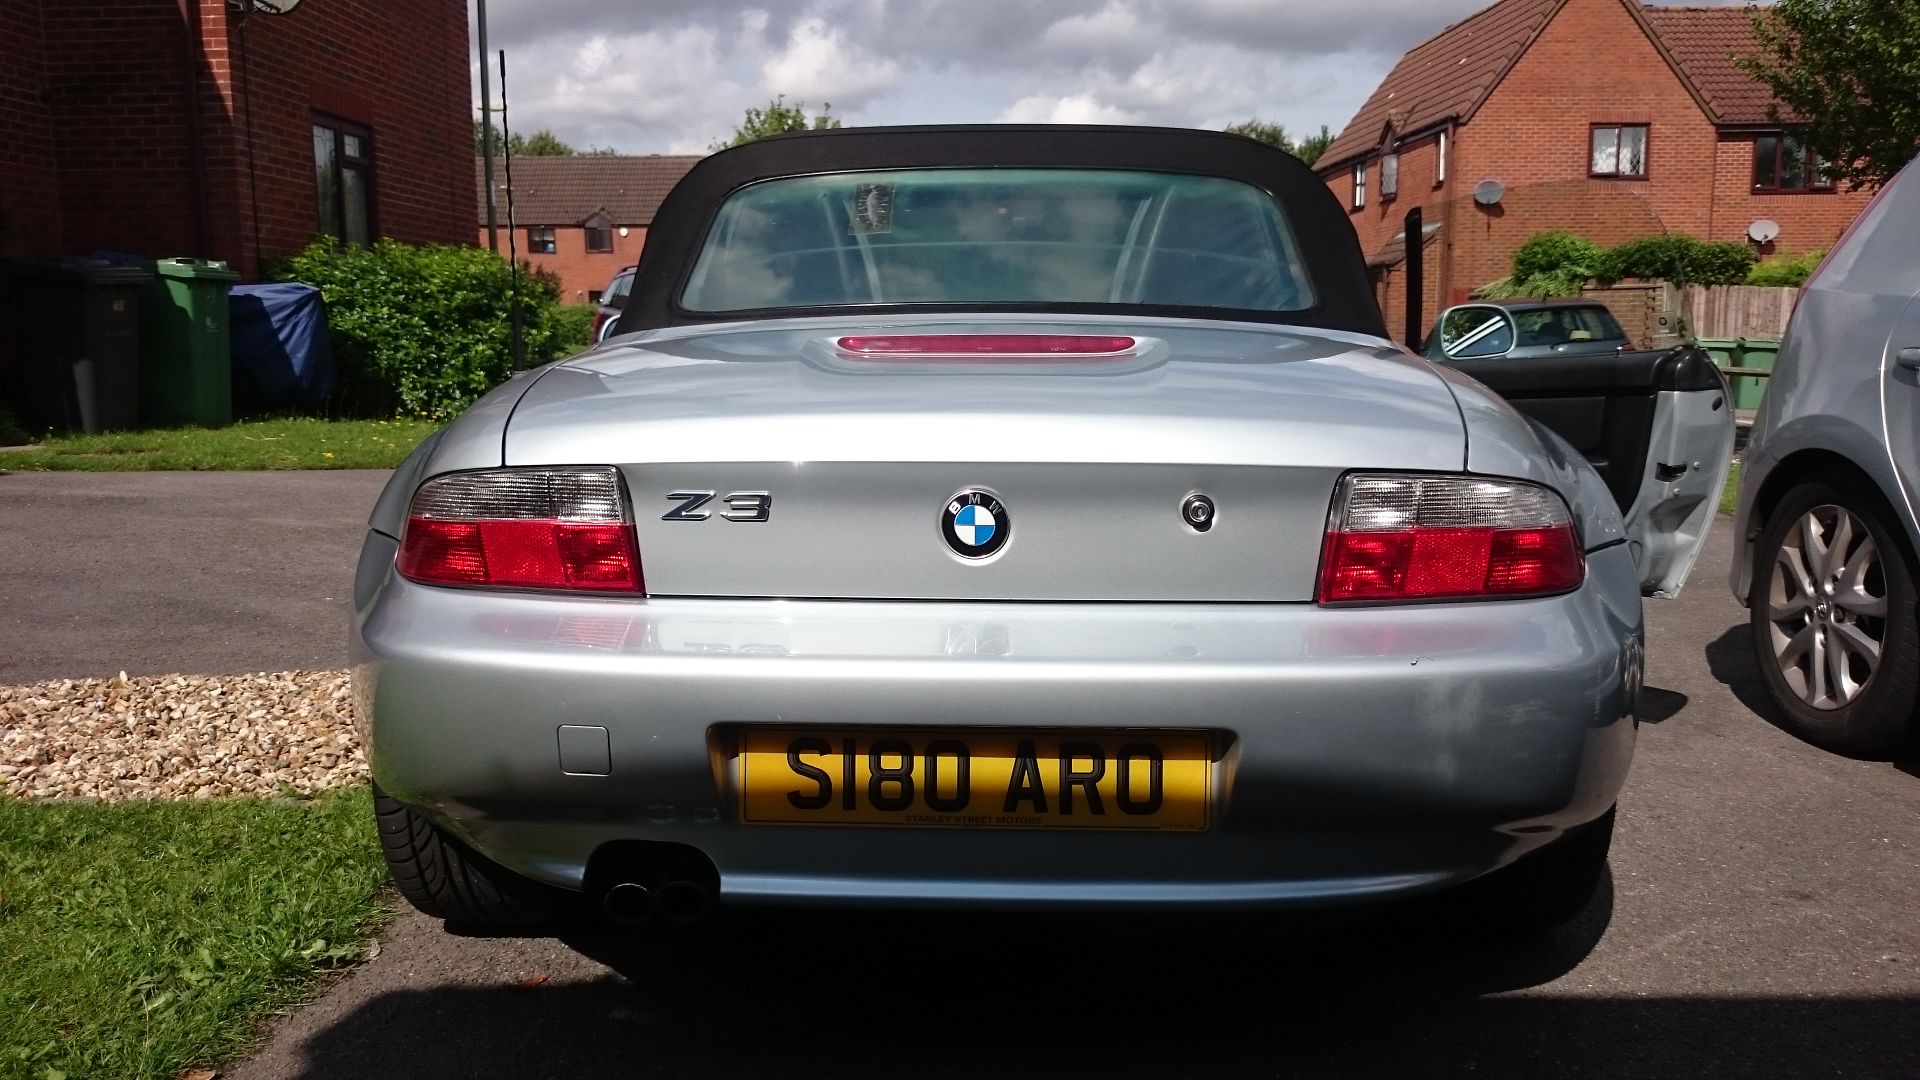
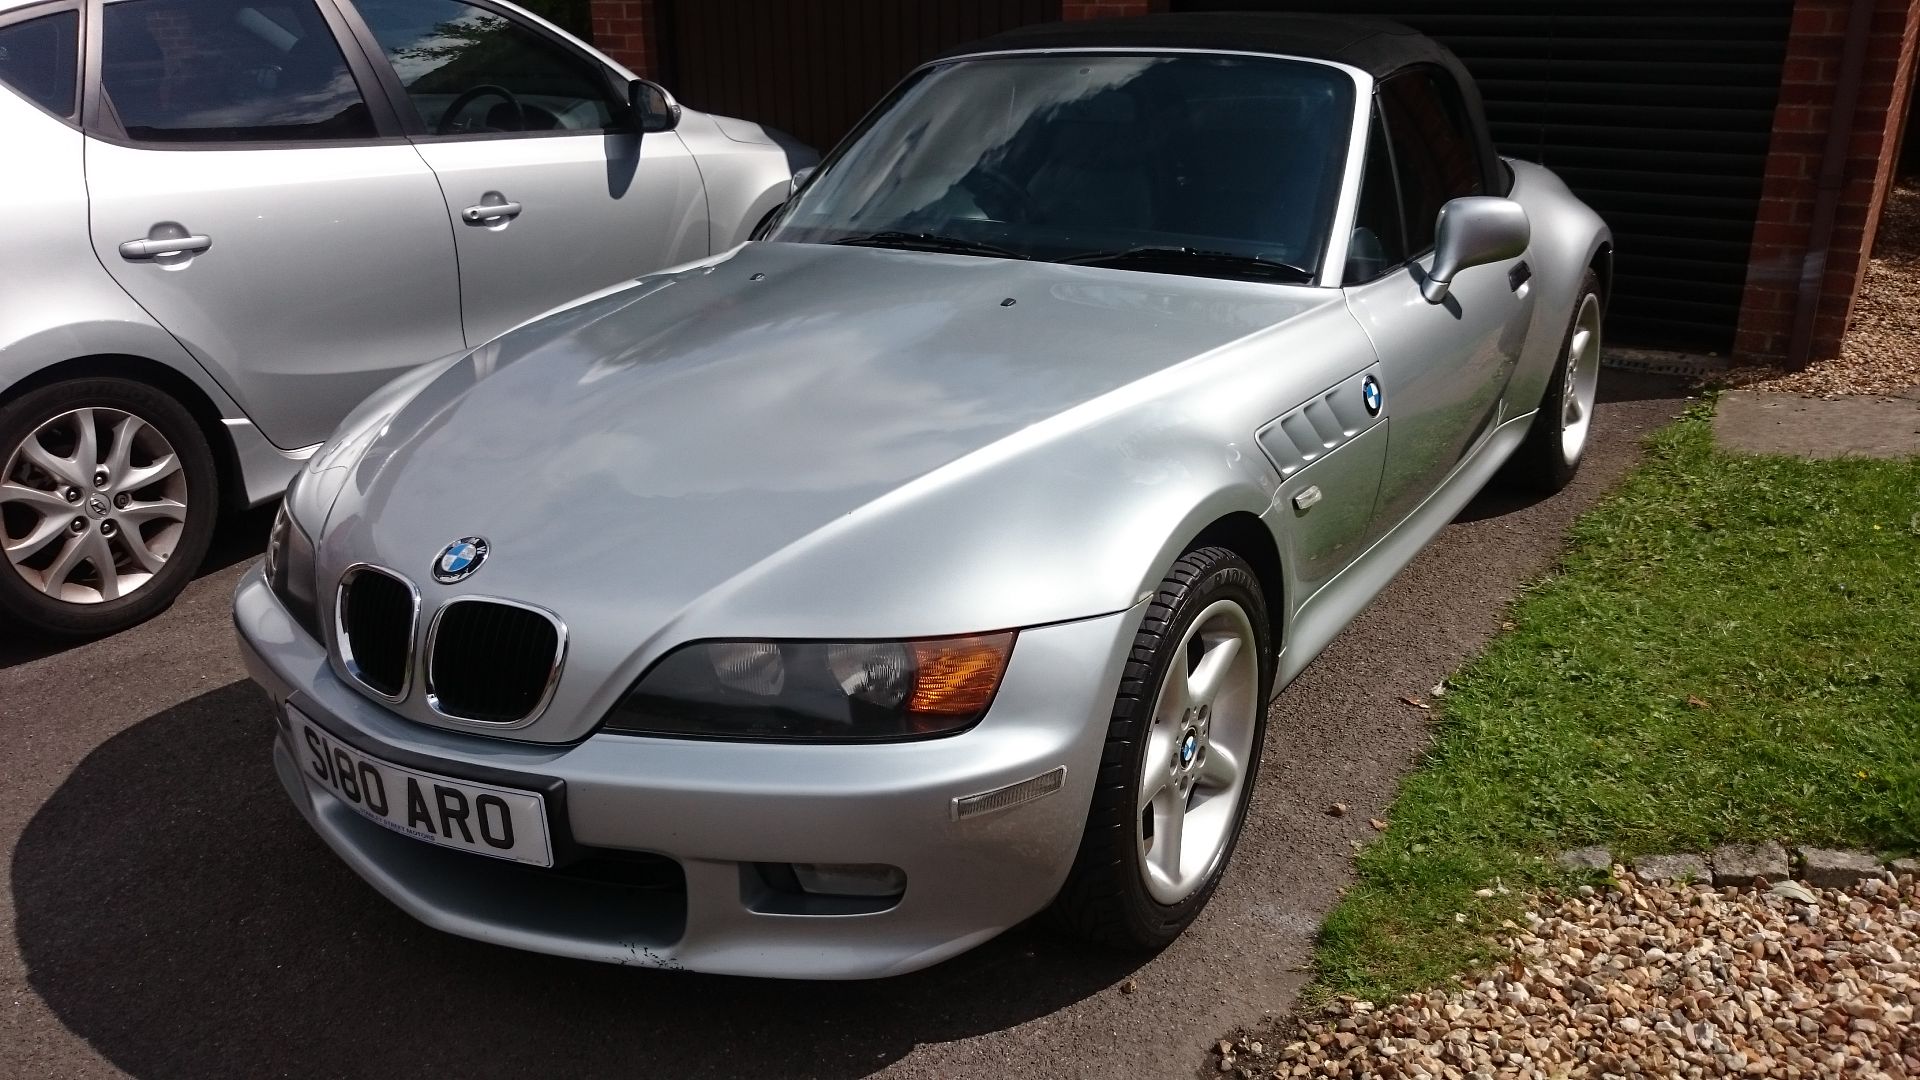
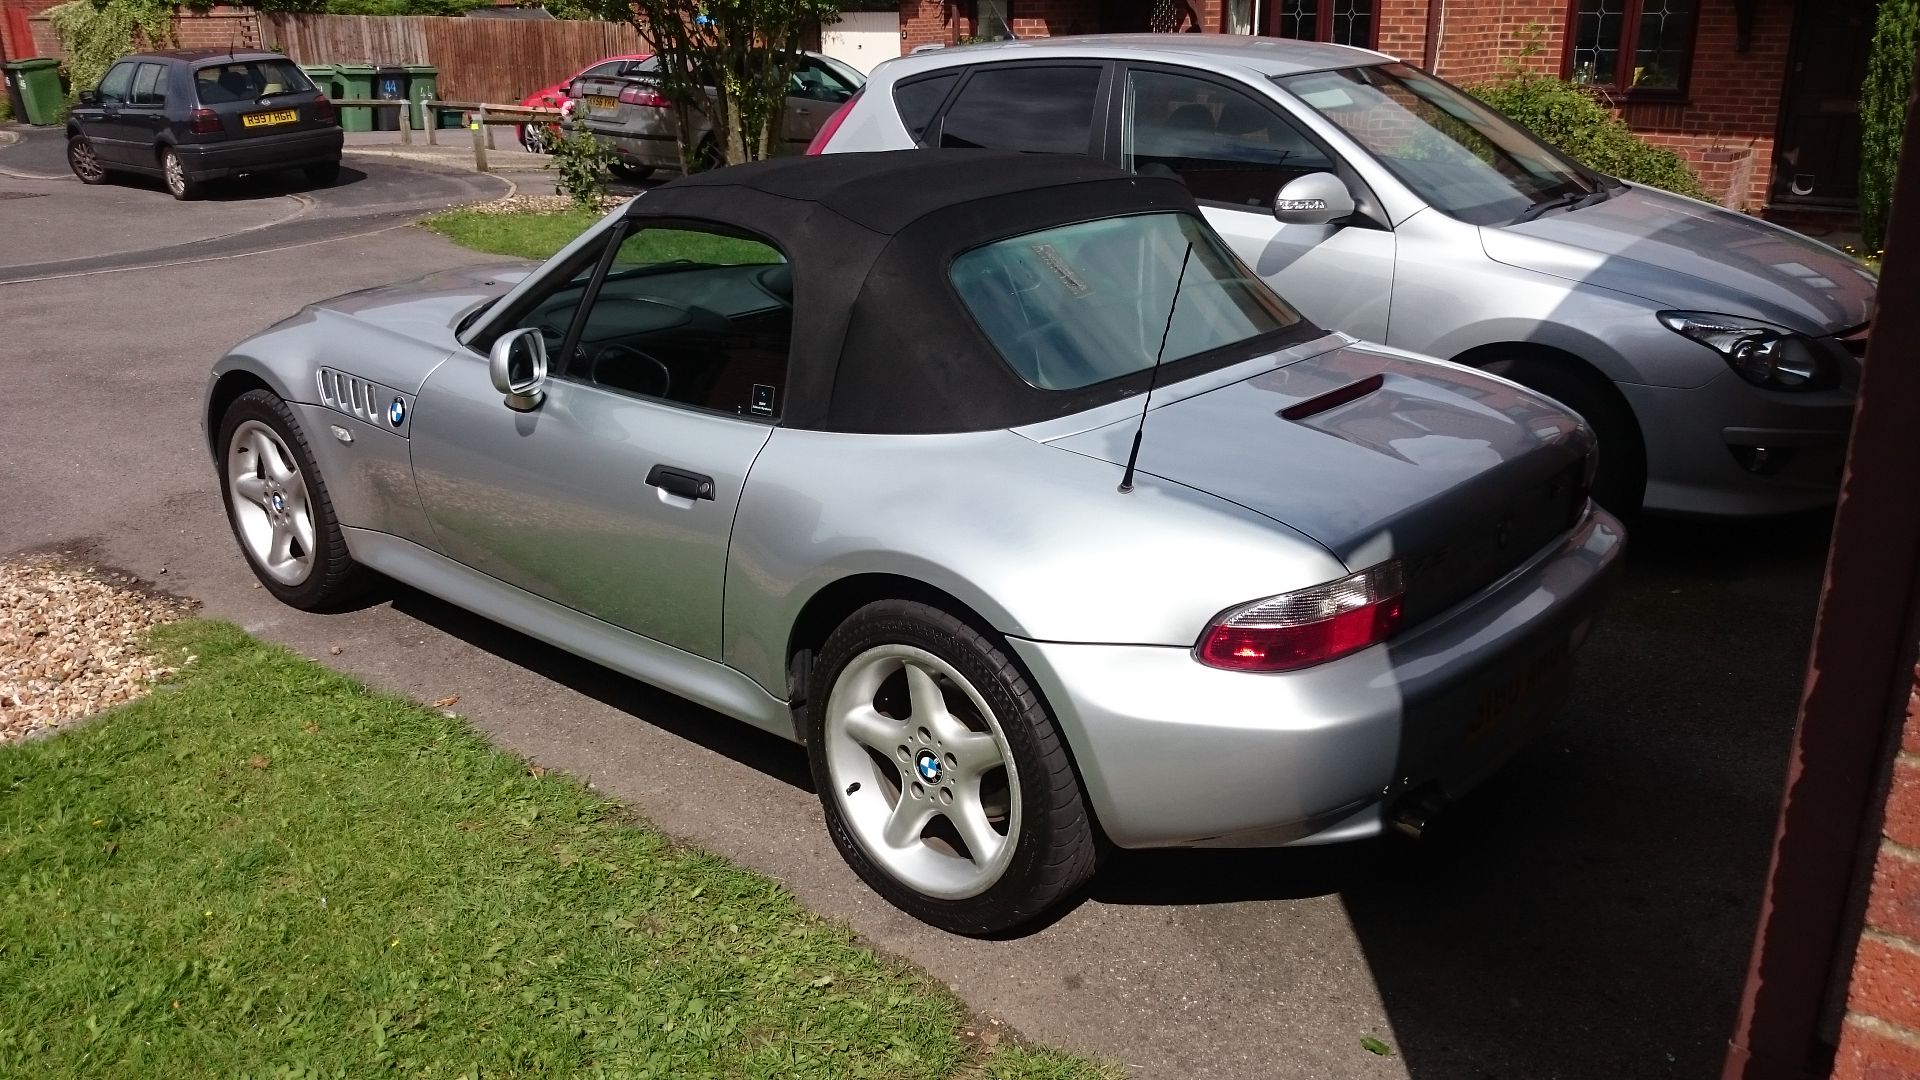
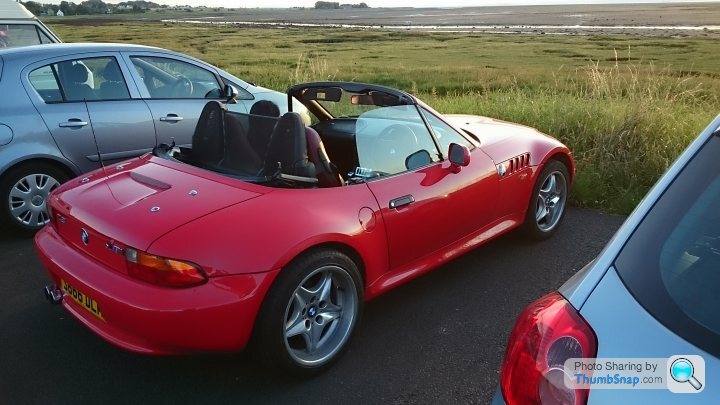
Picked this up, 2.8i pre facelift, artic silver, sports seats, harmon cardon, chrome pack car a few weeks ago and will probaly spend the next year slowly upgrading with tasteful OEM upgrades aong with making it a great car for next summer.
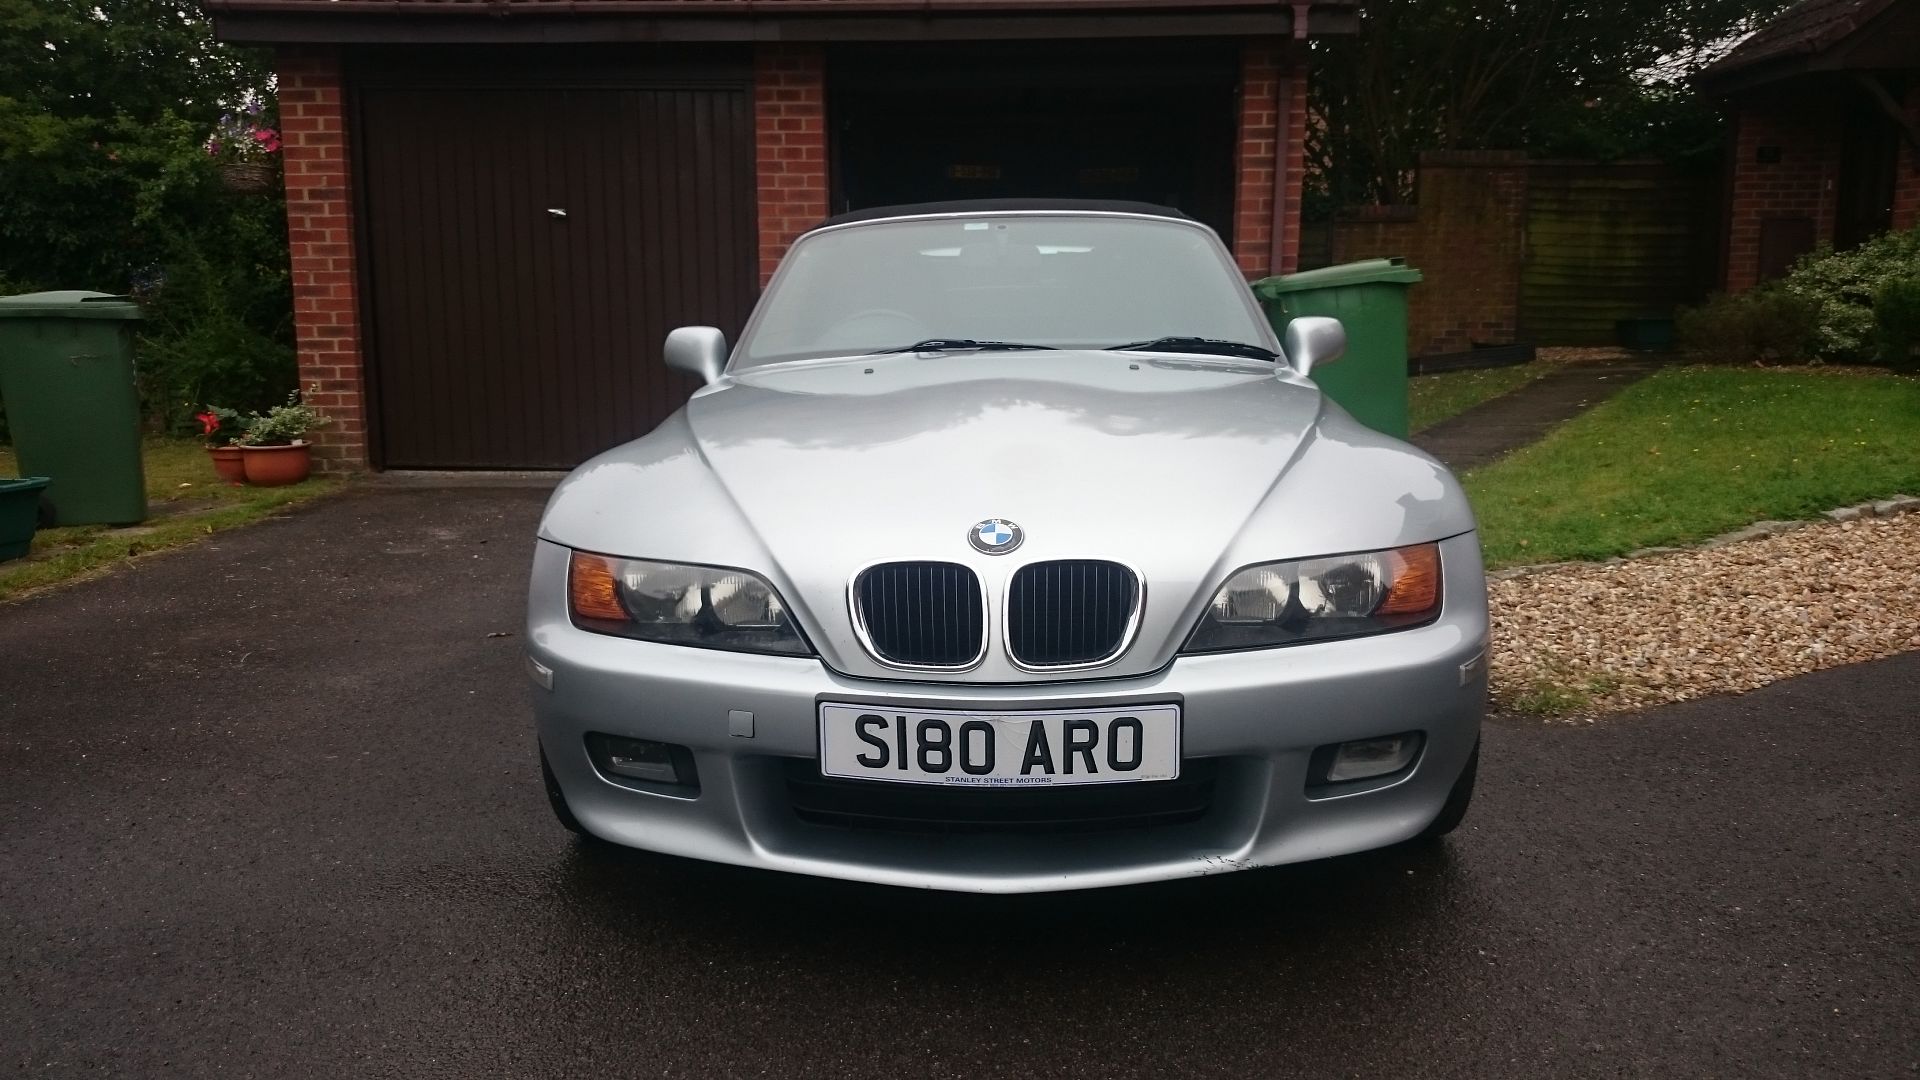
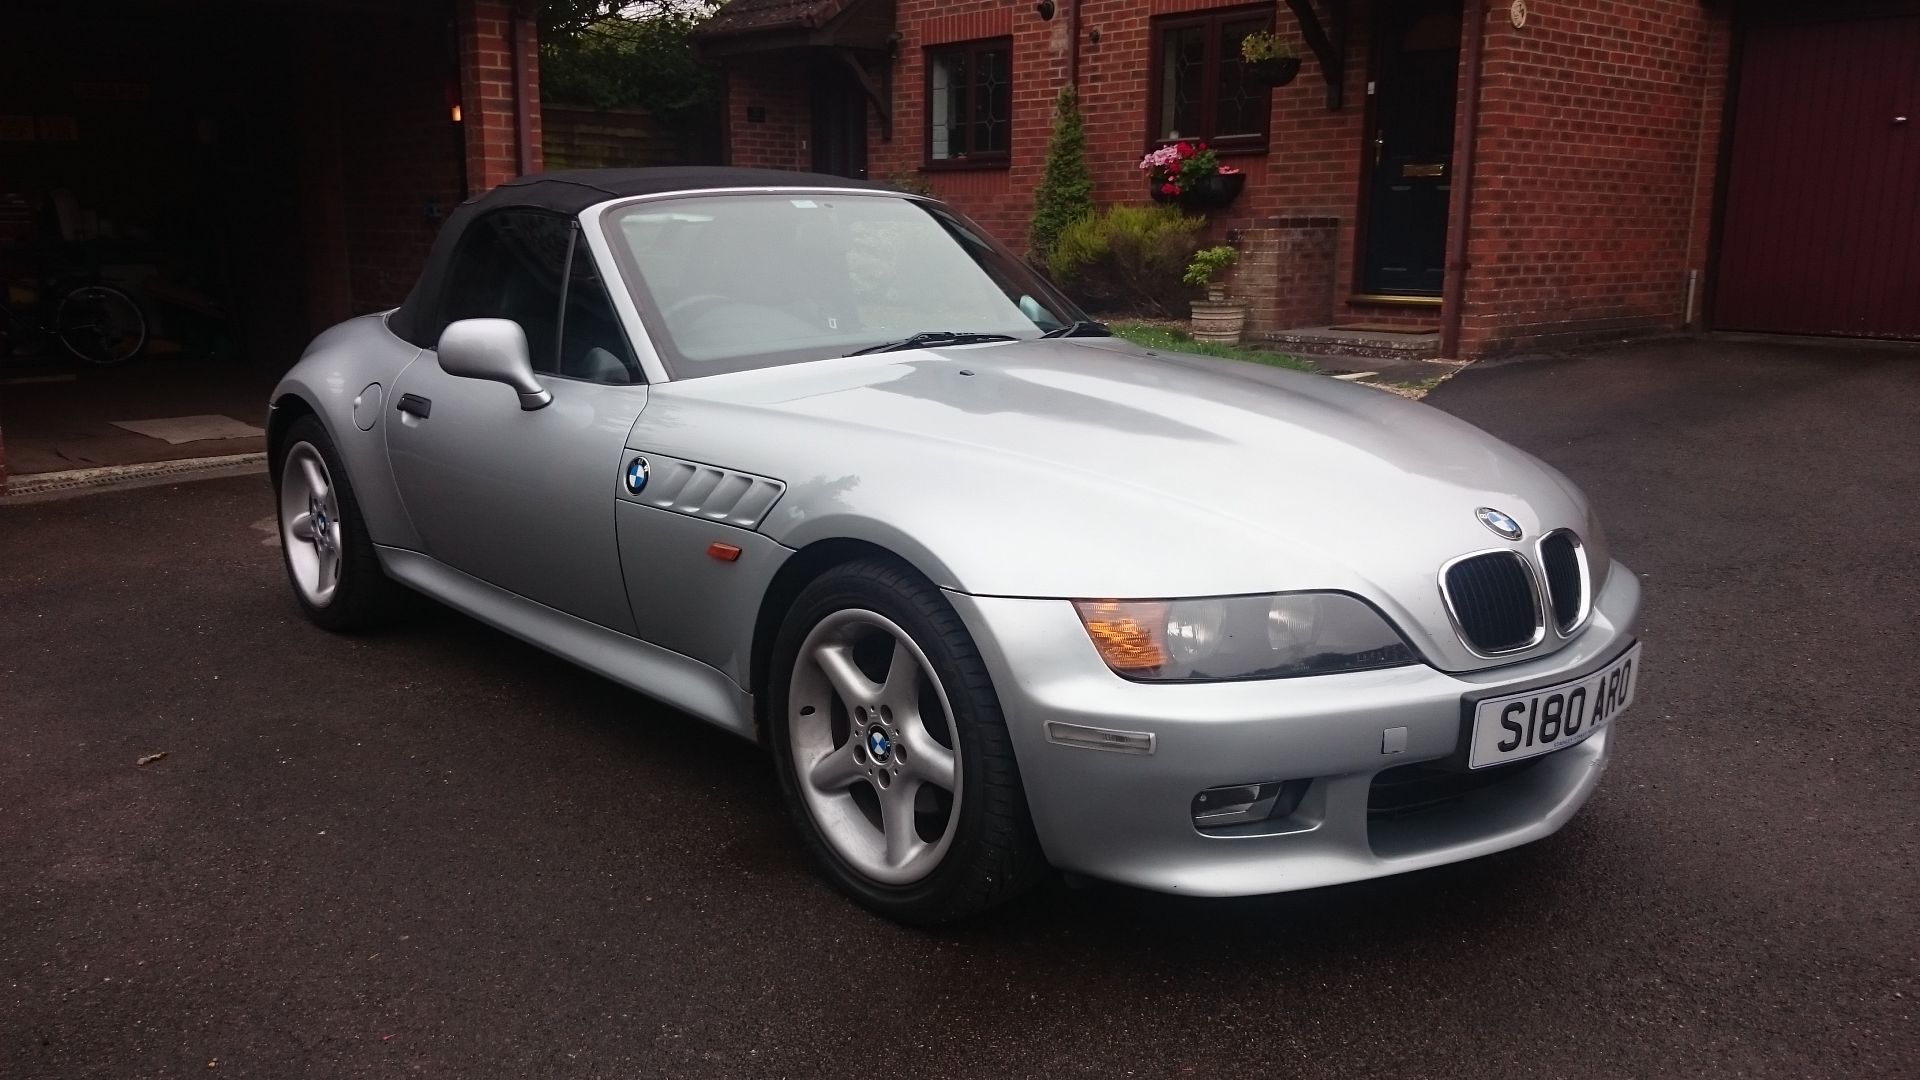
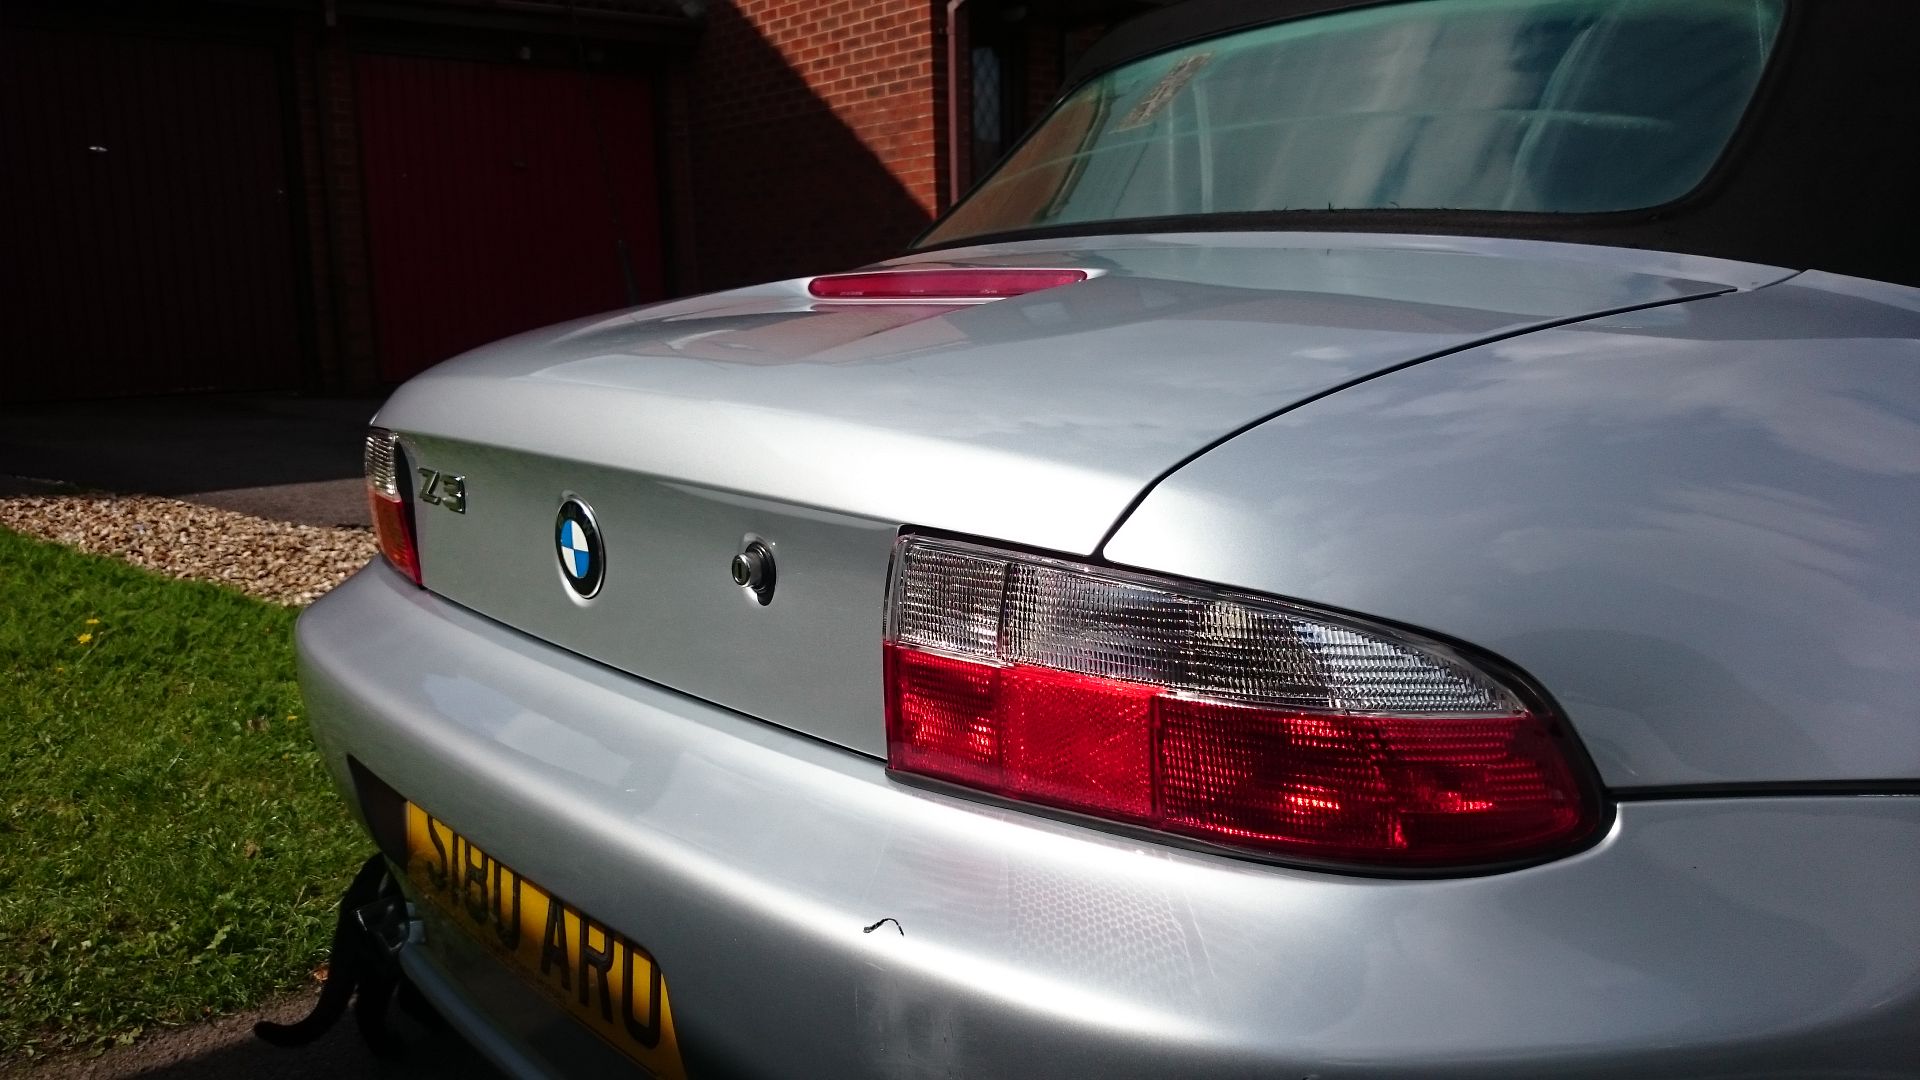
First upgrades were starting to detango the car to hide its age a little
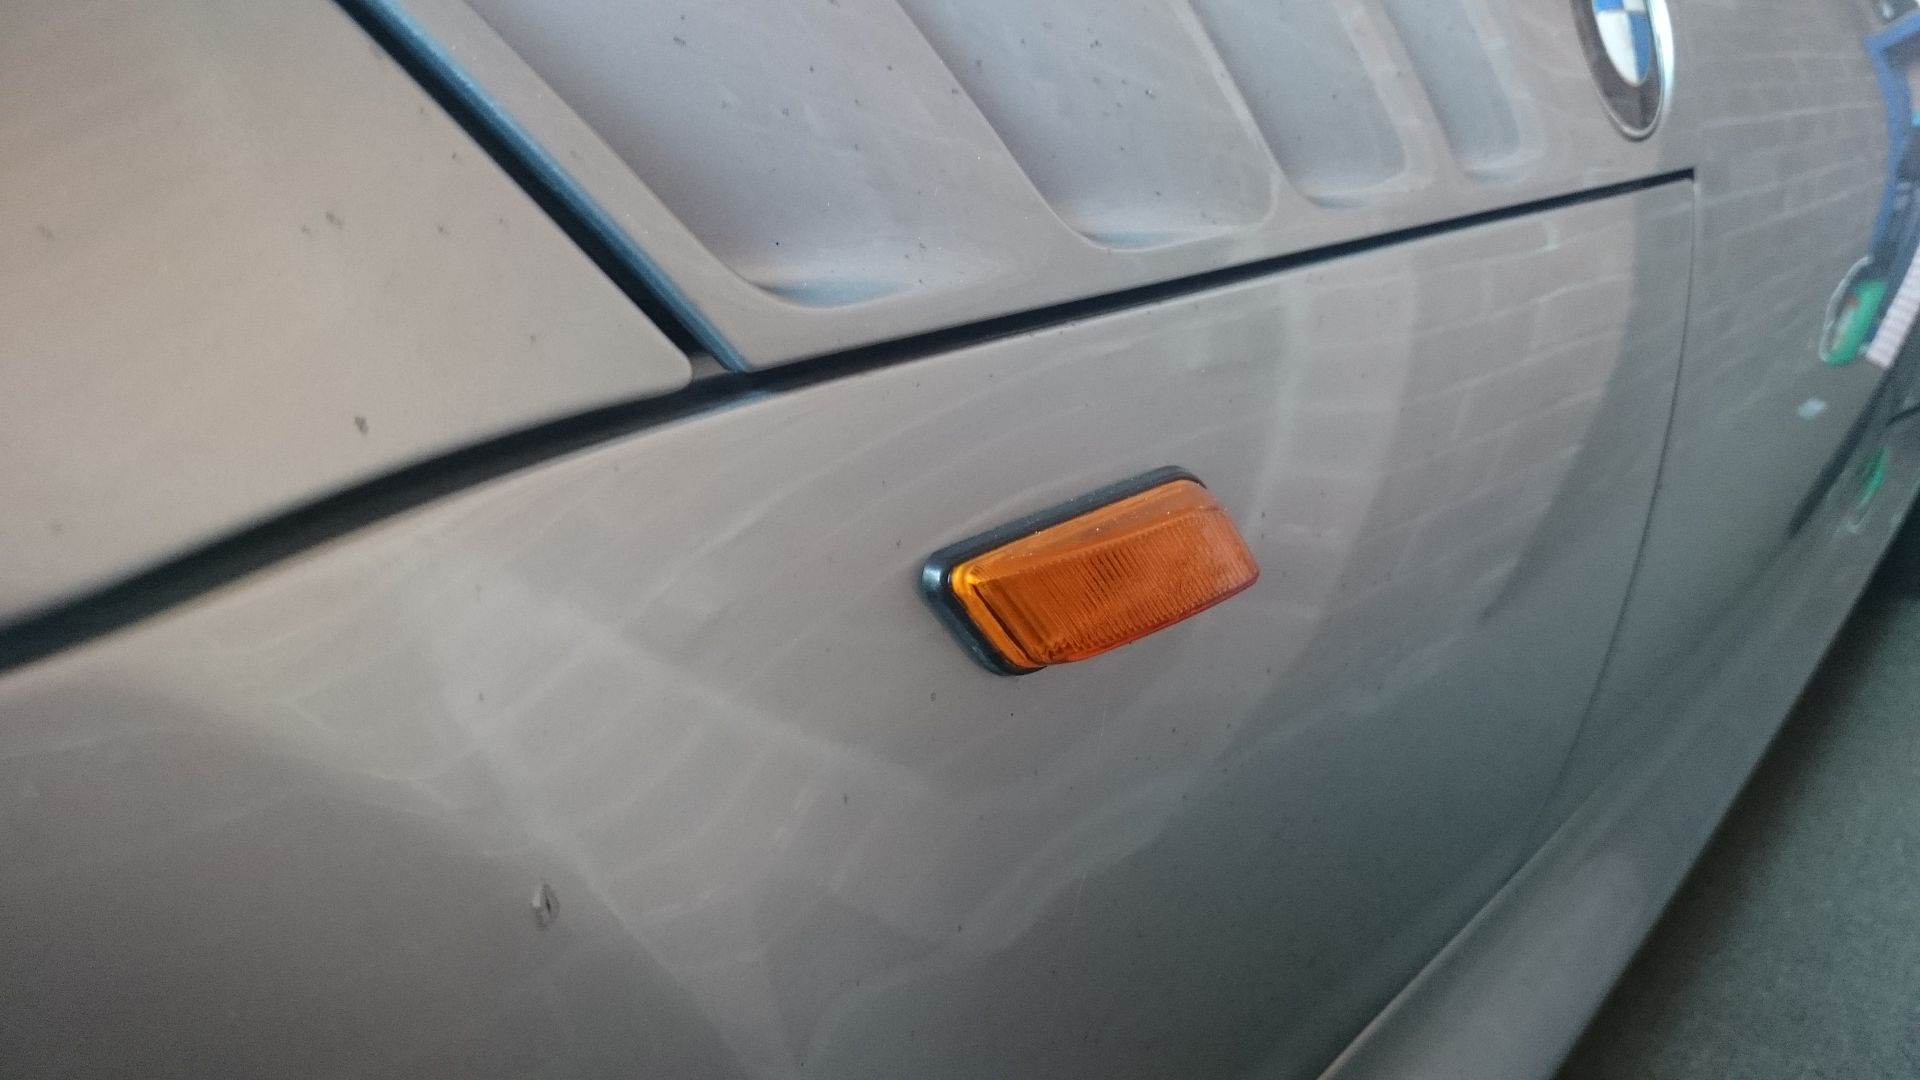

bought off German eBay for £14 and added some Amber LED bulbs for another £3
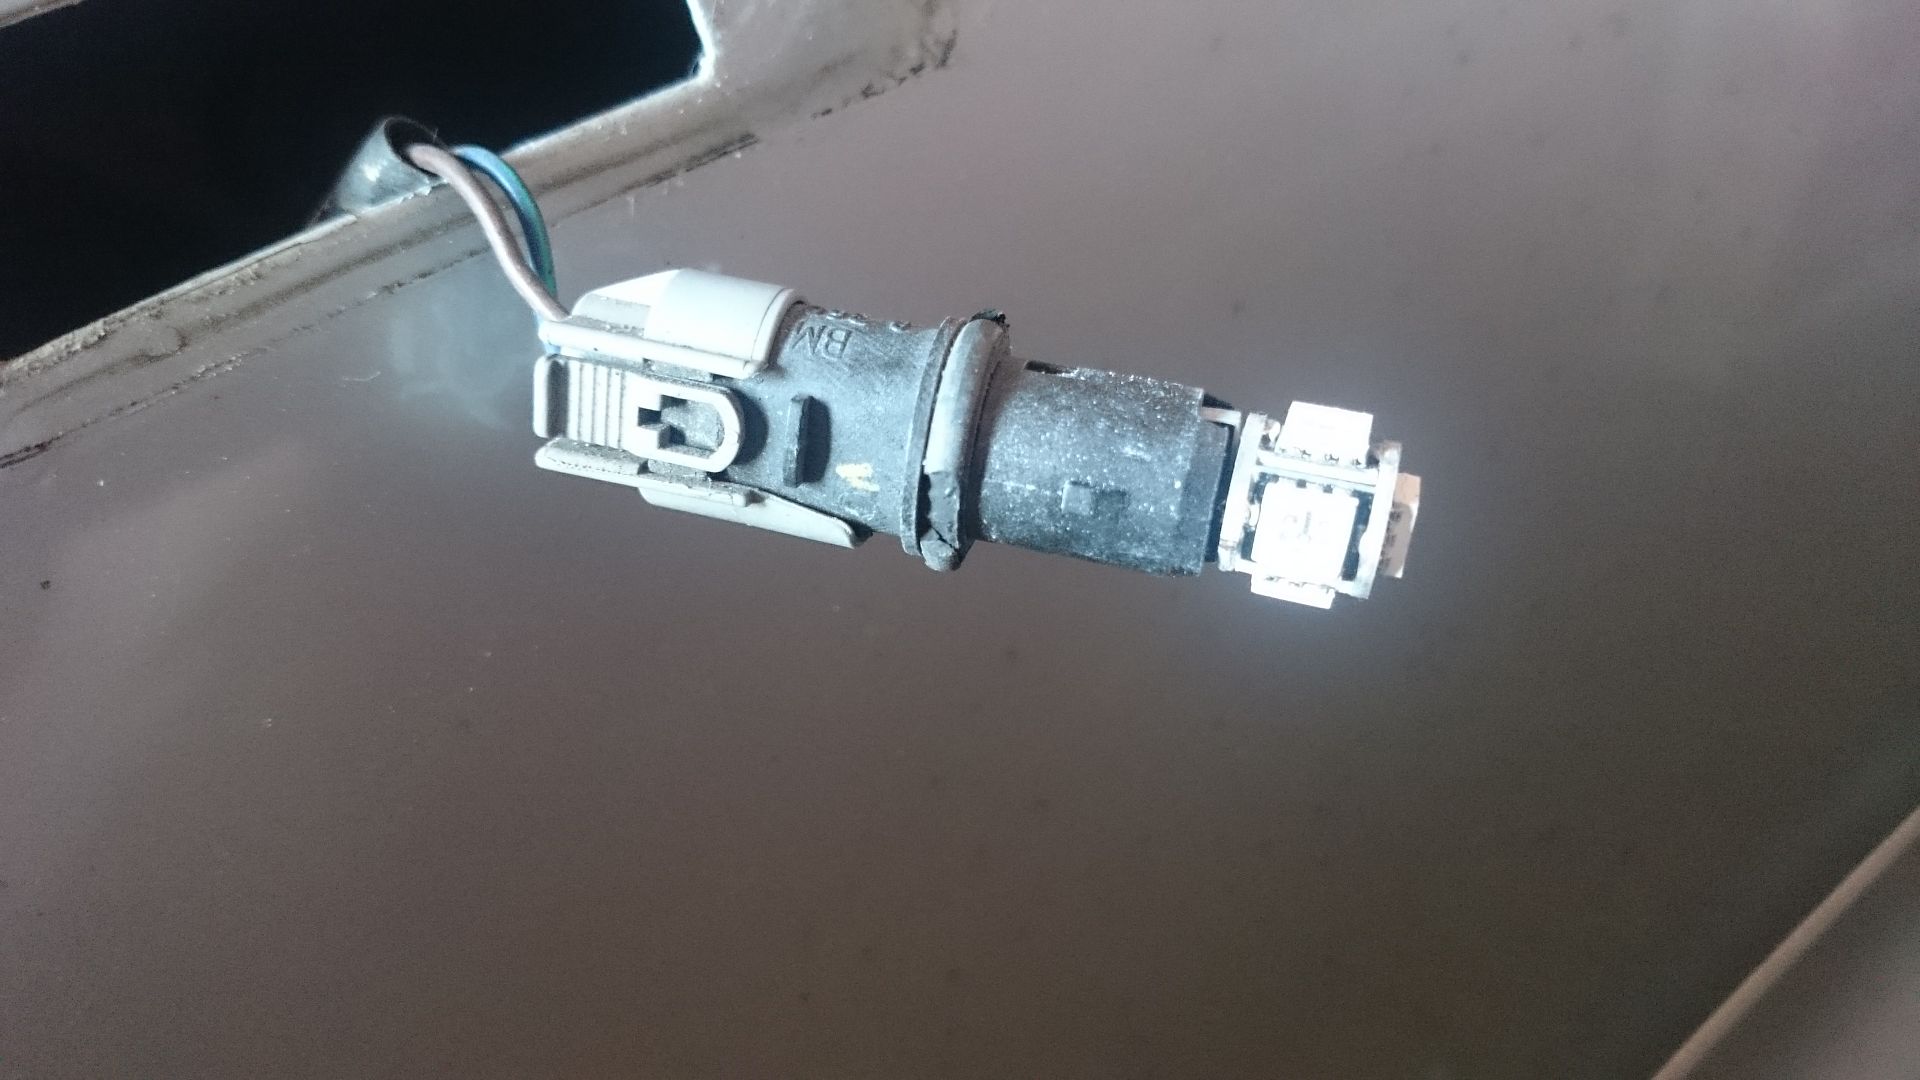
next updated the number plate lights with some xenon white LEDs
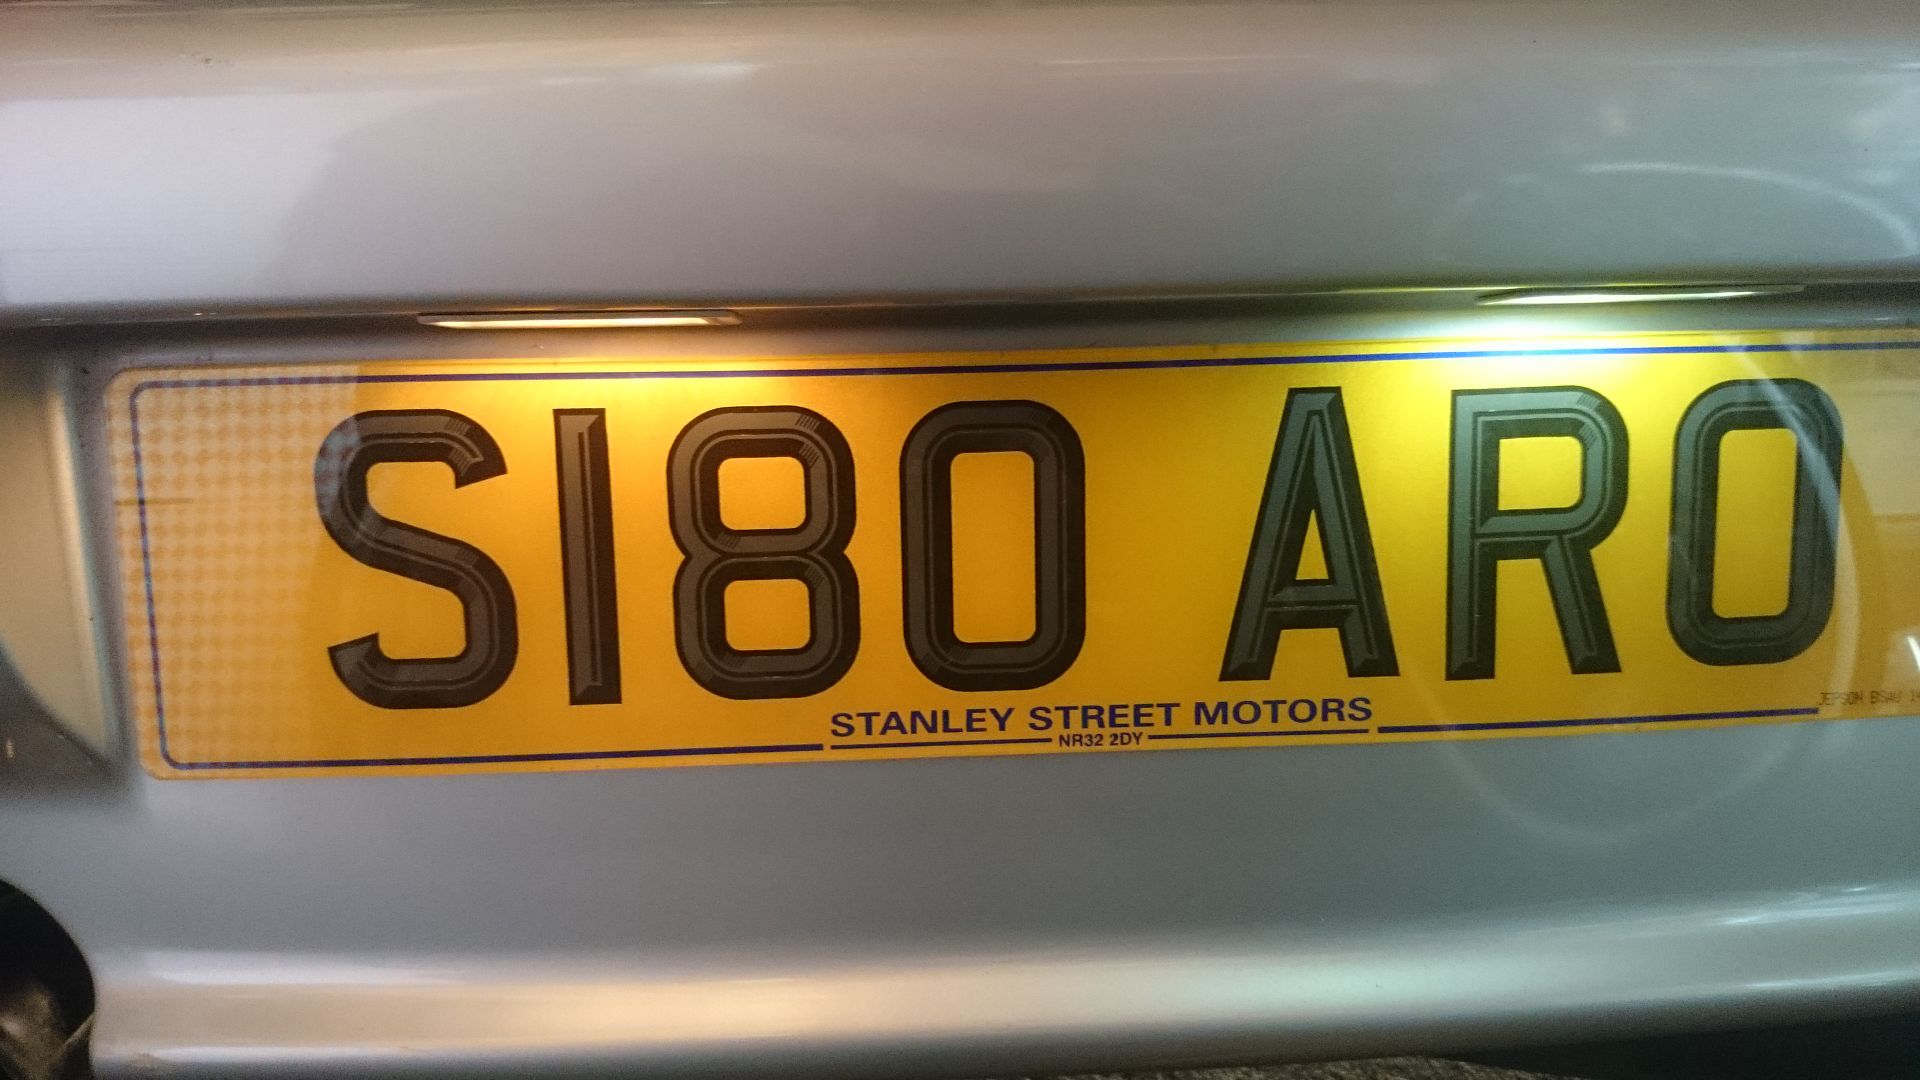
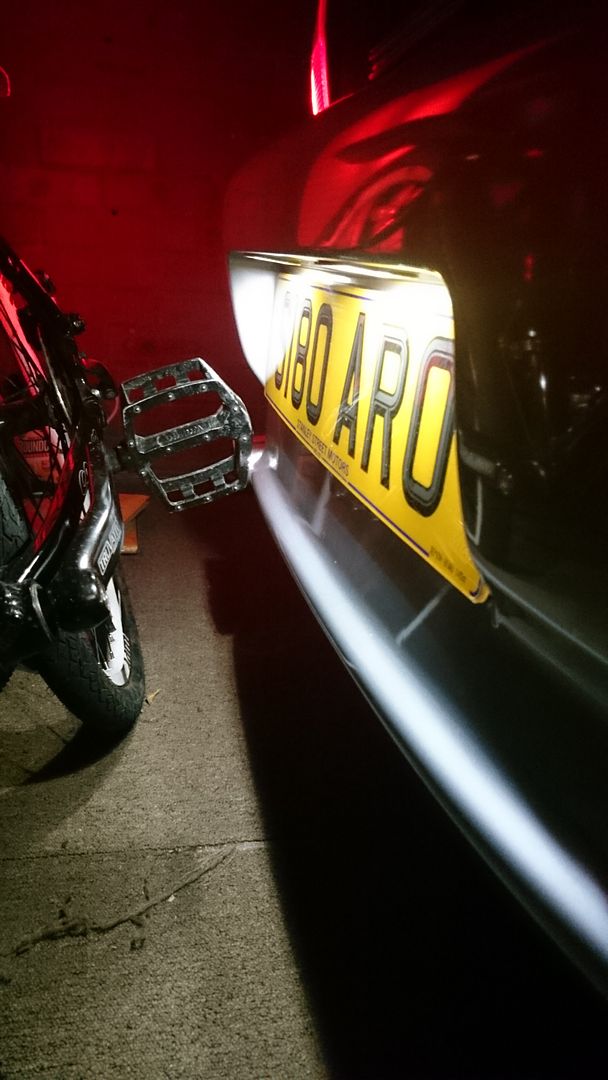
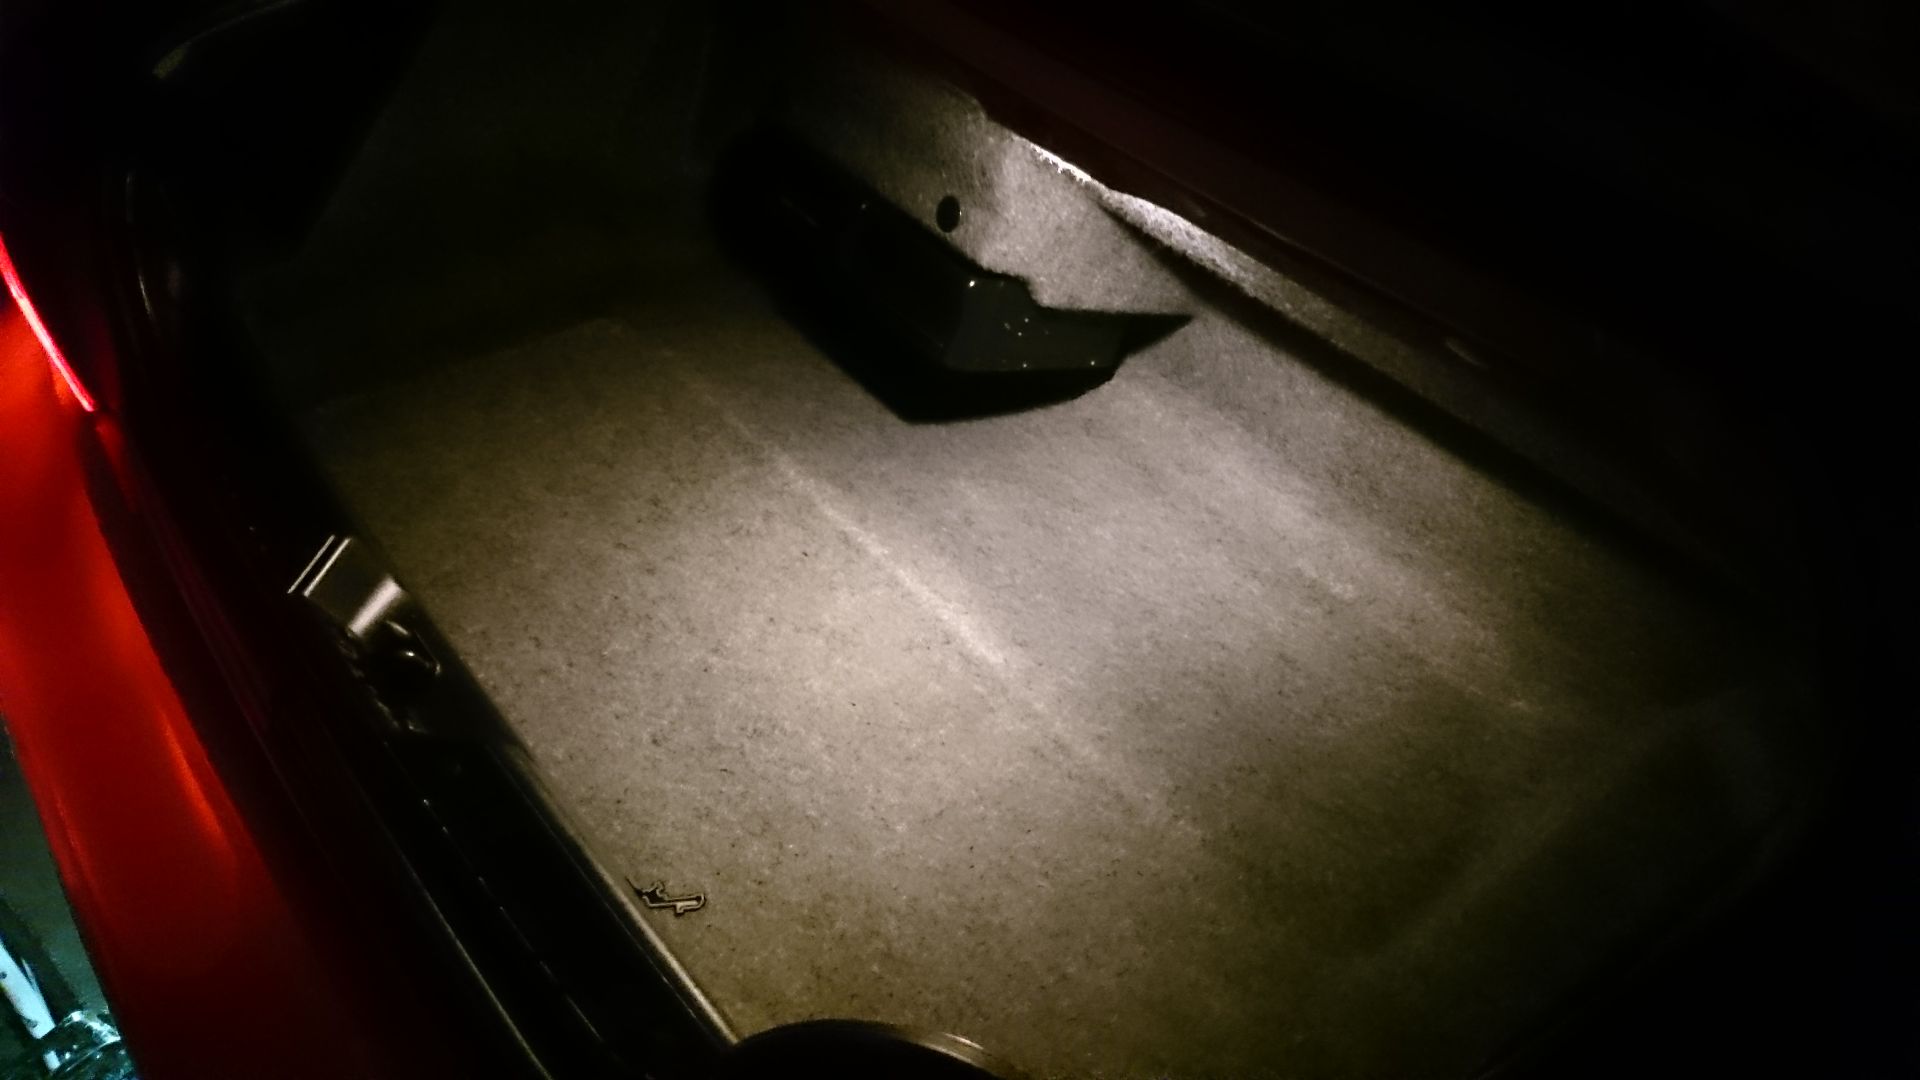
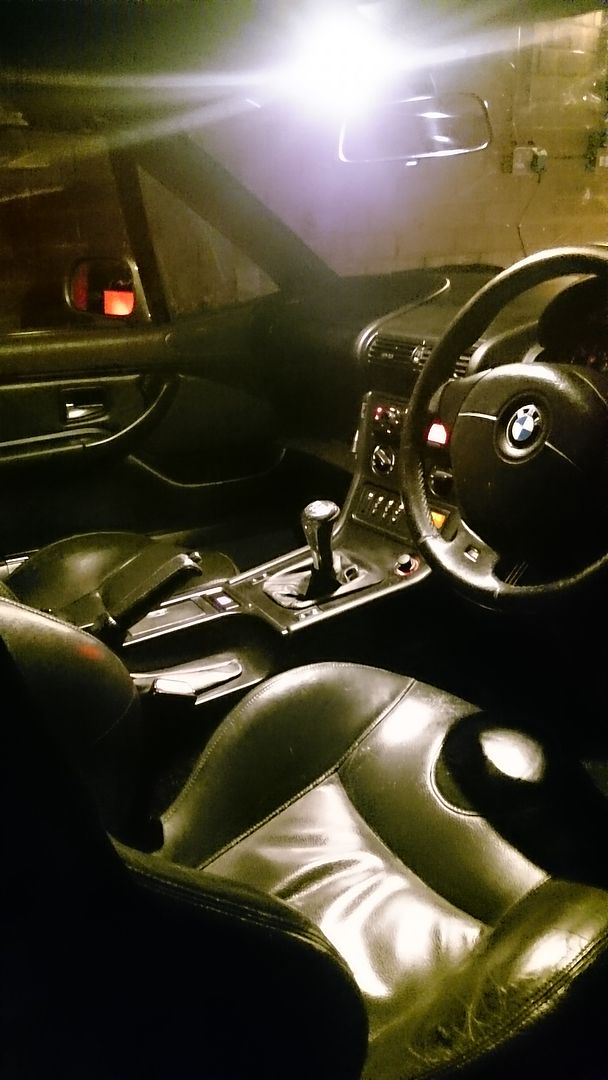
and then some LED festoon bulbs for the map light and boot (White not Xenon White)
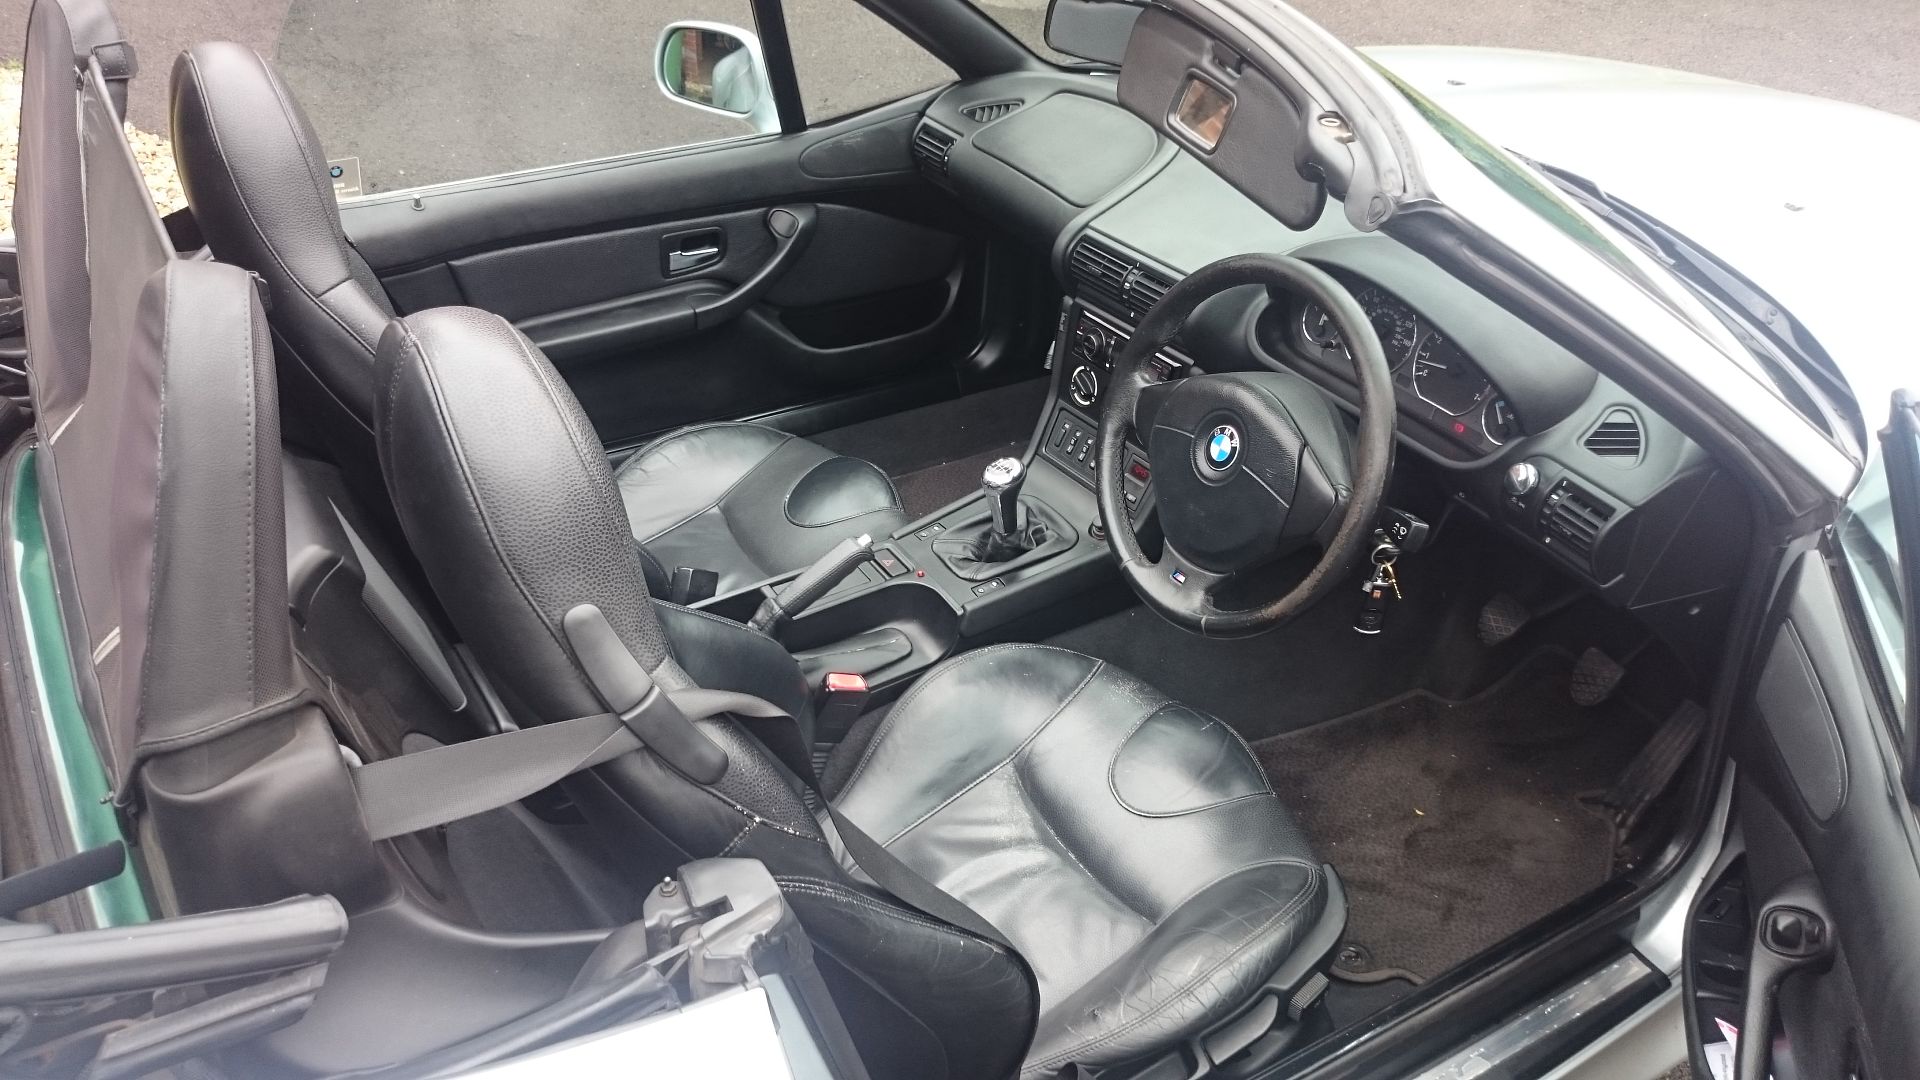
Planned to get the seats out to do the bushes as they were gone on the passenger side and nearly gone on the drivers side. (common problem)
Before i did that i whipped the mats out to clean them (they look original)
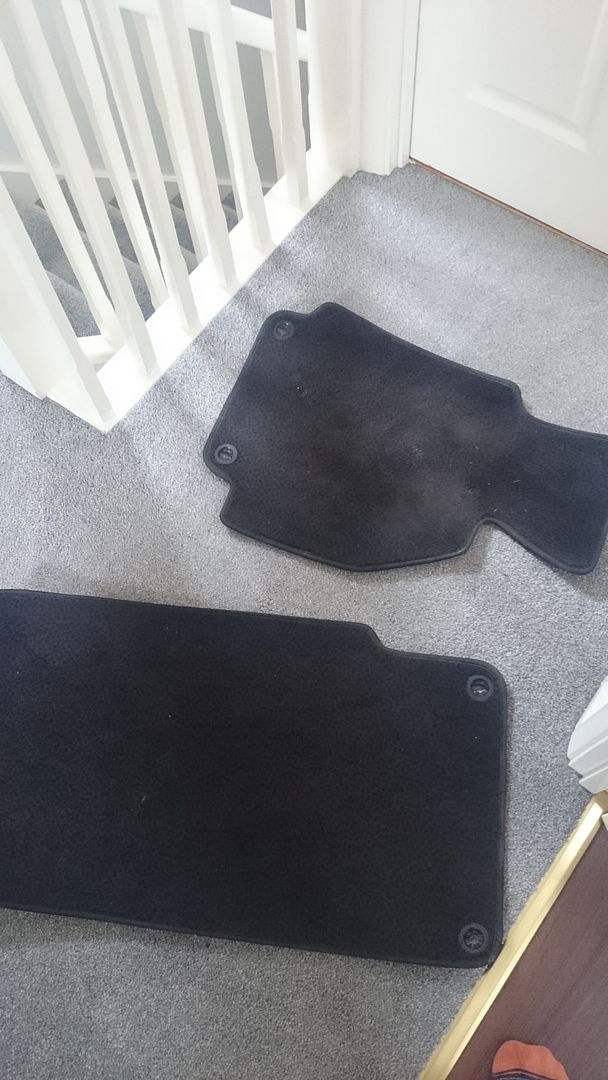
cleaned in the shower with some fairy liquid. (wife was away for the weekend)
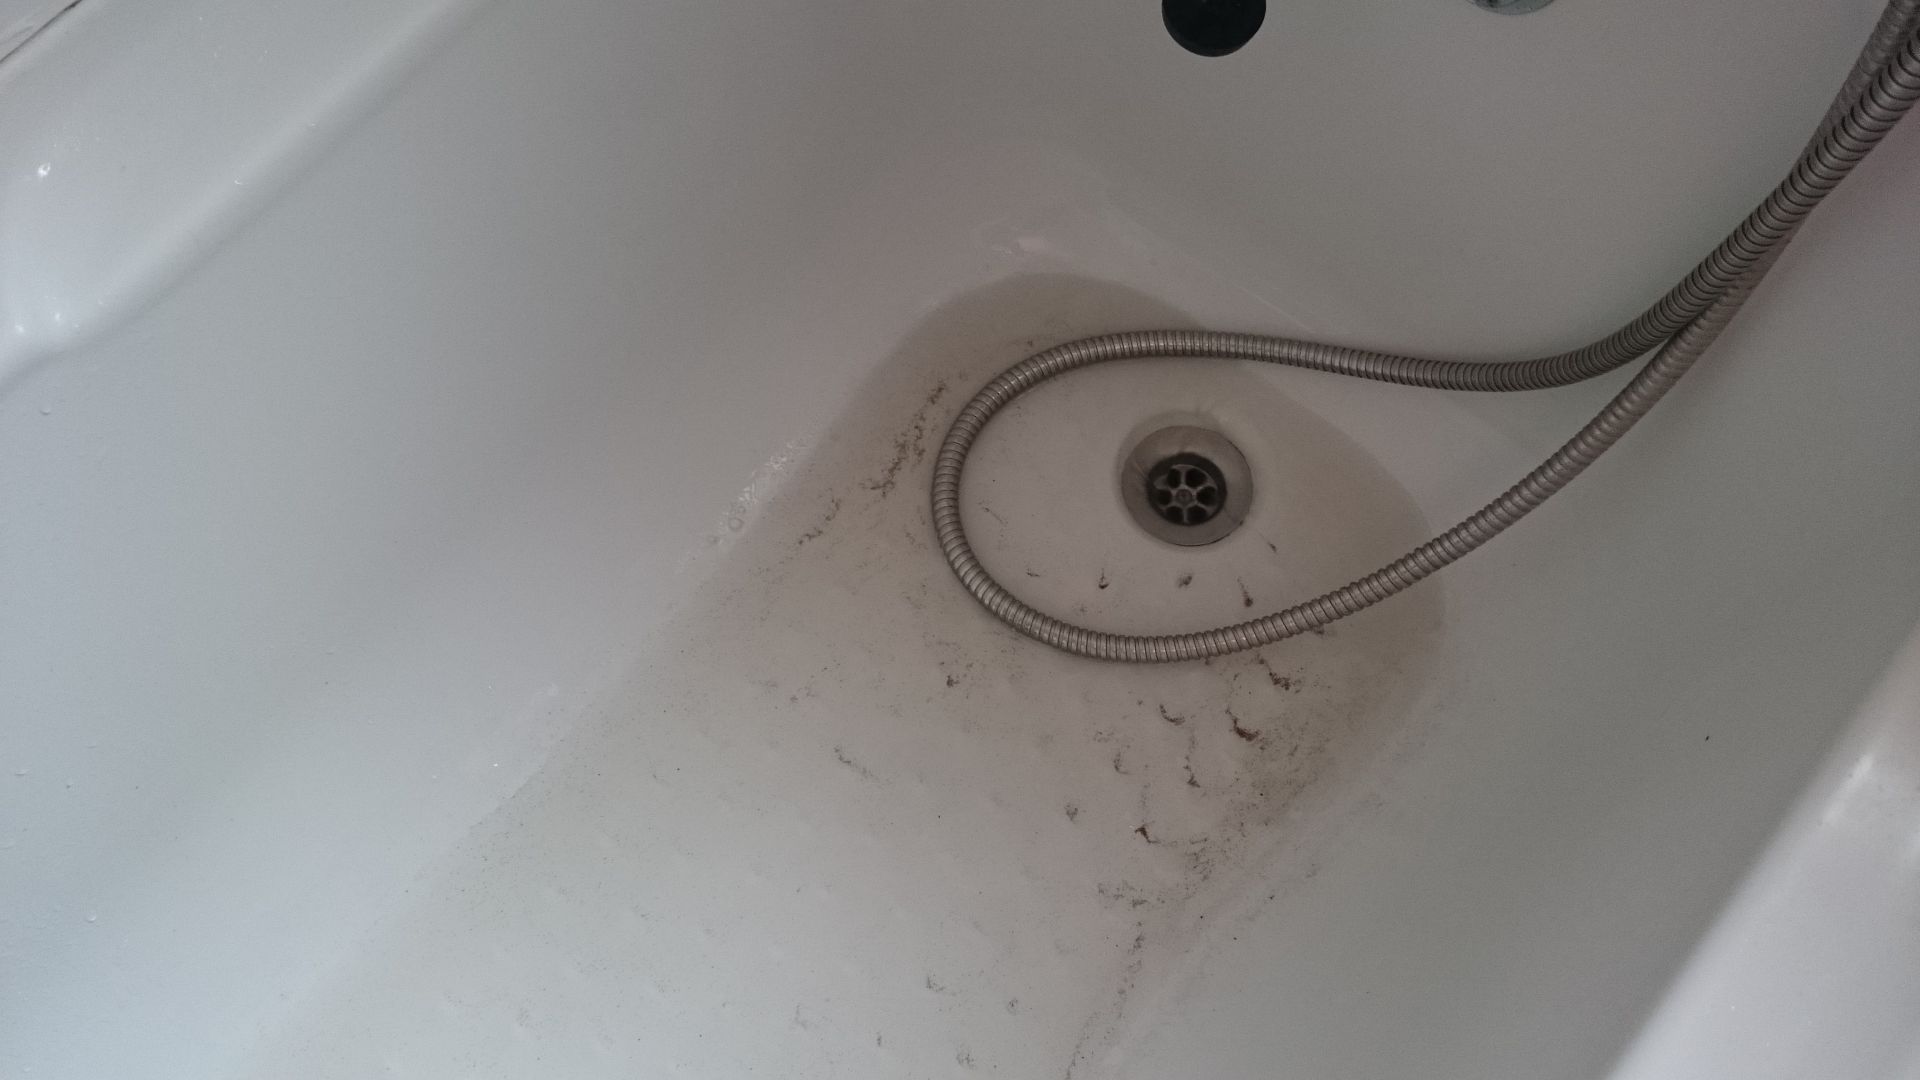
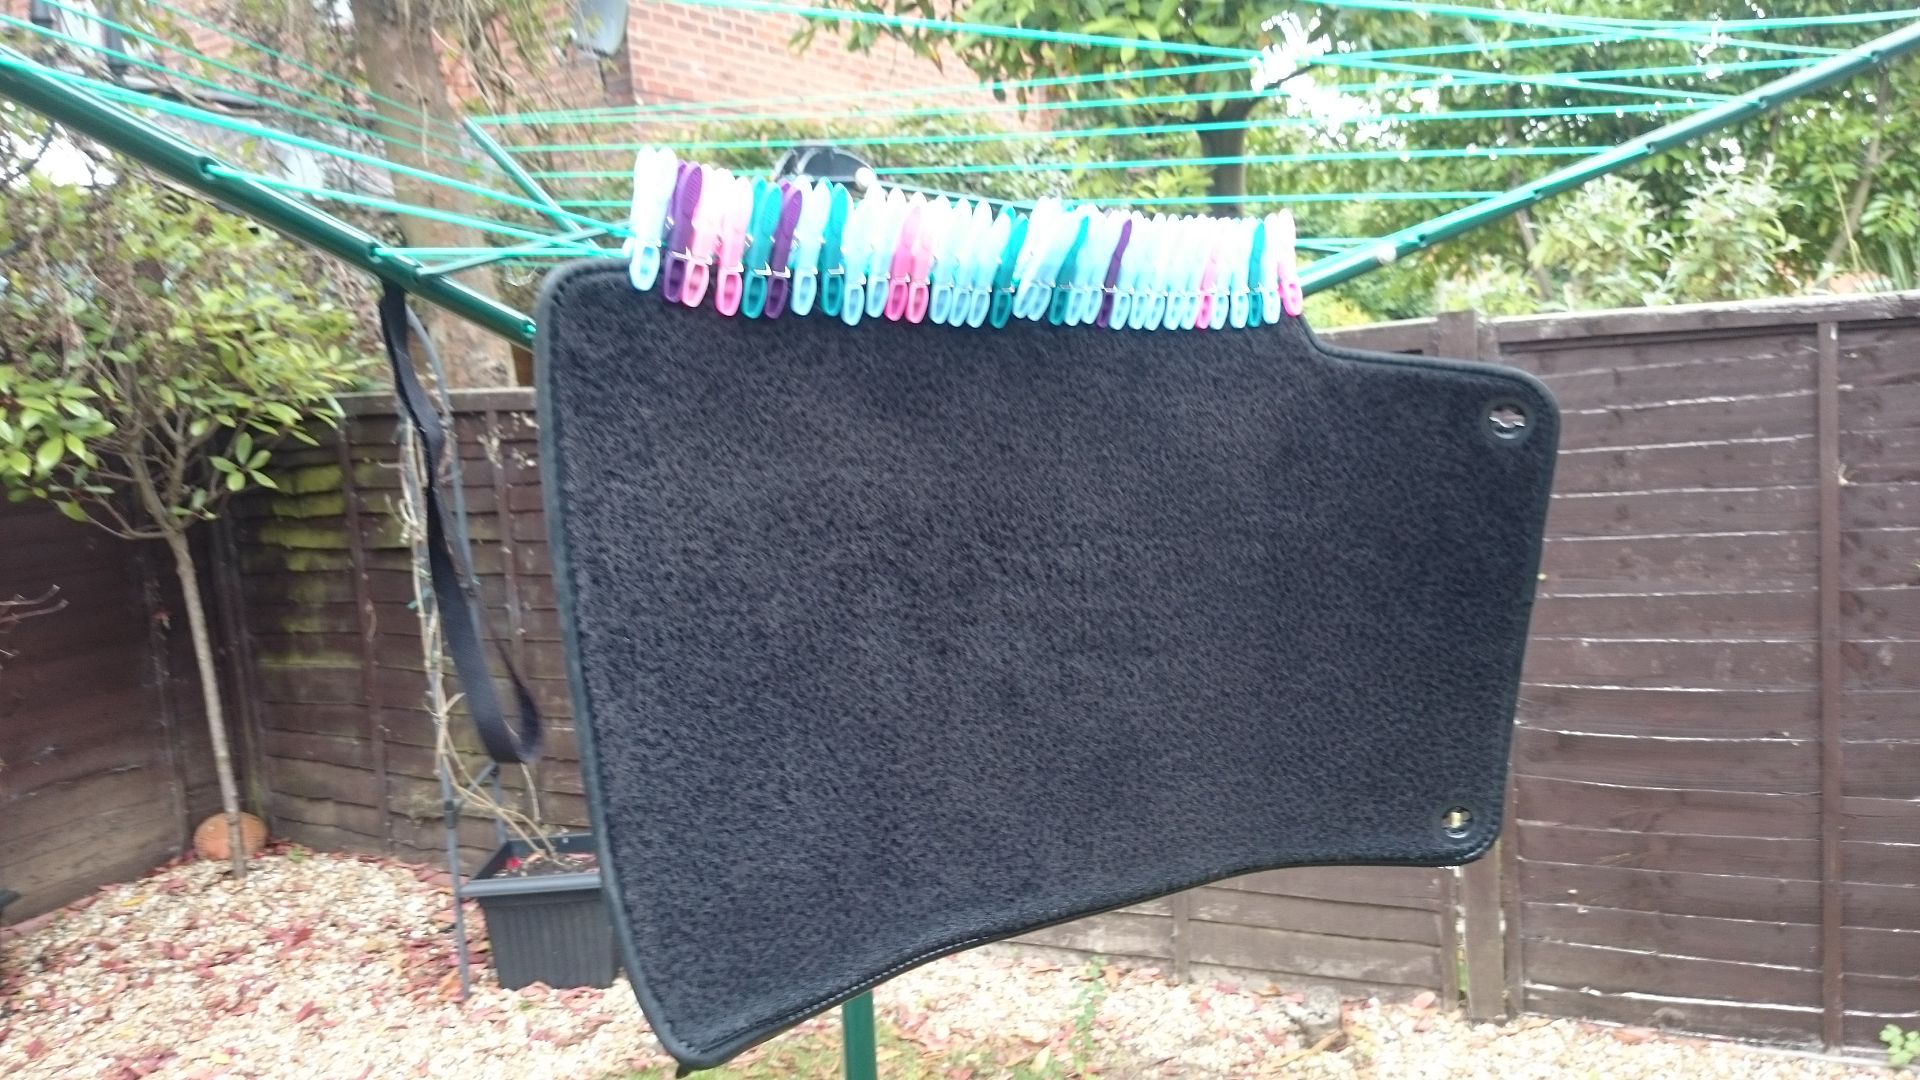
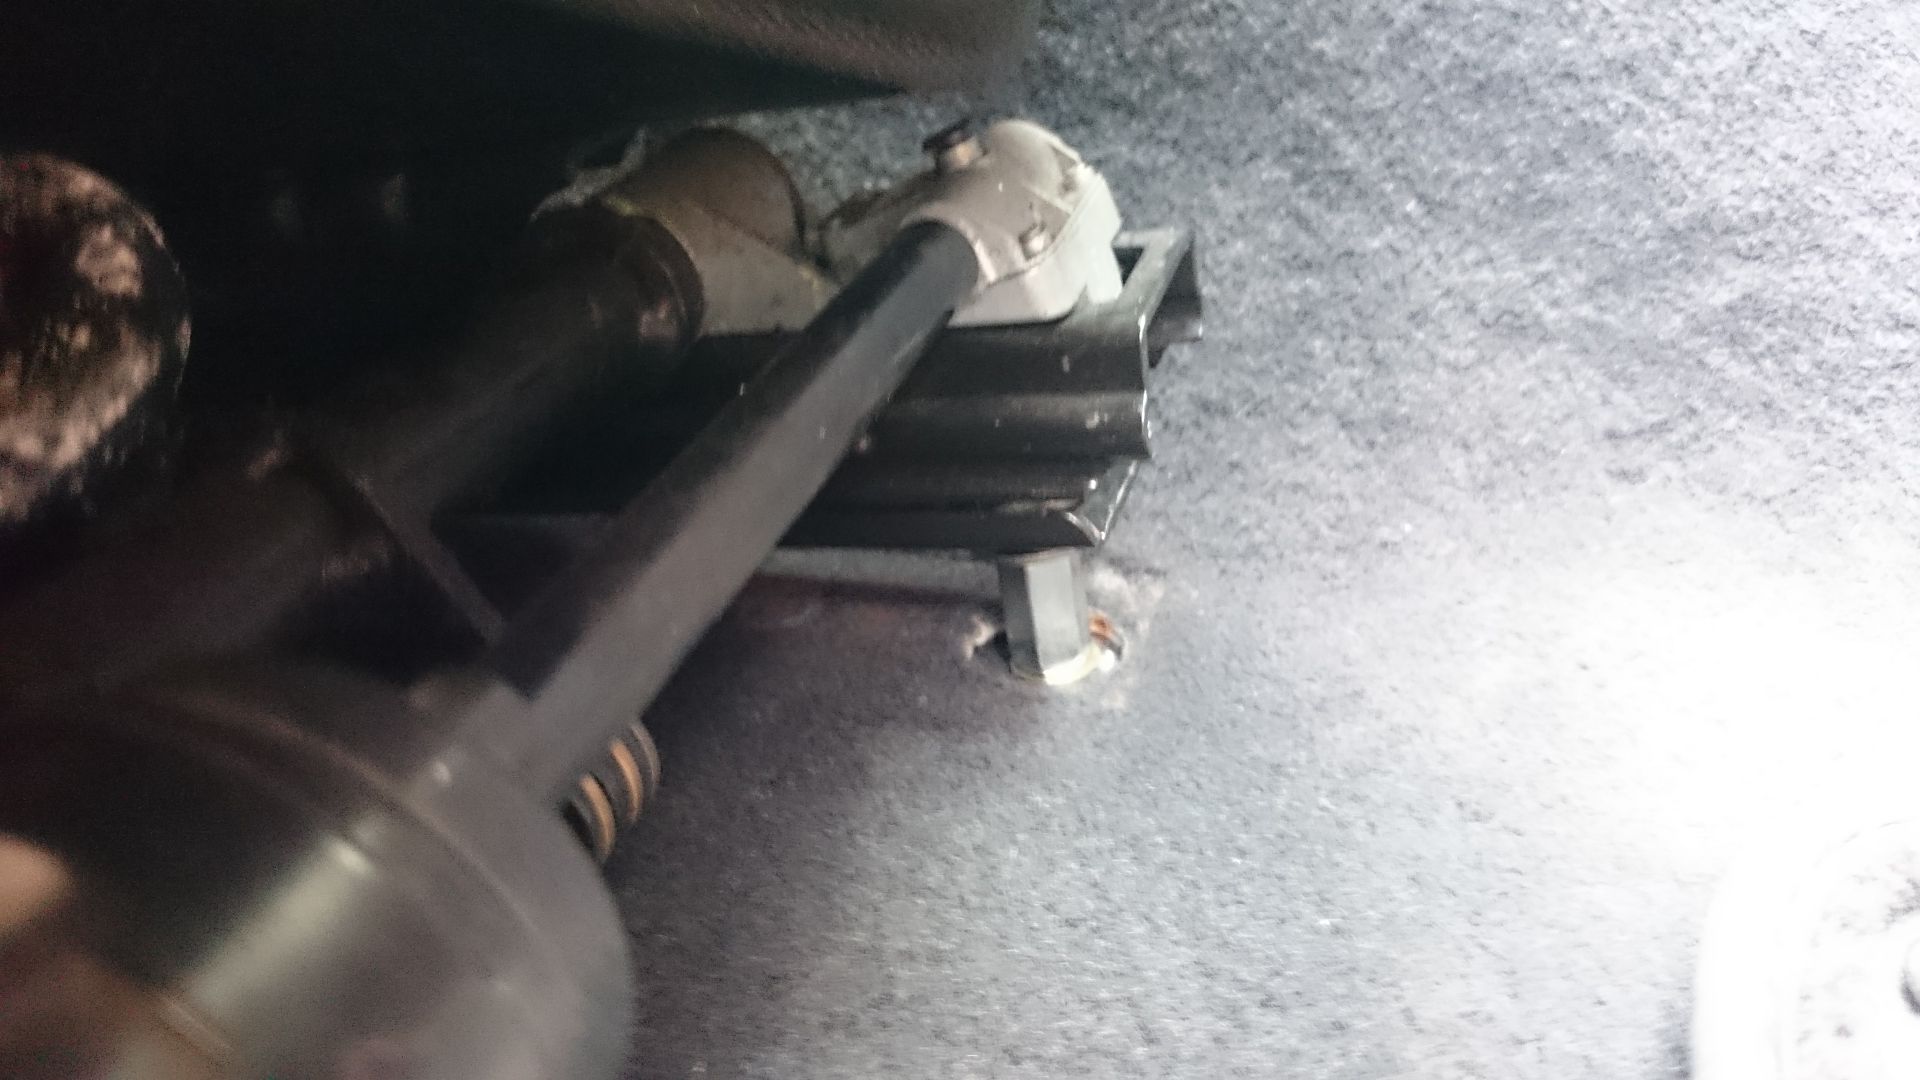
Then moved outside to get the seats out and fix the bushes.
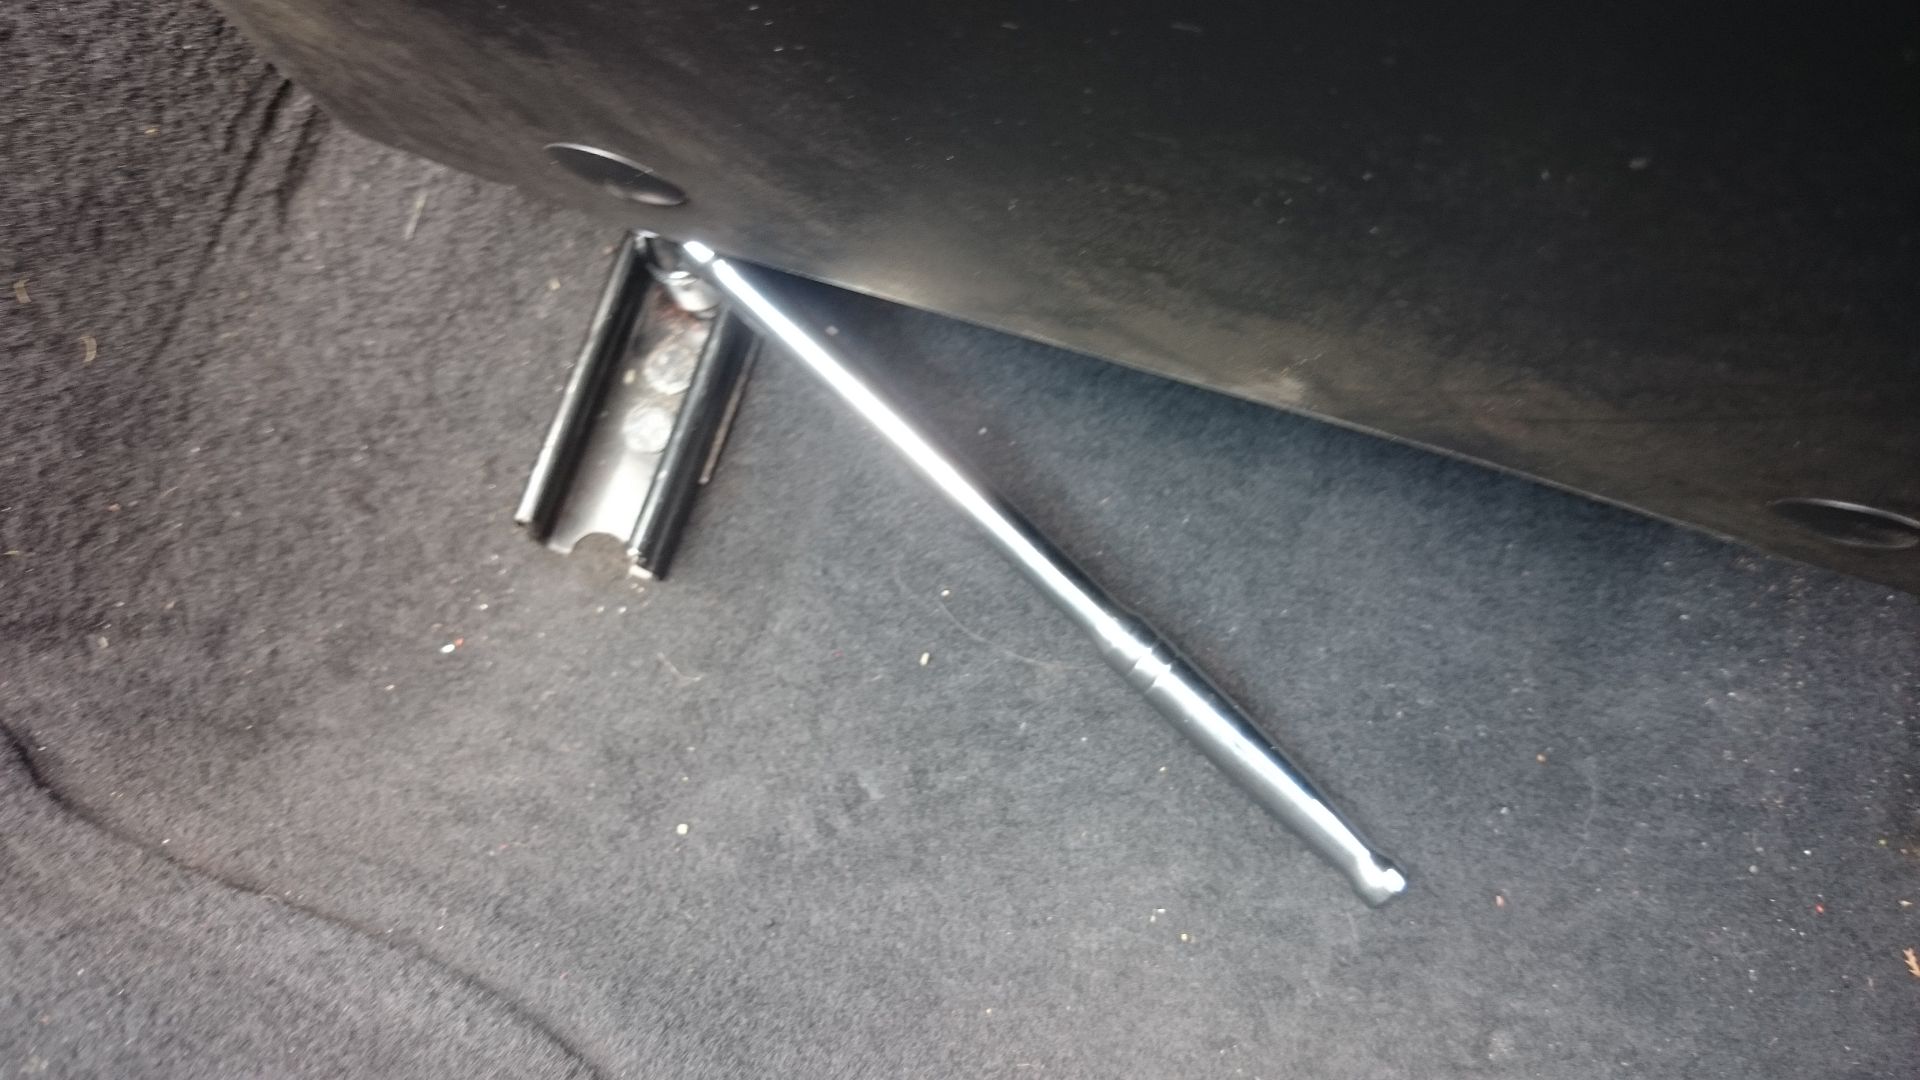
3/8 mini breaker bar and 16mm socket is perfect for this job!
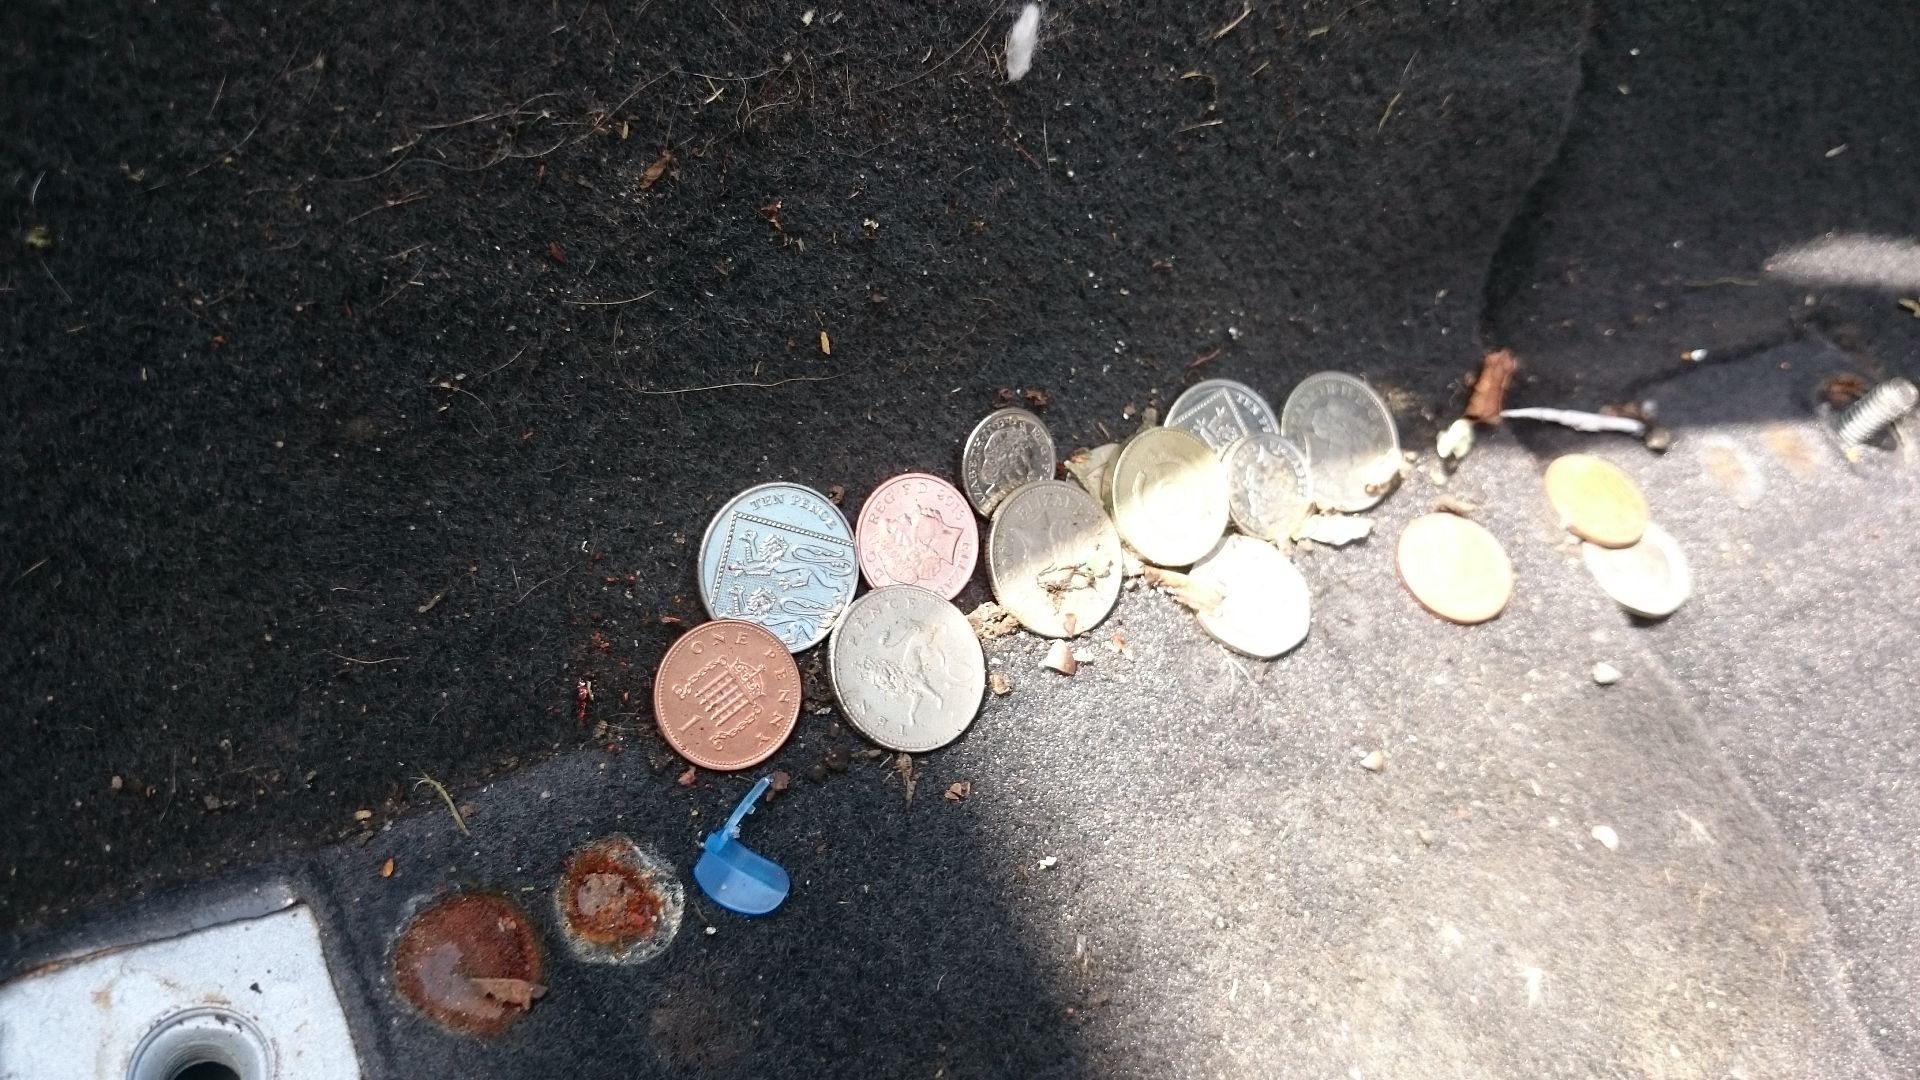
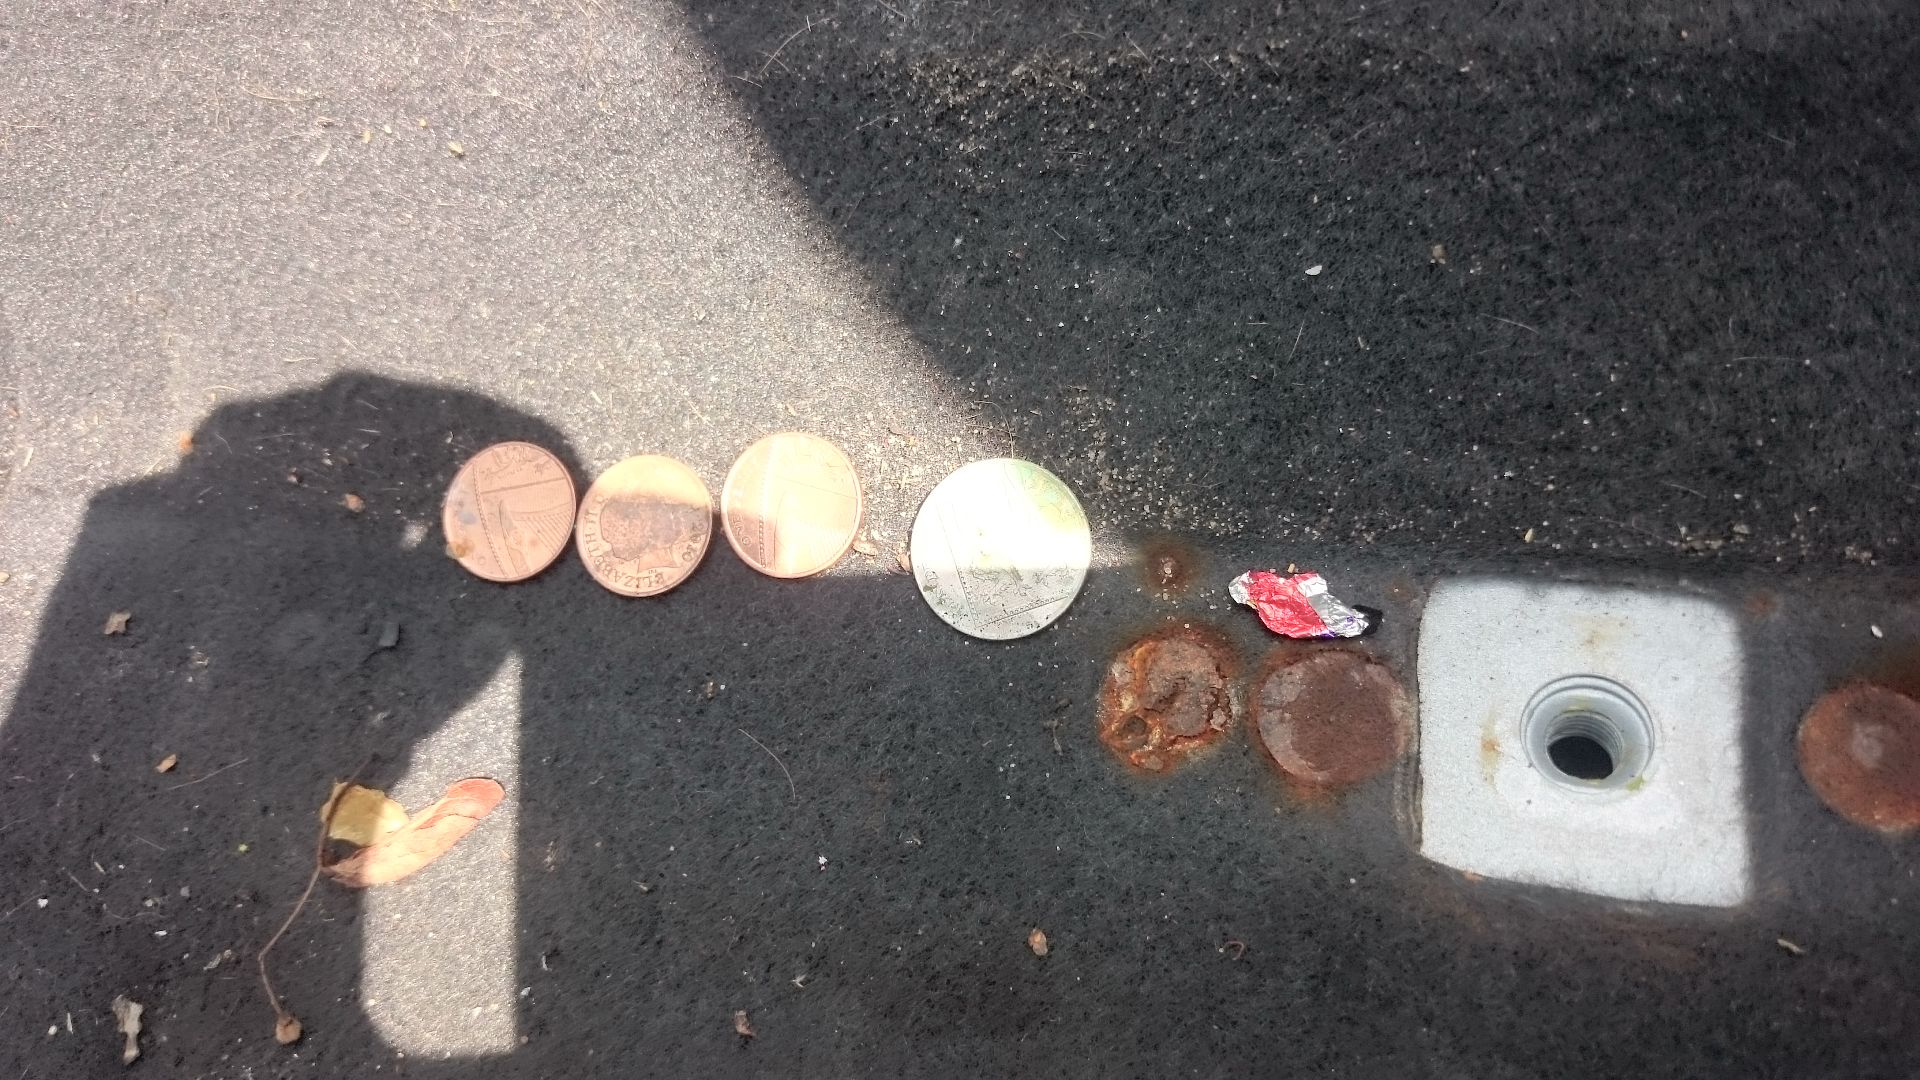
TREASURE!
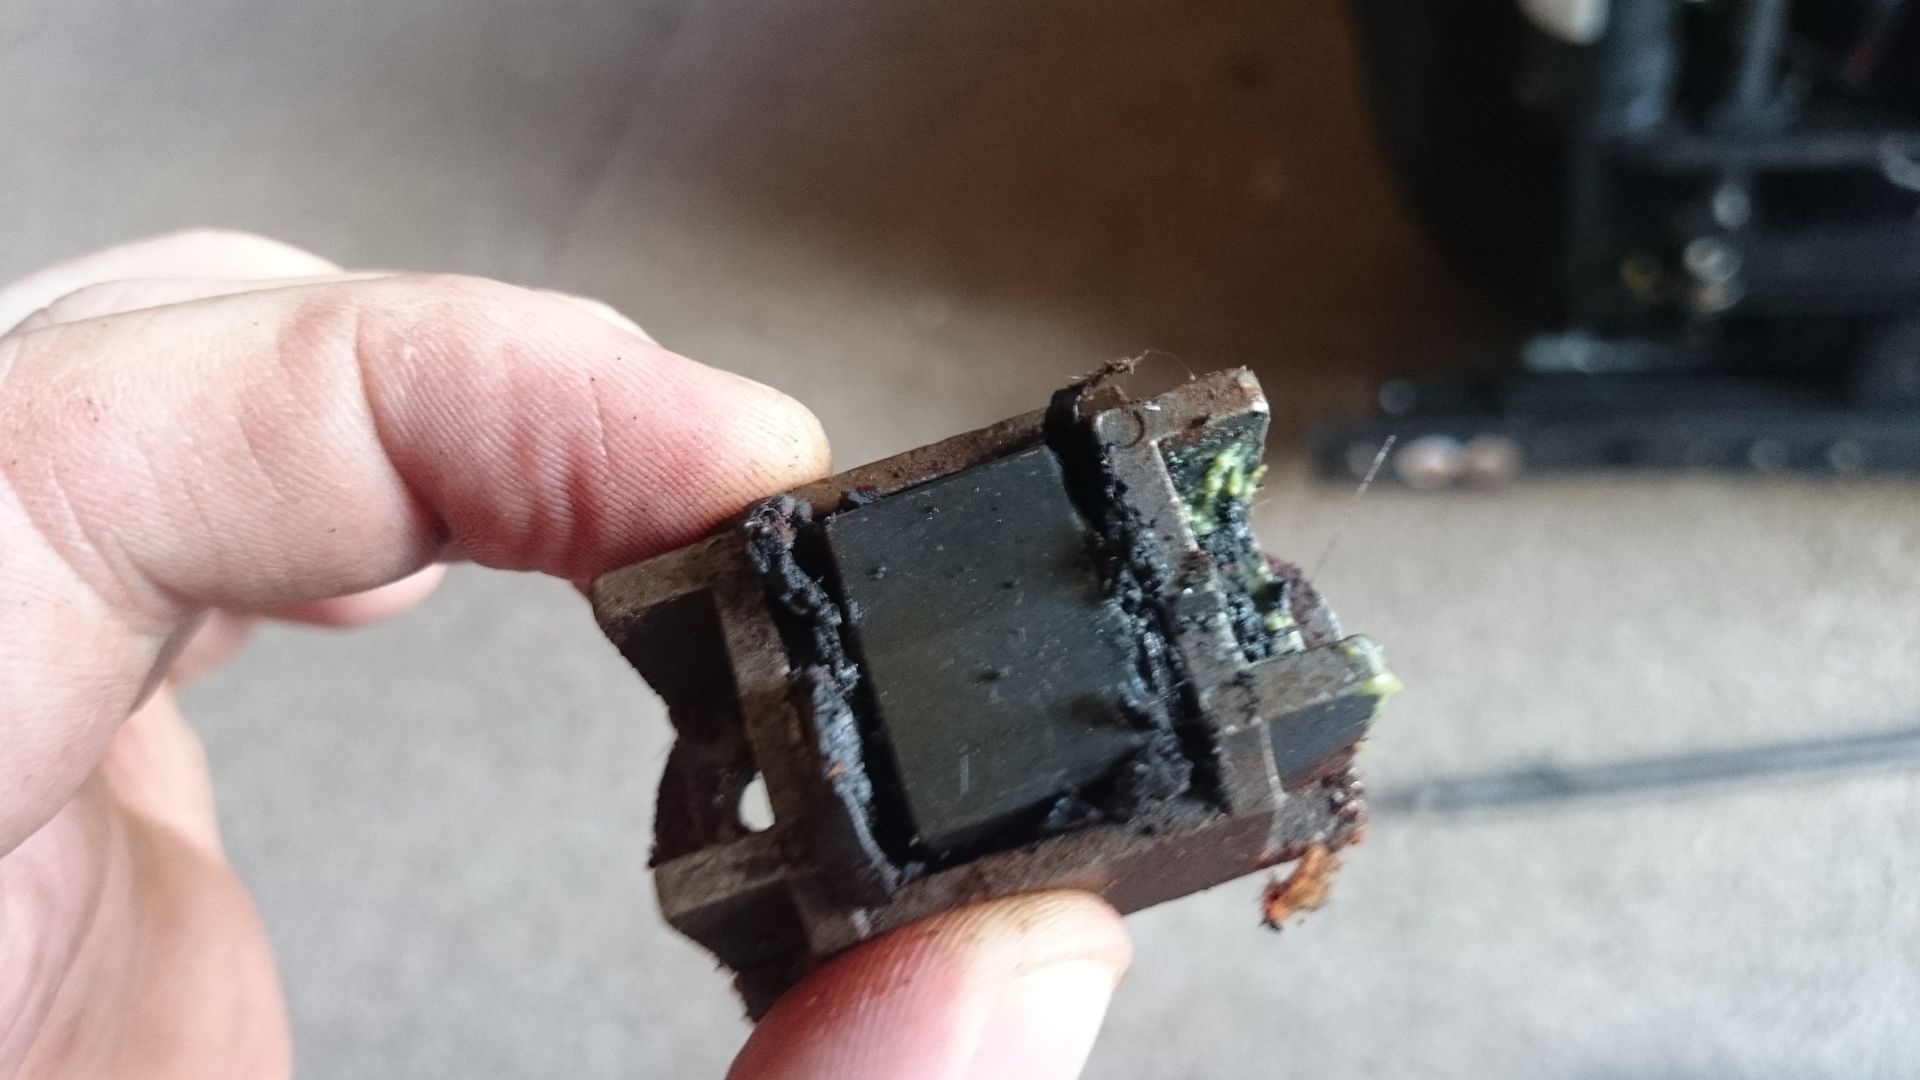
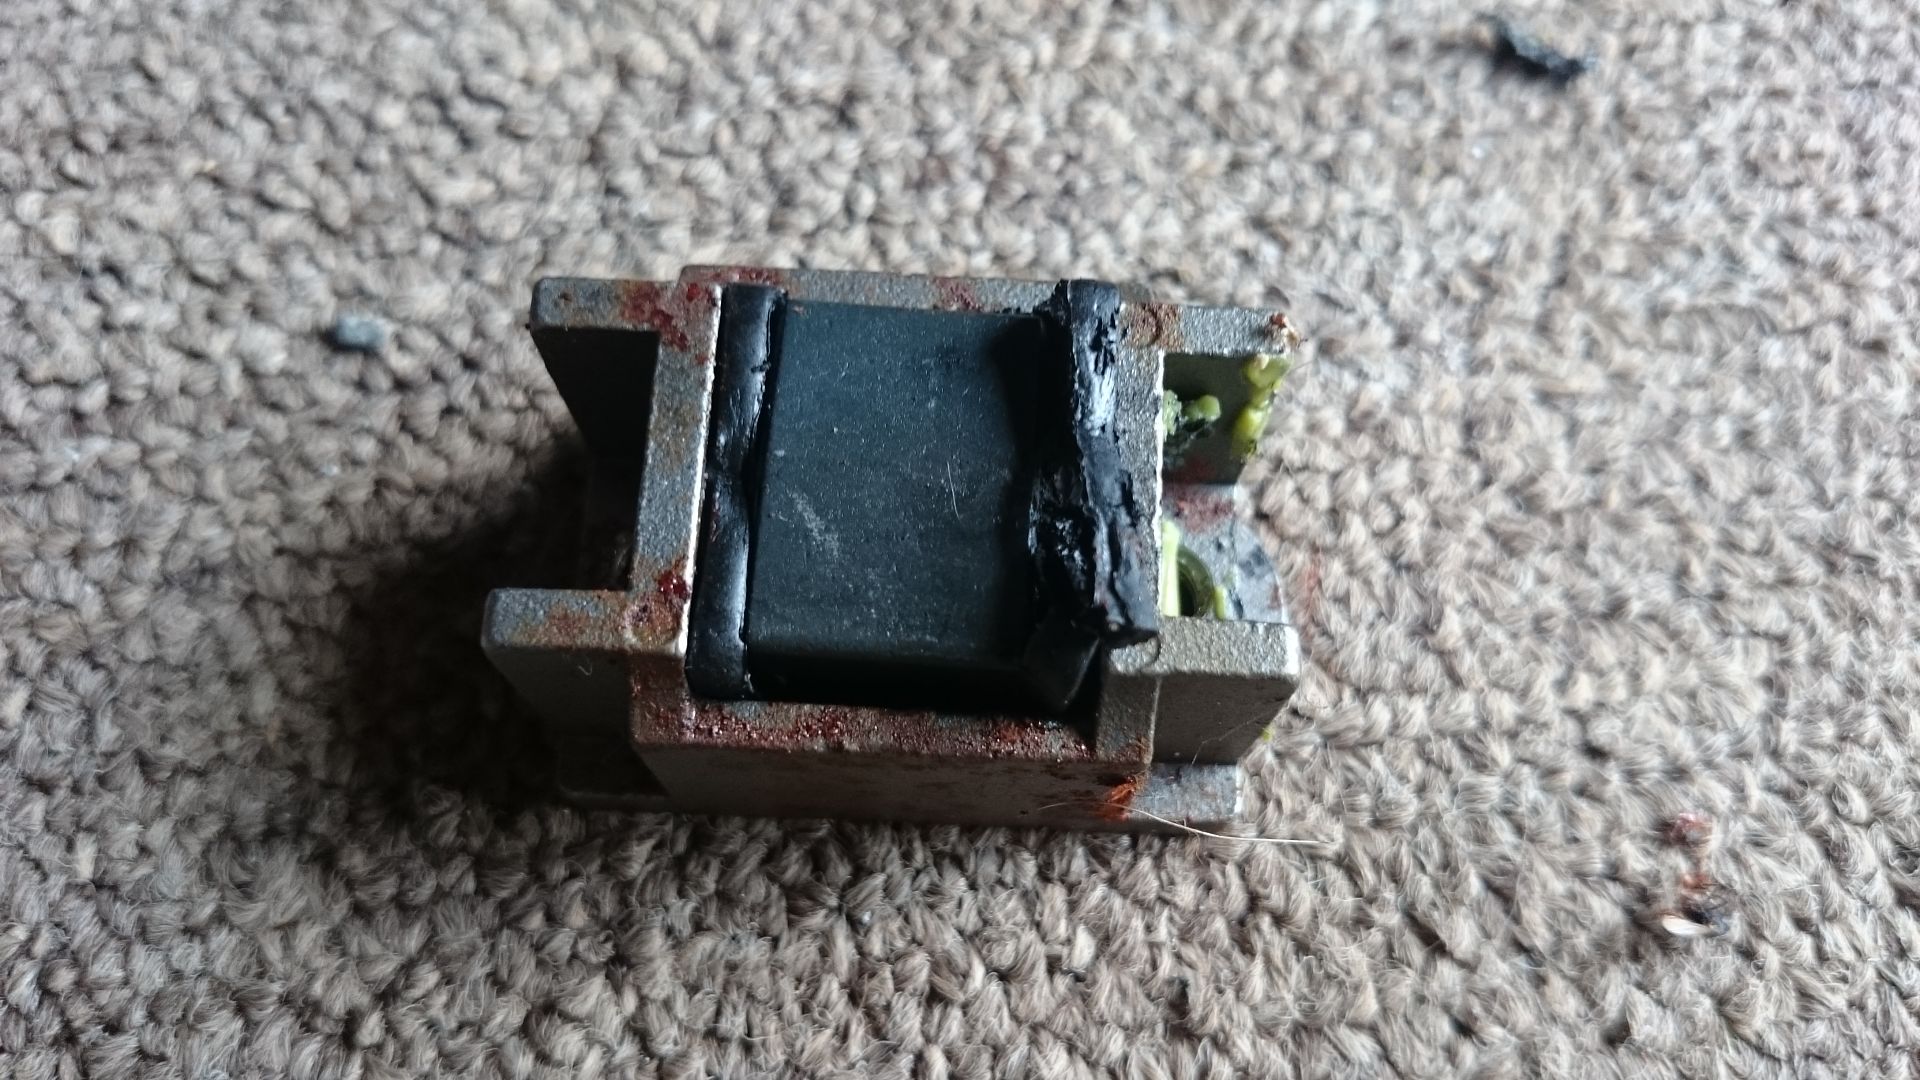
State of the 83,000 mile bushes
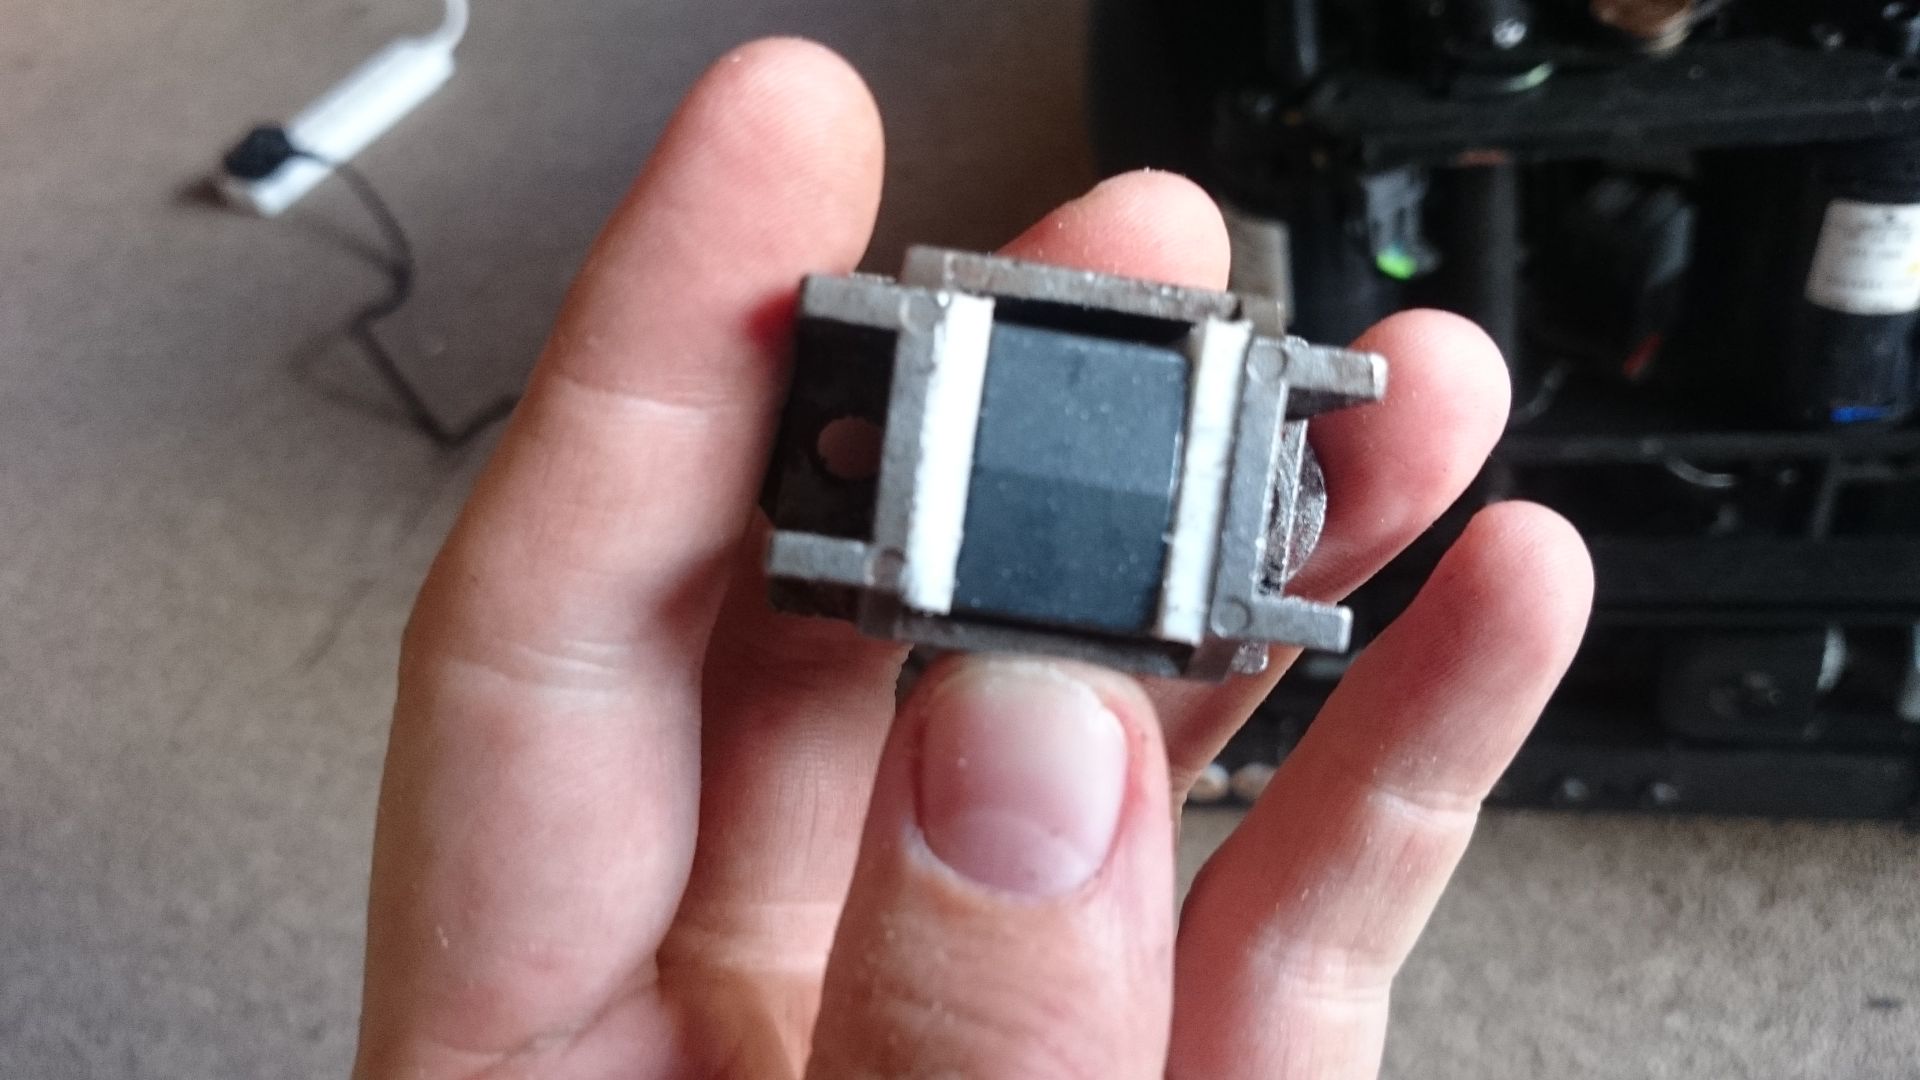
New bushes in, and i'm grateful for the Z3 / BMW community for having these made but my god they are twice as thick as they need to be. the sanding is THE MOST laborious thing i've ever done on a car. End result is great and the rest was a piece of pie!
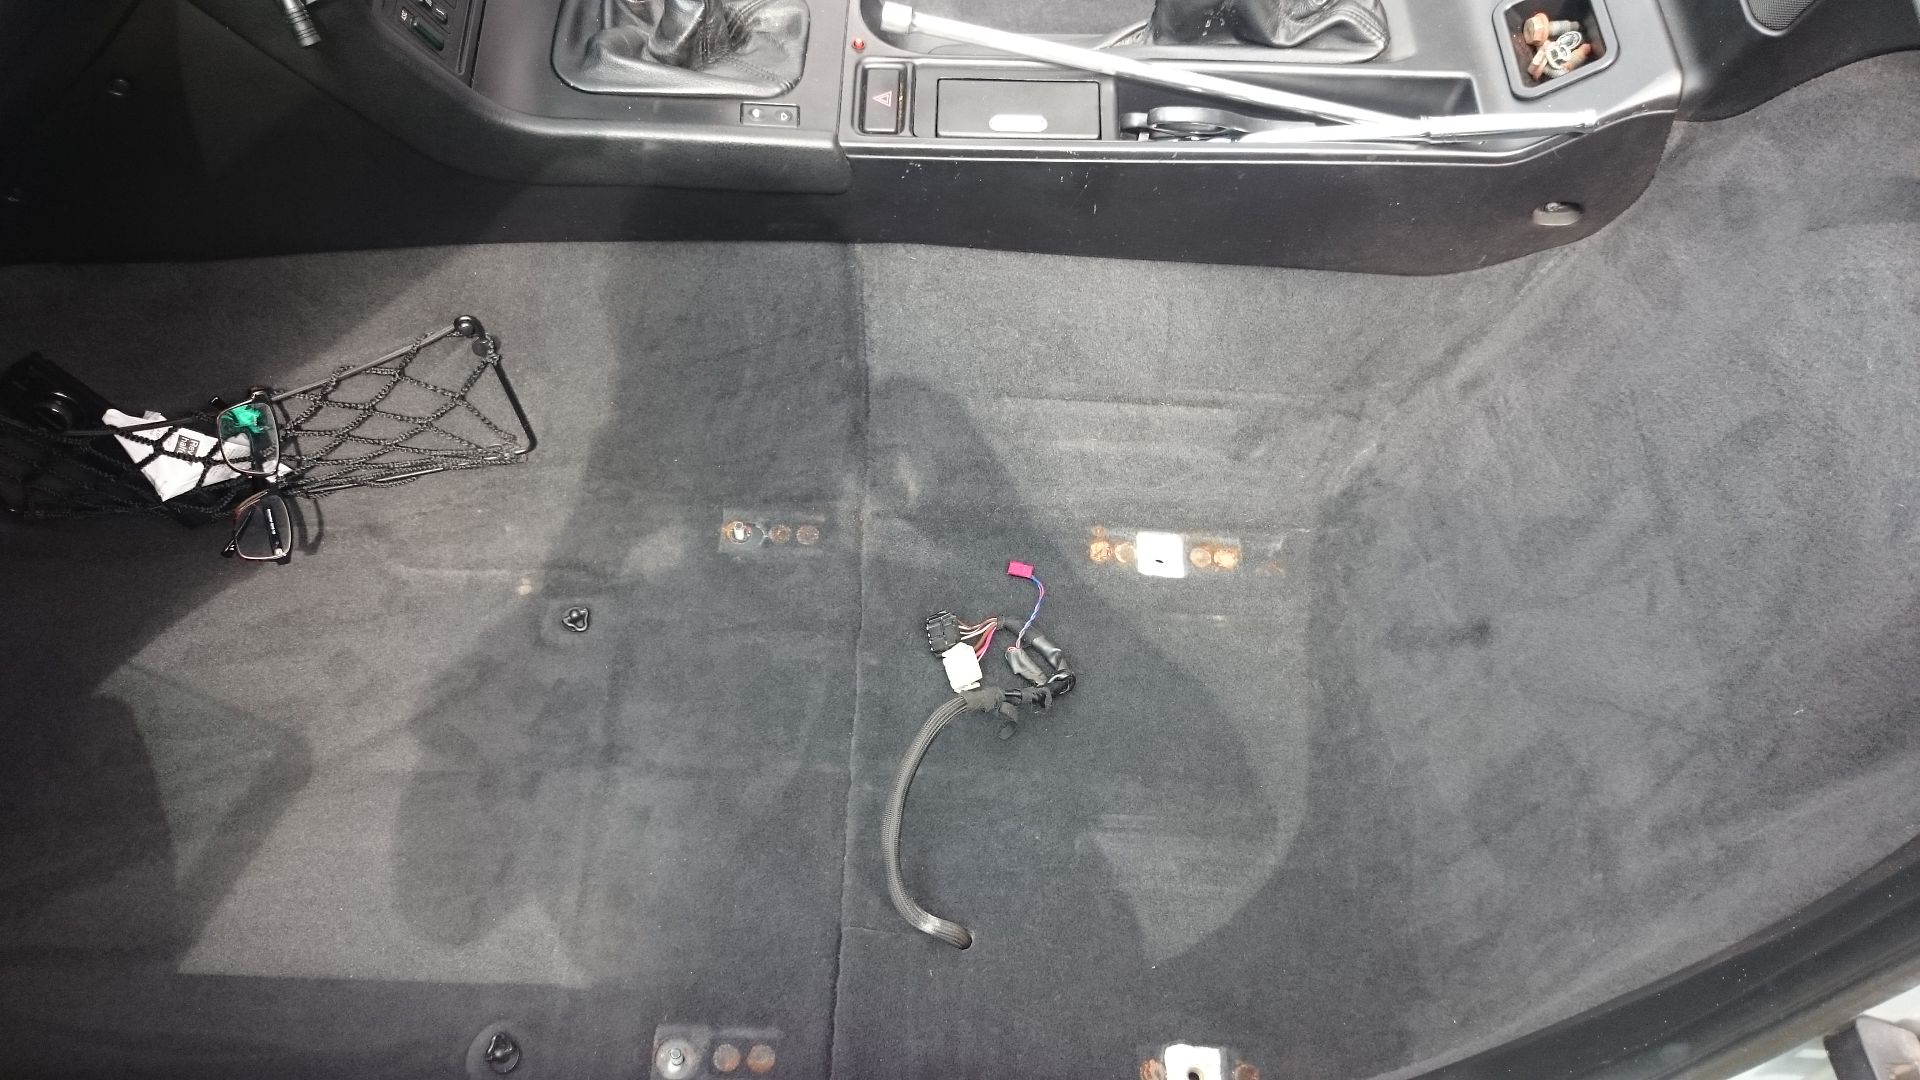
Whilst the seats were out i hoovered the car out and cleaned all the plastics
urgh!

seats all in and wobble free!!
last little touch / mod before washing
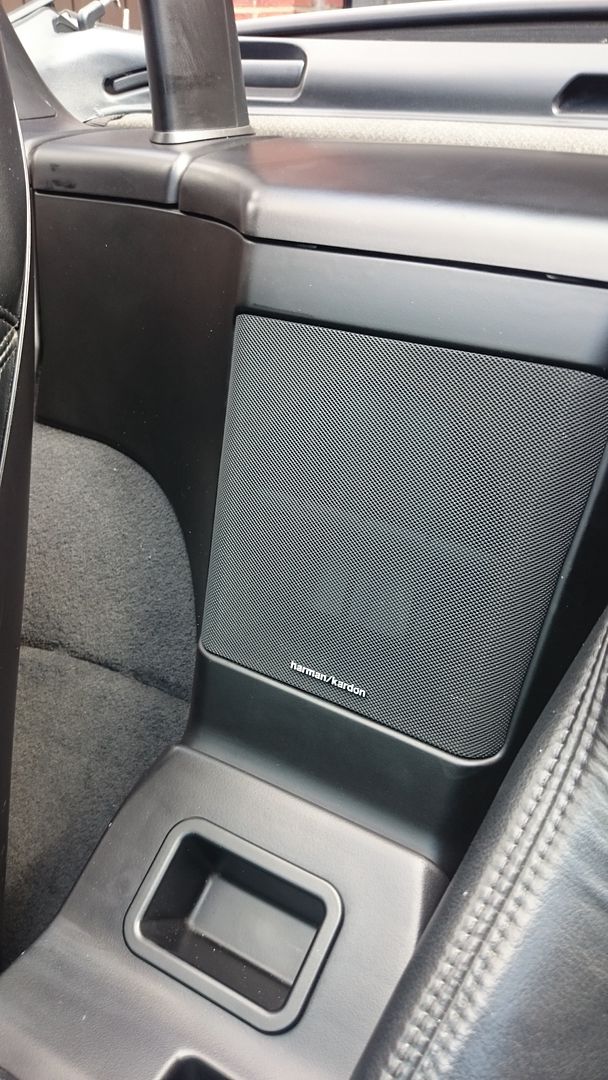
not technically OEM but if the car was made today i'd imagine they would put a badge on. this is an OEM+ project.
then i went to the pub
next step is seat tilt mod (coming from USA) and a hood treatment from renovo.
managed to give the Z another wash and fit my seat lift kit from Thayer Motorsport.
This is the link for the kit :
http://thayermotorsports.com/collections/z3-custom...
This is what you get:
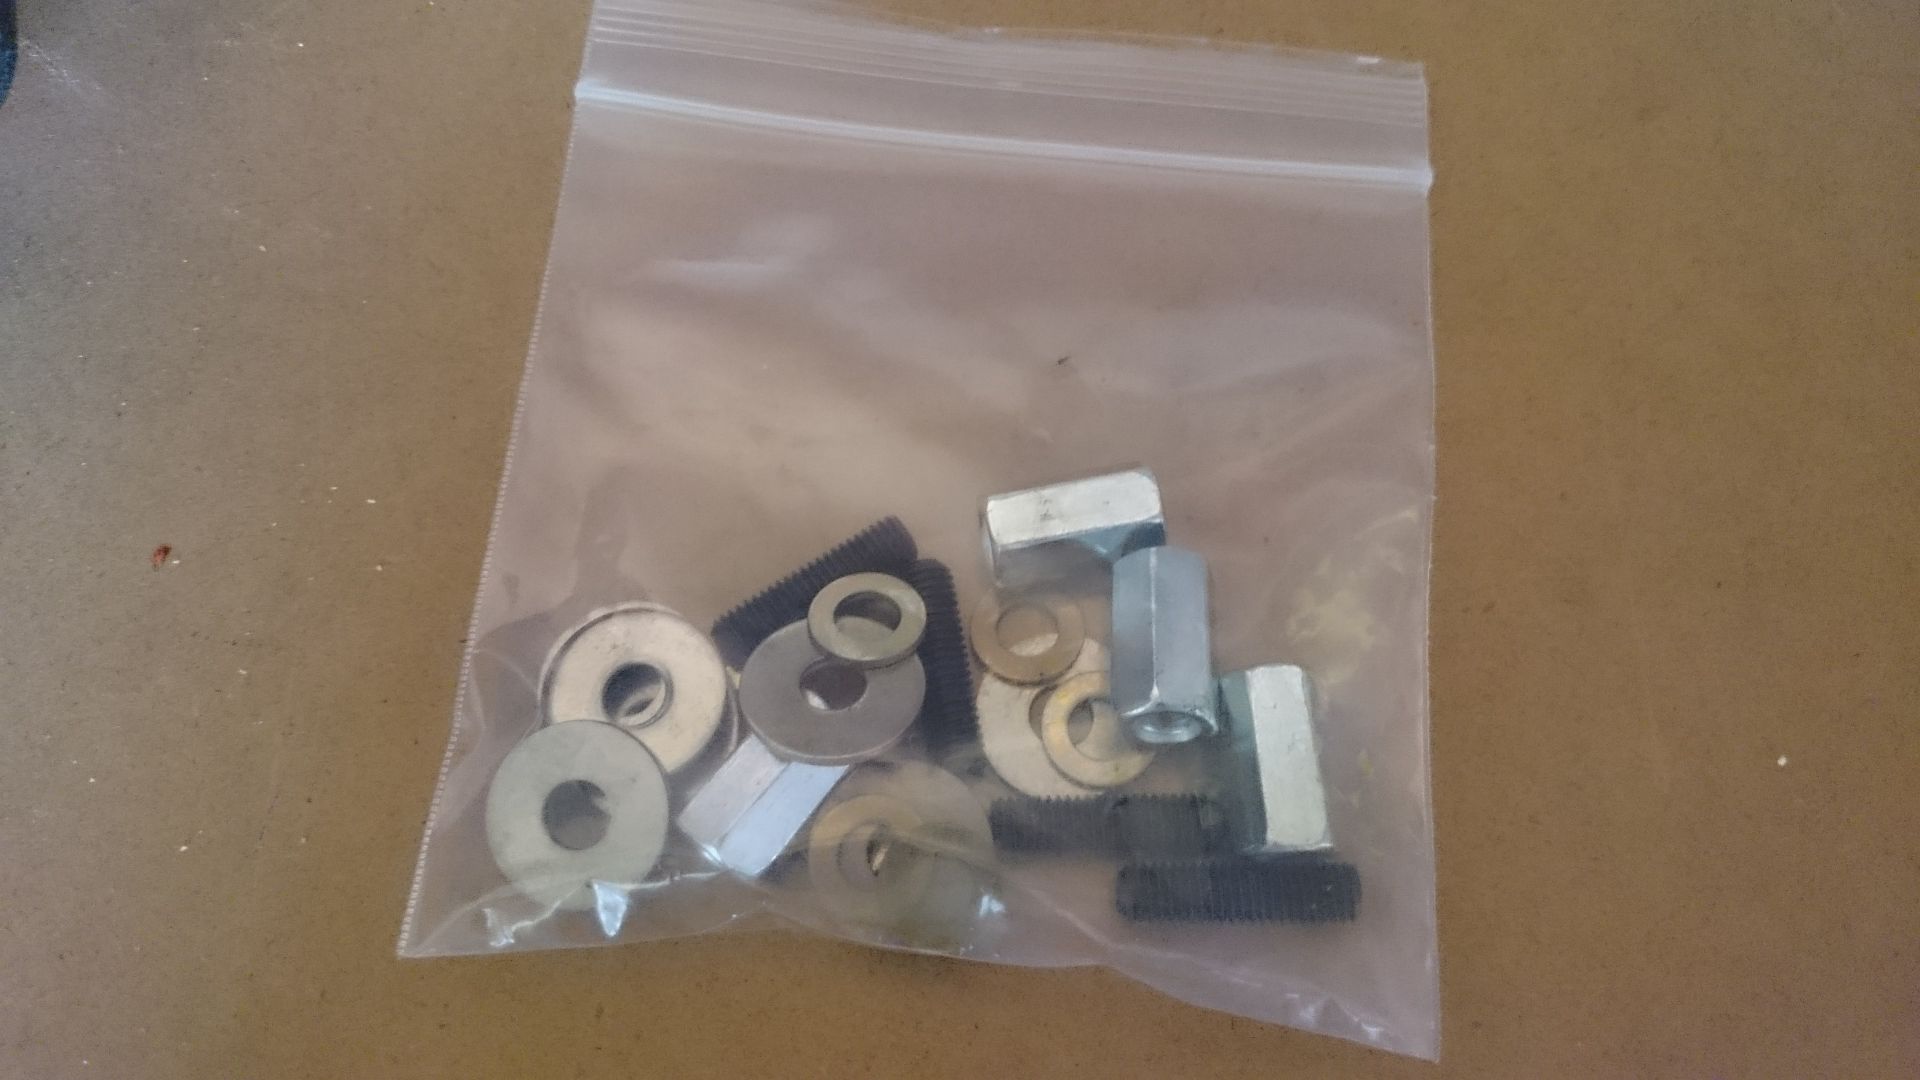
good selection of fixings
Process is easy:
Unbolt rear seat 16mm bolts
Unbolt front 13mm nuts
Lift front of the seat up
Build up like this:
Original Nut
Big Washer
Seat Rail
Big Washer
Small Washer
Threaded insert
Spacer
Small washer
Leaves you with this:
bolt everything back up to FT
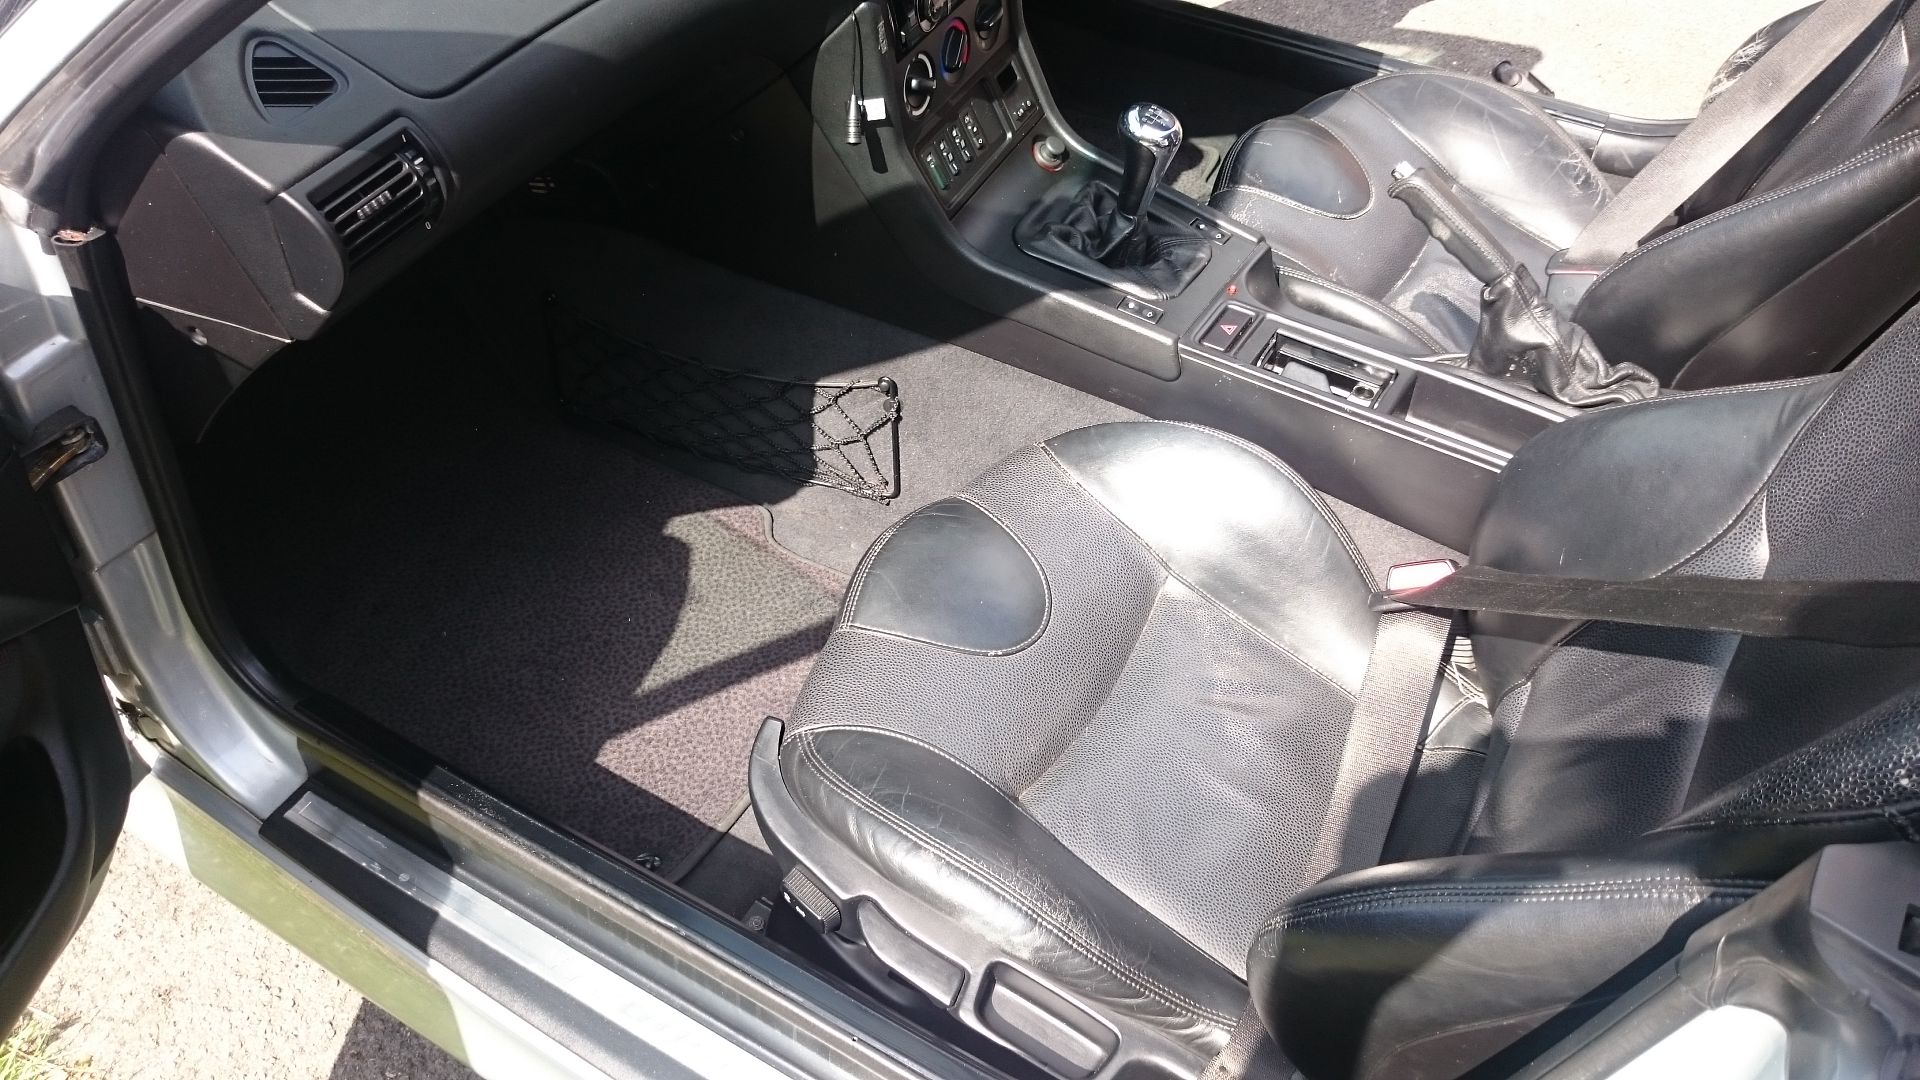
Difference in the non-tilted passenger seat.
repeat on the other chair.
This is by far the best thing i've done on the Z after the seat bushes. The seats hug me now and i dont slide around in the car under spirited driving conditions.
So cheap to do aswell.
Few little jobs finished over the weekend.
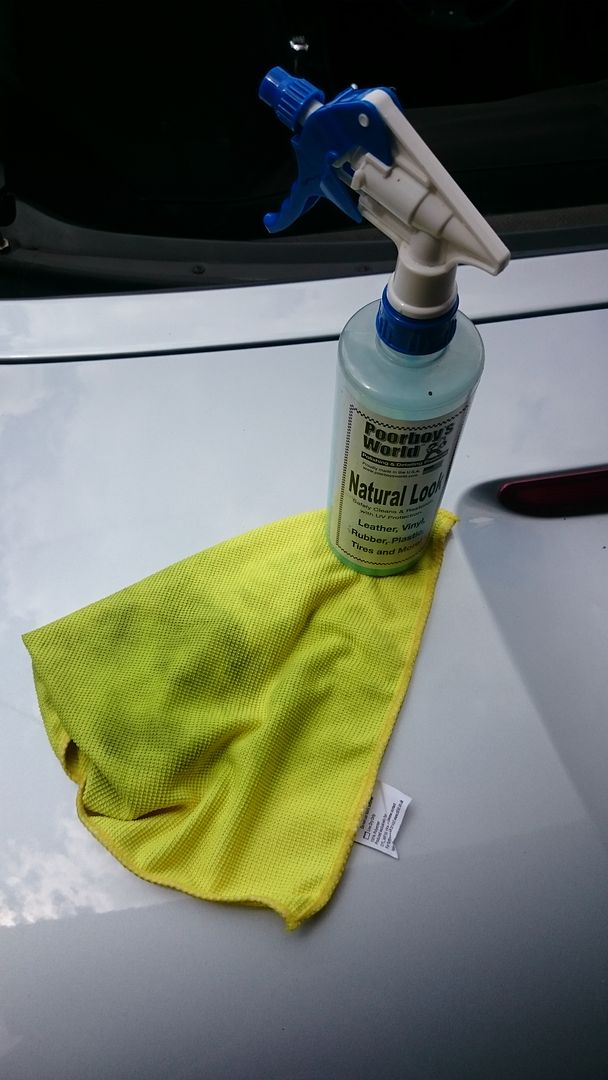
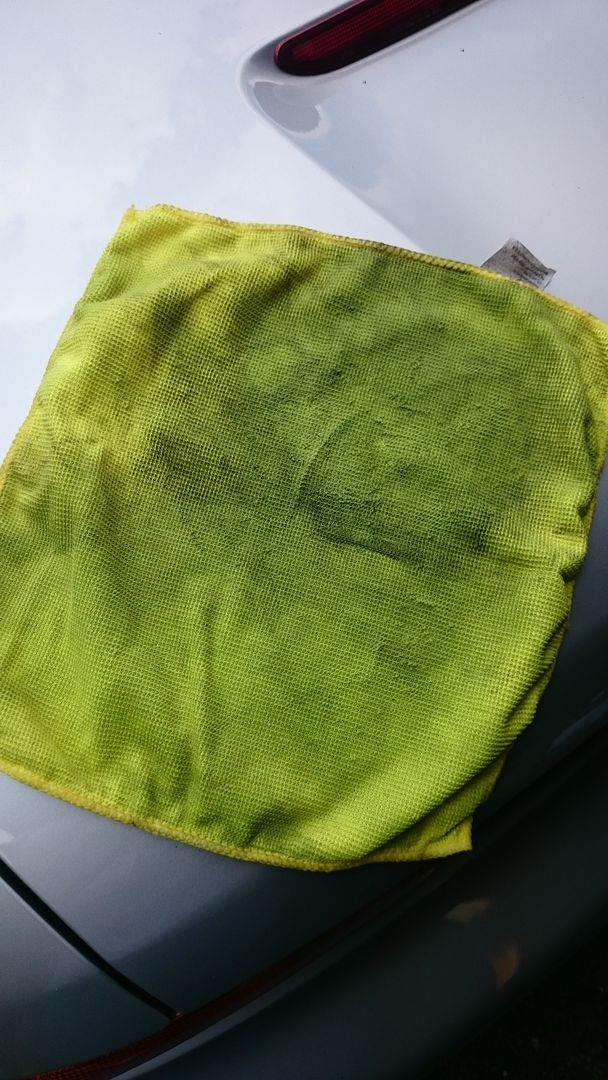
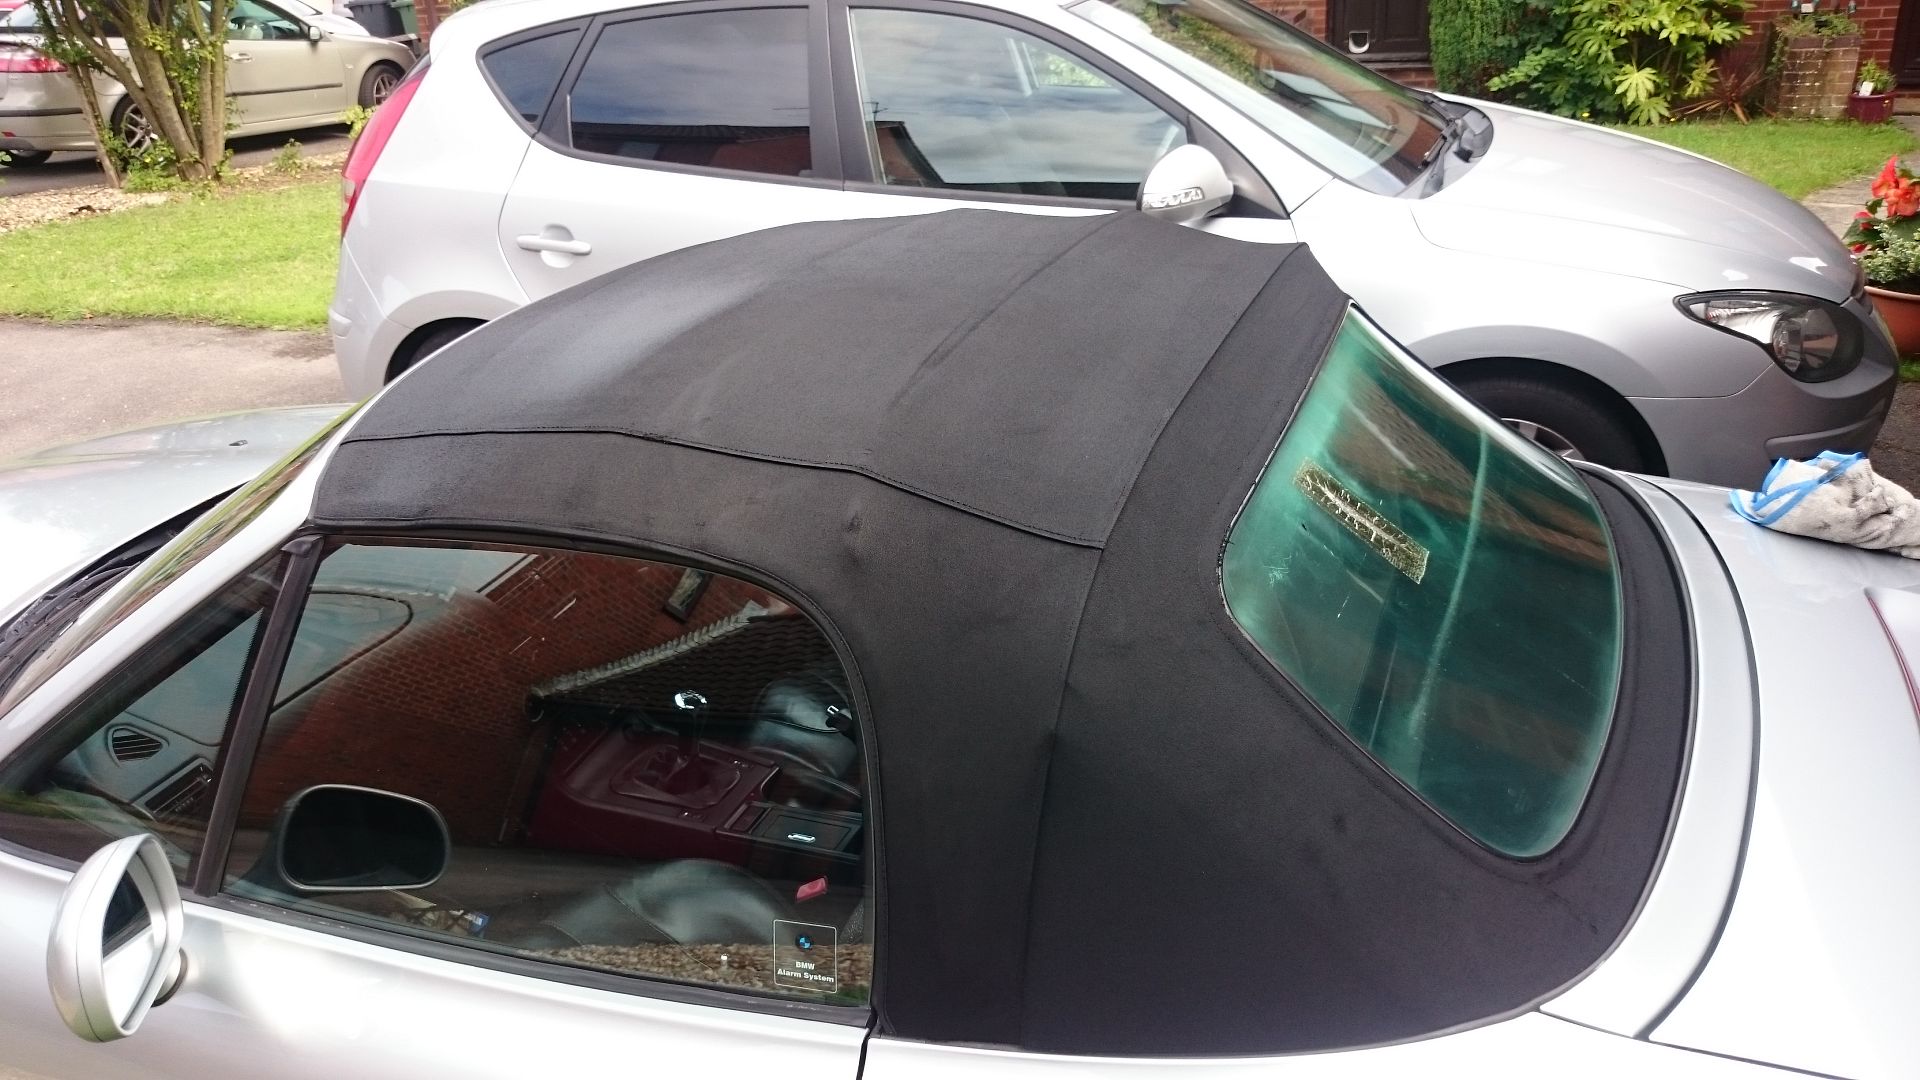
First of which was to start treating the roof as the previous owner had obviously never done this. roof was a bit green and a bit grey too.
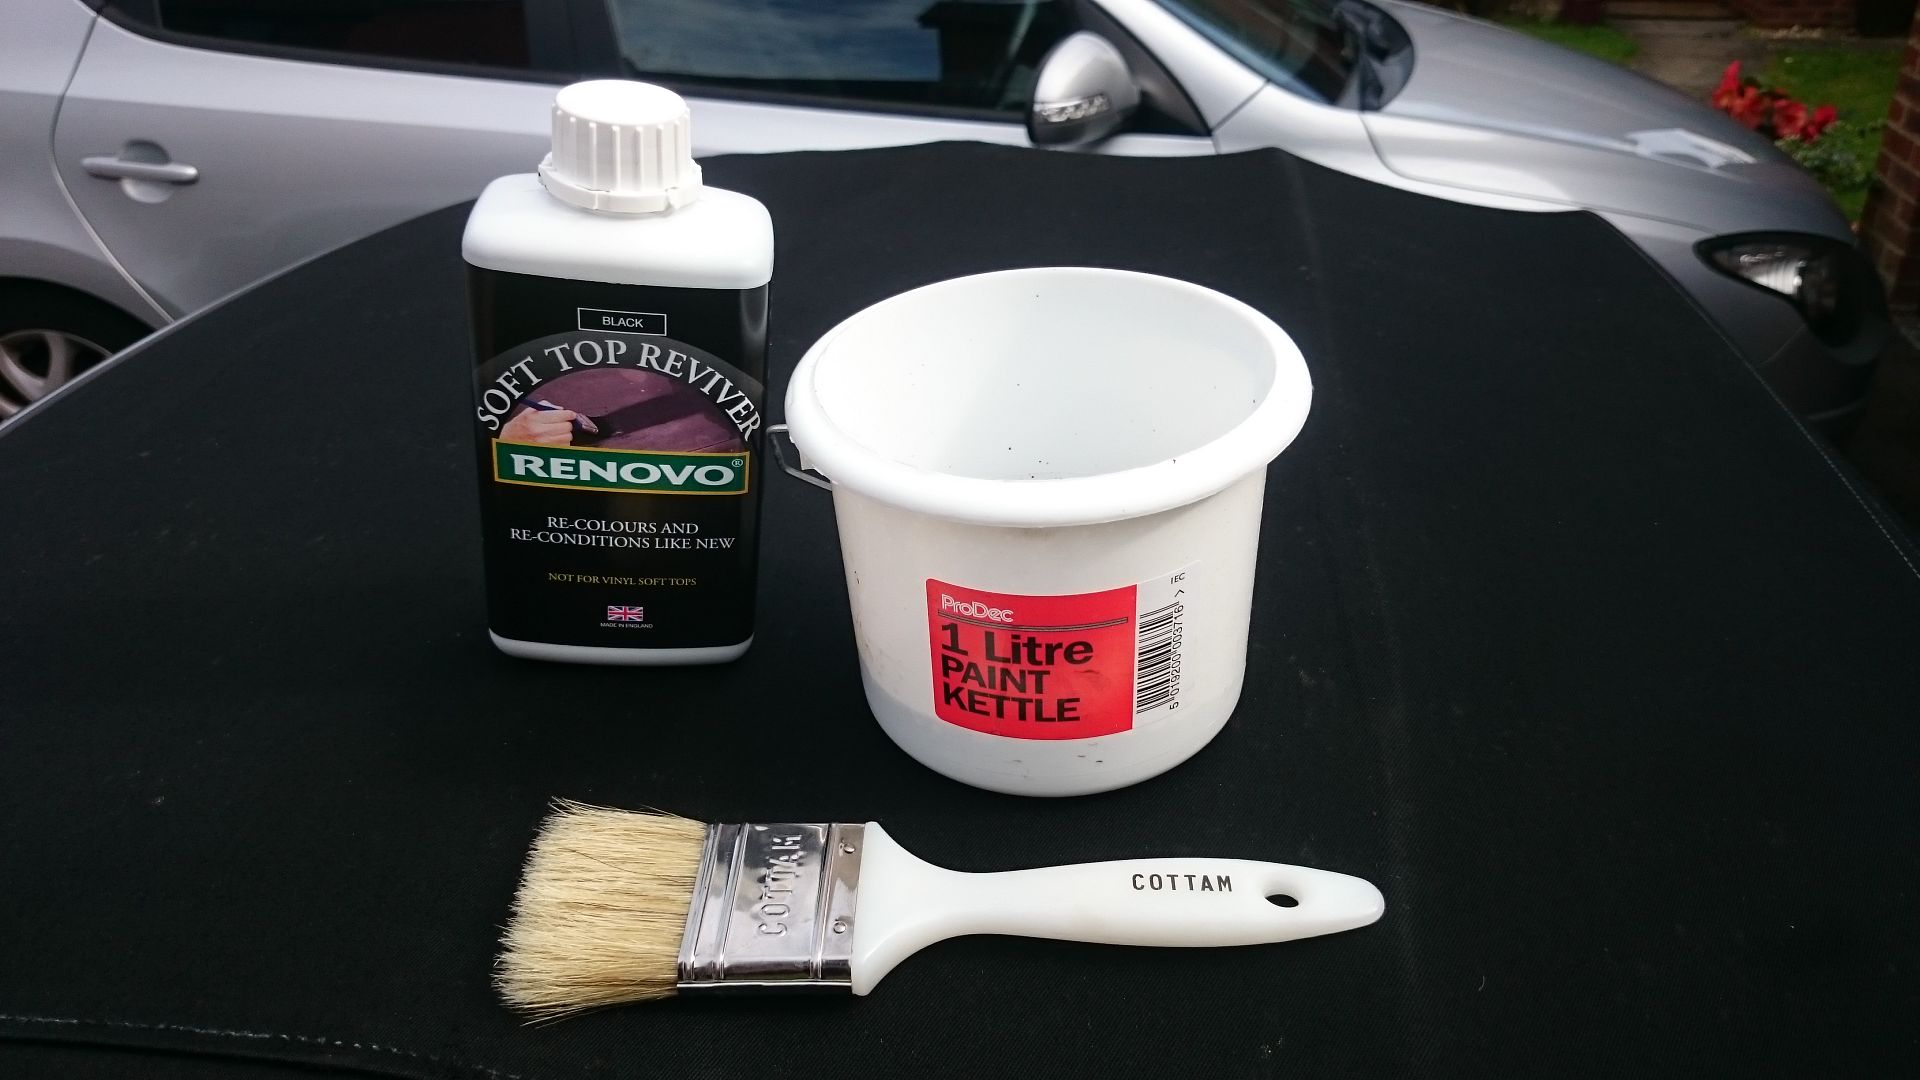
out came the renovo dye, i'd already cleaned the roof a few days earlier.
roof before
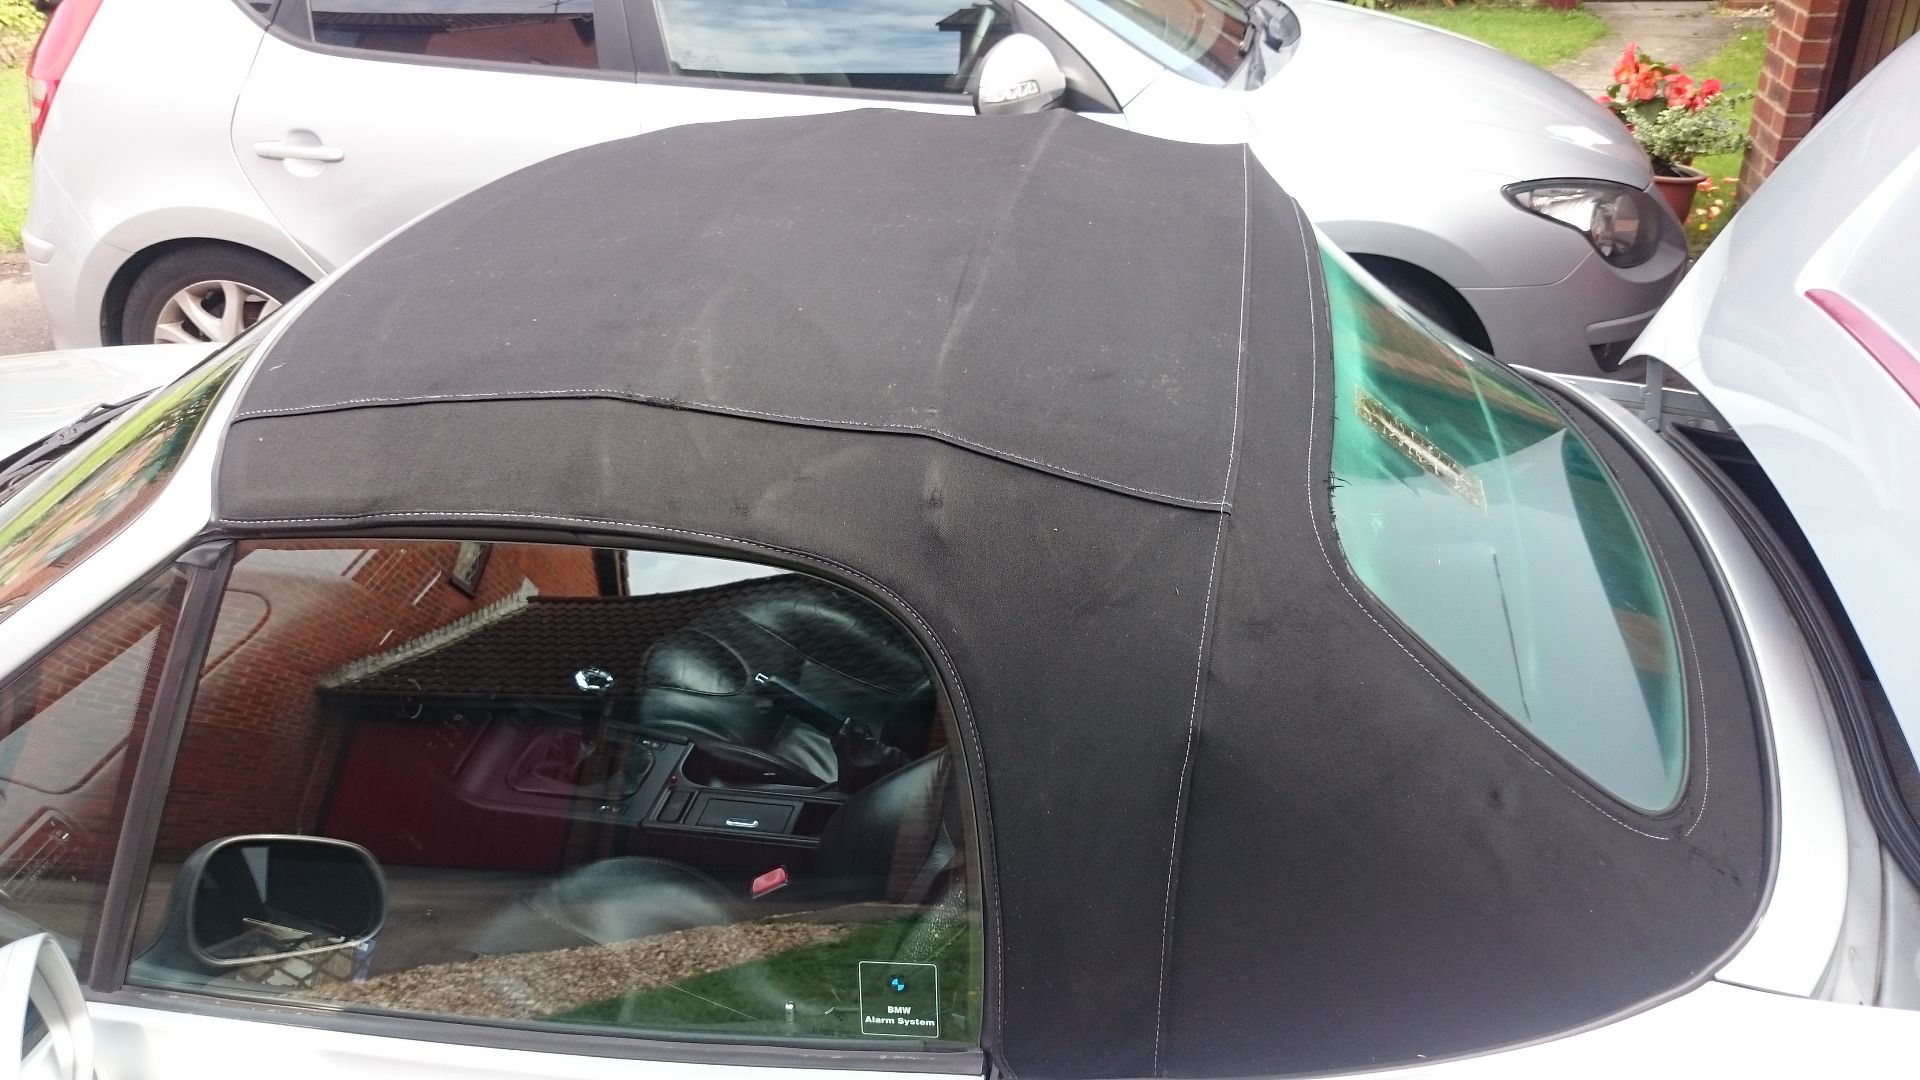
one coat and its already looking much better
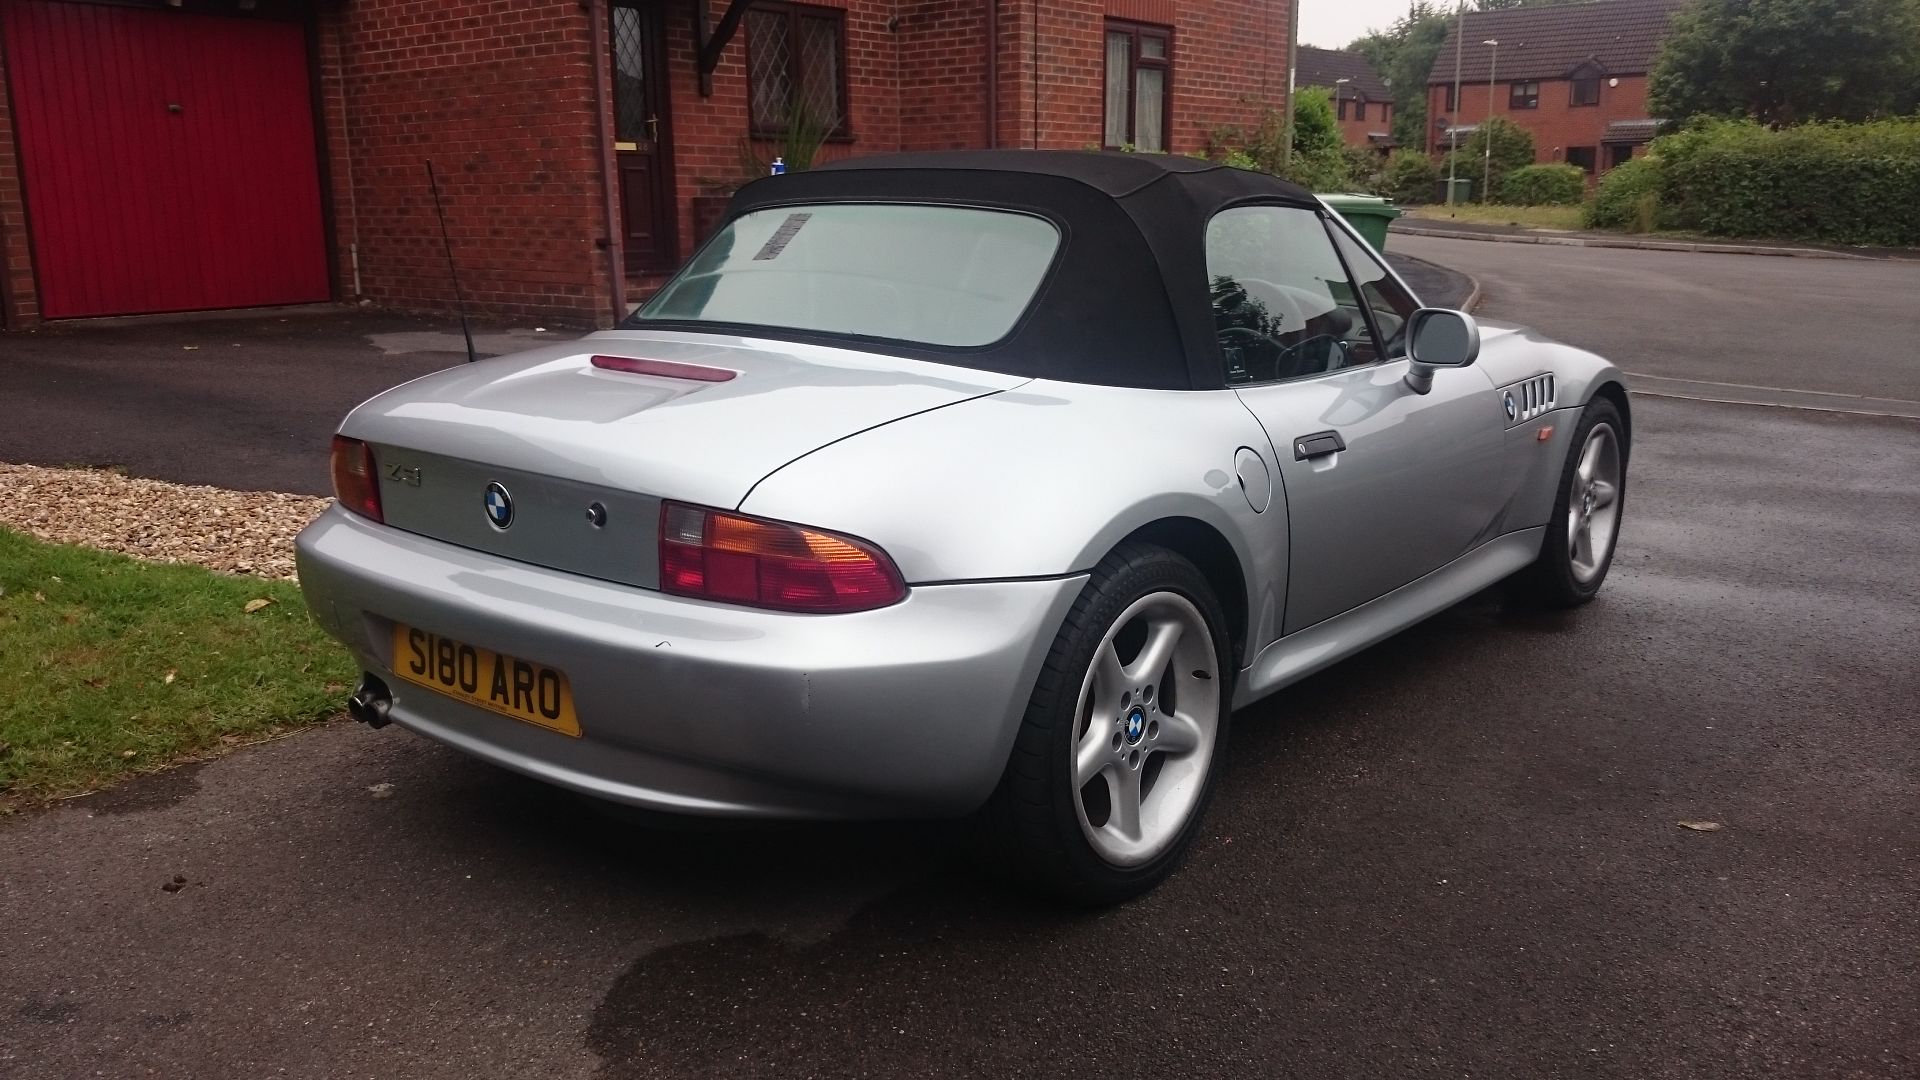
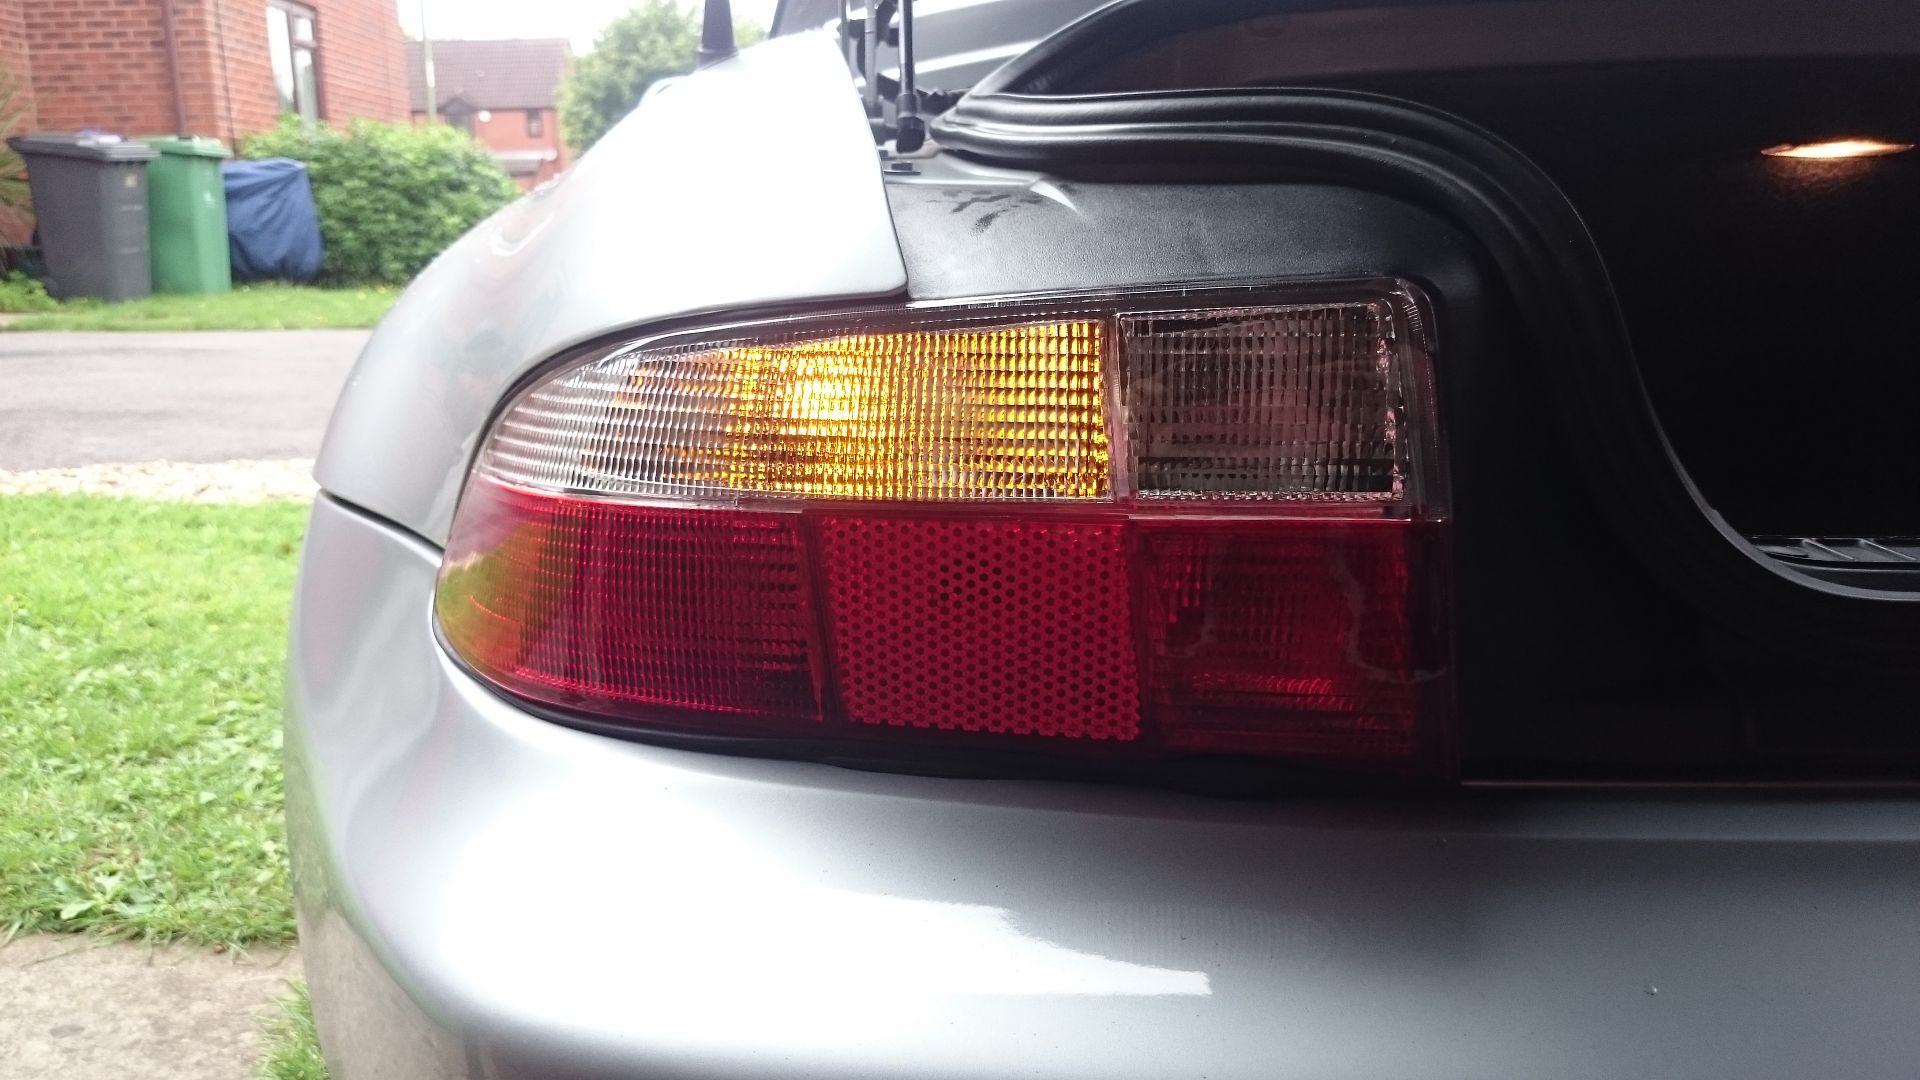
whilst this dried i cracked on with my new rear lights, quite literally a 5 minute job. one 8mm ratchet spanner is all you need.
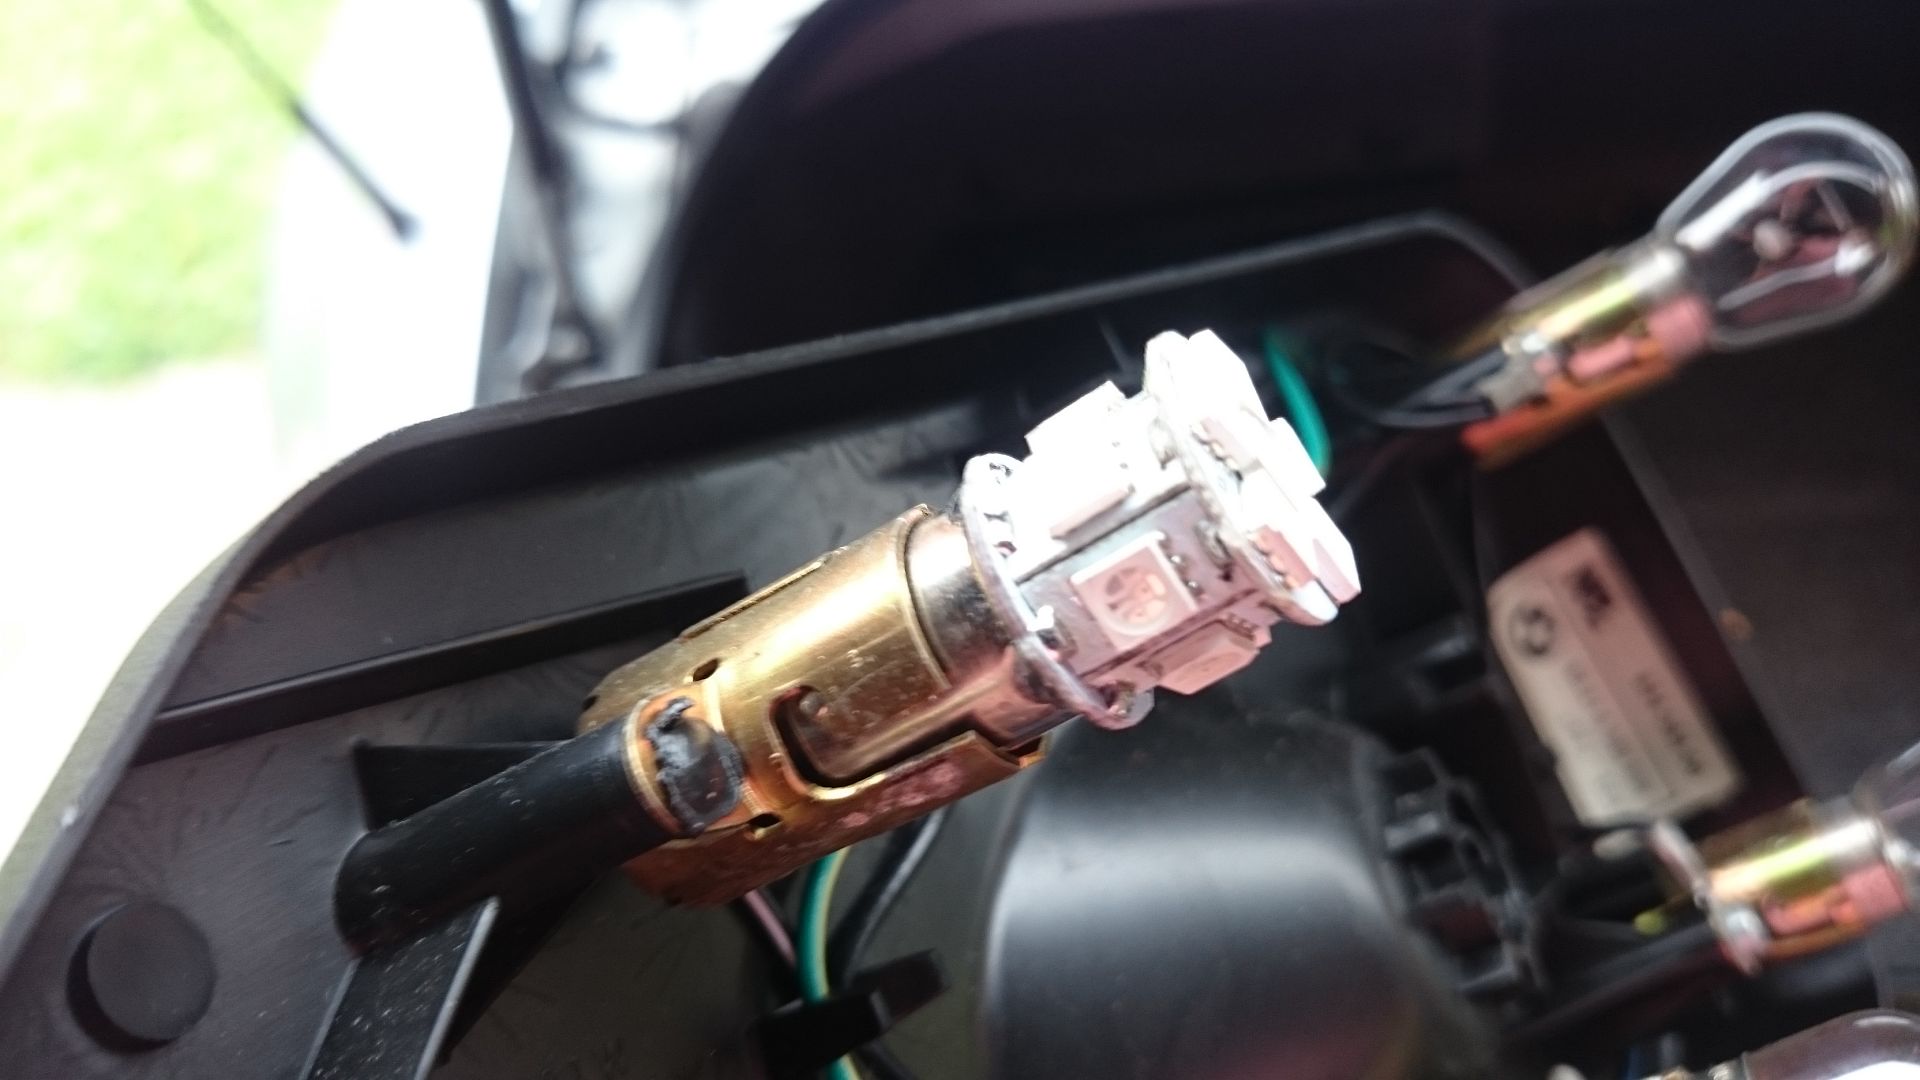
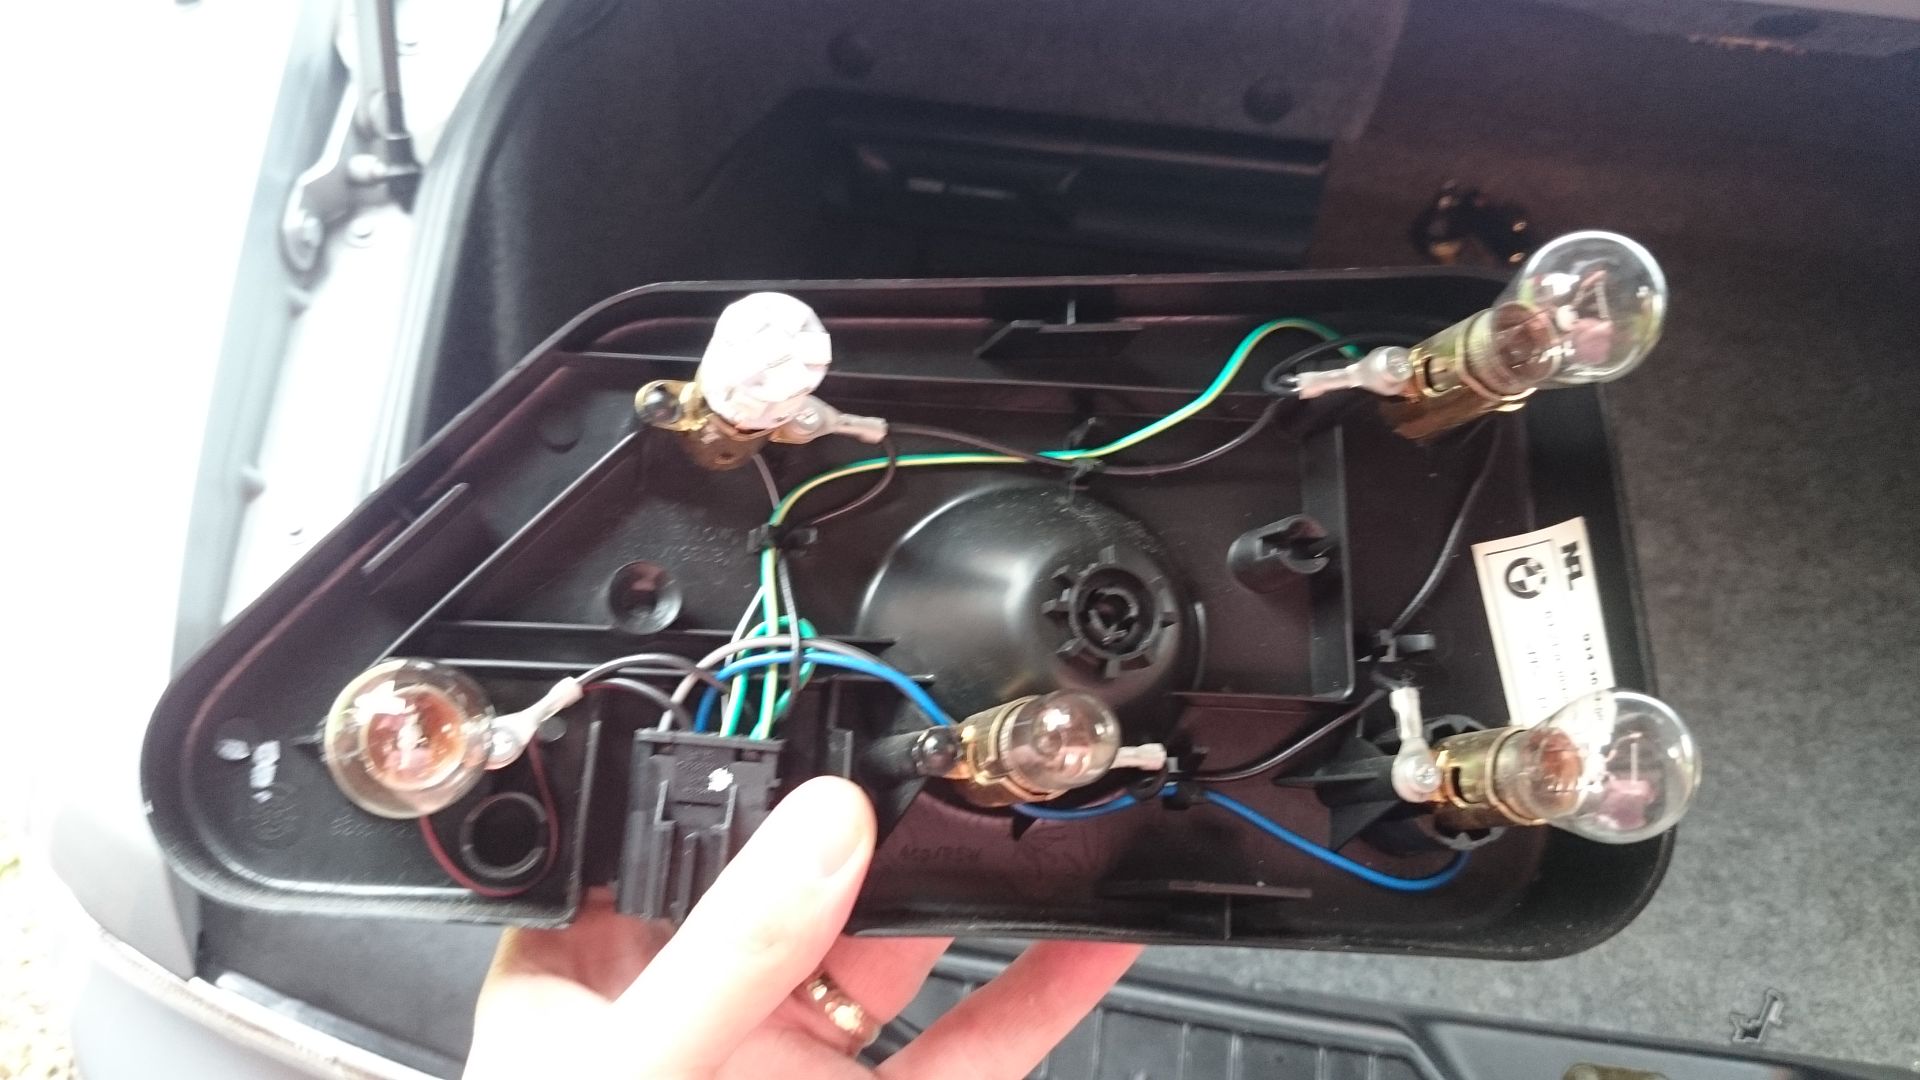
had to tweak the bulb holders too as they had gone slightly out of shape over the years.
£50 eBay rear lights
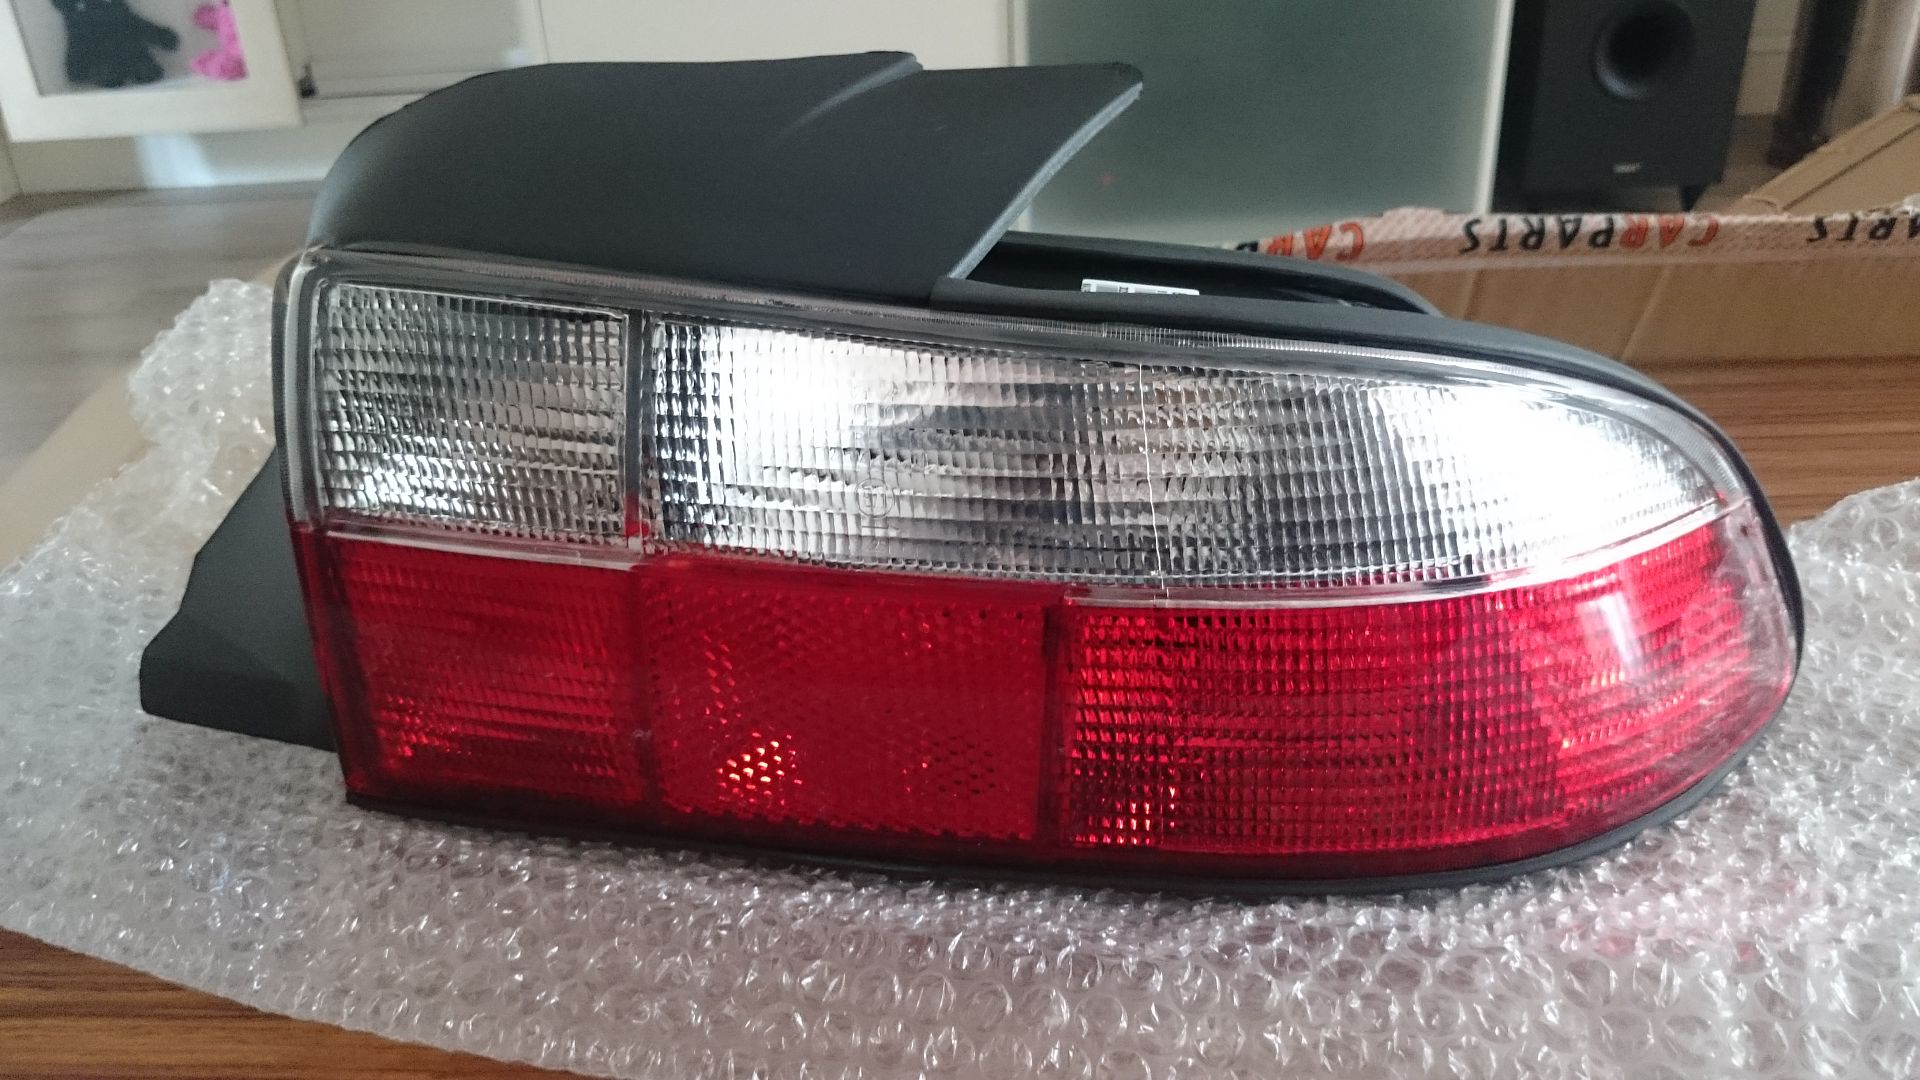
orange LED bulb to eradicate tango (all bulbs will be changed in due course)
then gave the car a wax whilst i waited for the roof to dry
So after fitting the LED bulbs to the rear lights and side repeaters i was presented with hyperflashing as the relay was thrown out of sync with the lower draw from the LEDs.
3 options here;
fit resistors to all the led bulbs to 'trick' the relay or mod the relay itself.
3rd option is to fit an off the shelf LED flasher but that requires running little pigtail wires as noone makes a 7pin relay.
the resistors are easy and cheap but always feel like a bodge. so i decided to mod the relay follwing a guide on bimmerfest.
what you need:
2 x small screwdrivers to open the relay
soldering iron + tiny amount of solder
very small drill bit (dremel etc)
1 x schottkey diode (i got mine from RS 781-5616)
Go find your fuse box and the relay
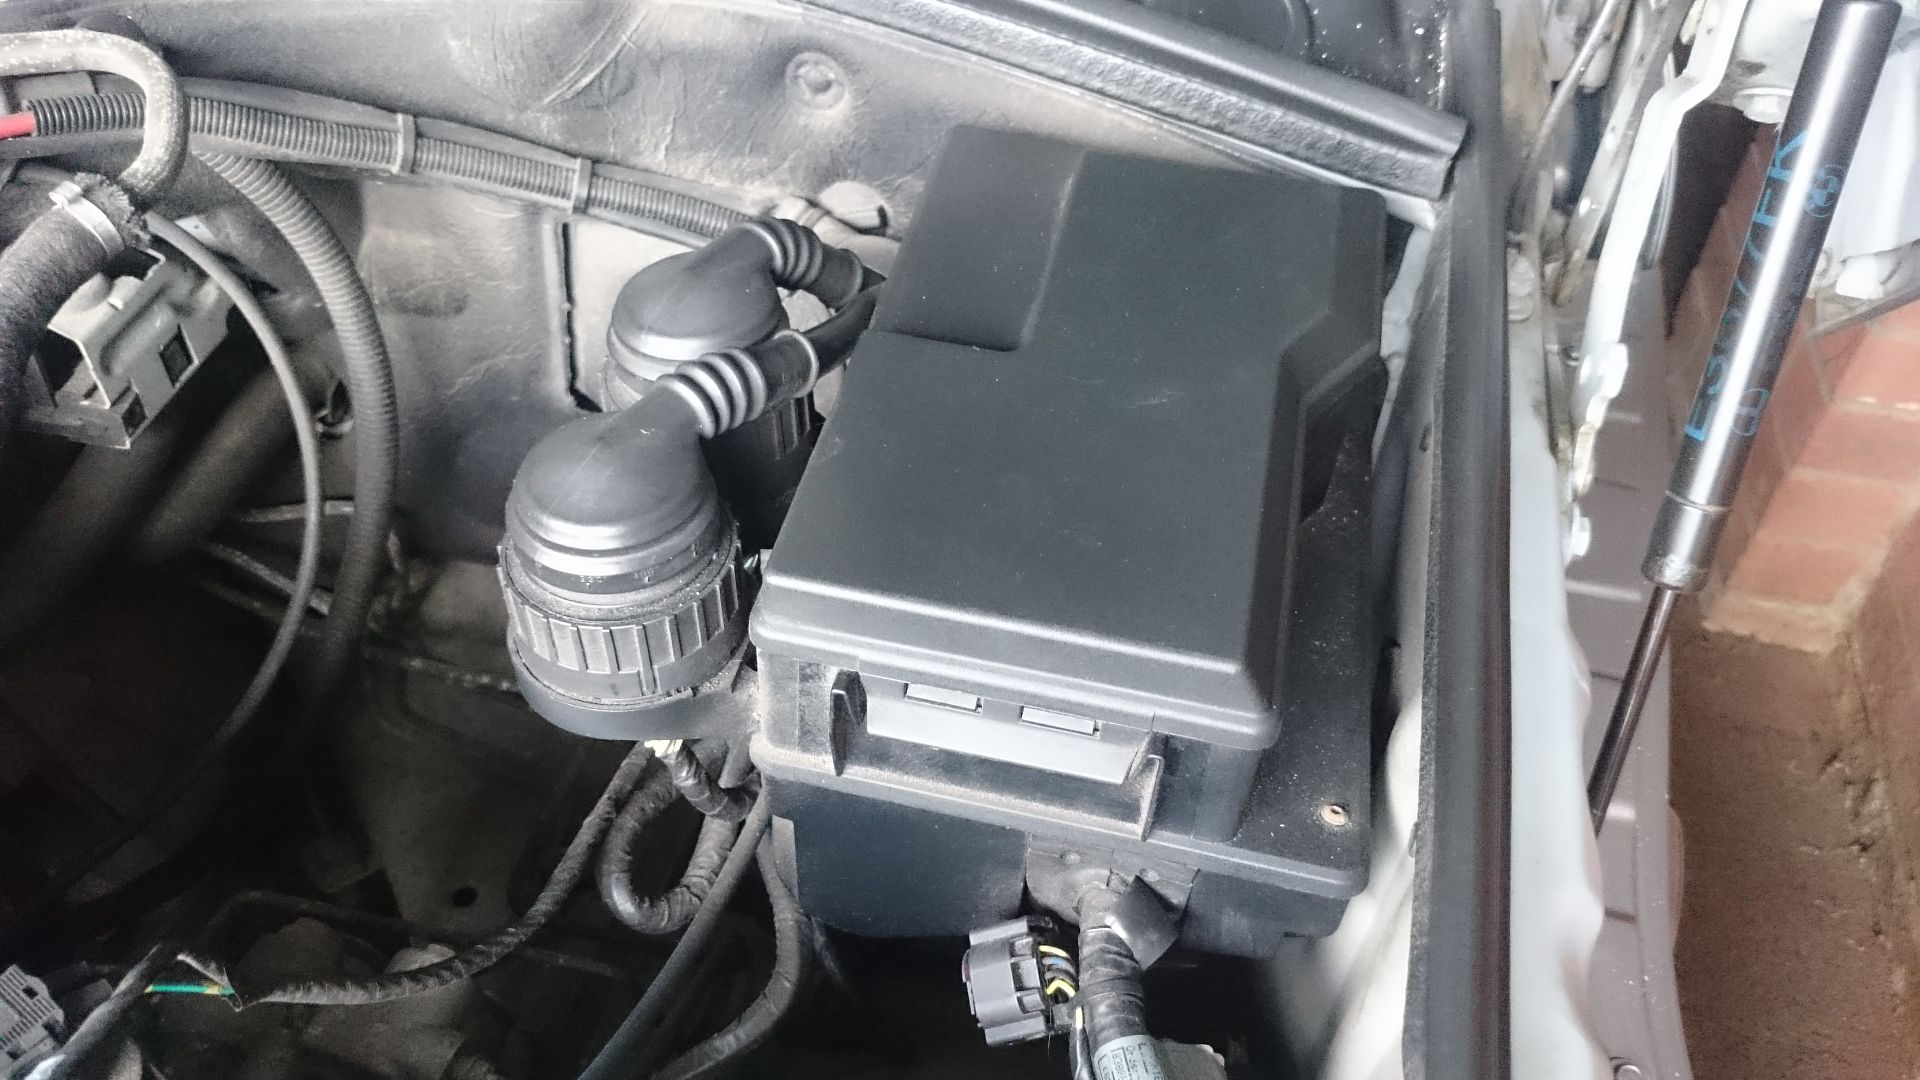
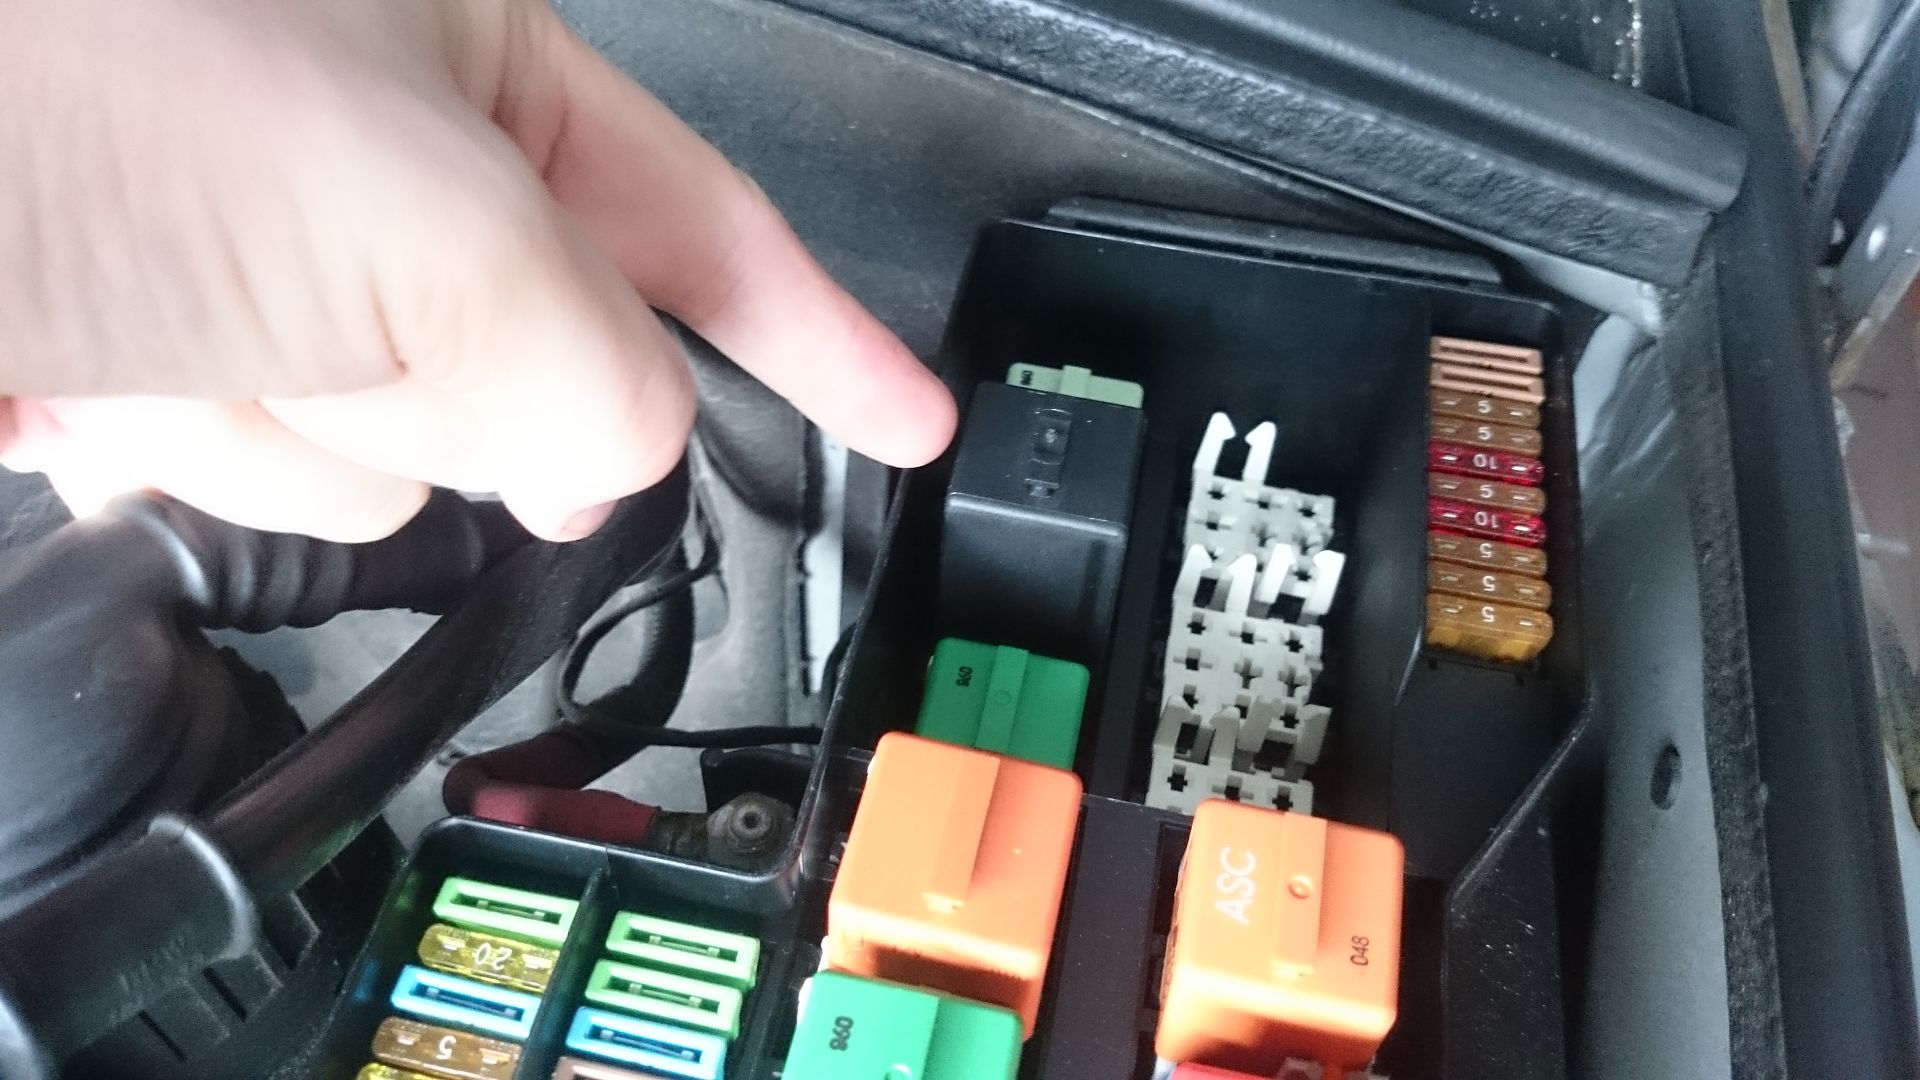
this is the original 7 pin BMW relay

wedge open the two sides with some very small screwdivers and then the board pops out
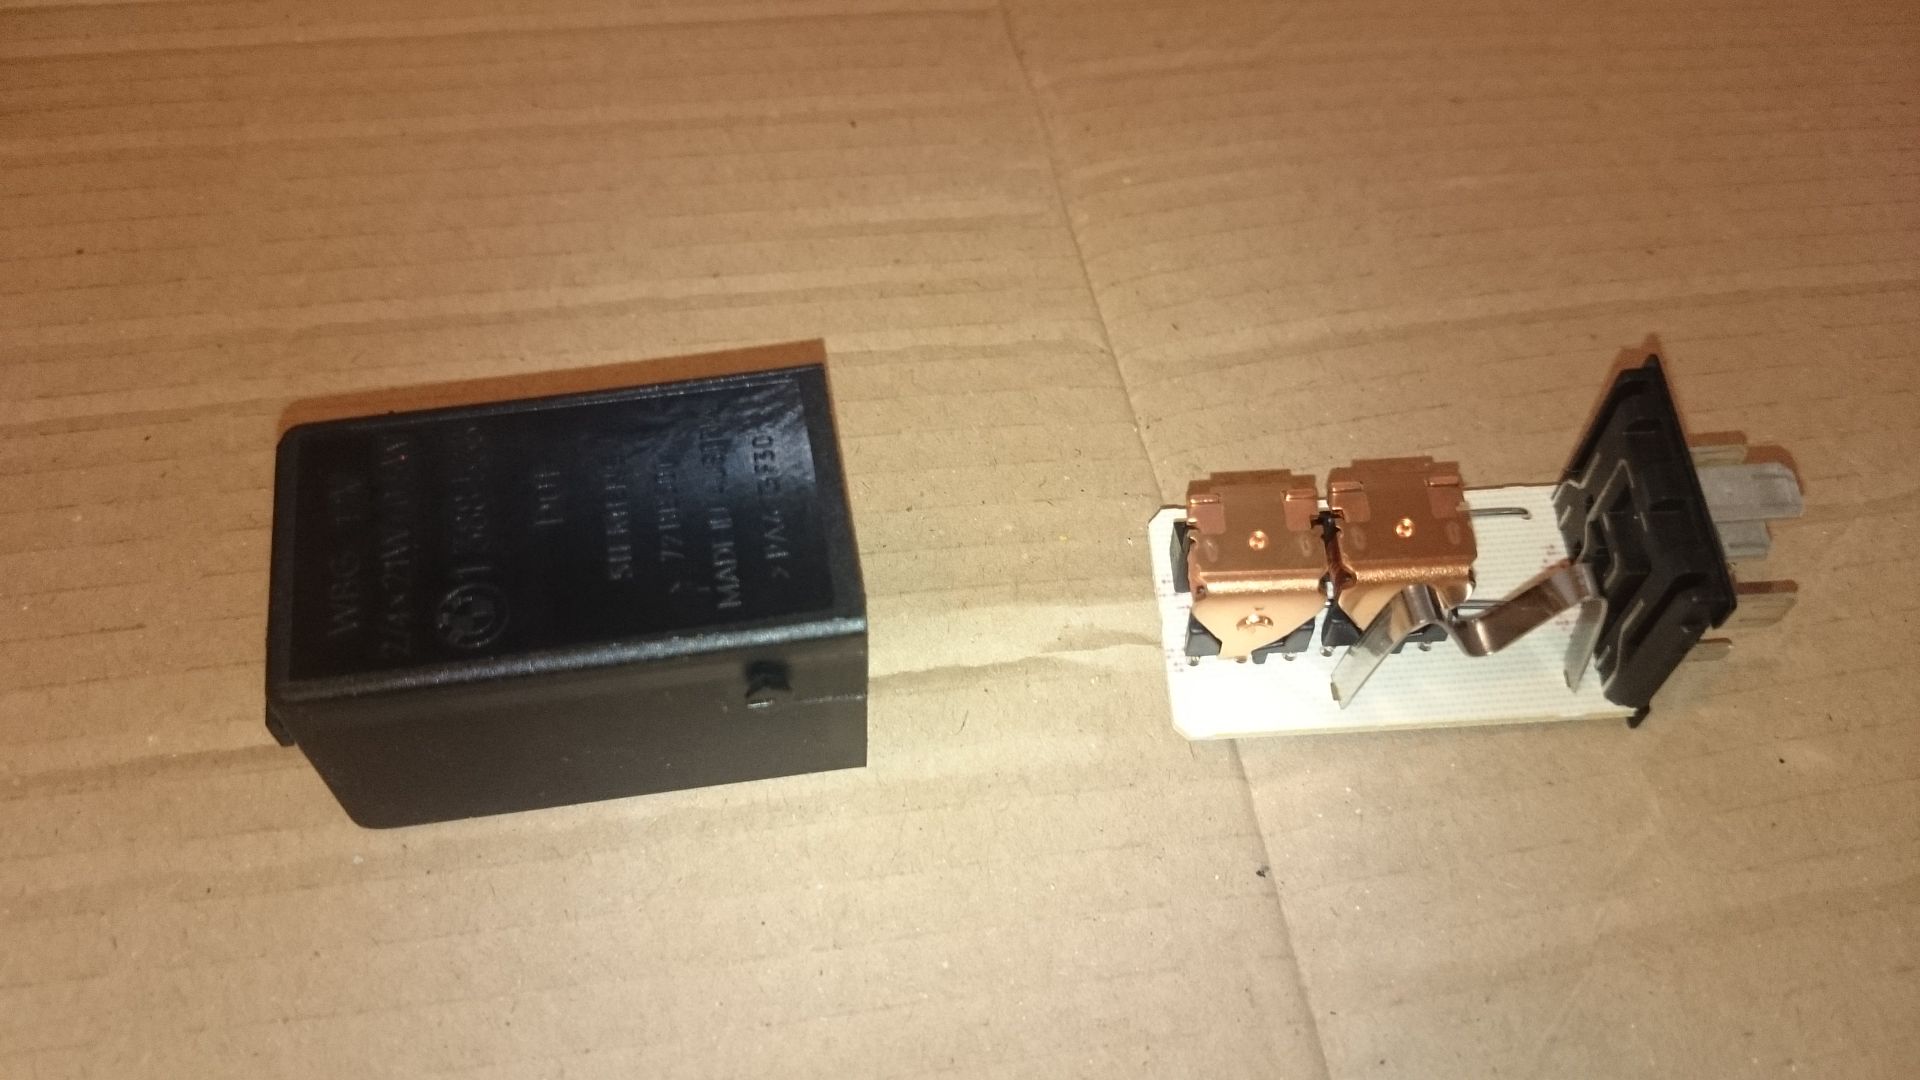
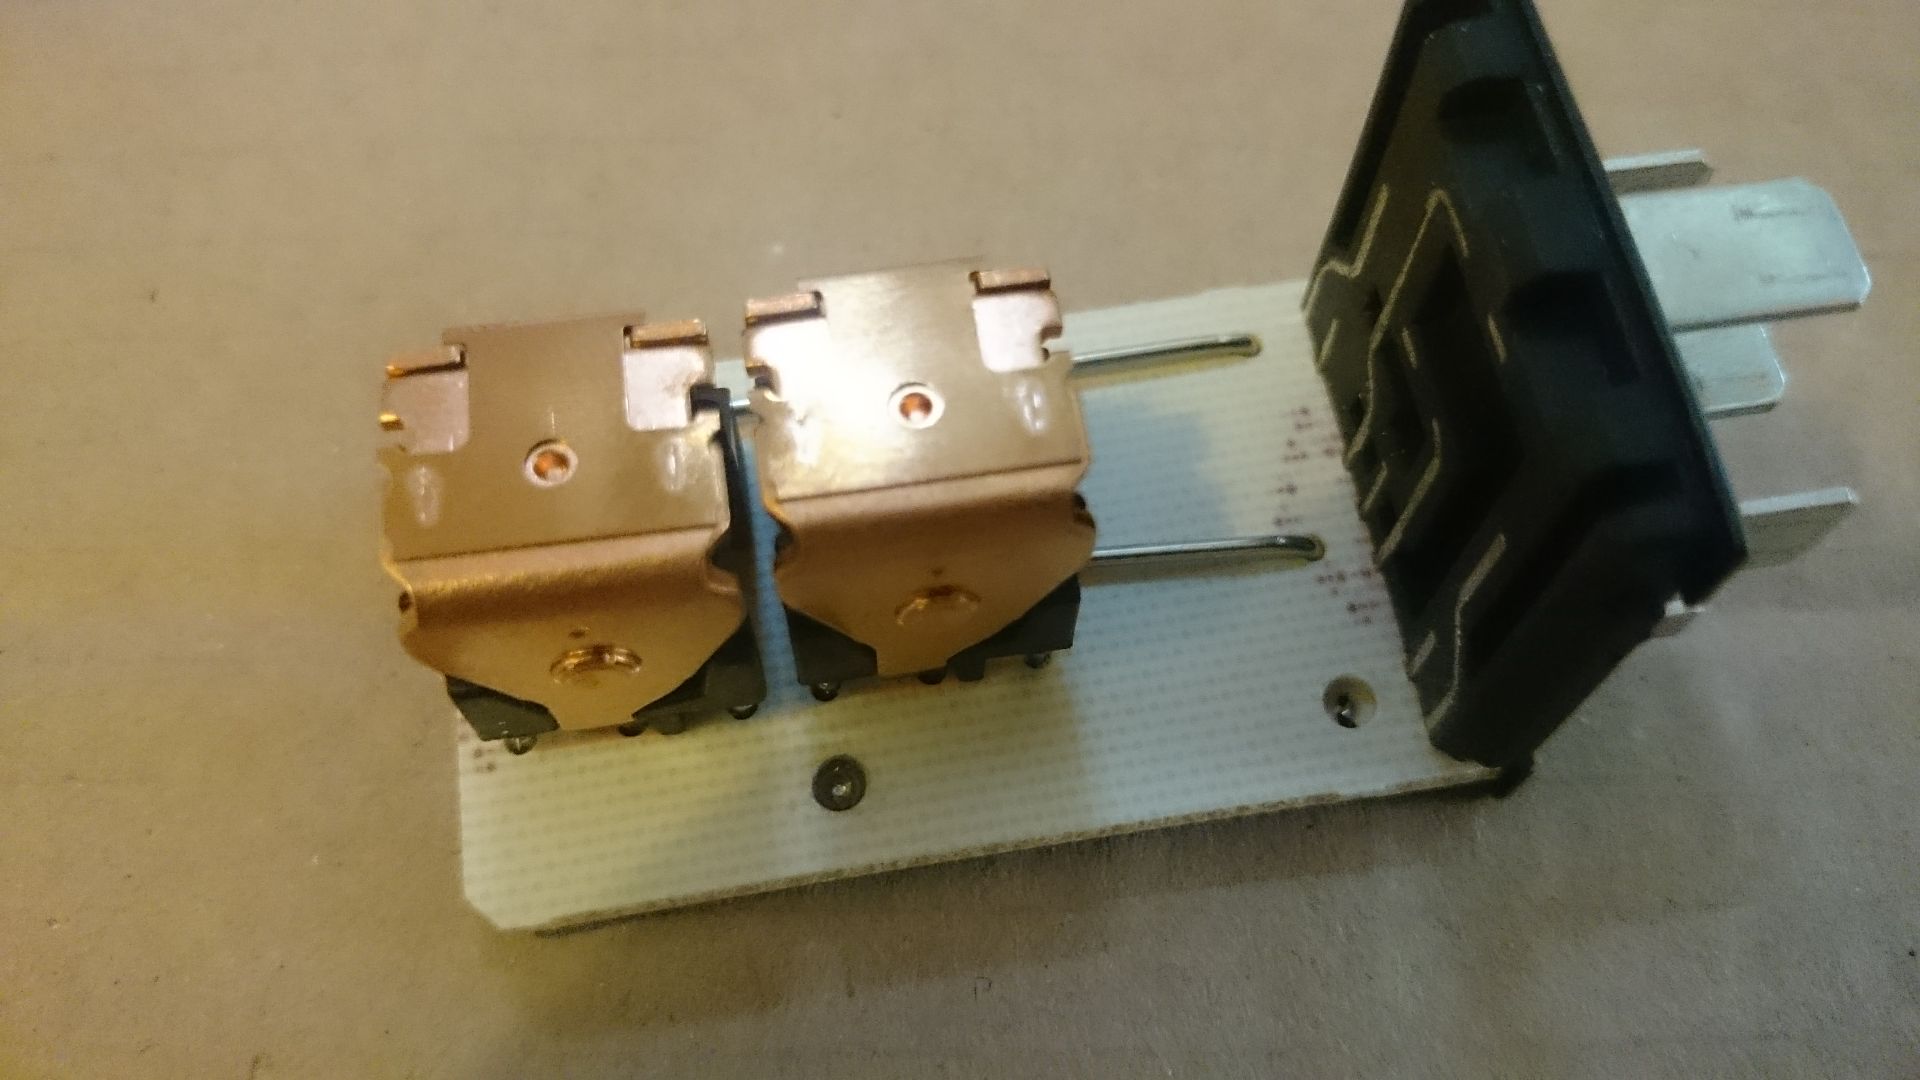
here are the guts
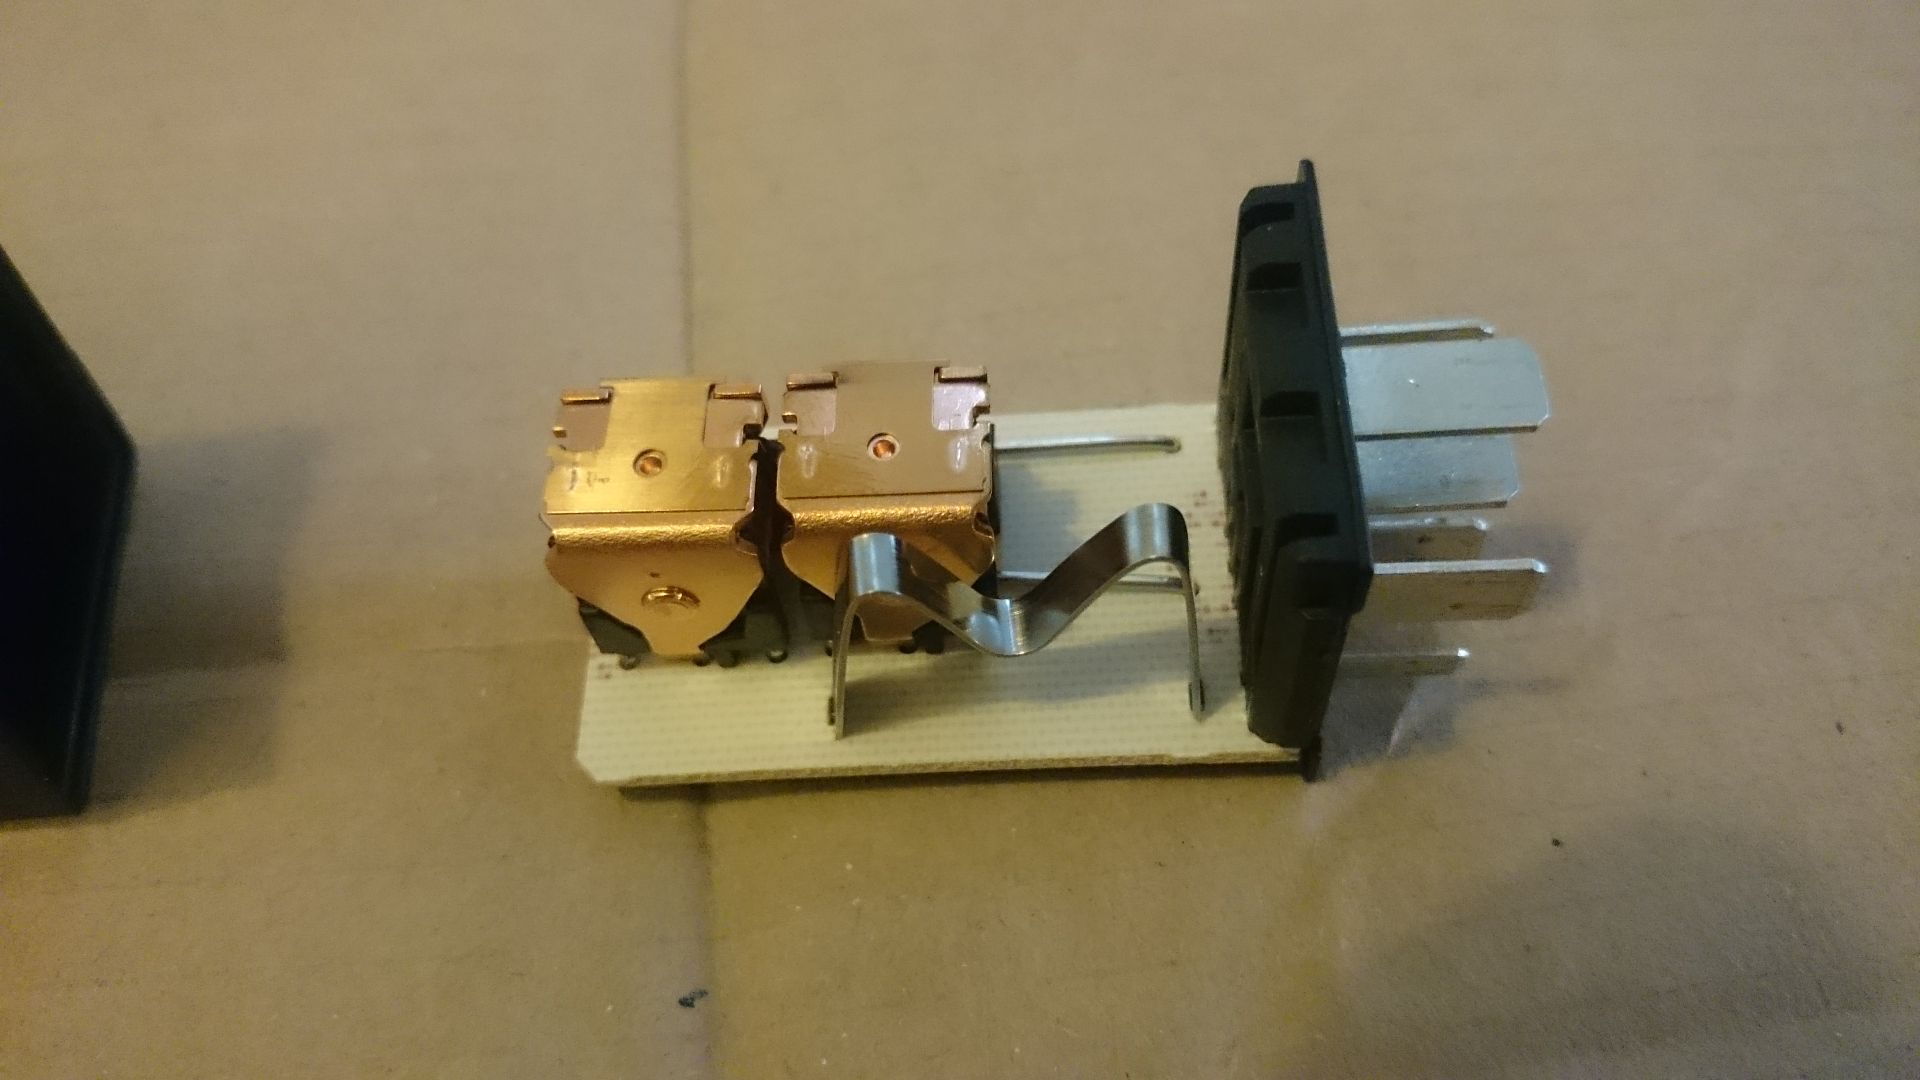
the bit that controls the flashing frequency is the 'M'shaped piece of metal (acts as a resistor)
unsolder the 'M'
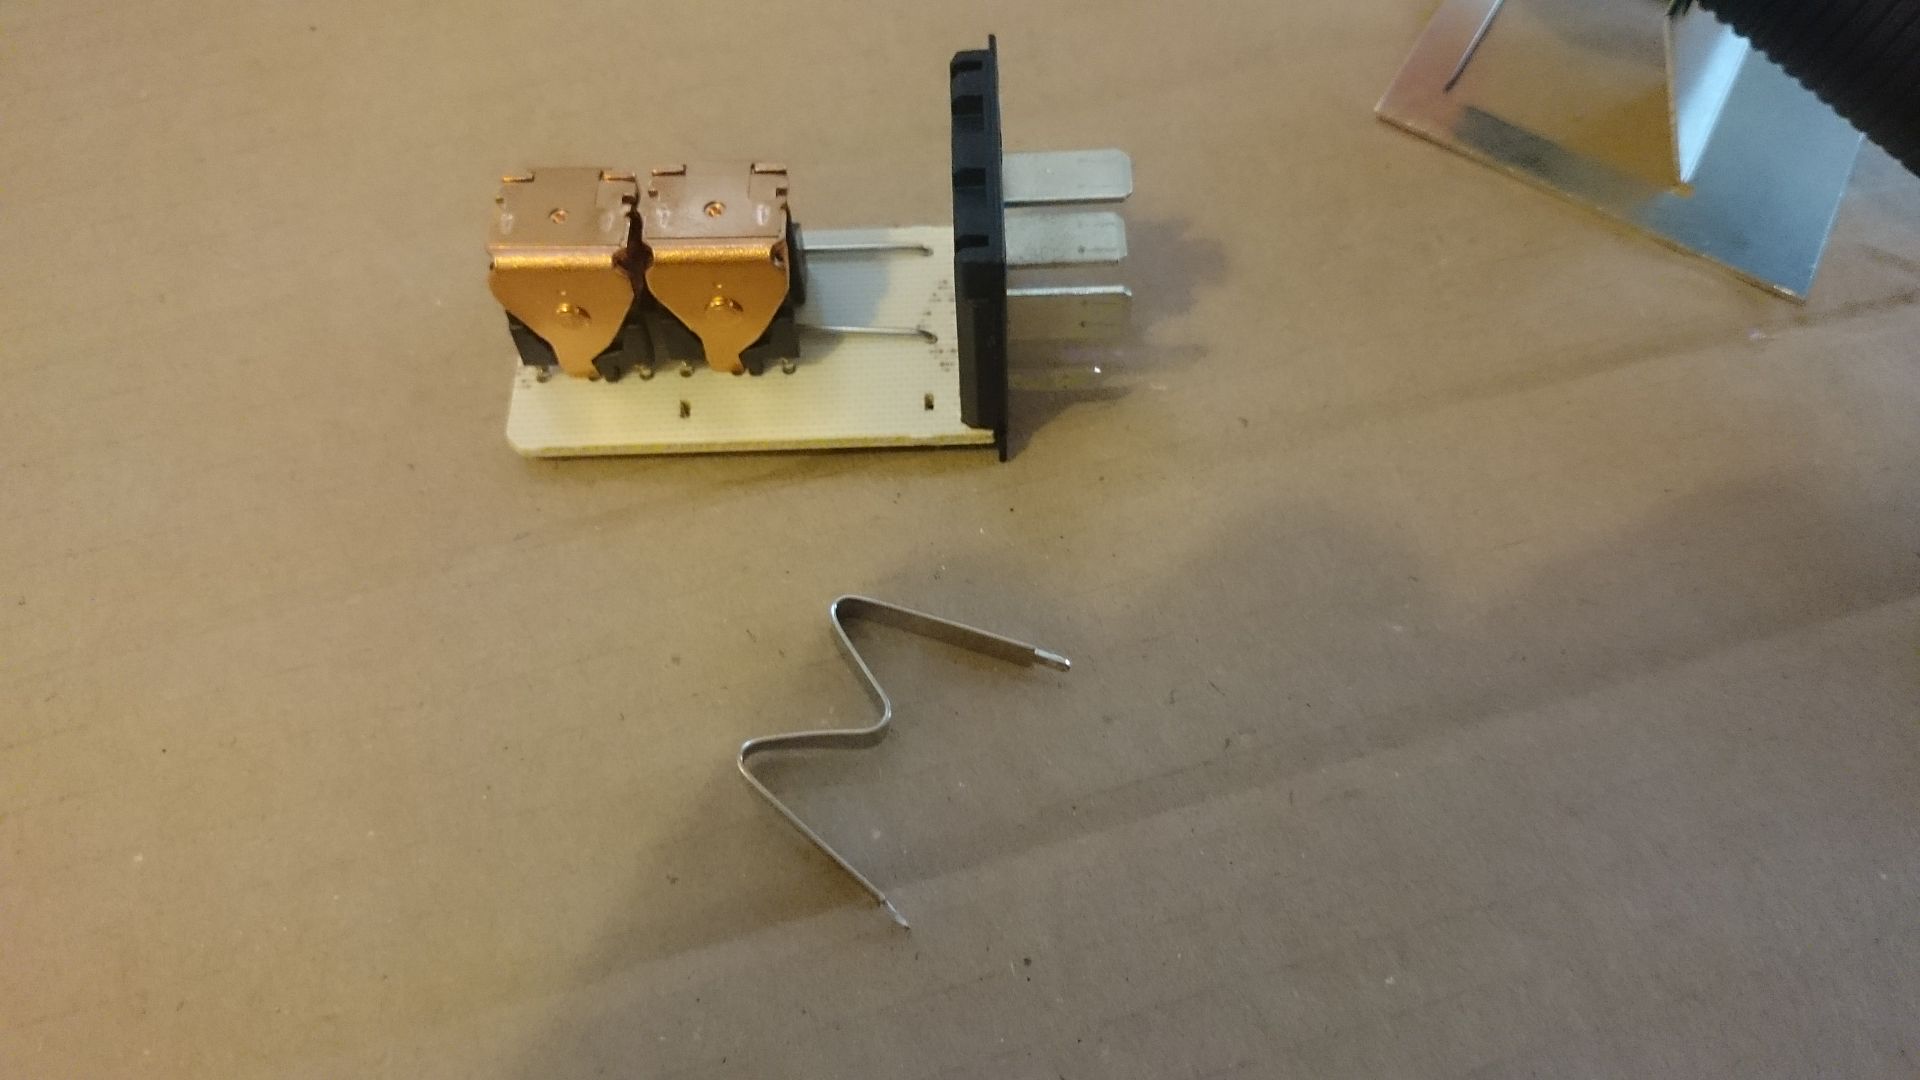
next the holes need to be enlarged to get the diode through
pass the diode through and solder the pins
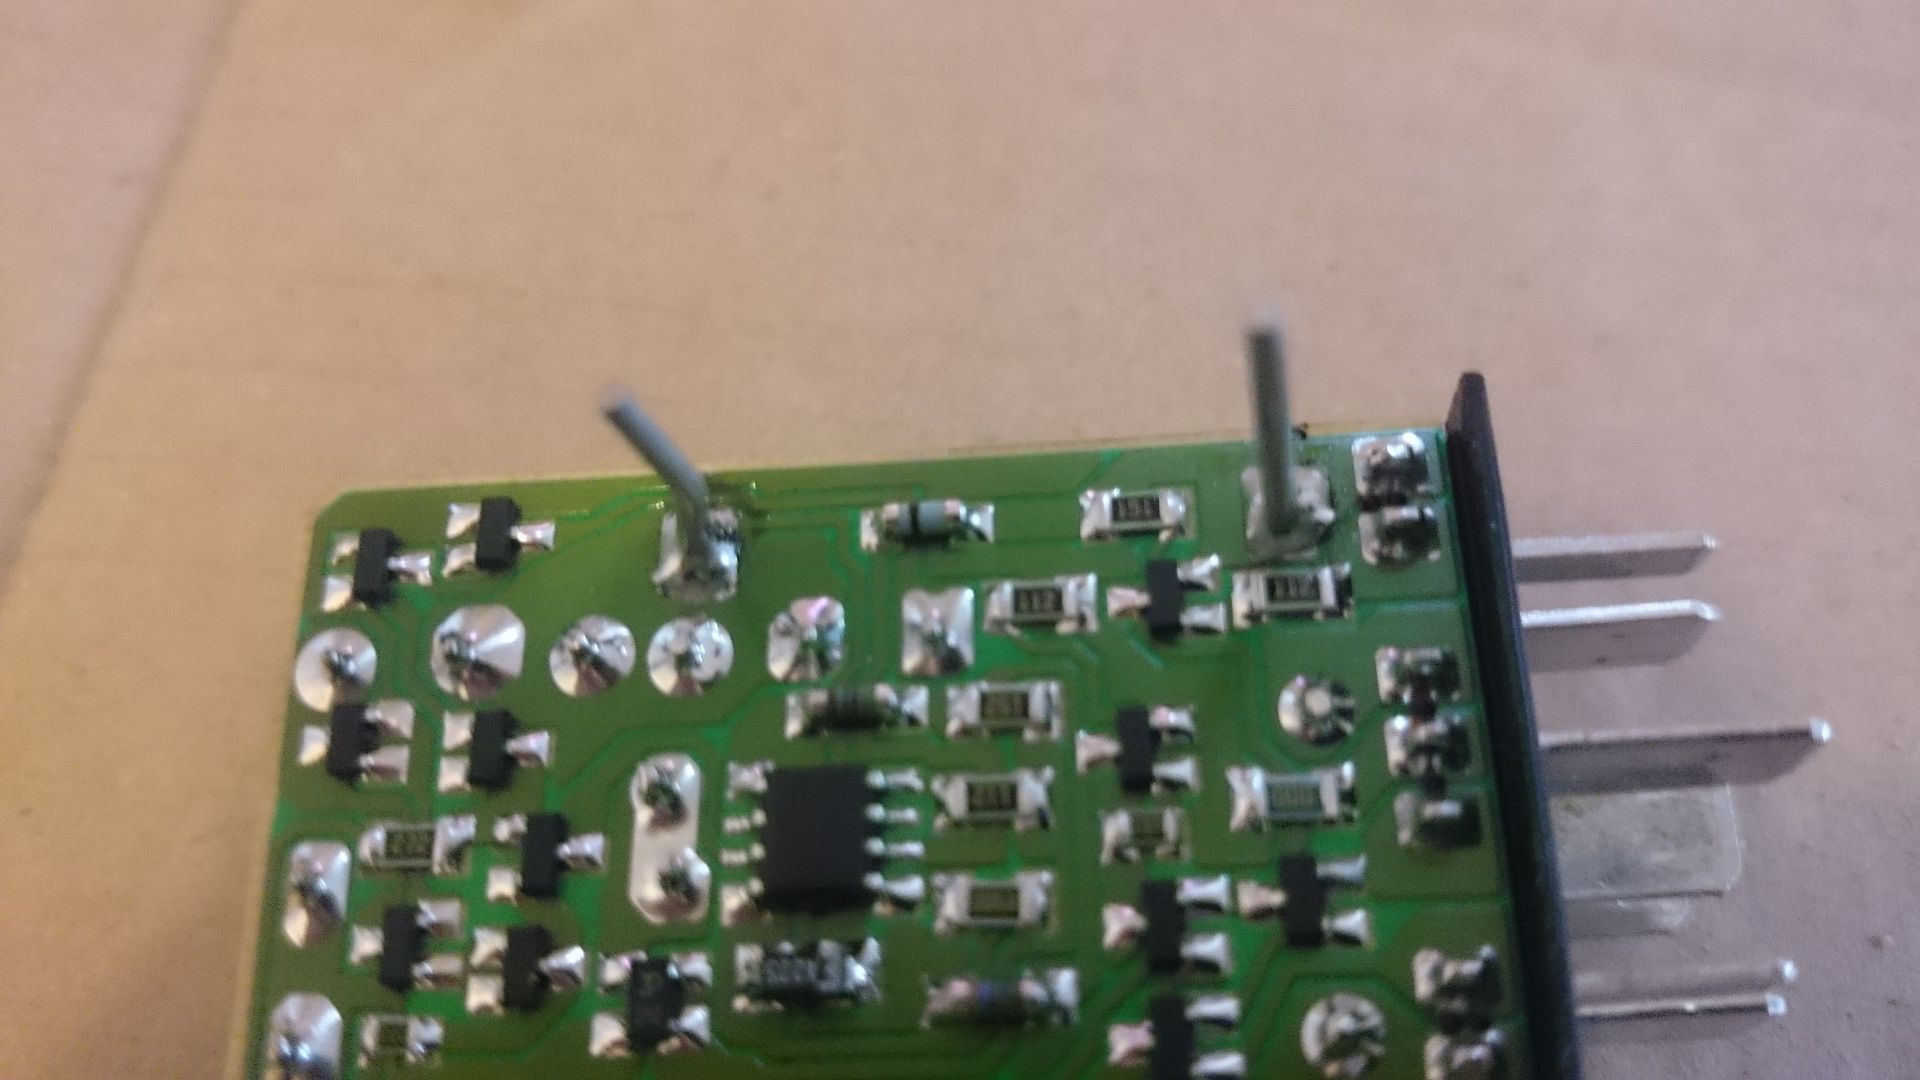
snip the tails off

completed. (note the positon of the band on the diode)

clip the relay back into the holder and pop it back in the car
start your car and test
et voila, no more hyperflashing and the ability to run LEDs all over the car
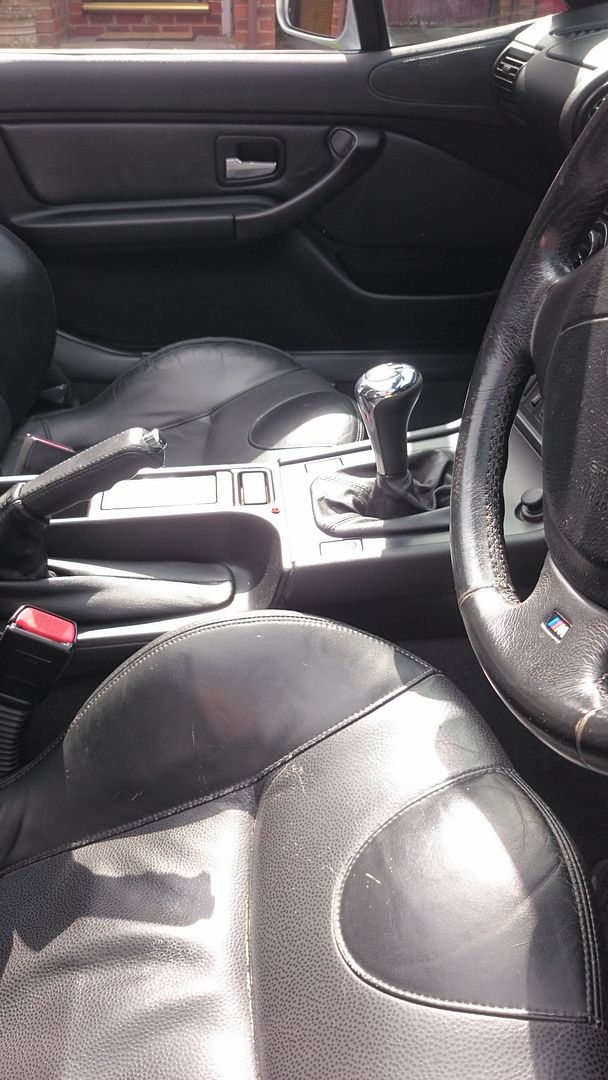
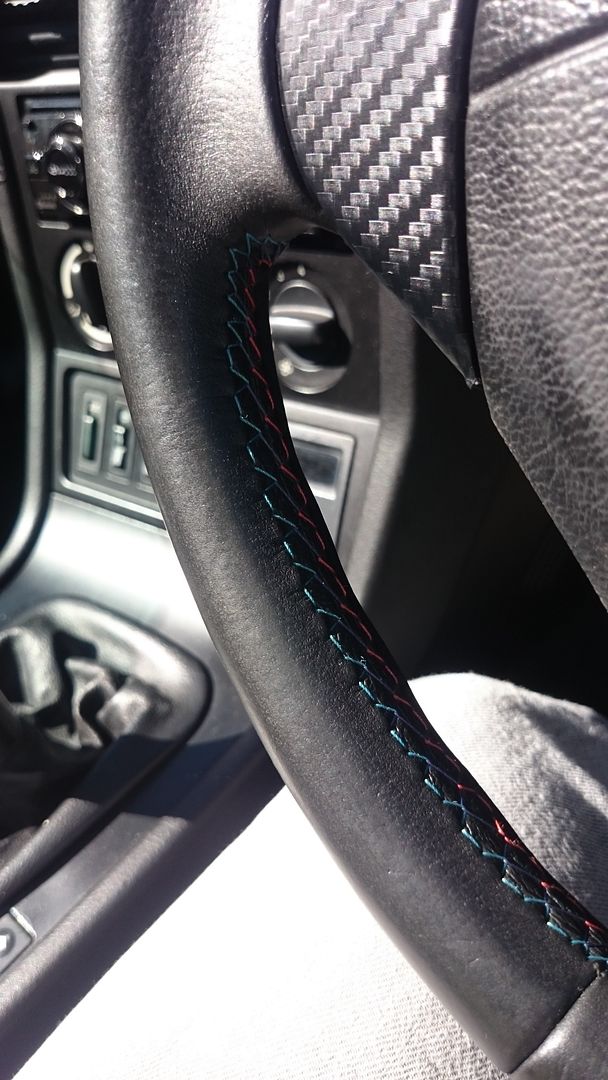
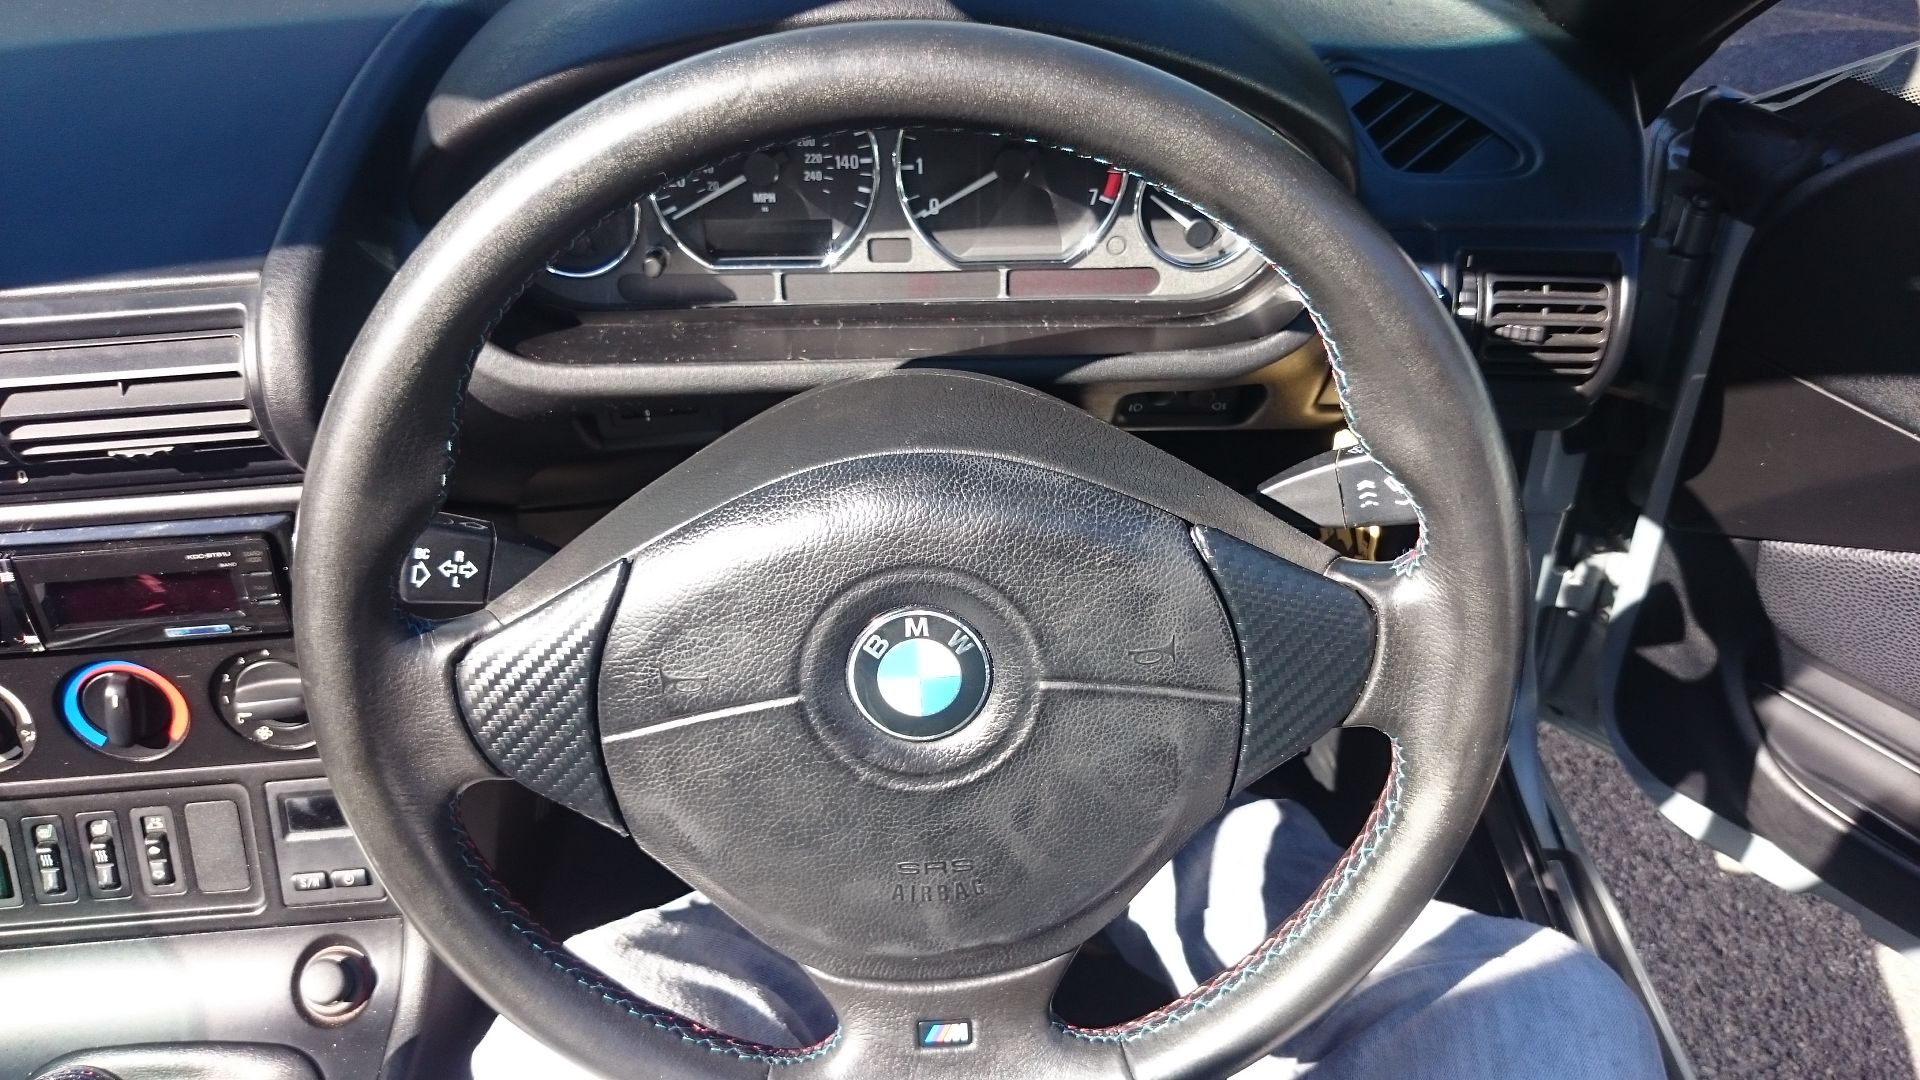
bought a tri-colour stitched wheel off this very forum for great price and fitted it with my exisiting airbag.
really simple process.
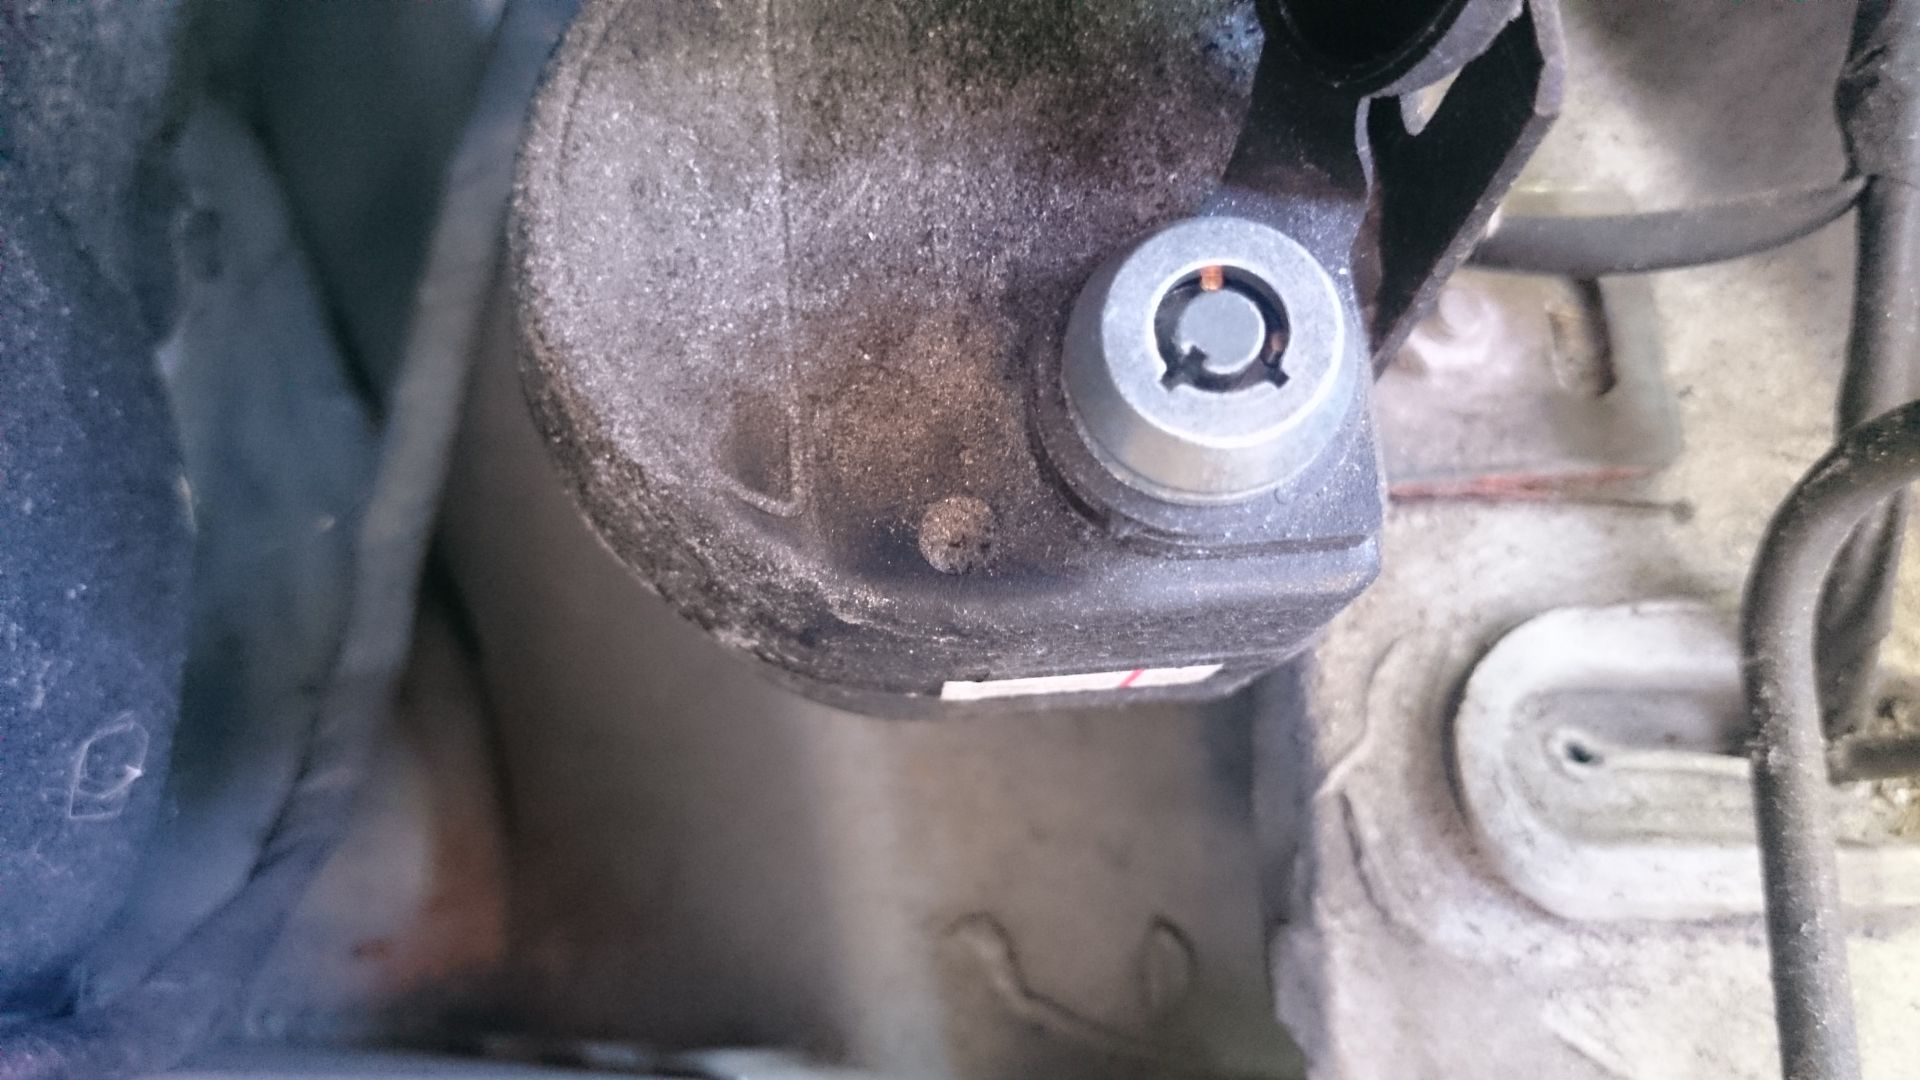
Need to disable the alrm first using this keyhole on top of the siren
disconnect battery (10mm socket)
remove lower steering cowl (one philips screw and some clips)
unscrew airbag from behind steering wheel ( 2 x t30 torx)
pop airbag off and disconnect two wires (horn and airbag)

unbolt 16mm center bolt, force needed!
disconnect wires from under the cowl (2 connectors on my single phase bag)
yank wheel off
reverse the whole process
whilst the wheel was off i used the space to replace some blown dash bulbs
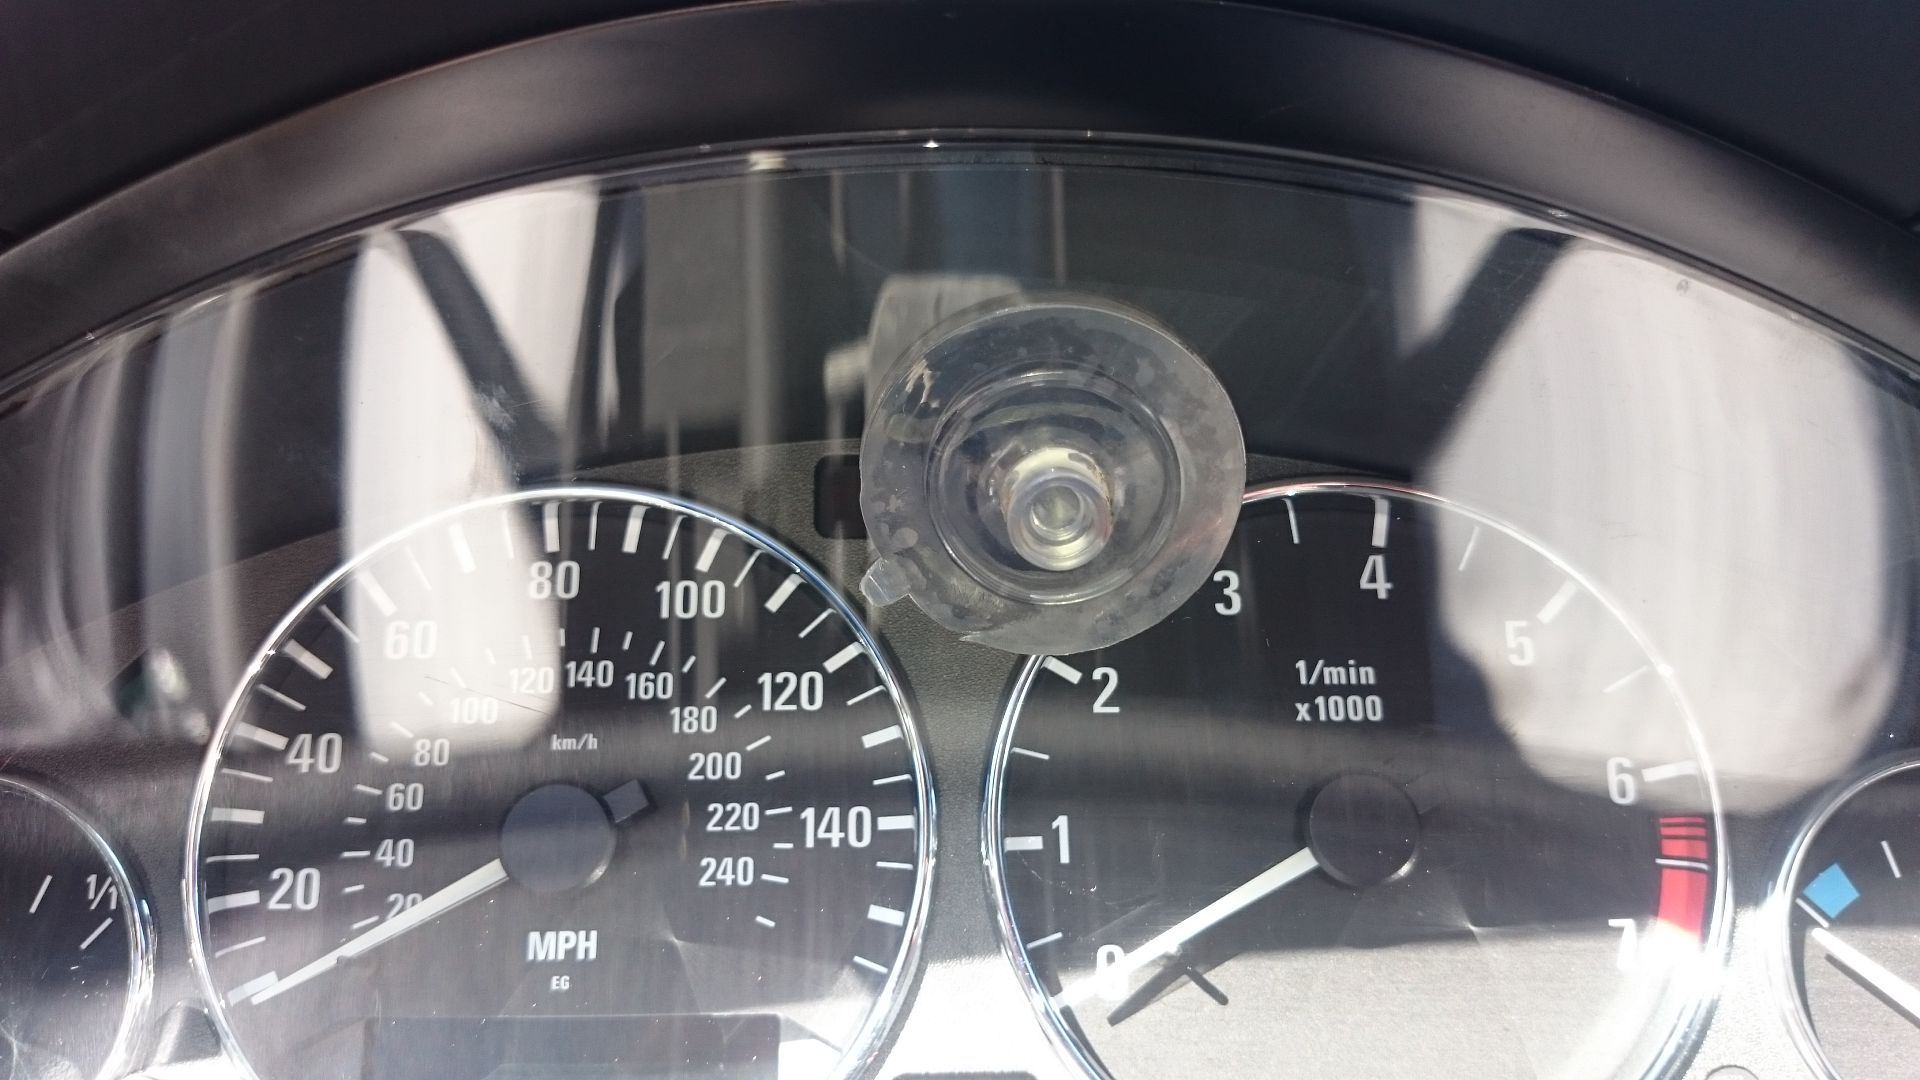
sucker needed to pull binnacle out.
BMW handily make note of which bulb goes where! much better
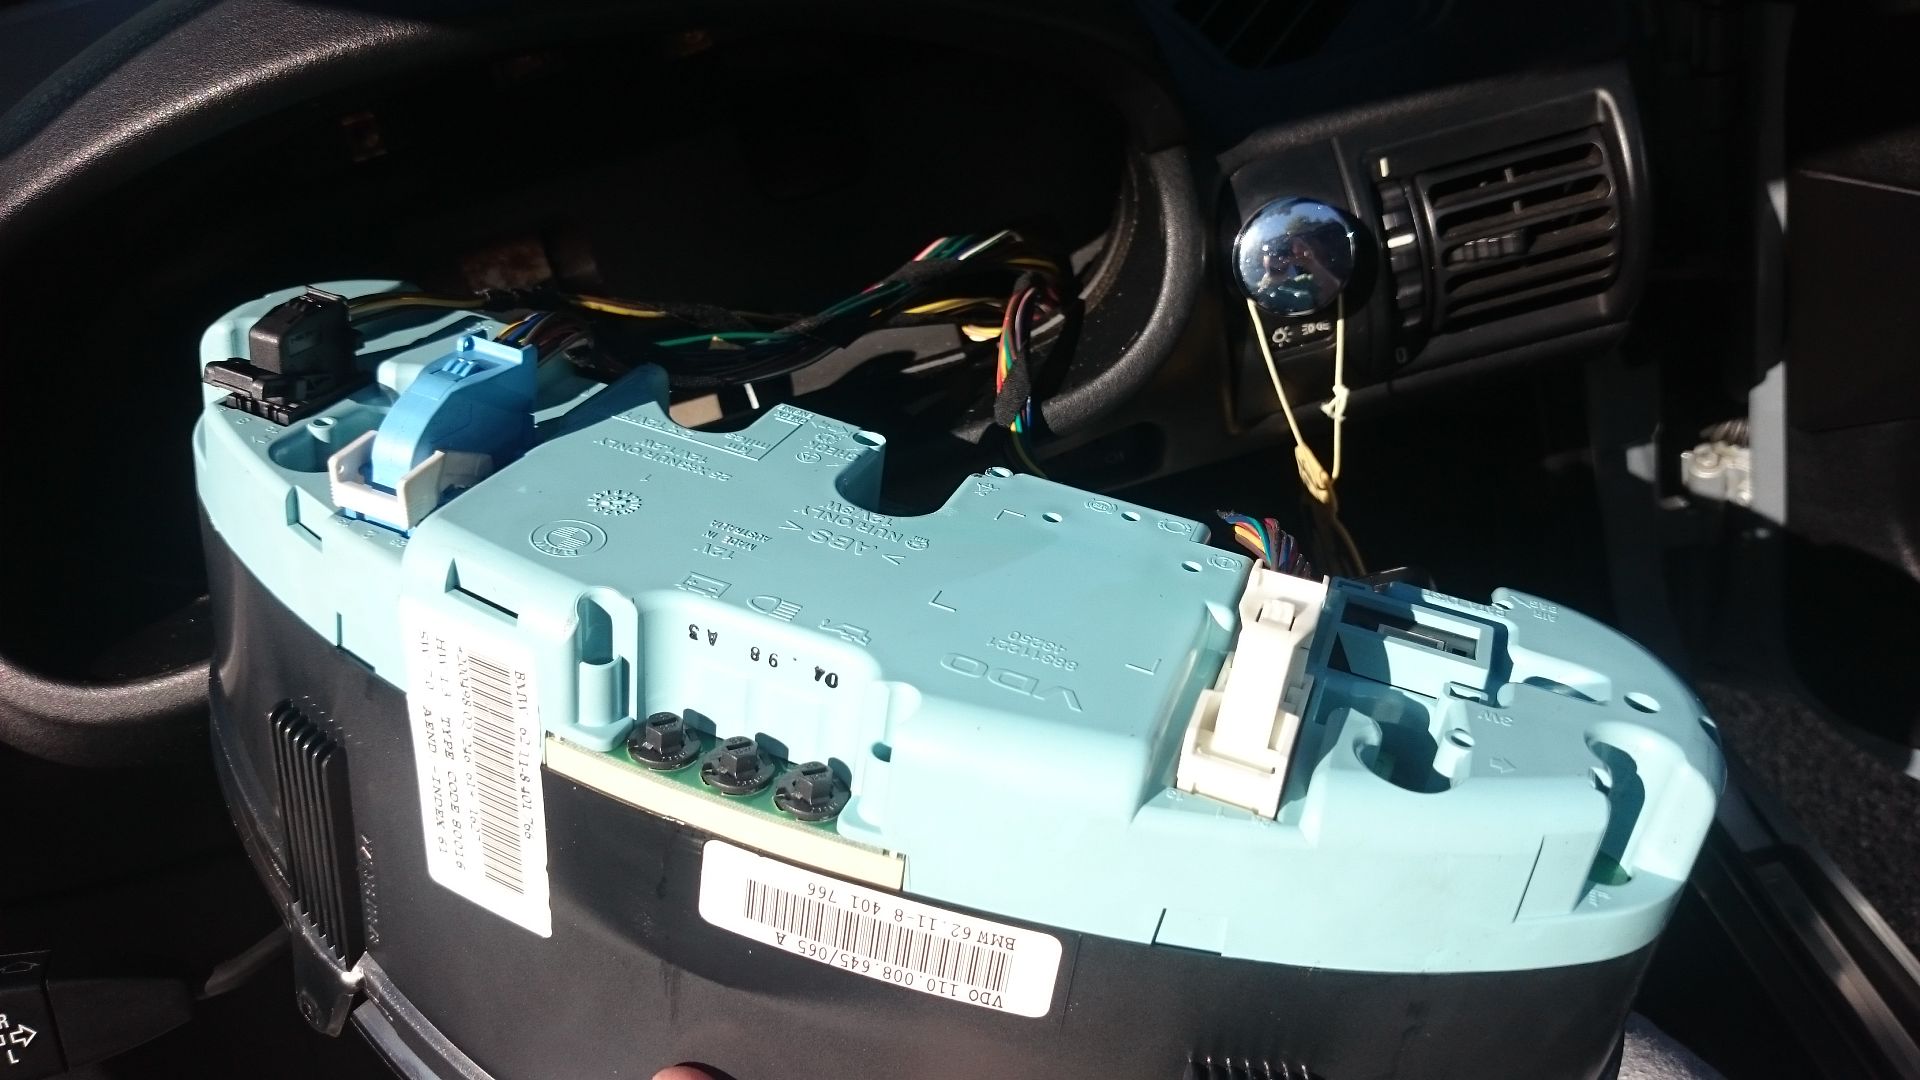
Next was to finally rid the Z of amber.
the process is really simple, 4 x 8mm screws to each light, easily accessed with an extension.
4 connectors and then they pop out.
i removed the airbox and washer bottle to give myself more room (again really simple to remove)
also drilled some holes in my airbox for more noise, no icnrease at idle but a much much better noise at WOT. almost invidible too so looks stock still
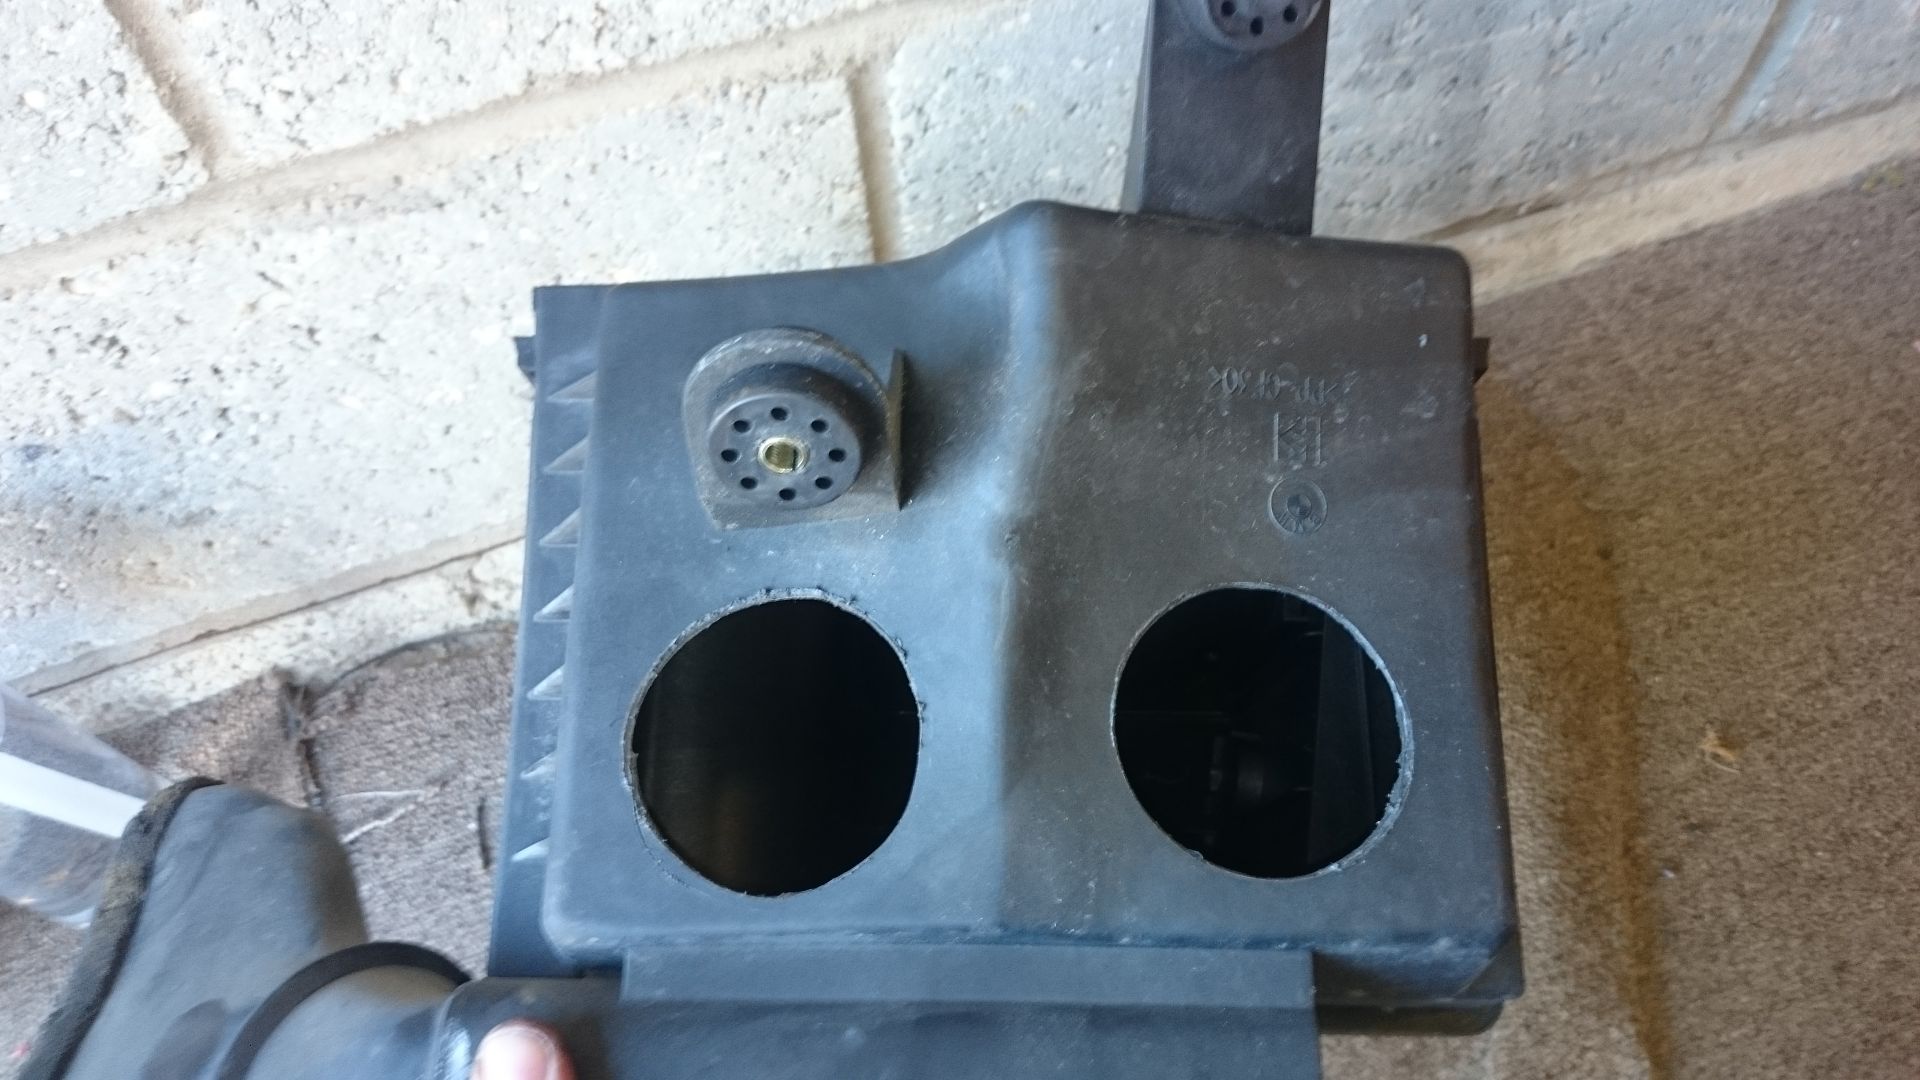
Headlights back in and finished.
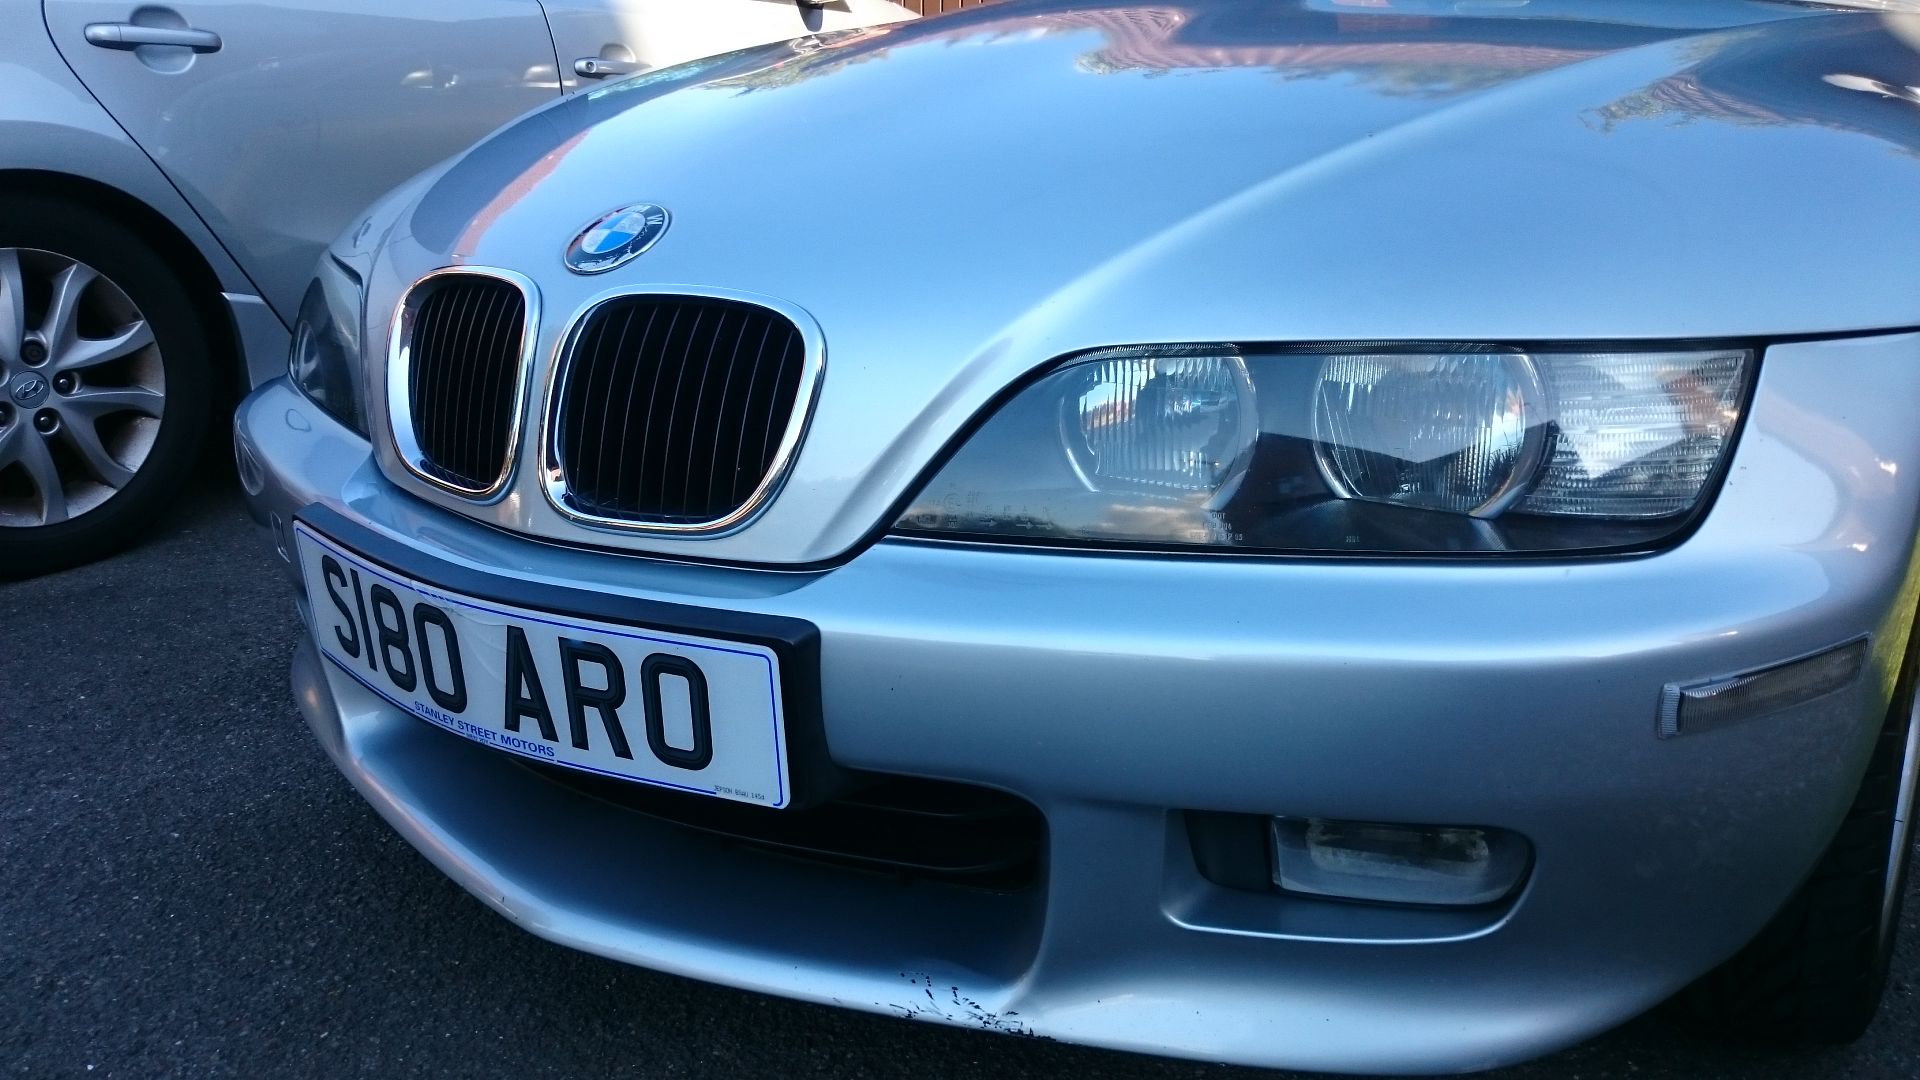
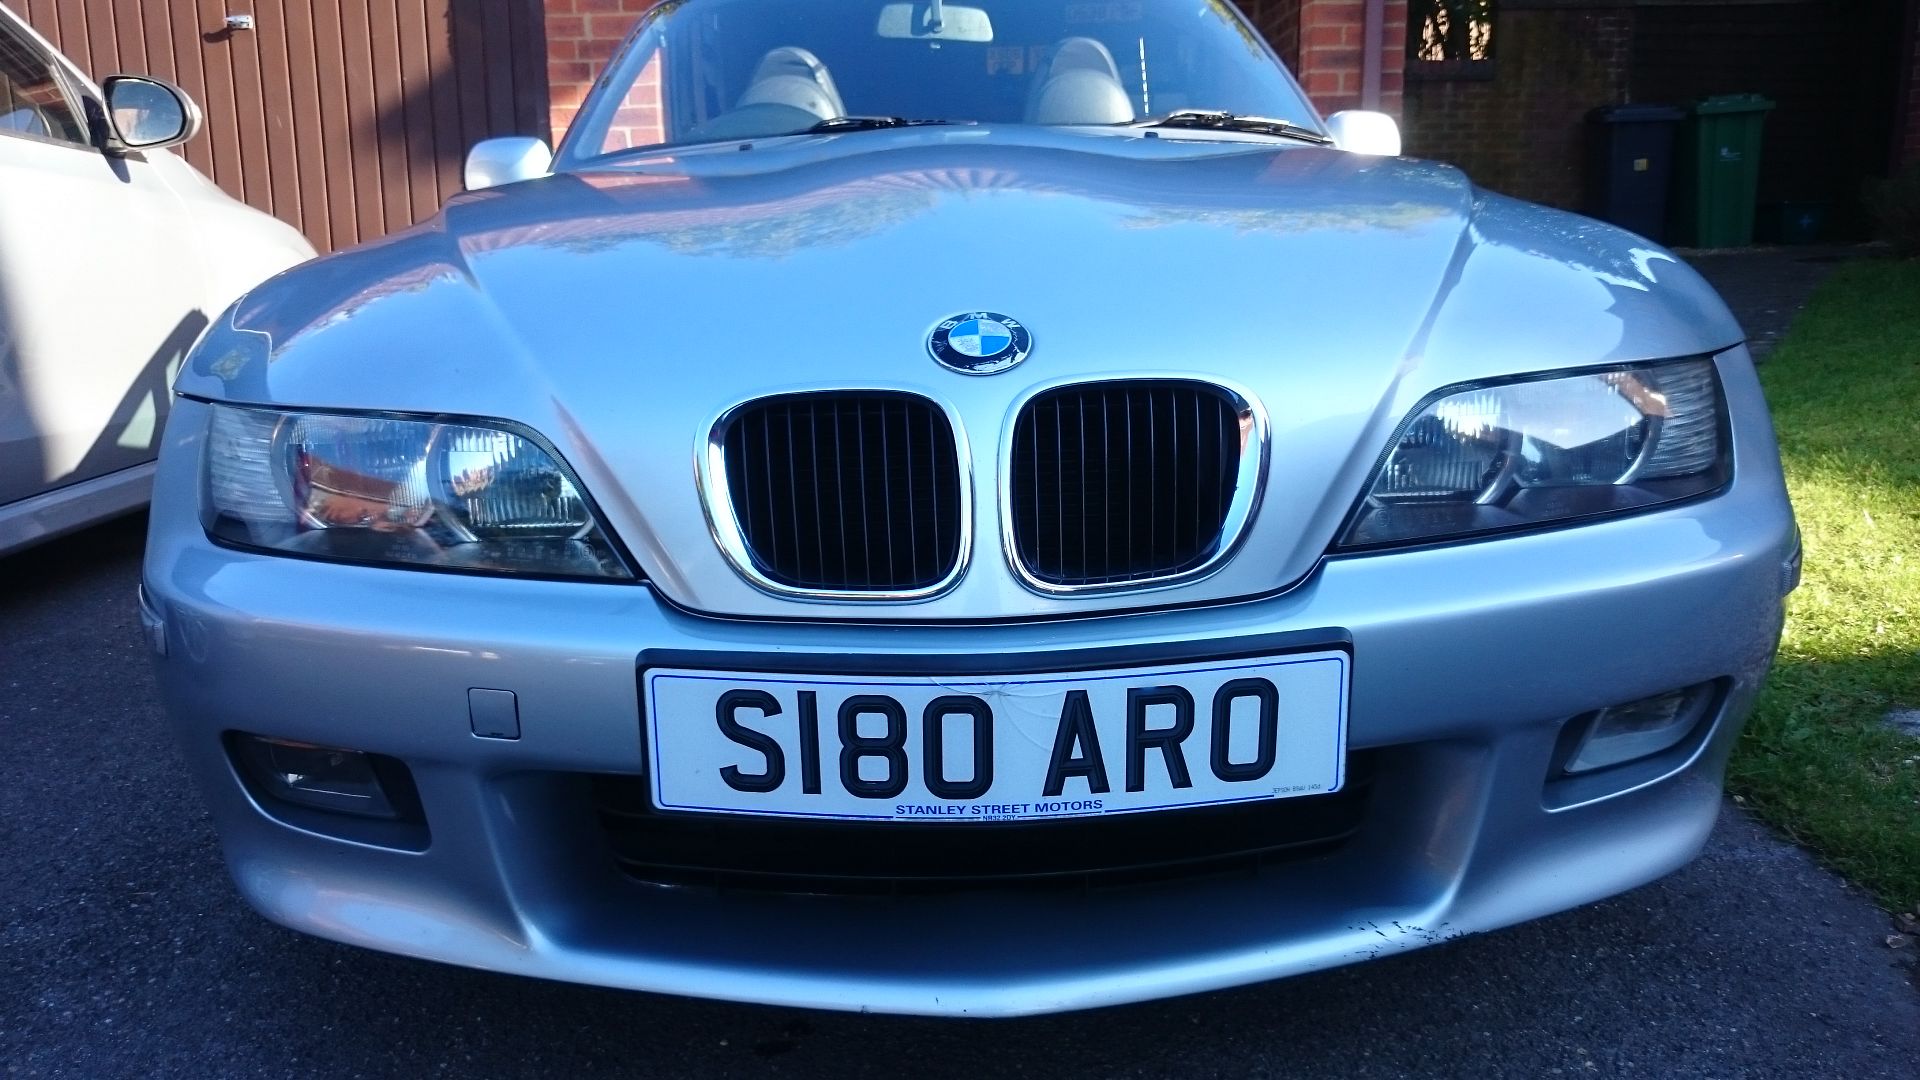 [/URL]
thats all happened in the last couple of months, more mechanical bits to next to try and sharpen it up a bit before the big cosmetic push in the New Year
Thought i'd create a log of what i'm up to with my Z3.
Picked this up, 2.8i pre facelift, artic silver, sports seats, harmon cardon, chrome pack car a few weeks ago and will probaly spend the next year slowly upgrading with tasteful OEM upgrades aong with making it a great car for next summer.
First upgrades were starting to detango the car to hide its age a little
bought off German eBay for £14 and added some Amber LED bulbs for another £3
next updated the number plate lights with some xenon white LEDs
and then some LED festoon bulbs for the map light and boot (White not Xenon White)
Planned to get the seats out to do the bushes as they were gone on the passenger side and nearly gone on the drivers side. (common problem)
Before i did that i whipped the mats out to clean them (they look original)
cleaned in the shower with some fairy liquid. (wife was away for the weekend)
Then moved outside to get the seats out and fix the bushes.
3/8 mini breaker bar and 16mm socket is perfect for this job!
TREASURE!
State of the 83,000 mile bushes
New bushes in, and i'm grateful for the Z3 / BMW community for having these made but my god they are twice as thick as they need to be. the sanding is THE MOST laborious thing i've ever done on a car. End result is great and the rest was a piece of pie!
Whilst the seats were out i hoovered the car out and cleaned all the plastics
urgh!
seats all in and wobble free!!
last little touch / mod before washing
not technically OEM but if the car was made today i'd imagine they would put a badge on. this is an OEM+ project.
then i went to the pub
next step is seat tilt mod (coming from USA) and a hood treatment from renovo.
managed to give the Z another wash and fit my seat lift kit from Thayer Motorsport.
This is the link for the kit :
http://thayermotorsports.com/collections/z3-custom...
This is what you get:
good selection of fixings
Process is easy:
Unbolt rear seat 16mm bolts
Unbolt front 13mm nuts
Lift front of the seat up
Build up like this:
Original Nut
Big Washer
Seat Rail
Big Washer
Small Washer
Threaded insert
Spacer
Small washer
Leaves you with this:
bolt everything back up to FT
Difference in the non-tilted passenger seat.
repeat on the other chair.
This is by far the best thing i've done on the Z after the seat bushes. The seats hug me now and i dont slide around in the car under spirited driving conditions.
So cheap to do aswell.
Few little jobs finished over the weekend.
First of which was to start treating the roof as the previous owner had obviously never done this. roof was a bit green and a bit grey too.
out came the renovo dye, i'd already cleaned the roof a few days earlier.
roof before
one coat and its already looking much better
whilst this dried i cracked on with my new rear lights, quite literally a 5 minute job. one 8mm ratchet spanner is all you need.
had to tweak the bulb holders too as they had gone slightly out of shape over the years.
£50 eBay rear lights
orange LED bulb to eradicate tango (all bulbs will be changed in due course)
then gave the car a wax whilst i waited for the roof to dry
So after fitting the LED bulbs to the rear lights and side repeaters i was presented with hyperflashing as the relay was thrown out of sync with the lower draw from the LEDs.
3 options here;
fit resistors to all the led bulbs to 'trick' the relay or mod the relay itself.
3rd option is to fit an off the shelf LED flasher but that requires running little pigtail wires as noone makes a 7pin relay.
the resistors are easy and cheap but always feel like a bodge. so i decided to mod the relay follwing a guide on bimmerfest.
what you need:
2 x small screwdrivers to open the relay
soldering iron + tiny amount of solder
very small drill bit (dremel etc)
1 x schottkey diode (i got mine from RS 781-5616)
Go find your fuse box and the relay
this is the original 7 pin BMW relay
wedge open the two sides with some very small screwdivers and then the board pops out
here are the guts
the bit that controls the flashing frequency is the 'M'shaped piece of metal (acts as a resistor)
unsolder the 'M'
next the holes need to be enlarged to get the diode through
pass the diode through and solder the pins
snip the tails off
completed. (note the positon of the band on the diode)
clip the relay back into the holder and pop it back in the car
start your car and test
et voila, no more hyperflashing and the ability to run LEDs all over the car
bought a tri-colour stitched wheel off this very forum for great price and fitted it with my exisiting airbag.
really simple process.
Need to disable the alrm first using this keyhole on top of the siren
disconnect battery (10mm socket)
remove lower steering cowl (one philips screw and some clips)
unscrew airbag from behind steering wheel ( 2 x t30 torx)
pop airbag off and disconnect two wires (horn and airbag)
unbolt 16mm center bolt, force needed!
disconnect wires from under the cowl (2 connectors on my single phase bag)
yank wheel off
reverse the whole process
whilst the wheel was off i used the space to replace some blown dash bulbs
sucker needed to pull binnacle out.
BMW handily make note of which bulb goes where! much better
Next was to finally rid the Z of amber.
the process is really simple, 4 x 8mm screws to each light, easily accessed with an extension.
4 connectors and then they pop out.
i removed the airbox and washer bottle to give myself more room (again really simple to remove)
also drilled some holes in my airbox for more noise, no icnrease at idle but a much much better noise at WOT. almost invidible too so looks stock still
Headlights back in and finished.
[/URL]thats all happened in the last couple of months, more mechanical bits to next to try and sharpen it up a bit before the big cosmetic push in the New Year
Edited by 5harp3y on Monday 21st September 15:46
2013BRM said:
Nice, my other half has one and it's a great little car, need to do the seat bushings myself, got a link, and where did you find the headlights?
Seat bushings here: https://zroadster.org/threads/z3-z3m-z3-coupe-seat...
Headlights from the same forum, but they pop up on eBay all the time. Set went for only £38 a few days ago (really cheap)
fezst said:
Really nice, used to own the 2.8 myself. Sounded great standard and even better with an aftermarket exhaust system.
Nice alloys too - how does the car handle? Worn front wishbone bushes and anti-roll bar links are common with these.
Handling isn't up there with my old mx5. It prefers to understeer but can be provoked. Nice alloys too - how does the car handle? Worn front wishbone bushes and anti-roll bar links are common with these.
It's got s
 t tyres at the moment which won't be helping and most of the rubber bushings will be past their best.
 Planning on full suspension / drive train overhaul in the new year
NiceCupOfTea said:
I've never understood the hate for these.
Supposedly:
Z3 handling - woeful
e30 handling - best thing since sliced bread
Same rear end isn't it?
Handles fine for my needs, but I'm not Lewis Hamilton. Supposedly:
Z3 handling - woeful
e30 handling - best thing since sliced bread
Same rear end isn't it?
A few choice upgrades can sharpen them up a treat.
My mx5 was much better handling wise, but it didn't have 190bhp and a 6 pot up front
5harp3y said:
Podie said:
Looking good.
Think I'd add a clear high level brake light to complete the makeover on the lights.
Not my cup of tea, especially against the silver Think I'd add a clear high level brake light to complete the makeover on the lights.
Good thread though - interested to see how it progresses

Here was my 2.8 until i sold it last year . Yours looks like a good example
I thought it was a very good car for the money and compared to a mk1 mx5 i had it was miles ahead in most departments .
imo not everyone is a driving god and a normal joe blogs like me i found the performance and handling perfectly acceptable.
You'll not find a lot of love on it from here as most people without really having owned one really slates it.
i had a remus exhaust on mine and it sounded awesome.
sold mine for £1600 quid, try finding a rot free convertible with near enough 200hp for that
Nice changes, really update the car!
Instead of using the shower to clean the matts, wack them in the washing machine - always come out perfect (if a little creased!)
I agree with the comment about the sliver High Level Brakelight, would modern up the rear.
Instead of using the shower to clean the matts, wack them in the washing machine - always come out perfect (if a little creased!)
I agree with the comment about the sliver High Level Brakelight, would modern up the rear.
Edited by KillerHERTZ on Tuesday 22 September 08:34
Gassing Station | Readers' Cars | Top of Page | What's New | My Stuff