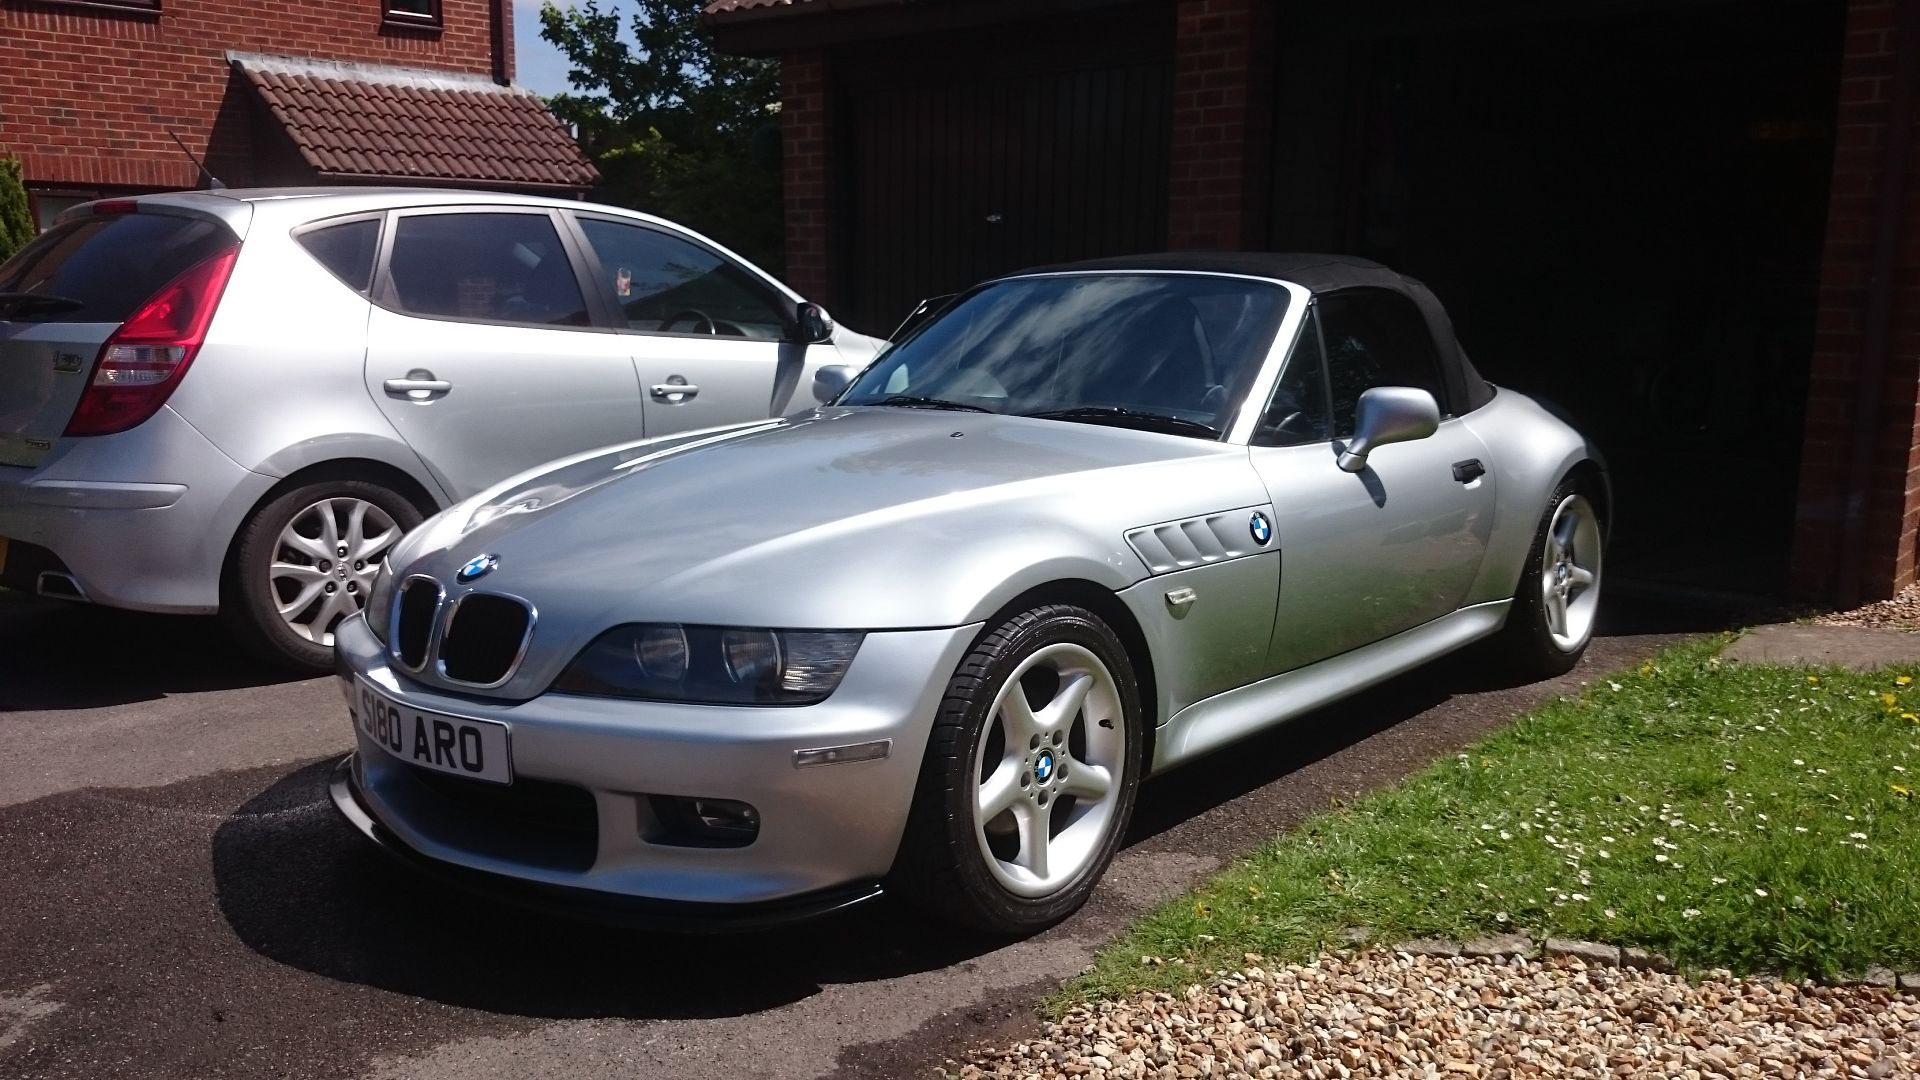
BMW Z3 2.8 - OEM+ long term project
Discussion


Busy weekend as the wife was away on a hen do.
Friday night:
Decided to wrap my centre console in 6D carbon
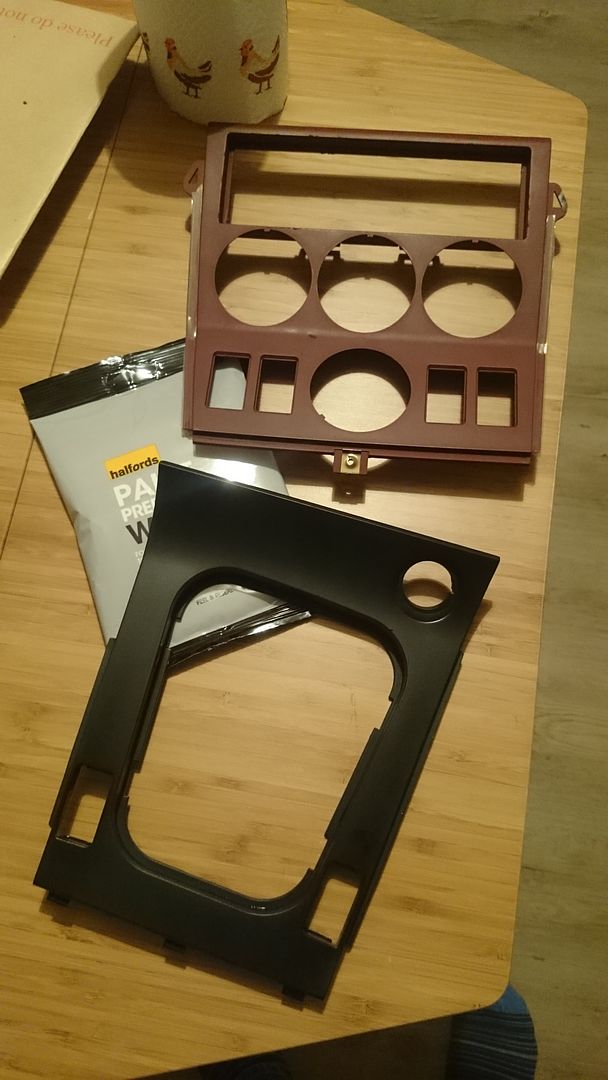
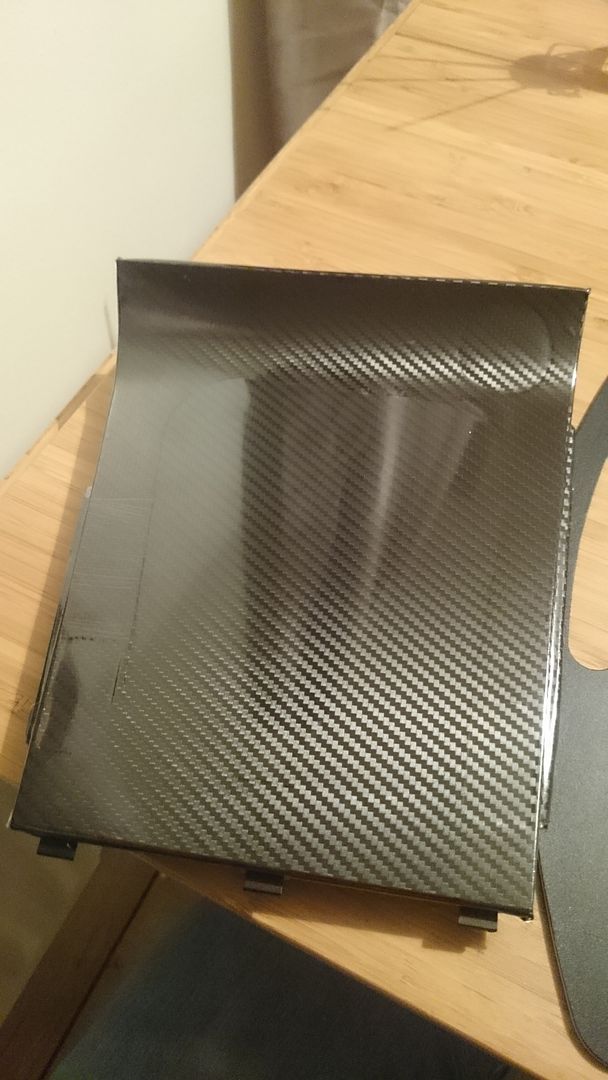
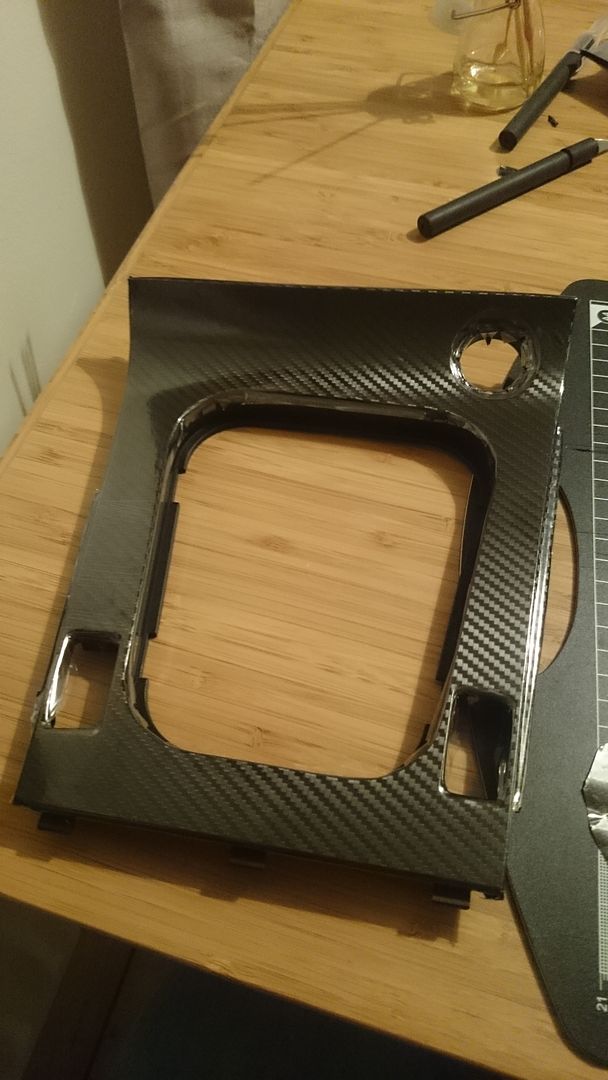
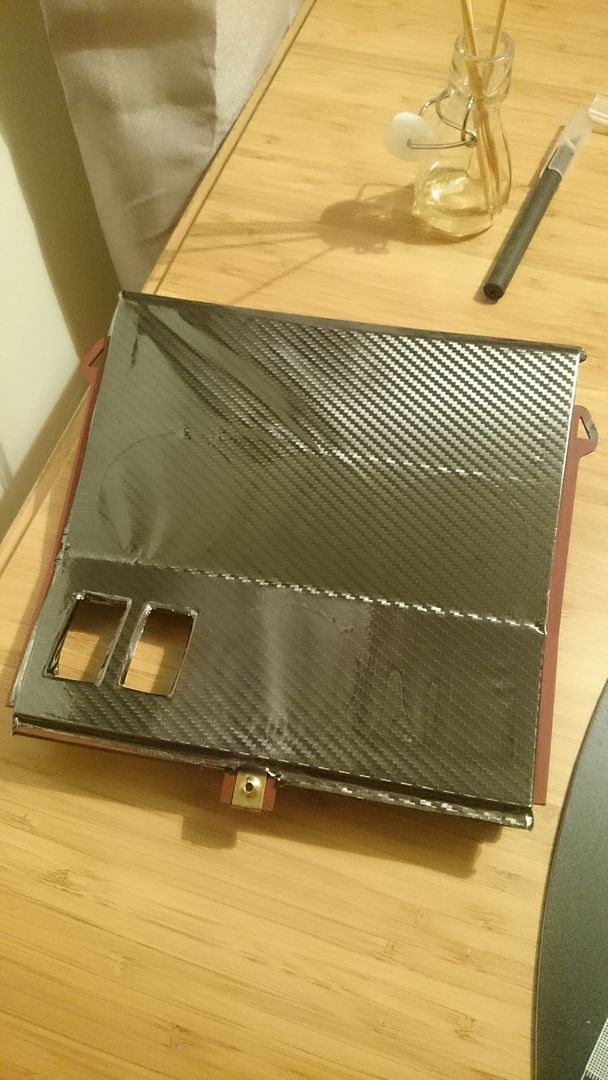
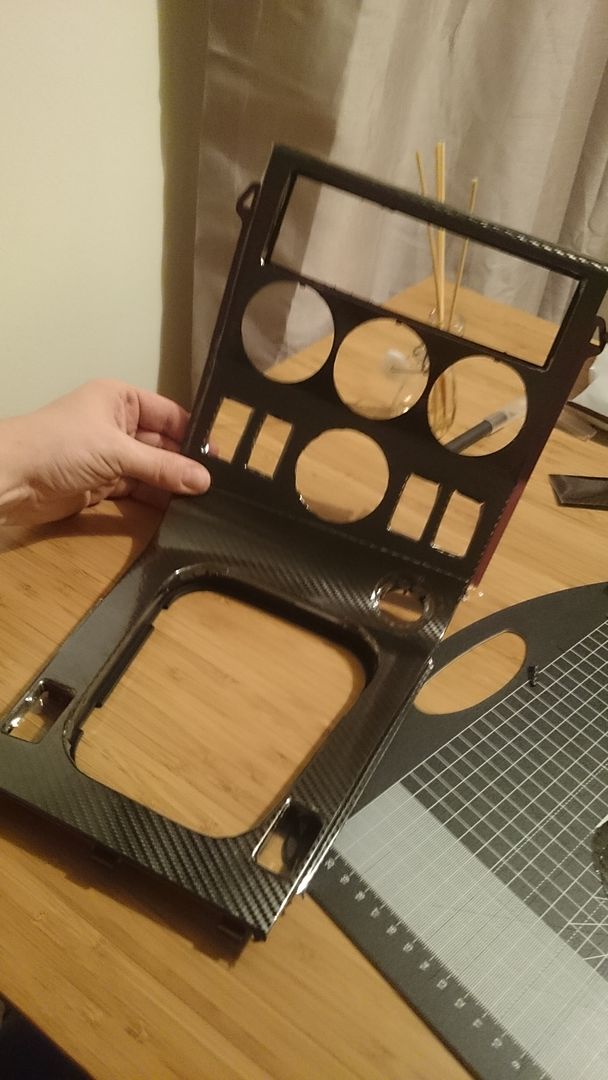
took about two hours and need a fair bit of patience and a very sharp craft knife. im not 100% happy with it but im not sure if its the wrap im not happy with or whether ive spent too long looking at it. might skin it in proper carbon in the summer.
Saturday
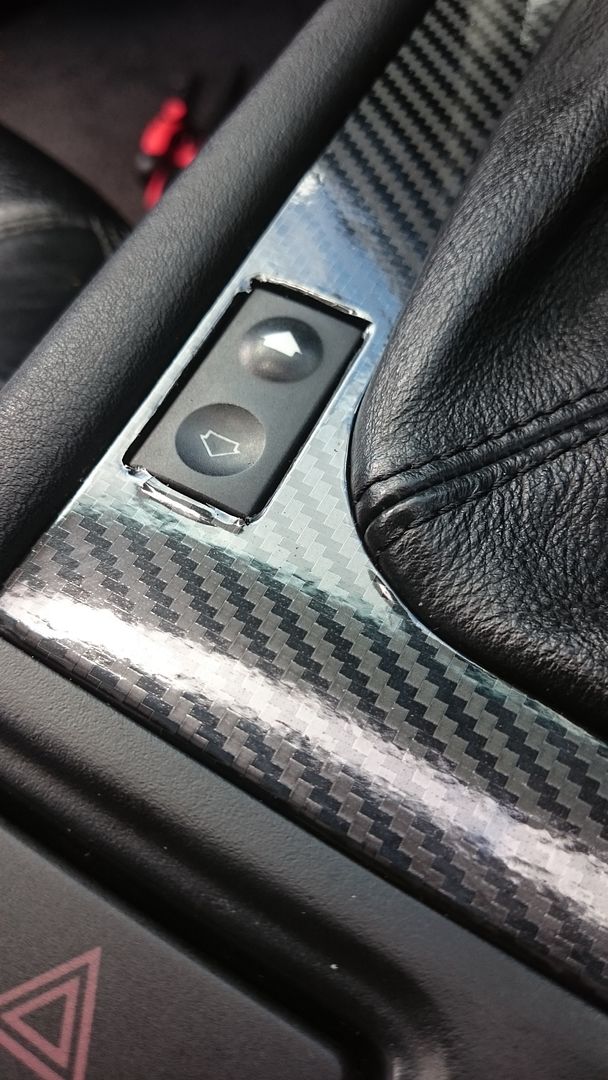
removed the centre console in the car to upgrade it to a new facelift version.
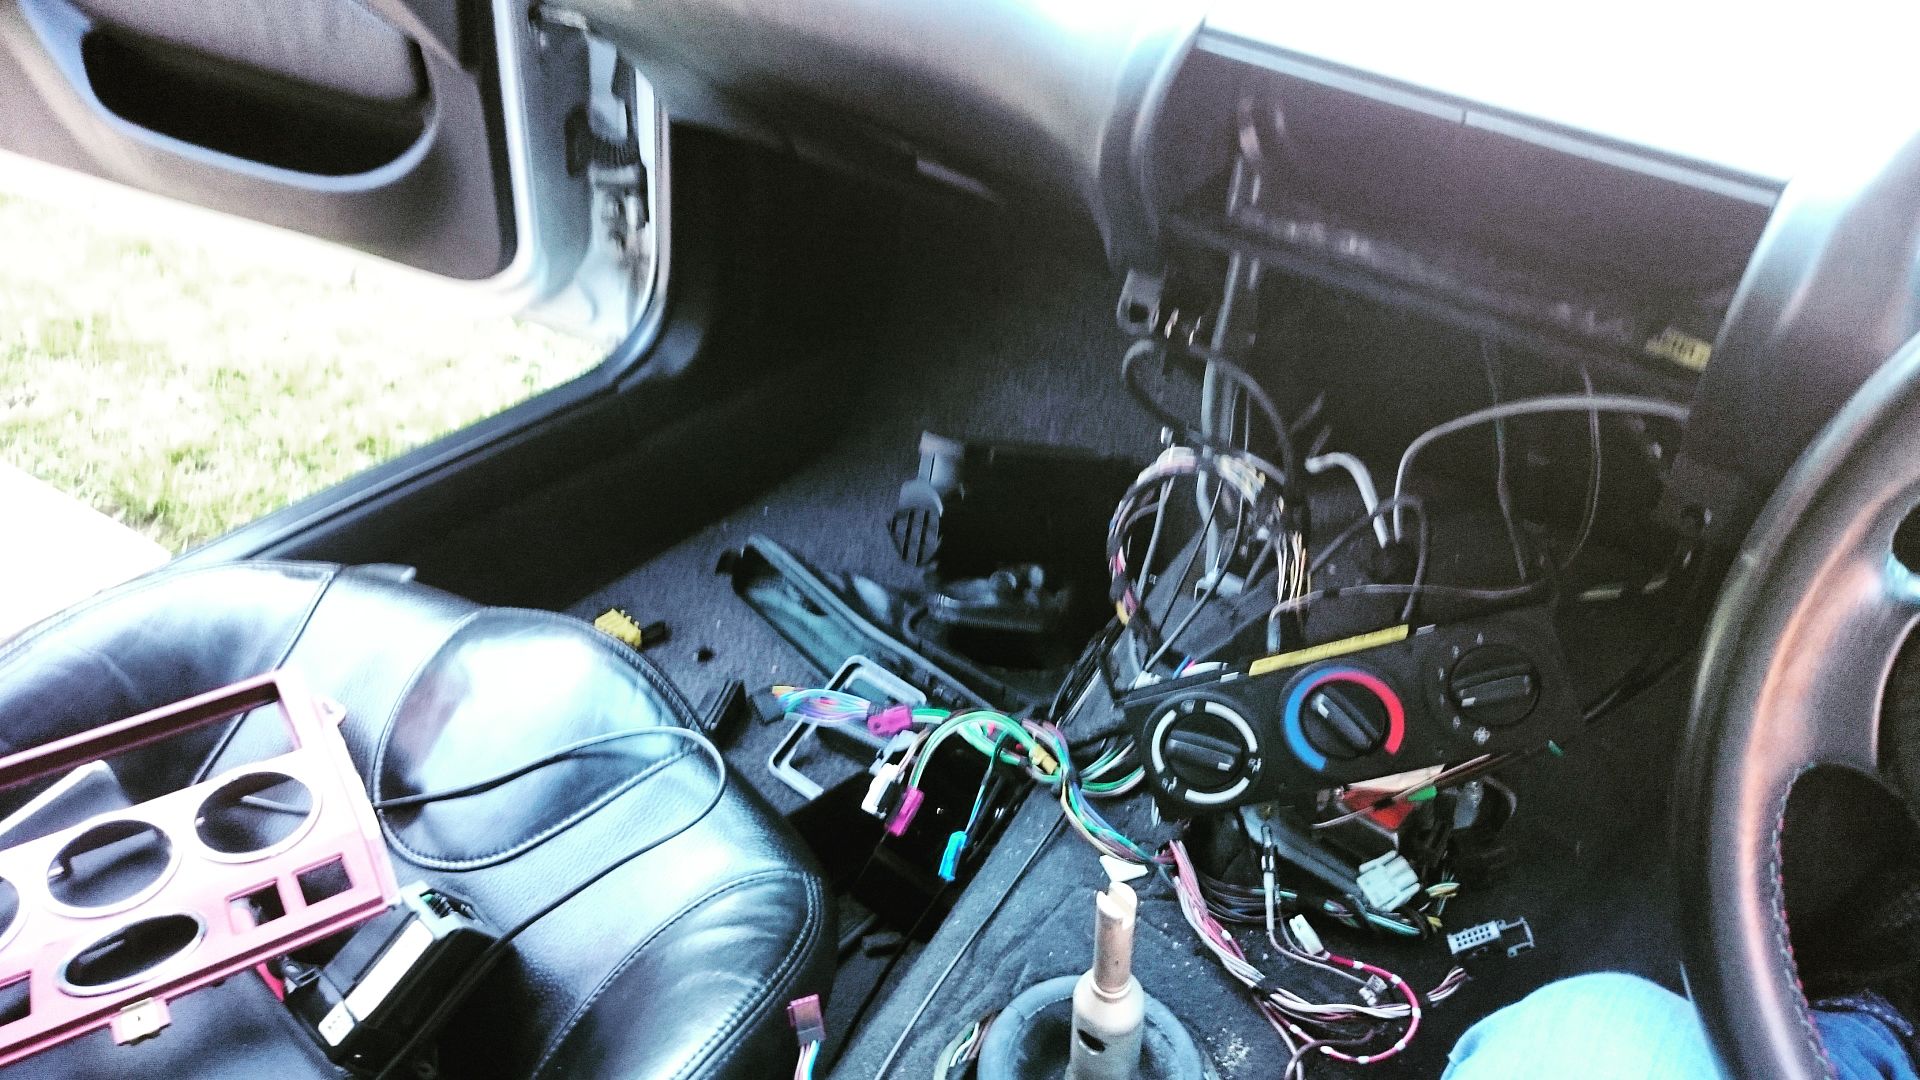
spaghetti!
was absoltuely filthy so i hoovered up the years of biscuit crumbs!
fitted everything back in


notes from doing this.
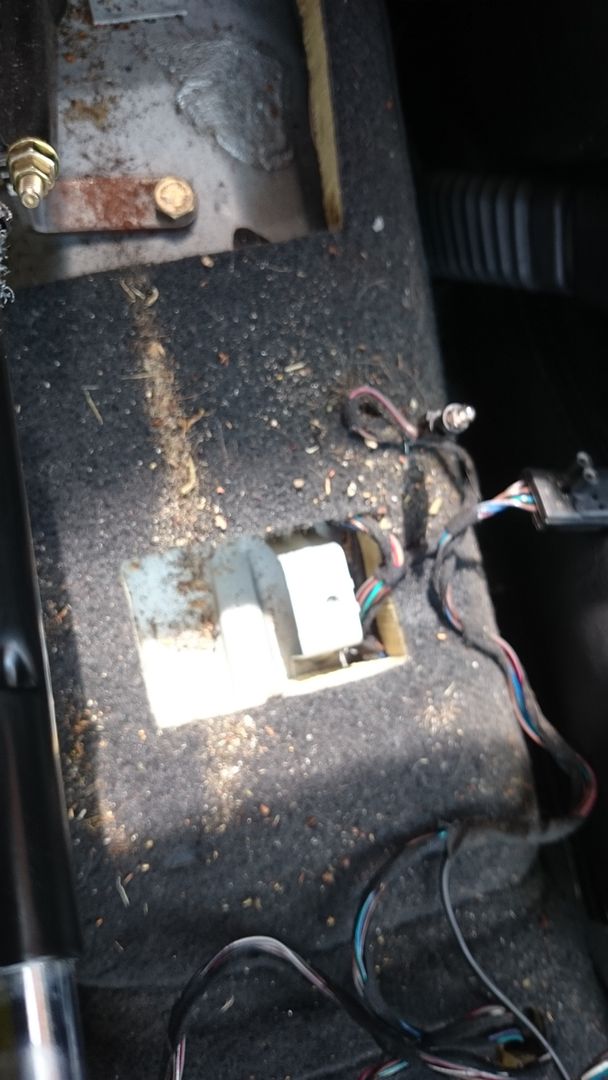
All the wiring is a straight swap (even the OBC) apart from the ASC / DSC
prefacelift switches dont fit in facelift spaces and vice versa
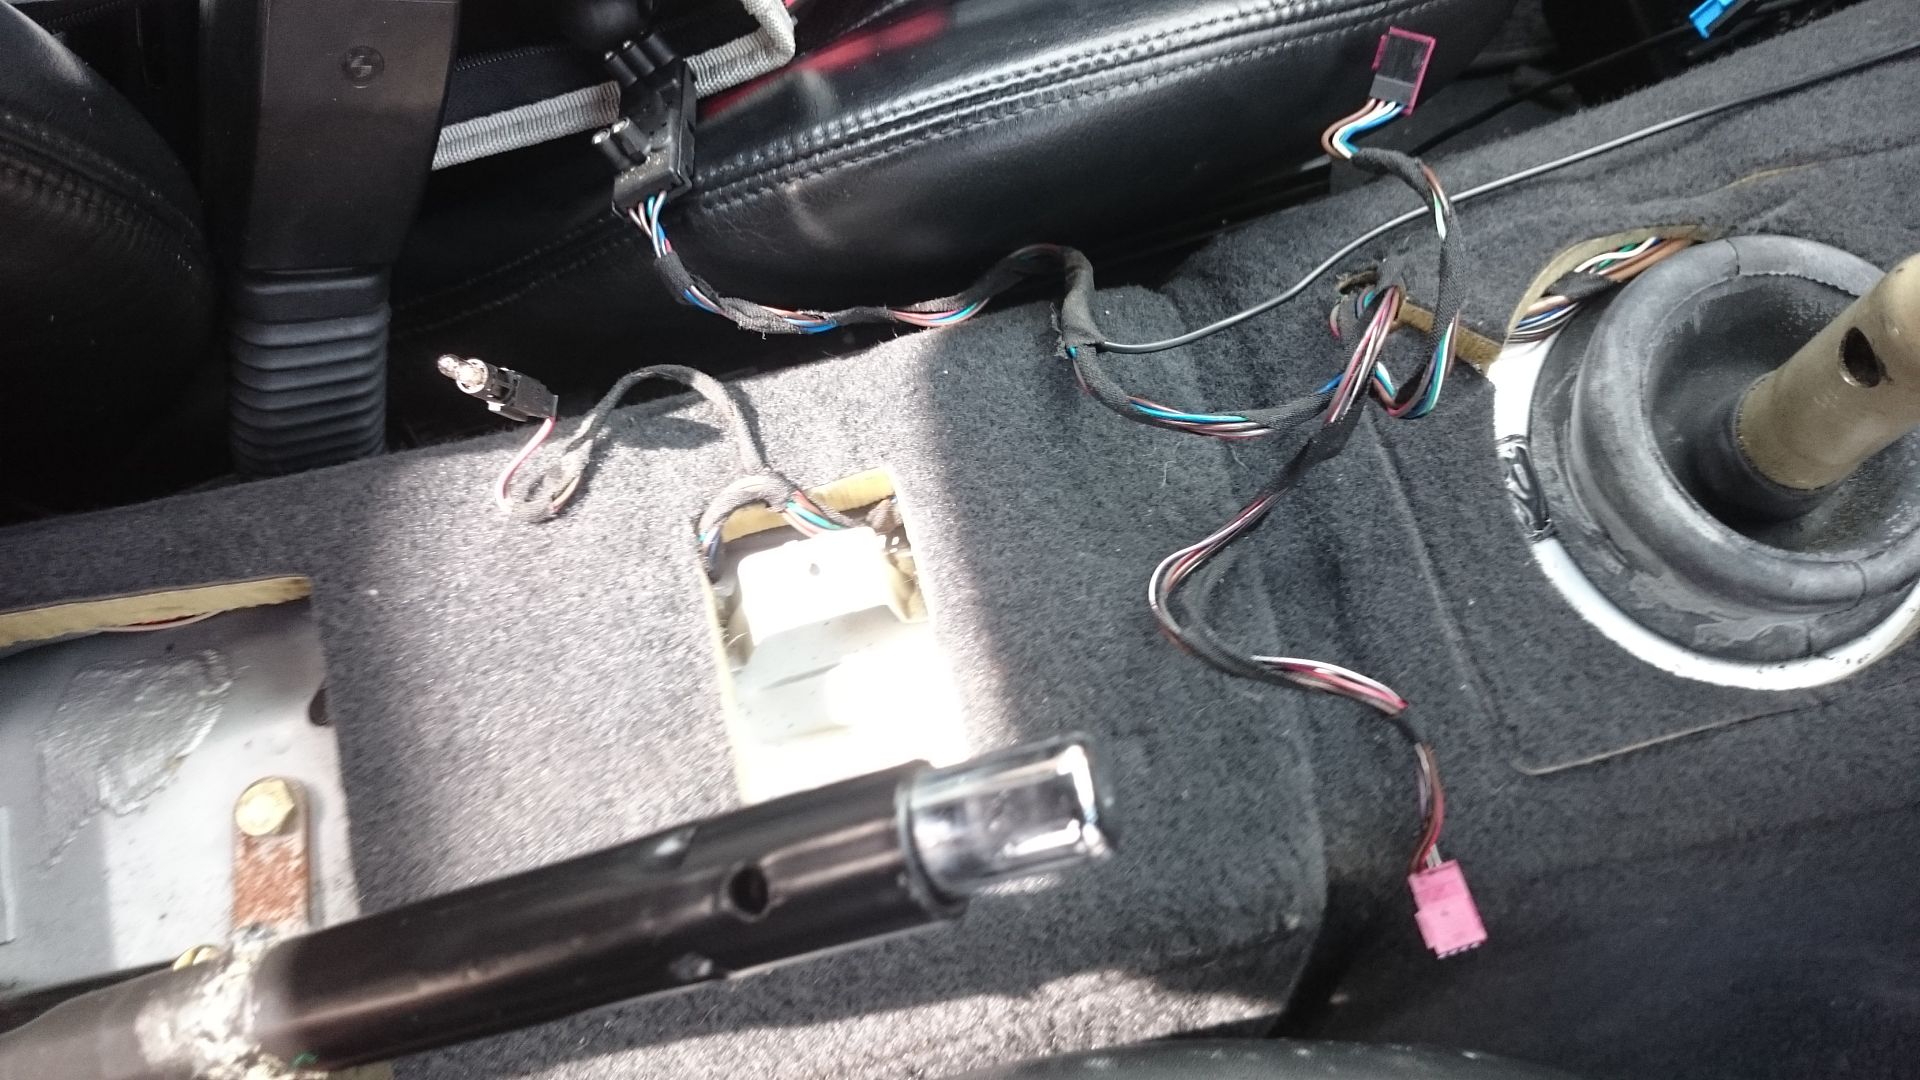
all the wiring for illuminated gearknobs etc are there next to the airbag module.
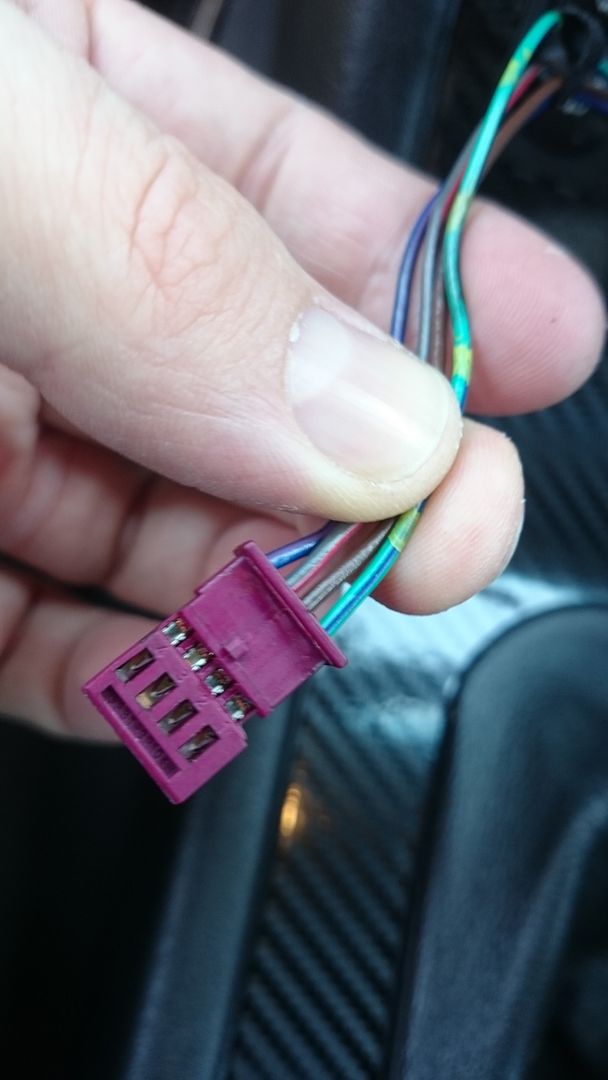
the wiring for the DSC button was easily overcome as all the connectors are AMP Tyco connectors so the piuns are all the same. Take the pins out of the early connector and pop them into the facelift connector, et voila!
i then fitted a e36 dimming rear view mirror as i hate manual ones and these are dead easy to wire in.
they fit on the sam windscreen mount as the Z3 and just need power and ground to work, i took a permanent live from the dome light and an earth from the same place. you can also wire them into the rear lights so that it resets when reversing but i couldnt be bothered with that.

Sunday morning:
Few little jobs
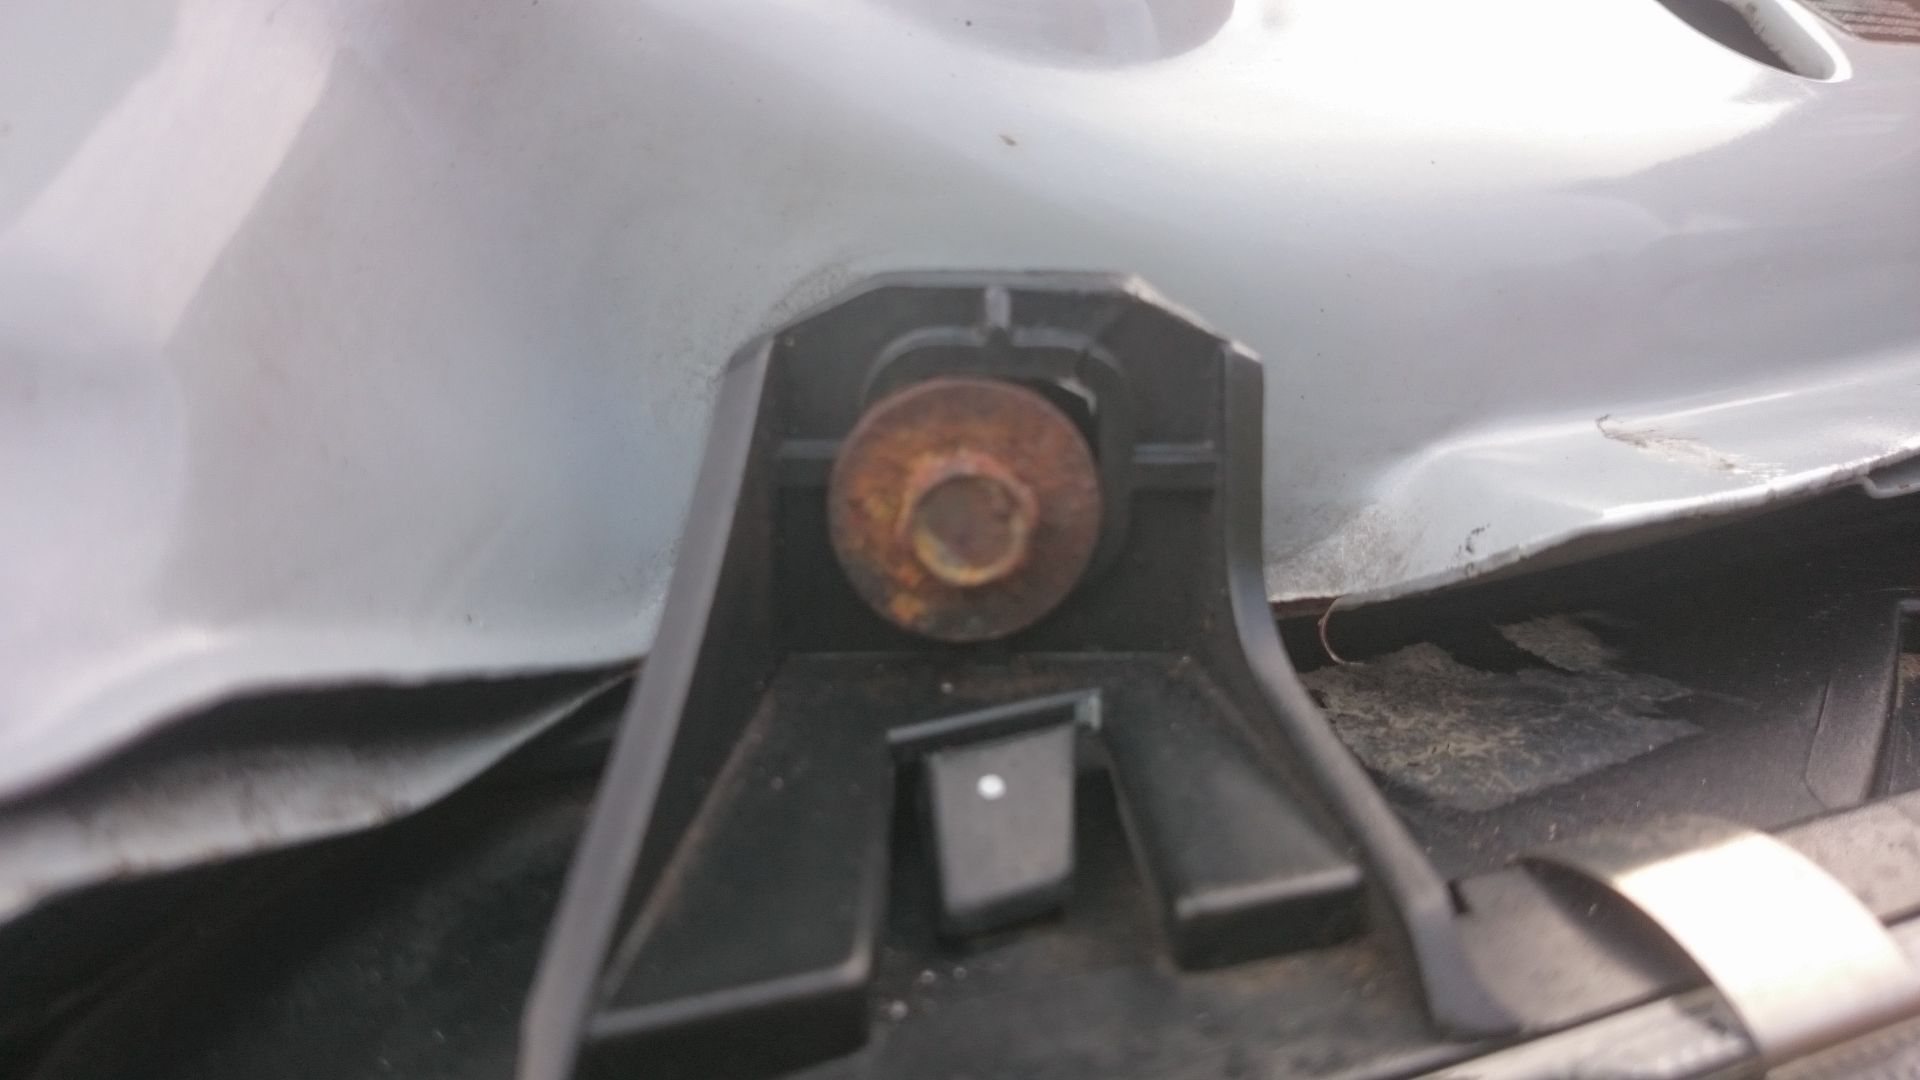
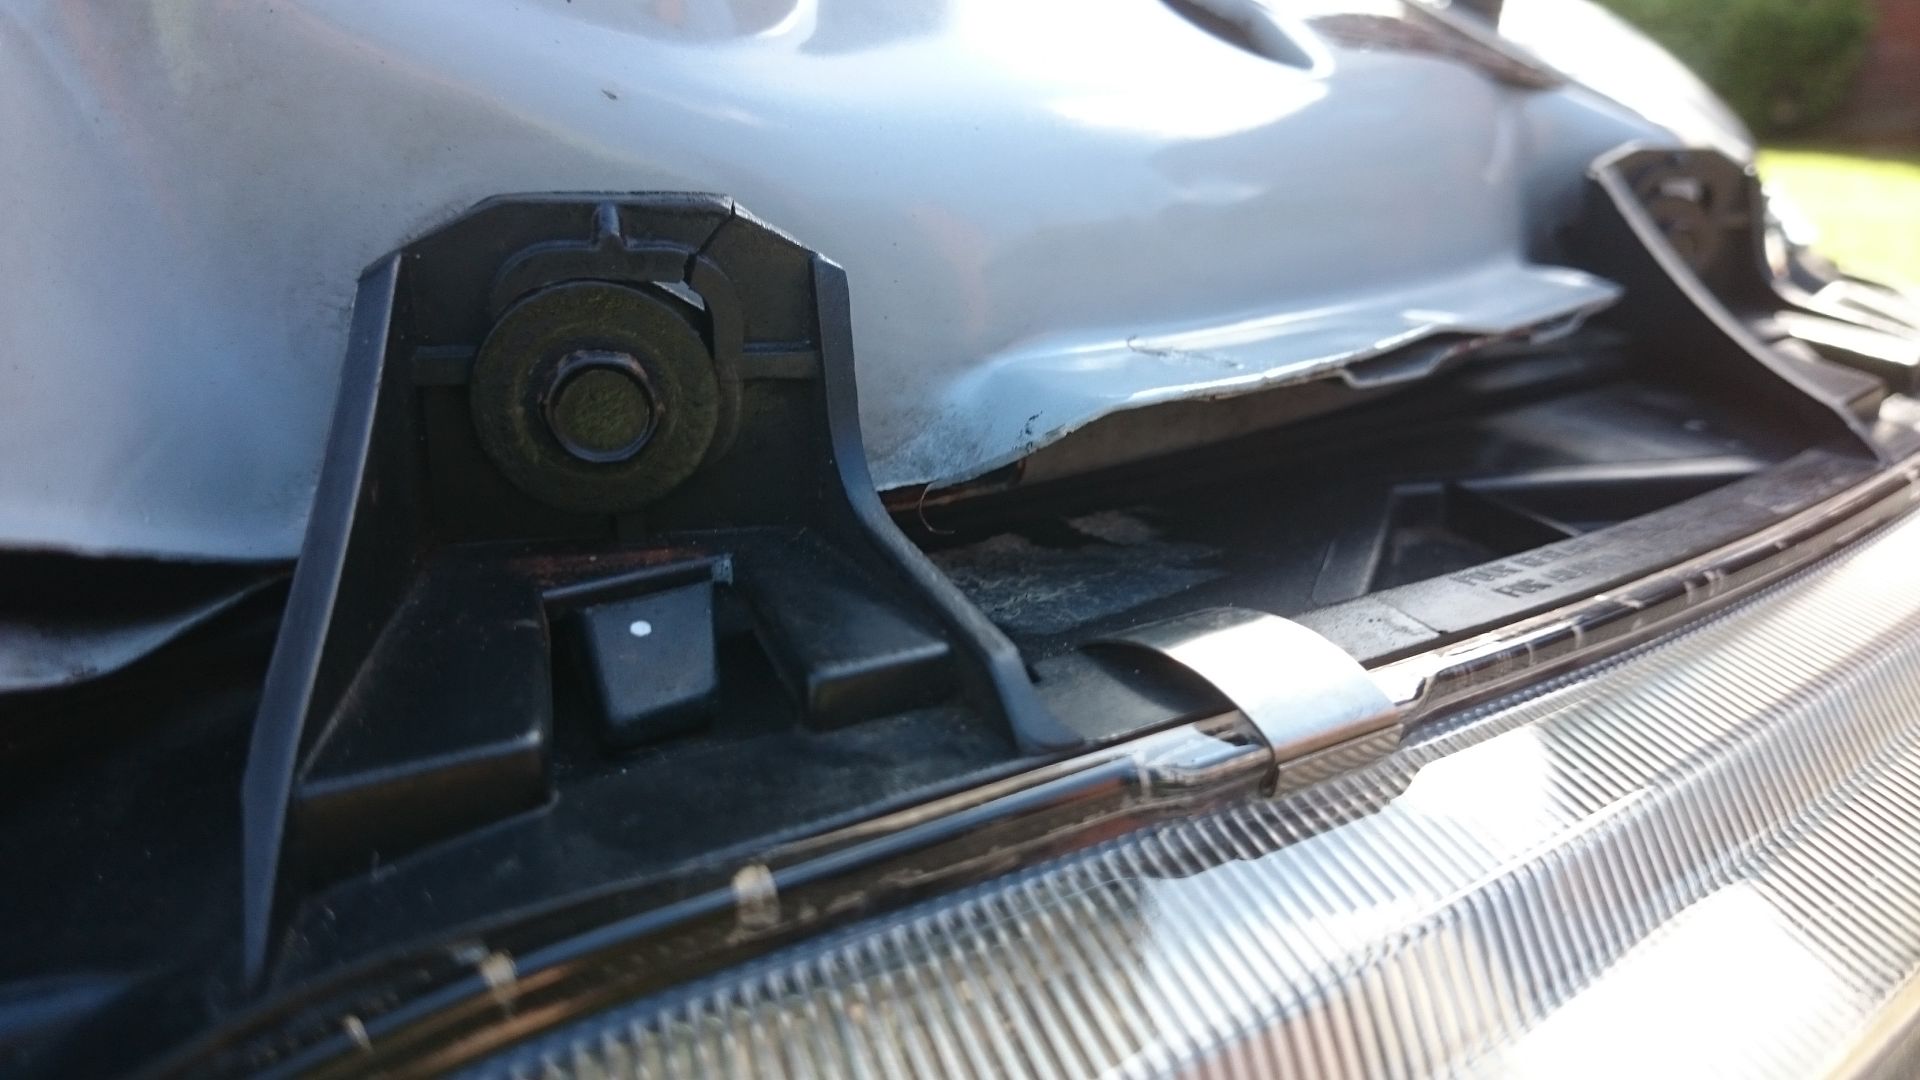
painted the headlight bolts as they were rusted
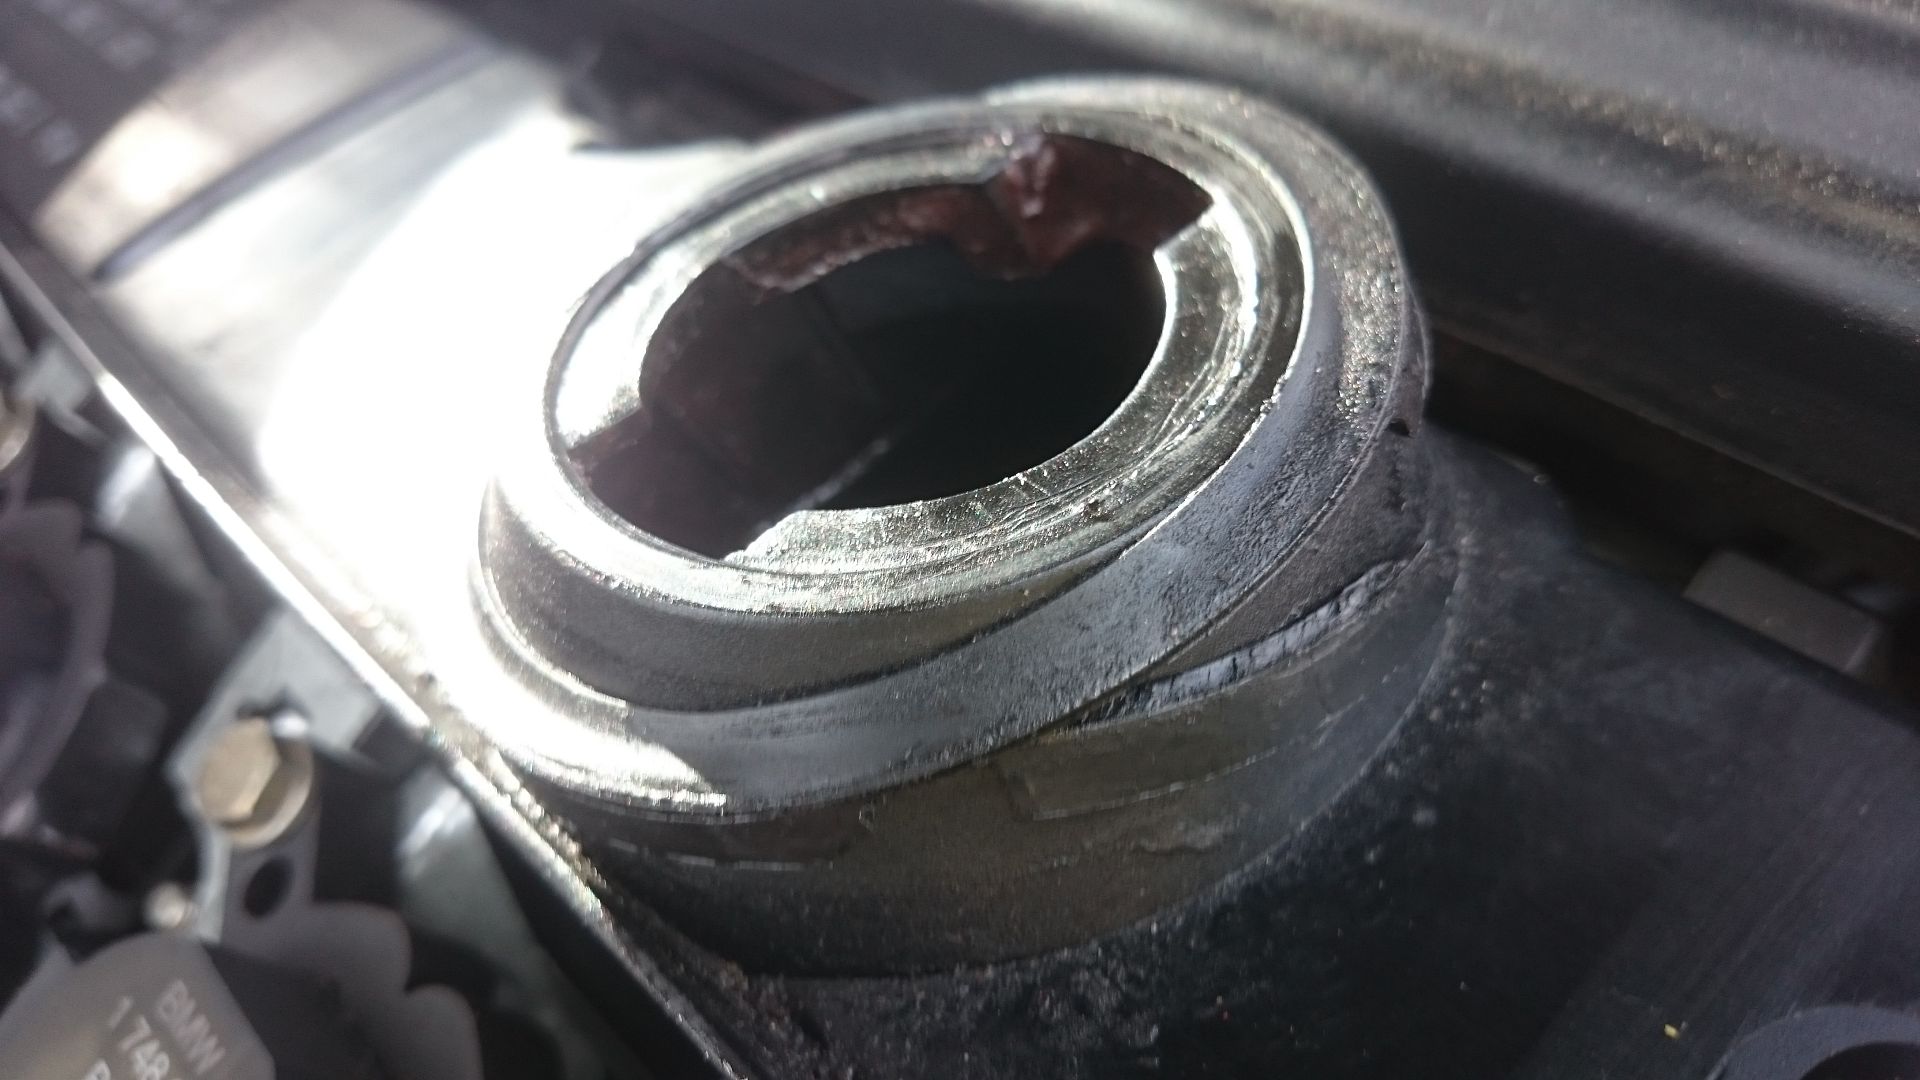
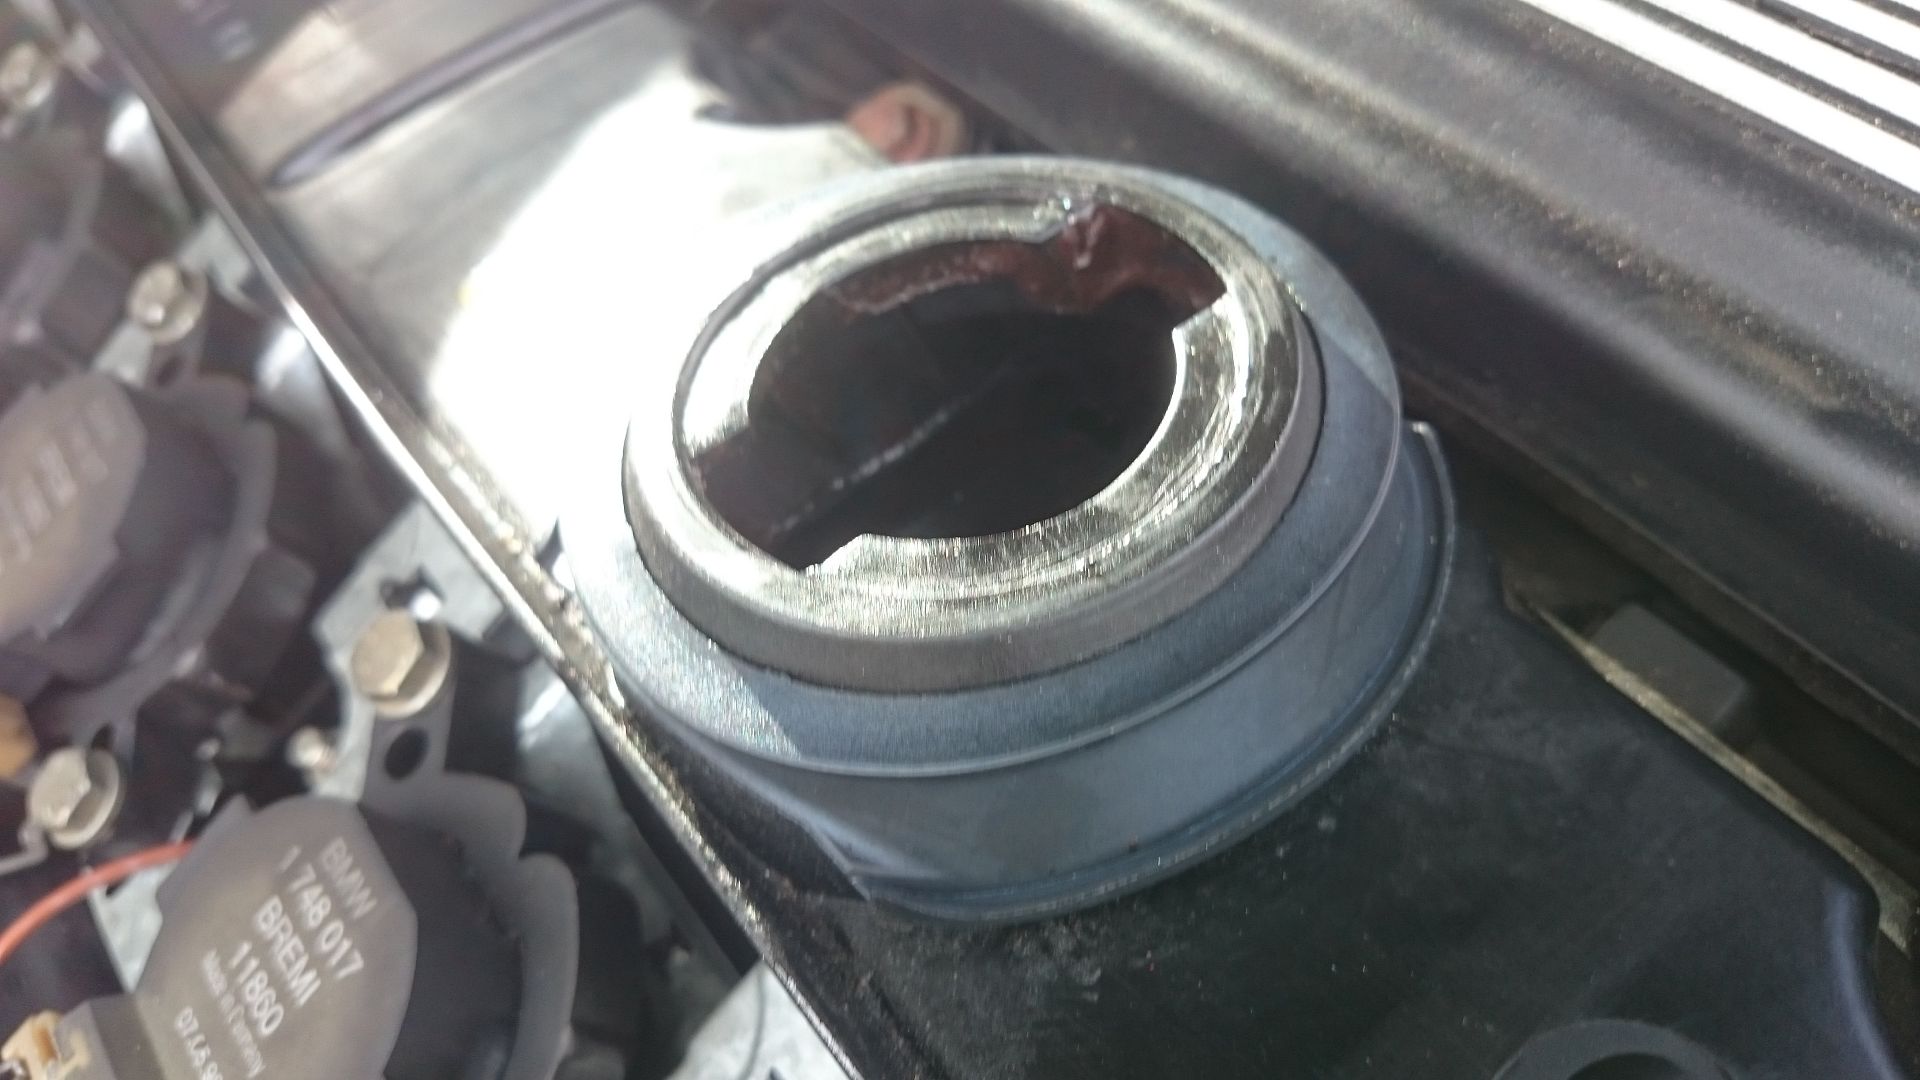
replaced the oil cap seal as mine was crumbling
then went for a drive to Southampton to see the mighty saints destroy man city.
car goes into the paint shop tomorrow to have the bonnet painted
Friday night:
Decided to wrap my centre console in 6D carbon


took about two hours and need a fair bit of patience and a very sharp craft knife. im not 100% happy with it but im not sure if its the wrap im not happy with or whether ive spent too long looking at it. might skin it in proper carbon in the summer.
Saturday
removed the centre console in the car to upgrade it to a new facelift version.

spaghetti!
was absoltuely filthy so i hoovered up the years of biscuit crumbs!


fitted everything back in


notes from doing this.
All the wiring is a straight swap (even the OBC) apart from the ASC / DSC
prefacelift switches dont fit in facelift spaces and vice versa
all the wiring for illuminated gearknobs etc are there next to the airbag module.
the wiring for the DSC button was easily overcome as all the connectors are AMP Tyco connectors so the piuns are all the same. Take the pins out of the early connector and pop them into the facelift connector, et voila!

i then fitted a e36 dimming rear view mirror as i hate manual ones and these are dead easy to wire in.
they fit on the sam windscreen mount as the Z3 and just need power and ground to work, i took a permanent live from the dome light and an earth from the same place. you can also wire them into the rear lights so that it resets when reversing but i couldnt be bothered with that.
Sunday morning:
Few little jobs
painted the headlight bolts as they were rusted


replaced the oil cap seal as mine was crumbling


then went for a drive to Southampton to see the mighty saints destroy man city.

car goes into the paint shop tomorrow to have the bonnet painted
KillerHERTZ said:
Nice updates been following this thread for a while.
Bit of feedback, dont take this the wrong way but the finish on that dash wrap looks awful, bubbles/creases around all the bends and the switches.
Needs re-doing IMO
Thanks for the feedback, awful it isnt, but bad it is. like i said at the top of the post im really not happy with it. Bit of feedback, dont take this the wrong way but the finish on that dash wrap looks awful, bubbles/creases around all the bends and the switches.
Needs re-doing IMO
im speaking to a guy at the moment about having it professionally carbon skinned. ive got enough carbon to redo it but might be worth cutting the losses and getting it done properly.
KillerHERTZ said:
Wrap is so cheap id keep having a go at it myself.
Ive been there myself, get yourself decent hairdrier and take your time. Its easy(ish) after a couple of attempts
thanks for the advice, i'm gonna to see what this guy comes back to with prices. ive also heard really good things about the 3M Dinoc stuff which might produce better results. Ive been there myself, get yourself decent hairdrier and take your time. Its easy(ish) after a couple of attempts
pstruck said:
The spring sun is shining, temperatures are improving and I'm thinking a bit of open top motoring could be on the cards. One of these could fit the bill nicely. What would you say are the main points to look out for when viewing/test driving these?
Hi can only comment on the 2.8but the engine and gearbox are relatively bulletproof but check for a really notchy gearchange when cold, they can also have quite a bit of slack in the drivetrain and rubber bushes start to become problamatic at 70,000 miles.
they are tough on shocks and springs, snapped springs are not uncommon but MOT should pick those up very easily.
rust on the panels is common but they all bolt off and the chassis is galvanised so no issues there.
rear windows go cloudy and brittle but they are cheap and easy to fix. (£70)
they are not the most dynamic drive when compared to an mx5 etc but they are plenty fun and much much faster in a straight line.

Did you have the hairdryer out while wrapping?
From what I remember (I last did twenty odd years ago!) you need to get it warm, especially when pulling in through switch holes and such. Those square-cornered holes, don't cut the film right into the corner, pull/push it through as much as possible, to get a better finish. The film will conform while warm, don't get it too hot (definitely hairdryer, not heatgun!) and you're good to go
My advise is offered from the depths of my misspent youth, not sure how the films have changed? IIRC "Fast Car" magazine gave away a free A4 of fake carbon film, and I bought loads of issues the following month from a market stall for 30p an issue. I had a MK2 XR2 at the time, and I did all kinds of little bits, switch surrounds, door pulls, head unit surround etc
Might grab some and have a go on the RX8...
If you want to get the carbon done properly, have a word with these guys:
http://demo.carbonized-bg.com/products-page/bmw-mo...
They have a great reputation, and use real carbon. I am sure they could do a Z3.
http://demo.carbonized-bg.com/products-page/bmw-mo...
They have a great reputation, and use real carbon. I am sure they could do a Z3.
ethomas said:
If you want to get the carbon done properly, have a word with these guys:
http://demo.carbonized-bg.com/products-page/bmw-mo...
They have a great reputation, and use real carbon. I am sure they could do a Z3.
Great link thank you! http://demo.carbonized-bg.com/products-page/bmw-mo...
They have a great reputation, and use real carbon. I am sure they could do a Z3.
vx220 said:
Did you have the hairdryer out while wrapping?
From what I remember (I last did twenty odd years ago!) you need to get it warm, especially when pulling in through switch holes and such. Those square-cornered holes, don't cut the film right into the corner, pull/push it through as much as possible, to get a better finish. The film will conform while warm, don't get it too hot (definitely hairdryer, not heatgun!) and you're good to go
My advise is offered from the depths of my misspent youth, not sure how the films have changed? IIRC "Fast Car" magazine gave away a free A4 of fake carbon film, and I bought loads of issues the following month from a market stall for 30p an issue. I had a MK2 XR2 at the time, and I did all kinds of little bits, switch surrounds, door pulls, head unit surround etc
Might grab some and have a go on the RX8...
yeah used a hairdryer, the problem with the holes is that the parts thatg go in them are super tight anyway so not much clearance. the more i look at it im tempted to go real carbon From what I remember (I last did twenty odd years ago!) you need to get it warm, especially when pulling in through switch holes and such. Those square-cornered holes, don't cut the film right into the corner, pull/push it through as much as possible, to get a better finish. The film will conform while warm, don't get it too hot (definitely hairdryer, not heatgun!) and you're good to go
My advise is offered from the depths of my misspent youth, not sure how the films have changed? IIRC "Fast Car" magazine gave away a free A4 of fake carbon film, and I bought loads of issues the following month from a market stall for 30p an issue. I had a MK2 XR2 at the time, and I did all kinds of little bits, switch surrounds, door pulls, head unit surround etc
Might grab some and have a go on the RX8...
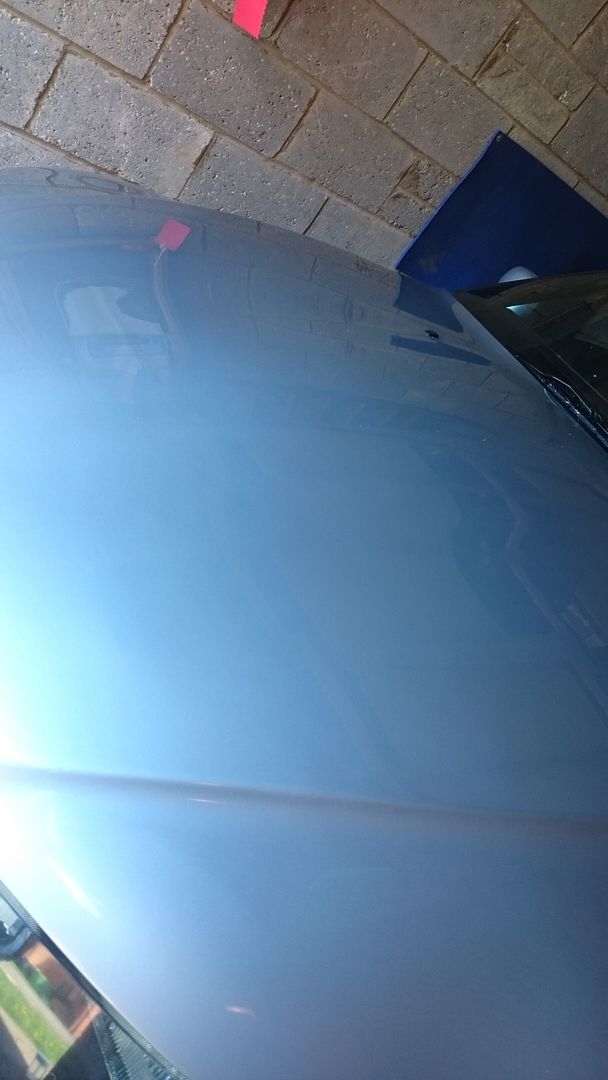
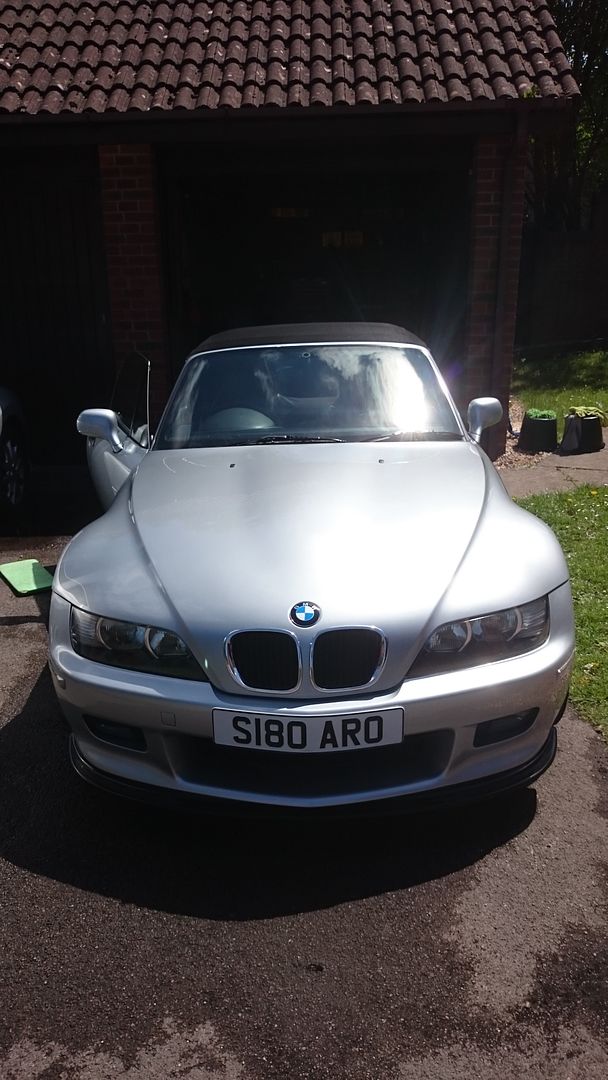
Big update and something i've wanted to do for ages.
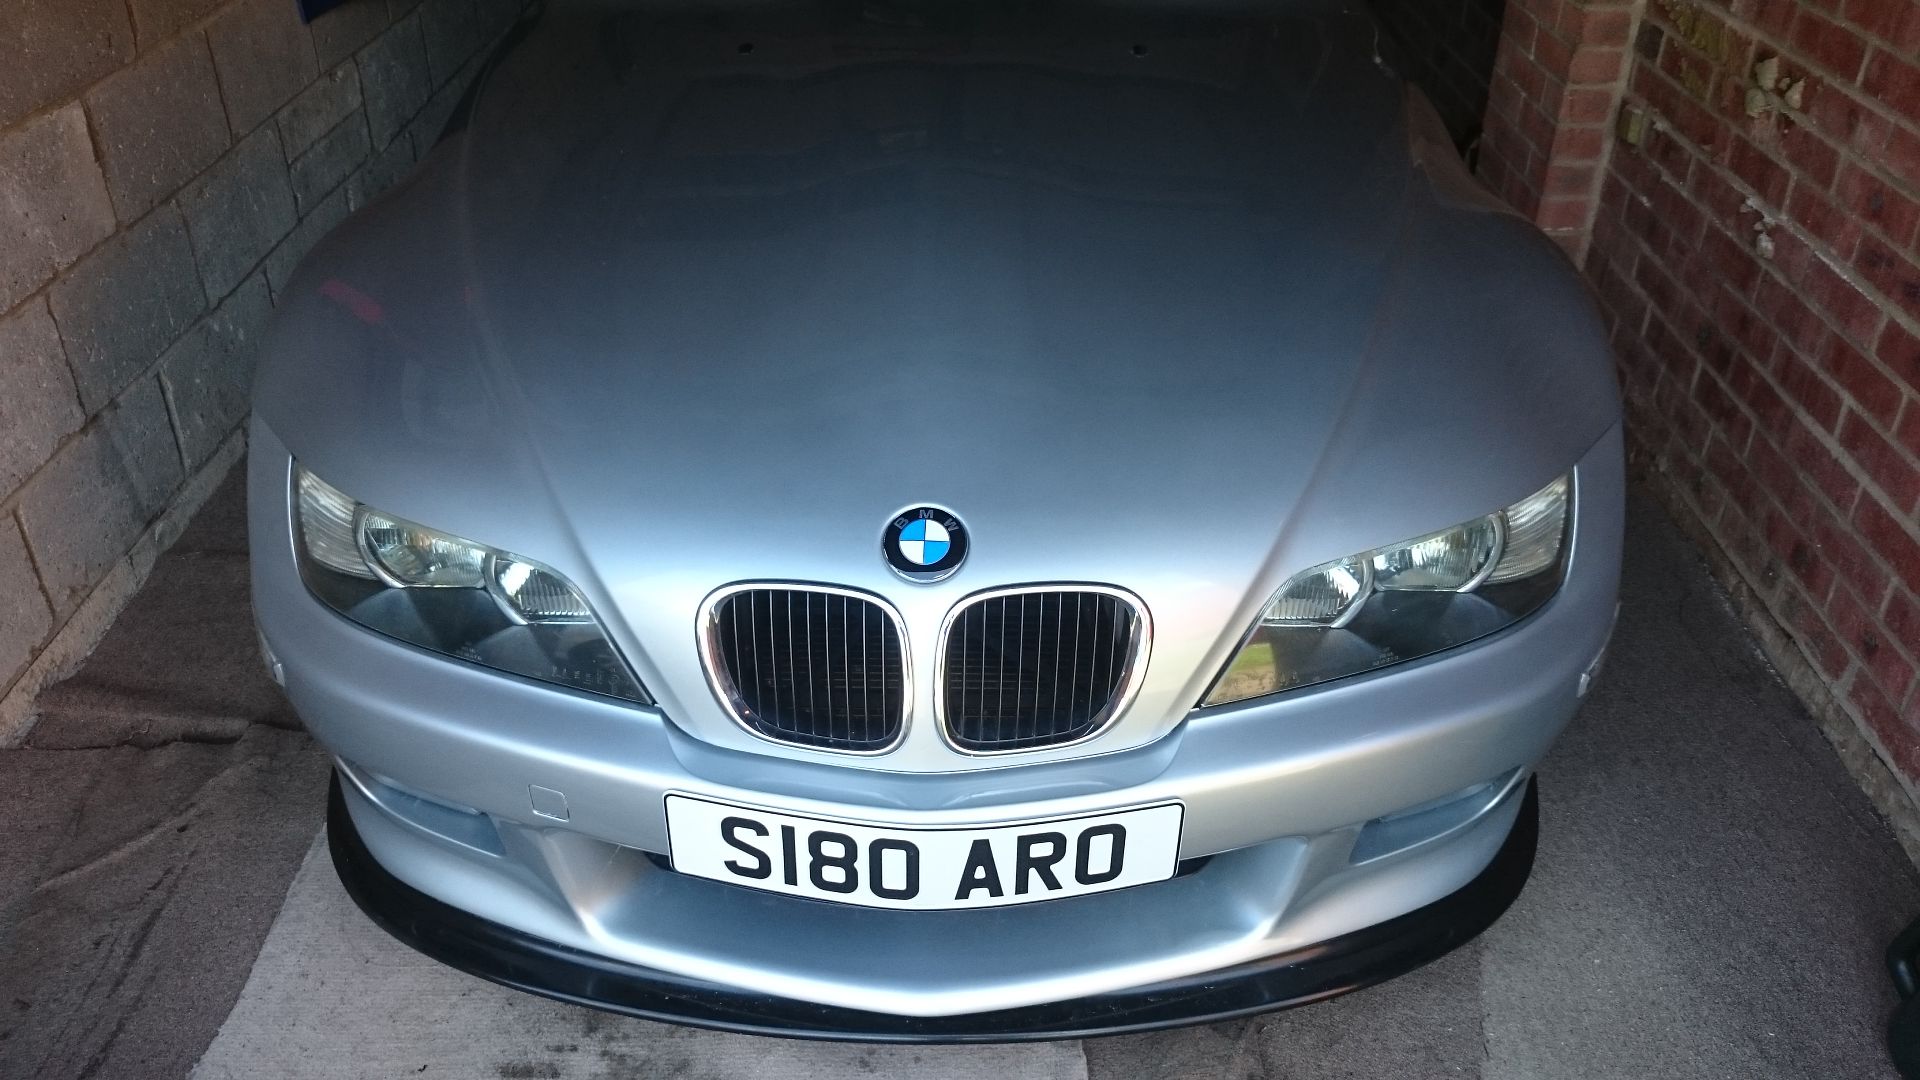
The paintwork on the bonnet car was shocking when i got it and the reason i got the car so cheap.
So i finally bit the bullet and had it painted along with the front bumper. I'm much happier with the paint now but still not 100% so ill be going back to the bidyshop for some snagging (i am fussy) i didnt pay top dollar to get it done as its a stopgap before having the whole car potentially painted in the winter.
Lacquer still needs to settle and then i'll crack on polishing and waxing in a couple of months
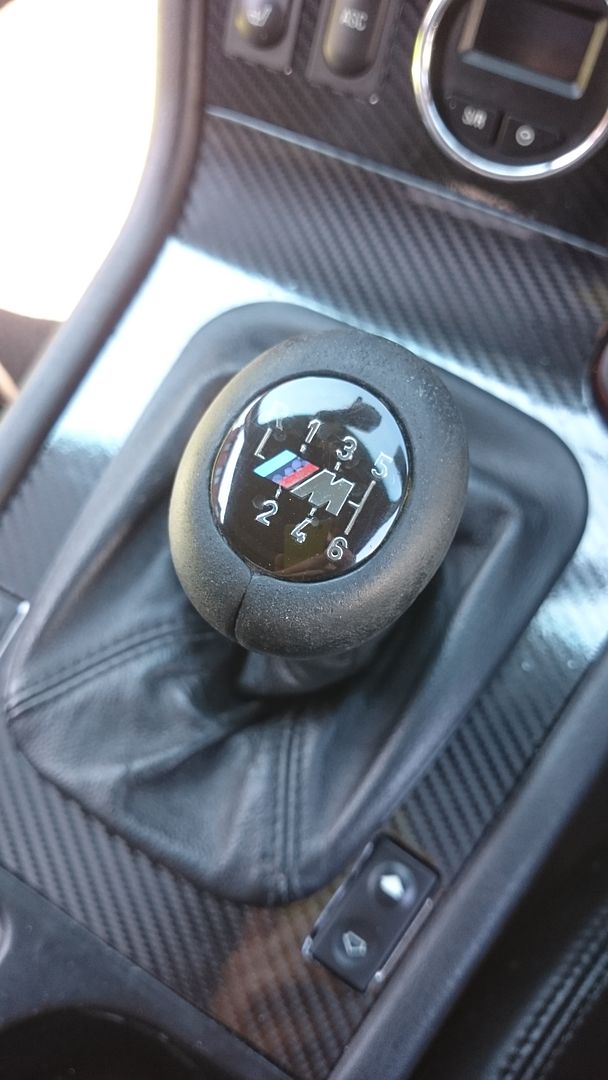
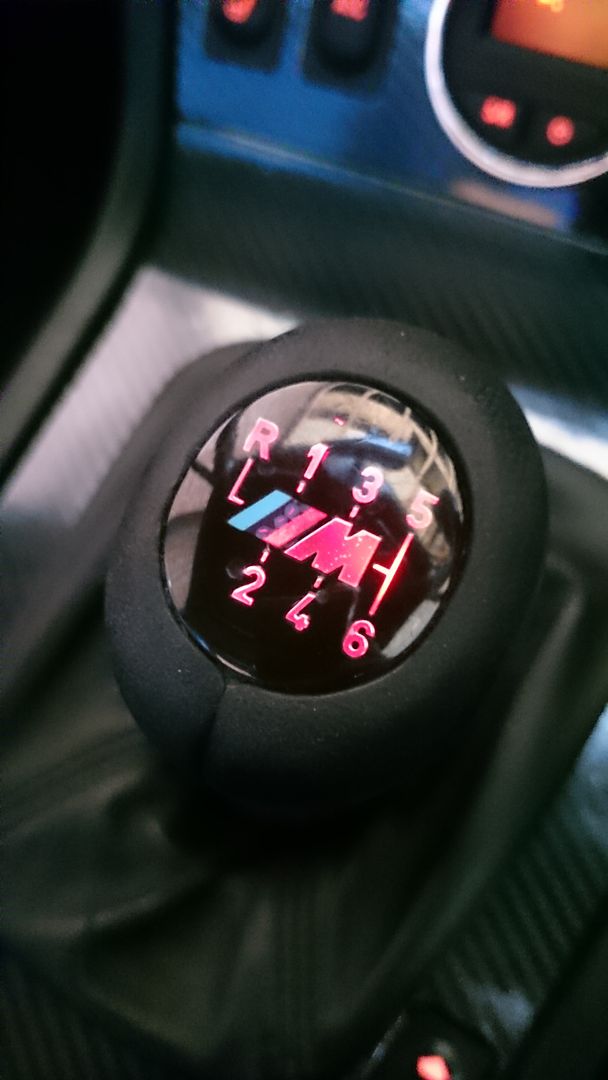
Then fitted my e46 M3 gearknob complete with lighting. Didnt want to rip off the top so i'll pretend i have a 6 speed! haha
switching the pins over (FYI the loom is already there!)
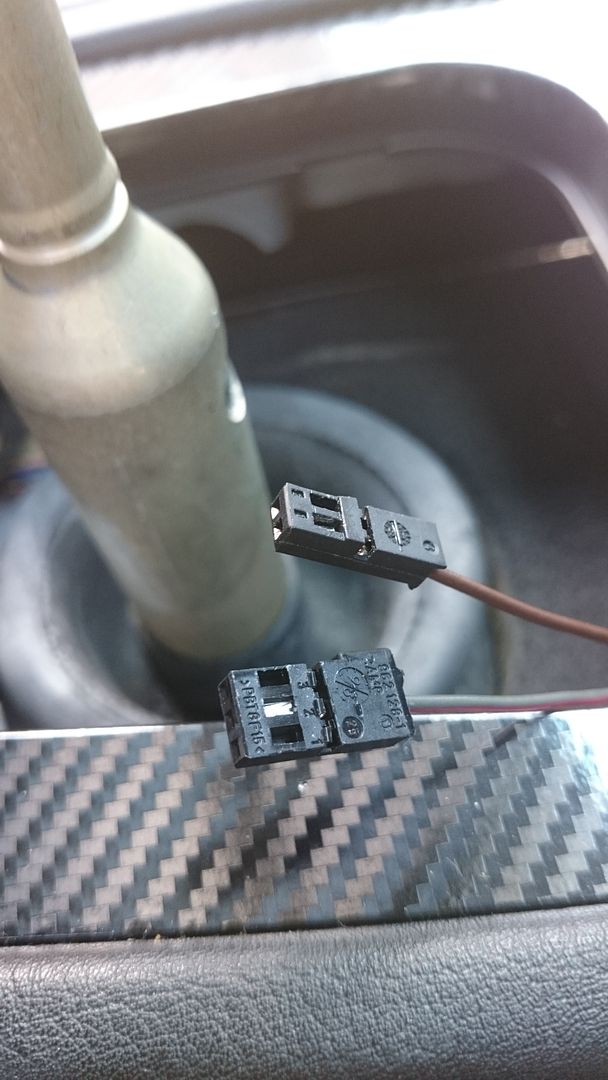
Love it at night
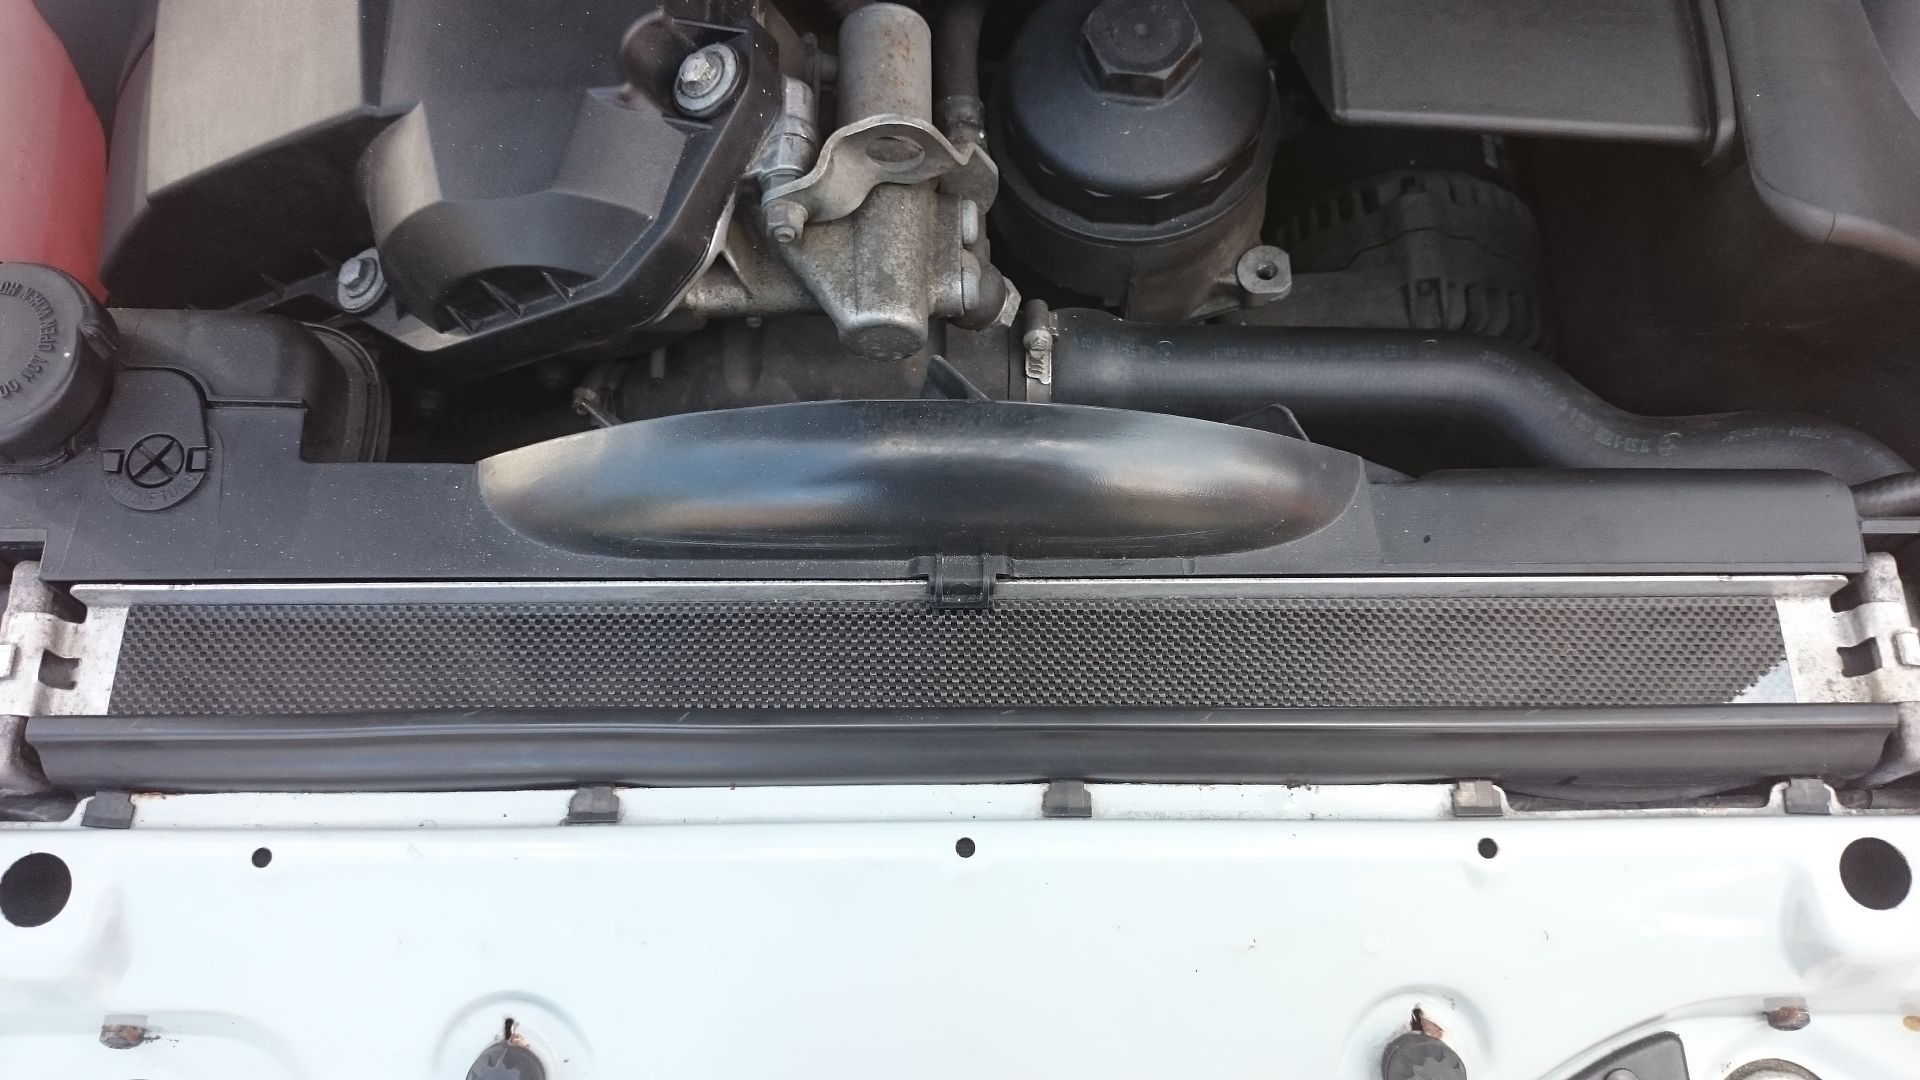
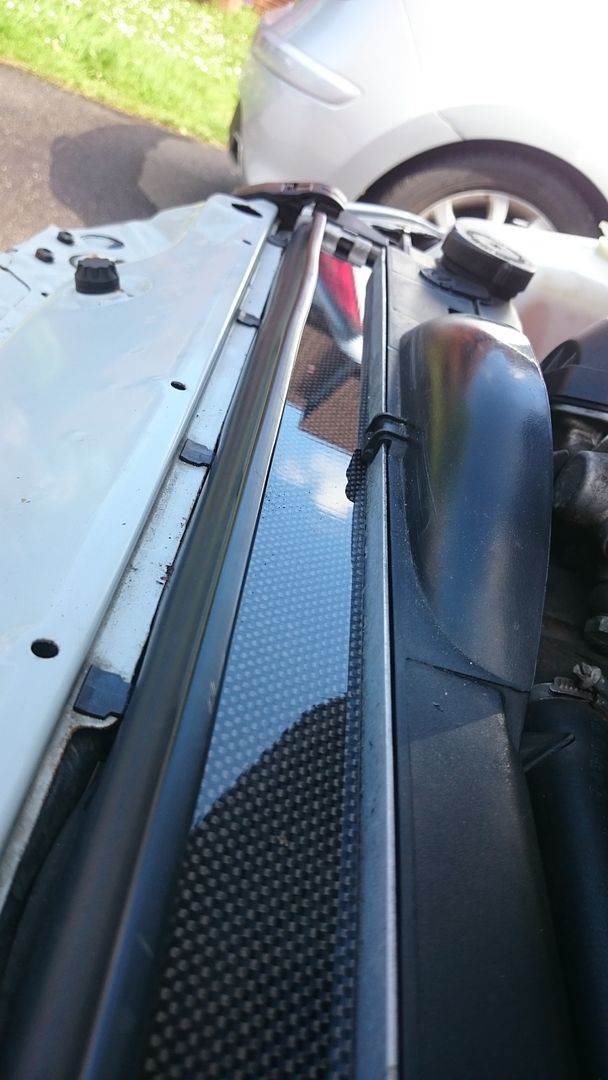
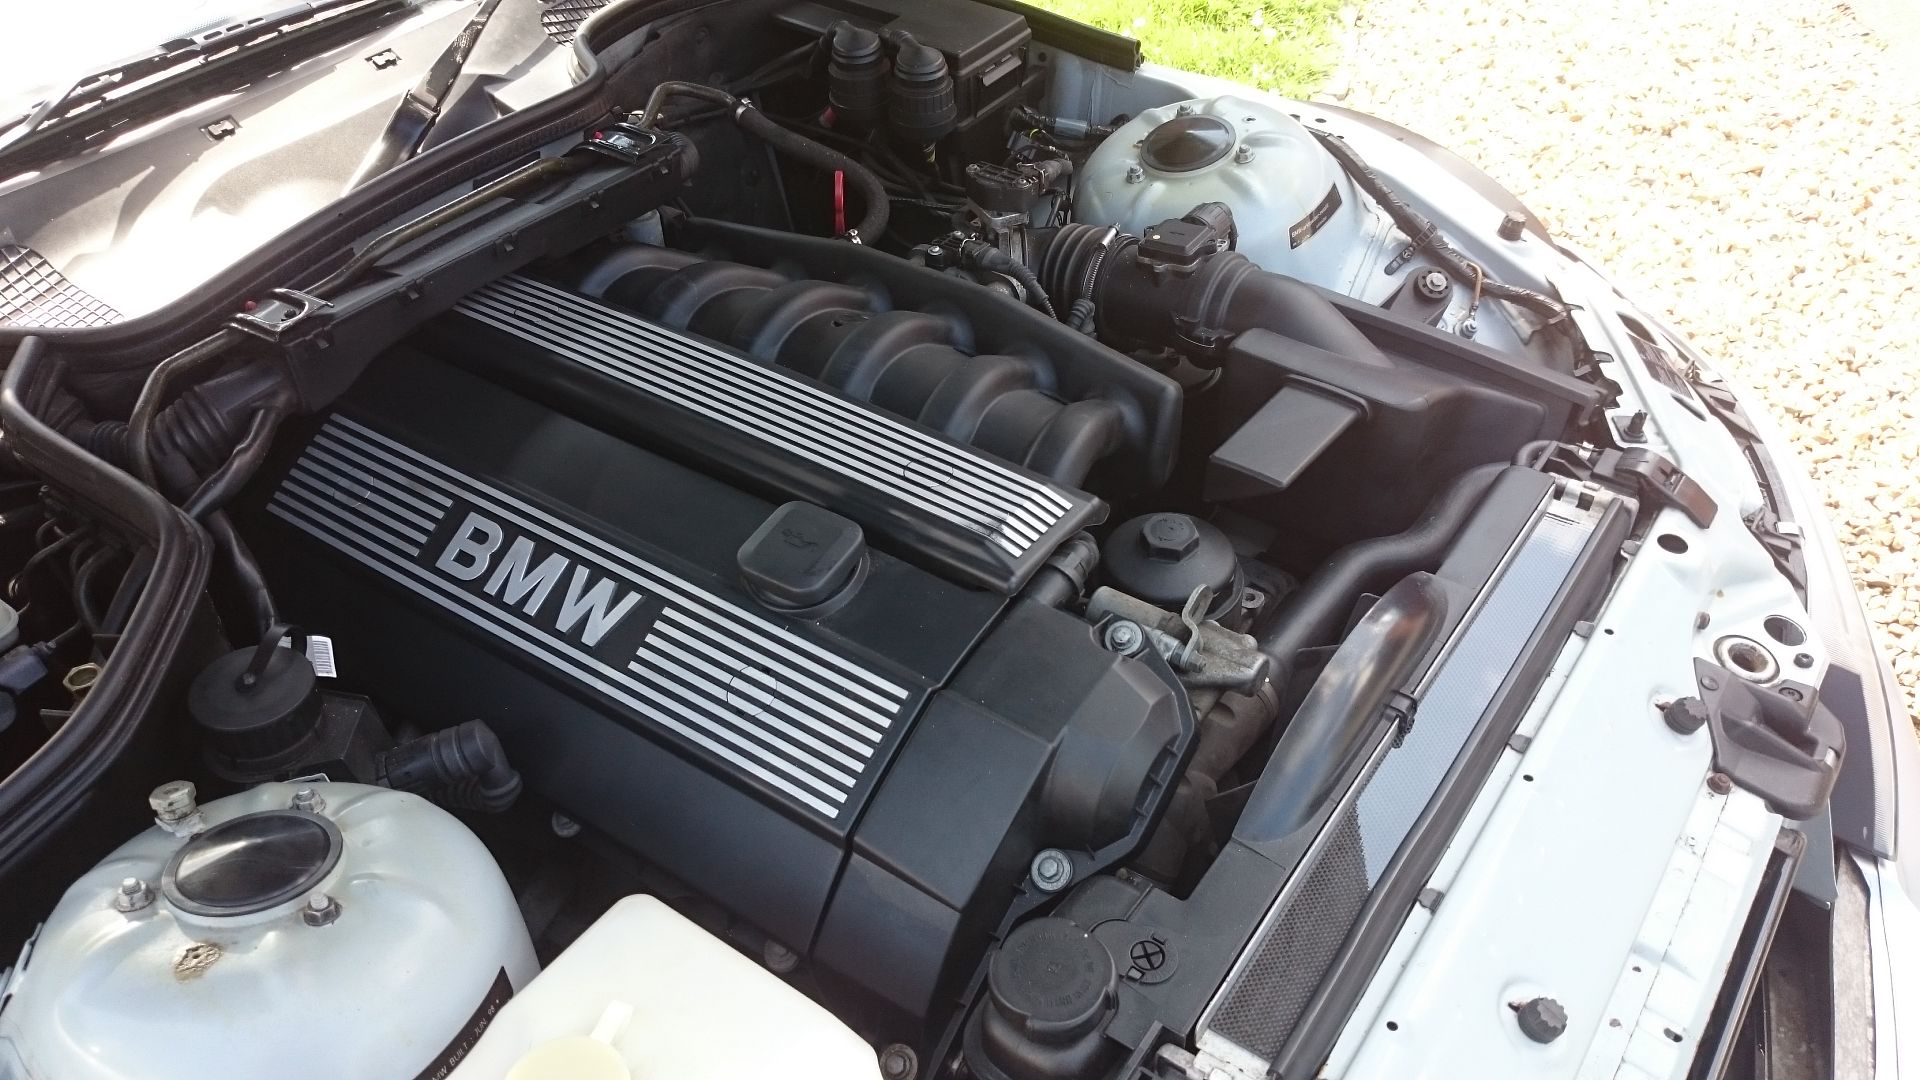
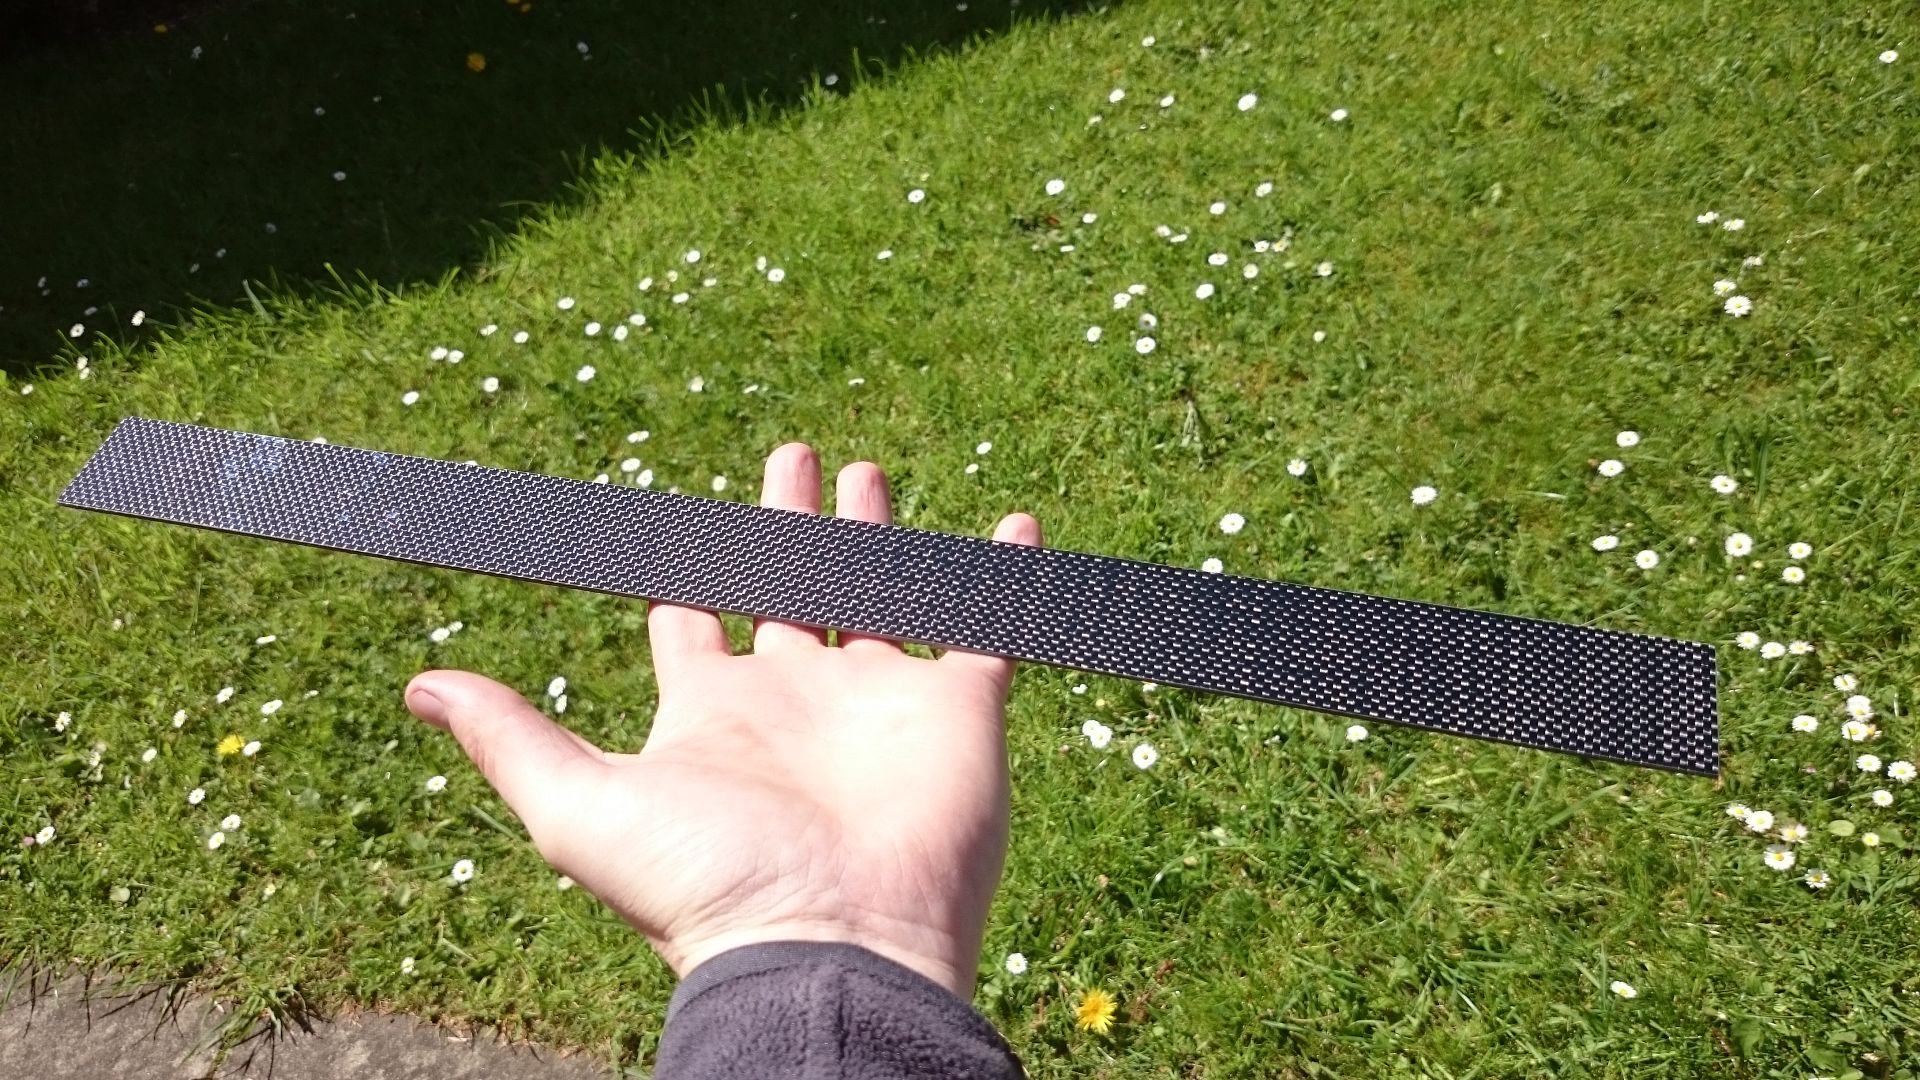
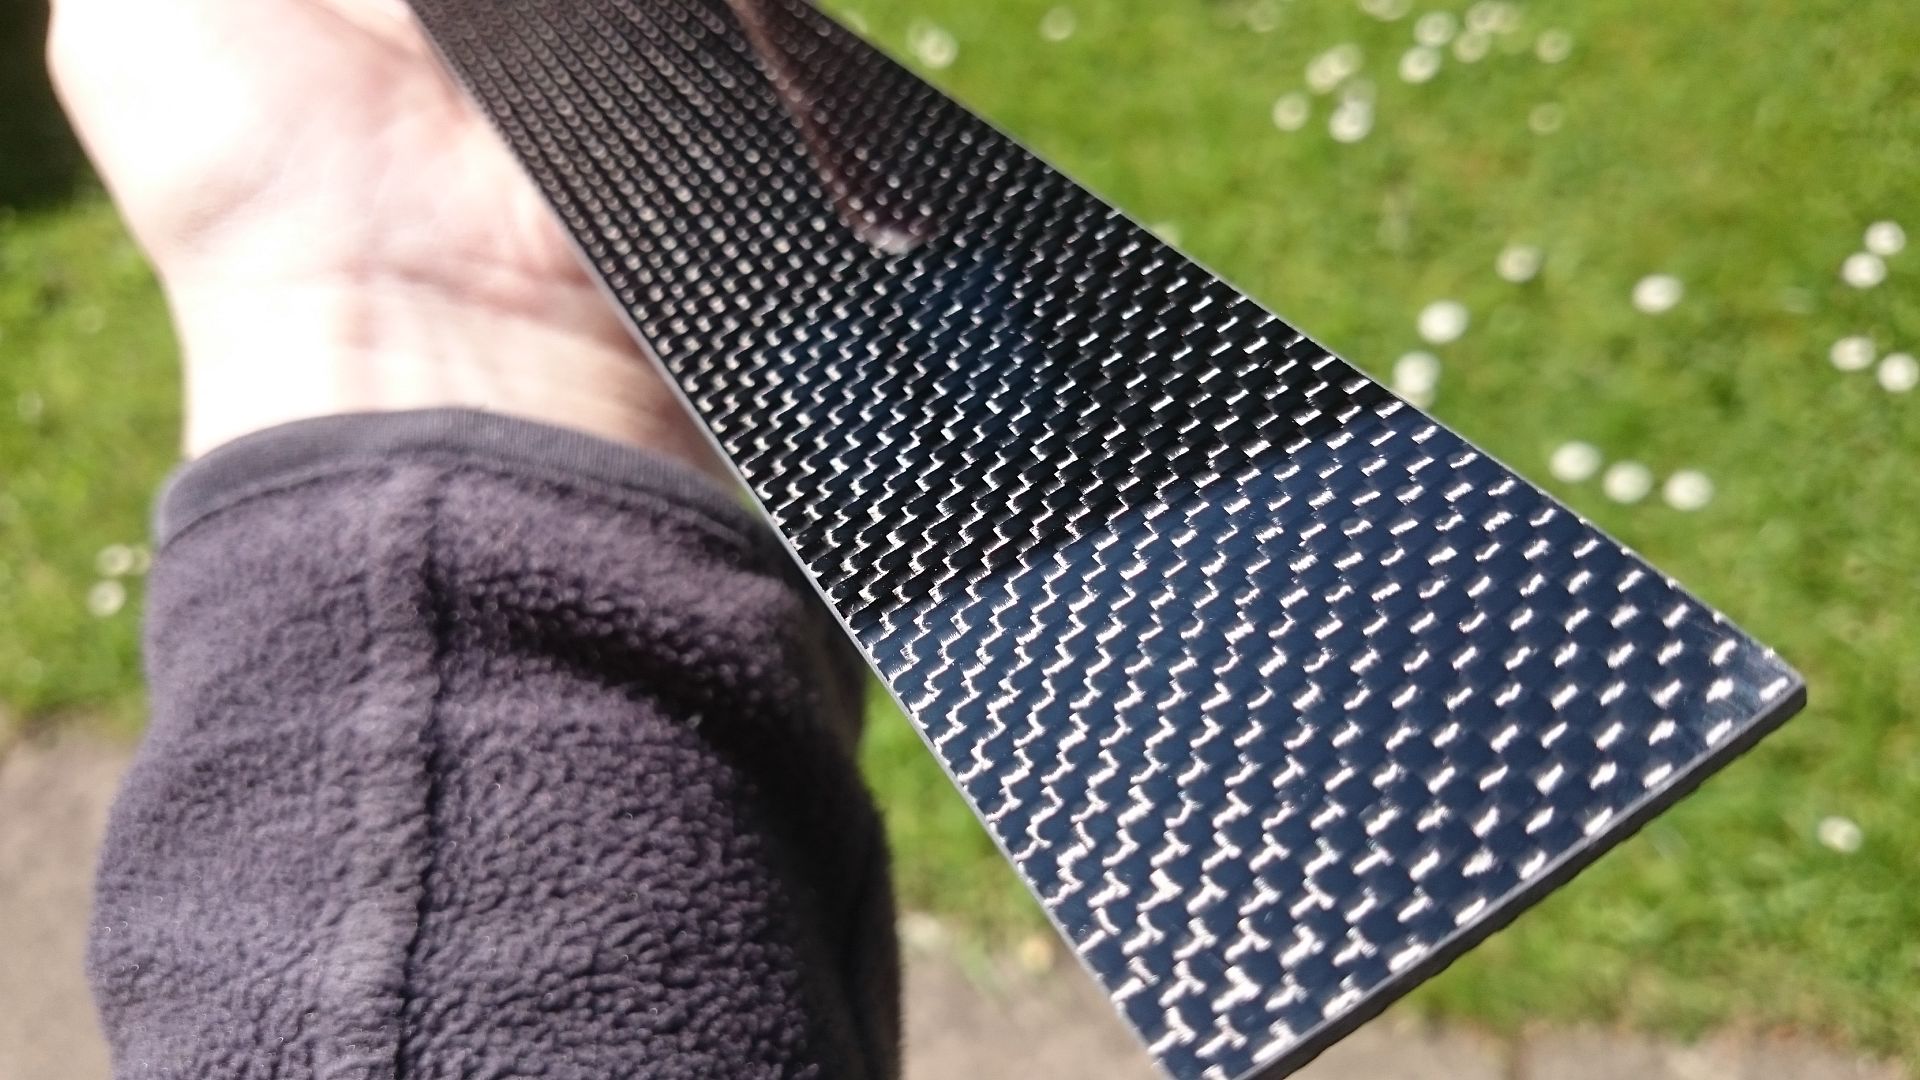
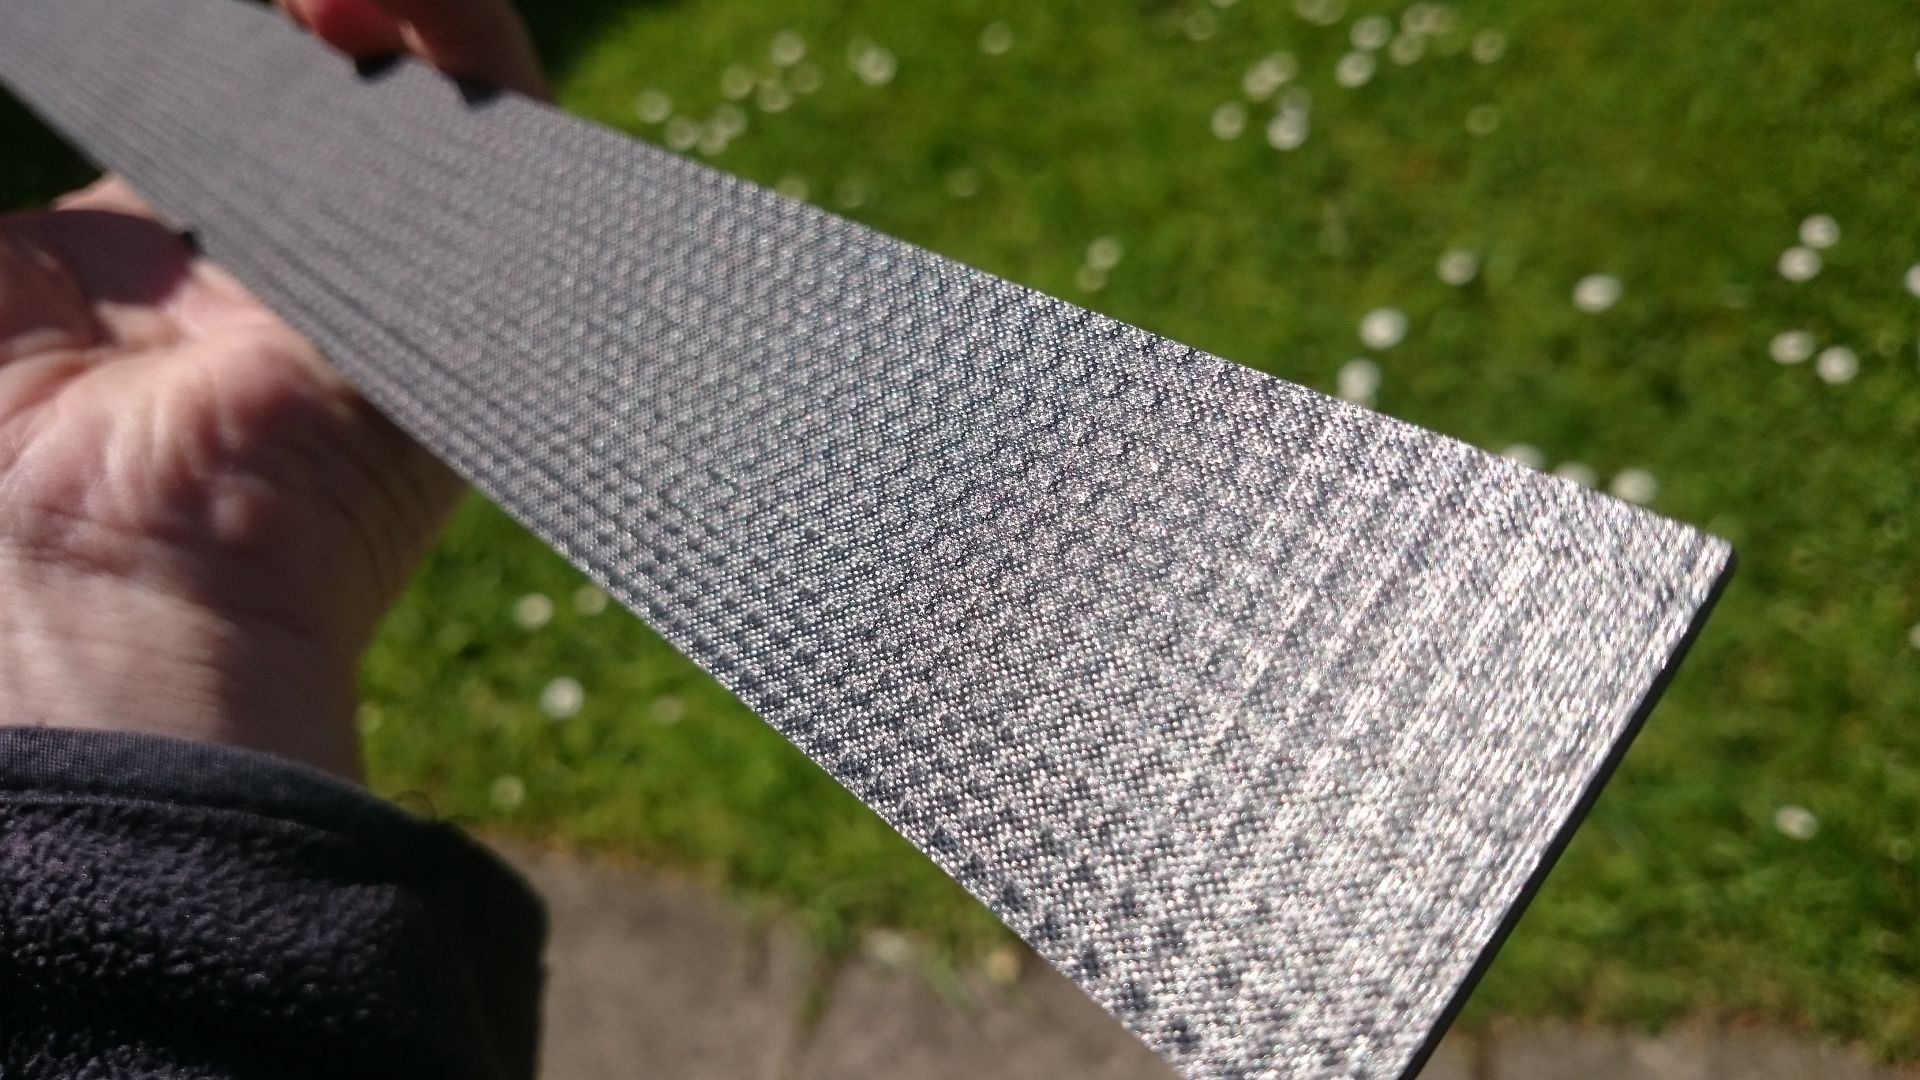
then i fitted some carbon ive had commissioned for my engine bay on top of the radiator
Proper engineered carbon! love it (i also have 9 of these to sell as had to buy a batch)
The paintwork on the bonnet car was shocking when i got it and the reason i got the car so cheap.
So i finally bit the bullet and had it painted along with the front bumper. I'm much happier with the paint now but still not 100% so ill be going back to the bidyshop for some snagging (i am fussy) i didnt pay top dollar to get it done as its a stopgap before having the whole car potentially painted in the winter.
Lacquer still needs to settle and then i'll crack on polishing and waxing in a couple of months


Then fitted my e46 M3 gearknob complete with lighting. Didnt want to rip off the top so i'll pretend i have a 6 speed! haha
switching the pins over (FYI the loom is already there!)


Love it at night

then i fitted some carbon ive had commissioned for my engine bay on top of the radiator
Proper engineered carbon! love it (i also have 9 of these to sell as had to buy a batch)


Hi there, great write up! Giving me ideas but I have a question. I've just tried to fit the front lower wishbone rear bush from Powerflex, and although the bushes fit into the carrier the carrier can no longer fit onto the main body of the car. It seems that the only way for it to fit, is to cut the bush hole deeper and wider in order for it to slide further on the arm. I know some people have said they didn't get a washer but looking at yours the washer is clearly visible.
How did you fit yours? I ordered the correct part and have emailed Powerflex but right now am at a loss.
Thank you
How did you fit yours? I ordered the correct part and have emailed Powerflex but right now am at a loss.
Thank you
dva99999 said:
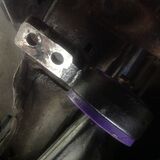
Hi there, great write up! Giving me ideas but I have a question. I've just tried to fit the front lower wishbone rear bush from Powerflex, and although the bushes fit into the carrier the carrier can no longer fit onto the main body of the car. It seems that the only way for it to fit, is to cut the bush hole deeper and wider in order for it to slide further on the arm. I know some people have said they didn't get a washer but looking at yours the washer is clearly visible.
How did you fit yours? I ordered the correct part and have emailed Powerflex but right now am at a loss.
Thank you
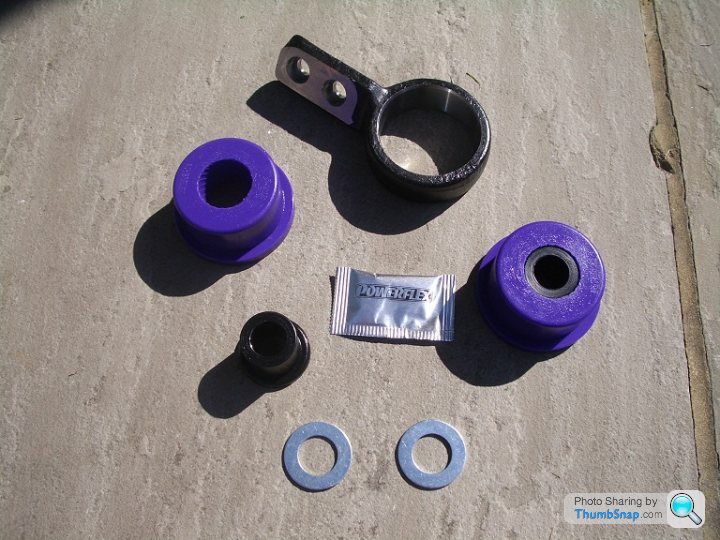
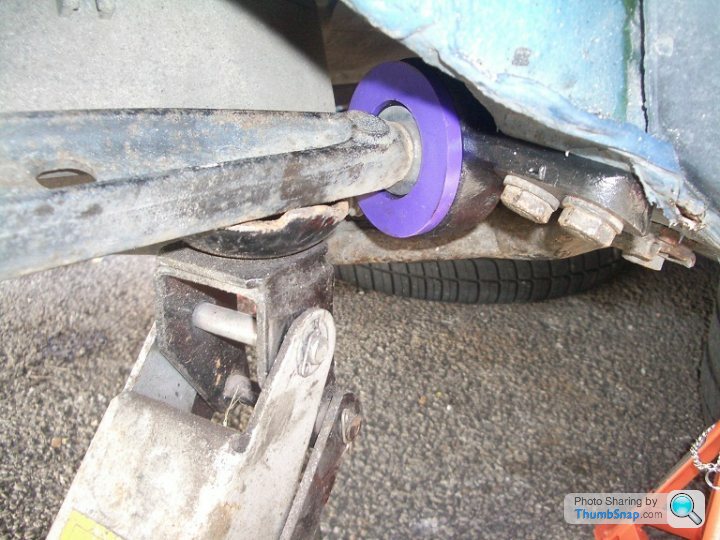
I'm not the OP, but I fitted the Powerflex bushes to my 3.0 Z3, kit shown below and one with it fitted. I used the trolley jack to raise up the wishbone so that metal carrier went onto the car chassis.How did you fit yours? I ordered the correct part and have emailed Powerflex but right now am at a loss.
Thank you

OldSkoolRS said:
dva99999 said:
Hi there, great write up! Giving me ideas but I have a question. I've just tried to fit the front lower wishbone rear bush from Powerflex, and although the bushes fit into the carrier the carrier can no longer fit onto the main body of the car. It seems that the only way for it to fit, is to cut the bush hole deeper and wider in order for it to slide further on the arm. I know some people have said they didn't get a washer but looking at yours the washer is clearly visible.
How did you fit yours? I ordered the correct part and have emailed Powerflex but right now am at a loss.
Thank you
I'm not the OP, but I fitted the Powerflex bushes to my 3.0 Z3, kit shown below and one with it fitted. I used the trolley jack to raise up the wishbone so that metal carrier went onto the car chassis.How did you fit yours? I ordered the correct part and have emailed Powerflex but right now am at a loss.
Thank you
Once it's on as far as you can get it, jack it up as suggested, and use a longish and heavy set screwdriver through the lolipop mounting hole closest to the bush and try to hook the end into it's mounting hole in the chassis. You should be able to 'lever' the mount onto the lug in the chassis rail and then bolt it down. Do use some decent locktite (242 blue or 2701 green) on the bolts to make sure they don't come loose.
Once it's all done, would recommend at least getting the tracking checked, as it'll restore the alignment to pretty much centre, and if your tracking's out it'll show up rather quickly.
Edited by Sf_Manta on Thursday 21st July 23:33
 Hey 5harp3y - any updates?
Gassing Station | Readers' Cars | Top of Page | What's New | My Stuff