147 GTA progress thread (July 2013 to present)
Discussion


Self explanatory this one...
 IMG_0623-2 by Chris, on Flickr
 IMG_0626 by Chris, on Flickr
 IMG_0624-2 by Chris, on Flickr
 IMG_0627-2 by Chris, on Flickr
 IMG_0629-2 by Chris, on Flickr
IMG_0623-2 by Chris, on FlickrIMG_0626 by Chris, on FlickrIMG_0624-2 by Chris, on FlickrIMG_0627-2 by Chris, on FlickrIMG_0629-2 by Chris, on FlickrNow then.... time for an easter weekend update...
Coilovers.
I've mentioned this before. The car currently has bilstien dampers and eibach springs. I don't like them, it understeers, it sits too high at the rear and the ride quality is, well it's not as bad as the 145 I had running koni shocks, but it is pants.
 IMG_6668 by Chris, on Flickr
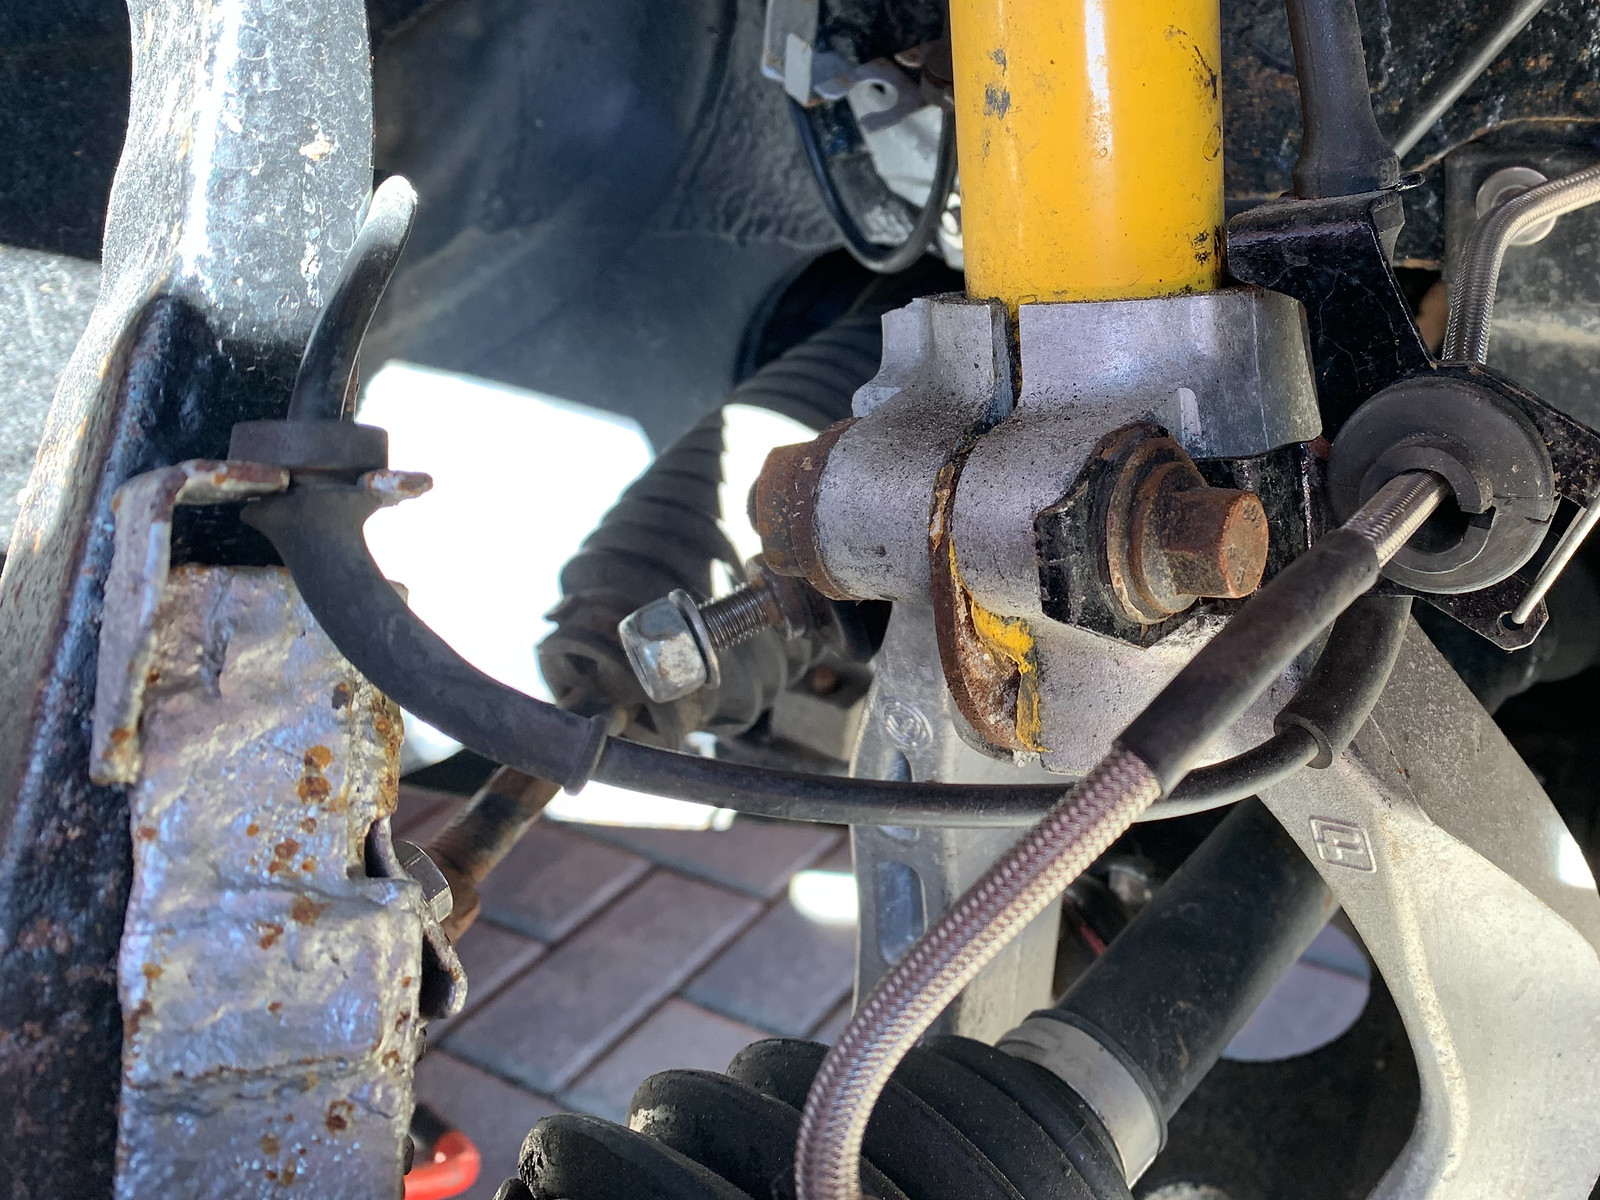
Because we had the car apart, including the suspension, on multiple occasions and used copper grease when reassembling things, this was a relatively simple job. Still took about 10 hours over 3 days though.
Normally, removing the front struts requires the removal of the lower arms, upright and other bits coupled with hours of swearing simply because the alloy fork that is bolted to the bottom of the damper corrodes and they will not separate.
But, when they will, the job is as simple as...
Split the upper arm ball joint
 IMG_6658 by Chris, on Flickr
 IMG_0684 by Chris, on Flickr
Undo the pinch bolt and the ARB drop link
 IMG_0687 by Chris, on Flickr
Remove the bolt that attaches the fork to the lower arm...
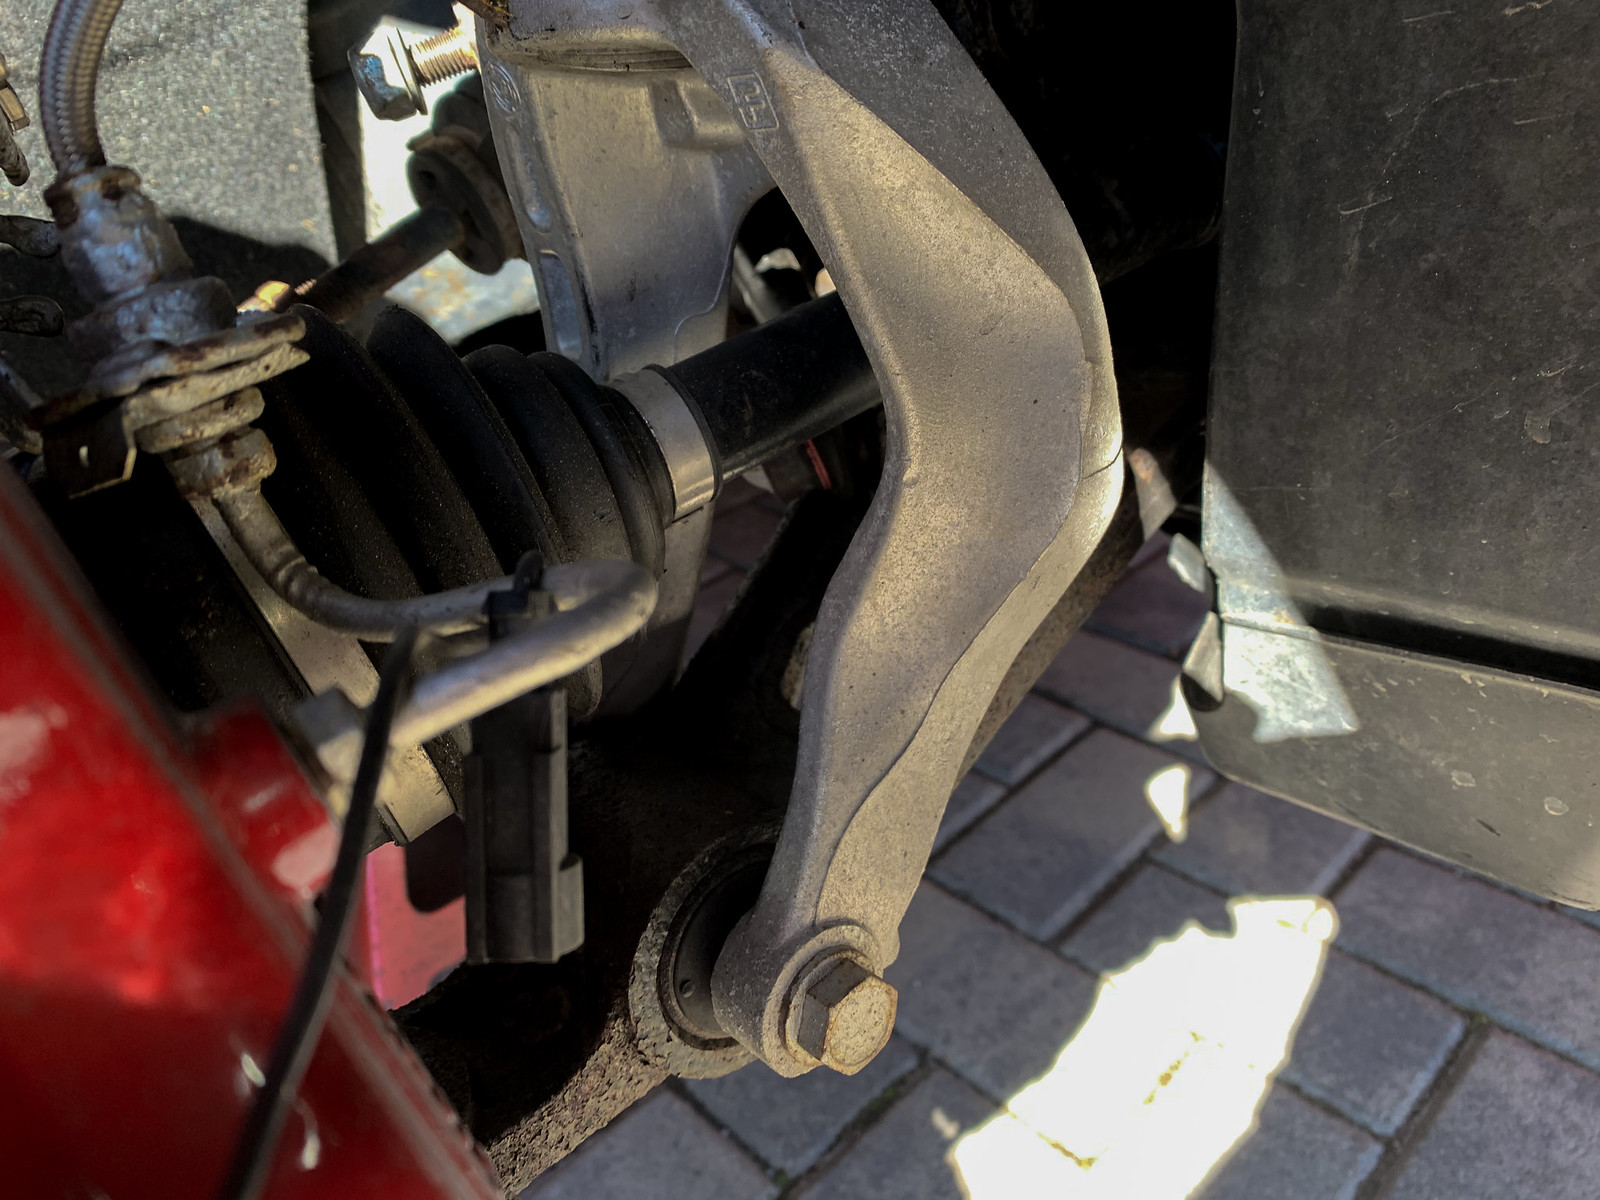 IMG_0689 by Chris, on Flickr
Separate the damper and fork, et voilà:
 IMG_0690 by Chris, on Flickr
The new coilovers have a shorter spring, which was a bit concerning. It was already stoopid low at the front on the bilstien / eibachs. Low enough so that the under tray will catch speed cushions at anymore than 10mph.
I set them so that the spring was under slight tension at full droop. This placed the spring platform about 30mm down from the top of the thread on the shock body.
 IMG_0707 by Chris, on Flickr
It seems that there's not a loot of height adjustment at the front on this basis. Any lower and the spring would be rattling about, loose.
 IMG_6688 by Chris, on Flickr
Whilst the ARB drop links were absolutely fine, Meyle have started manufacturing an upgraded item, so these were replaced whilst we were at it.
 IMG_6669 by Chris, on Flickr
 IMG_6673 by Chris, on Flickr
 IMG_6681 by Chris, on Flickr
Coilovers.
I've mentioned this before. The car currently has bilstien dampers and eibach springs. I don't like them, it understeers, it sits too high at the rear and the ride quality is, well it's not as bad as the 145 I had running koni shocks, but it is pants.
IMG_6668 by Chris, on FlickrBecause we had the car apart, including the suspension, on multiple occasions and used copper grease when reassembling things, this was a relatively simple job. Still took about 10 hours over 3 days though.
Normally, removing the front struts requires the removal of the lower arms, upright and other bits coupled with hours of swearing simply because the alloy fork that is bolted to the bottom of the damper corrodes and they will not separate.
But, when they will, the job is as simple as...
Split the upper arm ball joint
IMG_6658 by Chris, on FlickrIMG_0684 by Chris, on FlickrUndo the pinch bolt and the ARB drop link
IMG_0687 by Chris, on FlickrRemove the bolt that attaches the fork to the lower arm...
IMG_0689 by Chris, on FlickrSeparate the damper and fork, et voilà:
IMG_0690 by Chris, on FlickrThe new coilovers have a shorter spring, which was a bit concerning. It was already stoopid low at the front on the bilstien / eibachs. Low enough so that the under tray will catch speed cushions at anymore than 10mph.
I set them so that the spring was under slight tension at full droop. This placed the spring platform about 30mm down from the top of the thread on the shock body.
IMG_0707 by Chris, on FlickrIt seems that there's not a loot of height adjustment at the front on this basis. Any lower and the spring would be rattling about, loose.
IMG_6688 by Chris, on FlickrWhilst the ARB drop links were absolutely fine, Meyle have started manufacturing an upgraded item, so these were replaced whilst we were at it.
IMG_6669 by Chris, on FlickrIMG_6673 by Chris, on FlickrIMG_6681 by Chris, on FlickrMoving backwards...
 IMG_6697 by Chris, on Flickr
 IMG_6695 by Chris, on Flickr
 IMG_6690 by Chris, on Flickr
Again, because we've had the suspension apart and rebuilt it with new bolts and copper grease, it fell apart, as it should do.
 IMG_6712 by Chris, on Flickr
I needed the strut tops for the new dampers, so I put them in a spring compressor only to realise that there was little to no pressure on the rear spring. I just undid the top nut with a impact gun:
 IMG_0709 by Chris, on Flickr
Comparing the 2 dampers, the bilstiens have the standard 2 bolt holes but the eibach/KW coilovers have an elongated upper bolt hole that allows for camber adjustment.
On a standard car, this might be useful but mine has adjustable traverse arms already fitted that allow for camber and toe adjustment.
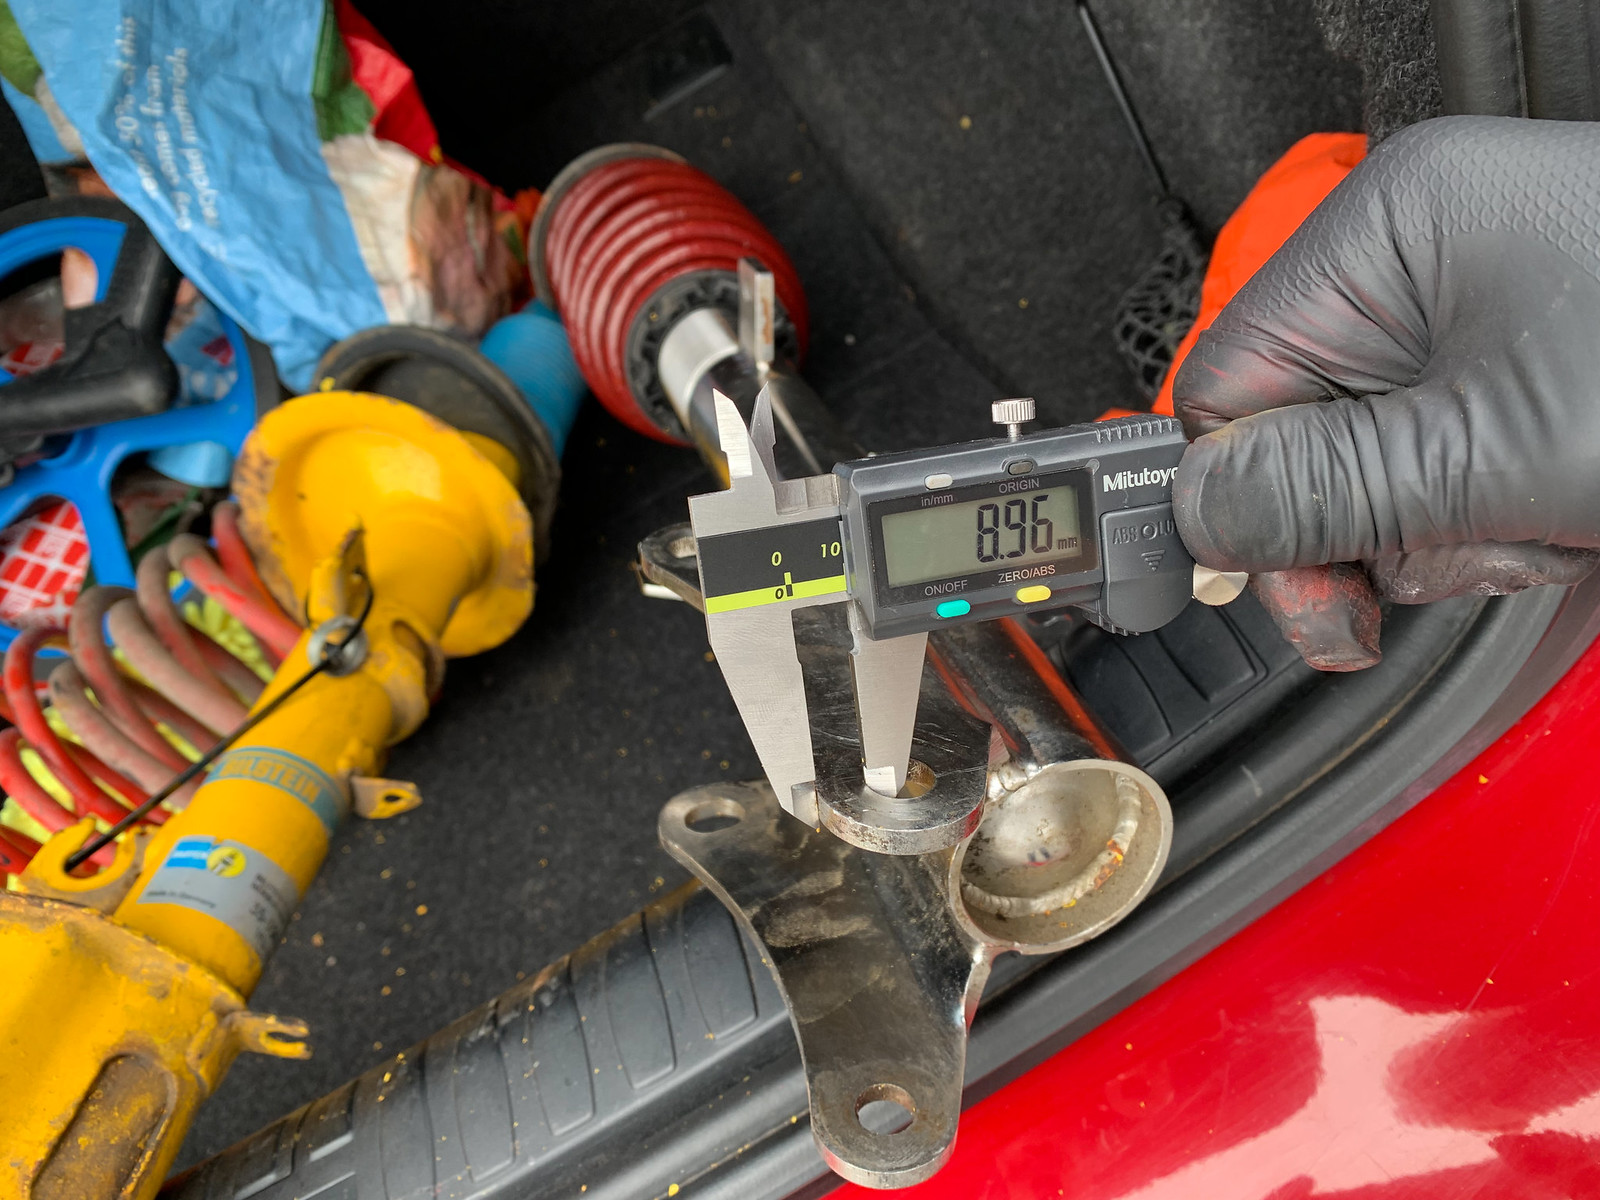
Measuring the position of the bolt holes elicited the following results. Some fundamental assumptions were obviously made, notably the position of the damper centre line relative to the bolt holes.
Lower bolt hole;
 IMG_0716 by Chris, on Flickr
 IMG_0718 by Chris, on Flickr
The 0.1mm difference could be ascribed to the missing powder coat on the bilsteiens.
Upper bolt hole - the adjustable one;
 IMG_0720 by Chris, on Flickr
 IMG_0722 by Chris, on Flickr
We also measured the position of the inner radius and found this was in the same place for both dampers. We concluded that the adjustment allows for the existing camber to be retained or additional positive camber to be added.
 IMG_6731 by Chris, on Flickr
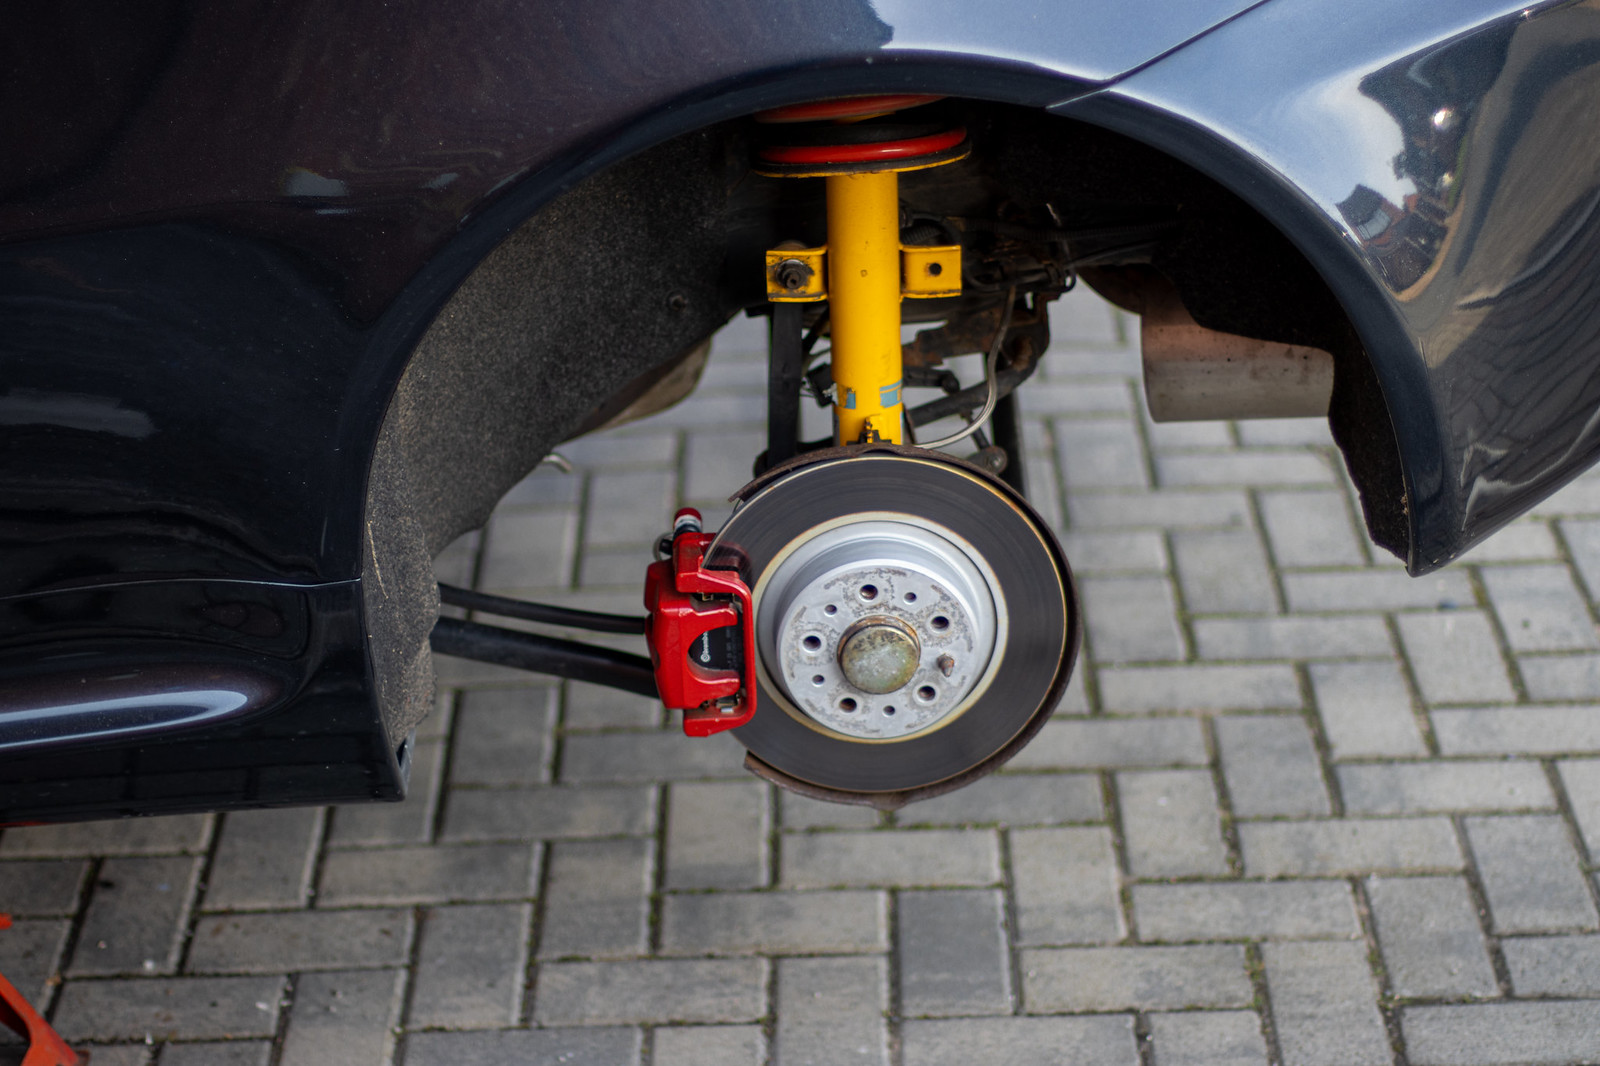
End results.
It has pretty much the same ride height at the front and is about 20- 30mm lower at the back. Measuring the sill heights, they're now level with the ground front to rear at about 145-150mm. The same applies to wheel centre to arch height.
 IMG_6717 by Chris, on Flickr
 IMG_6725 by Chris, on Flickr
 IMG_6720 by Chris, on Flickr
On reflection, I think my Dad is right and it's too low at the back now. It needs lifting by about 5mm.
Ride quality is on a par wit the bilsteins, so not great.
But it after driving it all of 7 miles, the local roundabout appears to suggest a bias towards oversteer.
I think, if I raise the rear by the 5mm, this will add some compression to the rear springs and shift the handling bias further towards oversteer.
IMG_6697 by Chris, on FlickrIMG_6695 by Chris, on FlickrIMG_6690 by Chris, on FlickrAgain, because we've had the suspension apart and rebuilt it with new bolts and copper grease, it fell apart, as it should do.
IMG_6712 by Chris, on FlickrI needed the strut tops for the new dampers, so I put them in a spring compressor only to realise that there was little to no pressure on the rear spring. I just undid the top nut with a impact gun:
IMG_0709 by Chris, on FlickrComparing the 2 dampers, the bilstiens have the standard 2 bolt holes but the eibach/KW coilovers have an elongated upper bolt hole that allows for camber adjustment.
On a standard car, this might be useful but mine has adjustable traverse arms already fitted that allow for camber and toe adjustment.
Measuring the position of the bolt holes elicited the following results. Some fundamental assumptions were obviously made, notably the position of the damper centre line relative to the bolt holes.
Lower bolt hole;
IMG_0716 by Chris, on FlickrIMG_0718 by Chris, on FlickrThe 0.1mm difference could be ascribed to the missing powder coat on the bilsteiens.
Upper bolt hole - the adjustable one;
IMG_0720 by Chris, on FlickrIMG_0722 by Chris, on FlickrWe also measured the position of the inner radius and found this was in the same place for both dampers. We concluded that the adjustment allows for the existing camber to be retained or additional positive camber to be added.
IMG_6731 by Chris, on FlickrEnd results.
It has pretty much the same ride height at the front and is about 20- 30mm lower at the back. Measuring the sill heights, they're now level with the ground front to rear at about 145-150mm. The same applies to wheel centre to arch height.
IMG_6717 by Chris, on FlickrIMG_6725 by Chris, on FlickrIMG_6720 by Chris, on FlickrOn reflection, I think my Dad is right and it's too low at the back now. It needs lifting by about 5mm.
Ride quality is on a par wit the bilsteins, so not great.
But it after driving it all of 7 miles, the local roundabout appears to suggest a bias towards oversteer.
I think, if I raise the rear by the 5mm, this will add some compression to the rear springs and shift the handling bias further towards oversteer.
I didn't think it was that long ago that I took the GTA for an MOT but it was 6 months ago now. It passed with advisories for both from tyres being close to the wear bars.
Which is why it's now wearing new tyres all round and different wheels. Given how many pictures I take of it, I imagine anyone reading this would think I must have some decent pics of it on the new wheels but I don't. Just this one;
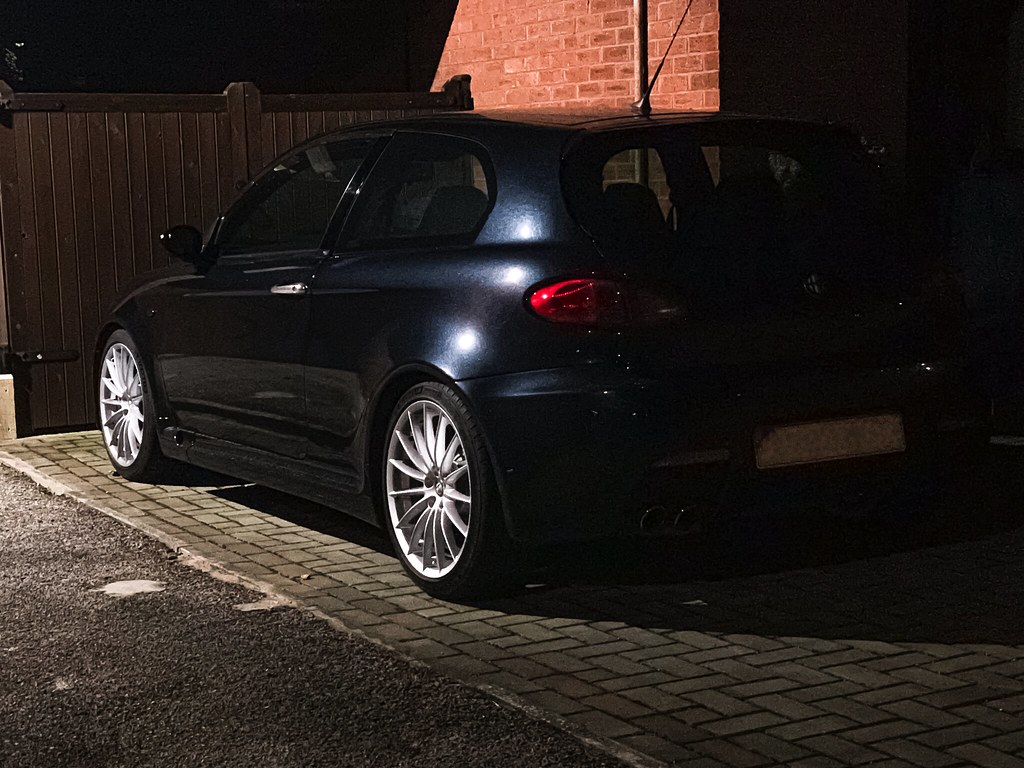 IMG_2851-2 by Chris, on Flickr
My Dad also gave me a very nice Christmas present, which arrived yesterday and prompted the thread update:
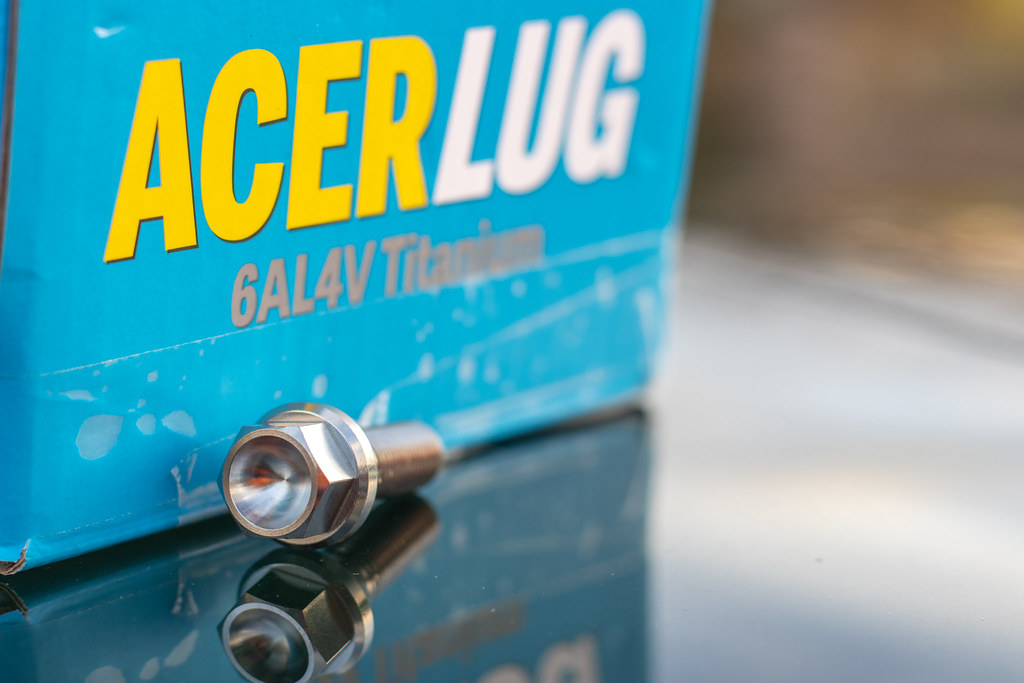 IMG_8397 by Chris, on Flickr
 IMG_8398 by Chris, on Flickr
Not that the old wheel bolts were that scruff but they do create issues with rust stains.
Before:
 IMG_8372-2 by Chris, on Flickr
After:
 IMG_8414-Enhanced-NR by Chris, on Flickr
 IMG_8414-Enhanced-NR-3 by Chris, on Flickr
Another job on the list was to replace the rear wiper arm / blade. The one I fitted earlier just wasn't up to par so a genuine part that was silly expensive for what it is was sourced and fitted.
Note the angle of the blade - It was noisy and wasn't effective at clearing the rear screen, so basically useless
 IMG_8360 by Chris, on Flickr
 IMG_8376 by Chris, on Flickr
 IMG_8373 by Chris, on Flickr
 IMG_8381 by Chris, on Flickr
 IMG_8384 by Chris, on Flickr
Which is why it's now wearing new tyres all round and different wheels. Given how many pictures I take of it, I imagine anyone reading this would think I must have some decent pics of it on the new wheels but I don't. Just this one;
IMG_2851-2 by Chris, on FlickrMy Dad also gave me a very nice Christmas present, which arrived yesterday and prompted the thread update:
IMG_8397 by Chris, on FlickrIMG_8398 by Chris, on FlickrNot that the old wheel bolts were that scruff but they do create issues with rust stains.
Before:
IMG_8372-2 by Chris, on FlickrAfter:
IMG_8414-Enhanced-NR by Chris, on FlickrIMG_8414-Enhanced-NR-3 by Chris, on FlickrAnother job on the list was to replace the rear wiper arm / blade. The one I fitted earlier just wasn't up to par so a genuine part that was silly expensive for what it is was sourced and fitted.
Note the angle of the blade - It was noisy and wasn't effective at clearing the rear screen, so basically useless
IMG_8360 by Chris, on FlickrIMG_8376 by Chris, on FlickrIMG_8373 by Chris, on FlickrIMG_8381 by Chris, on FlickrIMG_8384 by Chris, on FlickrMayrun said:
Really nice bolts 
You can actually just buy the wiper blade without getting the entire arm. The wiper arm is a bit unique for the GTA because it's a different length to accommodate the spoiler. (fellow black 147 GTA owner here )
)
It was the way that the blade mounted to the arm that was the problem. Hence £50 for a new arm....You can actually just buy the wiper blade without getting the entire arm. The wiper arm is a bit unique for the GTA because it's a different length to accommodate the spoiler. (fellow black 147 GTA owner here
)Edited by Mayrun on Monday 1st January 21:31
Whilst driving it recently I noticed that the driver (offside) headlight was effectively pointing at the floor. I sought to adjust it and found a hole where the hex type adjusted should be:
 IMG_8537 by Chris, on Flickr
- It's supposed to look like this:
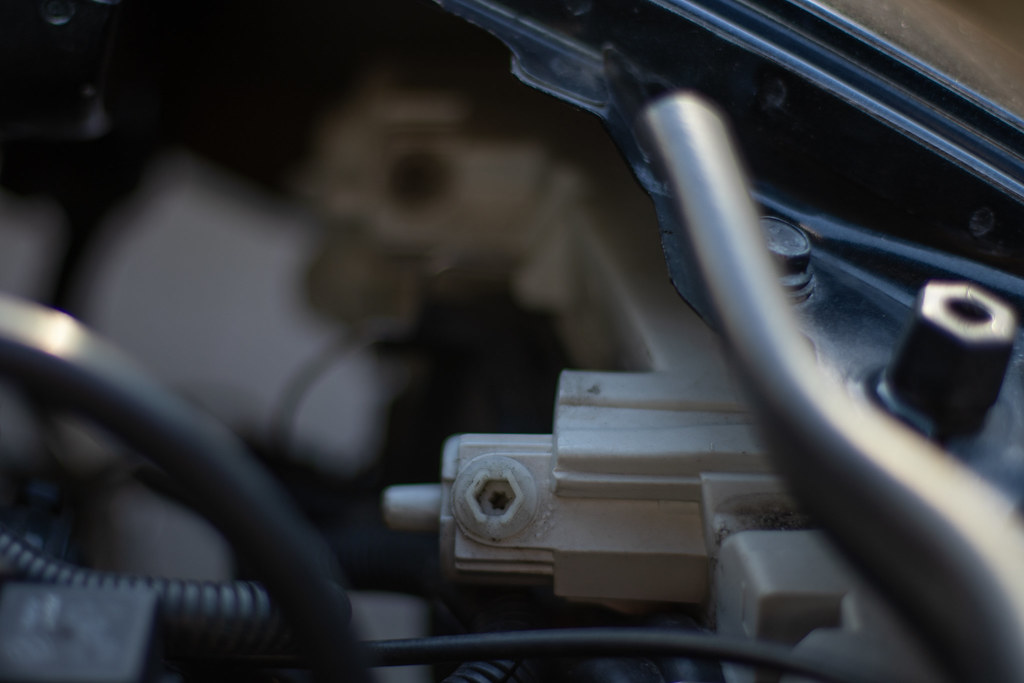 IMG_8576 by Chris, on Flickr
Meaning that the headlight needed to be removed and likely stripped down to repair it.
Additionally, the lacquer on the nearside headlight has started to peal off for an unknown reason:
 IMG_8531-Enhanced-NR by Chris, on Flickr
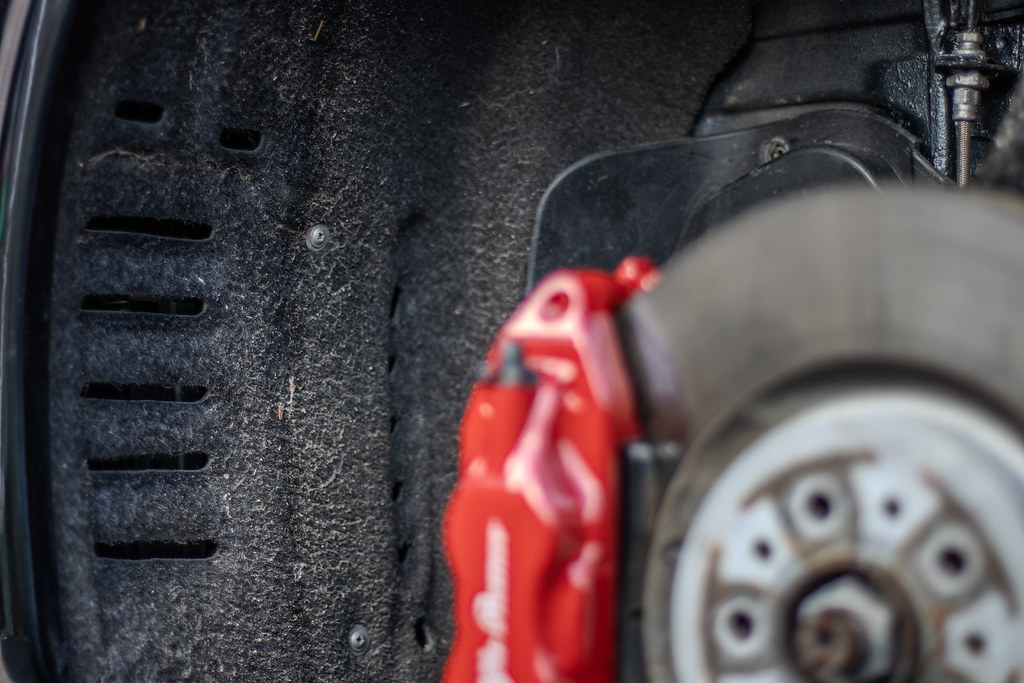
Removing the headlights is a relative pain in the a e.
e.
The car needs to be jacked up and the wheels removed so that the arch liners can be peeled back to access the 6 bolts (3 each side) that fasten the bumper to the wing;
 IMG_8545-Enhanced-NR by Chris, on Flickr
The stainless screws we fitted make things easier though.
 IMG_8552 by Chris, on Flickr
 IMG_8555 by Chris, on Flickr
The lights are held in place with 3 10mm bolts. 2 of which are hidden behind the bumper and can bee seen here:
 IMG_8572 by Chris, on Flickr
 IMG_8591 by Chris, on Flickr
It's going to take some time to fix the lights so we put it back together with the lights missing.
I also noted that the engine is starting to look a bit scruffy so this will need attending to as part of a cam belt change - it's overdue now in terms of time. They should be changed every 3 years but in that time it's done less than 3k miles.
 IMG_8596-Enhanced-NR by Chris, on Flickr
IMG_8537 by Chris, on Flickr- It's supposed to look like this:
IMG_8576 by Chris, on FlickrMeaning that the headlight needed to be removed and likely stripped down to repair it.
Additionally, the lacquer on the nearside headlight has started to peal off for an unknown reason:
IMG_8531-Enhanced-NR by Chris, on FlickrRemoving the headlights is a relative pain in the a
e.The car needs to be jacked up and the wheels removed so that the arch liners can be peeled back to access the 6 bolts (3 each side) that fasten the bumper to the wing;
IMG_8545-Enhanced-NR by Chris, on FlickrThe stainless screws we fitted make things easier though.
IMG_8552 by Chris, on FlickrIMG_8555 by Chris, on FlickrThe lights are held in place with 3 10mm bolts. 2 of which are hidden behind the bumper and can bee seen here:
IMG_8572 by Chris, on FlickrIMG_8591 by Chris, on FlickrIt's going to take some time to fix the lights so we put it back together with the lights missing.
I also noted that the engine is starting to look a bit scruffy so this will need attending to as part of a cam belt change - it's overdue now in terms of time. They should be changed every 3 years but in that time it's done less than 3k miles.
IMG_8596-Enhanced-NR by Chris, on FlickrGassing Station | Readers' Cars | Top of Page | What's New | My Stuff