147 GTA progress thread (July 2013 to present)
Discussion


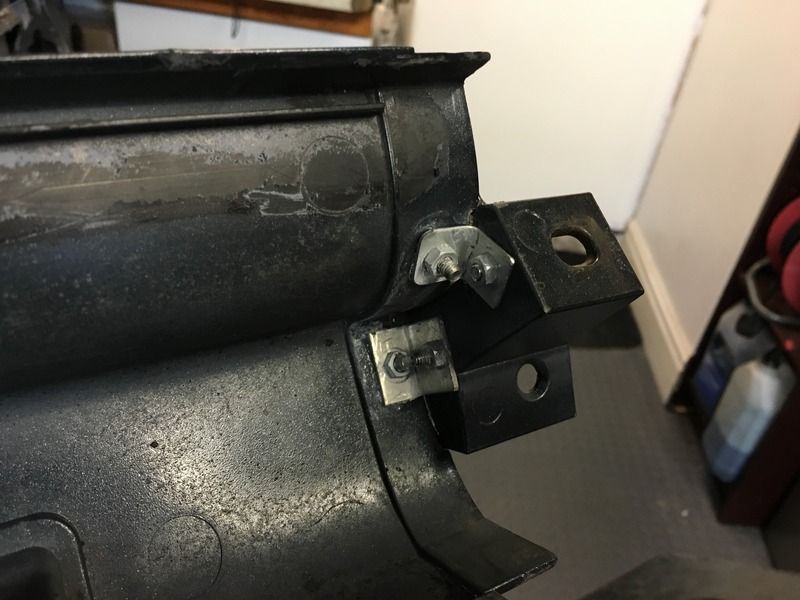
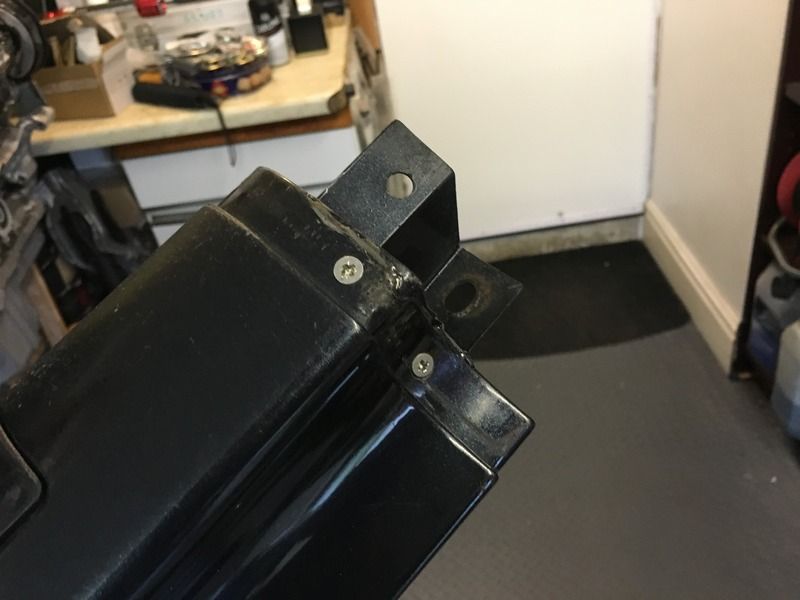
Following the deluge of rain over the recent days, I arrived home from work yesterday to find my Dad had repaired the broken side skirt mount;
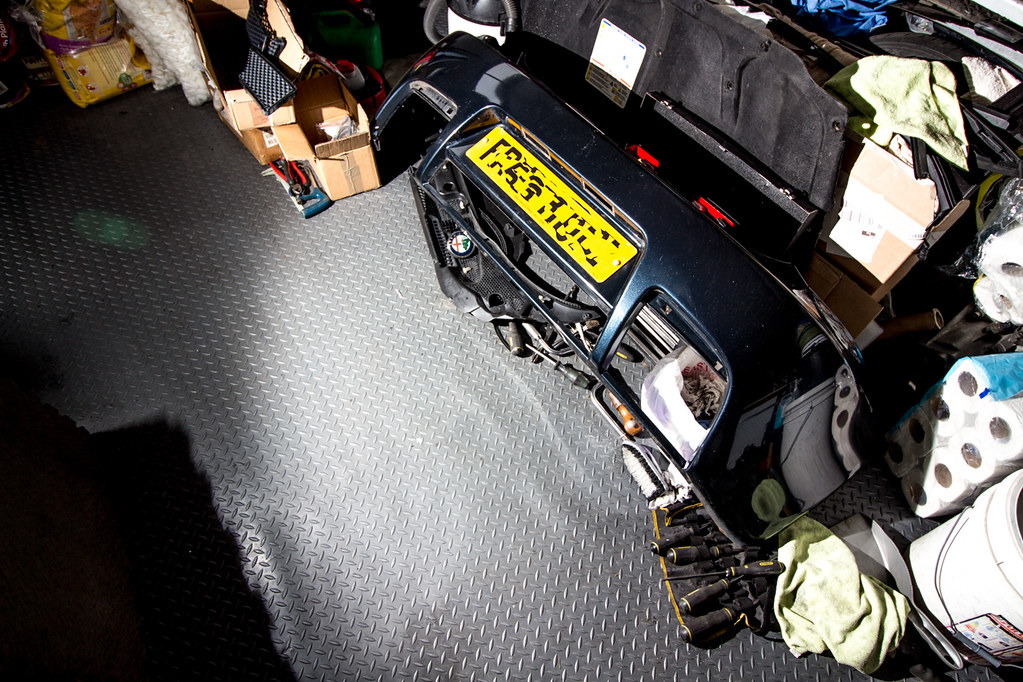
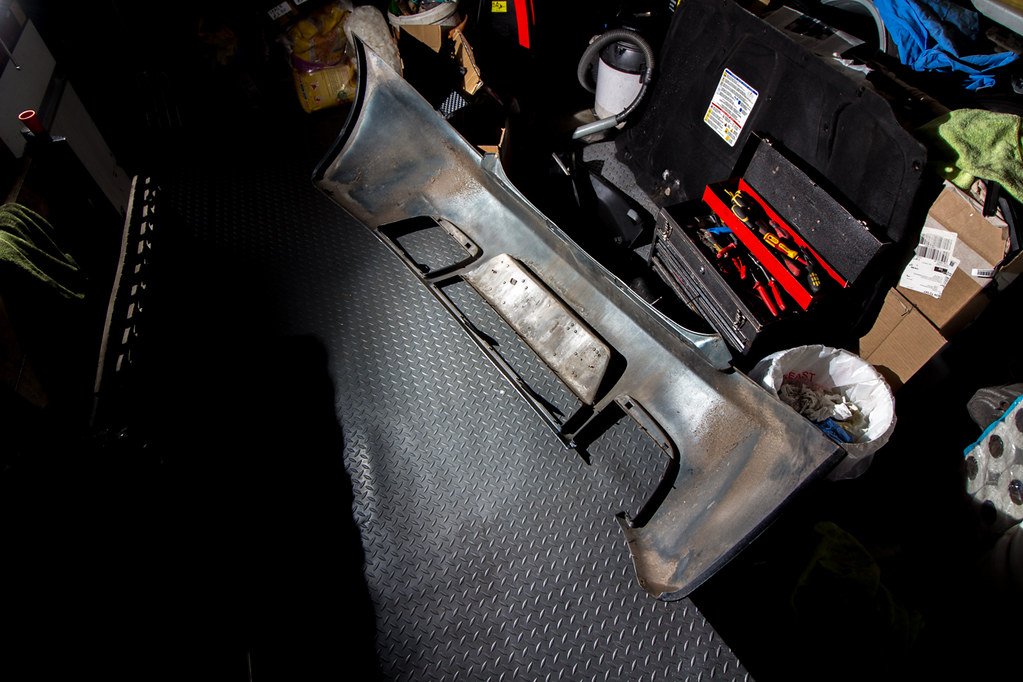
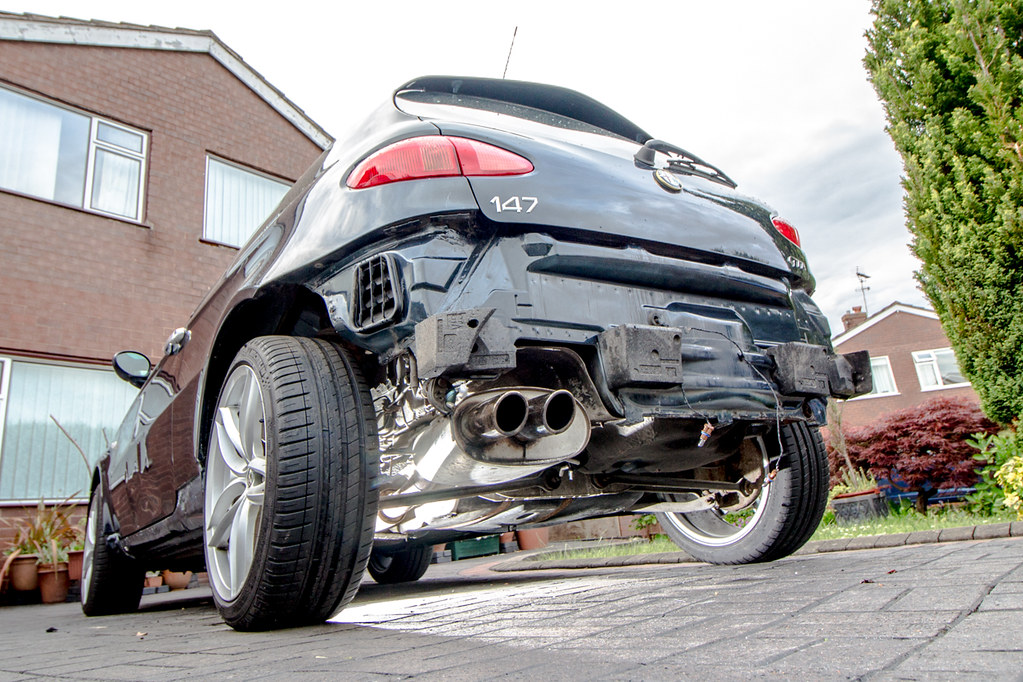
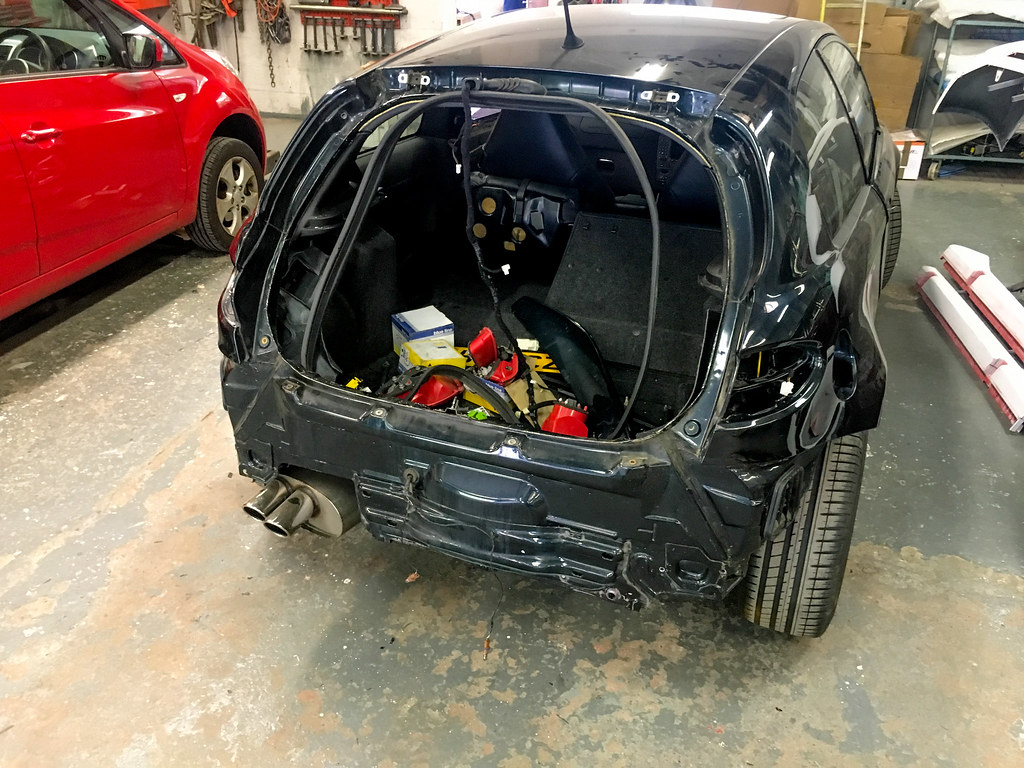
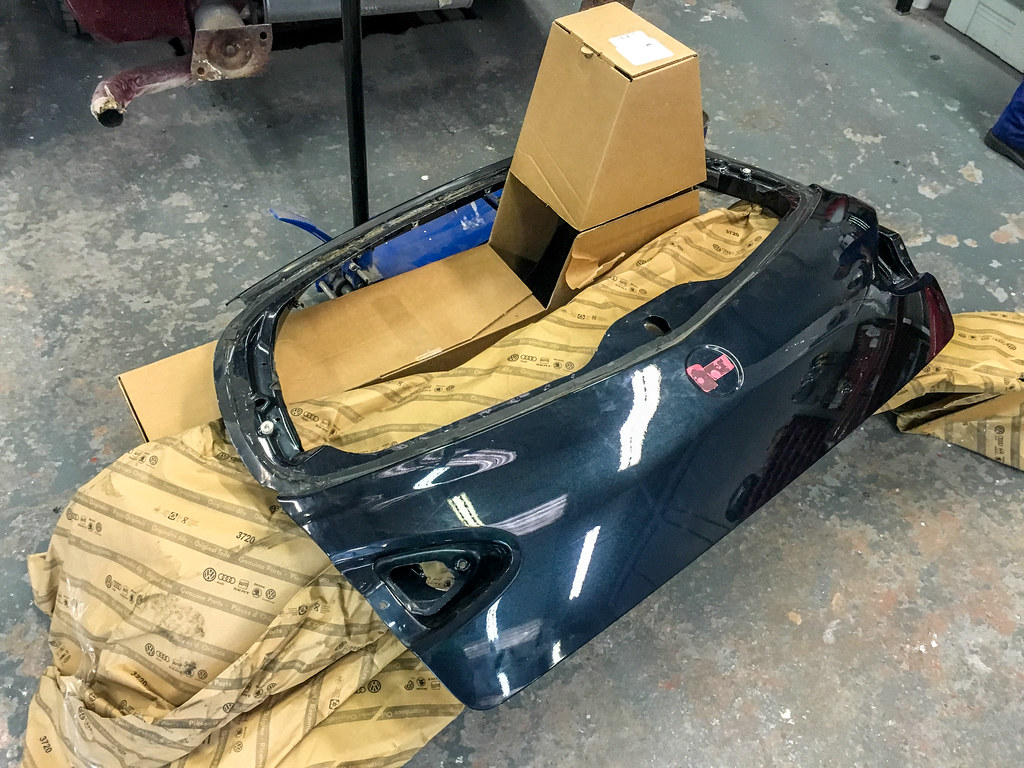
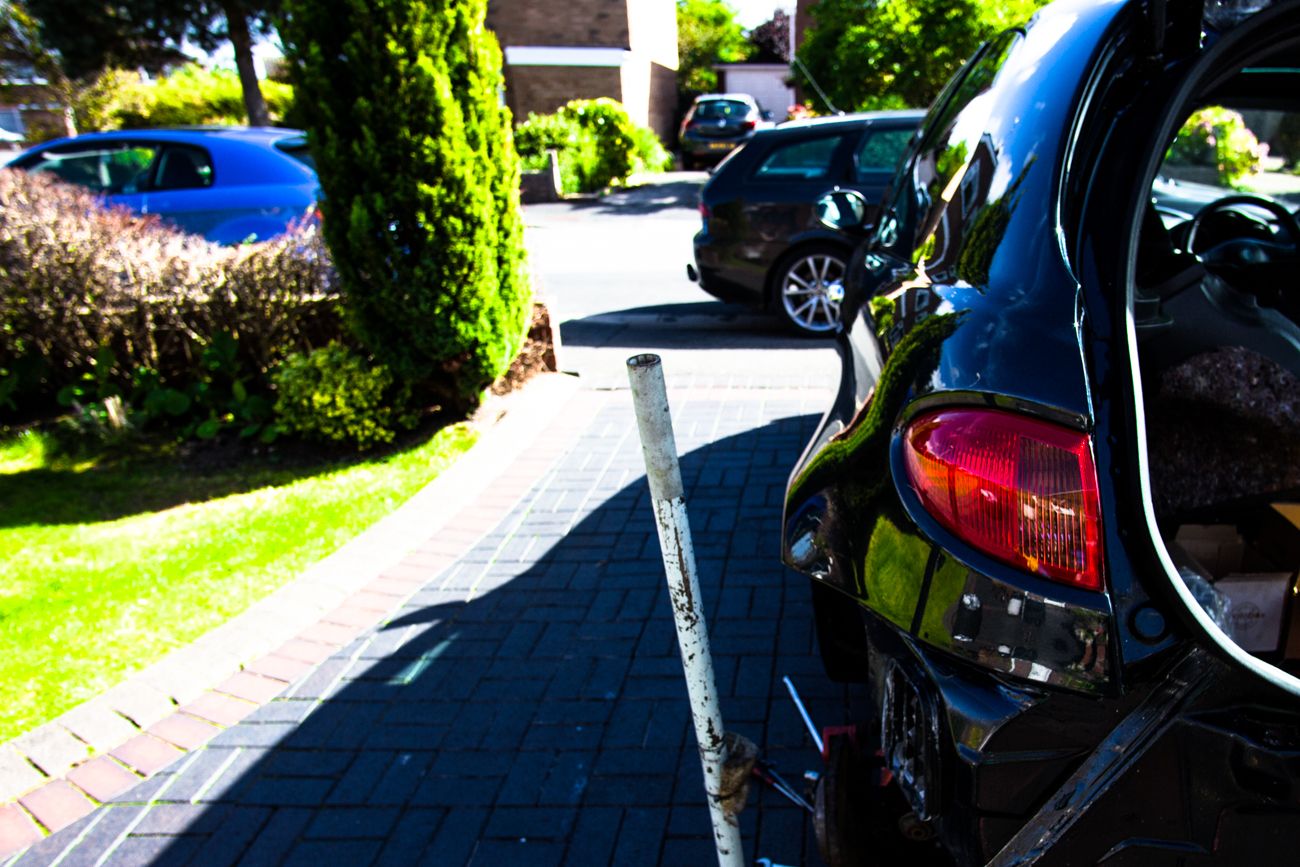
And today to find he'd gotten the rear arch liners out, removed the rear bumper and stripped the reflectors and grills off it.
 IMG_0473 by Chris, on Flickr
 IMG_0474 by Chris, on Flickr
 IMG_0480 by Chris, on Flickr
And today to find he'd gotten the rear arch liners out, removed the rear bumper and stripped the reflectors and grills off it.
IMG_0473 by Chris, on FlickrIMG_0474 by Chris, on FlickrIMG_0480 by Chris, on FlickrEdited by Zombie on Saturday 7th April 22:08
My Dad went over to the body shop yesterday to check on progress. Bonnet was only stone chipped but they've (Alan) taken it back to bare metal. 
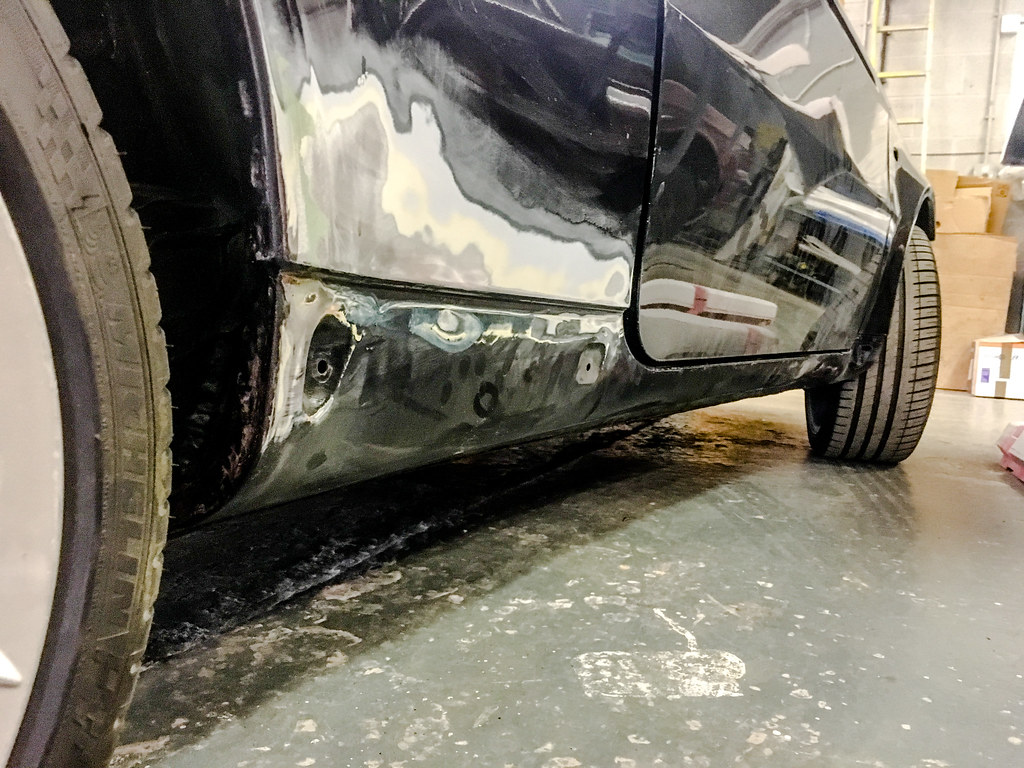
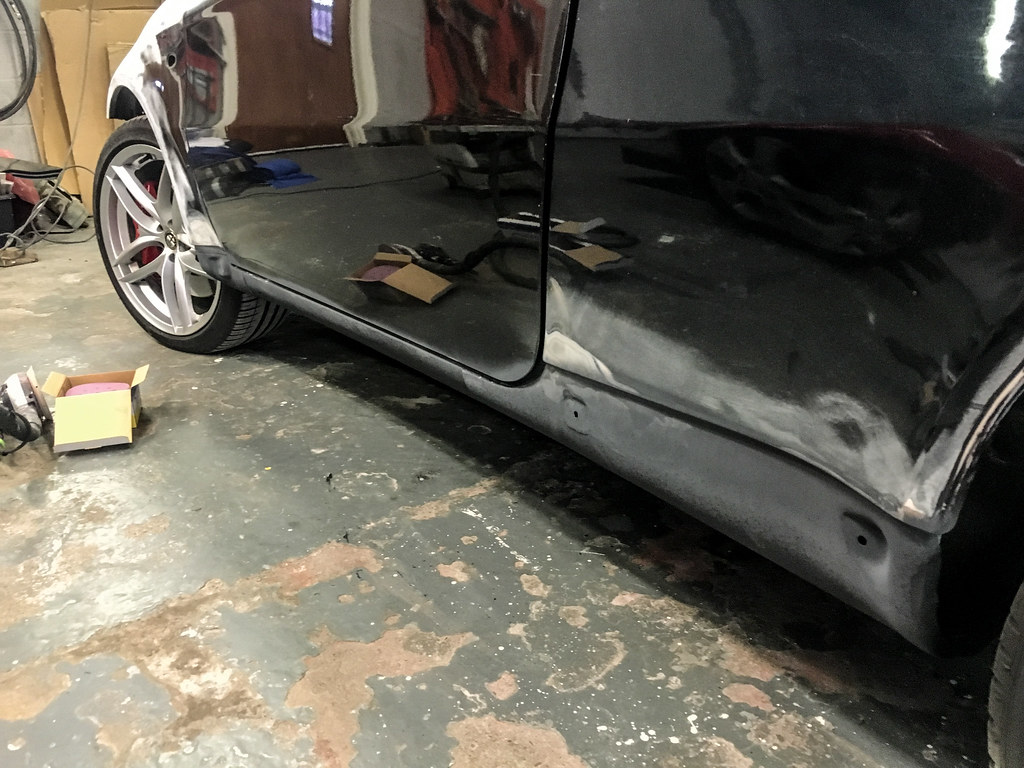
There was some corrosion in the offside sill behind the plastic trim which has been cut out and repaired. It was only evident, to me at least, by the front wing but they've apparently cut out a section running the whole length of the sill.
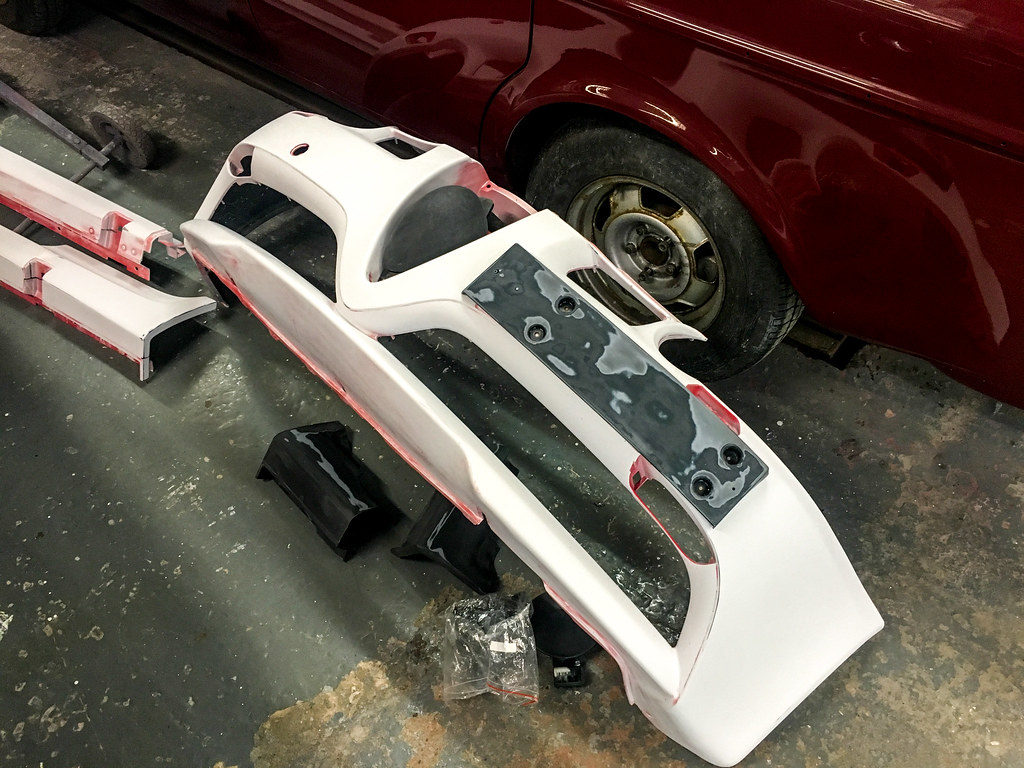
And the rear bumper was in primer. Gloss primer by all accounts. In Alan's words "if the painter can't get a finish on that, he'll be looking for another job" :lol:
They've also been busy knocking out the various dings that cover the body. Knock out as in with a hammer, skill and patience rather than with a tub of filler.
Another one of Alan's quotes was that they only do 1 or 2 jobs like this a year so if you (the lads on the forum) want yours doing, the answer is NO.
It was too dark for my Dad's camera phone, so no pics.
There was some corrosion in the offside sill behind the plastic trim which has been cut out and repaired. It was only evident, to me at least, by the front wing but they've apparently cut out a section running the whole length of the sill.
And the rear bumper was in primer. Gloss primer by all accounts. In Alan's words "if the painter can't get a finish on that, he'll be looking for another job" :lol:
They've also been busy knocking out the various dings that cover the body. Knock out as in with a hammer, skill and patience rather than with a tub of filler.
Another one of Alan's quotes was that they only do 1 or 2 jobs like this a year so if you (the lads on the forum) want yours doing, the answer is NO.
It was too dark for my Dad's camera phone, so no pics.
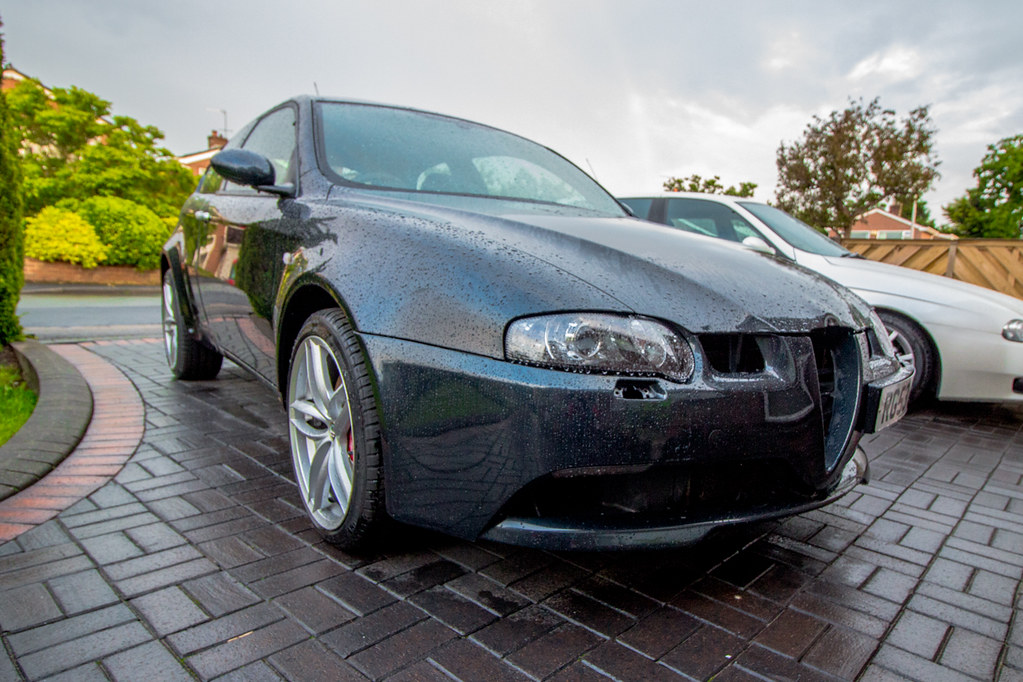
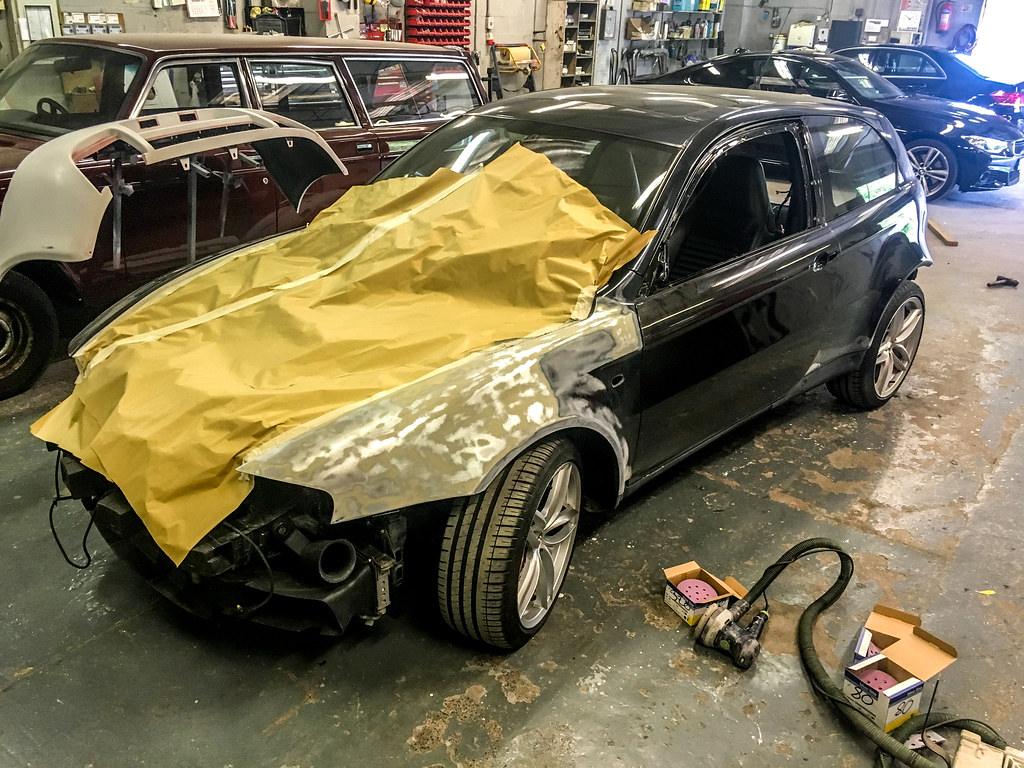
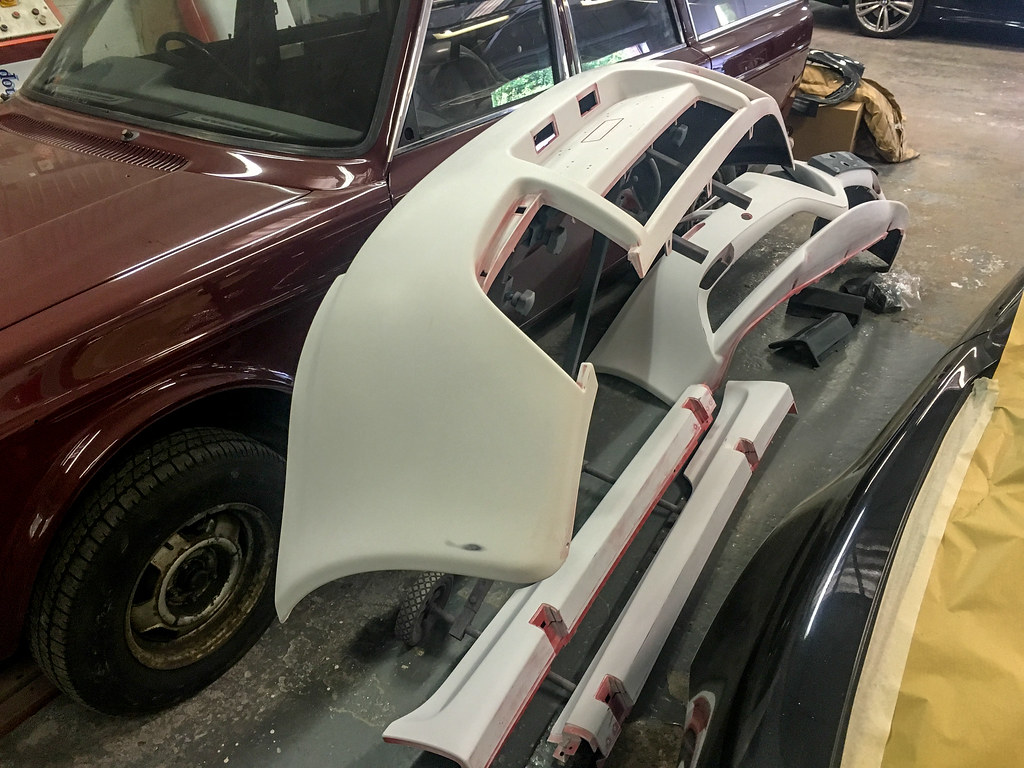
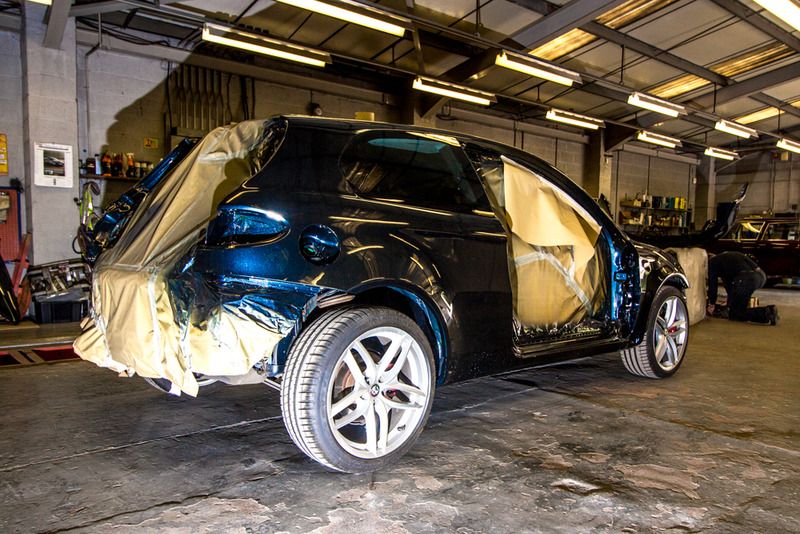
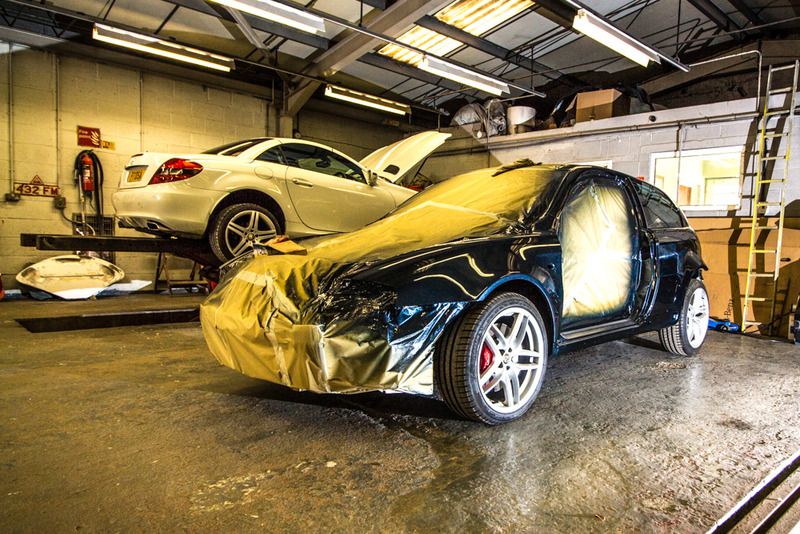
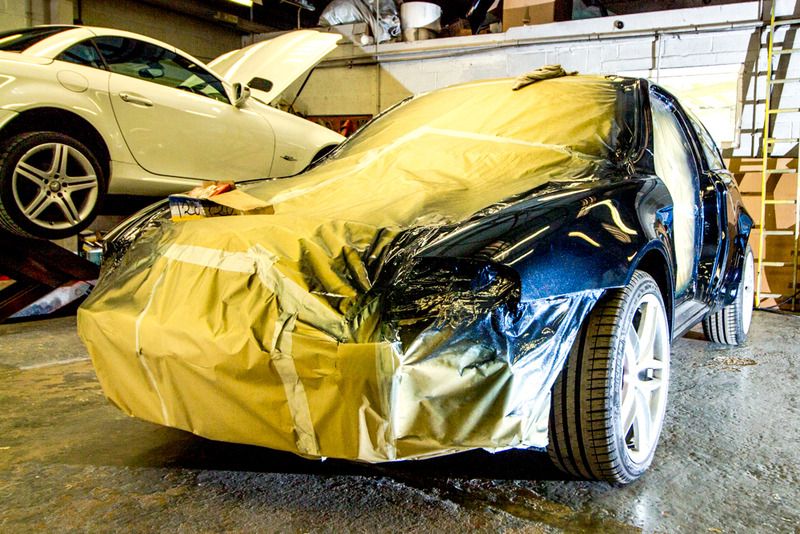
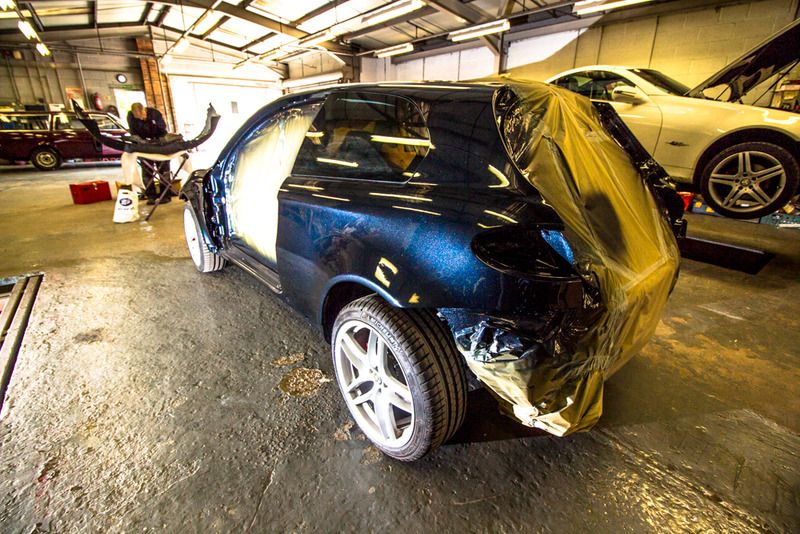
Dropped in to the body shop on my way over to somewhere else today - They're not exactly local, a 40min drive. Had quick gander and took some pics:
 IMG_5034 by Chris, on Flickr
 IMG_5035 by Chris, on Flickr
 IMG_5039-2 by Chris, on Flickr
 IMG_5036 by Chris, on Flickr
After a conversation this morning it was agreed that the bottled needed to come off and the glass out. All because of a little problem that could have bubbled into something of a real problem;
 IMG_5040 by Chris, on Flickr
 IMG_5042 by Chris, on Flickr
 IMG_5043-2 by Chris, on Flickr
IMG_5034 by Chris, on FlickrIMG_5035 by Chris, on FlickrIMG_5039-2 by Chris, on FlickrIMG_5036 by Chris, on FlickrAfter a conversation this morning it was agreed that the bottled needed to come off and the glass out. All because of a little problem that could have bubbled into something of a real problem;
IMG_5040 by Chris, on FlickrIMG_5042 by Chris, on FlickrIMG_5043-2 by Chris, on FlickrGreat progress, and nice to have a shop you can check in on. Have you got before/after on the dents? This is going to be an excellent record for you - definitely a keeper!
I was all ready to PM you for their details as my 164 will (eventually) need similar treatment, but I understand it if it's a bit too laborious.
I was all ready to PM you for their details as my 164 will (eventually) need similar treatment, but I understand it if it's a bit too laborious.
davebem said:
Going to look amazing once done, that colour always looks much better in the flesh. I dont know how you have the patience though, having my car away for so long would drive me nuts.
Yeah, I'm pleased with it so far but it's going to be another month before I get it back.  Really starting to miss it now.
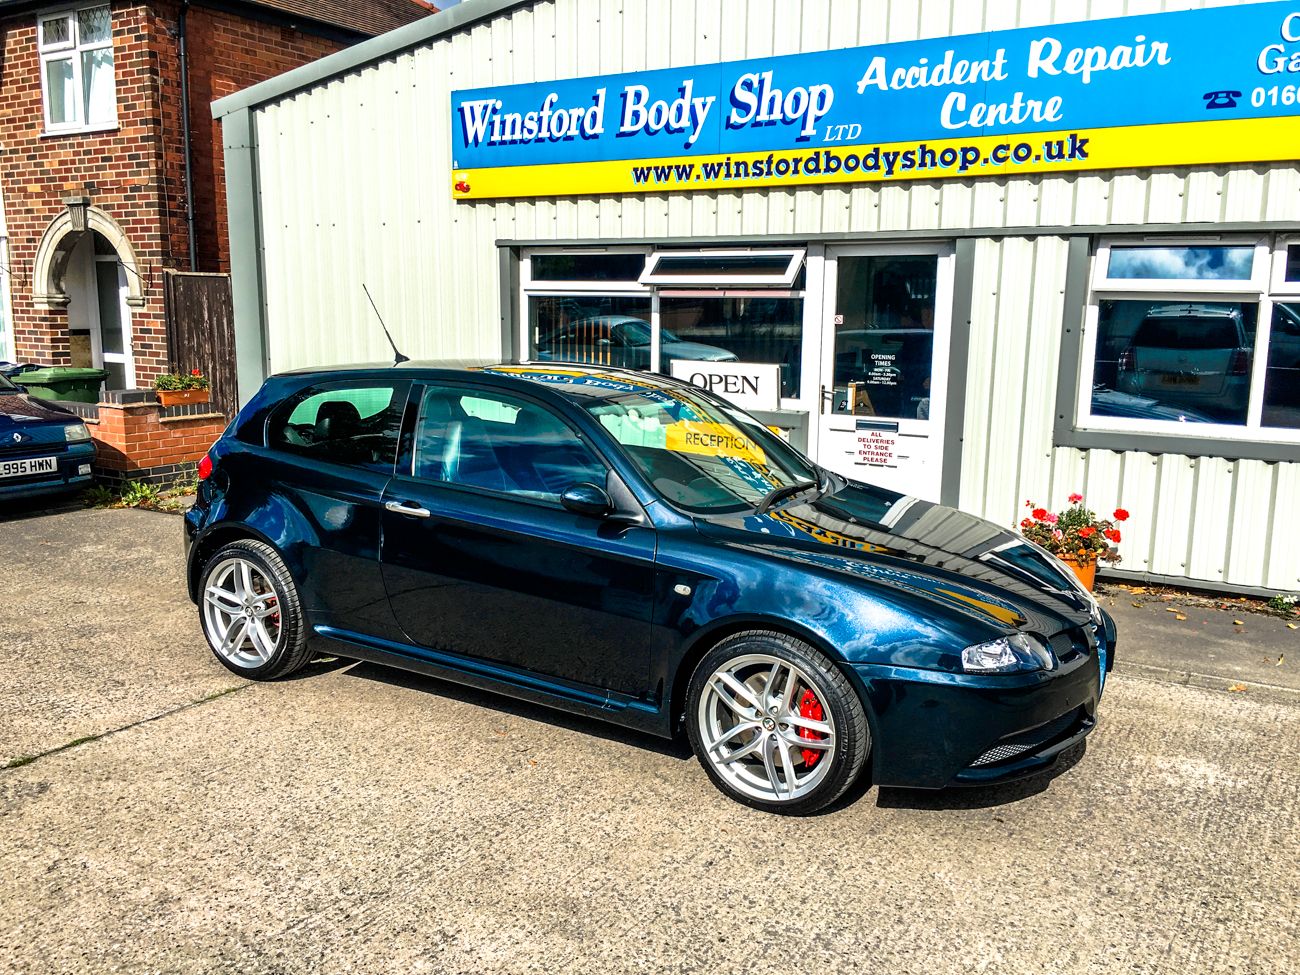
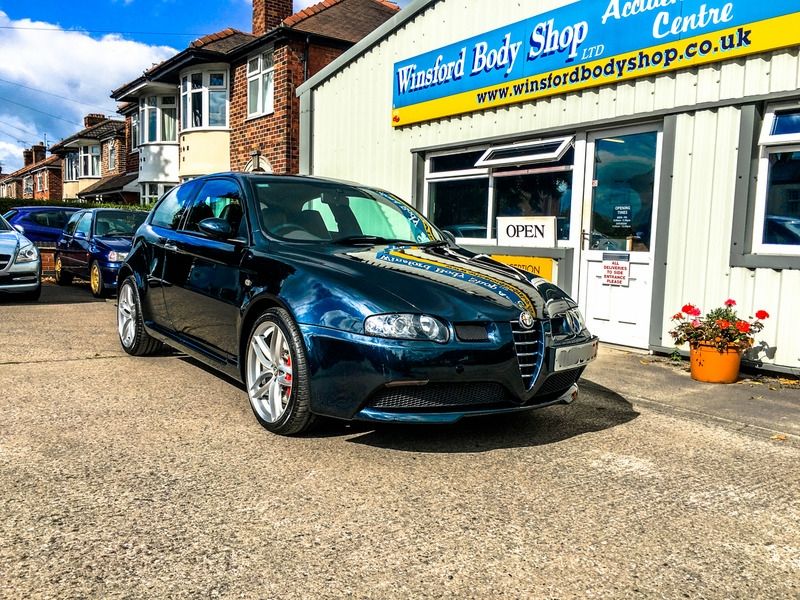
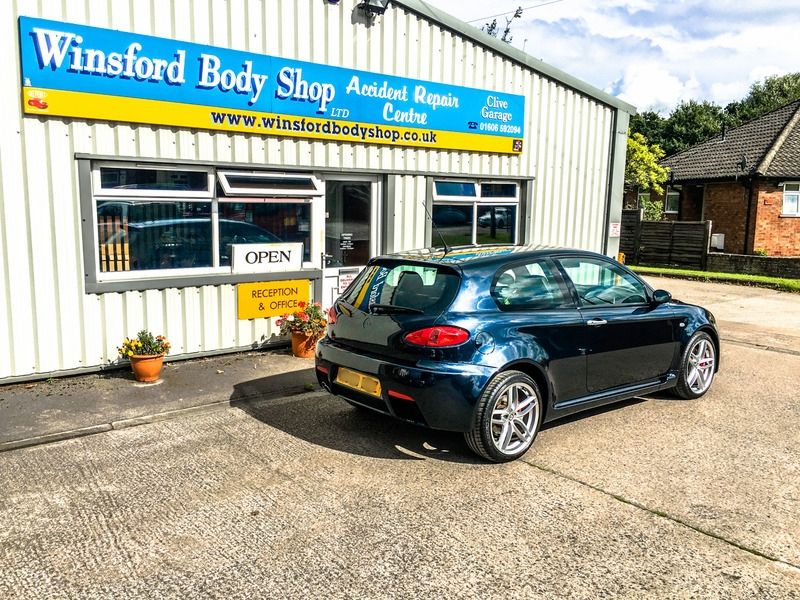
Picked it up today...
Happy doesn't cover it. It looks mega
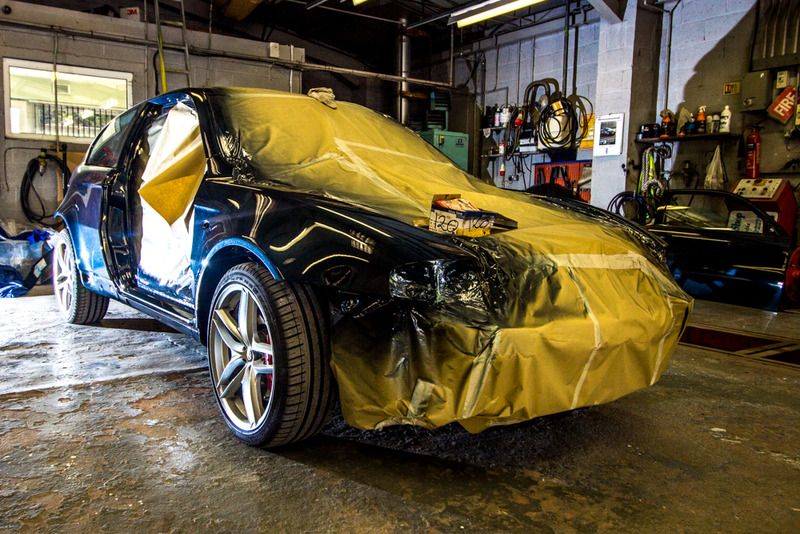
At the bodyshop (Taken using an iPhone)
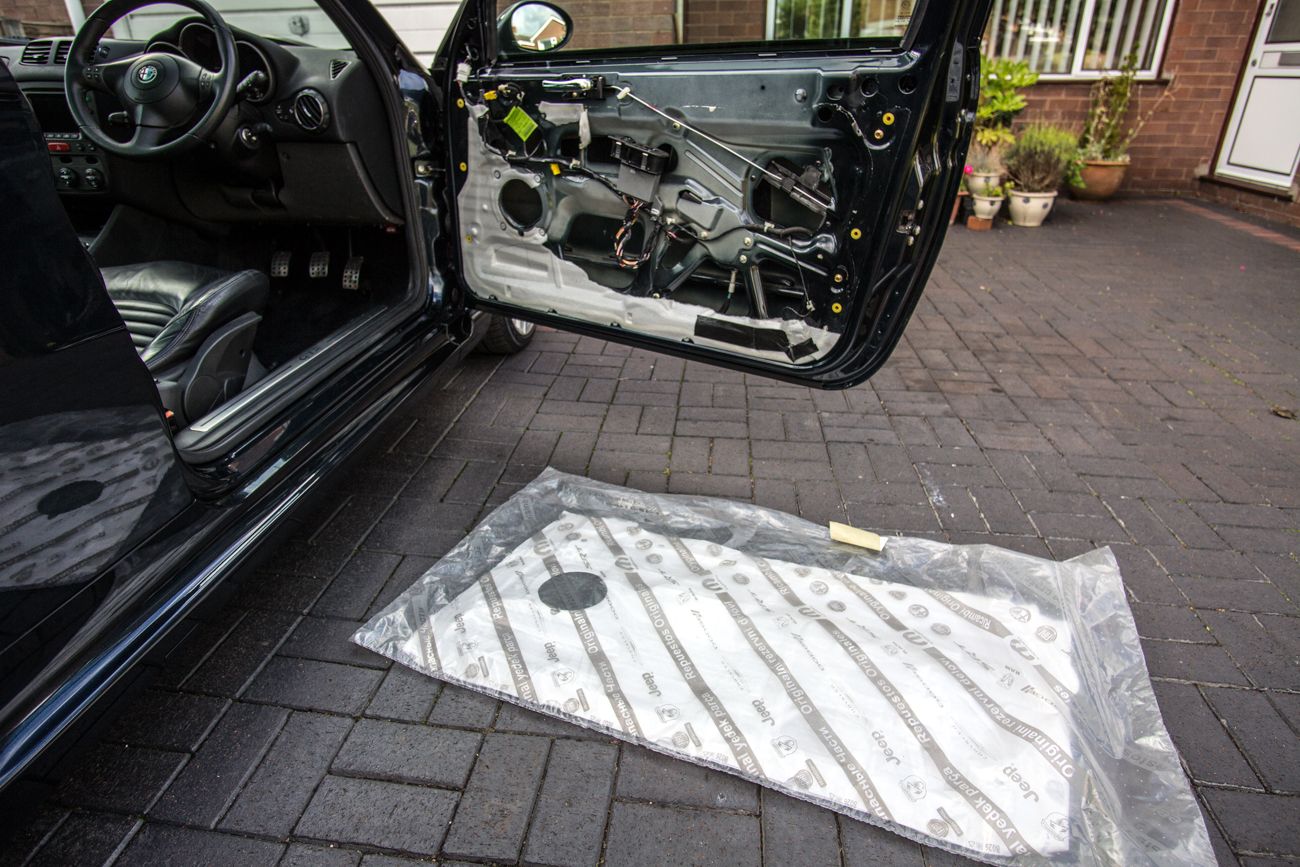
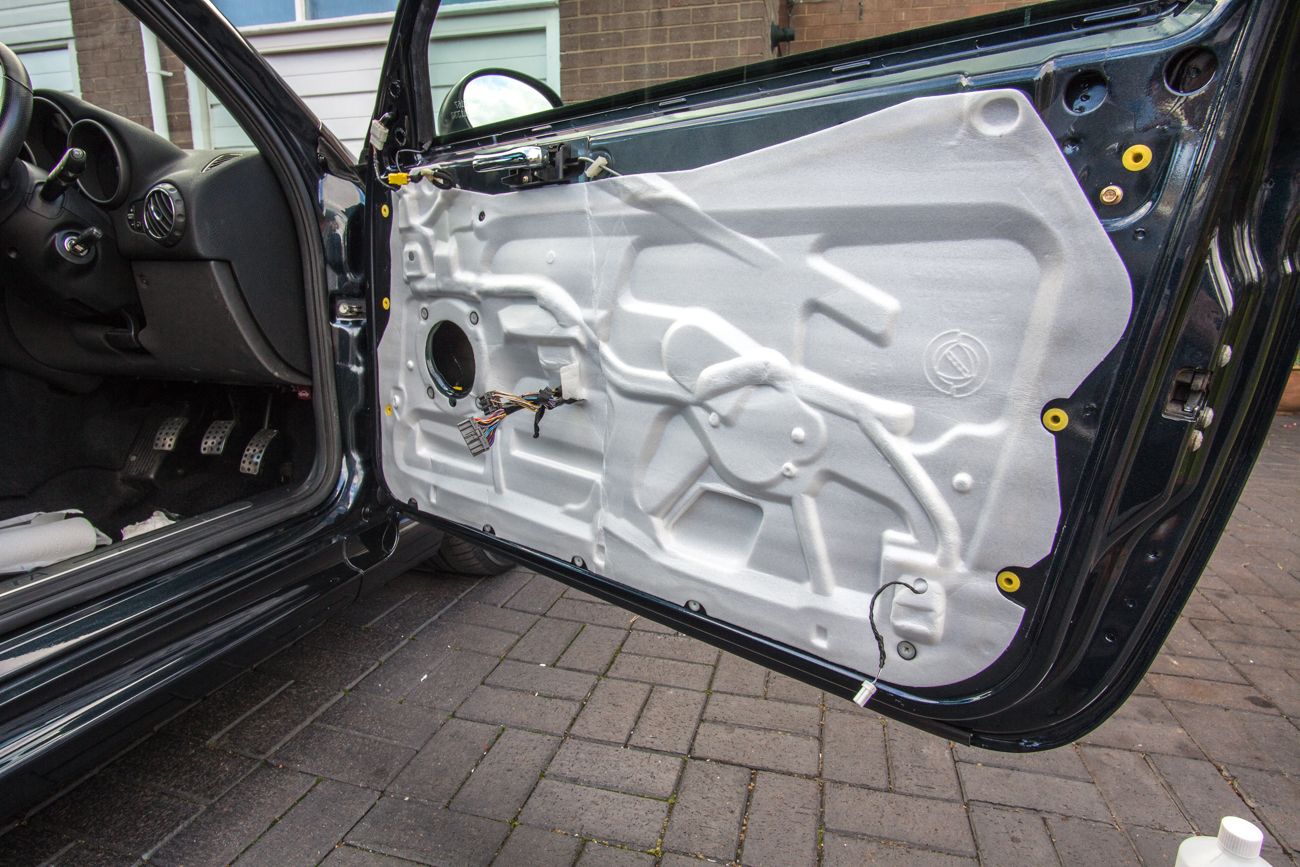
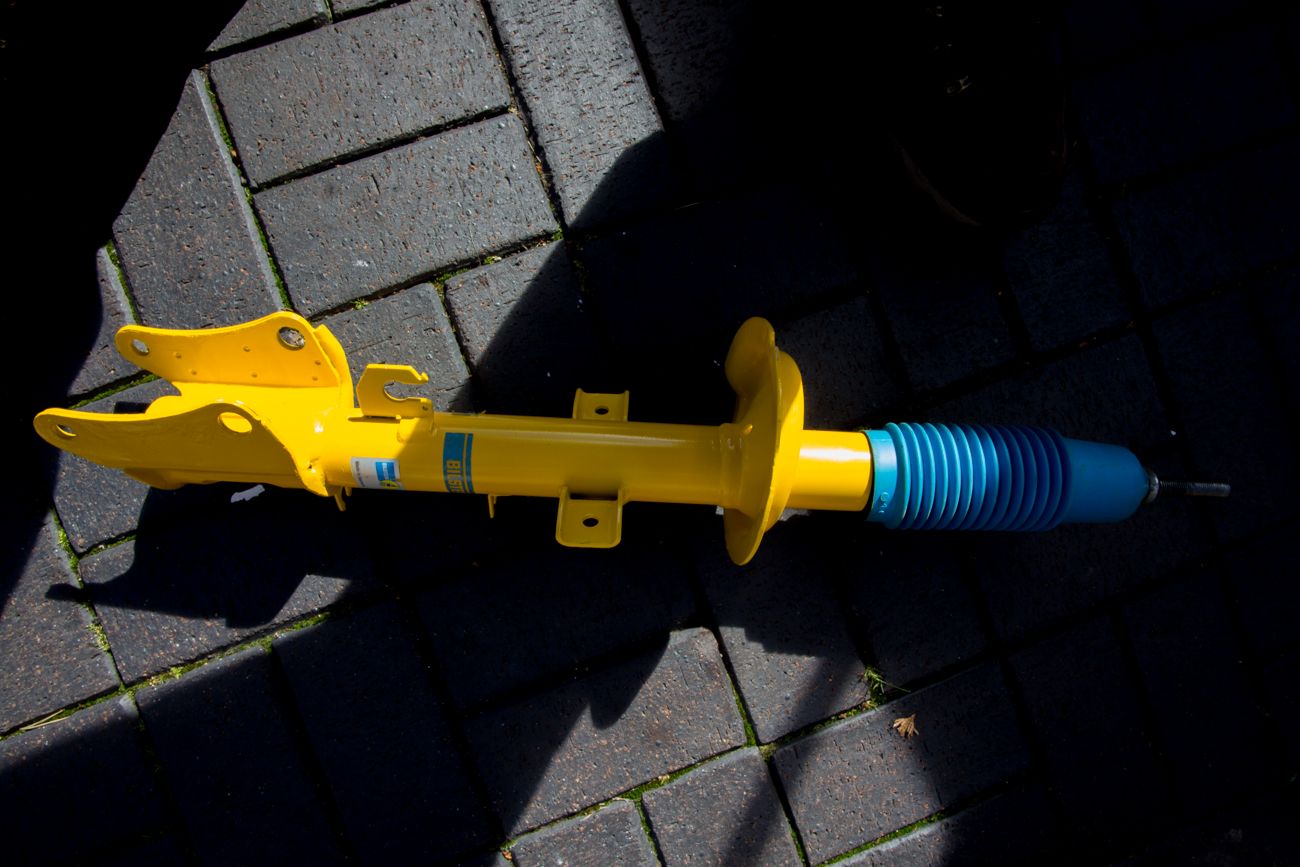
Still quite a bit to do though. Bilstein B8's being a major example. Which means I can't put the boot back together. I started with the doors instead, which needed new liners;
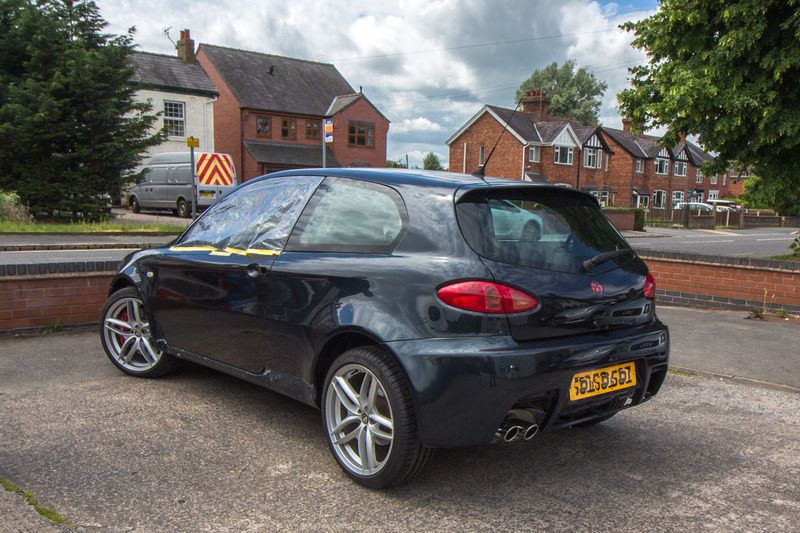
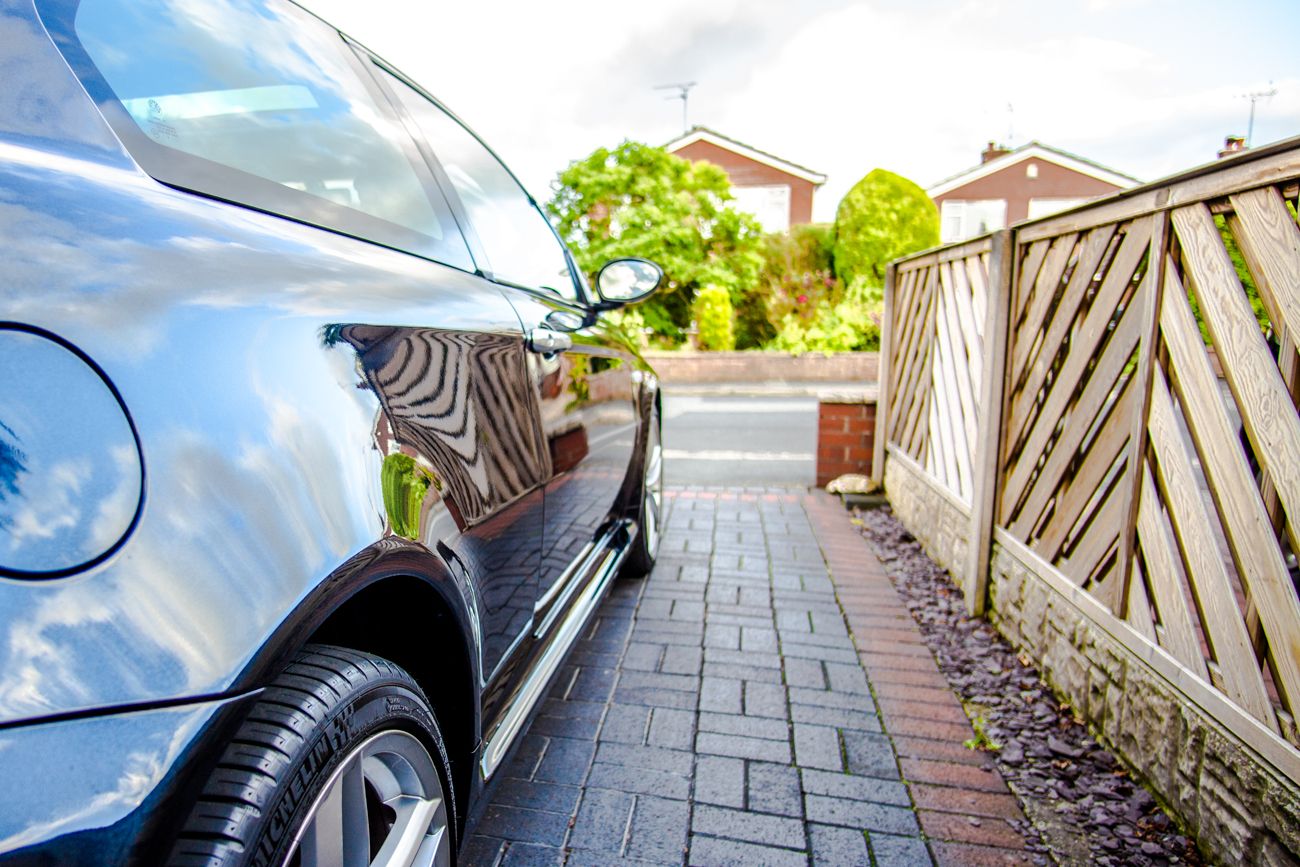
And a couple of shots down the flanks. It really is a weird colour, cosmos blue. It looks black until it's in direct sunlight. - For reference, the 156 next to it IS metallic black.

Happy doesn't cover it. It looks mega
At the bodyshop (Taken using an iPhone)
Still quite a bit to do though. Bilstein B8's being a major example. Which means I can't put the boot back together. I started with the doors instead, which needed new liners;
And a couple of shots down the flanks. It really is a weird colour, cosmos blue. It looks black until it's in direct sunlight. - For reference, the 156 next to it IS metallic black.
Edited by Zombie on Saturday 7th April 22:12
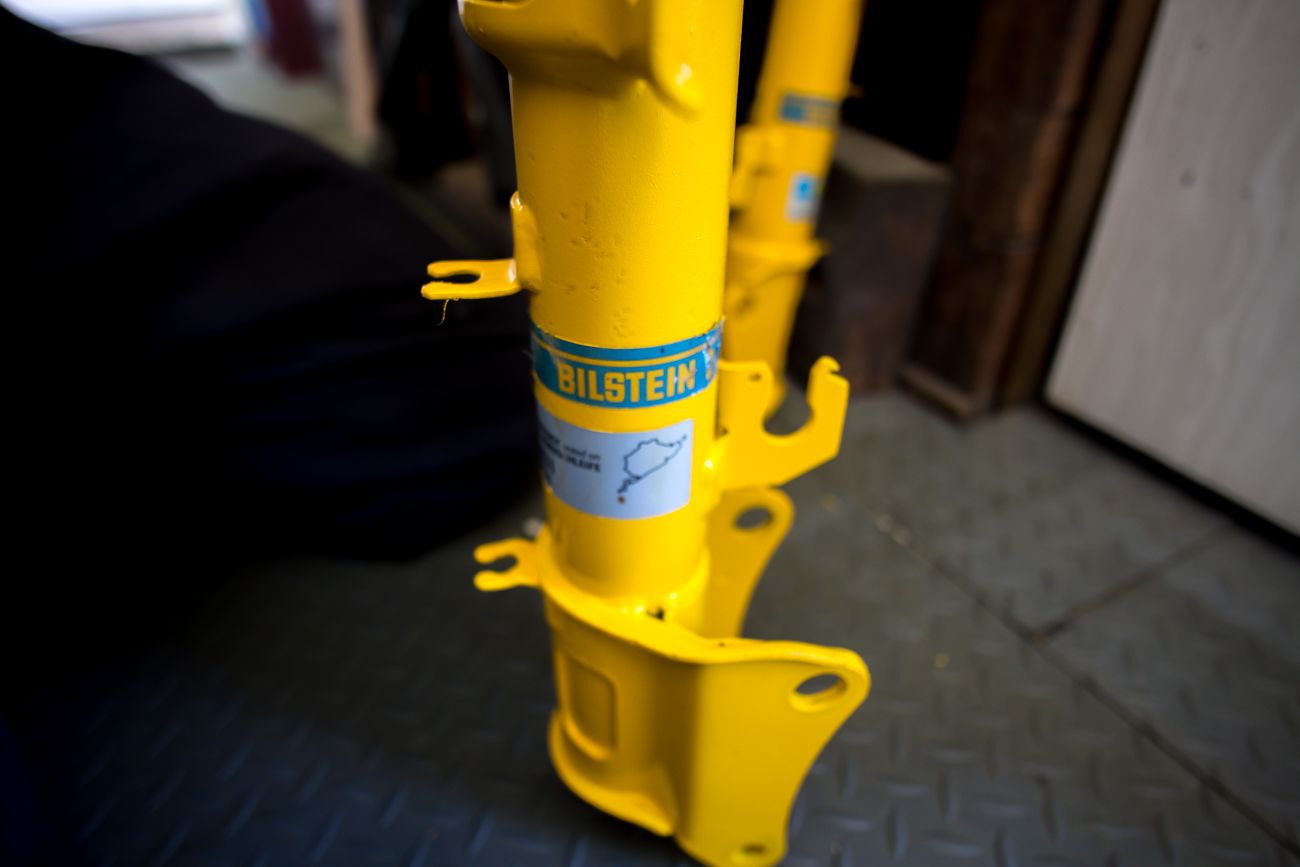
Next step. Bilstien B8's and Eibachs. Plus other "sundries".
Existing ride height
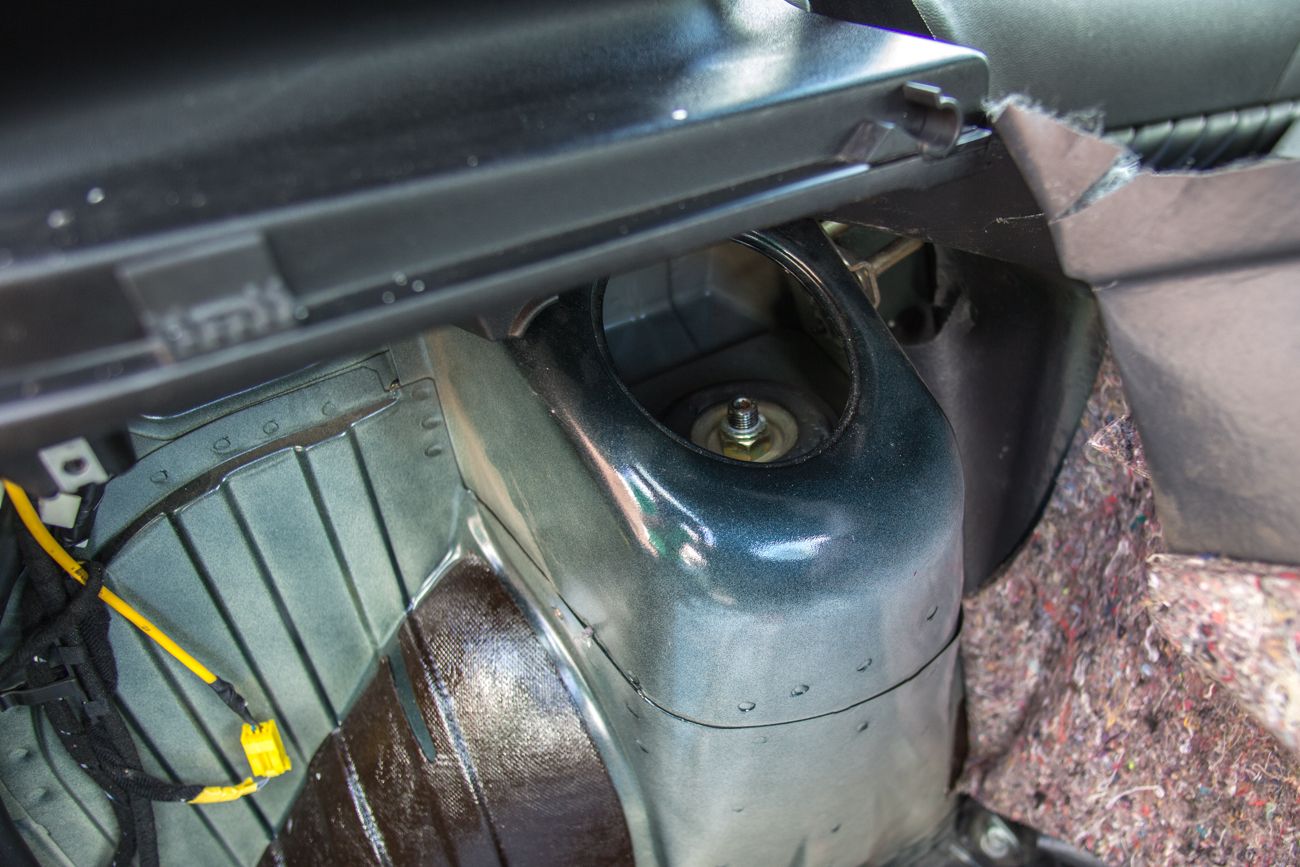
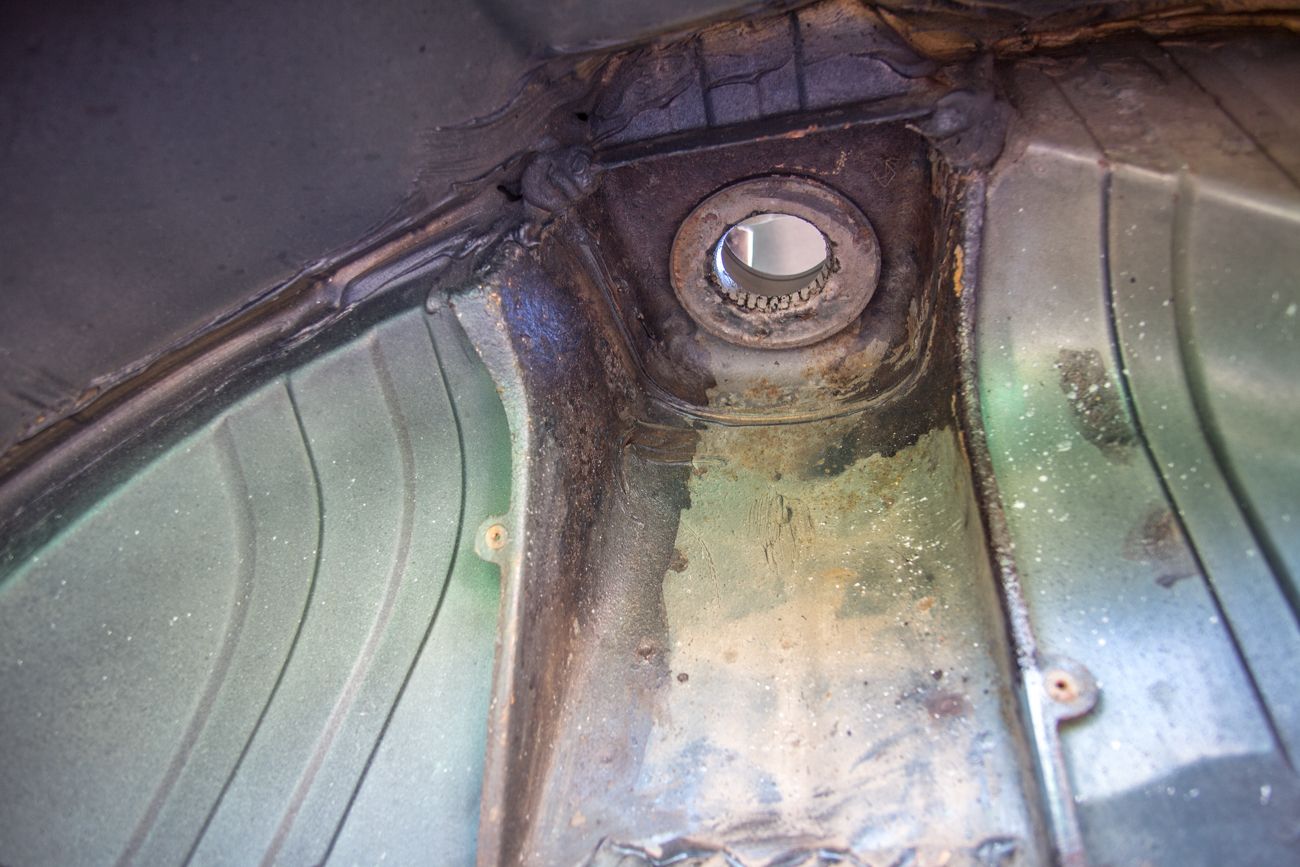
Which starts here with the boot stripped down and the suspension turret exposed
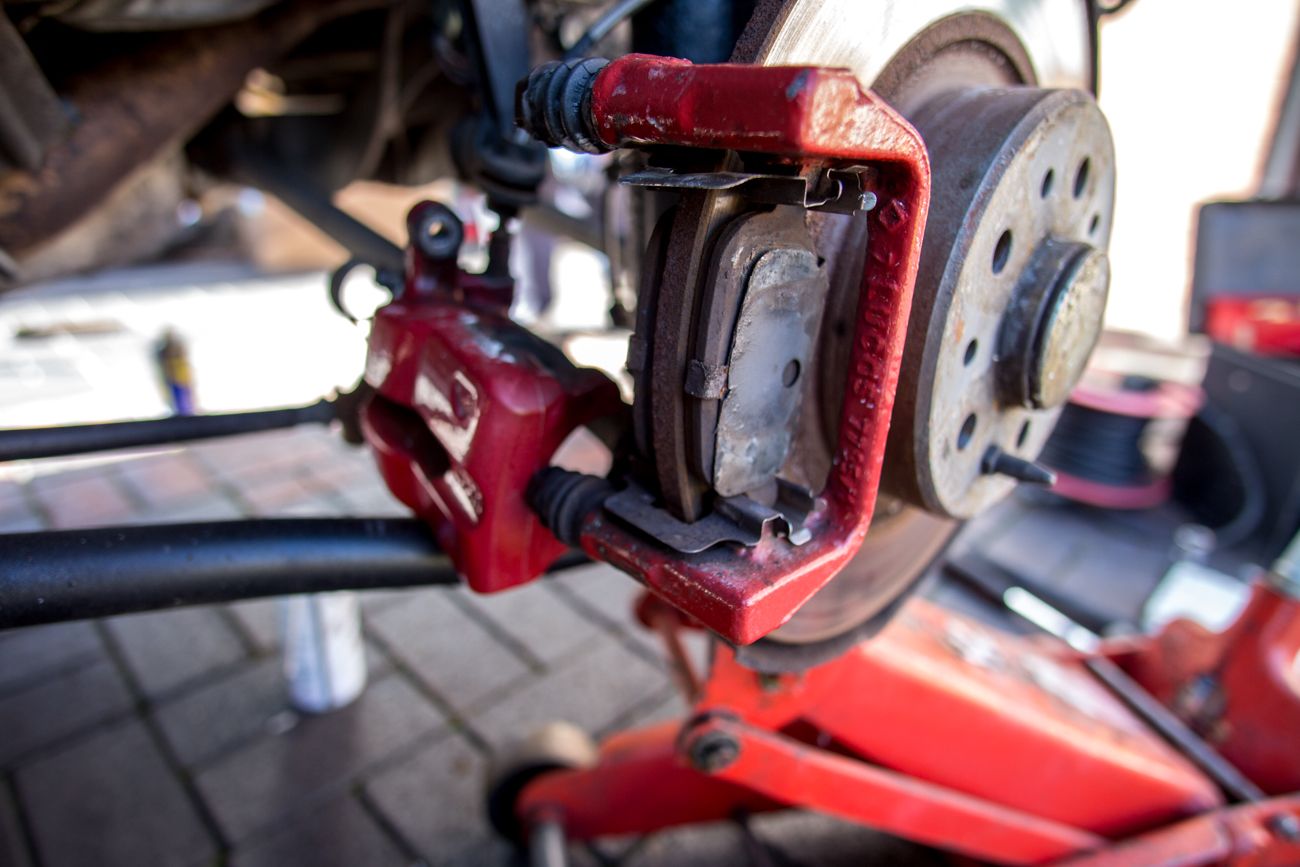
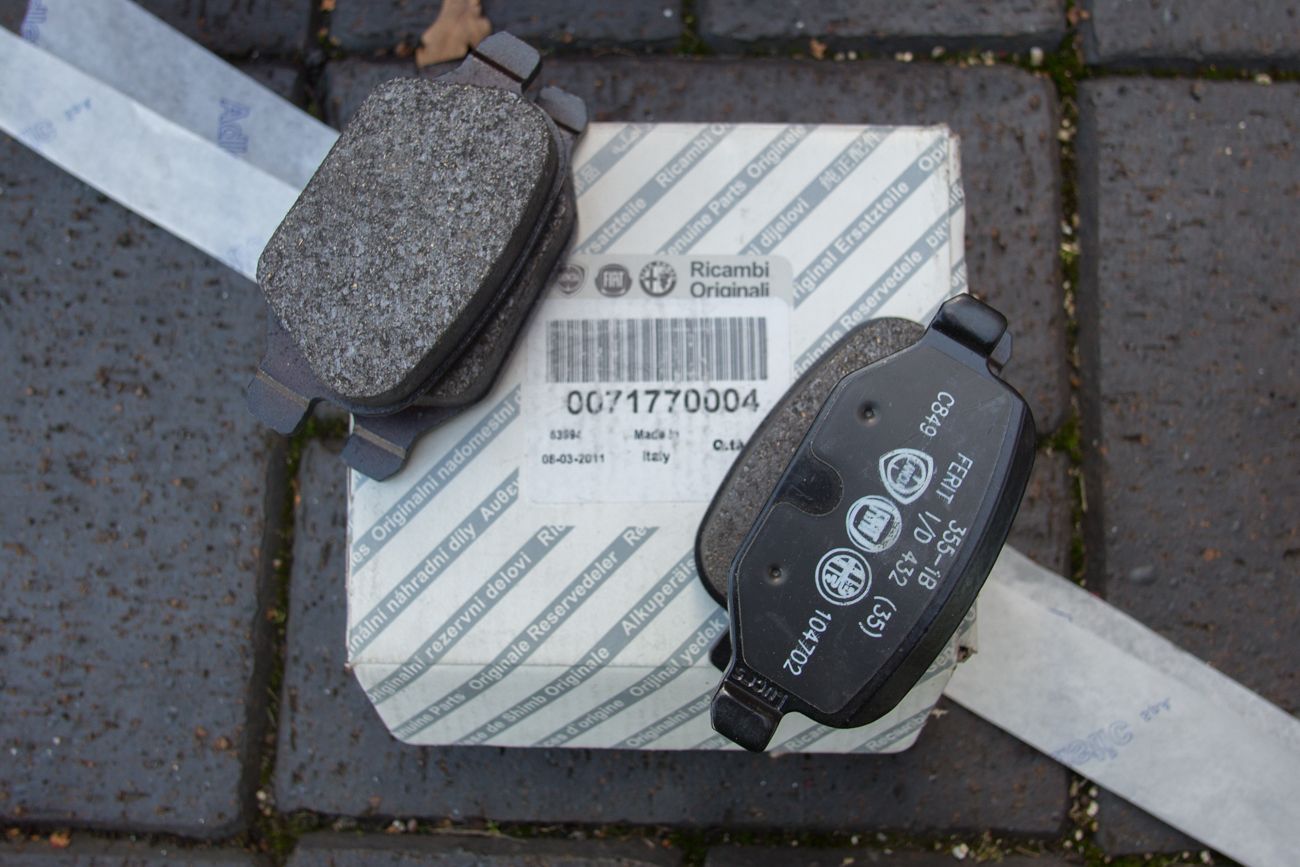
Moving on. This wasn't in the plan. Worn out brake pads. But my Dad (thanks Dad!) had some genuine pads in stock...
The bolts that go through the rear hub are a PITA.
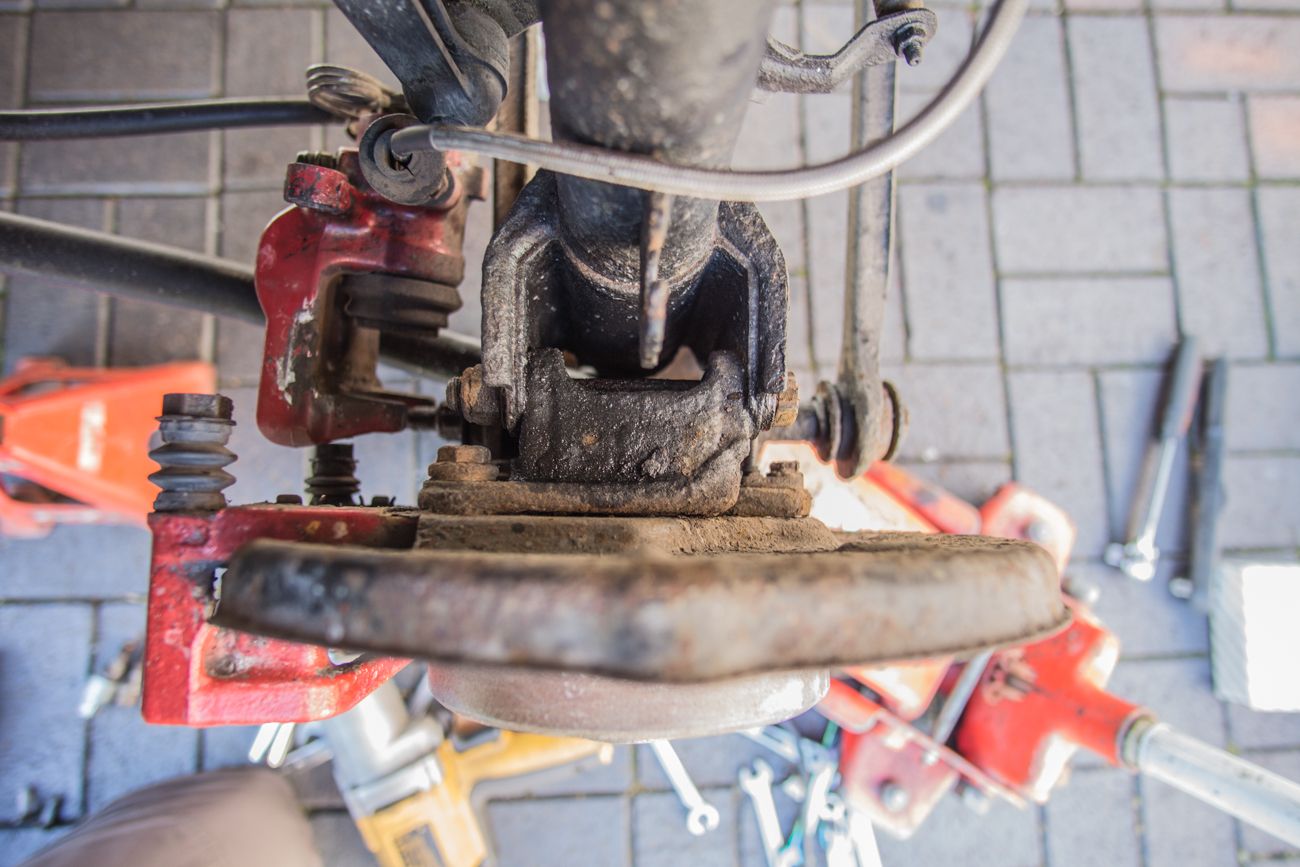
The shank is exposed between the hub faces and corrodes making its almost impossible to remove.
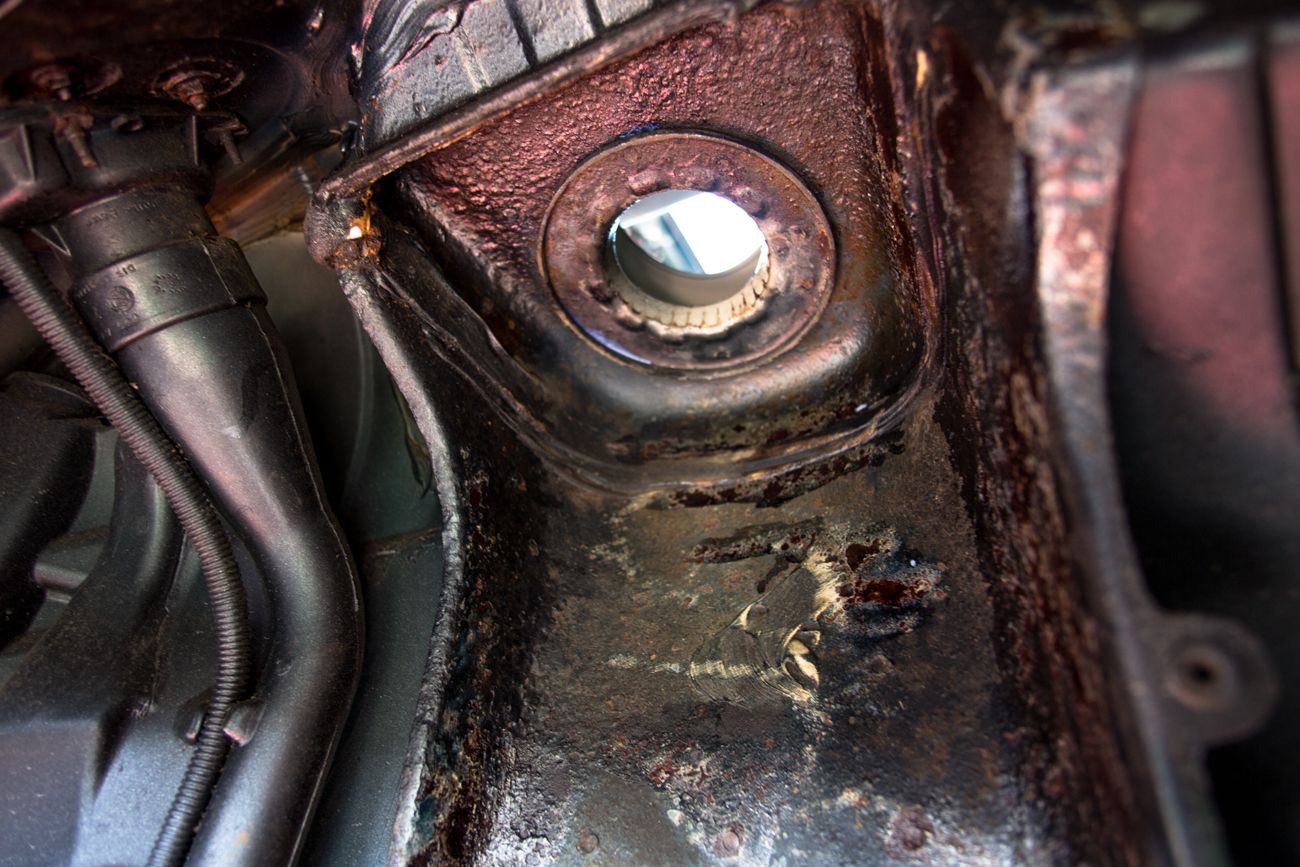
The strut tops are known for corroding and welding themselves in place but I squirted them with some fancy lube the bikers like and they almost dropped out.Normally they require percussion removal which doesn't do them much good.
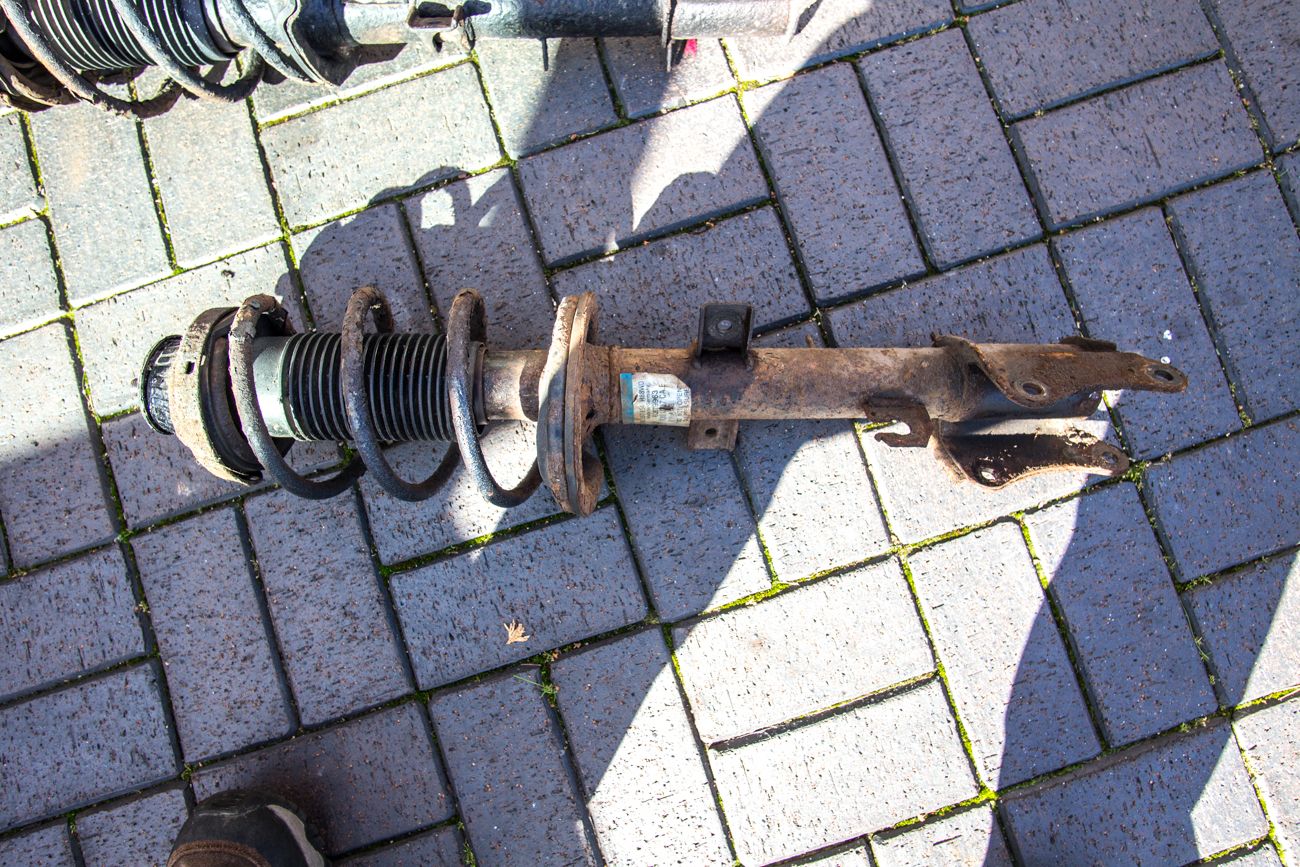
The dampers were fubar and destined to munch one of the rear tyres in a short space of time
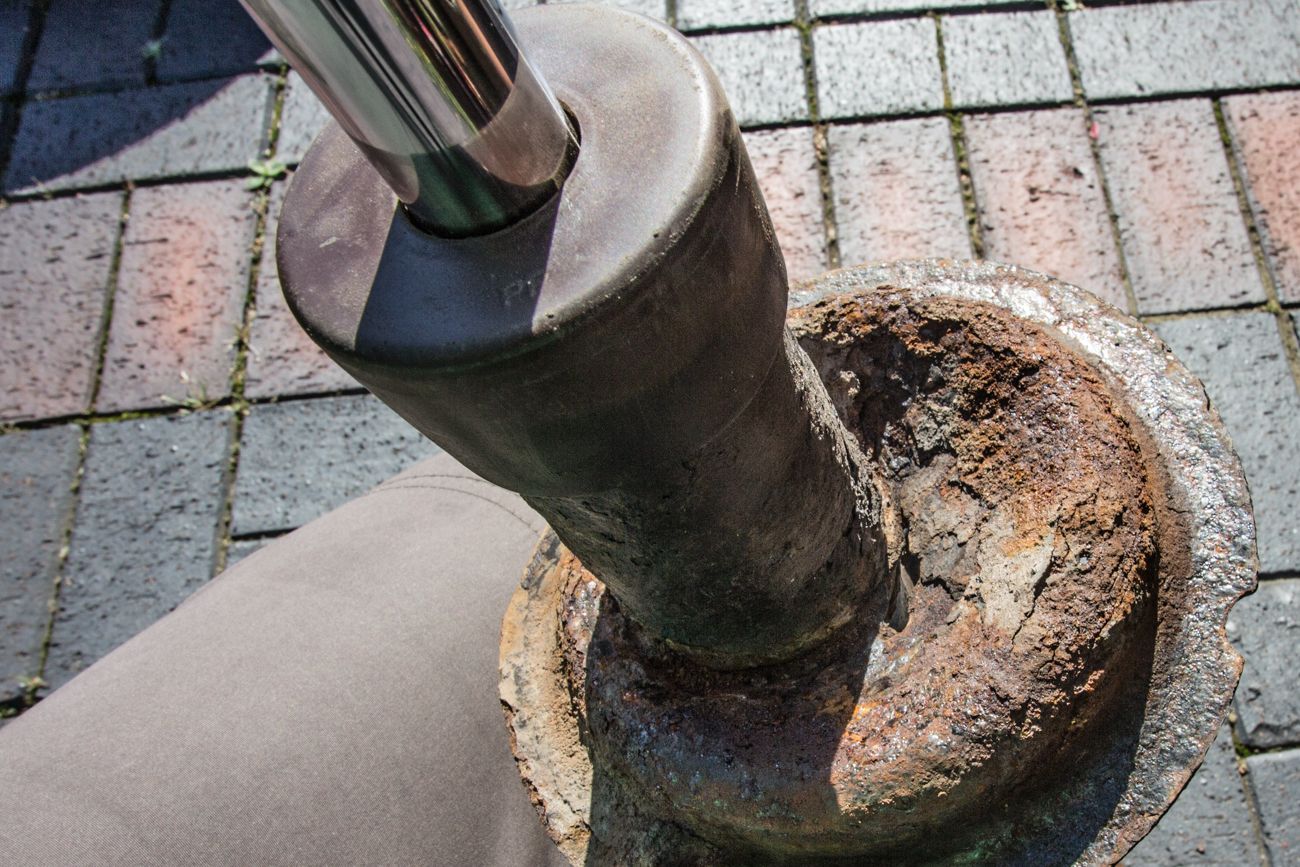
They'd also corroded where the bumb stop sits;
The strut tops aren't that bad but genuine new ones had been found on eBay... (Thanks Dad!)
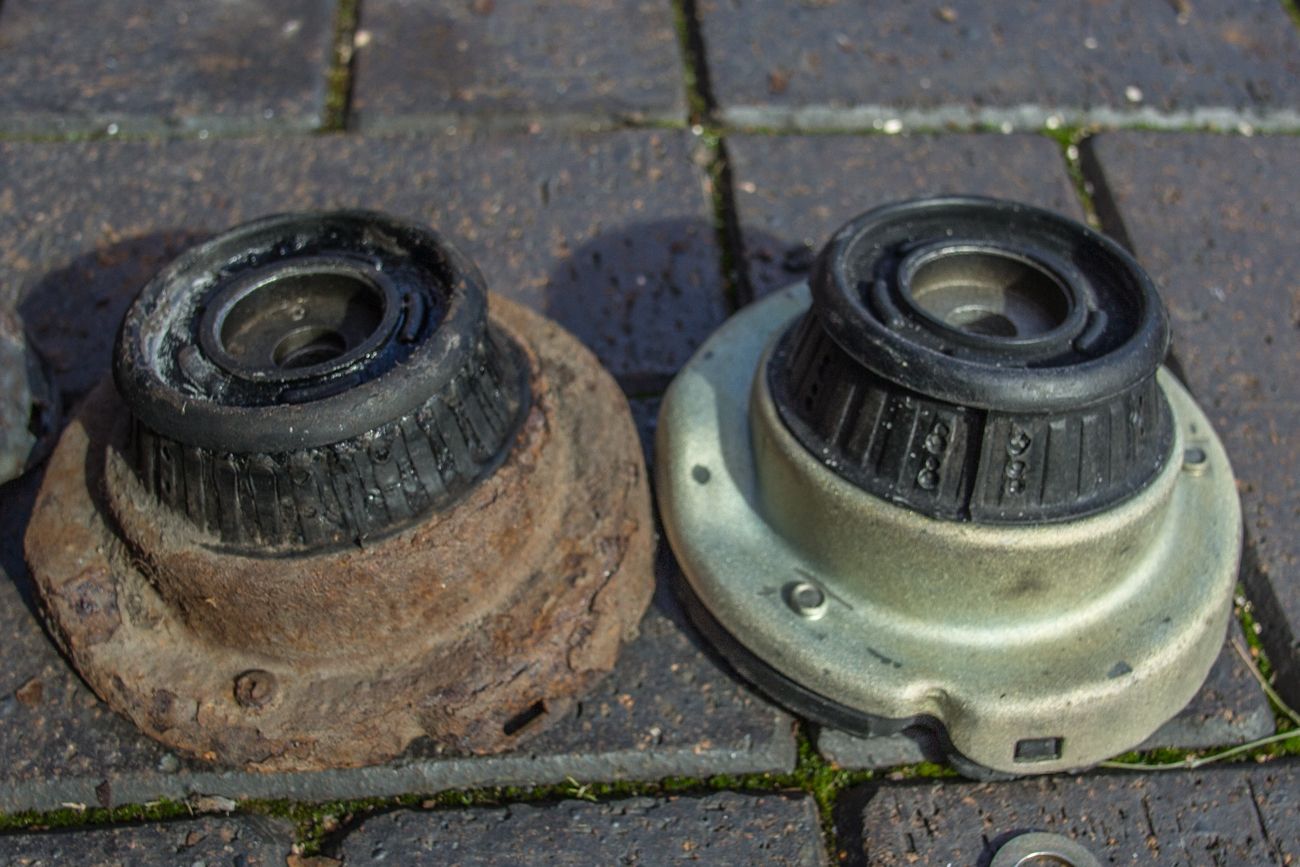

The turrets were showing surface rust so we've cleaned them up, chemically treated the rust and blasted them with stone chip and a wax oil type grease.
Things went a bit Pete Tong with the ARB bushes. The bolts snapped.
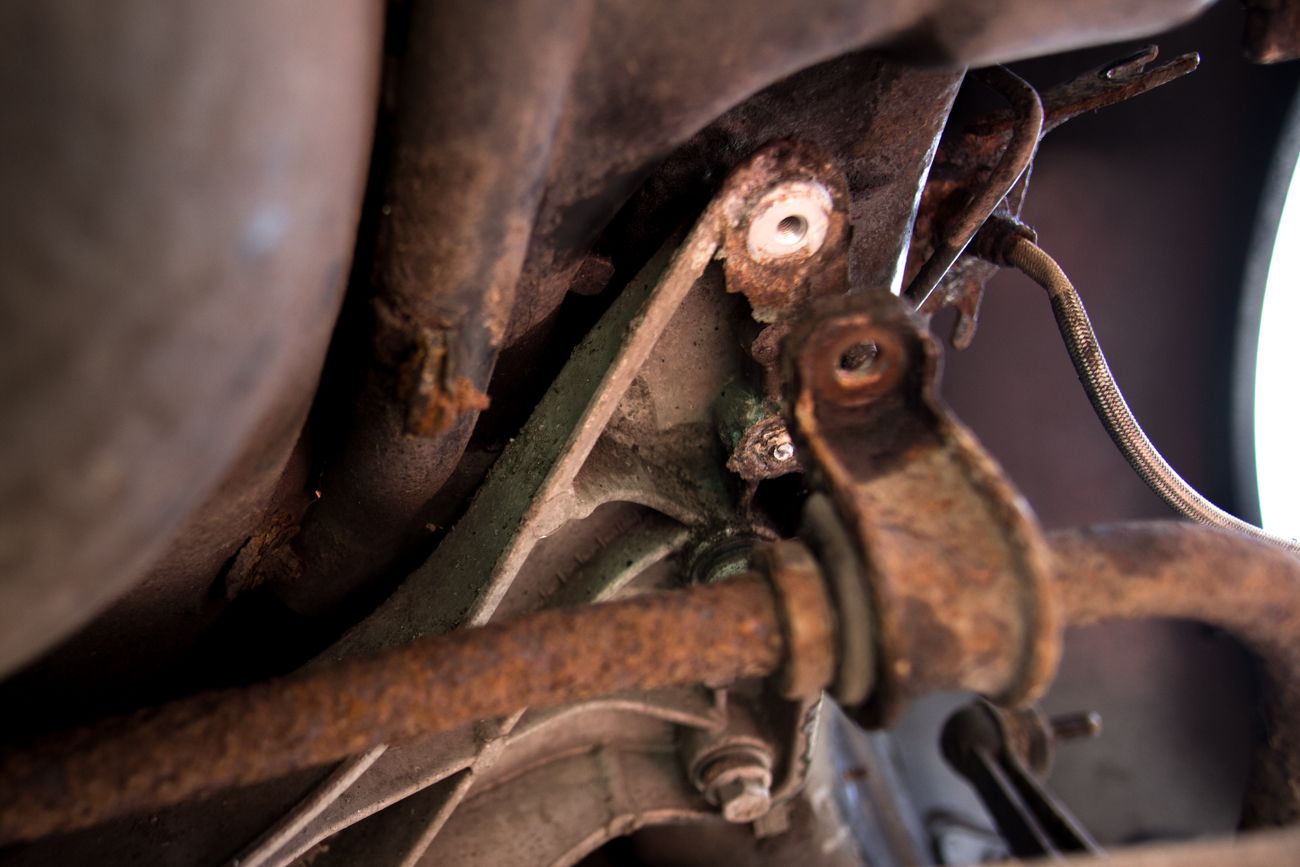
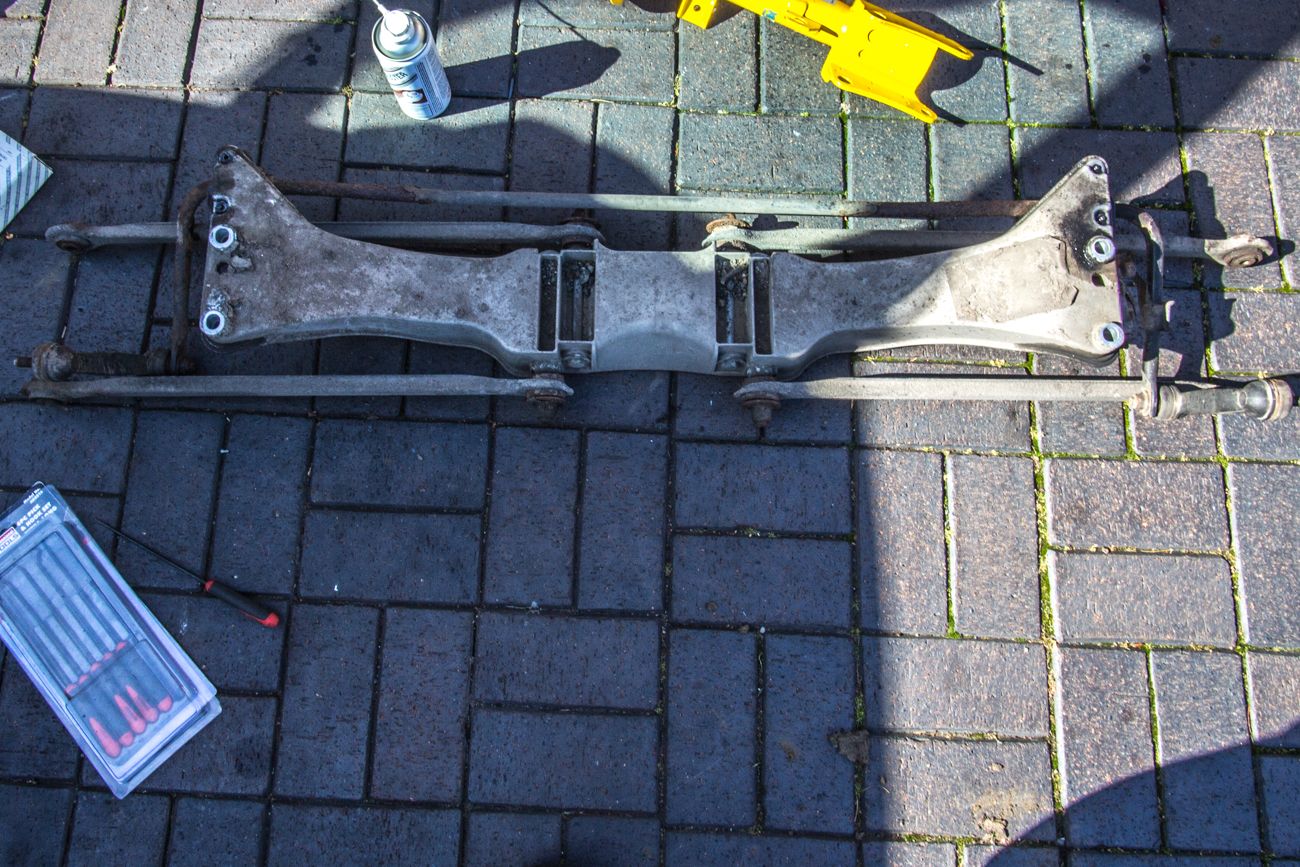
This wan't entirely unexpected though. Removing the subframe at this point is just 4 bolts and it drops out with the traverse arms.
And as it was out, that was the time to make sure the tracking adjustment (eccentric inner bolts) was free and does actually work. They didn't.
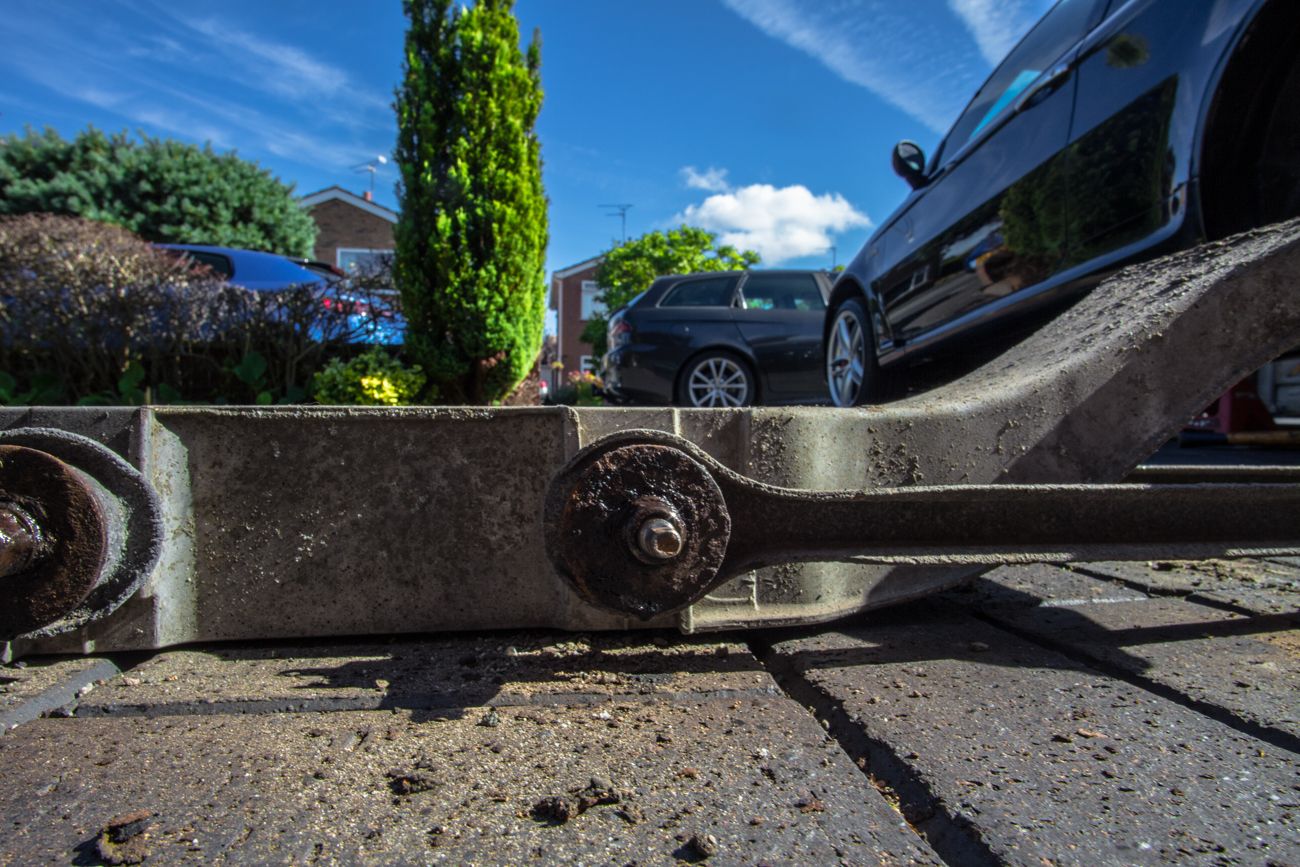
Rear view of the non adjustable rear traverse arms
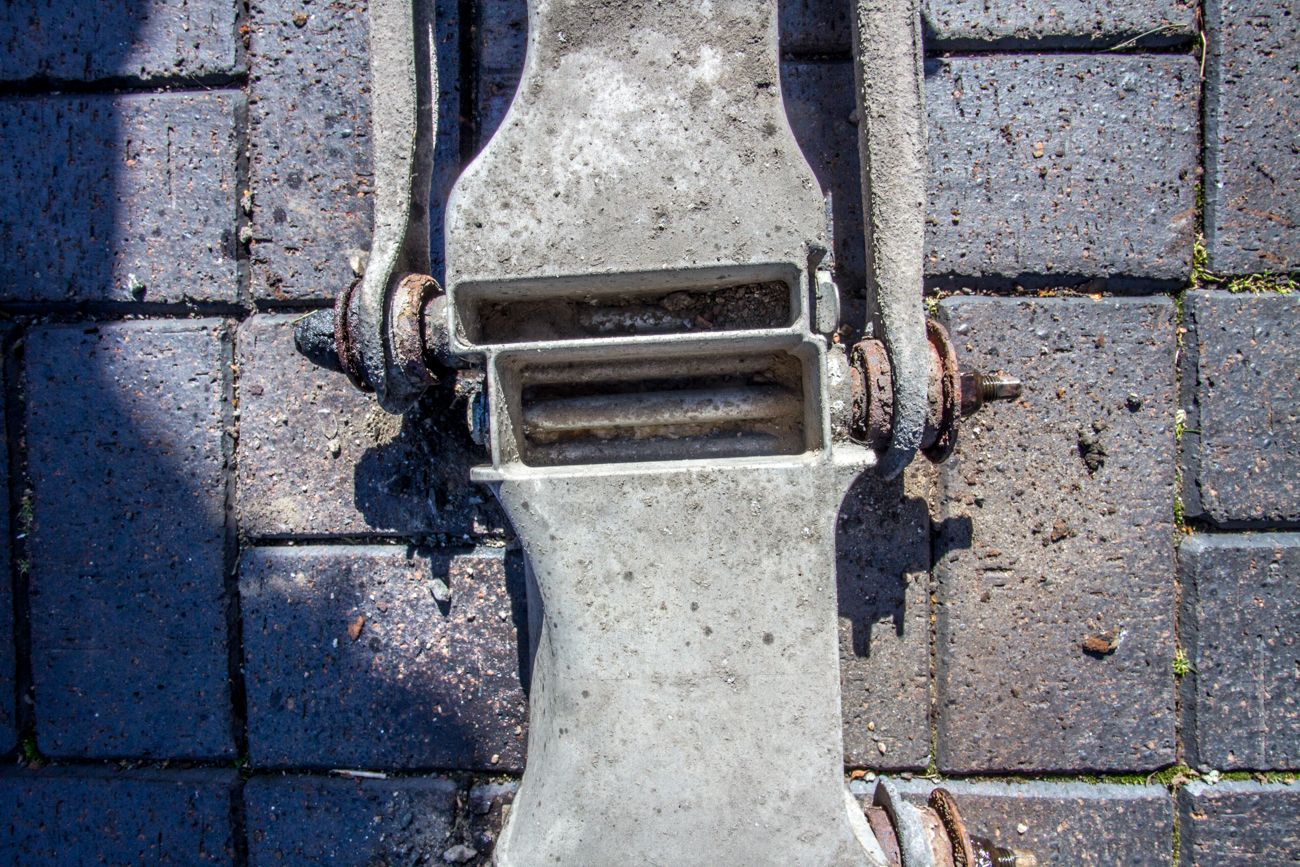
Top view
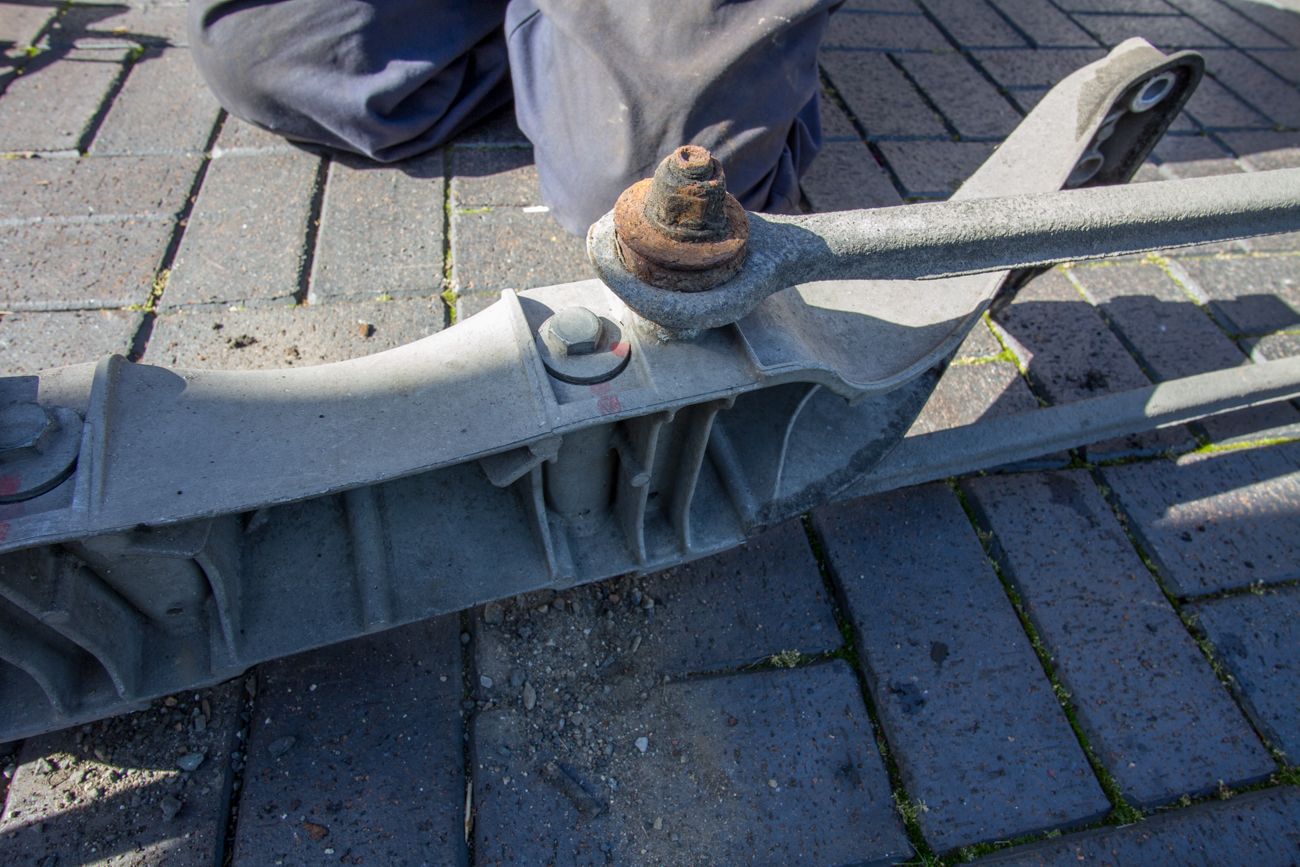
Front/underside view
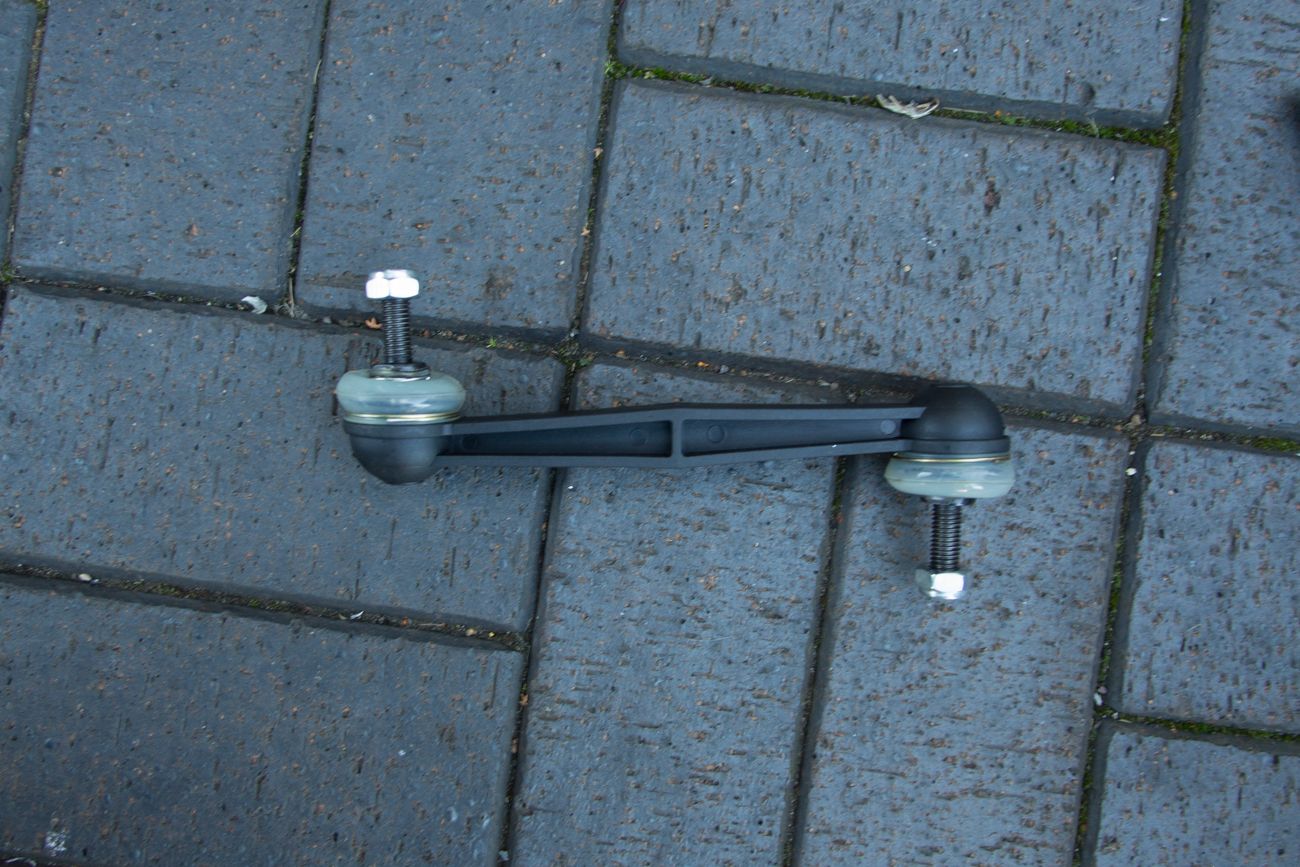
Bunged that back in with new ARB bushes and drop links. Weedy plastic things that they are...
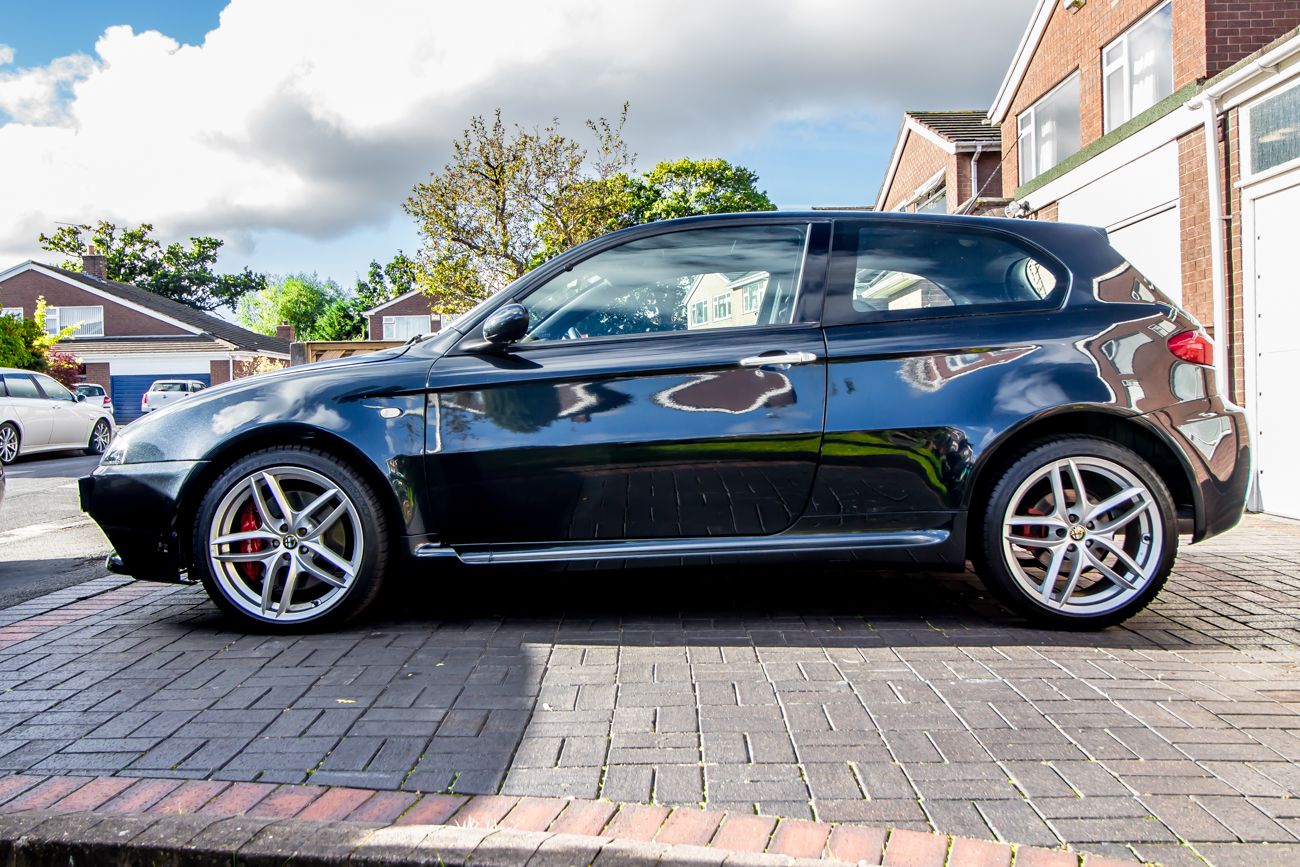
Random pic of the GTA's flared arches and shine paint in the sun. I was getting fed up by this point...
New struts in...
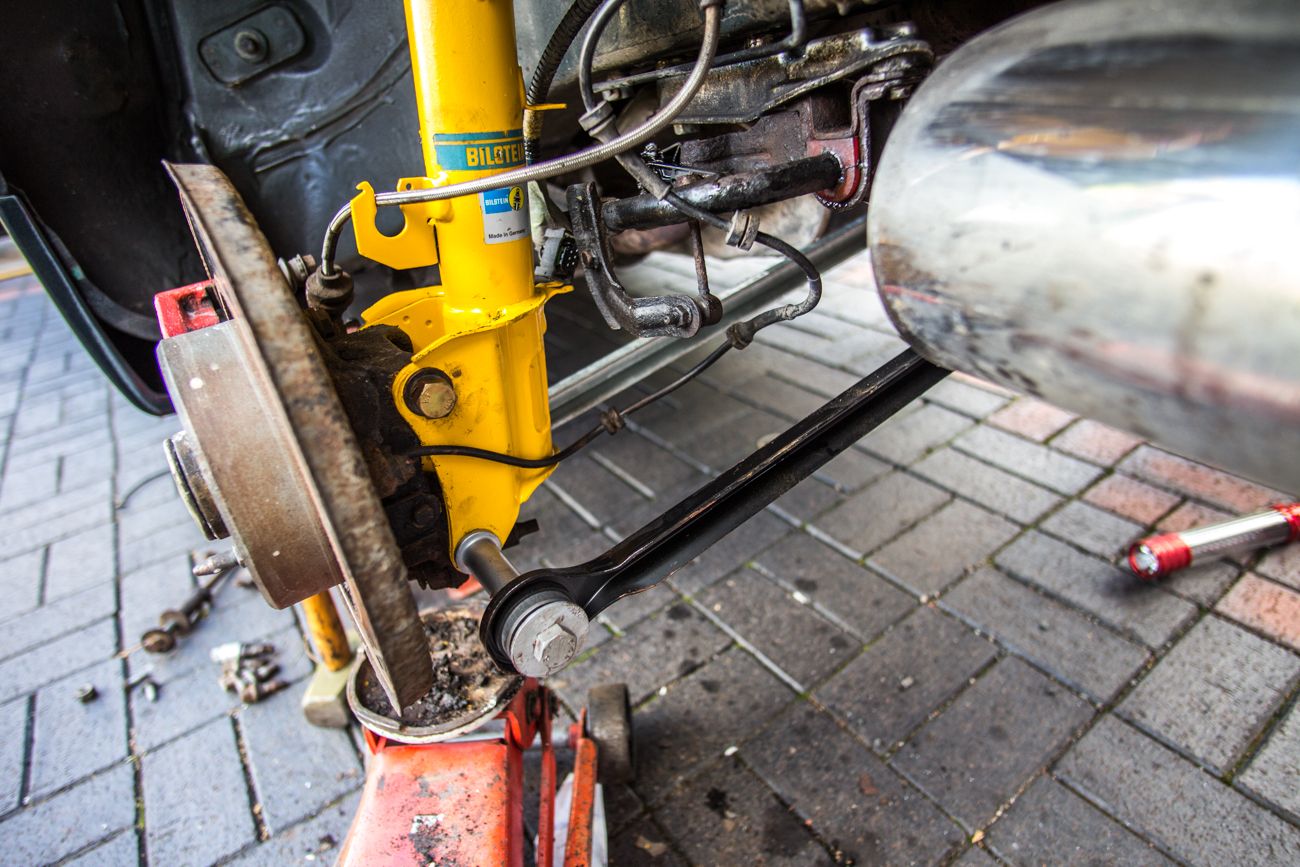
Oh, did I mention the new traverse arms? the front ones don't wear but my Dad (thanks Dad) had found some genuine Alfa ones on eBay cheap... And the rear arms, which do wear? New Delphi...

All in that's new;
Springs,
Dampers
ARB bushes
ARB drop links
Traverse arms - front and back
Brake pads
Strut tops
Nuts and Bolts - all of em!!
The trailing arms are new and the discs have done less than 5k.
So it's all new at the back!
Thanks all!
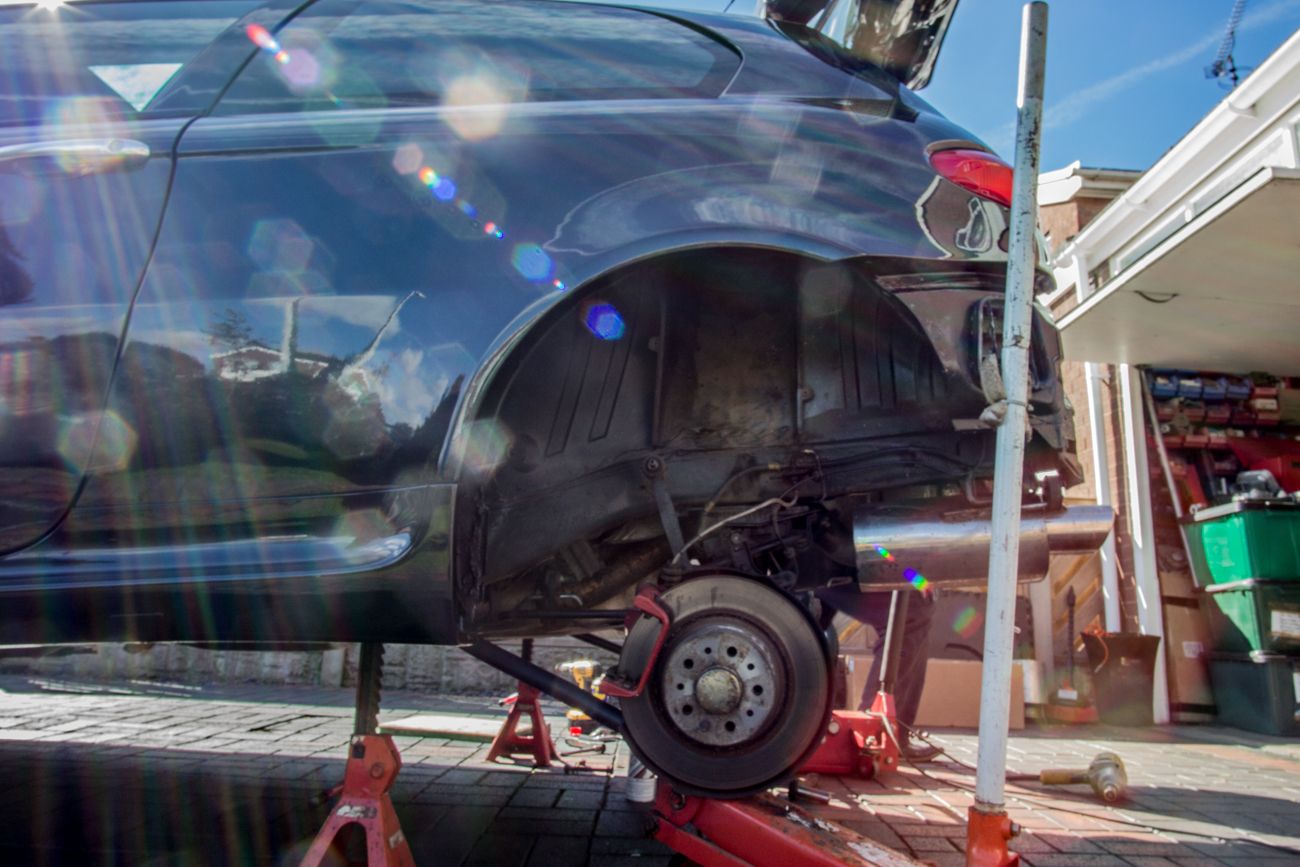
Existing ride height
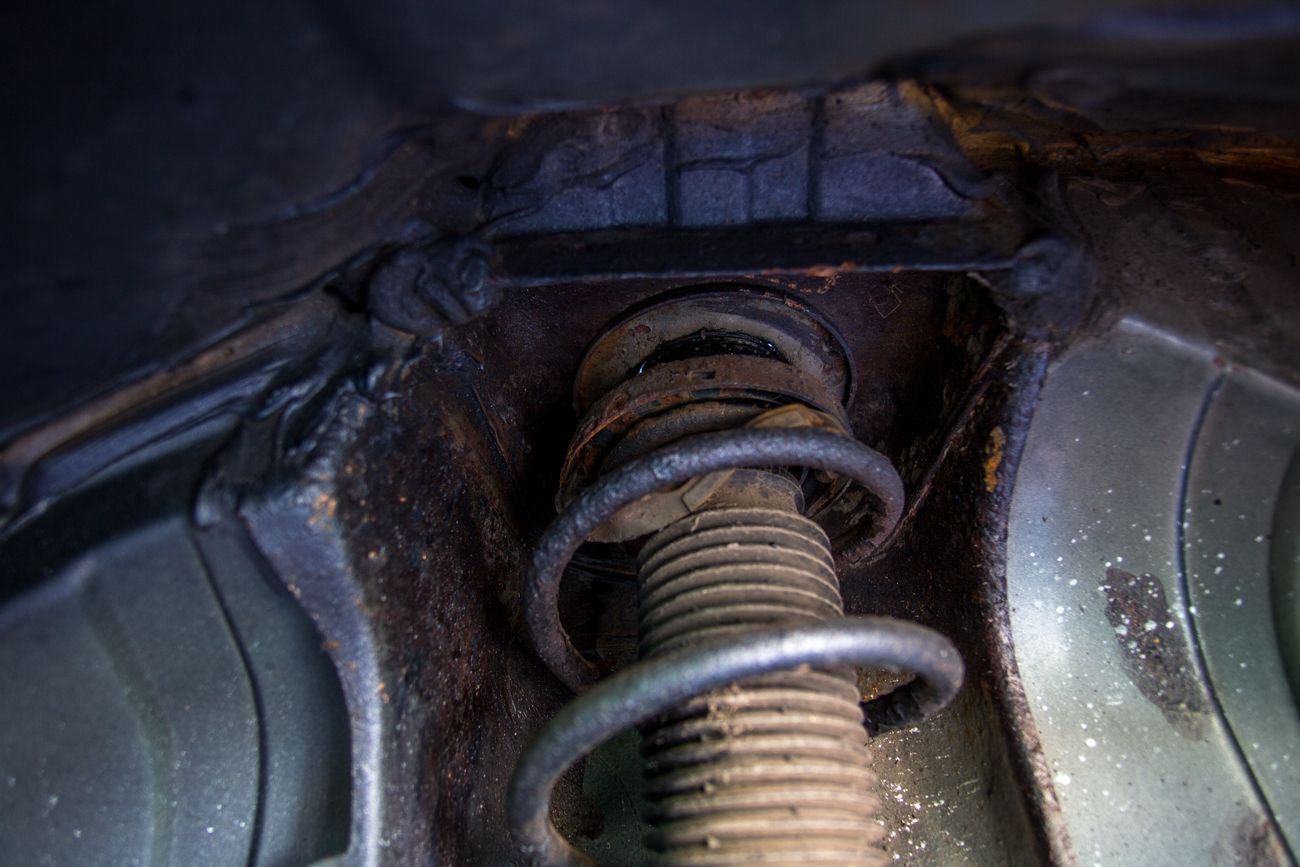
Which starts here with the boot stripped down and the suspension turret exposed
Moving on. This wasn't in the plan. Worn out brake pads. But my Dad (thanks Dad!) had some genuine pads in stock...
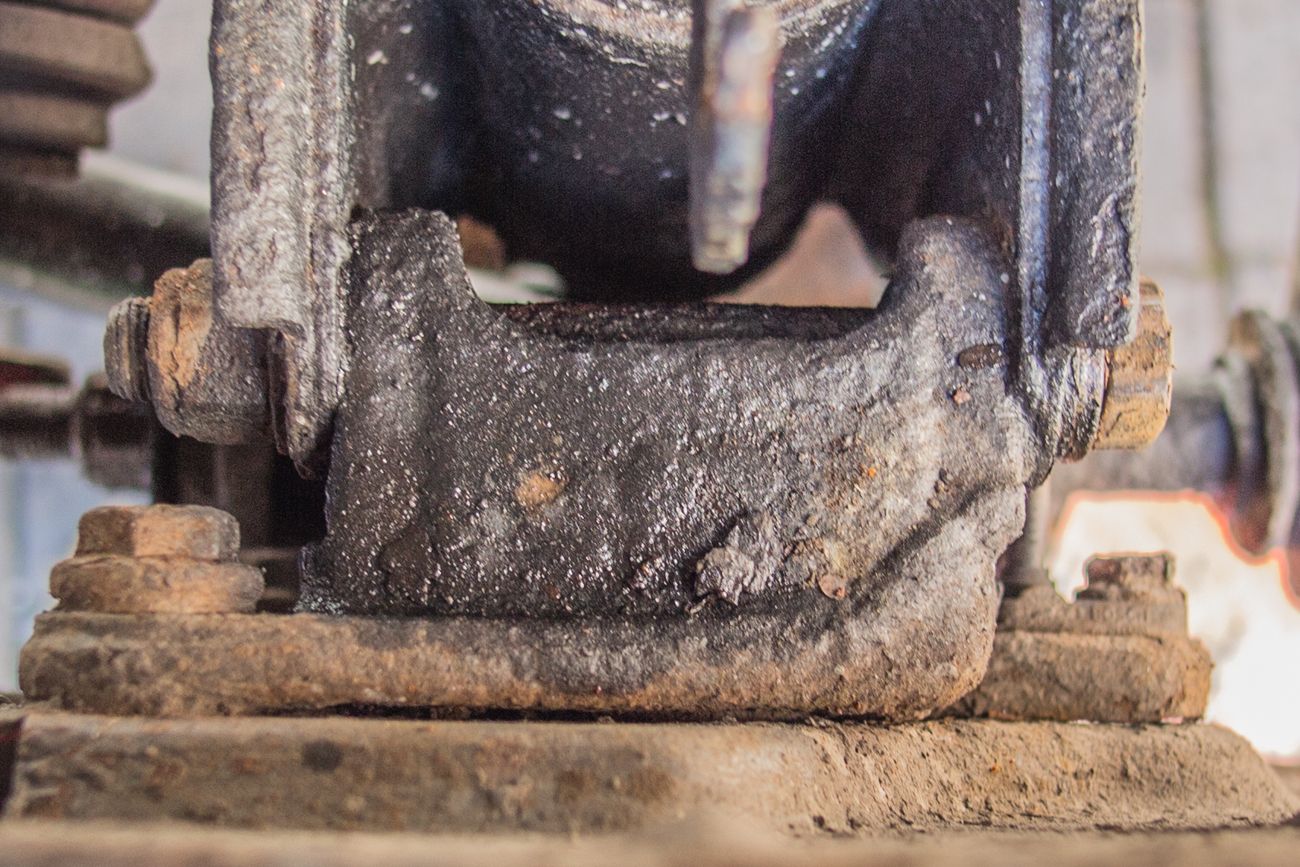
The bolts that go through the rear hub are a PITA.
The shank is exposed between the hub faces and corrodes making its almost impossible to remove.
The strut tops are known for corroding and welding themselves in place but I squirted them with some fancy lube the bikers like and they almost dropped out.Normally they require percussion removal which doesn't do them much good.
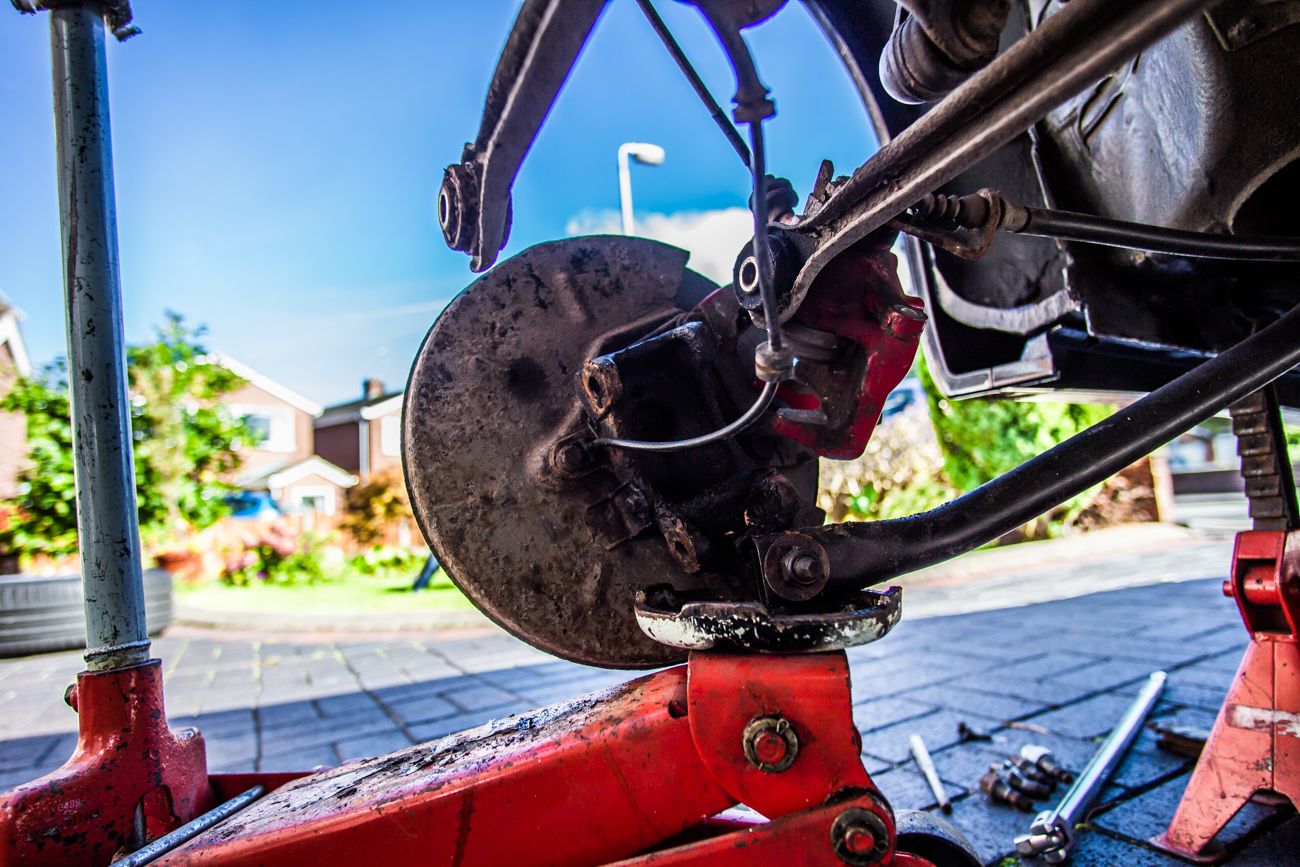
The dampers were fubar and destined to munch one of the rear tyres in a short space of time
They'd also corroded where the bumb stop sits;
The strut tops aren't that bad but genuine new ones had been found on eBay... (Thanks Dad!)
The turrets were showing surface rust so we've cleaned them up, chemically treated the rust and blasted them with stone chip and a wax oil type grease.
Things went a bit Pete Tong with the ARB bushes. The bolts snapped.
This wan't entirely unexpected though. Removing the subframe at this point is just 4 bolts and it drops out with the traverse arms.
And as it was out, that was the time to make sure the tracking adjustment (eccentric inner bolts) was free and does actually work. They didn't.
Rear view of the non adjustable rear traverse arms
Top view
Front/underside view
Bunged that back in with new ARB bushes and drop links. Weedy plastic things that they are...
Random pic of the GTA's flared arches and shine paint in the sun. I was getting fed up by this point...
New struts in...
Oh, did I mention the new traverse arms? the front ones don't wear but my Dad (thanks Dad) had found some genuine Alfa ones on eBay cheap... And the rear arms, which do wear? New Delphi...
All in that's new;
Springs,
Dampers
ARB bushes
ARB drop links
Traverse arms - front and back
Brake pads
Strut tops
Nuts and Bolts - all of em!!
The trailing arms are new and the discs have done less than 5k.
So it's all new at the back!
davebem said:
Looks amazing, love the colour.
EJH said:
That looks lovely! I shall continue to follow this thread with interest!
Kev_Mk3 said:
fantastic thread. Love the detail and photography keep it coming
(I've managed to bugger up the thread continuity with some edits)Thanks all!
davebem said:
Impressive stuff, Im contemplating b8s and eibachs for my 156. Out of interest are the genuine Alfa rear arms aluminium/alloy but the Delphi are steel?
Genuine alfa are galv steel and the delphi parts are also steel with some kind of black electroplate. I'd go with delphi as they look better. For info, the lower bolt in the hub that the traverse arms attach to is now around £16! The upper bolt is more reasonable at ~£6.Edited by Zombie on Sunday 2nd October 22:41
Edited by Zombie on Saturday 7th April 22:00
Edited by Zombie on Saturday 7th April 22:01
Gassing Station | Readers' Cars | Top of Page | What's New | My Stuff